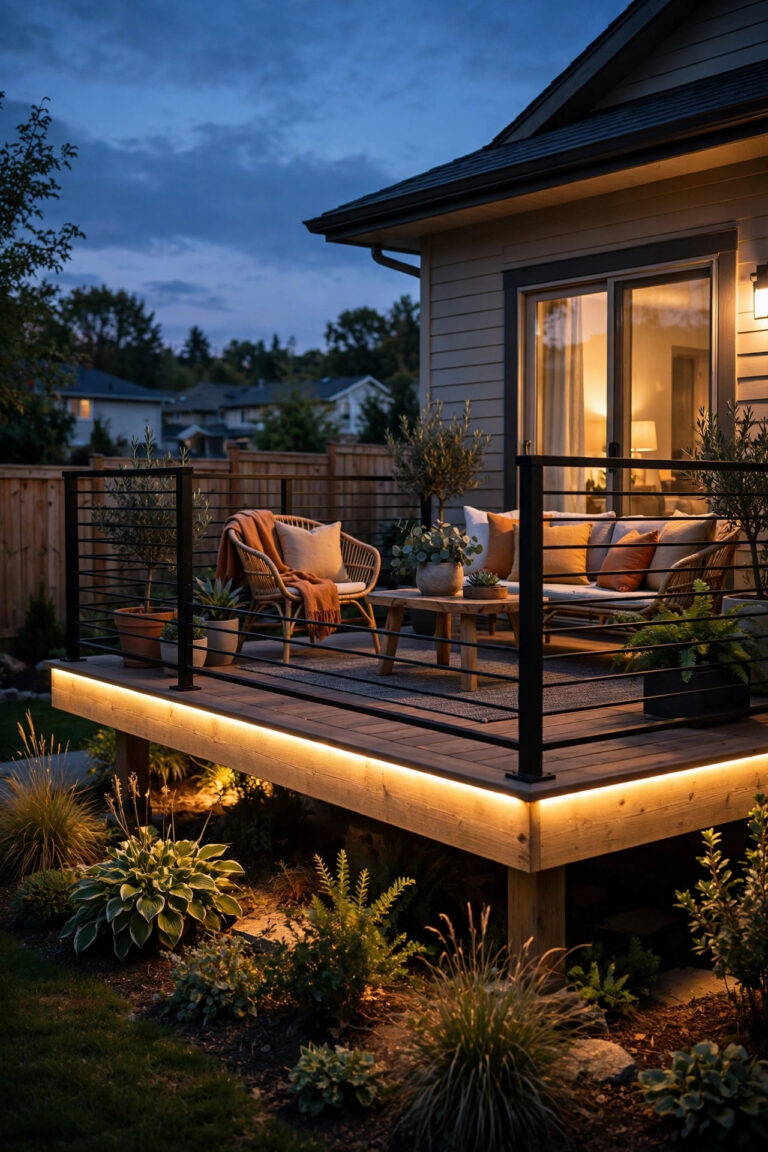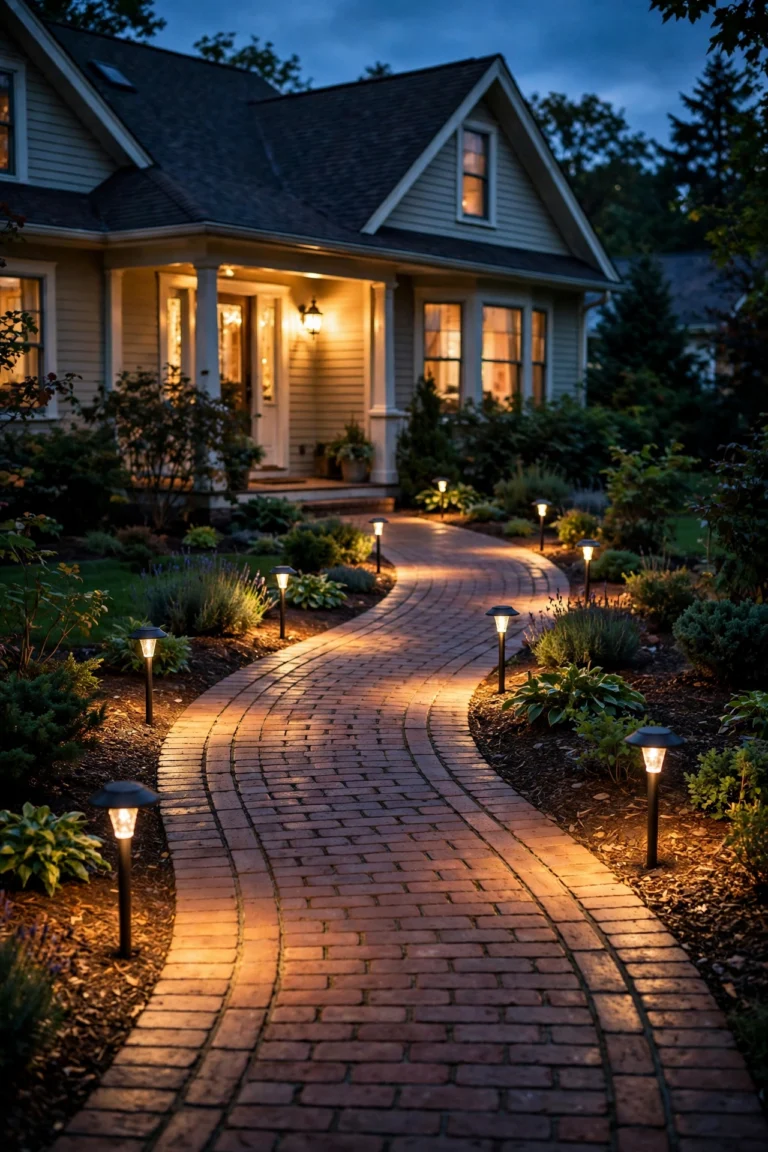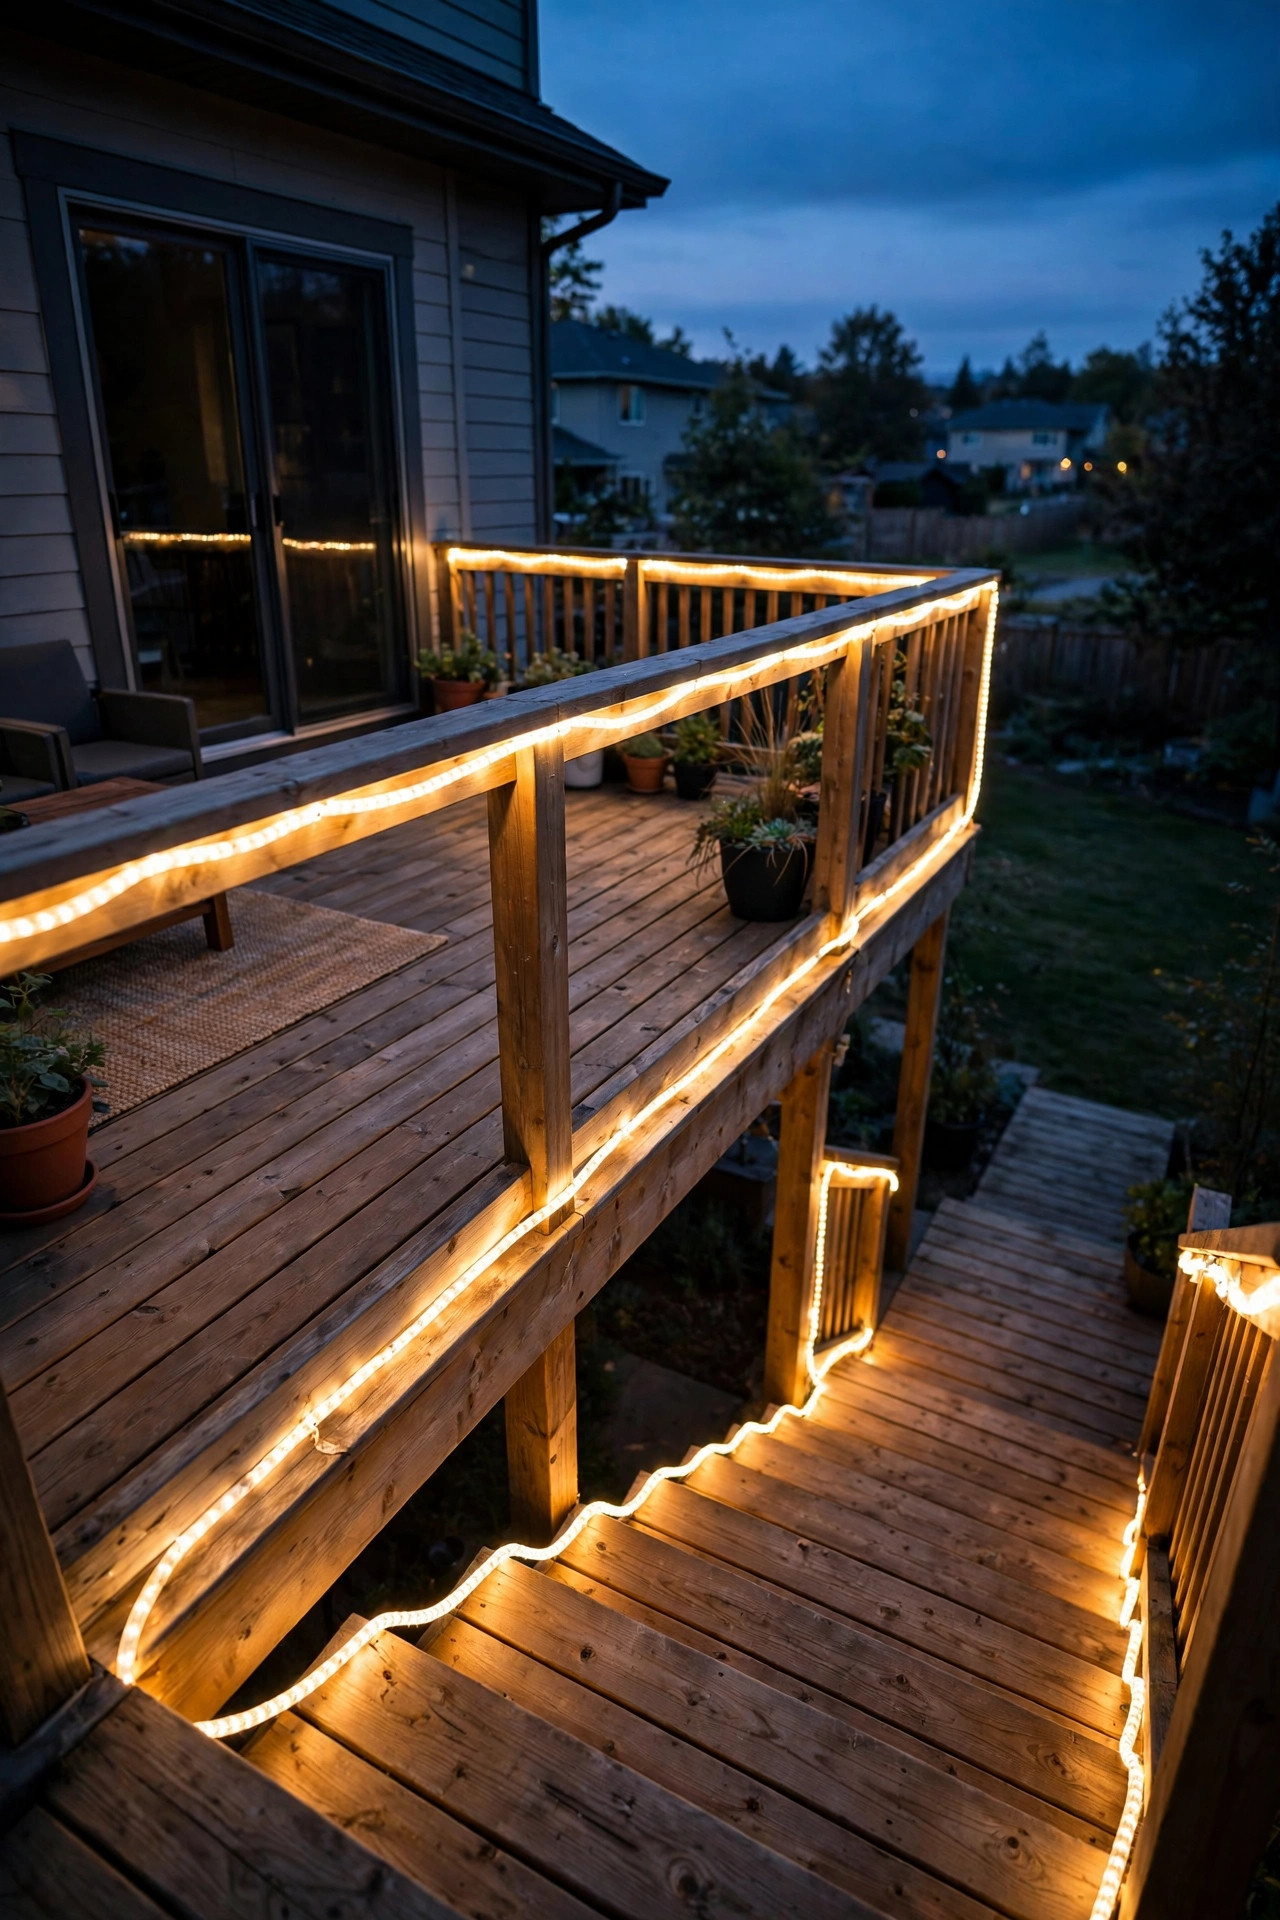
There's something almost magical about the moment a deck switches from daylight to evening glow — and honestly? Rope lights are my favorite way to make it happen. These flexible tubes of LED light might be the most underrated tool in outdoor lighting. They're affordable, beginner-friendly, weatherproof, and tuck into places no other light reaches: under railings, along stair edges, beneath bench seats, around a hot tub rim.
If you've been browsing outdoor rope light ideas and wondering how people get that polished, resort-style look, here's the secret: layering. I think of outdoor lighting in three layers — overhead light (your porch fixture or string lights), task light (spots where you need to see, like steps), and accent light (the pretty stuff). Rope lights are the ultimate accent-plus-task layer. They wash surfaces with a soft, continuous glow that outlines your space beautifully while marking edges you could trip over in the dark.
In this post I'm sharing 15 of my favorite rope light placements for decks, steps, and patios — every one I've done myself or seen work at friends' homes. For each idea you'll get the how-to, what to buy, and what it'll cost.
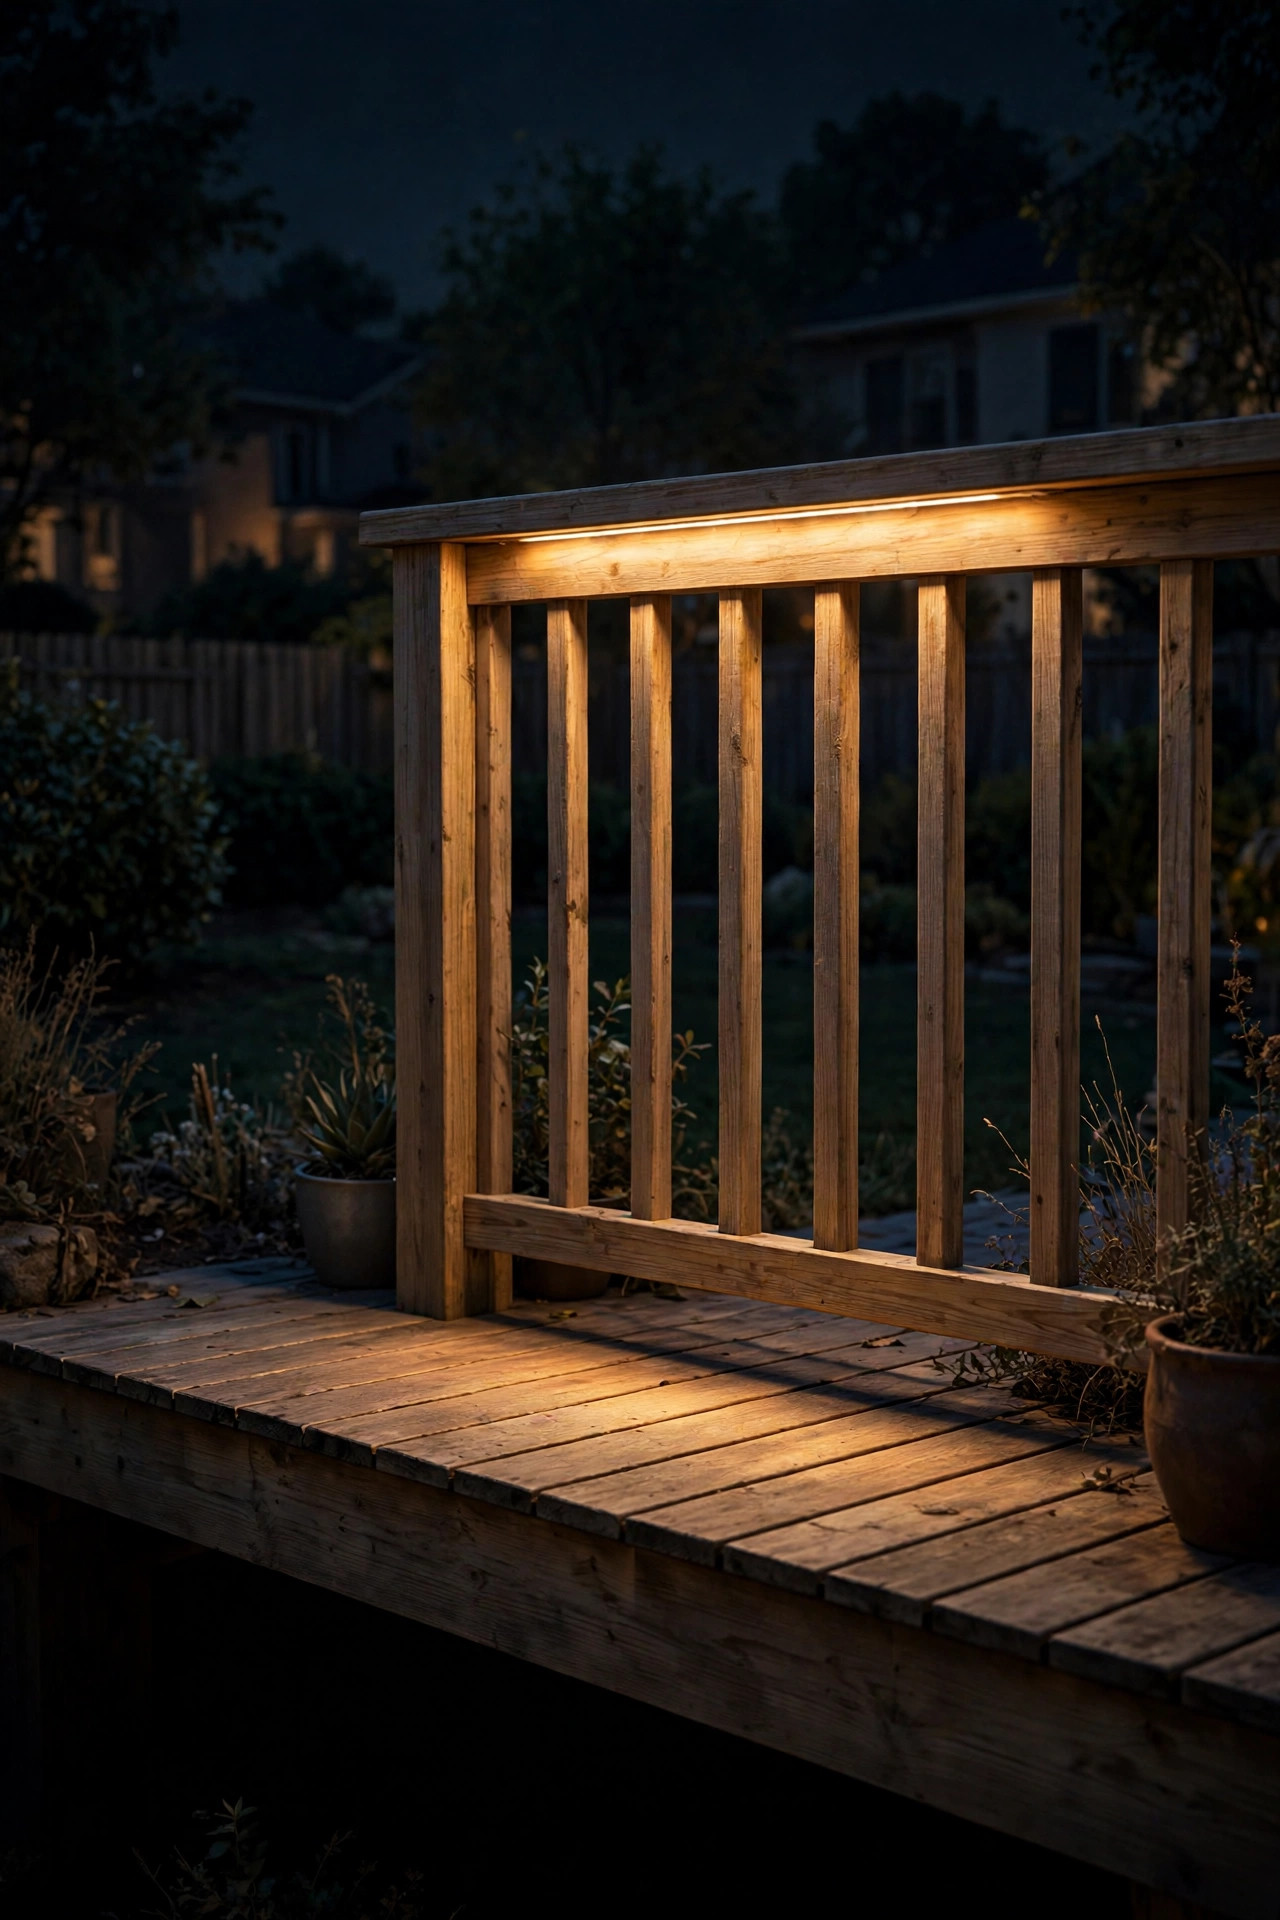
1. Tuck the Glow Under Your Deck Rail Cap
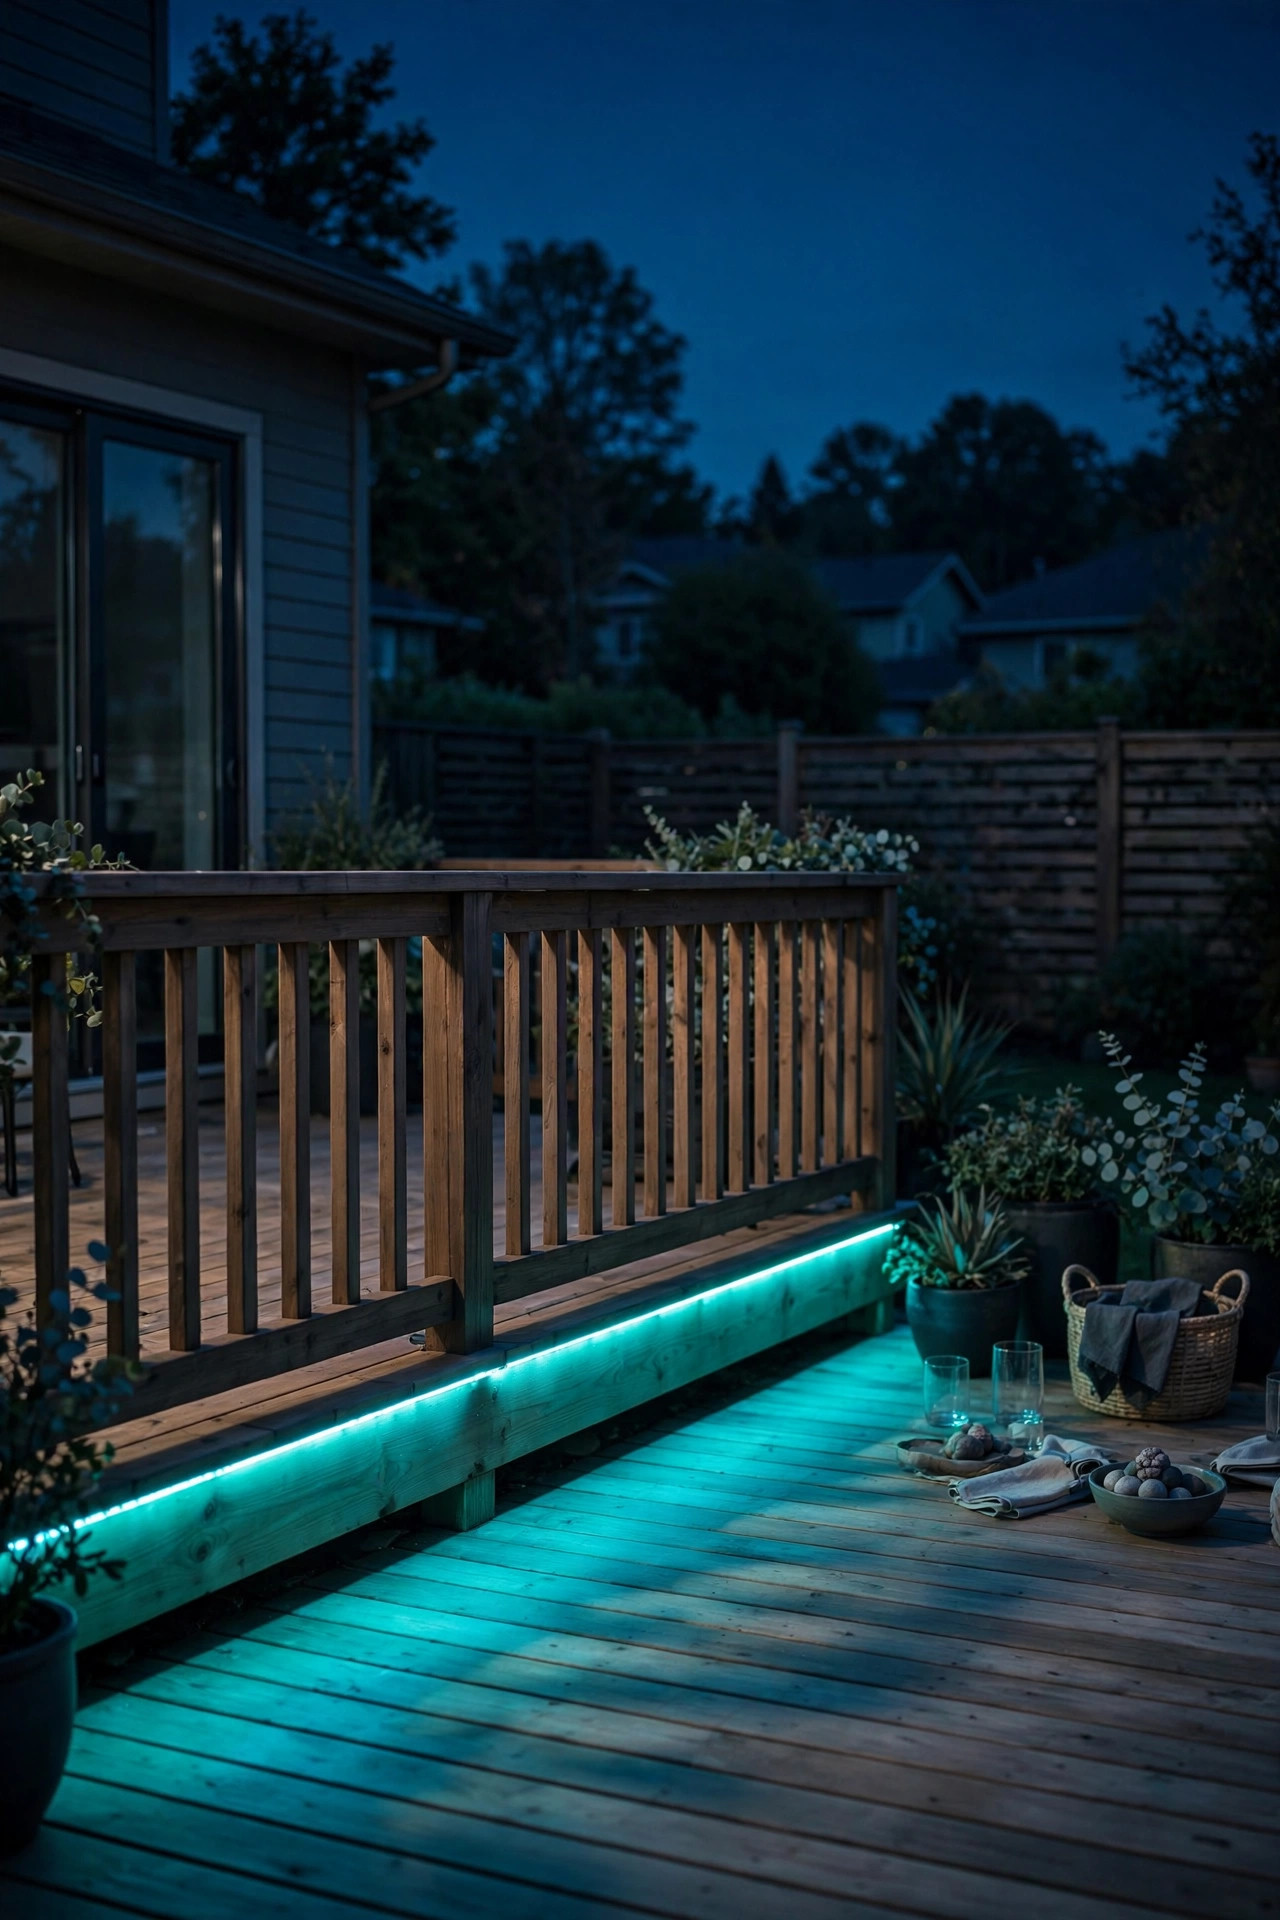
This is where I always recommend starting. Mounting rope light on the underside of your top rail casts a soft downward wash onto the deck boards below — gorgeous, indirect, and it makes the whole railing look like it's floating.
How to do it: Measure the linear feet of railing you'll light, then add 10% so you're not short. For most decks, a 12-volt low-voltage rope light or a plug-in 120-volt LED rope rated for outdoor use works beautifully. Mount it with clear plastic mounting clips screwed into the underside of the rail every 12 to 18 inches — never staple through the rope itself, which can pierce the wiring.
Choose warm white (2700–3000K) for that cozy amber feel. For brightness, look for rope light around 30–50 lumens per foot — plenty for accent without glare. Plug the run into an outdoor-rated timer or smart plug so it comes on automatically at dusk.
Safety note: Use only rope light explicitly rated for outdoor use, and keep all electrical connections inside weatherproof junction boxes or the cord's own sealed connectors. Any power source should plug into a GFCI-protected outdoor outlet.
Styling tip: Pair the under-rail glow with one or two larger light sources — a pendant over the dining area or lanterns on a side table — so the space has both sparkle and wash.
Suggested budget range: $40 – $120.
2. Outdoor Rope Light Ideas for Deck Stair Edges
Stairs are where lighting stops being decoration and becomes a safety essential — and rope light creates one continuous, unmissable line of light right where feet land. In my experience, lit stair edges get more compliments than any other single upgrade.
How to do it: The cleanest look is a slim LED rope in a channel, tucked just under the lip of each stair tread nose and running the full width of the step. For a typical 4-foot-wide deck stair with five steps, you'll need roughly 20 linear feet — measure each tread, multiply, and add 10%.
I prefer a dedicated aluminum channel with a frosted diffuser for steps — it spreads the light evenly, protects the rope from foot traffic, and looks custom-installed. Mount the channel with the diffuser facing forward, angled toward the riser below. Use outdoor-rated silicone or the channel's clips to secure it.
Warm white is my go-to here too, but slightly brighter than railing accent — 40–60 lumens per foot so each edge reads clearly at night. Put stair lighting on its own switch or a motion sensor so it's always on when someone approaches after dark.
Safety note: This is the one place I'll insist on quality: buy rope light with a high IP rating (IP65 or better) for steps, since they'll face rain, kicked debris, and curious shoes. Keep the power connection well away from foot traffic.
Suggested budget range: $50 – $150.

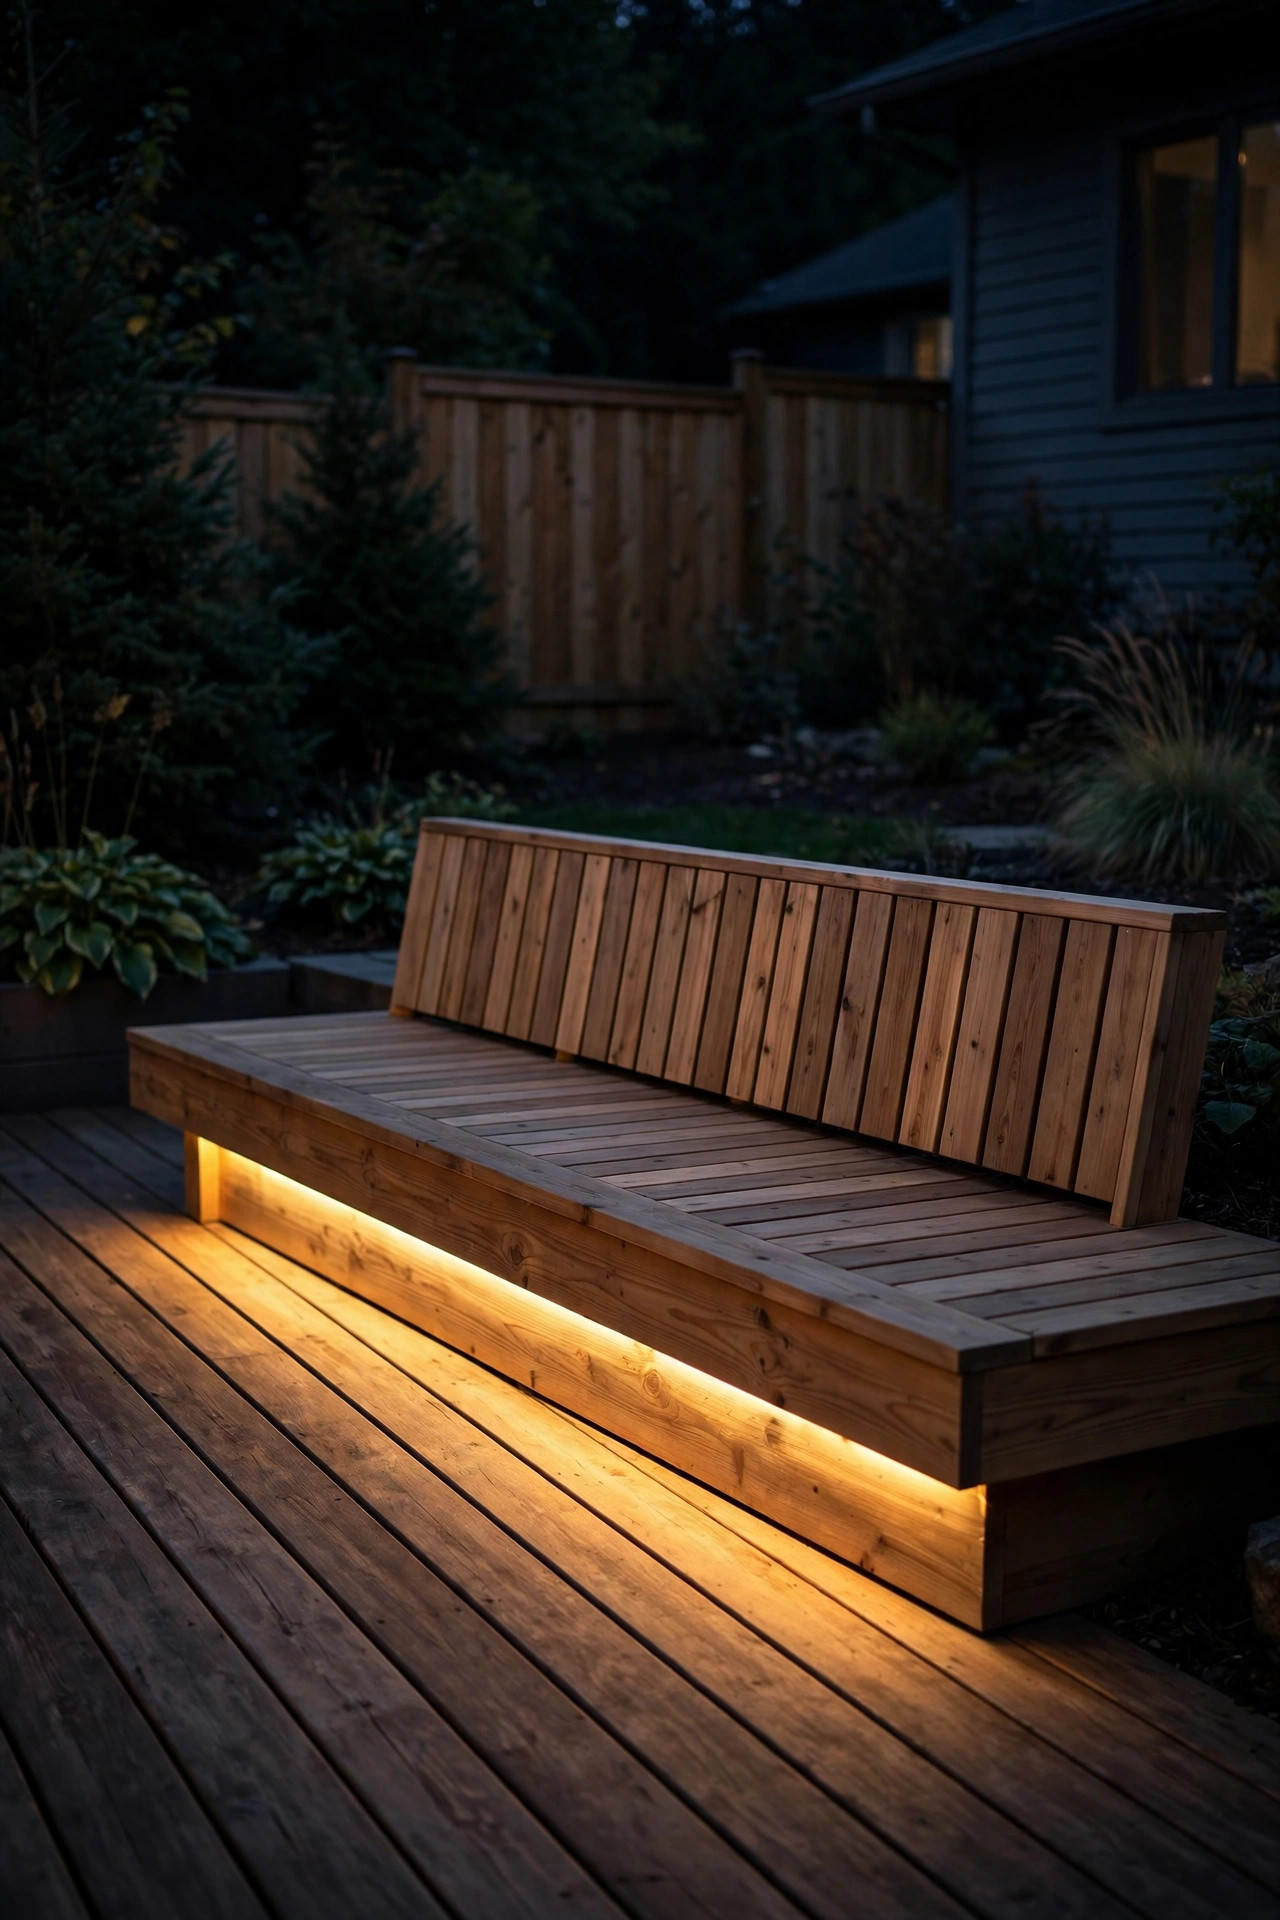
3. Light the Toe Kick Under Built-In Bench Seats
Built-in deck benches look great by day — and by night they become dark, invisible obstacles unless you light them. A rope light tucked into the recessed toe kick under the bench seat solves it with a floating effect that looks incredibly high-end for the effort.
How to do it: Most built-in benches have a recessed base or support frame set back 3 to 4 inches from the seat edge. Run a single line of rope light along that recess, mounted to the support framing with clips facing outward and slightly down. The setback is what creates the magic: you see the glow wash across the deck boards, never the light source itself.
For a typical 8-foot bench, one 10-foot rope light section covers it. Because the rope is shielded from direct weather by the bench, a standard outdoor-rated LED rope works fine. Connect it to the same timer or smart plug as your railing lights so everything fires together at dusk.
Styling tip: If your bench runs along a planter or the deck perimeter, this toe-kick glow doubles as gentle path lighting for the walking lane in front of it.
Safety note: Keep rope light at least a foot away from any gas grill or fire pit, and use LED only — LEDs stay cool to the touch, while older incandescent rope can heat up near flammable materials like cushions or dry leaves.
Suggested budget range: $30 – $80.
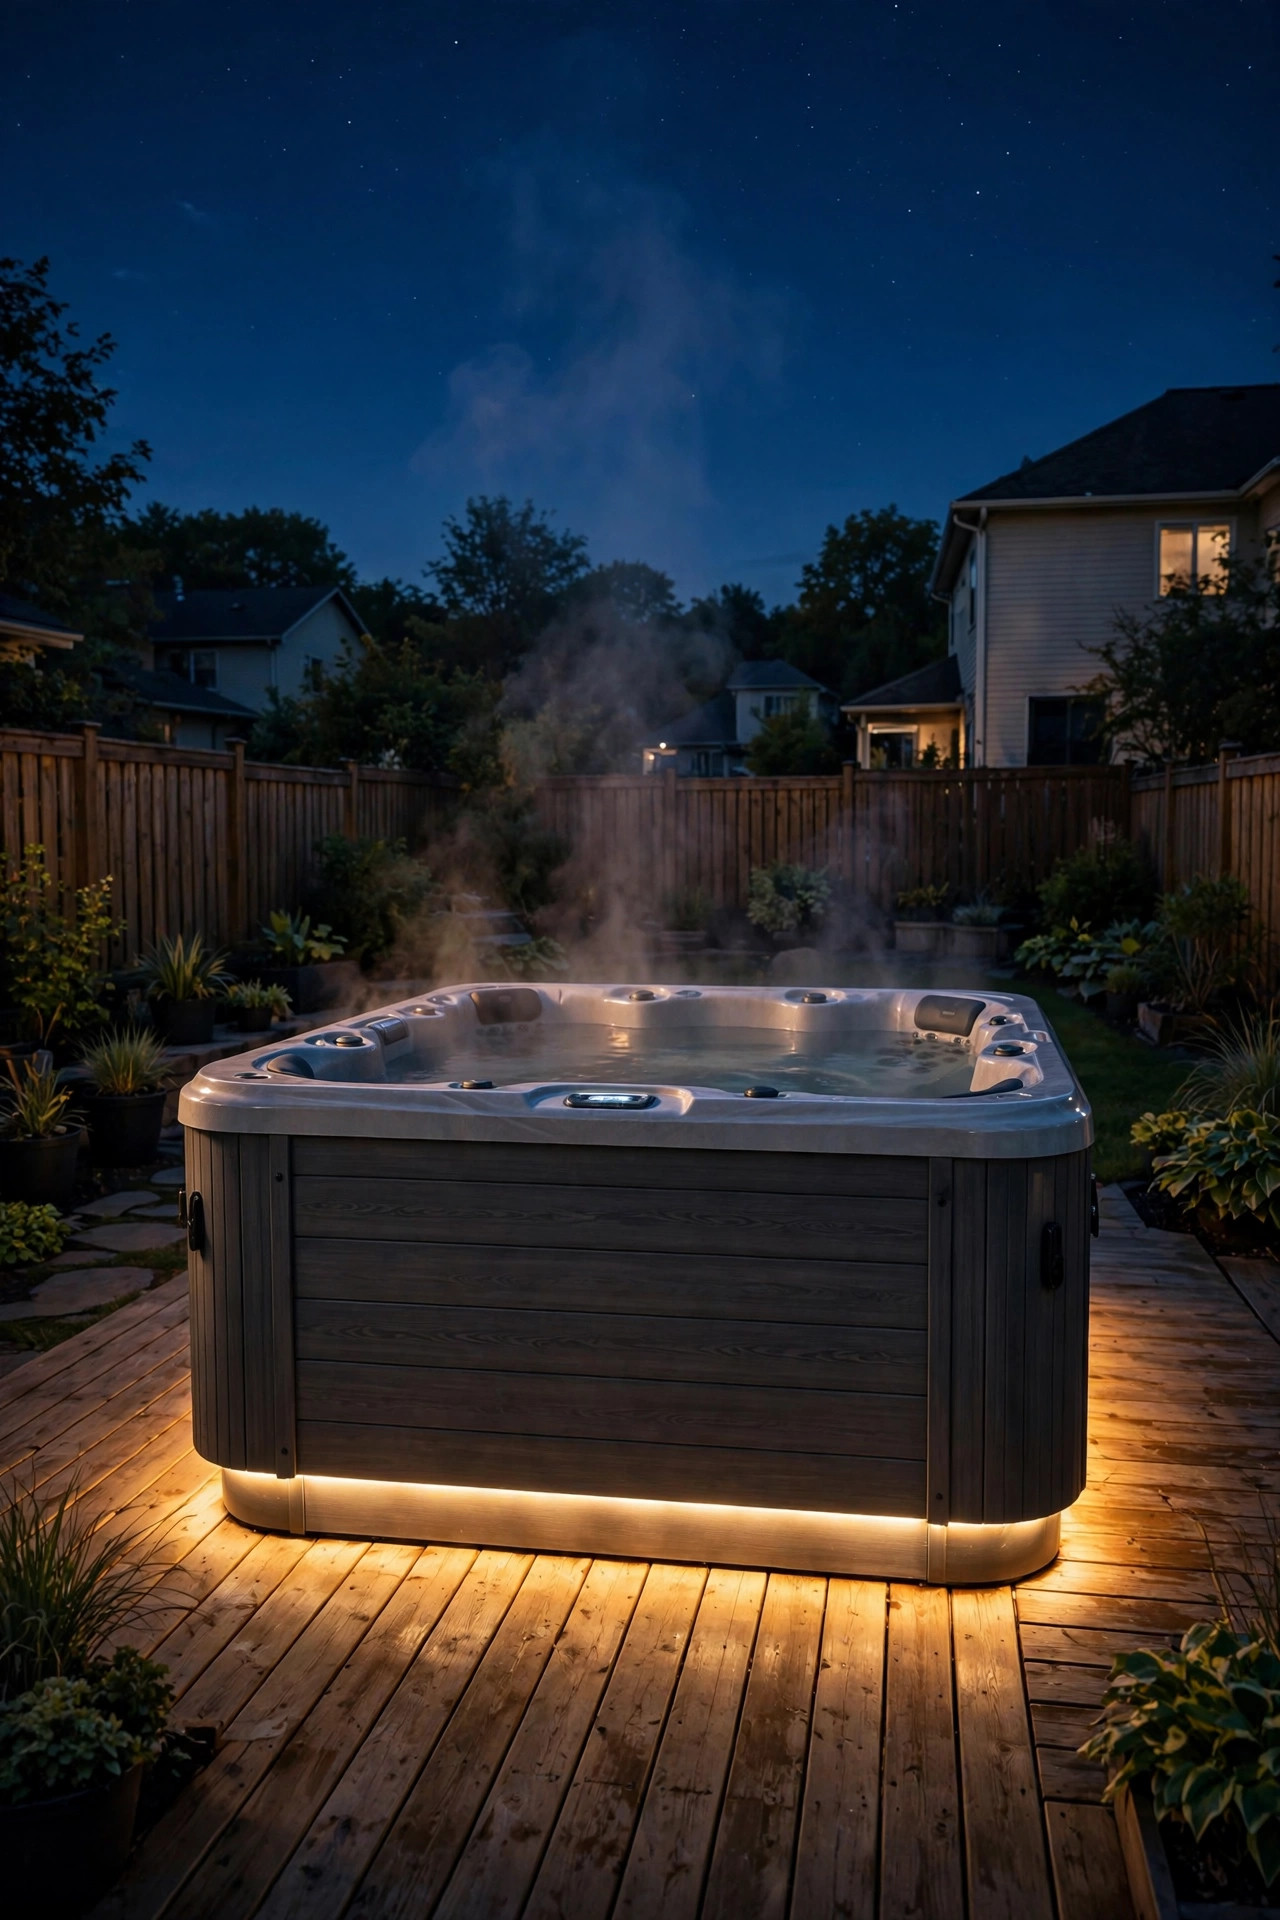
4. Outline the Edge of Your Hot Tub or Spa
A hot tub on a dark deck can be hard to navigate — and honestly, climbing wet steps in the dark isn't my idea of relaxing. Rope light around the base or lip of the spa creates a soft halo that defines the tub beautifully and lights the step area without harsh glare.
How to do it: Run rope light around the base perimeter of the tub, tucked just under the cabinet lip if your model has one, so the light washes down and out across the decking. Alternatively, mount it along the top edge of a surrounding wooden skirt — the continuous line traces the tub's shape like a neon outline.
This is a wet location in every sense, so don't compromise: use rope light rated IP68 (fully submersible-rated for splashes and standing water), and route the power connection up and away from any area where water pools. Low-voltage 12-volt rope light is my strong preference around any water feature — it's far safer than line voltage near splashing water.
Keep the color warm white for evening soaks; if your rope light has a remote, switch to a soft blue or teal for a spa-mood evening.
Safety note: Never drape rope light across the water surface or inside the tub. Keep all connections dry and elevated, and plug into a GFCI outlet. If in doubt near water, low voltage (12V) only.
Suggested budget range: $60 – $160.
5. Hide Rope Light Under the Deck's Perimeter Fascia
Here's a pro-level trick that makes a deck look like it hovers above the ground: run rope light along the underside of the fascia boards around the deck's perimeter, aimed downward. From the yard, the deck's edge glows; from above, you see nothing but a soft wash on the skirting or the ground below.
How to do it: This works best on decks that are at least 18 to 24 inches off the ground, so the downward light has room to spread. Mount the rope light to the back face of the fascia board with clips every 12 inches, positioned so the tube sits 1 to 2 inches above the bottom edge — hidden from sight lines but free to spill light downward.
For a 12×16-foot deck, the perimeter is about 56 linear feet; add 10% for the power lead and corners. Use warm white rope at 30–40 lumens per foot — this is pure atmosphere, not task light, so subtle wins.
Styling tip: This pairs beautifully with a couple of uplights on nearby trees or shrubs — the ground plane gets light from both directions and the whole backyard feels bigger.
Suggested budget range: $70 – $180.

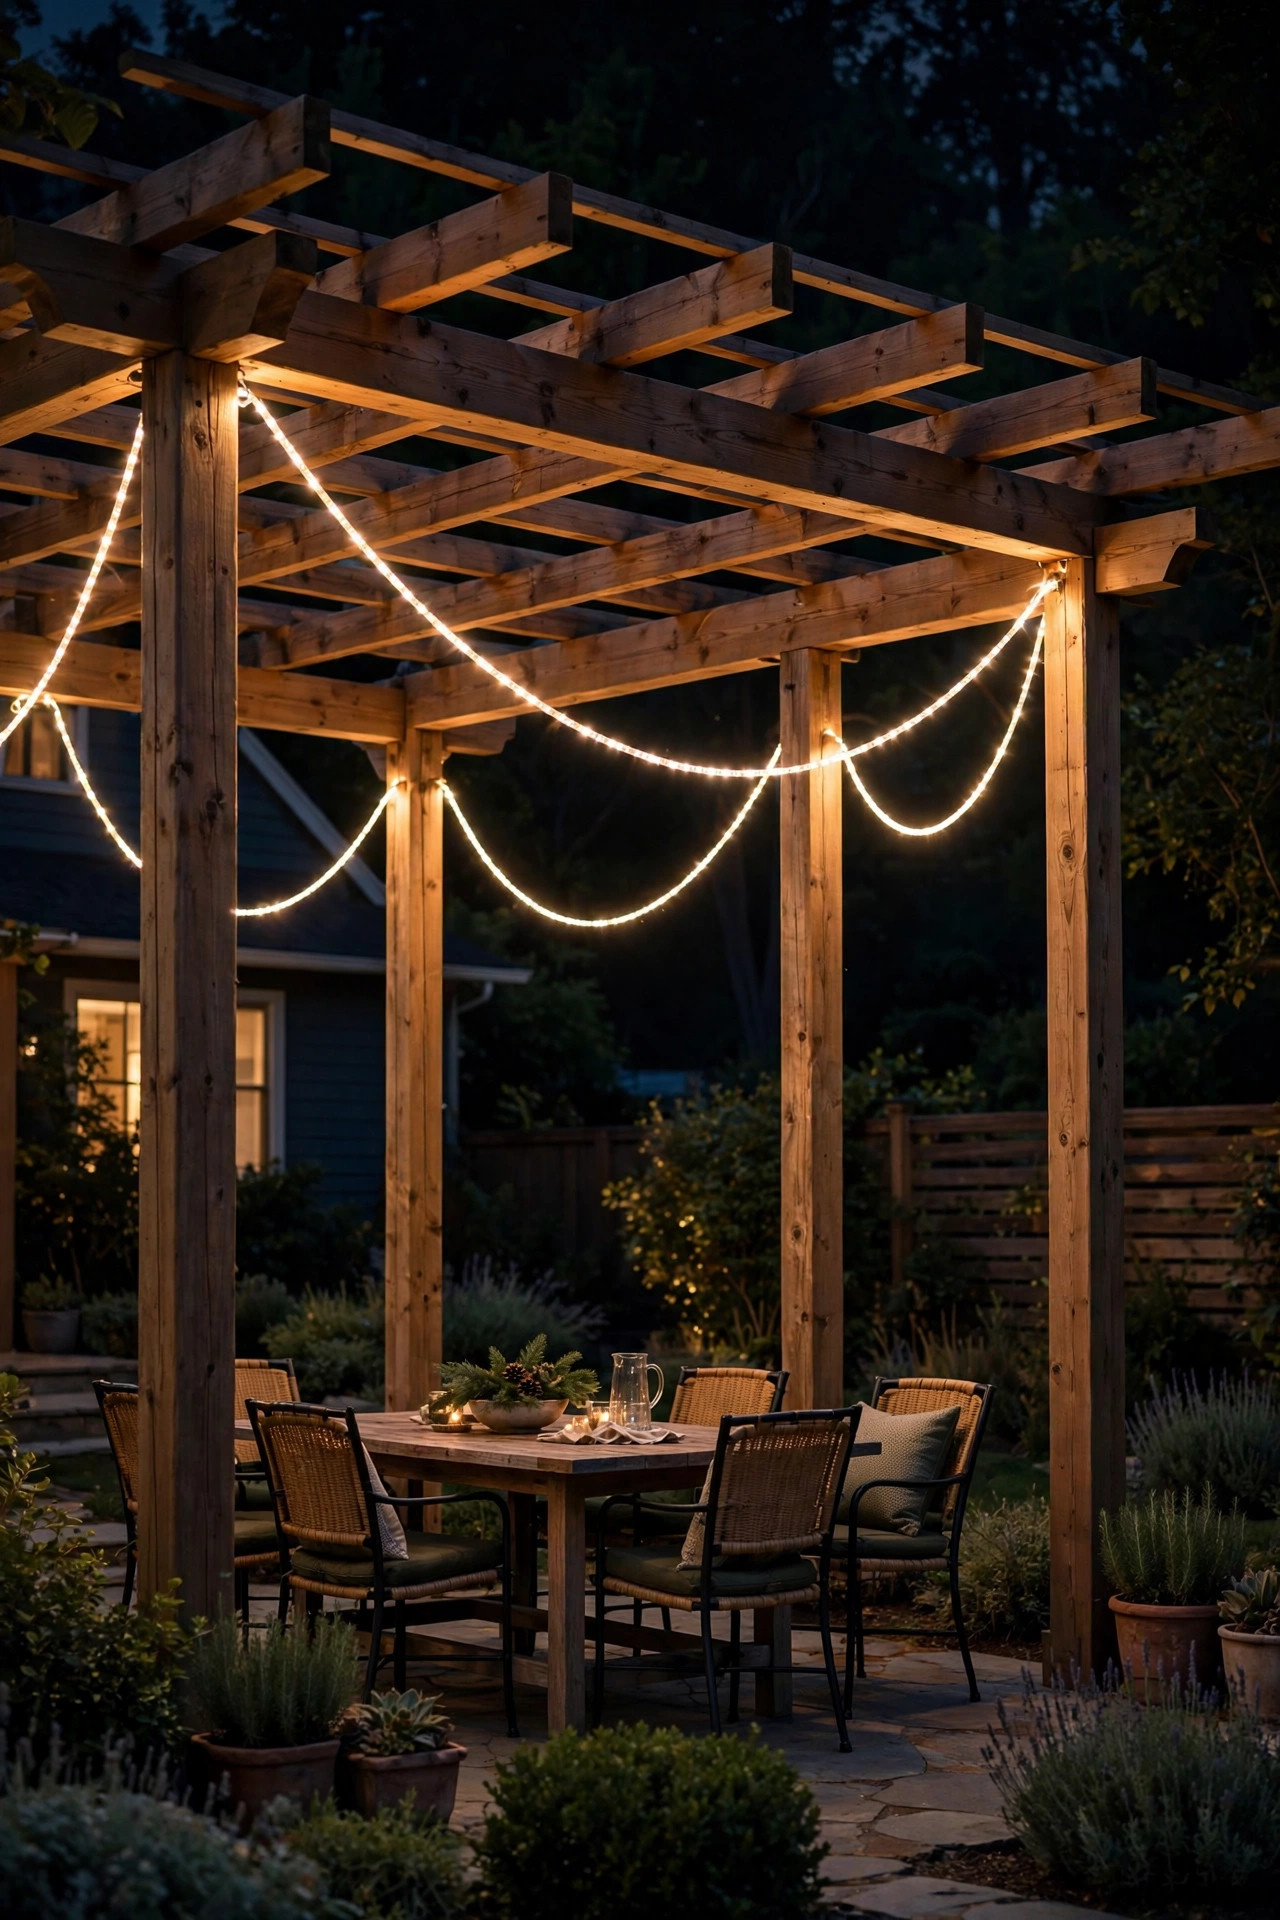
6. Outdoor Rope Light Ideas for Pergola Swags
String lights get all the credit for pergola ceilings, but rope light swags give you a thicker, more continuous line of light that reads as elegant rather than festive — perfect when you want the pergola to feel like an outdoor room rather than a party tent.
How to do it: Plan your swags first: for a 12-foot span between posts, cut rope light sections about 14 to 15 feet long so each one hangs in a gentle curve with 12 to 18 inches of sag in the middle. Anchor each end to the top of the posts with stainless steel eye hooks, then loop the rope light through with a cable tie — never screw directly through the rope.
Because rope light is heavier than string wire, keep spans under 15 feet and support long runs in the middle with a thin stainless cable if needed. For power, run the connection down one post in a cord channel and plug into an outdoor timer at the base.
Warm white is classic here, but this is also a great spot for color-changing LED rope light — white for quiet evenings, festive colors for gatherings.
Safety note: If your pergola is near the house roofline, keep rope light at least 3 feet from any roof edge where leaves collect, and choose LED only to avoid heat buildup near wood and fabric canopies.
Suggested budget range: $50 – $140.
7. Spiral Rope Light Up Your Deck Posts
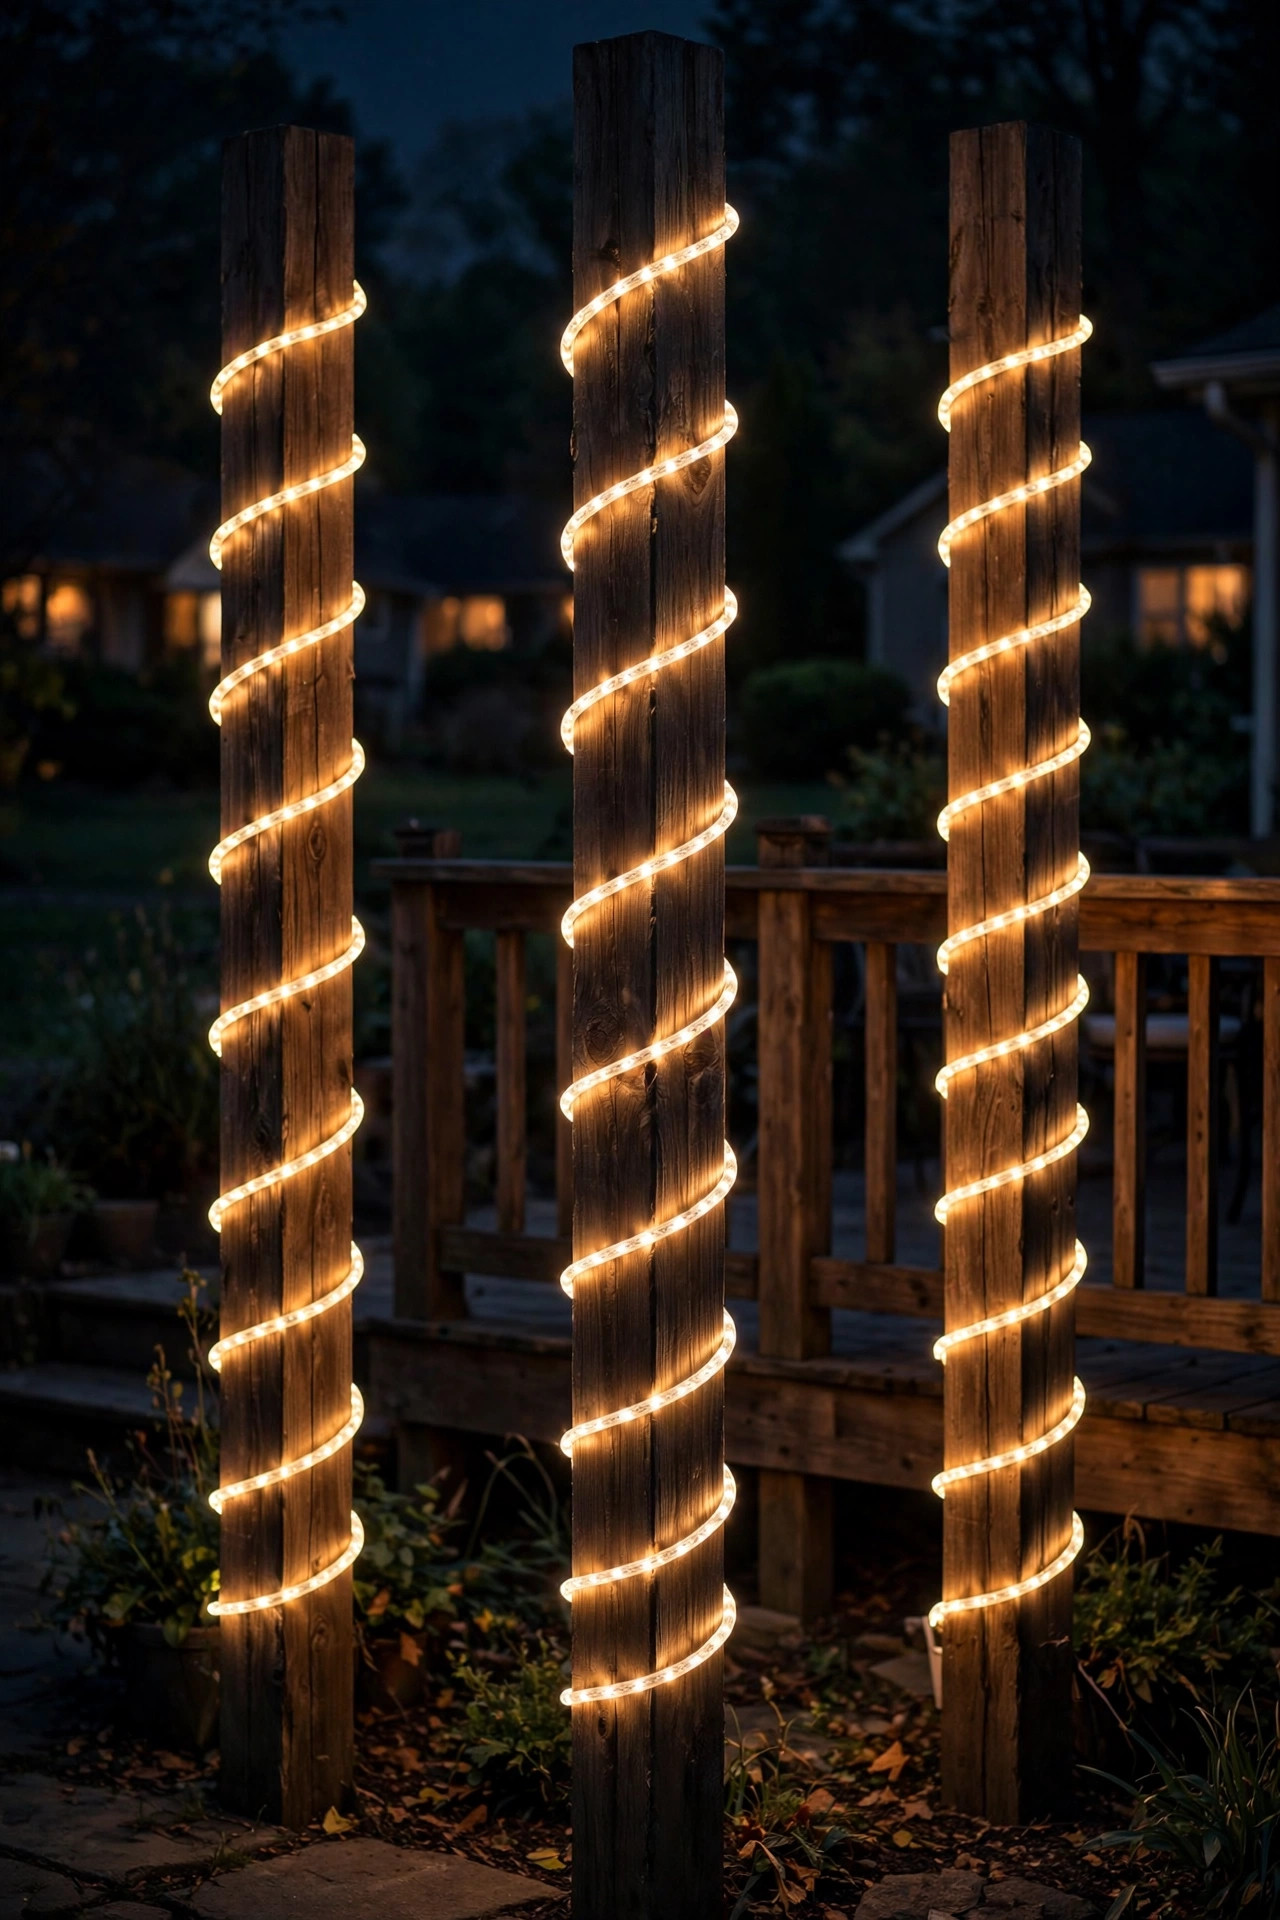
Wrapping deck support posts or newel posts with rope light turns structural elements into glowing columns — it's one of the fastest ways to add vertical interest to a deck that feels flat at night.
How to do it: For a standard 4×4 post (about 8 to 9 feet of visible height), plan on 18 to 25 feet of rope light for a relaxed spiral with 6- to 8-inch spacing between wraps. Start at the bottom with the power connection near the deck surface where you can route the cord discreetly, then spiral upward, tacking the rope with small clear zip ties or UV-resistant cable staples placed around — not through — the rope.
Mark your spacing with painter's tape before you start so the spiral stays even. A tighter spiral (4-inch spacing) reads as a solid column of light; a looser one (8 to 10 inches) reads as a decorative accent. I usually recommend the looser wrap for front porches and the tighter one for back patios where you want more light.
Styling tip: Wrap just two or three key posts — the ones flanking the steps or the corners of the dining zone — rather than every post on the deck. A few glowing columns look intentional; a forest of them looks like a carnival.
Suggested budget range: $40 – $110.
8. Line the Edge of an Outdoor Bar or Serving Counter
If you have a built-in bar, serving ledge, or outdoor kitchen counter on the patio, a rope light under the countertop overhang does for outdoor entertaining what under-cabinet lighting does in a kitchen — it defines the workspace, lights up drinks and appetizers, and makes the whole setup look professionally designed.
How to do it: Most outdoor bars have a countertop overhang of 8 to 12 inches for knee space. Mount the rope light to the underside of that overhang, set back 2 to 3 inches from the front edge, with the tube angled slightly toward the vertical face of the bar below. For a 6-foot bar, one 8-foot section is plenty.
Because food and drinks are involved, I recommend a slightly brighter rope here — 50 lumens per foot — so guests can actually see what they're reaching for. A frosted channel keeps the light even and makes cleanup easy (grease and spills wipe off the channel, not the rope).
Power it from the same circuit as your patio lighting, and if your rope light supports dimming, even better — bright for cooking, dim for cocktails.
Safety note: Keep all rope light and connections at least 3 feet from the grill's heat zone, and use outdoor-rated, grease-wipeable channels near cooking areas.
Suggested budget range: $35 – $100.
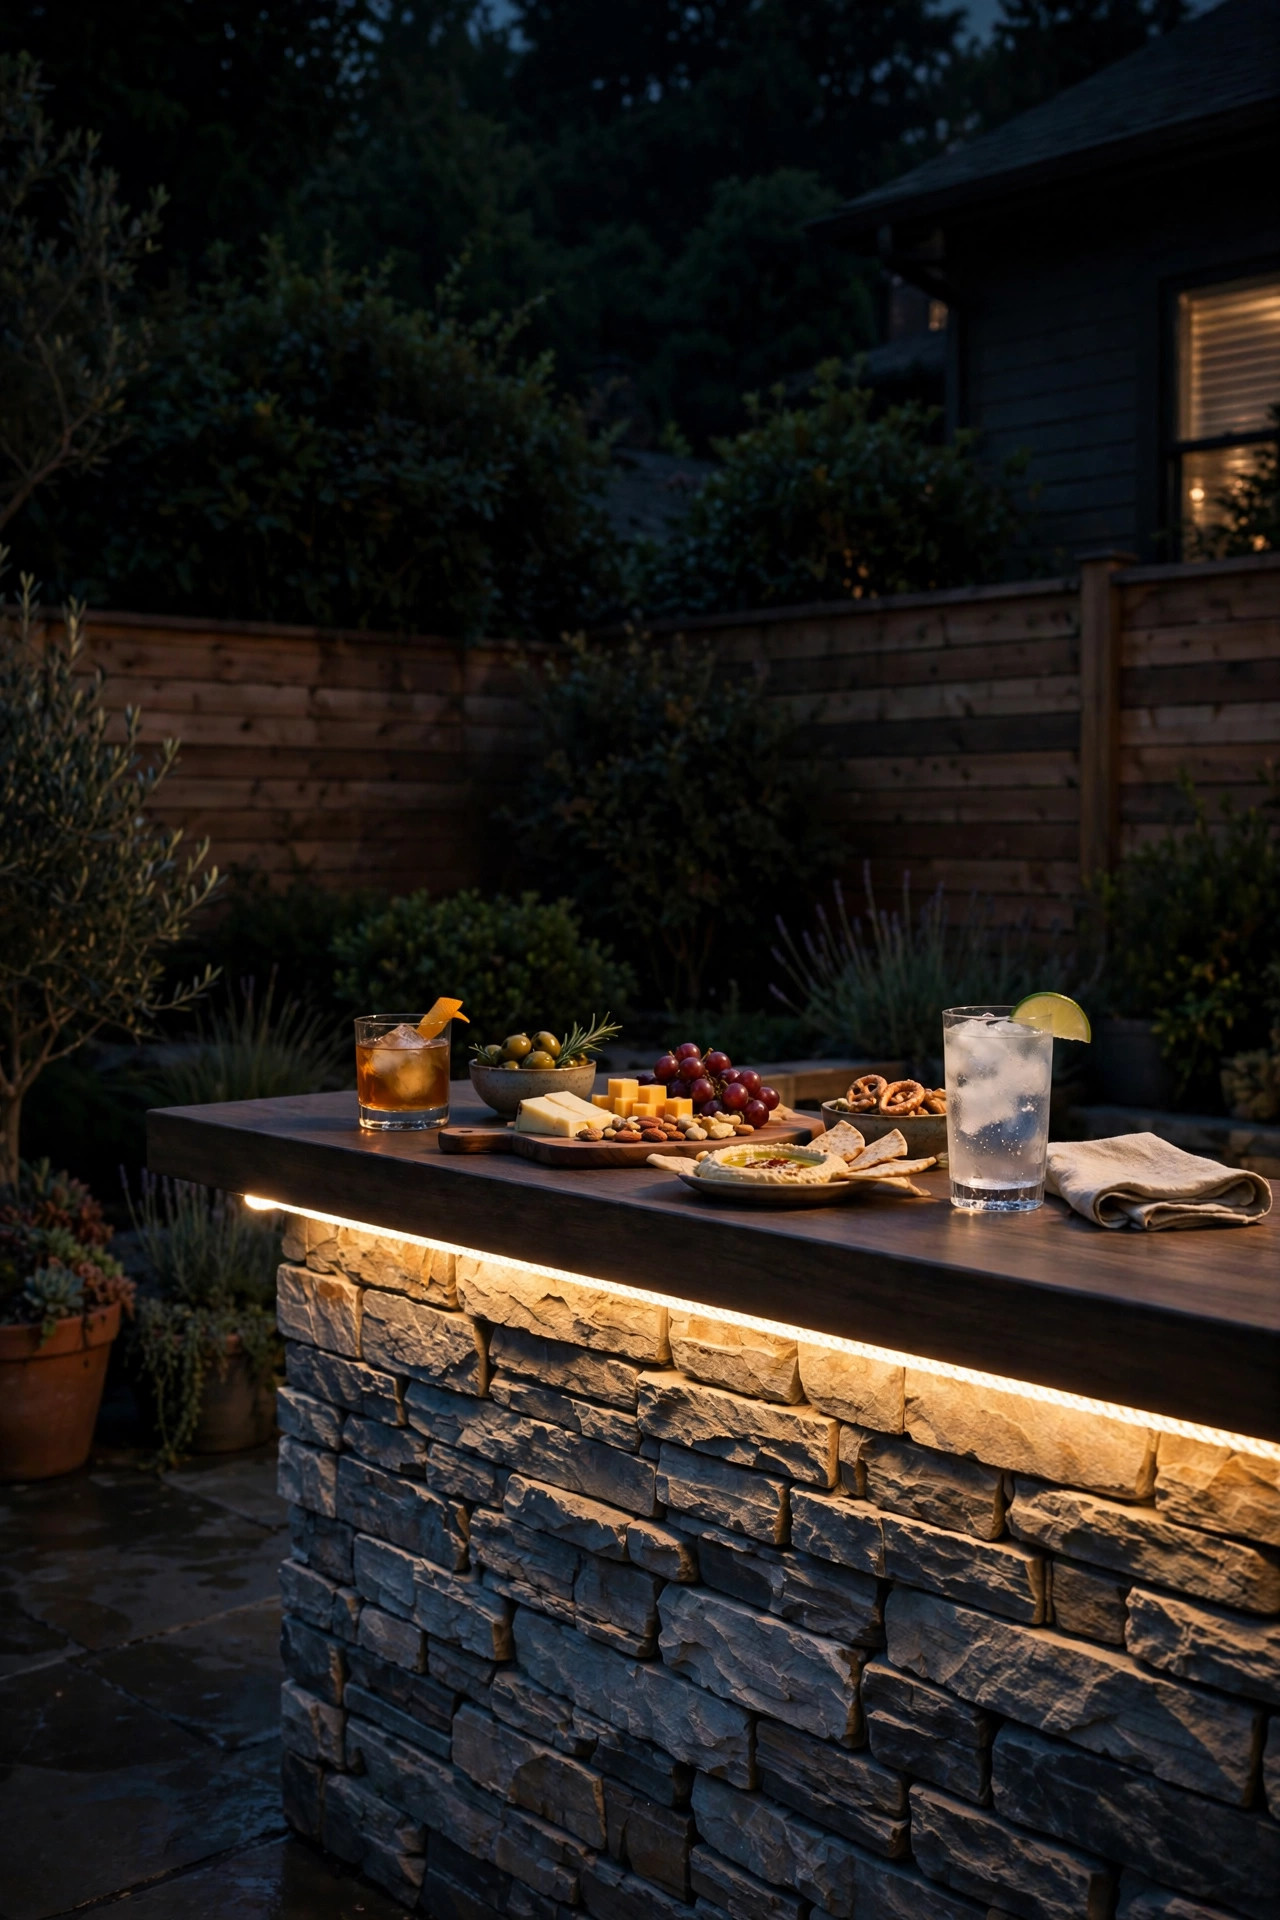
9. Outdoor Rope Light Ideas for Fence Lines
A dark fence line makes a backyard feel small and closed-in at night. Running rope light along the top rail of the fence pushes the visual boundary outward and gives the whole yard a warm frame — it's one of my favorite tricks for making a modest patio feel like an estate.
How to do it: Mount the rope light to the top rail or just below it on the yard side, so the light washes down the fence boards. For a typical 40-foot fence run, you'll need about 45 feet of rope light (always add 10%). Secure it with UV-resistant cable clips every 12 to 18 inches.
This is a long run in full weather exposure, so quality matters: choose commercial-grade LED rope light with a thick PVC jacket and an IP65 rating or better.
Solar-powered rope light exists for fence lines and skips the wiring entirely — just make sure the solar panel gets 6+ hours of direct sun, or the far fence runs will underperform. I compared the trade-offs of solar versus wired options in more detail when looking at solar exterior house lights, if you're weighing that decision.
Suggested budget range: $60 – $200.

10. Edge Your Patio Planters With a Ring of Light
Planters are daytime stars and nighttime ghosts — beautiful containers that vanish the moment the sun goes down. A ring of rope light around the planter's rim or base brings them back to life after dark and adds gorgeous low-level texture to the patio.
How to do it: For round planters, wrap the rope light once around the base where the pot meets the ground — the light washes outward across the patio surface. For rectangular planters, run it along the bottom front edge, tucked into the shadow line under the planter's lip. One 15- to 20-foot rope light can handle two or three medium planters.
This is a lovely spot for amber or warm white; the glow bouncing off foliage looks incredible. If your planters have trailing plants like ivy or sweet potato vine, position the rope slightly inside the foliage line so the light filters through the leaves — dappled light is far prettier than a bare ring.
Since planters get watered constantly, use IP65+ rope light and keep connections elevated off the soil. Drip irrigation lines and rope light can coexist fine — just keep the power connectors above the mulch line.
Styling tip: Group three planters of different heights with rope light at their bases and you've got an instant focal point for a dark patio corner.
Suggested budget range: $25 – $70.
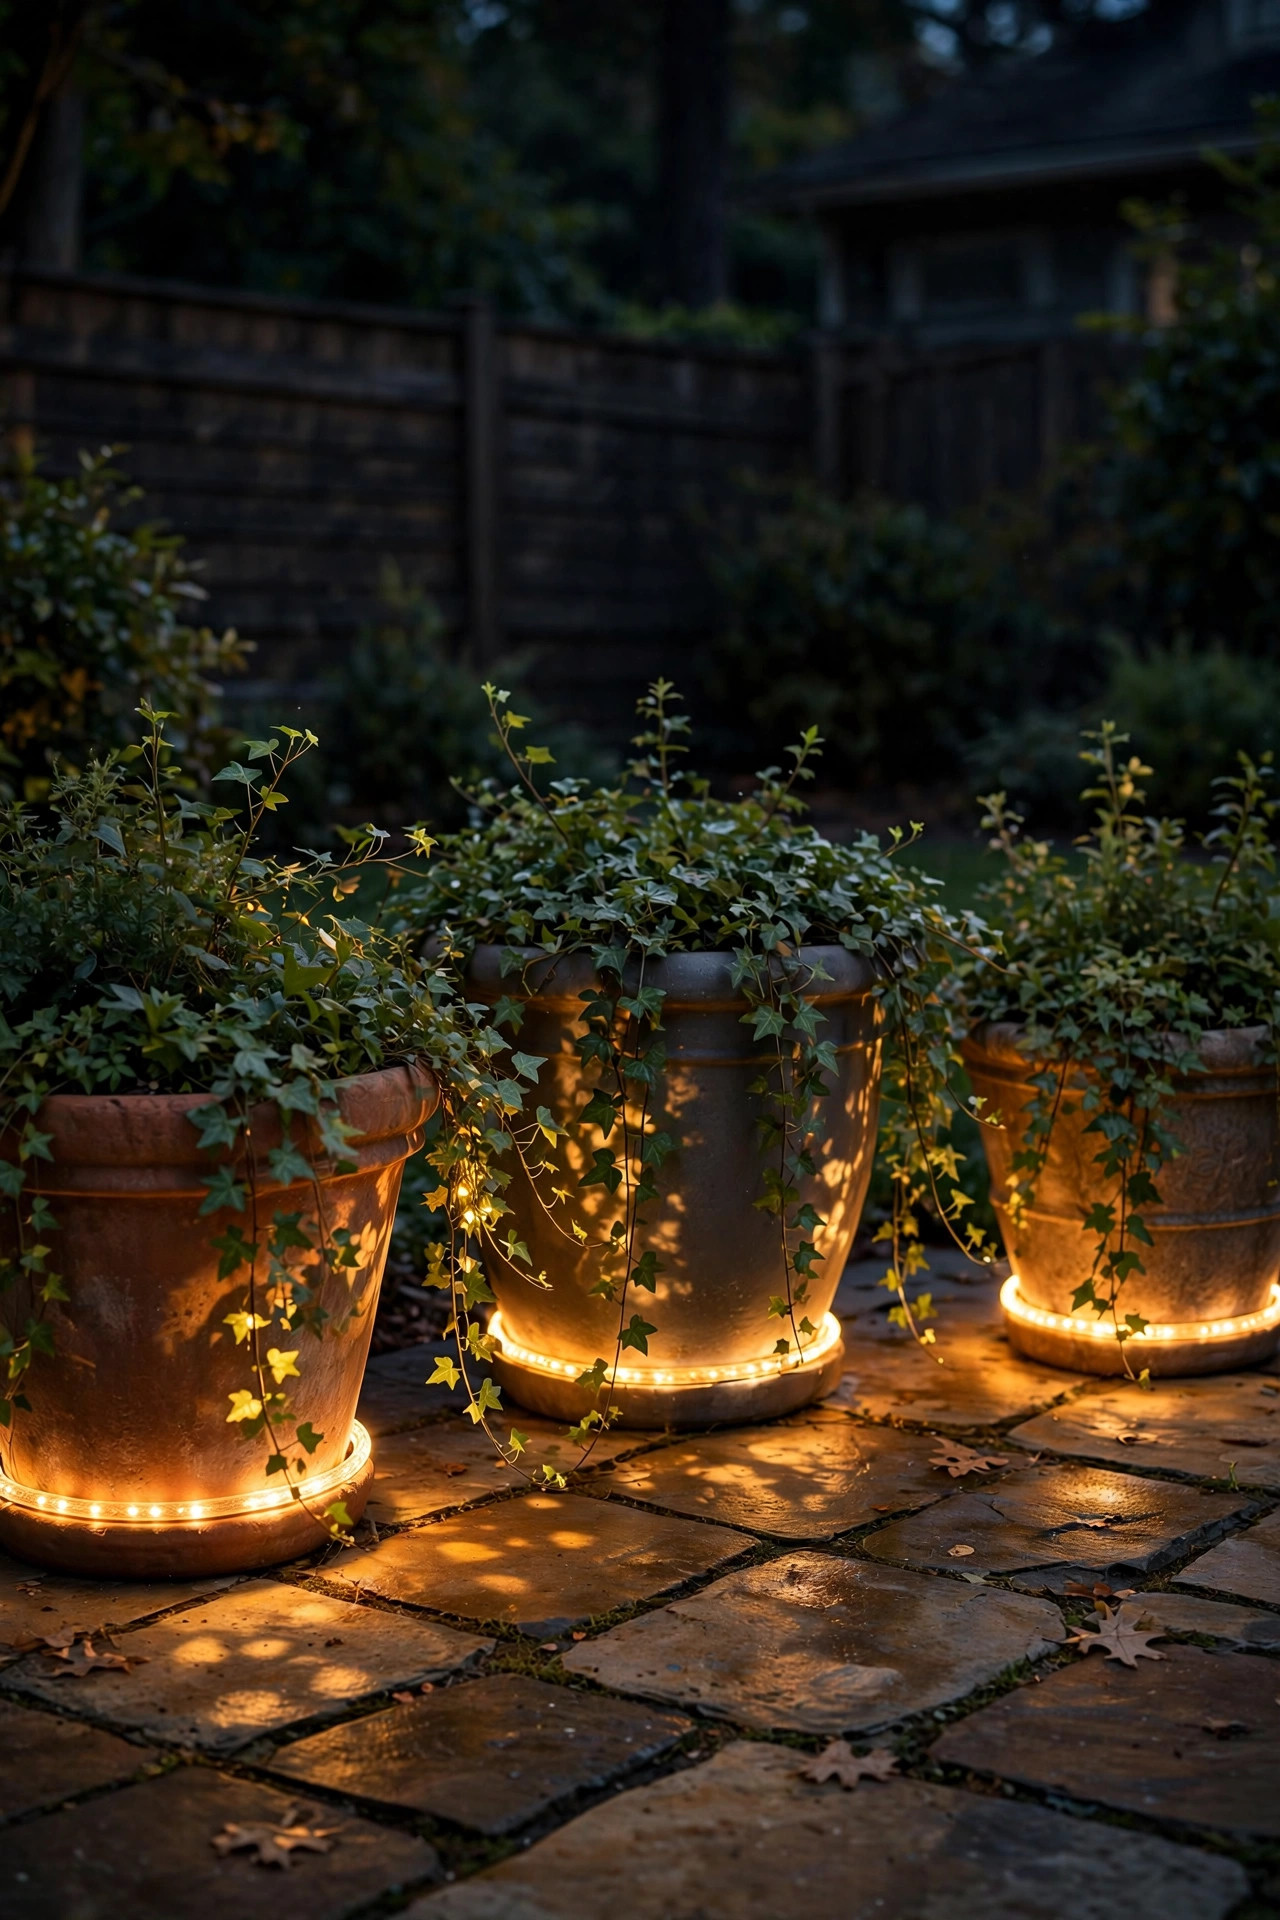
11. Trace the Inside Edge of a Pergola or Gazebo Roofline
If draped swags aren't your style, the architectural approach is to trace the roofline itself — running rope light along the inside edge of the pergola beams or the gazebo's fascia creates a crisp, modern frame of light that defines the structure's silhouette.
How to do it: Mount the rope light along the inner face of the outer beams, just below the top edge, so the tube is hidden from below but washes light across the beam faces and the ceiling plane. For a 10×12-foot pergola, you'll need roughly 45 to 50 feet of rope to trace all four sides.
This placement is all about clean lines, so take time with the corners: use right-angle connector pieces if your rope light system offers them, or make neat 90-degree bends respecting the minimum bend radius. Secure every 12 inches with clear clips so the line stays laser-straight — a saggy roofline trace ruins the effect.
Pair this with a ceiling-mounted pendant or fan light in the pergola's center for the full layered look: the pendant handles downlight, the rope light frames the architecture.
Styling tip: On a gazebo, carry the rope light up one corner post and around the cupola for a storybook finish during the holidays.
Suggested budget range: $70 – $180.
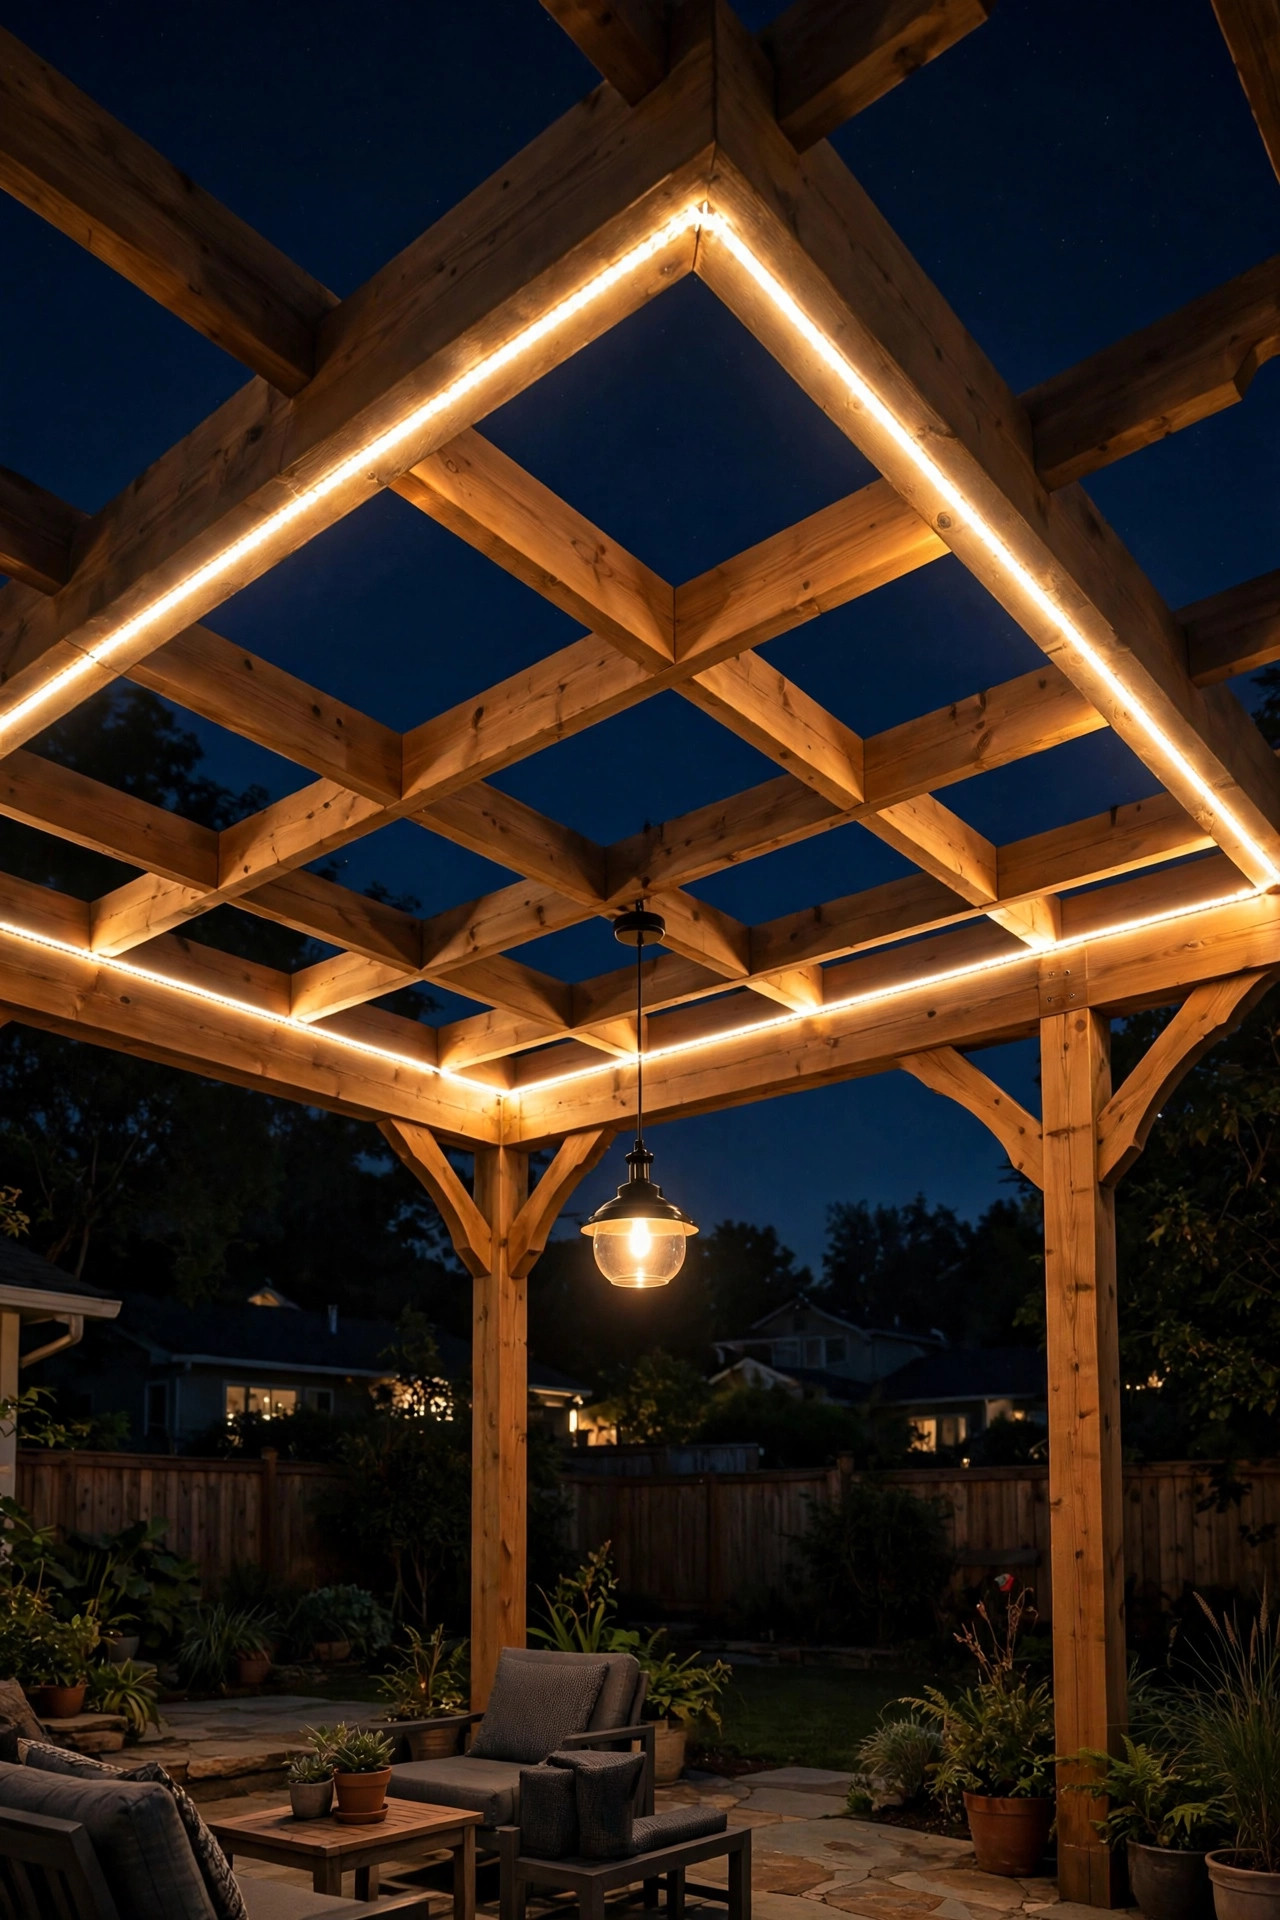
12. Light the Steps to a Fire Pit Seating Area
Fire pits are wonderful — until someone trips on the two steps down to the seating circle in the dark. Rope light along step edges or the retaining wall around a fire pit zone adds safety lighting that won't compete with the fire's glow.
How to do it: For steps leading down to the pit, use the same stair-nosing technique as idea #2 — a channel-mounted rope just under each tread lip. For a low retaining wall or seat wall around the fire pit, run rope light along the underside of the wall cap, facing outward and down, so it washes the ground without shining into anyone's eyes.
Here's the key detail: choose a very warm color temperature (2200–2700K) or even amber for this zone. Firelight is around 1800–2000K, so matching that warmth keeps the lighting harmonious instead of fighting the flames. Keep brightness modest — 25–35 lumens per foot — because the fire is the star here.
Safety note: This is a heat zone, so routing matters more than usual. Keep rope light at least 4 feet from the fire pit's edge, never run it across the fire bowl, and use LED only. Secure the power cord where no one will trip on it, and unplug or switch off during high-wind nights when embers travel.
Suggested budget range: $45 – $130.

13. Frame a Pool Deck Perimeter With IP68 Rope Light
Pool decks have strict lighting needs — everything must handle constant splashing — and rope light rated IP68 is one of the few accent lights genuinely built for it. A continuous line tracing the deck edge or the coping around the pool reads as pure luxury-resort.
How to do it: The classic placement is in a recessed channel under the pool coping's overhang, so the light washes down the pool wall just above the waterline — no direct glare, just a glowing band that defines the water's edge. Alternatively, trace the outer perimeter of the pool deck where it meets the landscaping.
Only IP68-rated rope light belongs here — that's the rating for continuous submersion protection, and it's the right call for anything within splash range of a pool. Low-voltage 12-volt is strongly recommended near water; many pool-area rope lights are designed as 12V systems specifically for this reason. Keep all transformers and connections in weatherproof boxes well away from the water, elevated at least a foot off the deck.
Cool white (4000–5000K) or color-changing RGB rope light is popular around pools for that crisp, modern water glow — but warm white works beautifully for a lagoon feel.
Safety note: Pool-area electrical work is one place I'll say it plainly: if you're running new circuits or transformers, have a licensed electrician do it. GFCI protection is non-negotiable near water.
Suggested budget range: $120 – $350.
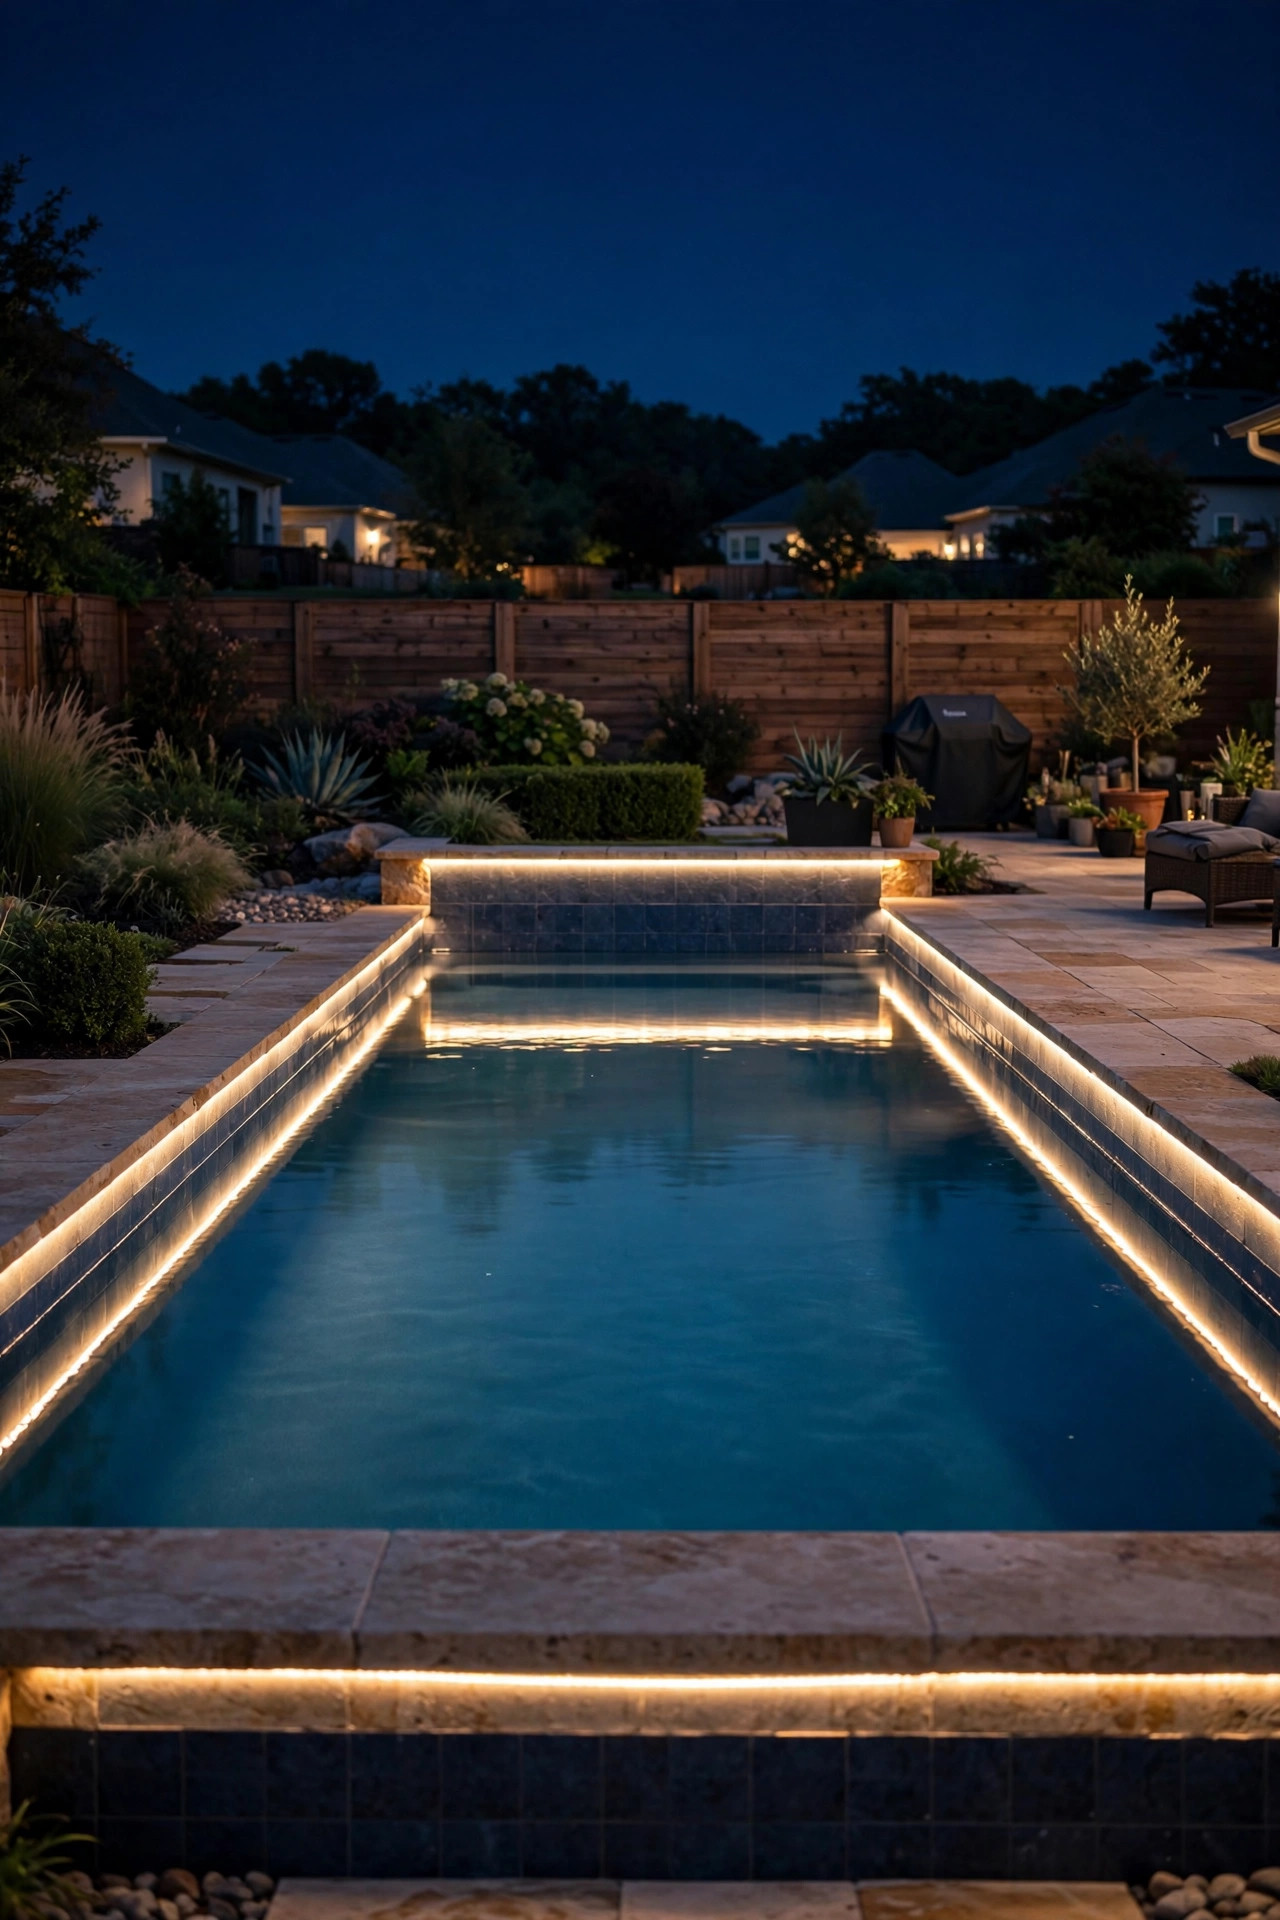
14. Wrap Tree Trunks Near the Patio in Rope Light
Trees near the patio are begging for light, and while uplights are the classic choice, a spiral wrap of rope light up the trunk gives you that wrapped-tree magic (think holiday season, but year-round) with more even coverage than a spotlight.
How to do it: Choose a tree with a trunk at least 8 inches in diameter — thin young trees look overwhelmed. Starting at the base, spiral the rope light upward with 8- to 12-inch spacing, securing with loose, tree-friendly ties that won't girdle the bark as it grows. Plan roughly 20 to 30 feet of rope for a 6-foot wrap on a medium trunk, then extend into one or two low branches if the tree allows.
Use warm white for a natural, moonlit feel, and keep the brightness moderate — 30–40 lumens per foot — so the tree glows rather than blazes. Put it on a timer to run dusk to 11 PM; all-night lighting can disturb wildlife and your neighbors.
One caution: don't wrap trees tightly or leave ties in place for years. Check the ties each spring and loosen them as the trunk grows. And skip any tree with peeling bark (like birch or sycamore) — the rope can catch and strip it.
Styling tip: Wrap two trees flanking a patio entrance and you've created a glowing gateway — one of the prettiest effects on this whole list.
Suggested budget range: $35 – $100.

15. Create Color-Changing Zones for Parties and Holidays
The final idea is the most fun: modern color-changing (RGB) LED rope light lets you re-theme your deck in seconds — warm white for dinner parties, team colors for game night, red and green for December. One installation, endless moods.
How to do it: Choose RGB or RGBW rope light (the "W" adds a dedicated warm-white LED, which looks far better for everyday use than RGB-mixed white). Install it in one or two hidden placements from this list — under the rail cap (idea #1) and along the fascia (idea #5) are best, since color glow washes surfaces beautifully.
Control is everything: get a system with a simple remote or, better, a Wi-Fi/smart controller so you can change colors and set schedules from your phone. Most smart controllers also support timers and dimming, so your everyday warm-white schedule runs automatically and you only switch to colors for occasions.
Plan for slightly higher cost — RGBW rope runs about 30–50% more than single-color — and color-changing rope is almost always 12-volt low voltage, a plus for DIY safety.
Styling tip: Resist the rainbow-chase mode for regular evenings. In my experience, the houses that look best use color intentionally — one holiday palette at a time, and warm white the rest of the year. For more ways to layer your overall scheme, my outdoor lighting hacks roundup has budget-friendly tricks that pair well with rope light accents.
Suggested budget range: $80 – $220.
Frequently Asked Questions
What color temperature is best for outdoor rope lights?
Warm white in the 2700–3000K range is my default recommendation for decks and patios — it flatters wood tones, skin tones, and landscaping, and it reads as cozy rather than commercial. Go slightly warmer (2200–2700K) near fire features, and consider cool white (4000–5000K) only around pools or for a modern architectural look. Avoid anything above 5000K outdoors; it looks harsh and clinical after dark.
Are rope lights actually waterproof?
Good ones are — but check the rating, not the marketing. Look for an IP65 rating (protected against water jets) as the minimum for any outdoor installation, IP67 if the rope sits where water pools, and IP68 for pool edges or spots that stay wet. The weak point is always the connection: use the manufacturer's sealed connectors and keep every joint elevated, sheltered, or inside a weatherproof box. Honestly, most rope light failures I see are failed connections, not failed rope.
Should I buy solar or plug-in rope lights?
It depends on the spot. Solar rope lights are genuinely convenient for fence lines, planters, and anywhere far from an outlet — no wiring, no electrician, no energy cost. But they're dimmer, they need 6+ hours of direct sun to perform, and they fade as the battery ages. For primary placements like railings, steps, and anywhere safety matters, I always recommend plug-in or low-voltage wired rope light: it's brighter, more reliable, and you can put it on a proper timer. If you're curious about going fully solar across your yard, I dug into the pros and cons in my guide to solar exterior house lights.
How do you attach rope light without damaging it?
Clear plastic mounting clips screwed into the surface every 12 to 18 inches are the gold standard — they hold the rope firmly without piercing it. Aluminum channels with diffusers are even better for a polished look and extra weather protection. Never use a staple gun through the rope (you'll pierce the wiring and create a shock hazard), and avoid metal clips that can cut into the jacket over time. For trees, use loose, adjustable ties and check them yearly so they don't constrict growth. For more creative mounting and placement tricks, my backyard lighting ideas post has several that pair nicely with rope light.
Conclusion
If there's one takeaway from these outdoor rope light ideas, it's this: the magic isn't in the rope light itself — it's in hiding the source and letting the glow do the talking. Tuck it under rails, behind lips, beneath overhangs, and around bases, and suddenly your deck has depth, your steps are safe, and your patio feels like the best seat in the house. Start with one or two placements — the under-rail glow is my forever recommendation for a first project — and build from there as the seasons change. And when you're ready for the next layer, browse the rest of our outdoor lighting ideas to keep the glow going.