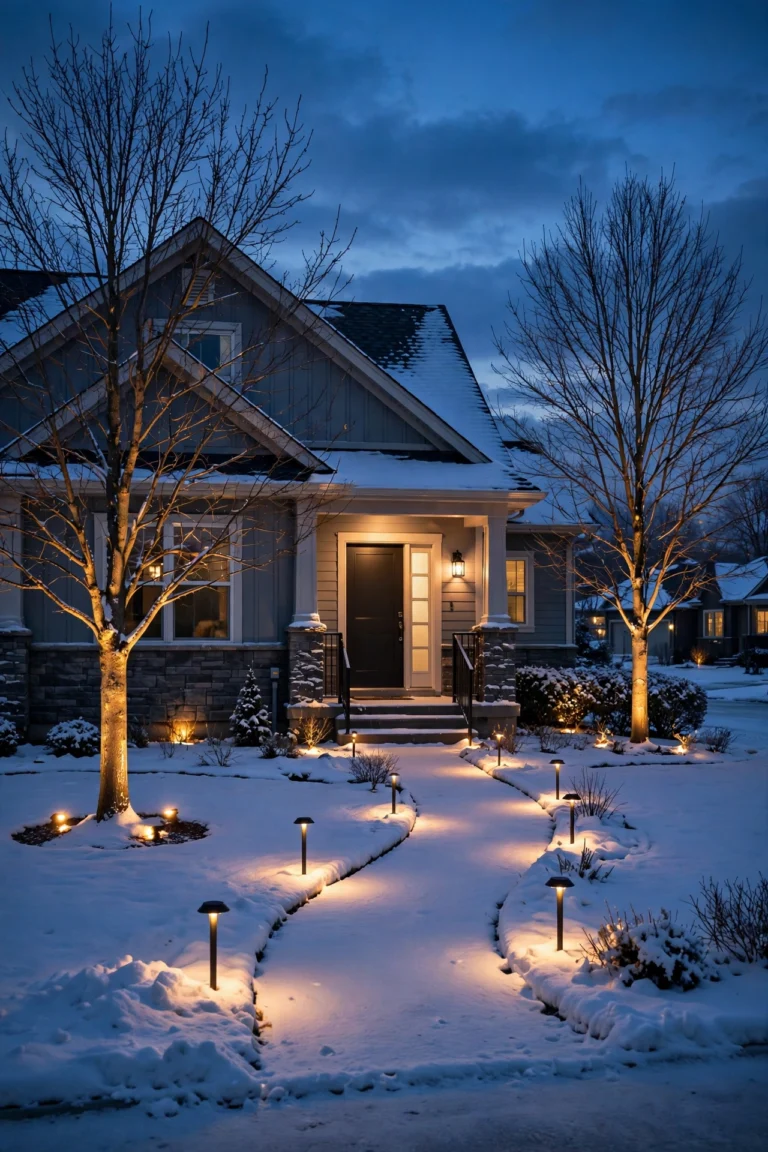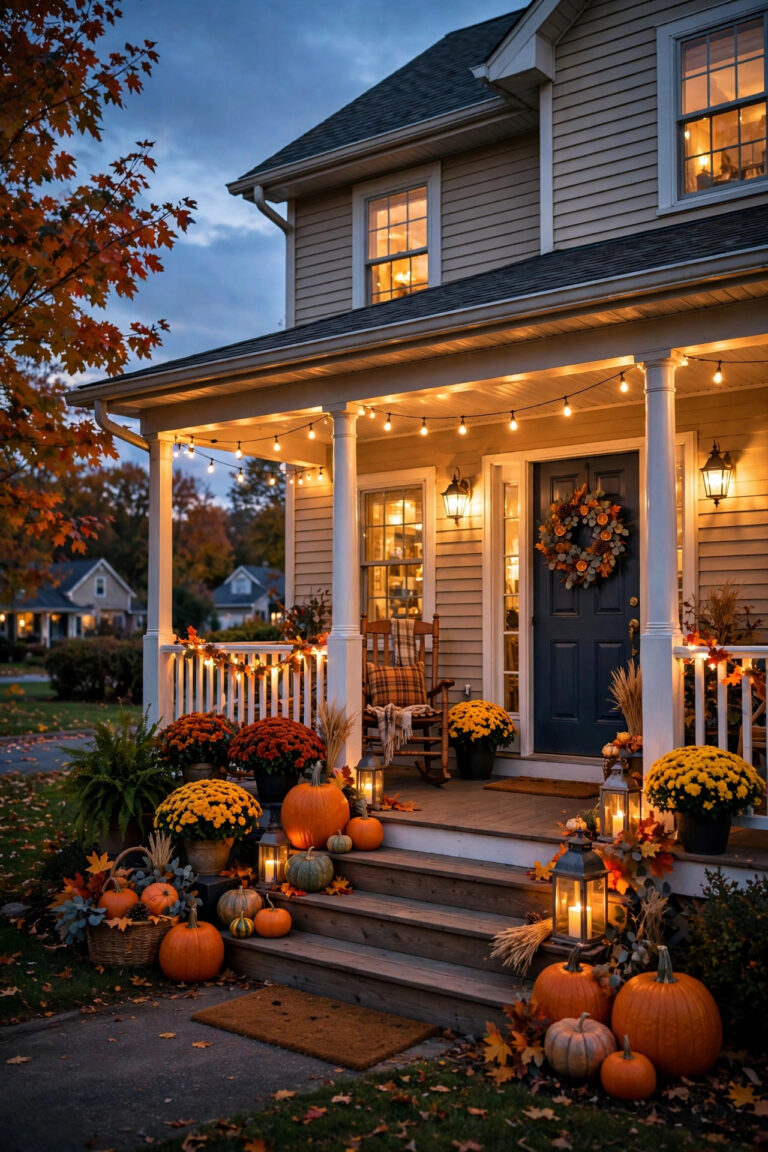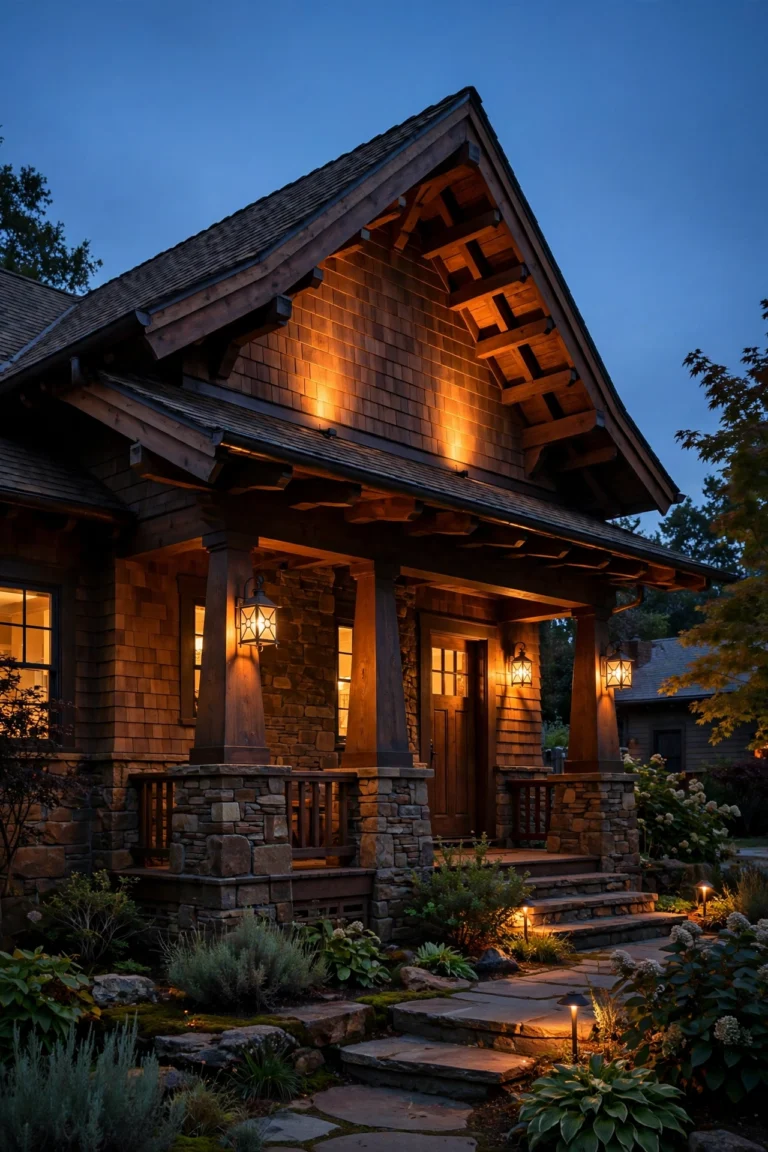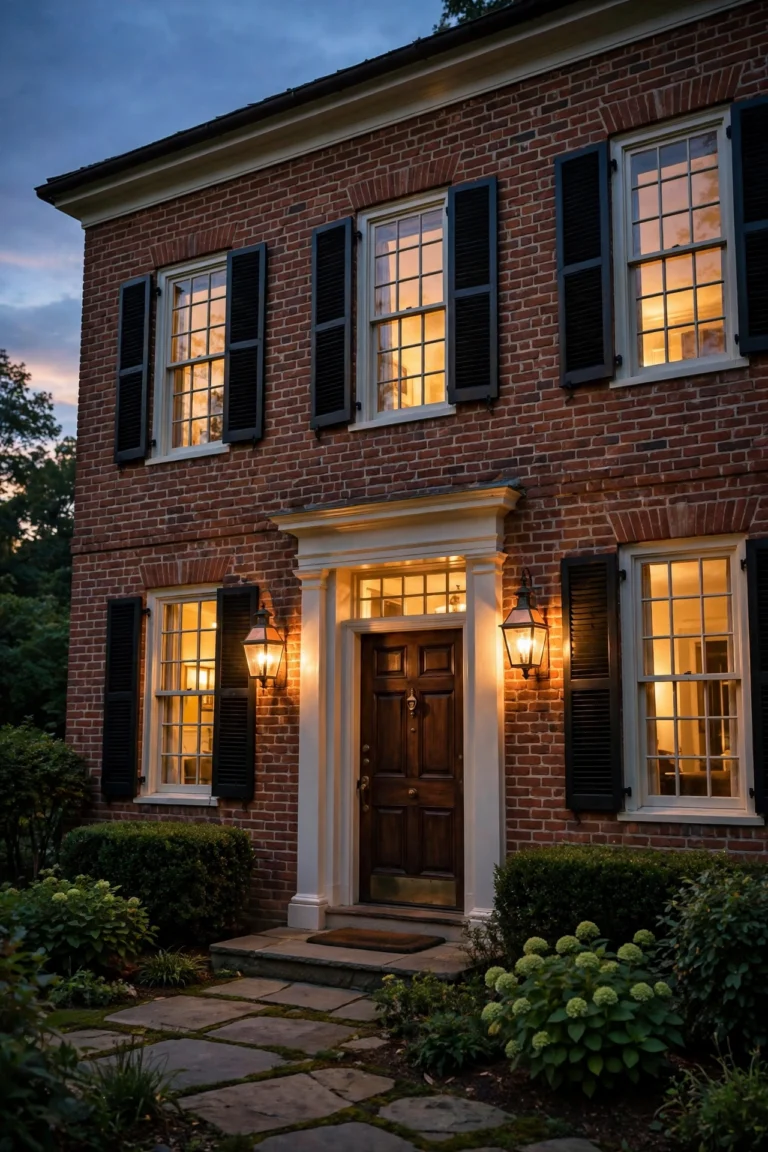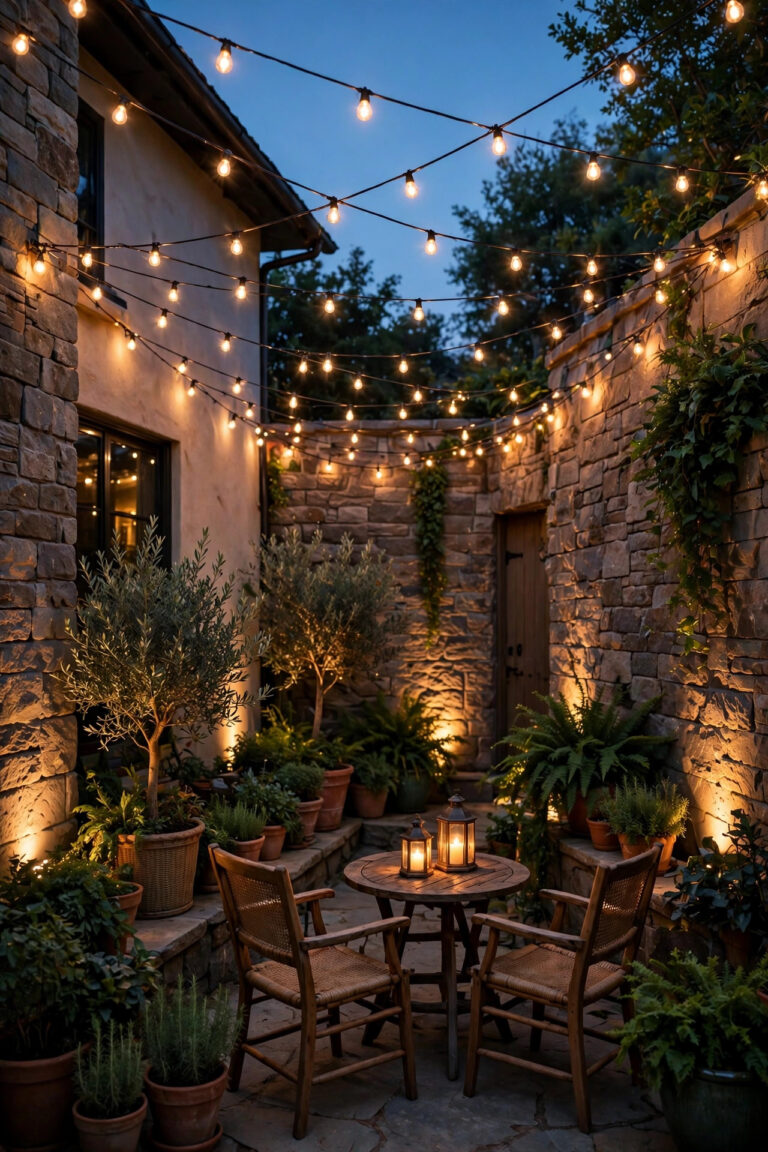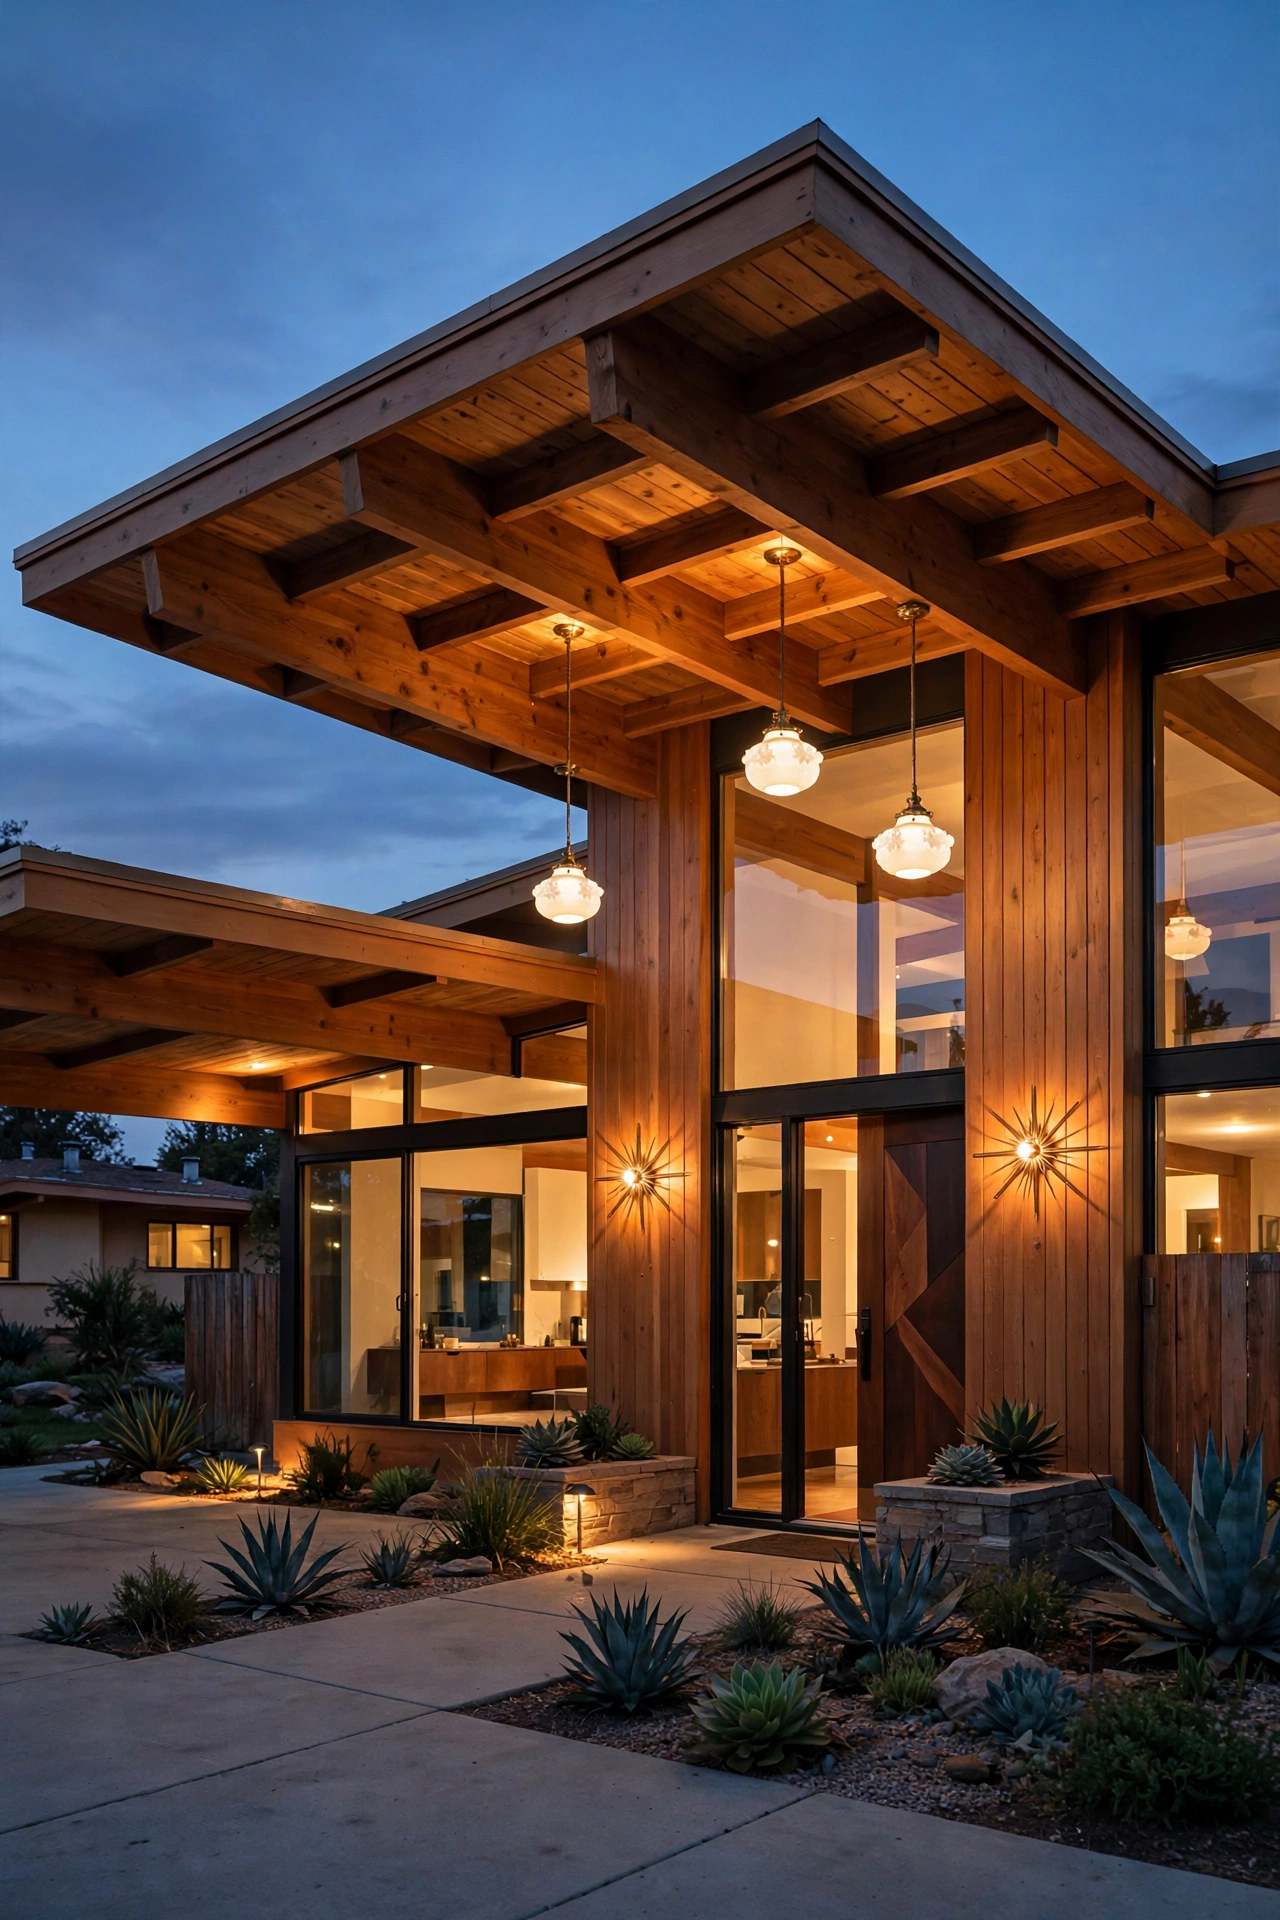
There's something about a mid-century modern home at dusk that just stops you in your tracks — those low-slung rooflines, the walls of glass, the way warm light spills from inside like the house is breathing. When it comes to mid century modern outdoor lighting, the goal is never just "more light." It's about echoing the architecture: clean geometric lines, warm materials like wood and brass, and fixtures that look like they stepped out of a 1958 design catalog. In my experience, the magic formula is the same layering philosophy I use for every style — ambient glow, accent drama, and enough task light at entries and steps for safety — filtered through the MCM vocabulary: sputnik starbursts, milk-glass globes, matte black, and brass. Stick with warm 2700K light across all three layers so the whole exterior reads as one cohesive composition. Below are 15 ideas that nail the look, with exact placement measurements, bulb choices, and honest budgets so you can mix and match your way to that atomic-age glow.
1. Starburst Sconces Flanking the Front Door
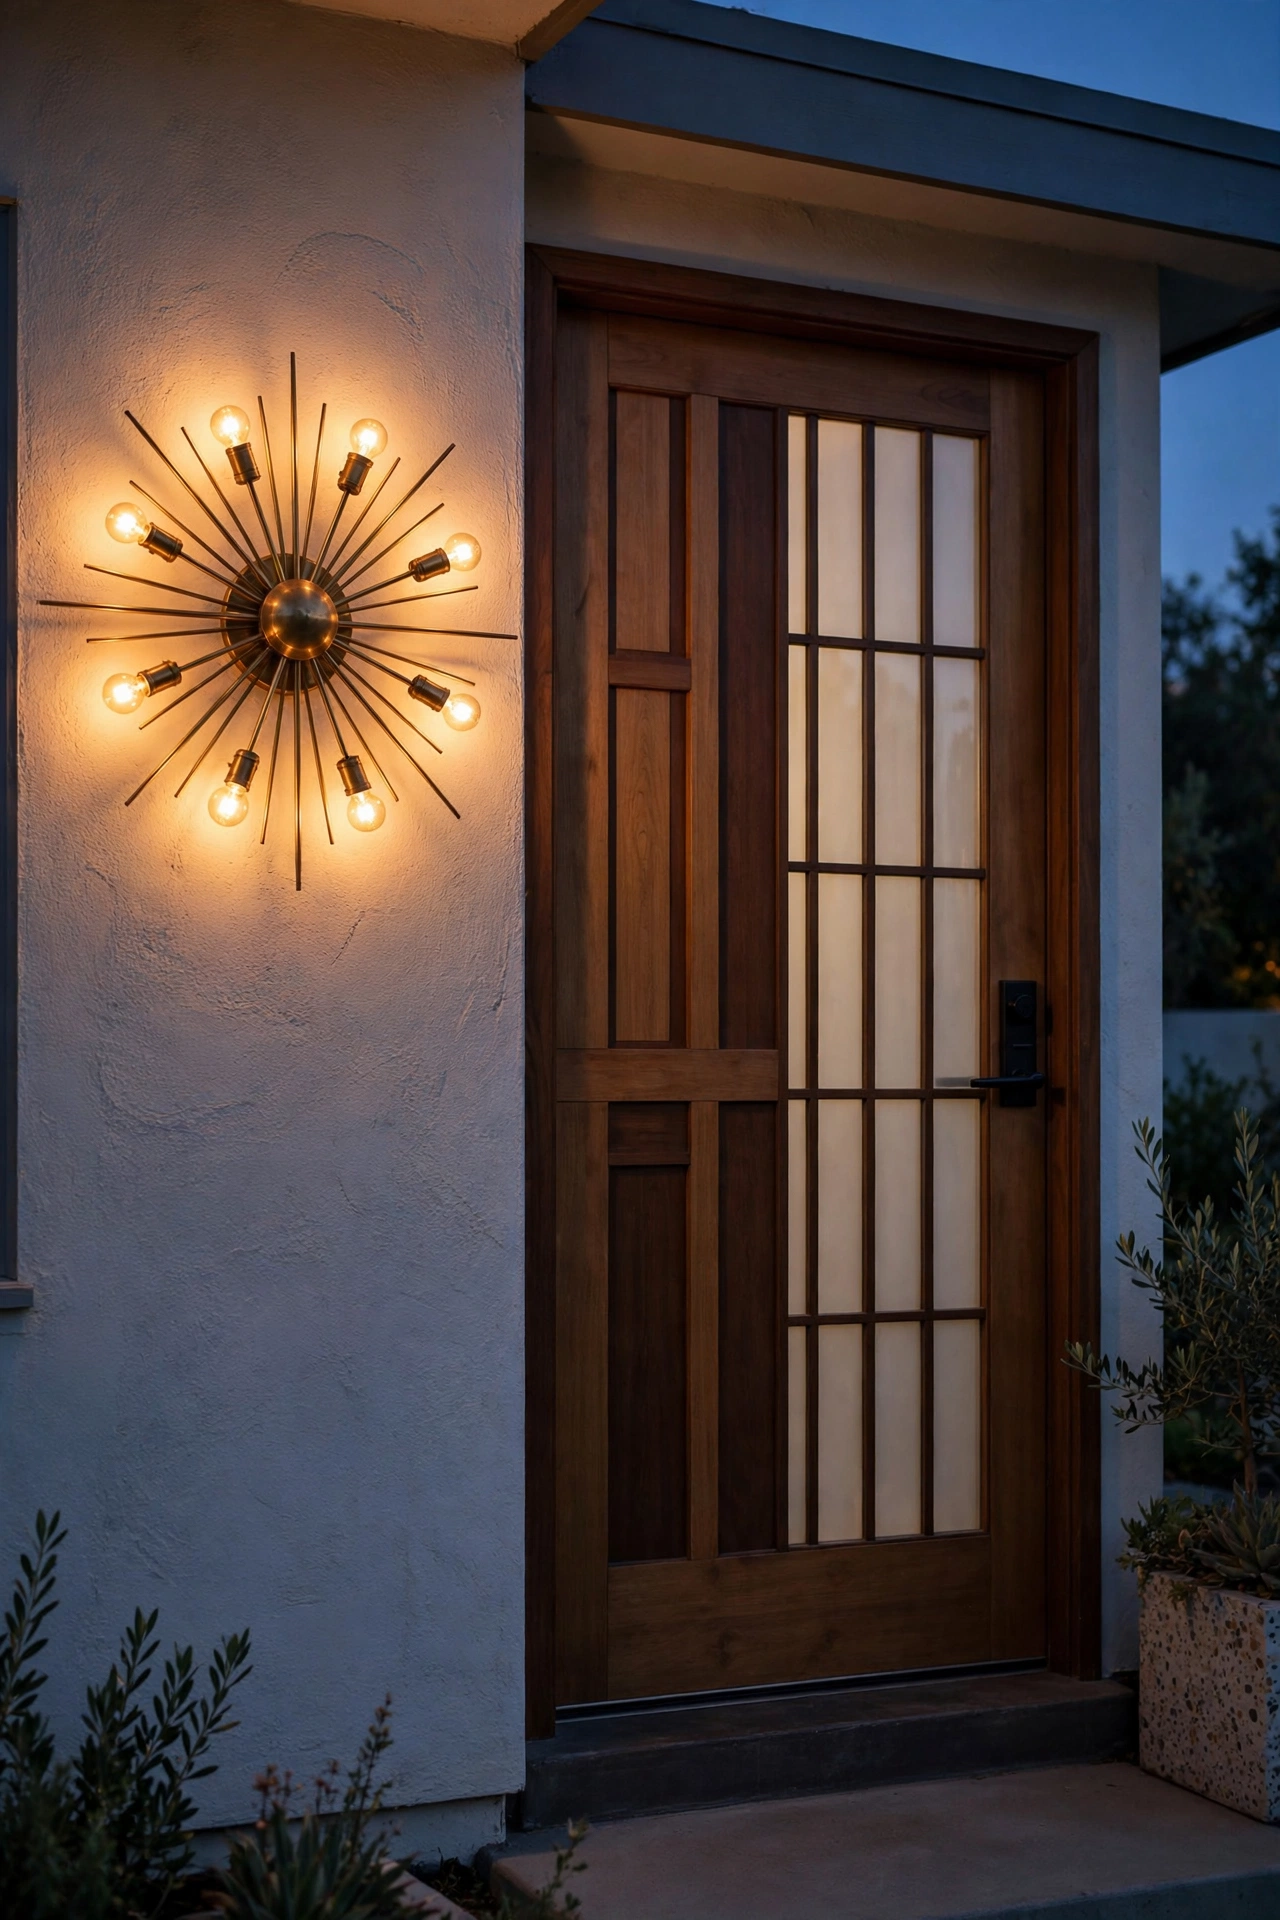
If there's one fixture that screams mid-century modern, it's the starburst — sometimes called a sputnik — with slender brass arms radiating from a center globe. Mount a matching pair flanking your front door and you've instantly set the tone before anyone steps inside. In my experience, the sweet spot is mounting the center of each fixture about 66 inches from the ground, roughly eye level, and placing them 8 to 12 inches from the door frame. On a double door or a wide entry, give them 8 to 10 feet of separation so the entry feels balanced rather than crowded.
Choose a starburst with 8 to 12 arms and a frosted globe center — the frosted glass softens the light so it flatters faces instead of glaring. Look for a wet or damp rating depending on exposure; a covered entry can use damp-rated, but anything rain hits needs wet-rated. Wire it to your existing door-side junction box (shut off the breaker first, obviously) and use a silicone gasket behind the mounting plate to keep moisture out. For bulbs, I always recommend a dimmable LED filament-style bulb at 2700K — you get that vintage Edison look at a fraction of the energy. Put it on a photocell or dusk-to-dawn timer so the entry glows every evening automatically. My front door sconce pairing guide has more on sizing and symmetry.
Suggested budget range: $80 – $250.
2. Milk-Glass Globe Pendants: The Signature Mid Century Modern Outdoor Lighting Look
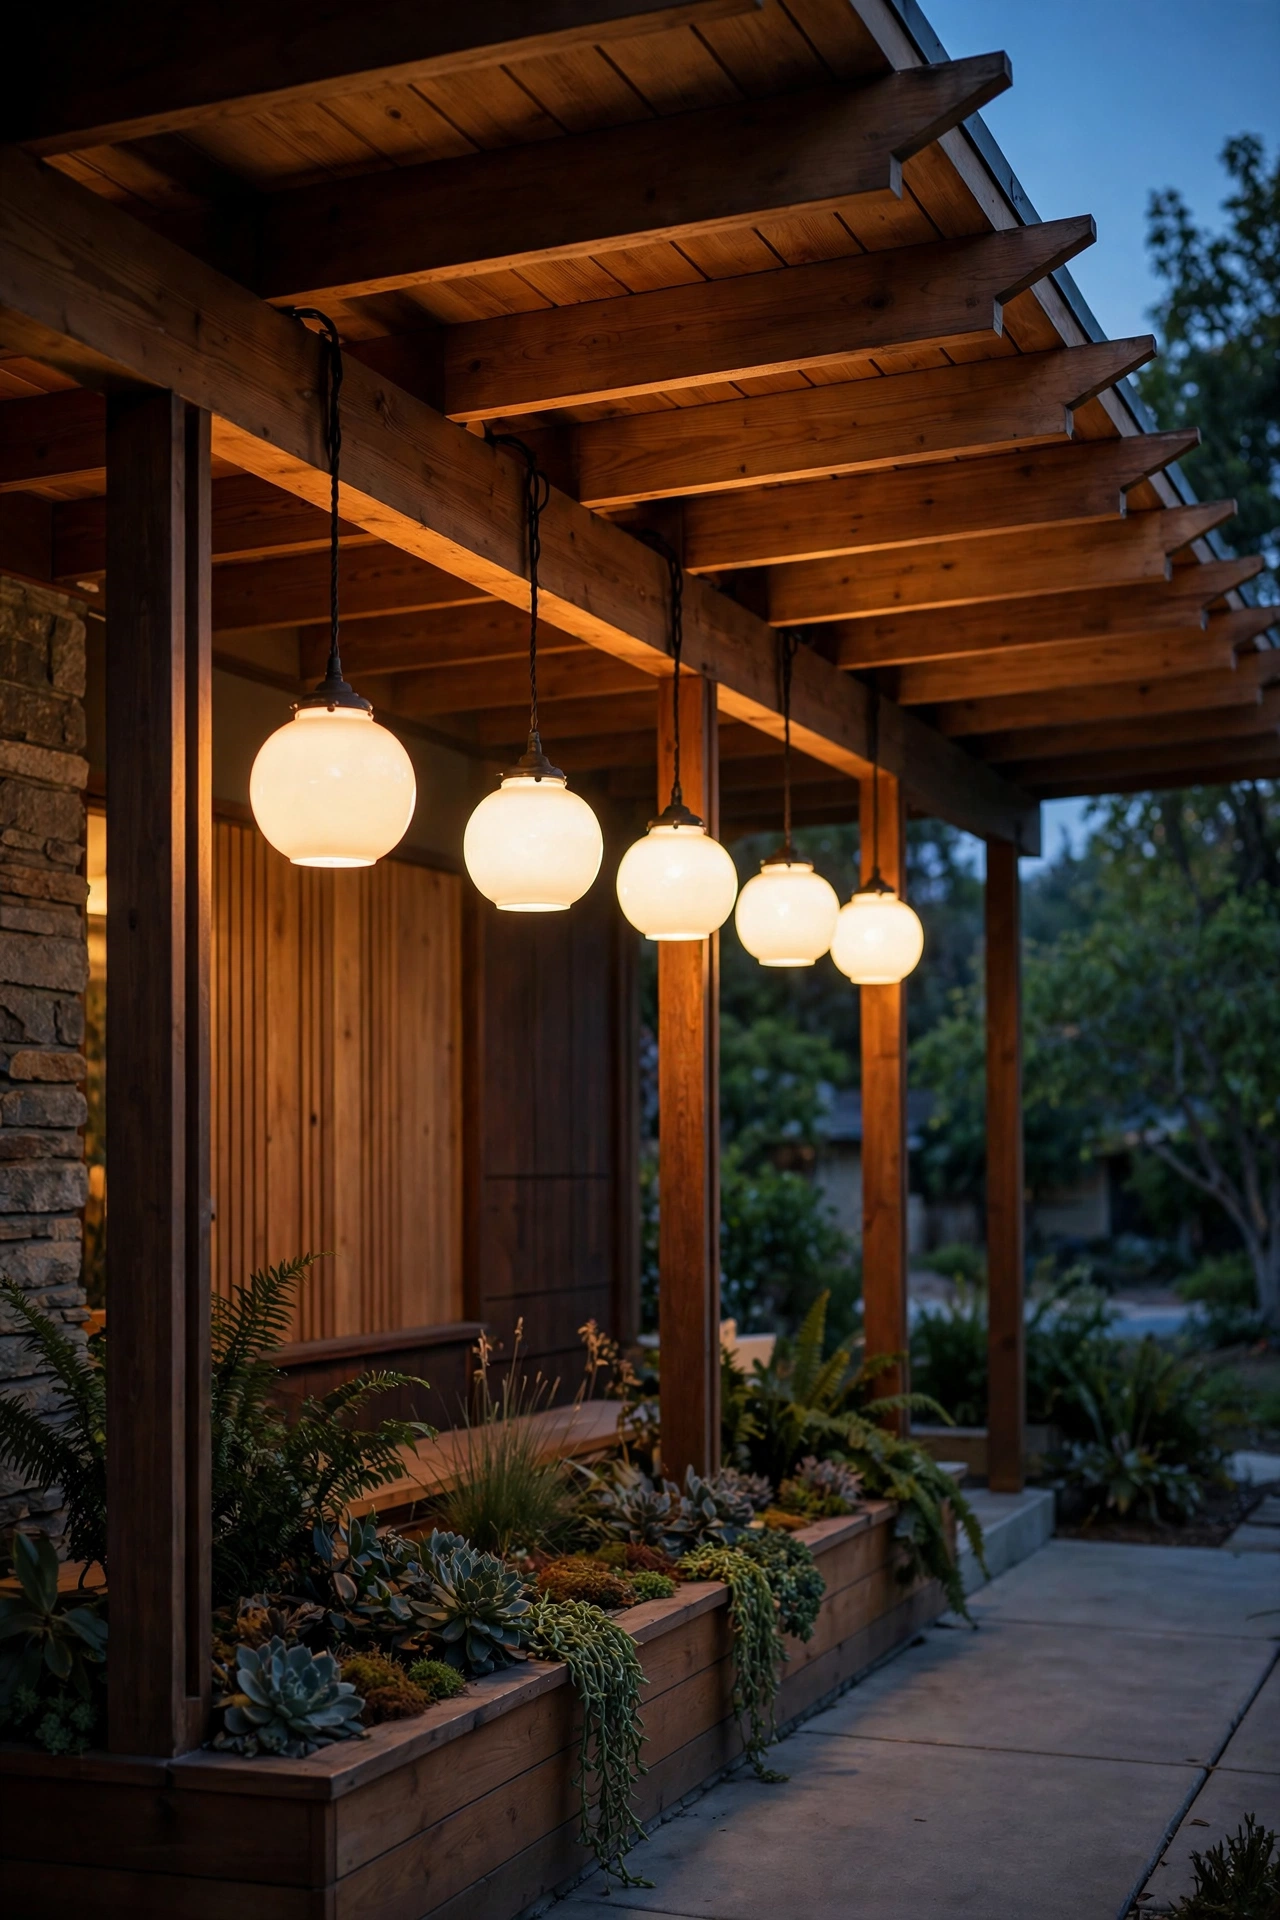
Post-and-beam homes with those glorious cantilevered eaves are practically begging for a row of milk-glass globe pendants. The round, opaque globes contrast beautifully with all the straight lines and wood beams above — it's the classic MCM move of pairing organic shapes with geometric architecture. Hang each pendant 12 to 18 inches below the soffit so the globes sit clear of the beam line, and space them 24 to 36 inches apart along the porch for an even rhythm. Three globes across a standard two-car-wide porch looks intentional; two works for a narrower entry porch.
Pick a wet-rated pendant — even under an eave, wind-blown rain and humidity will find exposed fixtures — with a simple brass or matte-black socket and cord. Inside, use a dimmable 2700K LED globe bulb around 6 to 9 watts; the milk glass diffuses it into a soft moon-like glow. Mount them to a recessed junction box in the soffit, and seal the canopy with an outdoor-rated caulk bead. Put the whole row on a smart dimmer or dusk-to-dawn photocell so they come alive at twilight without you thinking about it. Honestly? This is the single fastest way to make an Eichler-style facade look expensive at night. For more hanging options, browse my roundup of outdoor pendant light ideas.
Suggested budget range: $60 – $200.
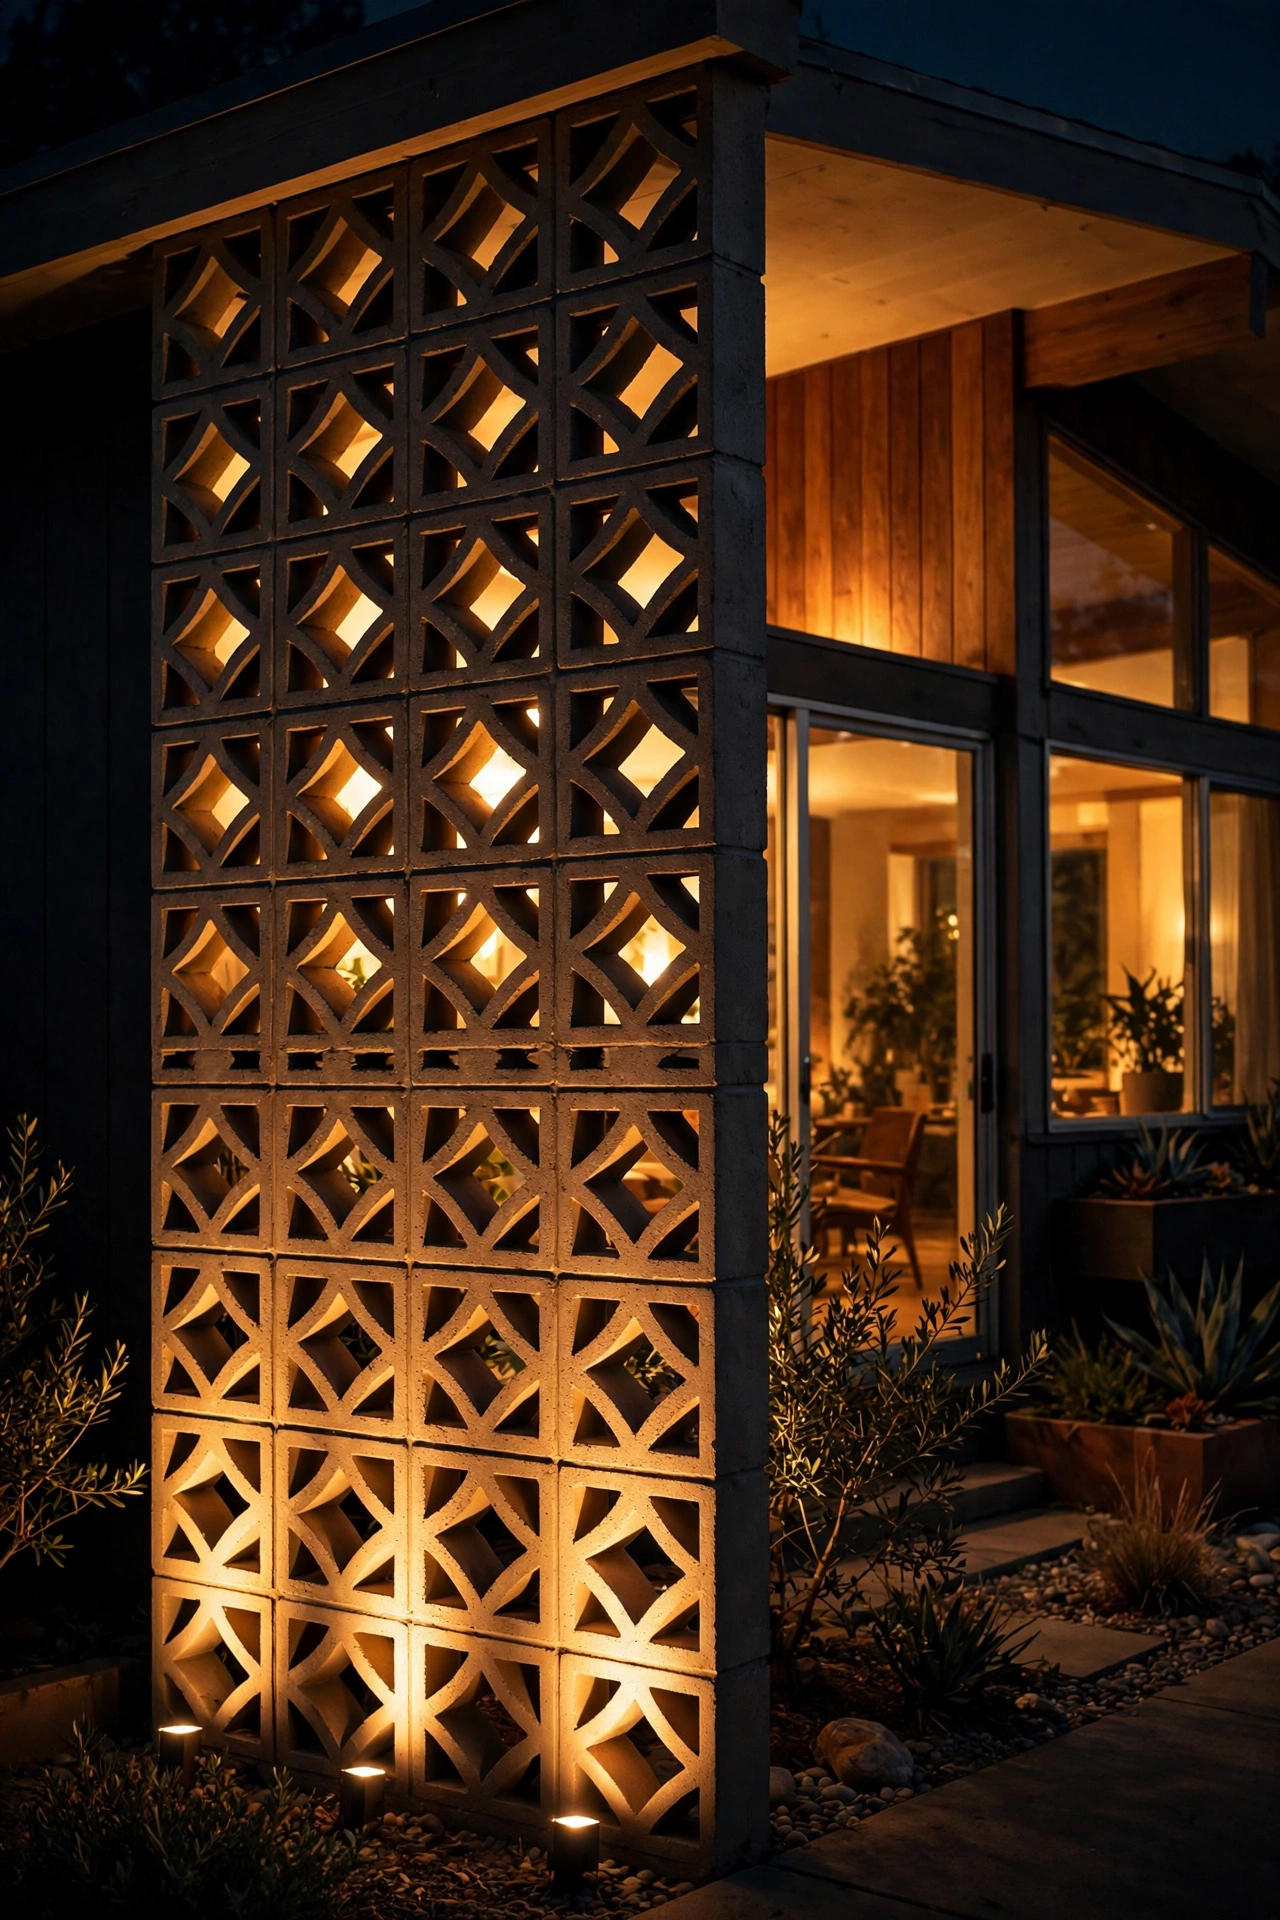
3. Uplighting a Breezeblock Screen Wall
Decorative concrete block — breezeblock — is one of mid-century architecture's signature textures, and it absolutely comes alive when you graze it with light from below. Place low-voltage LED spotlights 12 to 18 inches out from the wall, angled upward so the beam rakes across the block pattern and throws dramatic shadows through the open cells. Space fixtures every 3 to 4 feet along the wall for an even wash. In my experience, 2700K is the only choice here — anything cooler makes concrete look institutional, while warm light makes it glow like sandstone.
Use 4 to 6 watt low-voltage LED spotlights on a 12-volt transformer plugged into a GFCI-protected outdoor outlet, with a dusk-to-dawn timer on the transformer. Bury the cable 6 inches deep in a shallow trench along the planting bed — no conduit needed for low-voltage, which keeps the project DIY-friendly. Aim one fixture through a section of open blockwork so light spills through the perforations onto the patio behind it; that dappled effect is pure 1960s California. Safety note: keep fixtures clear of mulch piles and dry leaves, and use only outdoor-rated, in-ground-safe housings. This one idea can turn a plain courtyard wall into the star of your backyard.
Suggested budget range: $120 – $400.
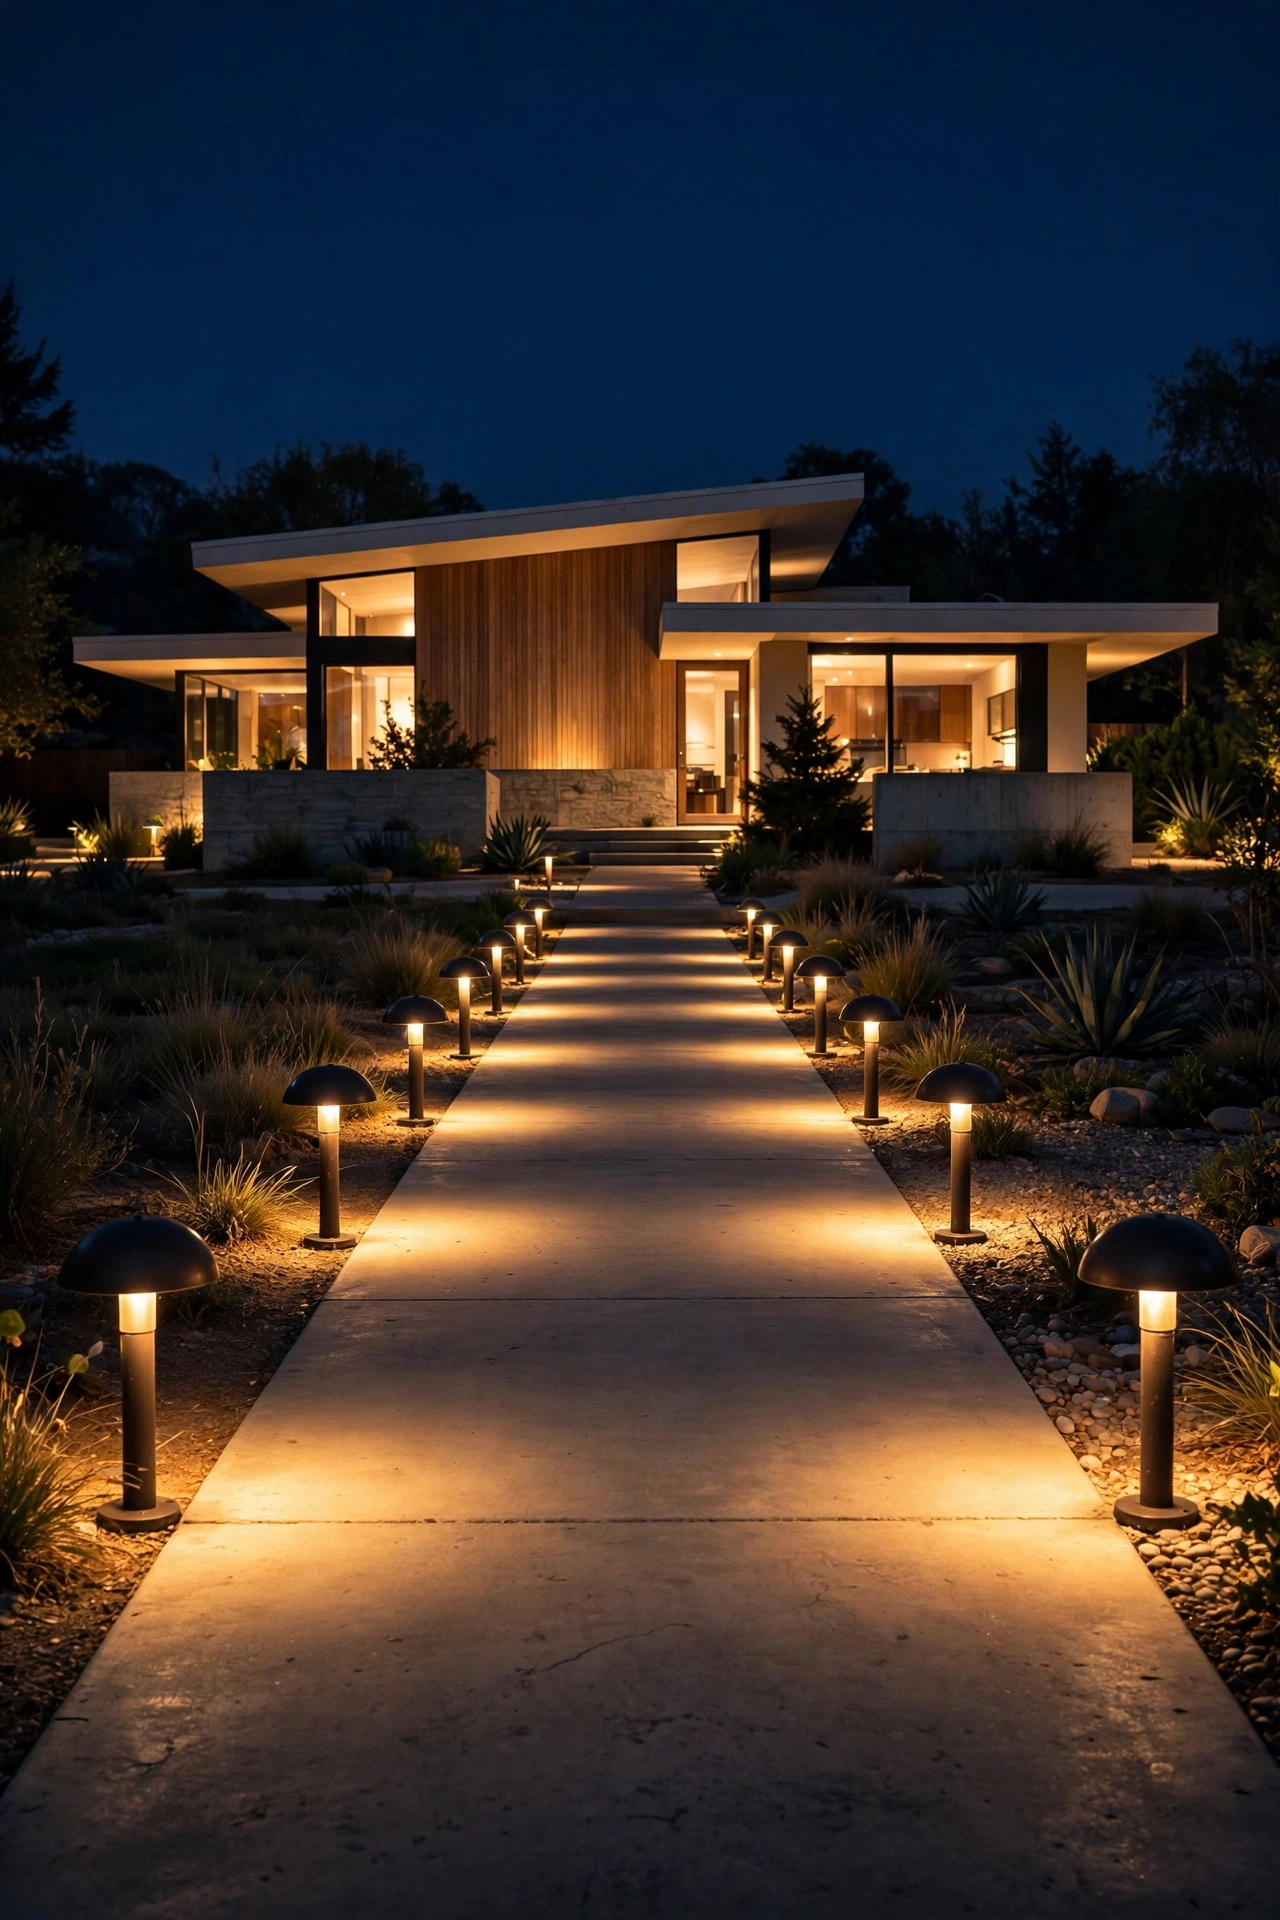
4. Low-Profile Mushroom Bollards Along the Walkway
The mushroom or dome-shaped bollard light — low, rounded, sculptural — is the MCM answer to path lighting, and it suits the long, low lines of a ranch or Eichler perfectly. Skip the tall Victorian-style lantern posts; here you want fixtures 18 to 24 inches tall that sit quietly along the path and let the architecture do the talking. Stagger them on alternating sides of the walkway every 8 to 10 feet so the path reads as a gentle zigzag of light rather than a rigid runway. Offset each fixture 18 to 24 inches from the path edge so nobody kicks it.
Choose matte black or bronze housings with a frosted dome that pushes light downward in a soft pool — no glare into the street. Solar versions work if the path gets at least 6 hours of direct sun, but in my experience low-voltage LED bollards on a timer are more consistent, especially in shaded lots. For low-voltage, plan a single cable run with a wattage-summing transformer, and keep the total load under 80 percent of the transformer's rating. Bulbs should be integrated 2700K LEDs around 3 to 5 watts each. Cap the light so it never shines into a neighbor's windows, and you'll have a walkway that's equal parts stylish and safe to navigate.
Suggested budget range: $25 – $90.
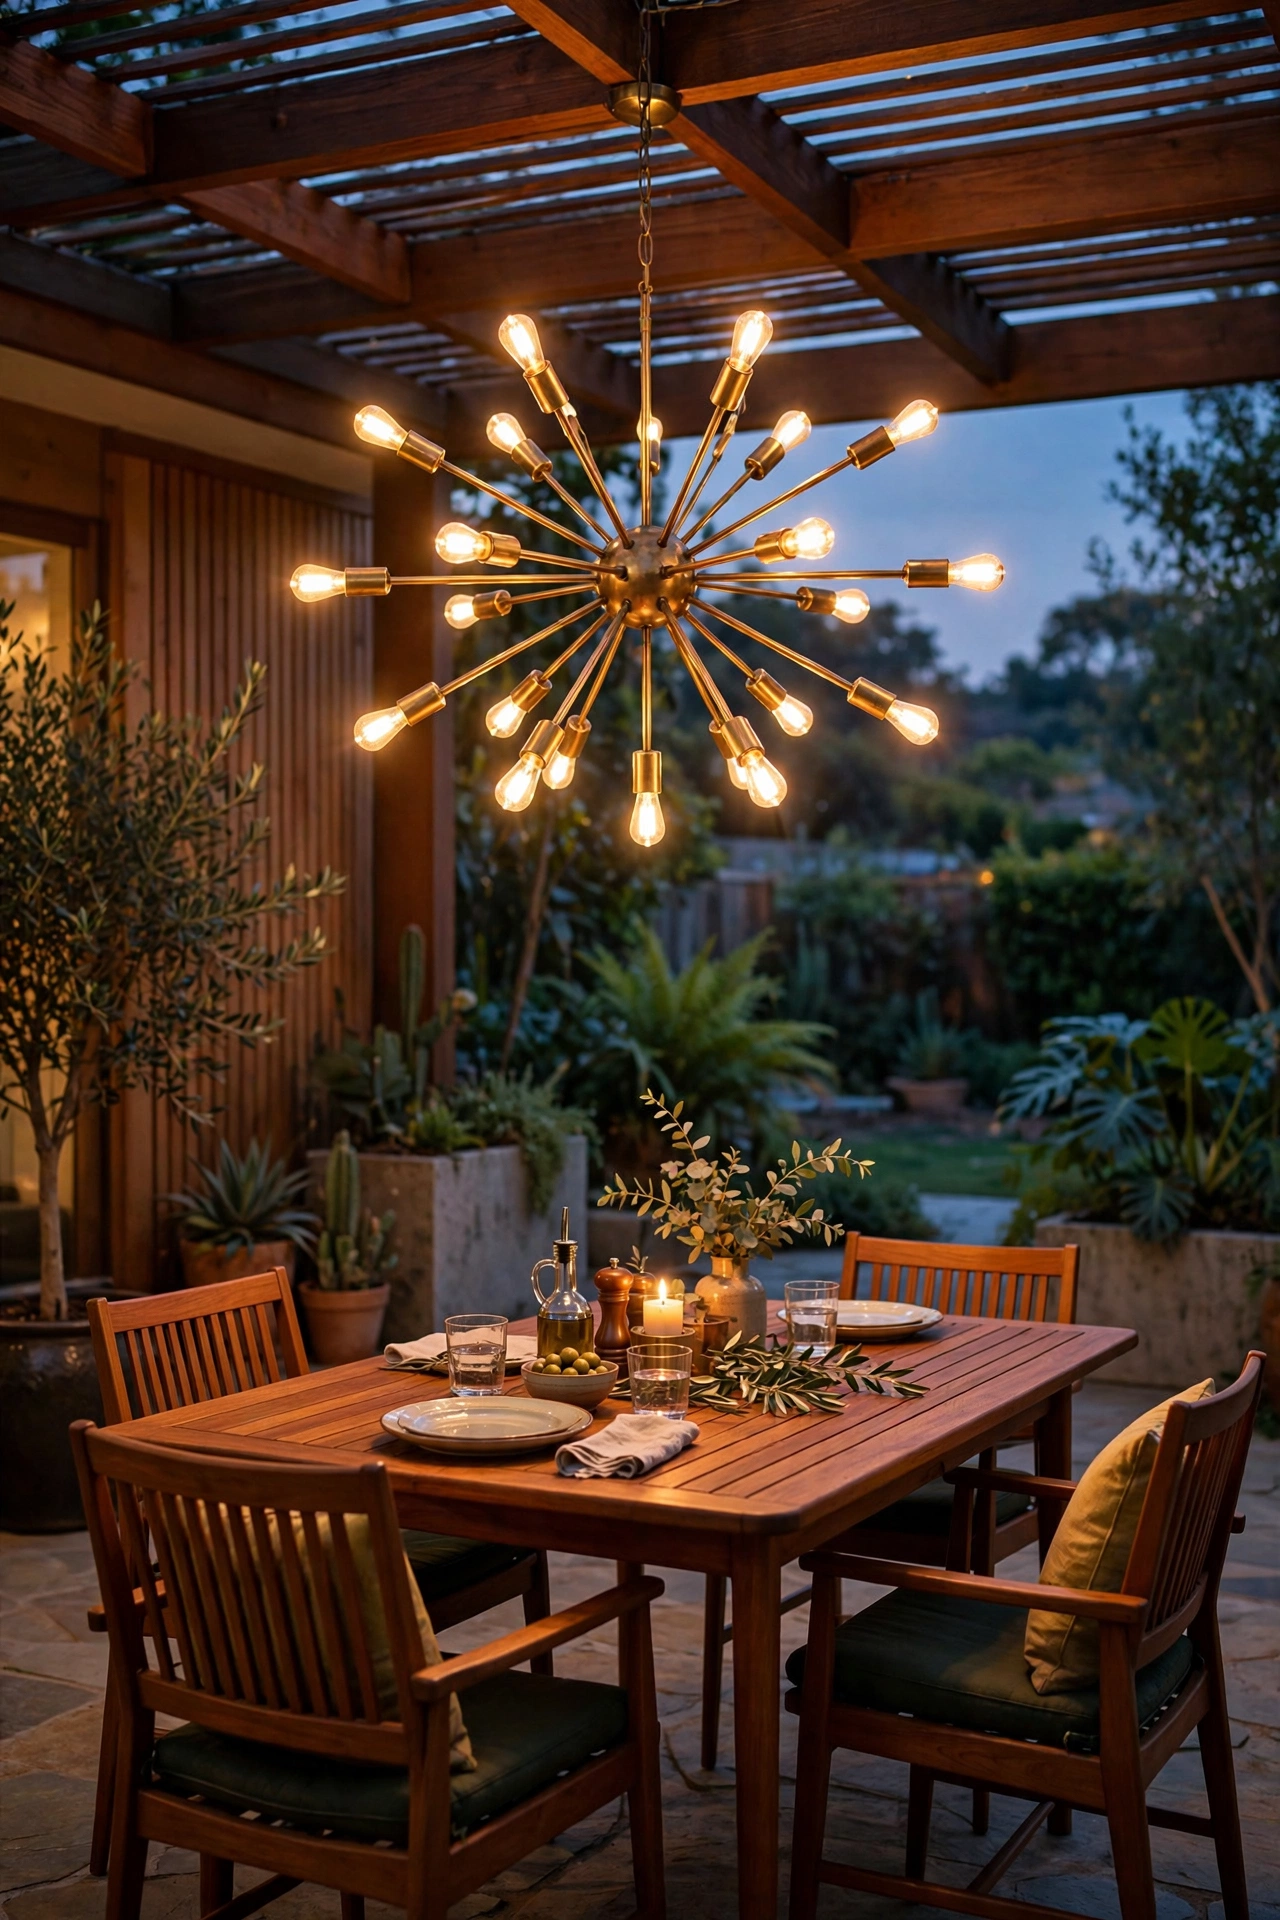
5. Atomic Starburst Chandelier Over the Outdoor Dining Area
Nothing says "mid century modern outdoor lighting" quite like an atomic starburst chandelier suspended over the patio dining table — it's the exclamation point of the whole backyard. Hang it from a pergola beam, a porch ceiling, or a heavy-duty shepherd's hook arm rated for the fixture's weight, with the lowest point of the fixture sitting 30 to 34 inches above the tabletop. That height keeps it clear of sightlines while still feeling intimate over the table.
This is a hardwired fixture, so plan for a junction box in the beam or run outdoor-rated cable in conduit — and call a licensed electrician if there's any doubt; a chandelier is not the place to learn electrical work. Choose a wet-rated starburst with 9 to 15 brass arms and a frosted or opal center globe, then fill it with dimmable 2700K LED filament bulbs. Put it on a dimmer switch and you can go from bright dinner-party light to a low, cocktail-hour glow. In my experience, people underestimate the scale here — go bigger than you think; a 30- to 36-inch-wide starburst suits a six-person table, and the drama is the whole point. Honestly? This is the fixture guests will photograph.
Suggested budget range: $150 – $450.
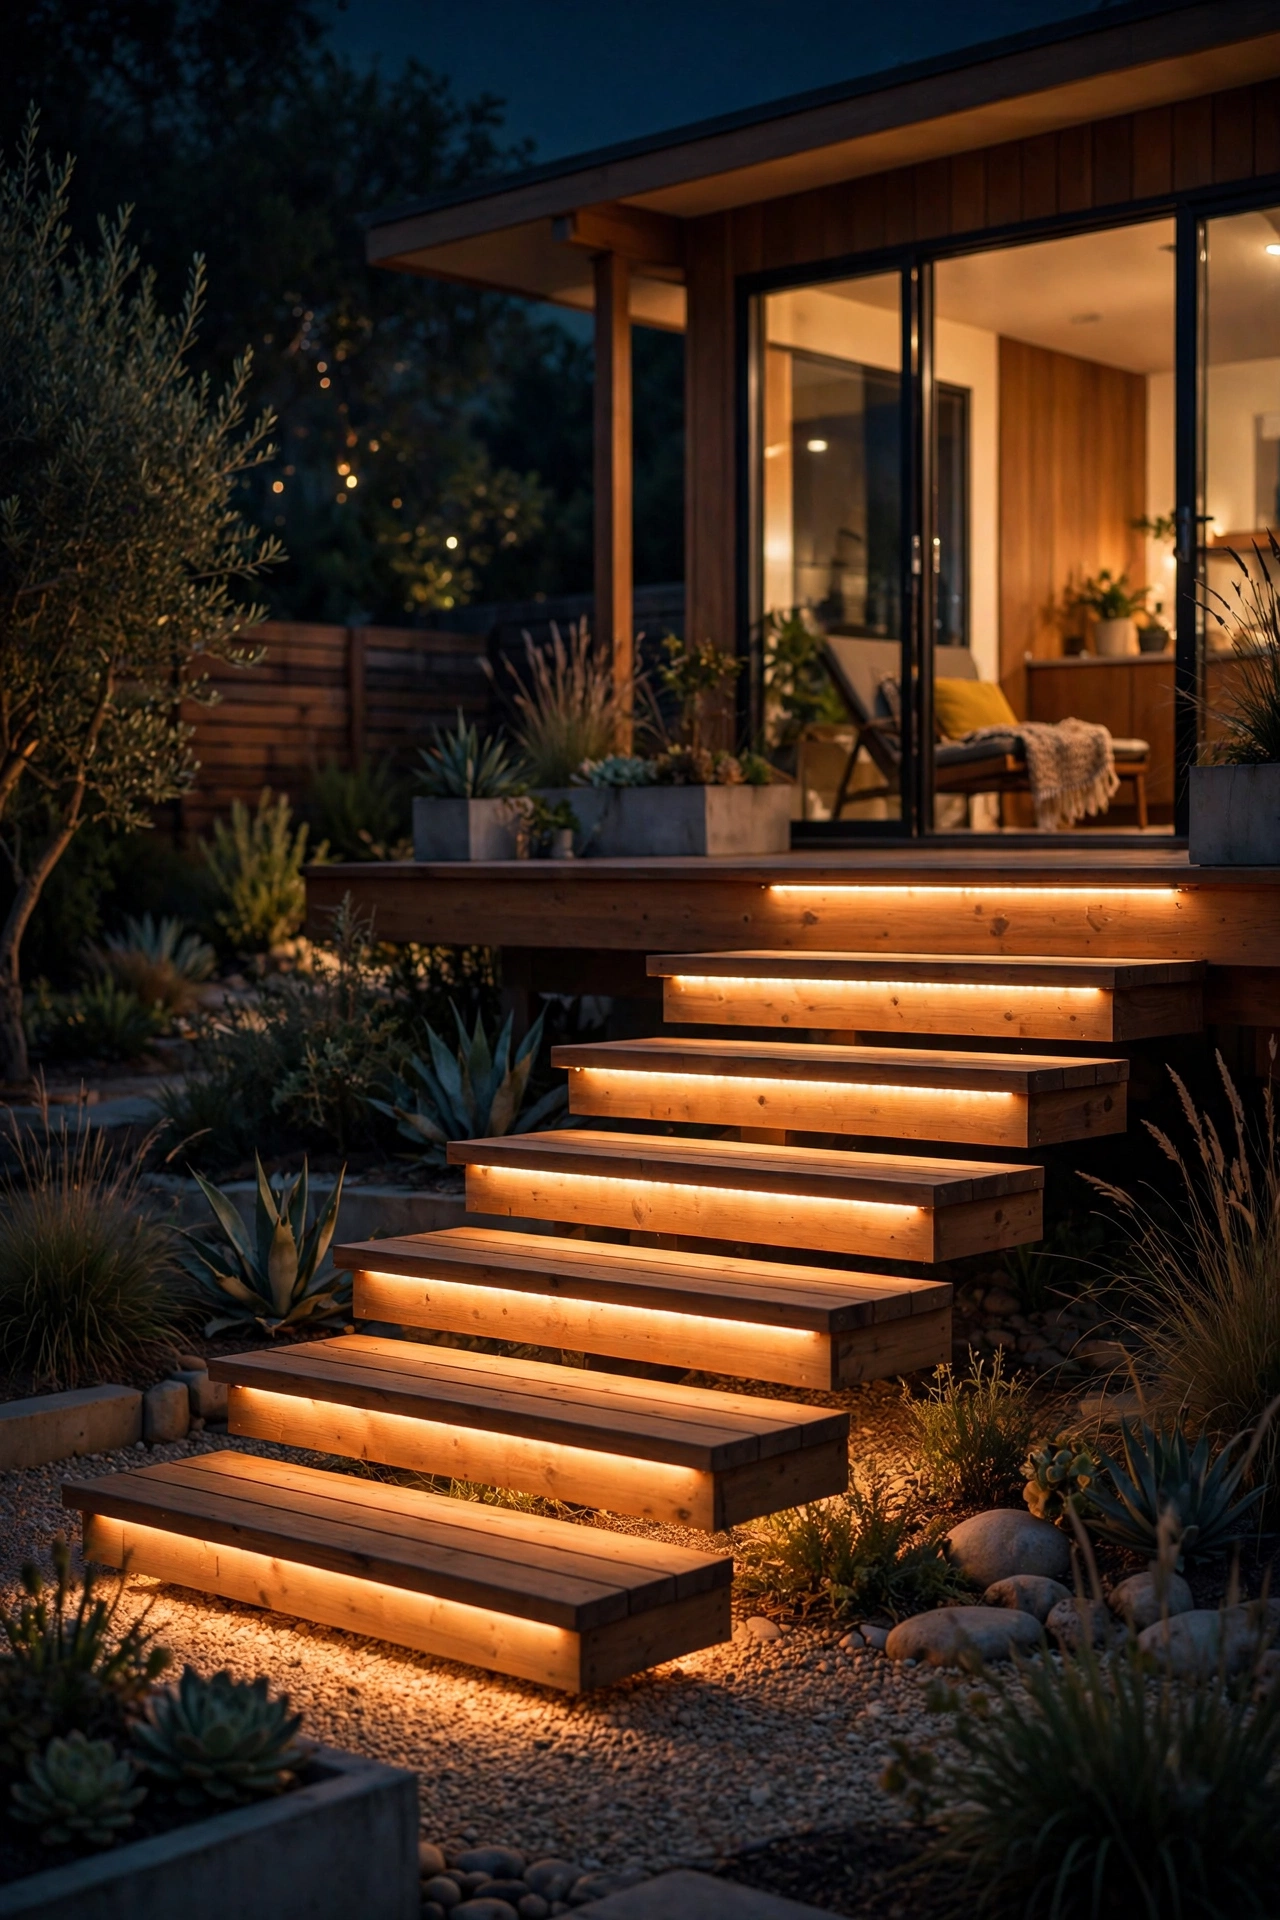
6. Warm LED Strips Hidden Under Floating Deck Steps
Floating wooden steps — thick treads that seem to hover with hidden supports — are a hallmark of MCM landscape design, and hiding a warm LED strip under each tread turns them into glowing sculptures after dark. Use a 2700K IP65-rated flexible LED strip mounted inside an aluminum channel with a diffuser, tucked 1 inch back from the front edge of each tread so the light washes down the riser without visible dots. The aluminum channel is non-negotiable: it sinks heat, protects the strip, and makes the light line look crisp and professional.
Wire the strips in parallel back to a single low-voltage driver in a weatherproof box, and add a motion sensor or dusk-to-dawn timer so the steps only glow when someone's around. Mount the driver within 10 feet of the steps to avoid voltage drop, and keep all connections in gel-filled waterproof connectors. Safety note: this is genuinely functional lighting, not just decoration — lit treads prevent trips on dark stairs, so don't skip any step in the run. Strips pull very little power (a whole staircase typically runs 20 to 40 watts), so the running cost is pennies. The effect is subtle by day and absolutely magical by night.
Suggested budget range: $90 – $300.
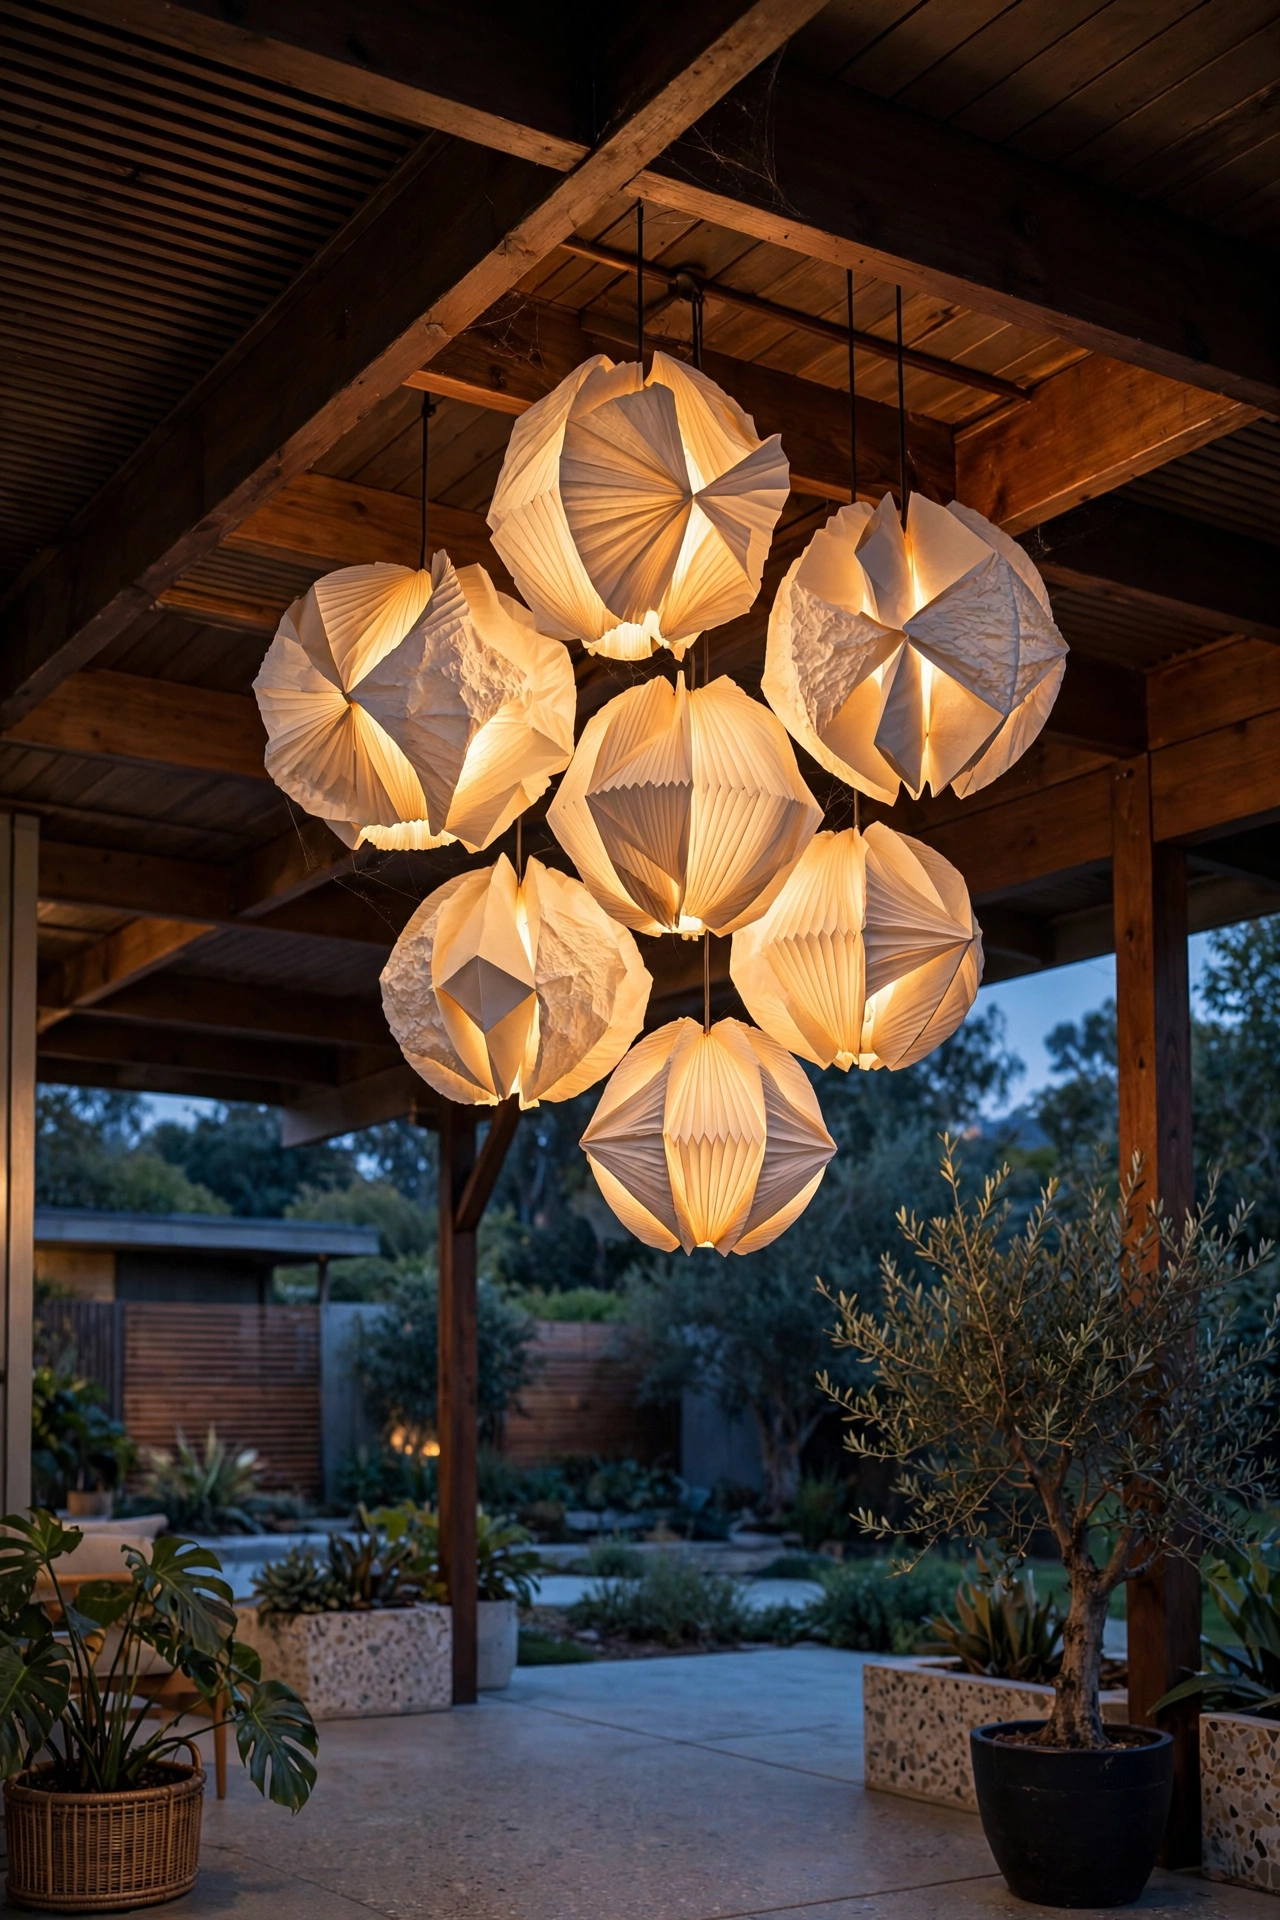
7. Brass-and-Wood Post Lanterns at the Driveway Gate
A pair of lantern posts at the driveway entrance is the MCM way to announce "you've arrived" — think square wooden posts, 8 to 10 feet tall, in warm cedar or stained redwood, each topped with a simple geometric lantern in brass or matte black. Set the posts 2 to 3 feet back from the driveway edge so car mirrors never clip them, and sink them 30 inches deep in concrete footings for stability against wind. The square post echoes the home's post-and-beam construction, which is exactly the kind of visual rhyme MCM design loves.
For the lantern head, choose a wet-rated fixture with clear or seeded glass and a 2700K LED bulb around 8 to 12 watts — bright enough to be seen from the street, soft enough to feel residential. Hardwire them to a dedicated circuit with a dusk-to-dawn photocell so they switch on automatically at sunset; that's the classic curb-appeal move. If trenching cable to the driveway isn't practical, high-quality solar lantern heads with warm-white LEDs are a solid fallback, though they'll dim faster on cloudy weeks. Keep the light pointed down and shielded so you're lighting your own entrance, not your neighbor's bedroom. In my experience, matching the post wood to your home's fascia boards ties the whole property together.
Suggested budget range: $120 – $350.
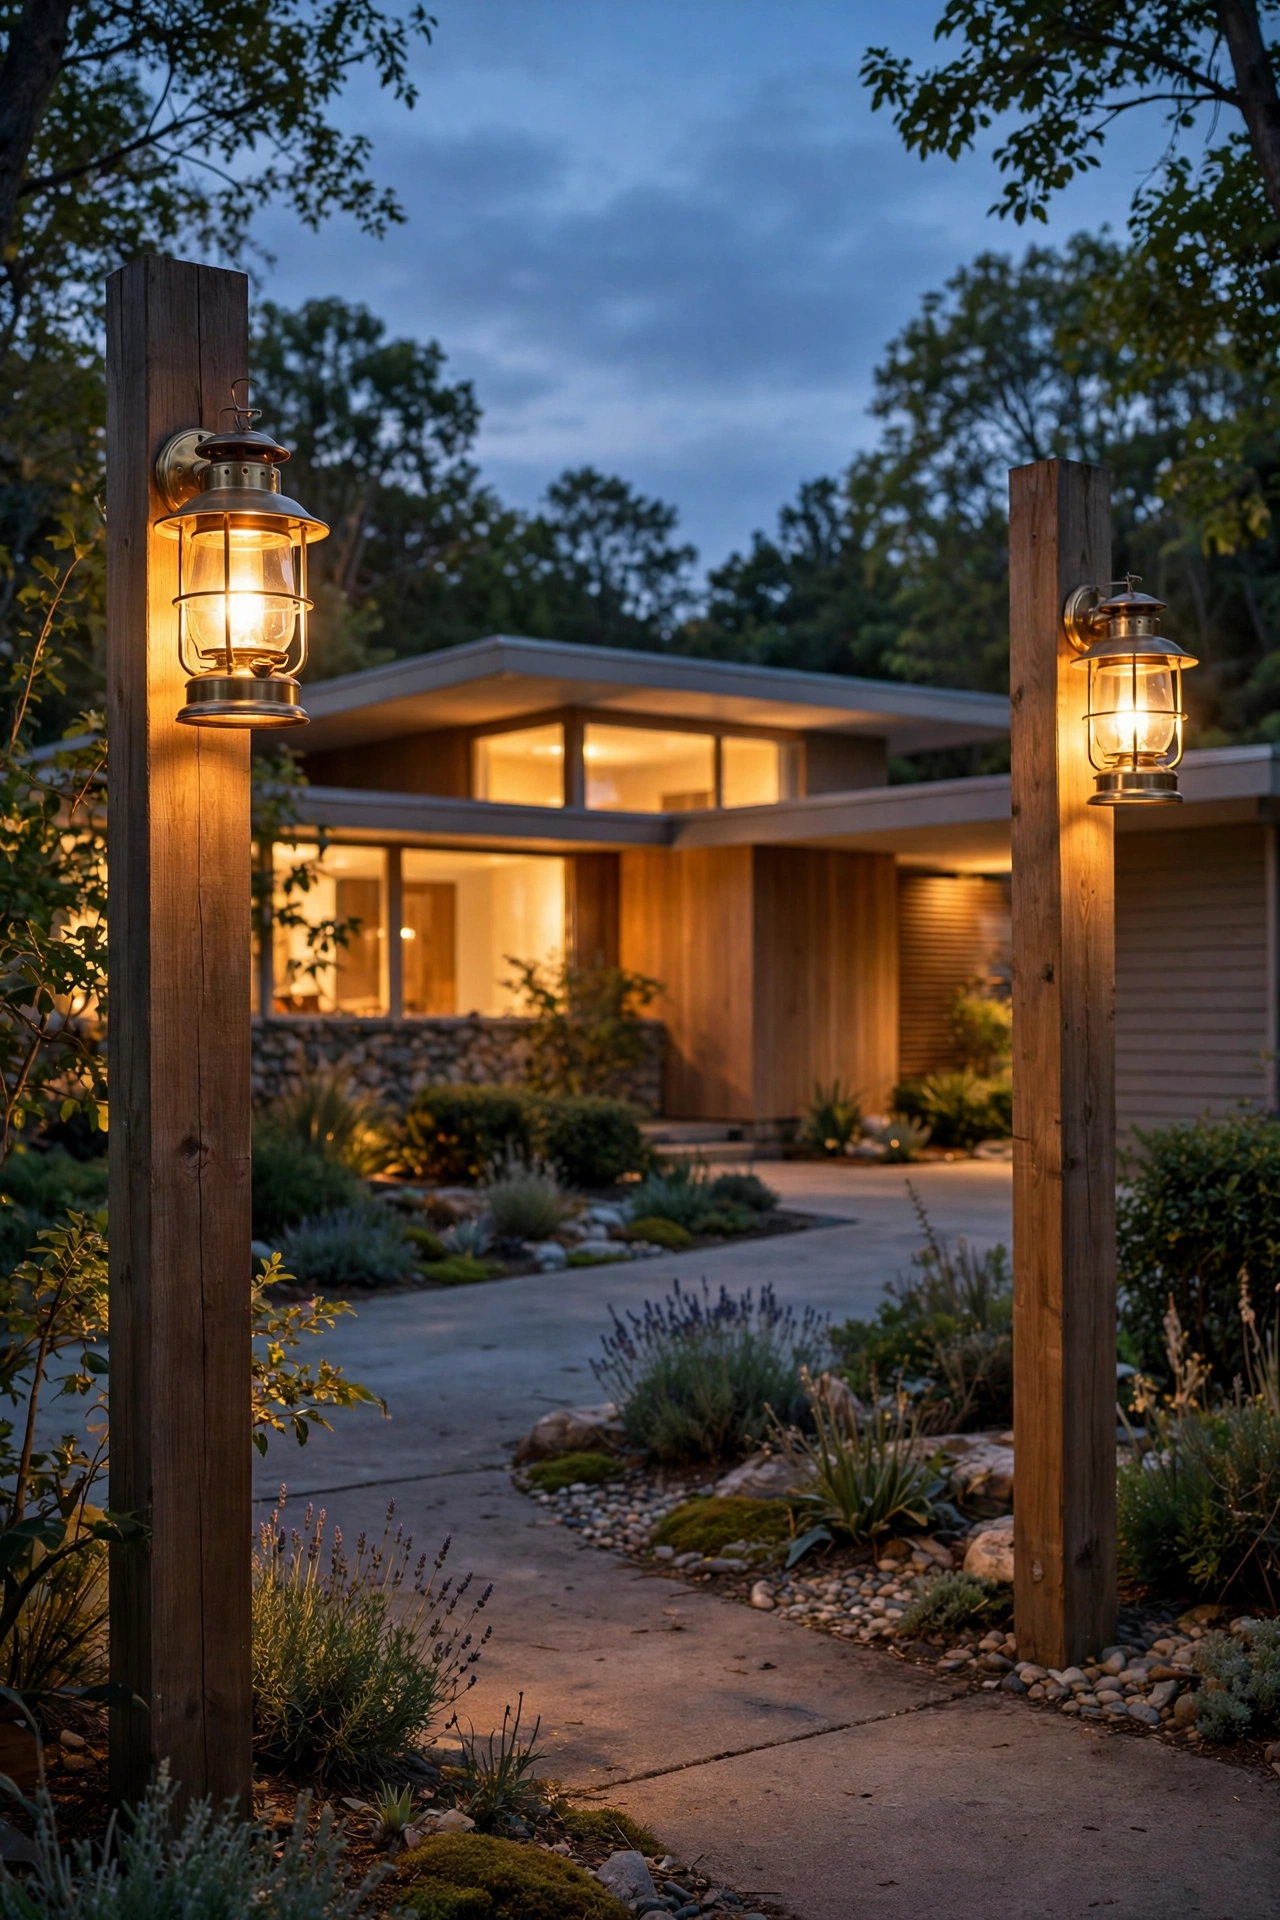
8. Recessed Soffit Downlights Tracing the Cantilevered Roofline
Those deep, cantilevered eaves that define mid-century homes hide one of the best lighting tricks around: recessed downlights tucked into the soffit that wash the walls below in soft pools of light. Install 4-inch wet-rated recessed housings every 6 to 8 feet along the eave, set back 2 to 3 feet from the wall face so each fixture throws a clean, oval pool of light down the siding. The rhythm of evenly spaced pools tracing the long roofline is pure architectural drama — it makes the house look like it's floating after dark.
Use dimmable 2700K LED retrofit trims around 9 to 12 watts each; anything brighter creates harsh hotspots on the wall. This is hardwired work, so hire a licensed electrician to add a circuit and cut the housings into the soffit — it's a half-day job for a pro and worth every penny for the safety and clean finish. Have them put the run on a dimmer plus a dusk-to-dawn photocell so the house lights itself every evening. I always recommend walking the perimeter after installation and adjusting the aiming — a quick tweak of one housing can fix a lopsided pool. The result looks high-end because, honestly, it is: this is how architect-designed MCM homes were lit in their heyday, just with better bulbs now.
Suggested budget range: $50 – $140.
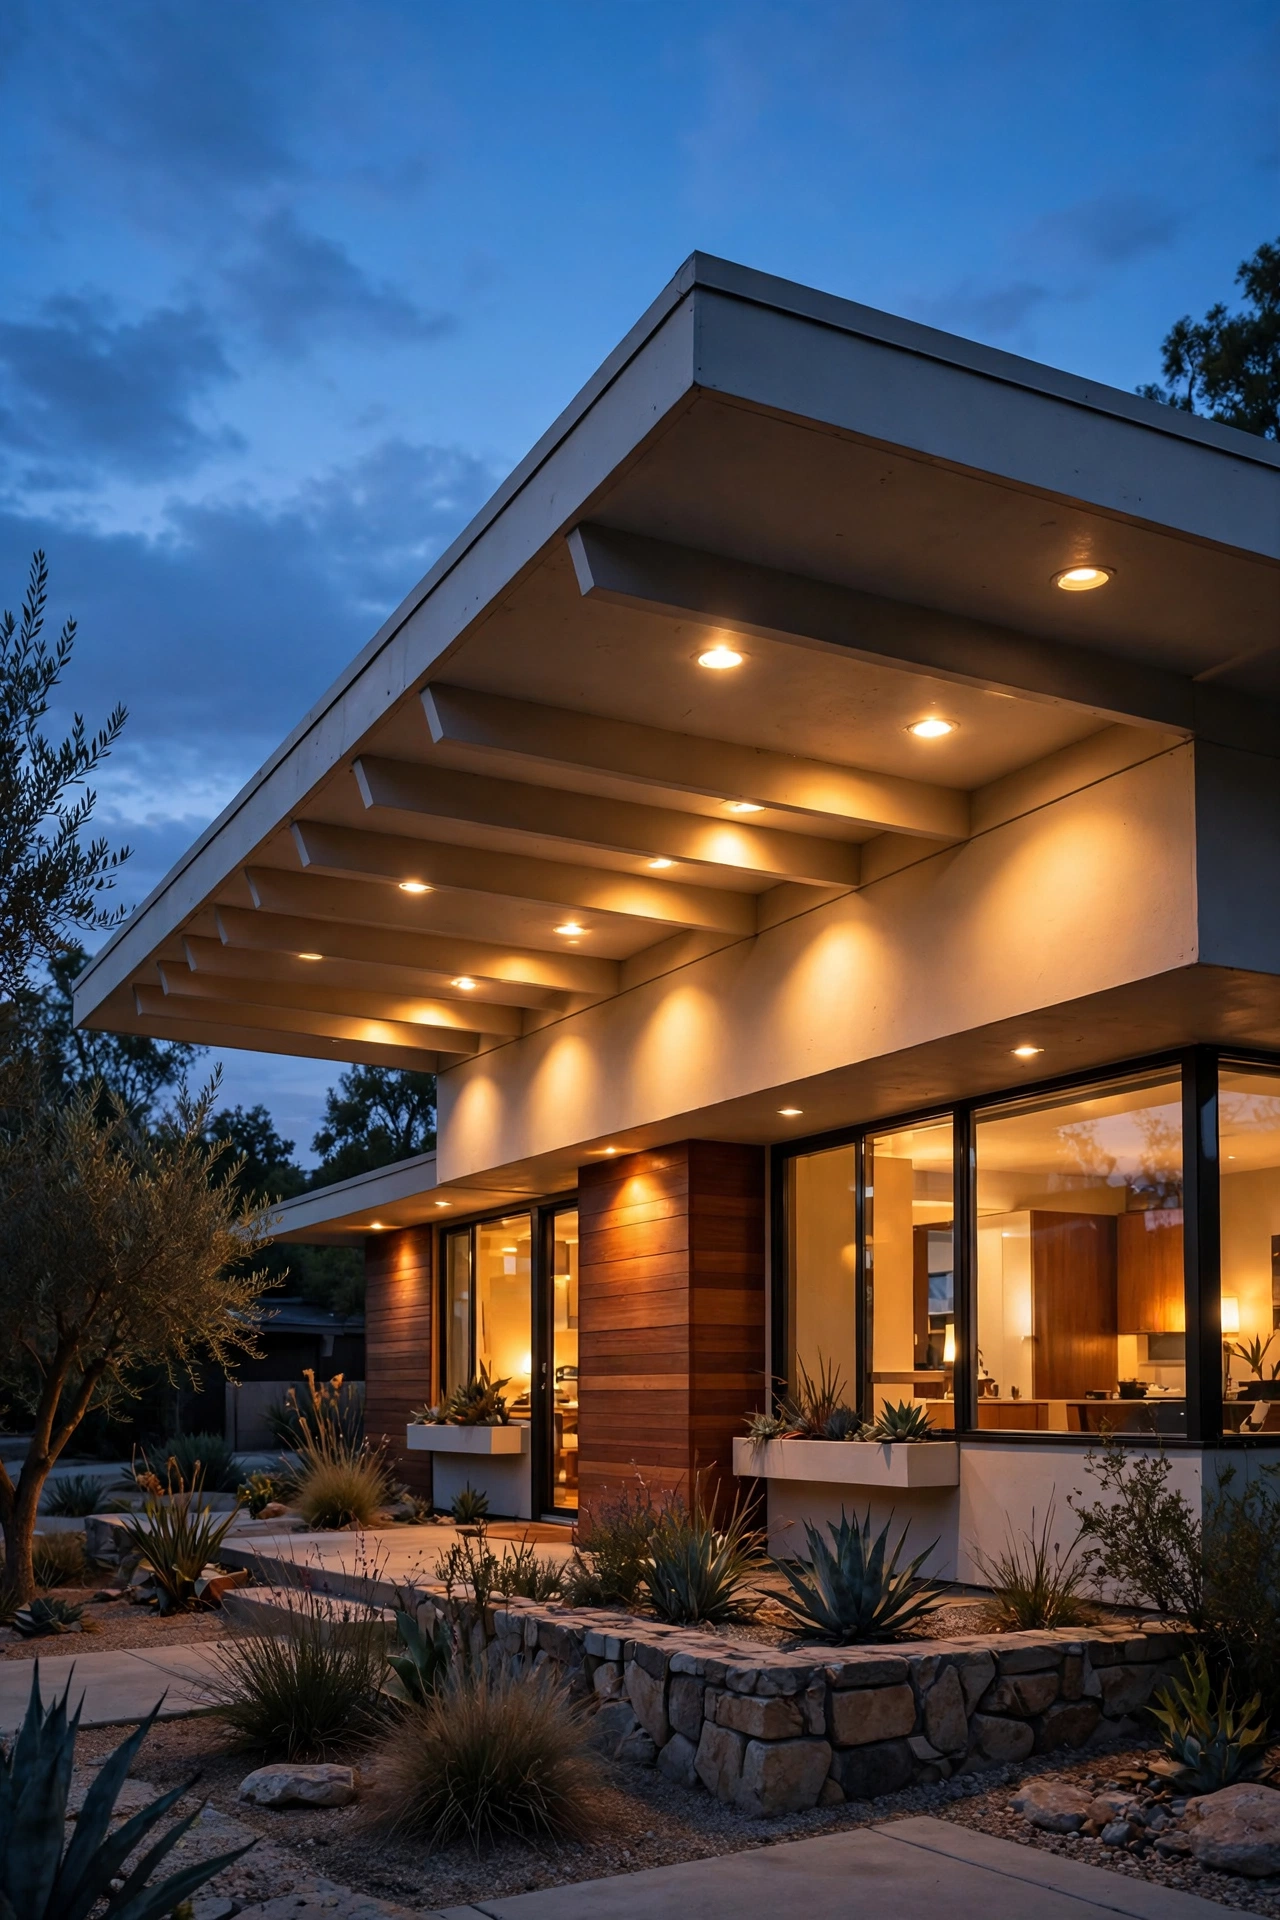
9. Globe Table Lamps on the Outdoor Sideboard
Every great MCM patio needs a styling moment, and a globe table lamp on a teak sideboard or bar cart delivers it — that glowing orb reads as pure 1958. The rule here is non-negotiable: unless the lamp is rated for outdoor use, it belongs under a fully covered patio roof, never in open weather. Even a covered porch is technically a damp location, so choose fixtures rated damp or wet to be safe. A milk-glass or opal globe around 8 to 10 inches in diameter on a brass or matte-black base is the classic proportion.
Use a warm 2700K LED bulb — dimmable if your lamp supports it — and keep it to 6 watts or so; this is mood lighting, not task lighting. Plug it into a smart plug with an outdoor-rated cord so it switches on with your other patio lights at dusk, and run the cord along the back of the sideboard secured with cable clips so it stays tidy. Battery or rechargeable globe lamps are a great cord-free option and honestly my pick for rental patios. Safety note: never bring a fabric-shaded indoor lamp outside, even under cover — humidity wrecks the shade and the wiring isn't rated for it. One glowing globe beside a stack of design books and a planter? Chef's kiss.
Suggested budget range: $45 – $160.
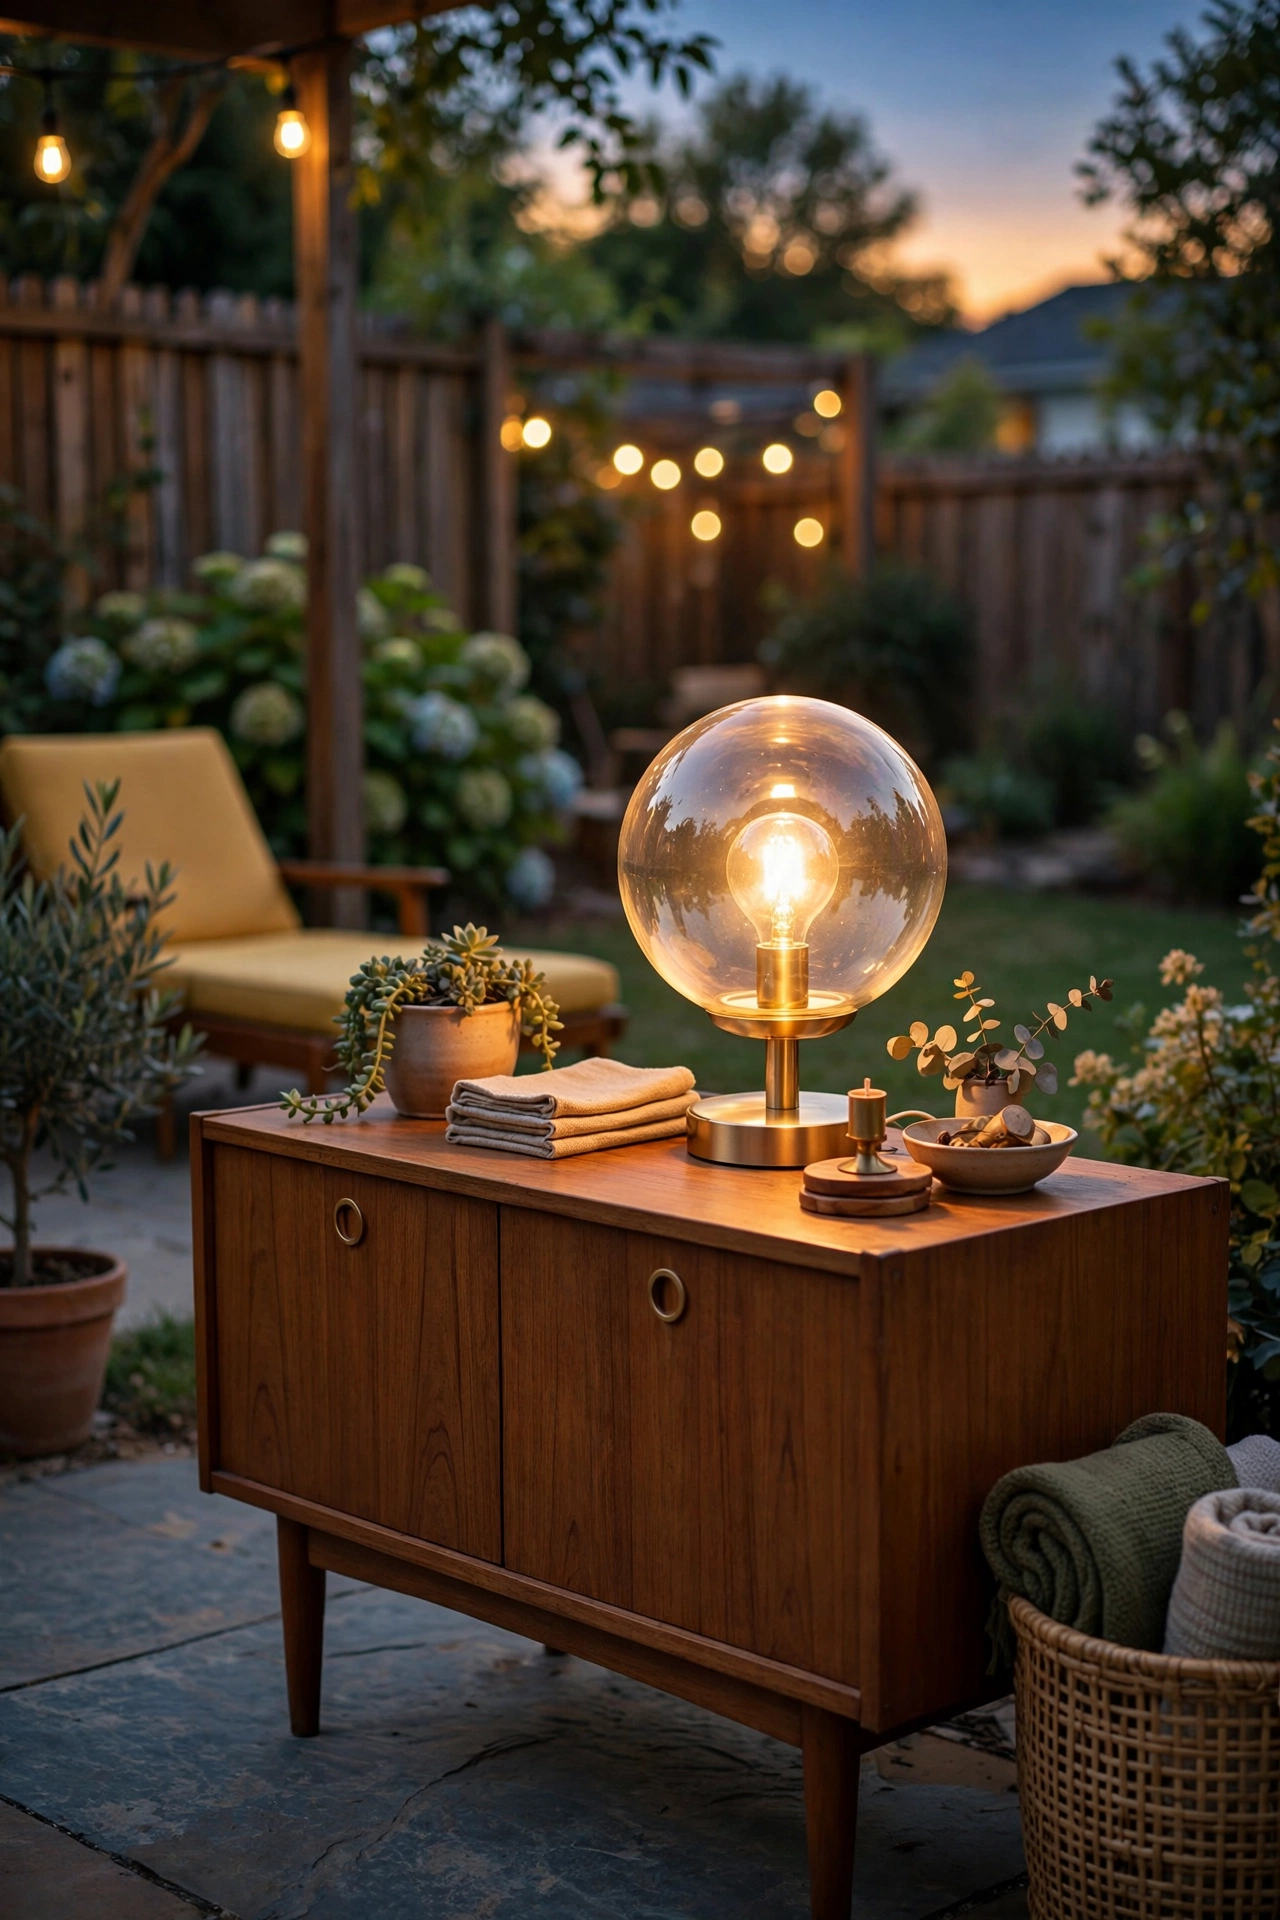
10. Sculptural Paper Lantern Pendants in a Covered Patio
The sculptural paper lantern — those ribbed, biomorphic forms popularized in the 1950s — brings the softest, most artistic light of any fixture on this list. Here's the catch: paper and weather don't mix, so these belong strictly under a covered patio or porch roof with full protection from rain. Hang them in an asymmetrical cluster of two or three at staggered heights — say, 7 feet, 7.5 feet, and 8 feet off the floor — for that gallery-like MCM vignette. The irregular organic shapes play beautifully against rectilinear post-and-beam framing.
Critical safety rule: LED bulbs only, always, with paper lanterns. An incandescent bulb's heat next to paper is a genuine fire hazard; a cool-running 2700K LED at 6 to 8 watts gives the same warm glow with zero risk. Choose outdoor-rated cord and socket kits, and keep the lanterns at least 3 feet from any grill or fire feature. Hang them from ceiling hooks rated for the weight, and put the cluster on a dimmer so you can dial the glow down to a whisper for late evenings. In my experience, mixing two sizes — say, a 16-inch and a 20-inch lantern — looks more collected and less matchy than identical pairs. It reads as art that happens to light the room.
Suggested budget range: $70 – $250.
11. Backlit Modern Address Numbers
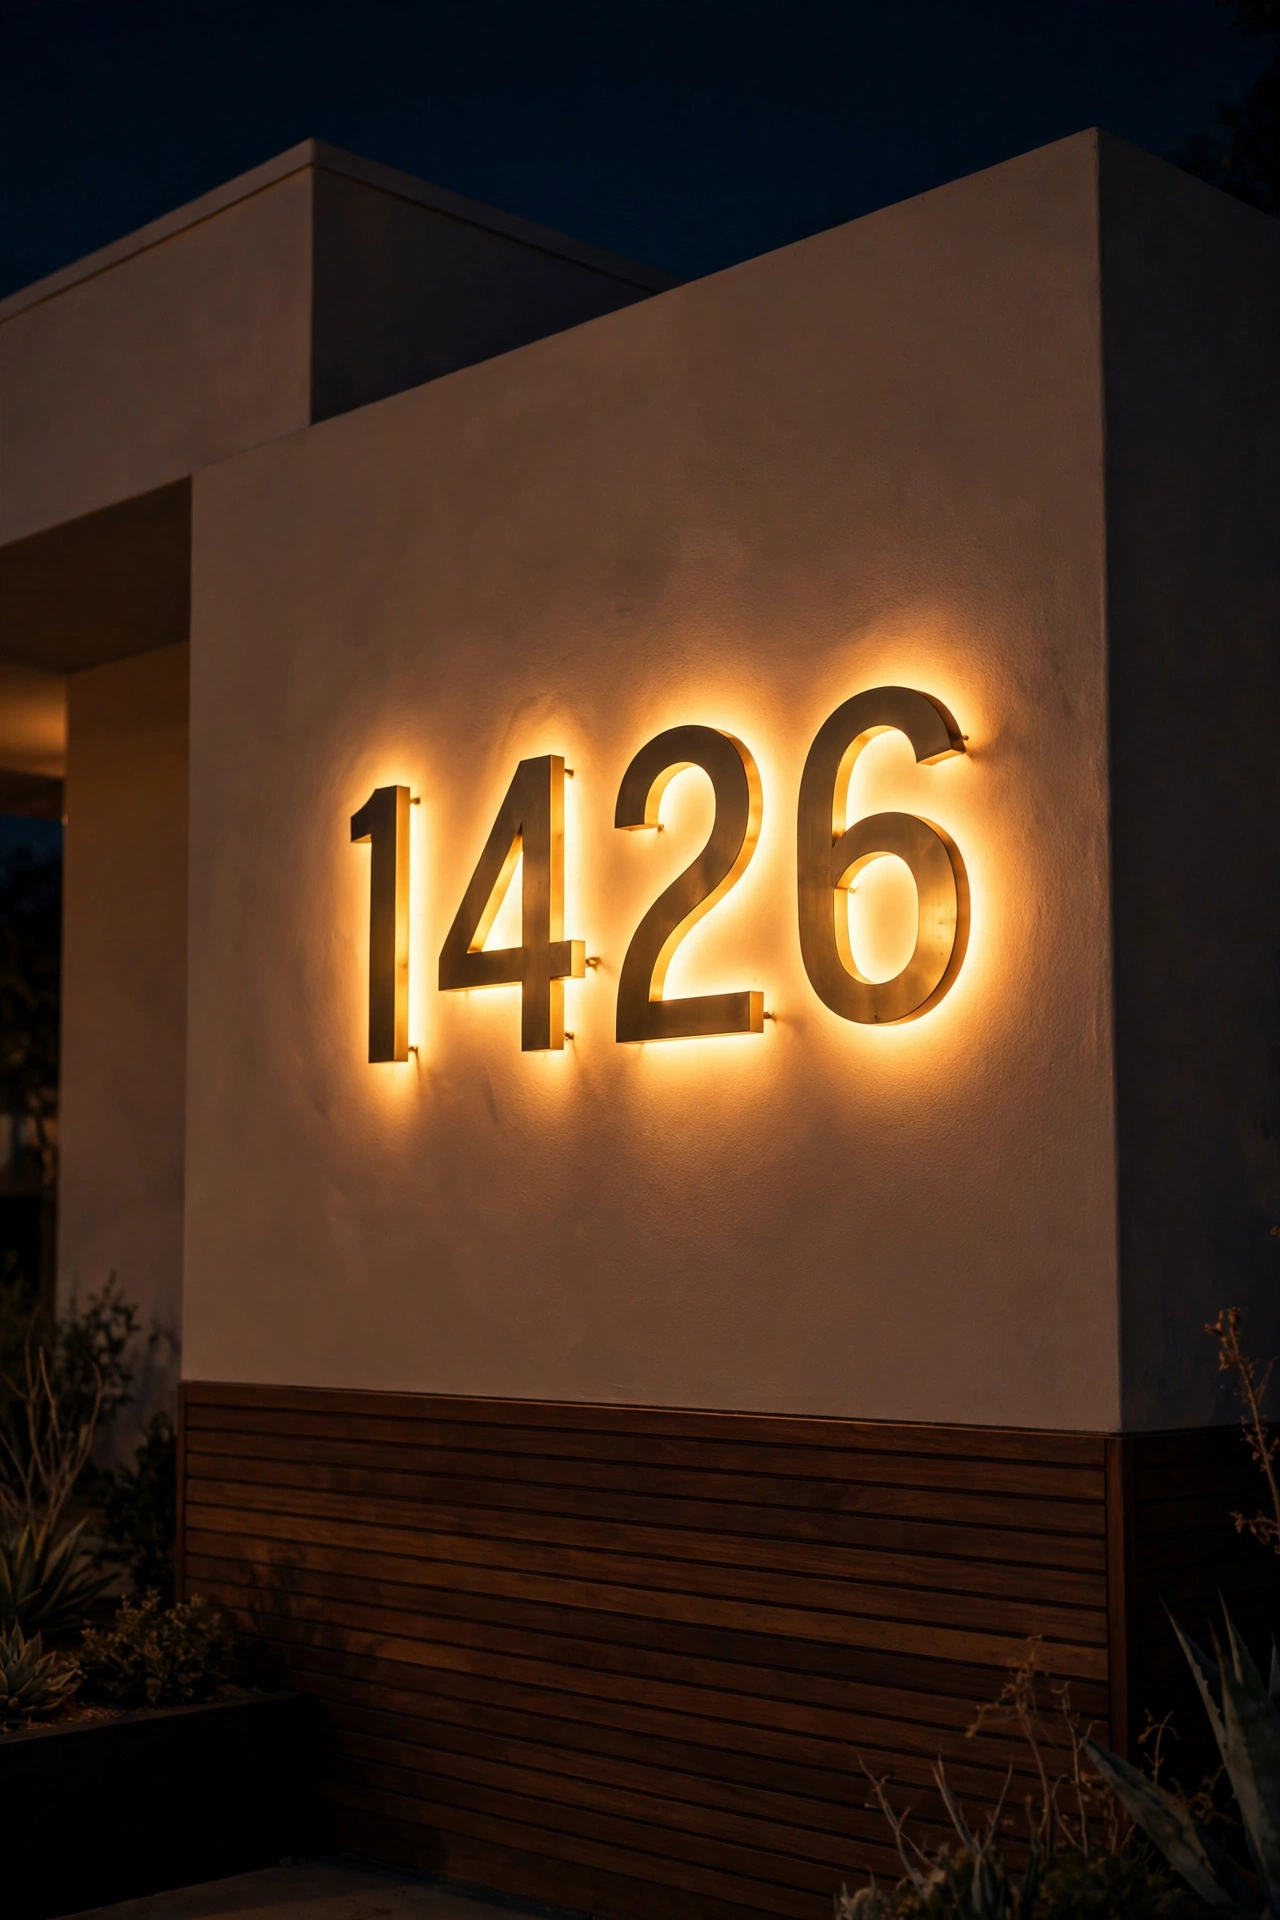
Here's the detail that separates MCM homes from the rest: illuminated address numbers in a clean sans-serif font, floating off the wall on a warm backlight halo. Mount 5- to 8-inch-tall metal numerals — brushed brass or matte black — on standoffs that hold them about 1 inch off the mounting surface, with a warm 2700K LED panel or strip behind them. At night the numbers read as glowing silhouettes ringed by a soft halo, which is both gorgeous and genuinely useful for visitors and delivery drivers.
Mount the number plaque near the front door or on a low garden wall by the driveway, at about 48 to 60 inches high, and wire the LED to a dusk-to-dawn photocell so it's always on when it matters. Check your local address-visibility codes — most require numbers at least 4 inches tall and visible from the street — but backlighting will make even the minimum look premium. Seal the LED driver in a weatherproof box behind the mount, and use marine-grade stainless screws so nothing rusts and streaks your siding. In my experience, this one small project has the highest style-to-cost ratio of anything on this list. Honestly? Guests will assume you hired a designer.
Suggested budget range: $40 – $140.
12. Facade-Wash Spotlights for Mid Century Modern Outdoor Lighting
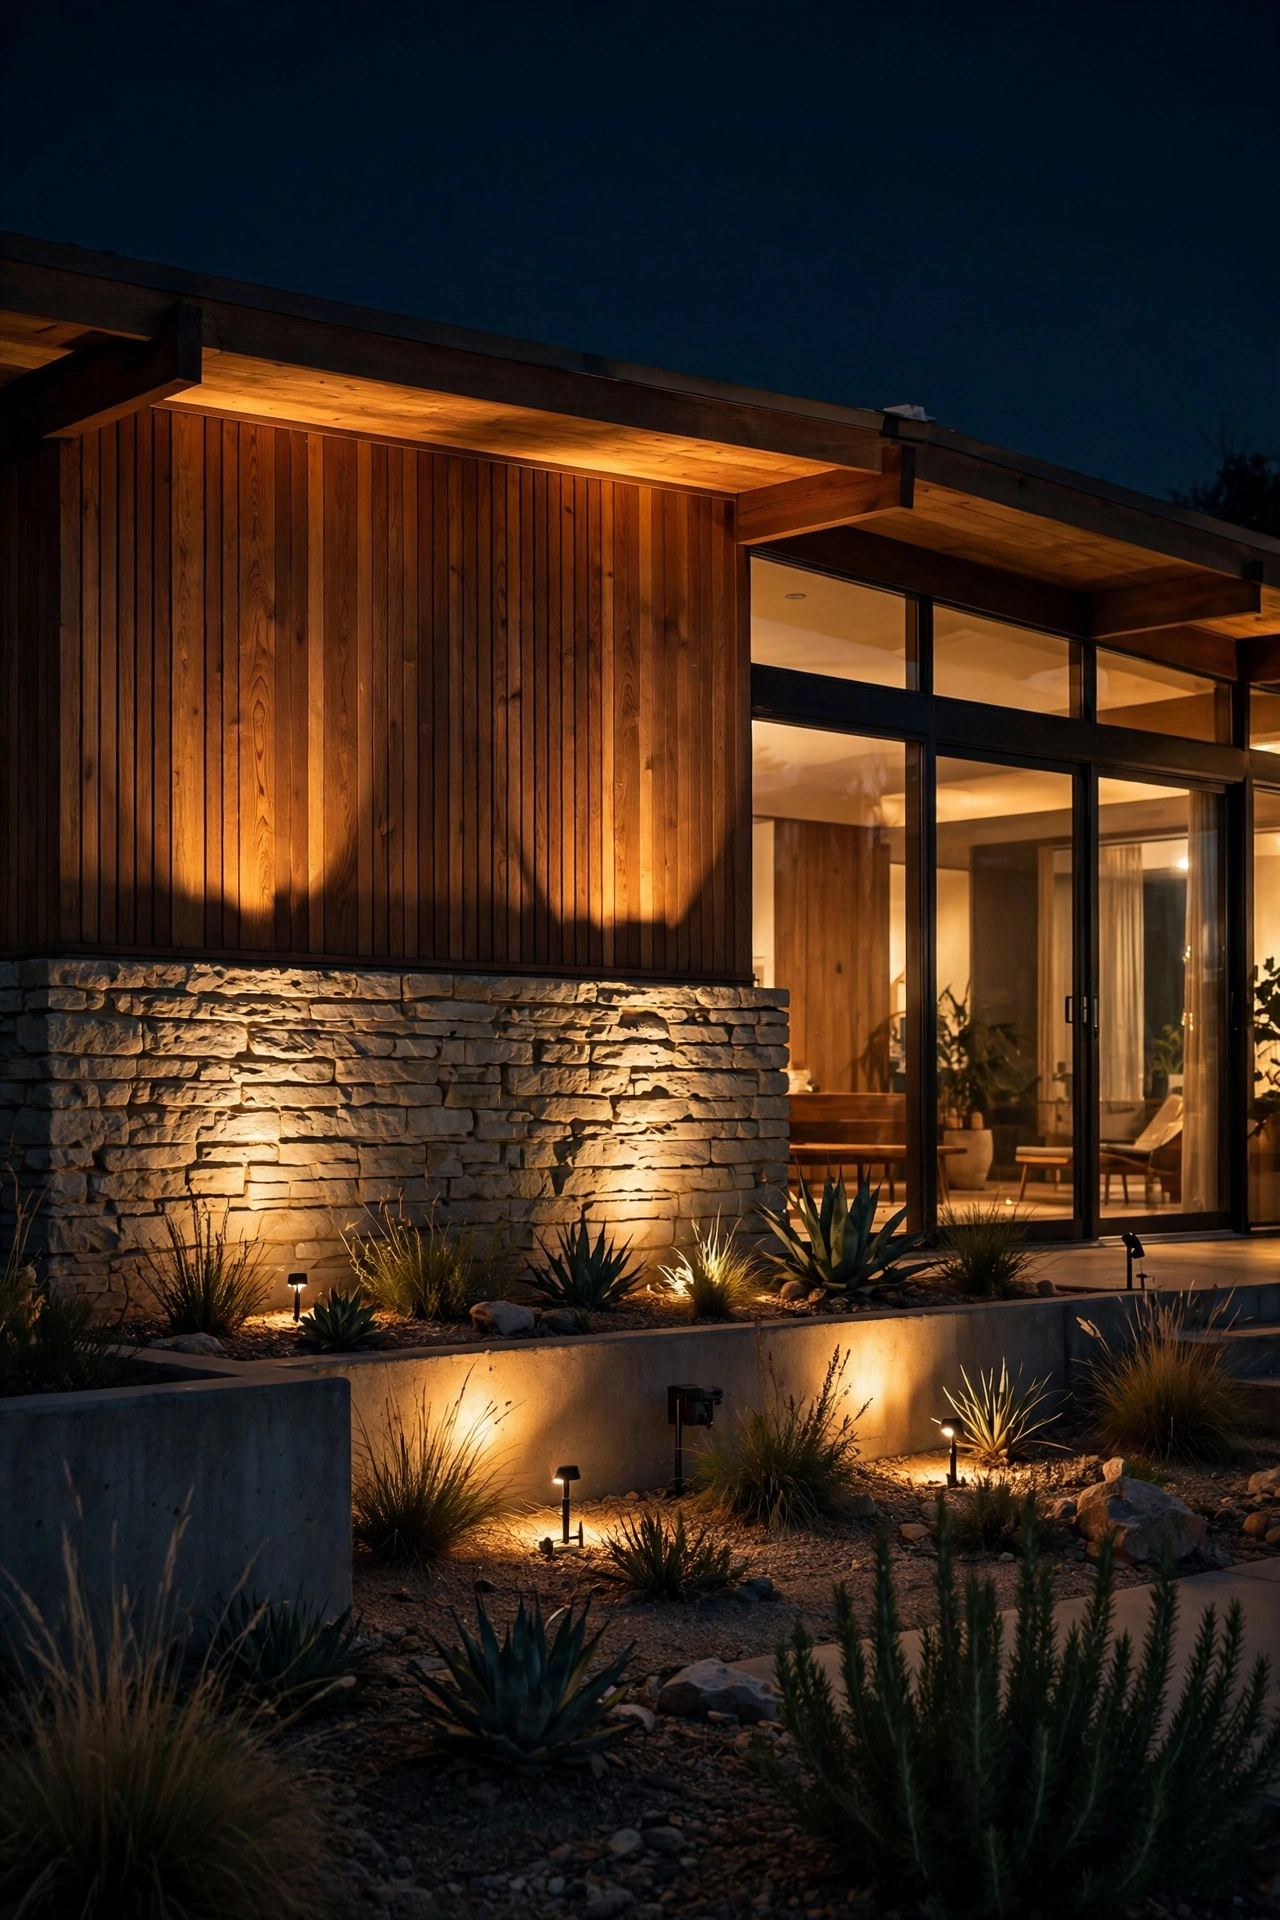
A low-slung MCM facade with floor-to-ceiling glass and wood siding was designed to be seen after dark, and a row of low-voltage spotlights aimed at it is the landscape designer's secret. Set adjustable spotlights 3 to 6 feet out from the wall, aimed upward at a 30- to 45-degree angle so the beam grazes the siding and glass without blasting straight into the windows. Space them 8 to 12 feet apart and overlap the beams slightly for a continuous wash — you want the house to glow evenly, not look like a row of searchlights.
Use 5- to 7-watt low-voltage LED spots at 2700K on a single transformer run, with a dusk-to-dawn timer doing the thinking for you. Shield the fixtures and aim carefully so no direct light spills into bedroom windows (yours or the neighbors'). For trees and larger plantings framing the house, follow the same principles in my tree uplighting guide — a lit sculptural tree beside a glowing facade is the one-two punch that makes a front yard unforgettable. Safety basics apply: GFCI-protected outlet for the transformer, bury cable 6 inches deep, and keep fixtures clear of dry mulch. Step back to the curb when you aim them; the view from the street is the one that counts.
Suggested budget range: $100 – $350.
13. Wire-Frame Globe Cluster Over the Fire Pit Seating Area
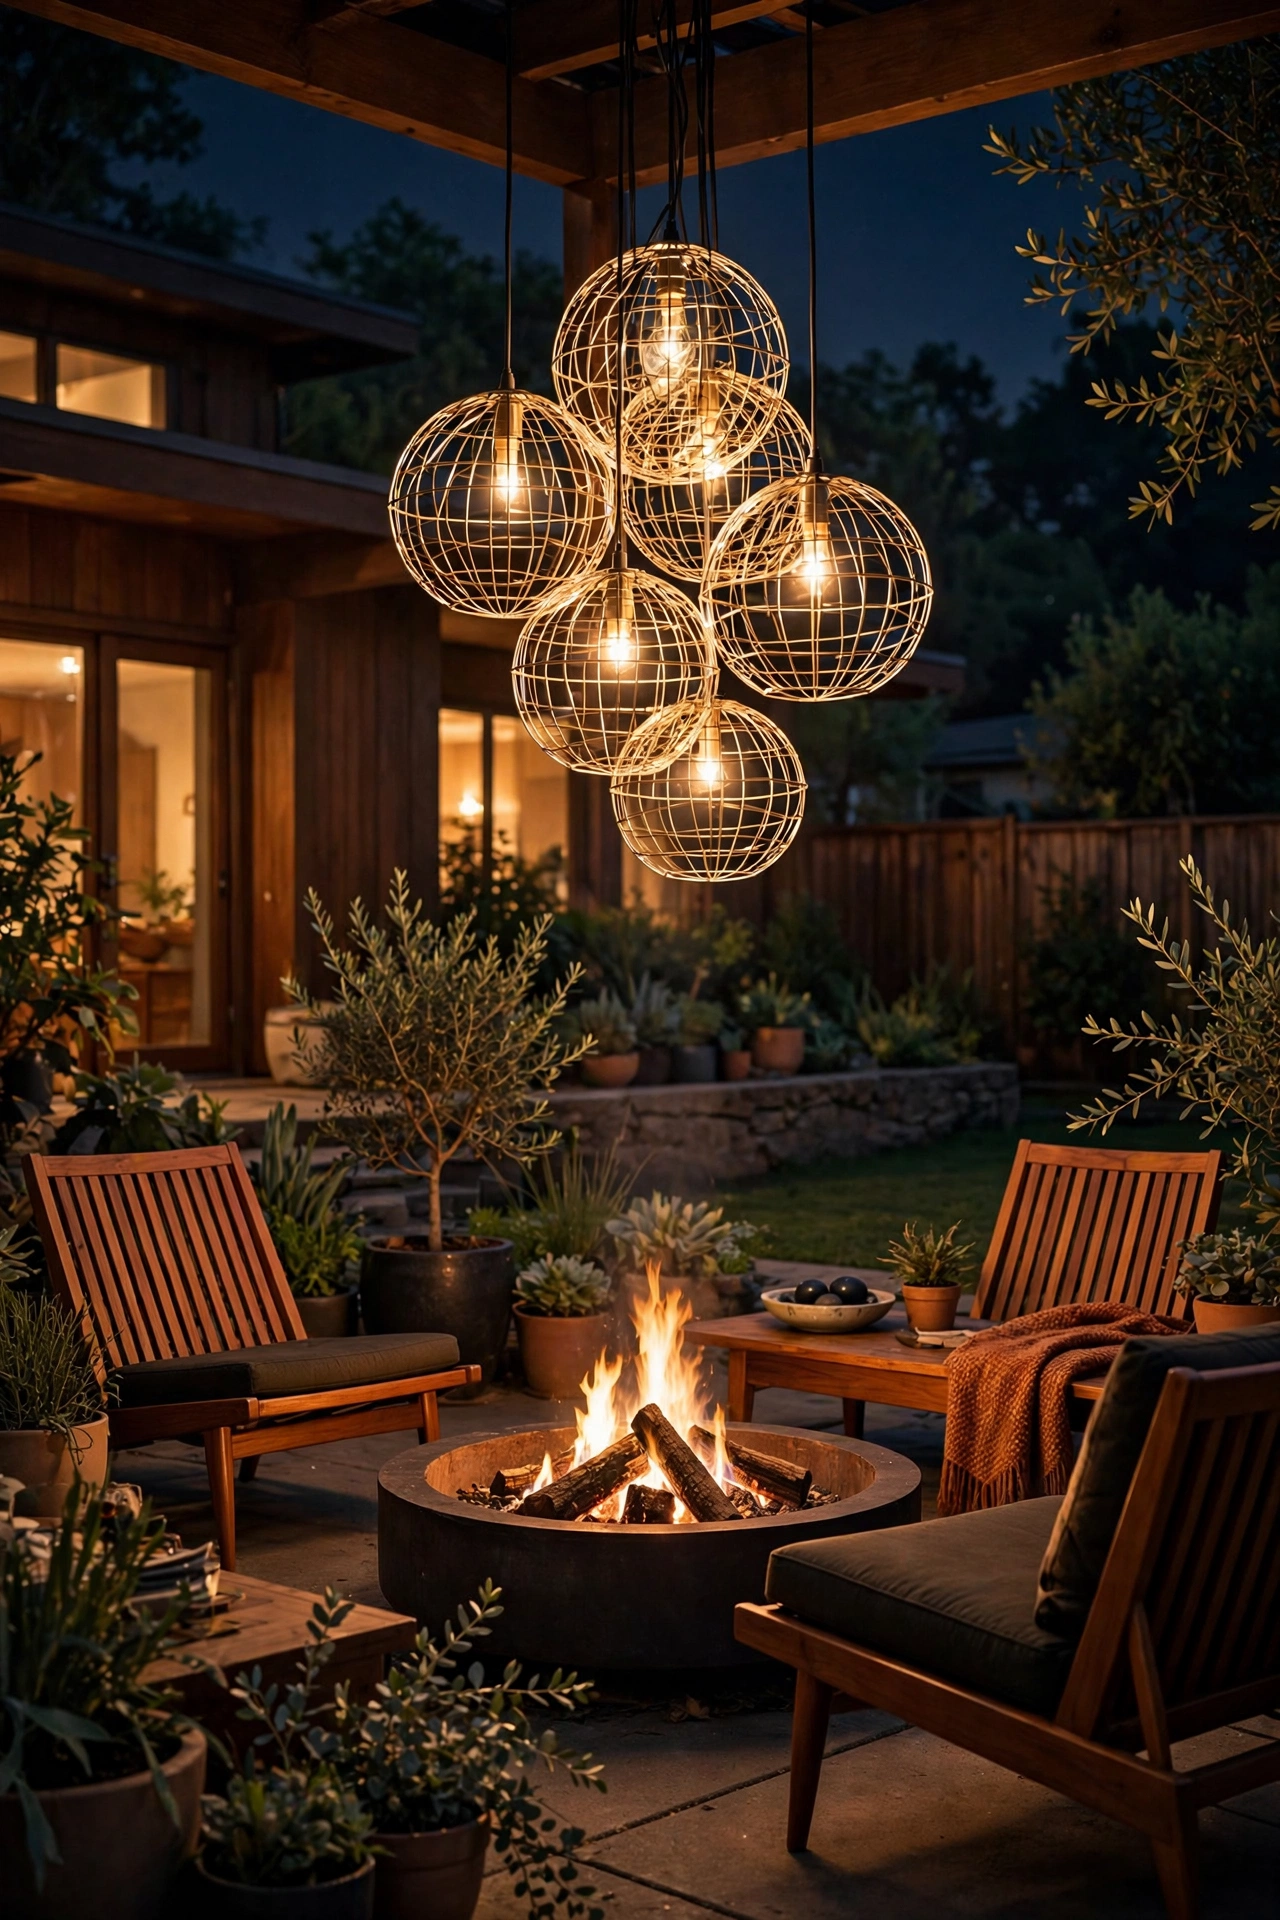
A fire pit surrounded by low-slung lounge chairs is the quintessential MCM backyard, and a cluster of wire-frame globe pendants overhead completes the composition. Hang three to five globe shades — open wire frames around frosted globes, in brass or matte black — from a pergola beam or a sturdy overhead arm at 7 to 8 feet above the seating area, clustered at slightly varying heights. The wire frames echo the geometric linework of the era while the globes keep the light soft and flattering on faces.
This is where the LED-only rule really matters: keep all fixtures at least 3 feet horizontally from any open flame, and use cool-running 2700K LED bulbs around 6 watts each — never incandescent near a fire feature, and never fabric or paper shades here either. Use outdoor-rated stringer cable or individual wet-rated pendants, and power everything through a GFCI-protected circuit. Put the cluster on a dimmer so you can let the fire be the star on some nights and bring the globes up for conversation on others. In my experience, staggering the drops — 7 feet, 7.5 feet, 8 feet — looks far more intentional than a perfect row. It's the kind of setup that makes weeknight backyard hangs feel like a Palm Springs resort.
Suggested budget range: $60 – $220.
14. Mini Globe Stake Lights in the Planting Beds
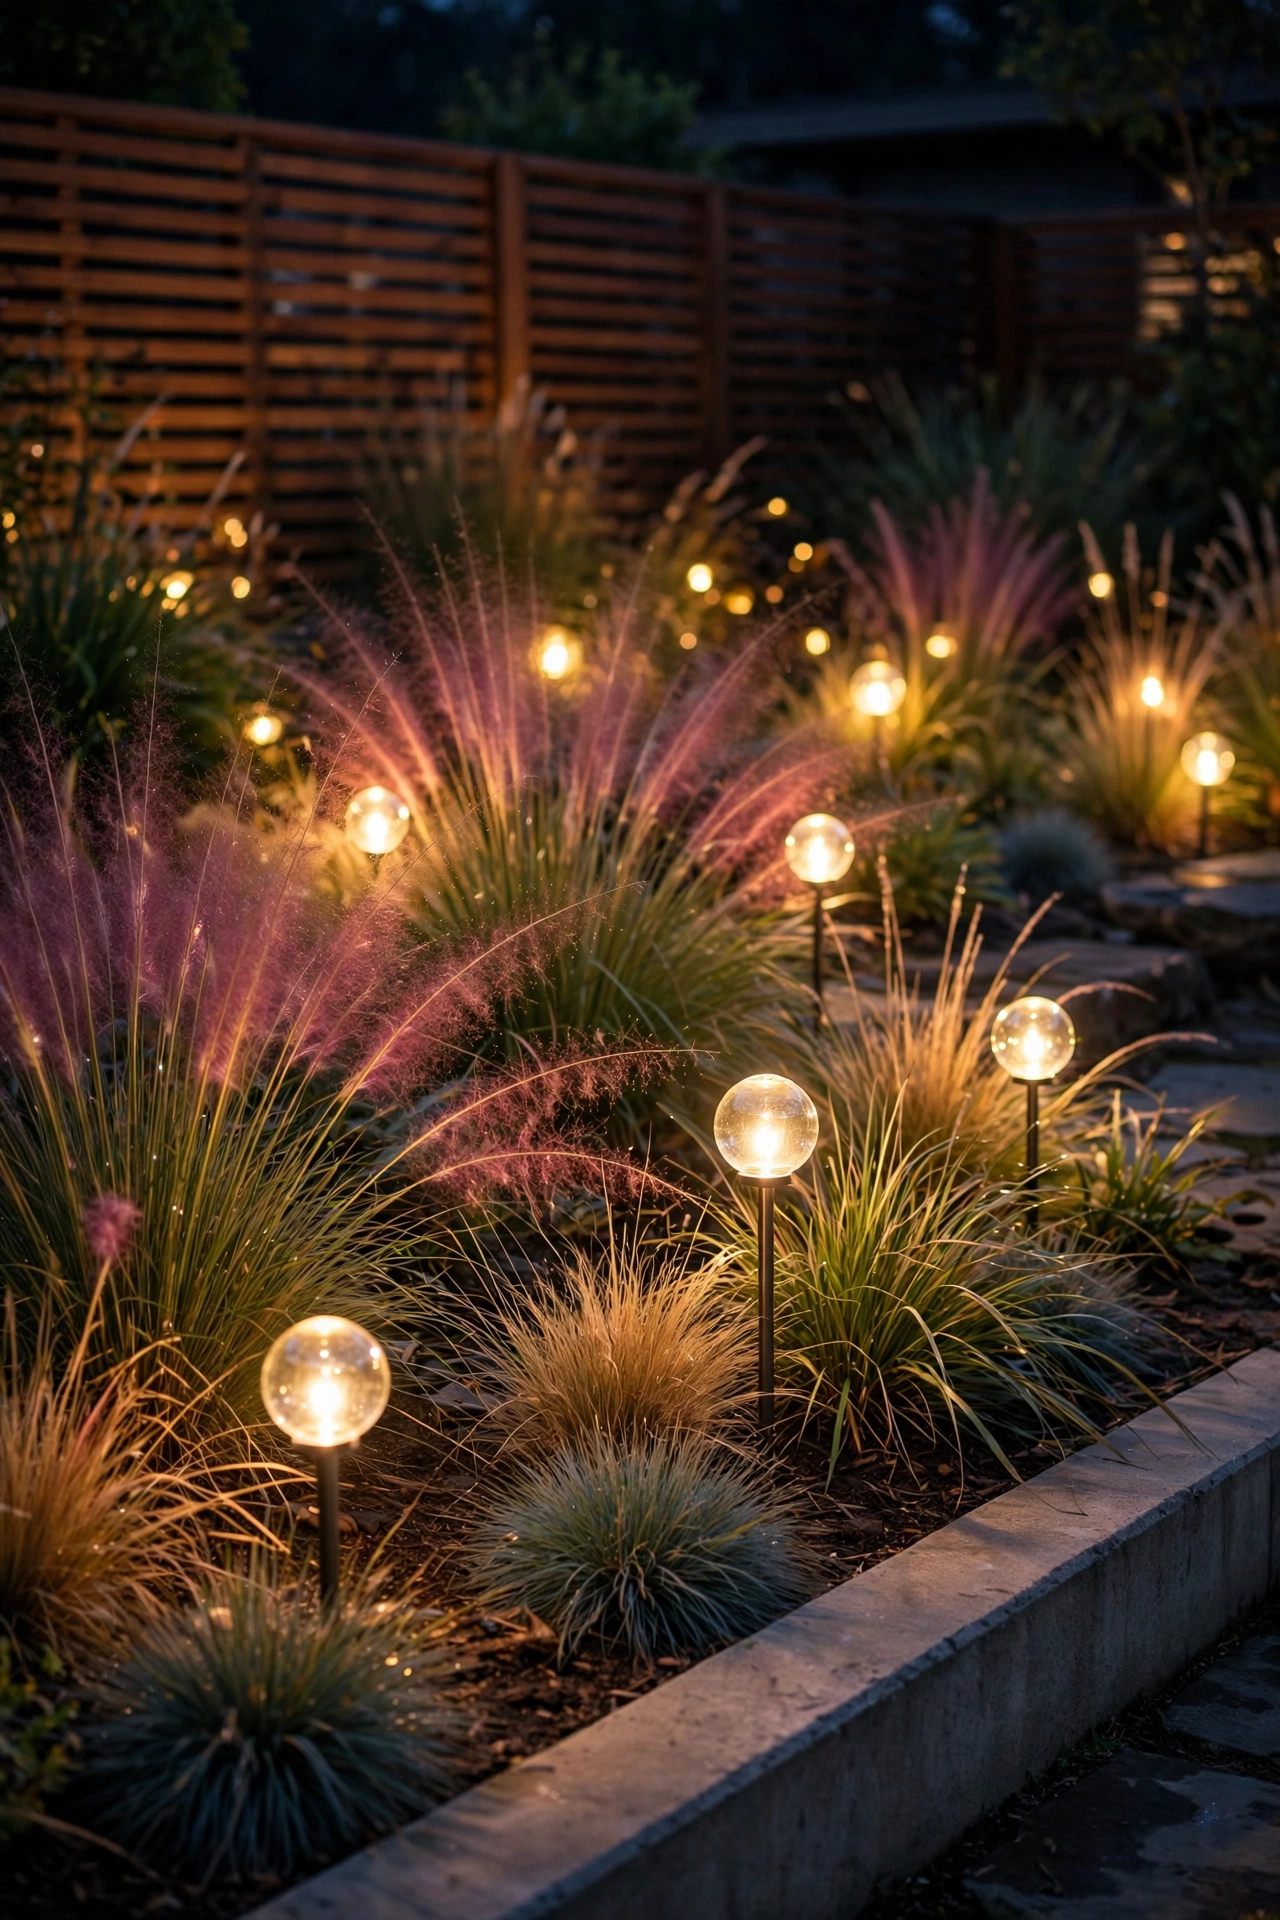
For the planting beds — ornamental grasses, sculptural agaves, low mondo grass borders — mini globe stake lights are the MCM finishing touch. These little 12-inch stakes topped with frosted glass globes read as modernist punctuation marks scattered through the landscaping. Push them 6 to 8 inches into the soil along the bed edges, spaced 8 to 10 feet apart in a loose, organic rhythm — resist the urge to line them up like soldiers; asymmetry is the whole point of the style.
Solar versions are the easy win here since beds are usually in open sun: just make sure the little solar panel on each stake faces south and isn't shaded by the very plants it's lighting, or you'll get dim, half-charged performance. Look for warm-white 2700K solar stakes with a dusk-to-dawn sensor built in. In shadier beds, go low-voltage wired stakes on the same transformer run as your path lights instead. Either way, wipe the globes and solar panels clean once a season — a film of dust can cut output noticeably. These are accent lights, not security lights, so embrace their softness: a bed of agaves with glowing globes peeking through is one of my favorite nighttime views in any garden.
Suggested budget range: $15 – $45.
15. Smart Dusk-to-Dawn Porch Fixture With a Vintage Filament Bulb
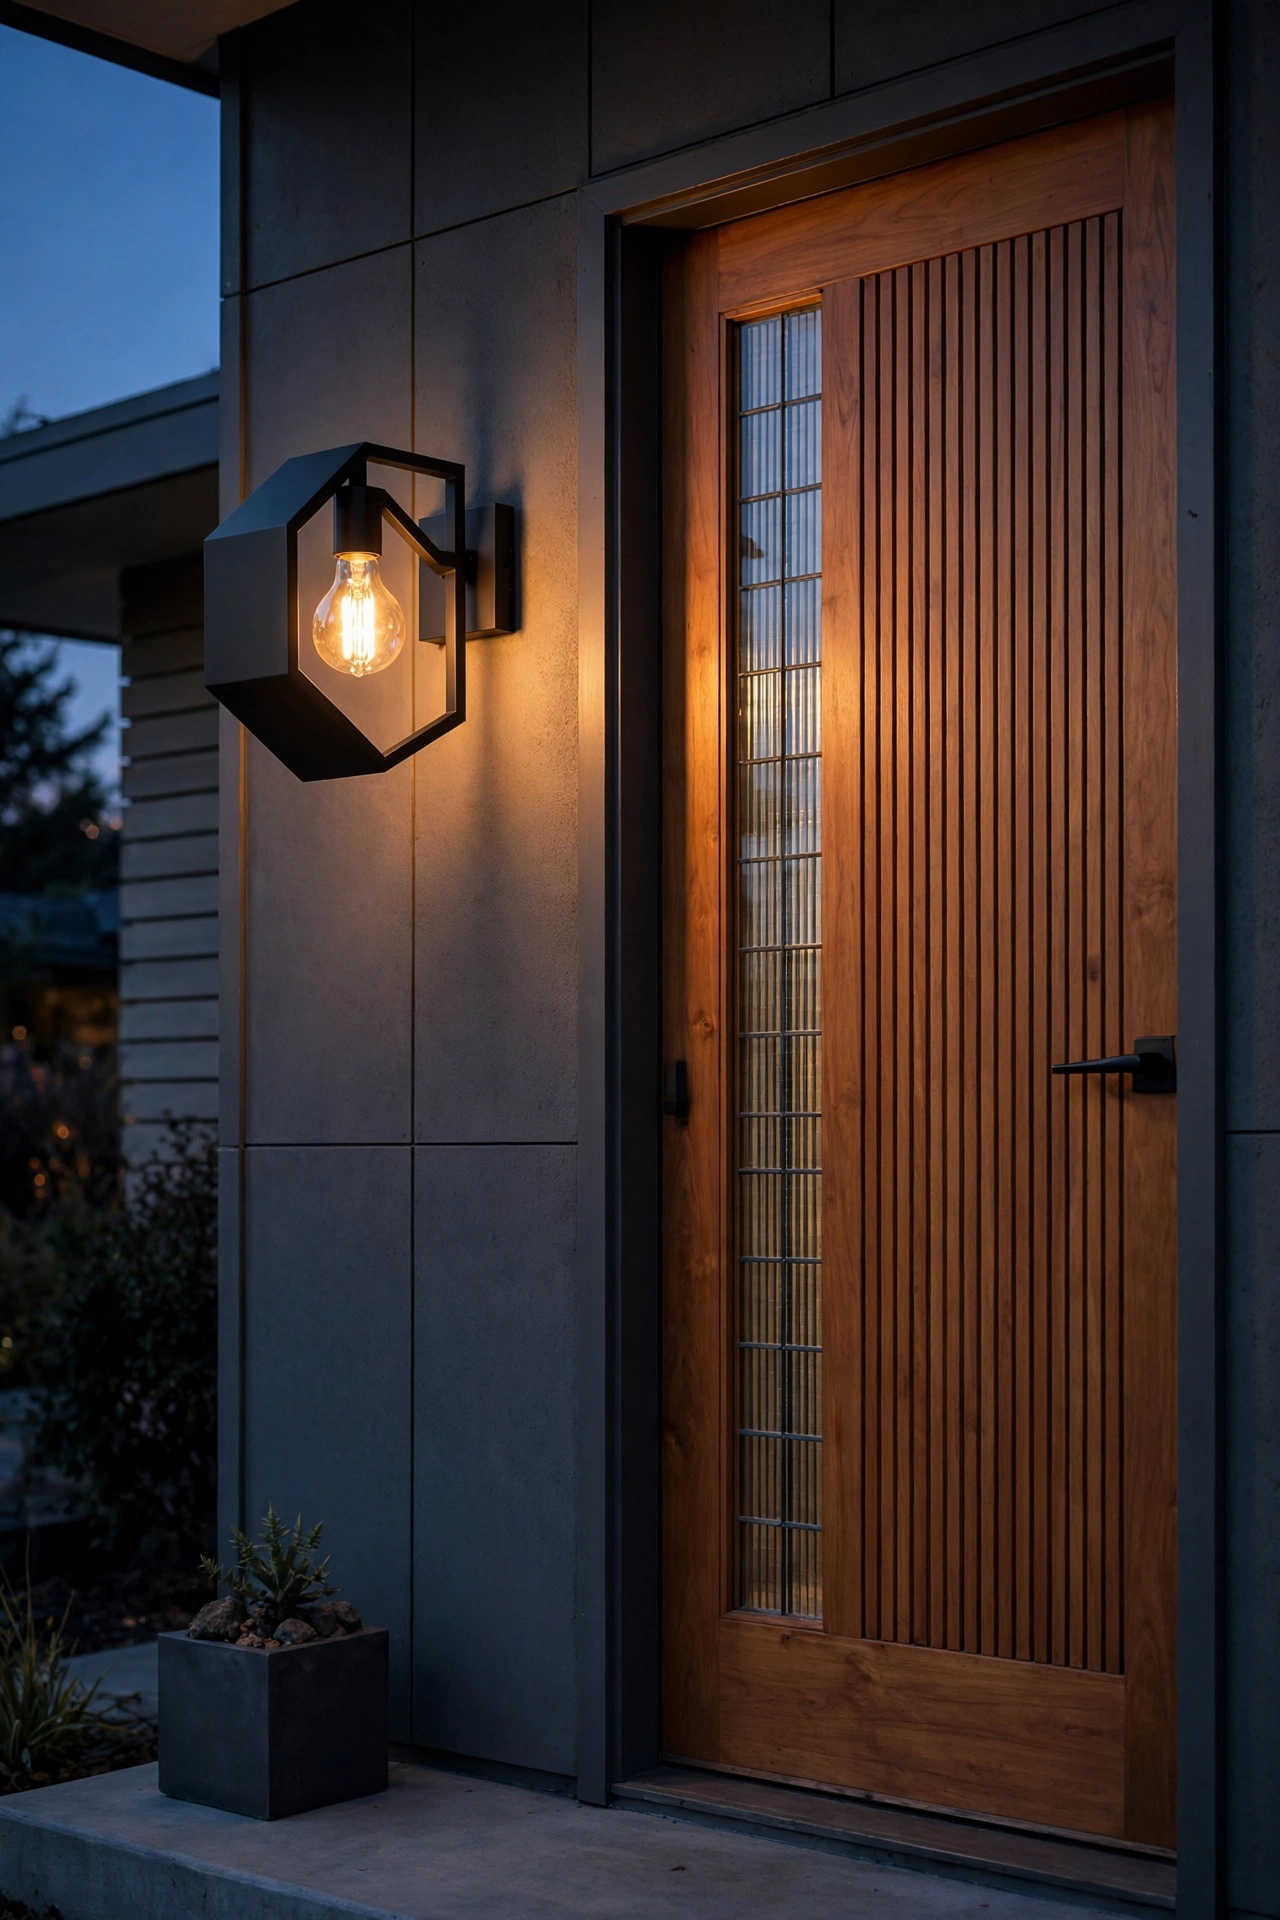
Let's end with the workhorse: a single geometric porch fixture — a matte-black or brass cage, cone, or angled shade in a clean mid-century silhouette — paired with a smart vintage-style filament LED bulb. The fixture gives you the MCM look; the smart bulb gives you the brains. Screw in a 2200K to 2700K filament-style LED (I like the extra-amber 2200K for a true vintage feel), then program it to switch on at sunset, dim to 50 percent at midnight, and switch off at sunrise — all from your phone.
Mount it beside the door at the same 66-inch center height as any other entry sconce, on a wet-rated junction box with a proper gasket. The beauty of the smart-bulb approach is that you don't need to rewire anything for timers or photocells — the bulb handles it. Just make sure your porch Wi-Fi reaches reliably; a weak signal is the number-one cause of "my smart bulb stopped working" complaints. Also keep the fixture's motion or dusk sensor (if it has one) pointed away from swaying branches to avoid false triggers all night. Safety note: buy bulbs from reputable makers with UL or ETL listings — cheap no-name smart bulbs and outdoor junction boxes are not a combination to gamble on. It's the easiest upgrade on this list, and it modernizes the whole entry in an afternoon.
Suggested budget range: $55 – $180.
Frequently Asked Questions
What color temperature is best for mid century modern outdoor lighting?
Stick with warm white — 2700K is the sweet spot, and 2200K to 2400K works for an extra-vintage, candlelit feel on patios and porches. Mid-century design is all about warm wood, brass, and cozy interiors, and cool or daylight bulbs (4000K and up) will fight that palette and make wood siding look gray and flat. Keep every fixture on the same property at the same color temperature so the whole exterior reads as one cohesive composition instead of a patchwork of warm and cool.
How do I weatherproof globe pendants and other MCM fixtures outdoors?
Start by matching the fixture's rating to its exposure: wet-rated for anything rain can touch, damp-rated only under a fully covered roof. Seal mounting canopies with outdoor-rated caulk, use silicone gaskets behind wall plates, and make all wire connections in waterproof gel-filled connectors. For glass globes, choose fixtures with drainage weep holes so condensation escapes, and avoid paper or fabric shades anywhere except fully covered patios. A yearly check of gaskets and seals takes ten minutes and prevents most moisture failures.
Can I mix mid-century modern fixtures with modern LED technology?
Absolutely — and honestly, you should. LED filament-style bulbs were made for this: they mimic the look of vintage Edison bulbs while running cool and sipping electricity. Pair any MCM fixture — starbursts, globes, cones — with dimmable 2700K LEDs and you'll get the 1958 look with 2026 efficiency. Smart LED bulbs add dusk-to-dawn scheduling and dimming without rewiring, which is perfect for retrofitting original fixtures on older MCM homes. Just avoid actual vintage incandescent bulbs outdoors: they burn hot, burn out fast, and waste energy.
Do I need an electrician to install mid-century modern outdoor lighting?
It depends on the project. Low-voltage landscape lighting (12-volt path lights, spotlights, and strip lights) is genuinely DIY-friendly — the cables bury in a shallow trench and the transformer plugs into a GFCI outlet. But anything hardwired at line voltage — new sconces on existing boxes aside, adding circuits, recessed soffit lights, or chandeliers — calls for a licensed electrician. A good rule: if you're opening a breaker panel or cutting into a ceiling, call a pro. Swapping a fixture onto an existing, properly rated junction box is the one hardwired task most confident DIYers can handle safely.
Wrapping Up Your Mid Century Modern Outdoor Lighting
Mid century modern outdoor lighting works because it respects the architecture — geometric fixtures that rhyme with post-and-beam lines, warm 2700K light that flatters wood and brass, and that layered approach of ambient glow, accent drama, and practical brightness working together. Start with the entry (starburst sconces are never wrong), add pendants or soffit lights along those gorgeous eaves, then layer in landscape accents until the whole property hums. You don't need all fifteen ideas — even three or four, done well, will make your home the one everyone slows down to look at after dark. For more ways to light every corner of your exterior, browse the rest of our lighting ideas and find your next project.