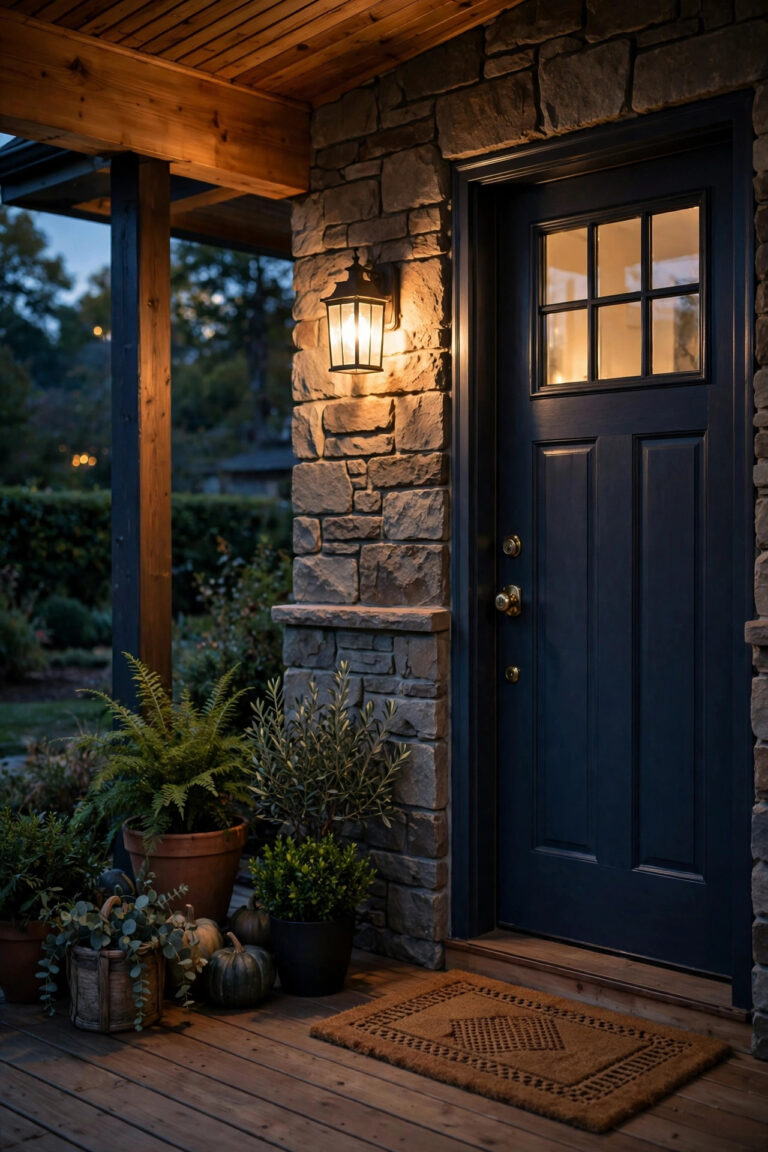
If your side yard is where the trash bins live, the AC unit hums, and the garden hose goes to tangle itself, you are not alone — it is the hardest-working strip of most homes and usually the darkest. The good news is that utility side yard lighting ideas follow the same layering rules I use in the pretty parts of the yard: a practical working layer so you can haul bins at 10 p.m. without your phone flashlight, a soft glow layer so the passage feels cared for instead of forgotten, and one or two accent touches that make the screens and fences look intentional. In this post I will walk you through 15 ways to light the narrow passage, the bin pad, the meter wall, and the condenser corner — with real spacing numbers, honest budgets, and the safety clearances that matter around equipment. Nothing here is fancy or expensive. Most of it is weekend work with a screwdriver, a ladder, and a plan, and the difference at night is honestly bigger than any single project I have done in the front yard.

1. Plan Your Utility Side Yard Lighting Ideas in Three Zones
Before you buy anything, walk the side yard after dark with a notepad and split it into three zones. Zone one is the work zone: the bin pad, the meter, the AC unit, anywhere you need to actually see what your hands are doing. Zone two is the passage itself, the route from gate to backyard that needs safe, even footing light. Zone three is the backdrop: the fence line and any screens, which take the soft decorative layer. This little audit drives every purchase, because in my experience the classic side yard mistake is one bright fixture blasted at the bins while the path stays pitch black. Note where your outdoor outlet sits and whether it is GFCI protected, measure how wide the passage is in feet, and check how much direct sun the strip gets at noon — that one detail decides solar versus wired later. Take a phone photo from the gate and one from the back corner. Fifteen minutes of planning now saves real money and a lot of re-mounting later.
Suggested budget range: $0 – $40.
2. Hang a Motion-Sensor Floodlight Over the Bin Pad
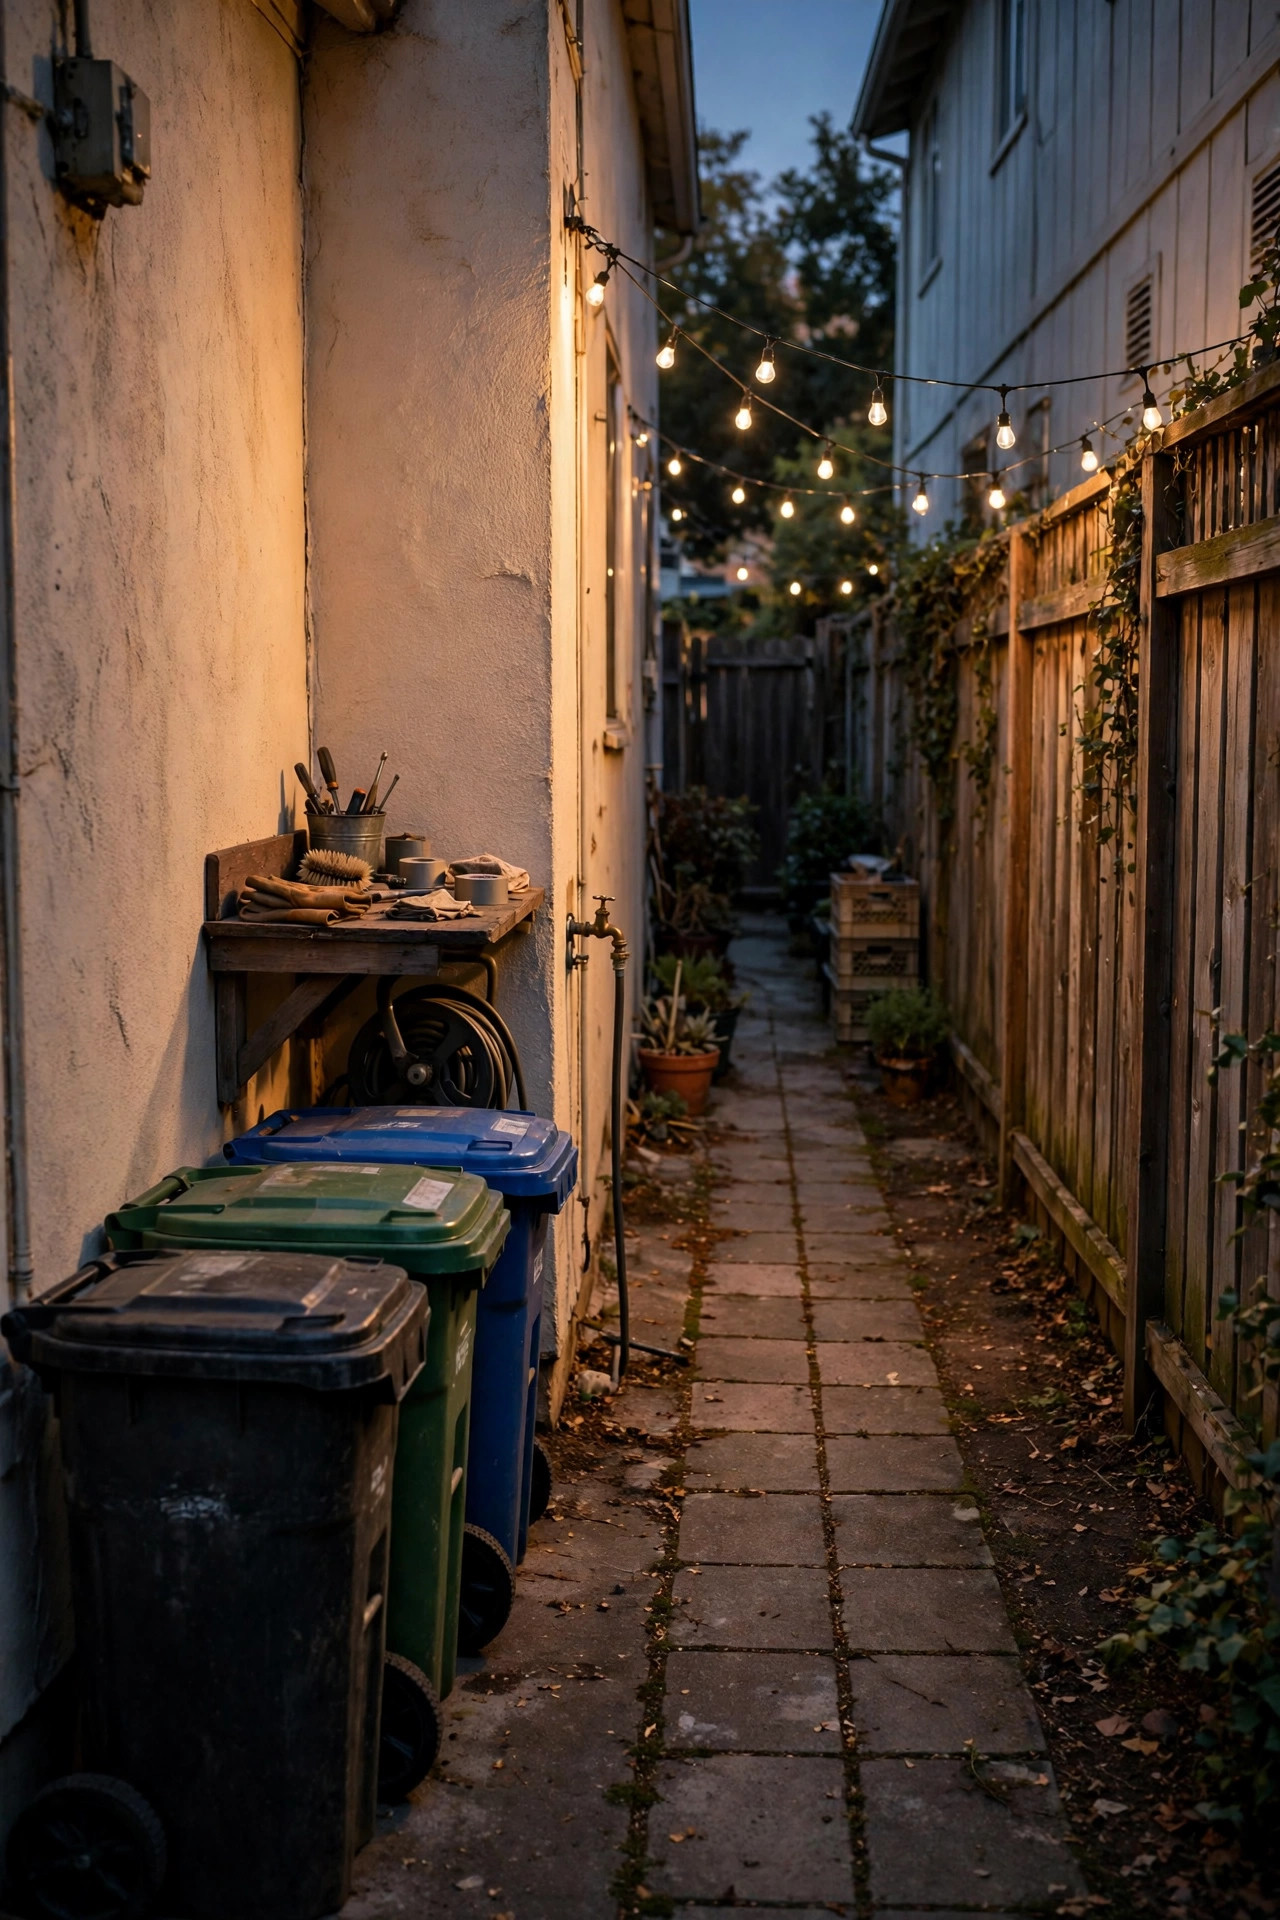
The bin pad is a work area, so treat it like one. A dual-head LED floodlight with a motion sensor, mounted 8 to 10 feet up on the house wall, turns the whole chore from a flashlight juggle into a ten-second trip. Choose warm output — 2700K to 3000K and around 1,600 to 2,200 lumens — because harsh blue-white security light makes everything look like a loading dock. Aim one head at the bins and the other down the passage, angle the sensor across the path of travel rather than straight at it, and set the timer for one to five minutes so it shuts off before it bothers anyone. Most models have a sensitivity dial; set it so cats crossing the fence do not trigger a light show, but a person at the gate does. Hardwired models tie into an existing junction box, while a solar motion flood works surprisingly well on a sunny wall if wiring is not an option. My motion sensor outdoor lights guide covers placement mistakes and override modes in more detail if you want to fine-tune it.
Suggested budget range: $35 – $90.

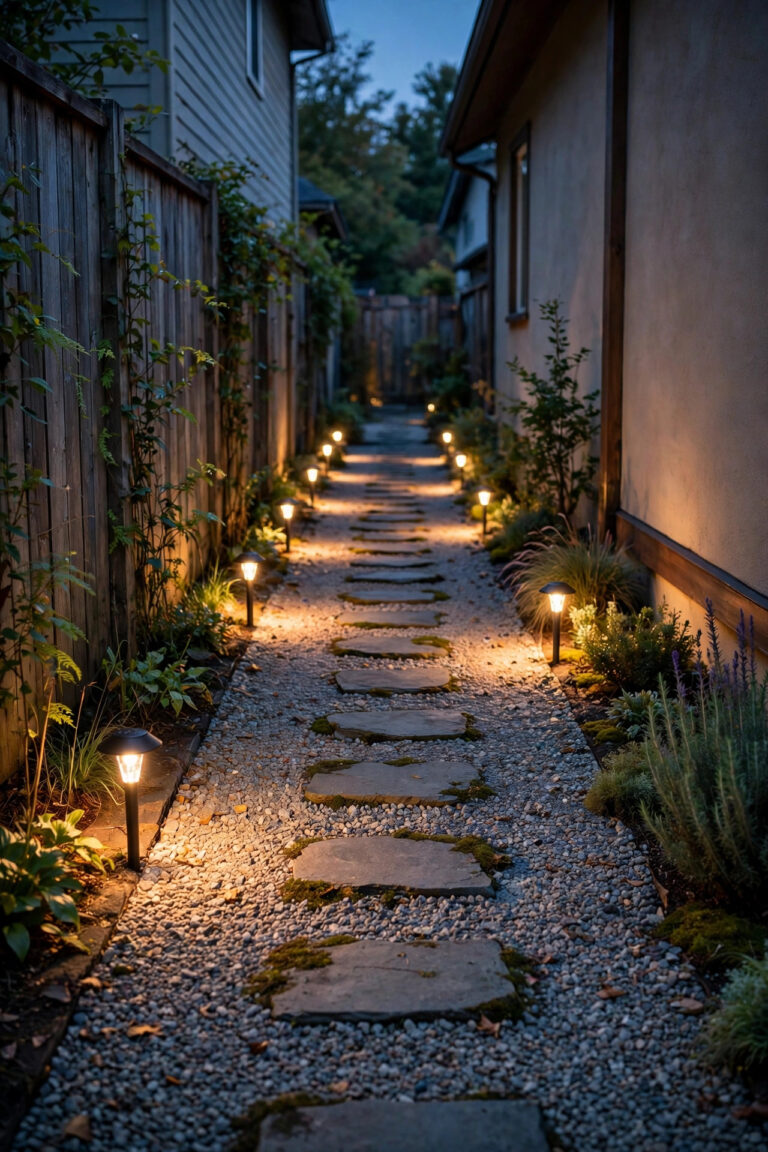
3. Run Low-Voltage Path Lights Down the Passage
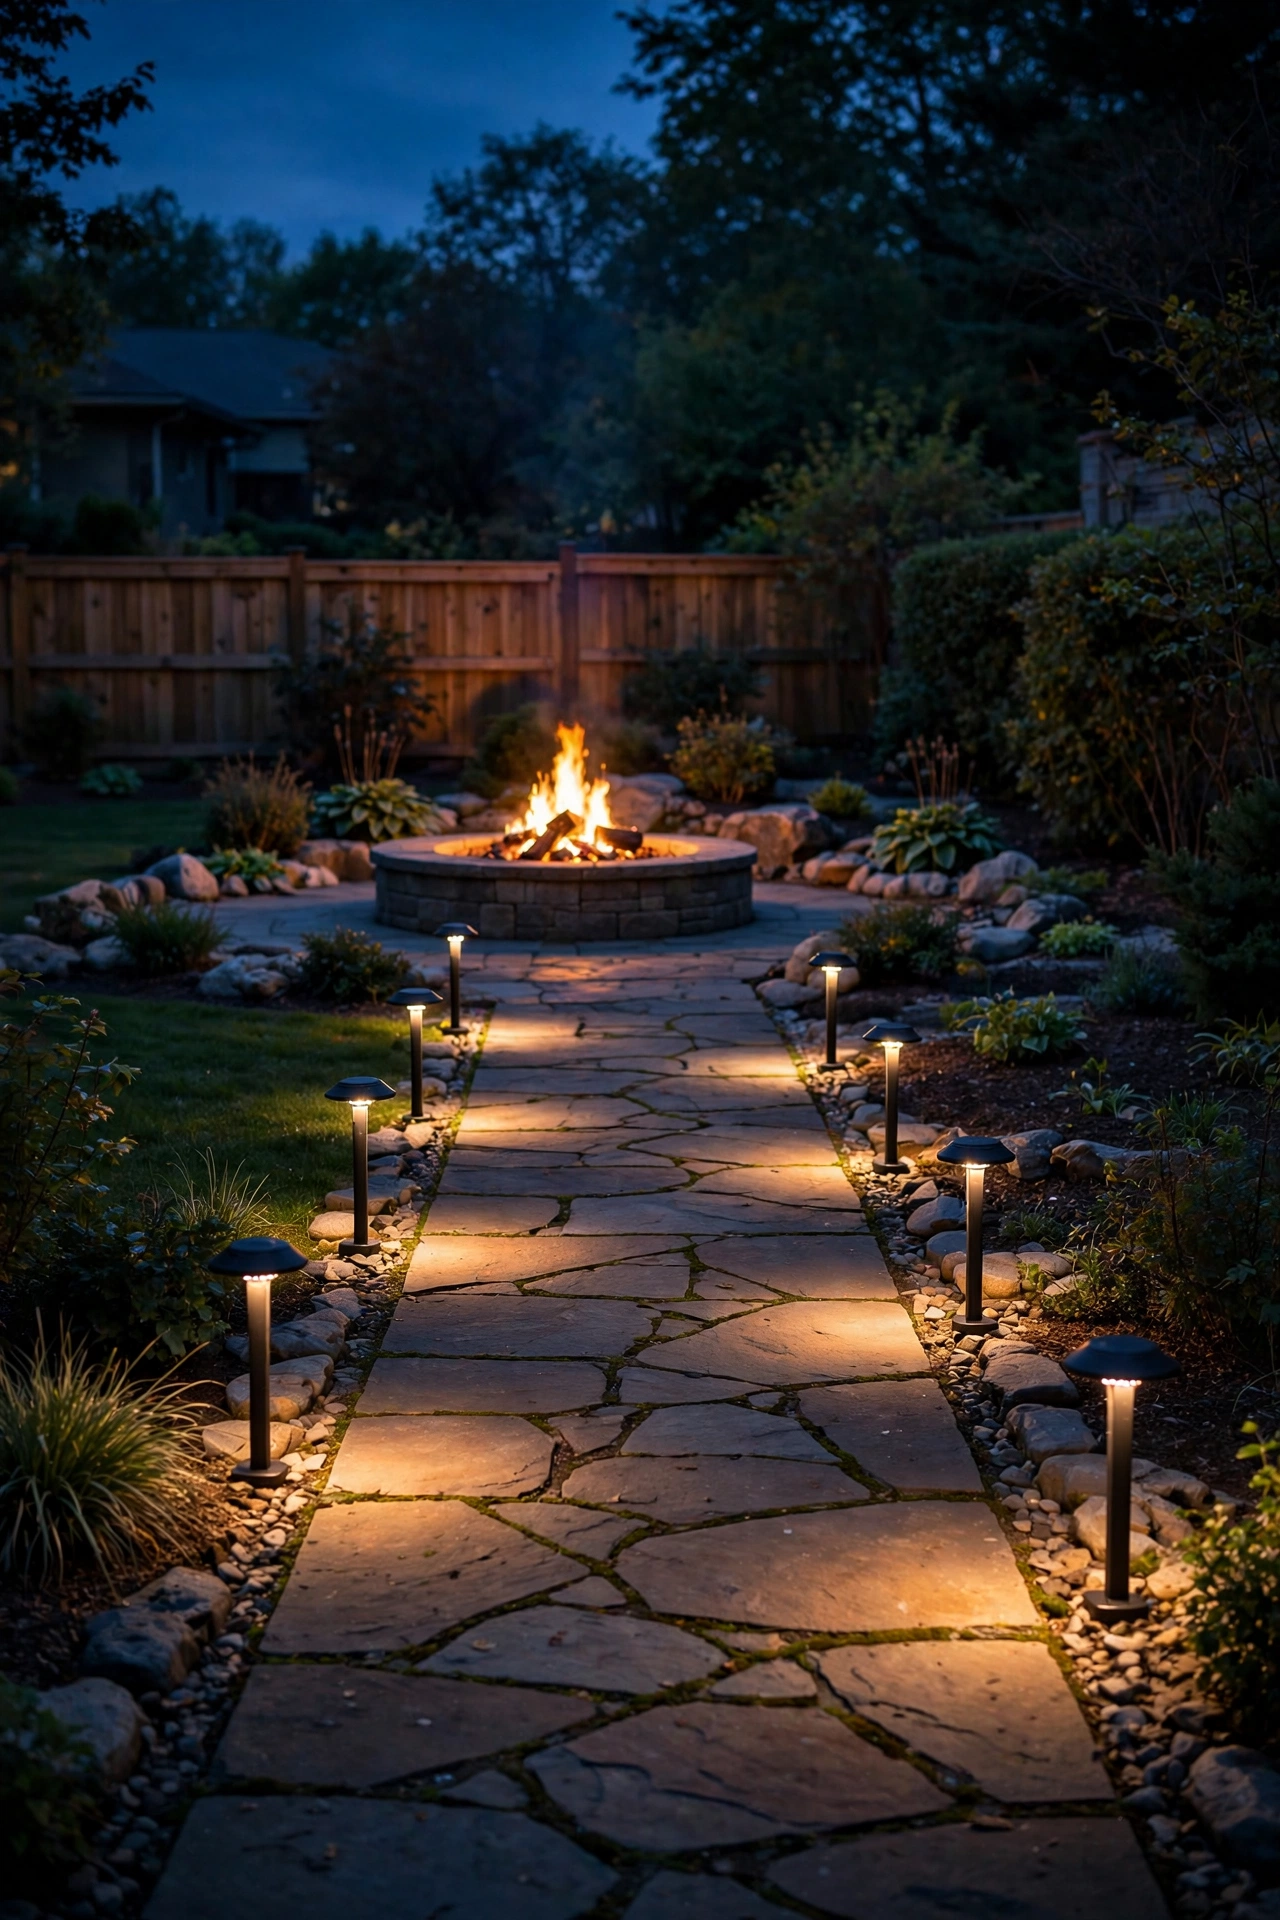
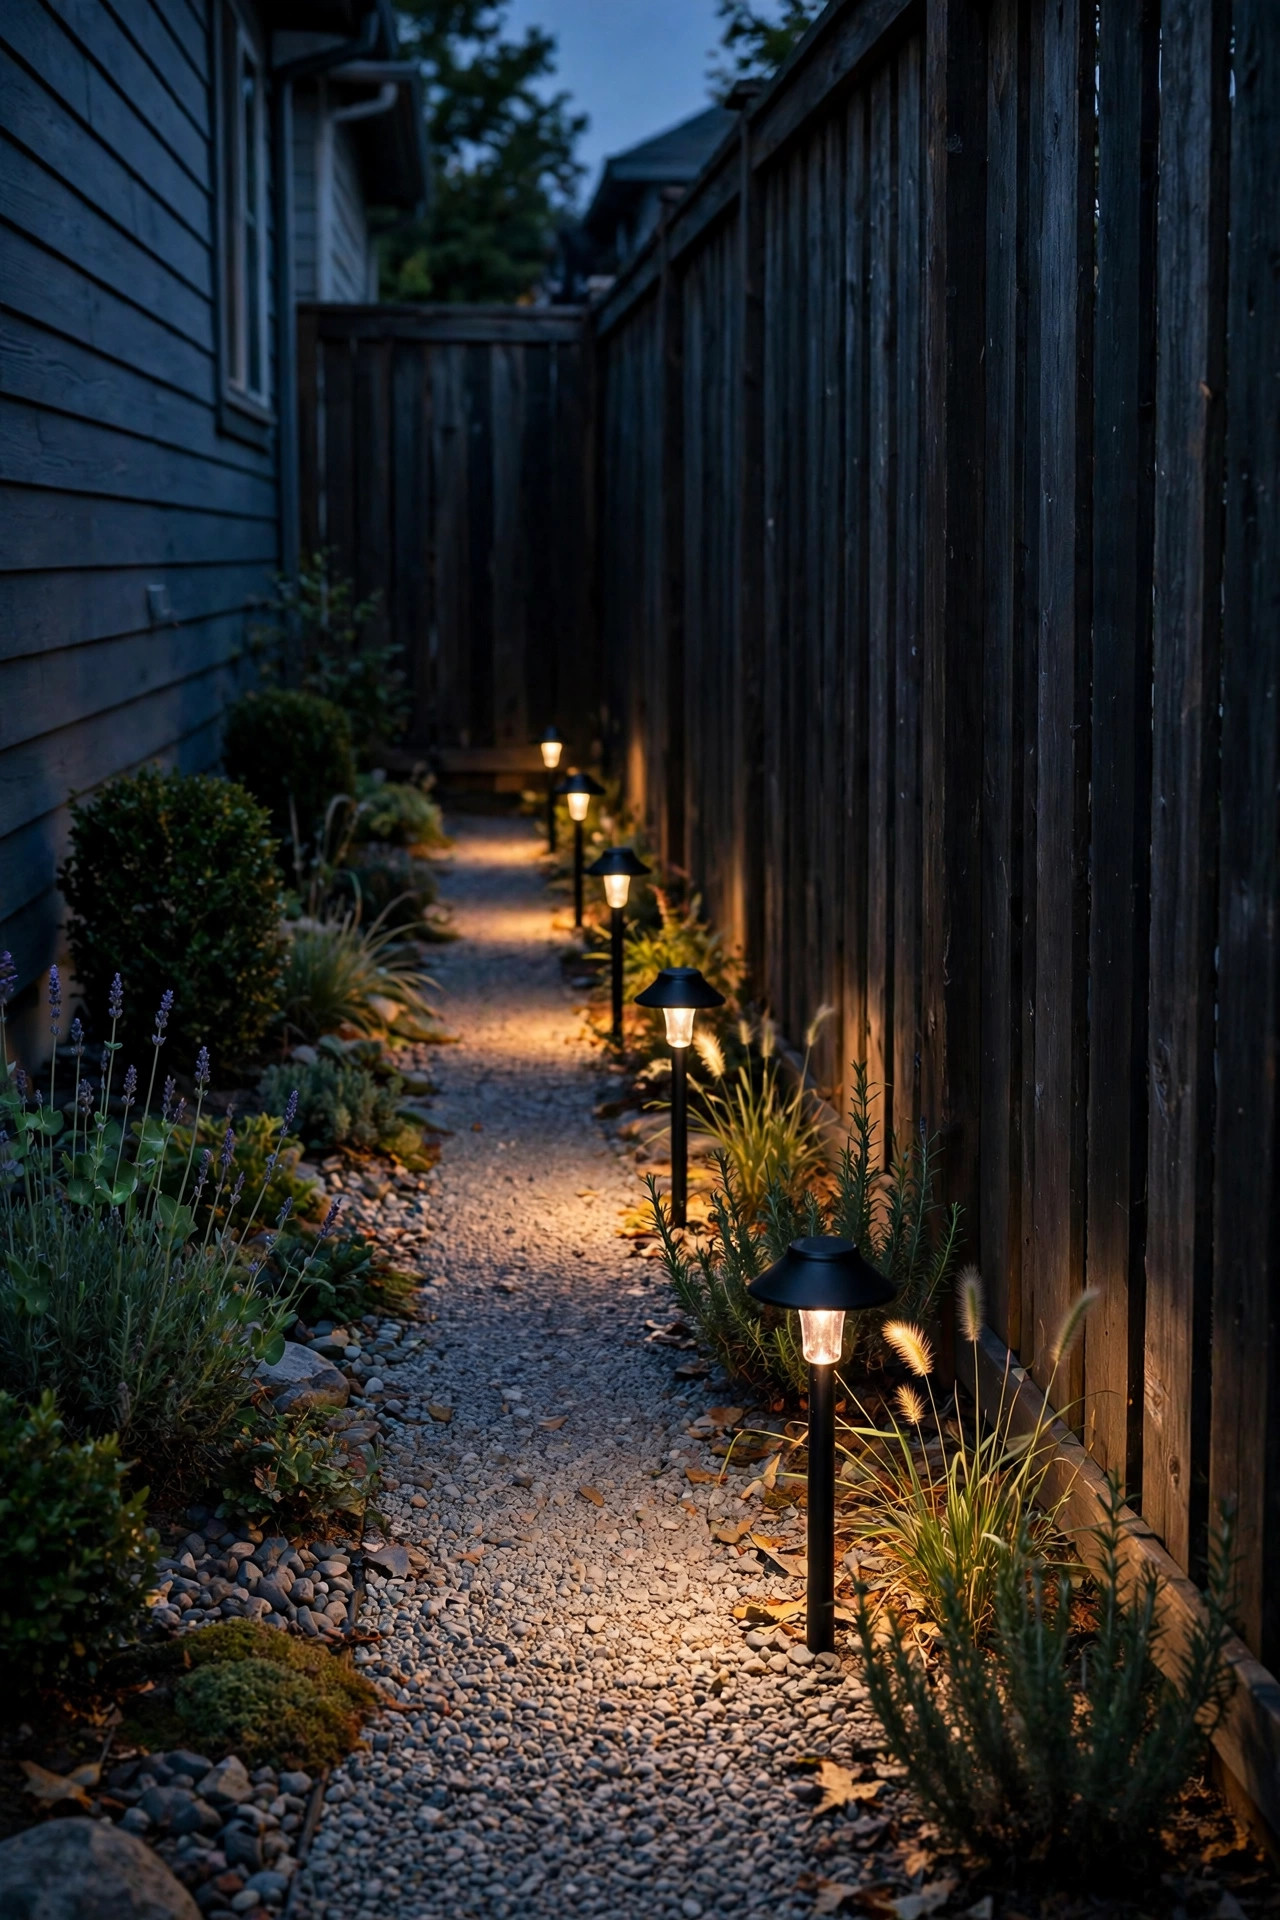
For the passage itself, low-voltage path lights are the workhorse I recommend most. A 12-volt system is safe to install yourself, sips electricity, and gives a steady, even line of light that solar stakes in a shaded corridor simply cannot match. Space fixtures every 4 to 6 feet along the fence side of the path, staggered if the passage is wide, and pick small shielded heads that throw light down onto the gravel or pavers instead of sideways into your eyes. Aim for 100 to 200 lumens per fixture at 2700K — enough to see the hose, the sprinkler heads, and the occasional toy without turning the strip into a runway. Bury the cable about 6 inches deep, or tuck it along the base of the fence where a trimmer will not find it. Land the transformer on a GFCI-protected outlet and put it on a timer or photocell so the run lights itself at dusk. One honest tip: buy one or two spare fixtures from the same line now, because matching a discontinued style three years later is a headache.
Suggested budget range: $120 – $280.
4. Add a Dusk-to-Dawn Sconce Beside the Side Door or Gate
Every side yard has one door or gate you use in the dark more than you admit — mine is the gate latch I used to unlock by feel. A single dusk-to-dawn sconce beside it fixes that for pennies a year. Photocell fixtures switch themselves on at sunset and off at sunrise, so there is no switch to forget and no timer to reset after a power blip. Mount it 5 to 6 feet high beside the latch side of the gate or next to the utility door, and pick a wet-location-rated fixture with a frosted or downward-facing lens so the bulb never glares. A 450 to 800 lumen LED at 2700K is plenty for a latch, a key, and safe footing. If the wall takes a beating from the weather, choose powder-coated aluminum or composite housing that will not rust-streak your siding. This is honestly the least glamorous idea in the post, and the one I would keep if I could only keep one.
Suggested budget range: $30 – $80.

5. Hide the Bins Behind a Backlit Lattice Screen
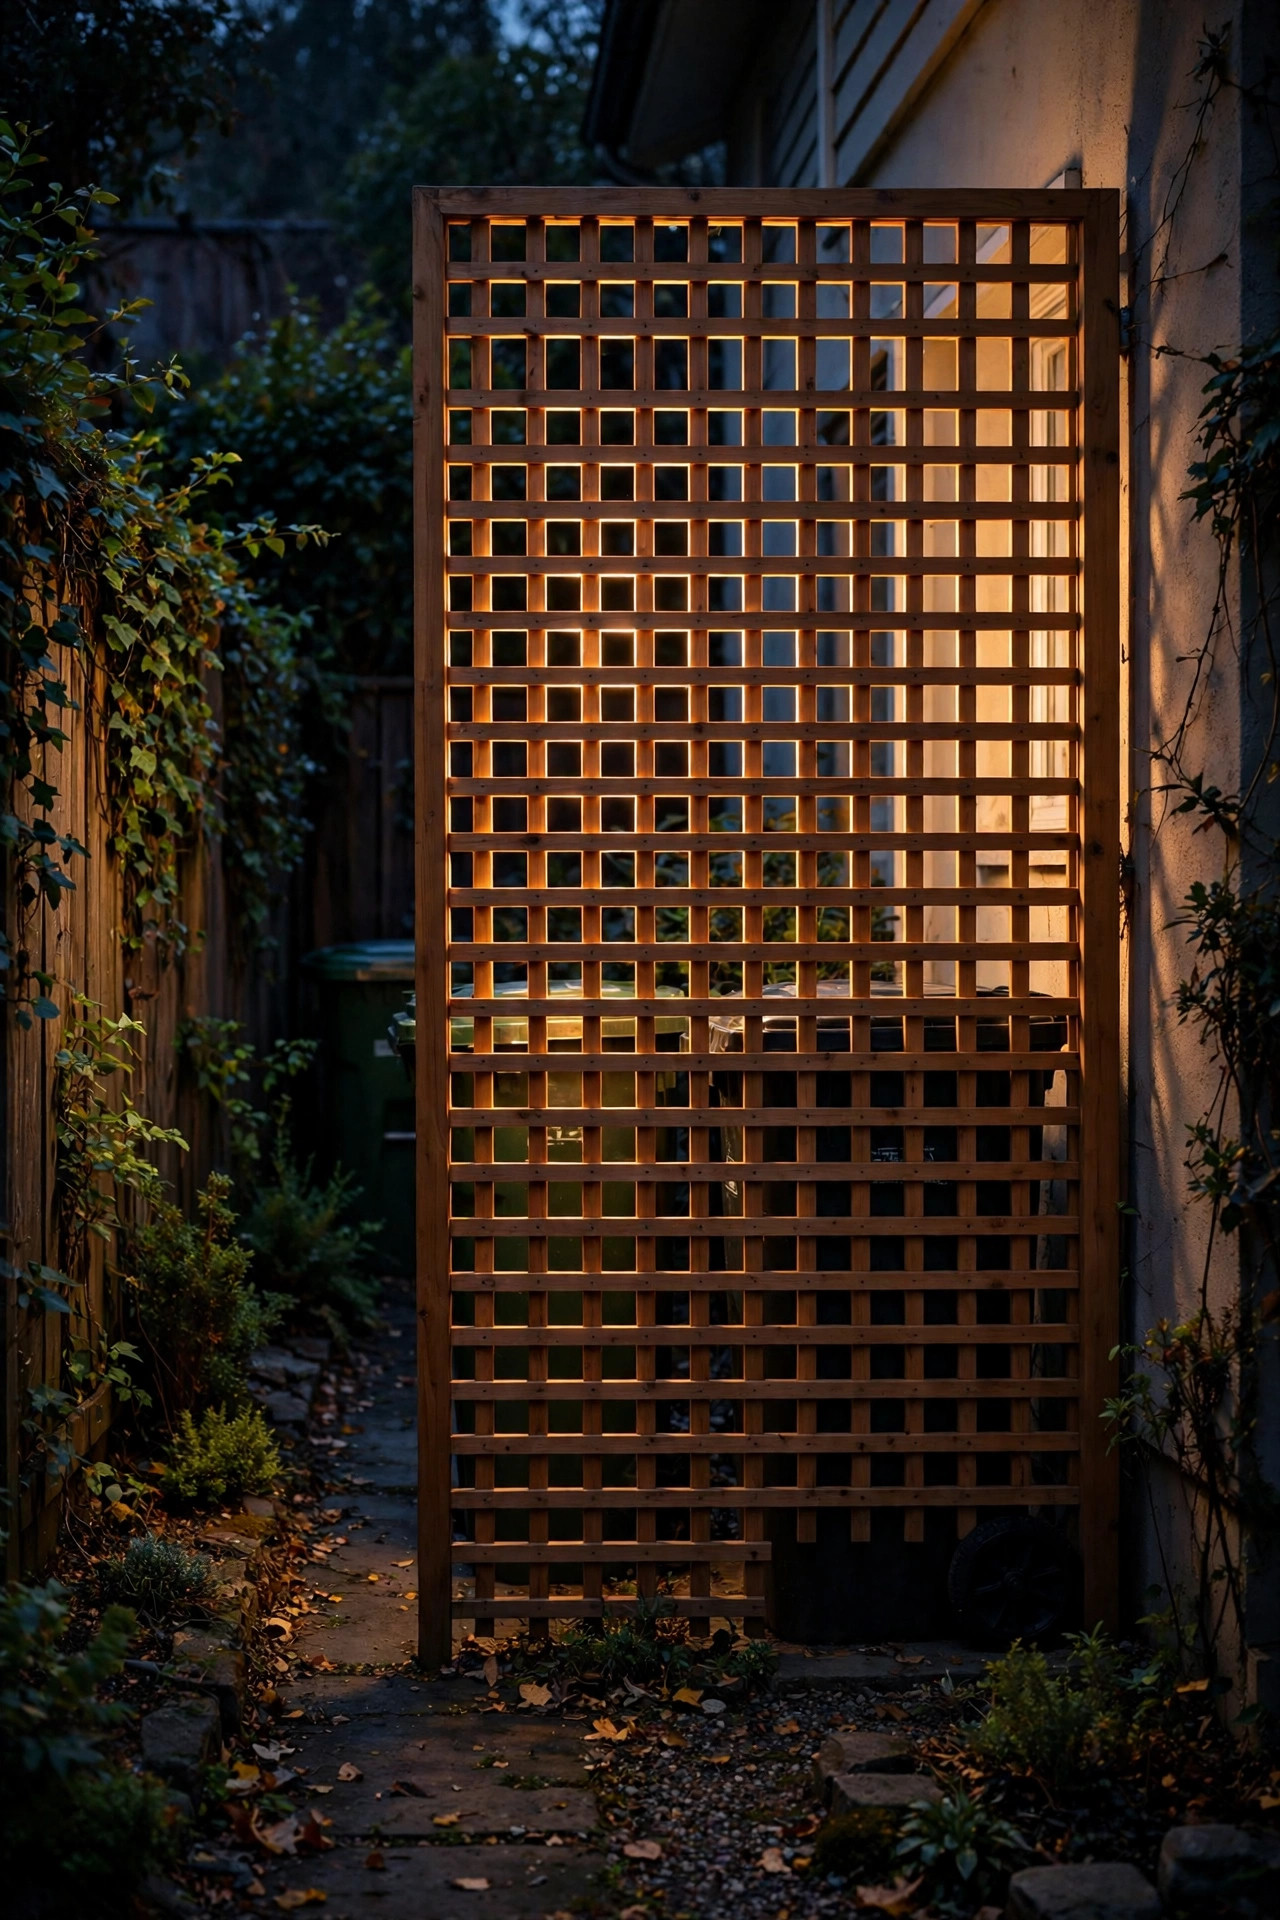
Here is where the pretty part starts. Instead of staring at bin lids, build or buy a simple lattice or horizontal-slat screen and park it 6 to 12 inches in front of the bins, leaving room for lids to swing and bins to wheel out on collection day. Then hide a waterproof LED strip or two small ground uplights in the gap behind it. At night the slats glow from within — you see a warm timber screen with light leaking softly through the gaps, and the bins behind it simply vanish. Keep the screen 4 to 5 feet tall so it hides lids and bags without reading as a fortress wall, and use exterior-grade lumber or composite that shrugs off weather. The light behind it should be gentle: 2700K, dimmable if you can, and aimed up so no bare diode is visible from the path. During the day the screen still earns its keep by breaking up the view from the street. This single project changes how the whole strip feels more than any other idea here.
Suggested budget range: $90 – $260.
6. Graze the AC Screen With a Pair of Uplights
The AC condenser is the other view-killer, and it gets the same treatment with one extra rule: never block its airflow. Build the slatted screen with at least 12 to 24 inches of clearance on the sides and several feet of open space above the fan, exactly as the unit manufacturer specifies, because a choked condenser runs hot, loud, and expensive. Then set two small uplights on the ground in front of the screen, 6 to 10 inches out, and graze the light upward across the slats. Grazing exaggerates texture, so plain flat panels suddenly look like custom carpentry. Keep fixtures low-voltage and out of the fan discharge path on top, and never mount anything to the unit itself; vibration works screws loose, and rattling lights help nobody sleep. A narrow 15 to 30 degree beam keeps the wash on the screen instead of spilling into a neighbor window. The hum stays, but honestly the corner goes from eyesore to backdrop in one evening.
Suggested budget range: $60 – $160.
7. Stake Solar Lights Along the Stepping-Stone Route
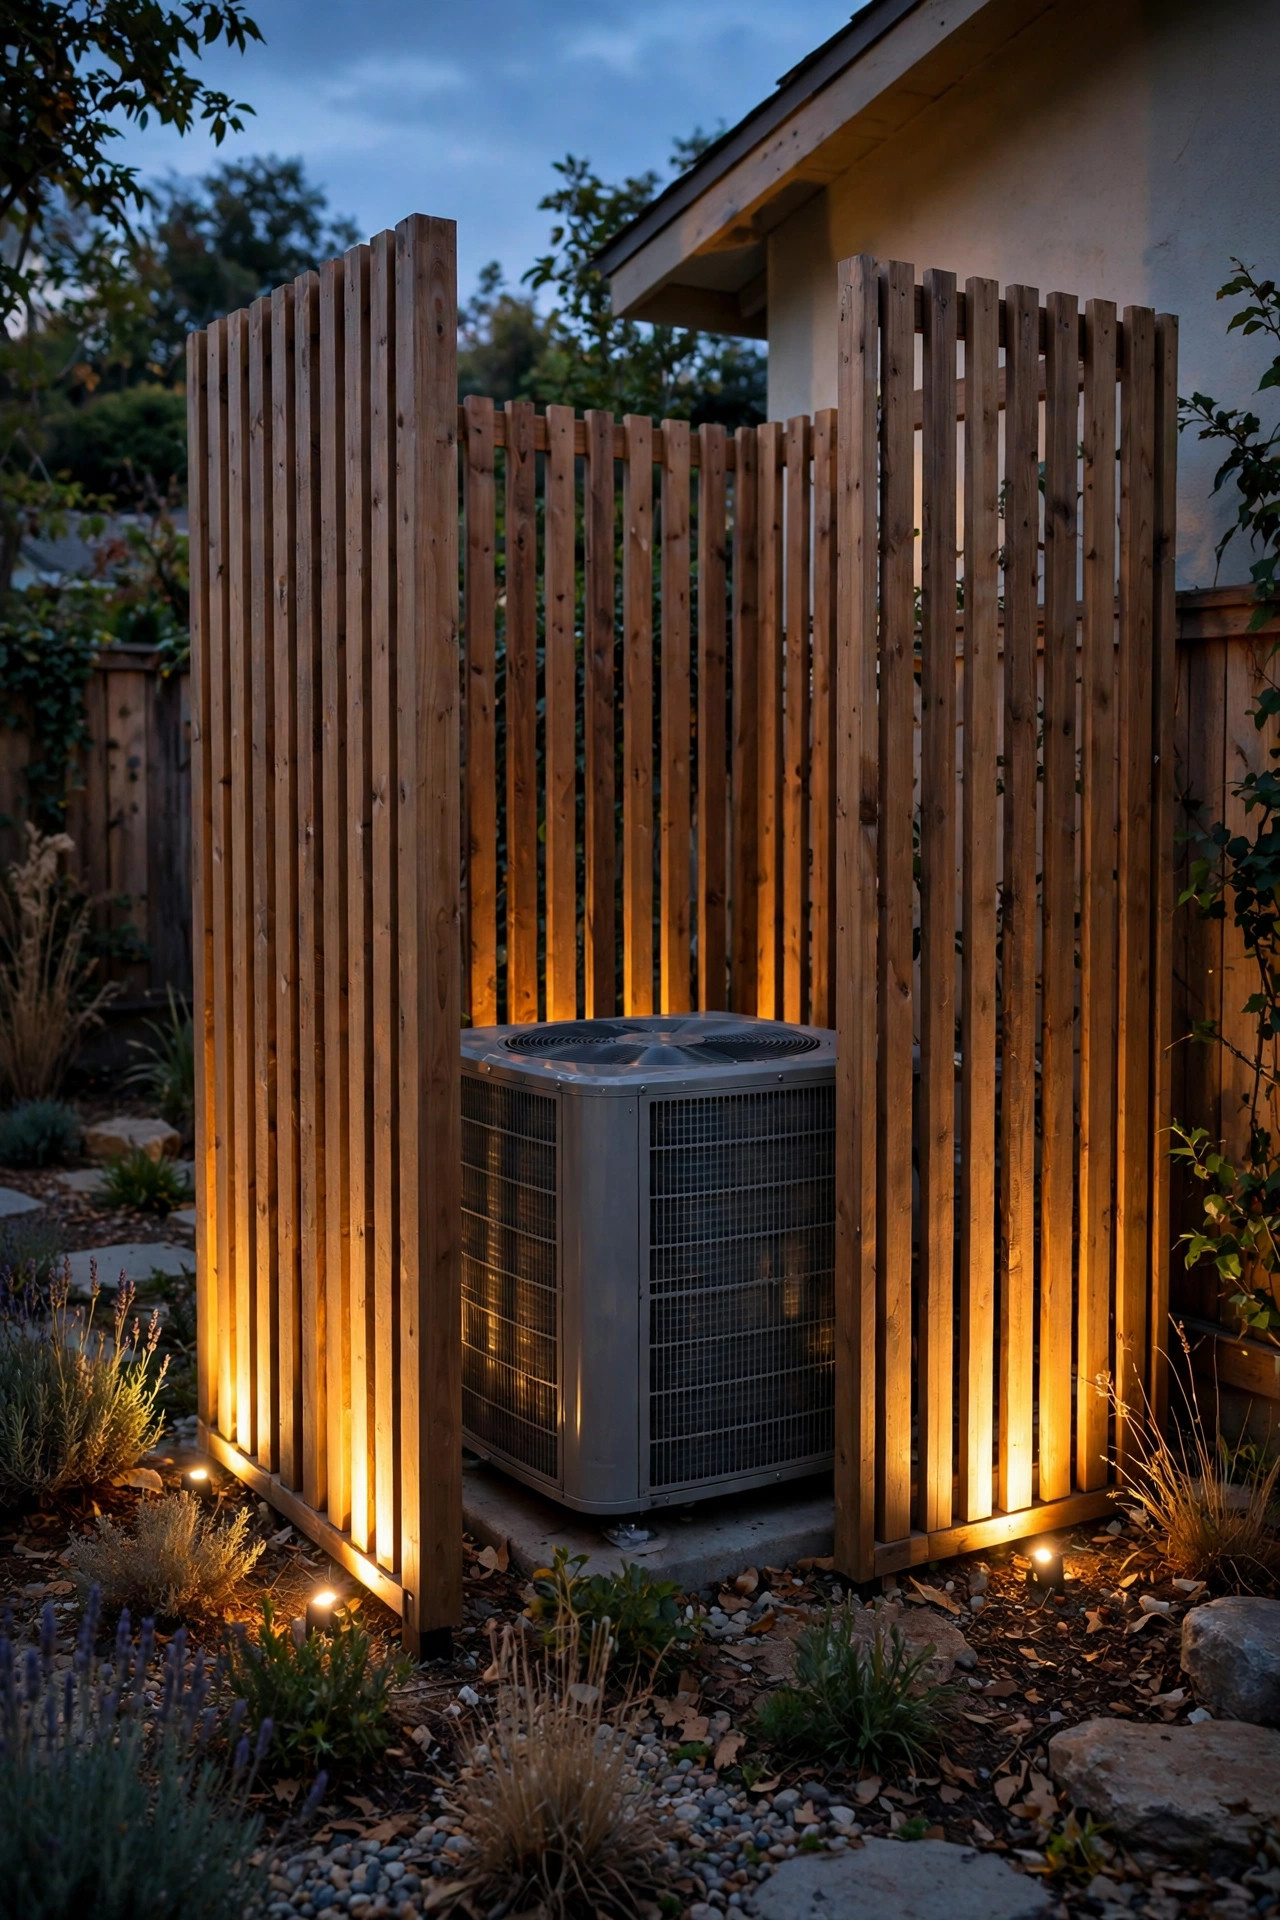
Where the side yard catches real sun, solar stake lights are the cheapest layer you will ever install — push them in, done. Line them along the stepping-stone route or the edge of the gravel, every 3 to 5 feet, on the side where feet actually land. Choose warm-white models, because the default blue-ish solar glow makes even a tidy yard look like a gas station parking lot. Here is the honest part: a narrow passage between two-story houses may only get two or three hours of direct sun, and stakes there will fade by midnight. The fix is a remote-panel set, where one panel on the sunny fence top feeds several lights in the shade, or simply accepting solar as the accent layer and letting wired light do the safety work. Clean the little panels with a damp cloth every month or so — dust and pollen film is the number one reason solar lights quietly get dimmer over a season.
Suggested budget range: $25 – $70.
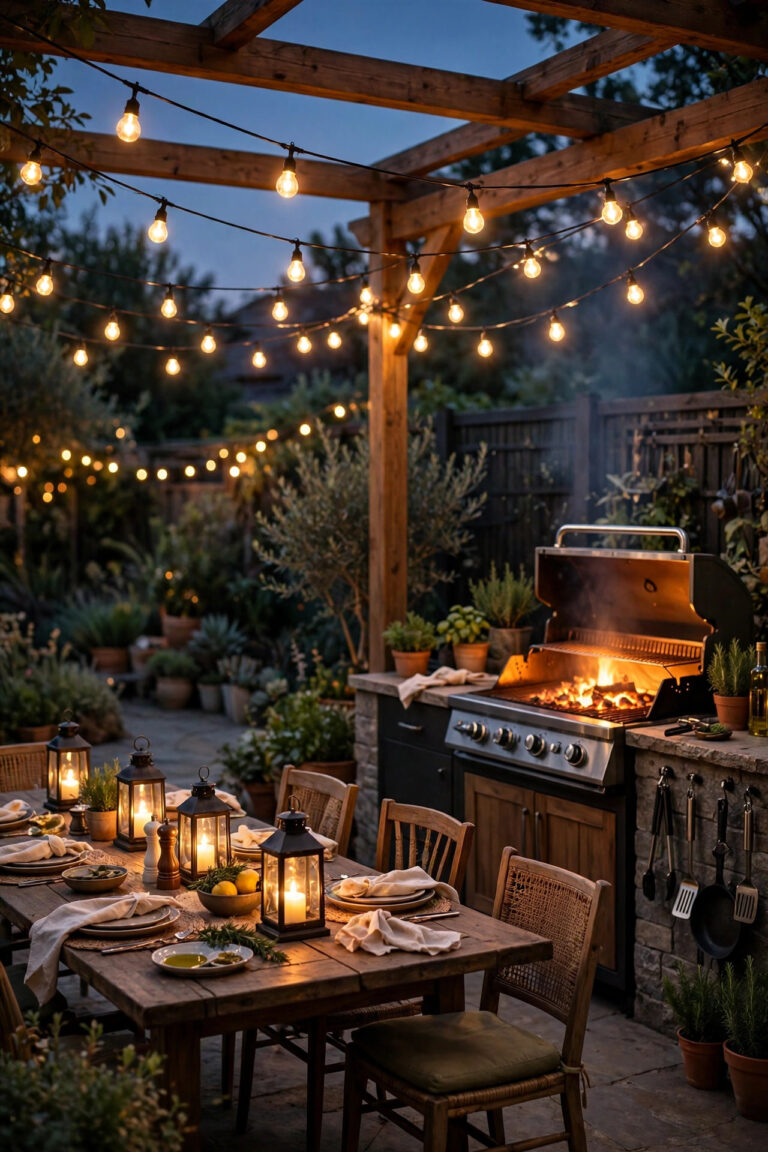
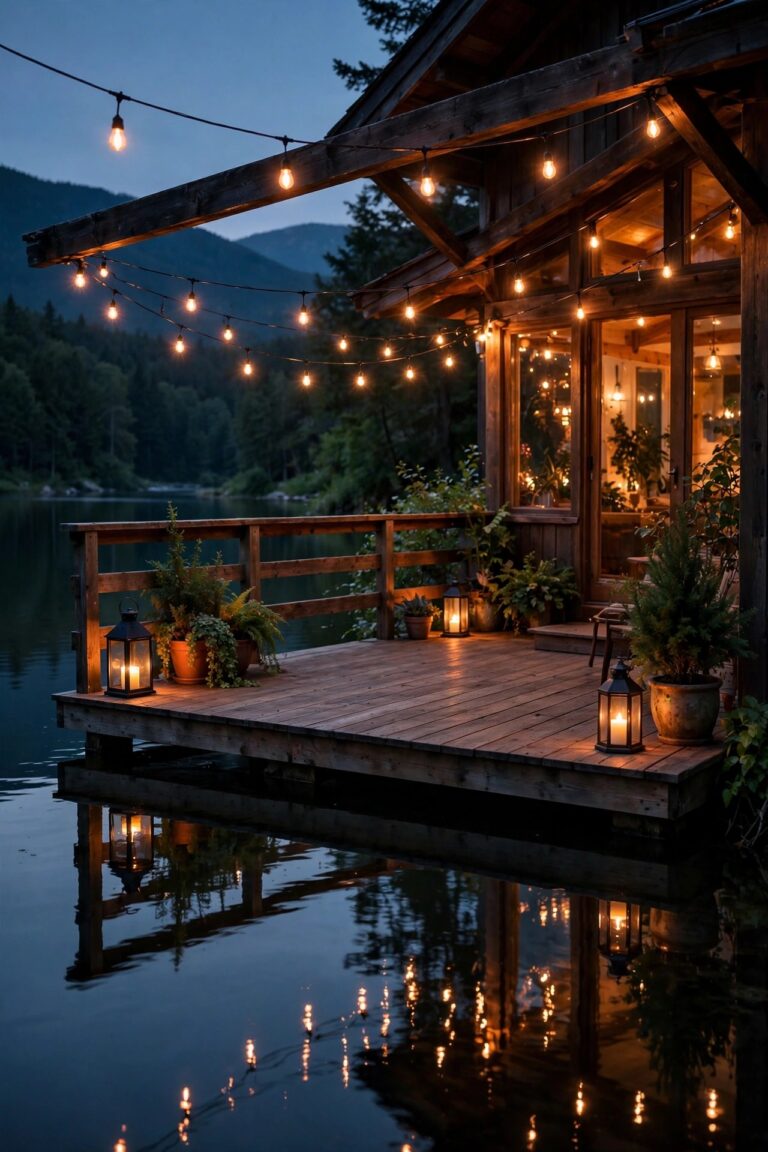
8. Swag String Lights Along the Fence Line
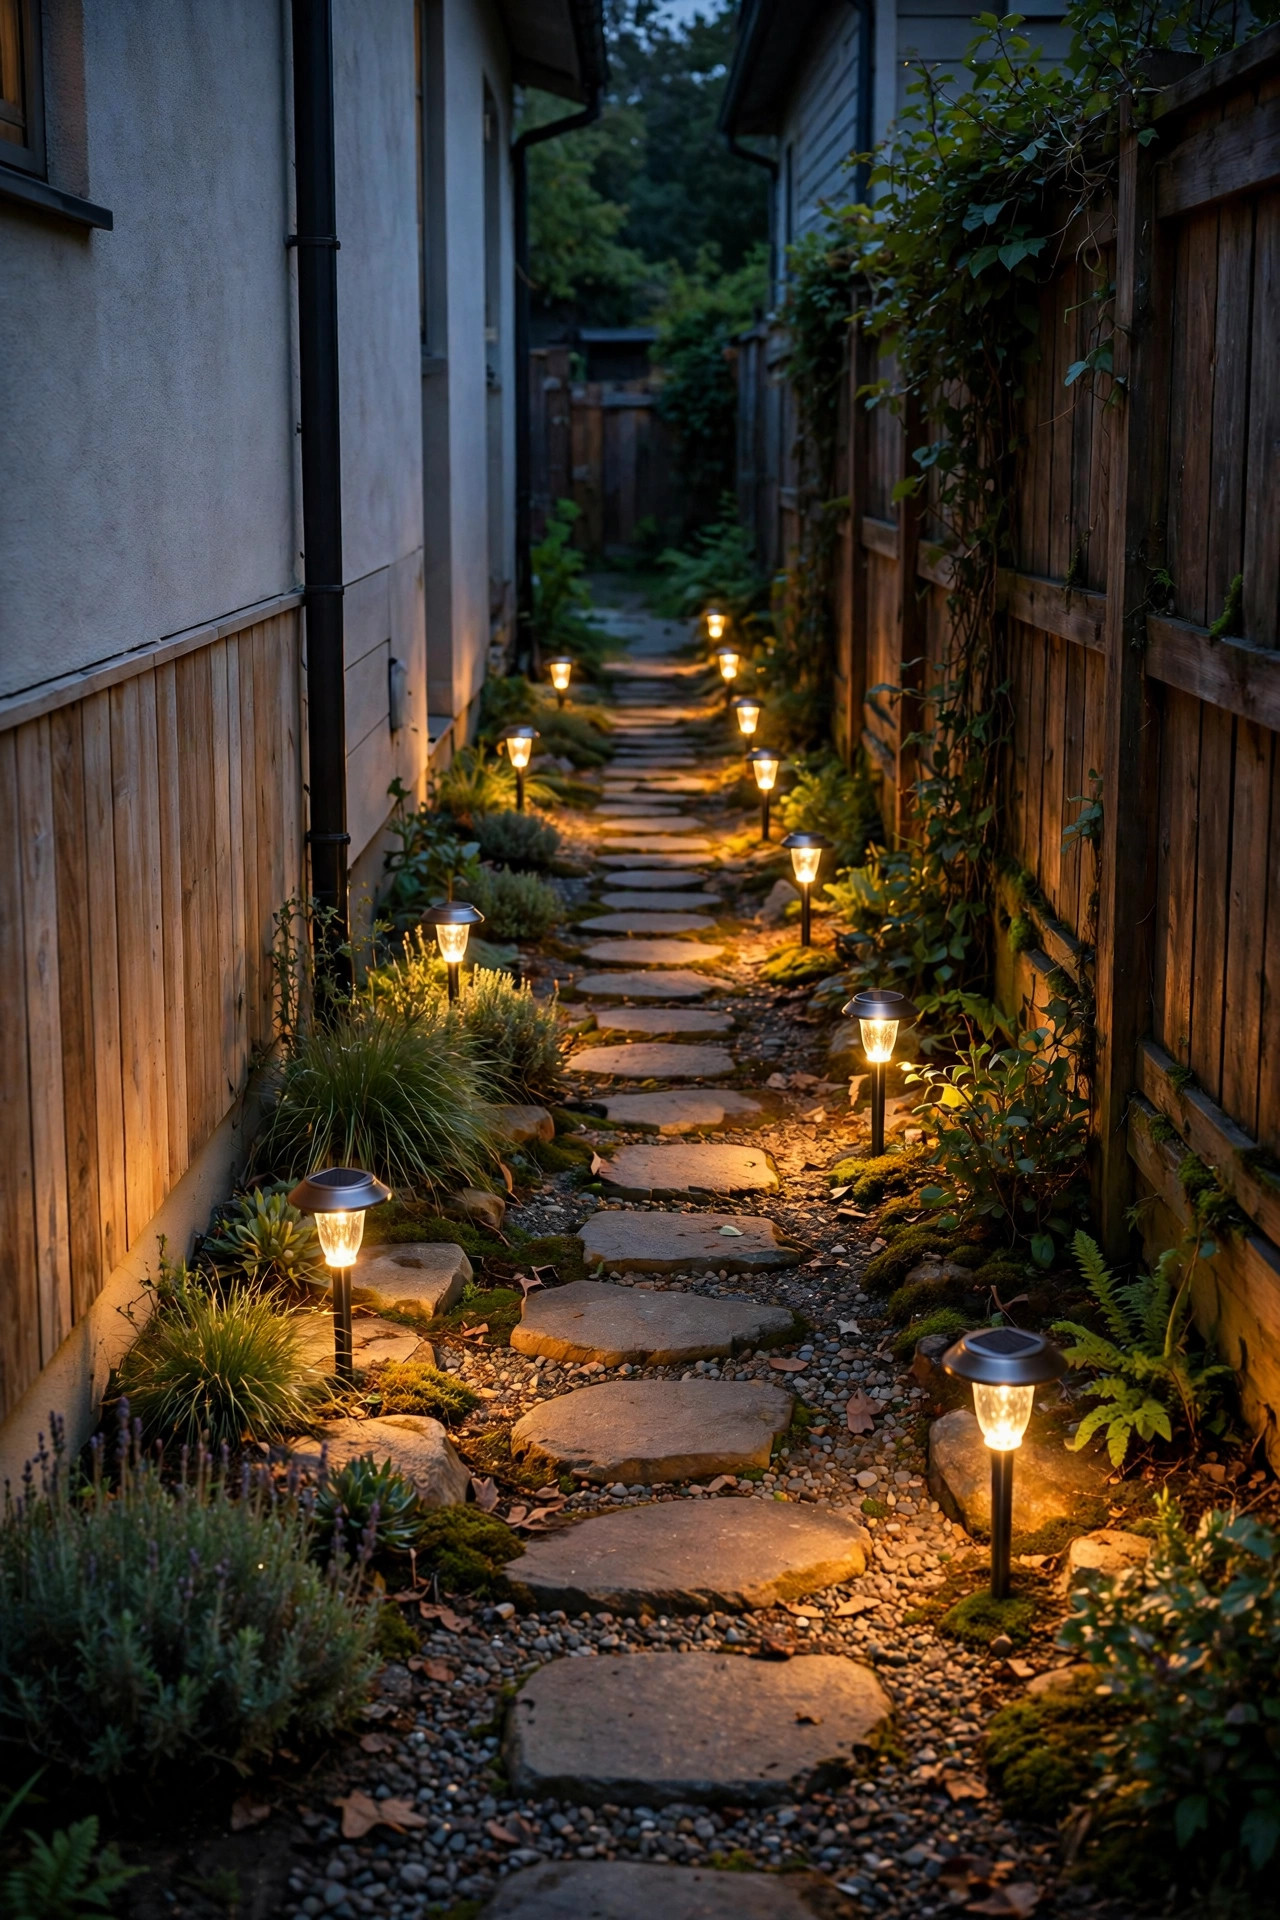
Now the layer that makes people stop calling it the utility strip. A single run of outdoor string lights swagged along the top of the fence turns a service corridor into a passage you actually enjoy walking. Use commercial-grade, shatterproof LED filament-style bulbs — glass bulbs have no business over a walkway — and let the strand sag gently, about 6 to 8 inches of dip between hooks screwed into the fence posts. Space the swags so no bulb hangs directly over the AC unit exhaust fan, and plug the run into the same timer as your path lights so everything arrives together at dusk. One strand is usually plenty; two starts to feel like a patio competing with itself. My fence lighting ideas post has more mounting tricks, including tension wire for long straight runs and the solar string options that work when there is no outlet nearby. At 2700K the whole fence line glows like the edge of a garden party, bins and all forgiven.
Suggested budget range: $40 – $110.
9. Light the Steps and Threshold at the Side Entrance
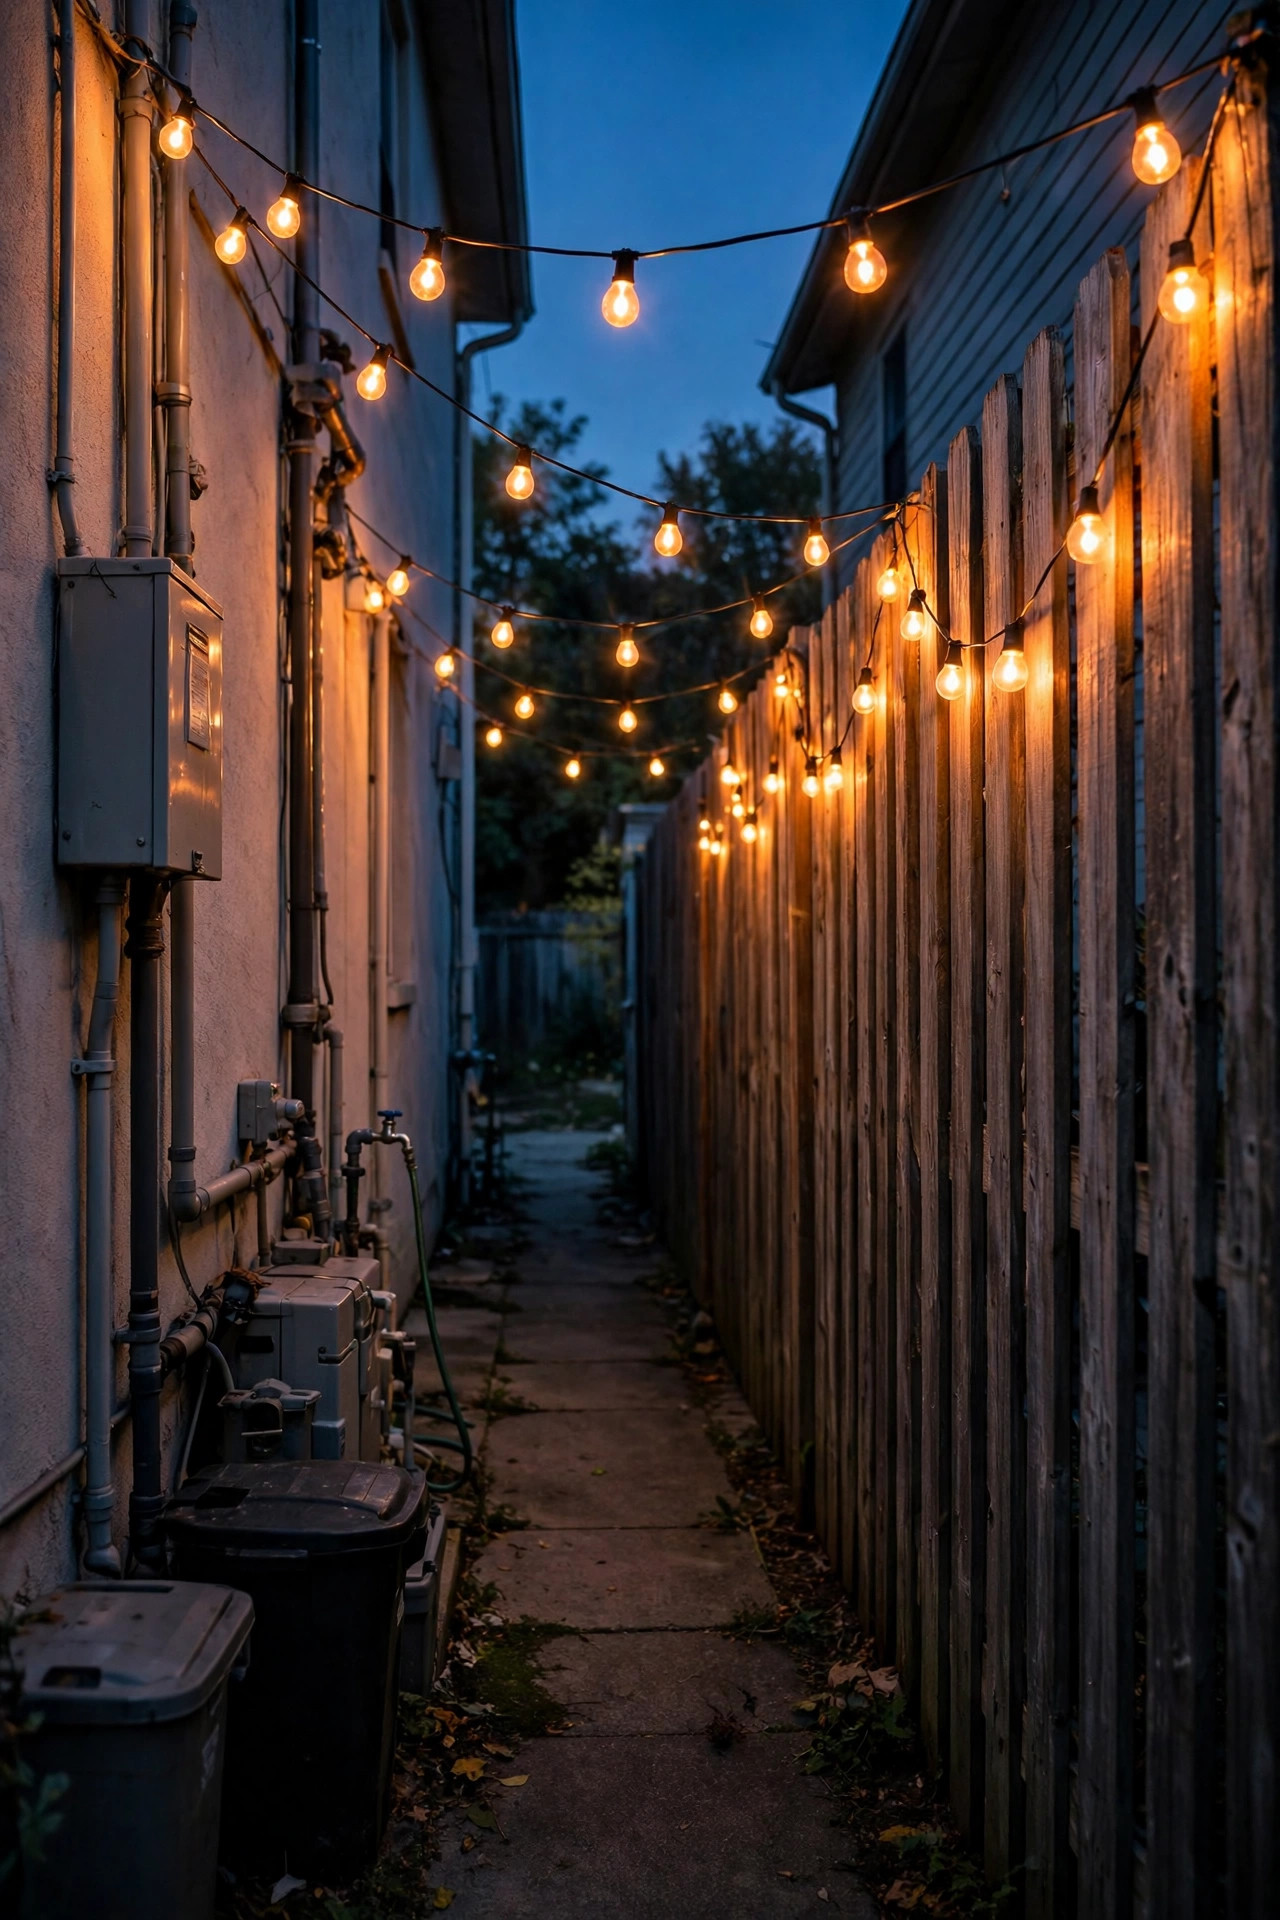
Side yards hide level changes: a step down from the gate, a raised threshold at the utility door, pavers that have heaved a quarter inch over the years. Mark every one of them. Small recessed step lights set into a riser, a retaining edge, or the wall beside the step wash light down across the tread so the edge reads clearly without any glare. Surface-mount versions screw onto the riser face and take ten minutes each if the stairs are already built. Put one at the top step and one at the bottom on longer runs; a single short step usually needs just one fixture placed on the approach side. Keep them at 2700K to match your path lights, in the 1 to 3 watt range, with louvered faces that keep the beam on the stone where it belongs. Wire them into the same low-voltage run as the path lights so the whole route switches as one system. Trips to the bins at midnight get dramatically less interesting, which is exactly the point.
Suggested budget range: $45 – $130.
10. Choose Shielded Downlights That Keep Neighbors Happy
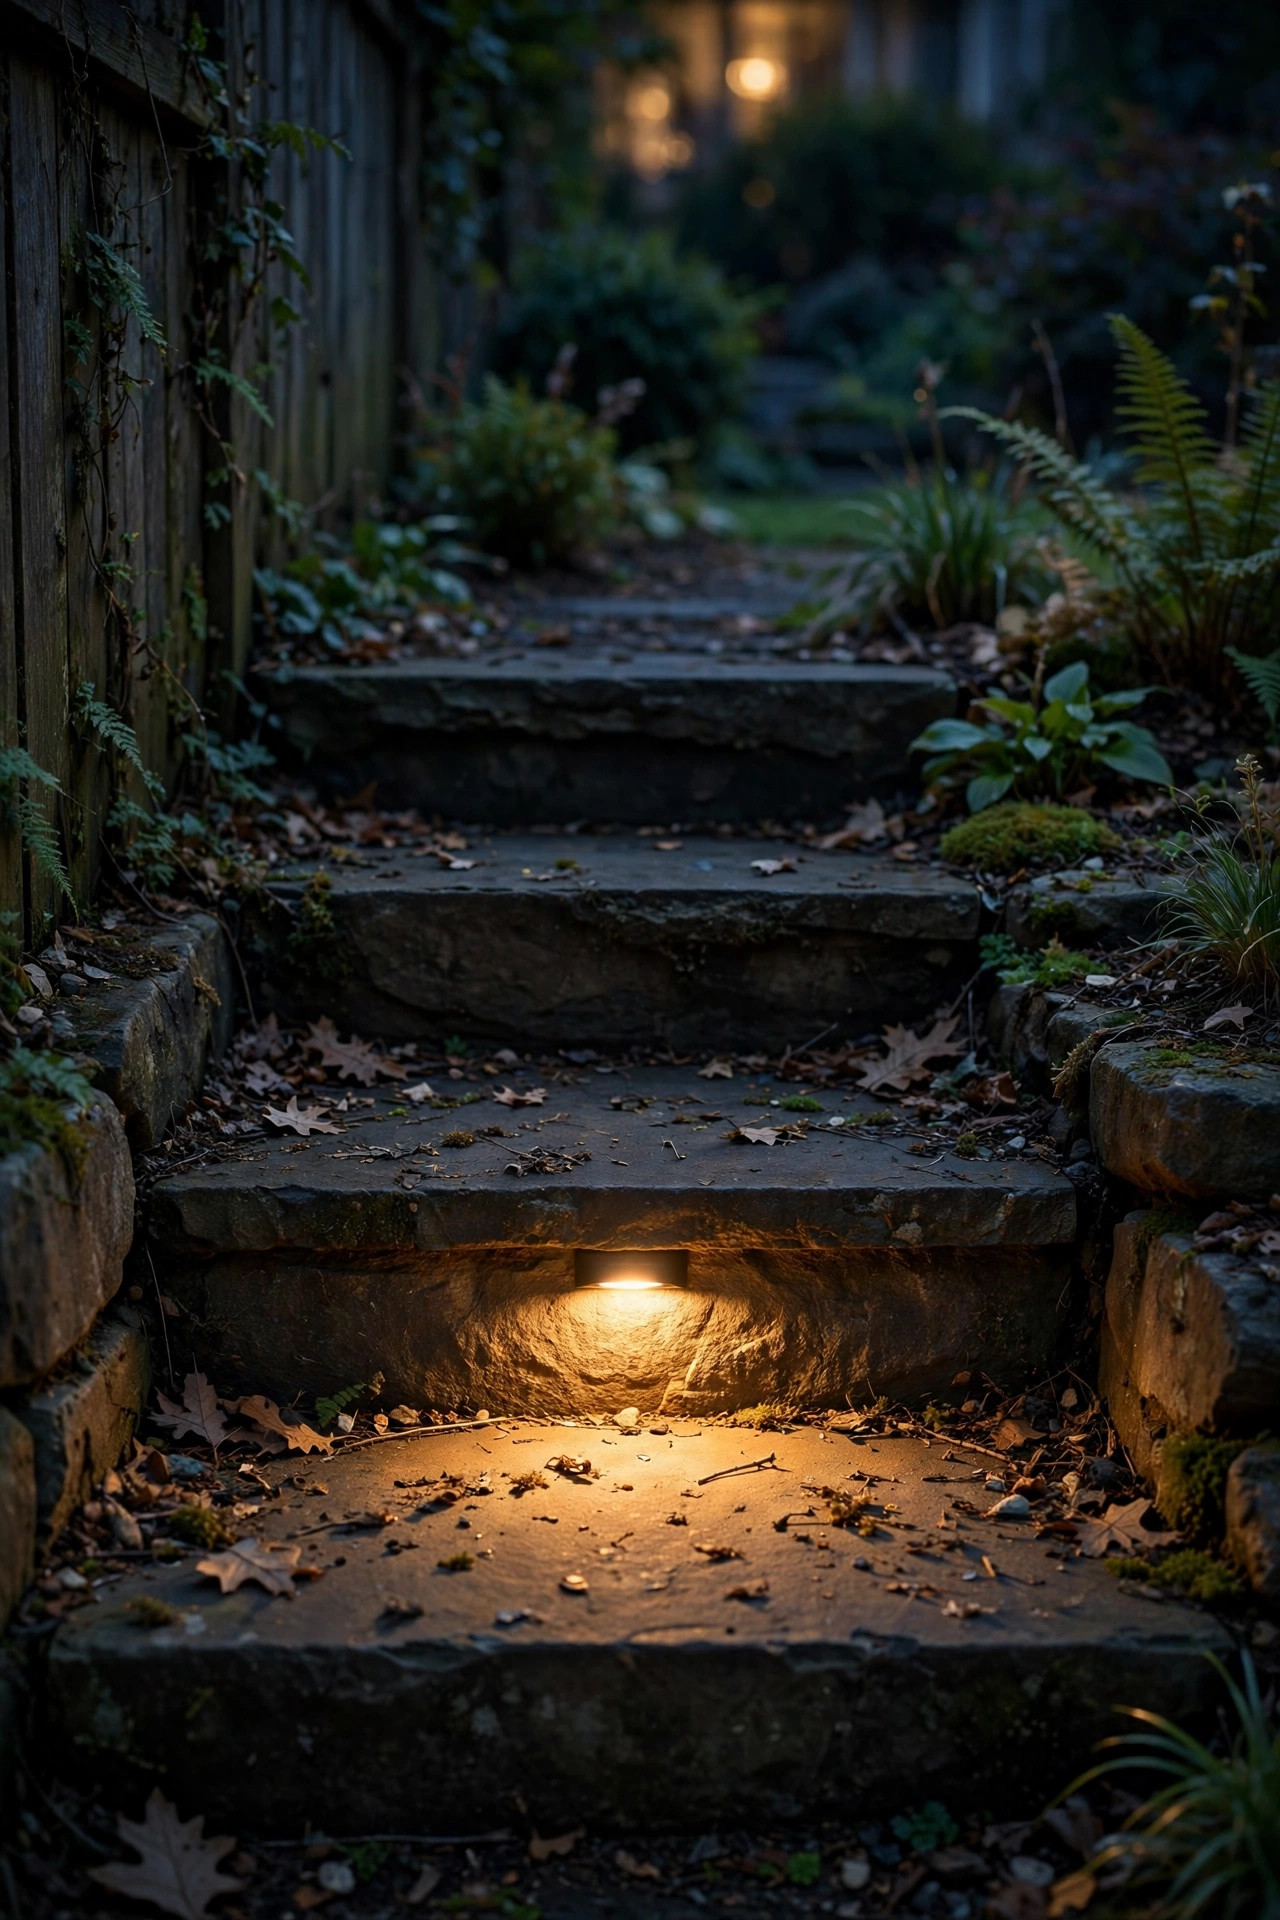
A bright side yard that floods the neighbor bedroom window is not a win, so fixture choice matters as much as placement here. Look for shielded, full-cutoff designs — sconces and small wall packs that hide the bulb behind a hood or lens and throw every lumen downward onto your own ground. In a narrow passage, downlight is doubly smart: it lights the walking surface, keeps the fence from becoming a glare wall, and leaves the sky dark enough that the space still feels calm at night. Avoid bare-bulb fixtures and anything labeled daylight or 5000K; they read as commercial, not cozy. If you already own a glaring fixture, a simple shield or a swap to a frosted, lower-lumen bulb can tame it for a few dollars. Angle any adjustable head so the beam edge stops at your fence line. Honestly, the side yards I admire most are the ones where you cannot find the light source — you just notice you can see.
Suggested budget range: $50 – $140.

11. Weave Fairy Lights Through a Fence-Line Vine or Trellis
The cheapest pretty trick in this whole post is a strand of copper-wire fairy lights woven through whatever green thing already lives on your fence — jasmine, ivy, a climbing rose, or even a plain trellis panel leaned against chain-link. The wire nearly disappears by day, and at night hundreds of tiny points sparkle through the leaves, which does a remarkable job of disguising an ugly fence. Solar and battery versions both work here since the draw is tiny; battery packs tucked in a small weatherproof box at the base are easiest to control, and most come with a built-in six-hour timer. Weave loosely, about one strand per 4 feet of trellis, and let the lights follow the plant rather than forcing straight lines. Keep them clear of the gate swing and a few inches away from any hot floodlight housing. It is a fifteen-dollar, fifteen-minute change, and guests will ask about it more than the expensive fixtures. That has been true every single time I have done it.
Suggested budget range: $15 – $45.

12. Put the Whole Run on a Timer and Photocell
Good lighting you have to remember to switch on is lighting that stays off, so automate the whole strip. The simple recipe: path lights and string lights on a timer or photocell transformer that brings them on at dusk and off around 11 p.m., while the motion flood and the gate sconce stay live all night for security and late bin runs. A plug-in photocell or an astronomical timer handles the seasons automatically, so there is nothing to reset when the days get short. Smart plugs work too if you want phone control, but honestly a twenty-dollar timer has run my side yard for years without a single complaint from me. The energy math is gentle — a dozen low-voltage LEDs burning five hours a night costs well under a dollar a month in most areas. Group the plugs under one weatherproof outlet cover so the whole system has one obvious off switch for maintenance days. Set it once, and the side yard simply lights itself every evening like it is supposed to.
Suggested budget range: $15 – $50.

13. Camouflage Fixtures With Color and Placement
Half of making a utility strip pretty is making the hardware disappear in daylight. Start by matching fixture finishes to what they mount on — black fixtures on a shadowed fence, bronze or brown along brick and soil lines, white only if your siding is white and the fixture tucks under an eave. Run visible conduit and cable tight along corners and fence bases, and paint cable staples and conduit to match the surface so the eye slides right past. Tuck path light heads slightly behind plantings or the screen edges so you see the glow at night, not the hardware at noon. Even the transformer can hide inside a small vented enclosure box that reads as garden storage from the street. None of this changes the light itself; it changes whether the space looks designed or improvised. In my experience this is the step that makes neighbors say the yard looks finished without being able to say why.
Suggested budget range: $20 – $75.
14. Give the Passage an Ending: One Small Focal Point
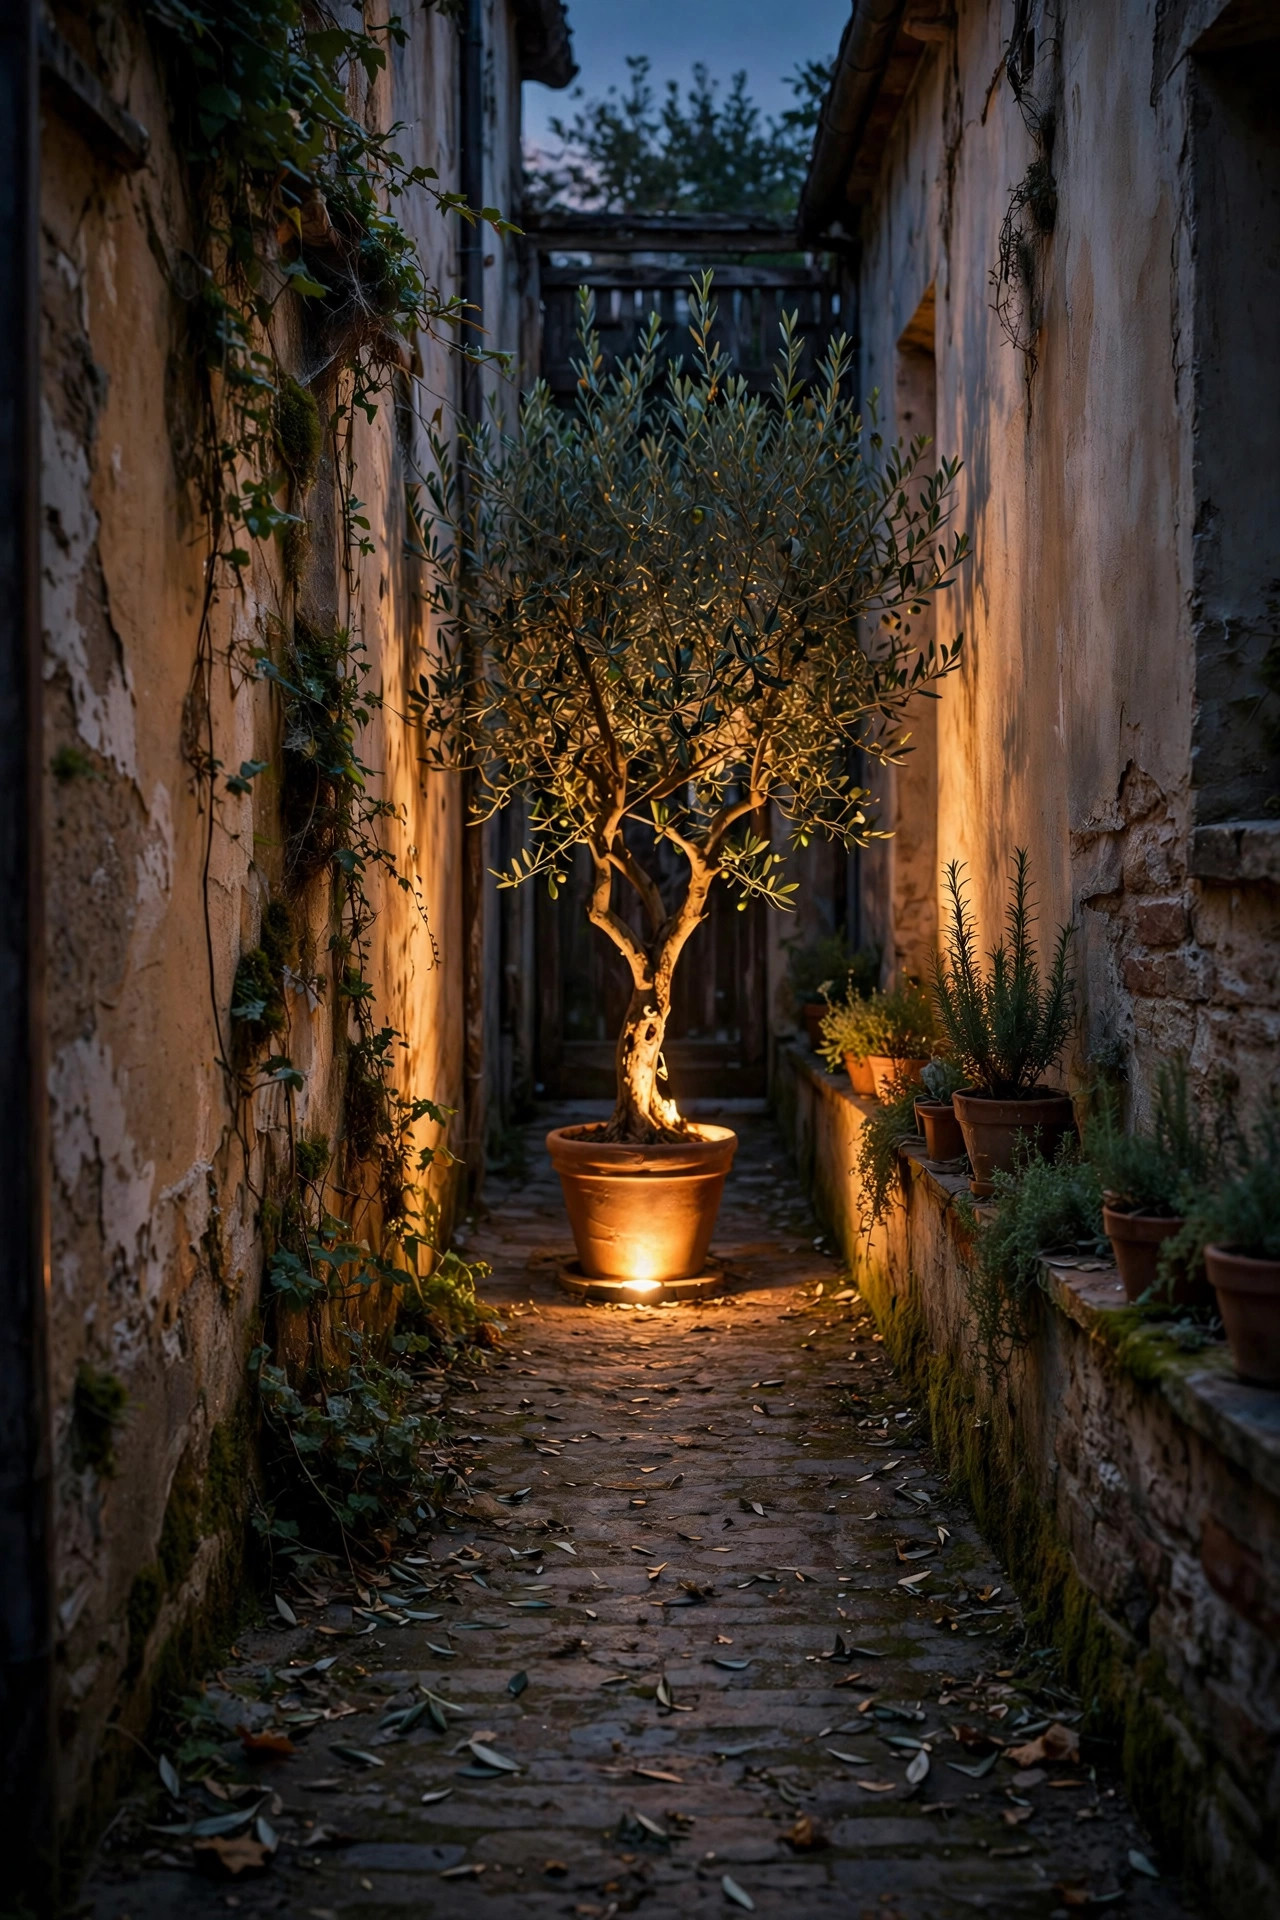
A narrow passage feels longer and more deliberate when it ends somewhere. Give yours a small destination: a potted olive or bay tree, a birdbath, a stone bench, or a cluster of three pots at the far end, lit by a single soft uplight. One fixture, 2700K, set a foot or so in front of the planting and aimed up through the leaves, creates a glowing exclamation point that pulls the eye down the path and makes the whole strip read as a garden walk instead of a service alley. Keep the pot big enough to anchor the view — 18 inches or wider — and choose something evergreen so the trick works in January too. This is also the perfect spot for a slightly warmer 2200K filament-style bulb in a small lantern, if you want a candlelit feel at the end of the run. It costs little, photographs beautifully, and somehow makes the bins behind you feel less like the main event.
Suggested budget range: $55 – $150.
15. Layer Your Utility Side Yard Lighting Ideas Into One System
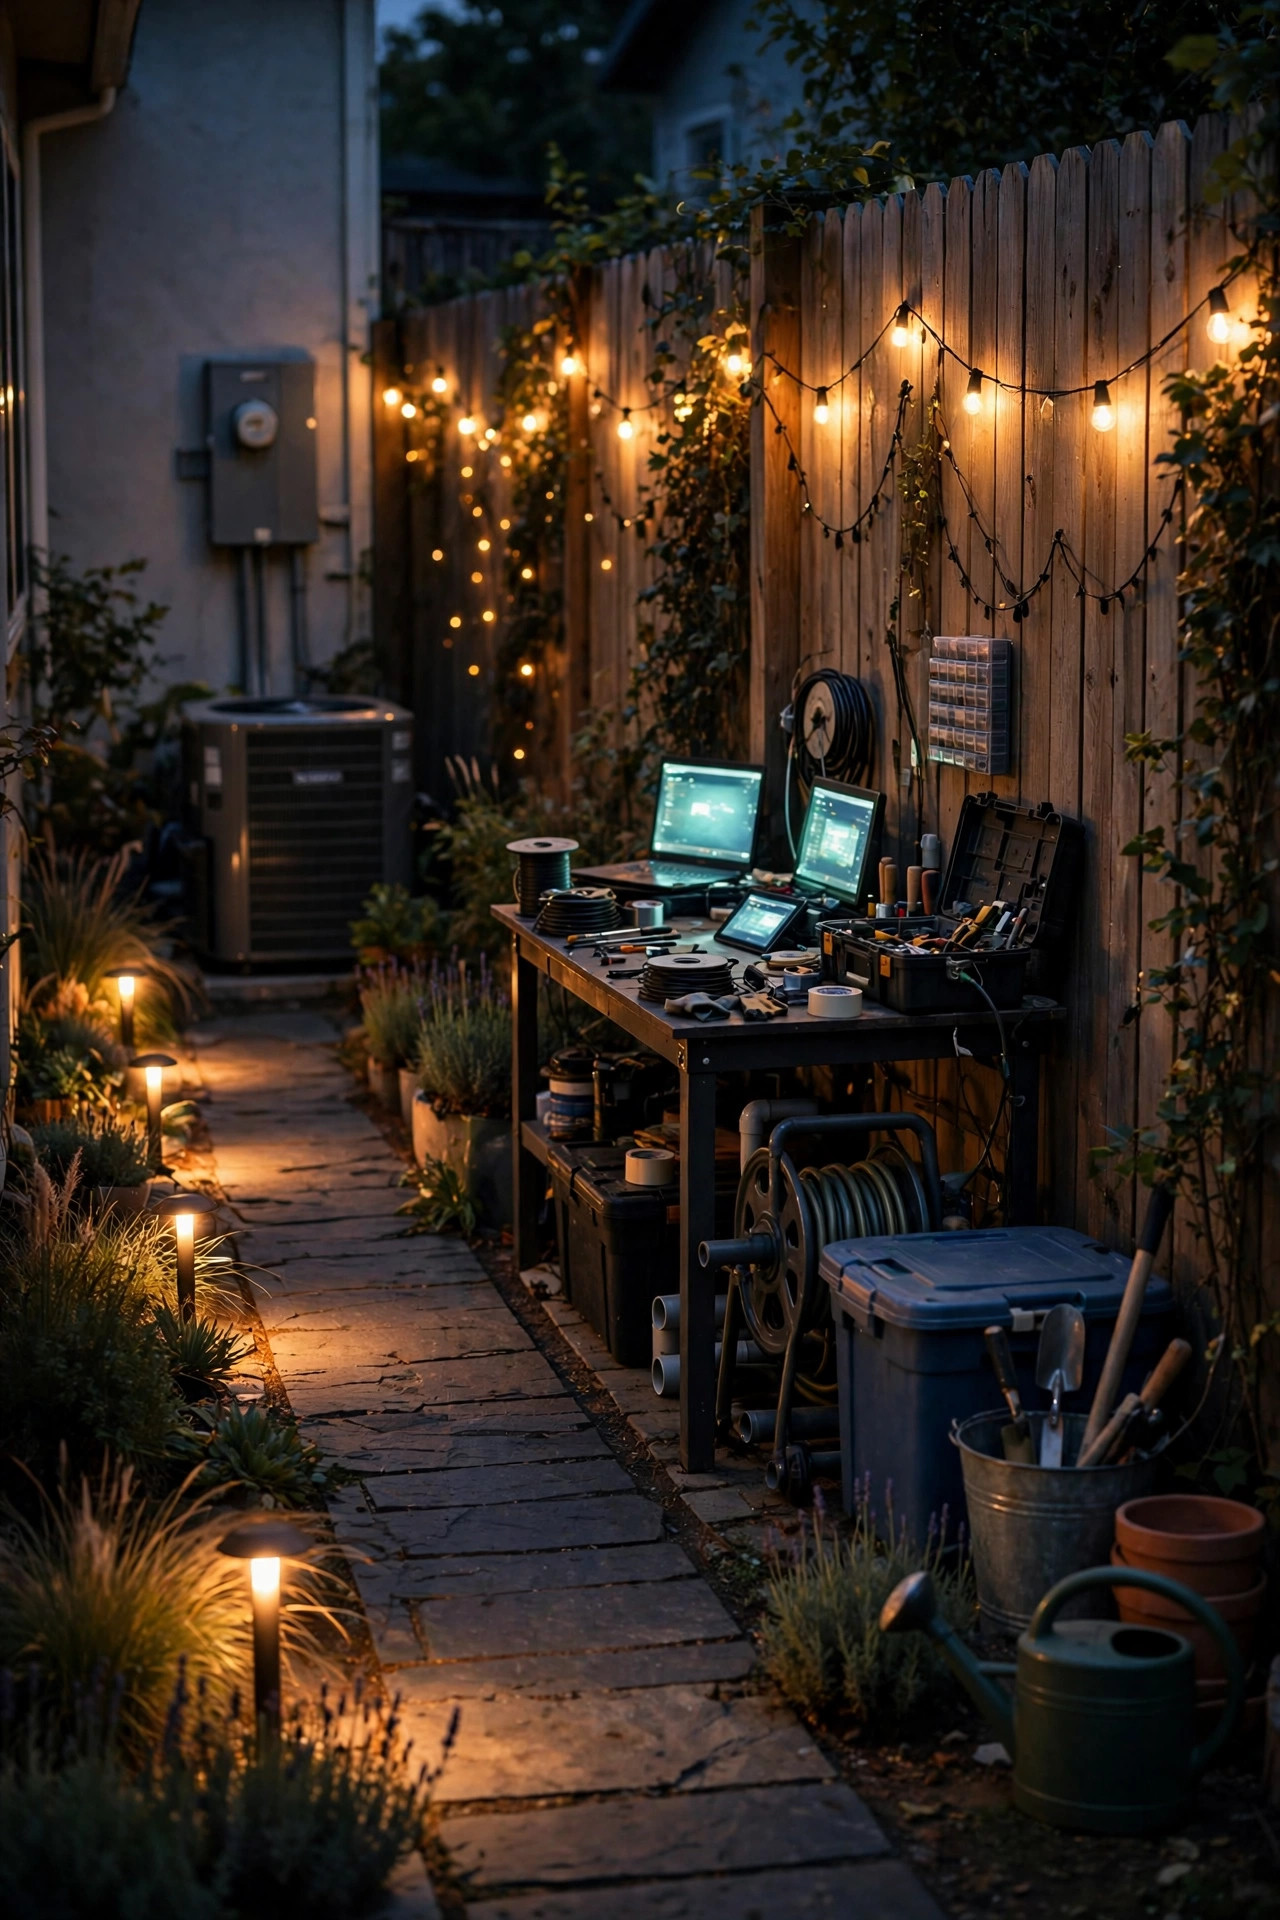
Here is the full recipe I would install on a typical side yard this weekend, pulling one piece from each layer. The work zone gets the motion flood over the bins and the dusk-to-dawn sconce at the gate. The passage gets low-voltage path lights every 5 feet, step lights at both level changes, and shielded downlight only where the wall needs it. The backdrop gets the two screens — backlit lattice at the bins, grazed slats at the AC — plus string lights along the fence and fairy lights in the vine for sparkle. Everything runs on one timer, with the motion fixtures standing guard after hours, and the focal-point pot glows at the end like a porch light for the path. That is all of these utility side yard lighting ideas working as one system, and you can absolutely build it in phases: safety and bins first, screens second, sparkle last. Start Saturday morning with the path lights, and you will walk the strip that night wondering why you waited so long.
Suggested budget range: $450 – $1,200.
Frequently Asked Questions
What color temperature is best for a utility side yard?
Match the rest of your yard: 2700K is the sweet spot for a warm, residential feel, and 3000K is fine if your other fixtures already lean that way. Avoid anything 4000K and up — that blue-white light makes bins, meters, and siding look industrial, and it is the fastest way to make a tidy side yard feel like a service entrance. Whatever you choose, keep one temperature across every fixture in the strip. Mixed temperatures are the subtle thing that makes a lighting job look accidental, even when every single fixture is nice.
Are solar lights bright enough for a side yard passage?
For marking a route, yes; for real work light, usually not on their own. Solar stakes and fairy lights glow nicely and cost nothing to run, but a narrow passage between houses often gets only a few hours of direct sun, so the fixtures fade early and dim further on cloudy stretches. My honest setup uses solar for accents and the sparkle layer, and wired low-voltage or a solar motion flood with a remote panel for the places where footing and bin lids actually need light. If you go all-solar, choose models with replaceable batteries and put the panels where the midday sun lands.
How close can I put lights to an AC unit?
Keep fixtures clear of the unit itself: never mount anything to the condenser, never block the top fan discharge, and keep the manufacturer clearances open — typically 12 to 24 inches on the sides and several feet of open space above. Screens should stand off the unit with that gap, and uplights grazing the screen should sit in front of it, out of the airflow path. Low-voltage fixtures are the safest choice nearby, because they add no line-voltage wiring to a damp work area, and everything outdoors should sit on GFCI protection. When in doubt, give the unit more room; it cools your house better, and the light looks better with breathing space.
Will motion-sensor lights bother my neighbors?
Not if you set them up with a little care. Aim sensor heads across your own path rather than toward the street or a neighbor window, use the sensitivity dial so passing cats do not trigger it, and keep the on-time short — one to three minutes is plenty for a bin run. Warm 2700K light at moderate brightness reads as a porch light, not a searchlight. Shielded fixtures that throw light downward keep the spill on your side of the fence. A quick heads-up to the neighbor before you install has solved every concern I have ever run into.
Conclusion
The utility strip will never be the showpiece of the yard, and it does not need to be. It just needs layers: honest work light where your hands are busy, steady path light where your feet go, and a little glow on the screens and fence so the whole run feels cared for after dark. Start with the bins and the passage, add the pretty layers when the budget breathes, and these utility side yard lighting ideas will quietly make the hardest-working corner of your home one of the most pleasant to walk through at night. If your side yard leans more garden than utility, my broader side yard lighting ideas post covers the decorative end of the spectrum — and the rest of the site is full of fence, path, and string light projects to borrow from.