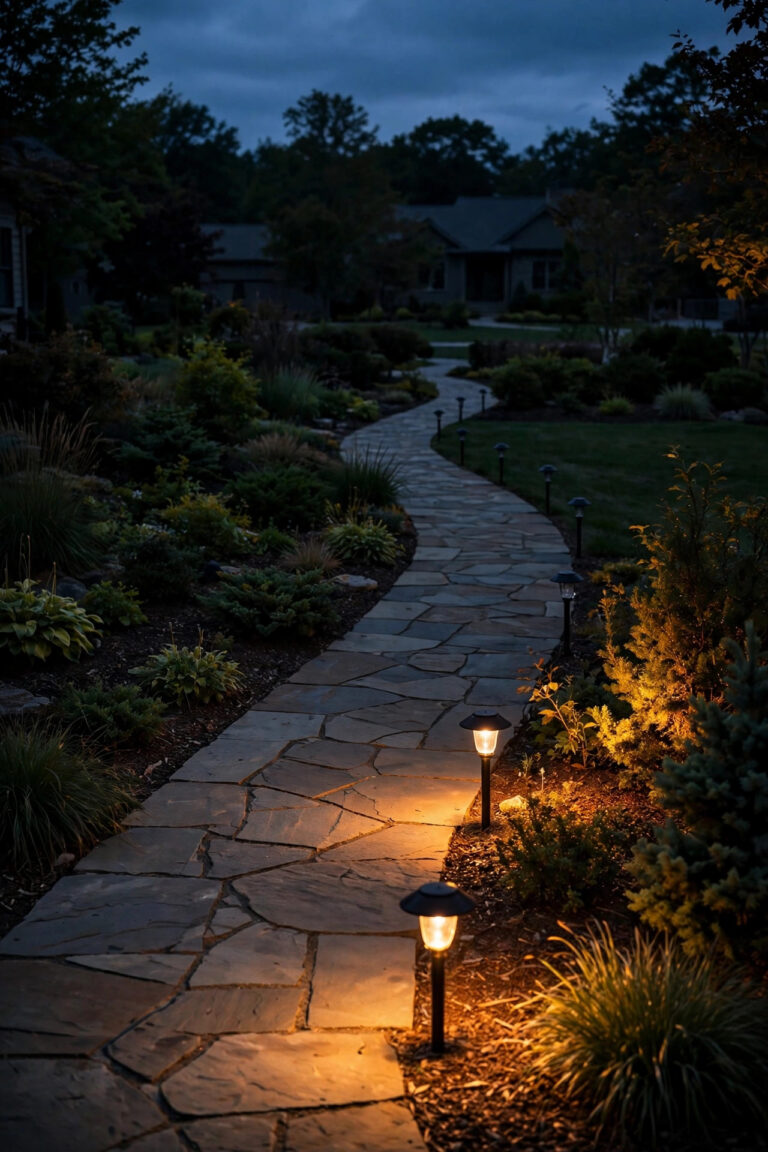
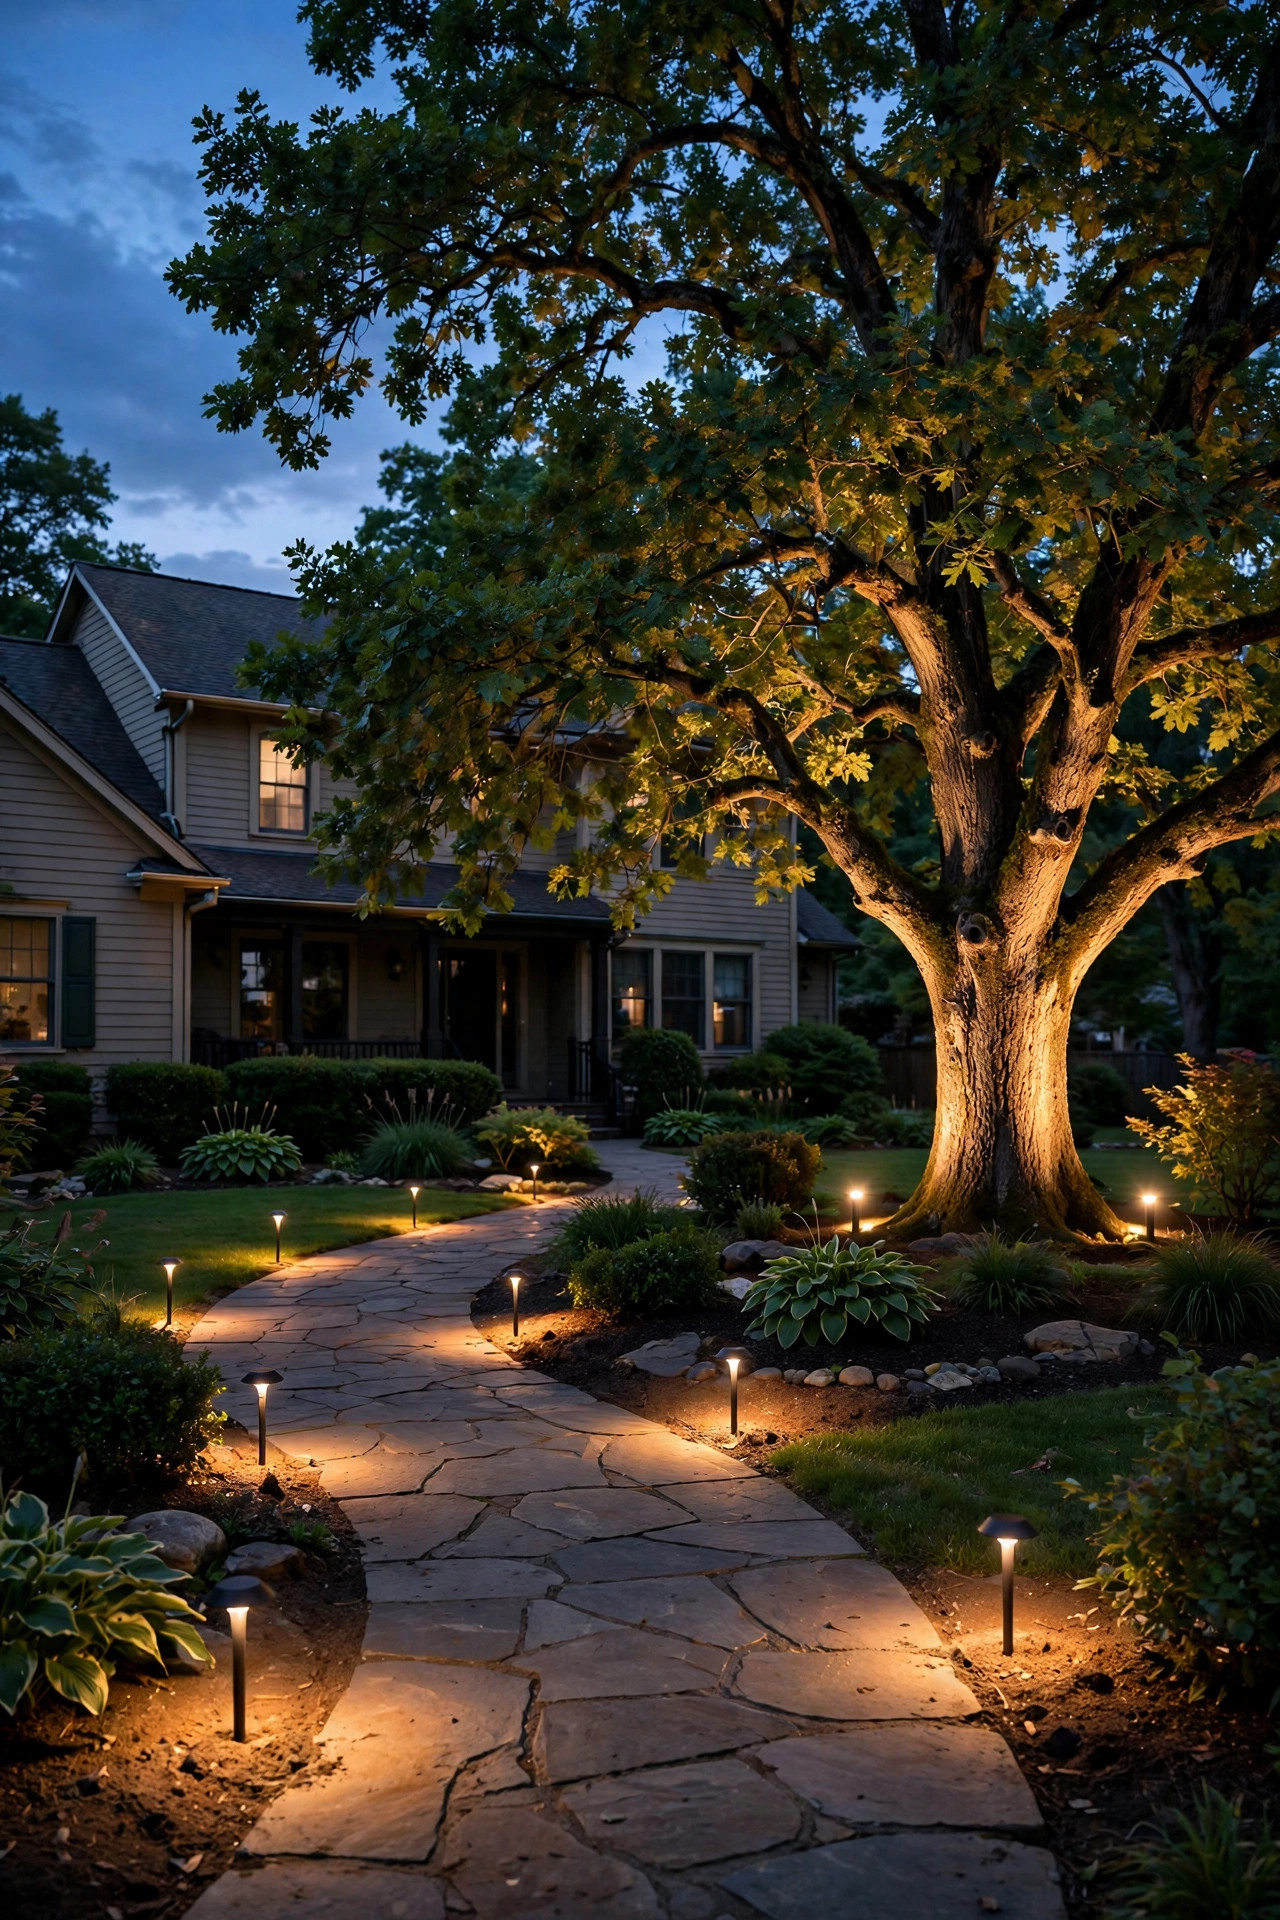
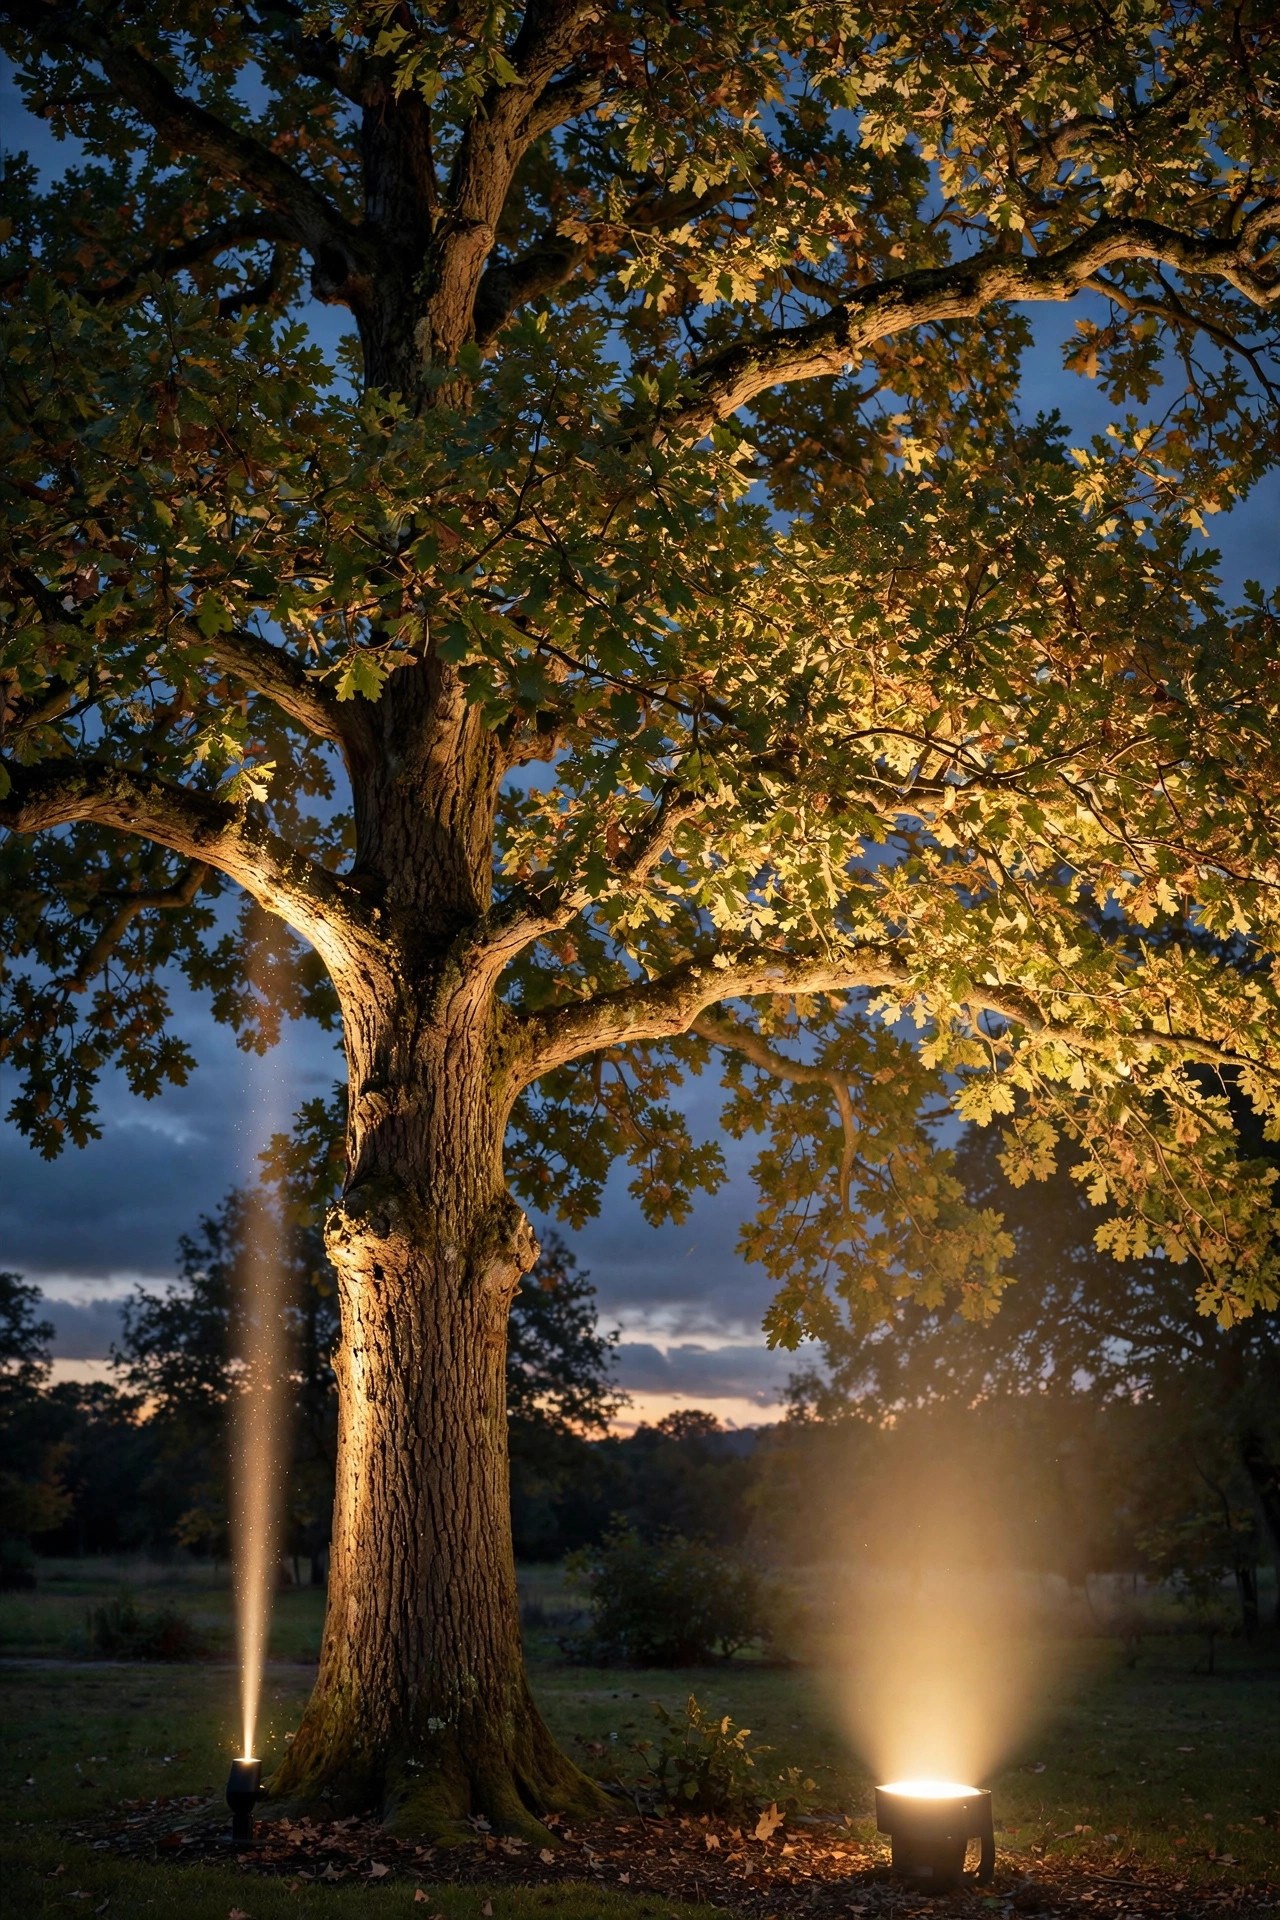
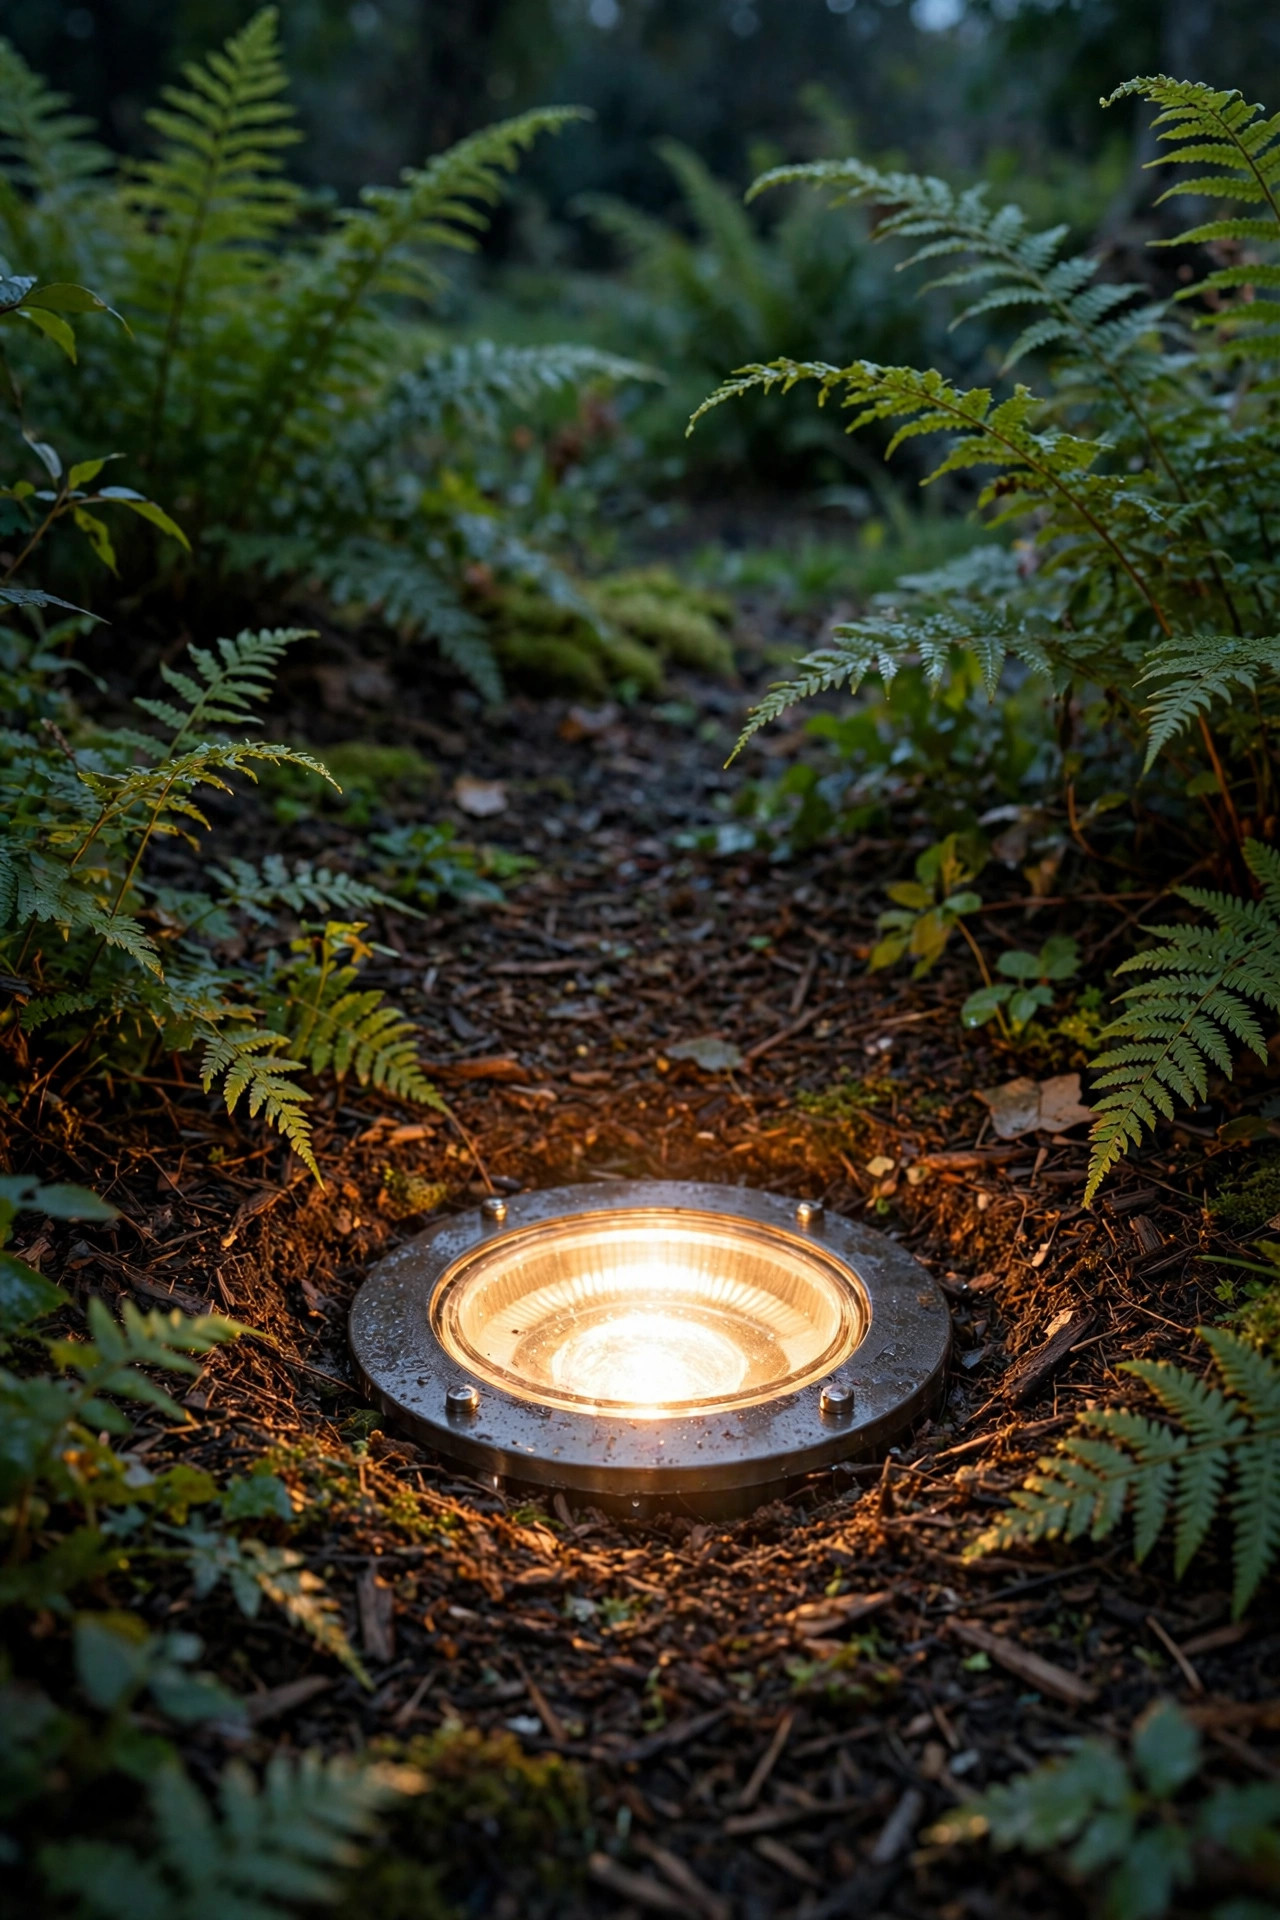
If your landscape lights went in before about 2015, there's a good chance you're still running halogen — and paying for it every single night. I was. My front path, the uplights washing the oak, even the little well lights tucked in the fern bed were all thirsty halogens quietly burning out twice a year. When I finally decided to convert halogen to LED landscape lighting across my whole yard, I assumed it was a five-minute bulb swap. Honestly? It mostly is — but the "mostly" matters. LEDs draw so little power that an old transformer can misbehave, voltage a halogen shrugged off can make an LED flicker, and a sealed fixture that kept a halogen happy can cook a cheap LED in a single summer. None of it is hard once you know it's coming. In this guide I'll walk you through the bulb types hiding in your fixtures, the simple load math behind the swap, a fixture-by-fixture plan, and the gotchas that catch almost everyone the first time — plus honest 2026 costs, so you know exactly what the conversion should run before you buy a single bulb.
The Short Answer
Yes — in almost every yard, converting from halogen to LED is a bulb swap, not a rewiring project. Match the base (MR16 and G4 cover most systems), choose LED bulbs rated for 12V AC outdoor use at roughly one-fifth the halogen wattage, and work fixture by fixture at dusk so you can compare as you go. Two things surprise people: your total load drops so far that some older transformers hum or flicker on the now-tiny load, and LEDs are fussier about low voltage than halogens, so dim end-of-run lights need a real fix. Budget $8–$20 per bulb; most yards convert for $100–$300 all in.
Why Your Halogen System Costs More Than You Think
Let's do the math I avoided for years. A typical halogen system runs ten to fifteen fixtures at 20 watts each — call it 200 to 300 watts burning for five or six hours a night. That's roughly 440 kilowatt-hours a year for a modest 200-watt setup, or about $75 annually at average US electricity prices, before you replace a single bulb. And you will replace bulbs: a halogen MR16 is rated around 2,000 hours, which at six hours a night is barely eleven months. I used to keep a shoebox of spares in the garage and a standing Saturday chore every spring and fall. LEDs flip every part of that equation. The same fixture with a 4-watt LED delivers similar light, so a full conversion drops a 200-watt system to about 40 watts — around $15 a year to run — and the bulbs are rated 25,000 to 40,000 hours, which works out to a decade or more of evenings. There's a subtler win, too: all that freed-up transformer capacity means the expansion lights you always wanted suddenly fit without a bigger transformer. The conversion pays for itself in one to three years in most yards, and after that it's nearly free light. The only real question is doing the swap without tripping over the quirks in the next sections.

The Bulb Types Hiding in Your Fixtures
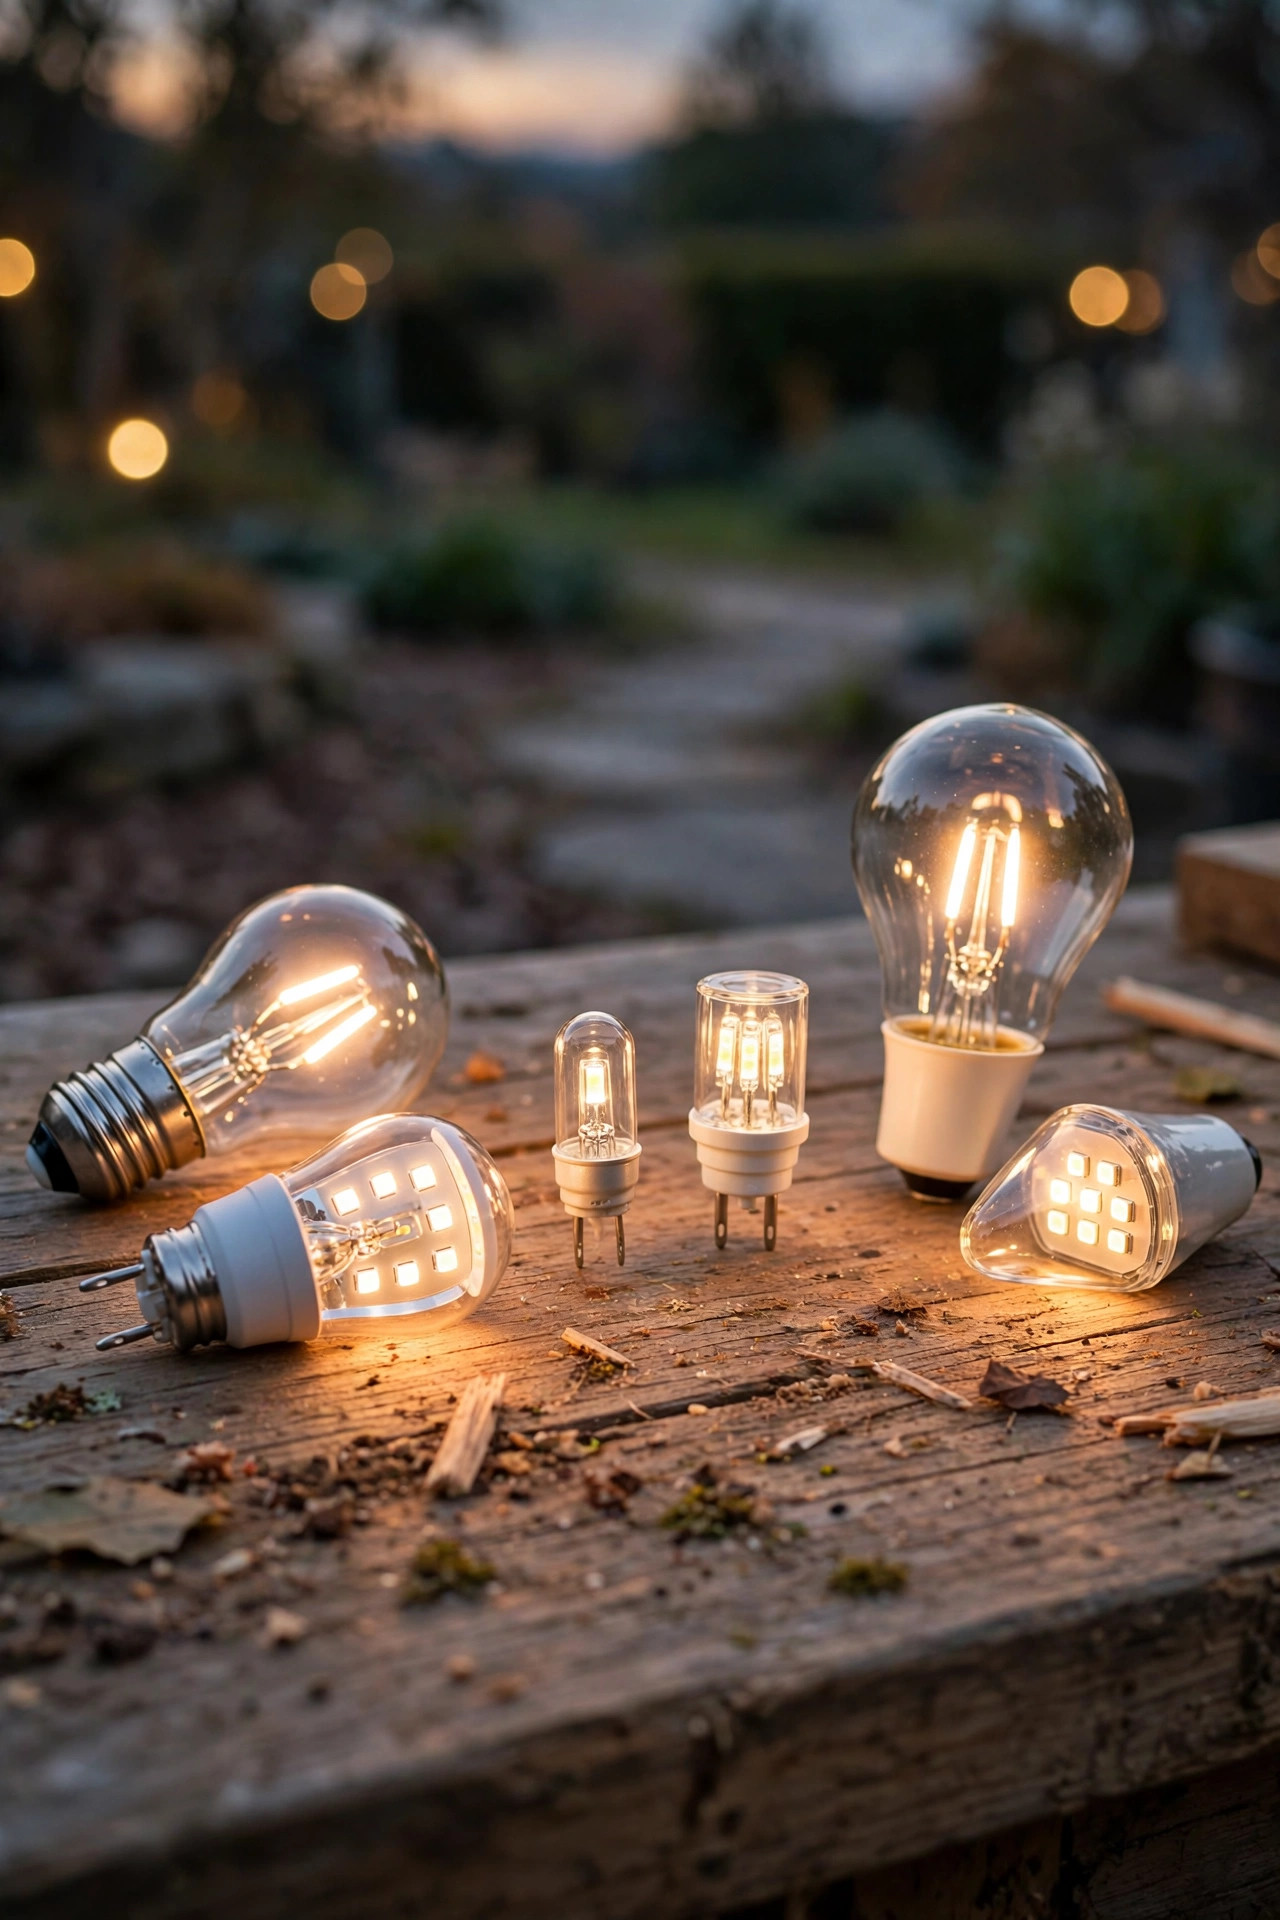
Before you order anything, you need to know what bases your fixtures actually take — this is where most conversion mistakes happen, because a bulb that looks right on a product photo may not fit your socket. Pull one bulb from each fixture type in your yard (power off, let it cool — halogens stay hot) and read the base. In my experience, four types cover nearly every residential system. MR16 bulbs with two thin pins (a GU5.3 base) live in spotlights, uplights, and well lights; they're the workhorses. G4 bipin bulbs — two tiny pins close together — hide in path lights, step lights, and deck lights. Wedge-base bulbs push straight into a slot in some path and accent fixtures. And a few fixtures use small screw bases or are integrated LED units with no replaceable bulb at all — those need a fixture decision, not a bulb, and I cover that case later. One warning: if any fixture turns out to be a 120V GU10, that's household current, not low voltage, and it belongs to a different project (and possibly an electrician). Everything below assumes the standard 12V landscape system.
| Base type | Where you'll find it | Typical halogen watts | LED equivalent | Bulb cost |
|---|---|---|---|---|
| MR16 (GU5.3) | Spotlights, uplights, well lights | 20–50W | 3–7W | $8–$18 |
| G4 bipin | Path, step and deck lights | 10–20W | 1.5–3W | $5–$12 |
| Wedge (T5/T10) | Path and accent fixtures | 11–18W | 2–3W | $6–$12 |
| Integrated LED | Sealed modern fixtures | n/a | Replace whole fixture | $25–$90 |
The Load Math: When 20 Watts Becomes 4
Here's the arithmetic that makes this whole project pleasant. Add up your current halogen wattage — it's printed on each bulb — and you'll get your present load. Ten 20-watt fixtures is 200 watts, and on a 300-watt transformer you're already at two-thirds of capacity before inrush surge; the usual rule is to keep loads under about 80% of the rating, so you were closer to the ceiling than you thought. Now divide by five. LED equivalents run roughly one-fifth the wattage for the same light: a 20-watt halogen path light becomes a 3- to 4-watt LED, a 35-watt MR16 spot becomes a 5- to 7-watt LED. That same ten-fixture yard lands around 40 watts total. Two things follow. First, your transformer — which stays in place — is now loafing along at a fraction of its rating, which is exactly why the minimum-load gotcha in the next sections exists. Second, your cable runs carry far less current, which actually *reduces* voltage drop on paper. If you want to check the drop on a long run before you start, my landscape lighting wire gauge guide walks through the gauge-versus-distance math. Write your before-and-after totals down; you'll want them when we talk about adding lights later.

Step-by-Step: Convert Halogen to LED Landscape Lighting, Fixture by Fixture
Here is the exact order I use, and it has never failed me. Step 1: Switch the transformer off and let every fixture cool for fifteen minutes. Step 2: Do a flashlight inventory. For each fixture, note the base type, the old wattage, and whether it's a spot (narrow beam) or a flood (wide beam) — beam angle matters as much as brightness, and I'll explain why shortly. Step 3: Buy *one* test bulb of each type you need, not a case. LED color and beam vary wildly between makers, and a single evening with a test bulb saves a return shipment. Step 4: Swap the test bulbs in at dusk, starting with the fixtures nearest the transformer, and compare them against the halogens still burning farther out. Check color, spread, and brightness from the street, not from two feet away. Step 5: Once you're happy, convert the rest zone by zone — all the path lights one evening, all the uplights the next — so the yard never looks patchy mid-project. Step 6: With everything converted, stand at the far end of your longest run after dark and look for flicker, dimming, or bulbs that won't start; those are the symptoms of the two gotchas coming up next. Step 7: Reset your timer — most systems shift schedules over the seasons — and jot down the new bulb list in your phone so future replacements match. Start to finish, a typical yard takes one relaxed evening plus the test night.
Gotcha #1: The Too-Light Load Problem
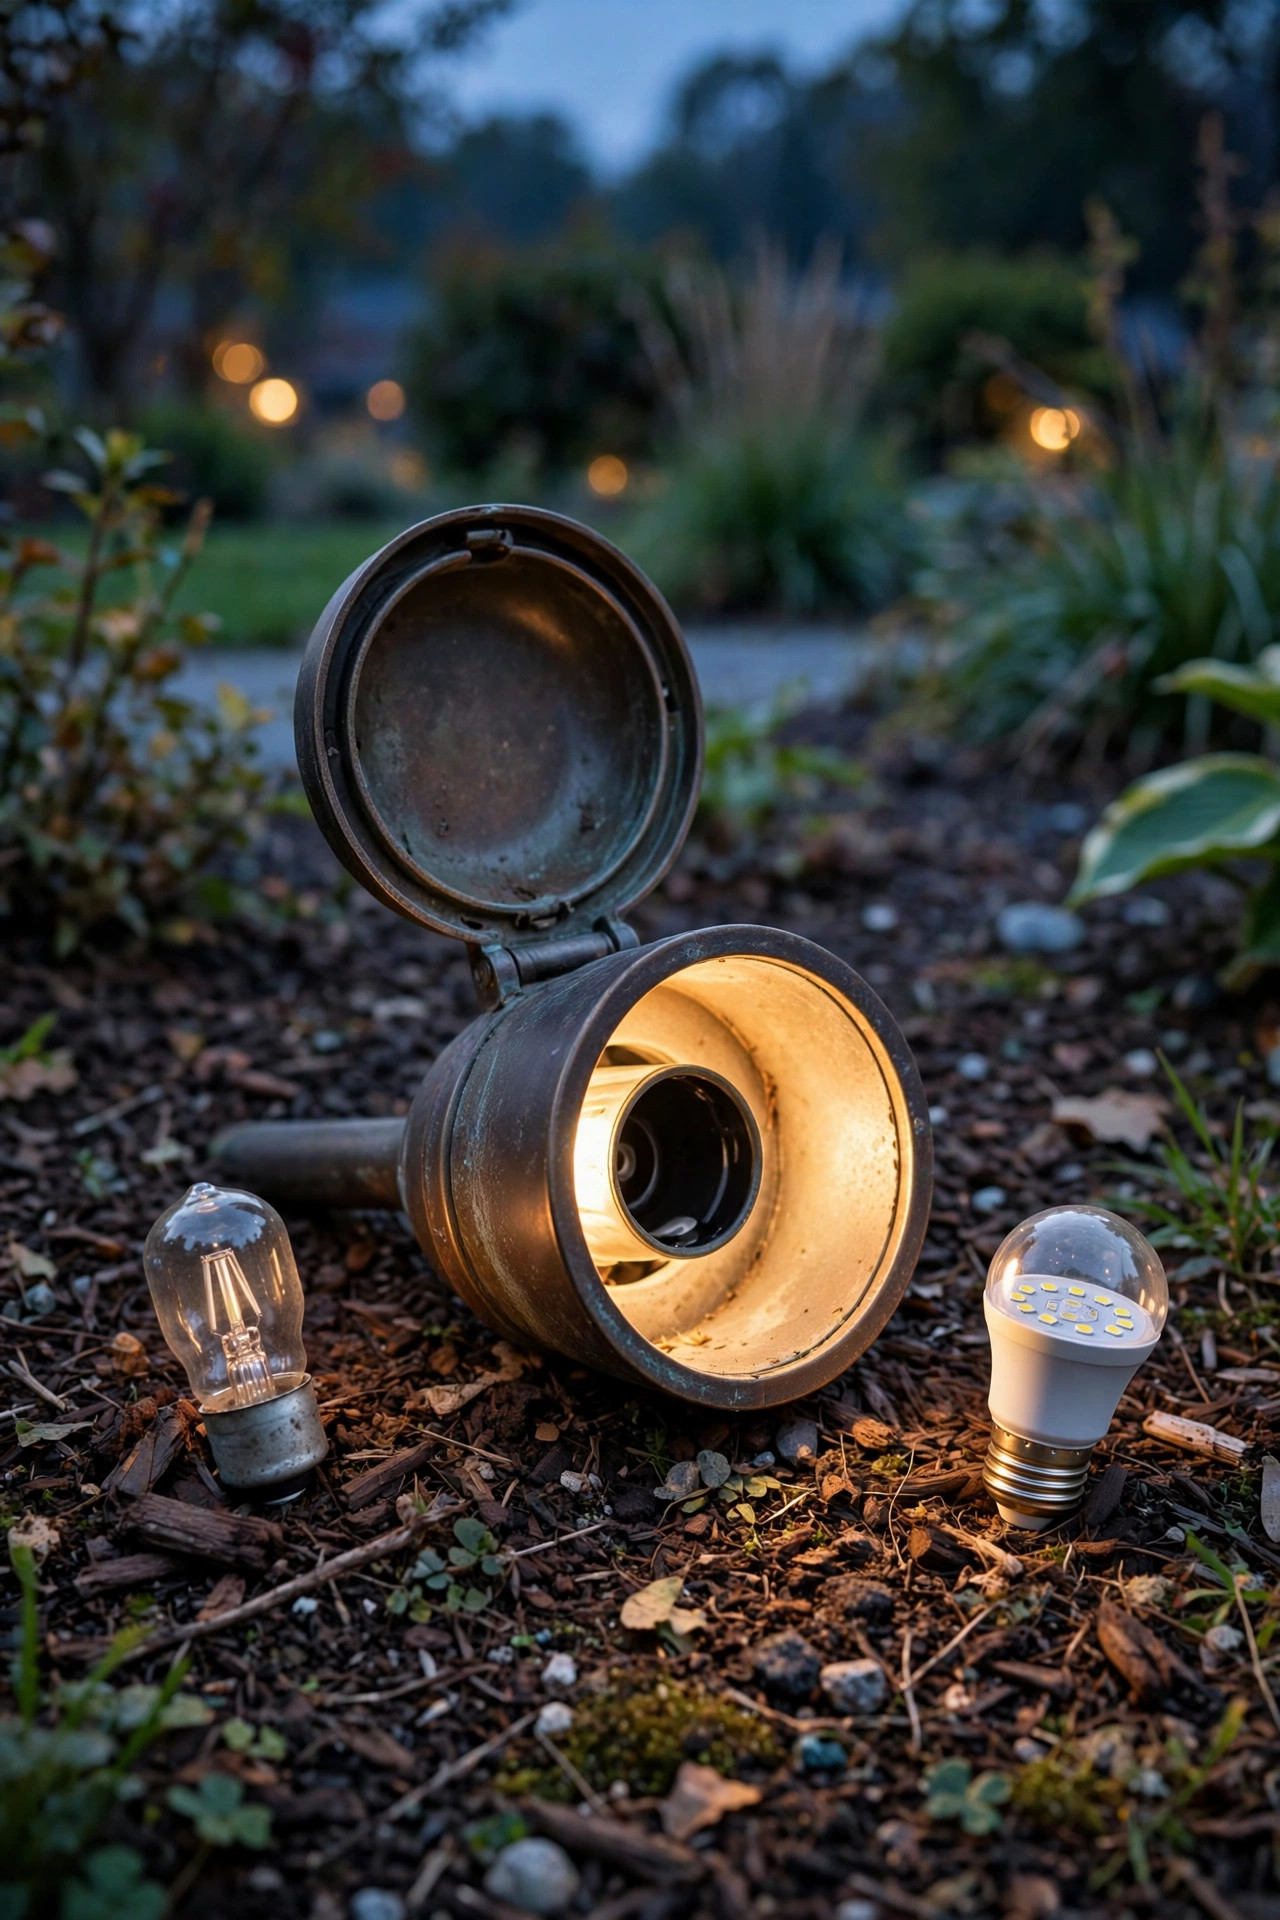
This one baffles people because it sounds backwards: convert to LED, and the system that worked perfectly starts humming, buzzing, or flickering — because the load is now too *small*. Many older magnetic transformers were built expecting a minimum load, often 20 to 50 watts or more, before their output settles down. Electronic transformers are even pickier. Drop a 300-watt transformer from a 200-watt halogen load to a 40-watt LED load and some units respond with a faint shimmer in every bulb, a photocell that chatters at dusk, or a transformer that hums loud enough to hear from the porch. In my experience, most quality LED retrofit bulbs are designed with exactly this in mind and run happily across a wide load range, which is why the test-bulb step matters — one bulb flickering on your transformer tells you more than any spec sheet. If the whole converted system shimmers, the honest fix is a modern LED-rated transformer sized closer to your new load, which is a modest cost and a one-time swap. What I don't recommend is the old forum trick of leaving one halogen in the system purely as ballast: it works electrically, but it burns out in a year, throws the color match off, and hides a problem you could have solved properly for under a hundred dollars.
Gotcha #2: Voltage Drop Hits LEDs Differently
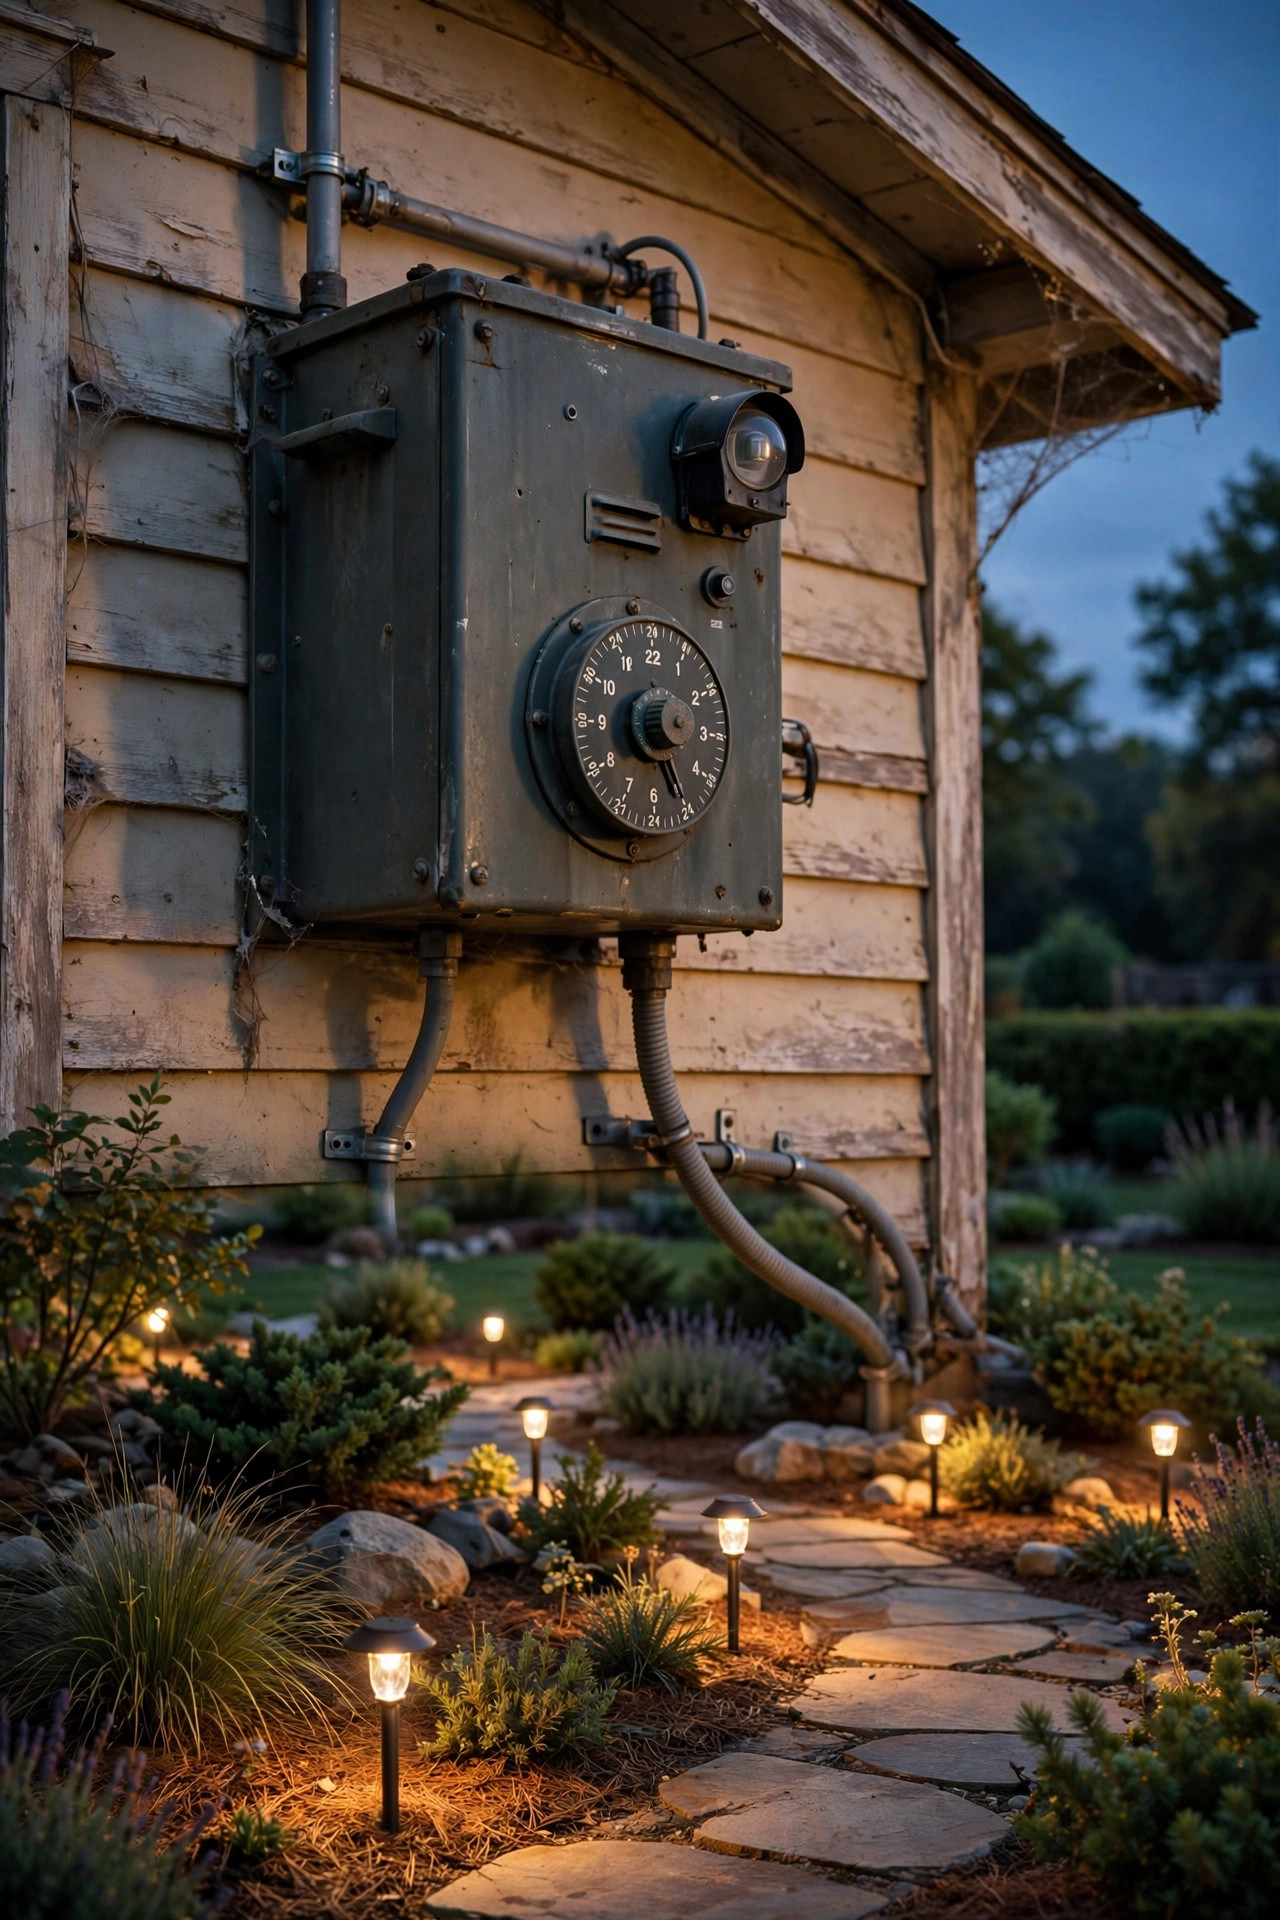
Halogens are forgiving about weak voltage — feed one 9 volts instead of 12 and it just glows a little dimmer and warmer, so a long cable run with real voltage drop could look "fine" for years. LEDs are not forgiving. Each bulb has a small driver circuit, and below roughly 9 to 10 volts many drivers flicker, pulse, or refuse to start at all. That is why a run that behaved with halogens can look broken the night you convert: the far fixtures were always starved, and the LEDs are simply the first bulbs honest enough to show it. The good news is the fixes are well understood. If your transformer is a multi-tap model, moving the longest run from the 12V terminal to the 13V, 14V, or 15V tap is a ten-minute, zero-cost fix that solves most cases. Heavier-gauge cable on the worst run, splitting one long run into two shorter home runs, or feeding a run from both ends all help too. My full walkthrough of causes and cures is in the landscape lighting voltage drop guide — read it before you conclude your new bulbs are defective, because nine times out of ten, they aren't.
Gotcha #3: Color and Beam Angle — Why It "Looks Different"
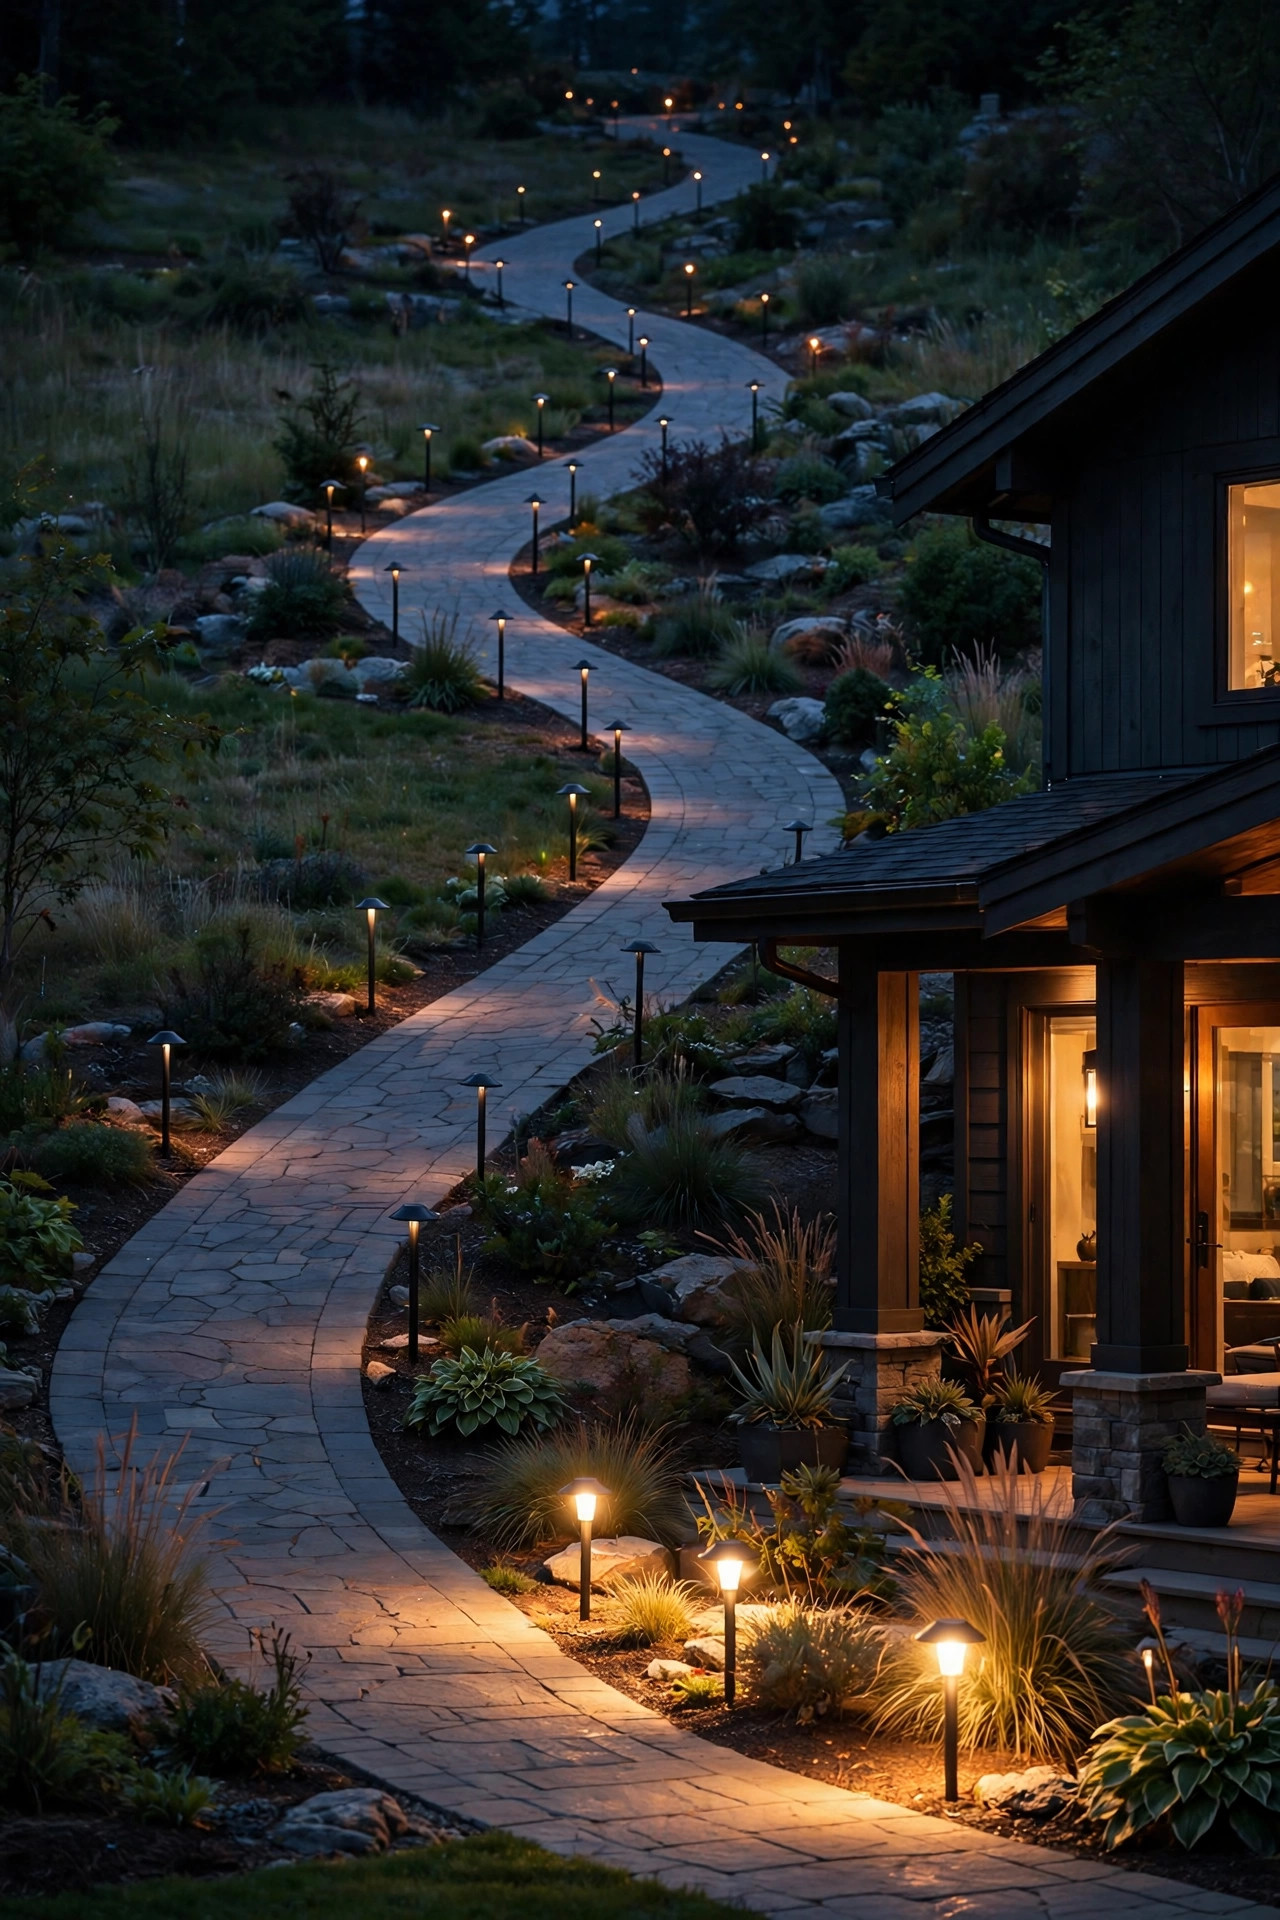
The most common complaint after a conversion isn't flicker; it's "the yard just looks different, and I can't say why." Two culprits. First, color temperature. A halogen at full brightness sits around 2800–3000K, and it warms further as voltage drops, so your old yard had a candlelight drift to it. LEDs hold one fixed color, so if you buy 3000K or 4000K bulbs expecting the old glow, the yard reads noticeably cooler and flatter. I always recommend 2700K LEDs for anyone converting from halogen — it matches the warmth your eyes remember. Second, beam angle. Halogen MR16s commonly threw a wide 60-degree flood, while many LED MR16s are 15- or 25-degree spots. Same lumens, completely different effect: tight hot spots on the trunk, darkness everywhere else. Match the beam spread printed on your old bulbs — flood for washing walls and canopies, spot for accents — and check color rendering too if you can; a CRI of 90 or better keeps red brick and green foliage looking rich instead of gray. Convert whole zones at once, as in the steps above, and the yard reads as one intentional design instead of a patchwork. One quick test I swear by: at dusk, put a new LED in one fixture beside an identical halogen fixture and view both from the street. If the LED side looks cleaner but colder, drop one step warmer before you order the rest — that five-minute comparison has saved me more than one full return shipment.
Gotcha #4: Heat Cooks Cheap LEDs in Sealed Fixtures
A halogen throws most of its heat forward, out of the fixture, with the light. An LED does the opposite — it conducts heat backward into its base and needs somewhere for that heat to go. Drop a bargain LED into a sealed, glass-lensed well light or a tight, fully enclosed path fixture, and the heat just sits there cooking the driver. The bulb doesn't fail dramatically; it quietly loses brightness and color over one or two summers, then dies years before its 25,000-hour promise. This is, honestly, the number one reason people conclude that "LEDs don't last" outdoors. The fixes are simple shopping rules. Buy bulbs explicitly rated for enclosed fixtures if yours are sealed. Prefer bulbs with real metal bodies and finned heat sinks over feather-light all-plastic ones — in this category, weight is a good sign. And if a fixture's lens or vents are caked with mulch and spiderwebs, clean it during the swap; airflow you restore for free is cooling your new bulbs every night. Spend the extra two or three dollars per bulb here. It's the cheapest insurance in the whole project. While the fixture is open, check its rubber gasket too: a perished seal lets moisture in and traps heat, and replacing a two-dollar gasket during the swap is the kind of small thing that quietly doubles a bulb's real-world life outdoors.
Gotcha #5: Flicker, Dimmers, and the AC/DC Fine Print
A standard landscape transformer outputs 12 volts of AC — alternating current. Halogens don't care; a filament glows on either. LED drivers do care, which is why the bulb's packaging matters: the ones you want say "12V AC/DC" or "for low-voltage landscape use," meaning their driver is built to rectify AC happily. A bulb specced for DC only — common in automotive and some solar products — may flicker, buzz, or fail early on your AC system even though it fits the socket perfectly. Dimmers are the other trap. Few landscape systems have them, but if yours has an inline dimmer or a smart plug doing dimming duty, a non-dimmable LED will strobe at low settings; either remove the dimmer from the circuit or buy bulbs that say "dimmable" on the box and test one first. Photocells and timers, by contrast, are almost never the problem — they switch power fully on or off, which LEDs handle fine. My rule of thumb: if a converted system flickers, suspect in this order — voltage drop at the far fixtures, a too-light transformer load, then the bulb's AC rating. It's nearly always one of the three, and all three are fixable without ripping anything out. When in doubt, read the voltage line on the bulb's spec sheet rather than the headline on the box — that's where the AC/DC truth lives.

When New Bulbs Aren't Enough: Replacing Fixtures Instead
Sometimes the honest answer is that the fixture, not the bulb, is finished. If the socket is green with corrosion, the housing is cracked, the lens seal has failed and the inside fogs every night, or the fixture points where it points and no bulb fixes bad aim, a bulb swap just moves the problem to next season. This is also the answer for integrated LED fixtures — sealed units with no bulb to change — when they finally dim after their decade of service. Modern replacement fixtures with integrated LEDs are genuinely good now: better optics, better seals, and often a warmer, richer light than a retrofit bulb in a tired housing. My approach is triage. Fixtures with sound housings and clean sockets get new bulbs. Fixtures with corrosion, cracked seals, or broken stakes get replaced, and I replace them in matching groups so the yard stays visually even. Expect $25–$90 per fixture depending on type, and remember the wiring, transformer, and cable runs all stay — you're only changing the last six inches of the system. Done this way, a "conversion" that replaces a third of the fixtures still costs a fraction of starting over. Take photos of any fixture you're unsure about — housing, socket, and finish — before you shop; matching a replacement to what you already own is far easier with a picture in hand than from memory under store lighting.

What It Costs to Convert Halogen to LED Landscape Lighting in 2026
Here's the honest bill for a typical yard. Bulbs run $5–$12 for G4 and wedge types and $8–$18 for good MR16s, so a twelve-fixture system usually converts for $100–$250 in bulbs alone. If the too-light-load problem forces a transformer swap, add $80–$250 for a modern LED-friendly unit sized to your new load — and remember you'll rarely need the big 600-watt iron anymore. If a third of your fixtures are corroded enough to replace, add $25–$90 each for those. Hiring it out instead? A lighting contractor will typically charge $150–$400 in labor for a straightforward bulb-for-bulb conversion, more if fixtures are being replaced and re-aimed. Against that, the running-cost math: a 200-watt halogen system burning six hours a night costs roughly $75 a year in electricity; the 40-watt LED version costs about $15. Add halogen replacement bulbs — a full set every year or two at $40–$80 — and the conversion typically pays for itself in one to three years, then keeps paying you back for a decade. Few home projects pencil out this cleanly. One more mercy for the budget: your timer, photocell, cable runs, and transformer (in most cases) all carry over untouched, so the bulb line really is the whole bill — no hidden "while we're at it" purchases waiting to ambush the project halfway through.
5 Mistakes That Ruin a Conversion
Mistake 1: Buying by wattage alone. A "5W LED" from one maker can be half as bright as another's. Shop by lumens and beam angle, using your old halogen as the reference — two bulbs with identical wattage can differ by 200 lumens or more, which outdoors is the difference between a gentle wash and a glaring hot spot. Mistake 2: Converting half a zone. LED and halogen color never truly match, so a walkway that's half converted looks like a mistake every single night. Finish each zone in one go. Mistake 3: Ignoring the AC rating. DC-only bulbs in an AC landscape system are the silent cause of half the "LEDs flicker" complaints I hear. Mistake 4: The cheapest bulbs in sealed fixtures. Heat kills them in a season or two, as covered above — enclosed-rated bulbs cost barely more. Mistake 5: Blaming the bulbs first. Flicker and dim far-end lights are usually load or voltage problems with ten-minute fixes. Diagnose before you return anything; the bulbs are innocent far more often than not. And keep a simple note of what you changed and when — a bulb list taped inside the transformer door turns next year's troubleshooting from a guessing game into a five-minute check.
After the Swap: Maintenance and Your New Headroom
Life after conversion is blissfully boring. There's no twice-yearly bulb ritual; instead, walk the yard once each season with a soft cloth, wipe the lenses, clear mulch and leaves away from fixtures, and snip back whatever has grown into the beams. Check aim after big storms, and if one bulb in a zone eventually goes, replace it with the exact model from the list you saved — mixing a different LED into a matched row shows. Once a year, after the leaves fall, I also snug the transformer's terminal screws: low-voltage connections loosen slowly with temperature cycles, and one loose lug can imitate a failing bulb so convincingly that people replace three good bulbs before they find it. The best part, though, is the headroom. Remember the load math from earlier: your transformer that was straining at 200 watts is now carrying 40. That spare capacity is an open invitation. When I converted, I finally added the step lights and the two extra uplights I'd wanted for years, and my guide to adding lights to an existing landscape lighting system walks through doing exactly that without overloading anything. Your conversion isn't just a repair — it's the upgrade that makes every future upgrade easy.
Frequently Asked Questions
Can I mix LED and halogen bulbs on the same system?
Electrically, yes — the transformer doesn't care, and your total load is just the sum of both. It works fine as a transition while you convert zone by zone. Just know the two will never match in color or dimming behavior, and the halogens will keep burning out on schedule, so treat mixing as a few weeks' bridge, not a permanent state.
Do I need a new transformer to convert from halogen to LED?
Usually, no. Most magnetic landscape transformers run LED bulbs perfectly well. You only need to think about replacing it if the whole system flickers or hums on the much smaller LED load — the minimum-load problem covered above — or if your old unit is failing anyway. If you do swap, size the new one to your LED load with the same 80% headroom rule.
How long do LED landscape bulbs actually last outdoors?
Quality bulbs are rated 25,000 to 40,000 hours, which is eleven years or more at six hours a night. In real yards, heat is what shortens that — bulbs in sealed, sun-baked fixtures die sooner, which is why enclosed-rated bulbs and clean vents matter. Even so, expect five to ten years from a decent bulb, versus about one year for a halogen.
Why do my far lights flicker after converting to LED, when they were fine before?
They weren't fine — they were under-voltaged, and the halogens were hiding it by simply glowing dimmer. LED drivers respond to low voltage by flickering or cutting out, so the conversion exposed an existing voltage-drop problem. The usual cure is moving that run to a higher tap on a multi-tap transformer, or shortening and splitting the run.
Conclusion
Converting a landscape lighting system from halogen to LED is the rare upgrade that's cheap, quick, and pays you back — as long as you respect the quirks: match the base and beam, buy 2700K bulbs rated for 12V AC, convert whole zones at once, and diagnose flicker as a load or voltage issue before blaming the bulbs. Do that, and to convert halogen to LED landscape lighting stops being a gamble and becomes one relaxed evening's work with a decade of low bills behind it. If you're planning your next step, browse the lighting guides and ideas here for fixture picks, layouts, and the expansion projects your newly freed-up transformer can now handle.