Can I be honest? The first security flood light I ever installed was a monster — a bare-bulb, daylight-white unit I screwed up under the eave and aimed straight out over my driveway. It lit up my yard beautifully. It also lit up my neighbor's bedroom. She mentioned it over the fence, very politely, and I have never forgotten the embarrassment. That is exactly why I now shop for neighbor friendly security lights: fixtures that throw serious light onto MY driveway, side gate and back door, and absolutely none of it through anyone else's windows. The good news is that keeping the peace doesn't mean giving up security. In my experience, the kindest setups are actually the most effective ones, because light aimed down at the ground — where intruders walk — works better than glare blasting sideways. It's all about layering: the right fixture, the right angle, the right warmth, and controls that only go bright when something actually moves. Below are my 19 favorite ways to get a safer yard and stay everyone's favorite neighbor.
1. Start With Fully Shielded Neighbor Friendly Security Lights
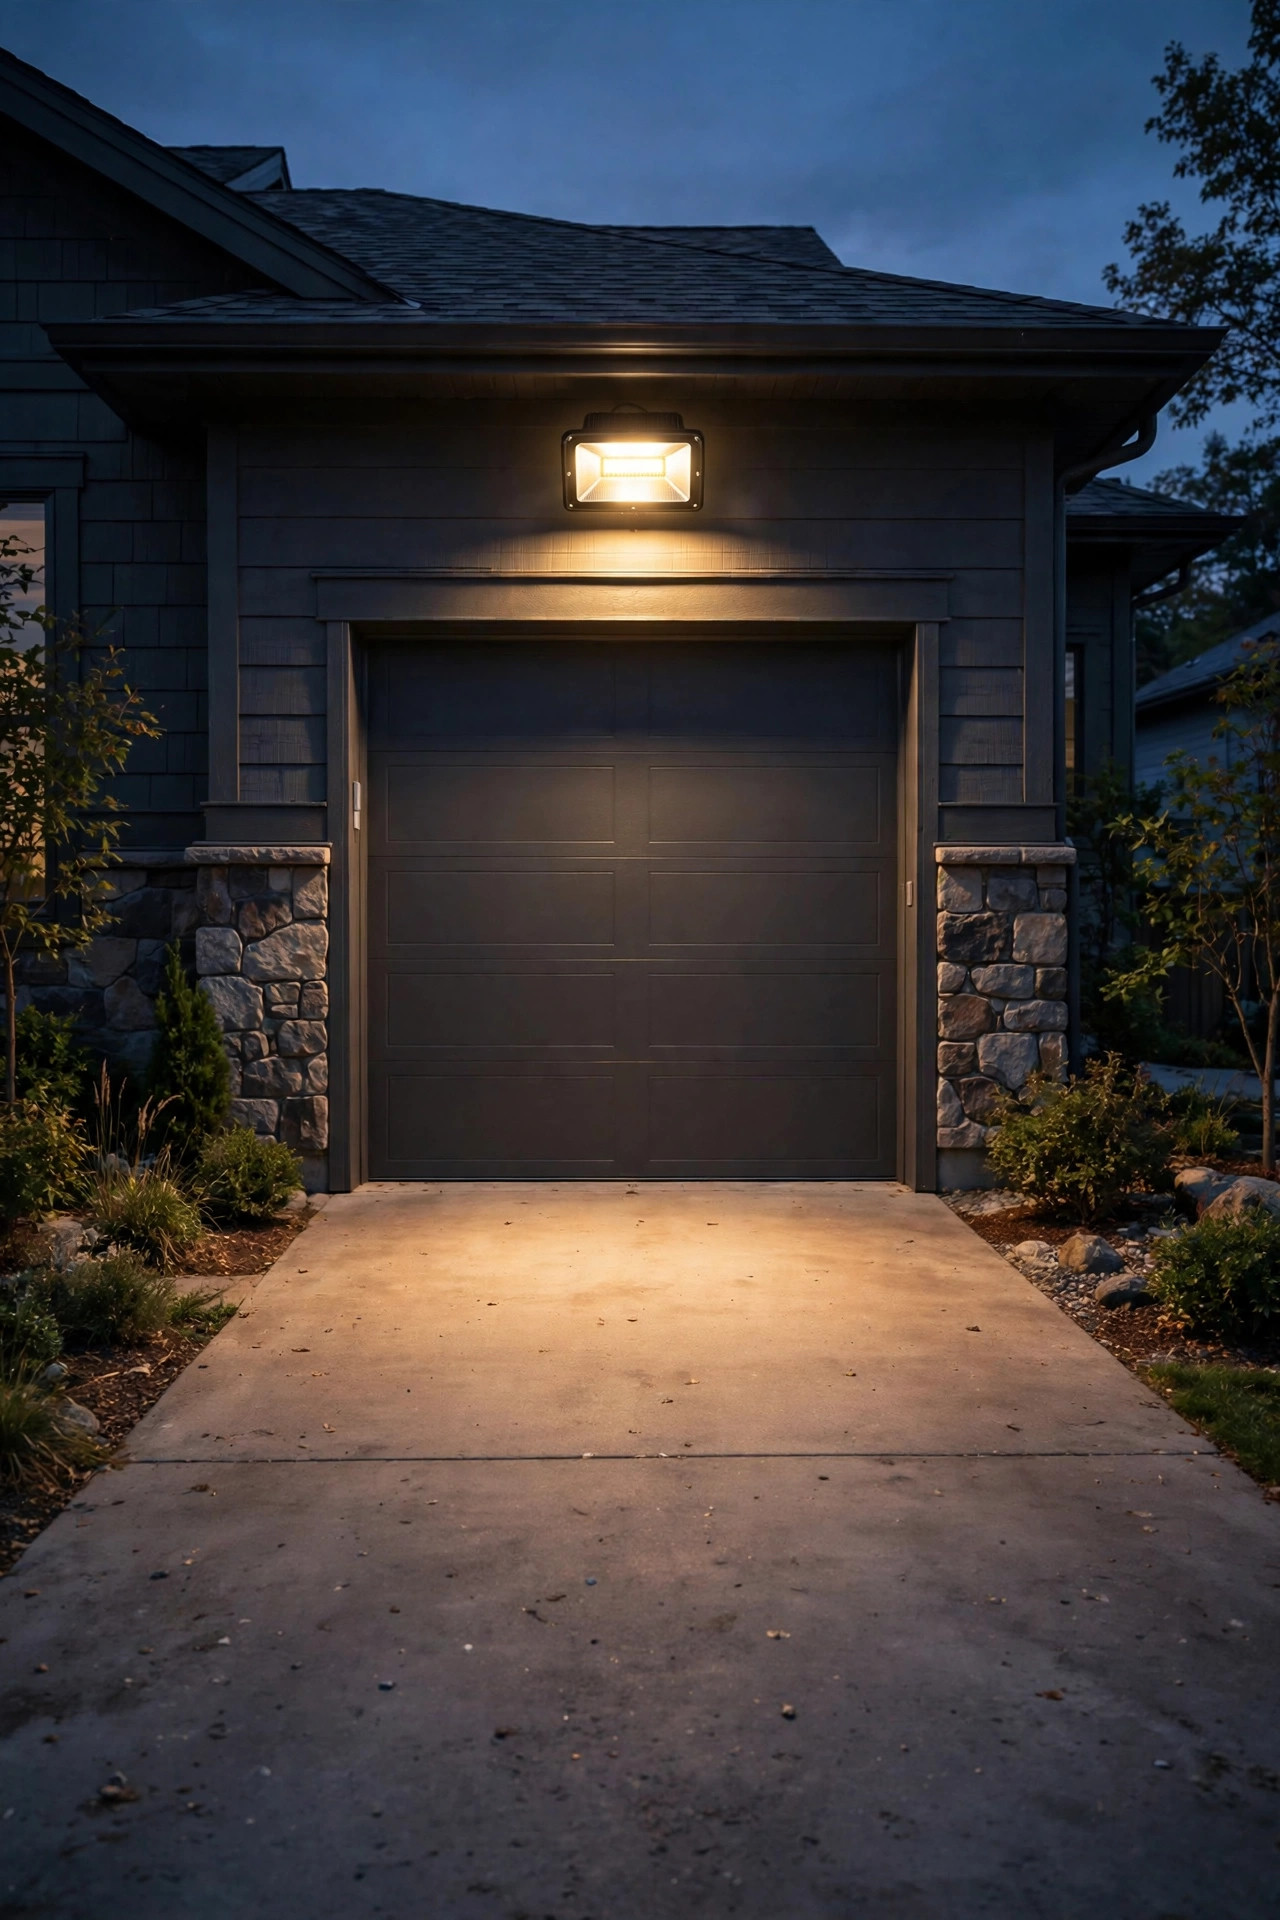
If you change only one thing, make it this: choose a fully shielded, full-cutoff flood light. That simply means the bulb sits up inside the fixture housing, behind a flat lens, so all of the light is forced downward and none of it escapes sideways or up into the sky. Honestly, this is the single biggest difference between a security light neighbors ignore and one they complain about. From the street, a shielded fixture shows no visible bright bulb at all — just a pool of light on your driveway, which reads as tidy and intentional rather than glaring. Look for fixtures labeled "full cutoff" or "dark sky friendly," with the LED recessed at least an inch behind the housing edge. I pair mine with the principles in my favorite dark sky outdoor lighting guide: shield it, aim it, warm it. Mount shielded floods over the garage door, back door and side gate at about 8 to 10 feet high, and the coverage is honestly better than an unshielded unit twice the wattage, because none of the light is wasted above the fence line. Your yard gets the security; your neighbors keep their stars.
Suggested budget range: $30 – $80.
2. Aim Every Flood Down at 30 to 45 Degrees
A flood light aimed straight out is a flood light aimed into someone's kitchen window. In my experience, angle is everything. I aim every security flood downward at roughly 30 to 45 degrees below horizontal, so the center of the beam lands well inside my own property — ideally at a distance about equal to the mounting height. Mounted 9 feet up? The hot spot should land about 9 to 12 feet out, not 40 feet across the street. Most adjustable heads have a simple knuckle joint; loosen it, tilt, and tighten while a helper stands at the property line and tells you when the glare disappears from their view. That two-person test at dusk is worth more than any spec sheet. My outdoor flood light placement guide walks through the geometry in more detail. One more trick: aim floods ALONG your yard, parallel to the fence, rather than straight out from the house wall toward it. Light that travels along your driveway lights the whole approach for cameras and eyes, yet the fence itself blocks the sideways spill. Small change of direction, enormous difference in neighborly goodwill.
Suggested budget range: $0 – $25.

3. Choose Warm 2700K Light Over Harsh Daylight White
Color temperature is the secret ingredient most people get wrong. That blue-white 5000K "daylight" flood makes everything look like a parking lot at midnight — harsh, clinical, and weirdly more annoying to the human eye than warmer light at the same brightness. I always recommend 2700K to 3000K warm white for security lighting near homes. It renders faces and clothing colors accurately enough for doorbell cameras, it matches the cozy glow of your porch and landscape lighting, and it simply feels less aggressive through a neighbor's curtains. There's real science behind the preference, too: shorter blue wavelengths scatter more, create more perceived glare, and are the ones dark-sky folks most want kept out of the night sky. Warm light also attracts noticeably fewer insects to the fixture, which means fewer spider webs across your camera lens — a practical bonus I appreciate every fall. If a fixture offers selectable color temperature with a little switch on the housing, set it to the warmest setting before you mount it; changing it later means hauling the ladder back out. Trust me: warm light, aimed down, reads as "safe home." Cold light reads as "stadium."
Suggested budget range: $25 – $70.

4. Let Motion Sensors Do the Guarding
An always-on flood is a flood that's always annoying somebody. Motion-activated security lights are my default recommendation for neighbor peace, because a light that's dark 95 percent of the night simply cannot be a nuisance — and the sudden snap to brightness when someone approaches is, honestly, a far stronger deterrent than a light that burns ignored until sunrise. Modern passive infrared sensors reach 30 to 70 feet and sweep 180 to 270 degrees, plenty for a driveway or side yard. Set the sensitivity so it catches a person at the gate but ignores the neighbor's cat, and set the on-time to one to three minutes — long enough to unlock a door, short enough to forget. I keep a whole motion sensor outdoor lights guide on the settings that matter, because the factory defaults are almost never right out of the box. Most of my clients end up preferring motion floods even for their own comfort: no more blazing light through their own bedroom window every time they roll over and glance outside. The yard stays dark, the stars stay visible, and the light only shows up when it has a job to do.
Suggested budget range: $25 – $60.
5. Pick Dual-Brightness Neighbor Friendly Security Lights That Idle Low
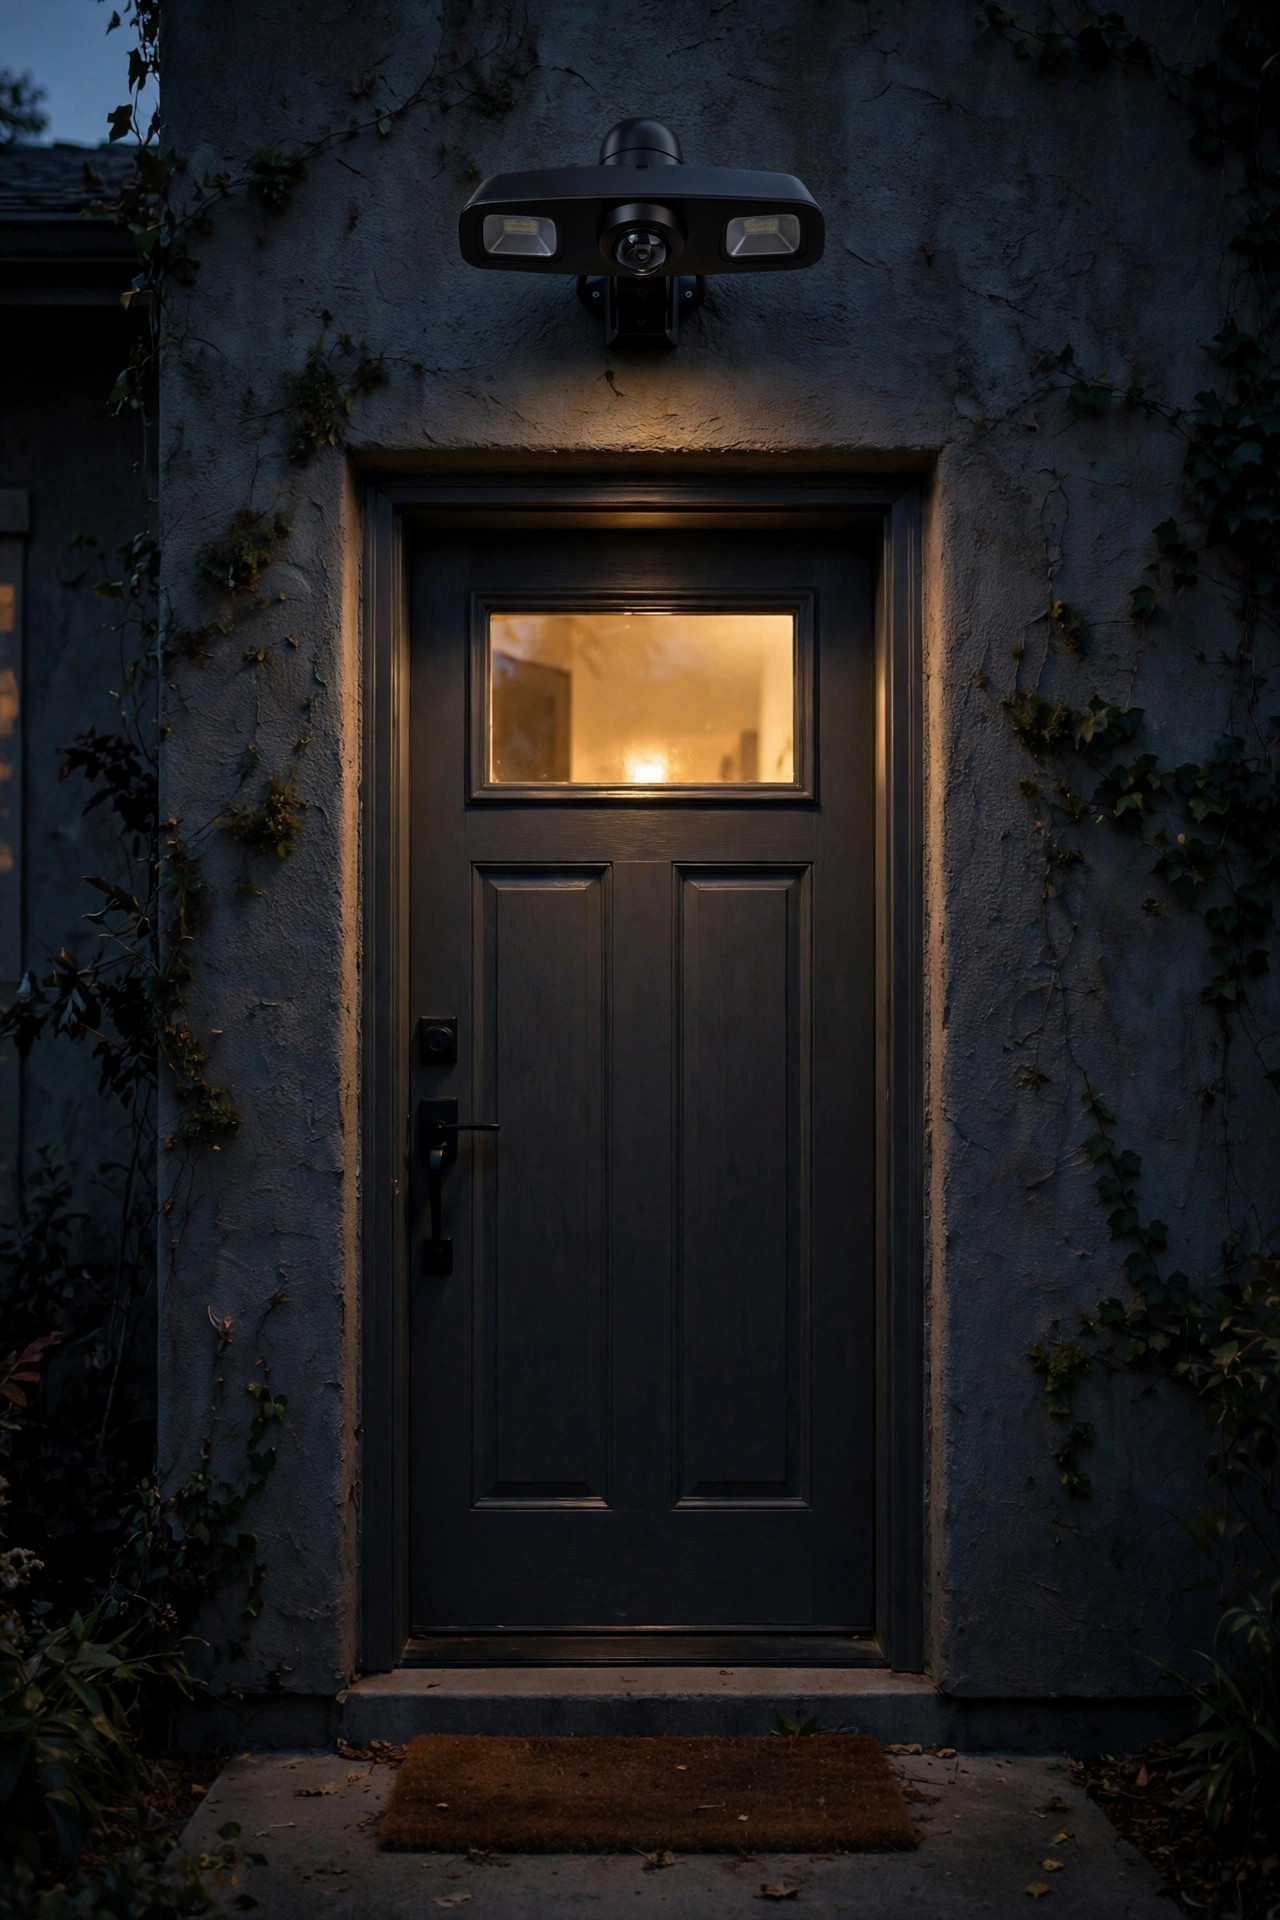
My personal favorite upgrade is the dual-brightness, or "accent-to-alert," flood light. These fixtures idle all evening at a soft 20 to 30 percent glow — just enough to outline the driveway, help guests find the steps, and make the house look lived in — then jump to full brightness the instant the motion sensor trips. Neighbors get a gentle, pretty light they barely notice, while anyone approaching your side gate gets the full spotlight treatment and knows they've been seen. It's the layering philosophy in a single fixture. In my experience, the dim idle level is also kinder to doorbell cameras, which struggle when a scene flips from pitch black to blown-out white; a little baseline light keeps the exposure smooth, and faces stay readable in the footage. Look for models where both brightness levels are adjustable, and set the idle level as low as still looks good — I usually land around 300 to 500 lumens of idle glow. Installation is identical to a standard hardwired flood on your existing junction box, and the photocell built into most of them keeps the whole show off during daylight. Pretty, polite, and genuinely secure: this is the fixture I recommend first.
Suggested budget range: $40 – $110.

6. Keep Lumens Modest — 1,200 to 2,000 Is Plenty
Here's a truth the packaging won't tell you: for most suburban yards, you do not need 5,000 lumens. That stadium-bright output exists for acreage, barns and commercial lots. On a typical 50-foot lot, 1,200 to 2,000 lumens of well-aimed LED light will fully illuminate a two-car driveway or a back patio — roughly the old 100-watt incandescent flood, delivered far more efficiently. Anything beyond that mostly buys you glare, light trespass, and a higher electric bill. Think in zones instead of raw power. Ask: what does a person standing here actually need to see? The gate latch, the steps, the car door handle — all close-range tasks that modest, nearby light handles beautifully. Excess lumens also wash out camera footage, turning a visitor's face into a white blob, which defeats the entire point. When I audit a yard that's getting complaints, nine times out of ten the fix is embarrassingly simple: swap the mega-flood for a fixture at half the output and aim it properly, and suddenly everyone — homeowner, camera and neighbor alike — can actually see better. Bright is not the same as visible. Aim for enough, plus a small margin, and stop there.
Suggested budget range: $20 – $55.

7. Use Gooseneck Barn Shades That Throw Light Straight Down
Sometimes the politest fixture is an old-fashioned one. Gooseneck barn lights and deep-shade wall packs were designed a century ago to throw light down onto a work area and nowhere else, and that built-in shade still does the job beautifully for security duty. The metal shade physically blocks any sideways line of sight to the bulb, so from your neighbor's yard the fixture is just a silhouette — while underneath it, your trash enclosure, side gate or back steps sit in a bright, useful circle of light. I love these over side doors and along garage side walls, where a bare flood would fire straight through the fence gaps. Choose a shade at least 10 to 14 inches wide, mount it 8 to 9 feet up, and use a warm white LED bulb or integrated LED in the 800 to 1,600 lumen range. Add a motion-sensor socket adapter or a smart bulb and the humble barn light becomes a fully modern security fixture. Honestly, the farmhouse charm is a bonus: of all my recommendations, this is the one neighbors actually compliment. Security that looks like decor is the easiest kind to live next to.
Suggested budget range: $45 – $120.

8. Mount Floods Lower Than You Think
Height is a glare multiplier. A flood mounted at the roofline, 18 or 20 feet up, has a clear line of sight over every fence on the block — and it takes its light with it, spraying across three yards before it lands. Drop that same fixture to 8 or 10 feet, above a garage door, porch or side gate, and the physics flip in your favor: the fence, the hedge and your own house now block the sideways spill, and the light pools exactly where people walk. I always recommend mounting security floods as low as still gives you coverage — usually just above head height plus arm's reach, around 8 feet, which also keeps the fixture out of casual tampering range. There's a maintenance dividend, too. At 8 feet, you're cleaning the lens and re-aiming the head from a step stool instead of an extension ladder in the dark, which means you'll actually do it. If you truly need height for a big back yard, compensate with a fully shielded fixture and a steeper downward angle, and test from the property line. Low, shielded and steep beats high and hopeful every single time.
Suggested budget range: $25 – $75.
9. Split the Job Between Two Smaller Floods
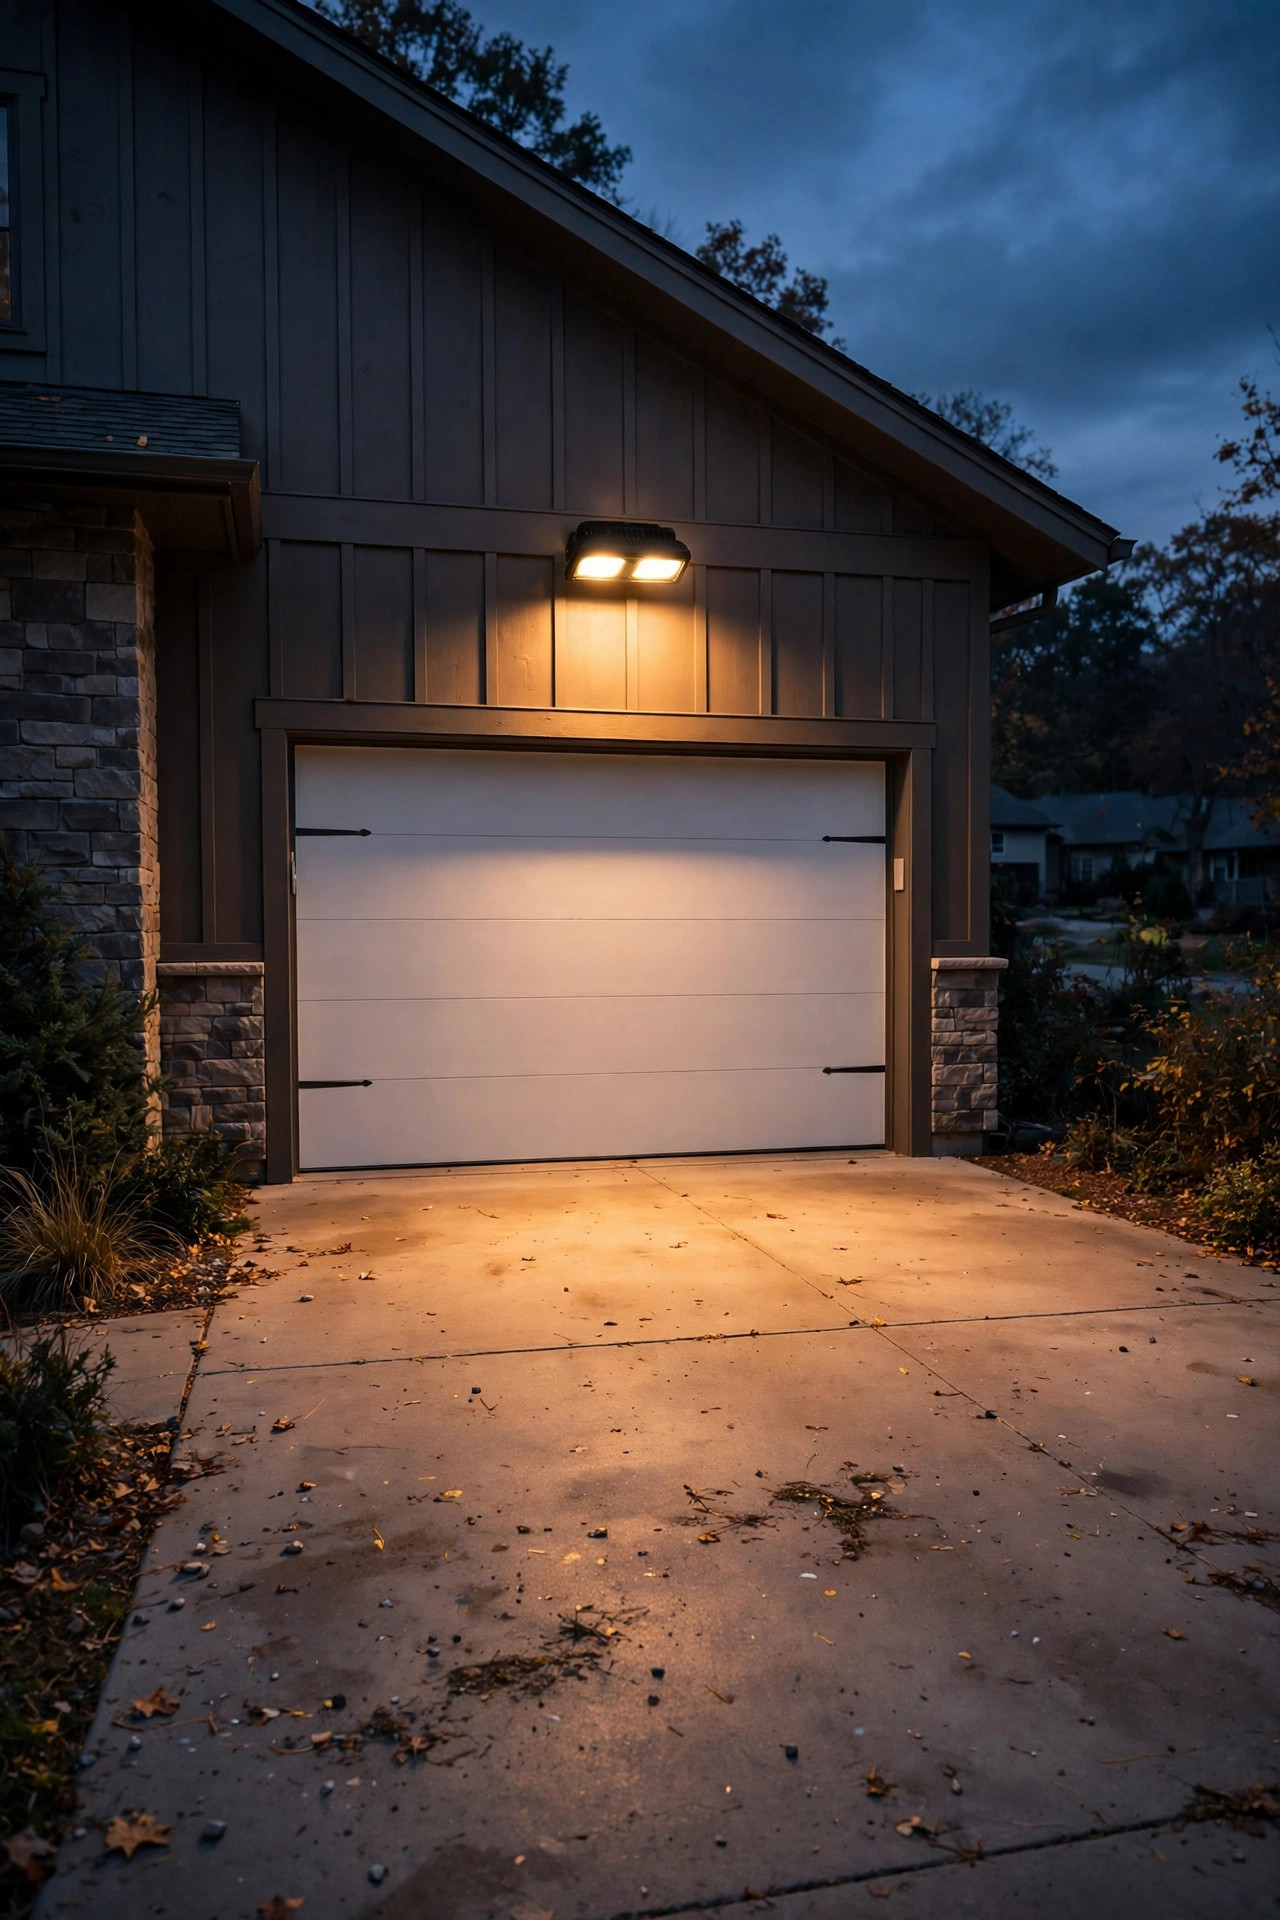
One giant flood trying to cover a whole yard is like one giant ceiling light trying to do a whole house — harsh in the middle, shadowy at the edges, and unpleasant everywhere. I get far better results splitting the job between two smaller floods, each covering its own zone at moderate brightness. Put one over the garage aimed down the driveway, and a second, smaller one watching the side gate or back door, each in the 800 to 1,500 lumen range. The overlap fills shadows gently instead of creating that black-and-white interrogation look, and if one fixture ever fails, you're not left in total darkness. Smaller fixtures are also individually aimable, so each beam stays inside its own fence line instead of one huge beam overshooting everything. The electricity math is friendly, too: two 15-watt LEDs on motion sensors use a fraction of the energy of one always-on halogen dinosaur. And visually? Two modest glows read as "landscaped home," while one blazing hotspot reads as "compound." When neighbors describe a house as "the one with the light," it's almost always the single mega-flood house. Split the job, soften the edges, keep the peace.
Suggested budget range: $40 – $100.
10. Add Glare Shields, Visors and Honeycomb Louvers
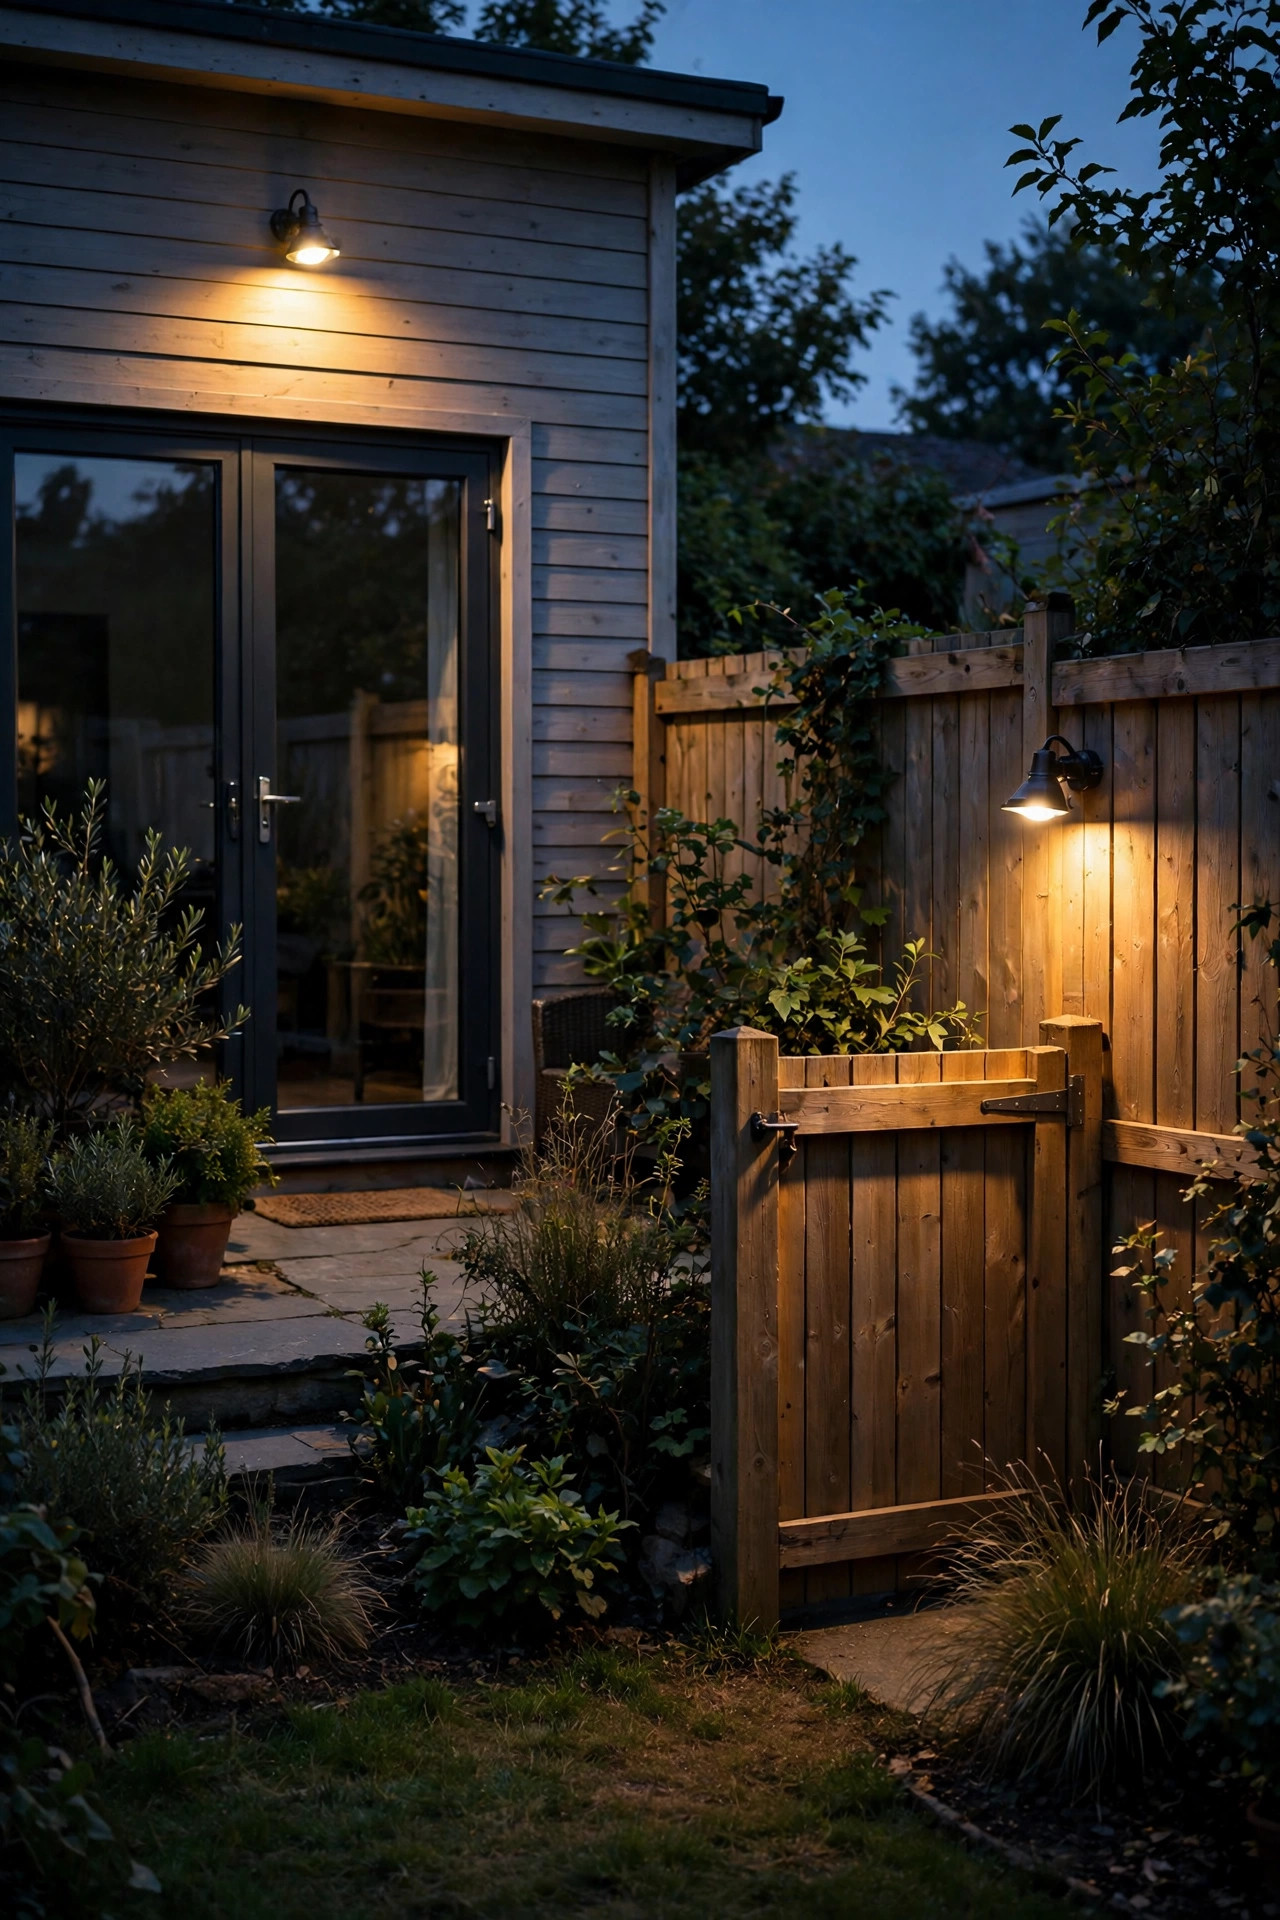
If your existing floods are basically fine except for the glare, don't replace them — dress them. Slip-on visors, barn-door style glare shields, honeycomb louver inserts and even simple frosted lens covers all clip or screw onto common fixtures and cut off the beam exactly where the complaints begin. A honeycomb louver is my favorite cheap fix: the little grid cells let light pass straight down but swallow it at sideways angles, so a neighbor at fence height sees darkness while your driveway stays lit. Hardware stores sell universal shield kits for common flood housings for less than a pizza night, and the whole retrofit takes ten minutes on a ladder. While you're up there, wipe the lens — a season of dust and bug residue scatters light in every direction, and a clean lens tightens the beam noticeably. This is also the compassionate order of operations if a neighbor has already mentioned your light: shields first, re-aim second, replace only if those fail. Showing up with a louver kit the week after someone mentions glare makes you a hero. Ignoring it makes you a story they tell. Small money, huge diplomacy.
Suggested budget range: $10 – $35.

11. Place Floods on the House and Aim Them Inward
Stand at your property line at night and look back at your house. Any fixture you can see glowing is a fixture whose light is leaving your yard. The simplest placement rule I know: keep security floods on the house, aimed inward across your own ground — never mounted on a fence post or garage corner aimed outward along the lot line, where half the beam belongs to the neighbors whether they want it or not. Side-yard floods are the worst offenders, because the houses are close and the beam fires straight down the corridor between them into bedroom windows. Instead, mount the side-yard fixture on YOUR wall, aimed along YOUR wall toward the gate, so the light grazes your siding and dies at your fence. Backyard floods belong on the back wall or eave, aimed into the yard's center, not perched on the back fence lighting the alley and the yard behind you. If a corner of the lot truly needs coverage, that's a job for a low, shielded fixture on a short post inside the planting bed, not a flood on the boundary. Light your own ground, from your own ground. Everything else is trespass with good intentions.
Suggested budget range: $25 – $70.
12. Set Up Smart Neighbor Friendly Security Lights With Zones and Schedules
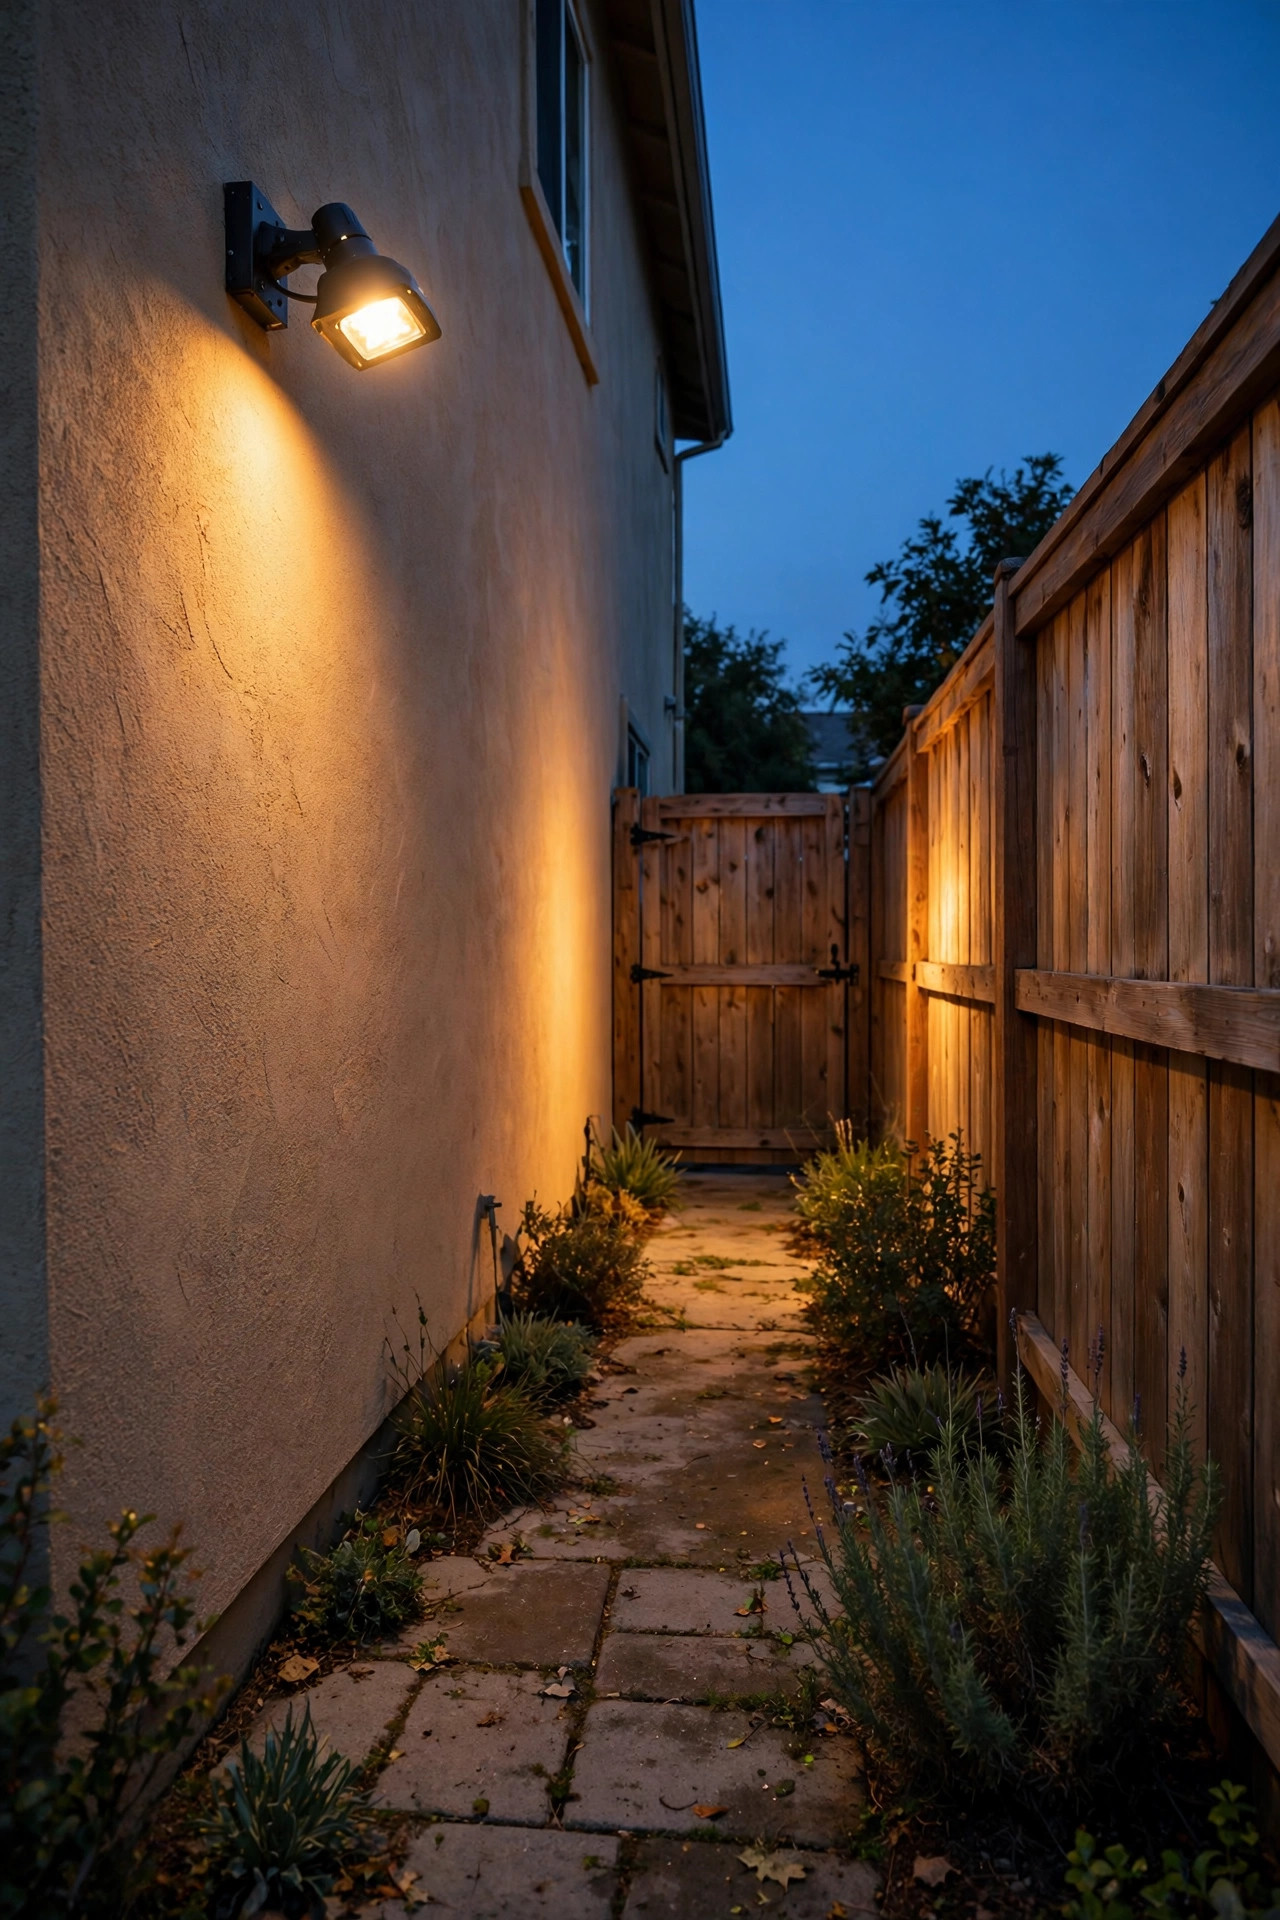
Smart flood lights earn their keep in neighbor relations, because control is kindness. App-connected floods let you draw motion zones on a camera view or set the sensor to ignore the strip of yard nearest the street, dim the output to exactly the level your lot needs, and — my favorite — put the whole fixture on a schedule that suits the street's bedtime. I set mine to full sensitivity until 11 p.m., then "quiet hours" afterward: still alerting, still recording, but at reduced brightness unless something comes right up to the door. Most smart floods also offer a gentle fade-on instead of a hard snap to full power, which sounds like a tiny thing until you've been the neighbor whose bedroom wall flashes at 3 a.m. because a raccoon passed. Gradual light startles nobody and still deters everybody. Do check that the app allows per-fixture control if you have several, and keep the Wi-Fi password handy — a flood that drops offline and defaults to "always on at full blast" (some do) is worse than a dumb one. Tuned thoughtfully, though, a smart flood is the most considerate security light ever made.
Suggested budget range: $60 – $180.

13. Go Dusk-to-Dawn at Genuinely Low Wattage
Plenty of people prefer a light that's simply on all night — no sensors to tune, no surprises. If that's you, the neighborly way to do it is a dusk-to-dawn photocell fixture at genuinely low wattage. An integrated LED wall pack or flood running 10 to 20 watts (roughly 900 to 1,800 lumens), fully shielded and aimed down, gives a constant, modest pool of light that says "occupied and cared for" without ever becoming the street's lighthouse. The photocell handles the seasons automatically, switching on at dusk and off at dawn, so there's no timer to reset after a power outage. Where I see people go wrong is pairing the always-on strategy with always-on wattage — a 50-watt flood burning 12 hours a night is both a light-trespass machine and about $25 to $35 a year in electricity for one fixture. The low-wattage version costs a few dollars a year and, layered with path lights, honestly looks more expensive. Save the big output for motion-activated backup (idea #4), and let the dusk-to-dawn fixture be the polite background glow. Constant and dim will beat constant and blazing with every neighbor, every time.
Suggested budget range: $20 – $50.

14. Use Solar Motion Floods for Corners and Gates
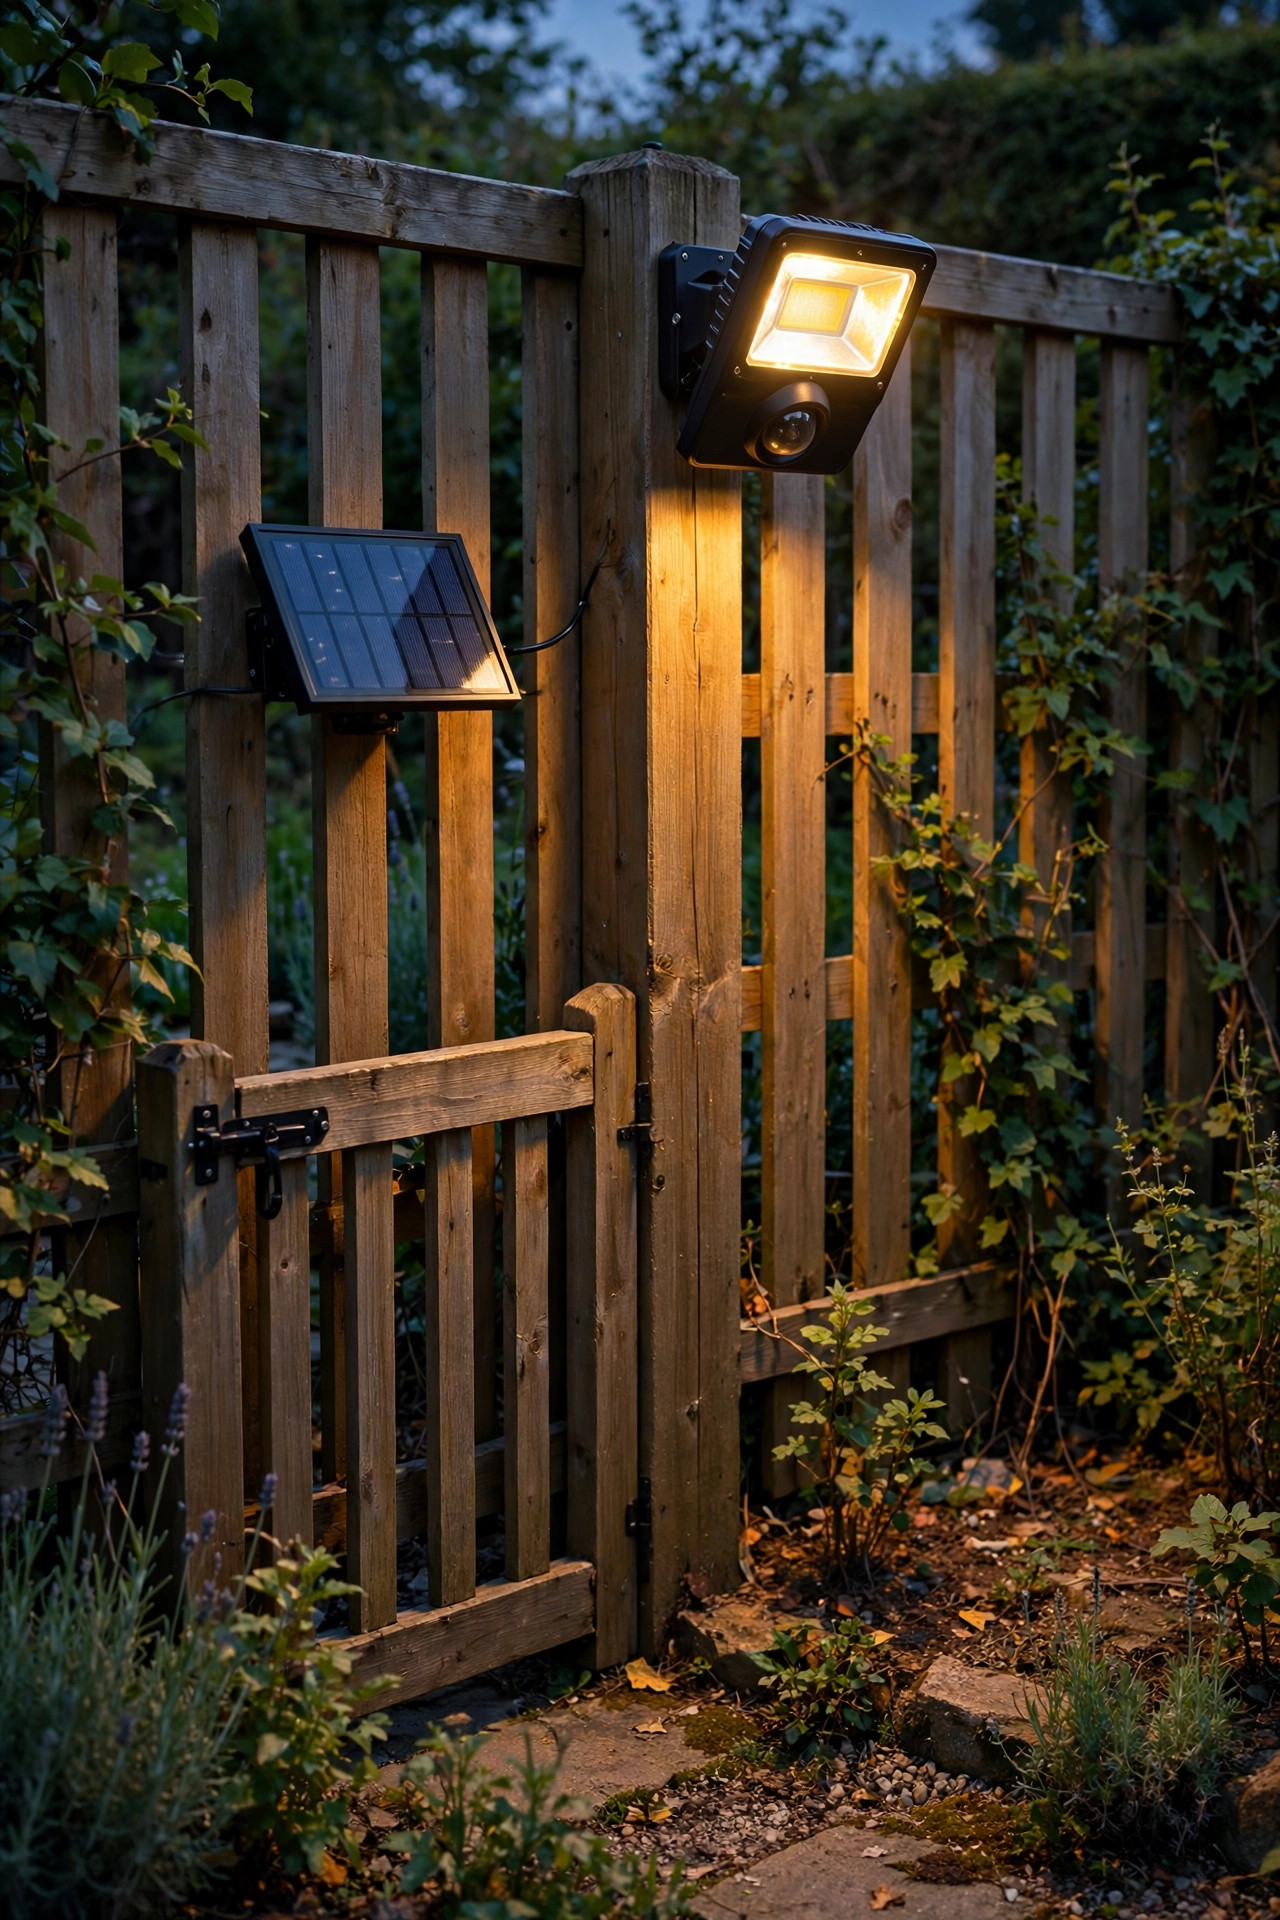
For the side yard, the shed, the far fence corner — anywhere running wire would be a project — a solar motion flood is a wonderfully low-stakes answer. Solar keeps the output naturally modest, usually 400 to 1,000 lumens, which is exactly the range that lights a gate or a path without announcing itself two doors down. No wiring also means no electrician, no trenching, and total freedom to experiment: I stick them up with the included screws, live with the placement for a week, and move them if the angle isn't right. Look for a model with a separate, cabled solar panel you can aim at real sun while the light head sits in shade, a replaceable battery, and an adjustable sensor. Set the on-time short — 20 to 30 seconds is plenty for a pass-through zone. Temper expectations honestly: after three cloudy December days, a budget solar flood will be dim, and that's okay for a secondary zone. Keep solar as your supporting cast for corners and gates, with hardwired light guarding the main doors, and you'll have coverage everywhere with glare nowhere. Renters, especially, should start here — two screws, zero landlord negotiations.
Suggested budget range: $20 – $45.
15. Layer Path Lights So Floods Can Stay Gentle
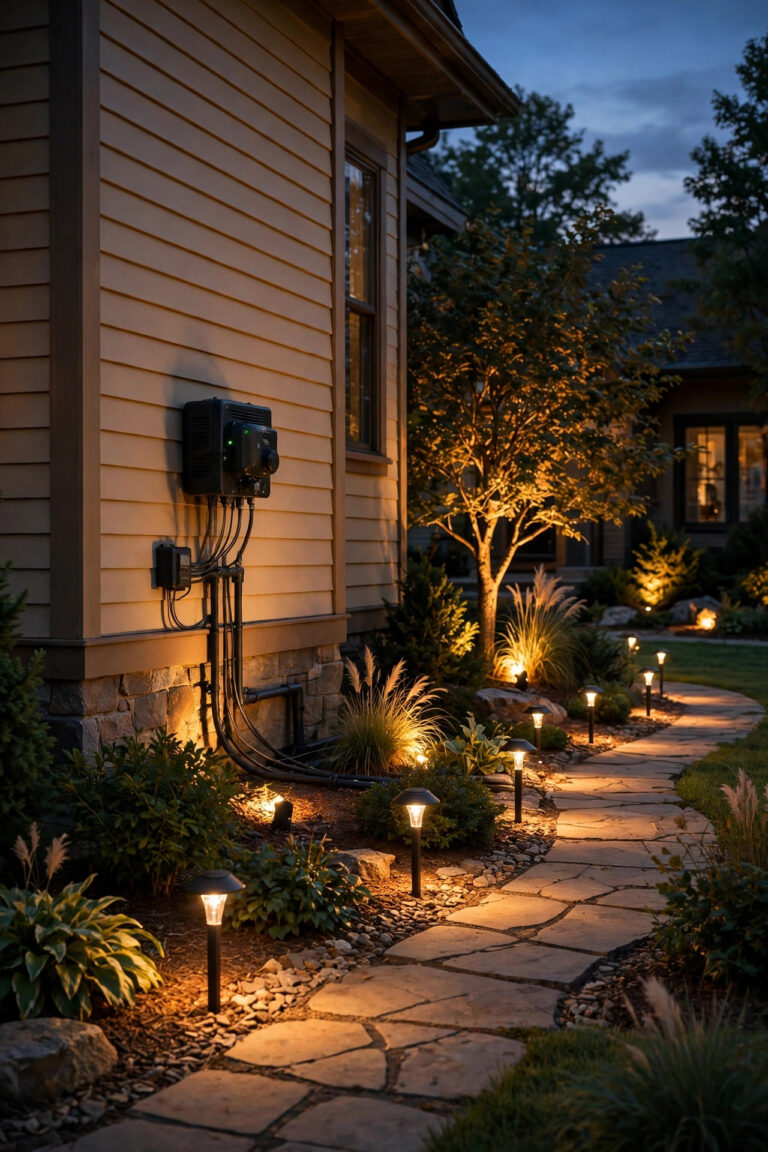
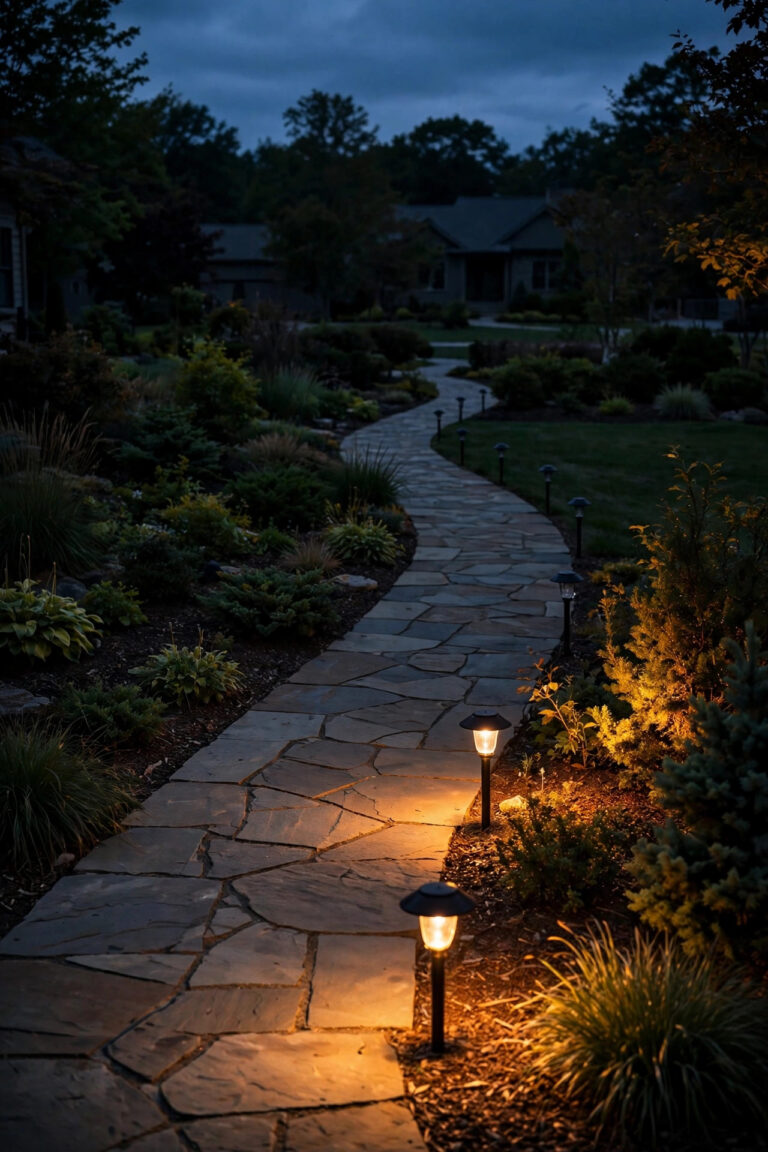
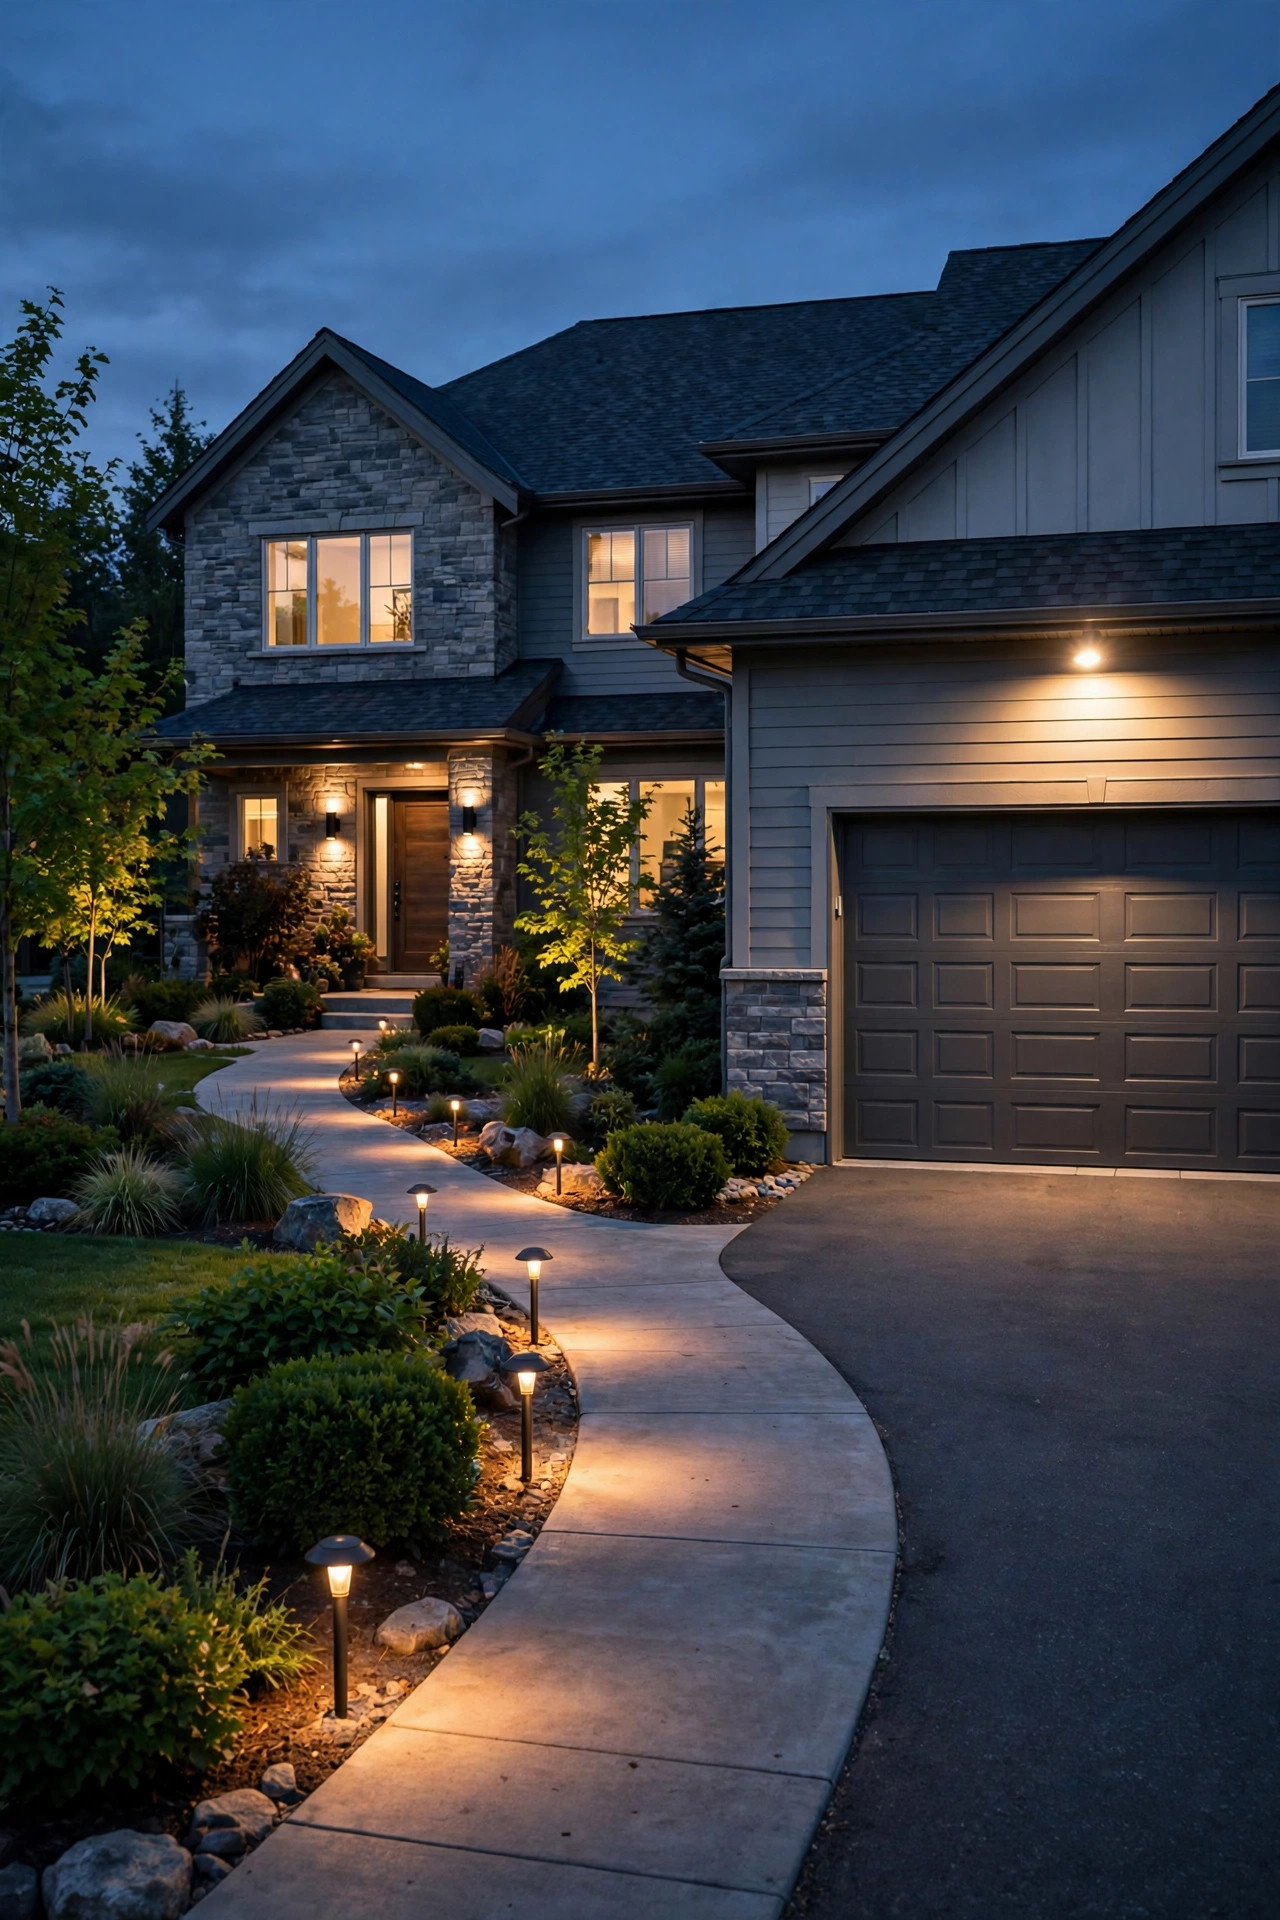
The sneaky secret to turning your floods DOWN is turning your other lights ON. A yard with a gentle base layer — path lights along the walk, a porch light, a couple of low landscape spots — never needs its security floods to do all the work, so they can be smaller, dimmer, or motion-only. Layering also defeats the biggest flaw of flood-only security: contrast. One bright pool surrounded by pitch black actually hides movement at the edges, because eyes (and cameras) adjust to the hotspot and lose the shadows. A soft base layer keeps the whole scene readable, so a modest flood adds emphasis instead of carrying the entire show. In my own yard, adding six low-voltage path lights let me drop the driveway flood from 3,000 lumens to 1,500 and the picture on camera got clearer, not worse. Aim for pools of warm light every 6 to 8 feet along routes people actually walk, 12 to 18 inches tall, a few hundred lumens each at most. Your flood lights become the exclamation point instead of the entire sentence — and exclamation points, used sparingly, bother absolutely no one.
Suggested budget range: $60 – $200.
16. Tuck Security Light Under the Eaves as Soffit Downlights
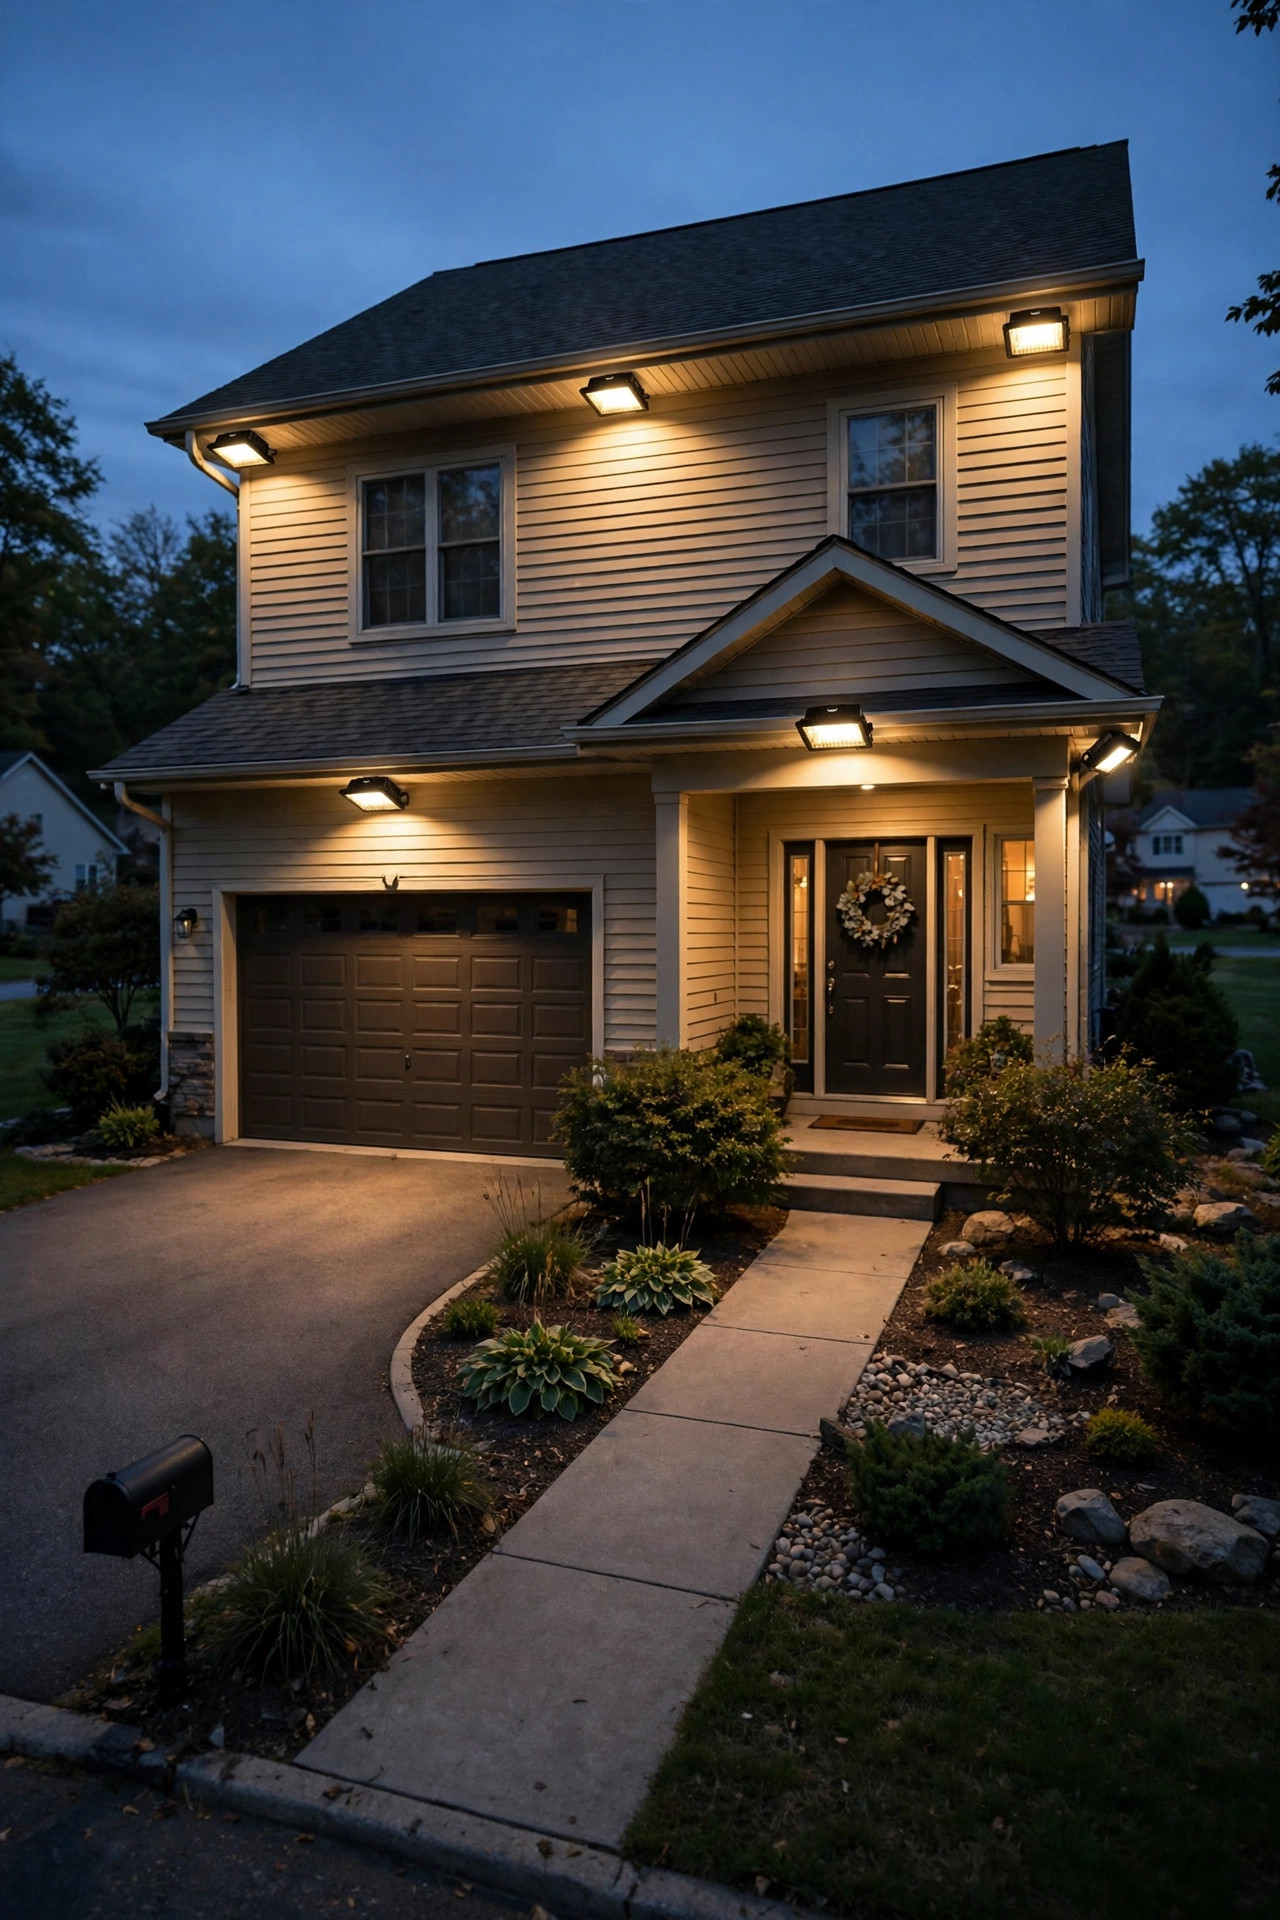
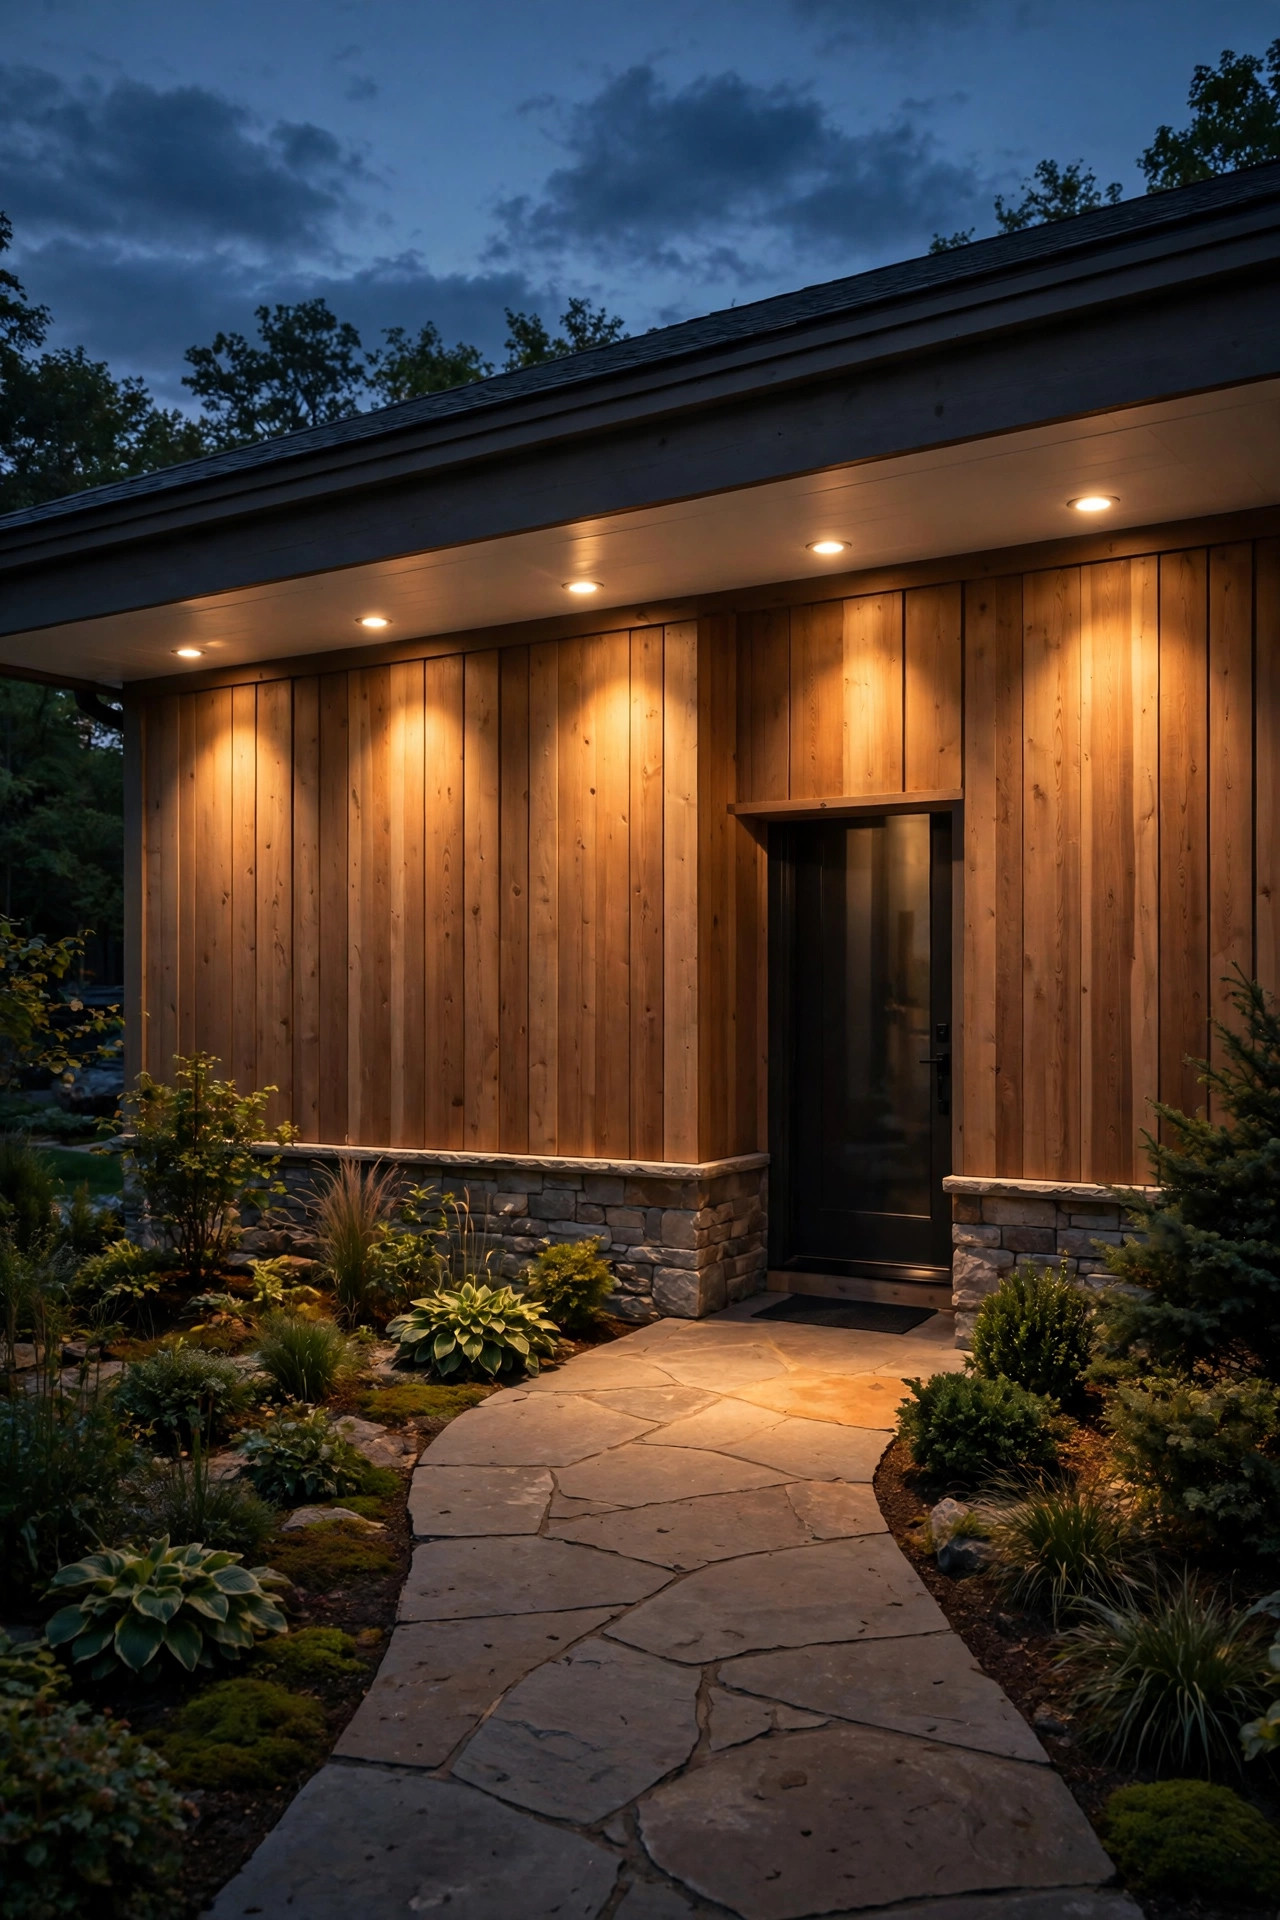
Tucking security lighting up under the eaves is the most architecturally polite trick I know. Recessed soffit downlights — or surface-mount eave fixtures with a flood-style spread — fire straight down by construction. The roof itself becomes the shield: from the street and from neighboring windows, there's simply no direct view of the light source, just a graceful wash down your siding and a bright pool on the ground below. I love a row of them along the front eave for a welcoming, even glow, and a pair over the garage for real driveway security. Because the fixtures sit 9 to 12 feet up firing down, coverage is wide and shadow-soft, and you can often run surprisingly modest wattage — 10 to 15 watts per fixture — since none of the light is wasted sideways. Use wet-location-rated, IC-rated housings where the soffit requires it, space them 4 to 6 feet apart, and put the row on a timer or smart switch so it can dim or switch off late at night. It reads as high-end architecture, it photographs beautifully, and in five years of recommending it, I have never once had a neighbor complain about light coming straight DOWN.
Suggested budget range: $80 – $250.
17. Give Your Floods a Curfew With Timers
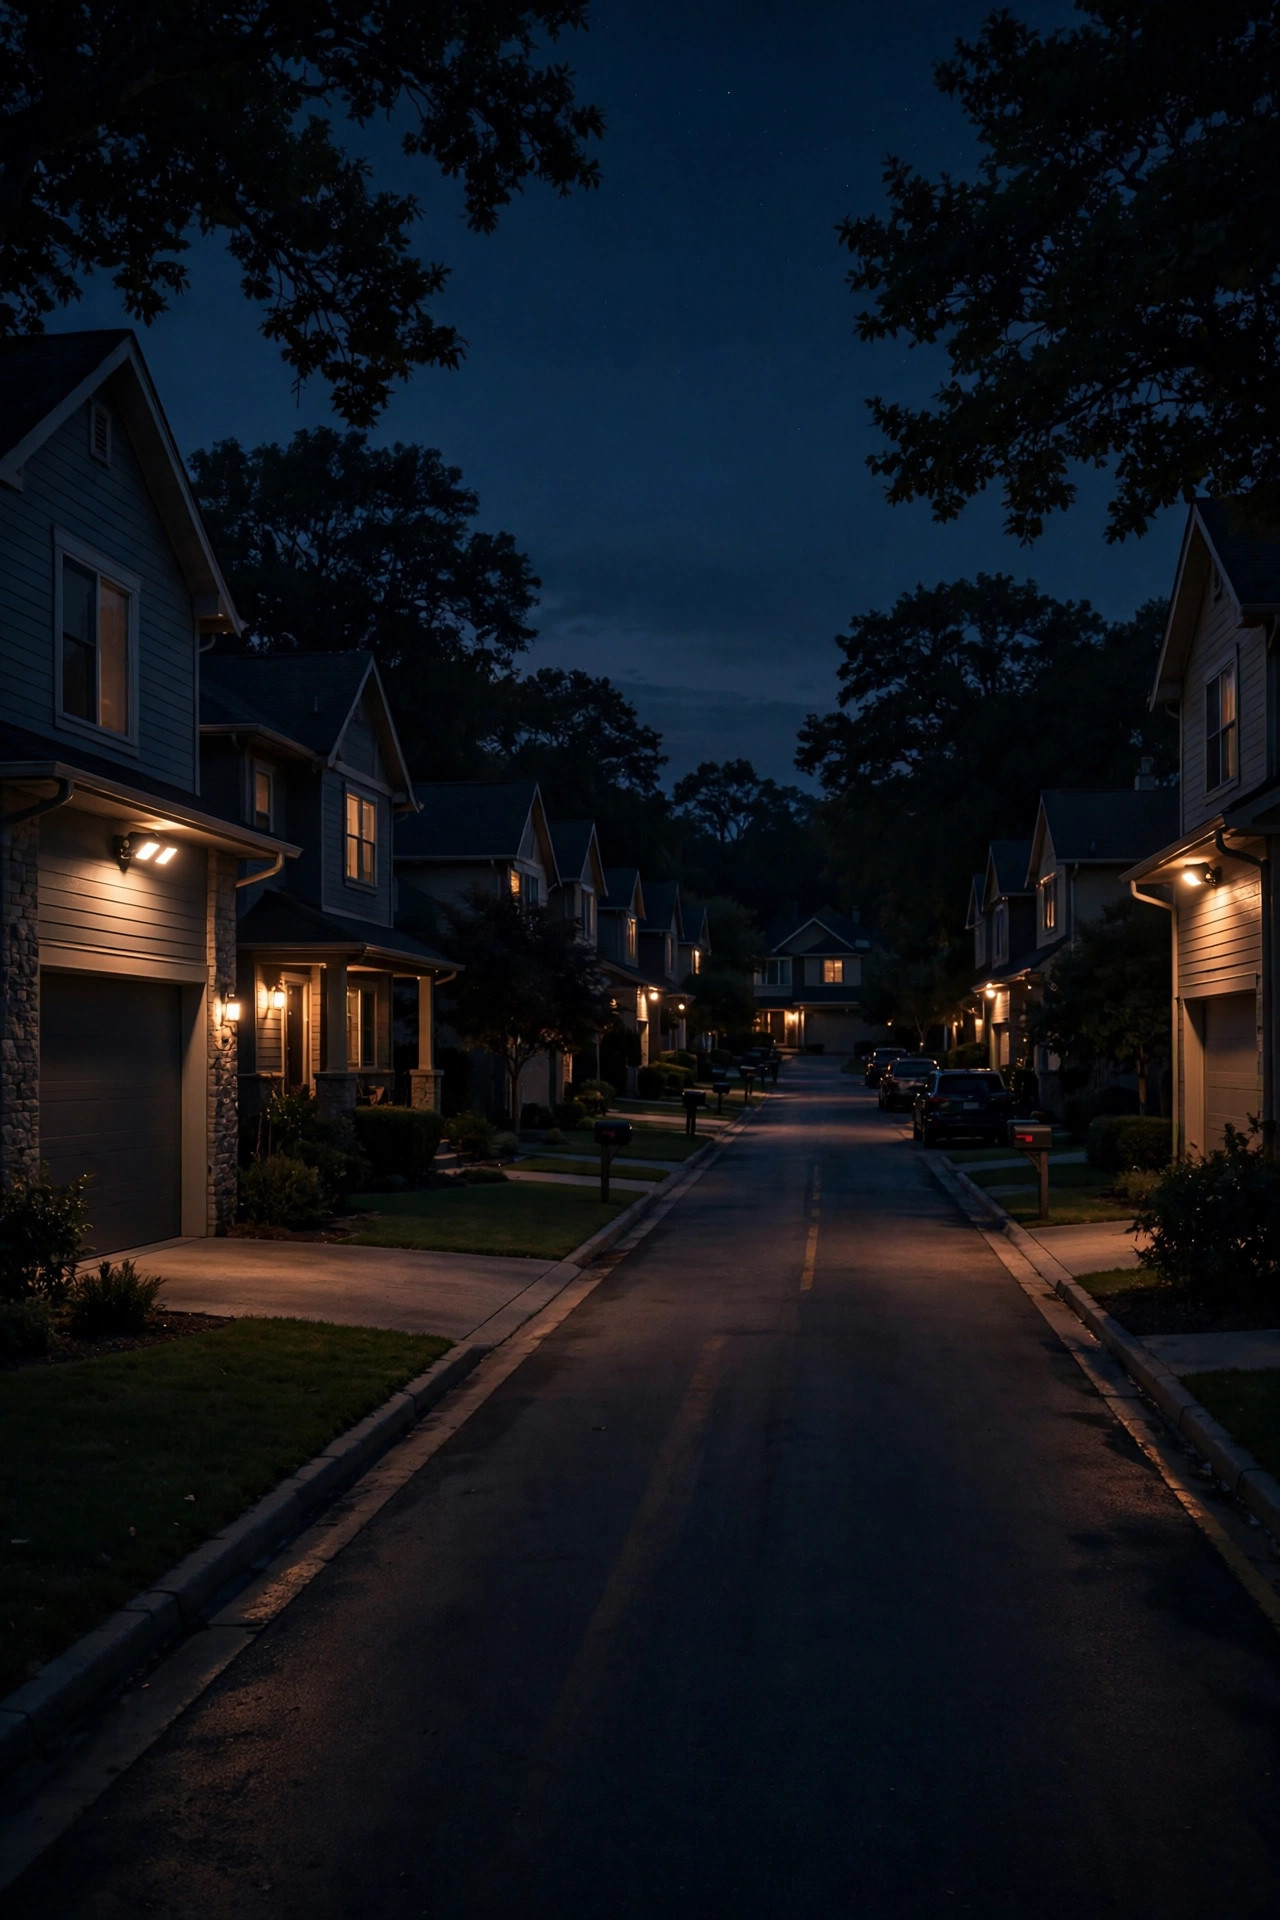
You lock your doors at night; your lights can keep a curfew too. A simple timer or smart plug schedule transforms an always-on security setup into a good citizen: full lighting from dusk until 10 or 11 p.m., when the street is awake and guests are coming and going — then down to motion-only mode for the deep night hours, when the only thing an always-on flood illuminates is everybody's bedroom ceiling. Astronomical timers are my favorite because they track sunset automatically through the seasons, so "dusk" is always right without reprogramming. The schedule also quietly saves real money: cutting six hours a night of flood lighting is the single cheapest energy upgrade in this whole list. If your floods are hardwired on one switch, a smart switch or an in-wall timer at that switch controls all of them at once — no per-fixture apps to babysit. I keep one exception: the porch light by the front door stays on its low, warm setting all night for deliveries and late arrivals. Everything else observes the curfew. Burglars, studies keep showing, are deterred by signs of life and sudden light — not by a yard that's been lit like noon since Tuesday.
Suggested budget range: $15 – $60.
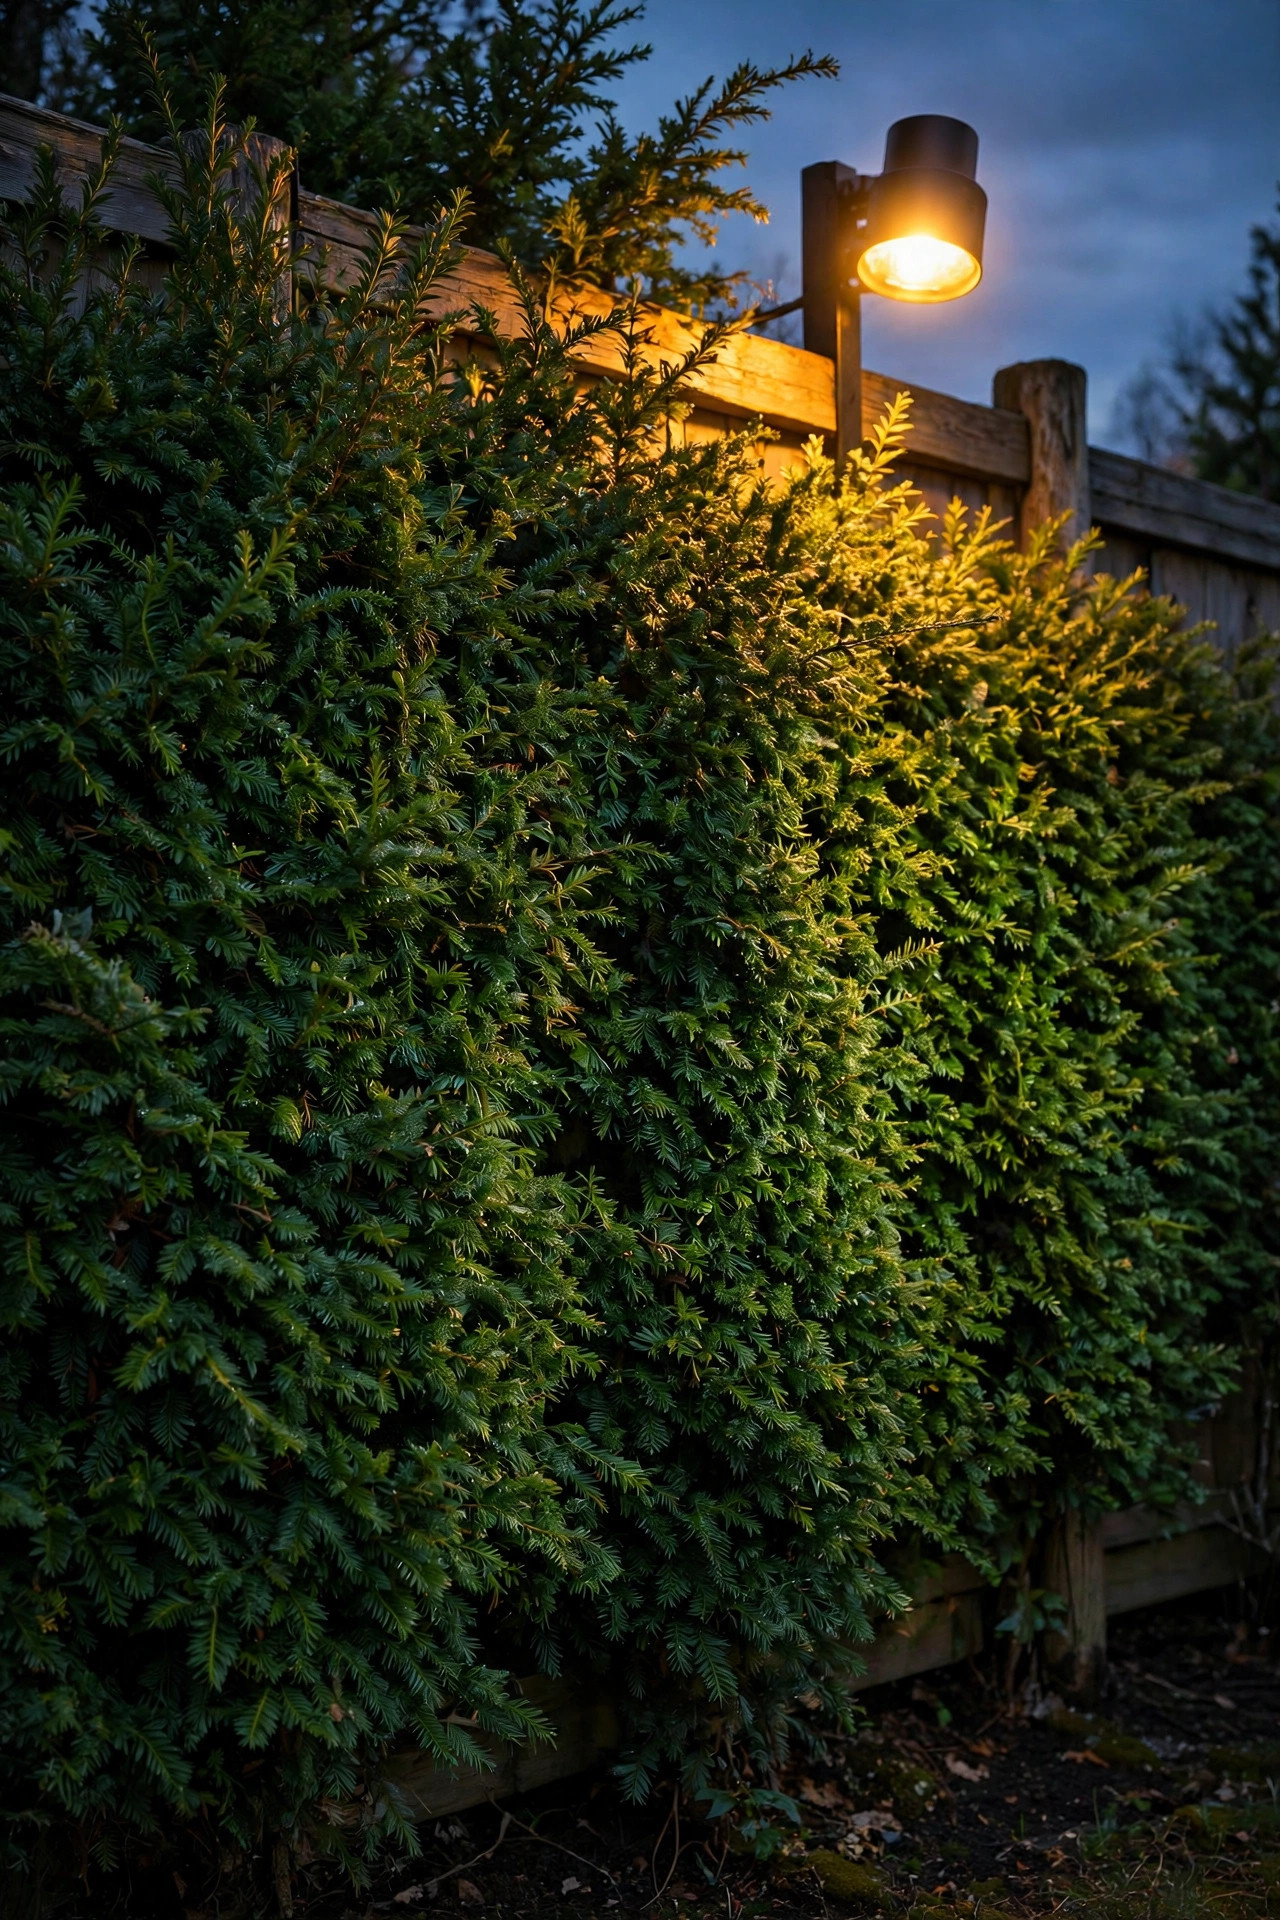
18. Plant a Hedge Screen to Catch the Spill
Plants solve lighting problems that hardware can't. A dense hedge or a section of privacy planting along the fence line is a physical light baffle: it absorbs spill before the light ever reaches your neighbor's windows, while doing absolutely nothing to reduce the brightness inside your own yard. Evergreen shrubs — arborvitae, holly, laurel, or a clumping bamboo in a contained bed — in the 5 to 7 foot range will block the sideways view of a flood mounted at 8 to 10 feet, especially if you plant them a few feet inside your line so the canopy fills the gap under the beam. This is the fix I reach for when the geometry is stubborn: close houses, elevated lots, a neighbor's window exactly where your driveway light wants to point. As a bonus, the hedge gets beautifully uplit by the very light it's blocking, and a lit green wall looks a thousand times better than a lit fence. Give new plantings a season to fill in, and bridge the gap with a temporary louver or shield (idea #10). Light trespass handled by landscaping is the version nobody can argue with — it makes both yards prettier.
Suggested budget range: $100 – $400.
19. Finish With a Night Test and a Quick Neighbor Check
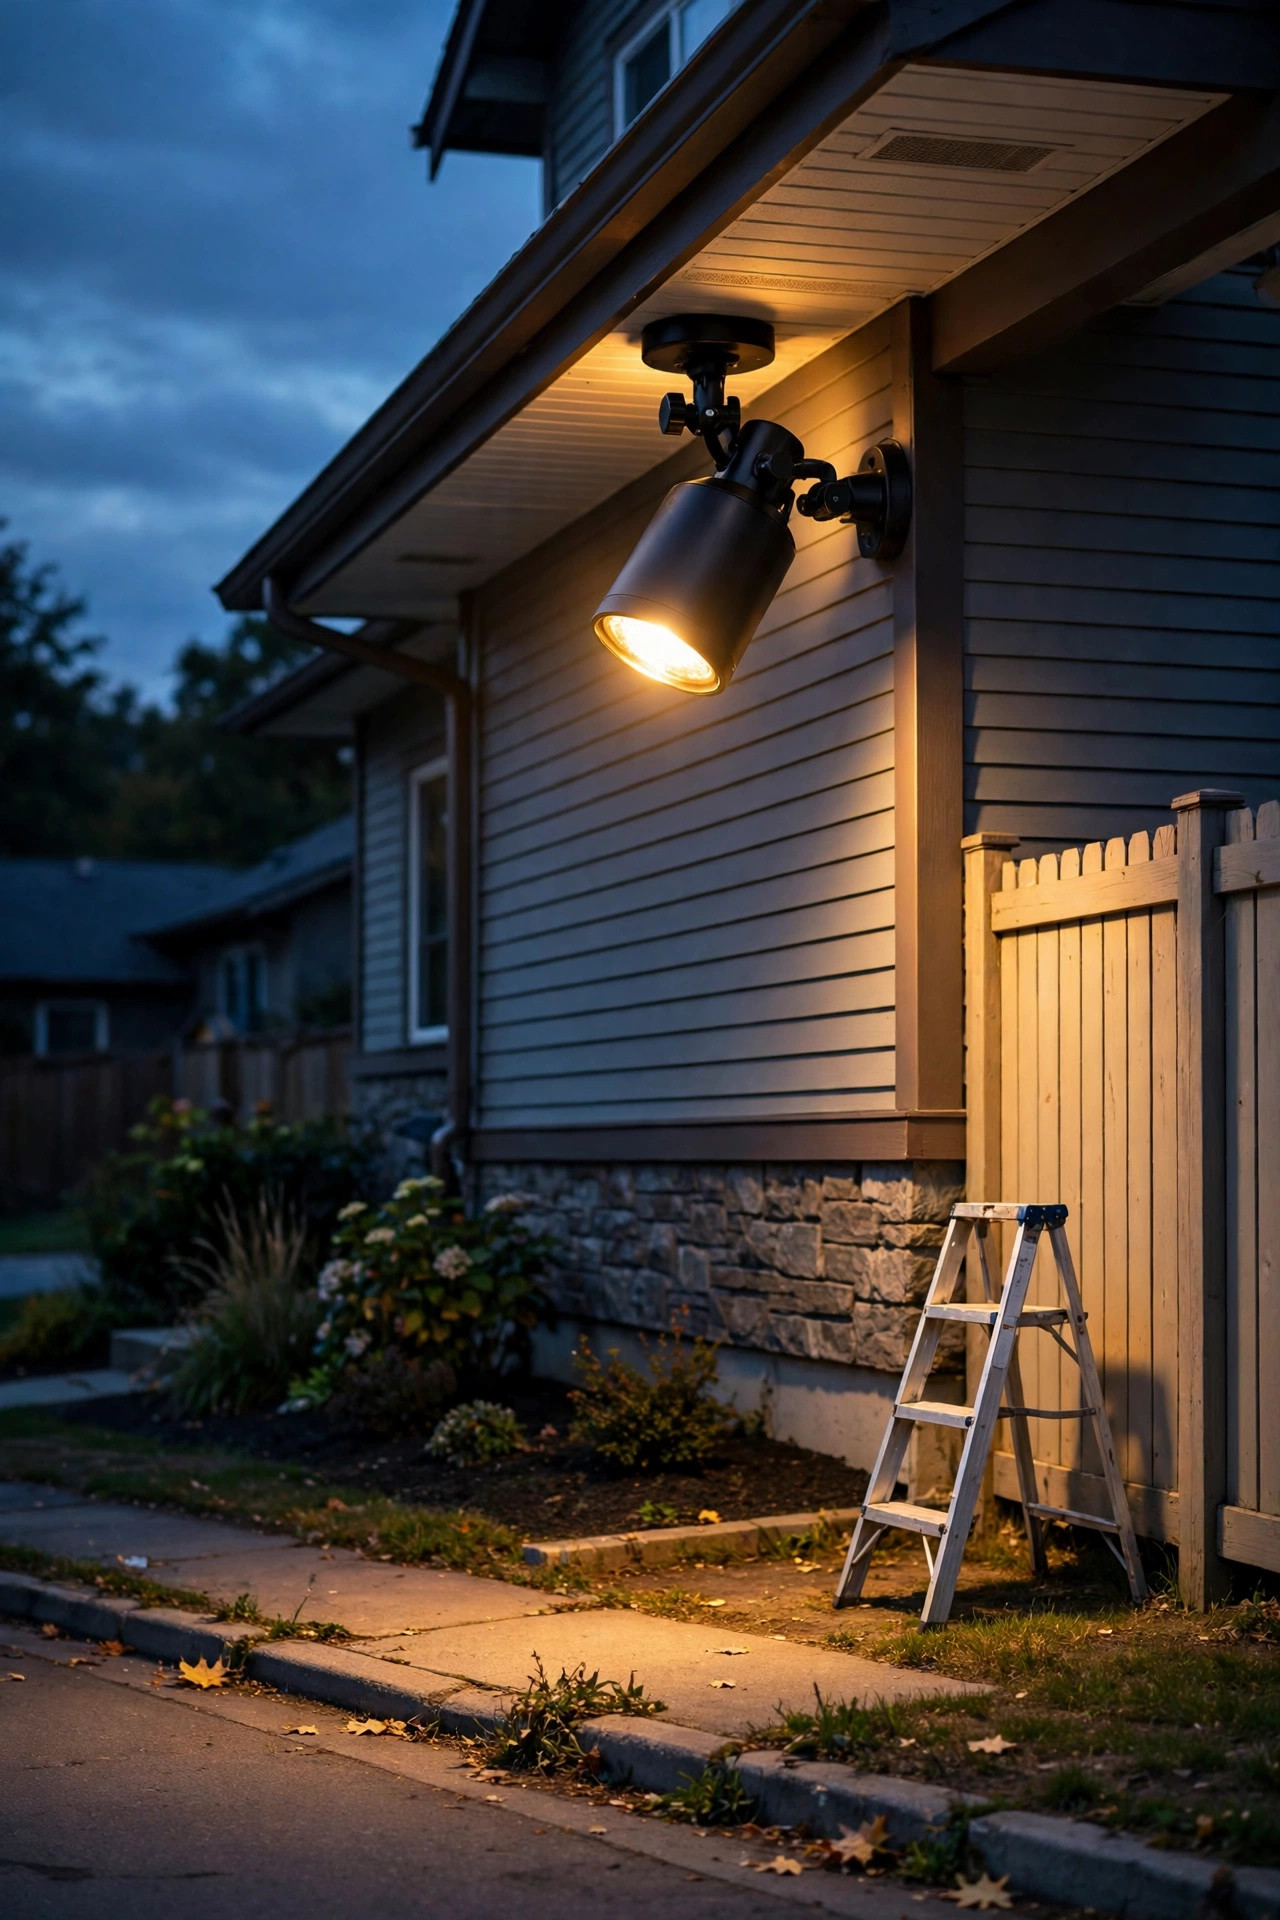
Here's the ritual that ties all nineteen ideas together, and it costs nothing: the night test. After everything is mounted, wait for full dark, then walk your own property line — every corner, the sidewalk, the spots where your neighbors' windows face you — and look back. Crouch to seated-eye height on their side of the fence if you can. Anywhere you can see a bare bulb or feel that squint reflex, that fixture needs a nudge down, a shield, or fewer lumens. Then do the bravest, easiest thing on this whole list: knock, or text, and ask. "I just put up new security lights — is any of it shining your way?" In my experience, that one sentence converts you from "the light person" into the most considerate homeowner on the street, and neighbors will forgive a week of imperfect aiming from someone who asked. Keep the ladder handy for a few evenings and fine-tune until the answer is "haven't noticed a thing." That's the real goal of neighbor friendly security lights: a yard so well lit and so well mannered that the only person who ever notices the system is the one it stops at the gate.
Suggested budget range: $0 – $20.
Frequently Asked Questions
How many lumens do I actually need for a security flood light?
Far fewer than the box brags about. For a typical suburban driveway, patio or side yard, 1,200 to 2,000 lumens of well-aimed LED light is plenty — comparable to an old 100-watt incandescent flood. Smaller zones like a gate or back steps do fine at 700 to 1,200 lumens. What matters more than raw output is aim and shielding: modest light pointed down at the ground reveals faces and footing clearly, while excessive lumens mostly create glare, wash out camera footage, and spill into neighboring yards.
What color temperature is least likely to bother the neighbors?
Warm white, 2700K to 3000K. It produces noticeably less perceived glare and sky glow than 4000K–5000K "daylight" bulbs, matches the warm look of porch and landscape lighting, and is what dark-sky guidelines recommend for residential areas. The good news: warm white still renders faces, clothing and car colors accurately enough for doorbell and security cameras, so you give up nothing in identification quality. If a fixture offers selectable color temperature, choose the warmest setting before mounting it.
Are motion-sensor lights better than dusk-to-dawn lights for keeping the peace?
Both can be neighbor friendly, but motion sensors win on two counts: they're dark most of the night (so they can't annoy anyone), and the sudden burst of light is a stronger deterrent than a constant glow people tune out. Dusk-to-dawn lights work well as a low-wattage background layer — keep them shielded and under about 1,800 lumens. My favorite setup combines both: a dim dusk-to-dawn base, with motion floods that brighten only when someone approaches.
My neighbor says my flood light shines into their window. What should I do first?
Start with the free fixes, in this order: re-aim the head downward (30–45 degrees below horizontal), shorten the motion timer, and lower the sensitivity so it stops triggering on street activity. If glare persists, add a visor or honeycomb louver shield, swap to a warmer, lower-lumen bulb or fixture, and check whether the light is mounted higher than it needs to be. Then invite the neighbor to look with you at night while you adjust — that conversation alone resolves most complaints, and it keeps you ahead of any local light-trespass or nuisance rules.
Conclusion
Nineteen ideas, one principle: security light belongs on your ground, at your doors, and nowhere else. Shield the fixture, aim it down, warm the color, keep the lumens honest, and let sensors and schedules do the night shift — and neighbor friendly security lights stop being a compromise and start being simply the best security lights. Start with the night test this week, fix the worst offender first, and build from there. If you'd like more inspiration for the rest of the yard, browse my other outdoor lighting ideas here on the site and keep that glow where it belongs — at home.