The first time I stuck a solar spotlight at the base of our front oak, I honestly expected a sad little glow that quit by 10 p.m. Instead, the whole canopy lit up like a stage set, and I stood on the sidewalk at midnight grinning like a kid. That's the magic of good solar spotlight ideas: they borrow the designer's trick of aiming light at the things that matter — a tree, a flag, your house numbers — without a single trench, transformer, or electrician bill. In my experience, spotlights are the highest-impact layer in any yard lighting plan because they create the focal points everything else supports. In this post I'm sharing 19 ways I use them, from cross-lighting a shade tree to keeping Old Glory properly lit all night, with honest notes on brightness, placement, panel angles, and what each one really costs. Most of these install in under ten minutes with nothing but a stake and your hands. Pick two or three favorites, charge them for a full sunny day, and watch your curb appeal change overnight.

1. Uplight Your Best Tree With a Single Solar Spotlight
Every yard has one tree that deserves to be the star, and a single well-aimed spotlight turns it into the nighttime anchor of your whole property. Choose a ground-stake solar spotlight with an adjustable head and at least 200 lumens — anything dimmer disappears into a big canopy. Push the stake into the soil 12 to 18 inches from the trunk, slightly outside the drip line is too far; you want the fixture close so the beam rakes up the bark texture and into the lowest branches. Angle the head about 30 degrees from vertical for a full, leafy tree, steeper for a tall, narrow one. The solar panel needs its own sun, so rotate it toward the south and away from the tree's afternoon shadow. In my yard, one warm-white (2700–3000K) spotlight made our oak look twice its size from the street. Sweep fallen leaves off the panel every few weeks, and in winter, knock snow off after storms — a covered panel is the number one reason these lights "stop working." This is the first solar spotlight idea I recommend to anyone starting from zero.
Suggested budget range: $15 – $35.

2. Cross-Light a Wide Canopy With Two Spotlights
One spotlight on a wide-spreading tree leaves half the canopy in shadow, which looks a little like a flashlight under a chin at a campfire. The designer's fix is cross-lighting: two spotlights placed at roughly 10 o'clock and 2 o'clock around the trunk, each angled up and slightly across the tree's center line. The overlapping beams fill shadows, model the branch structure, and make the canopy read as one lush, glowing mass instead of a flat disk. Use matched fixtures so the color temperature stays consistent — mixing a warm white and a cool white light on the same tree looks off in a way guests can't name but always notice. Stagger the distances a touch: one stake 12 inches out, the other closer to 20, so the light isn't perfectly symmetrical. Because two panels now compete for sun, angle them slightly apart like a shallow V. If your tree sits in a mulched bed, bury the stakes deep enough that edging and string trimmers won't knock them sideways. Two-light sets are usually sold in pairs, which keeps the cost per light lower than buying singles.
Suggested budget range: $30 – $60.

3. Keep Your Flag Properly Lit All Night
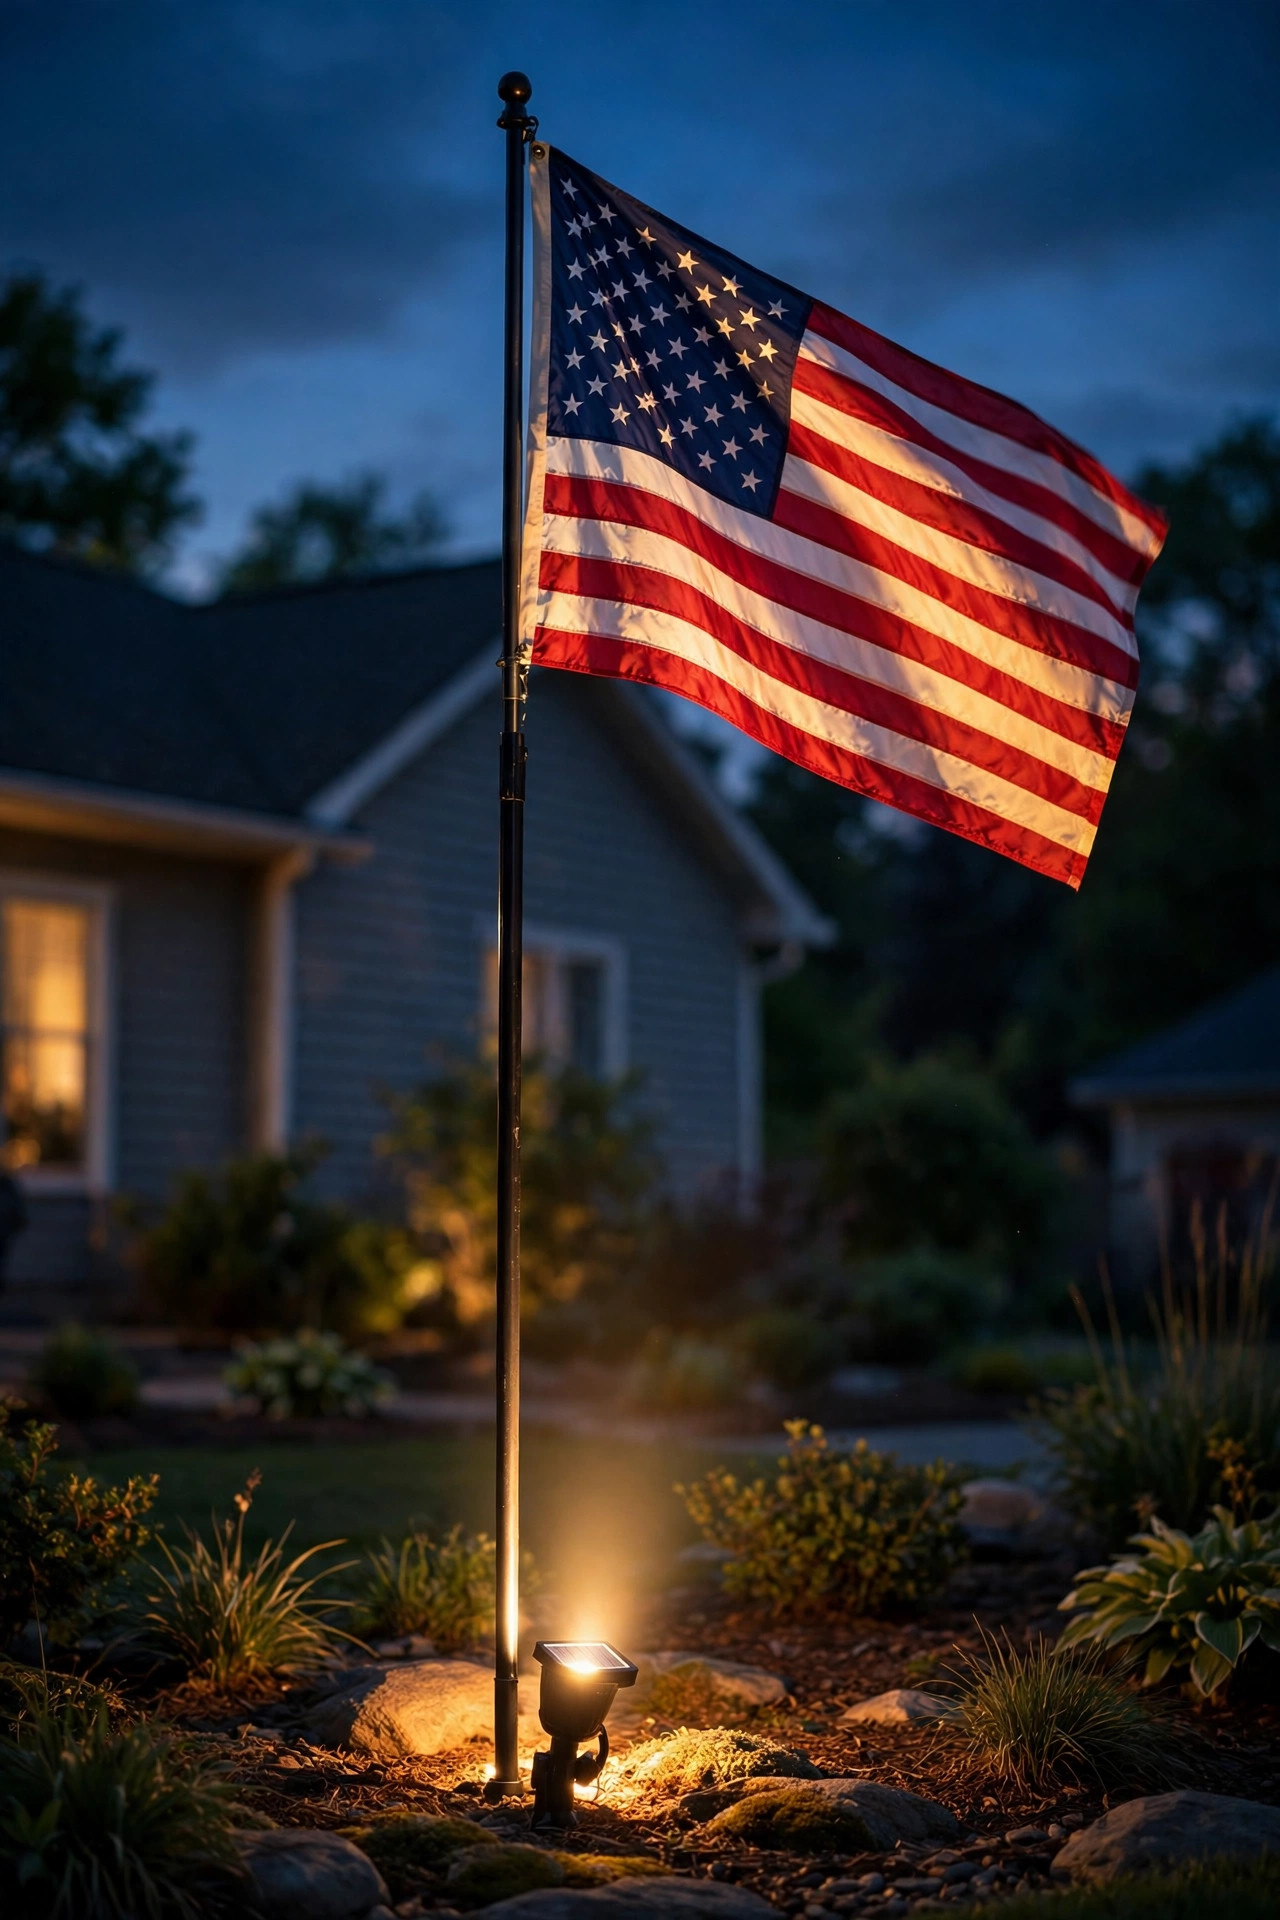
Here's one with real meaning behind it: the U.S. Flag Code asks that the flag only fly after dark if it's properly illuminated, and a solar spotlight makes that easy without running wire to the pole. Choose a spotlight rated at least 300 lumens with a wide-ish beam — a narrow pencil beam lights a stripe of fabric and leaves the rest flapping in darkness. Mount the fixture at the base of the pole, 6 to 12 inches out, and aim it up the pole's full height; most residential poles are 15 to 20 feet, so test at night and adjust the tilt until the whole flag glows, not just the bottom corner. A dedicated solar flag light that clamps to the pole is another option, but I prefer ground spotlights because the panel stays easy to clean and reposition. Because this light runs from dusk to dawn, battery capacity matters more than raw brightness — look for models advertising 10 to 12 hours of runtime, and give the panel the sunniest spot on that side of the yard.
Suggested budget range: $25 – $50.
4. Solar Spotlight Ideas for House Numbers Guests Can Actually Find
If delivery drivers circle your street after dark, this is the most practical project on the list. A small solar spotlight aimed at your house numbers — or at an address plaque near the door or mailbox — makes your home findable and adds a polished, hotel-like detail. You don't need much power here: 100 to 150 lumens is plenty for a target that small, and a focused beam actually reads better than a flood. Position the fixture 2 to 3 feet from the wall, angled up at about 45 degrees, and stand at the street to check for glare bouncing off glossy numbers. Numbers should be at least 4 inches tall to read from a moving car, and dark numerals on a light plaque (or the reverse) beat shiny brass on brick every time. My full walkthrough of layouts lives in my guide to illuminated house number ideas, including plaque styles that pair beautifully with a spotlight. Clean the lens monthly — road dust dims these little lights faster than you'd think.
Suggested budget range: $12 – $30.

5. Give the Mailbox Its Own Little Pool of Light
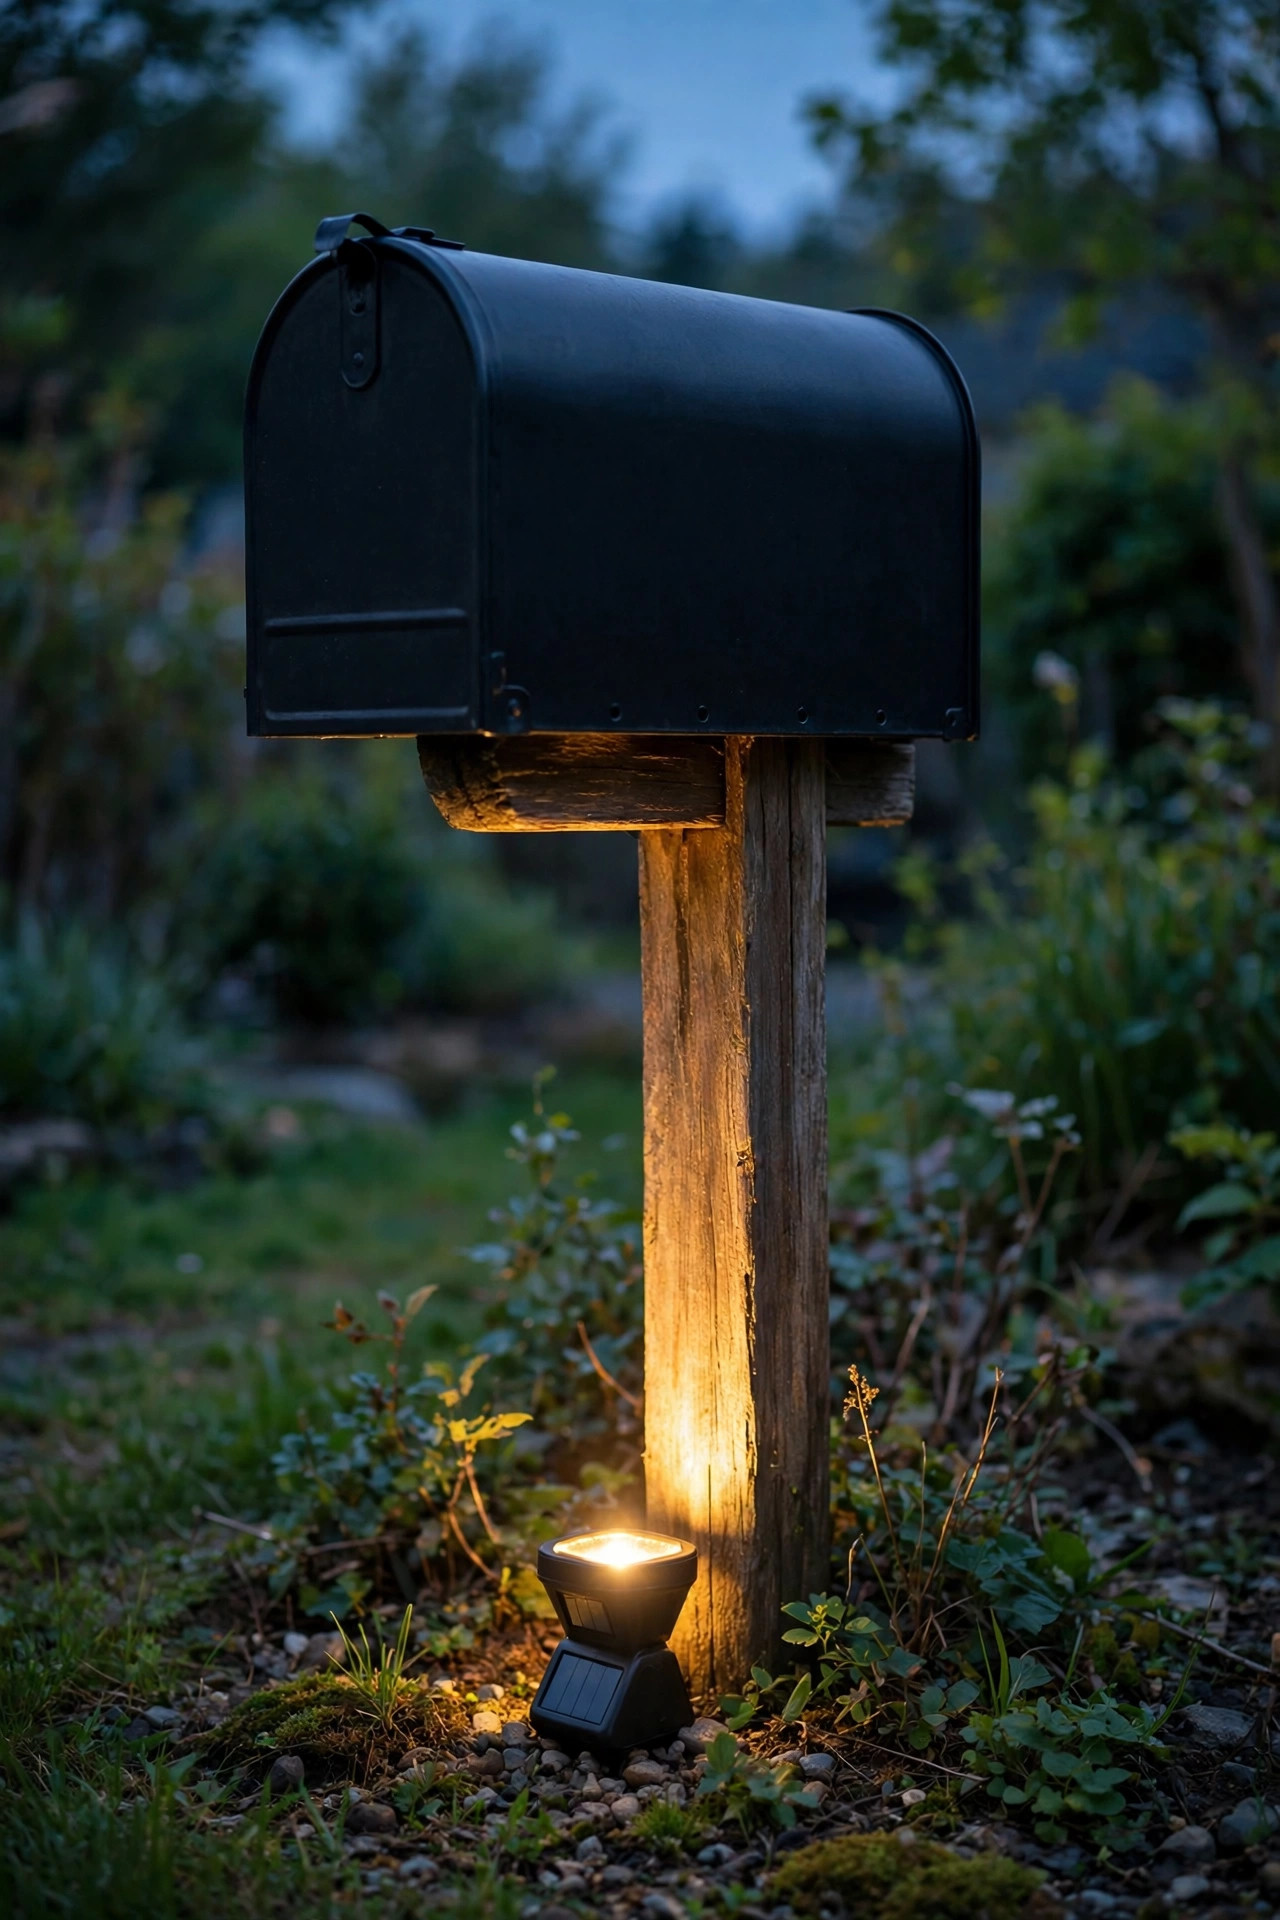
The mailbox is the first thing guests and drivers look for, and a tiny spotlight on the post turns a dark curb into a welcoming landmark. The cleanest setup is a compact spotlight staked at the base of the post, aimed up at the box and its numbers; if the post stands in a flower bed, tuck the fixture behind a low plant so you see the glow, not the hardware. Reflective numbers plus a focused beam make the address readable from down the street. Keep the panel clear of the bed's summer growth — hostas have swallowed more than one of my panels by July, and the light fades a little more each week until you trim. One caution: check that the beam doesn't spill into the road at driver eye height. Angle it down slightly or add a small shield if your street is busy. This takes five minutes to install and somehow makes the whole front yard look intentional, especially paired with the house-number spotlight from the idea above.
Suggested budget range: $12 – $28.
6. Graze a Stone or Brick Facade for Instant Texture
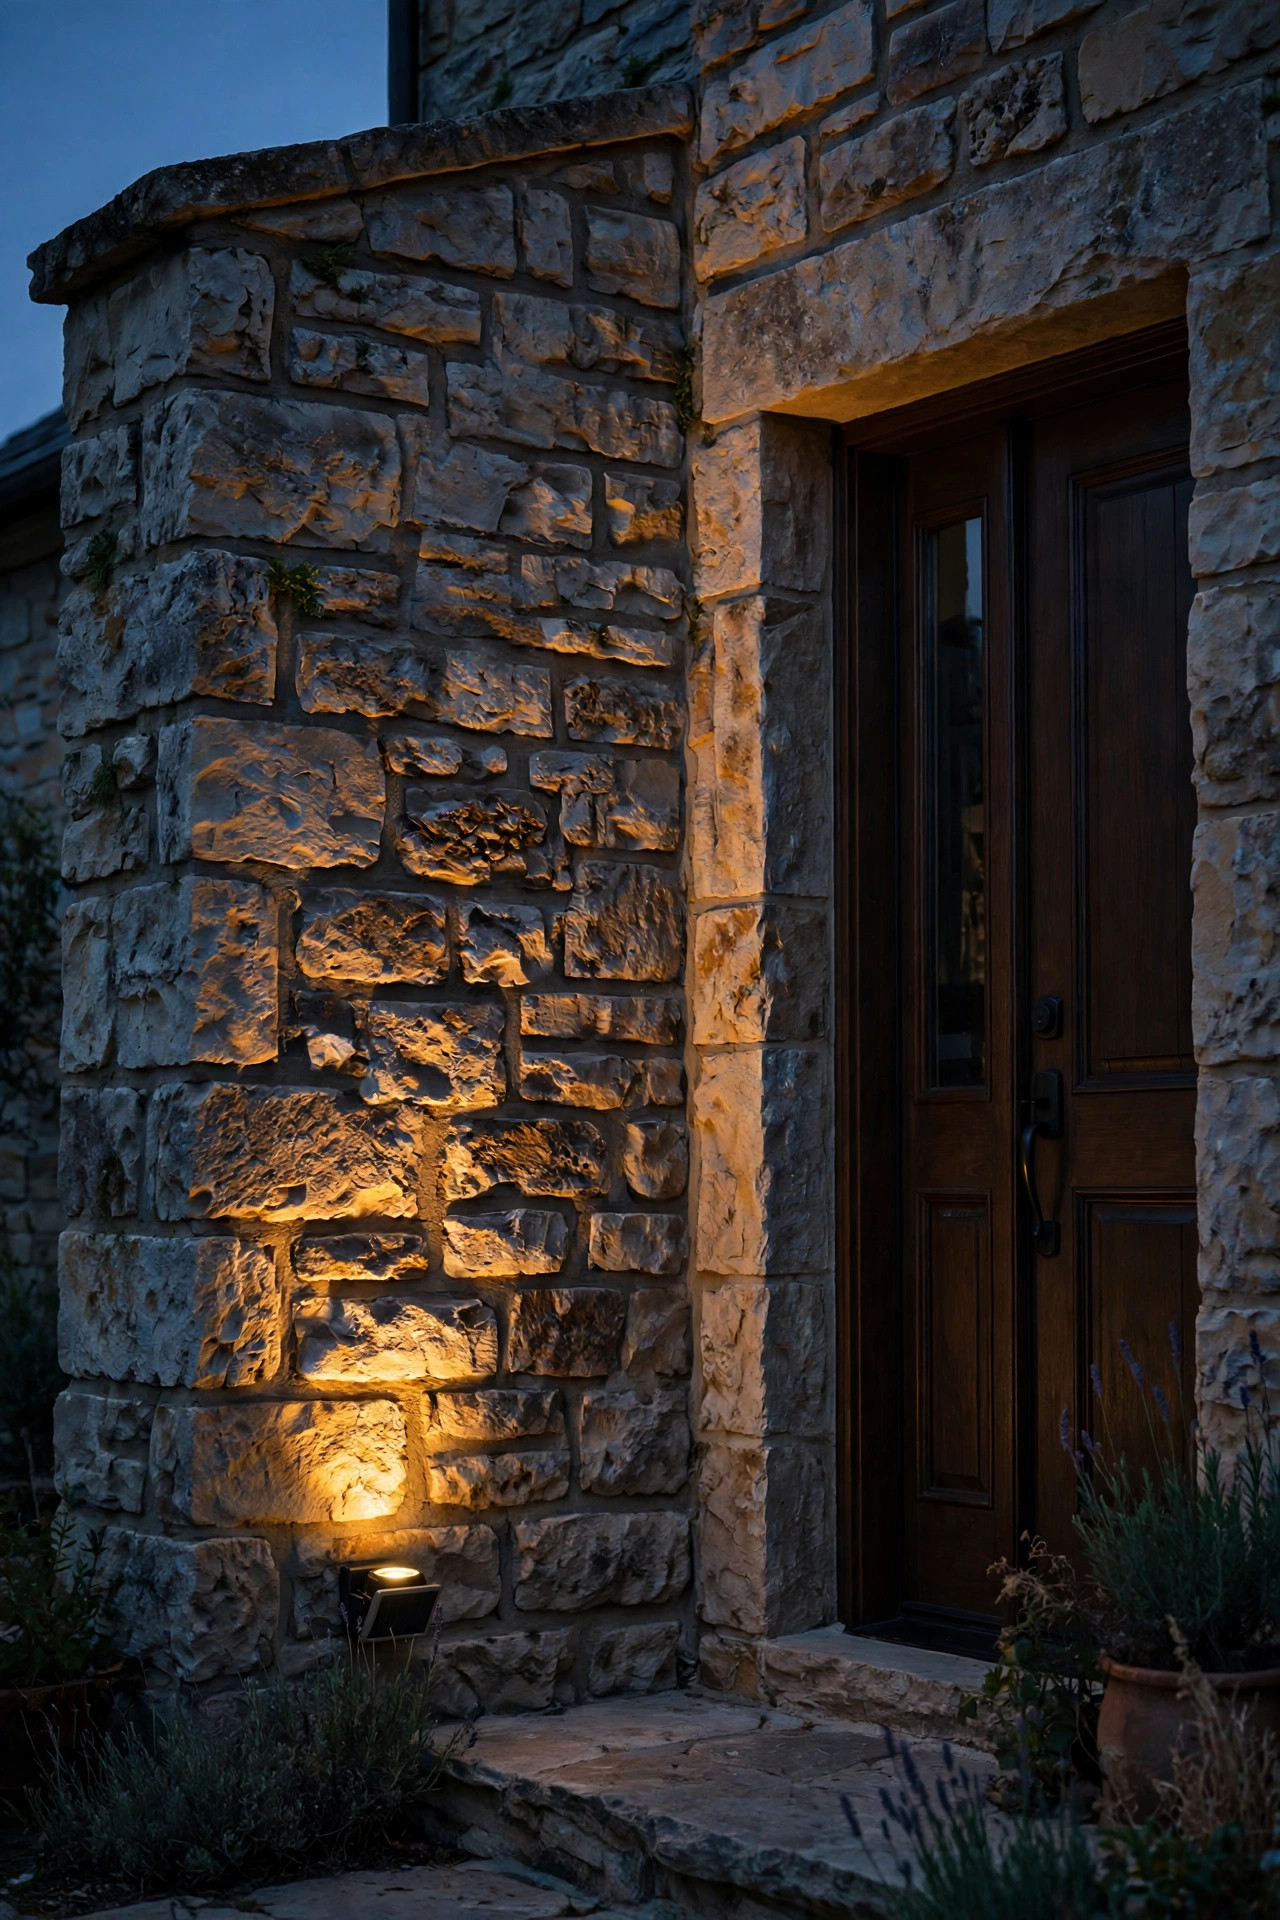
Flat walls look flat because light hits them flat. Grazing — placing a spotlight close to the wall and aiming almost straight up — makes every bump of stone, brick, or stucco cast a tiny shadow, and the texture suddenly looks expensive. Set the fixture just 4 to 6 inches from the foundation and tilt it nearly vertical; for smooth siding, pull it out to 12 inches and soften the angle or you'll highlight every nail pop. Solar spotlights work beautifully here because the wall itself often shades low-voltage wiring runs you'd rather not trench. Two or three grazers spaced 6 to 8 feet apart under a long facade beat one bright light every time — even pools of light with gentle scallops between them read as designed. The color matters: warm white flatters brick and stone; cool white makes them look like a parking garage. Watch the eaves, though. A tight beam from below throws dramatic scallops onto the soffit, which some people love and some don't, so test one fixture before committing to a row.
Suggested budget range: $20 – $45.
7. Silhouette a Japanese Maple or Sculptural Shrub
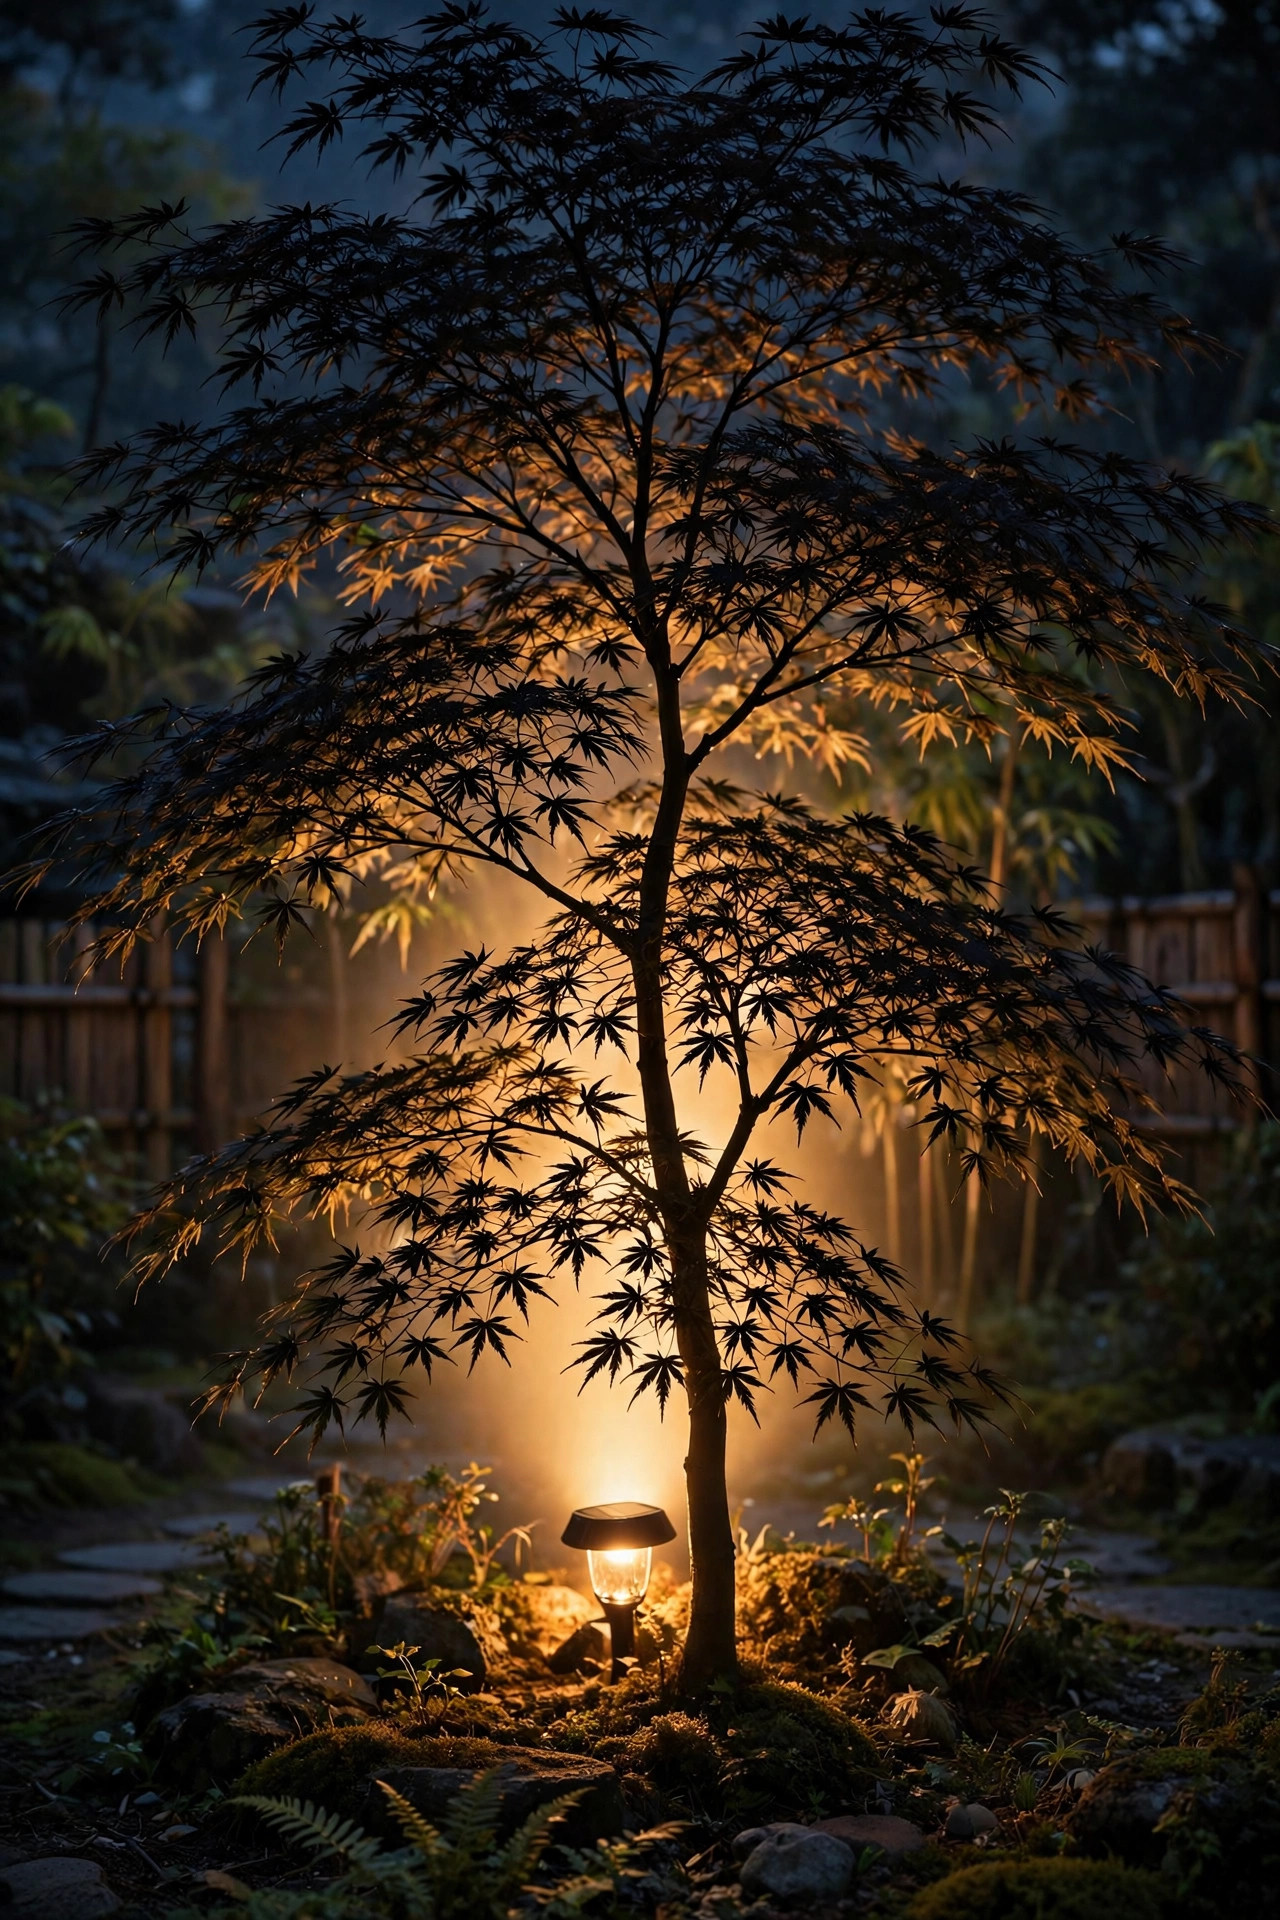
Some plants are prettier as shapes than as surfaces. For a Japanese maple, a contorted willow, or any shrub with gorgeous branching, try backlighting: place the spotlight behind the plant, a foot or two from its base, aimed up through the branches toward a wall or fence. The foliage goes dark and dramatic while a halo of light blooms behind it — it's the single most "landscape designer" look you can get from one fixture. If there's no wall behind the plant, reverse it: light the wall alone and let the plant stand in front unlit, a black paper-cutout against the glow. Either way, keep the fixture hidden behind the plant or a rock so the source stays invisible. Solar makes experimenting painless — try a position for two nights, then move the stake until the silhouette sings. Fine, lacy leaves like a maple's give the prettiest halos. Evergreen shrubs take this treatment well in winter when the deciduous stars are bare, so I rotate one spotlight seasonally between a maple and a holly.
Suggested budget range: $15 – $35.
8. Spotlight a Garden Statue, Birdbath, or Fountain
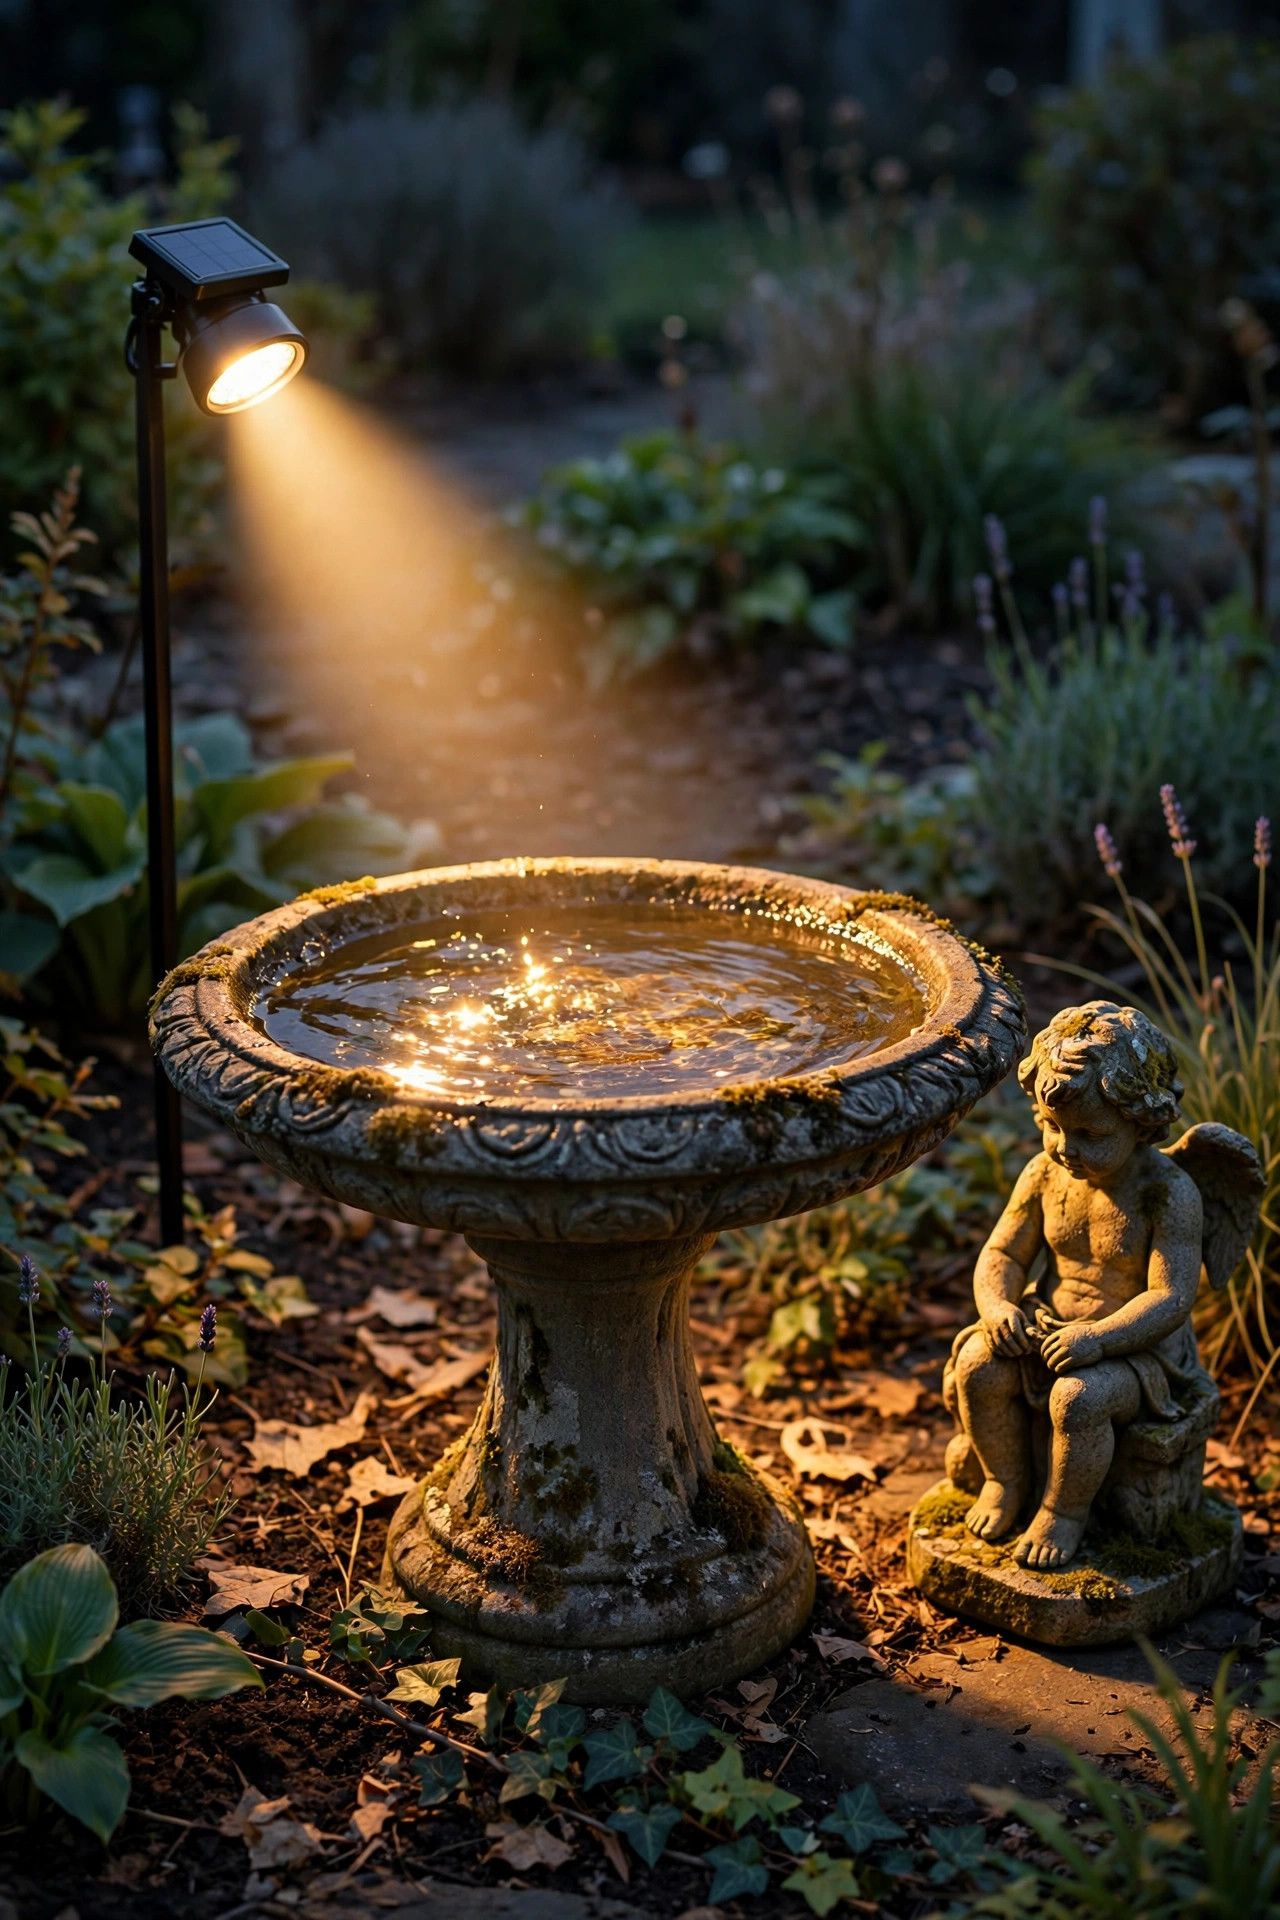
A focal ornament earns its keep twice when you light it after dark. A single solar spotlight placed 2 to 3 feet in front of a statue or birdbath, aimed slightly upward, gives it a museum quality that makes people slow down on the sidewalk. For a fountain, aim the beam to catch the falling water rather than the basin — lit water sparkles and moves, which draws the eye far more than a lit bowl. Frosted or diffused lenses soften the beam for pale stone; clear lenses and a tighter angle suit dark bronze or weathered concrete. Avoid aiming straight at a statue's face from below unless you want Halloween energy year-round; a 30-degree side angle is kinder and more natural. Because these fixtures sit in beds, choose metal stakes over plastic — they'll survive the edger and the occasional kicked mulch. I rotate a spotlight between seasonal ornaments: the birdbath in spring, a pumpkin stack (with an LED-only rule near anything flammable) in fall, a small evergreen arrangement in winter.
Suggested budget range: $15 – $40.
9. Uplight a Palm Trunk for a Resort-Style Silhouette
If you're lucky enough to garden where palms grow, uplighting the trunk is the fastest route to that resort-at-dusk feeling. Palms want a different aim than shade trees: the show is the ribbed trunk and the explosion of fronds at the top, so place the spotlight 12 to 24 inches from the trunk base and aim nearly straight up, letting the beam climb the texture and spill into the crown. A slightly wider beam angle (60 degrees or so) keeps the fronds from going black against the sky. Two fixtures on opposite sides work for thick trunks and queen palms with big crowns. Warm white is non-negotiable here — cool light turns a palm into a security-camera still. Keep fixtures clear of the trunk's root flare and expect to nudge the angle as the palm gains height each year. In hurricane country, pull the stakes before a storm; a solar spotlight is not an approved projectile. This treatment also works beautifully on multi-trunk palms, with one light per trunk at reduced brightness so the cluster glows evenly.
Suggested budget range: $20 – $45.

10. Frame the Driveway Entrance With a Pair of Spotlights
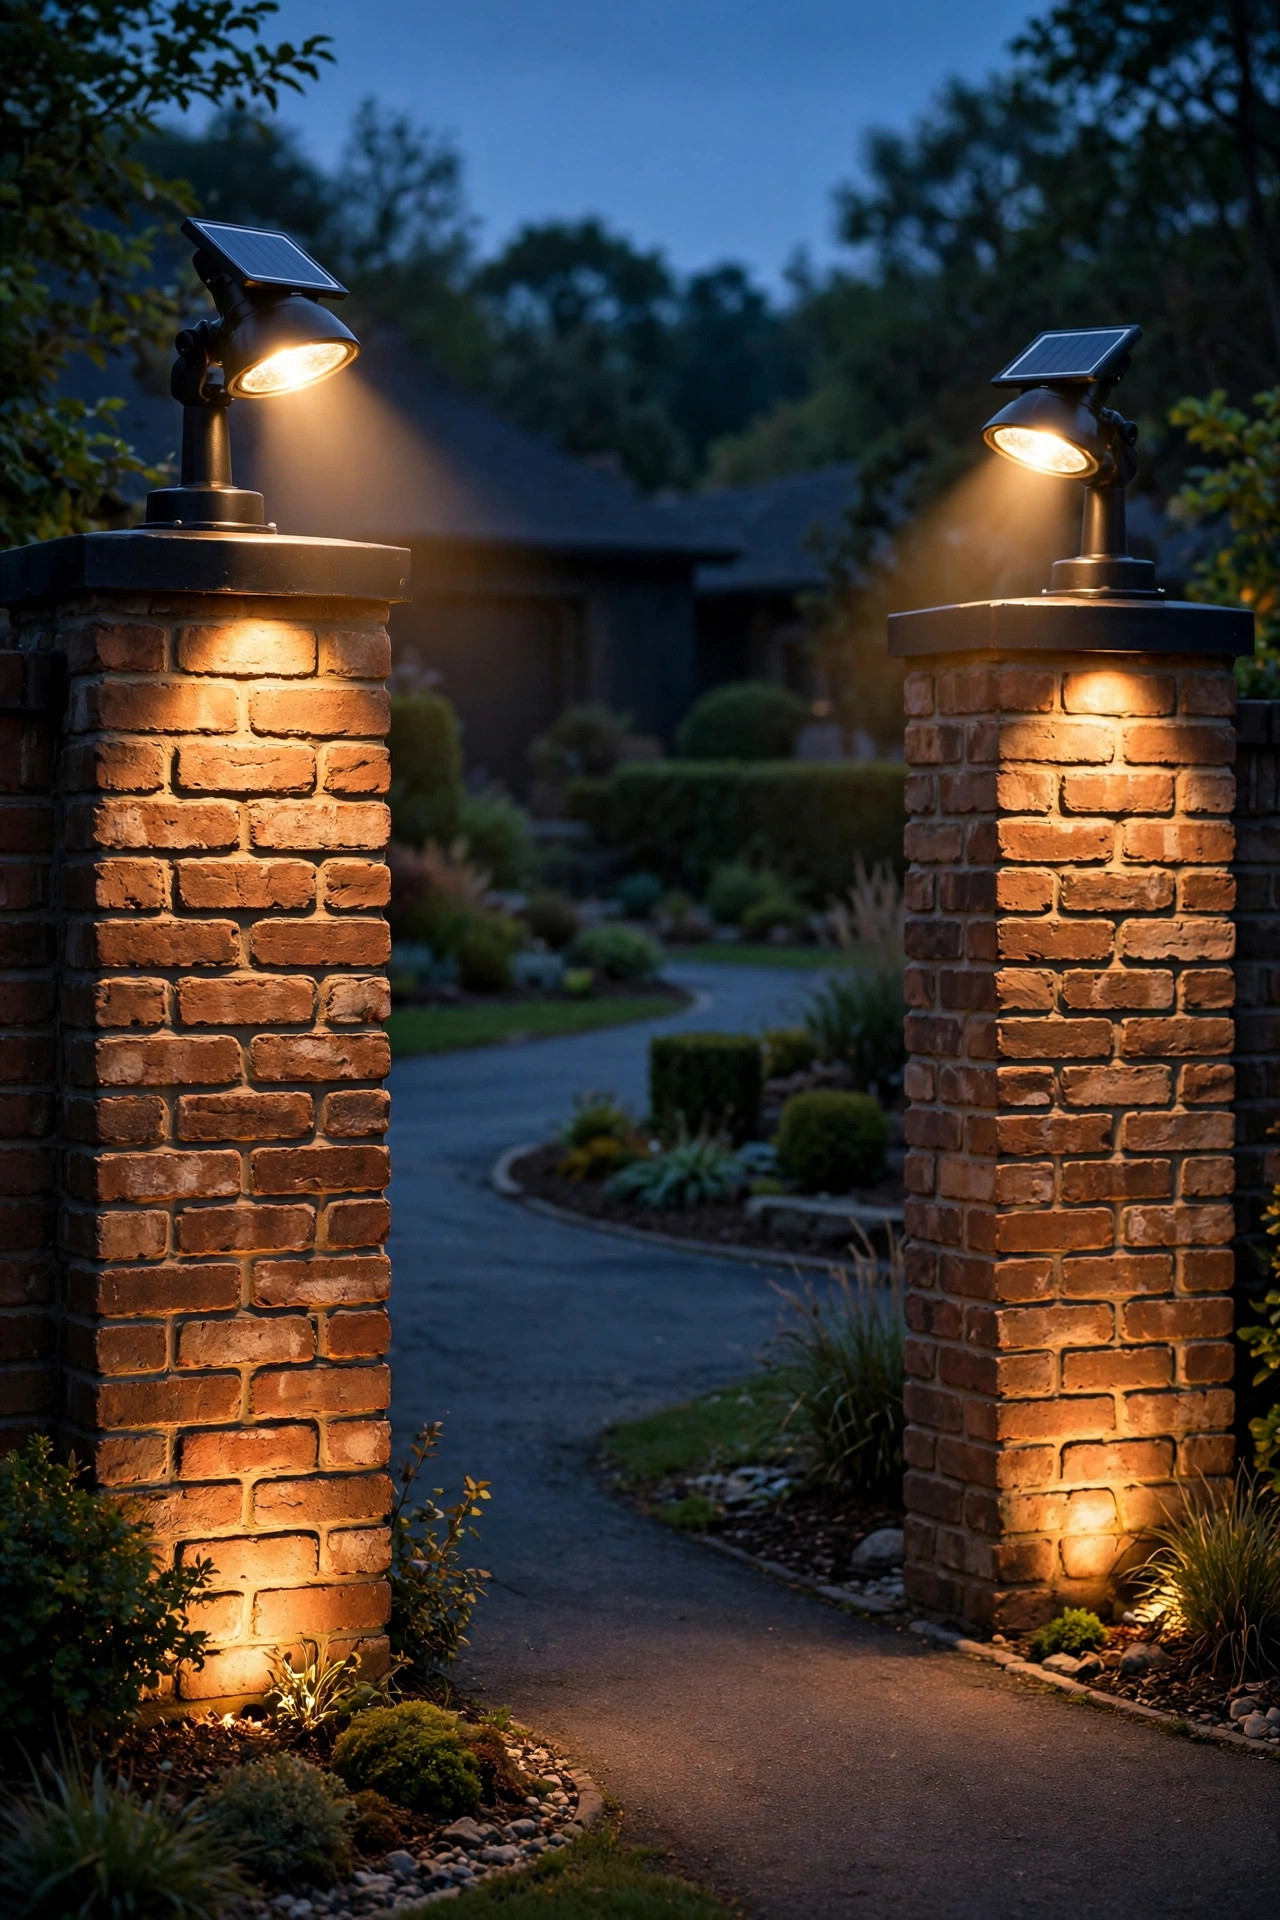
A matched pair of spotlights at the driveway entrance does three jobs at once: it marks the turn-in for guests, lights the house numbers if they're posted there, and gives your home a finished, estate-like edge from the street. Stake one fixture at each corner, angled inward and slightly up toward a pillar, a low wall, a specimen shrub, or the address marker itself. Symmetry is the whole point, so buy a two-pack of identical lights and set both heads at the same angle. If your entrance has brick or stone columns, grazing them (idea 6) looks especially rich. Solar is the obvious choice at the street — no one wants to trench under a driveway apron for low-voltage cable. Brightness can stay modest, around 150 to 200 lumens each; you're marking, not interrogating. Do check your local rules and your mail carrier's sanity: keep beams aimed onto your property, not across the road into drivers' eyes, and clear the panel of the grass clippings that inevitably collect at curb height.
Suggested budget range: $30 – $65.
11. Swap to Color-Changing Spotlights for the Holidays
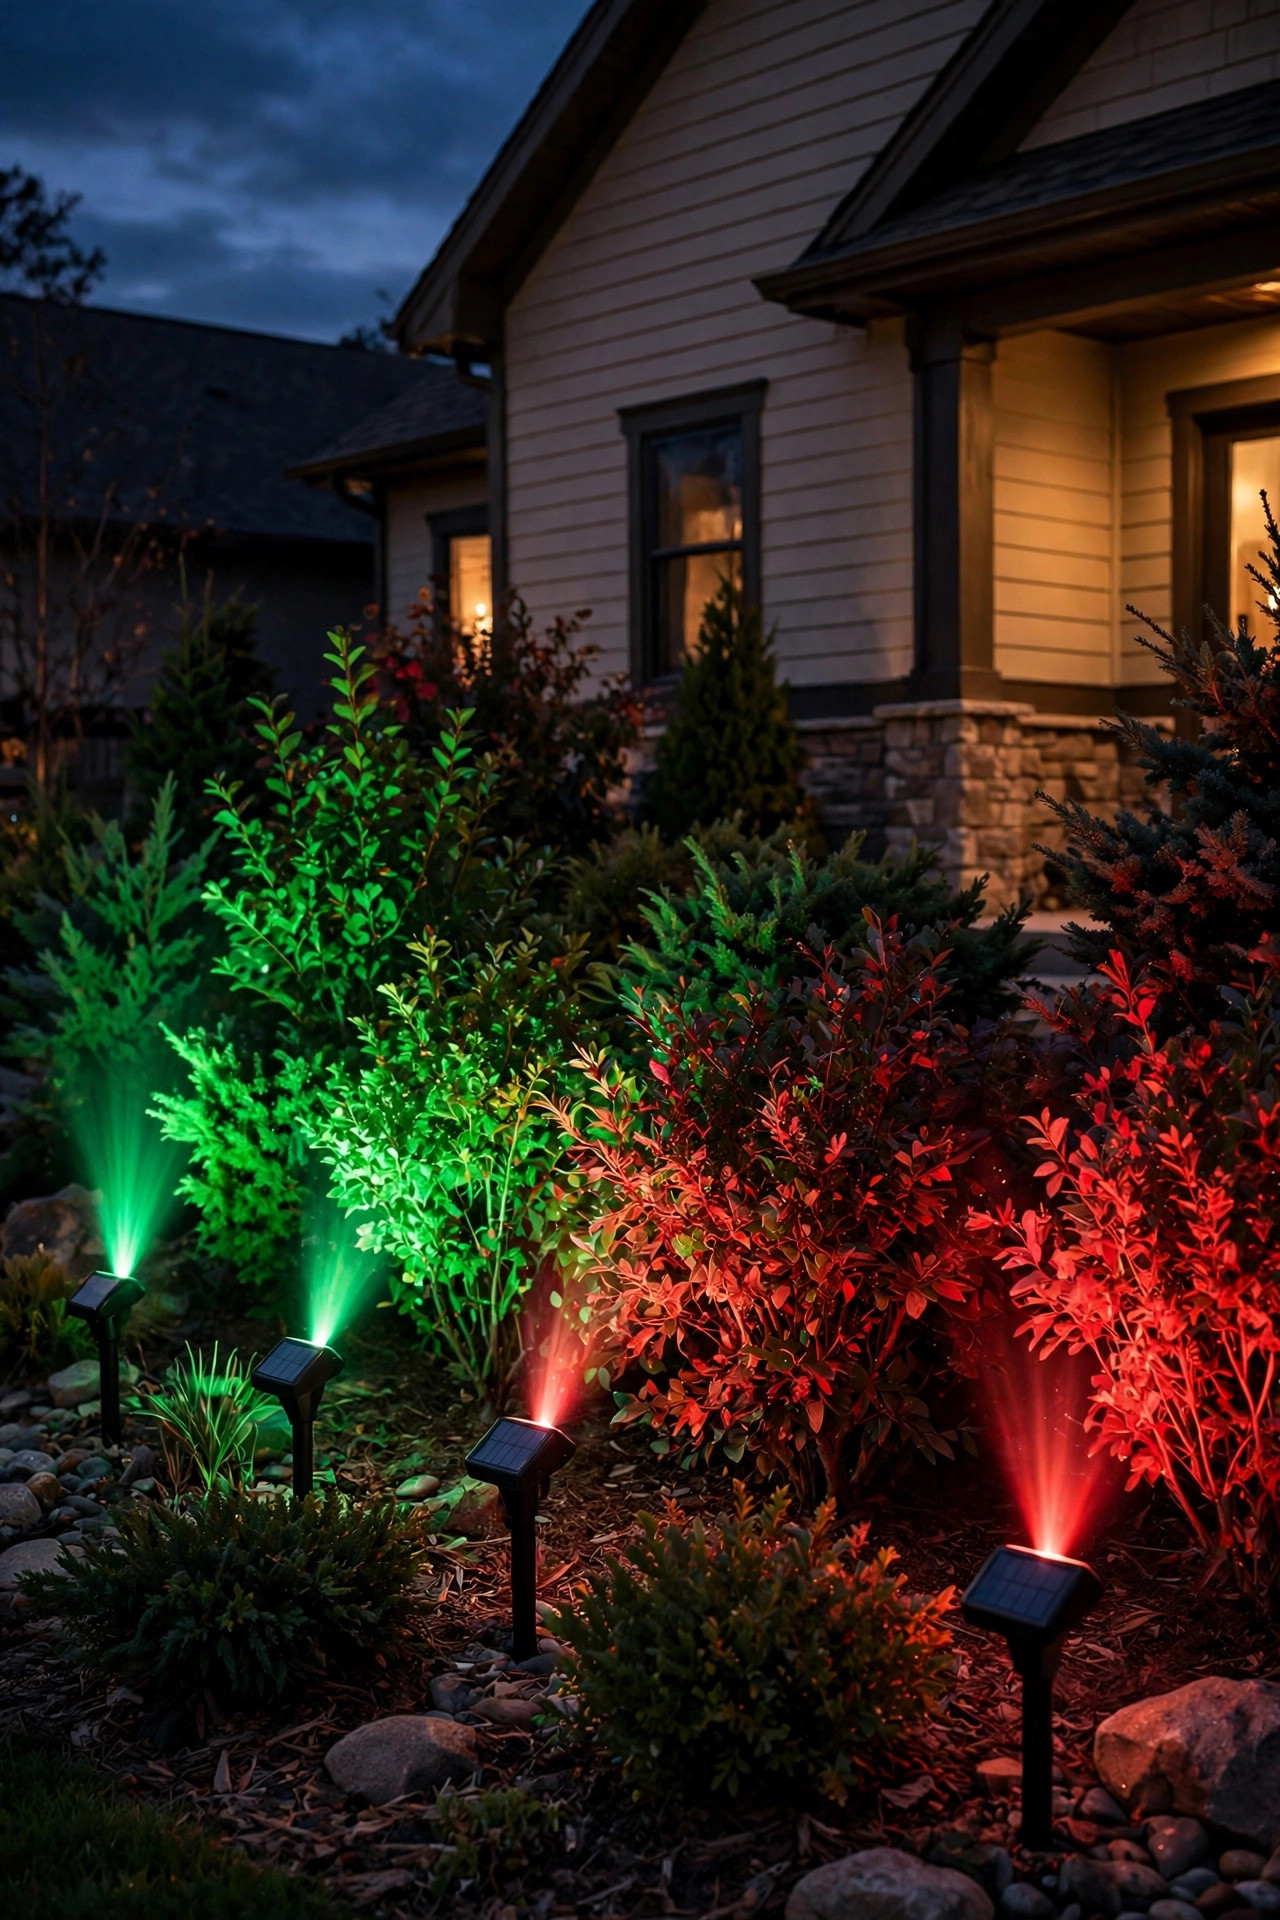
RGB solar spotlights are the gateway drug of holiday decorating at my house. The rest of the year they run warm white on the trees, but come October they turn a shrub orange, in December they wash the front evergreens red and green, and on the Fourth of July the oak goes red, white, and blue for the weekend. Look for models with a remote or an app, because crouching by each stake to cycle colors gets old by the second fixture. Memory mode matters too — the good ones return to your last color after charging, the cheap ones reset to a disco strobe that will have your neighbors forming a committee. Keep the brightness expectations realistic: colored output looks dimmer than white at the same lumens, so place color spotlights closer to their target than you would a white one. One tasteful note from experience: two colors per scene, max. A whole rainbow yard reads as a carnival, but a green tree with a red companion shrub looks like Christmas. Store the remotes in one labeled drawer or you'll lose them by February, like I did.
Suggested budget range: $25 – $55.
12. Add Motion-Activated Spotlights to Dark Side Yards
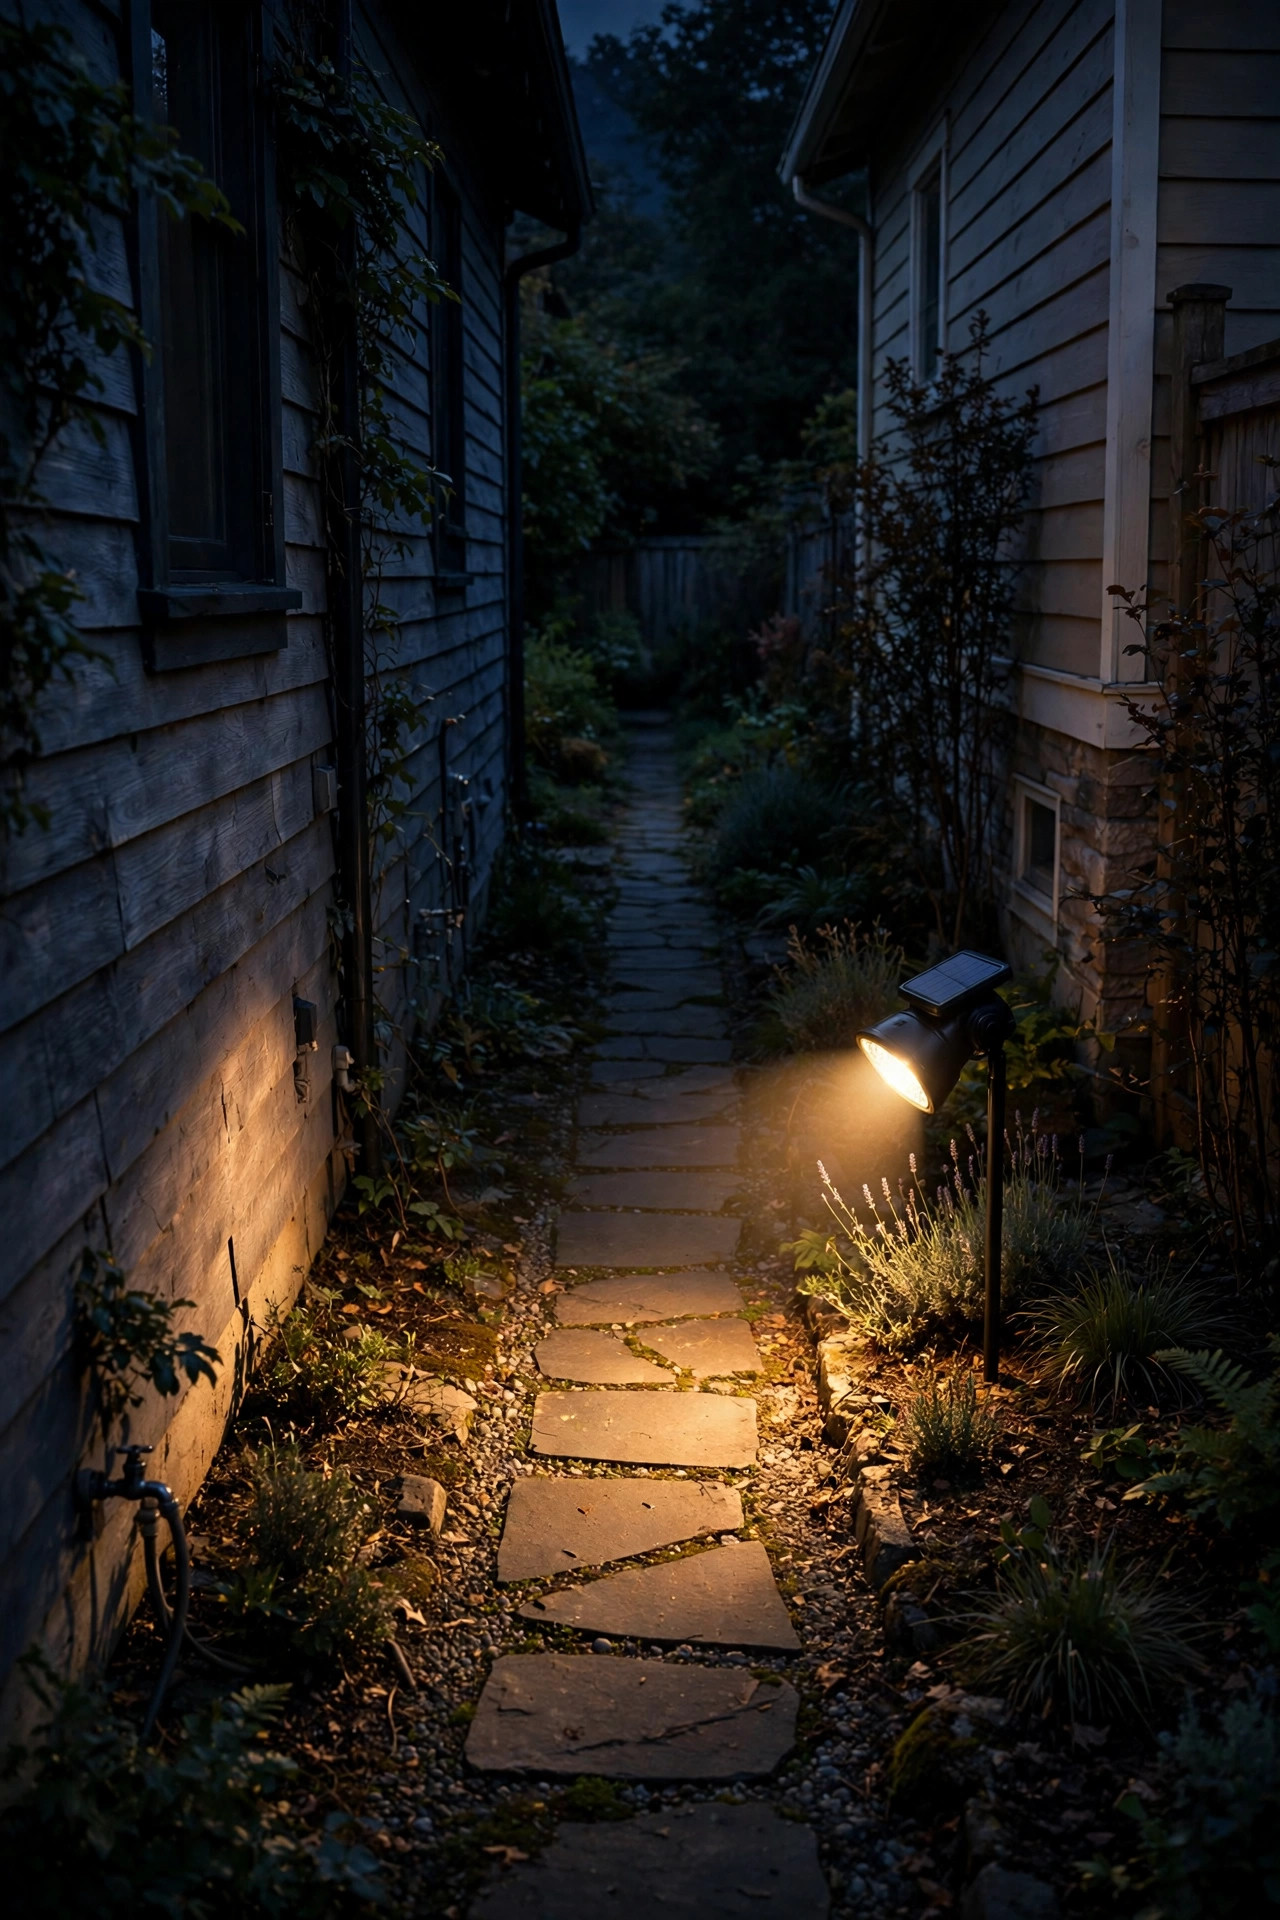
The gap between houses is where nobody walks — until somebody does. A solar spotlight with a motion sensor is perfect for these neglected strips because it asks nothing of the wiring and only wakes up when there's movement. Mount or stake it so the sensor's cone covers the path between the gate and the backyard, roughly 6 to 8 feet up if you're mounting on a fence, or at stake height aimed slightly down the corridor if you're not. Most models idle at a dim glow and jump to full brightness on motion, which is neighbor-friendly and stretches the battery through the night. Choose a wide detection angle (120 degrees or more) so it triggers before a person is beside it. I use one on each side of our house: they reassure me when the dog asks out at 2 a.m., and they light the way when I haul the trash bins through in the dark. For a deeper dive into placement, my notes pair well with the solar vs wired landscape lighting comparison, which covers where solar genuinely wins.
Suggested budget range: $20 – $45.
13. Light a Yard Sign or Seasonal Display Like It Matters
Whether it's a graduation sign, a holiday scene, or the little plaque with your family name, a display nobody can see after 6 p.m. is only doing half its job. A compact solar spotlight staked a foot in front and angled up gives signs the same gallery treatment as the house numbers in idea 4. For flat signs, aim from slightly off-center to avoid a hot spot glaring off glossy vinyl; matte finishes forgive almost any angle. Two small lights crossed from both corners light a wide display evenly — think a nativity scene or a row of carved pumpkins, with flameless candles only where real flames would sit near the fixtures. Because displays move with the seasons, solar beats wired here every single time: pull the stake, move it six feet, done. In my yard the same spotlight has lit a flag display in July, pumpkins in October, and a small lit tree in December. If your display is precious or sentimental, add the motion spotlight from idea 12 nearby — a light that snaps on when someone approaches is a quiet little security guard.
Suggested budget range: $12 – $30.
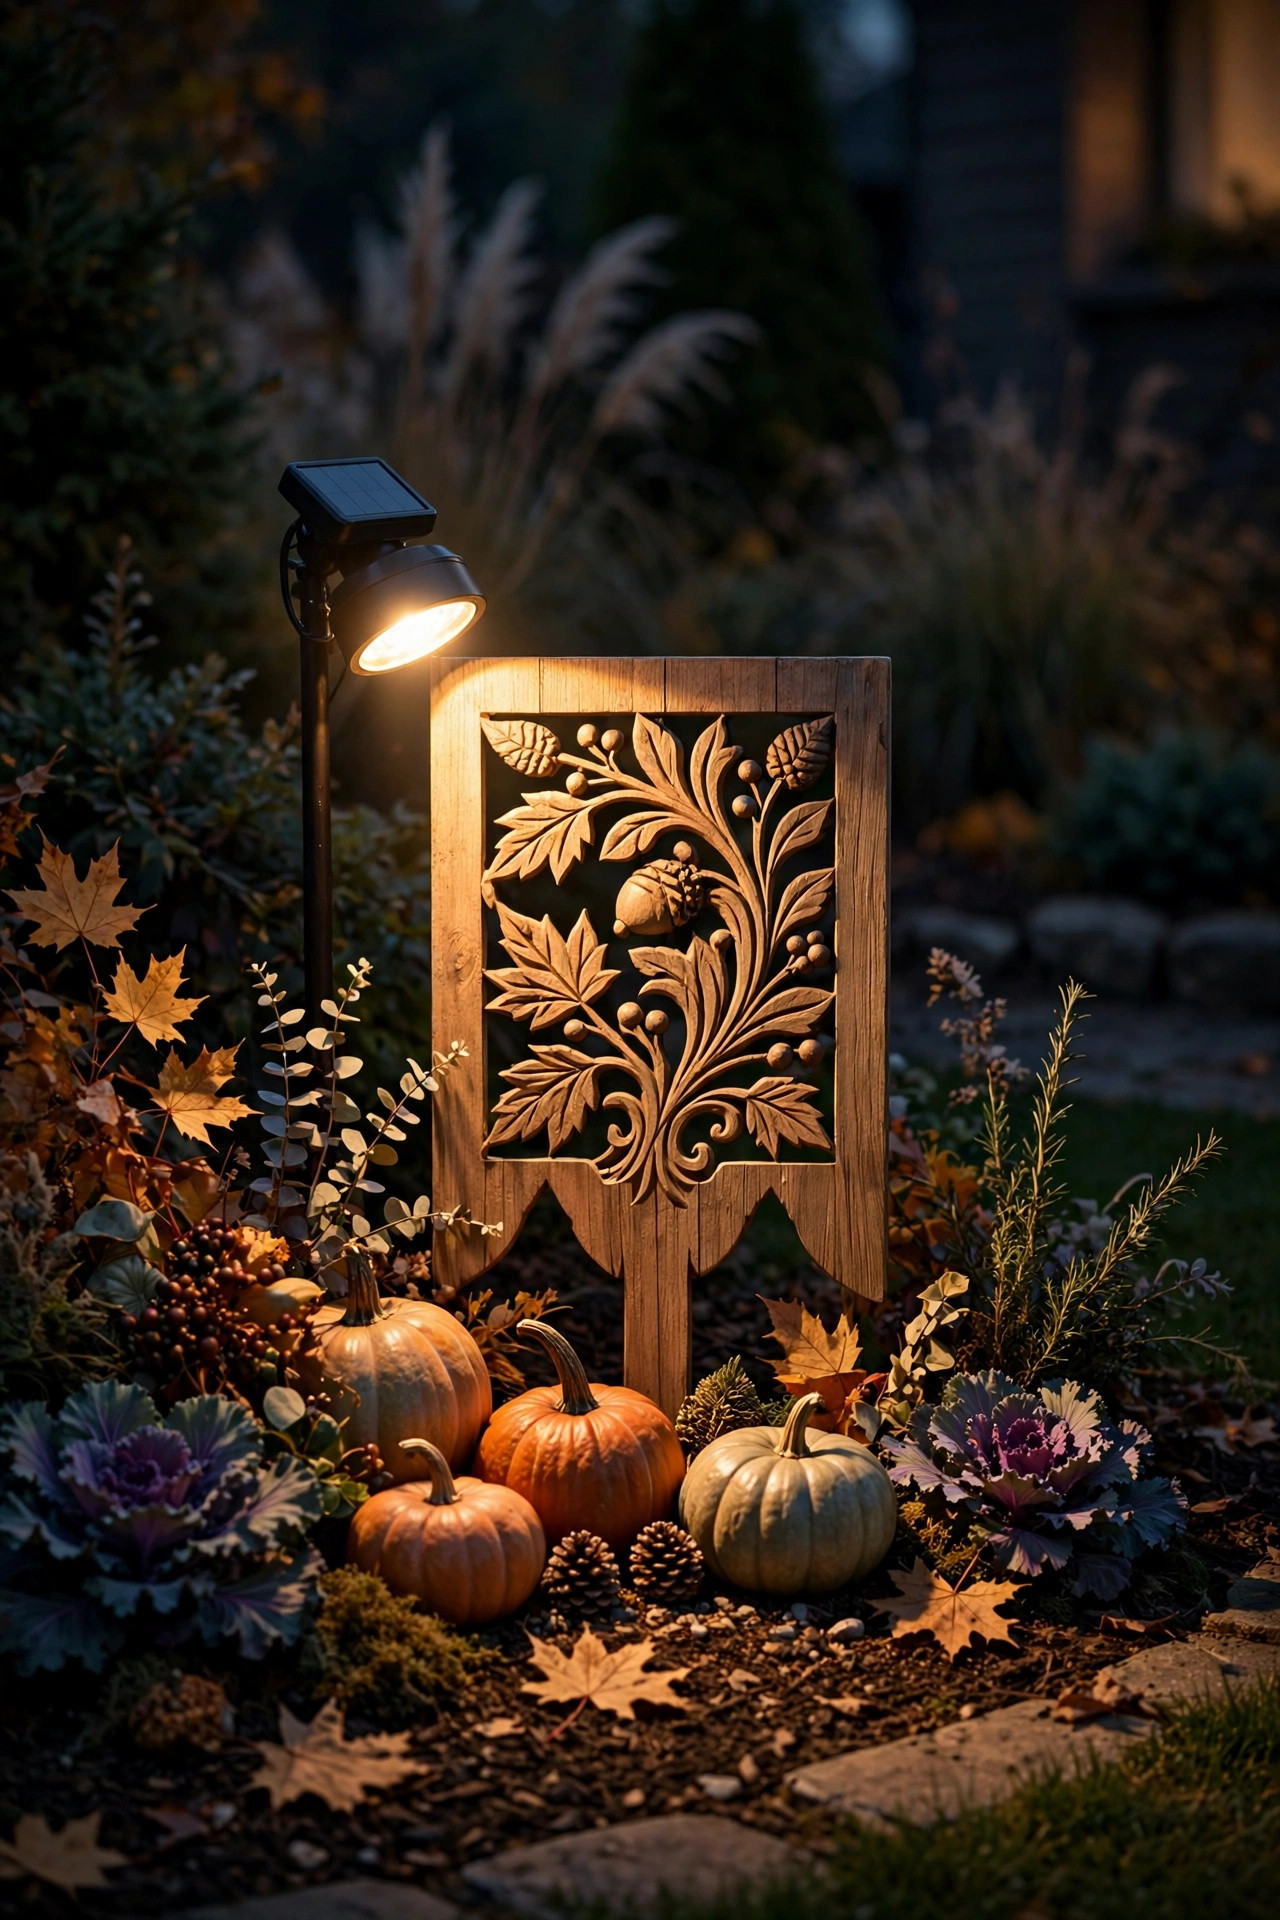
14. Choose Remote-Panel Spotlights for Shady Spots
Here's the honest limitation of solar: the panel and the light want to live in different places. Your prettiest tree may stand in deep shade where an all-in-one fixture starves. Remote-panel spotlights solve it — the light stakes in at the tree while the panel, connected by 10 to 15 feet of cable, sits in a sunny patch of lawn or on a fence line getting full southern exposure. This is the style I reach for under our dense maple and beneath the eave-shadowed corner bed. Installation takes a few extra minutes: bury the cable an inch under the mulch so the mower and the edger never find it, and mount the panel at a tilt so rain and dust slide off. Capacity is usually better on these models too, since the panel can be bigger than a fixture-top disc. If you've tried solar spotlights before and concluded they're all dim and disappointing, a remote-panel model in your shady spot will change your mind — the failure was placement, not the technology.
Suggested budget range: $25 – $50.

15. Use Dual-Head Spotlights When One Stake Must Do Two Jobs
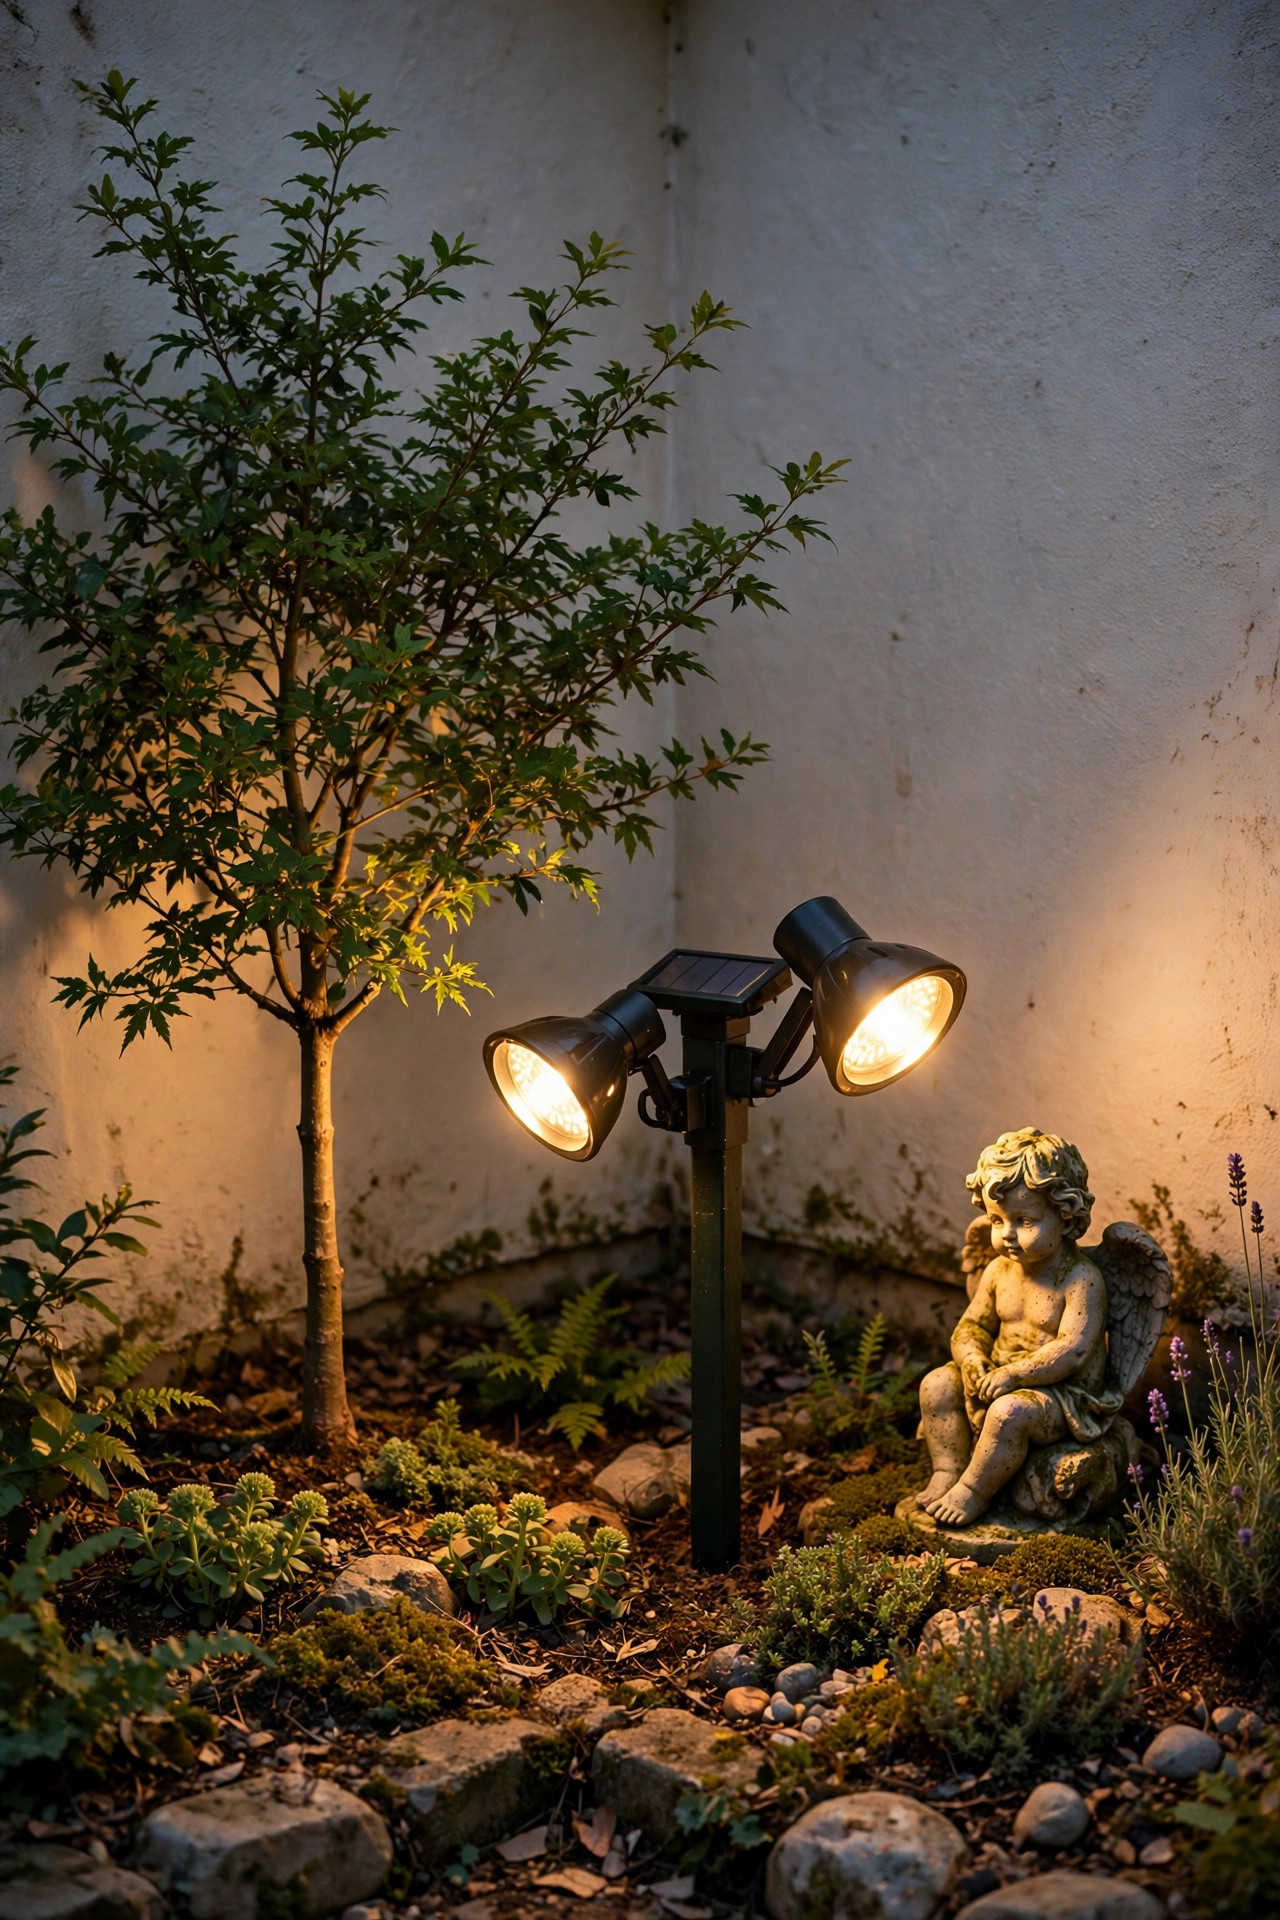
Corner beds, paired shrubs, a small tree beside a statue — some spots ask one fixture to light two targets, and a dual-head solar spotlight answers with two adjustable lamps on a single stake and panel. Angle each head independently: one up into the little tree, one across at the birdbath, and a cramped corner suddenly looks composed. Dual heads share one battery, so each lamp runs a bit dimmer than a dedicated single — plan on roughly 150 to 200 lumens per head and place the fixture closer to its targets than usual, 2 to 4 feet away. This is my favorite trick for rental-friendly yards and small townhome beds where you want layered light without a forest of stakes. It's also a smart test tool: before committing to two separate fixtures, live with a dual-head for a week and learn exactly which angles flatter the spot. Keep the shared panel unshaded by both targets' foliage as the season fills in; a quick mid-summer trim keeps runtimes honest through the longest nights of December.
Suggested budget range: $22 – $45.
16. Catch Moving Water With a Spotlight by the Pond or Fountain
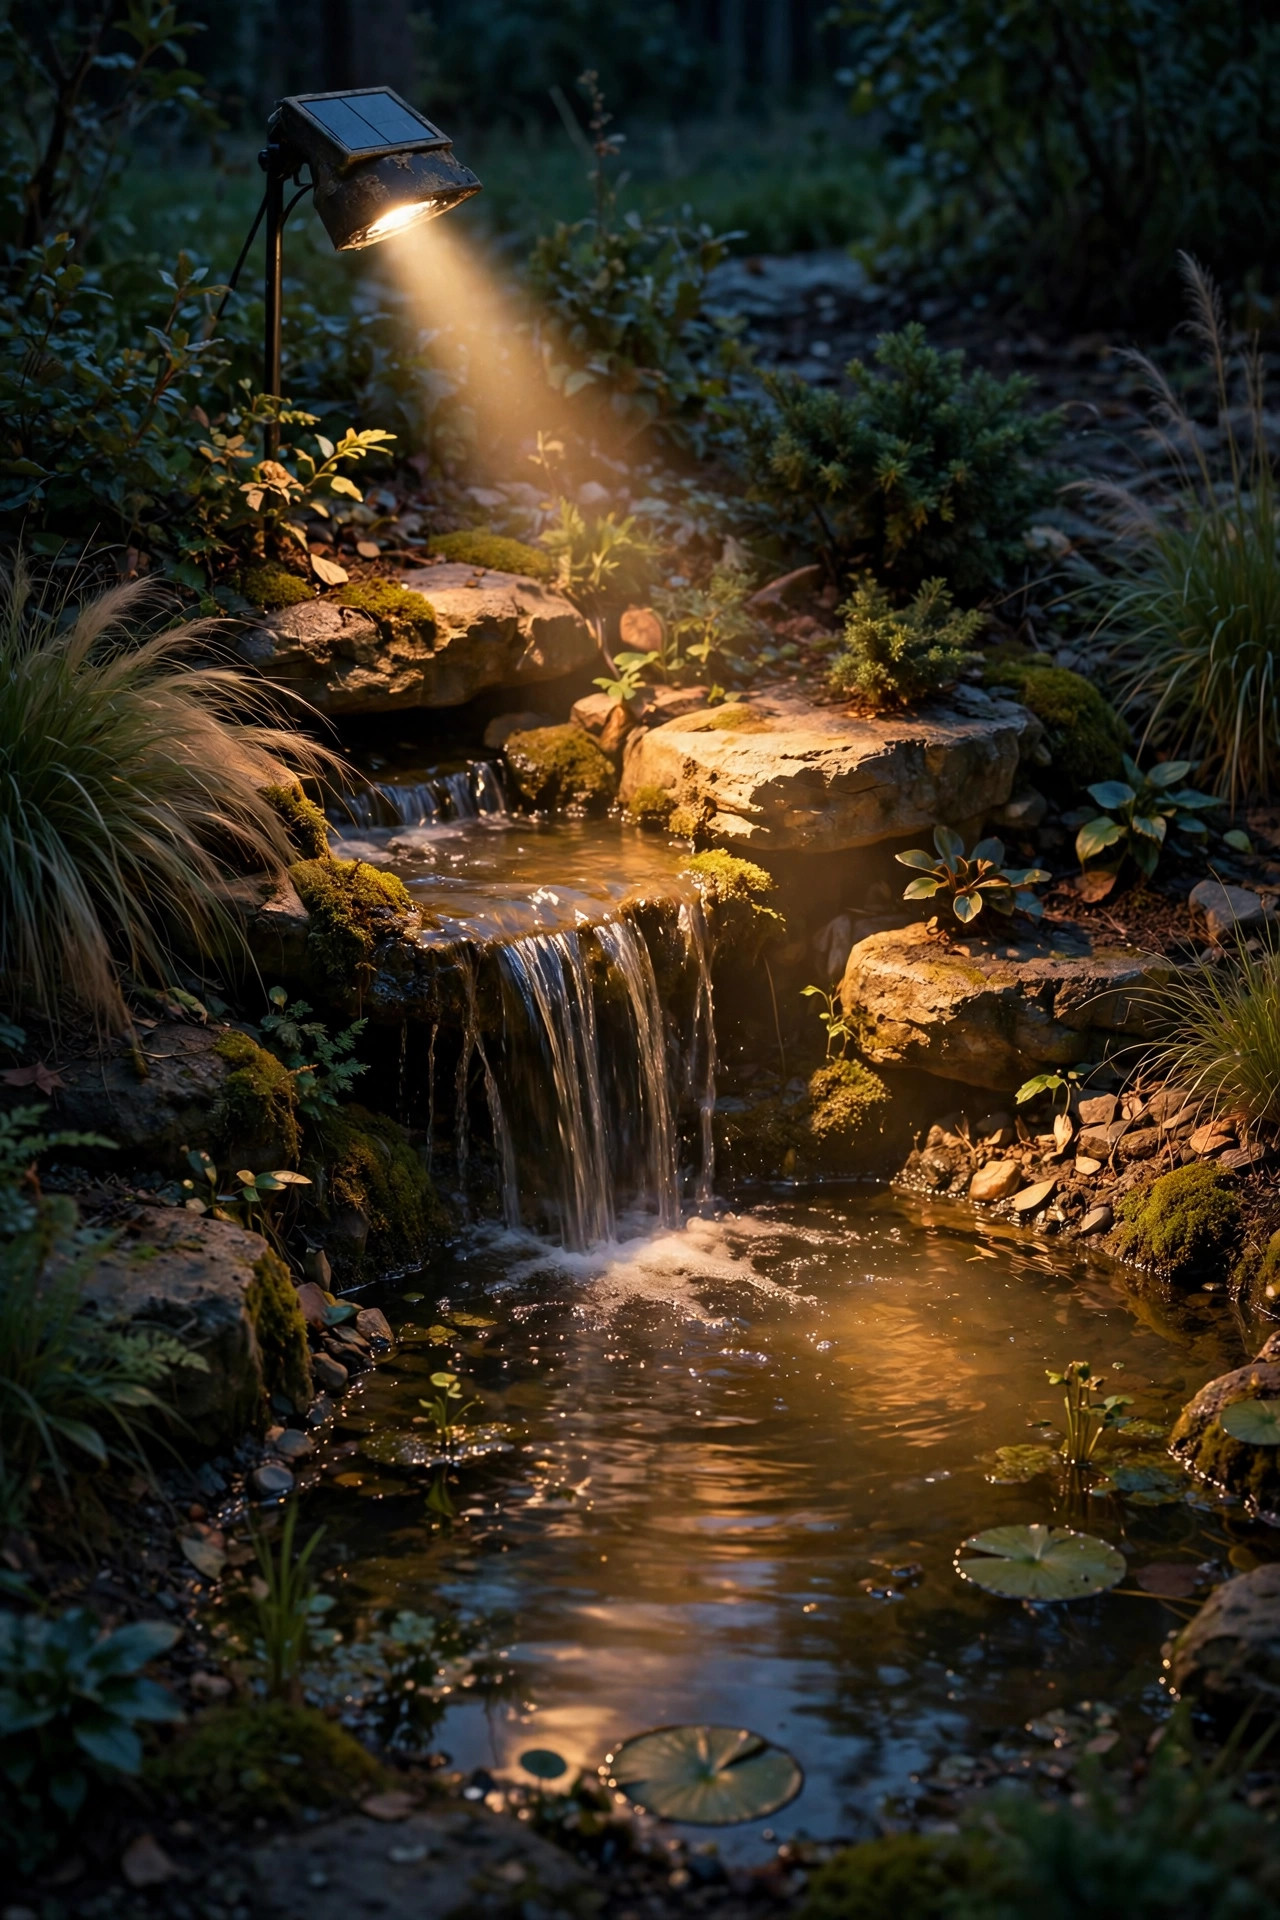
Still water reflects; moving water performs. A solar spotlight aimed across a small pond, a bubbling rock, or the sheet of a fountain turns the surface into living sparkle that you can see from inside the house. Place the fixture low, nearly at water level on the far bank, aimed just above horizontal so the beam skims and catches every ripple instead of spearing down into the depths. If your feature has a waterfall or spillway, light the fall itself from the side — the lit curtain of water becomes the whole show. Choose fixtures rated for wet locations (IP65 or better), because splash and irrigation overspray are guaranteed at a water's edge. Solar keeps cords out of the water entirely, which is both safer and tidier than a low-voltage puck you have to waterproof at every connection. Pair it with the statue lighting from idea 8 and a quiet corner becomes the view everyone drifts toward after dinner, drinks in hand.
Suggested budget range: $18 – $40.
17. Uplight a Pergola or Arbor From the Ground Up
Climbing roses and wisteria deserve an audience after dark, and ground-level spotlights aimed up through a pergola's posts or an arbor's lattice turn the whole structure into a glowing doorway. Set one fixture inside each front post, close to the base, aimed up the post and into the vine canopy; the leaves filter the light into dappled patterns on the ceiling beams that no overhead fixture can fake. For a garden arbor over a path, a single spotlight on each side, angled inward, frames the walkway like a proscenium. Warm white keeps it romantic; this is not the place for color modes or motion sensors. Watch your eyes, though — anyone sitting under the pergola will be looking down into the beams' path, so tuck fixtures tight to the posts and tilt them a few degrees off the seating axis. If your arbor marks the start of a path, echo the treatment with the path lighting ideas from my tree uplighting guide for the specimen at the path's end, and the whole garden reads as one composed walk.
Suggested budget range: $20 – $45.

18. Make One Flower Bed the Star With a Tight-Beam Spotlight
Path lights sprinkle a bed with polka dots, but a single tight-beam spotlight creates a genuine focal point — one hydrangea, one ornamental grass clump, one cluster of lilies lit like it's on stage while the rest of the bed rests in soft shadow. The secret is beam angle: look for 30 degrees or narrower and a fixture you can dim or at least angle precisely, because an overlit plant looks interrogated, not featured. Stake it 18 to 24 inches in front of the plant and aim into the heart of the foliage, not the top. Rotate the star as the season turns — tulips in April, the hydrangea in June, ornamental grass glowing amber in October. This rotation is where solar's portability really shines; I move one spotlight around our beds all year like a gallery curator changing an exhibition. Keep a second, dimmer fill light on the bed's far end if the darkness beyond the star feels too abrupt; contrast is the goal, but a cliff edge of black can look like a hole.
Suggested budget range: $15 – $35.

19. Layer Spotlights With Path Lights for the Full Scene
The final idea is really the philosophy behind all the others: spotlights are the accents, not the whole outfit. A yard lit only by path lights looks like a runway; a yard lit only by spotlights has gorgeous trees floating over a black lawn you can't cross safely. Layer them — spotlights up into the trees and onto the numbers, low path lights along the walk, maybe a soft wash at the porch — and the eye travels happily from foreground to background. Solar makes layering forgiving: buy a matched set of spotlights and path lights in the same warm color temperature, place the spotlights first at your three best features, then fill the walking lines, then step out to the street and squint. Anything glaring, move; anything black, add. My own front yard runs four spotlights and six path lights, all solar, all warm white, and the electric bill never noticed. Start with any one idea from this list tonight; the layering instinct will take it from there.
Suggested budget range: $60 – $150.

Frequently Asked Questions
How many lumens does a solar spotlight need to light a tree?
For a small ornamental tree, 100 to 200 lumens is plenty. A medium shade tree wants 200 to 400, and a big oak or a flagpole needs 400 or more, or two fixtures cross-lighting. Check the rated lumens, not just the LED count — those numbers aren't the same thing.
How long do solar spotlights stay on at night?
Most run 6 to 10 hours on a full charge, and good ones with larger batteries reach dawn in summer. Runtime drops in winter when days are short and panels may get snow. A full day of direct sun — six hours or more on the panel — is what you're really buying with good placement.
Are solar spotlights as good as wired ones?
Wired low-voltage spotlights are brighter and dead consistent, and for a huge tree they're still my pick. But modern solar spotlights have closed the gap for small and medium trees, house numbers, and accents, and they win completely on cost and installation: no transformer, no trenching, no electrician.
Why did my solar spotlight get dim after a few months?
Almost always the panel: dust, pollen, leaf litter, or creeping shade from growing plants. Wipe the panel with a damp cloth, trim what's shading it, and confirm nothing new — a fence, a shrub, a parked trailer — is blocking its sun. Batteries do wear out after two to three years, and replaceable-battery models are worth the small premium.
Conclusion
The best solar spotlight ideas all come down to the same habit: decide what deserves to be seen after dark, and aim a little sunshine at it. Start with your best tree, your flag, or the house numbers your guests keep missing, and you'll feel the difference from the street the very first night. Then wander through the rest of the lighting ideas here on the site — I'm always testing a new angle in my own yard, and I'd love for yours to glow right along with mine.