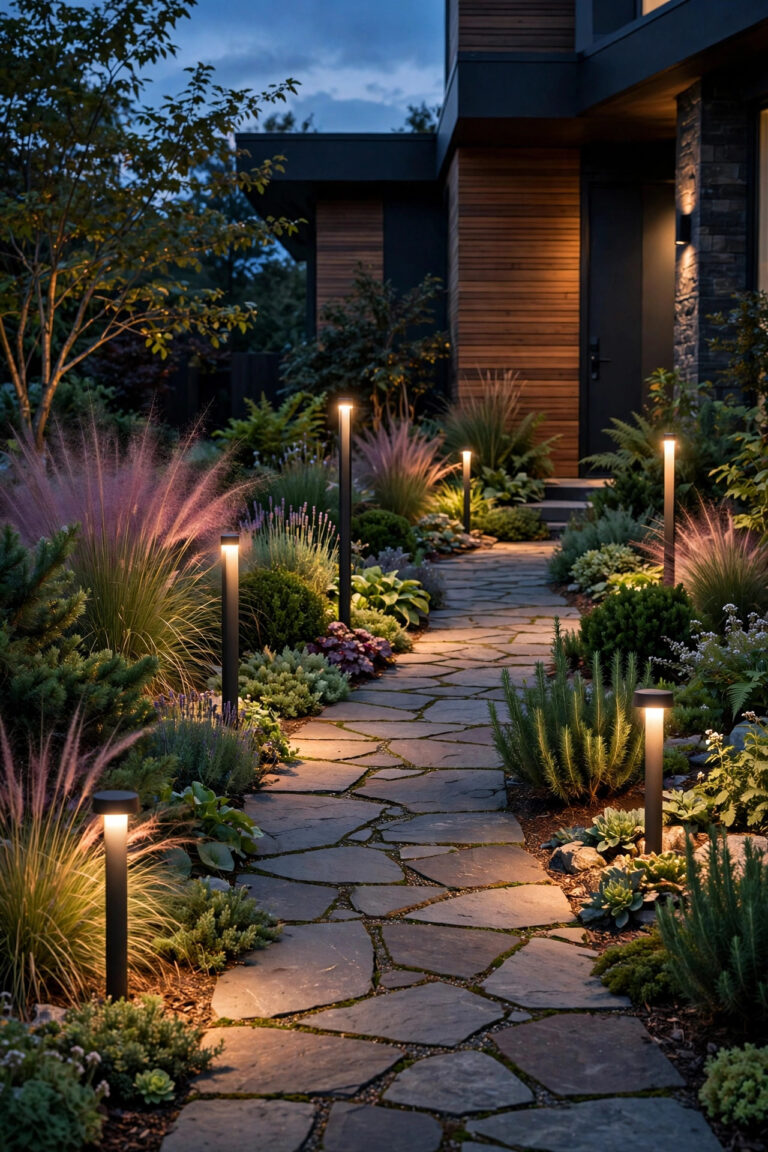
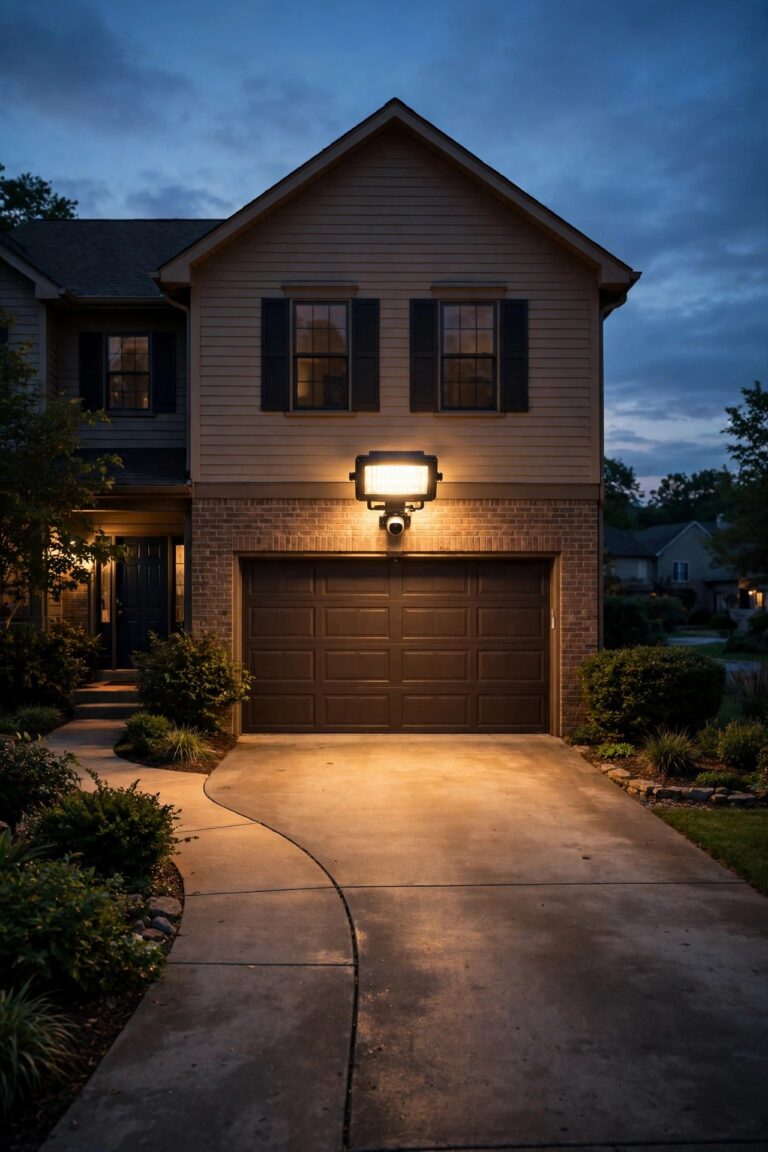
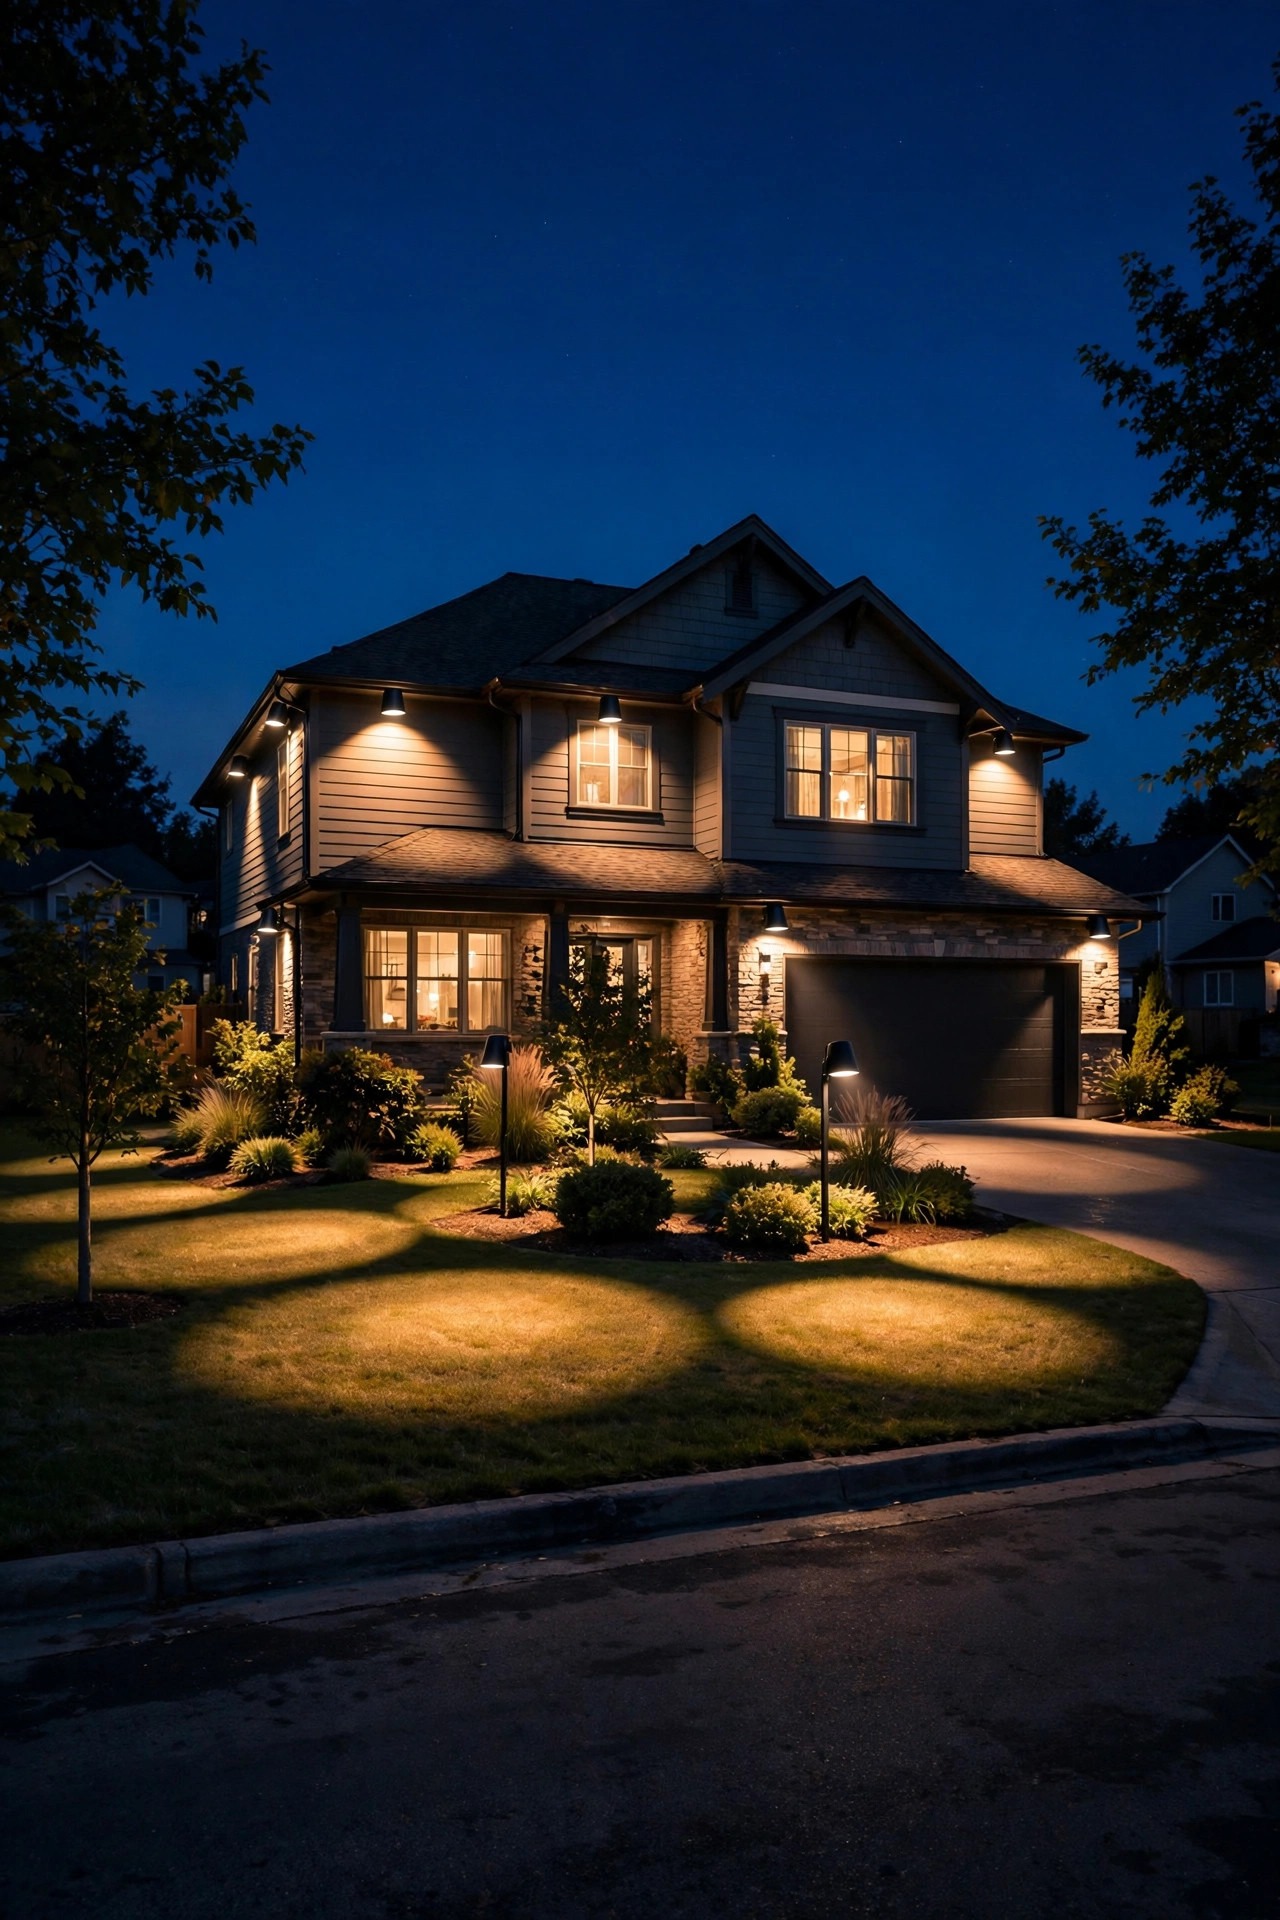
For years I believed security lighting had to be ugly: a gray industrial box screwed over the garage, blasting blue-white light across the driveway like a loading dock. My neighbors had one, and honestly? We all hated looking at it, even while we envied how safe it felt. Then smart flood lights changed the trade-off. The newest fixtures pair real security muscle — motion zones you draw yourself, phone alerts with snapshots, light your cameras can actually use — with finishes, warm color temperatures and dim-idle glows that look designed rather than installed by a warehouse crew. The trick is the same layering philosophy I use everywhere: a low guidance layer, a welcome layer, and an alert layer that only shows its strength when something moves. These 11 ideas build that alert layer beautifully, so your home reads as warm and watched instead of lit like a parking lot.
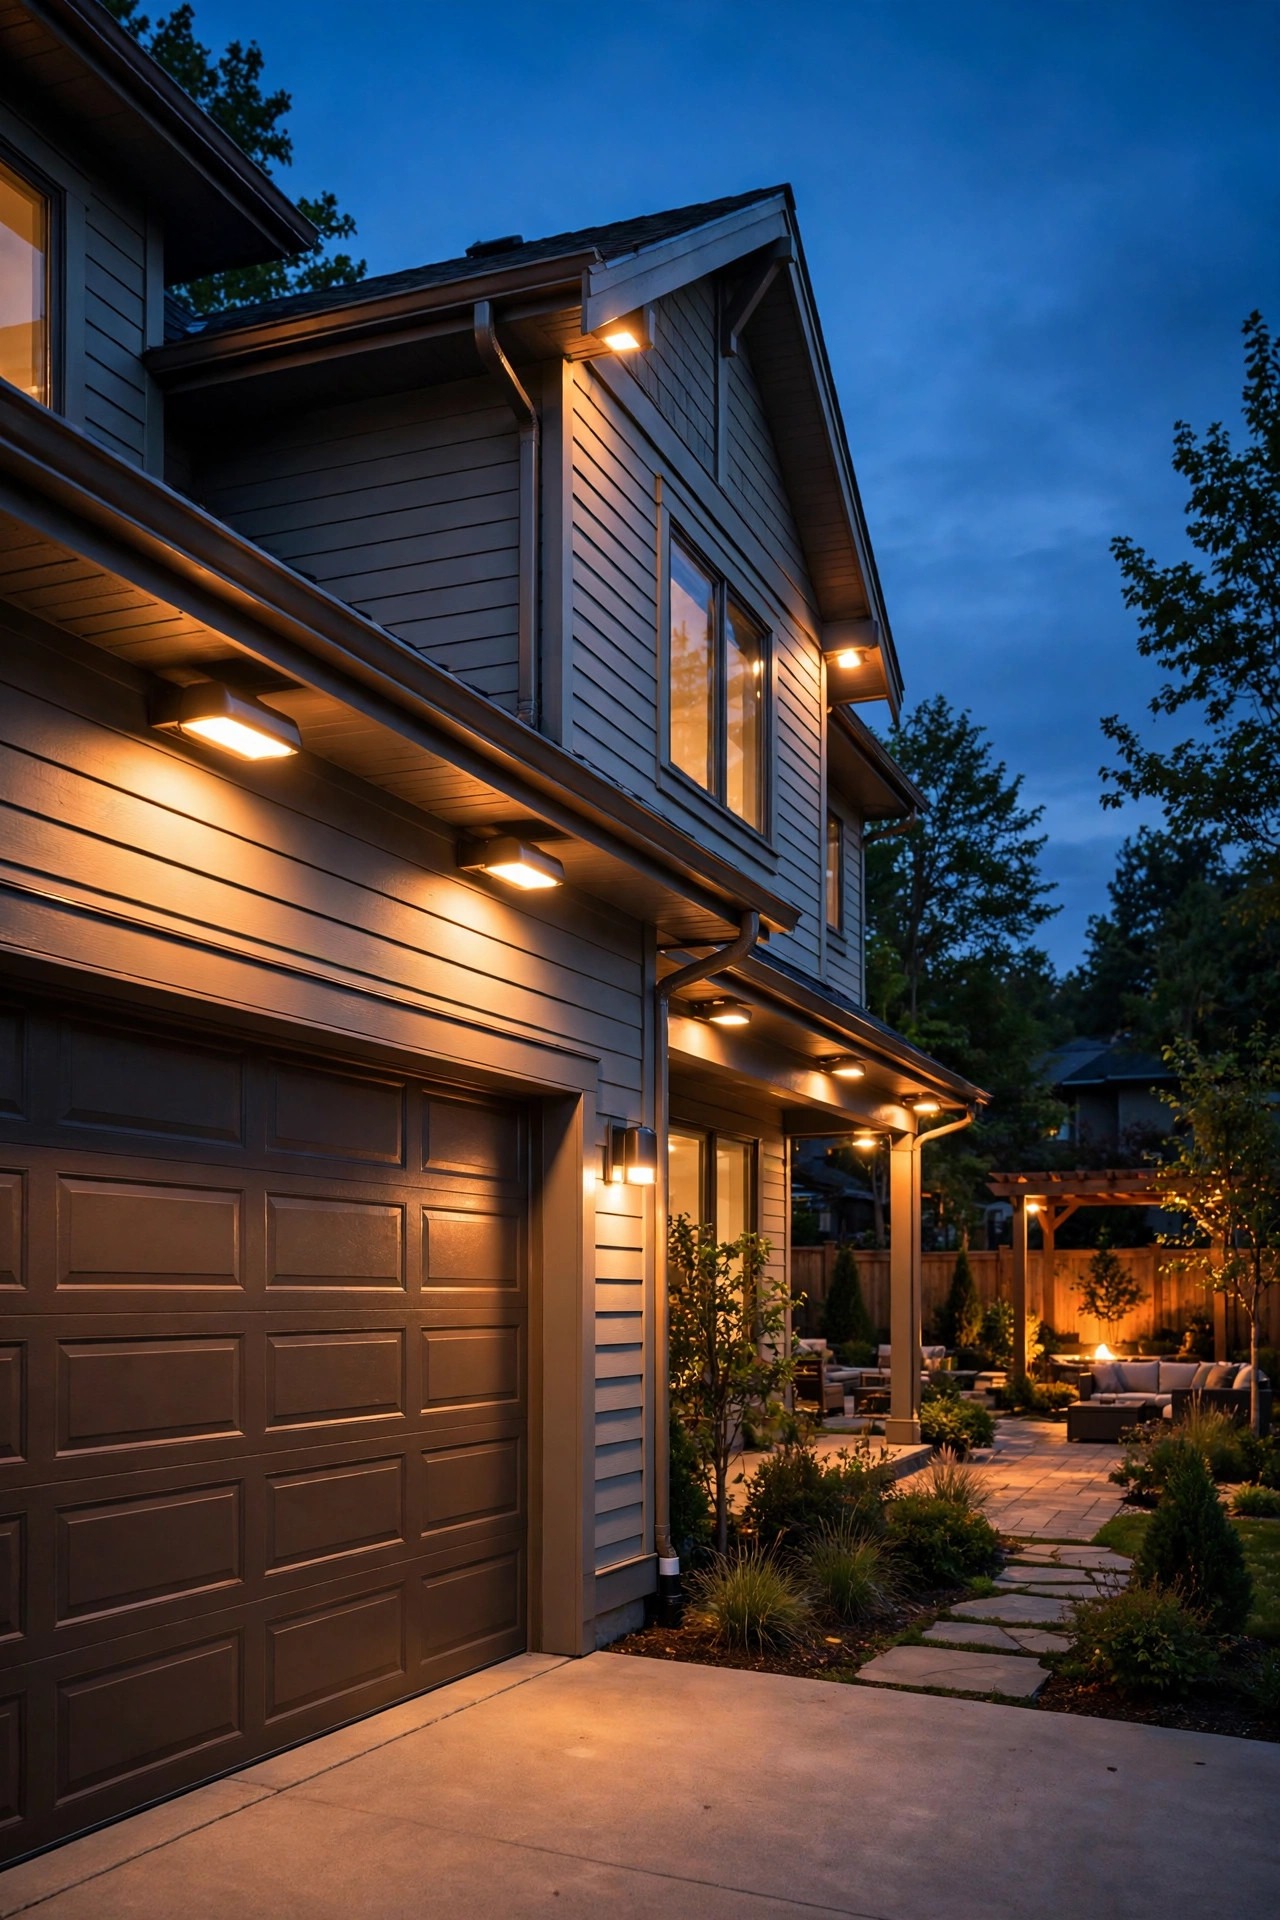
1. Dim-Idle Smart Flood Lights That Glow Softly All Night
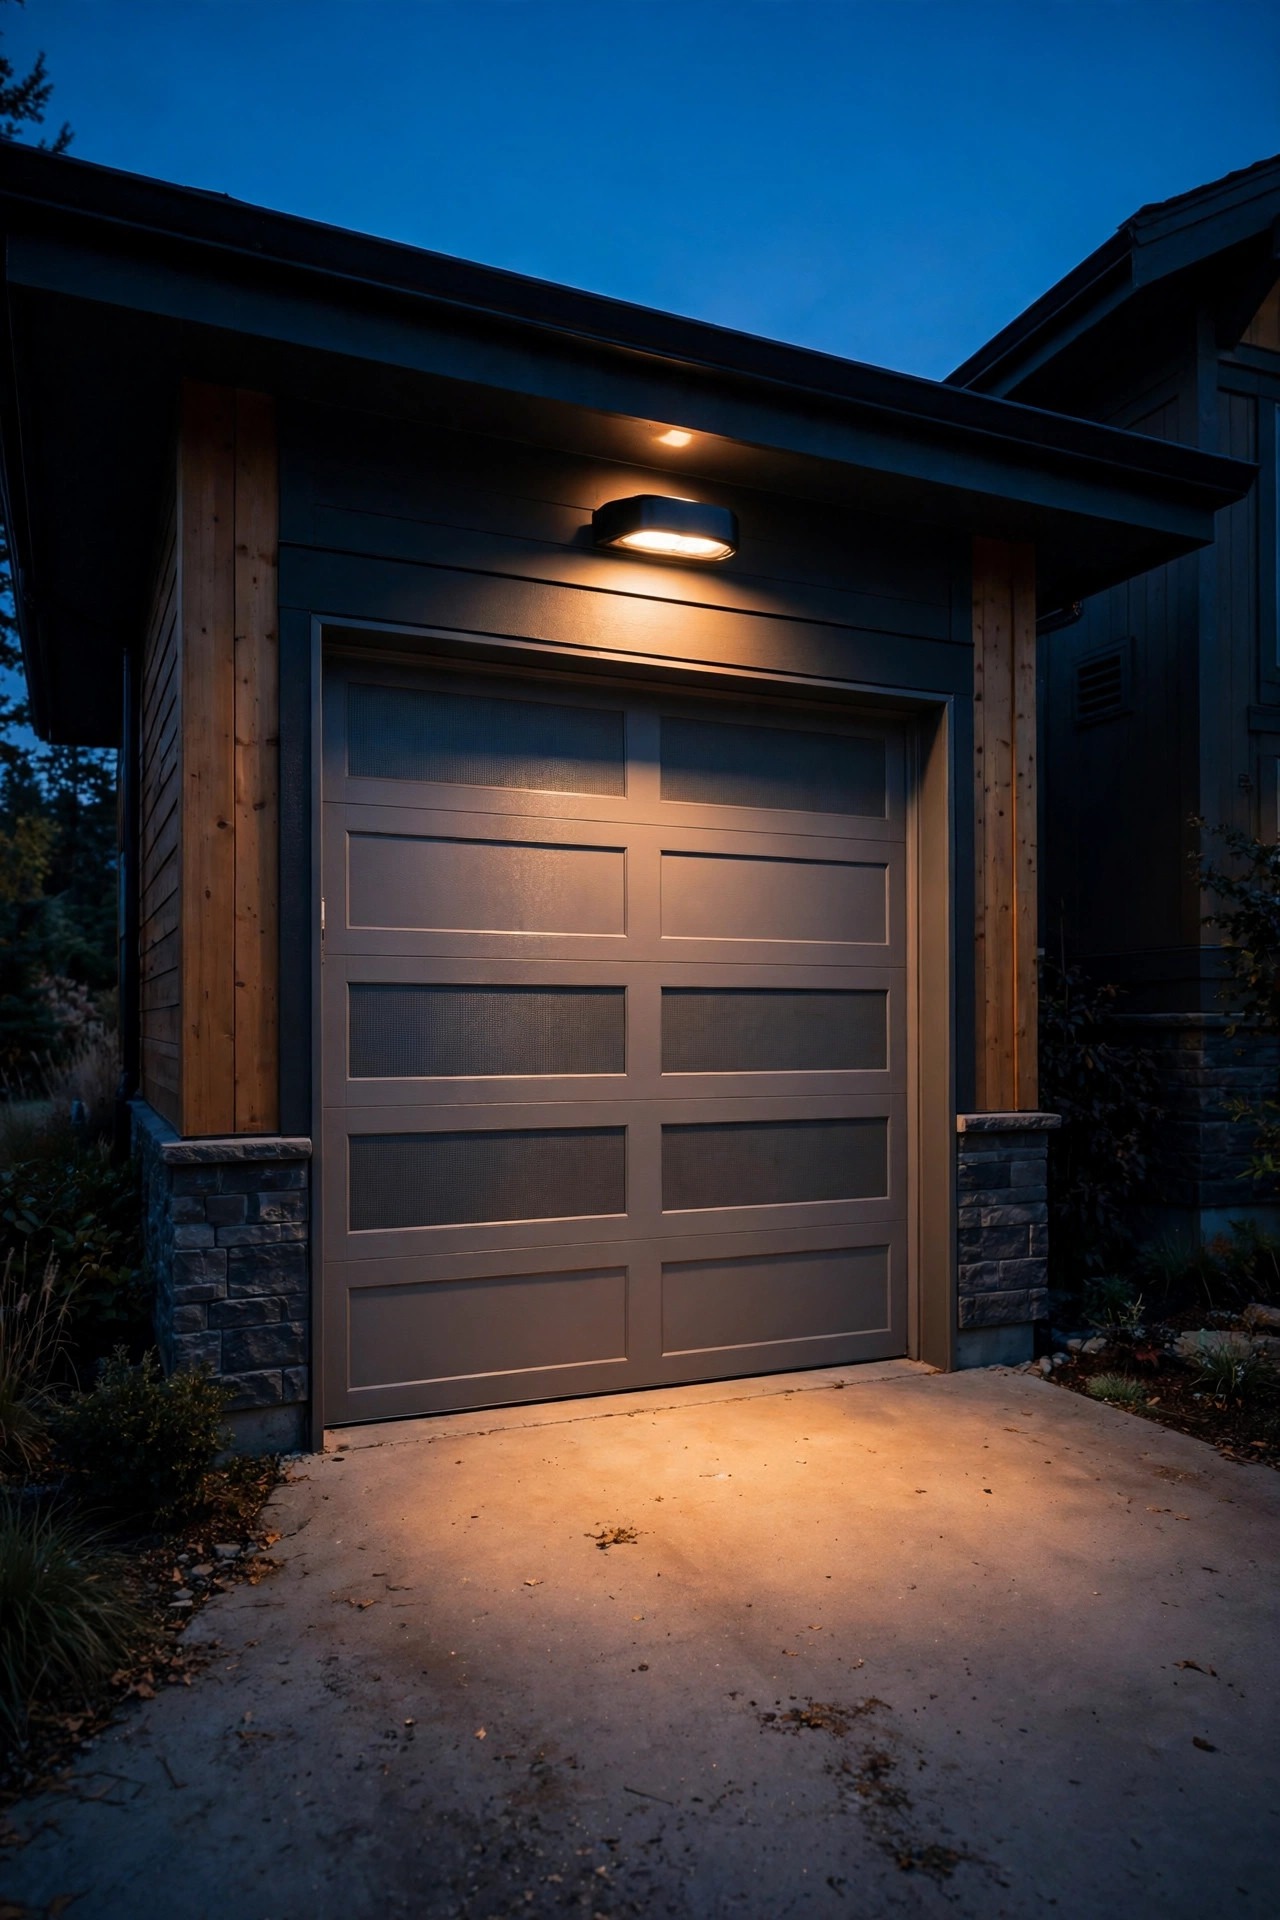
The single prettiest trick in modern security lighting is dim-idle mode. Instead of sitting black and dead until the sensor trips, smart flood lights hold a low glow all night — ten to twenty percent brightness, roughly the warmth of a porch lantern — and ramp smoothly to full power only when motion registers. The effect at the curb is pure welcome layer: your garage front looks finished and intentional, not armed. The security benefit surprised me. A light that is already on gives a camera sensor time to adjust, so faces do not blow out to white the way they do when a dark scene suddenly blasts to full brightness. It also removes the startling strobe effect that makes guests flinch and neighbors complain. Set the idle level low enough to read as ambience, keep the full-brightness run time at one to three minutes, and schedule the idle glow to switch off at midnight if your street prefers true dark late at night. In my experience this one setting does more for the not-ugly goal than any other feature on this list.
Suggested budget range: $60 – $120.
2. Choose Architectural Finishes That Match Your Other Fixtures
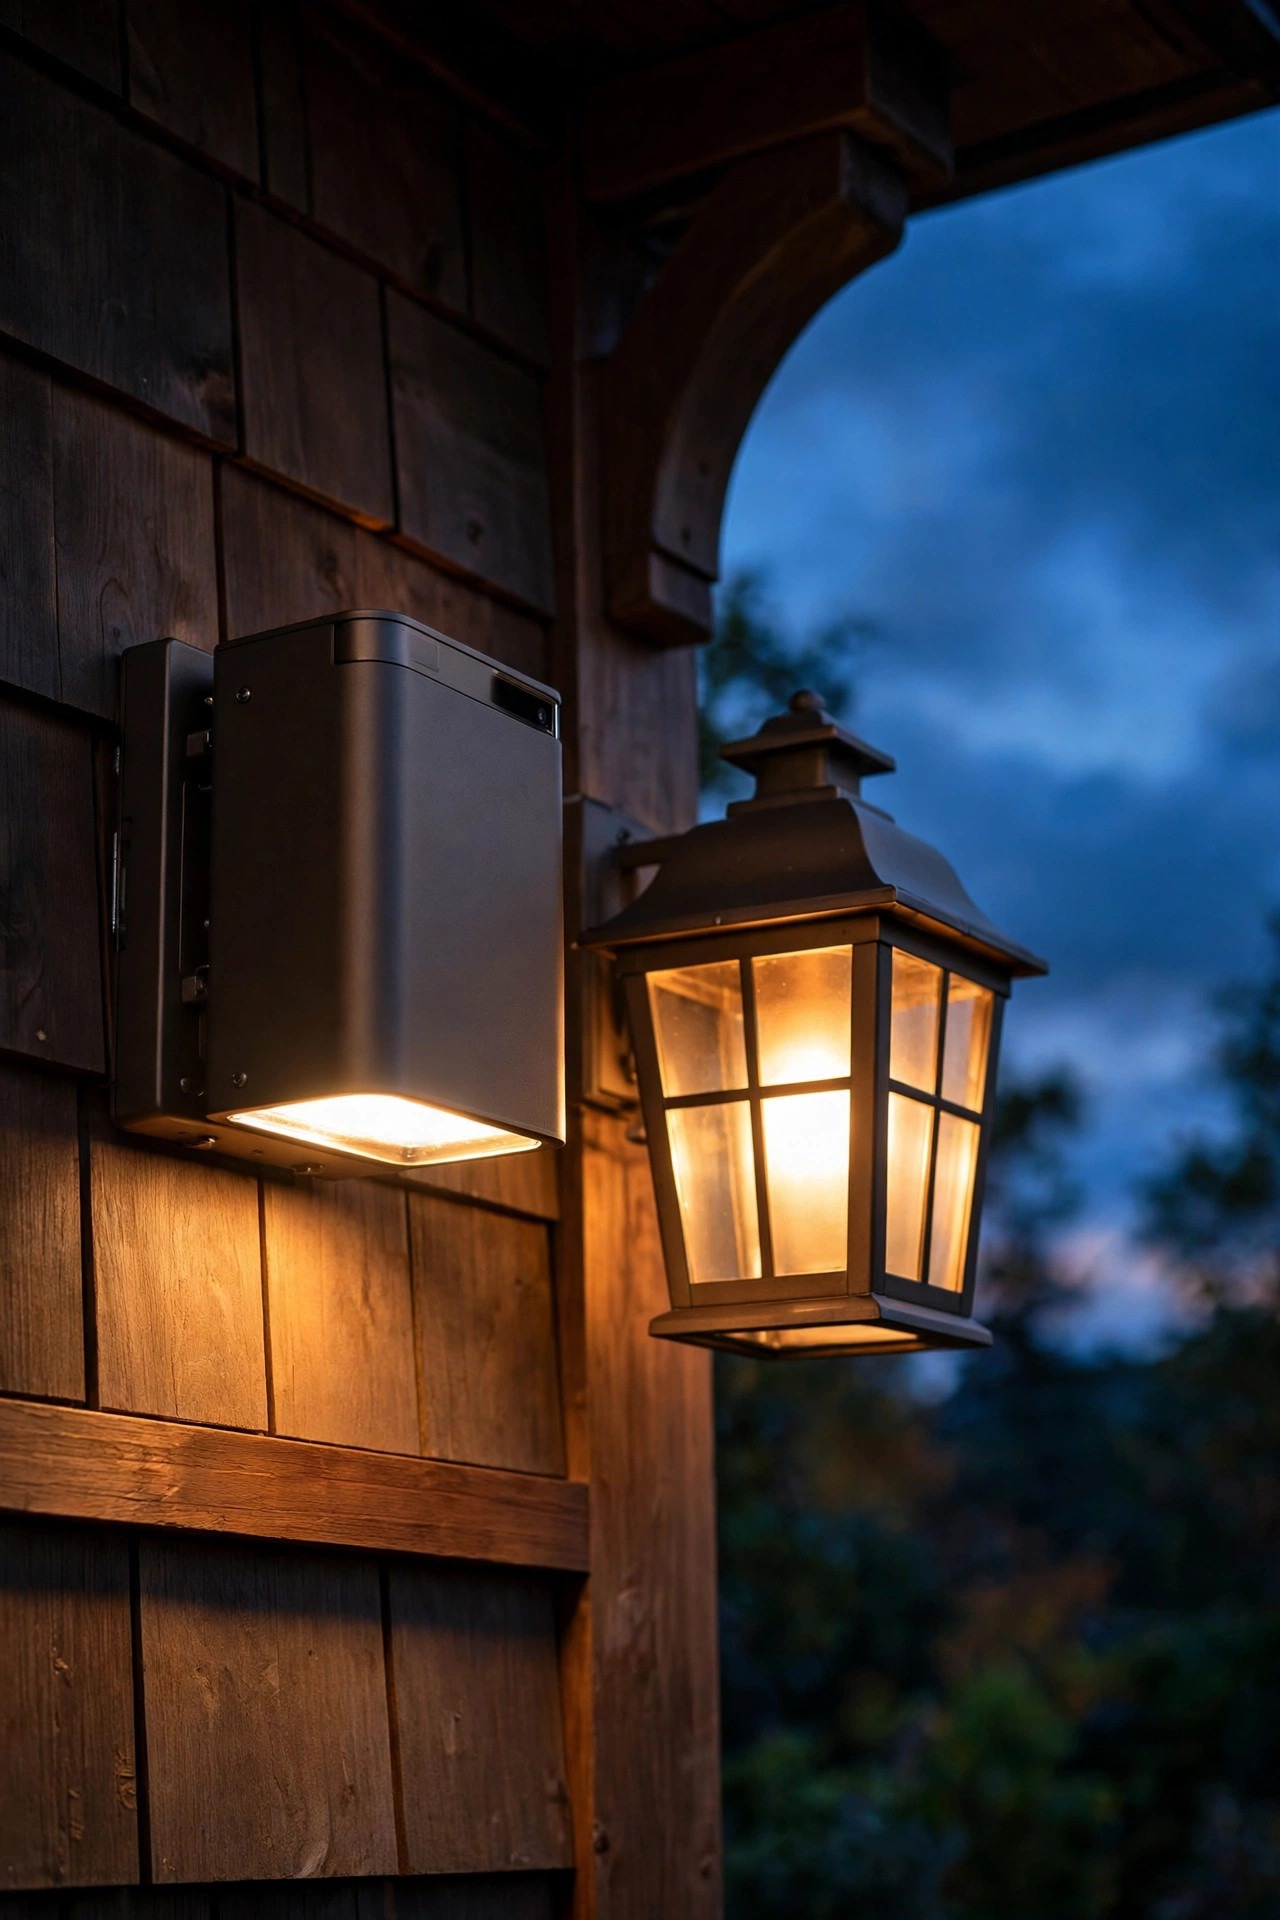
Nothing makes a flood light look industrial faster than a finish that matches nothing else on the house. The good news is that better smart flood lights now come in the same finishes as your sconces and coach lanterns: matte black, oil-rubbed bronze, brushed nickel and clean white for pale soffits. When the flood over the garage shares a finish family with the porch lanterns, the eye reads the whole set as one designed lighting plan instead of a security afterthought bolted on later. Look at the housing shape too. Rounded, low-profile housings with concealed screws disappear against trim, while boxy housings with visible cooling fins announce themselves from the street. Powder-coated aluminum holds up best outdoors and resists the chalky fade that cheap painted steel shows after two summers. My rule: hold the fixture against your trim in daylight before mounting. If it looks like it belongs on a barn or a loading dock, keep shopping — the security features inside are widely available now, so you never have to settle for a housing you dislike just to get motion zones and alerts.
Suggested budget range: $50 – $110.
3. Pick Shielded Optics That Keep the Beam on Your Own Yard
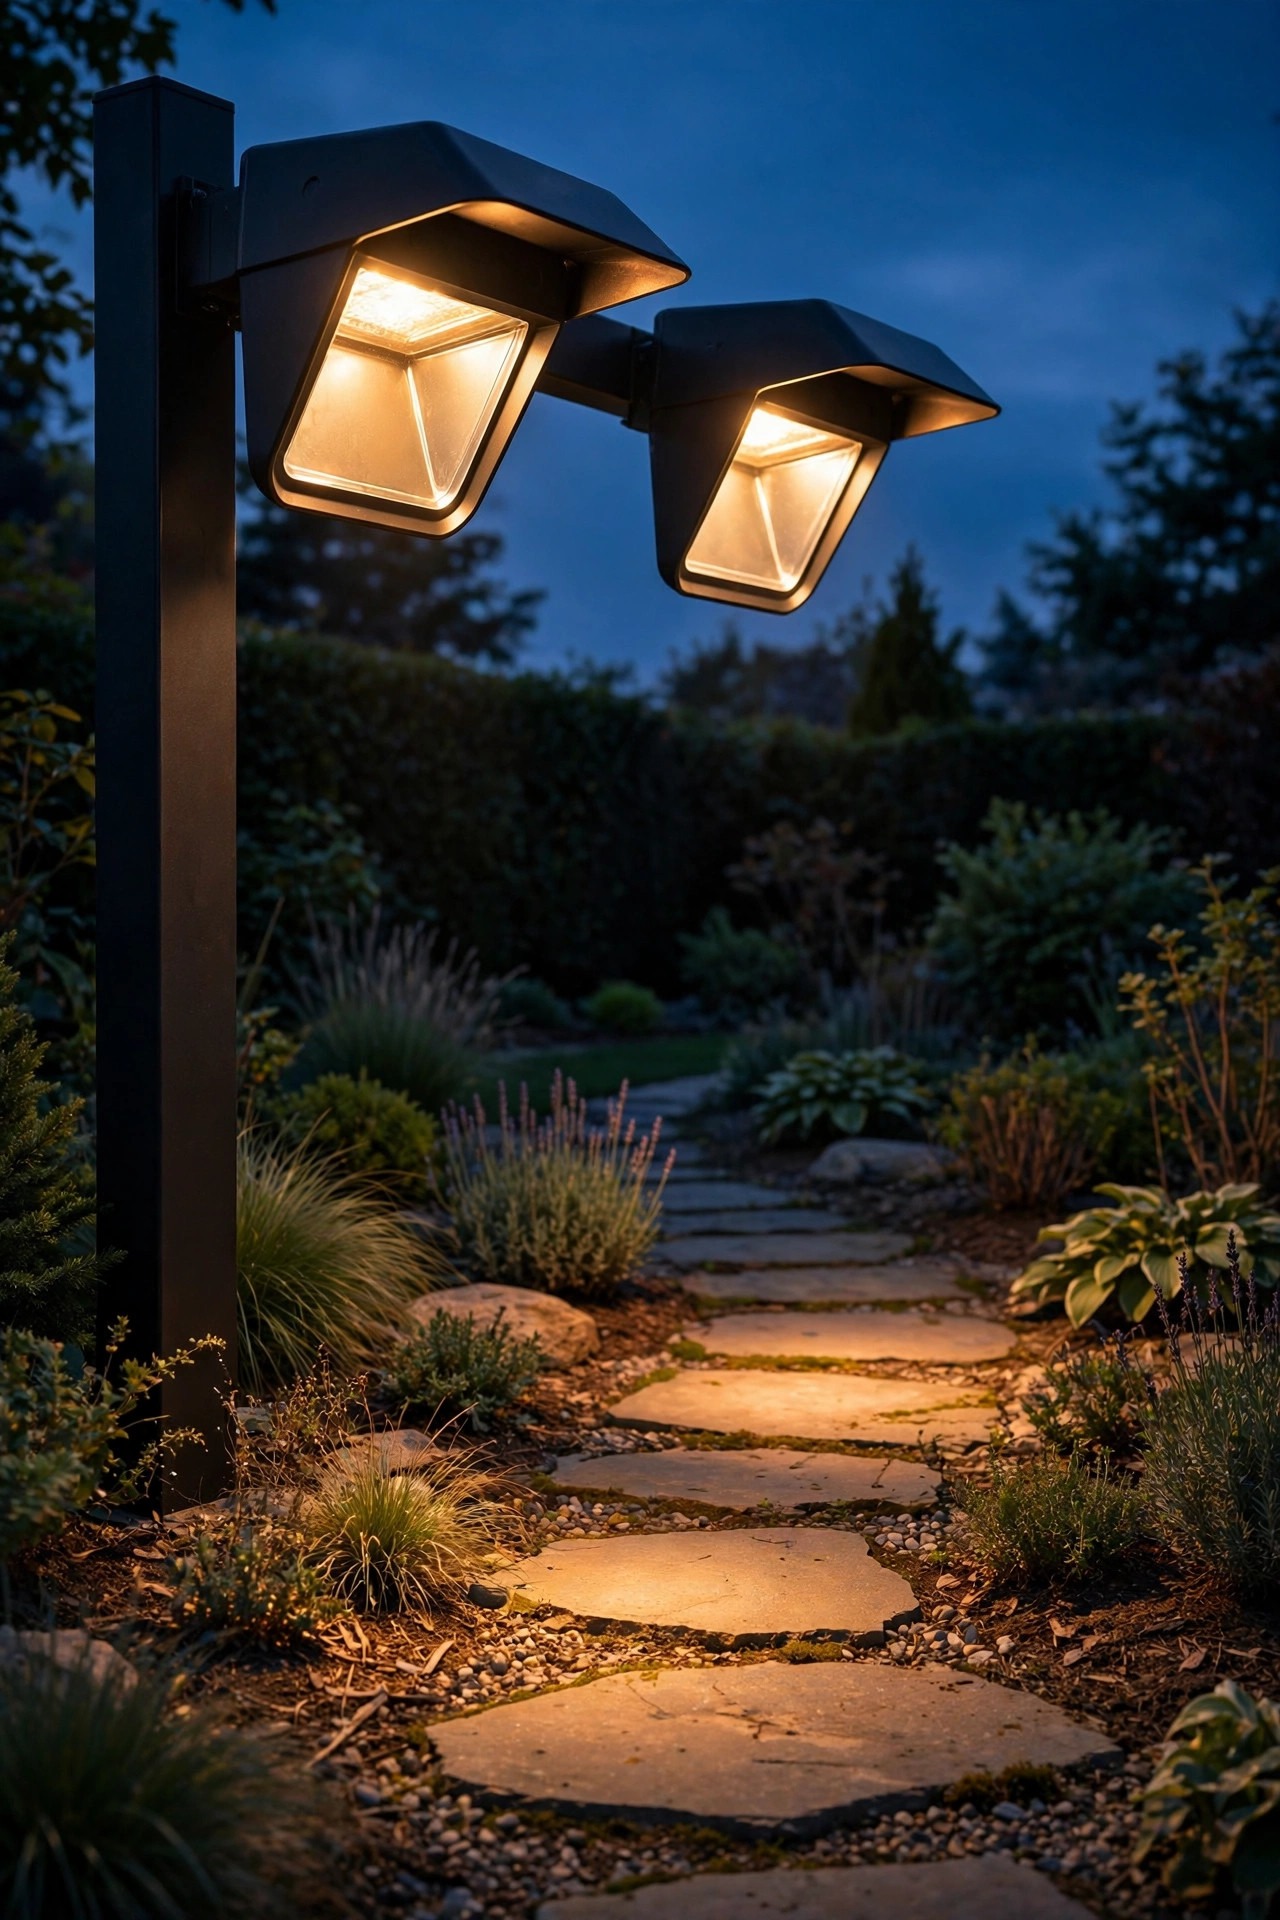
Ugly security light is usually unshielded light. A bare flood lens throws brightness in every direction — into the sky, through a neighbor's bedroom window, and straight into the eyes of anyone walking up your drive, which ironically makes it harder for them (and your camera) to see anything useful. Shielded fixtures fix all of it. Look for full-cutoff designs, recessed lenses, or small visors and hoods over each head that push the beam down into a defined pool on your own pavement and planting beds. Aim each head down at roughly 30 to 45 degrees, never level or tilted up. In my experience, shielded light also photographs better: with the bright lens hidden from the camera's view, the sensor exposes for the scene instead of the bulb, so faces and clothing colors stay readable. This is the idea your neighbors will thank you for, and the one that keeps a strong flood from turning your yard into the street's light-pollution villain. Shielding is not a compromise on security; it is what makes the security usable.
Suggested budget range: $45 – $95.
4. Go Warm: 2700 to 3000K Light That Cameras Still Read Clearly
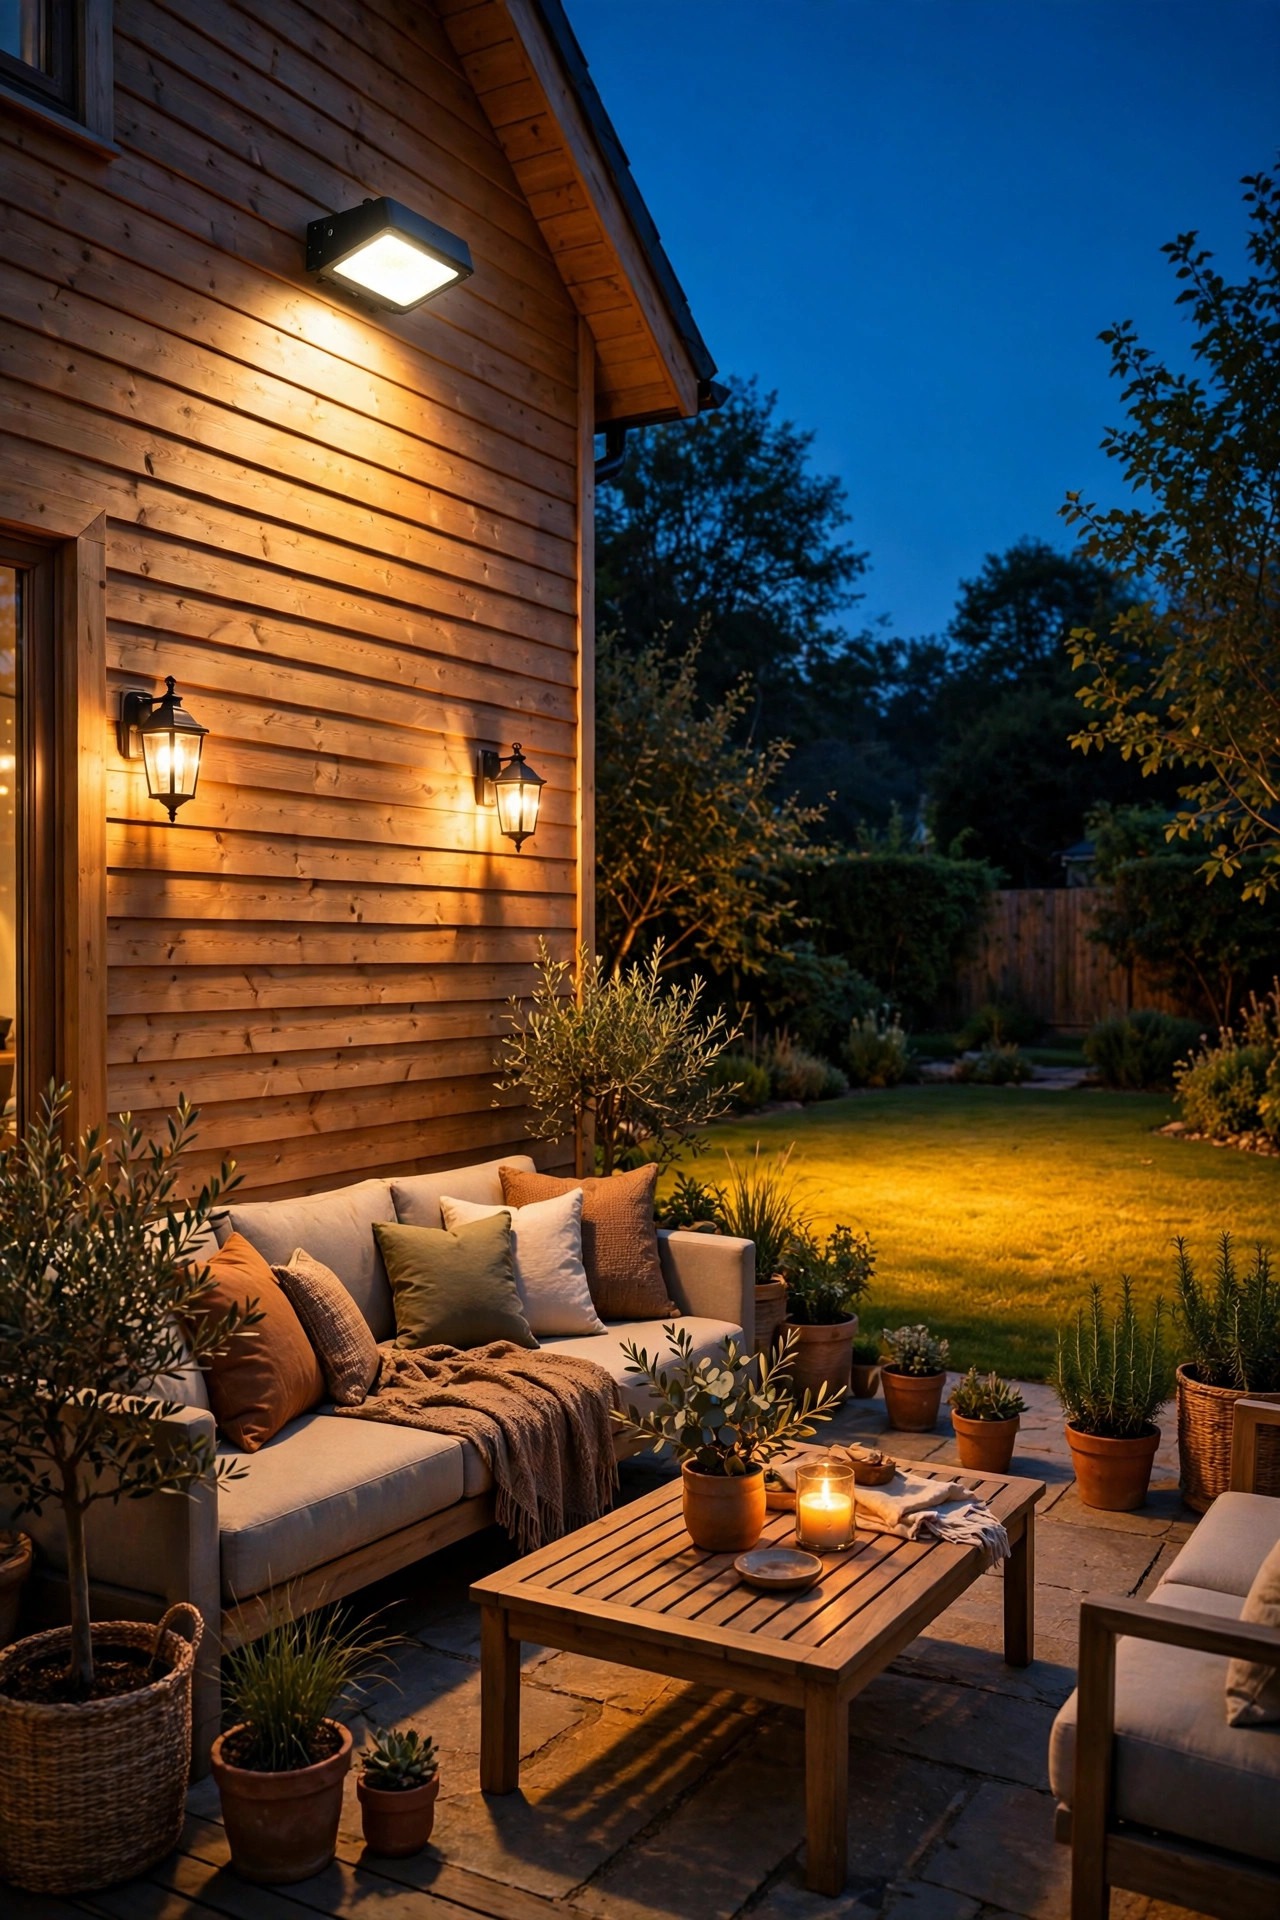
That harsh blue-white blast is a color temperature problem. Cheap floods ship at 5000K or higher — the daylight-blue tone of warehouses and gas stations — and it makes any home look cold and institutional after dark. Choose smart flood lights with a warm 2700 to 3000K output and the exact same coverage suddenly reads as residential, matching your porch lanterns and path lights so the whole yard shares one warm palette. The worry I hear most is whether cameras can see in warm light, and the honest answer is yes, easily. Modern camera sensors care far more about even, glare-free illumination than about color temperature, and faces actually render more naturally under warm light than under blue light that drains skin tones to gray. If a fixture offers adjustable color temperature in the app, treat it as a finishing tool: set every exterior light to the same warm value so nothing clashes. One warning — avoid mixing a warm flood with a leftover cool-white bulb nearby. Two competing color temperatures in one view looks more unfinished than either would alone.
Suggested budget range: $40 – $90.
5. Pair Floods With Cameras Without Blinding the Lens
A flood light and a camera over the same door can be best friends or worst enemies, and placement decides which. Mount the flood a few feet to the side of the camera, or below it, never directly above the lens where insects swarm the light all night and every moth becomes a white flare on your footage. The goal is to light the face of whoever approaches, which means the light should be aimed at the approach path from an angle, the way portrait photographers light a subject off to one side. Cross-lighting like this keeps one side of a face softly shadowed, which preserves the detail a camera needs for identification. Brightness balance counts too: a flood at full blast flattens a face to a white oval, while a slightly dimmer, well-aimed one gives you features. If you are planning the two together, my flood light camera ideas go deeper on pairing angles and heights. Test the result at night from your phone before you tighten the last screw.
Suggested budget range: $70 – $150.
6. Draw Your Own Motion Zones So the Street Stops Triggering Alerts
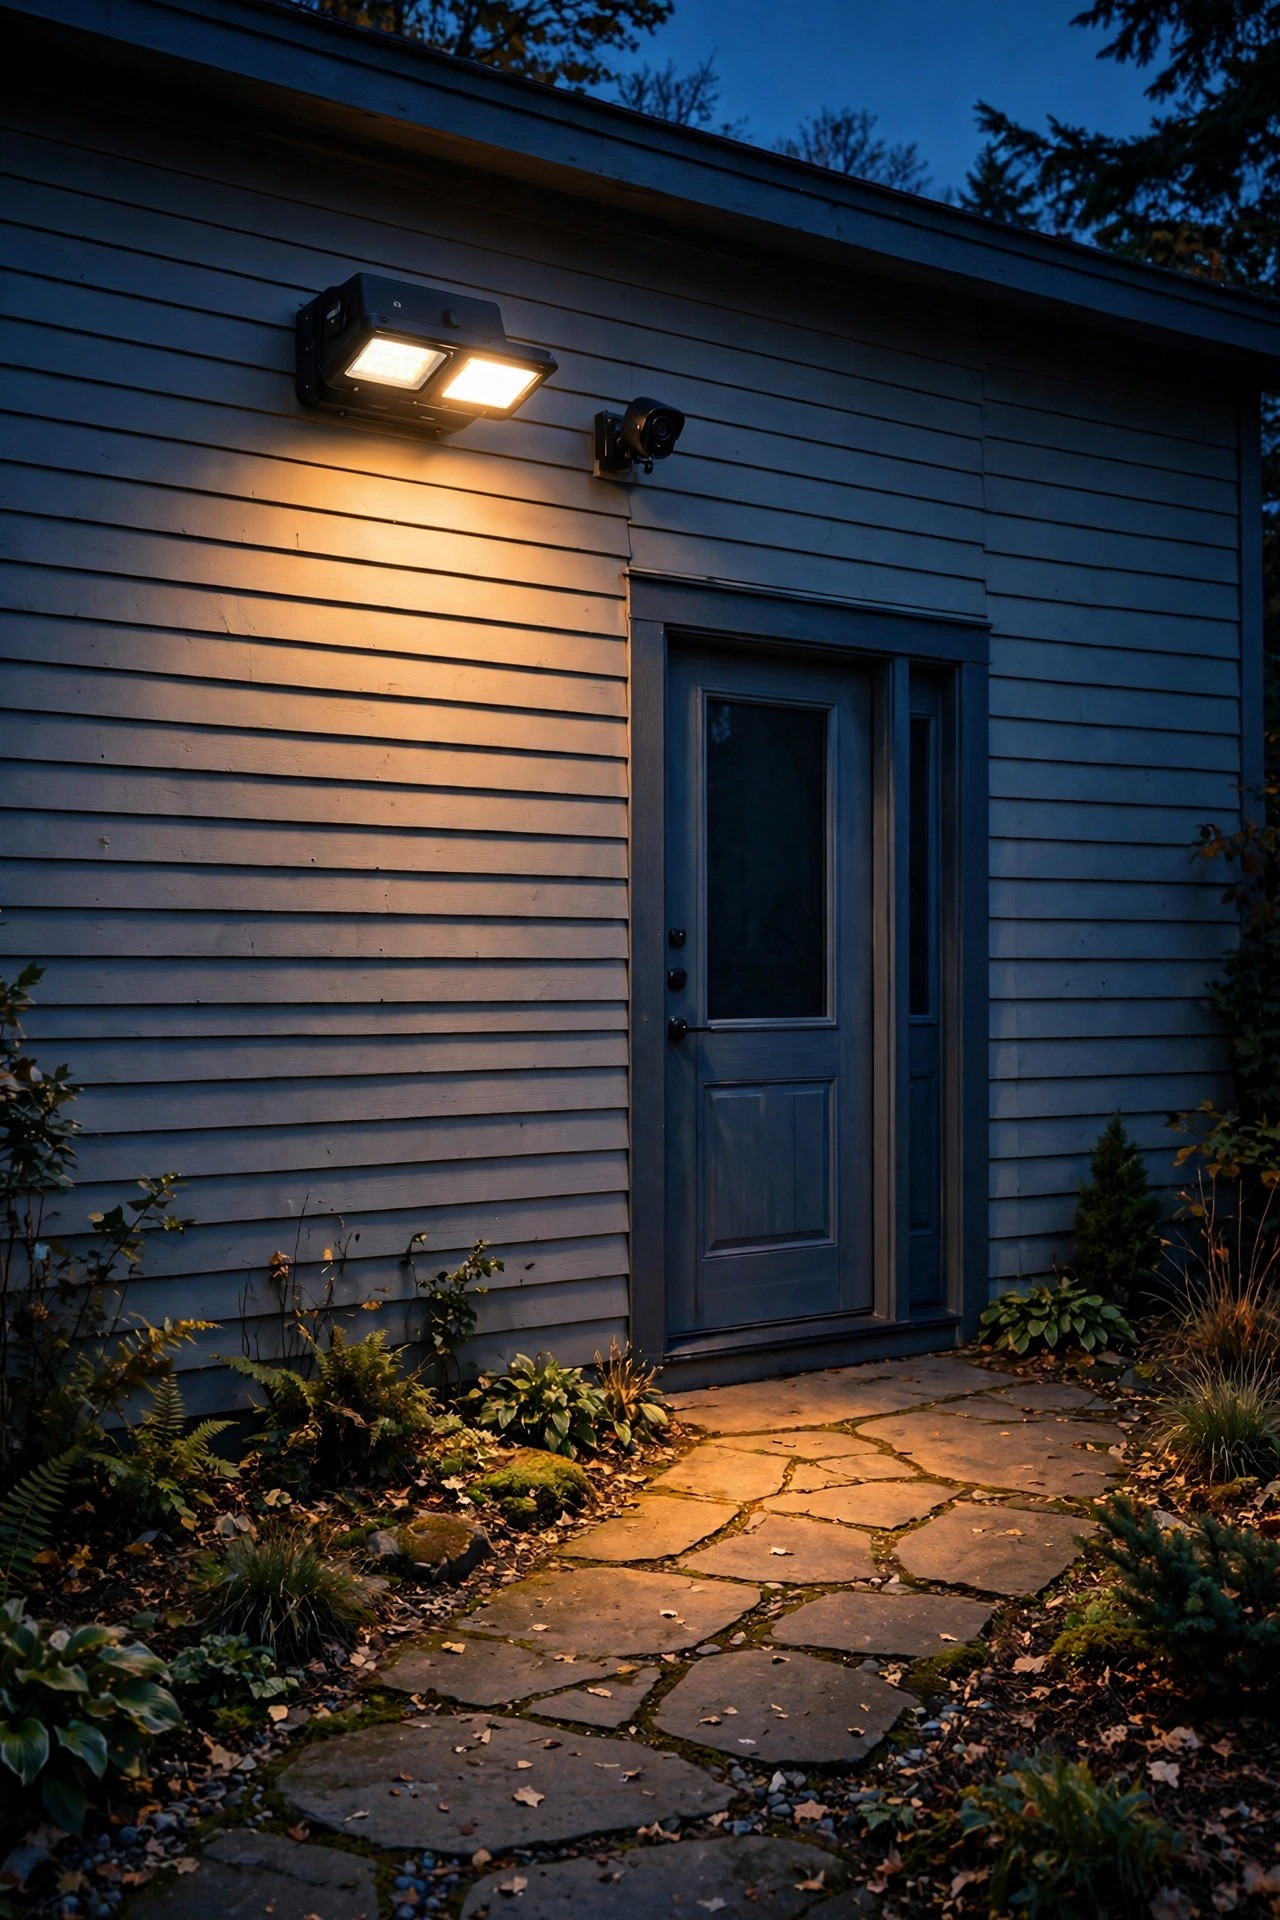
False alerts are where pretty security plans go to die — a light that fires for every passing car trains you to ignore it within a week. App-drawn motion zones are the fix. In the fixture's app you outline the areas that count — the gate, the drive apron, the path to the side door — and mute the zones that do not, like the street and the sidewalk. Movement in a drawn zone triggers the light and the alert; movement outside it is politely ignored. Pair the zones with sensible sensitivity: high for a quiet side yard where anything moving is worth knowing about, lower near plantings that sway and heat-shimmer on summer nights. I also like a schedule on the alerts themselves, so the zones stay armed during the hours you are asleep or away but stay quiet during a Saturday barbecue when the yard is full of your own people. This is the feature that makes smart floods feel genuinely smart, and it is the difference between a system you trust in month six and one you muted in week two.
Suggested budget range: $55 – $120.

7. Hide the Hardware Up in the Soffit
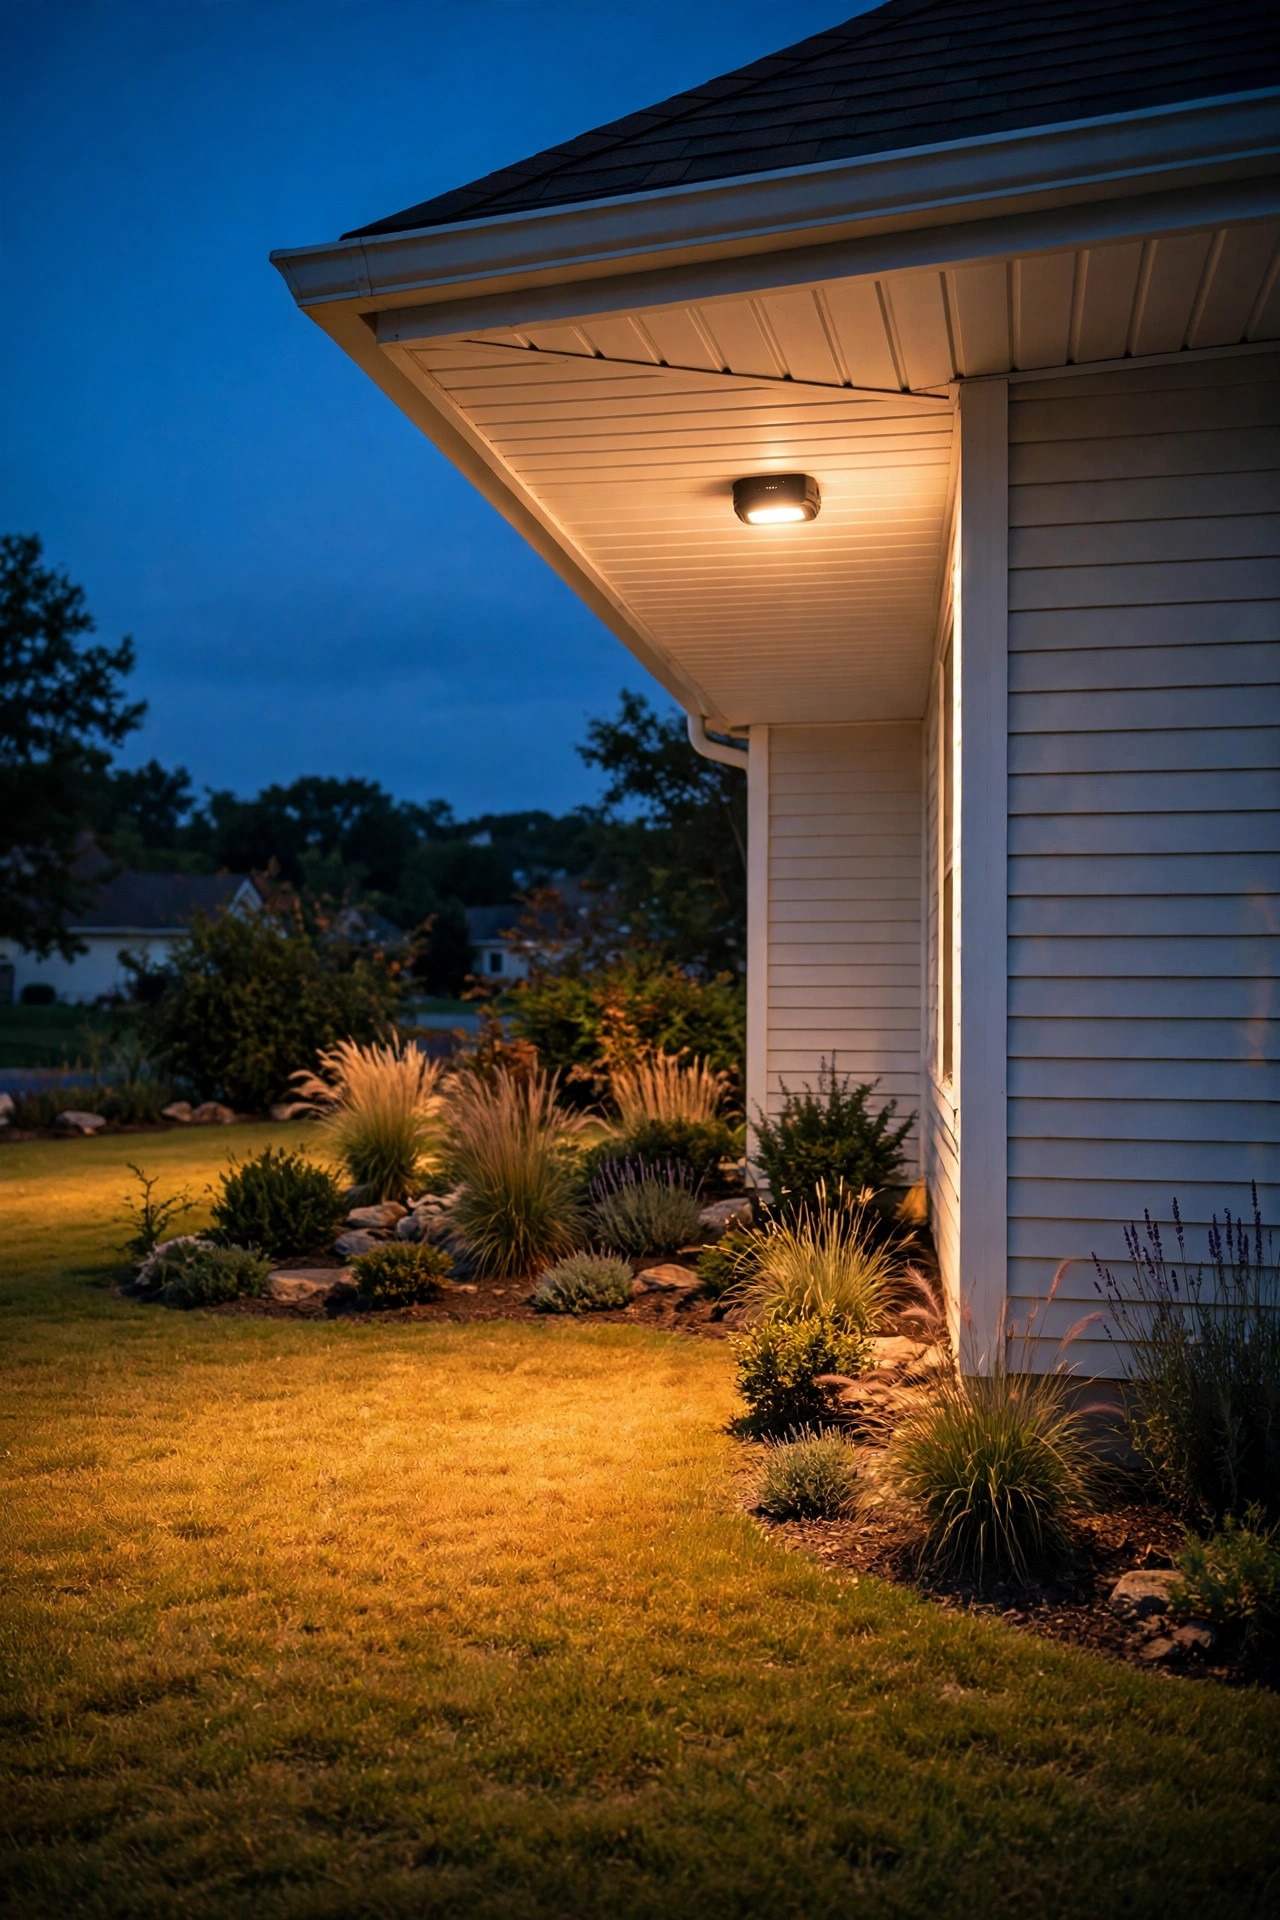
If you want a flood light nobody notices by day, tuck it into the soffit or tight under the eave. Low-profile smart floods mount nearly flush up there, where rooflines already cast shadow, so the fixture reads as part of the house architecture instead of an appliance stuck to the wall. Height is the other gift of a soffit mount: at 9 to 12 feet up, the beam spreads into a wide, even pool with soft edges, which looks far more like landscape lighting and far less like a spotlight interrogating the driveway. The trade-off is installation. A soffit mount usually needs a junction box in the eave, and if there is not one already, that is a job for a licensed electrician rather than a Saturday ladder session — budget for it honestly and the result is worth every dollar. From the street, all anyone sees after dark is warm light arriving from nowhere in particular, which is exactly the designed effect the other ideas on this list are chasing. Invisible by day, elegant by night, and still fully alert.
Suggested budget range: $65 – $140.
8. Get Phone Alerts That Send a Snapshot, Not Just a Ping
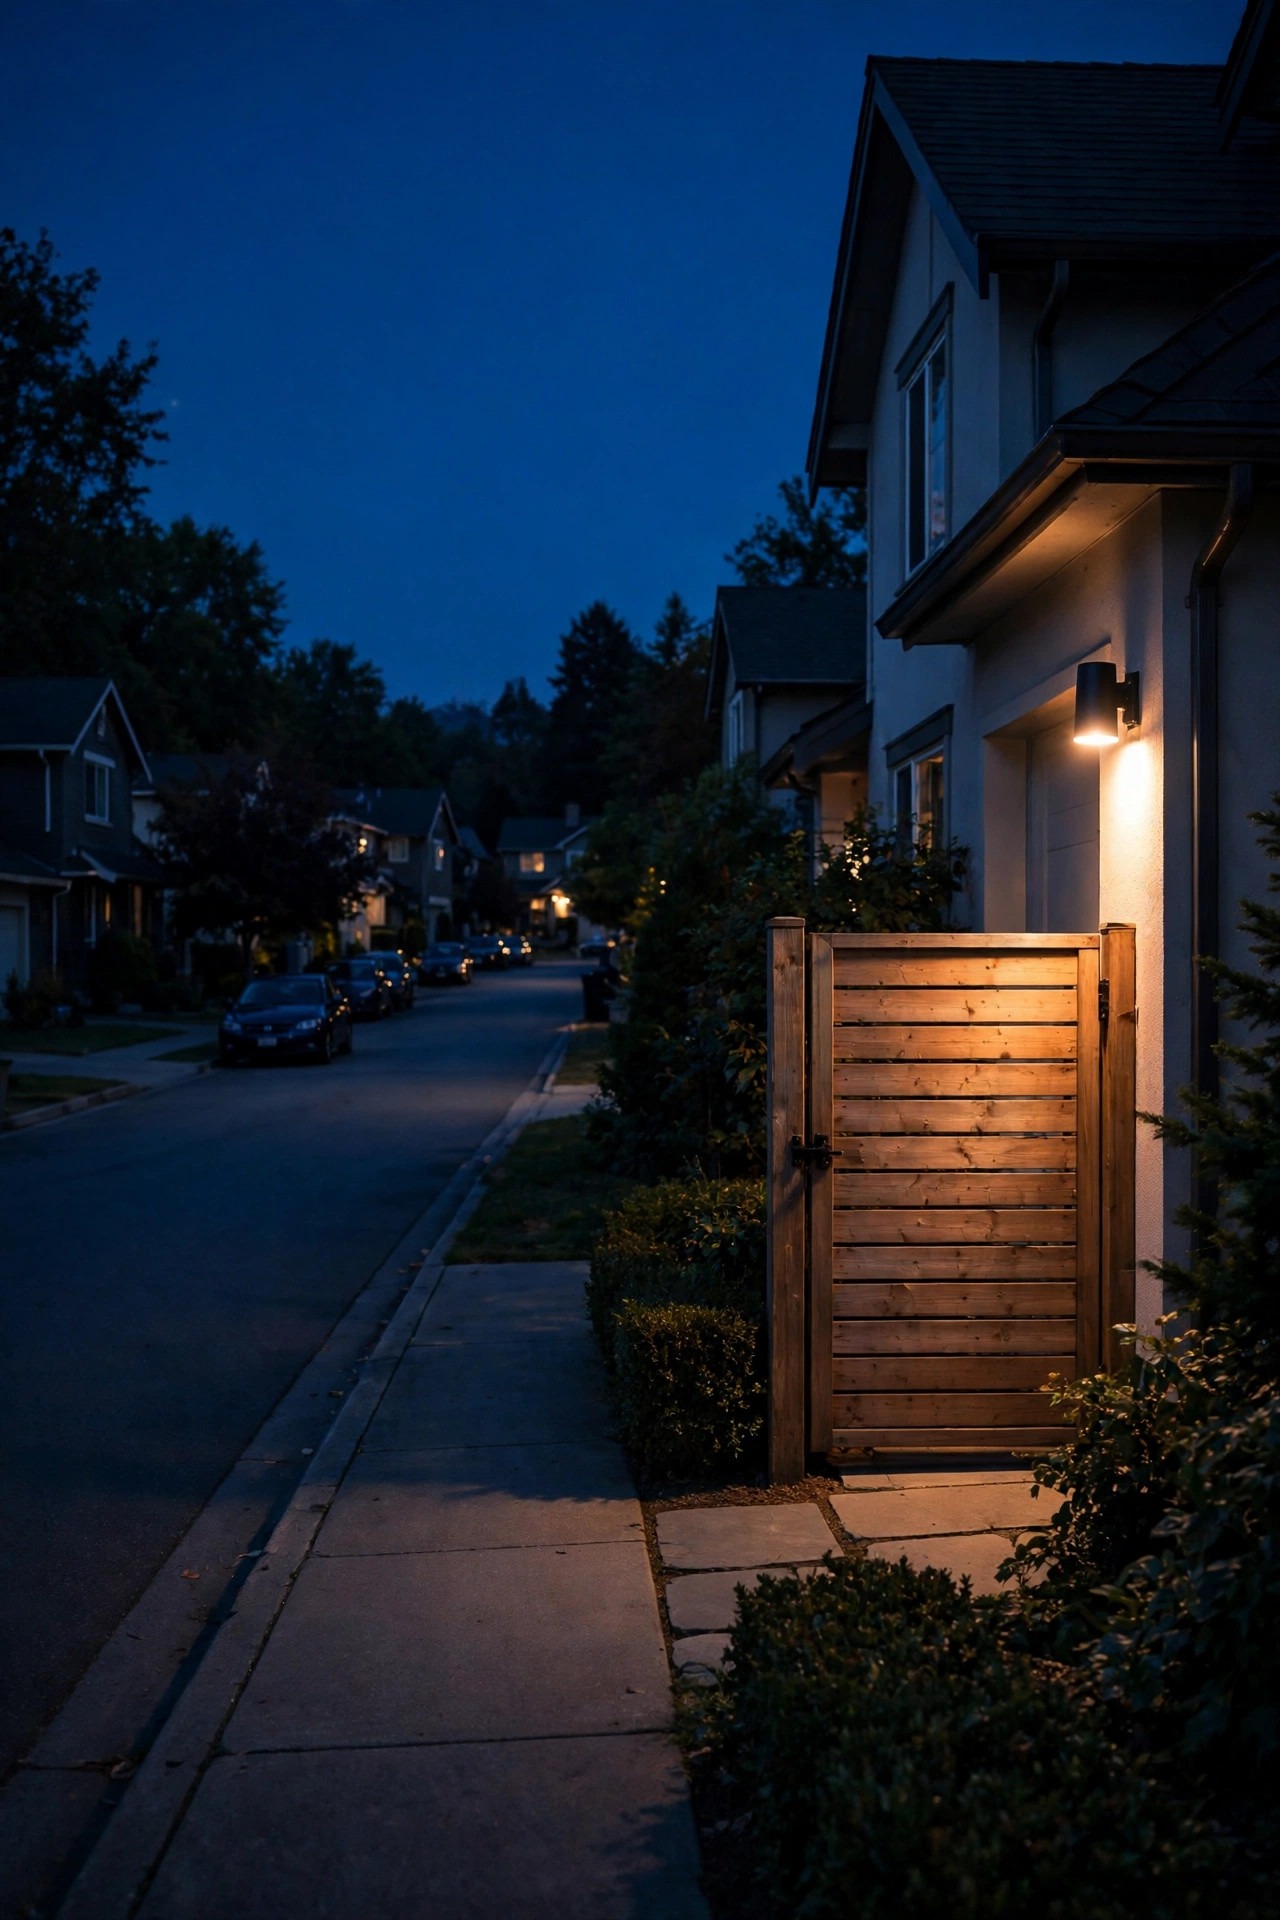
A plain motion ping tells you almost nothing, and after the tenth mystery alert you stop looking. The better pattern is an alert with a snapshot attached: the flood triggers, the paired camera or the fixture's own sensor grabs a still image, and your phone shows you a person at the gate, a raccoon in the bins, or your teenager home early — each demanding a completely different response from you, which is to say mostly none at all. That photo is what makes the system feel protective instead of noisy. Set the flood itself to respond every time regardless of alert settings, so the light does its deterring even when your phone is silenced overnight, and let the app batch the low-priority snapshots for morning review. Delivery drivers, dog walkers cutting across the corner of the lawn, the neighbor's cat on patrol — you will learn your yard's real night traffic in a week, and you can tune the motion zones from idea six with actual evidence instead of guesses. Information is the pretty part of security: calm, specific, and only when it counts.
Suggested budget range: $60 – $130.
9. Use Sleek Dual Heads and Aim Them Like Landscape Lighting
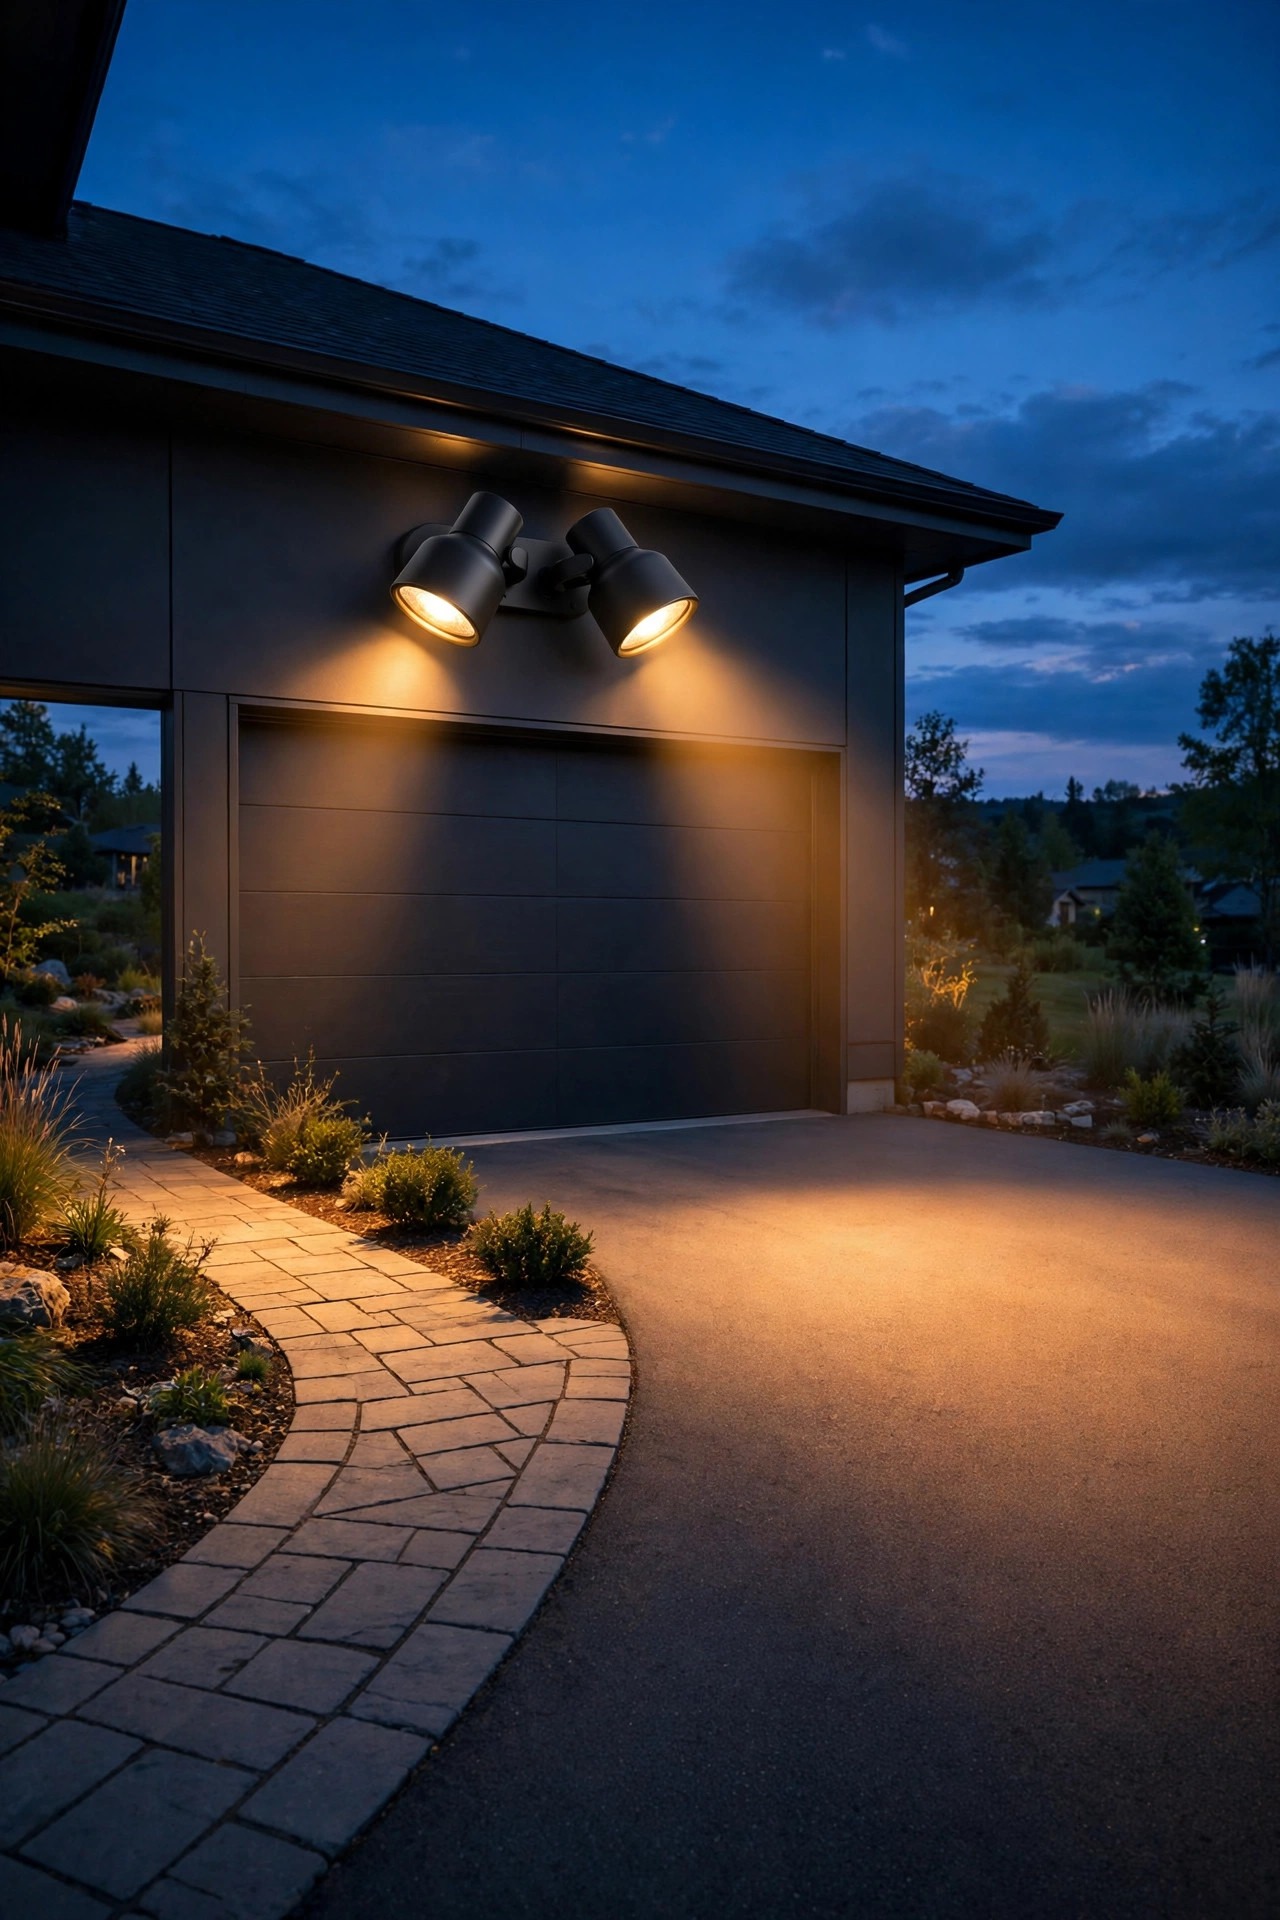
Most floods ship as dual heads, and most get installed with both heads splayed wide like startled eyes — instant industrial. Instead, aim them the way you would aim landscape uplights: deliberately, and asymmetrically. Send one head wide and low across the main coverage area, the drive apron or the broad backyard, and aim the second head narrower along the approach, the path or gate line where people actually walk. Keep the two heads close to parallel rather than dramatically crossed, and step down to the street to check the silhouette: aligned heads read as one intentional fixture, while wild angles read as hardware. This is where a sleek, slim housing earns its price — at the right angle a good dual-head flood genuinely resembles a piece of architectural lighting. For the full geometry of heights, angles and overlaps, my outdoor flood light placement guide is the reference I send neighbors to. Ten patient minutes with a ladder and a helper at the curb transforms the look more than spending double on a fancier fixture.
Suggested budget range: $50 – $105.
10. Group Floods Into Schedules and Scenes With Your Other Lights
A flood that behaves like a stranger — blasting on its own schedule while the rest of the yard follows another — always looks improvised. Group your smart flood lights with your porch, path and landscape lights in the app and run them as scenes instead. My dusk scene brings the porch lanterns and path lights up together while the floods settle into their dim-idle glow, so the whole property brightens as one composition. A late-evening scene drops the floods to their lowest idle and shortens their full-brightness run time. Vacation mode is where grouping really shines: the app varies which zones glow and when, in the irregular pattern of a house that is actually occupied, rather than the metronome timing that fools nobody. None of this costs extra hardware once the fixtures are smart; it is purely the discipline of treating security lights as members of the lighting design instead of exceptions to it. The result is a yard that feels choreographed — because it is — while quietly keeping every security feature armed underneath the pretty surface.
Suggested budget range: $45 – $100.

11. Smart Flood Lights Aimed Right Beat Brighter Ones Aimed Wrong
Here is the finale I give every neighbor who asks: the prettiest smart flood lights in the world will still look wrong if they are aimed wrong, and modest ones look designed when they are aimed with care. So finish every install with a night walk. Stand at the street and look at your house the way a passerby does — any lens you can see directly is glare, and glare is the whole ugly problem in one word. Walk the approach paths and note where the pools of light leave dark gaps a person could stand in unseen, then nudge heads until coverage overlaps softly with no black seams. Check from your own windows too, because a flood that lights the yard but blinds you at the kitchen sink is aimed at the wrong life. Small tilts, five degrees at a time, are the entire difference between a yard that looks guarded and a yard that looks welcoming and guarded. Aiming costs nothing but a ladder and twenty minutes, which is why it is the best-value idea on this list — and the one that makes the other ten look intentional.
Suggested budget range: $0 – $50.
Frequently Asked Questions
How many lumens do smart flood lights actually need?
For a single-car driveway or a modest backyard, 1,200 to 2,400 lumens at full brightness covers it comfortably, especially with dim-idle mode handling the all-night glow at a fraction of that. More is rarely better: past roughly 3,000 lumens in a residential setting you mostly buy glare, neighbor complaints and washed-out camera footage. Two moderate floods aimed with overlap beat one enormous one almost every time.
Do smart flood lights still work if the Wi-Fi goes down?
Yes, the important parts do. Motion triggering, dim-idle behavior and saved schedules are stored on the fixture itself, so the light keeps guarding through an internet outage. What pauses until the connection returns is phone control, snapshot alerts and scene changes from the app. If outages are common at your house, set the fixture's schedules carefully once and it will run them faithfully on its own.
Will warm light give my security camera a blurry or useless picture?
No. Cameras need even, glare-free light far more than they need a particular color temperature, and warm 2700 to 3000K light renders faces and clothing colors naturally. The footage killers are bare-lens glare pointed at the camera, extreme brightness aimed straight at a face, and deep shadow beside bright pools. A shielded, well-aimed warm flood avoids all three, which is why pairing placement counts more than raw lumens.
Can I install a smart flood light myself, or do I need an electrician?
Swapping a smart flood onto an existing outdoor junction box is a comfortable DIY job for most homeowners: power off at the breaker, three wire connections, two screws, then app setup. Call a licensed electrician when there is no existing box where you want the light — new soffit runs and new circuits are permit-and-inspection territory in most US towns, and the pro install also gets the aiming right the first time.
Conclusion
Security lighting earns its place in a beautiful yard when it stops shouting. Warm color, shielded beams, a dim-idle glow, and alerts that carry real information give you coverage a camera can use and coverage a stranger respects — without turning your home into the street's floodlit exception. Start with placement and aiming, choose finishes that belong to your house, and let the smart features work quietly underneath. If you are planning the wider project, my outdoor lighting home security guide maps how floods layer with porch, path and perimeter lights. However you build it, smart flood lights prove the point I wish someone had told me years ago: the safest-looking house on the street can also be the prettiest one after dark.