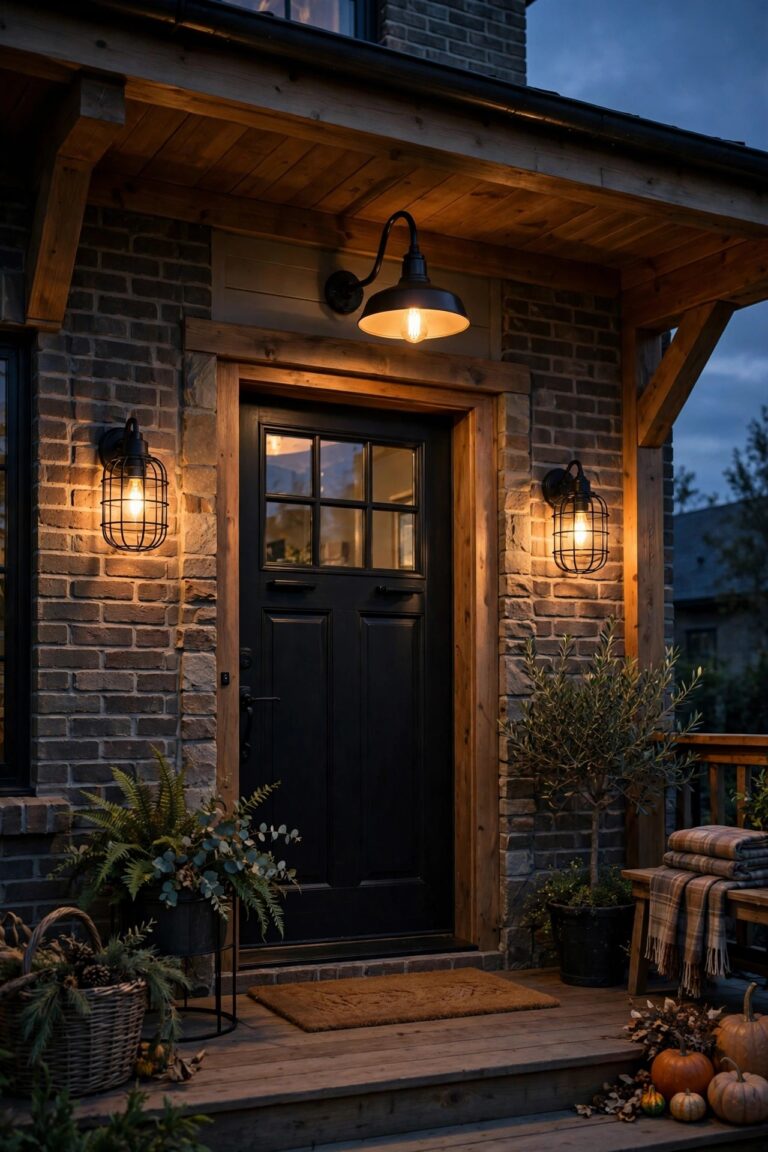
Most garages wear their lighting at eye level — a pair of lanterns flanking the door — and then the whole second story just floats in darkness above them. Honestly? That dark band between the top of the door and the roofline is the most wasted lighting real estate on the front of a house. Good lighting above garage door height does three jobs at once: it lights the driveway apron where you actually unload groceries and find keys, it keeps the facade from looking top-heavy and unfinished, and it makes dormers, eaves, and gables look intentional instead of forgotten. In my experience, the trick is layering by height. Put practical light up high where it can spread wide, add one accent that draws the eye to a dormer or gable, and keep everything at the same warm 2700–3000K so the house reads as one composition. Below are 15 ways to do it, from a forty-dollar solar bar to full eave systems, each with mounting heights, spacing, and honest budgets.
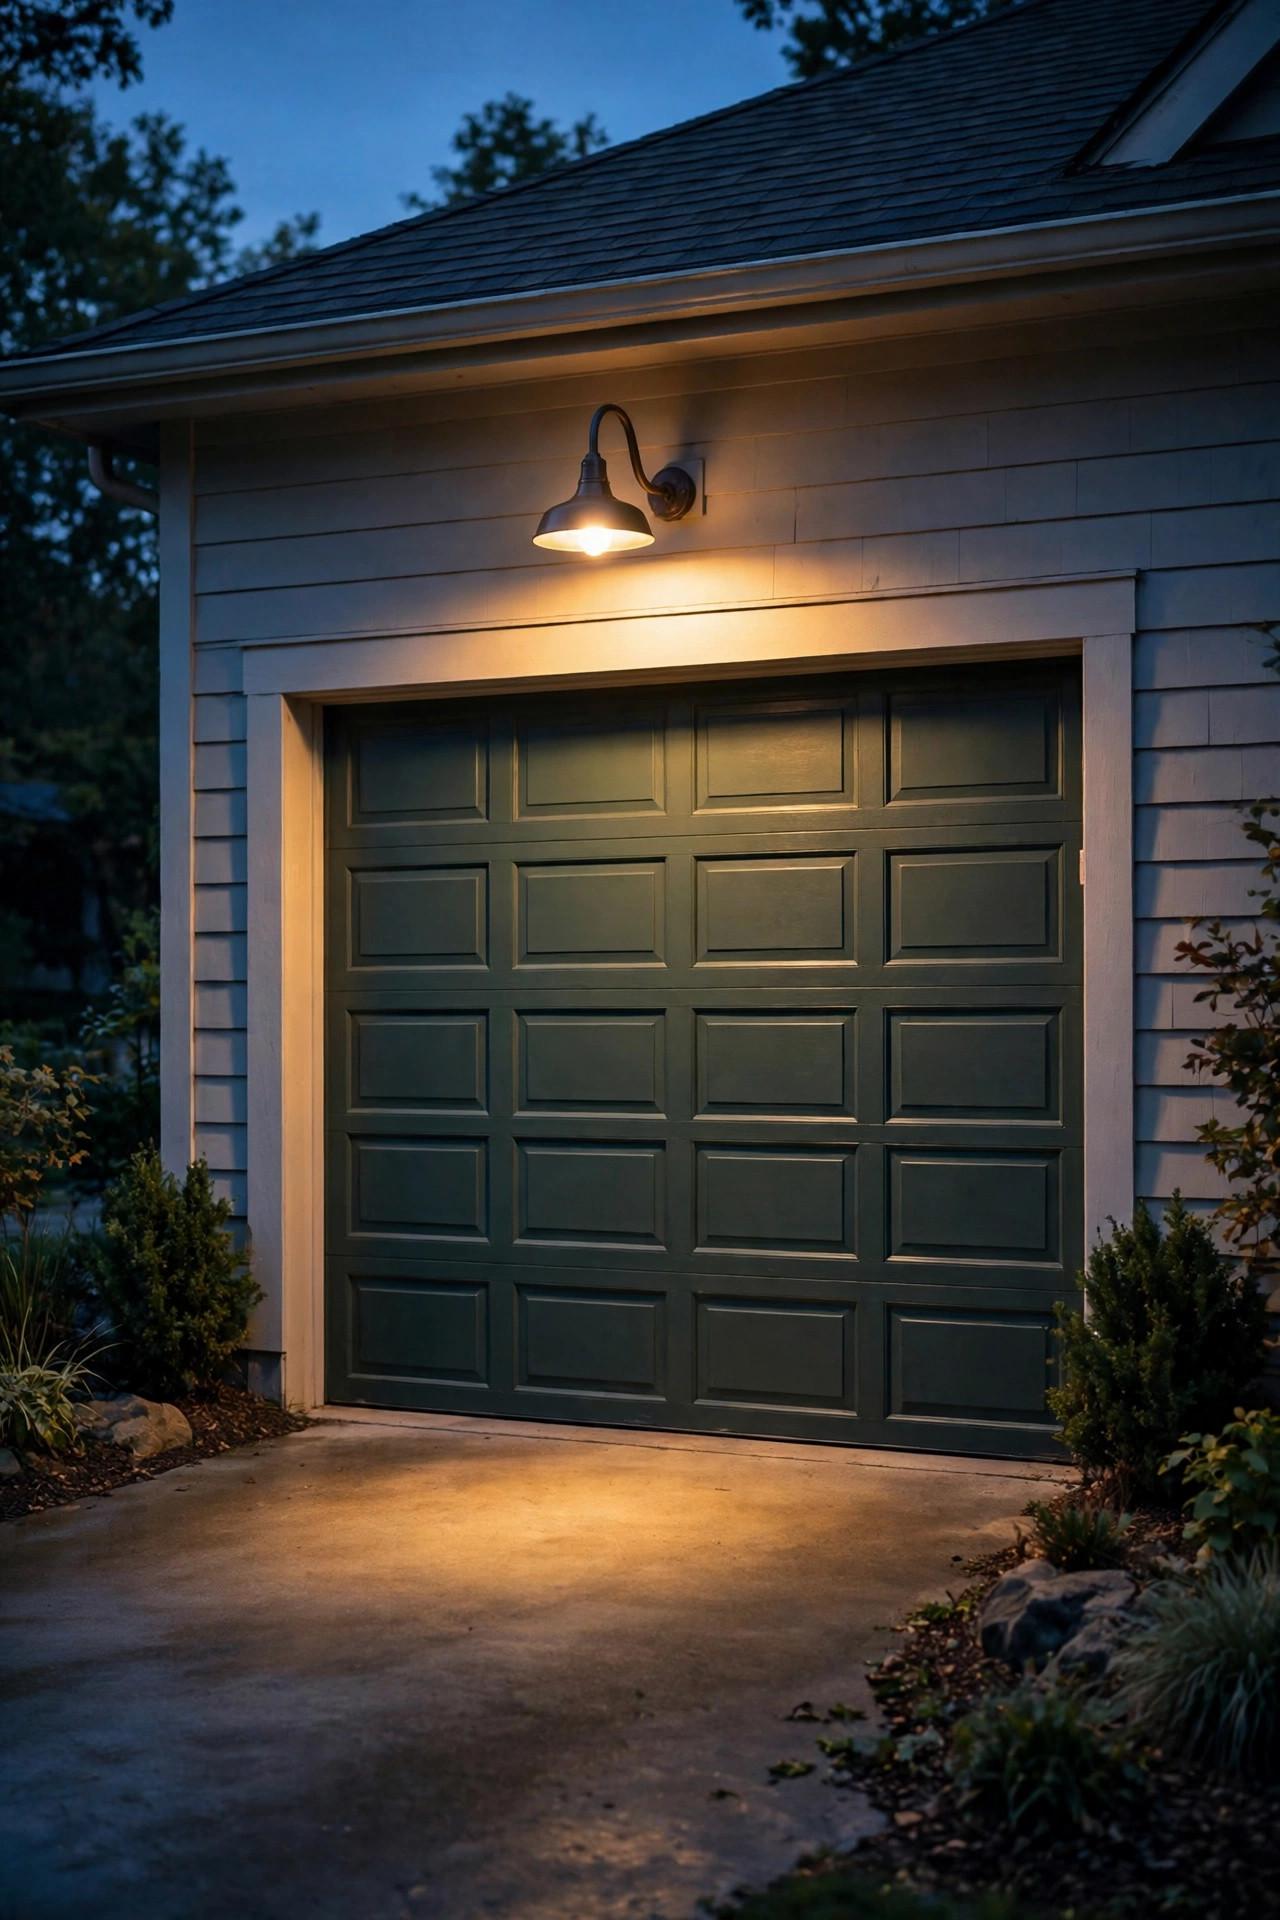
1. A Centered Gooseneck Barn Light Above the Garage Door
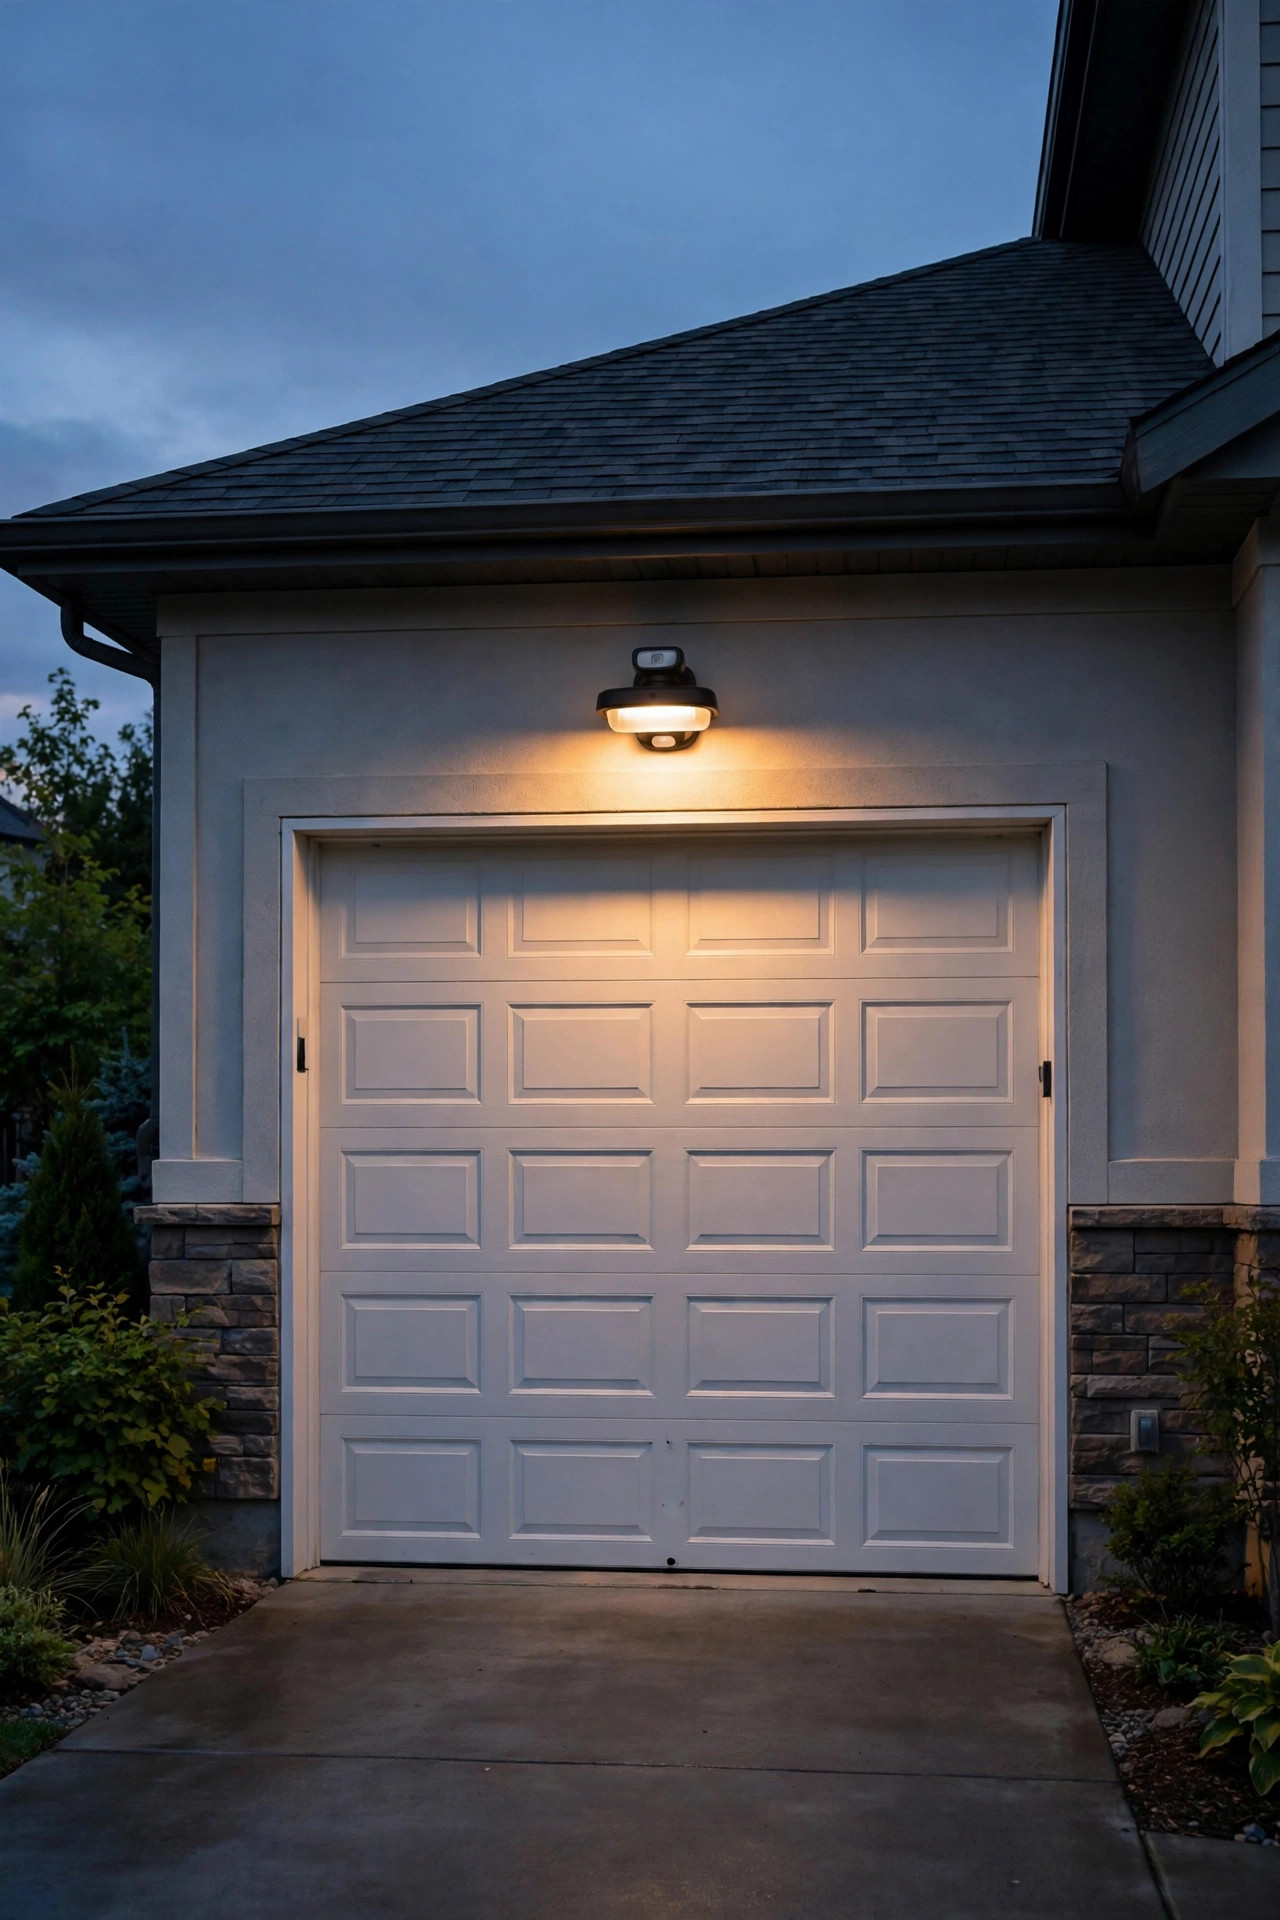
If I could only pick one fixture for above a garage door, it would be a gooseneck barn light centered over the header. The curved arm throws the shade out 12 to 18 inches from the wall, so the light pools down onto the driveway apron instead of splashing uselessly across the siding — and the silhouette reads beautifully from the street, farmhouse and modern homes alike. Mount the backplate so the shade sits roughly 12 to 24 inches above the top of the door frame; on a standard 7-foot door that puts the fixture around 8½ to 9½ feet up, high enough to clear an opening door and any vehicle roof box. Choose a shade 14 to 16 inches wide for a single door, and step up to a pair of smaller goosenecks spaced over the seams on a wide two- or three-car door. Use a warm 2700K LED filament-style bulb at 800 to 1,100 lumens, and insist on a wet-location rated fixture with a sealed socket — that shade catches every drop of wind-driven rain. On a dusk-to-dawn photocell, this single light does the daily work of the whole garage front. Suggested budget range: $120 – $450.
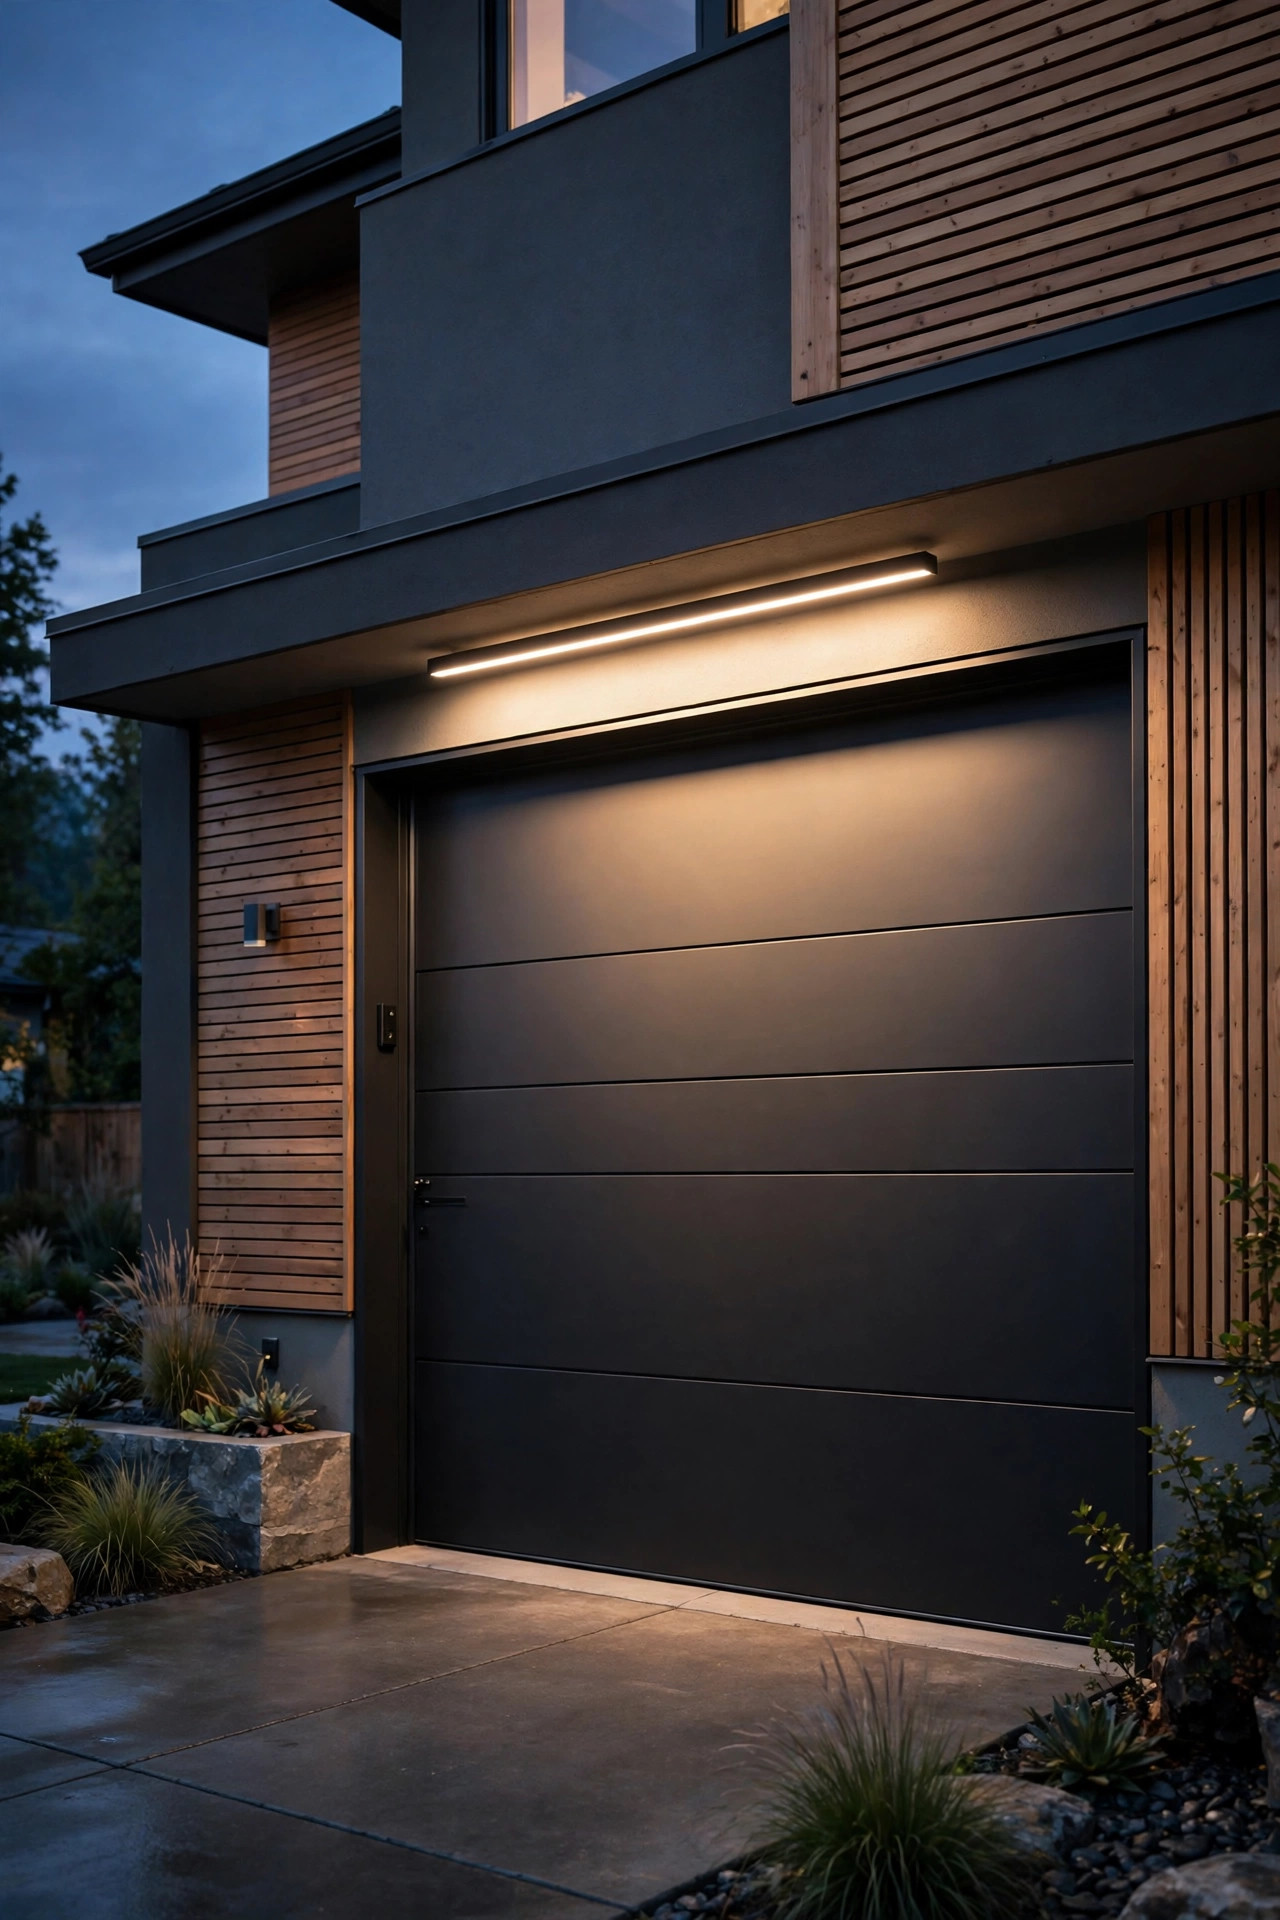
2. A Slim Linear LED Bar for a Clean, Modern Line
For contemporary homes, a long linear LED bar mounted flat above the door is the cleanest answer going. Think of it as a picture light scaled up for architecture: a 24- to 48-inch extruded bar with a frosted diffuser that washes an even sheet of light down the door face and onto the apron, with zero hot spots and no visible bulbs. It is my go-to when the wall above the door is the design feature — board-and-batten, smooth stucco, a bold door color — because the fixture itself nearly disappears during the day. Mount it 6 to 12 inches above the header, and size it to about two-thirds the width of the door so the wash tapers naturally at the edges. Look for an integrated LED bar rated IP65 or better, 2700K or 3000K, delivering 1,000 to 1,800 lumens; dimmable models are worth the small premium because full brightness can feel stark on light-colored doors. Low-voltage versions wire into a landscape transformer you may already own, while line-voltage bars need a junction box above the door — plan that box before the siding goes on in new builds, or surface-mount conduit painted to match on a retrofit. Suggested budget range: $90 – $380.
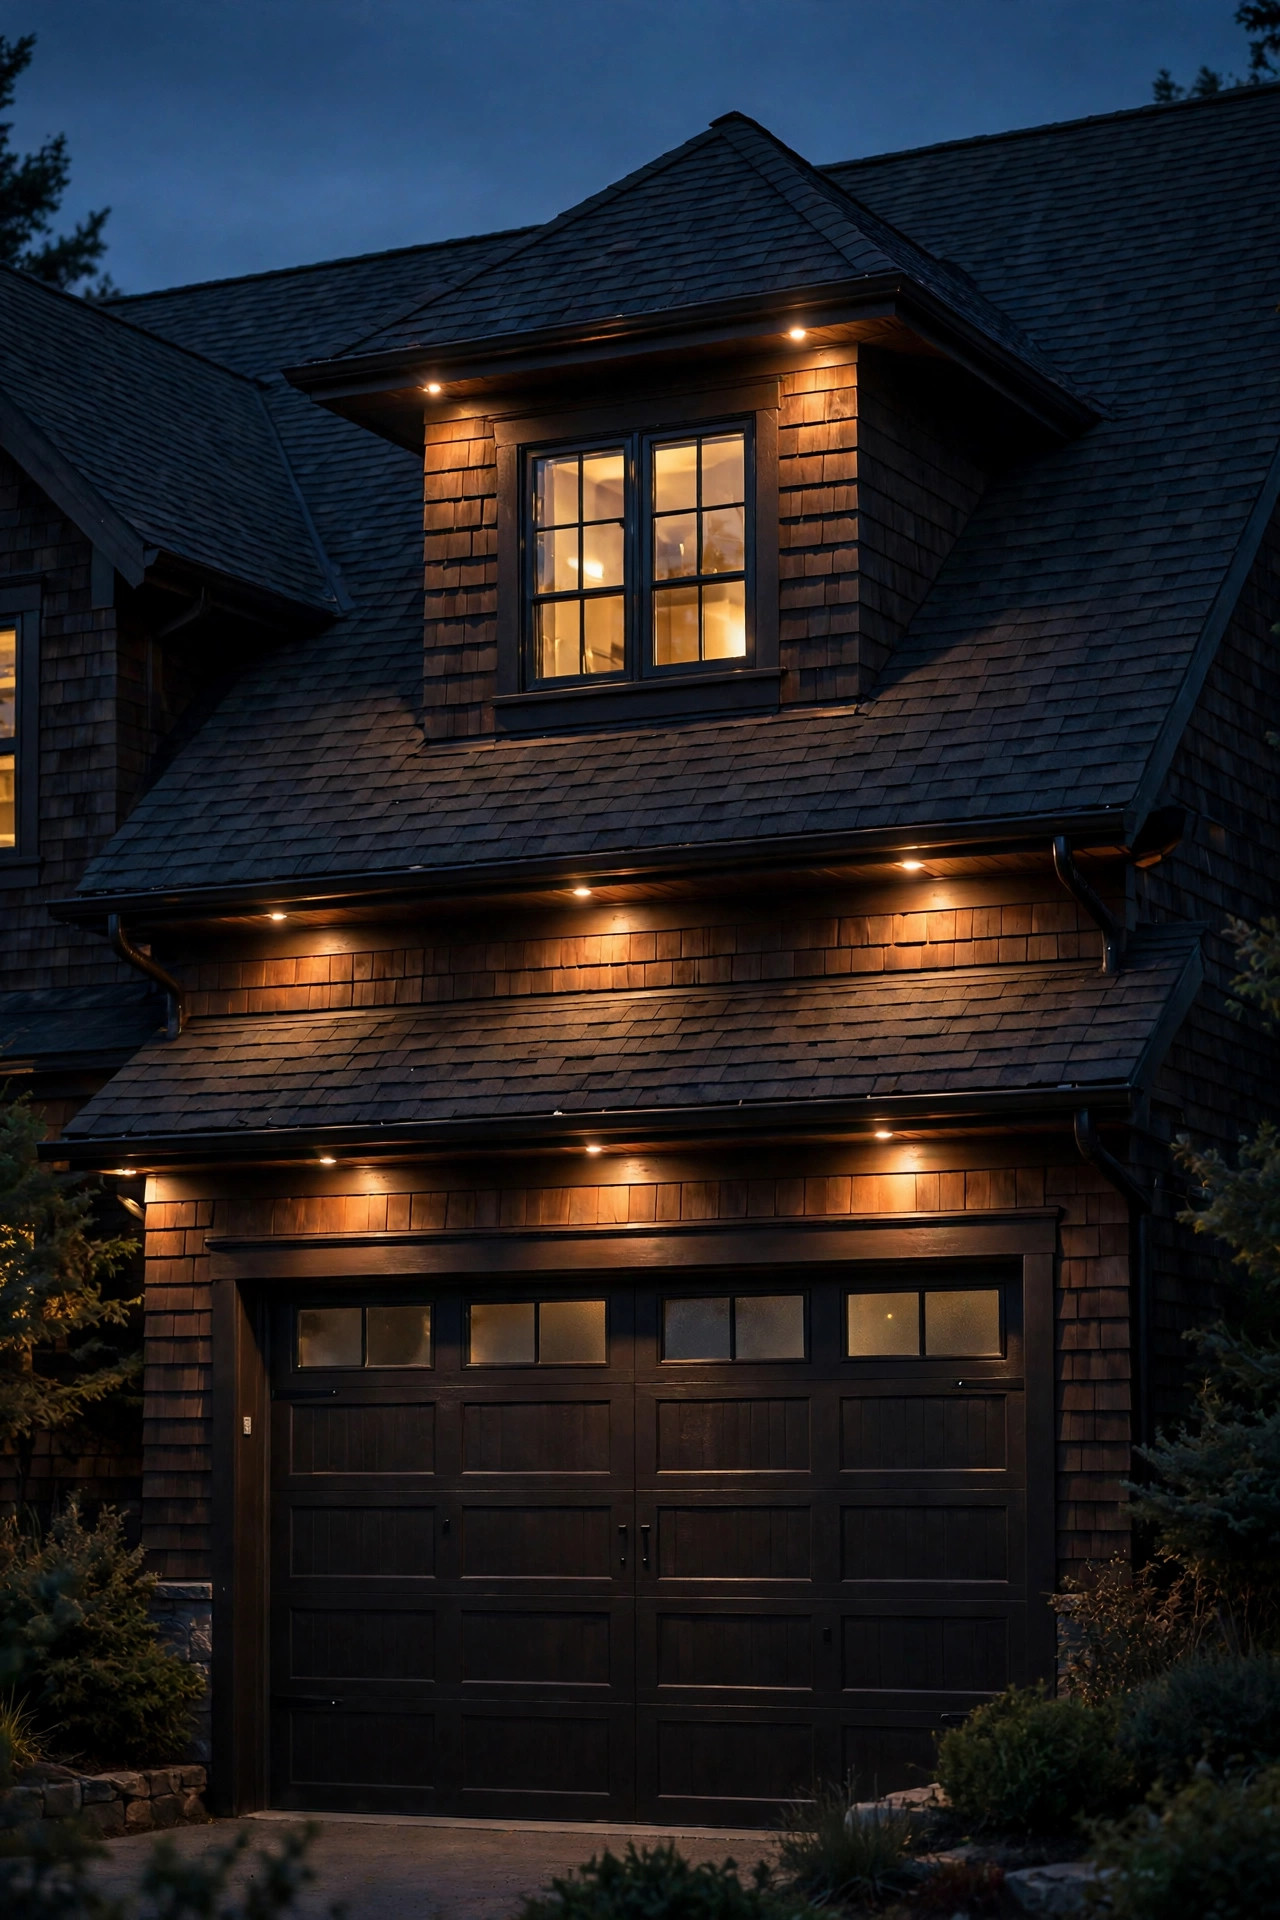
3. Recessed Soffit Downlights: Lighting Above the Garage Door From the Eave
When the garage sits under a deep eave or a second-story overhang, recessed soffit downlights are the most polished option of all — the fixtures vanish into the soffit and only the light shows. I space 4- to 6-inch damp-location recessed modules 4 to 6 feet apart along the eave, centered over the door below, which gives you a row of soft pools that overlap into one welcoming wash. This is the arrangement that makes a house look professionally lit, because the eye reads the glow, not the hardware. Two hard-won lessons. First, aim for fixtures with a wide 90- to 120-degree beam; narrow spots from a 9- or 10-foot eave make lonely circles on the concrete. Second, put the row on its own switch or smart zone, separate from your flanking lanterns, so you can run the eave lights alone on a dim setting for everyday evenings. Retrofit cans with spring clips install from a ladder in an afternoon if there is an accessible junction point in the soffit; vented vinyl soffits need baffles or purpose-made trims so the fixture seats flat. Keep color temperature at 2700K to match the rest of the facade. Suggested budget range: $250 – $900.

4. Uplight the Dormers From the Gutter Line
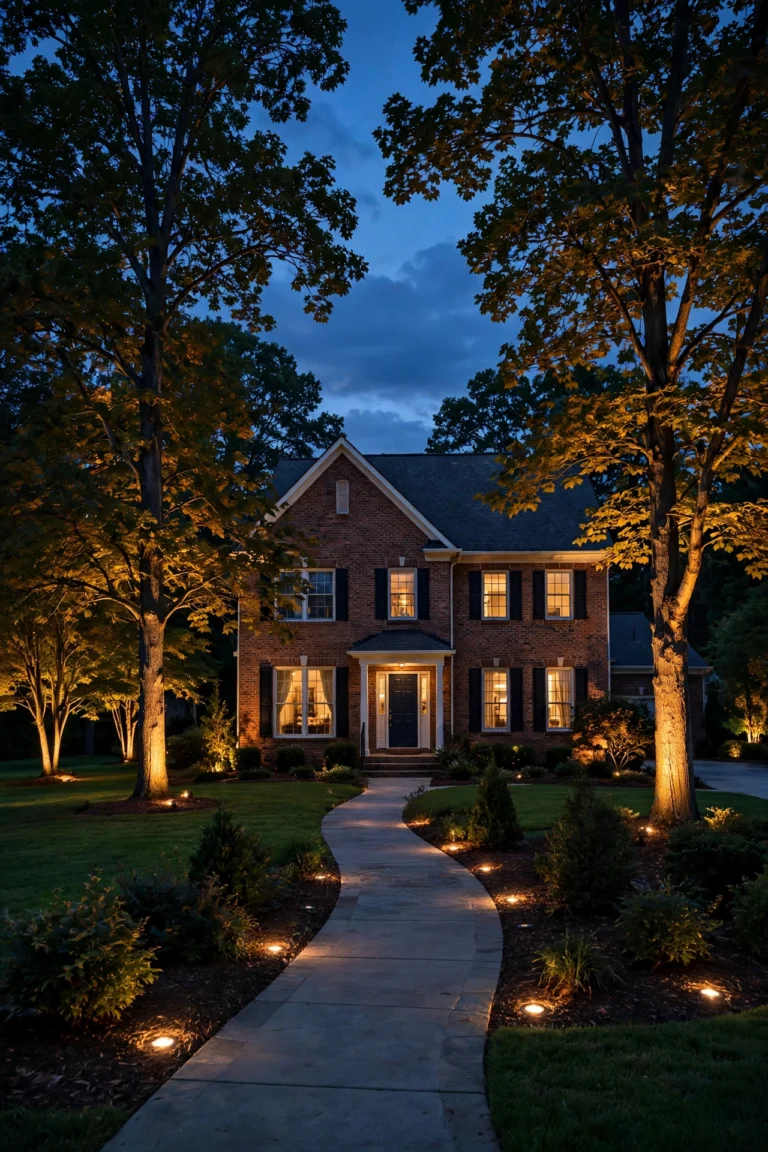
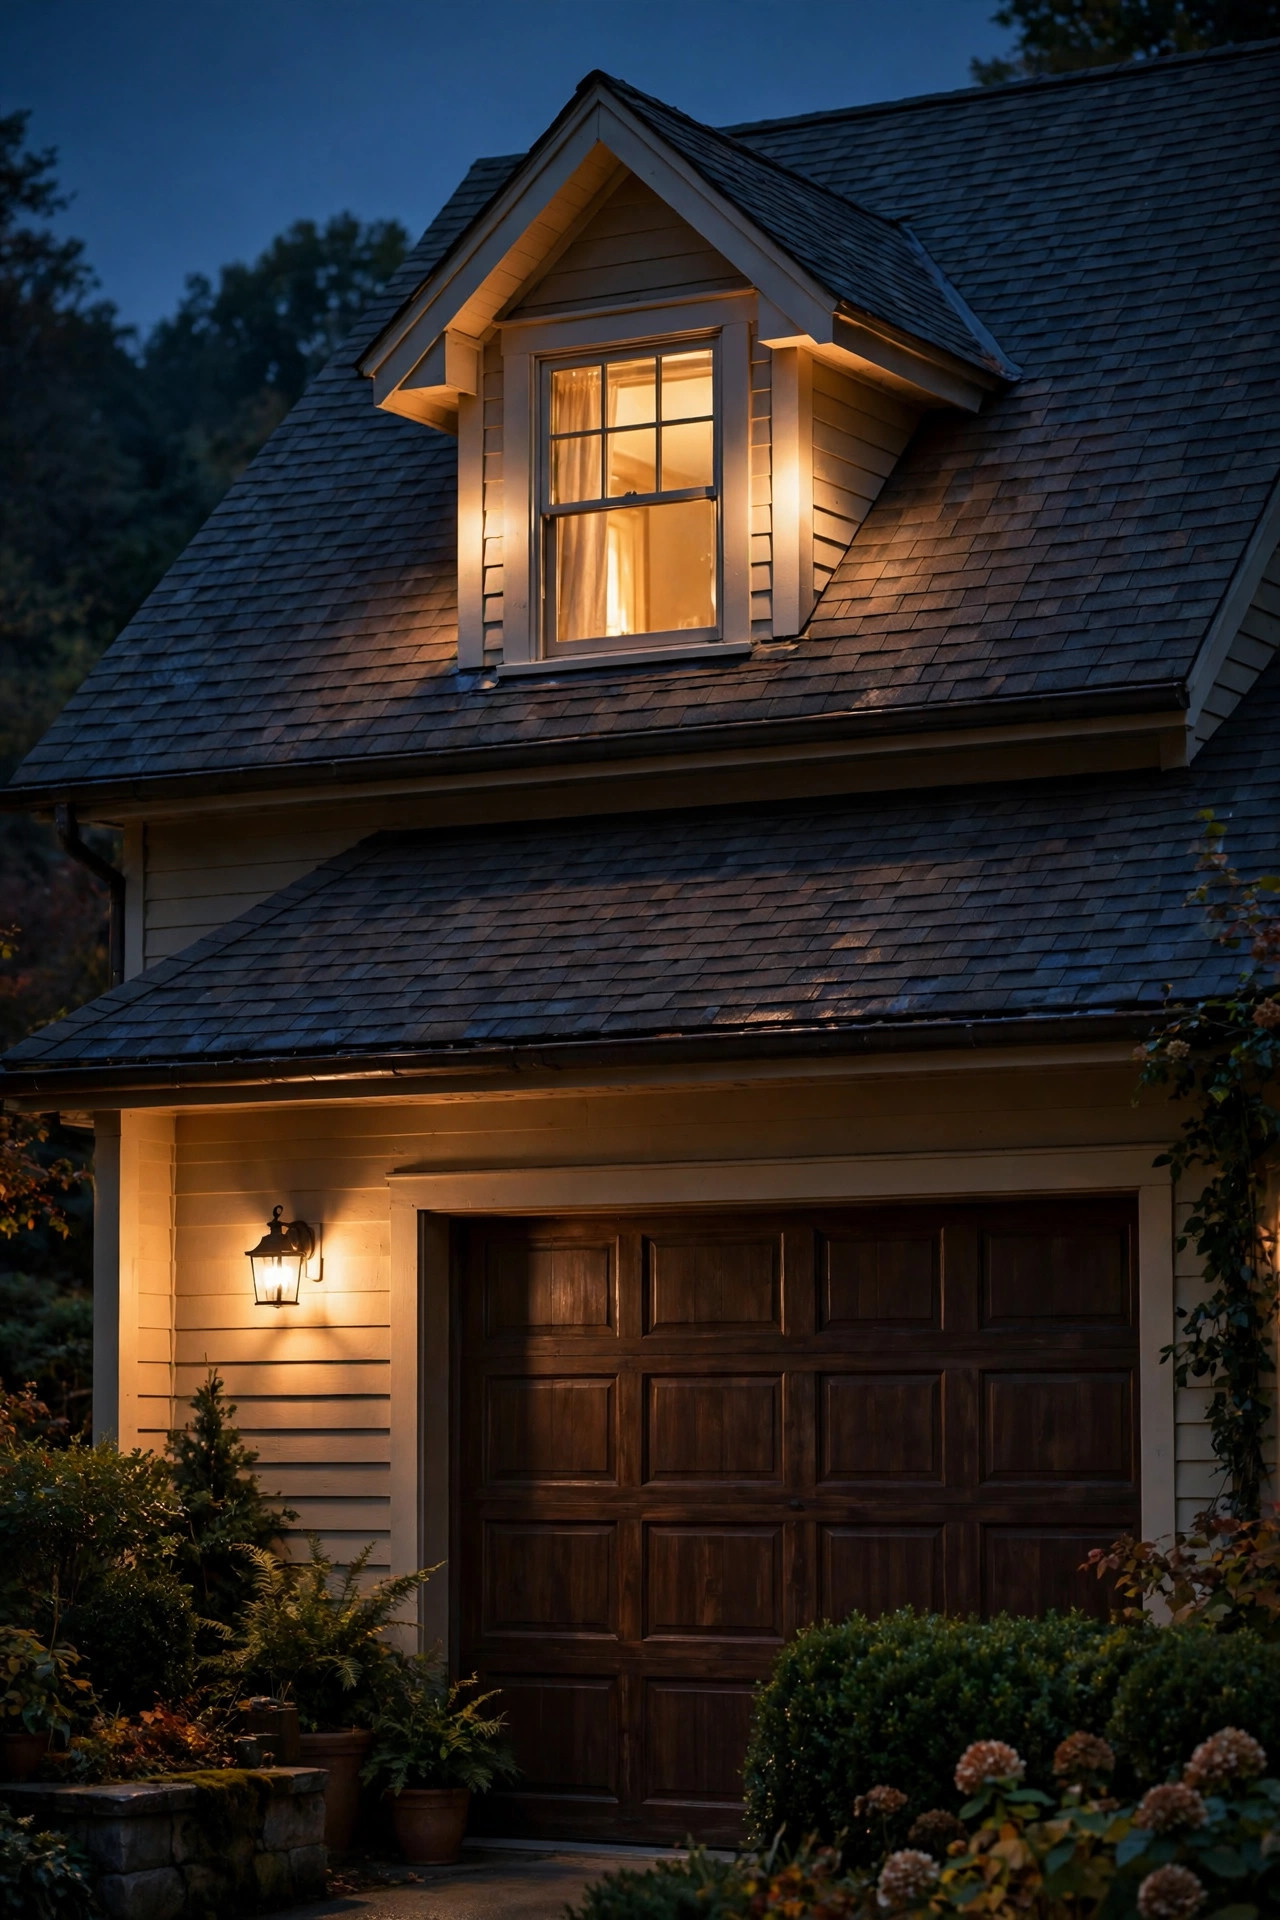
A dormer floating dark above the garage roof is a missed accent, and lighting it is easier than most people think. Small low-voltage spotlights tucked at the gutter line or on the garage roof's edge, aimed up at the dormer face, turn that blank triangle into the prettiest detail on the house after dark. One fixture per dormer is usually enough: a 3- to 5-watt LED spot with a 35- to 60-degree beam, positioned 12 to 24 inches out from the dormer wall so the beam grazes rather than glares. Grazing at a shallow angle is what reveals siding texture and trim shadow lines — aim straight-on and you flatten everything. If your dormer has a window, offset the fixture to one side so you are not shining directly into an upstairs bedroom; a shield or glare guard is non-negotiable here, honestly. These little spots wire happily into an existing low-voltage landscape run in most cases, since the wattage is trivial. From the street, the effect is pure storybook: the main house glows at ground level, and the dormers answer it up top like lanterns in the roof. Suggested budget range: $180 – $650.
5. A Solar Light Bar When There Is No Power Up There
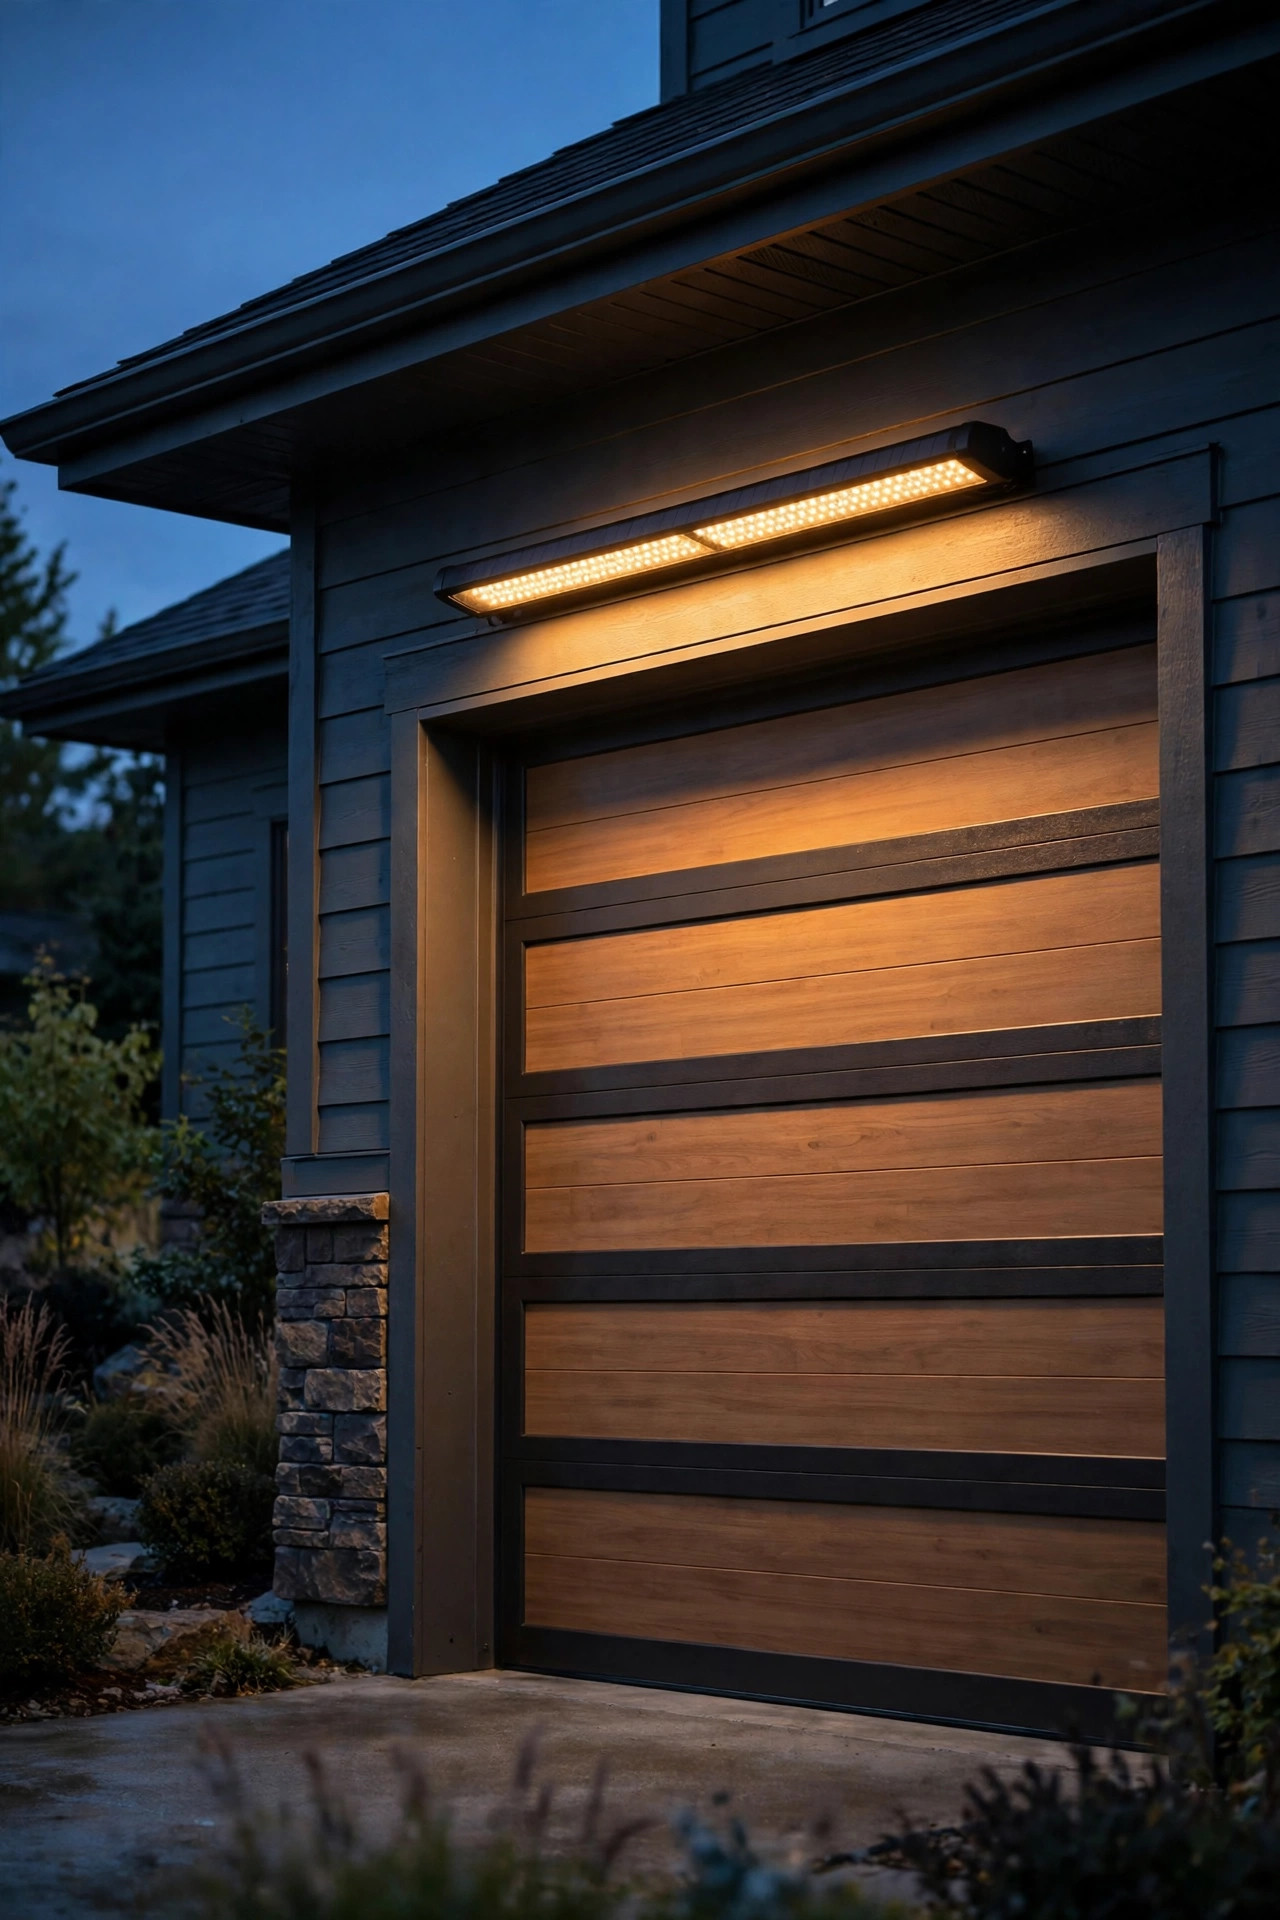
No junction box above the door is not a dealbreaker — a solar light bar is the honest workaround, and modern ones are genuinely good. These are wide, flat fixtures, 12 to 24 inches across, with a separate or integrated solar panel and a bank of warm LEDs that switch on at dusk. Mount the bar centered above the header with stainless screws into the trim or siding, and angle the panel toward the southern sky; a panel shaded by the very eave you are lighting will starve by December. Expect 200 to 600 lumens depending on size — that is accent-and-guidance light, not work light, and it pairs best with brighter flanking lanterns doing the heavy lifting. I look for a replaceable battery pack, a real off switch for vacations, and an IP65 rating; the bargain-bin versions fog up inside one wet season, I learned that the expensive way. In northern winters, plan on the light running strong for the first half of the night and dimming toward dawn, which for most of us is exactly when we need it anyway. Suggested budget range: $40 – $160.
6. A High Motion-Sensor Floodlight for Real Security
Pretty accent light is lovely, but the fixture above my garage that earns its keep on dark winter mornings is the motion-sensor floodlight. Mounted 9 to 11 feet up — above the door, under the eave, or on the second-story wall — a dual-head LED flood throws 1,500 to 3,000 lumens across the whole apron and half the driveway the second anything moves. Height is the whole game: high mounting widens the coverage, keeps the heads out of tampering reach, and stops the sensor from triggering every time a cat crosses the flower bed. Aim the heads down at about 45 degrees and walk-test the sensor at night, adjusting the detection zone so passing sidewalk traffic does not fire it but anyone on your apron does. My outdoor flood light placement guide walks through the aiming math if you want it exact. Choose 3000K rather than the bluish 5000K security default — your neighbors and your own eyes will thank you — and set the on-time to 1 to 5 minutes so it behaves like a greeting, not an interrogation. Suggested budget range: $60 – $300.

7. Backlit House Numbers Mounted Above the Door
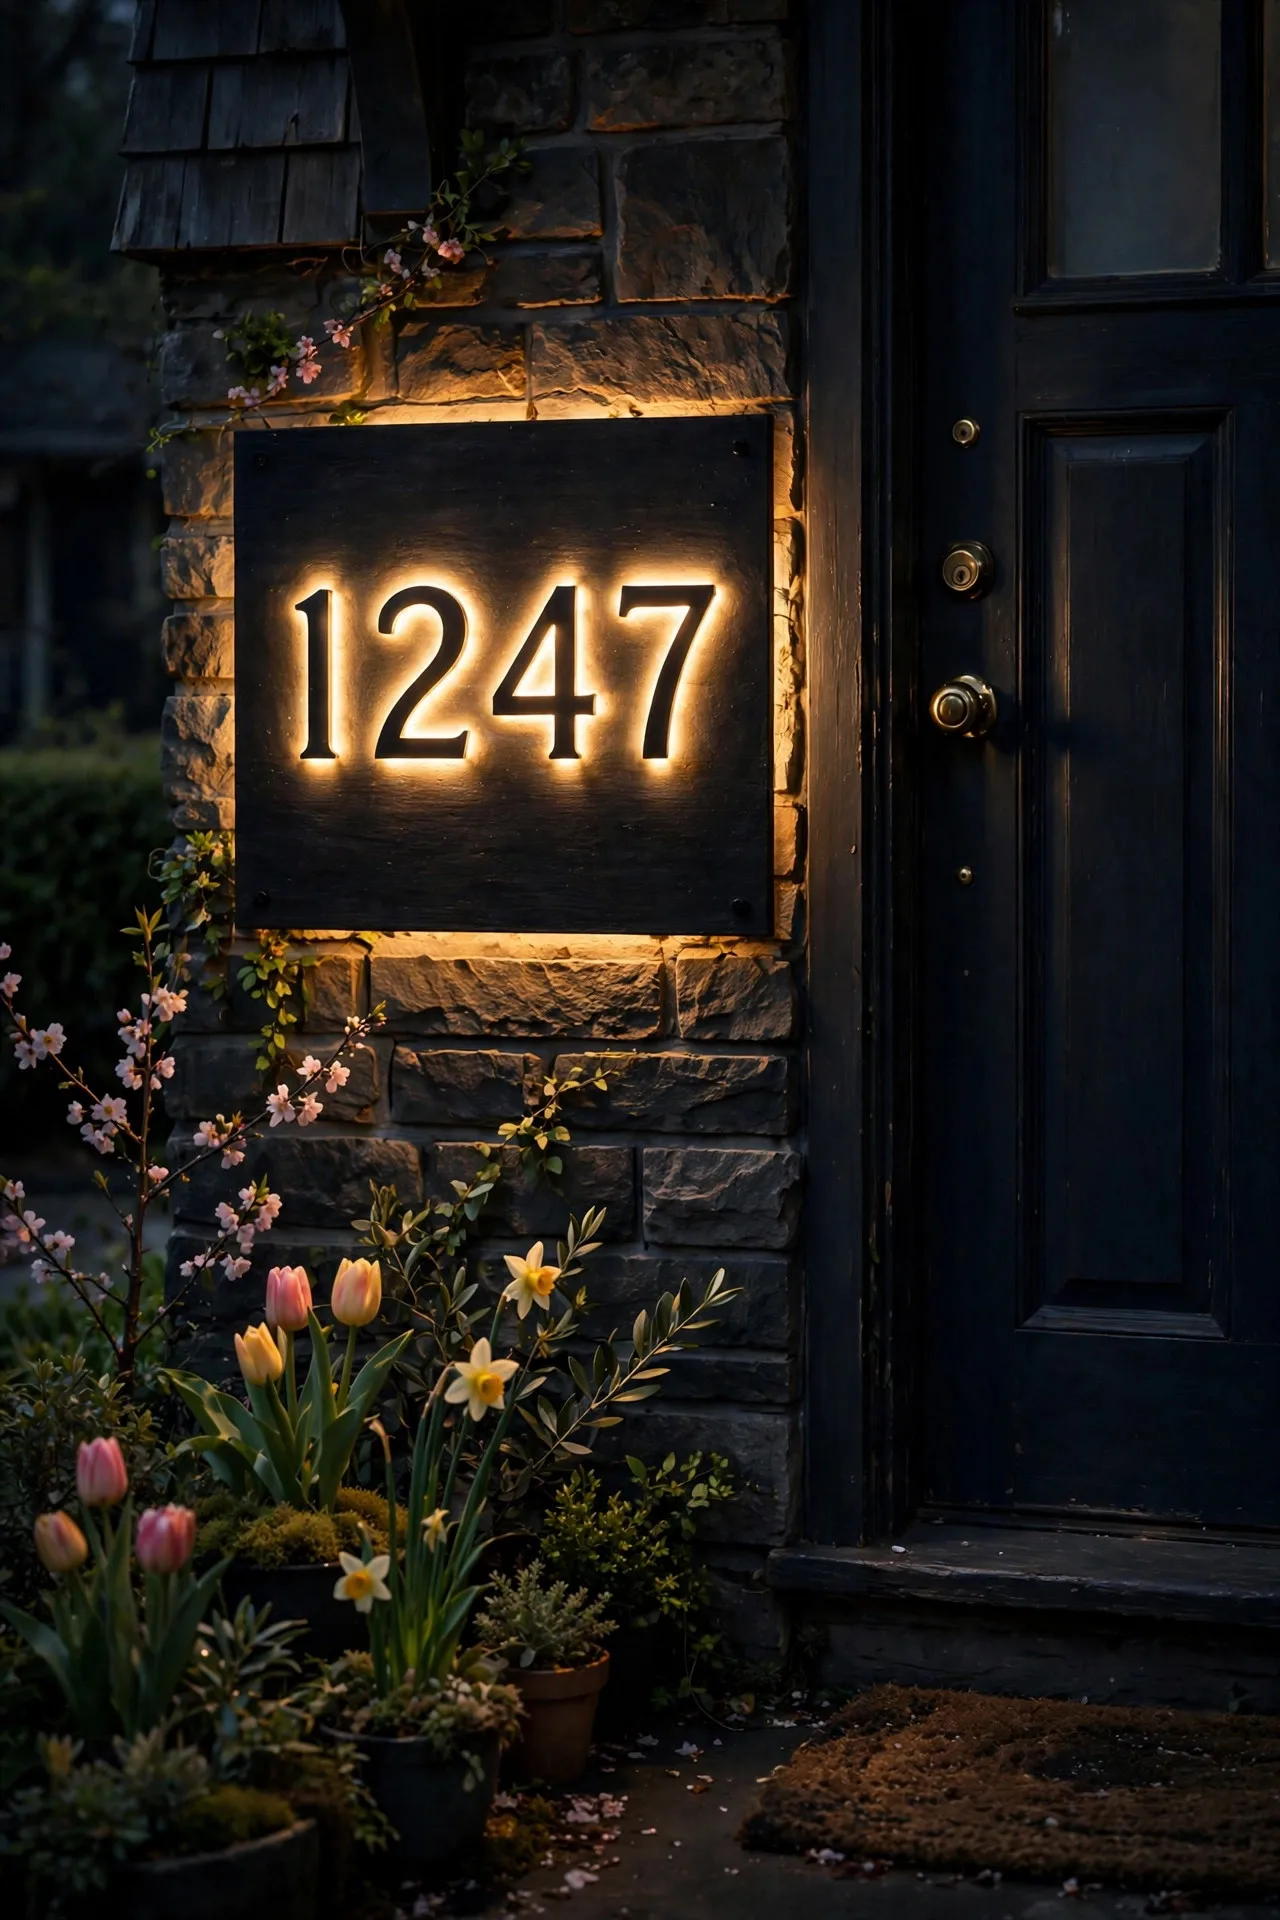
Here is a small idea with outsized payoff: mount your house numbers above the garage door, backlit, where every delivery driver and guest actually looks. The wall above a wide garage door is the largest flat canvas on the front of most homes, and a row of halo-lit numbers — each digit glowing with a soft ring of light behind it — turns dead space into the most useful sign on the street. Individual backlit digits run 5 to 8 inches tall, wire in a simple low-voltage series, and sip power; a full address typically draws less than a single old porch bulb. Center the row above the door, or align it over the main entry-side bay on a three-car garage so it reads from the direction traffic approaches. Contrast is everything: dark bronze or black digits on light siding, brushed metal on dark siding, with the halo doing the readability work after dark. Ambulance and delivery drivers genuinely hunt for lit numbers, so this one is as much safety as style. Just keep the glow warm — 2700K halos look like candlelight; cool white looks like a pharmacy sign. Suggested budget range: $80 – $350.
8. Festoon String Lights Swagged Along the Eave
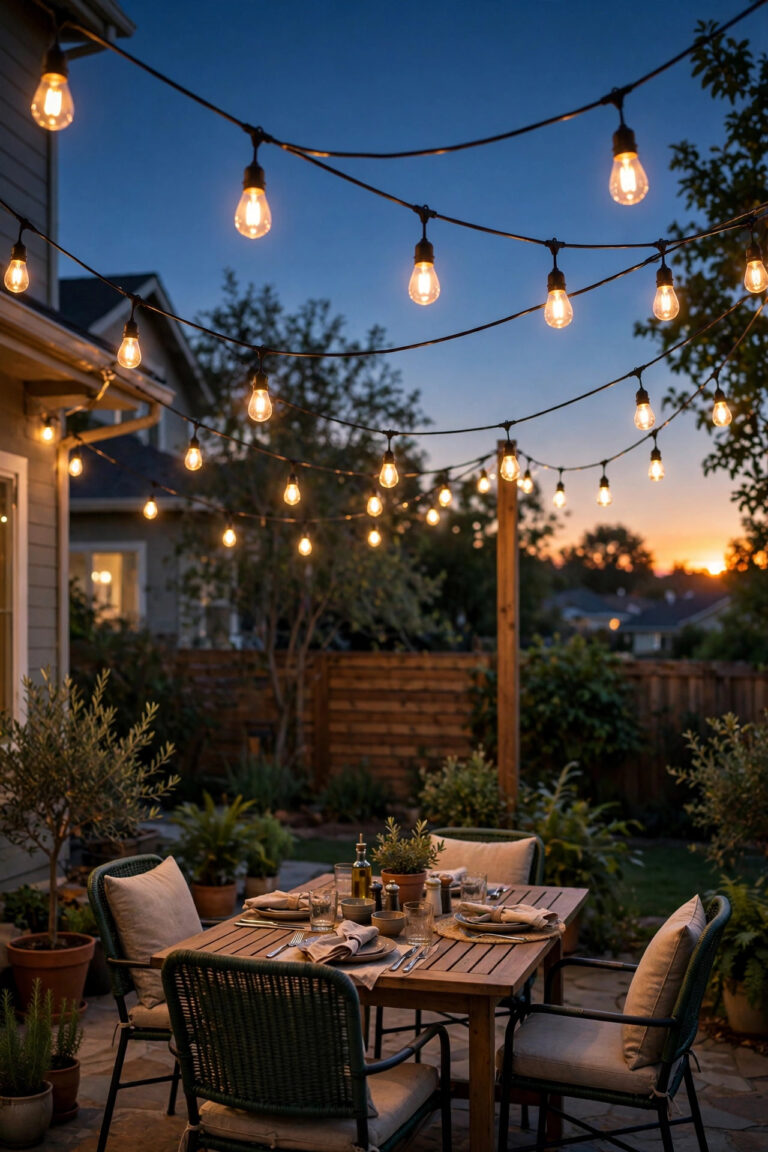
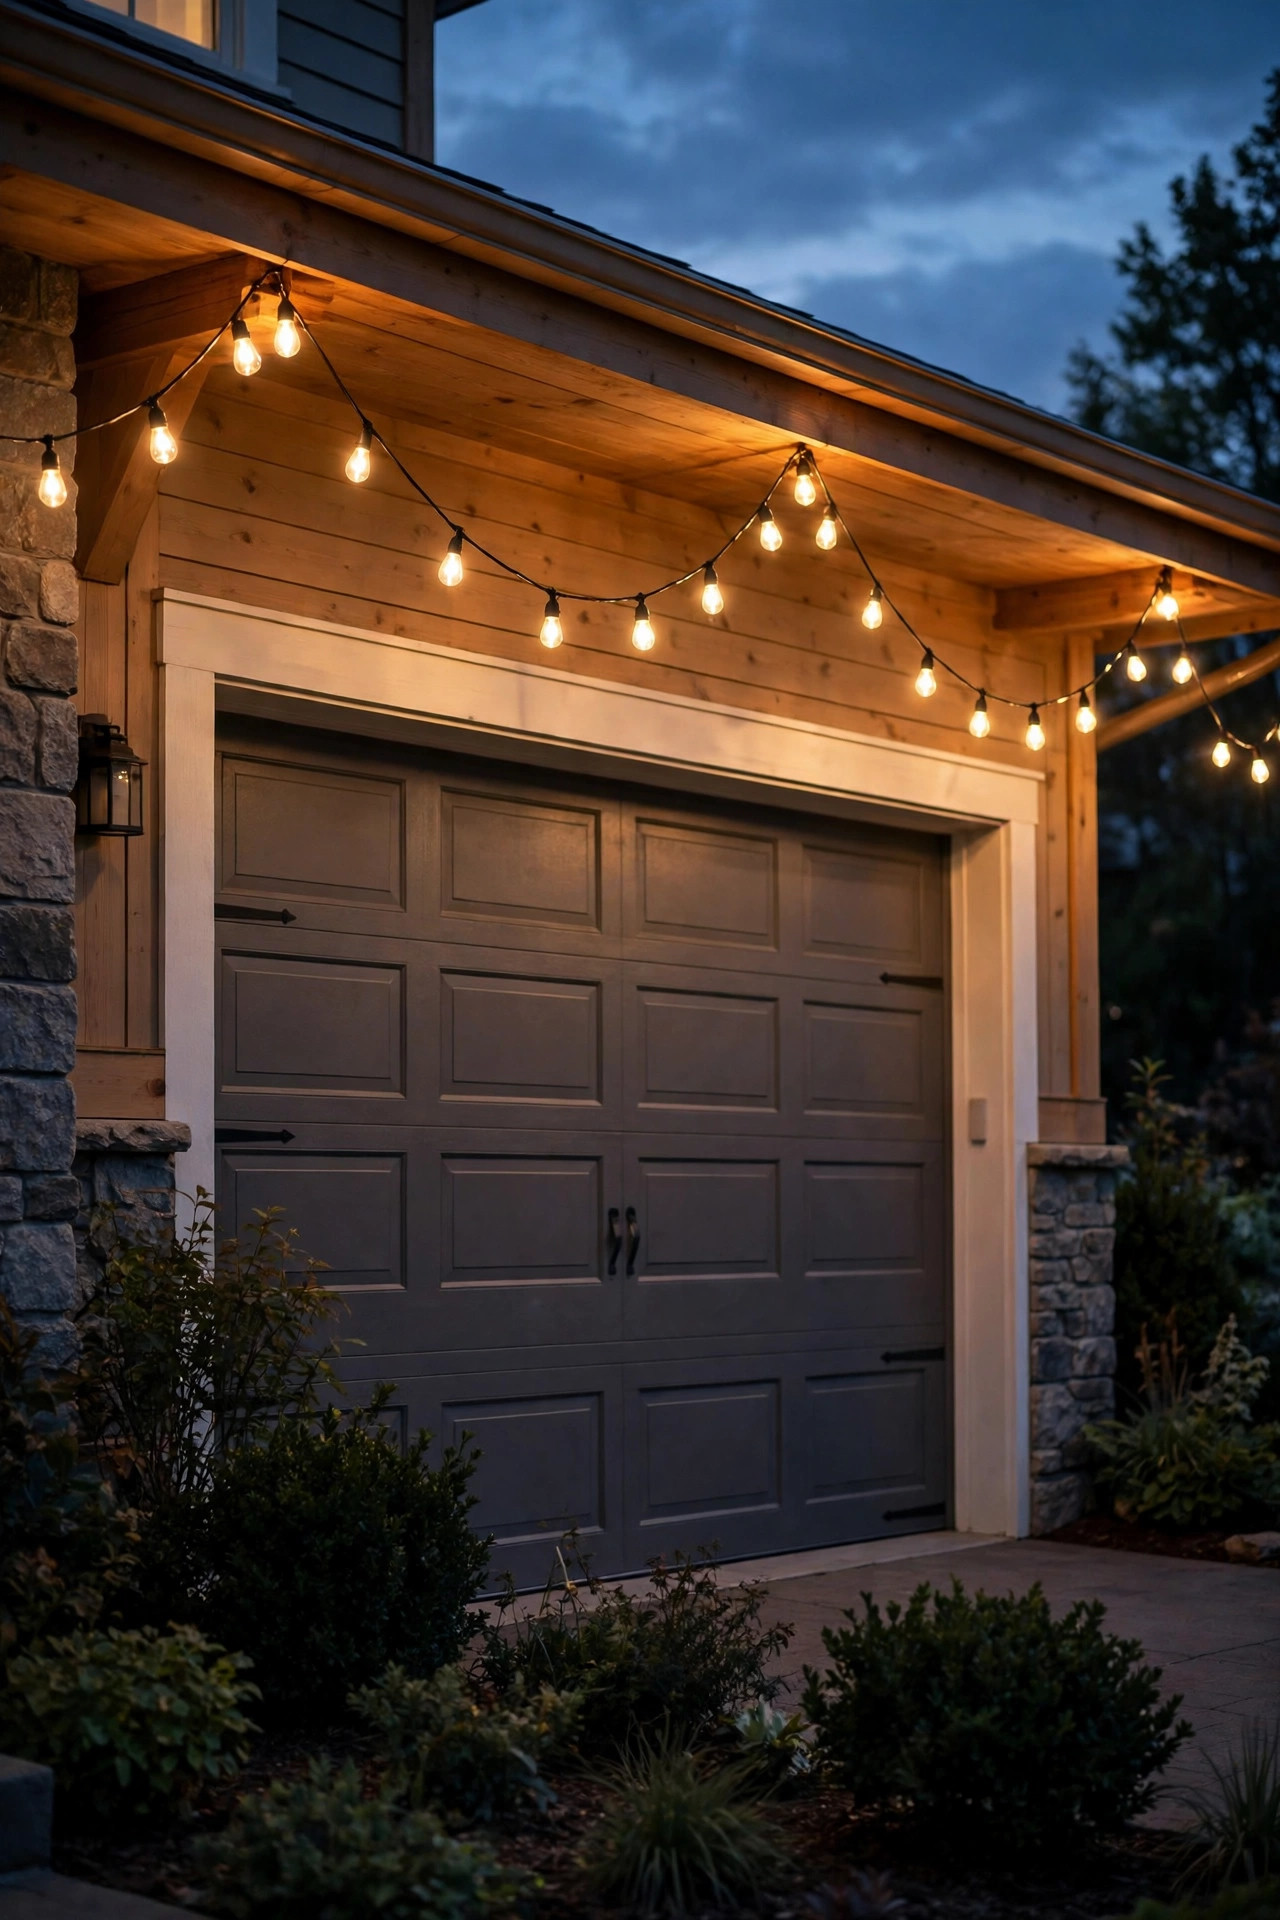
Sometimes the right answer above the garage is pure charm. A swag or two of festoon string lights run along the eave or fascia above the door gives you that soft, café-style glow that makes the whole front of the house feel like a gathering place — and it is the single most-photographed trick on this list come summer. Use commercial-grade outdoor string lights with suspended sockets and shatterproof LED filament bulbs, not the lightweight patio sets; above a garage they live in real weather and real wind. Anchor into the fascia or trim with screw-in cup hooks or cable guides every 4 to 5 feet, keep swags shallow — about 12 to 18 inches of drape — so the line looks tailored rather than tired, and never let a bulb rest against vinyl siding. A two-car garage front takes roughly 25 to 35 feet of string. Run them on a smart plug or timer so they become part of your everyday dusk scene rather than a party-only novelty, and overlap their glow with your permanent fixtures instead of asking them to light the driveway alone: they are the warmth layer, not the work layer. Suggested budget range: $50 – $220.
9. An LED Strip Wash Hidden Under the Eave Edge
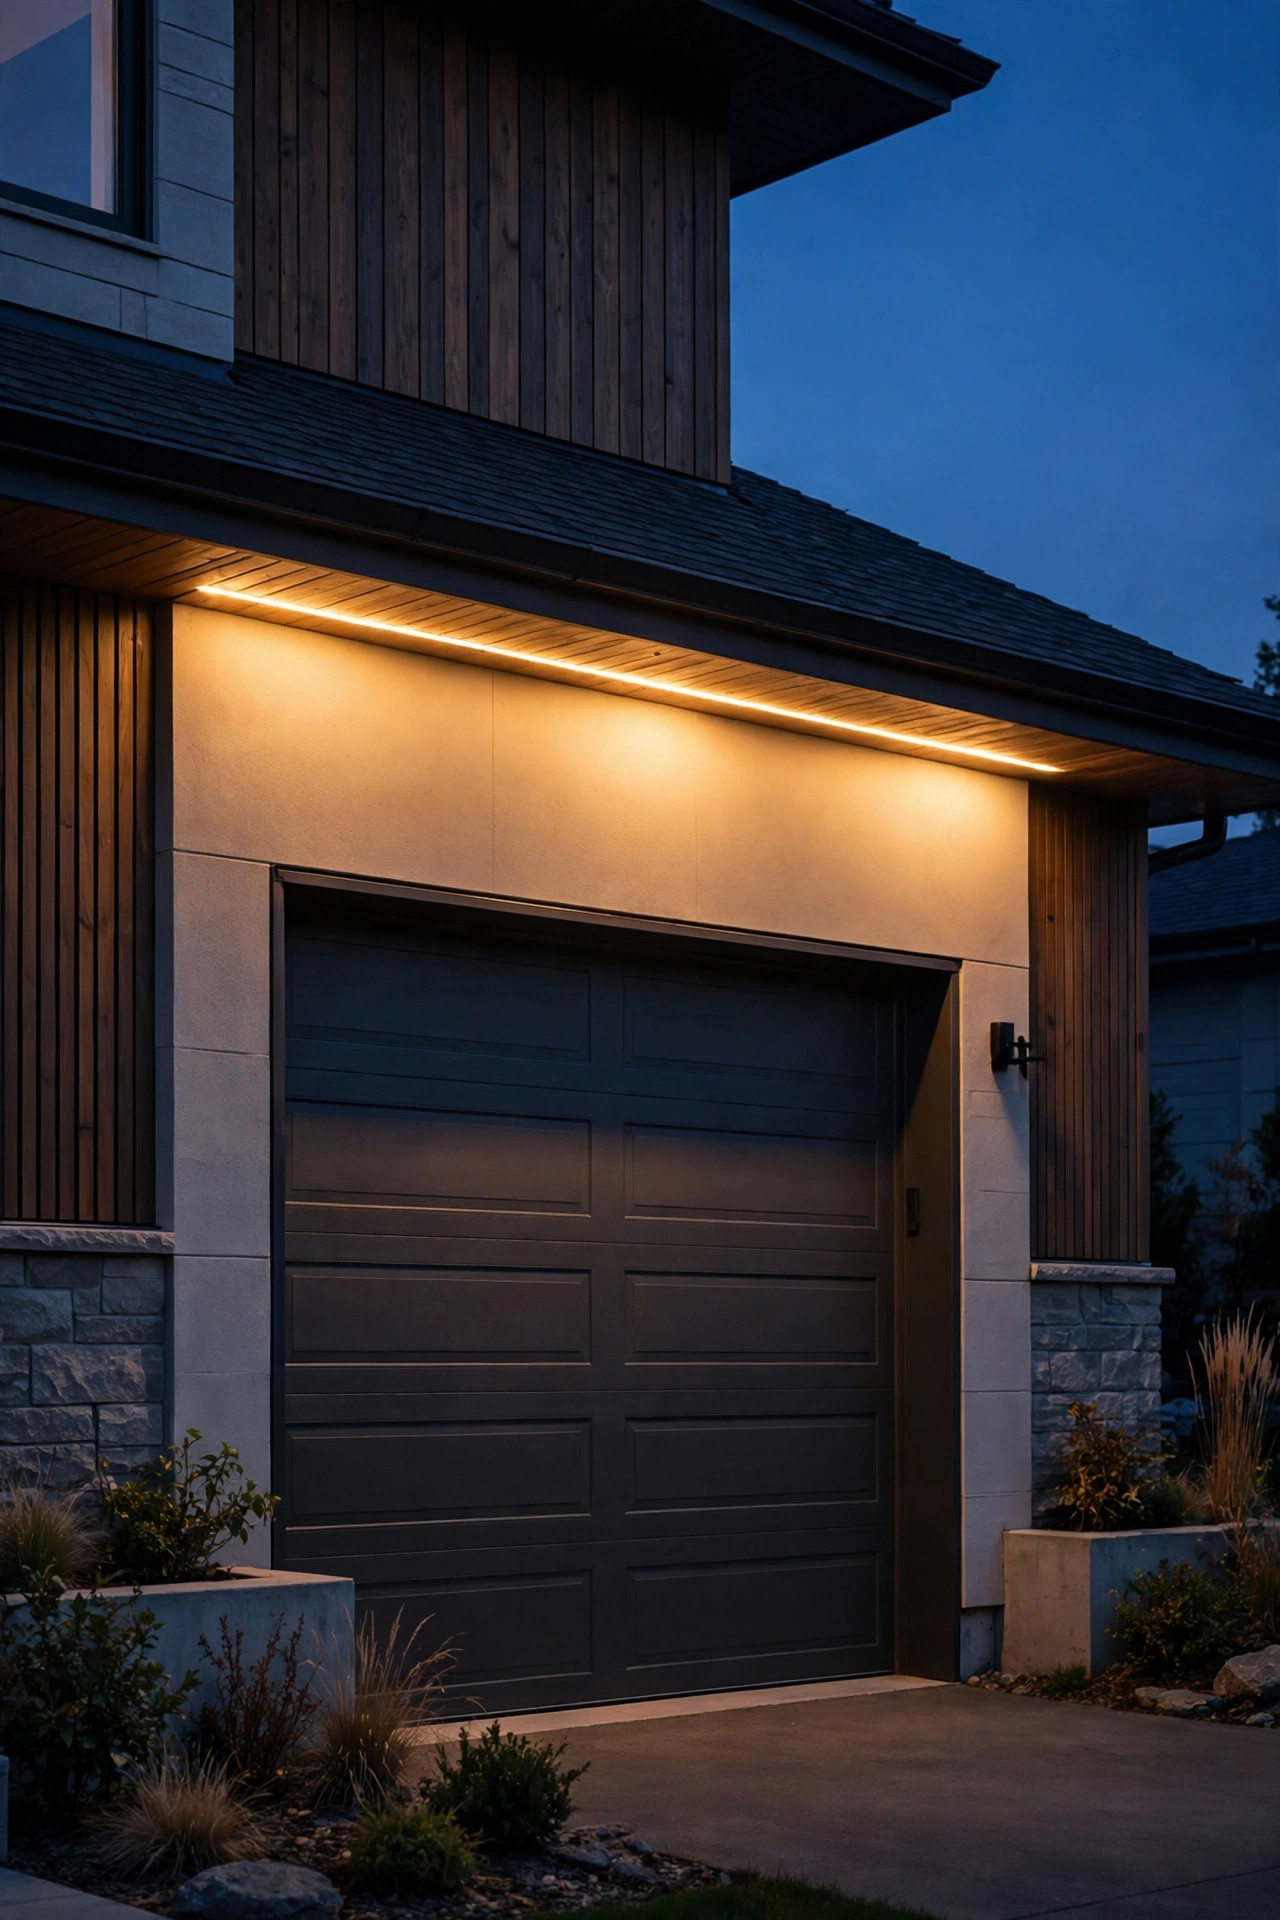
If you love the look of light with no visible source, hide an outdoor LED strip in the shadow gap where the eave meets the wall above the garage. A quality IP67 silicone-sleeved strip, tucked into an aluminum channel with a frosted diffuser, throws a continuous ribbon of light down the wall and across the door — no dots, no hotspots, just glow. Run the strip the full width of the garage front for the architectural effect, or only above the door itself to keep costs down. The channel matters more than the strip: it protects the LEDs, straightens the line, and diffuses the individual diodes into one smooth wash, and it mounts with simple clips every 18 inches. Low-voltage strips need the driver hidden somewhere sensible — inside the garage near the ceiling is typical, with the low-voltage lead passing through a small sealed hole. Dimming is nearly free at the driver or via a smart controller, and I use it: full brightness when we are unloading the car, 30 percent for the all-evening scene. Match 2700K to your other fixtures or the strip will read as a separate, colder animal. Suggested budget range: $70 – $300.
10. An Up-Down Wall Washer Between Door and Second Story
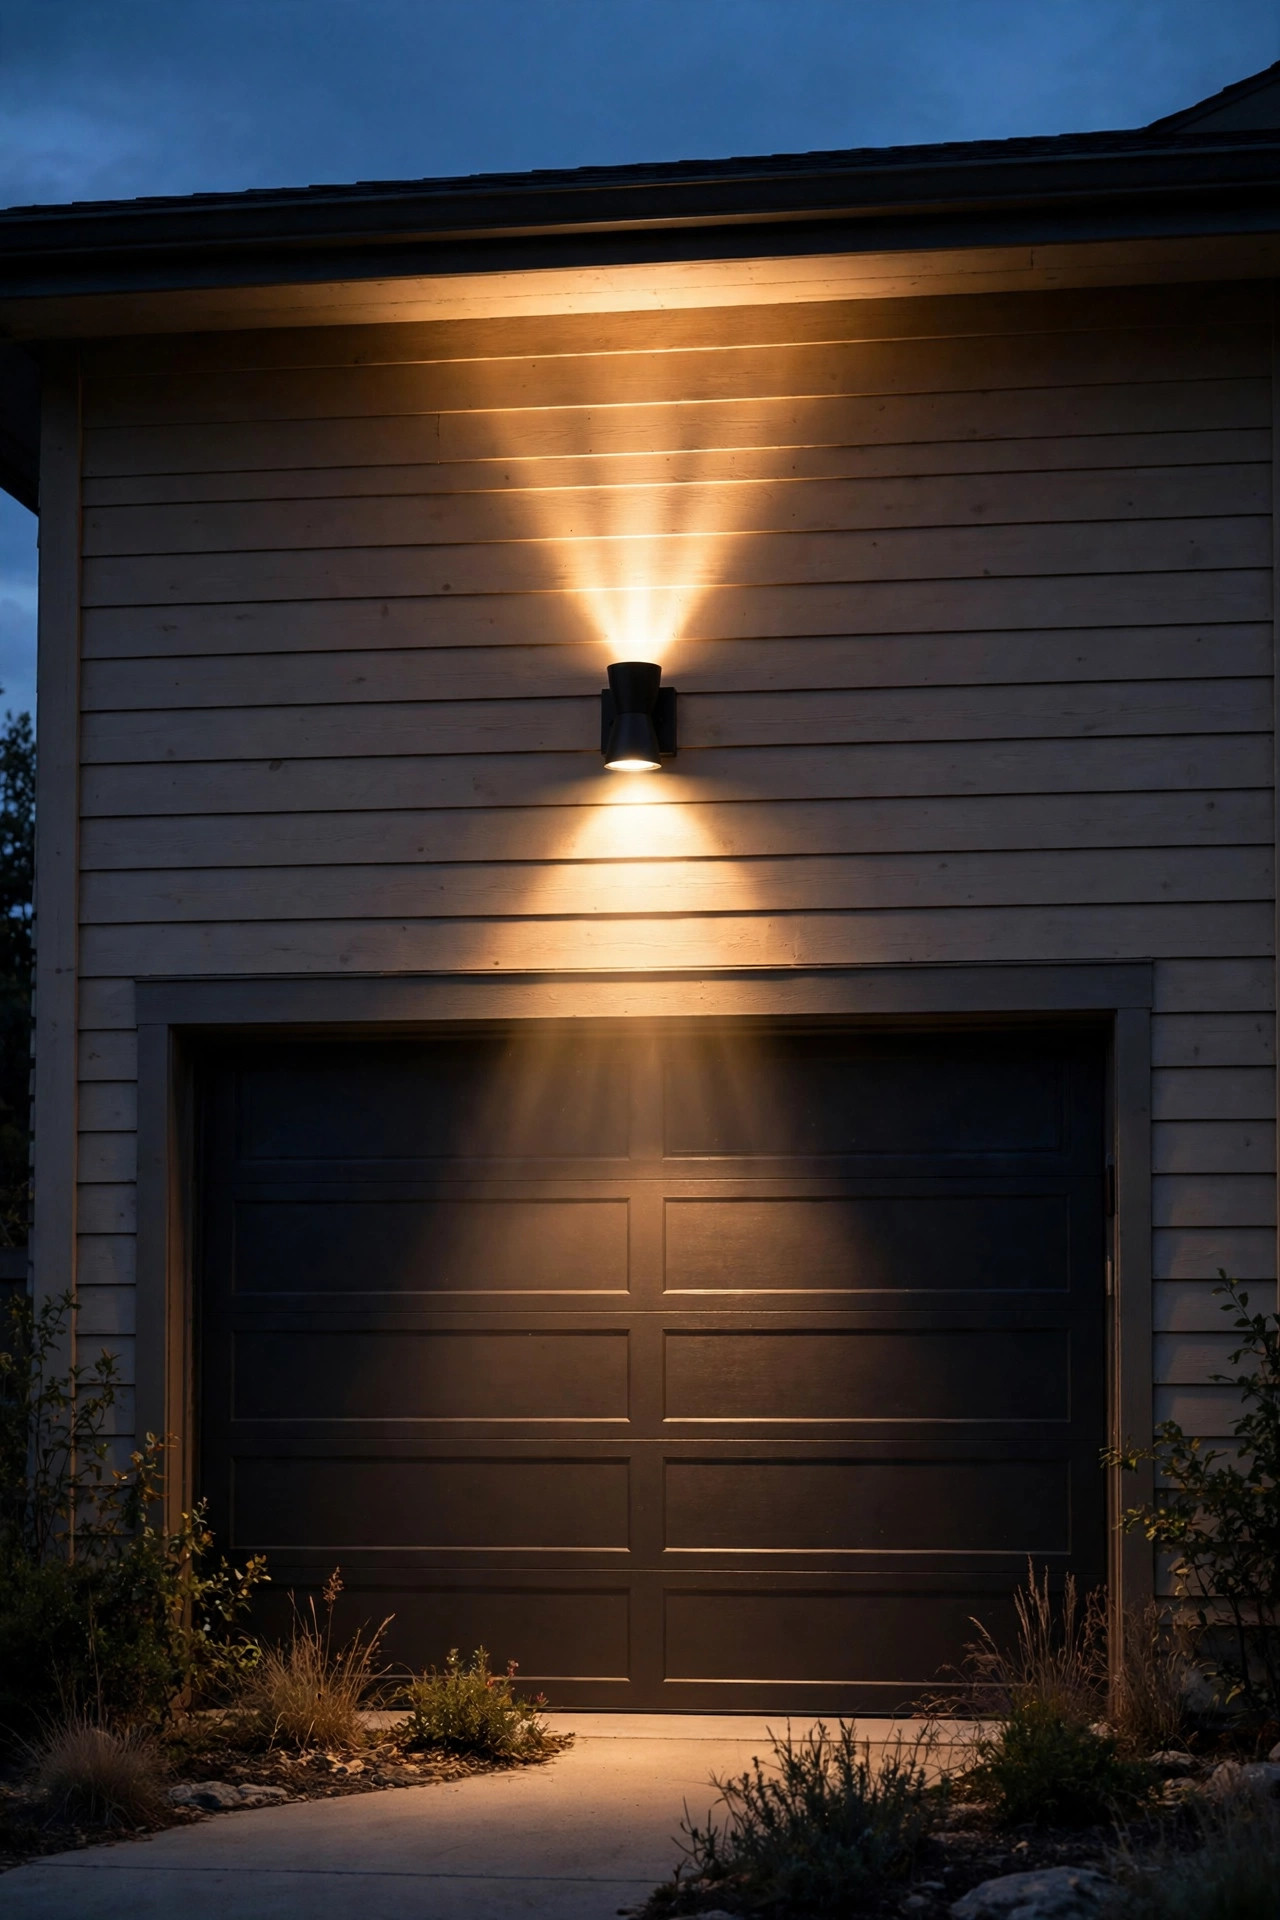
On two-story homes there is often a tall, blank stretch of wall between the top of the garage door and the windows above — and an up-down wall washer sconce is made for exactly that slot. These cylindrical or rectangular fixtures throw one beam up and one beam down from a single mount, so you get a dramatic column of light that visually stitches the garage level to the second story. Mount it centered above the door at roughly 10 to 11 feet, or place a pair over the outer thirds of a wide door. The down beam does real work on the apron while the up beam grazes the siding and gives your facade that tailored, hotel-worthy symmetry. Beam width decides the mood: narrow 15- to 30-degree beams make crisp architectural blades of light, while wider beams soften into a general wash. Because the up beam can reach second-story windows, check the sightline from inside bedrooms before finalizing placement, and choose a model with an adjustable or shielded top beam if a window sits close. In black or bronze, the daytime profile is smart enough to count as decor on its own. Suggested budget range: $140 – $520.
11. A Carriage Lantern Trio Over a Wide Door
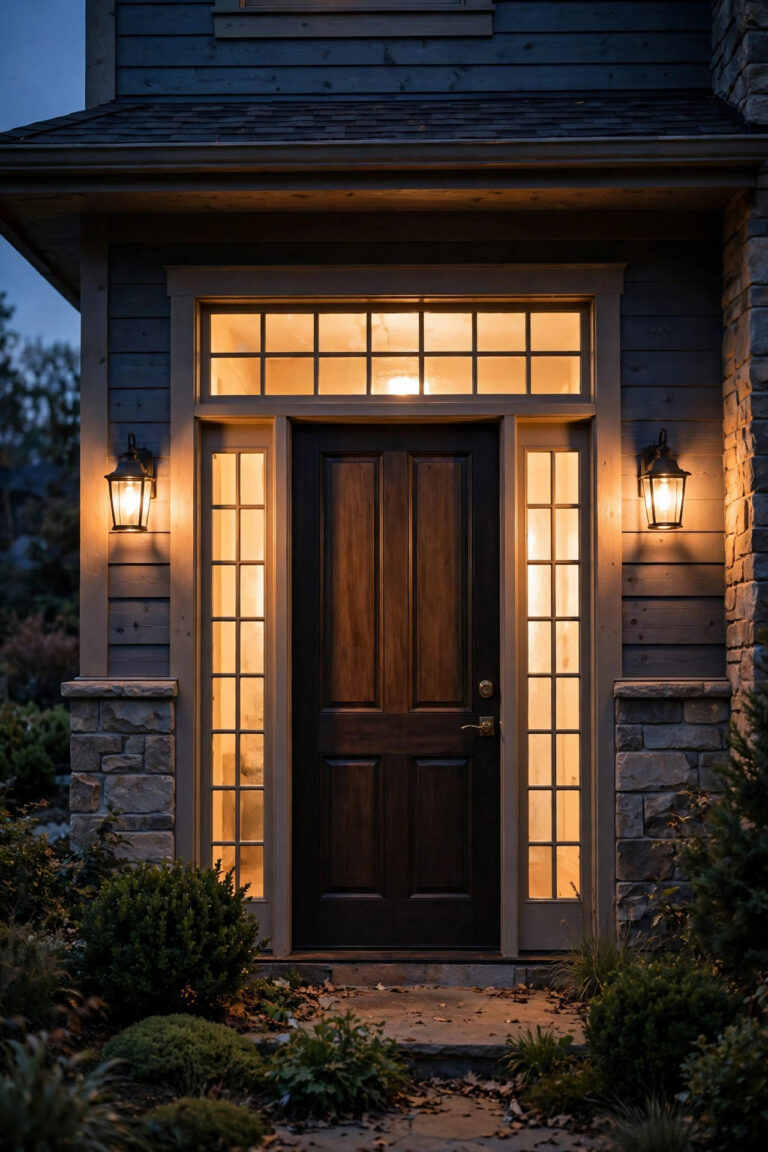
Wide two- and three-car doors can swallow a single small fixture whole, and that is where a row of carriage lanterns above the door earns its place. Three medium lanterns — or two generous ones over a standard double door — spaced evenly across the header echo the beloved flanking-lantern look while moving the whole composition up to the height where the architecture needs it. I keep the spacing simple: divide the door width into equal sections and center a lantern over each division, with the bottoms of the lanterns 8 to 14 inches above the trim. Lanterns in the 12- to 16-inch tall range hold their own at that height; the cute 8-inch versions that look fine beside a front door read as dollhouse furniture from the street up there. Clear seeded glass with a warm filament-style LED bulb gives you the classic carriage sparkle, and my garage and carriage light ideas collection shows the proportions on real homes if you want a visual check. Put the trio on the same circuit and photocell as your entry lanterns so the entire facade wakes up as one scene at dusk. Suggested budget range: $200 – $750.

12. Permanent Eave Track Lighting for Every Season
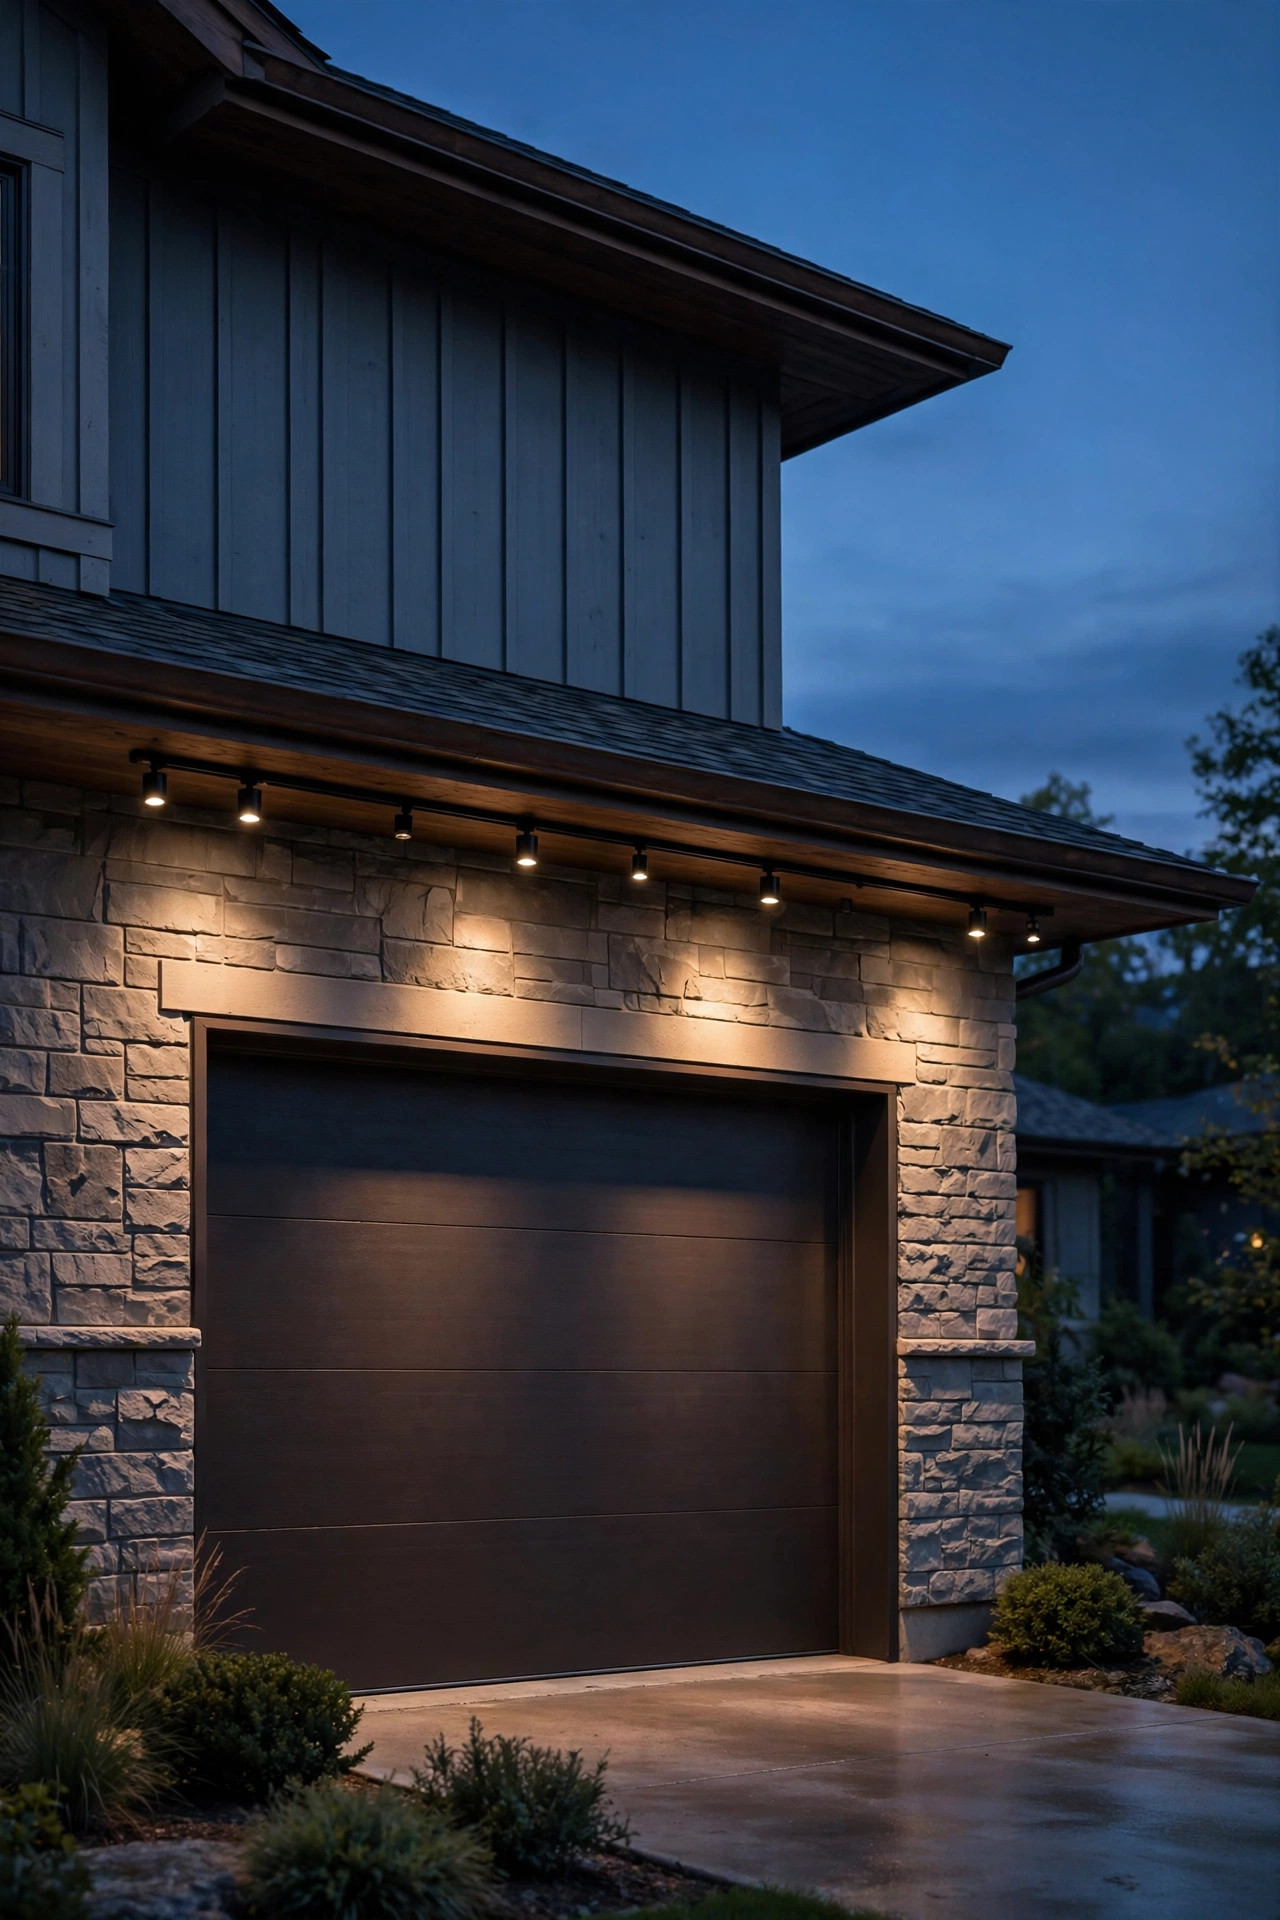
Permanent track lighting — slim channels of addressable LED pucks mounted under the eave — started as a holiday product, but above a garage it has become my favorite everyday system too. On ordinary nights I run mine at a soft warm white, about 30 percent brightness, where it behaves exactly like high-end architectural downlighting spaced every 10 to 12 inches along the eave. Then December arrives, birthdays arrive, game days arrive, and the same track does colors and gentle motion without a single ladder climb. The track mounts to the fascia or soffit edge above the garage door, the pucks point down at the wall and apron, and everything runs from one low-voltage controller you operate from an app or a simple remote. Honest expectations: this is the priciest option on the list per foot, and the look leans modern, which suits most two-story suburban facades beautifully but can fight a very traditional elevation. Installation is a ladder-and-clips job most handy homeowners finish in a long afternoon for a garage front. Buy from a line that sells replacement pucks and controllers separately — you will own this system for a decade. Suggested budget range: $350 – $1,500.
13. A Gentle Glow Inside the Dormer Window
The softest dormer light of all comes from inside. A warm LED candle, a small low-wattage lamp on a timer, or a filament bulb in the dormer window itself turns that little upstairs window into a lantern for the whole garage front below — no exterior wiring, no fixtures to weatherproof, nothing mounted outside at all. This is the trick behind those storybook houses where every upstairs window glows like the home is happily occupied, because it quite literally is. Keep the source low and warm: a 2700K bulb of 200 to 400 lumens, set a foot or two back from the glass so you see glow rather than a bare bulb, on a smart plug or mechanical timer set for dusk to bedtime. If the dormer belongs to a bedroom, a candle-style LED on the sill gives the effect at a fraction of the light spill of a lamp. One caution from experience: match the color temperature across your upstairs windows if more than one faces the street. One amber window and one blue-white window reads as an accident, not a composition. Suggested budget range: $25 – $120.
14. A Gable-Peak Accent Light Over the Garage
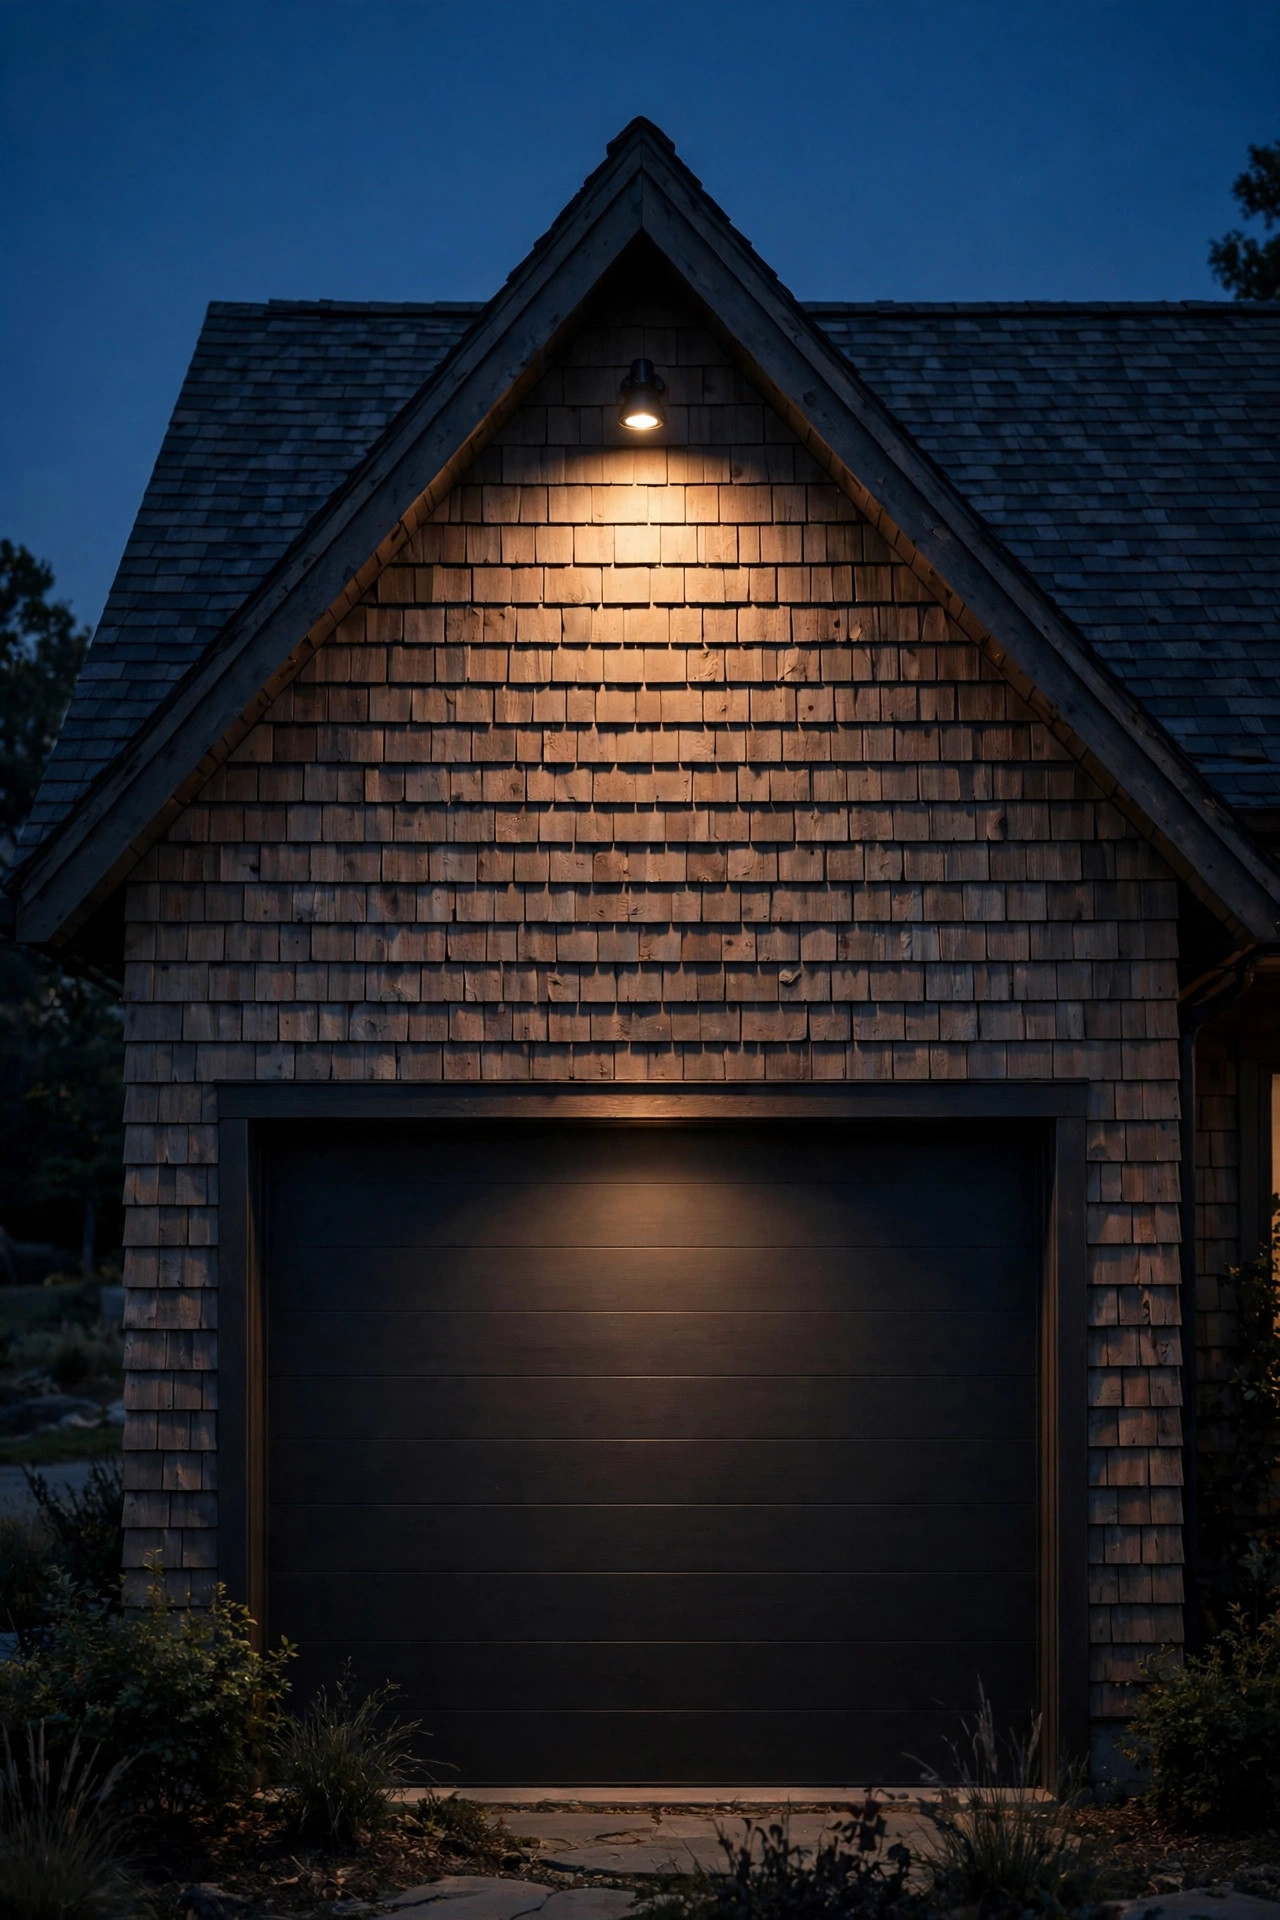
Many garages wear a small gable or vent peak directly above the door, and a single accent light aimed at that peak finishes the entire elevation. There are two ways in. A small spotlight mounted at the eave or on the wall below, aimed up at the gable face, grazes the siding and makes any louvered vent or decorative brace pop with shadow and texture. Or, for a softer read, a compact fixture mounted right at the peak itself — a mini lantern or downlight tucked under the gable's little overhang — that throws a gentle cone of light down the wall toward the door. I lean toward the uplight version on textured siding like cedar shake or stone veneer, where grazing light does the most dramatic work, and the peak-mounted version on smooth siding where you want calm rather than drama. Either way, one fixture, one focal point: restraint is what makes it look designed. Keep the wattage modest, 3 to 7 watts of LED, because the gable sits close to the fixture and a hot spot at the center will bleach out the effect you are paying for. Suggested budget range: $150 – $600.
15. A Smart Dusk-to-Dawn Fixture You Set Once
Whatever style you choose above the door, the smartest upgrade is making it run itself. A fixture with a built-in photocell and motion boost — dark-to-dawn on at a low glow, brightening when someone approaches — gives you the layered effect of three systems in one modest package, and modern LED versions add app scheduling, vacation modes, and brightness caps from your phone. This is the option I recommend to anyone retrofitting an existing above-door junction box, because the swap takes twenty minutes and the behavior change is enormous: no more blazing porch bulb at noon, no more dark garage when you come home late. Look for a listed wet-location fixture, an adjustable low-level brightness (20 to 30 percent is the sweet spot for the all-night glow), and a motion range you can trim so street traffic does not trigger it. If you already own a plain fixture you love, a smart bulb or a photocell socket adapter gets you eighty percent of the behavior for pocket money. Set it once, honestly, and the garage front just handles itself from then on. Suggested budget range: $90 – $400.
Frequently Asked Questions
How high should lighting above a garage door be mounted?
For most fixtures, mount the light 12 to 24 inches above the top of the door frame, which lands around 8½ to 9½ feet from the ground on a standard 7-foot door. That height clears the opening door, spreads light across the apron instead of into eyes, and keeps bulbs reachable with a household ladder. Wall washers and floodlights can sit higher — 9 to 11 feet — since their beams are aimed rather than ambient.
What color temperature looks best above a garage?
Warm white, between 2700K and 3000K, matches porch lanterns and makes siding, stone, and landscaping look rich instead of washed out. The most important rule is consistency: every fixture on the front of the house should share the same temperature, because a warm gooseneck beside a cool blue-white floodlight reads as a mistake. I default to 2700K on traditional homes and allow 3000K on crisp modern elevations.
Can I add a light above my garage door without an electrician?
Yes, if you choose solar, battery, or plug-in options — solar bars and smart bulbs need no wiring at all. If a junction box already exists above the door, swapping in a new hardwired fixture is a common DIY job with the breaker off, though local codes vary. Running brand-new wiring through a finished wall or eave is where I call a licensed electrician; it is also usually required for a permit.
How many lumens do I need above a garage door?
For ambient and decorative fixtures — goosenecks, lanterns, light bars — 700 to 1,800 lumens total above the door is the comfortable range. Motion-sensor security floods are the exception at 1,500 to 3,000 lumens, because they only run briefly. More is not better here: an overpowered fixture creates glare, blinds your own backup camera, and flattens every other layer of light on the facade.
Conclusion
The band of wall above your garage door is not leftover space — it is the middle layer of your home's whole nighttime face. Pick one working light for the apron, whether that is a gooseneck, a light bar, or soffit downlights, add one accent for the dormers, eaves, or gable, and let smart dusk-to-dawn control run the show. That layering is what makes lighting above garage door height look designed rather than installed. Start with whichever idea fits the junction boxes and ladders you already have, live with it for a week of evenings, and adjust like the rest of us do — from the driveway, at dusk, with a warm drink in hand. When you are ready to light the apron and driveway below to the same standard, my driveway lighting ideas roundup picks up right where this one leaves off.