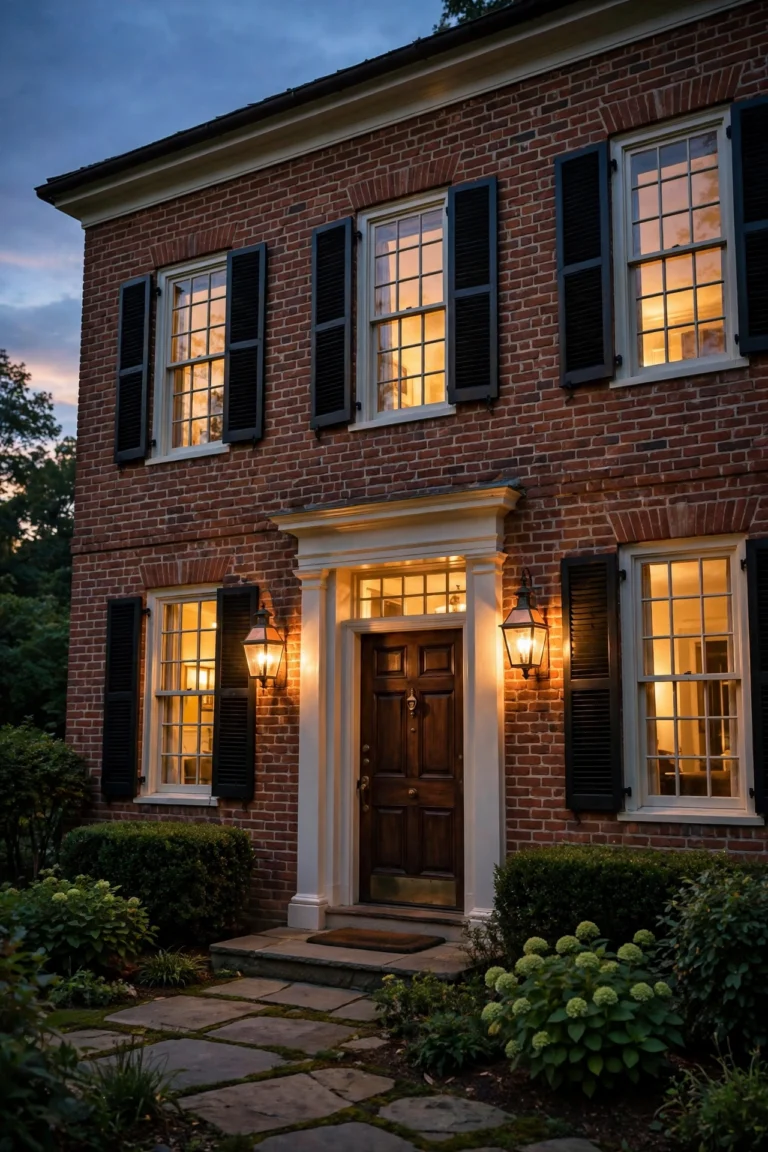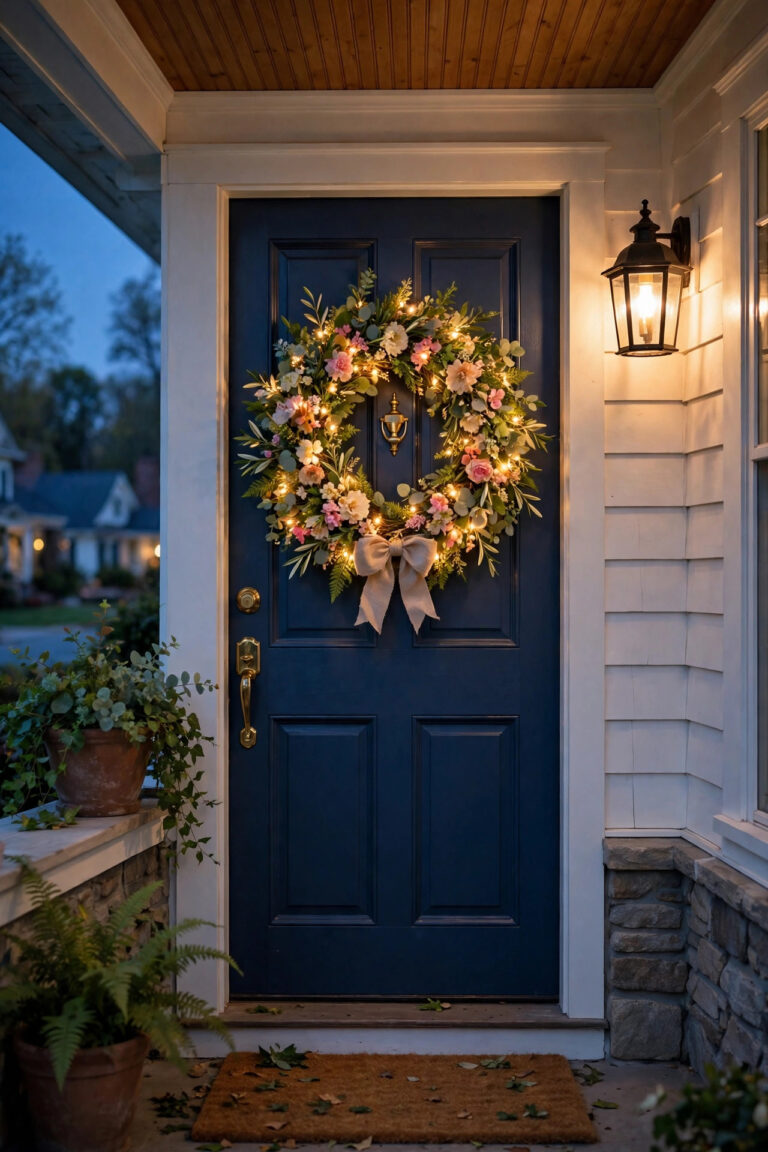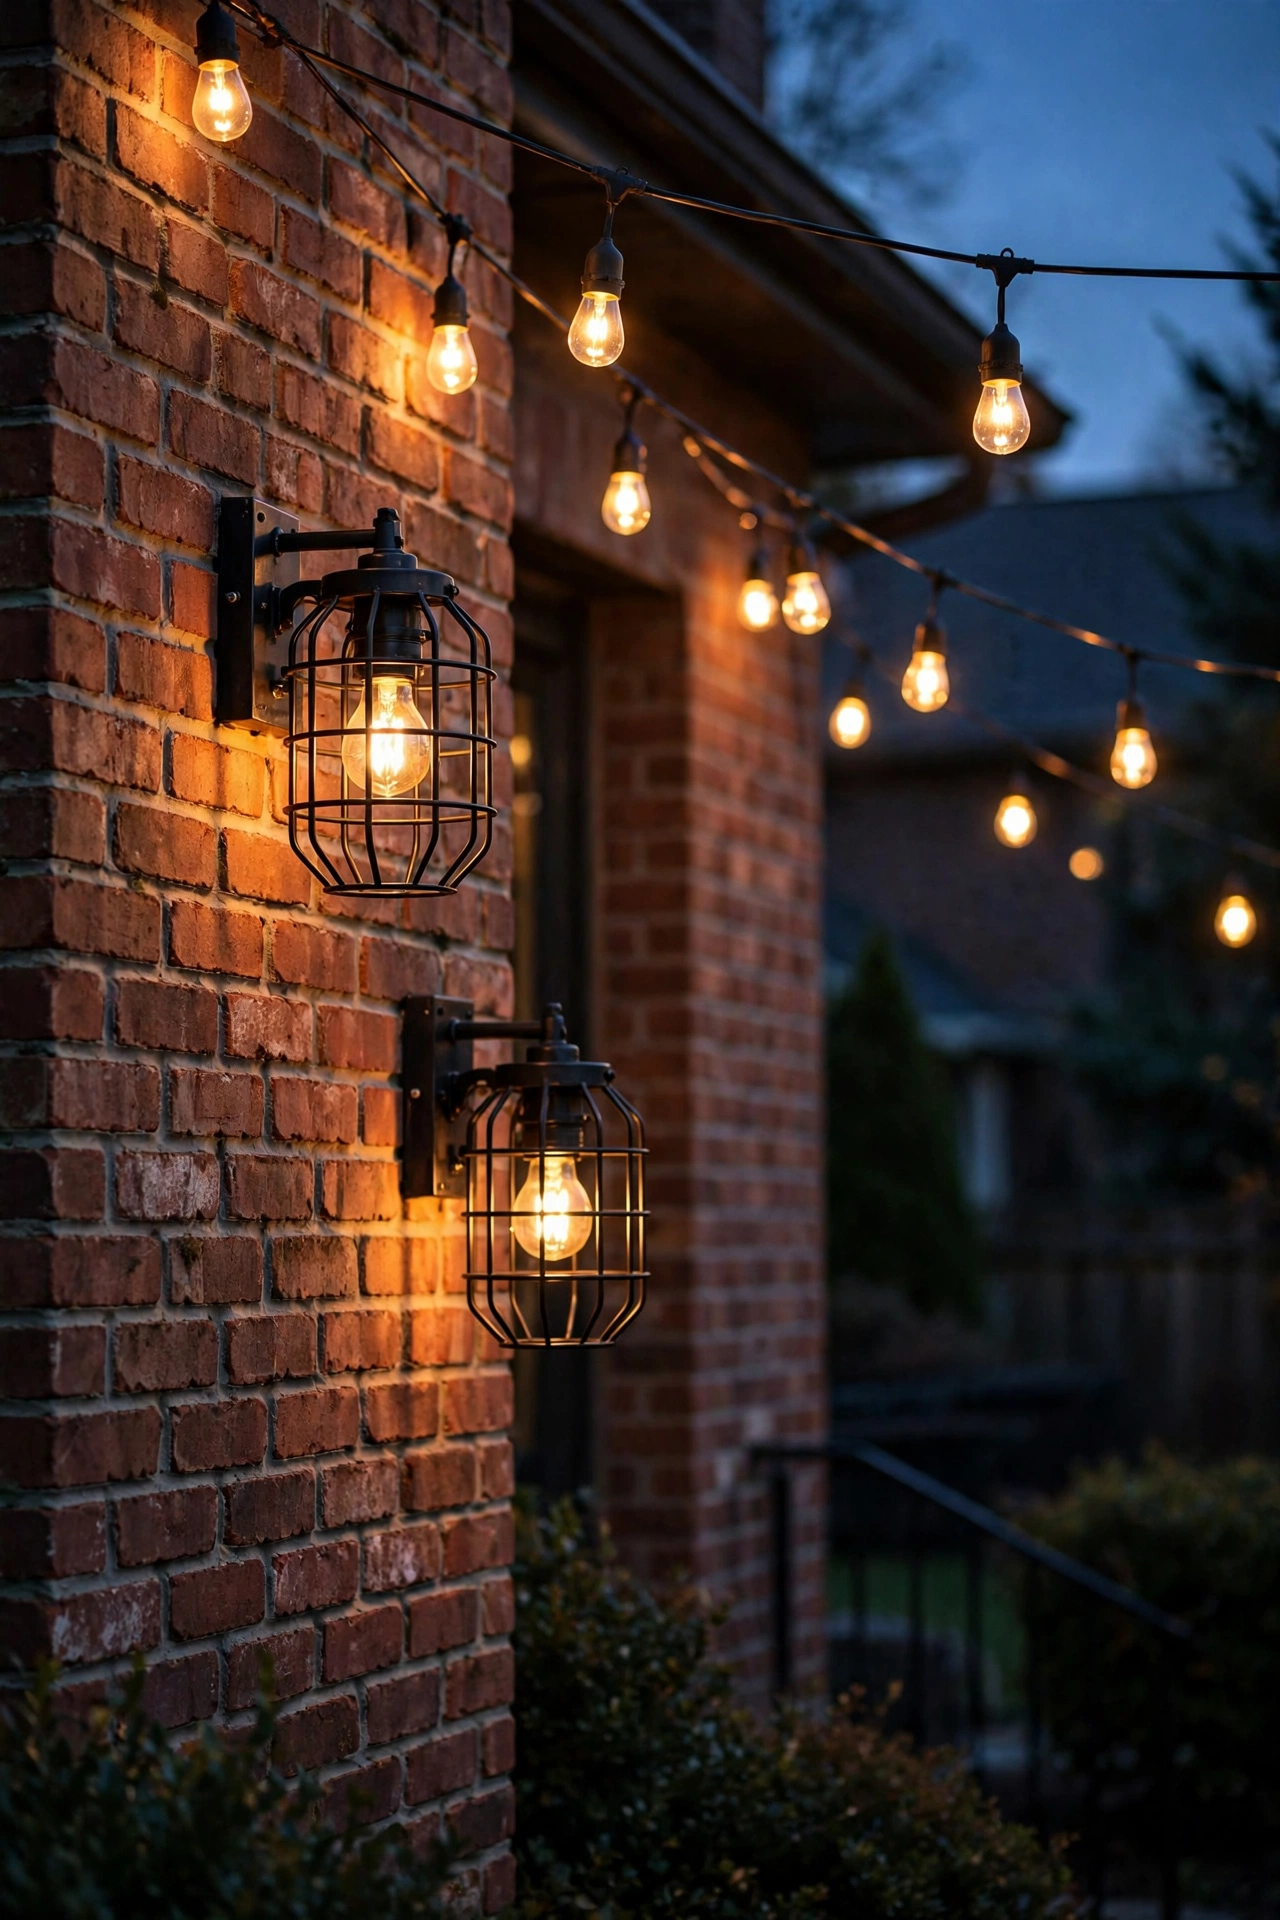
There's something irresistible about the industrial outdoor lighting look: matte black metal, glowing Edison bulbs, wire cages, and concrete tones that feel like they came straight from a vintage factory floor. In my experience, it strikes the perfect balance between edgy and cozy — raw materials that somehow make a porch feel warmer, not colder. If you love the look of exposed bulbs, dark finishes, and utilitarian shapes, this style was made for you.
My whole philosophy with industrial lighting is layering. One bare-bulb sconce by the door is a nice accent, but when you combine caged wall lights with warm string bulbs overhead and a low uplight washing your brickwork, that's when the magic happens. You get depth, texture, and those gorgeous golden pools of light that make everything look intentional.
In this post, I'm sharing 17 of my favorite industrial outdoor lighting ideas — each one with concrete how-to details on bulbs, placement, and weatherproofing, plus the budget range I always recommend for getting the look without overspending. Let's add some edge to your evenings.
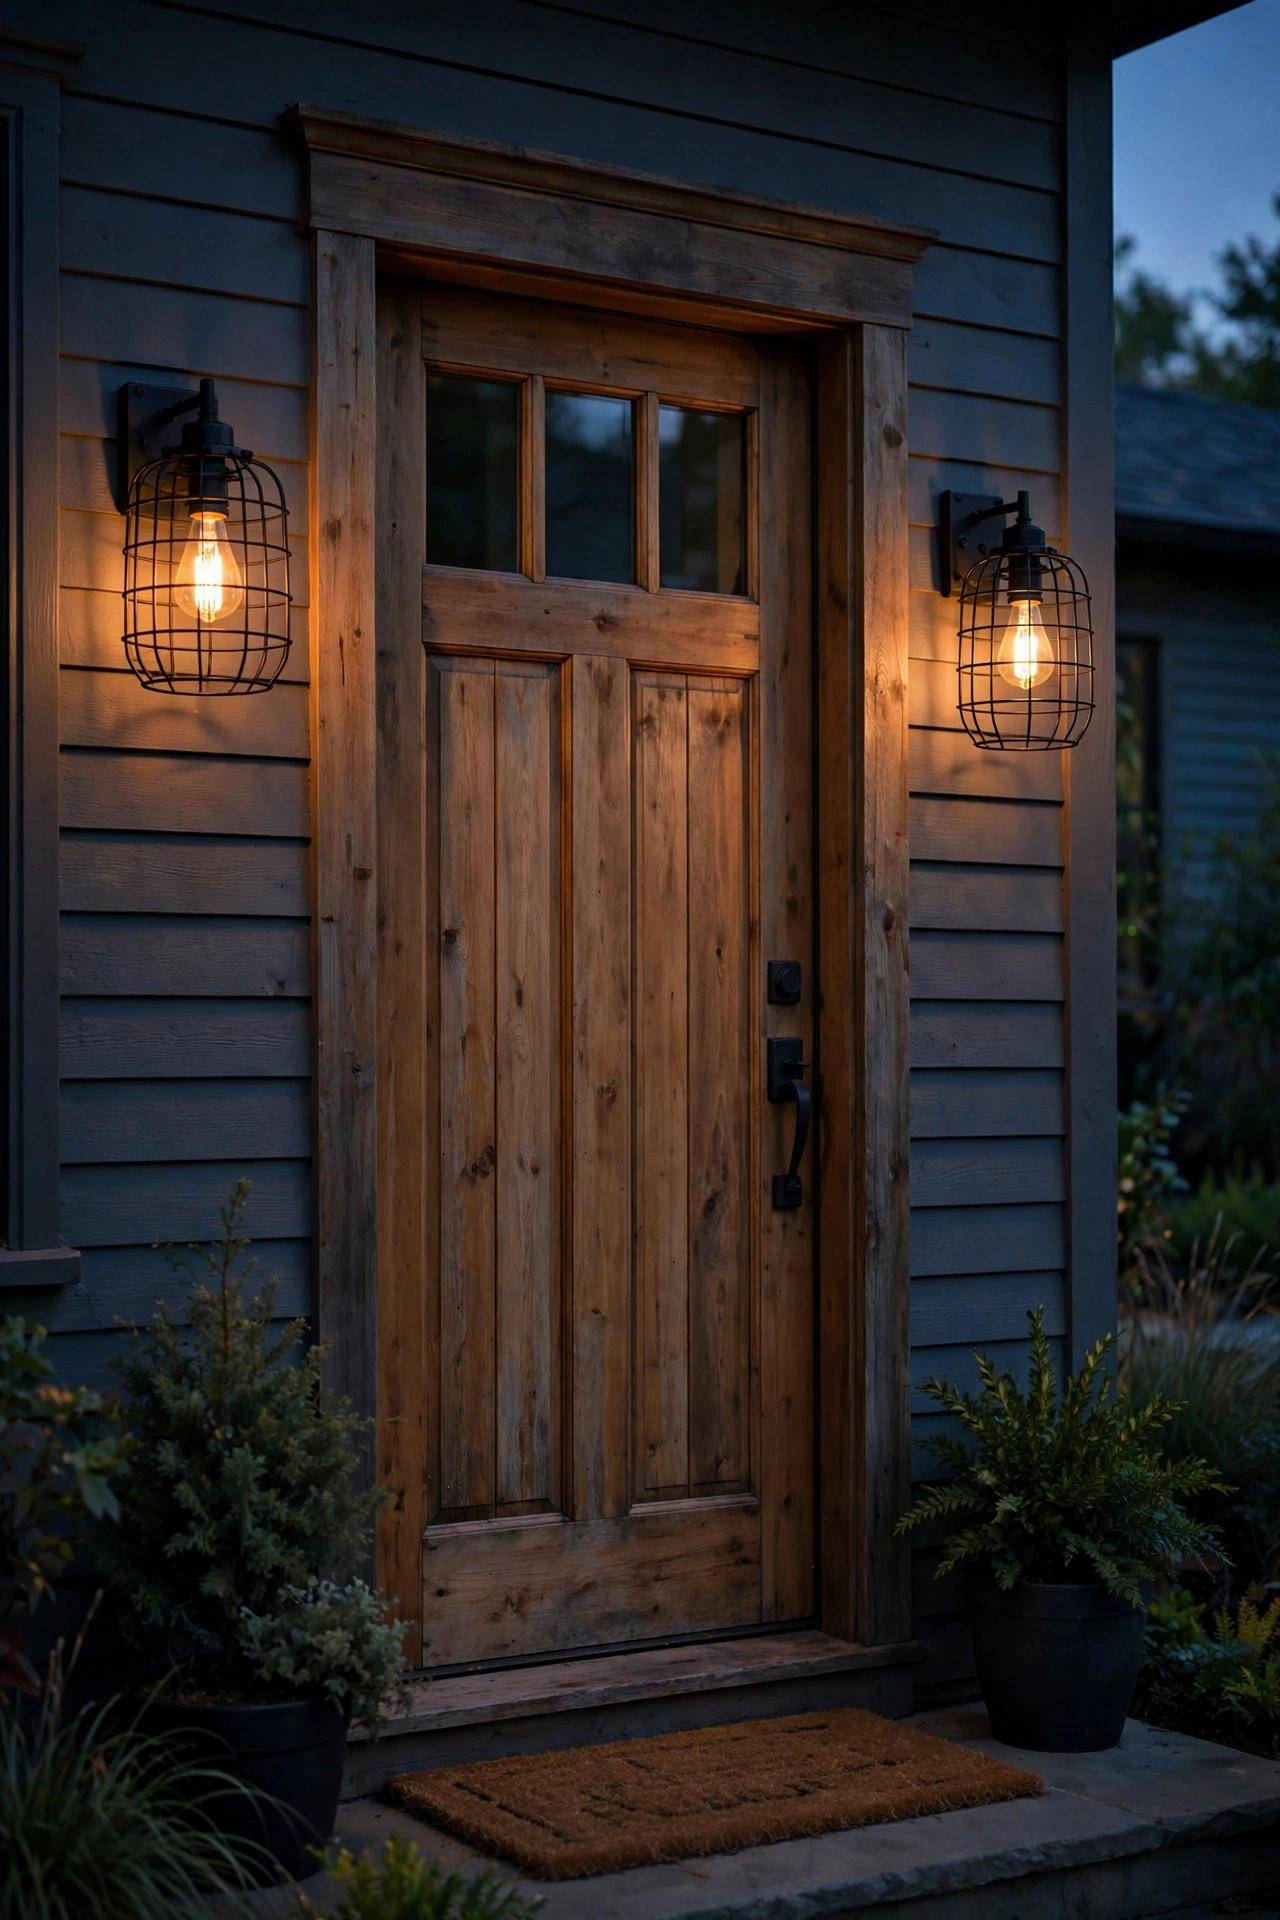
1. Wire-Cage Wall Sconces Flanking Your Front Door
Nothing says industrial quite like a pair of wire-cage wall sconces. In my experience, these work best when mounted so the center of each fixture sits about 60 to 66 inches from the porch floor — eye level for most adults, which keeps the glow where it actually flatters faces. I always recommend choosing fixtures with an open bottom so light washes down your doorframe and steps, creating that welcoming pool of light.
For bulbs, use warm-white LED filament A19s at 2700K — they mimic the classic Edison look but sip power and last for years outdoors. Make sure the fixture is UL-listed for wet locations if it will catch rain directly, and check that the cage wiring is dark-coated steel rather than bare wire, which can corrode. Space sconces about 6 to 12 inches from the door trim so they don't crowd the frame. Put them on an astronomical timer so they fire up at dusk automatically — one less thing to think about.
For weatherproofing, I dab a little dielectric grease on the bulb socket threads to keep moisture out, and I check the mounting gasket every spring. If your porch is covered, damp-rated fixtures are fine and give you more style options.
Suggested budget range: $45 – $120.
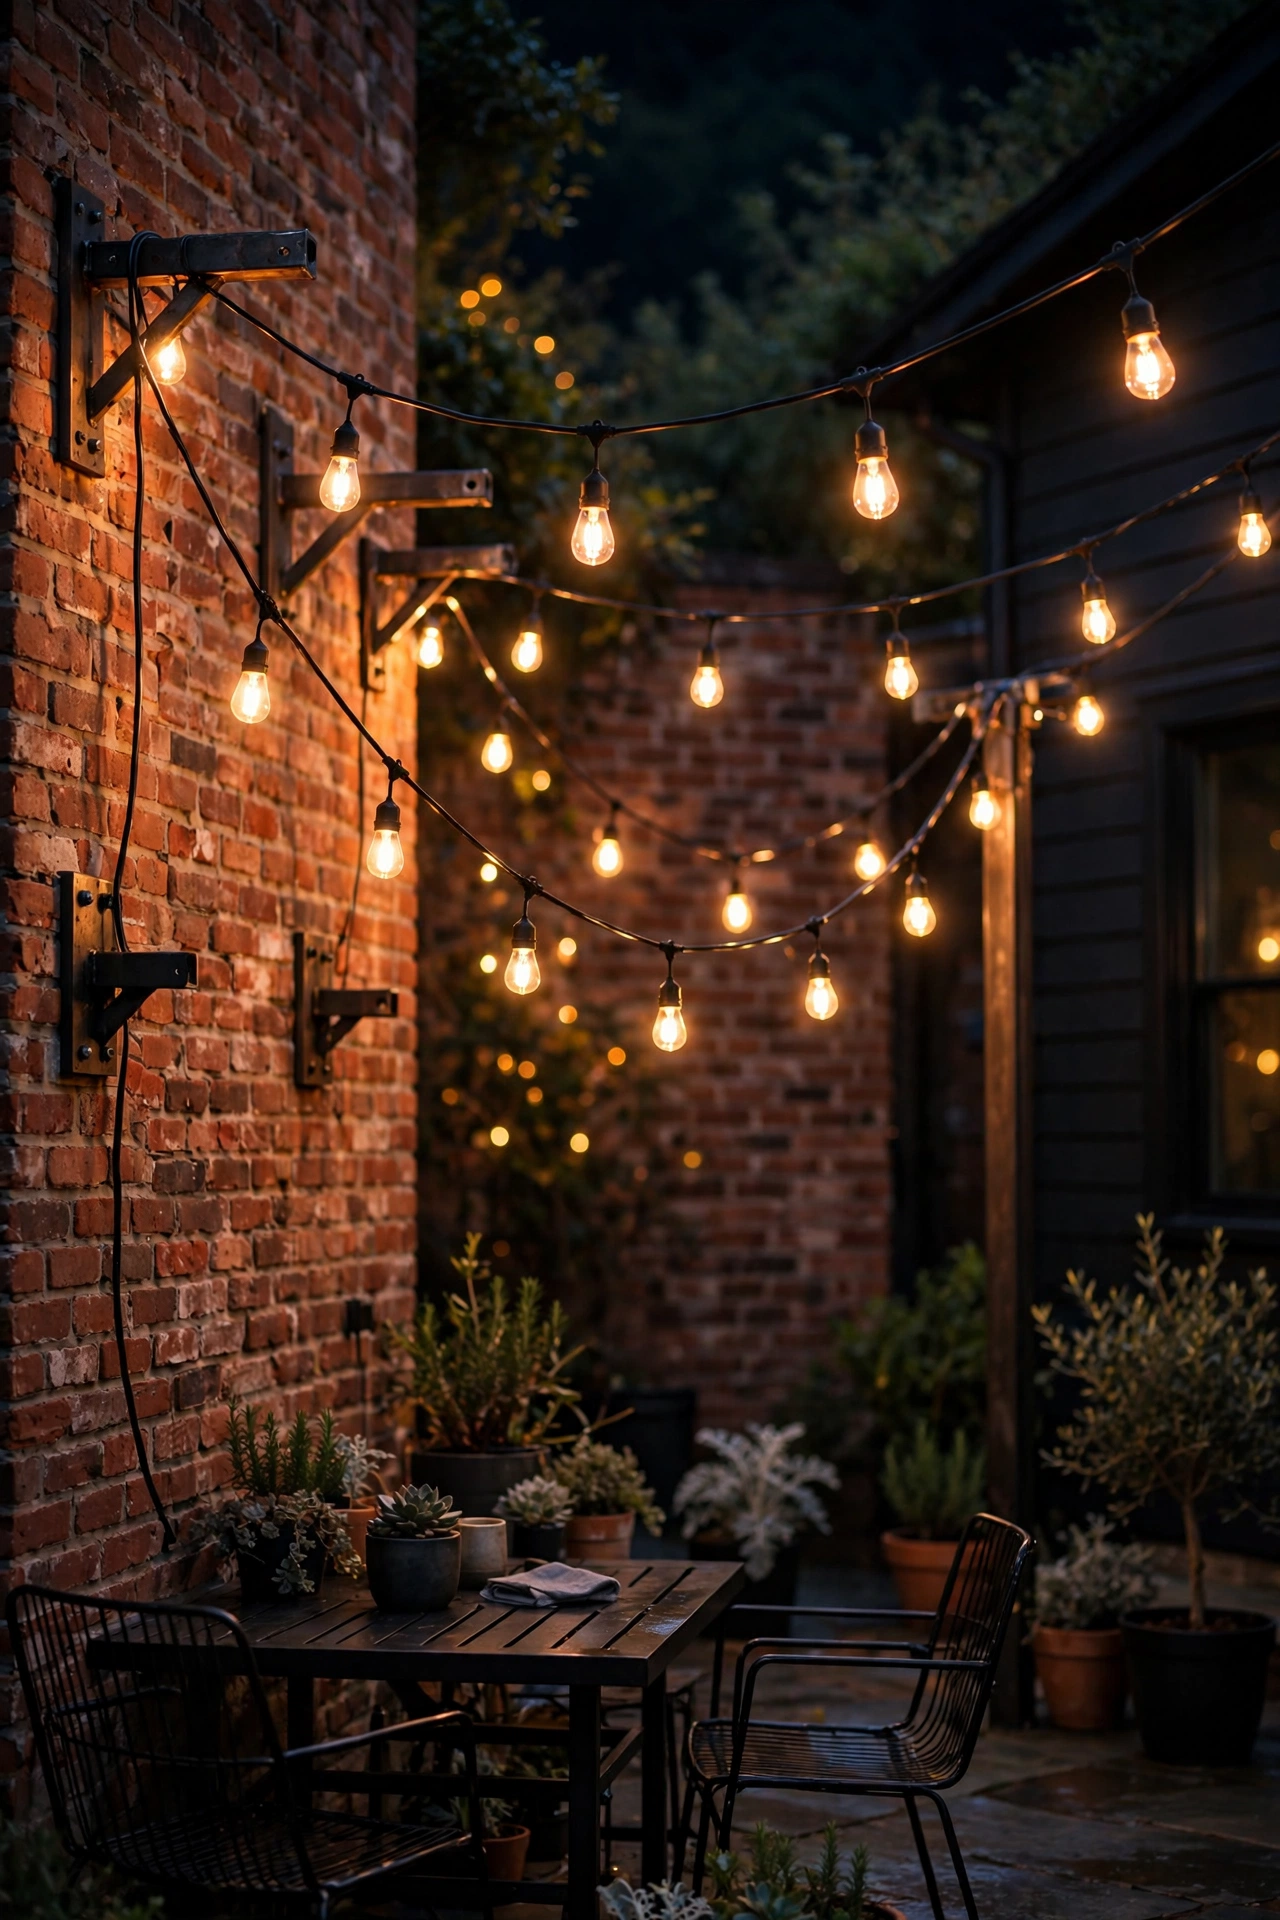
2. Edison Bulb String Lights Across the Patio
String lights are the fastest way to get that industrial edge, and in my opinion, Edison-style strands beat tiny fairy lights for this look every time. Hang one or two strands in a loose catenary swag across your patio — anchor them to the house, a pergola beam, or tall shepherd-style poles set in planters. I always recommend keeping the lowest point of the swag at least 7 feet off the ground so tall guests can walk under comfortably.
Use commercial-grade G40 globe strands with shatterproof LED filament bulbs; they handle wind and rain far better than glass vintage sets. For spacing, look for strands with 12-inch bulb spacing — it reads industrial rather than festive. Plug everything into a weatherproof smart plug on a GFCI outlet so you can schedule dusk-to-midnight run times from your phone. If your run is longer than 48 feet, split it into two circuits to avoid voltage drop dimming the far end.
For storm season, leave a little slack in the lines so wind can flex them without snapping, and take down or reel in lightweight strands before severe weather. Heavy-gauge guide wire between anchor points keeps long runs from sagging over time.
Suggested budget range: $60 – $180.
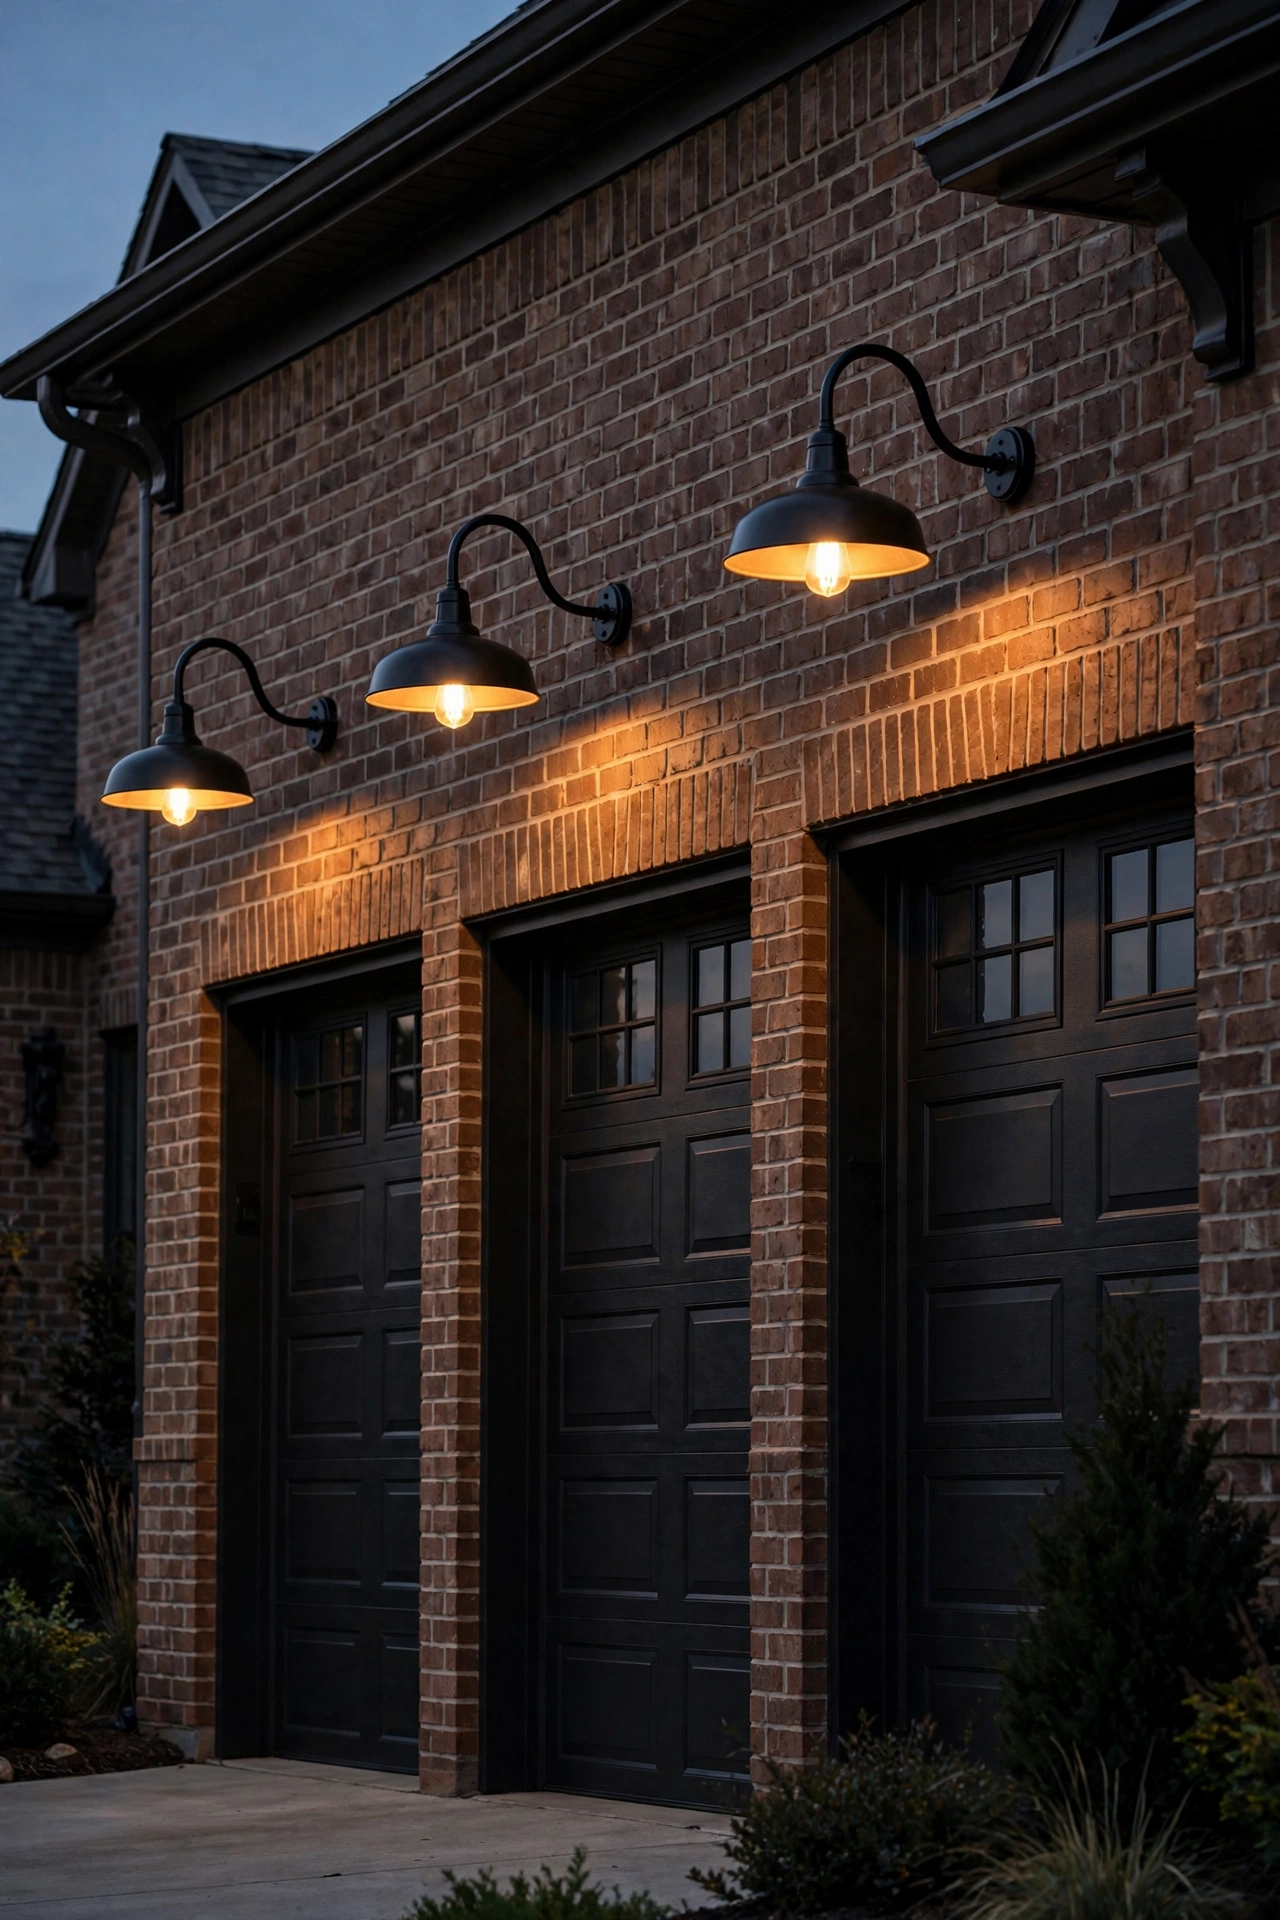
3. Gooseneck Barn Lights Over the Garage Doors
Gooseneck barn lights are industrial icons — that curved arm and deep dome shade practically invented the look. Mount one shade centered over each garage door, with the arm extending 12 to 18 inches out from the wall so the dome clears the trim. I always recommend positioning the bottom of the shade about 8 to 9 feet above the driveway; that height throws a generous cone of light without glaring into windshields.
For bulbs, a PAR38 LED flood in 2700K gives you real task-level brightness for pulling in at night while keeping the warm industrial tone. Choose powder-coated steel or aluminum shades rated for wet locations, and seal the wall plate with a bead of exterior silicone so wind-driven rain can't get behind it. If your garage doors are dark, a lighter shade interior (many come in white enamel inside) reflects noticeably more light downward.
These pair beautifully with the rest of your entry lighting — if you want to see how this style plays with cleaner, more current fixtures, take a look at these gooseneck barn lights for outdoor use and how homeowners are blending vintage shapes with modern lines.
Suggested budget range: $90 – $260.
4. Cage Pendant Lights Hanging From a Pergola
If your pergola has sturdy beams, cage pendant lights are one of my favorite ways to bring industrial character overhead. Hang them from short black chains or rigid downrods so the bottom of the cage sits about 7 to 8 feet above the deck — high enough to clear heads but low enough that the light feels intimate. In my experience, spacing pendants 6 to 8 feet apart along the main beam gives even, shadow-free coverage.
Use dimmable LED filament T45 tubular bulbs for that long-vintage Edison silhouette; at 2200K to 2700K they cast the amber glow this style is famous for. Wire each pendant through a weatherproof junction box on the beam and use outdoor-rated, UV-resistant cable. I always recommend a dimmer switch or smart dimmer here — pendants double as task lighting for grilling and mood lighting for late-night conversation, and you want both settings.
For safety, confirm each mounting point is secured to the beam itself, not just the slats, since pendants catch wind. A dab of thread-locking compound on the chain links stops them from rattling loose over a season of breezes.
Suggested budget range: $130 – $350.

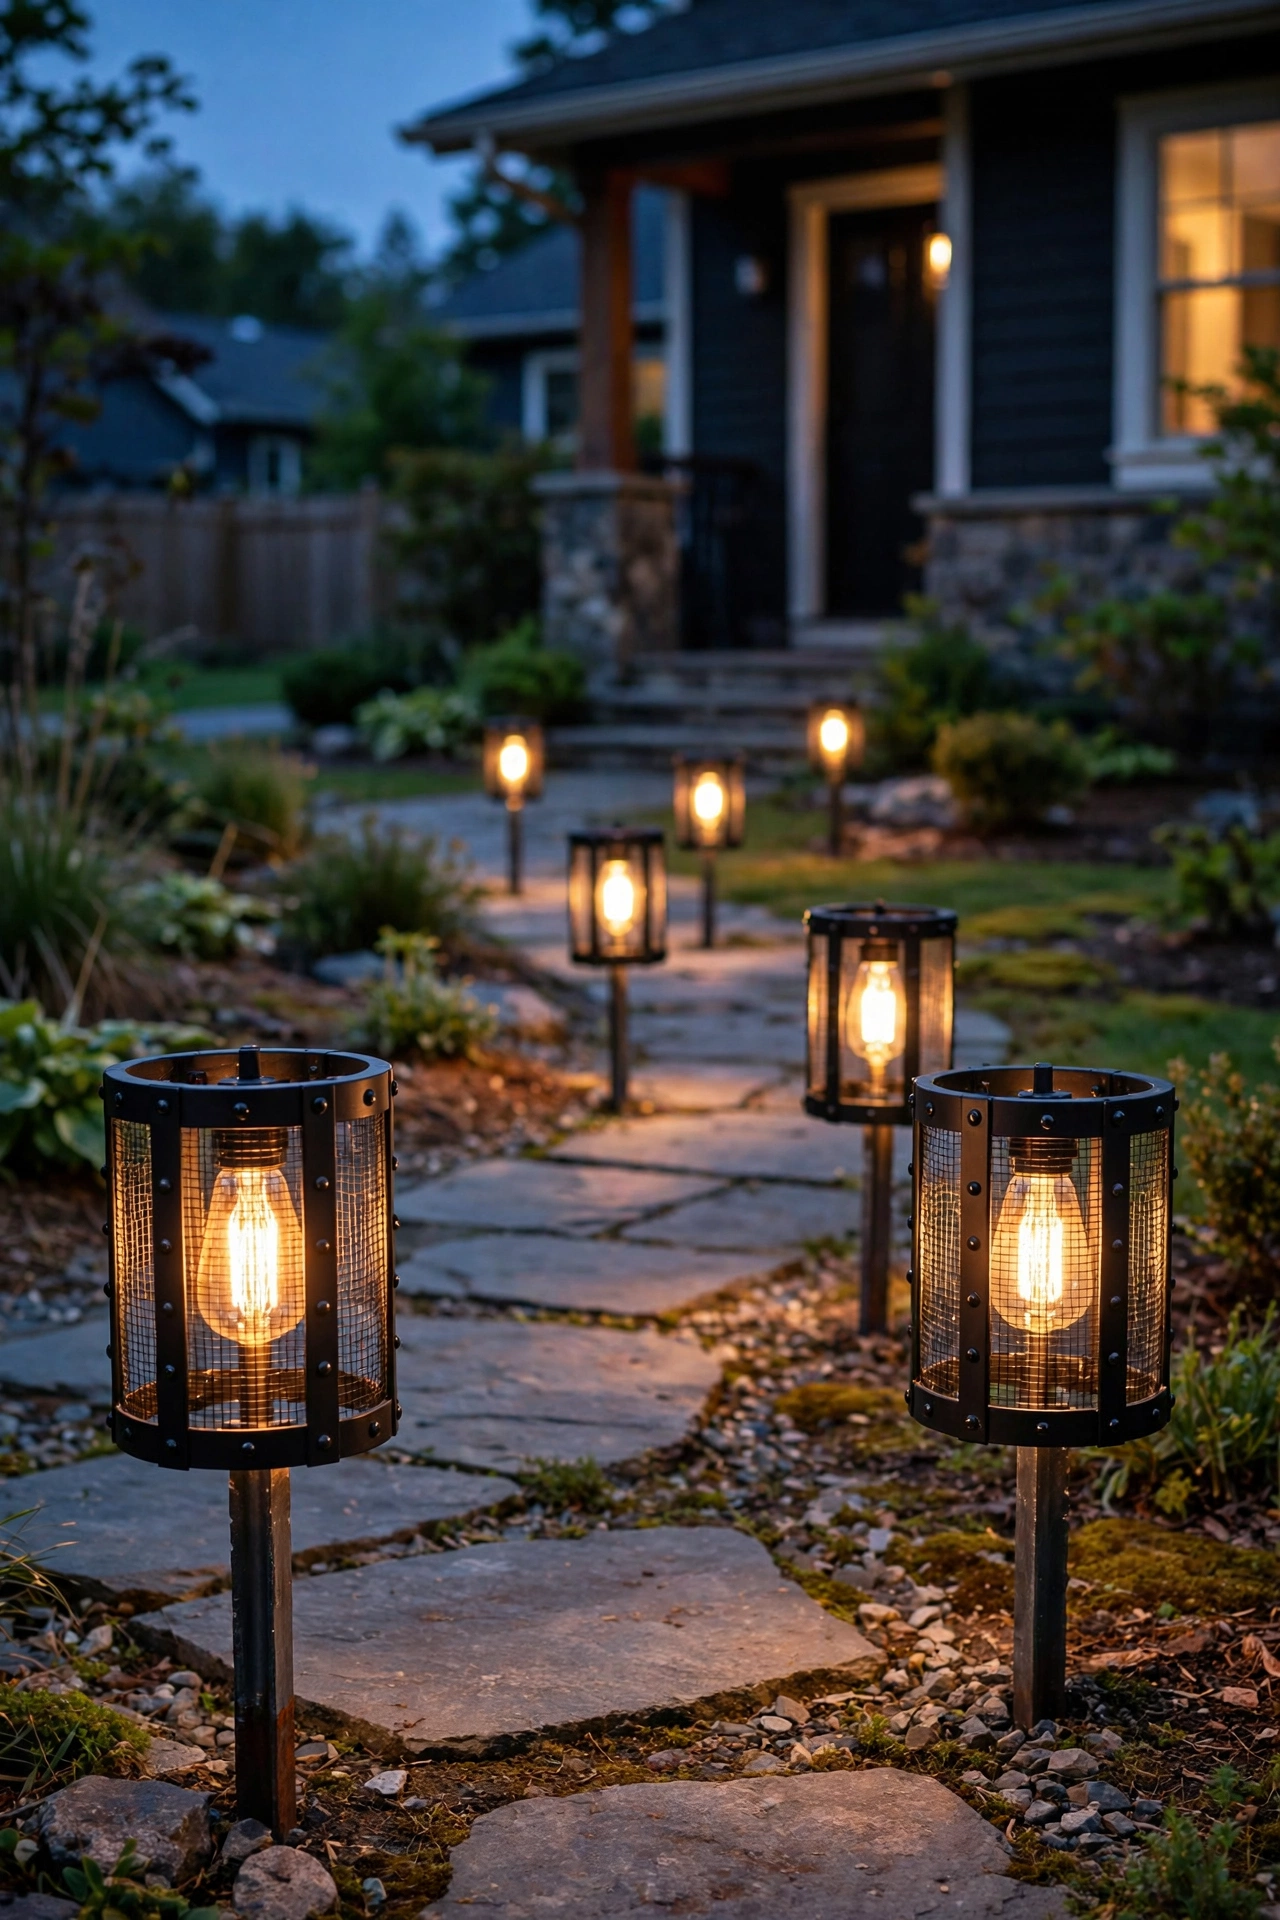
5. Industrial Outdoor Lighting for Pathways: Black Metal Stake Lights
Industrial outdoor lighting works beautifully at ground level, and black metal path lights with visible hardware — exposed bolts, riveted caps, caged heads — bring that factory feel to your walkways. Space them 6 to 8 feet apart in a staggered zigzag rather than a straight row; in my experience, the offset pattern feels designed instead of runway-like. Stake them so the head sits 12 to 18 inches above grade, high enough to clear mulch and low plantings.
Choose low-voltage LED kits (12V) with 2700K lamps for safety and easy DIY wiring — no electrician needed in most areas. Buried cable only needs to sit 6 inches deep, and I always recommend keeping the transformer mounted on the house or a post within 25 feet of the first fixture to minimize voltage drop. Look for die-cast aluminum or steel housings with a rust-inhibiting powder coat; avoid thin stamped metal that dents and chips.
In winter climates, pull the stakes before the first hard freeze and reinstall in spring — freeze-thaw cycles are what kill cheap path lights. Set them on a timer with a dusk sensor so they greet you automatically every evening.
Suggested budget range: $80 – $220.
6. Pulley-Style Pendants Over an Outdoor Dining Table
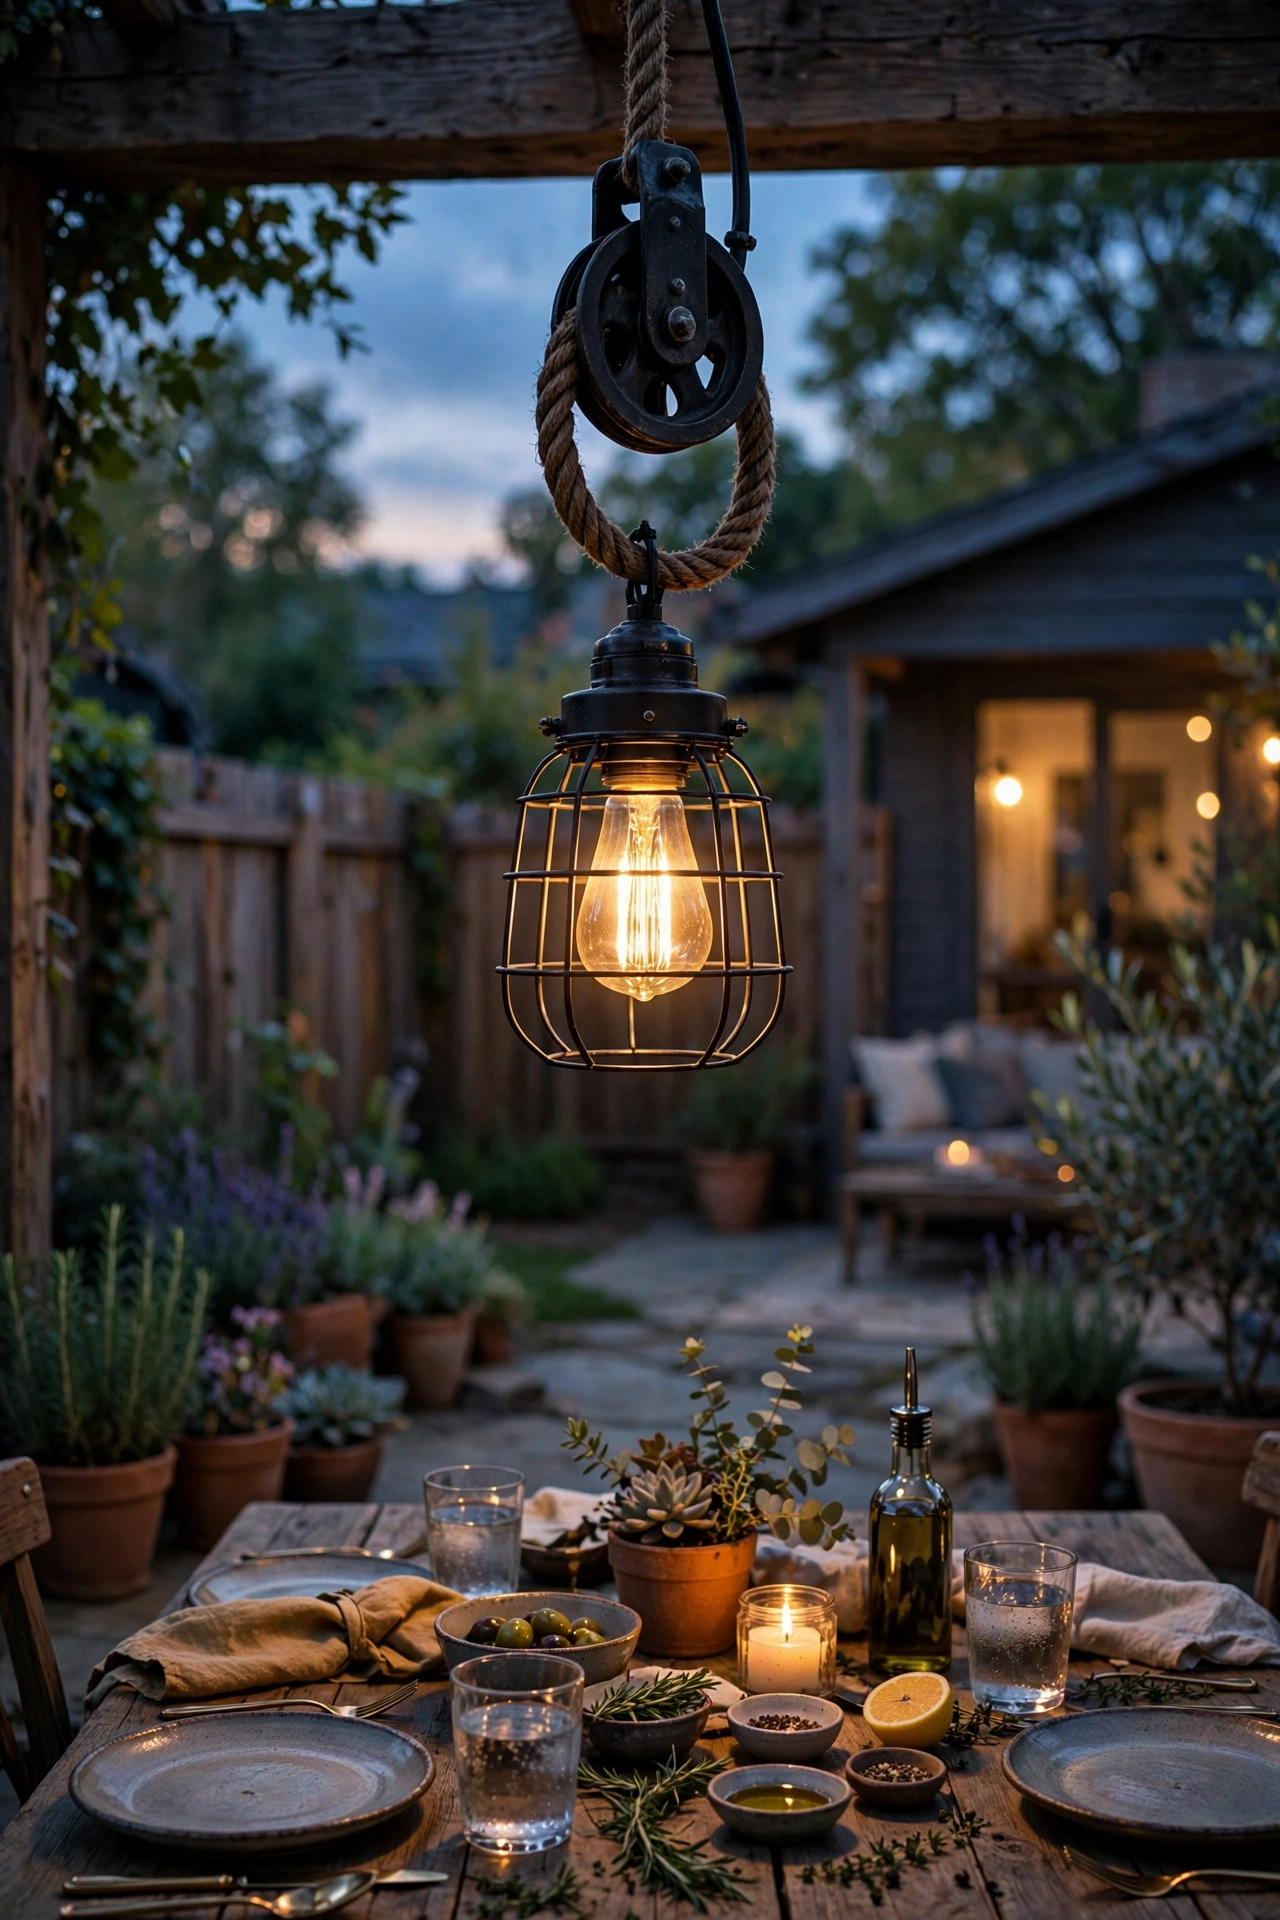
Pulley-style pendants — with a visible rope or chain running over a cast wheel — are pure industrial theater, and they're stunning over an outdoor dining table. Hang a single large fixture or a pair centered over the table, with the bottom of the shade 30 to 36 inches above the tabletop. That height keeps the light out of diners' eyes while making the food look incredible. I always recommend dimmable filament bulbs here because dining light should flex from bright (game night) to low (late dessert).
Use a damp-rated fixture with a metal shade — galvanized or matte black steel — and run the drop cable through the pergola or a ceiling hook rated for at least 25 pounds. If your table sits in the open with no overhead structure, mount a heavy-duty black steel shepherd's hook or a wooden post frame to hang from; it becomes part of the look. Put the circuit on a smart dimmer so you can set scenes.
If you love this look but your home leans more current than vintage, there are plenty of sleeker modern exterior house lights that echo industrial shapes in cleaner finishes — a nice middle ground worth browsing.
Suggested budget range: $120 – $320.
7. Pipe-Frame Post Lights at the Fence Gate
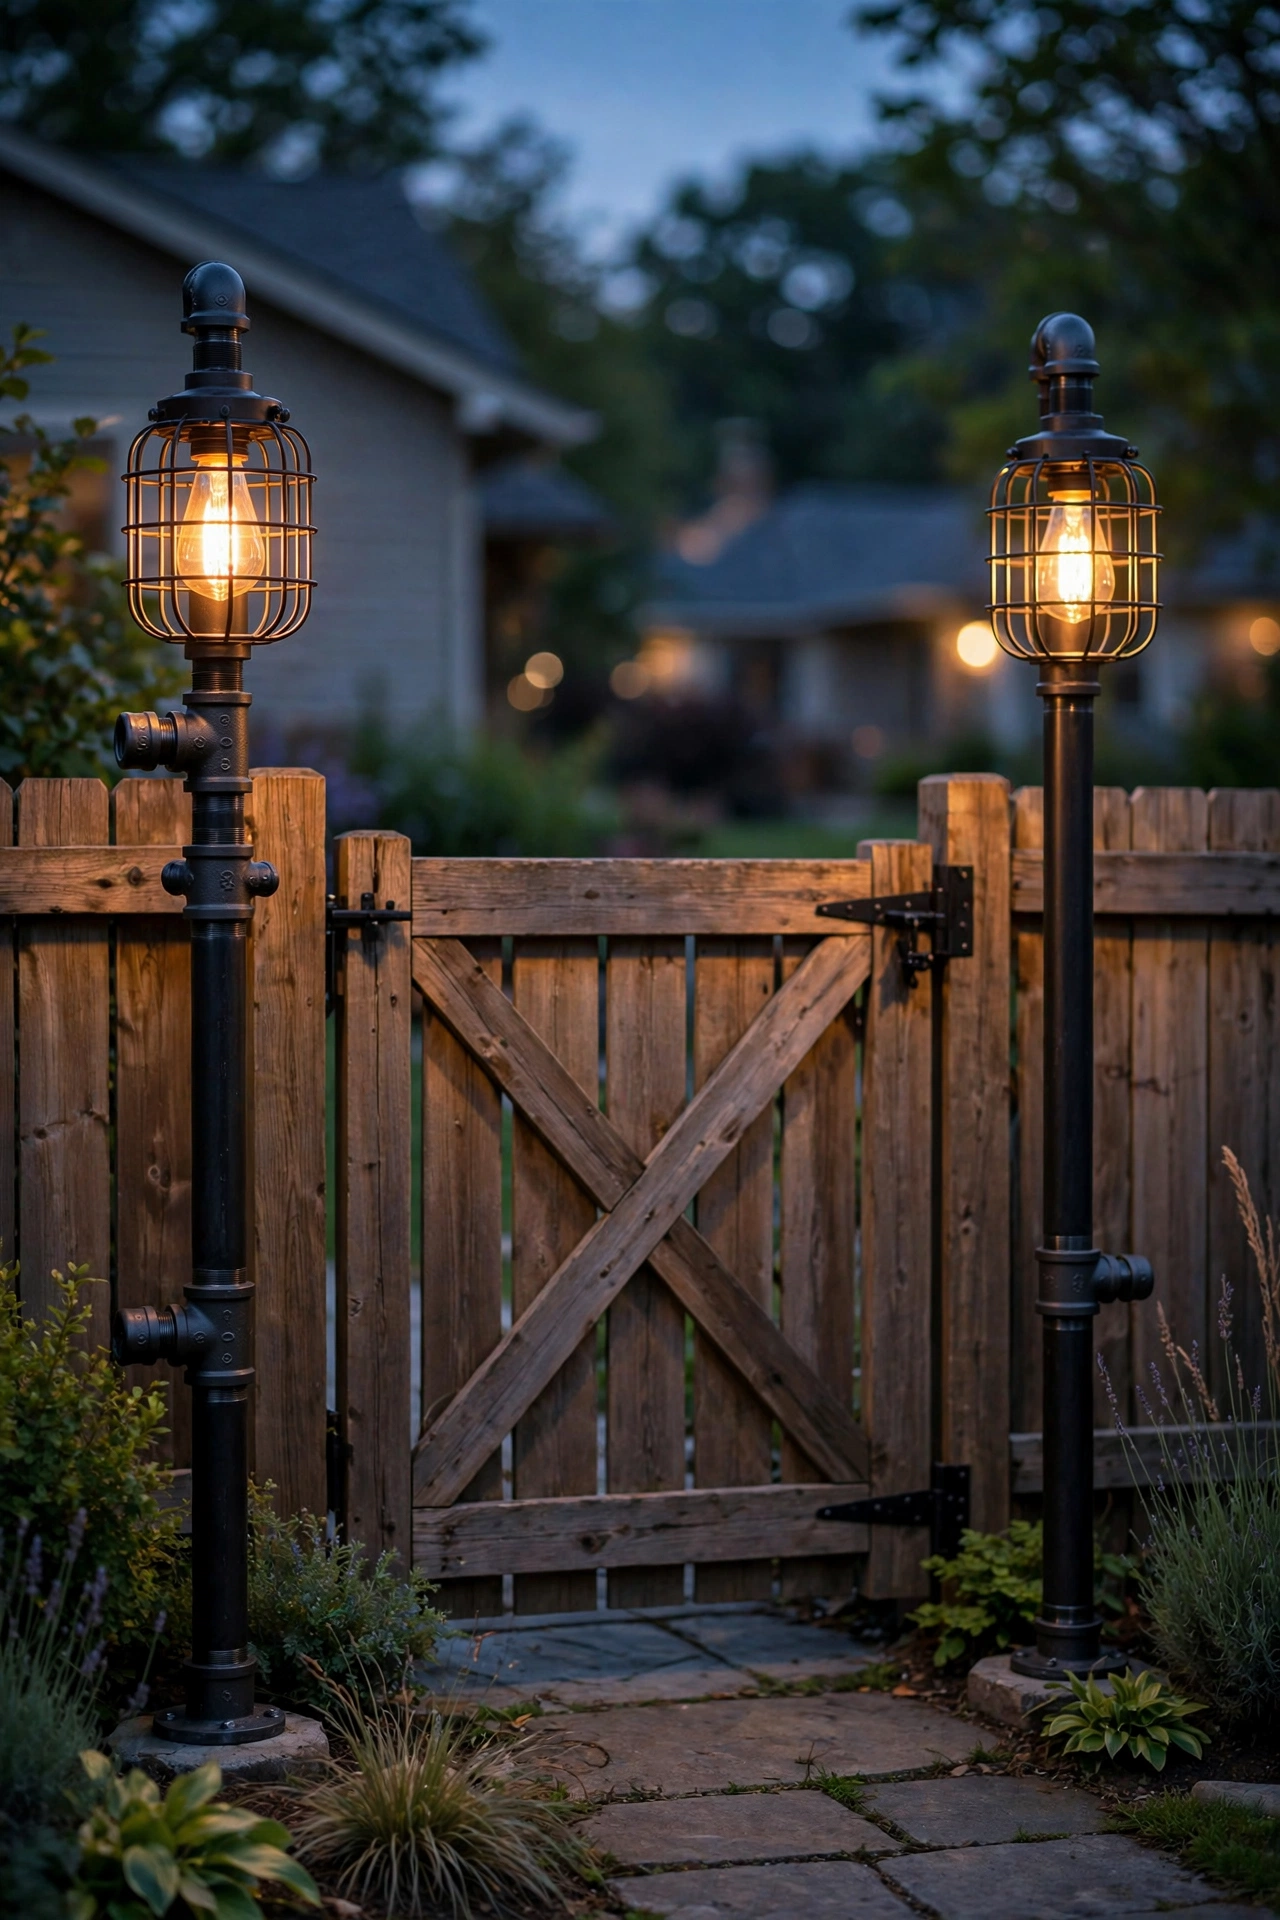
Galvanized pipe is the soul of industrial design, so pipe-frame post lights flanking a fence gate feel authentically rugged. Use 3- to 4-foot black steel pipe posts set in concrete footings at least 18 inches deep, then top each with a small caged lantern head. In my experience, two matching fixtures bookending the gate give the entry a finished, almost commercial feel — like the entrance to a cool warehouse loft.
Keep the lamp head at about 5 feet above grade for a good balance of visibility and glare control. Wire them on the same low-voltage 12V line as your path lights if you have them, which simplifies timers and transformers. I always recommend cage-style heads with seeded or clear glass so the filament bulb shows — that's the whole point. Add a motion sensor to the circuit if the gate leads to a dark side yard; industrial looks great, but you still want security.
Weatherproofing is straightforward: thread sealant on every pipe joint keeps water from wicking inside, and a weep hole drilled at the lowest point of the lantern head lets any condensation drain instead of pooling on the socket.
Suggested budget range: $110 – $280.
8. Concrete Dome Uplights Washing a Brick Wall
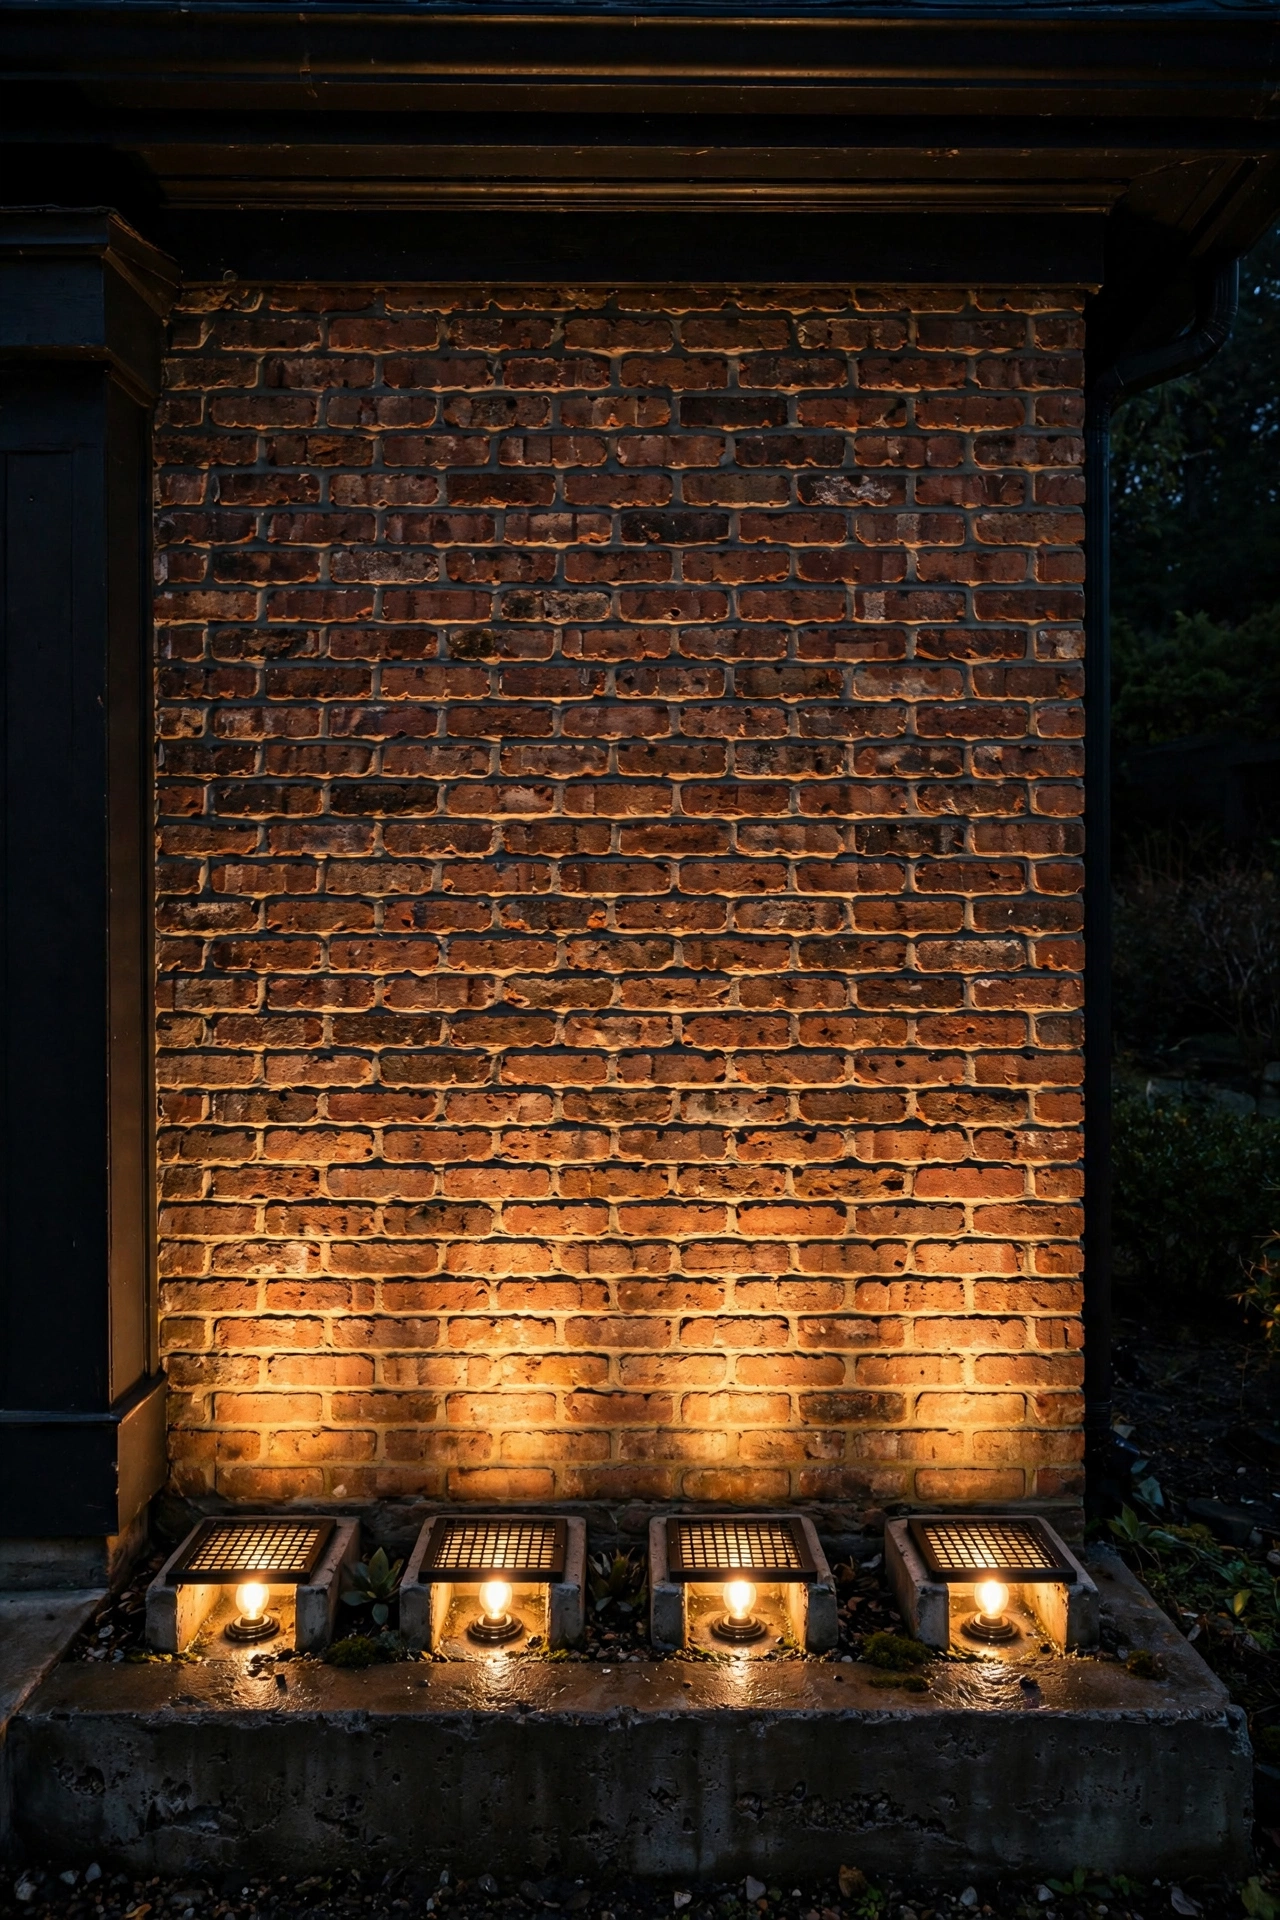
Concrete and brick together are industrial heaven, and uplights are how you show them off after dark. Place small concrete or concrete-look well lights 12 to 24 inches out from the base of a brick wall, spaced 4 to 6 feet apart. In my experience, the grazing angle — light raking upward across the texture — makes every brick and mortar line pop in a way flat floodlighting never does.
Use warm-white MR16 LED lamps at 2700K with a 36- to 60-degree beam spread; narrow beams create dramatic columns, wider beams give a softer wash. Bury well lights flush with the mulch or gravel so mowers and feet pass right over them, and choose fixtures with tempered glass lenses rated for foot traffic. I always recommend a timer that runs these for 3 to 4 hours after dusk rather than all night — you get the evening drama without the all-night energy bill.
For safety, keep fixtures at least 6 inches from wood siding or dry mulch, and never bury the transformer — mount it above grade where it can ventilate. A quick wipe of the lens each season keeps the output crisp.
Suggested budget range: $100 – $300.
9. Cage Spotlights Uplighting the Tree Canopy
Industrial outdoor lighting isn't just for architecture — caged spotlights aimed up into trees create one of the most dramatic effects in any yard. Set two or three die-cast metal spotlights with protective cages around the base of a specimen tree, 2 to 3 feet from the trunk, and angle them so the beams cross in the canopy rather than hitting one spot. In my experience, crossing beams fill the foliage evenly and avoid that harsh "hotspot" look.
Use PAR38 LED floods at 3000K — slightly cooler than your 2700K house lights so the leaves read green instead of yellow. I always recommend 12V low-voltage fixtures staked into the ground; they're safe around roots and easy to reposition as the tree grows. Keep cables tucked under mulch and at least 6 inches from the trunk flare so they don't girdle growing roots.
Put tree lights on the same dusk-to-11pm timer as your other accent lighting, and skip lighting every tree — one or two hero trees plus the house wash is plenty. Over-lighting a yard flattens the very depth you're trying to create.
Suggested budget range: $90 – $250.

10. Mason-Jar Lantern Clusters on Deck Railings
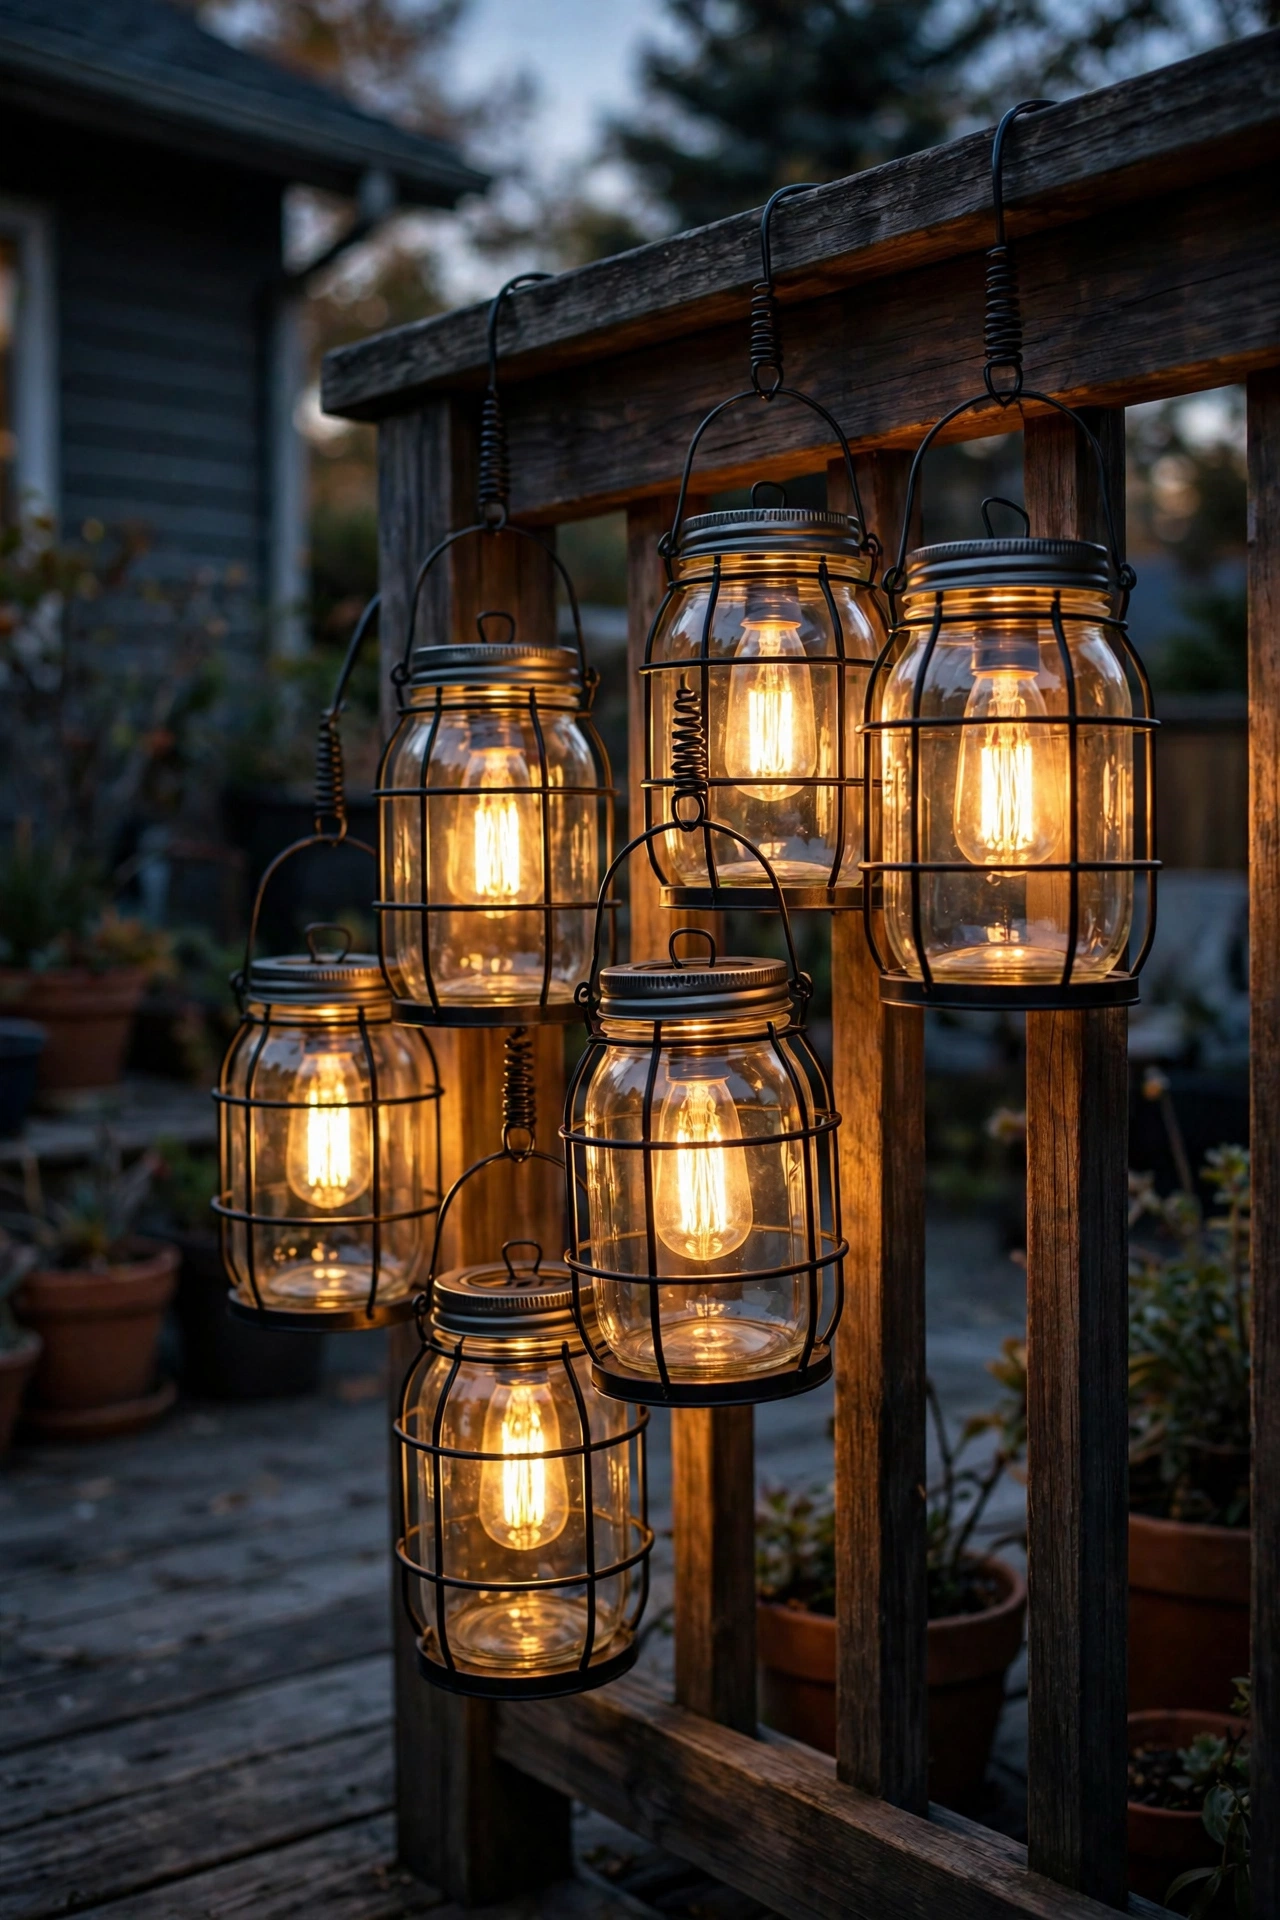
Mason-jar lanterns are the farmhouse cousin of industrial lighting, and when you mount them in black metal cages or brackets along a deck railing, they lean fully industrial. I always recommend grouping them in clusters of three at varying heights — say 12, 18, and 24 inches above the rail cap — rather than spacing singles evenly. The cluster reads like a curated installation instead of a row of afterthoughts.
Use battery or solar LED filament tea lights inside each jar for zero wiring; in my experience, the flicker-mode ones genuinely look like candlelight through the glass. If you want them wired, run low-voltage cable under the rail cap and use 1.5W LED filament bulbs — bright enough to read by, soft enough to keep the mood. Mount the brackets with stainless-steel screws so rust streaks don't stain your railing.
For safety, keep real candles out of this setup — jars trap heat and can crack. And bring battery jars inside during deep freezes; cold kills battery life fast. A once-a-season wipe with a damp cloth keeps the glass sparkling.
Suggested budget range: $40 – $110.
11. Industrial Outdoor Lighting Chandeliers for Covered Patios
An industrial outdoor lighting chandelier — think a wagon-wheel ring, a rectangular steel frame, or a cluster of caged bulbs on black pipe — turns a covered patio ceiling into a destination. Mount it on a reinforced junction box rated for at least 50 pounds, with the bottom of the fixture 7 to 8 feet above the floor. In my experience, centering it over the main seating arrangement (not the geometric center of the patio) makes the space feel designed around people.
Load it with dimmable LED filament bulbs — a mix of globe and tubular shapes adds visual interest — and absolutely put it on a dimmer. Chandeliers this bold at full brightness can feel like a stadium; dimmed to 40 percent they're pure atmosphere. Choose a fixture rated for damp locations minimum, and if your patio is open on the sides where rain blows in, go wet-rated to be safe.
I always recommend hanging chandeliers from a short length of black chain rather than a rigid stem; the slight sway reads as intentional and rustic, and it absorbs wind gusts instead of fighting them. Check the mounting bolts yearly — outdoor hardware loosens faster than indoor.
Suggested budget range: $150 – $450.

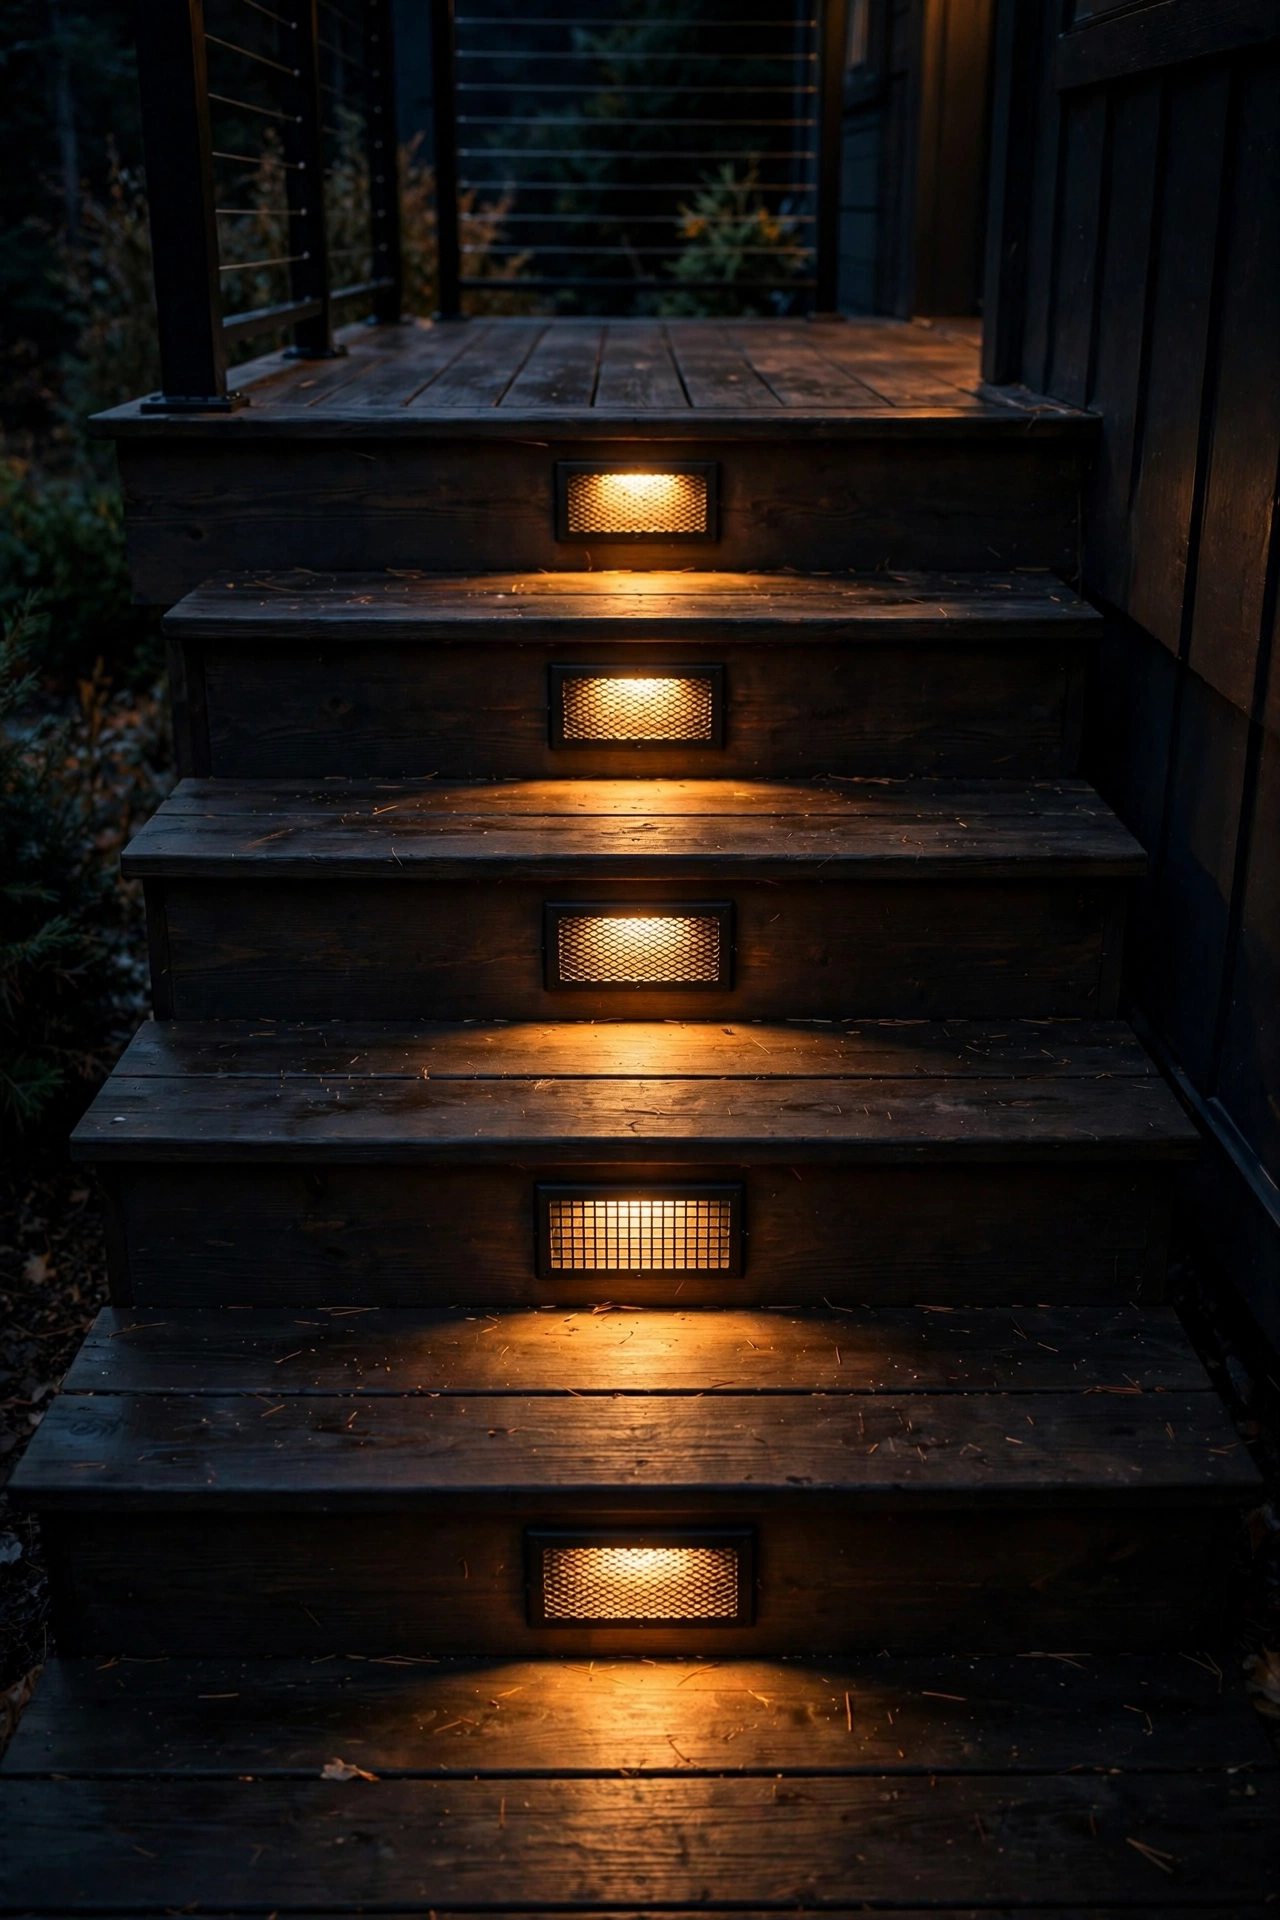
12. Repurposed Gear-and-Mesh Deck Step Lights
Step lights are a safety essential, and industrial styling keeps them from looking like an afterthought. Choose recessed or surface-mount fixtures with mesh grilles, riveted bezels, or gear-like trim rings — small details that scream factory floor. I always recommend mounting step lights on the riser, not the tread, centered about 4 inches above the tread surface; that angle lights the next step down without shining into anyone's eyes.
Use 2700K LED step lights around 1 to 2 watts each — you need definition, not brightness. Space them every third or fourth step on long staircases, or one centered on short runs of three steps or fewer. Low-voltage 12V fixtures are the DIY-friendly choice; line-voltage versions need an electrician and a proper junction box in most jurisdictions.
For weatherproofing, caulk the top and sides of surface-mount fixtures (leave the bottom open so any water drains out), and choose housings in marine-grade or powder-coated metal. In my experience, step lights earn their keep on icy nights — pair them with a dusk-to-dawn sensor so they're always on when you need them.
Suggested budget range: $70 – $200.
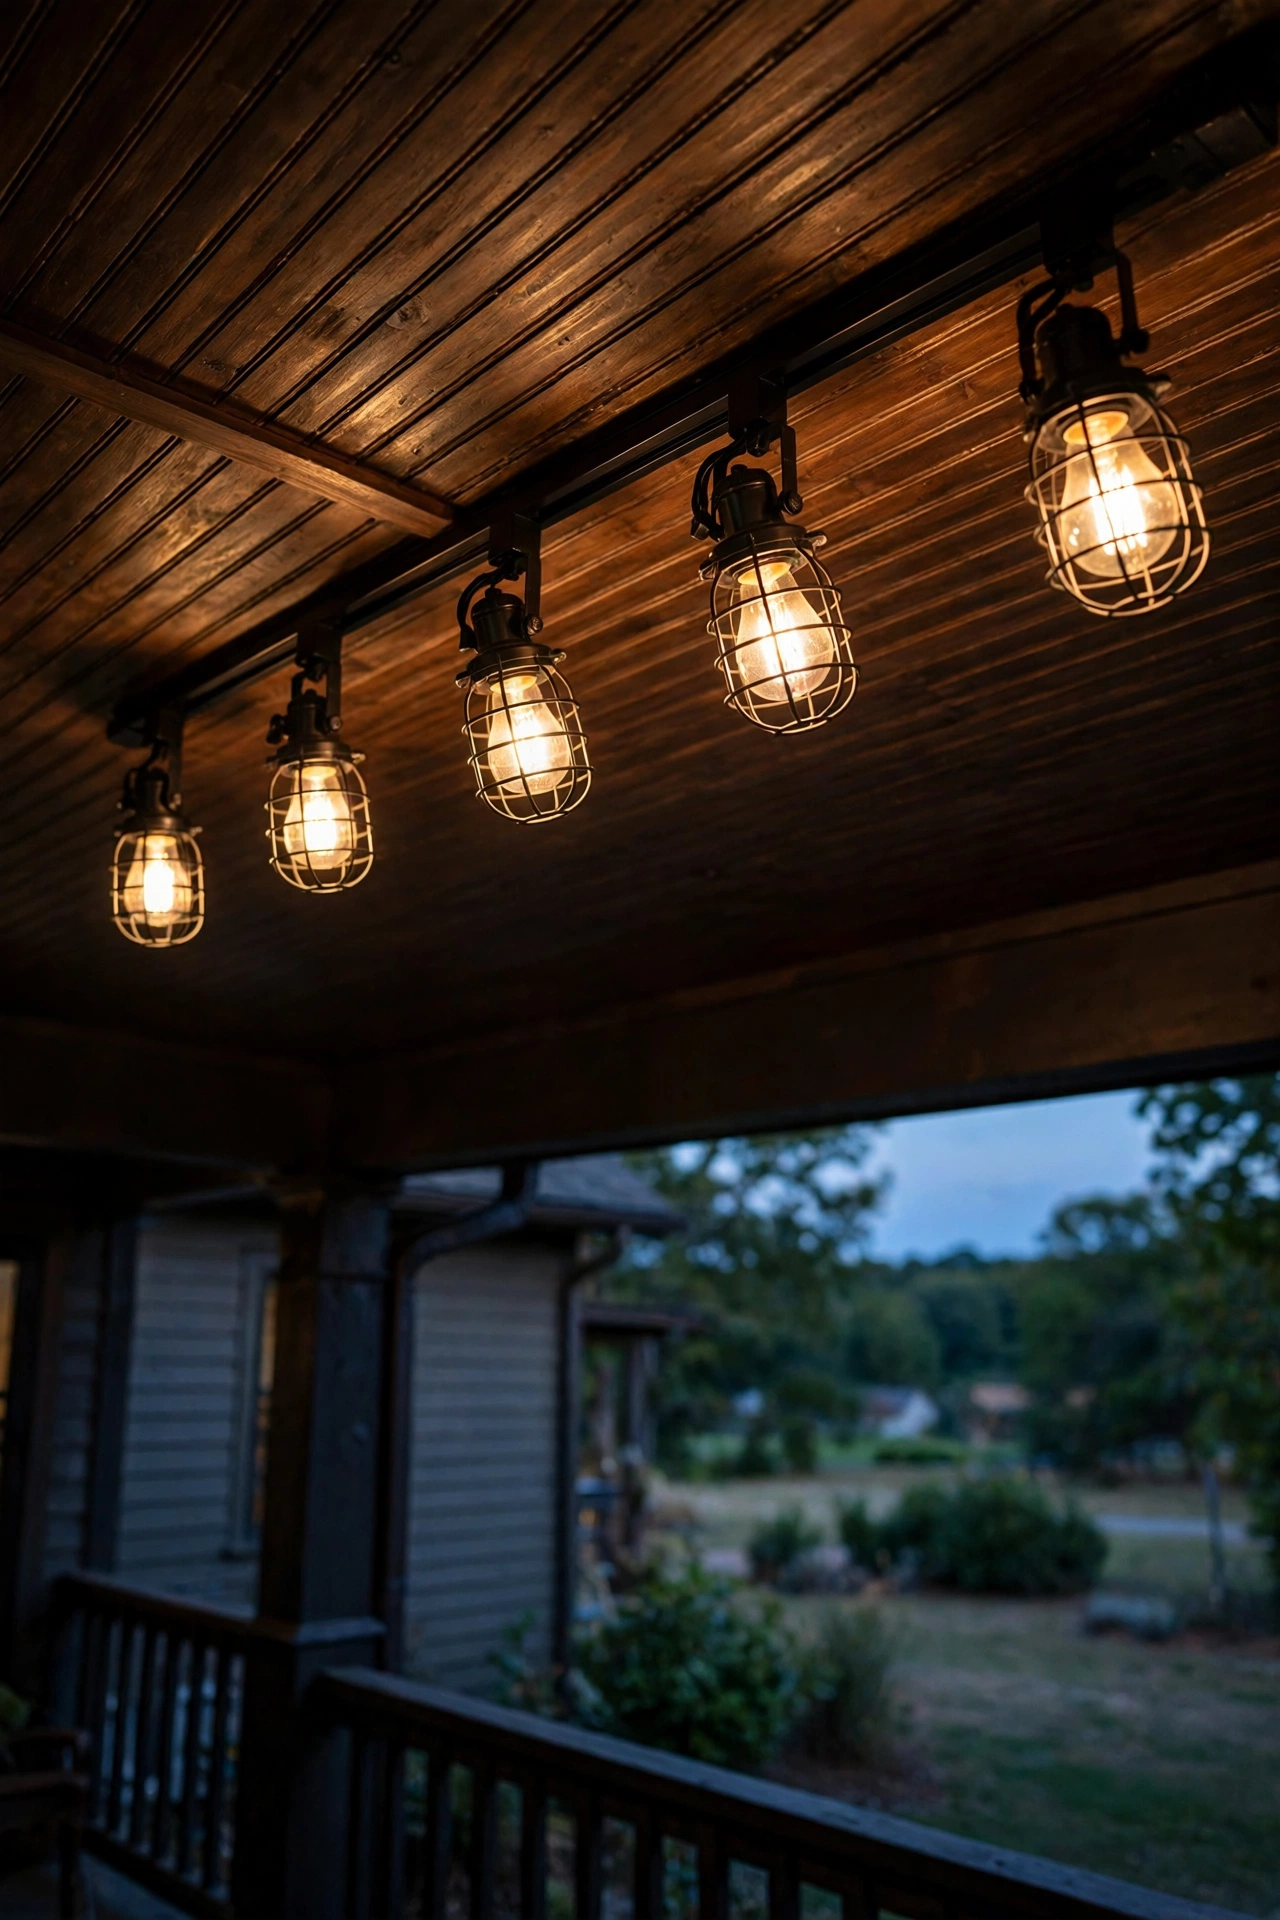
13. Track-Style Rails With Adjustable Heads on a Porch Ceiling
Borrowed straight from warehouse and gallery lighting, a black track rail with adjustable industrial heads is one of the most versatile moves on a covered porch. Mount the rail parallel to the house wall, about 12 inches out from it, so you can aim one head at the door, one at the seating area, and one at the steps. In my experience, this flexibility is the whole selling point — you can re-aim with the seasons as furniture moves.
Use LED PAR20 or MR16 track heads at 2700K, and I always recommend choosing heads with a cage or snoot guard so they read industrial even in daylight. Most outdoor-rated track systems are line-voltage, so plan on an electrician for the rail feed, then you can clip heads on and aim them yourself. Put the whole rail on a dimmer — track heads aimed at seating can be surprisingly bright at full power.
Space the rail so heads sit at least 8 feet above the floor to avoid head bumps, and confirm the mounting screws hit ceiling joists, not just beadboard. A quick annual check that each head still pivots freely keeps the system useful for years.
Suggested budget range: $140 – $380.
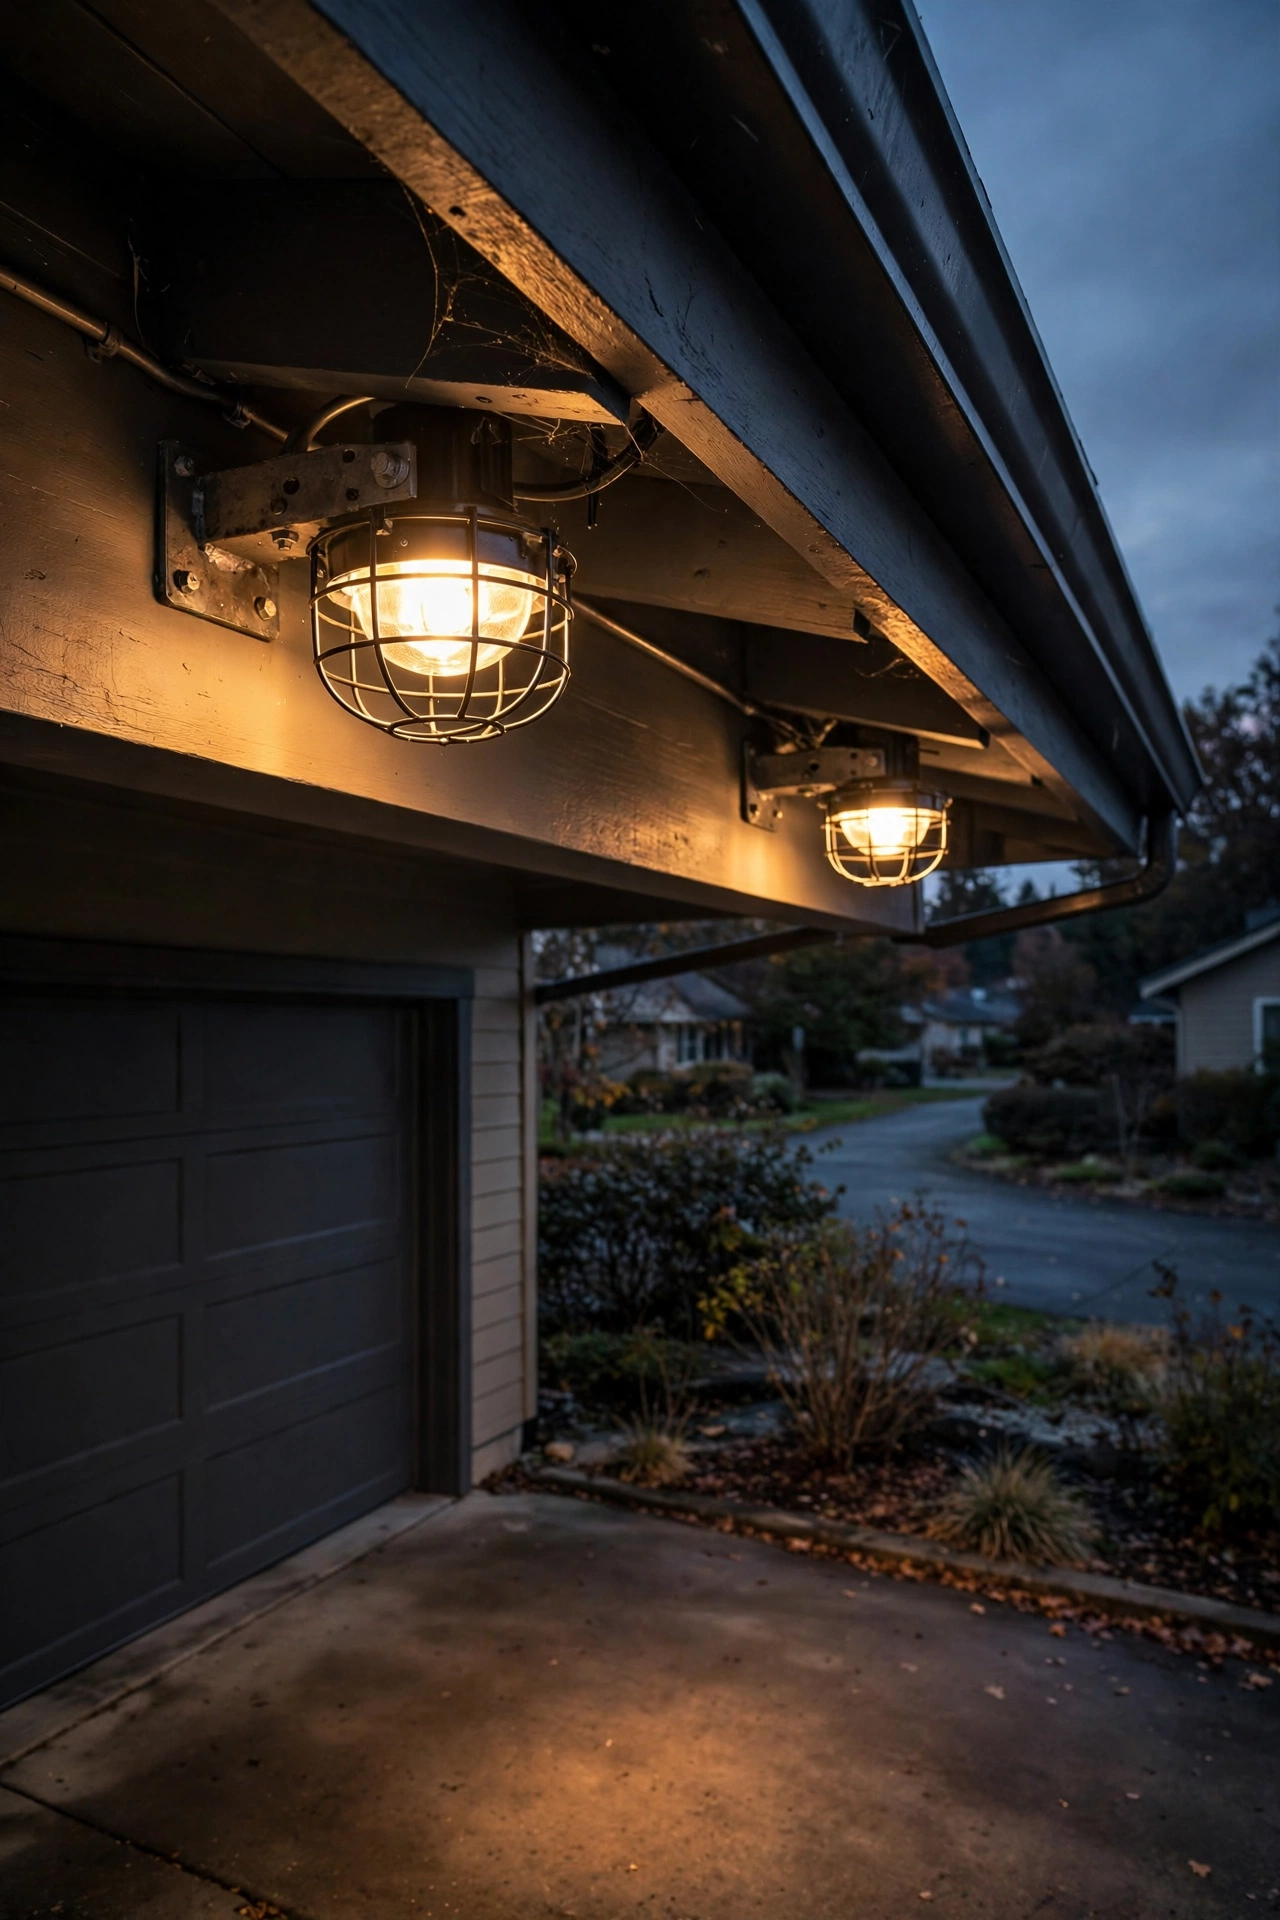
14. Steel Cage Flood Lights for the Driveway
Sometimes you need real muscle, and a steel cage flood light delivers industrial looks with serious output. Mount one or two on the garage eave or a sturdy pole, angled down at 45 degrees to cover the driveway without blasting the neighbors' windows. I always recommend aiming them so the beam's hot center lands mid-driveway — you want coverage, not a spotlight on one patch of concrete.
Use LED floods in the 2,000- to 3,000-lumen range at 3000K; warmer than that and you lose the crisp visibility you actually need for a driveway. Choose fixtures with a die-cast aluminum or steel housing, a protective wire guard over the lens, and an IP65 rating minimum. I always recommend pairing floods with a motion sensor — full industrial attitude when you pull in, dark-sky friendly the rest of the night.
For safety, keep floods at least 10 feet from bedroom windows (yours and the neighbors'), and never mount them where the housing could be grabbed — LED floods run cooler than old halogens, but the housing still gets warm. Seal the mounting plate with silicone and check the gasket yearly.
Suggested budget range: $80 – $220.
15. Caged House Numbers and Vintage-Style Marquee Signs
Industrial style lives in the details, and backlit house numbers in a black metal cage frame are a detail visitors notice. Mount a backlit number plaque beside the front door or on a porch post at 60 to 66 inches high — the same sightline as your sconces — so it reads clearly from the street. In my experience, warm 2700K backlighting makes dark bronze or black numbers glow legibly from 30 feet away without looking commercial.
Use a low-voltage LED panel behind laser-cut metal numbers, housed in a simple cage or channel frame. I always recommend a dusk-to-dawn photocell so the numbers light automatically — it's a small safety win for deliveries and emergency responders. Keep the fixture shallow, no more than 3 inches deep, so it doesn't snag on the door swing or look bulky.
If you go the marquee-letter route over a patio bar or outdoor kitchen, use shatterproof LED filament bulbs in the letters and hang the sign from black chain. Confirm the sign is rated for outdoor use — indoor marquee signs corrode fast outside. One sign per zone is plenty; industrial is bold, but restraint keeps it classy.
Suggested budget range: $55 – $160.

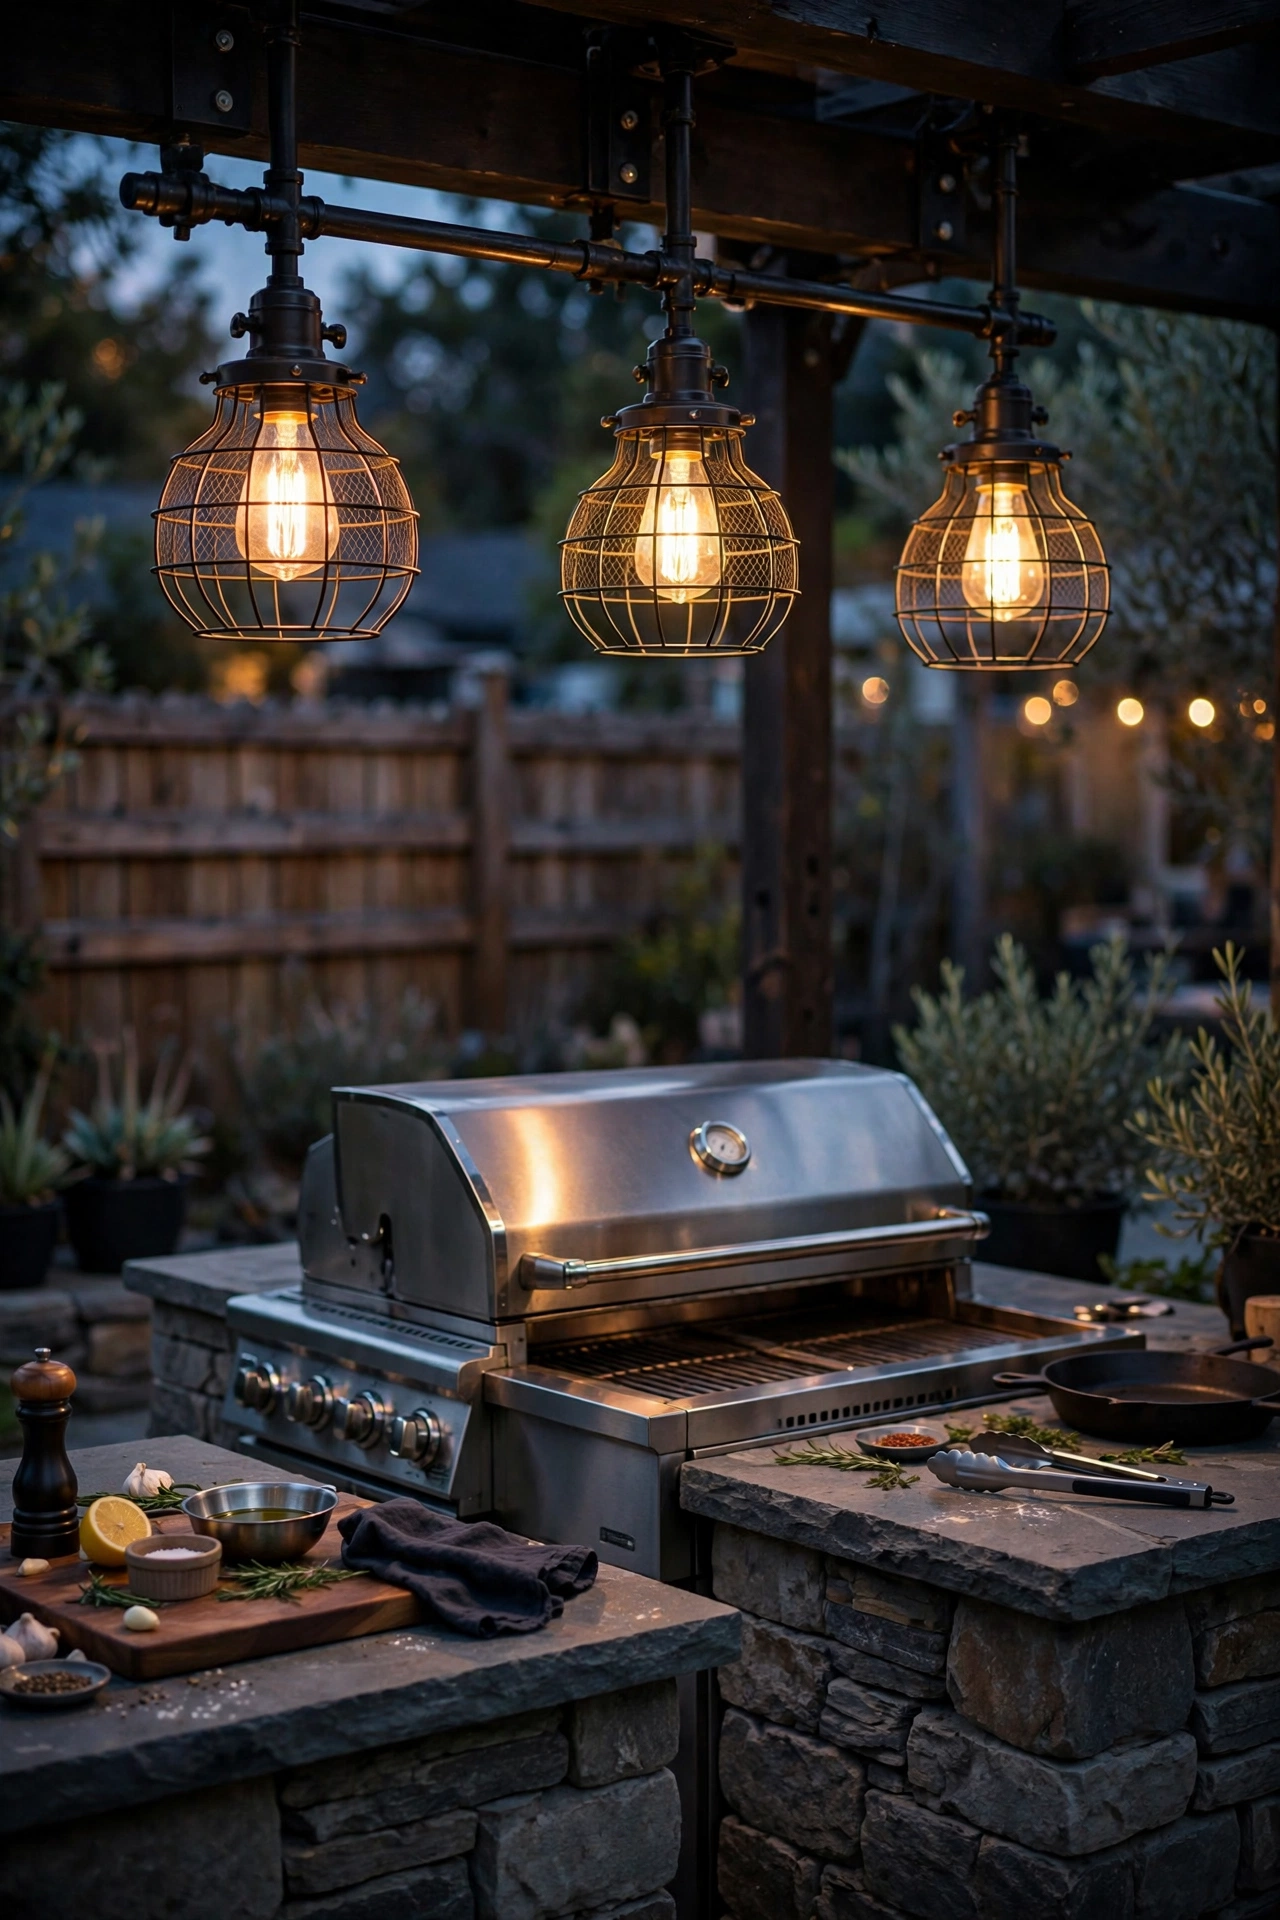
16. Wire-Shelf Task Lights for the Outdoor Kitchen
Outdoor kitchens need real task light, and industrial wire-shelf fixtures — metal cages over a bright bulb, often on an adjustable arm — deliver it with style. Mount one over each work zone (grill, prep counter, sink) at 24 to 30 inches above the surface for shadow-free task lighting. In my experience, a 4000K bulb works better than warm white over a grill — you need to see whether that steak is actually medium-rare — while 3000K suits the dining side.
Use wet-rated fixtures with a focused beam and an adjustable shade you can tilt; steam and splatter are part of outdoor cooking, so the rating matters. I always recommend putting task lights on a separate switch from the ambient lights — you want full brightness while cooking and low mood light when you're eating. Run the wiring through conduit tucked under the counter overhang for a clean, professional look.
If you're planning the bigger picture for your cooking space, it's worth browsing a broader range of exterior lights to see how task, accent, and ambient layers work together around grills and patios. Layering is what separates a lit kitchen from a great one.
Suggested budget range: $130 – $340.
17. Layering Industrial Outdoor Lighting for Maximum Edge
The final idea isn't a fixture — it's the principle that ties all 17 together. Layering industrial outdoor lighting means combining at least three light levels: ambient (string lights, chandeliers), task (sconces, kitchen lights, floods), and accent (uplights, tree spots, step lights). In my experience, yards with all three layers look professionally designed, while single-layer yards look flat no matter how nice the individual fixtures are.
Start with your ambient base — the overall glow that makes the space usable — then add task lights where you actually do things (grill, steps, doors), and finish with accents that show off texture: brick, bark, stone. I always recommend keeping everything in the same warm color family, 2700K to 3000K, so the layers blend instead of clashing. Put ambient and accent lights on one dusk timer and task lights on separate switches or motion sensors, so the scene adapts to what you're doing.
Walk your property at night once a season and re-aim anything that's drifted. Five minutes of tweaking keeps the whole layered composition looking intentional all year.
Suggested budget range: $200 – $600.

Frequently Asked Questions
How do I keep metal outdoor fixtures from rusting?
Start with the right materials: powder-coated steel, galvanized metal, or solid brass and copper all hold up far better than thin painted metal. In my experience, most rust starts at scratches and mounting points, so touch up any chips with rust-inhibiting spray paint the moment you spot them. I always recommend a light coat of clear exterior sealant on joints and screw heads once a year, and wipe fixtures down each spring to remove the salt and grime that trap moisture. If you live near the coast, choose marine-grade or 316 stainless hardware — standard zinc screws will streak rust down your siding within a season.
Should I use Edison bulbs or LED filament bulbs outdoors?
LED filament bulbs, every time. They look nearly identical to vintage Edison bulbs — same visible filaments, same amber glow — but they use about 80 percent less energy, last 15,000 to 25,000 hours instead of 1,000 to 2,000, and run cool enough not to stress outdoor fixtures. In my experience, the shatterproof polycarbonate versions are the real game-changer for patios and pergolas, where wind and the occasional stray ball are facts of life. Choose 2200K to 2700K for the authentic warm look, and make sure any bulb you use outdoors is rated for enclosed or damp locations depending on the fixture.
Can you dim industrial outdoor lights?
Yes — and I always recommend it. Dimming is what takes industrial lighting from "cool fixtures" to "incredible atmosphere." The key is matching your dimmer to your bulbs: most LED filament bulbs need an LED-compatible (trailing-edge) dimmer, not an old incandescent one. For plug-in string lights, a weatherproof smart plug with dimming or a smart dimmer switch gives you app and voice control plus scheduling. In my experience, dimming your pendants and chandeliers to about 40 percent for evening lounging while keeping path and step lights at full brightness gives you the perfect layered look. Just confirm every bulb on the circuit is labeled dimmable before you install the dimmer.
How do I mix industrial lighting with other styles?
Industrial is surprisingly friendly — it shares DNA with farmhouse, modern, and rustic styles. In my experience, the trick is picking one anchor material and repeating it: matte black metal ties industrial to modern, while galvanized steel bridges to farmhouse. I always recommend keeping your color temperature consistent (2700K across everything) so different fixture styles still feel like one plan. Try industrial cage sconces by the door with cleaner-lined path lights, or a factory-style chandelier over the patio paired with simple modern step lights. The rule of thumb: let industrial be the accent (2 to 3 statement pieces) and keep the supporting fixtures simpler, so the look feels curated rather than themed.
Conclusion
If there's one thing I want you to take from these industrial outdoor lighting ideas, it's this: edge comes from layering, not from any single fixture. Start with one statement piece — the cage sconces, the chandelier, the string lights — then build out your ambient, task, and accent layers in the same warm tones and dark finishes. In my experience, that's the difference between a yard with cool lights and a yard people talk about.
Pick the two or three ideas that fit your space and budget, install them over a weekend, and then walk outside after dark and just look. I have a feeling you'll love what you see. And when you're ready for more inspiration, browse our other lighting idea collections — your next favorite glow is waiting.