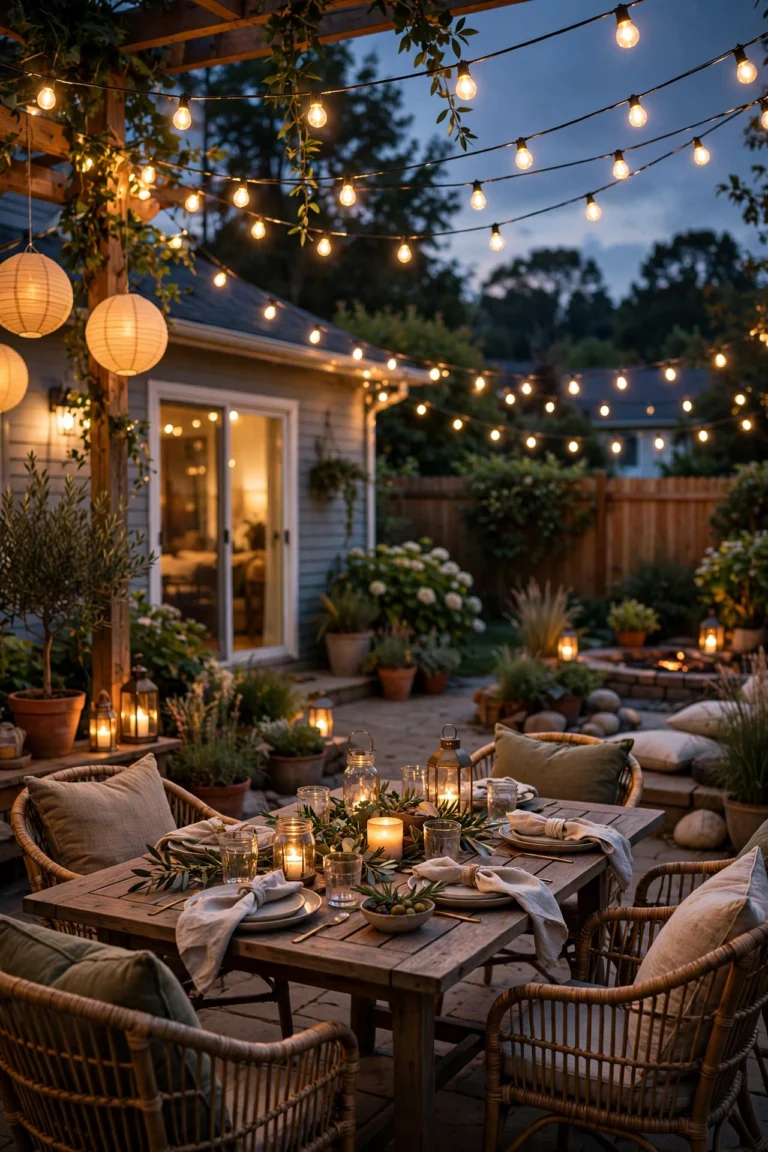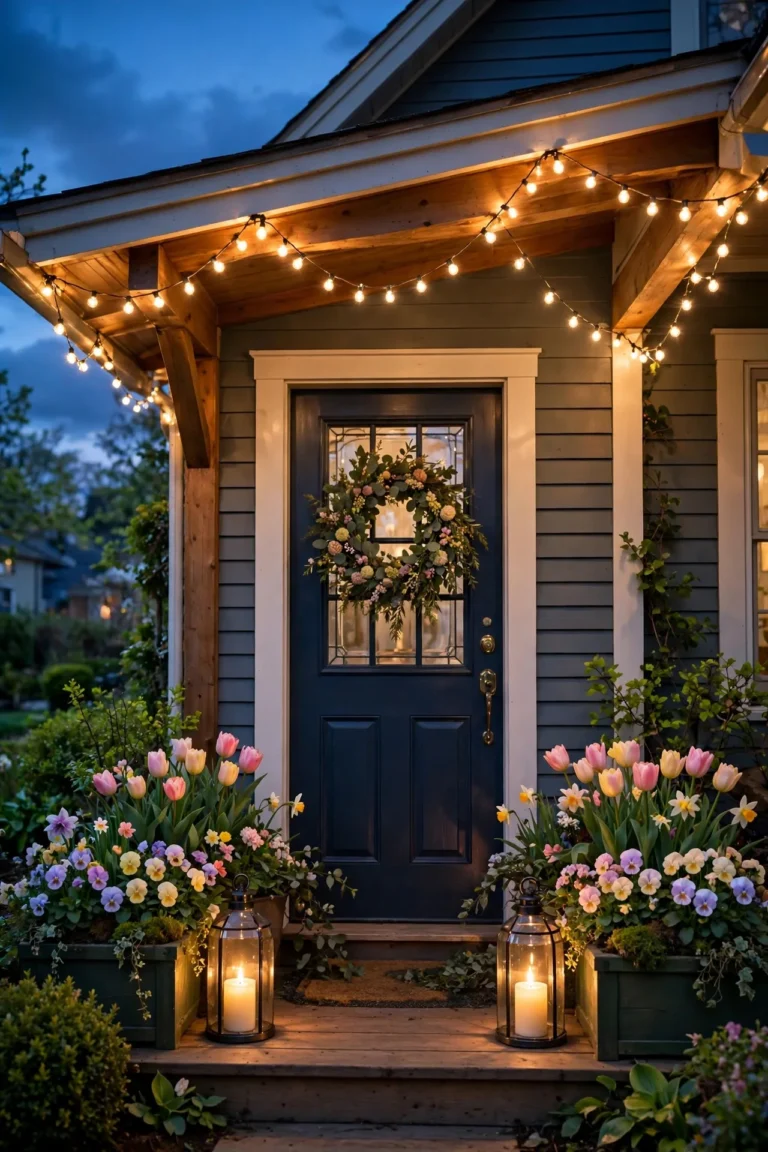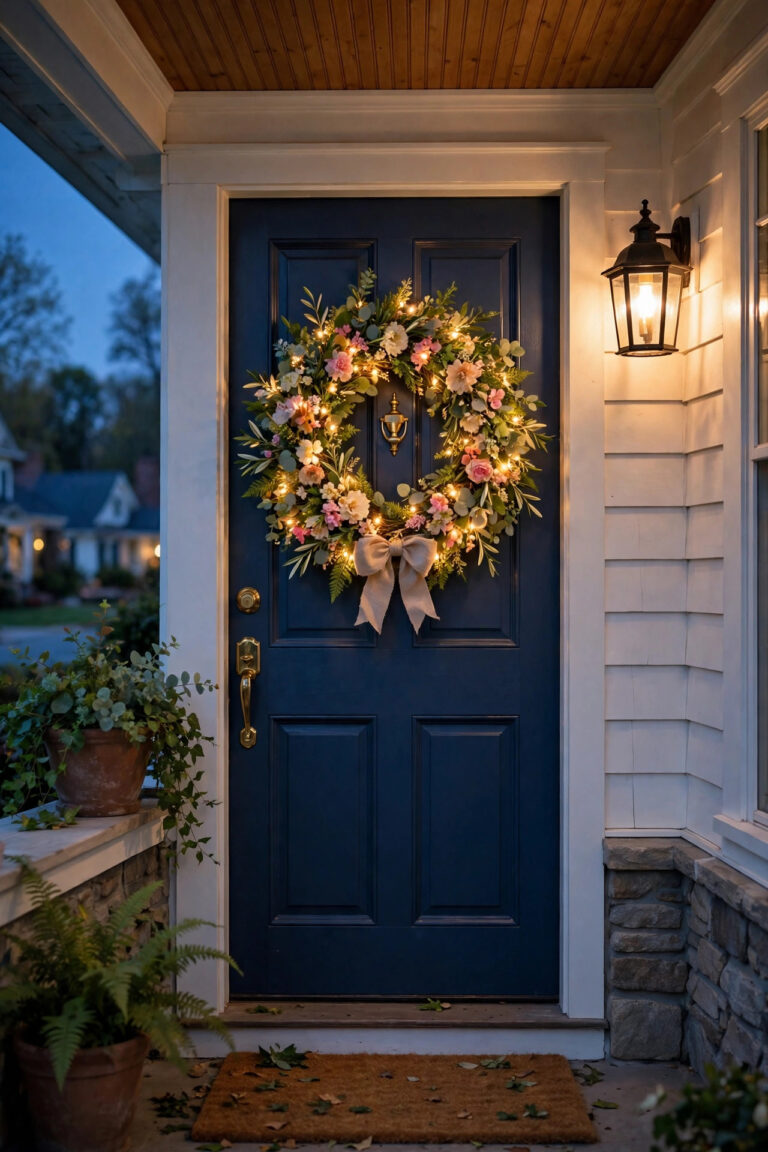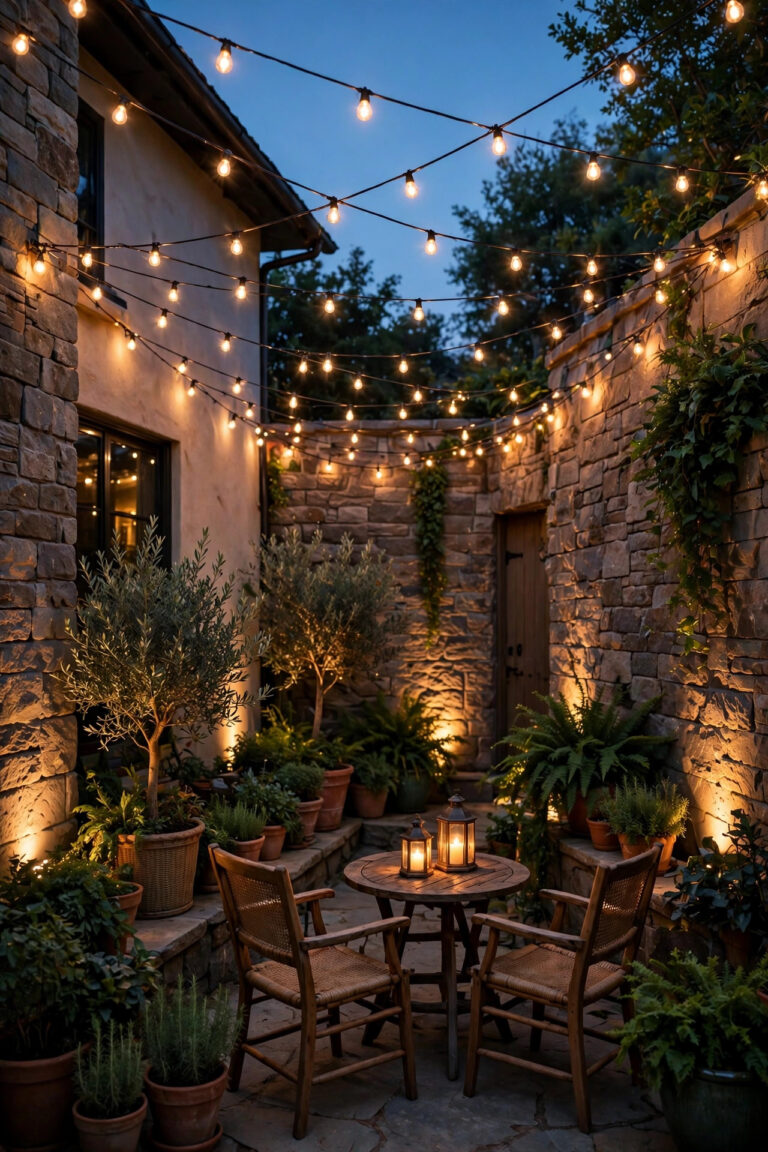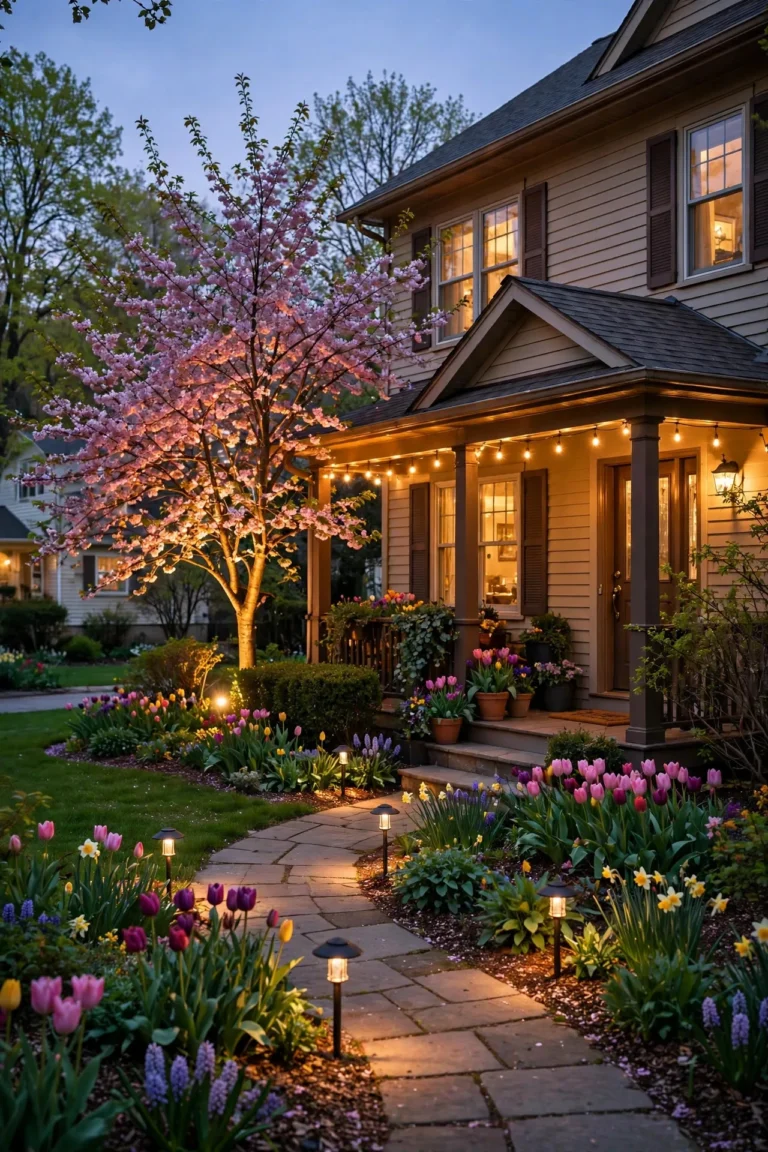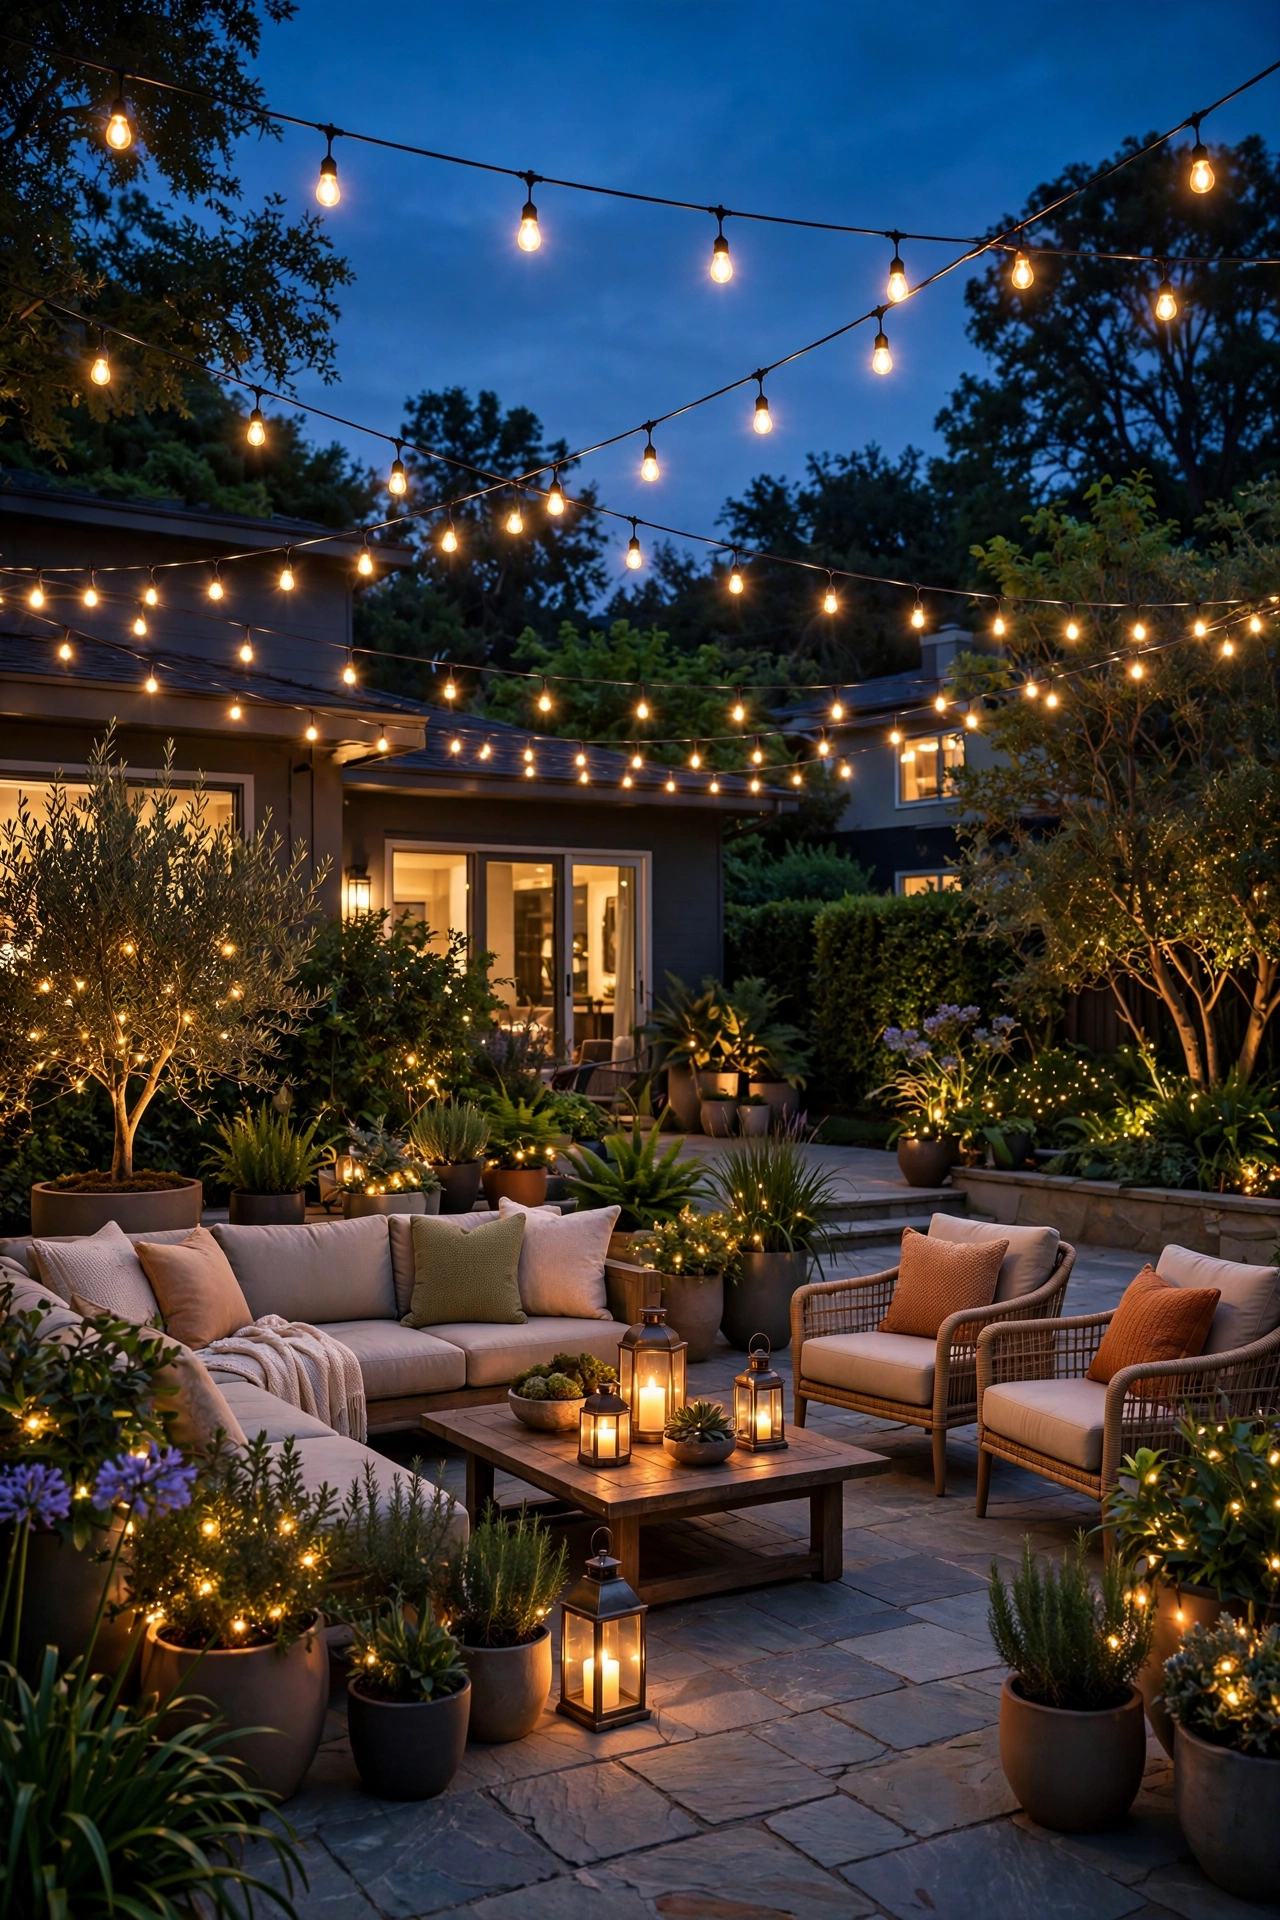
Nothing transforms a patio faster than light. I'm Sarah, and I will die on this hill: the most beautiful patio furniture in the world still looks flat and forgotten after sunset without a proper glow. The good news is that great patio lighting ideas don't require a big budget — honestly, some of my favorite looks cost less than a pizza. I've arranged these 27 ideas from cheapest to splurge so you can stop wherever your wallet feels comfortable, or mix a $12 project with one statement piece and get a look that reads expensive.
My philosophy for patio lighting is always layering. You want three layers: ambient (the overall wash, like string lights), task (light where you actually need to see — over the grill, the dining table, the steps), and accent (the little sparks of magic — candles, uplights, fairy lights in a planter). Hit all three and your patio feels like a resort. Hit just one and it feels like a parking lot. Let's build your glow-up, one budget-friendly idea at a time.
1. Solar Path Stakes Along the Patio Edge
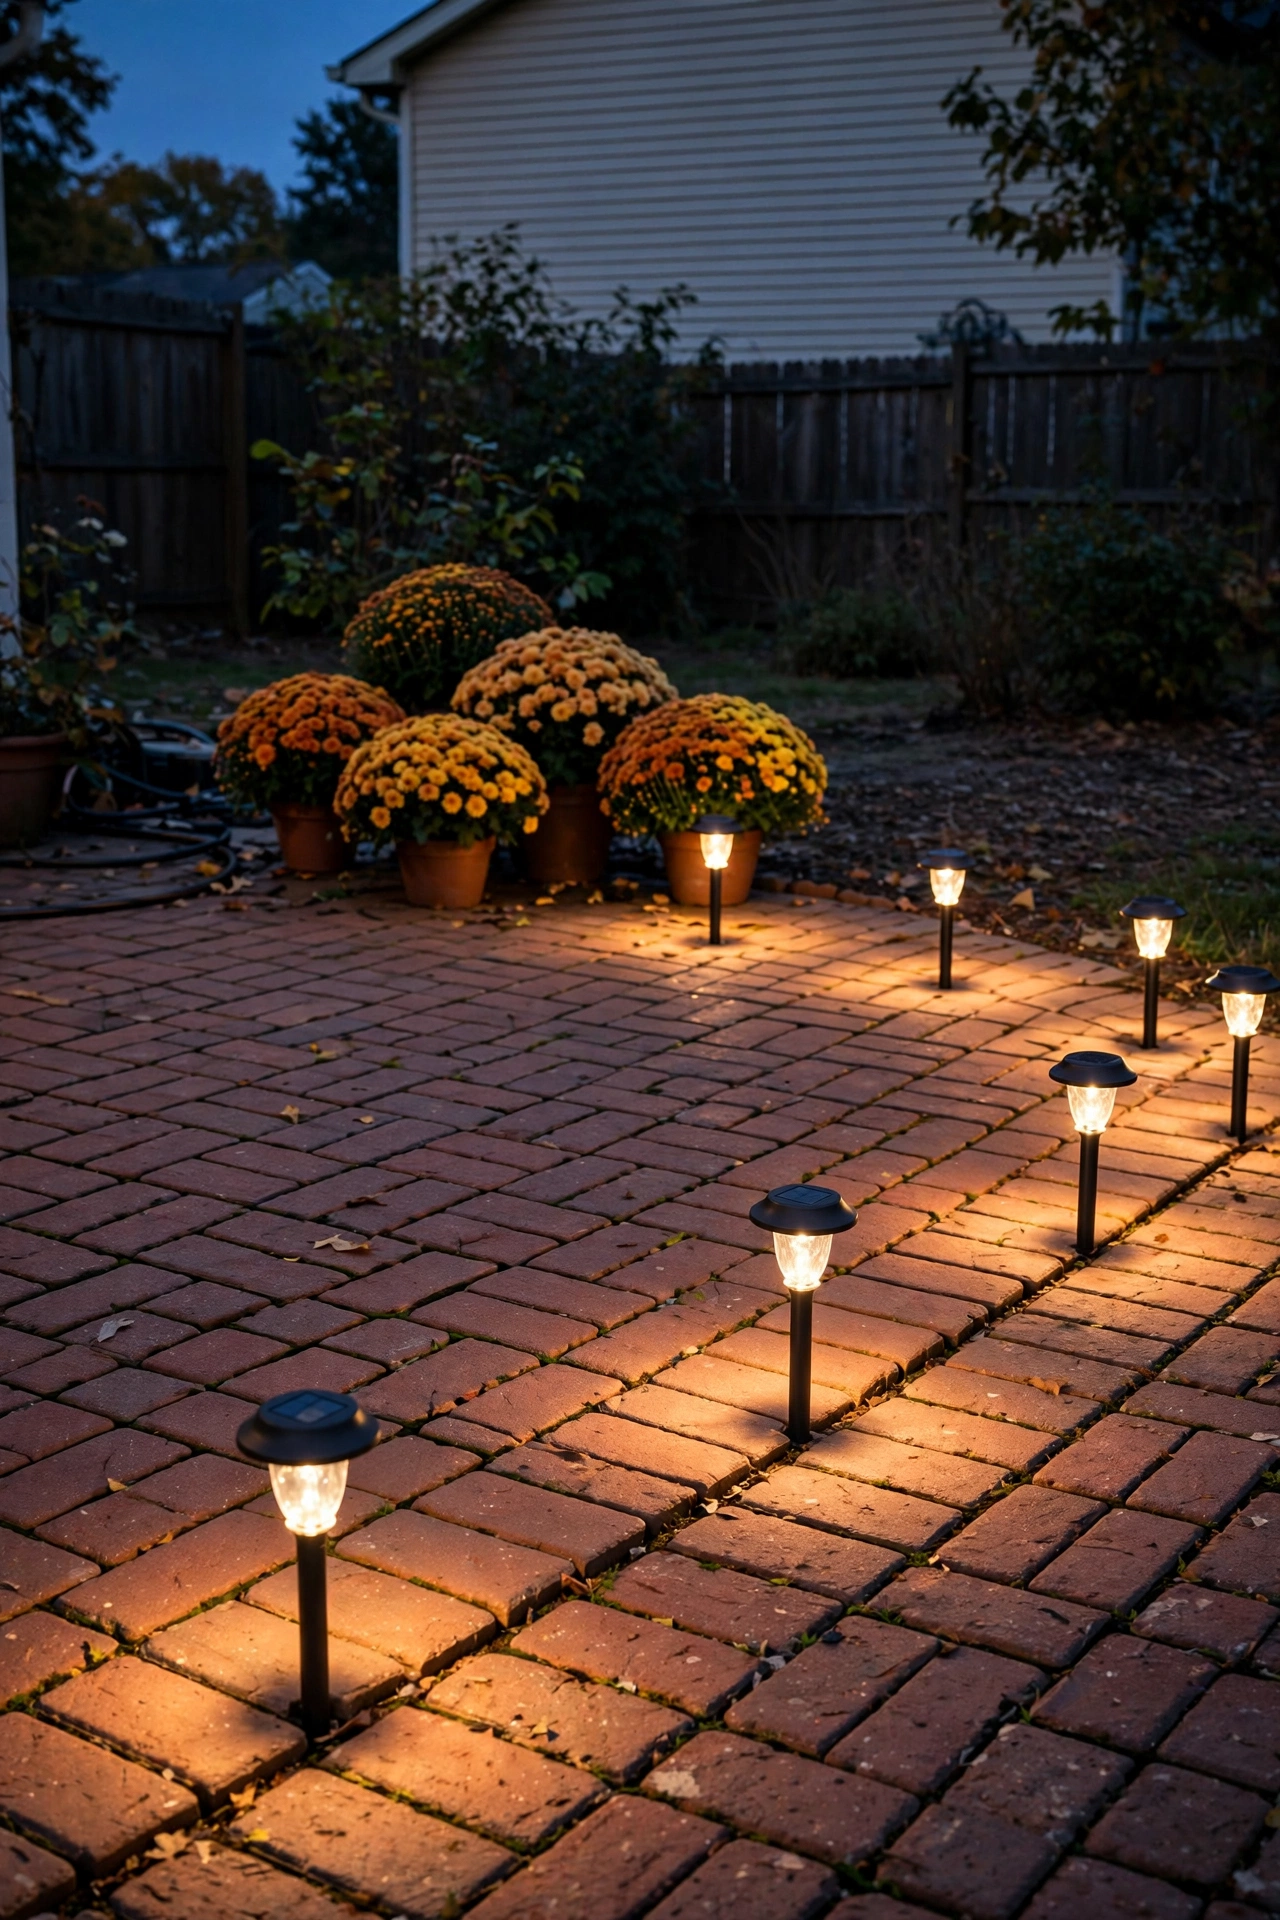
If you're starting from zero, start here. A set of solar path stakes pressed into the ground around your patio's perimeter gives you instant definition — that clear, glowing boundary between "lawn" and "living room." In my experience, six to eight stakes is the sweet spot for an average 12-by-16-foot patio; space them four to six feet apart and they'll read as a continuous line rather than scattered dots.
No wiring, no electrician, no battery swaps. Just push the stake into the soil (or a planter if your patio is all concrete — they work beautifully tucked into big pots) and let the sun do its thing. Look for warm white LEDs around 2700K; the cool blue-white ones make a patio feel like a convenience store parking lot, and I always recommend returning those. Most decent stakes run dusk to dawn automatically and hold a charge through roughly six to eight hours of darkness. One tip: give the little solar panel a wipe with a damp cloth every couple of months. Dust and pollen cut charging by more than you'd think, and a clean panel is the difference between dim at midnight and glowing at midnight.
Suggested budget range: $15 – $30.
2. DIY Mason Jar Solar Lanterns
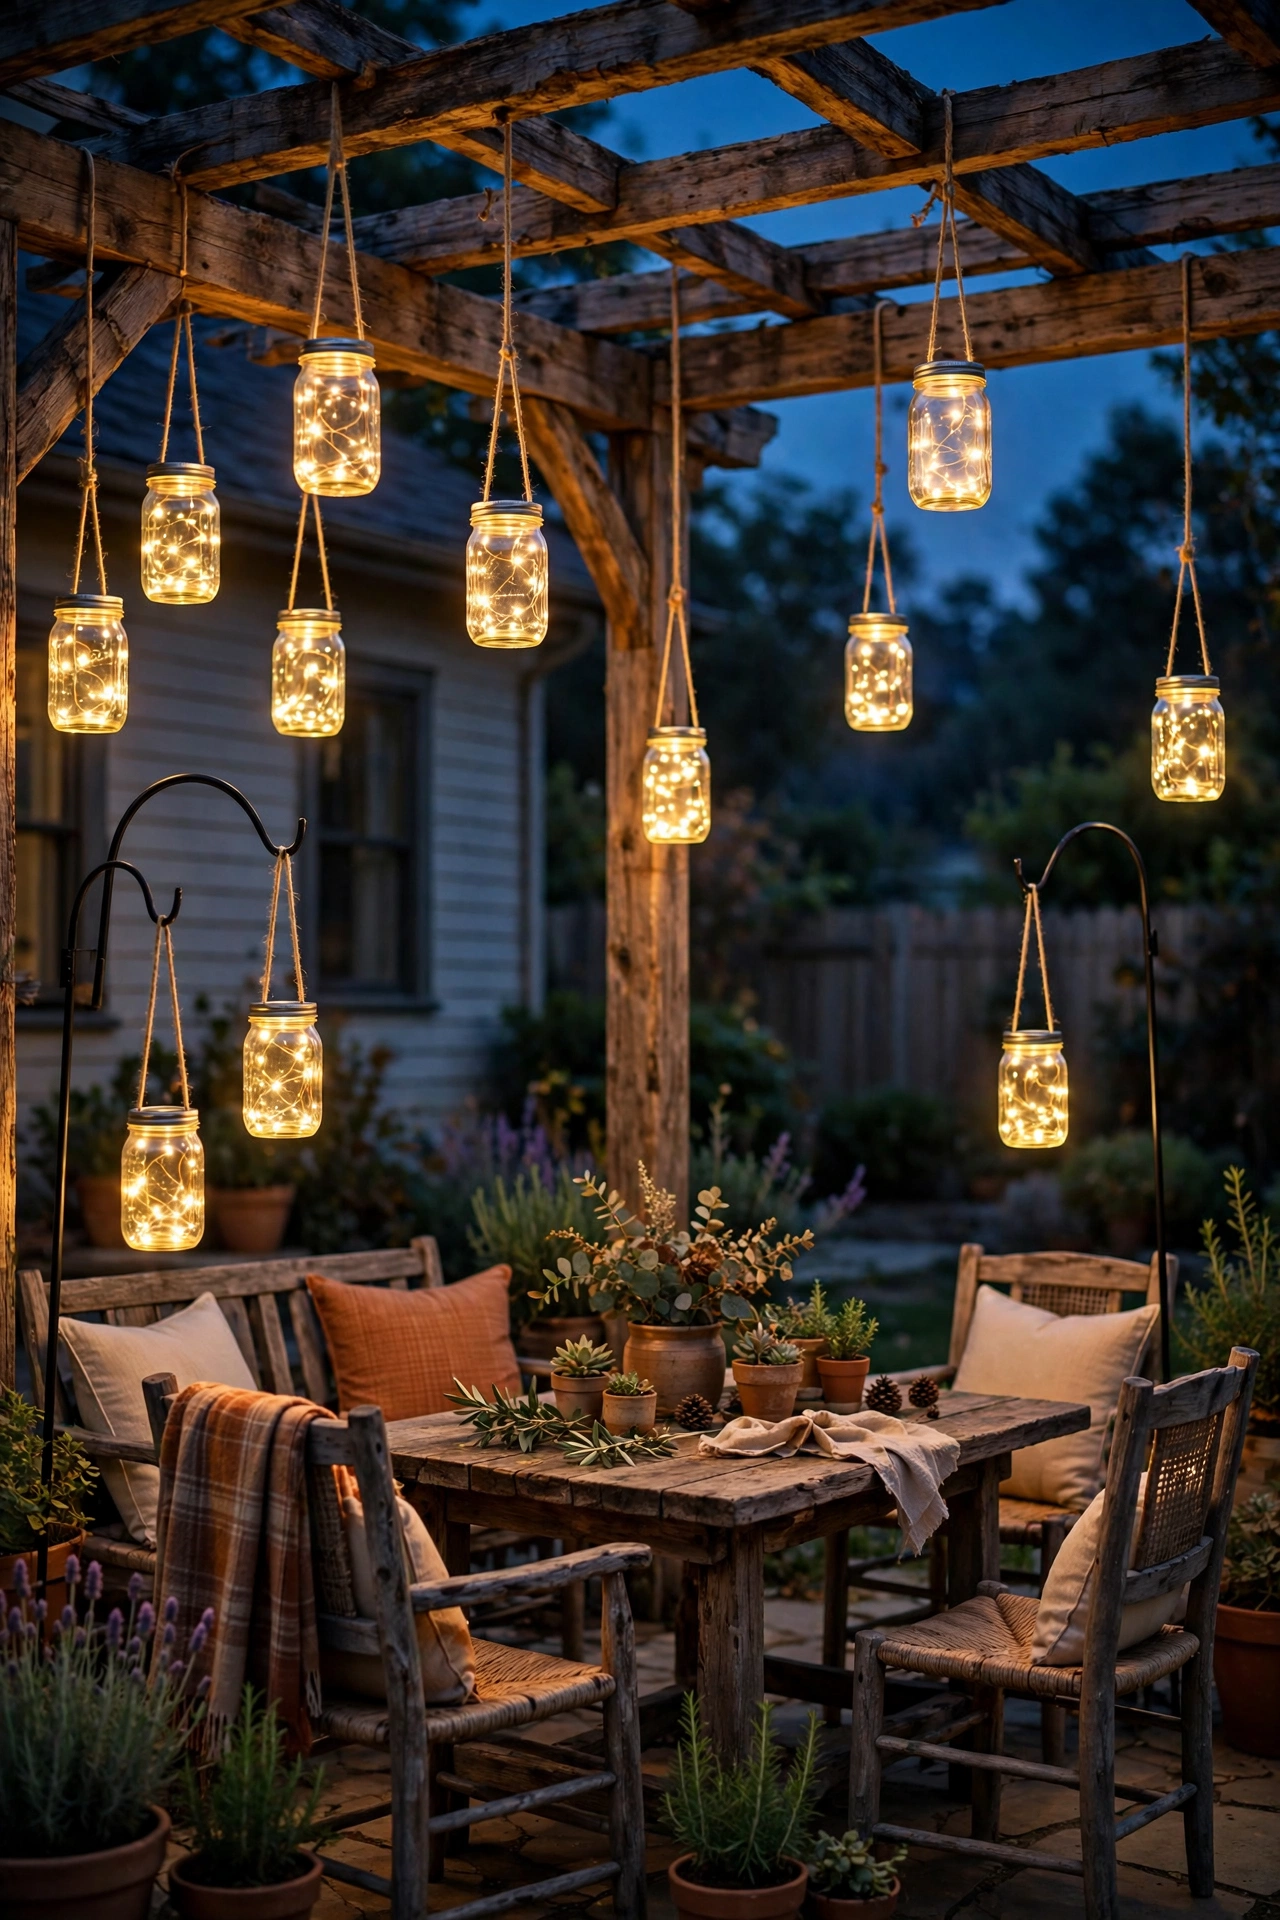
This is the craft-project-meets-lighting look that gets all the compliments for almost no money. Take a standard mason jar — wide mouth works best — and drop a solar fairy light strand (the tiny copper-wire ones, usually 20 to 30 LEDs) inside. Screw the lid back on, and hang the jars from shepherd's hooks, tree branches, or a pergola beam with a loop of jute twine.
The glass does something magical: it softens and scatters the light so each jar glows like a little firefly lantern. I like to cluster them in odd numbers — three or five — at slightly different heights for that collected-over-time look. If you want to get fancy, frost the inside of the jar with a light coat of frosted-glass spray paint for an even softer glow. The solar panel sits on the lid, so just make sure it's facing up and gets direct sun for at least six hours. A strand of 20 LEDs on a single panel usually shines six to eight hours, and honestly, by the time they fade, you're probably heading inside anyway.
Suggested budget range: $10 – $25.
3. Battery Tea Lights in Glass Hurricanes
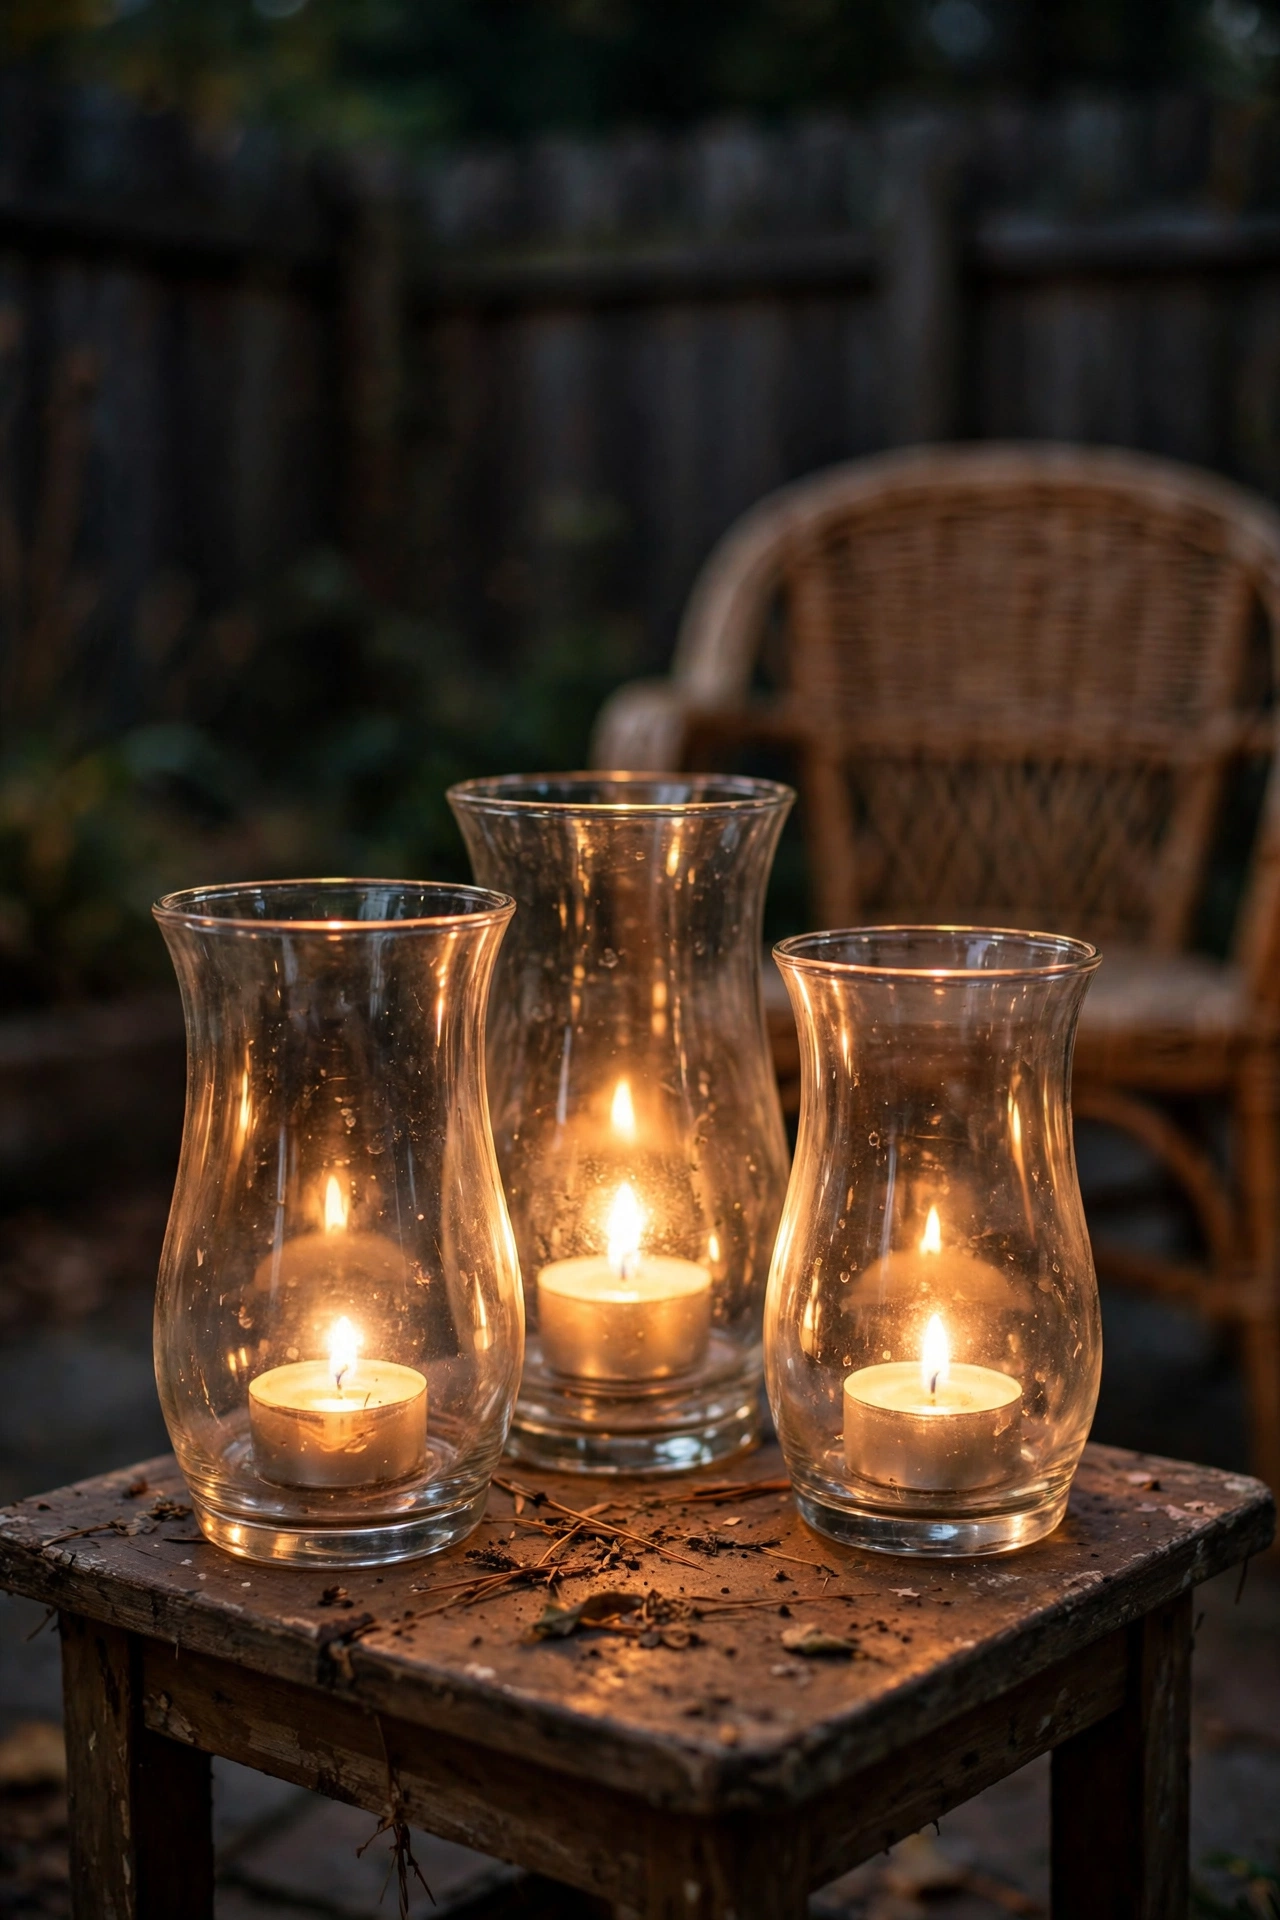
Don't underestimate the humble battery tea light. Drop two or three into a glass hurricane or a short cylinder vase, and you've got a centerpiece that looks like real candlelight with zero flame risk, zero wax mess, and zero "did I blow that out?" anxiety at midnight. I keep a basket of these by the back door and scatter them on the patio table, the side tables, even on top of the outdoor storage bench.
The trick to making them look expensive is quantity and glass. One tea light alone looks lonely; five of them grouped in hurricanes of different heights looks intentional and lush. Buy the flickering kind — the steady-glow ones can read as airport runway markers, while the flicker ones genuinely fool people. A pack of 24 tea lights with batteries included usually runs under fifteen dollars, and each lasts 50 to 100 hours. Store extras in a drawer, not the garage — heat shortens battery life. And keep the little remote they come with somewhere findable; clicking them all on at once from your chair is half the fun.
Suggested budget range: $8 – $20.
4. Fairy Lights Tucked Into Planters
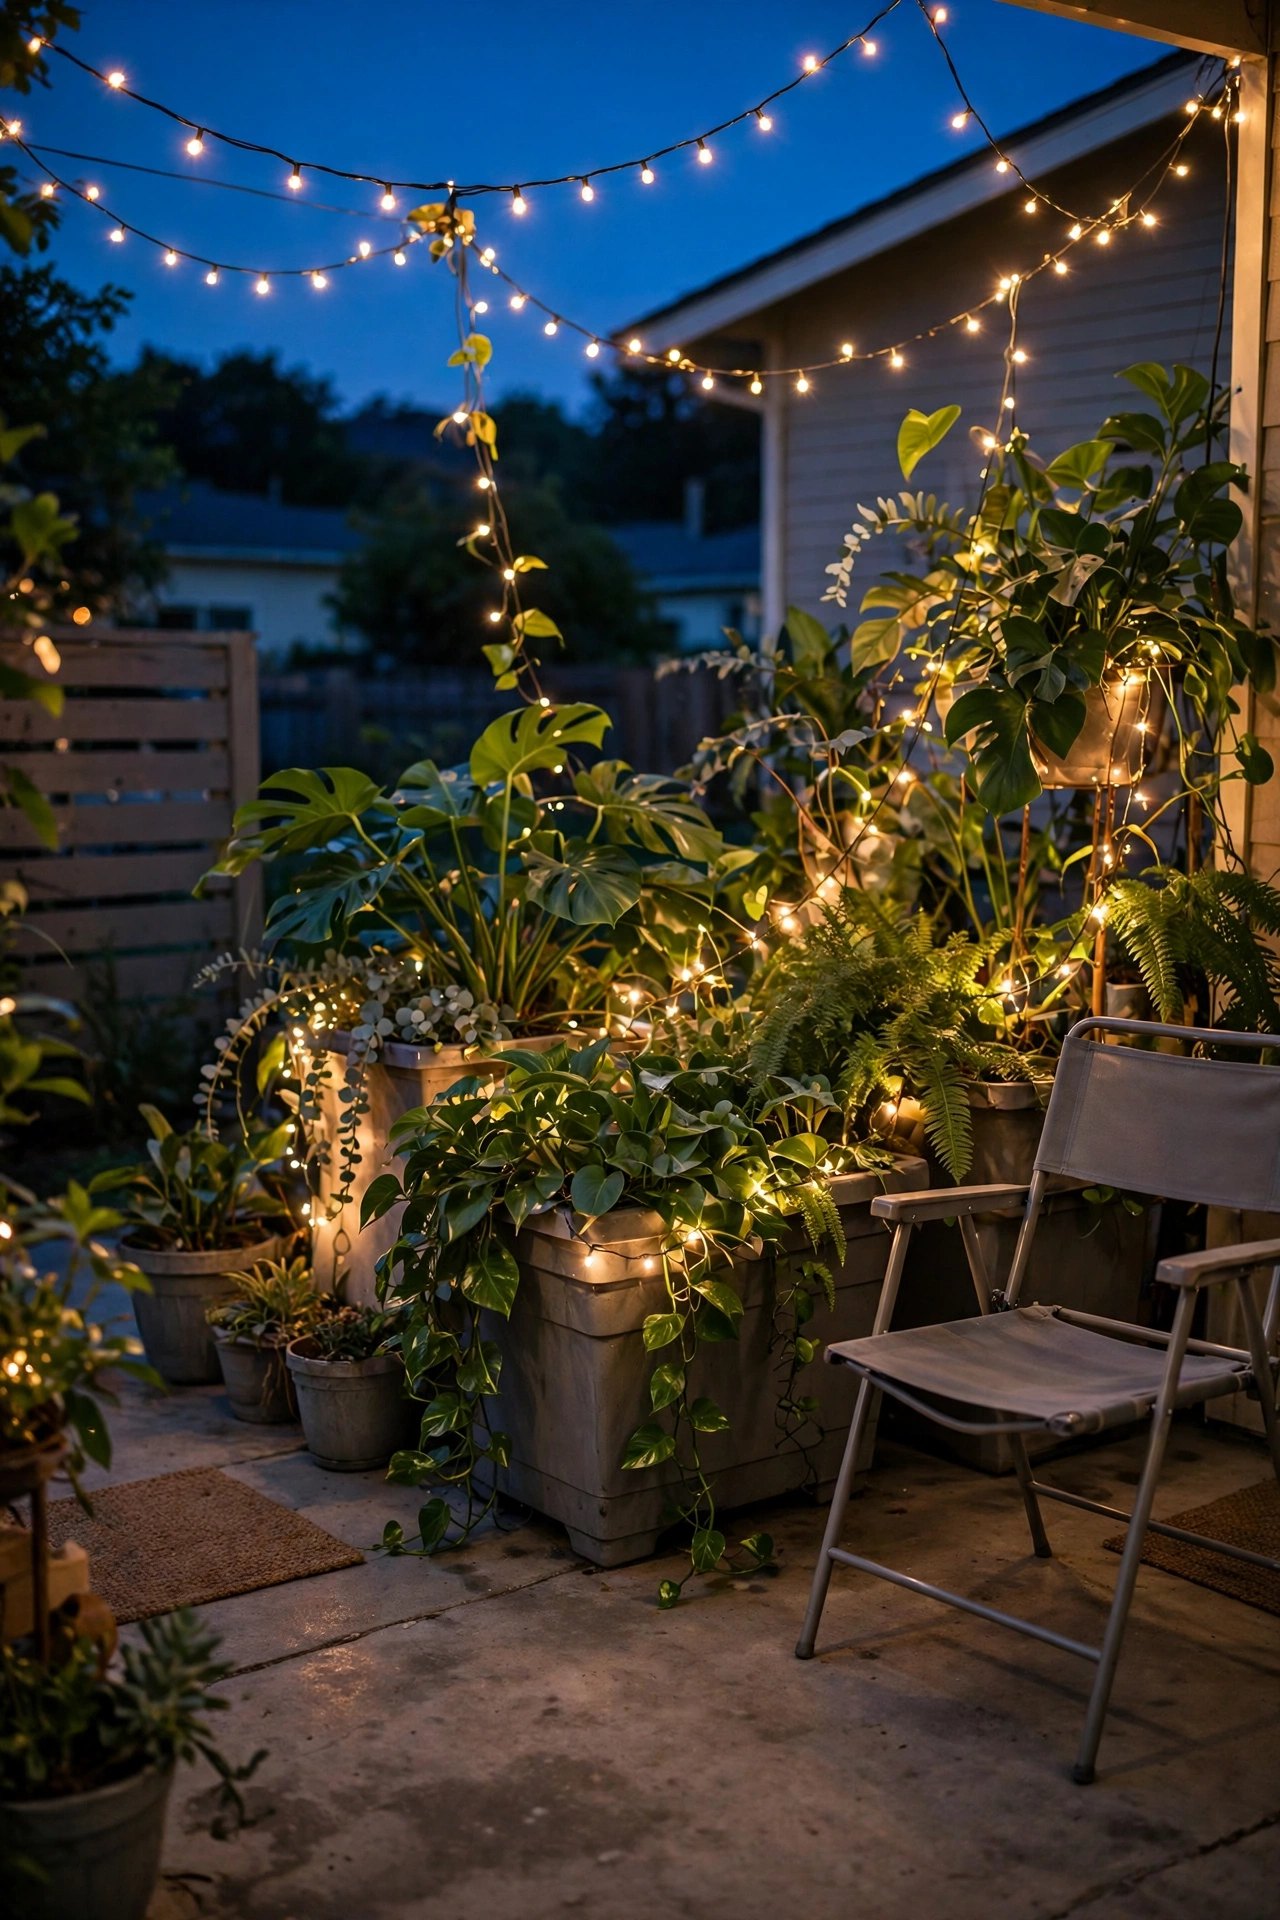
Your planters are sitting there being beautiful all day and invisible all night — let's fix that. A 33-foot strand of warm white fairy lights woven loosely through the foliage of a big planter gives you a living lantern effect that I honestly think beats half the expensive fixtures out there. The leaves break the light into little sparkles, and the whole plant glows from within.
Use the battery-operated or solar versions so you're not dragging extension cords across the patio. One strand per large planter is plenty; for a row of three medium pots, run one strand weaving in and out of all three. Set the timer function (most have an auto six-hours-on, eighteen-off cycle) so they click on at dusk without you thinking about it. Pro tip: stake a small piece of dowel or a thin bamboo stick in the center of the pot and wrap the lights upward in a spiral — it gives the whole arrangement height and keeps the strand from slumping into the soil after a rainstorm.
Suggested budget range: $10 – $25.
5. Bistro String Lights: The Quintessential Patio Lighting Idea
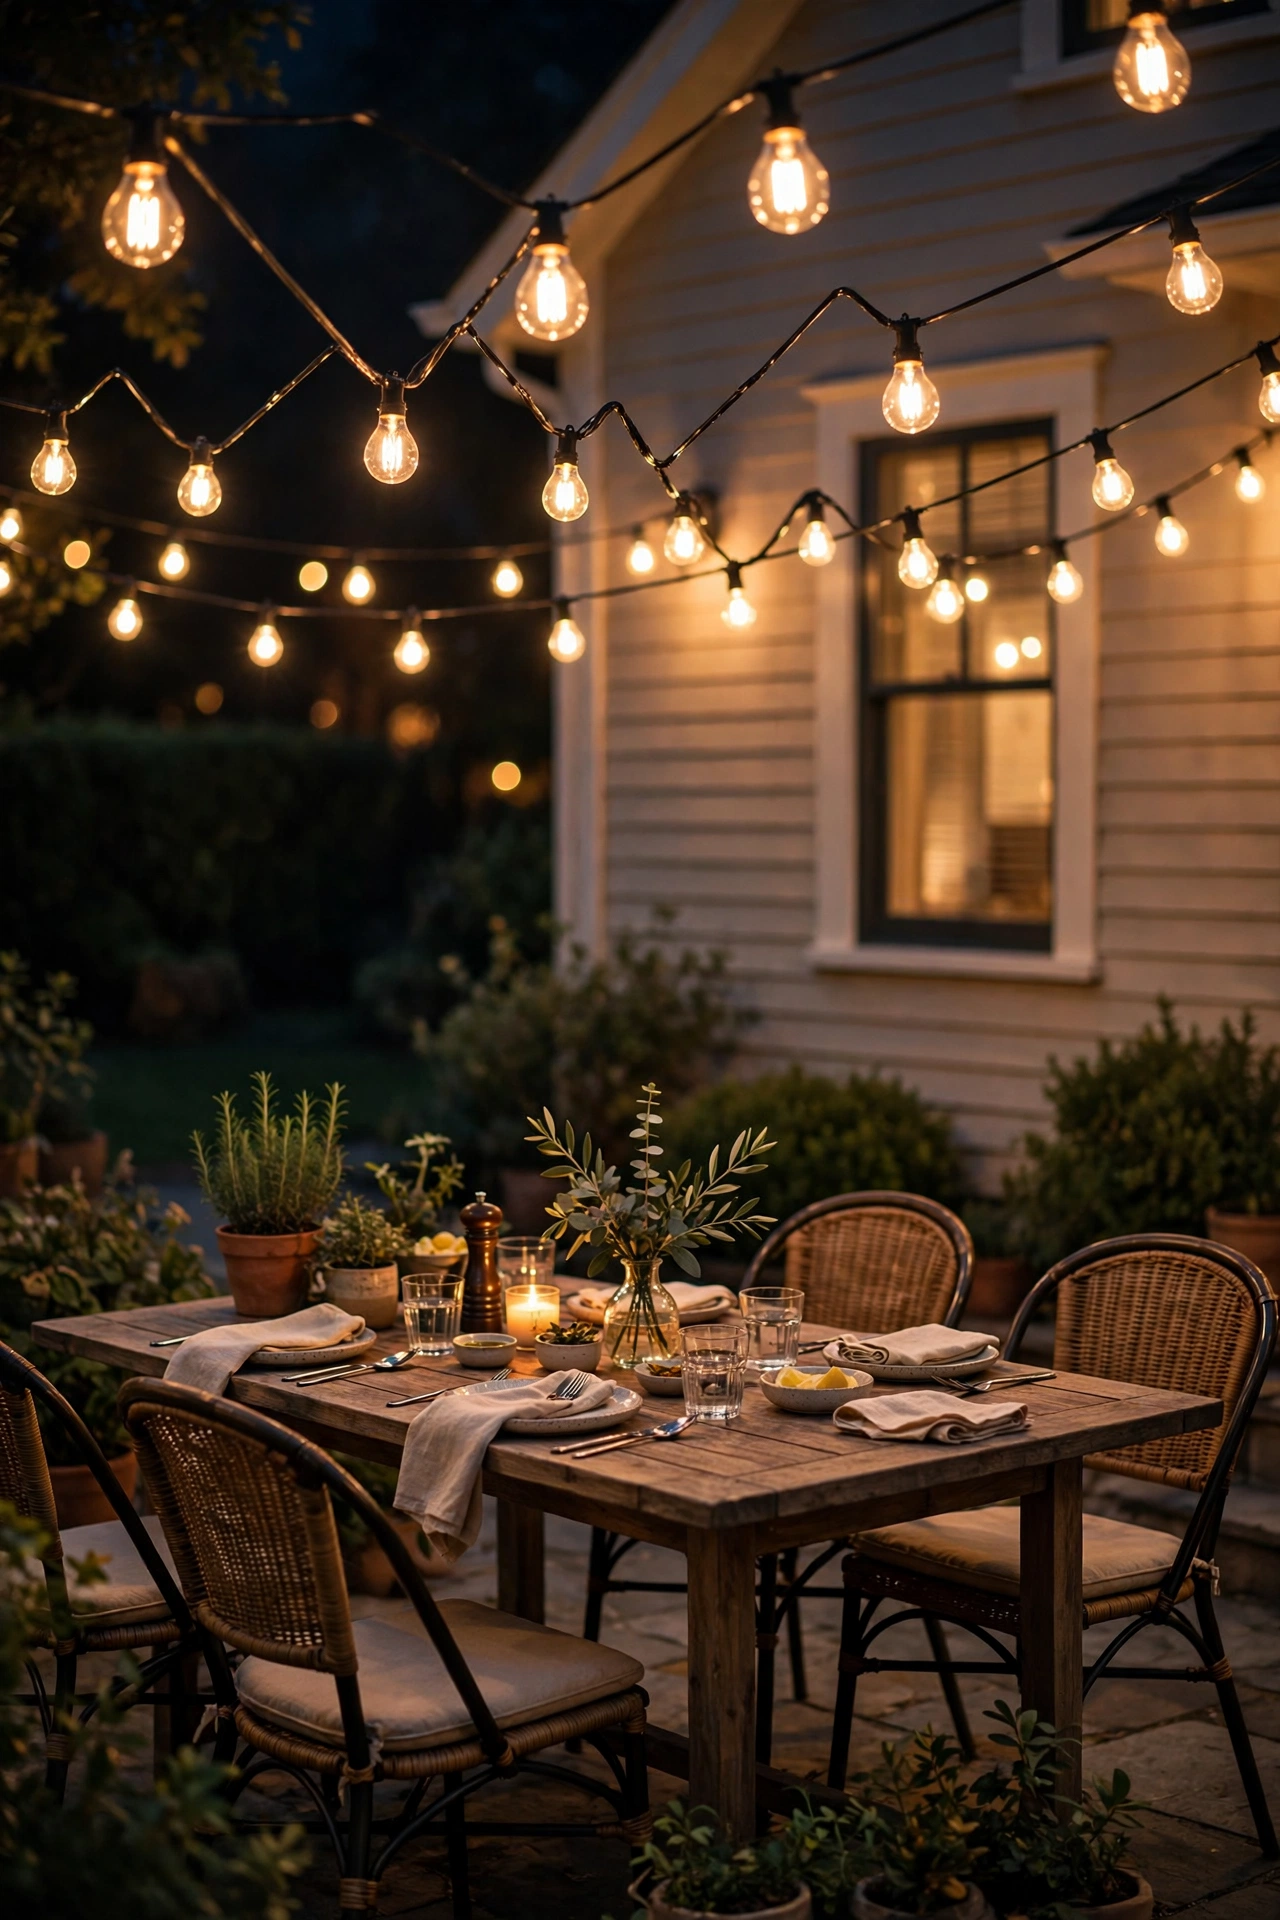
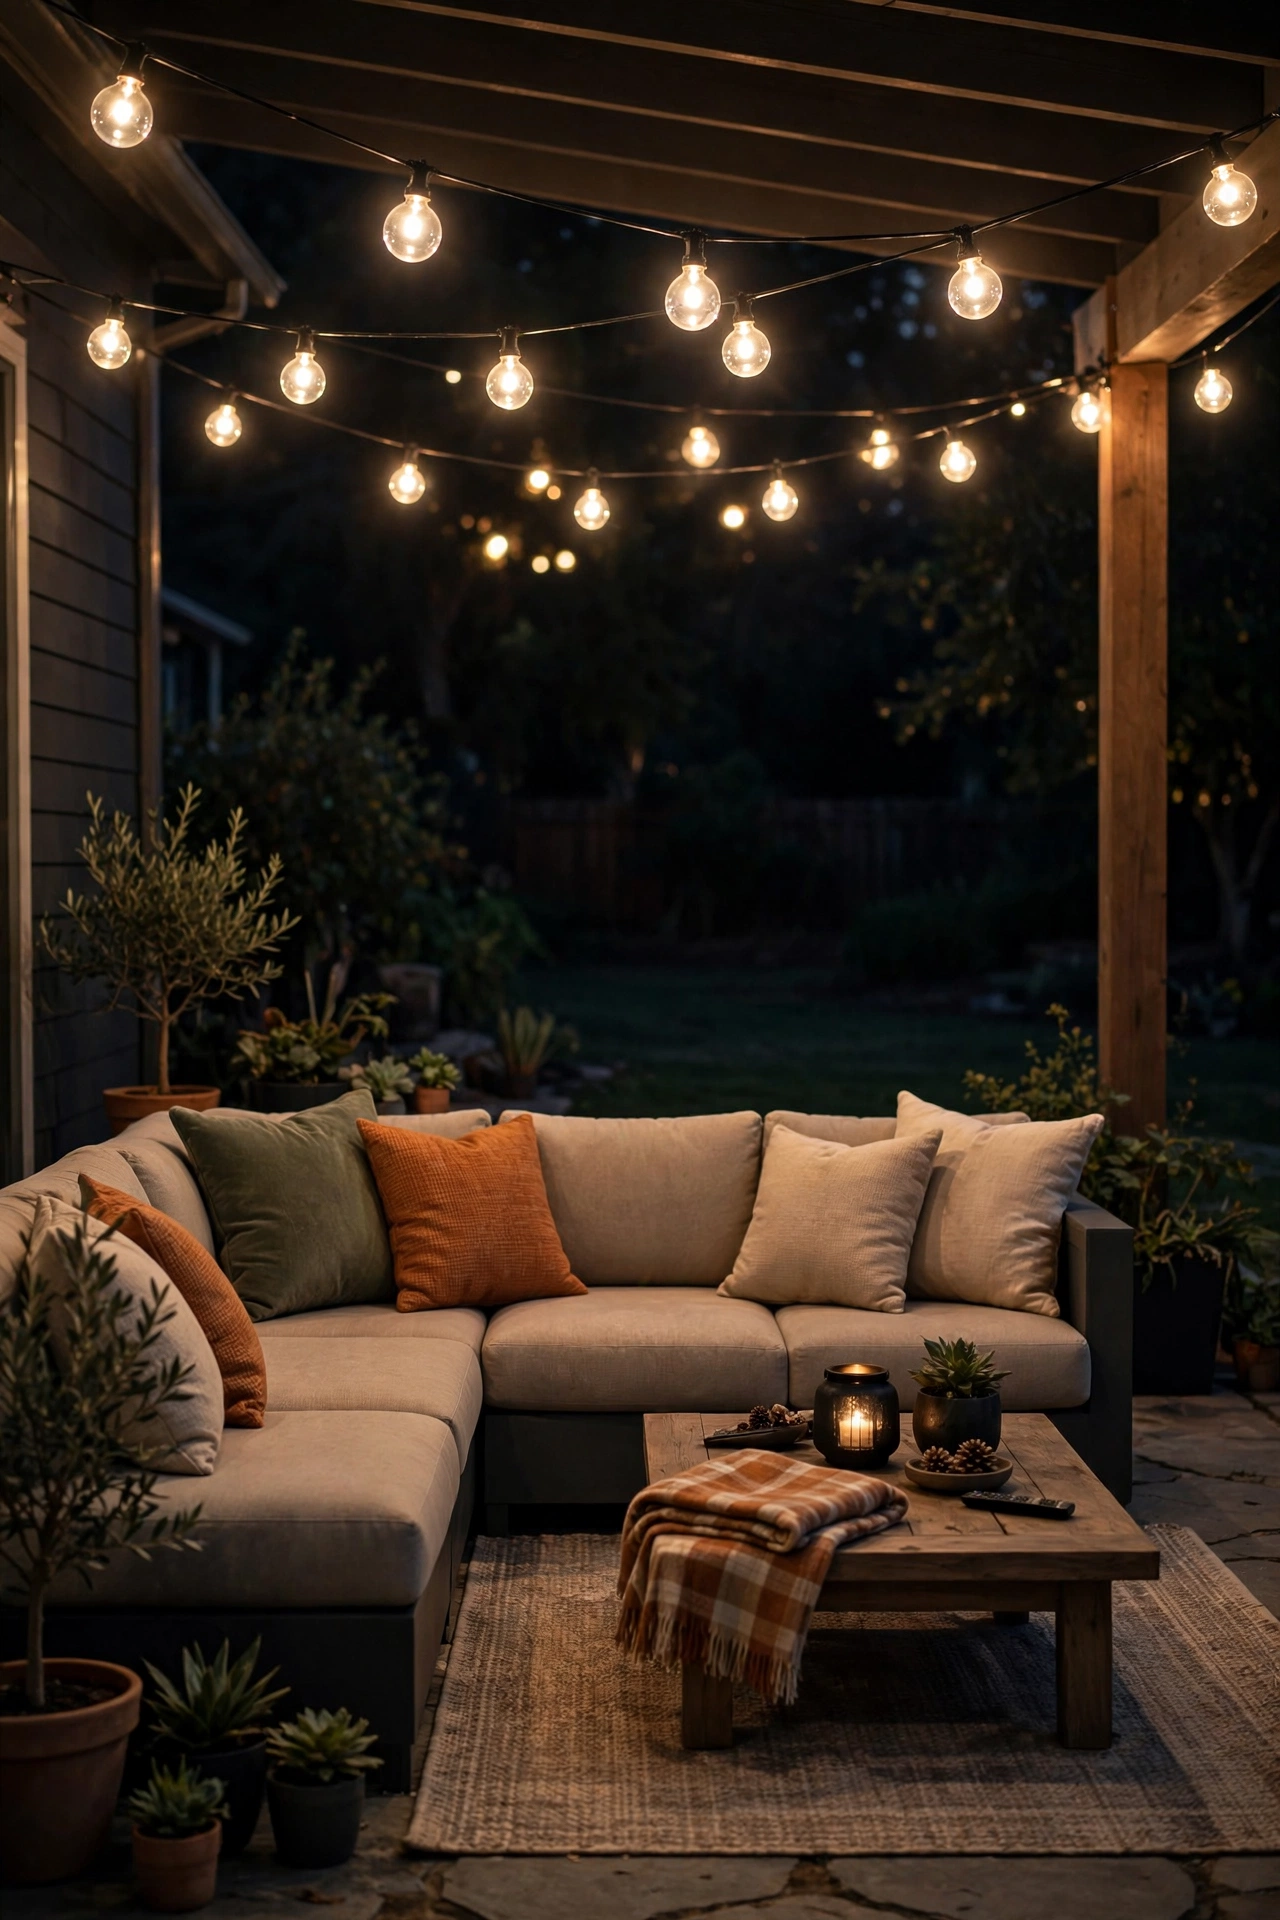
This is the one. If you only do a single thing from this list, string café-style lights overhead and call it done. A zigzag or fan pattern across the patio creates that bistro canopy effect — a ceiling of warm light that makes every dinner feel like a little occasion. For a 12-by-16-foot patio, you'll typically need two 48-foot strands of shatterproof LED bulbs; the plastic G40 globes are the way to go (glass breaks, wasps love the heat, LEDs stay cool).
Hang them nine to eleven feet up if you can — high enough to walk under comfortably, low enough to feel cozy rather than lost. I use heavy-duty outdoor hooks on the house and removable adhesive-free hooks or guide wire on the fence side. Always plug into an outdoor-rated extension cord with a built-in timer or a smart plug so they switch on at sunset automatically. And here's the spacing rule I swear by: let each strand drape with a gentle two-foot sag between support points. Too tight looks like a runway; too loose looks sloppy. Two feet is the sweet spot.
Suggested budget range: $35 – $70.
6. Paper Lantern String Lights
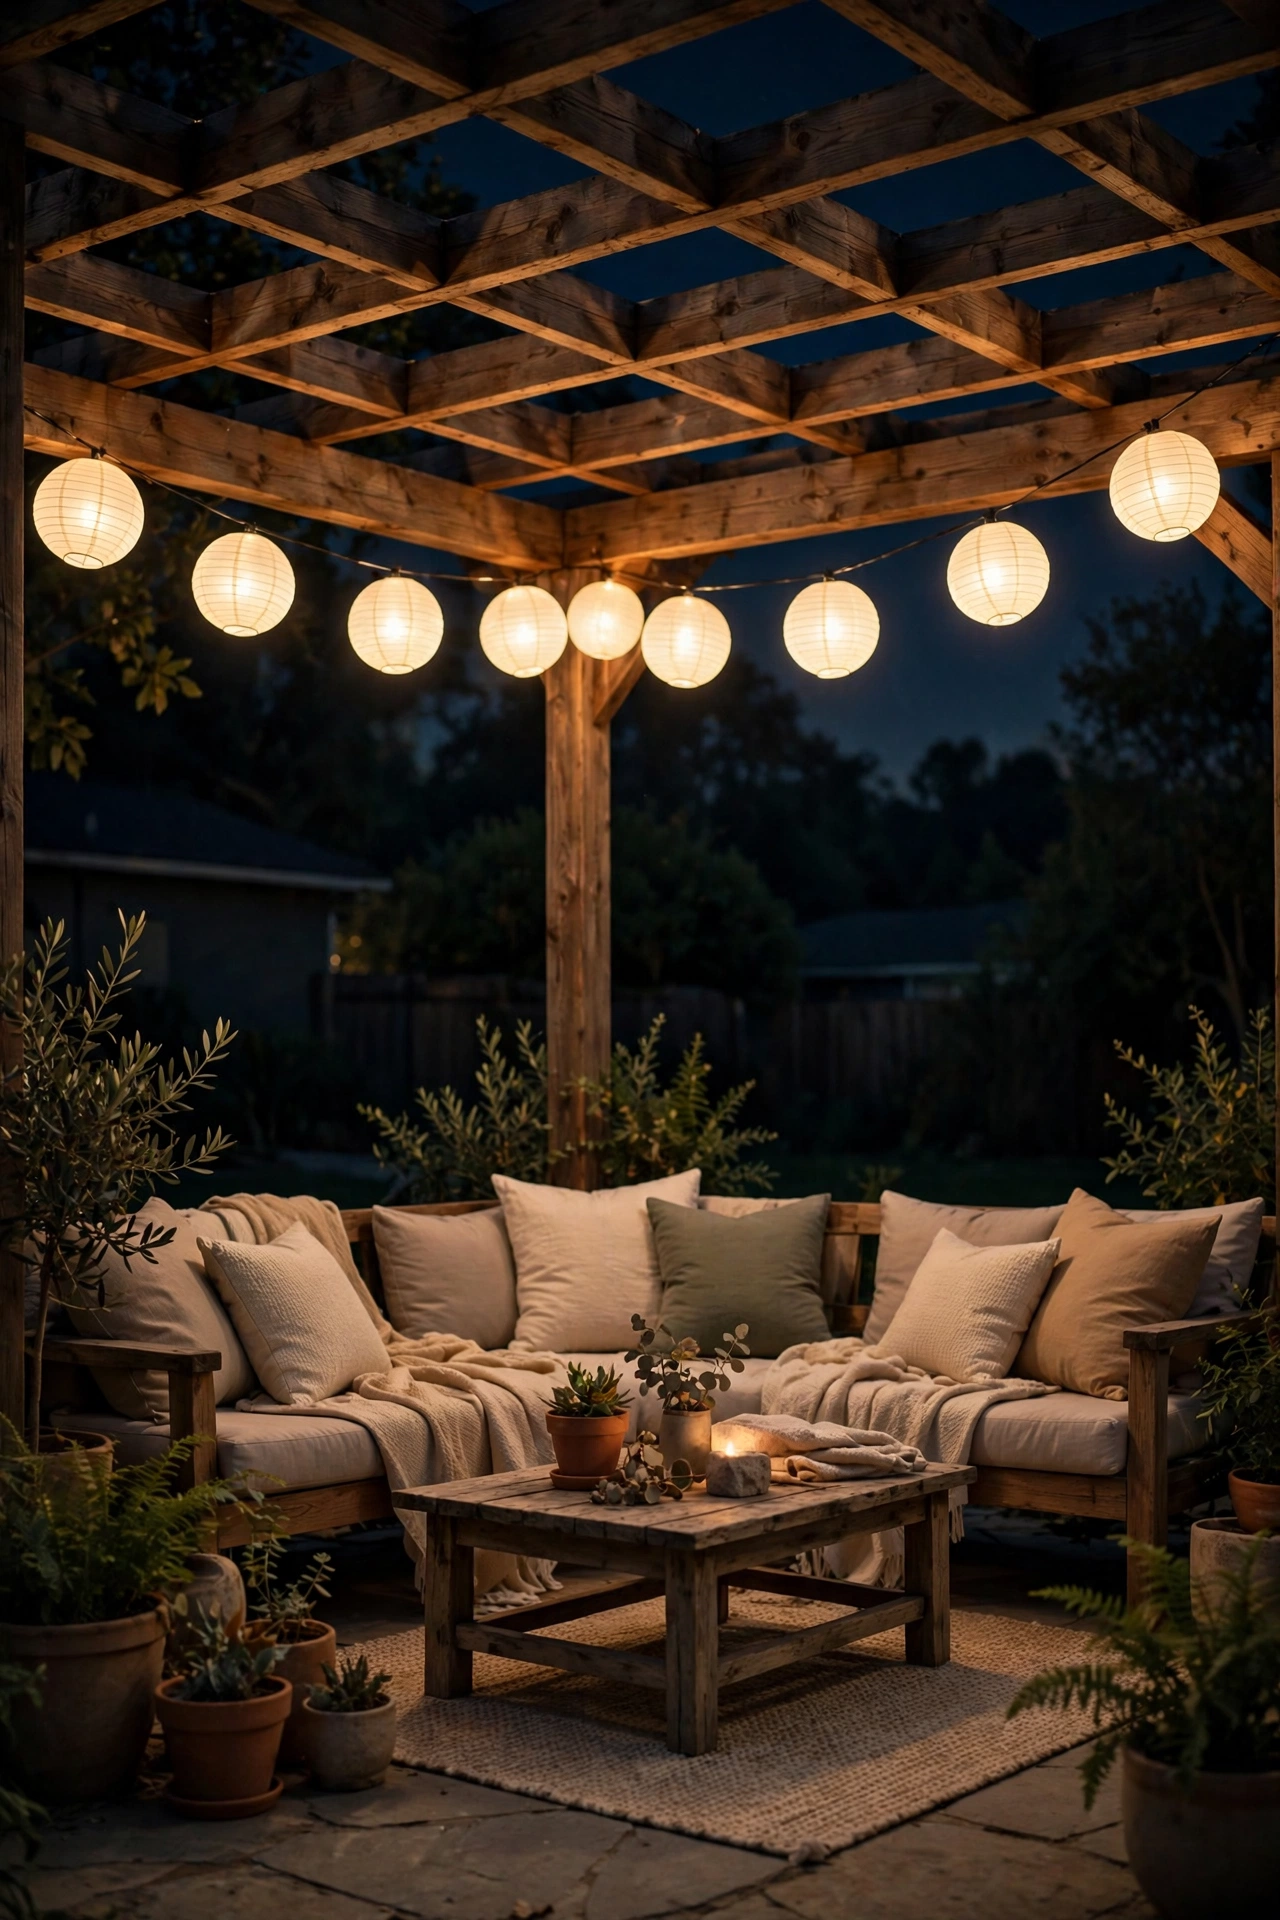
Paper lanterns bring a softer, more romantic mood than exposed bulbs — they're the lighting equivalent of putting a dimmer on everything. A strand of twelve round paper lanterns in warm white (or cream, ivory, or a mix of blush and gold for party nights) hangs beautifully along a fence line, under a pergola, or draped along the top of a railing.
These are almost always plug-in LED now, which is great news: the bulbs stay cool, so there's no fire worry with the paper. Keep them under a covered area or bring them in during heavy rain, though — paper and downpours are not friends, even the coated ones. For installation, I use small cup hooks every three to four feet along a beam, and I let the strand swag gently between hooks rather than pulling it taut. A twelve-lantern strand covers about sixteen feet, so measure your span first and buy accordingly — one strand that falls short of the corner looks sadder than no strand at all. They also store beautifully: deflate, stack, and they'll last years.
Suggested budget range: $25 – $60.
7. Solar Fairy Light Umbrella Canopy
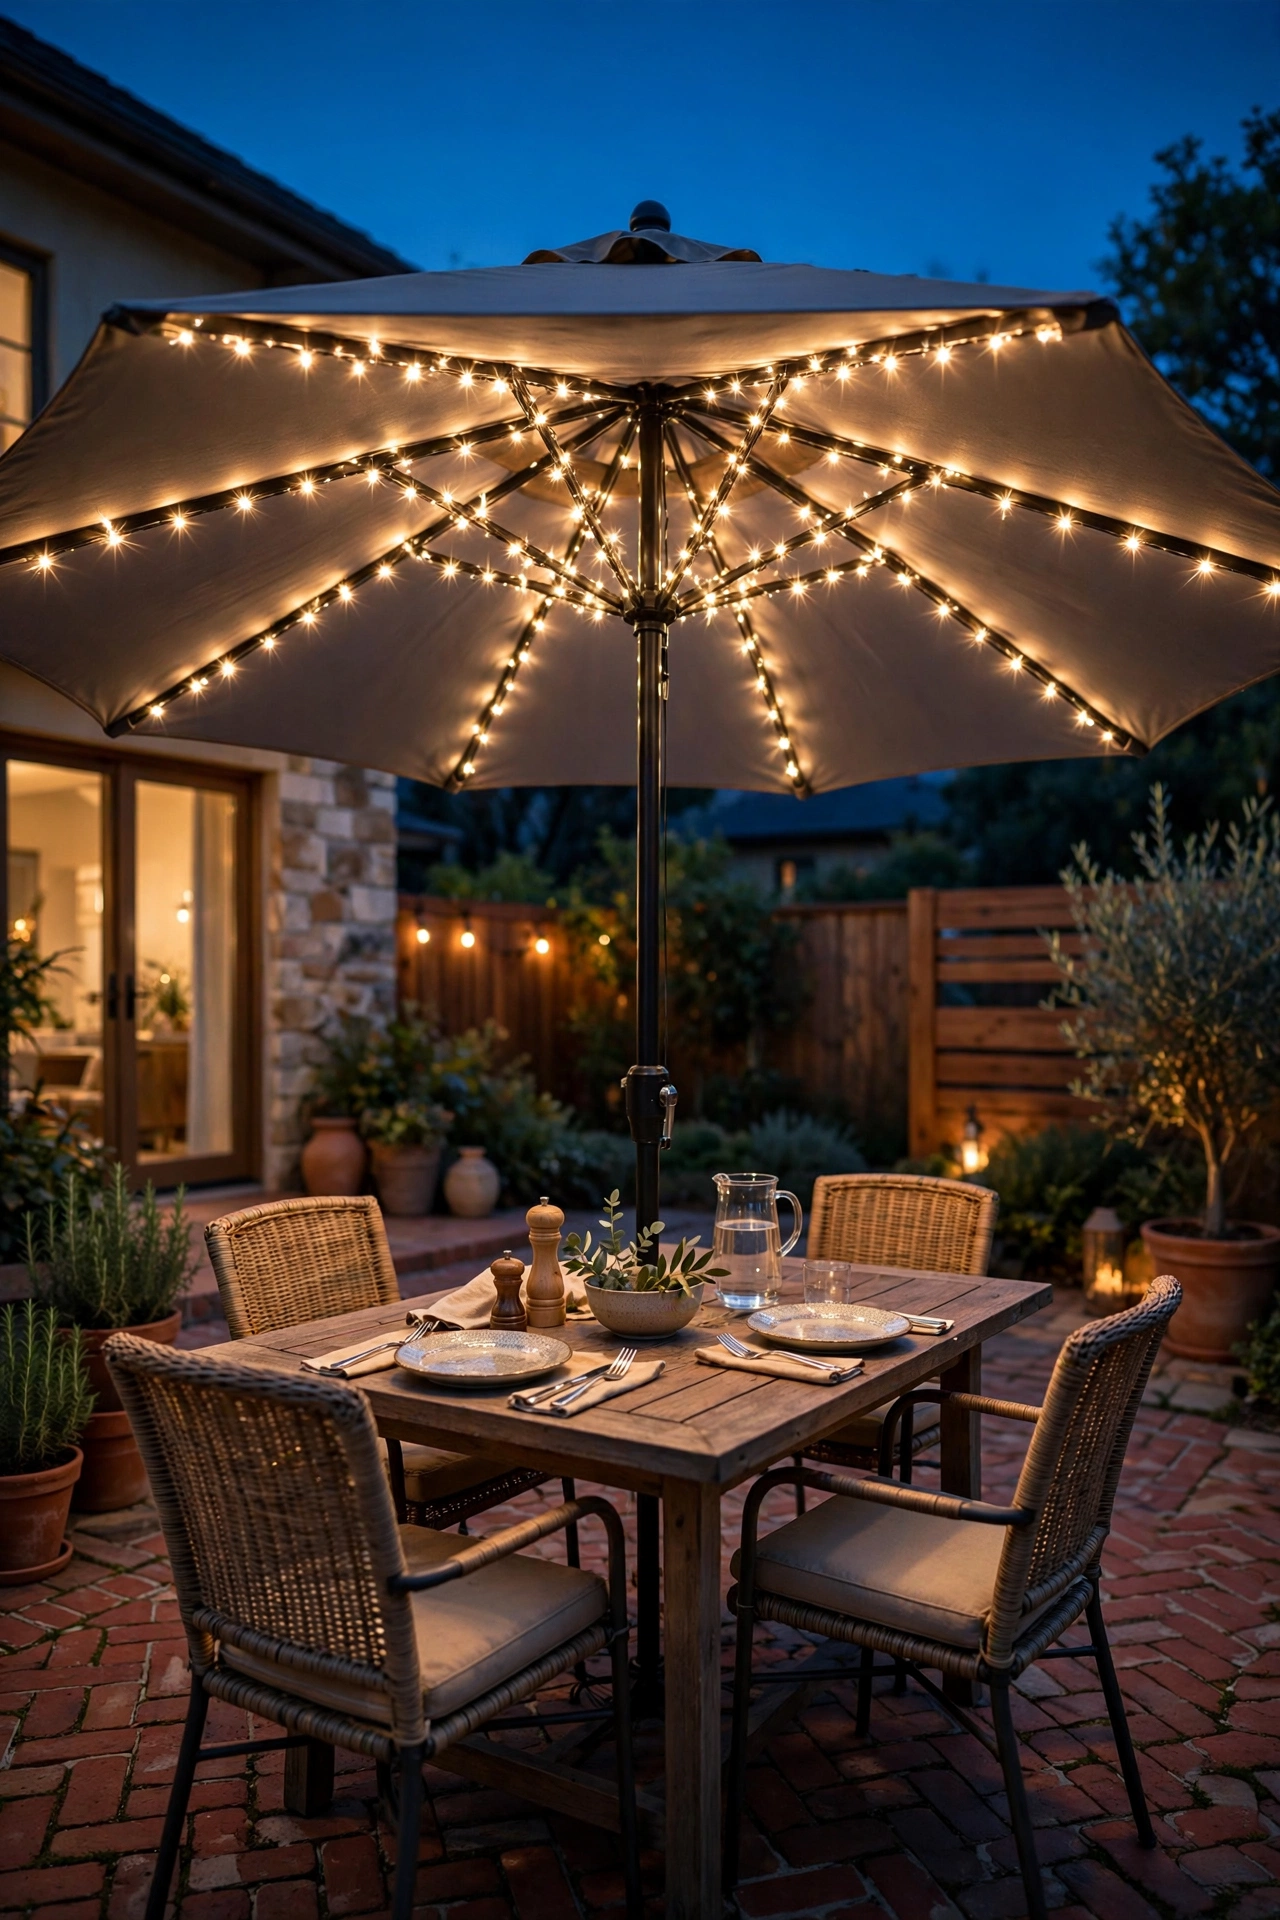
Got a patio umbrella? You've got a chandelier waiting to happen. Wrap a solar fairy light strand around the umbrella's ribs — start at the top center and spiral outward toward each rib tip — and when you open the umbrella at dusk, you get a glowing canopy that rains soft light down onto the table. It turns an ordinary umbrella setup into the most romantic seat on the patio, honestly.
The solar panel needs to see the sky, so either use a strand with a separate panel you can clip to the top of the umbrella pole, or drape the panel over the umbrella's peak facing upward. Most 66-foot solar fairy strands have 200 LEDs, which is plenty for a nine-foot umbrella; a 33-footer suits a seven-footer. Wrap loosely — you want to be able to close the umbrella without snagging the wire, so give the wire a little slack and secure it at the rib tips with tiny zip ties or twist ties.
Suggested budget range: $20 – $45.
8. Rope Lights Under Bench and Step Edges
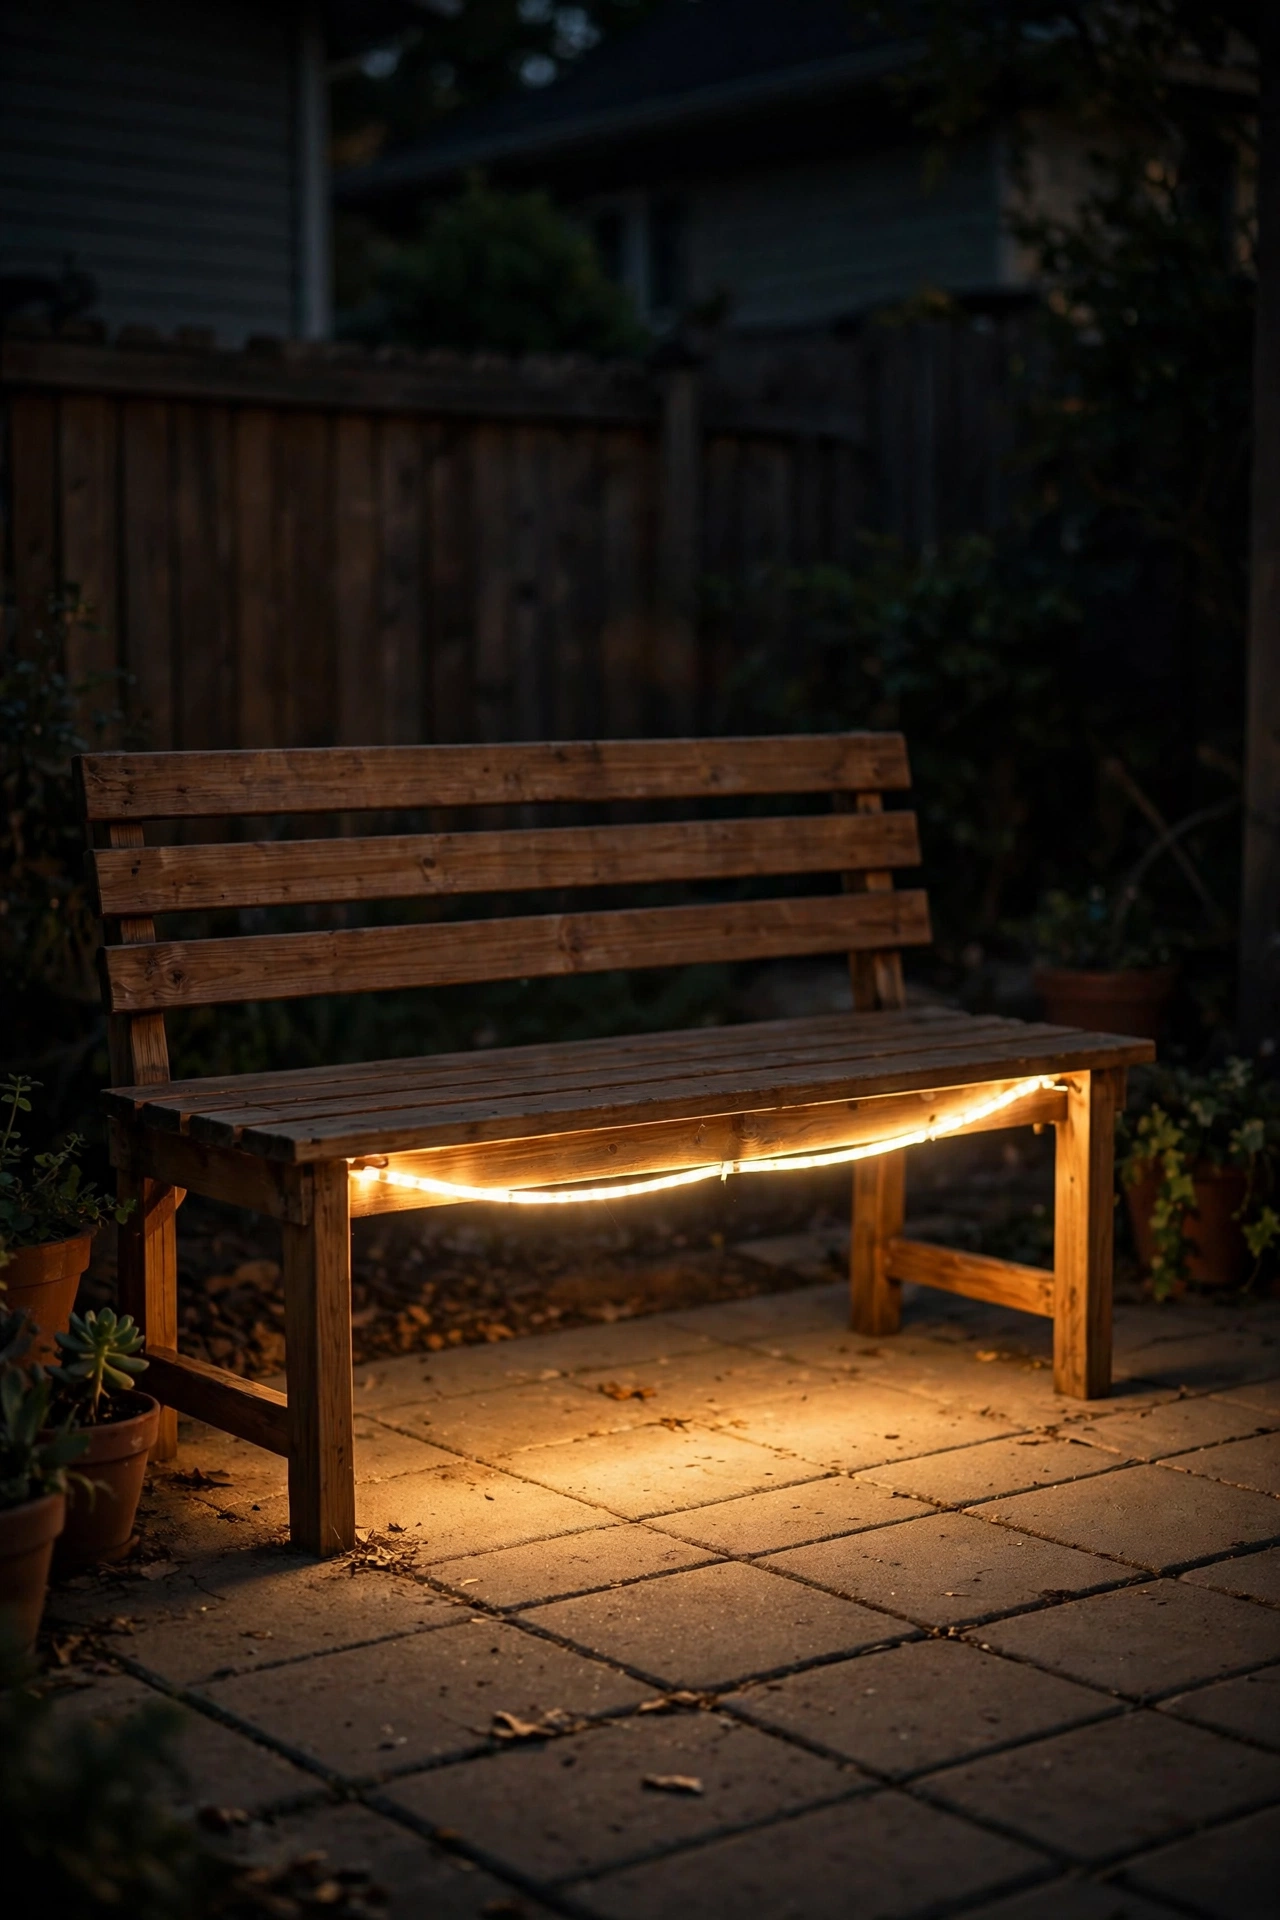
This is the secret-weapon trick lighting designers use: hide the light source so all you see is the glow. A flexible LED rope light tucked under the lip of a built-in bench, along the front edge of a step, or under the rim of a raised planter bed gives you a floating effect that looks far more expensive than it is. It also doubles as genuine safety lighting — you can actually see where the step ends.
Measure your runs and buy a rope light you can cut to length (they're marked with scissor icons every few feet) with an outdoor IP65 rating or better. Mount it with the included clips so the light faces outward or downward — never let the bare rope show; the magic is in the indirect wash. Plug-in versions are cheapest and brightest; solar rope lights exist but honestly don't throw enough light for this job yet.
Suggested budget range: $25 – $50.
9. Lantern Cluster Centerpiece
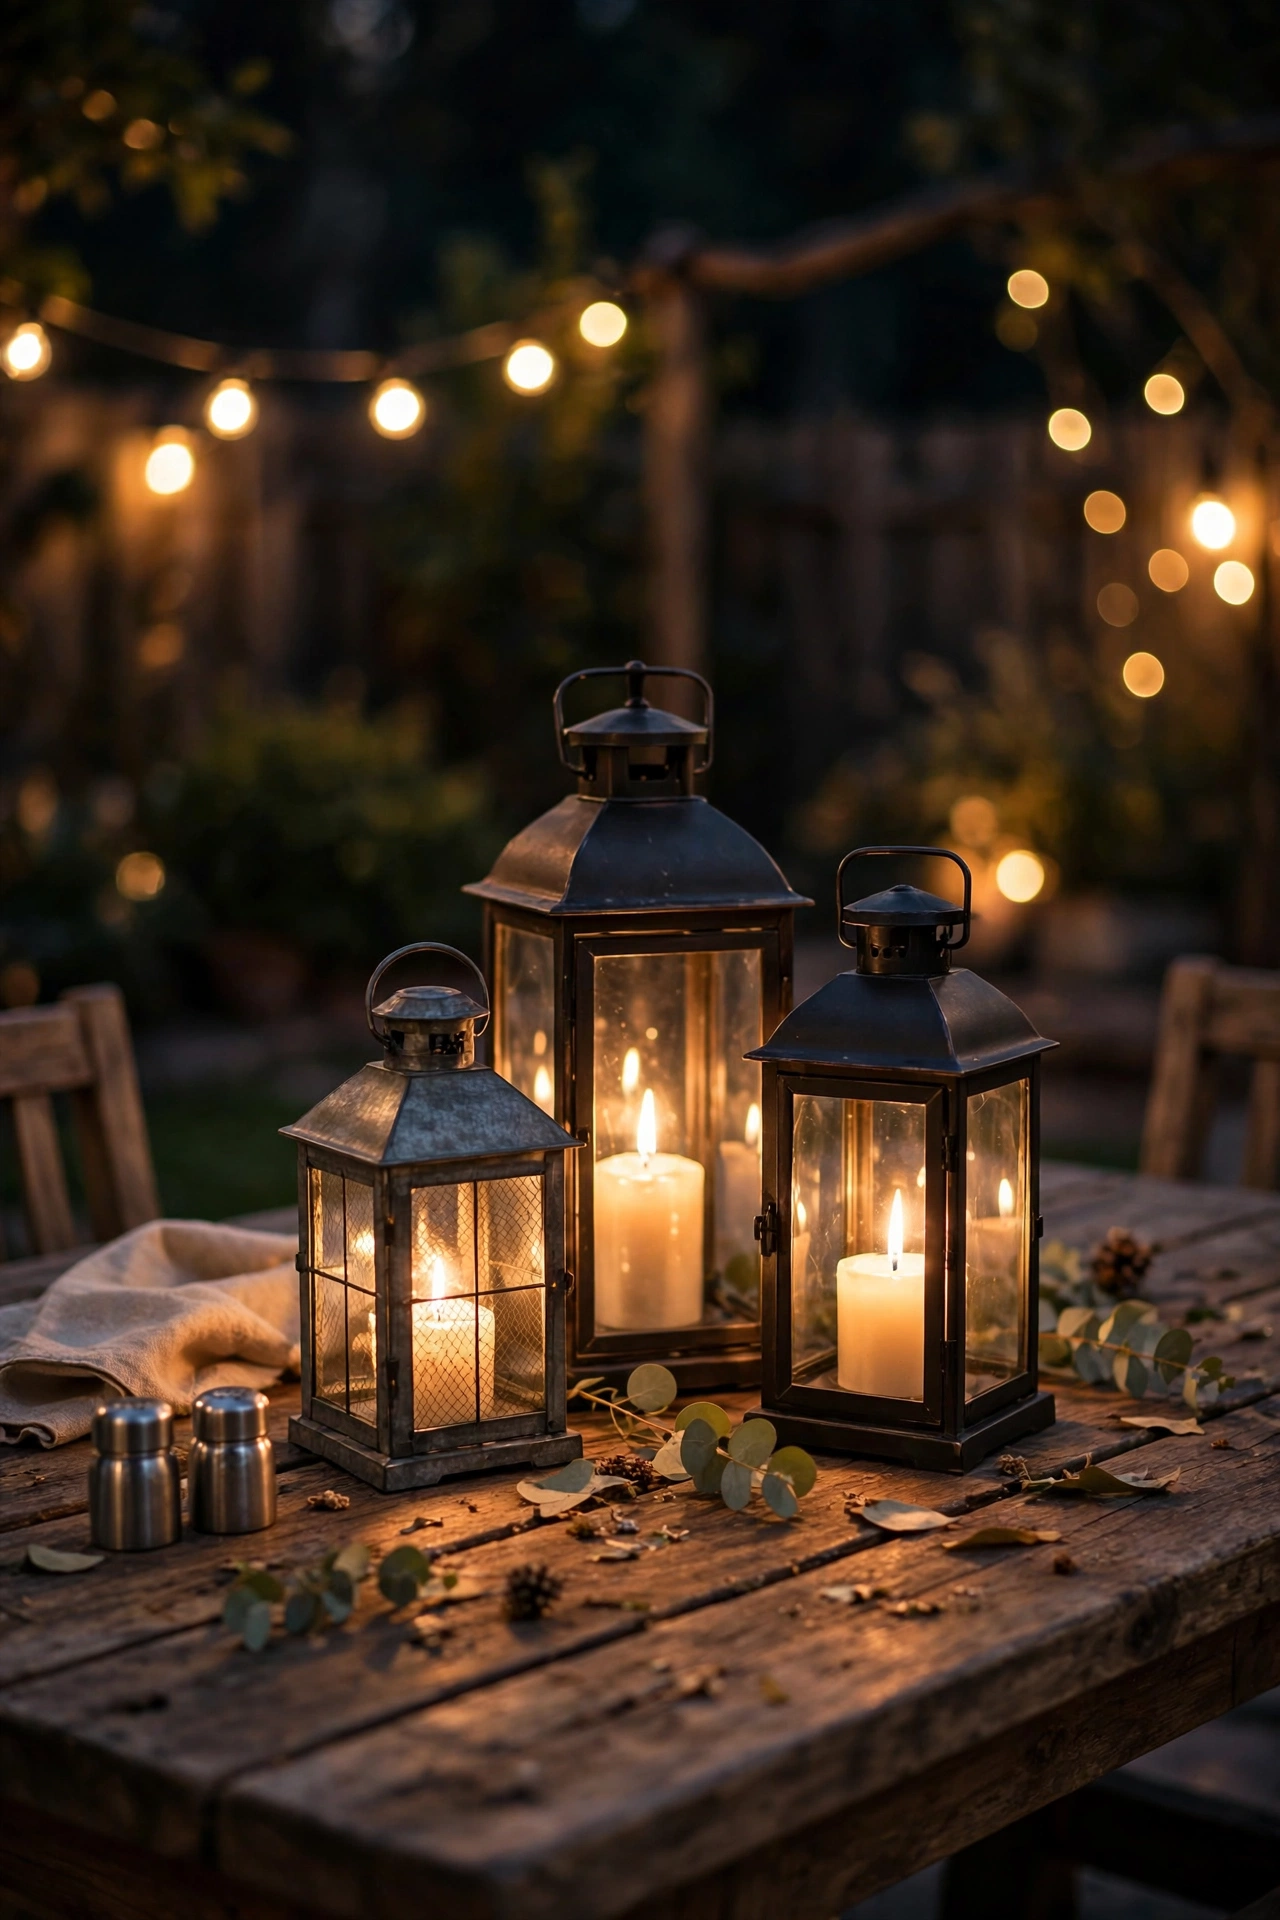
A cluster of lanterns is my go-to styling move because it works on any table, any patio, any budget. Gather three to five lanterns in mixed heights — say 8, 12, and 16 inches — group them tight in the center of your dining or coffee table, and fill them with flameless pillar candles or fairy lights. The varied heights create a little skyline of light, and it reads as styled rather than scattered.
Mix materials for richness: a black metal lantern next to a woven rattan one next to a plain glass cylinder looks collected and interesting. Keep the group within about a two-foot footprint so there's still room for drinks and plates. If you're using real candles inside, keep the lanterns' glass panels closed to block wind and never leave them burning unattended — LED-only near anything flammable like dried centerpieces or table runners. For everyday use I keep flameless candles in mine on a six-hour timer; for dinner parties I'll swap in real pillars for the scent and the dance of real flame. The lanterns themselves last years, so this is really a buy-once project.
Suggested budget range: $30 – $65.
10. Flameless Pillar Candles in Glass Cylinders
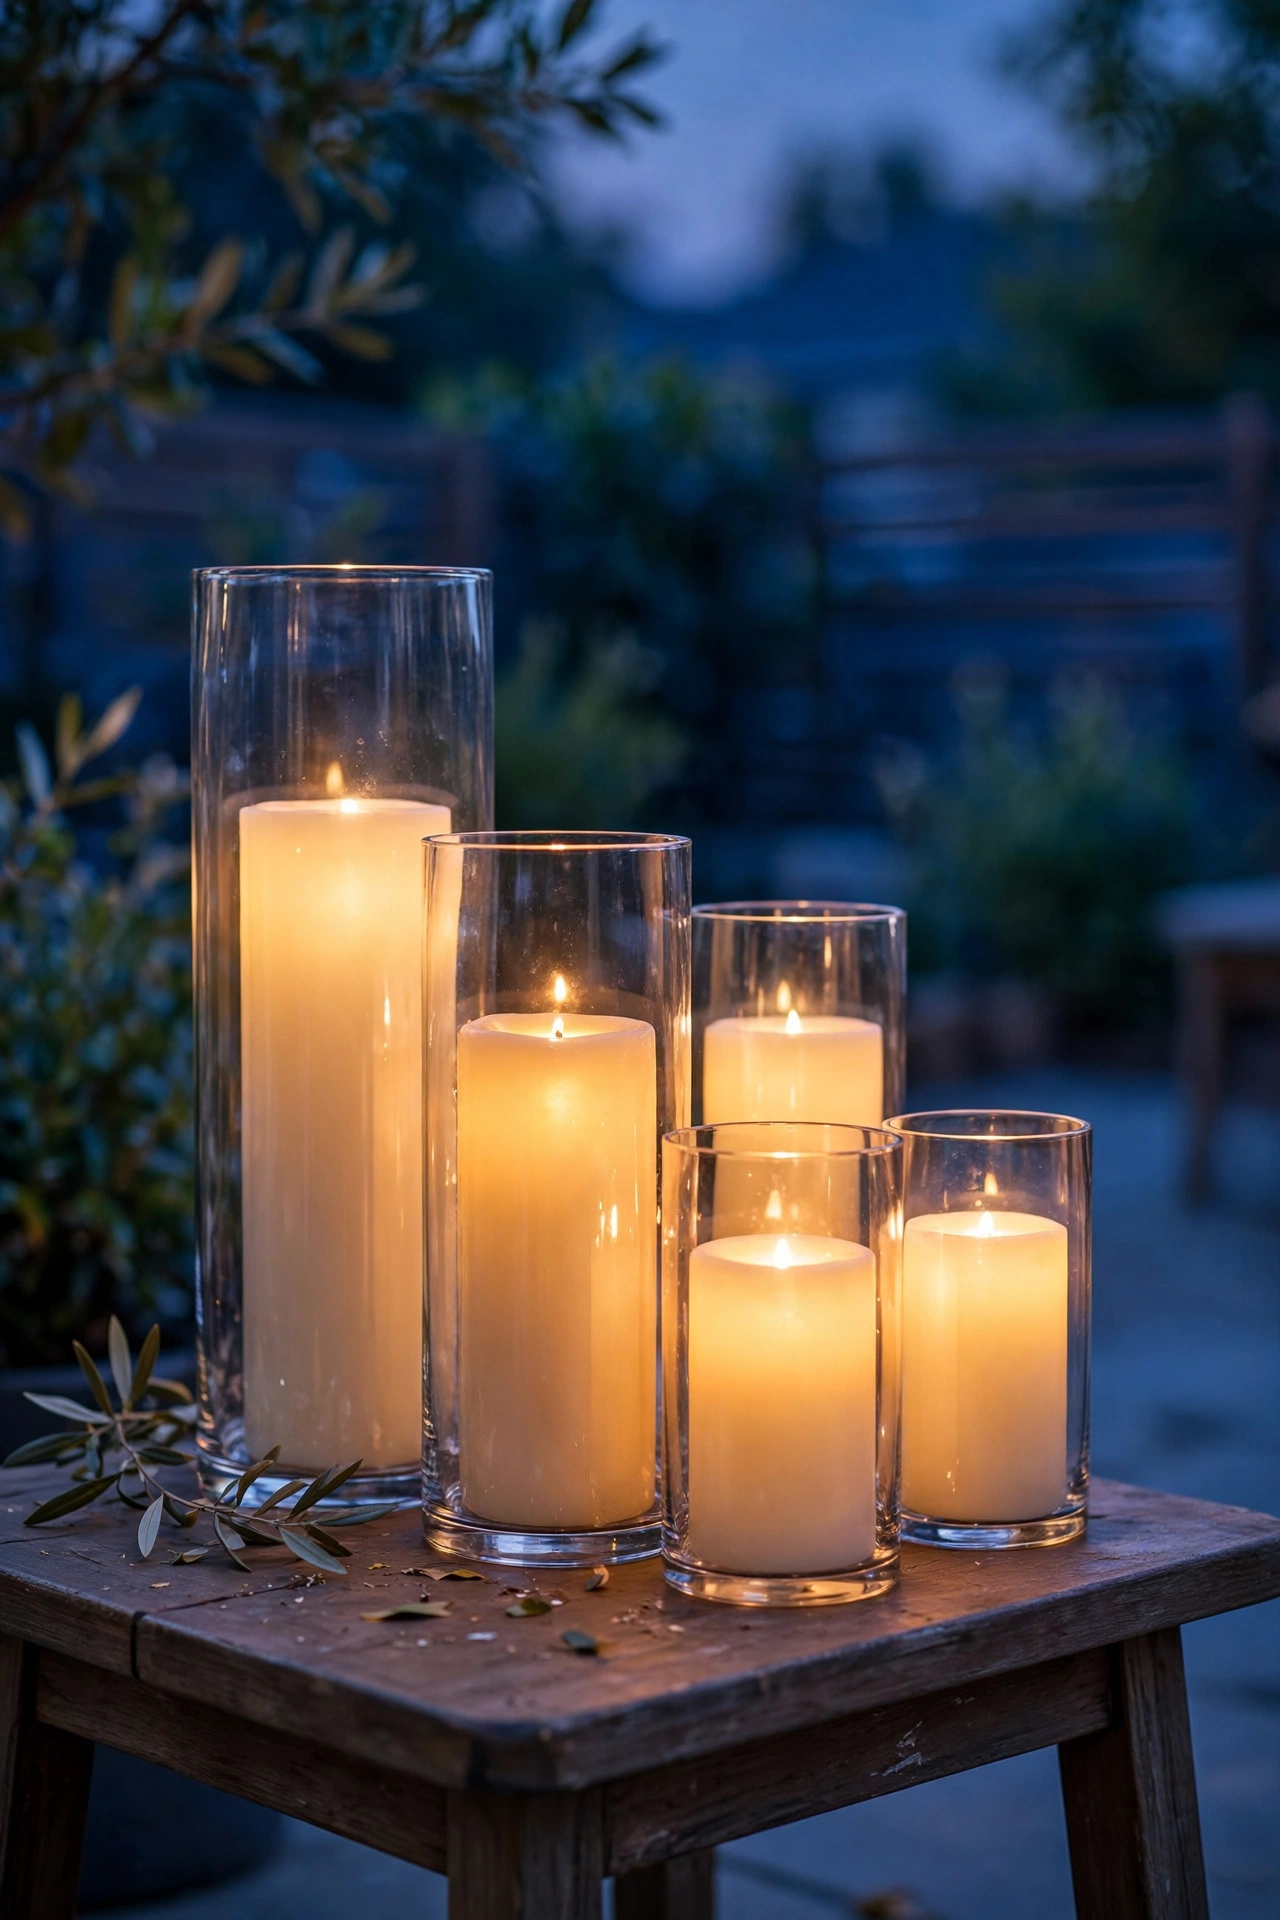
Real candles outdoors are a battle with the wind — flameless pillars are the cheat code. A set of battery-operated pillar candles in graduated heights (four, six, and eight inches) inside tall glass cylinders gives you candlelight that never gutters, never needs relighting, and never makes you nervous around kids or dogs. The glass cylinders are doing double duty: they amplify the glow and protect the candles from rain and curious paws.
Go for the ones with the melted-edge wax top and a realistic flicker — side by side with real candles, most people genuinely can't tell. The six-hour timer function is the feature that matters: set it once at 6 p.m. and they'll light themselves every evening for weeks on a set of batteries. I use these to line a long dining table runner, frame a fireplace opening in summer, or flank the patio door as a welcoming pair. If your patio gets full sun, store them out of direct afternoon light — the wax can soften in real heat. Otherwise, they're essentially maintenance-free mood lighting.
Suggested budget range: $20 – $50.
11. Globe String Lights With a Dimmer
Here's where we level up from basic bistro lights: the same beloved string lights, but with a plug-in dimmer. Being able to dial your patio from bright-enough-to-read down to a barely-there golden shimmer changes everything. Full brightness for grilling and cleanup; dimmed to 30 percent for late-night conversation and it feels like candlelight on steroids.
Get an outdoor-rated plug-in dimmer (they're a small box that sits between the outlet and the light strand) and make sure your bulbs are dimmable LEDs — most quality G40 shatterproof strands are, but check the packaging because cheap ones sometimes aren't. Installation is the same zigzag or fan pattern as basic string lights, nine to eleven feet up with a two-foot sag between supports. The dimmer remote usually works from about 100 feet, so you can adjust from the couch. I always recommend this as the single best mid-budget upgrade: same lights, same effort, but the mood control makes the patio feel professionally designed instead of just decorated.
Suggested budget range: $60 – $120.
12. Planter-Pole String Light Posts
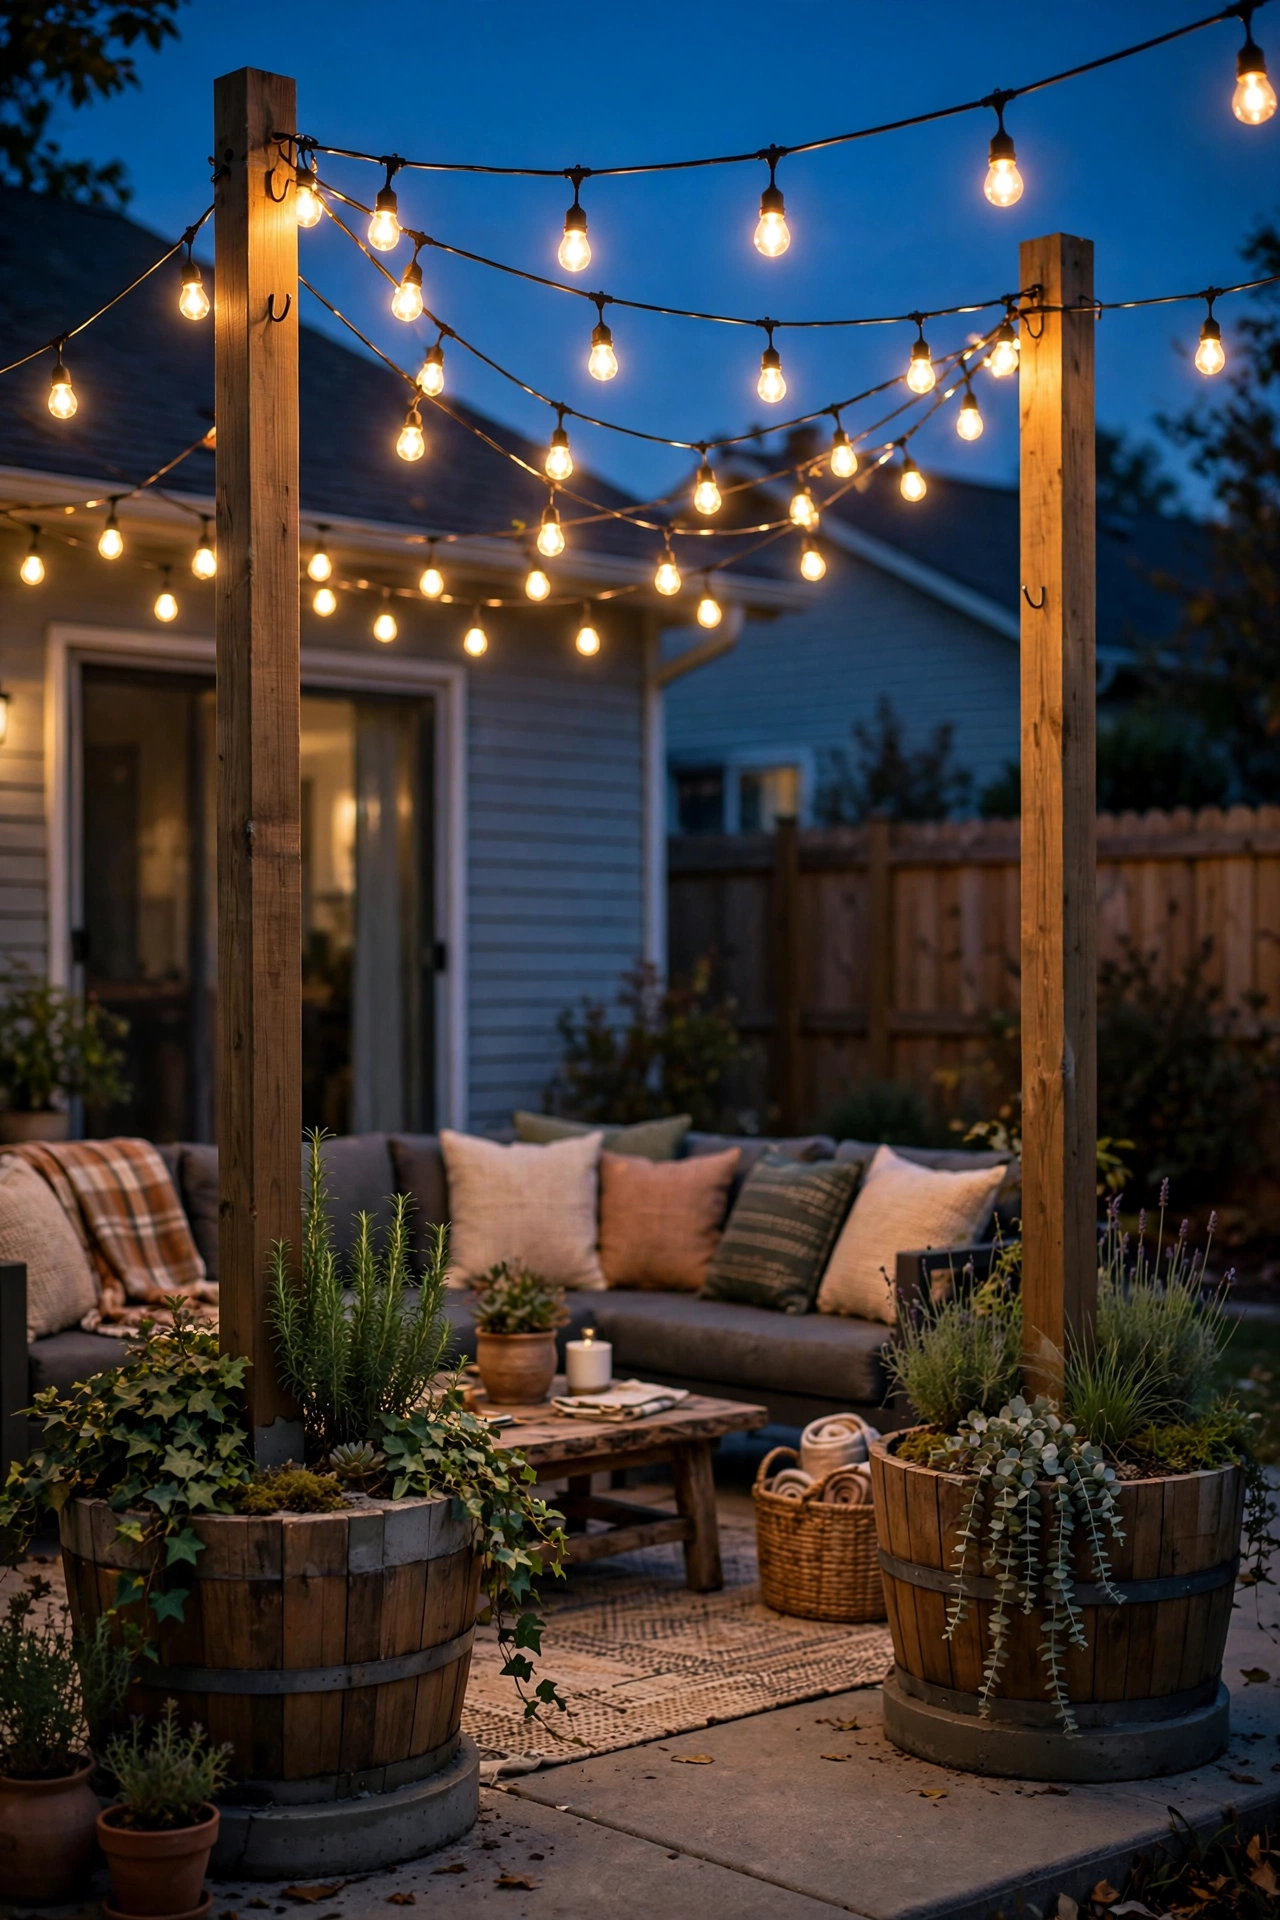
No pergola, no fence, no posts? No problem. This DIY classic solves the "nothing to hang lights from" problem: fill a large planter (16 to 20 inches) with concrete or packed gravel, sink a ten-foot 4×4 or metal pole into it, and you've got a freestanding light post you can move around the patio. Two to four of these and you can string lights across any open patio, renters included — when you move, the planters move with you.
Set the poles eight to ten feet apart in a square or rectangle around your seating area. Run a guide wire between pole tops first, then drape your string lights over the wire so the weight isn't pulling on the bulbs. Use exterior-rated hardware and screw an eye bolt into the top of each wooden post for a solid attachment point. If your patio gets real wind, choose wide, heavy planters — at least 20 inches across — because a ten-foot pole is a sail and a tipping planter is nobody's idea of ambiance.
Suggested budget range: $70 – $140.
13. Step Lights: Safety-First Patio Lighting Ideas
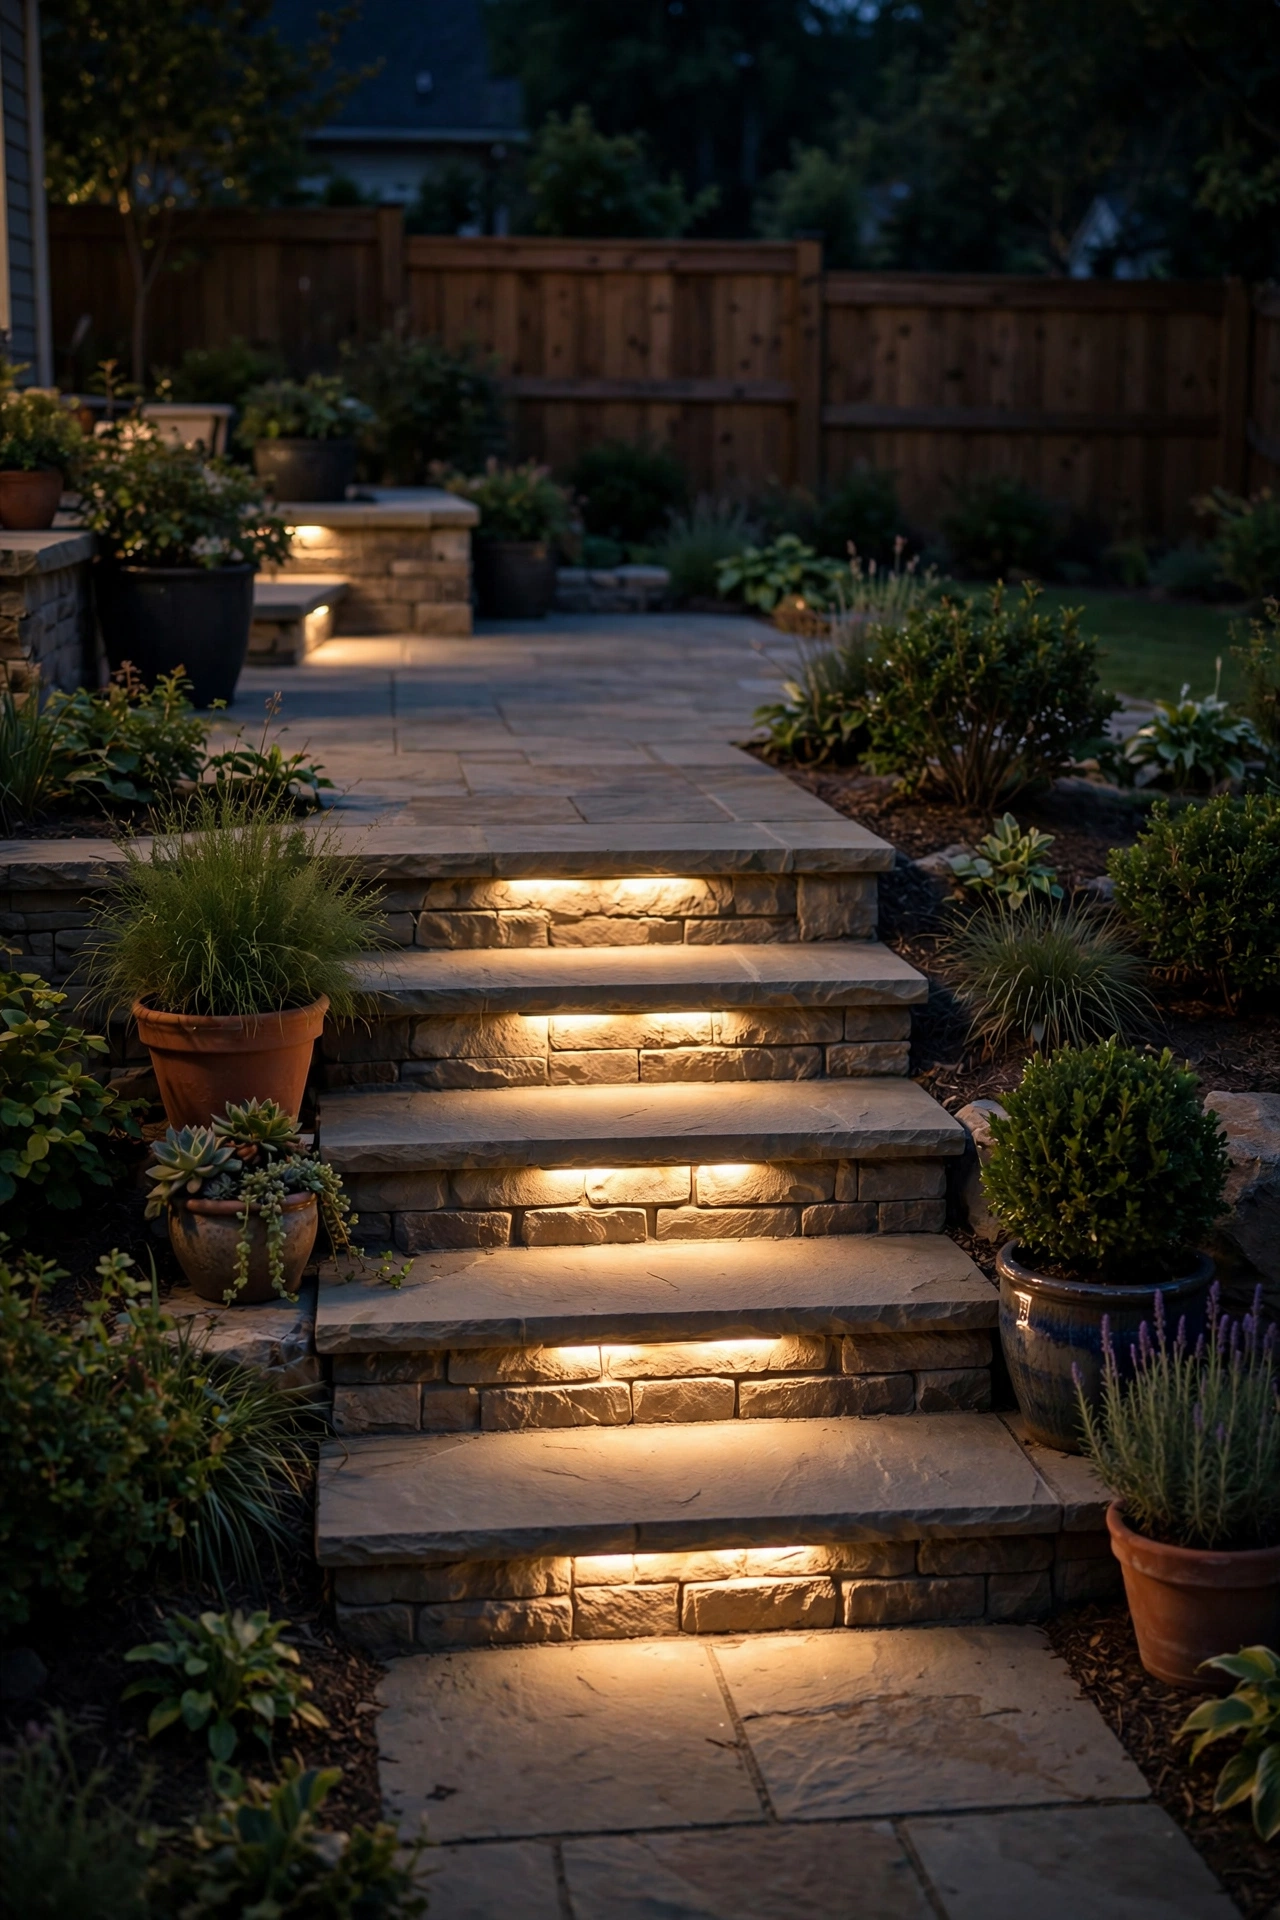
Let's talk about the lights that earn their keep: step and stair lights. Recessed LED step lights set into the risers (the vertical part of each step) throw a soft pool of light onto the tread below, so nobody's guessing where the stairs are after dark. They're small, they're subtle, and they might be the most practical lighting dollars you'll spend — my mother-in-law's confident midnight trips to the kitchen are proof enough for me.
Solar step lights are the easy version: stick-on or screw-on, no wiring, about ten to fifteen dollars for a four-pack. They're fine for marking edges but honestly a bit dim. For real illumination, low-voltage wired step lights connect to a landscape transformer (more on that in idea 24) and put out a proper 100 to 200 lumens each. Space them every step or every other step — one per step is ideal for safety. Choose warm white around 2700K to match your other lighting; a random cool-white step light in an otherwise warm patio sticks out like a sore thumb. And look for fixtures rated for foot traffic and weather — IP67 is the rating I trust for anything near ground level.
Suggested budget range: $80 – $160.
14. Wall Sconces by the Patio Door
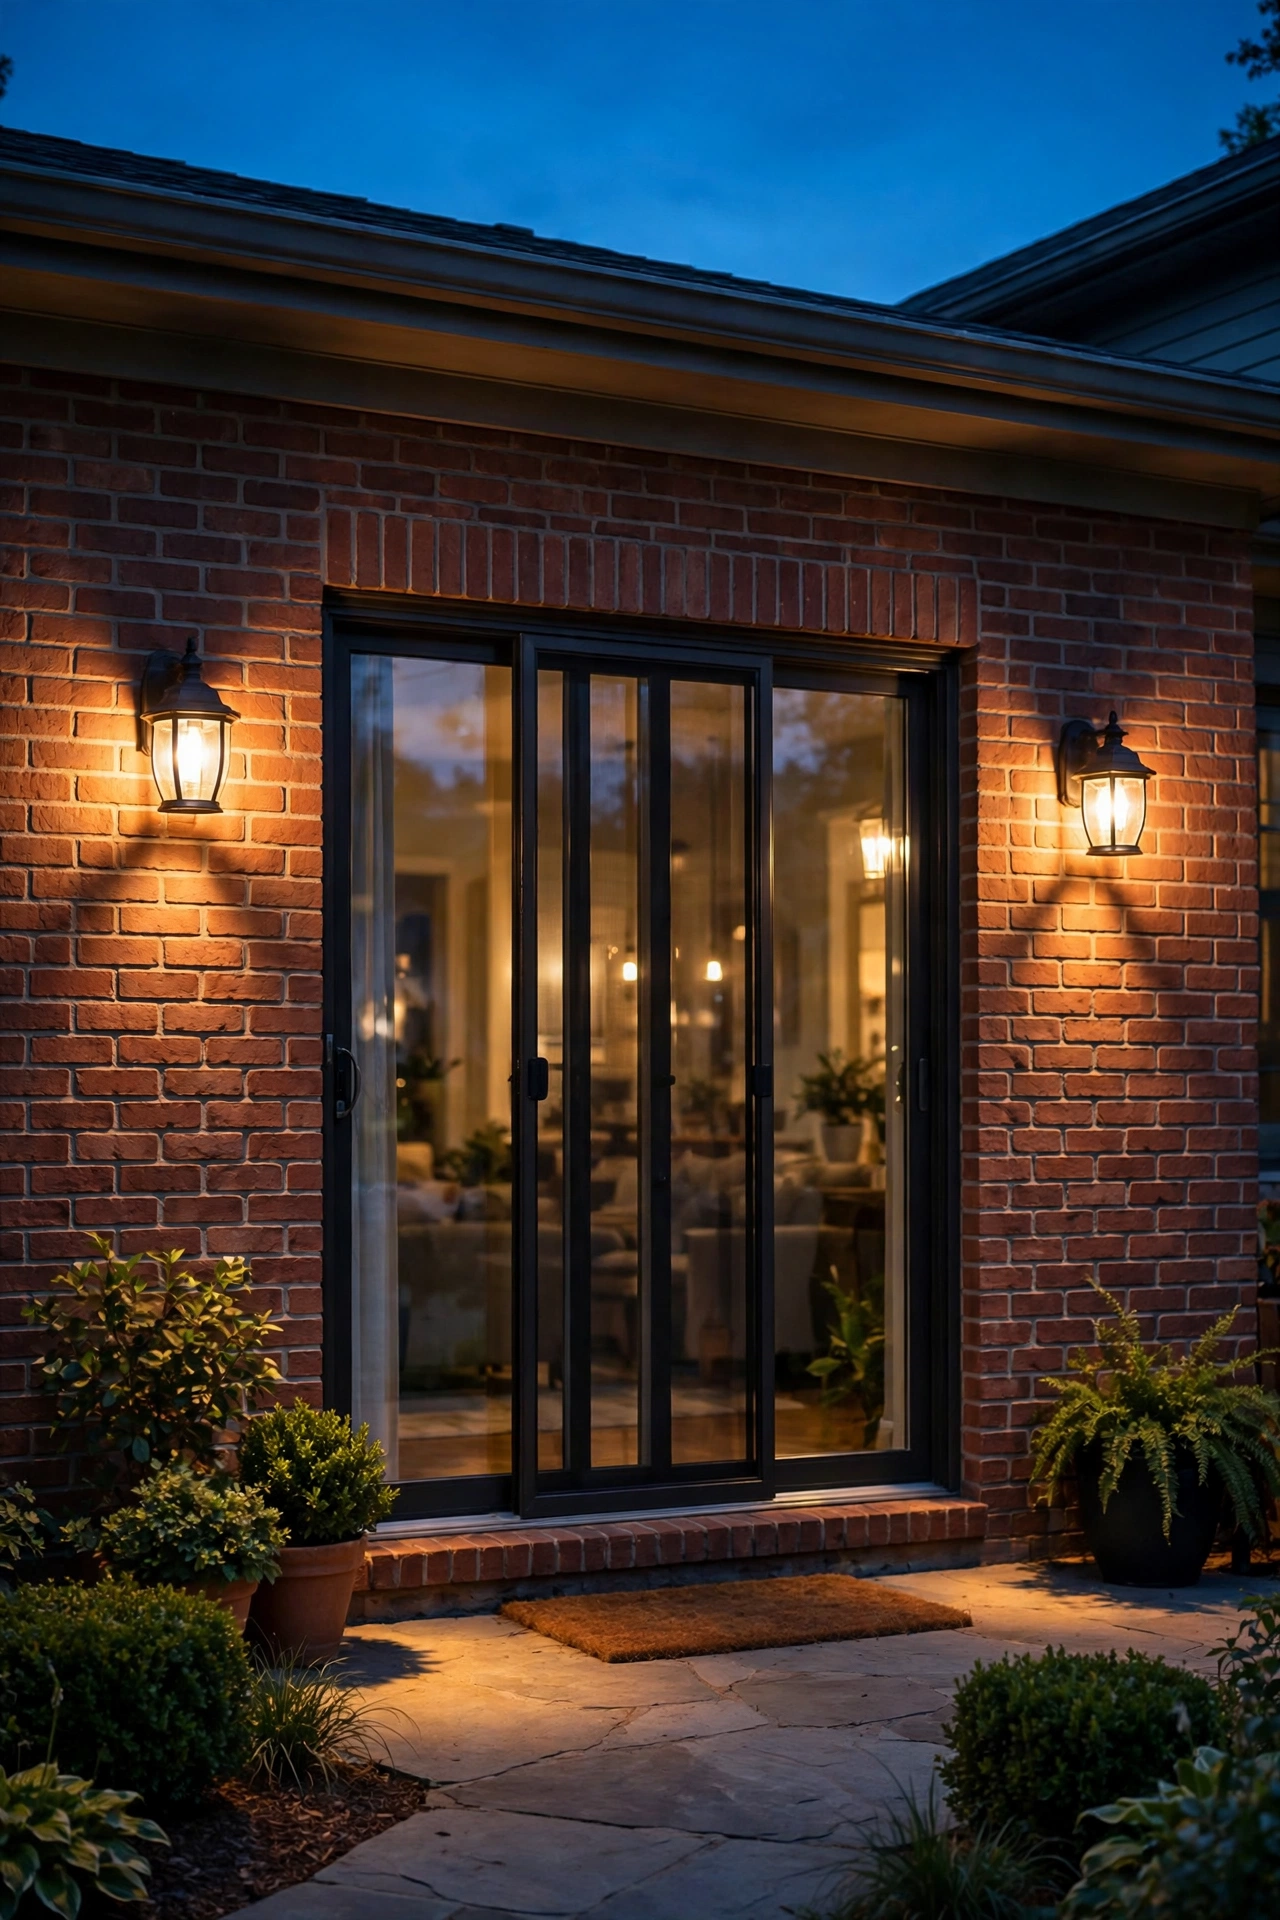
The wall beside your patio door is prime real estate, and a pair of outdoor sconces flanking it is the fastest way to make the whole patio feel finished. Sconces give you real, usable light — enough to see the lock, the handle, and who's at the door — while framing the entrance like a picture. I always recommend going for a matched pair rather than a single fixture; symmetry reads as intentional design.
Mount them five and a half to six feet off the ground (center of the fixture) and about six to eight inches out from the door frame. For the bulb, a warm 2700K LED in a filament style looks gorgeous behind seeded or frosted glass — avoid clear glass with harsh daylight bulbs, which is how you get that interrogation-room look. If you don't have existing wiring, there are excellent battery and solar sconce options now that mount with two screws and no electrician; they won't be as bright as hardwired, but for ambiance they're lovely. Either way, put them on the same dusk-to-dawn schedule as your other lights so the whole patio wakes up together.
Suggested budget range: $75 – $175.
15. Light Curtain on a Fence or Wall
A curtain of string lights hung vertically down a fence or blank wall is pure drama — it's the backdrop that makes every photo look like a wedding. Hang a strand (or three) from the top of the fence so the lights fall in straight vertical lines, about three to four inches apart, like a glowing waterfall. Behind a dining table or a lounge corner, it creates a shimmering focal wall that pulls the whole patio together.
Most light curtains come as a single unit — one plug, multiple drop strands, usually covering about ten feet wide by ten feet tall. Mount the top rail with screw-in hooks along the fence cap, and let the strands hang free; weight the bottoms with tiny clear clips if wind tangles them.
Suggested budget range: $50 – $110.

16. Uplights for Trees and Tall Planters
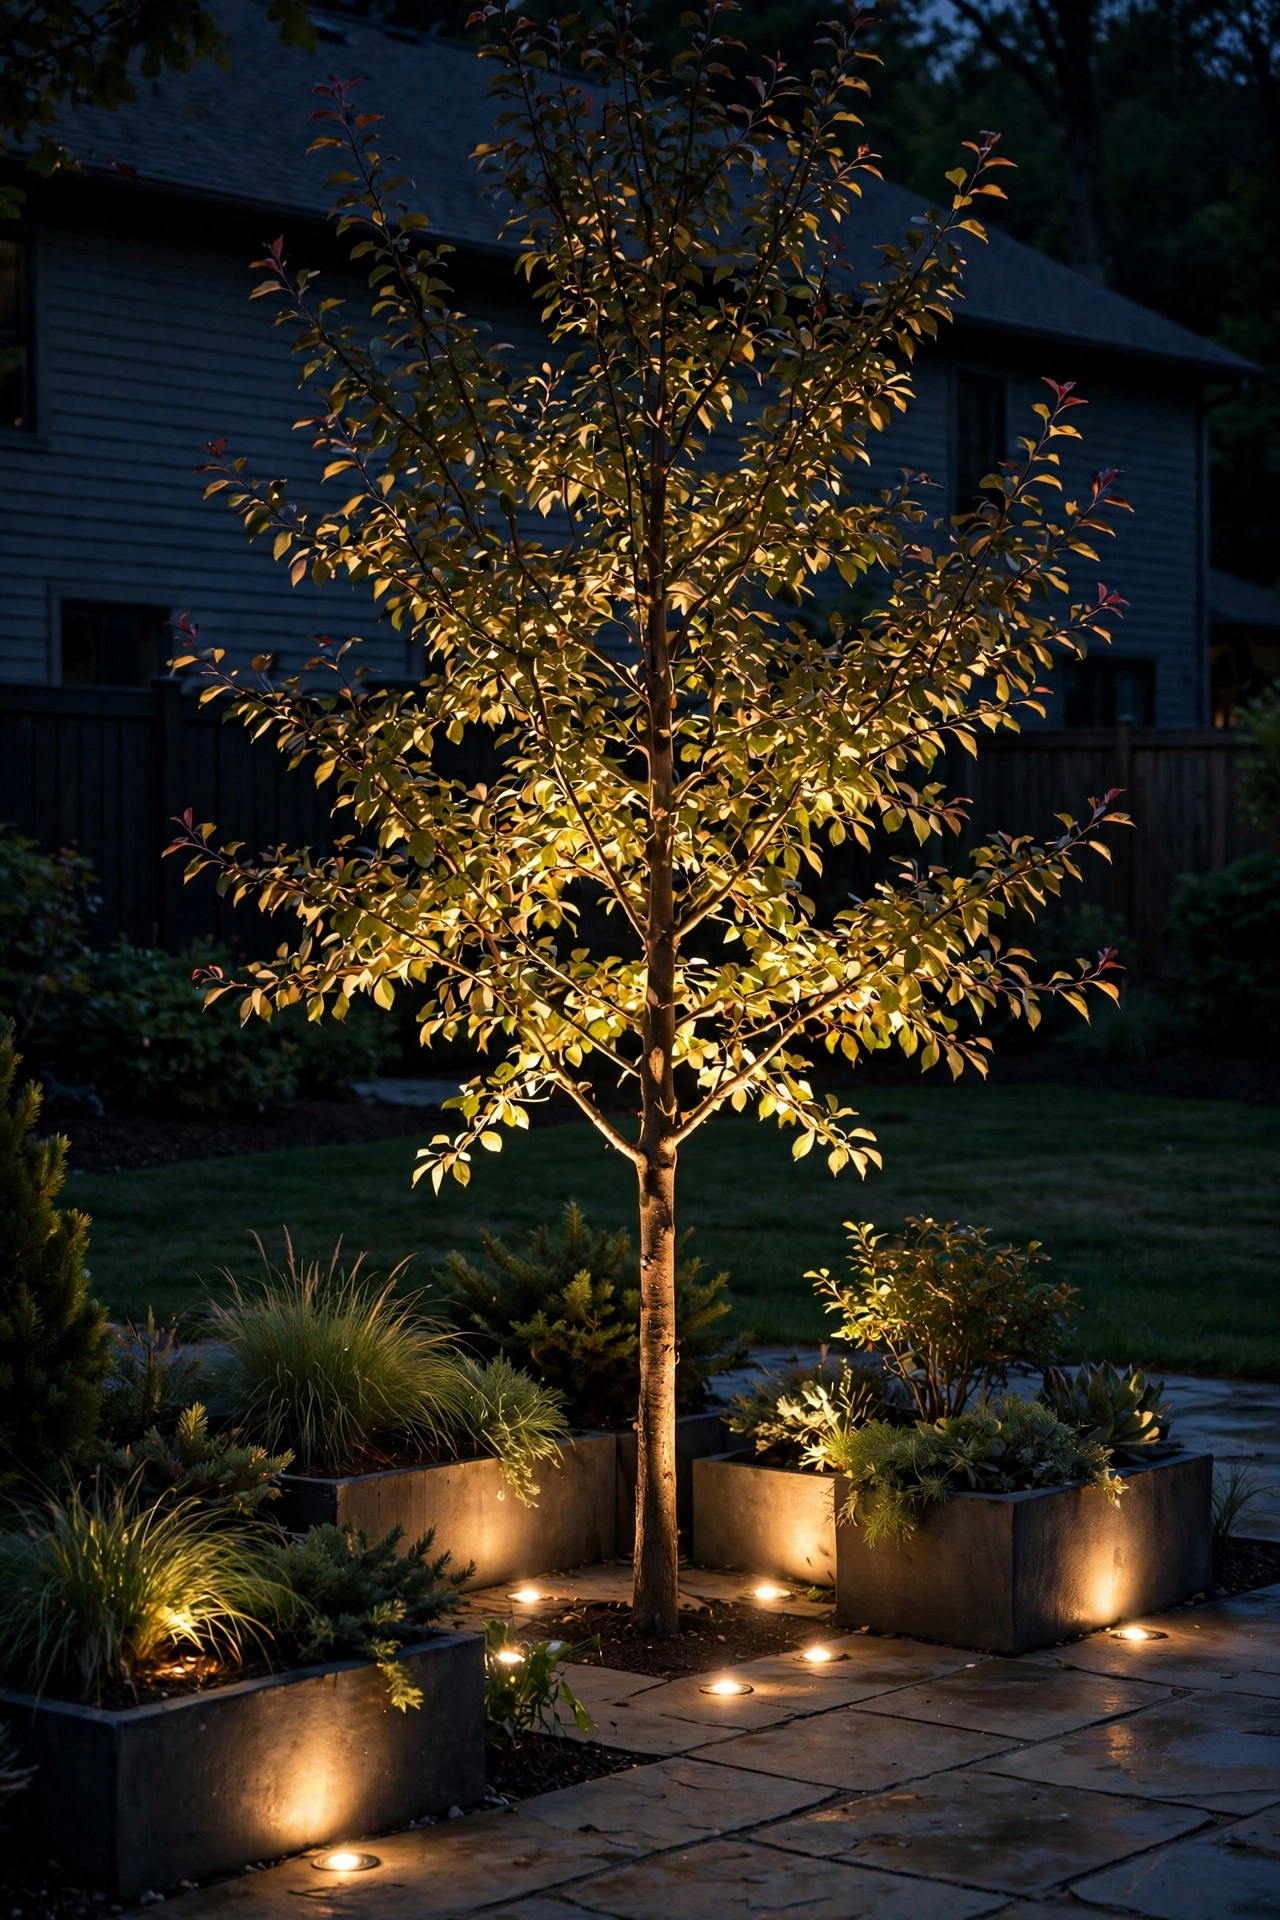
Uplighting is what separates "I put some lights out" from "who designed this?" — and it's absurdly simple. A small ground spotlight aimed up into a tree canopy, a tall ornamental grass, or a big potted olive tree throws dramatic shadows and makes the plant look sculptural after dark. I put two uplights at the base of our Japanese maple and guests ask about it more than anything else in the yard.
For a patio, solar spotlights are the easy entry: push them into the soil or a planter at the base of the plant, tilt the head up at roughly a 30-degree angle, and let them charge all day. For a bigger statement, low-voltage wired spotlights (12-volt, on a landscape transformer) put out 200 to 400 lumens — enough to light a whole 15-foot tree. Place the fixture about a foot out from the trunk and aim at the canopy's center; for multi-trunk trees, one light per trunk reads beautifully. Keep the color warm — 2700K to 3000K — because cool white on bark looks ghostly. And angle them so the beam doesn't blast straight into your neighbor's windows; good fences make good lighting.
Suggested budget range: $60 – $150.
17. Deck Post Cap Lights
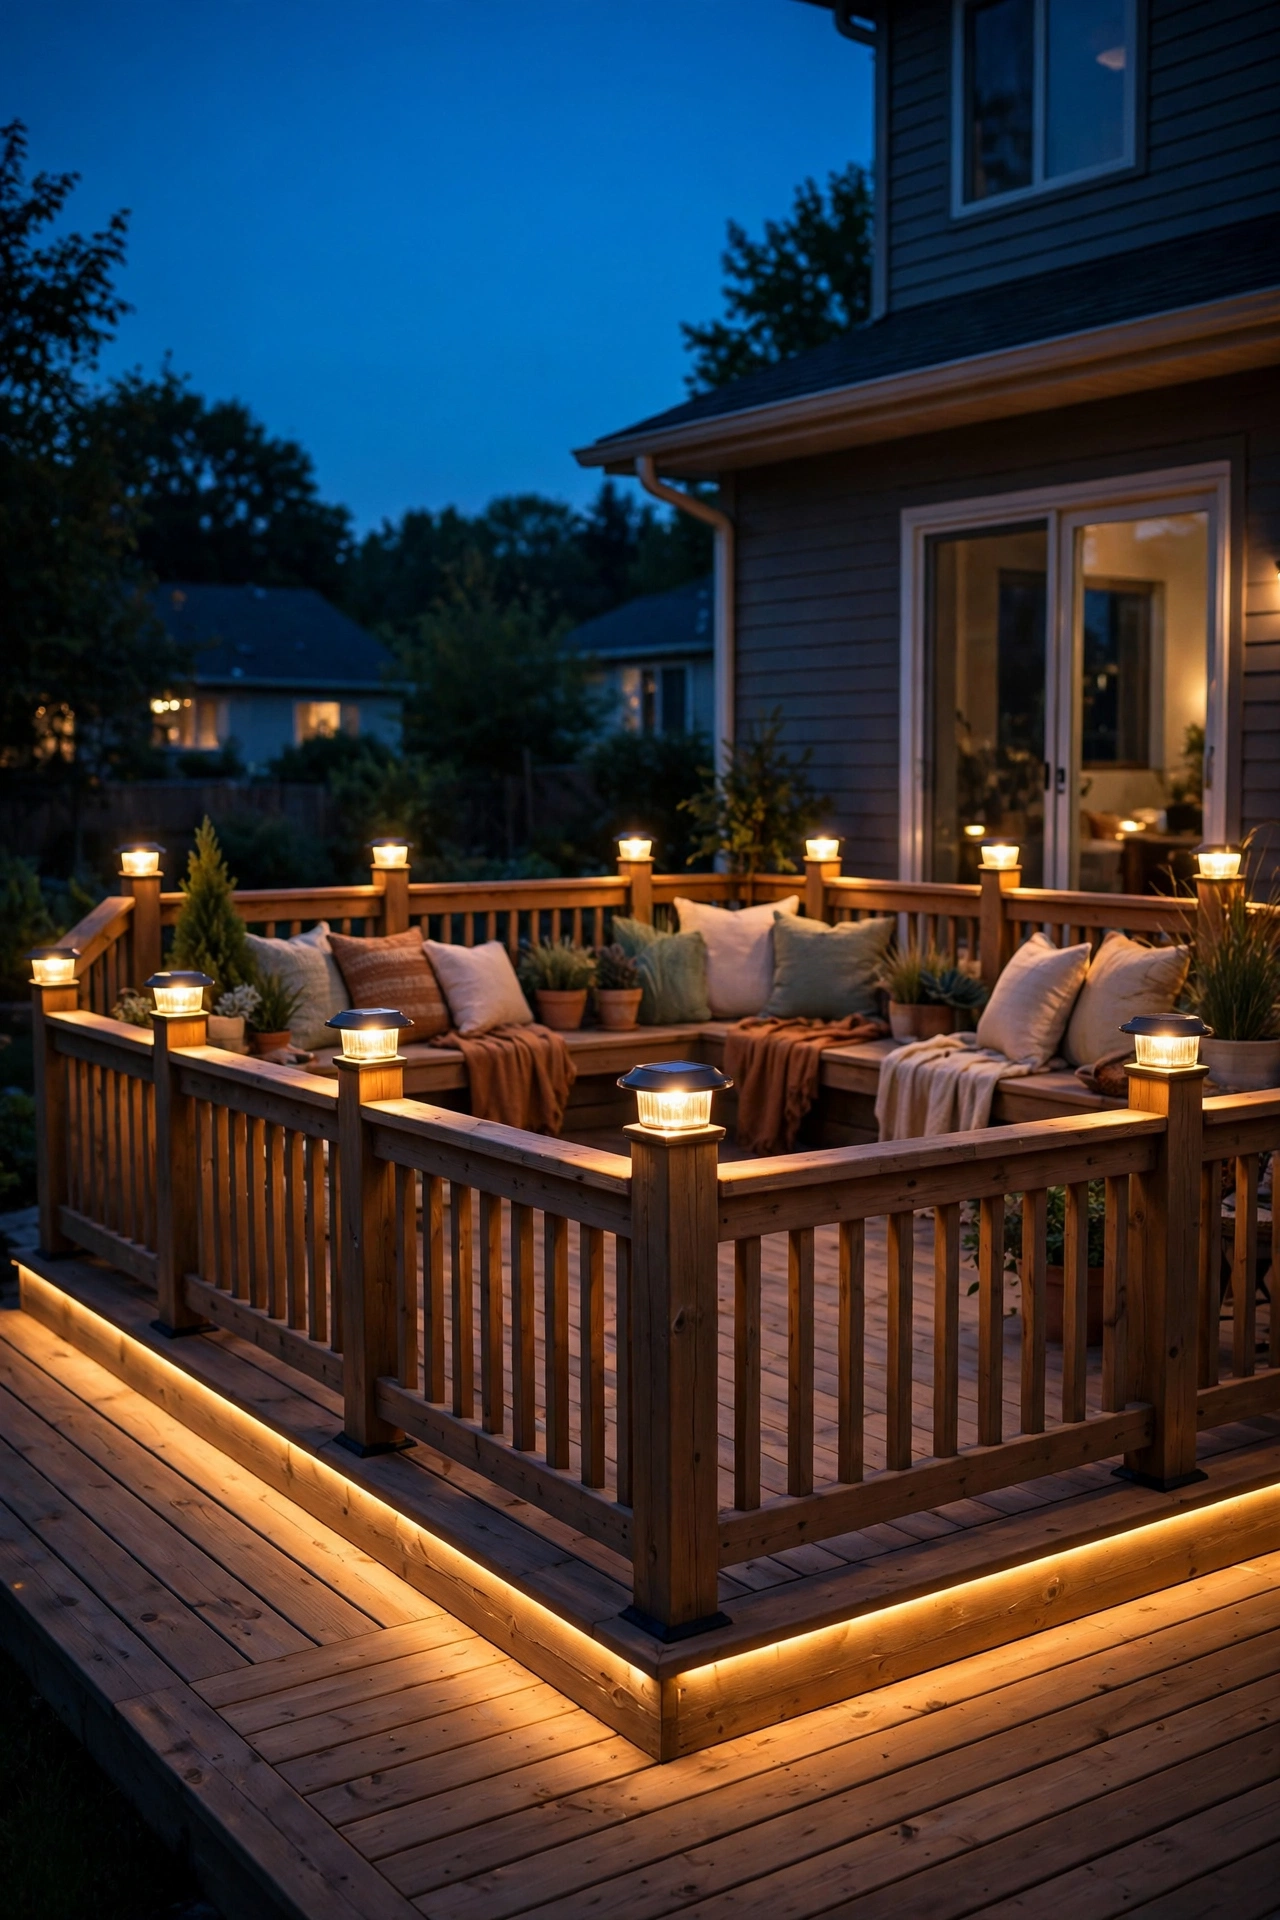
If your patio has a deck railing, the posts are begging for cap lights. These little fixtures sit right on top of each post (or replace the cap entirely) and cast a soft downward glow along the railing and deck boards. The effect is architectural — suddenly your railing isn't just a boundary, it's a design feature. Spaced every six to eight feet around the deck, they give you a continuous ring of gentle light.
Solar cap lights are the no-wiring route: they snap onto standard 4×4 or 6×6 posts and charge through a panel on top. They're modest in brightness — accent light, not task light — which is exactly what you want here. Wired low-voltage caps are brighter and more reliable in shady yards, connecting to the same transformer as your landscape system. Either way, stick with warm white to match the rest of the patio; mixed color temperatures along one railing look accidental. One thing to check: measure your actual post size before ordering, because 4×4 lumber is really 3.5 inches square and caps come in nominal and actual sizes. Learned that one the hard way.
Suggested budget range: $60 – $130.
18. Smart Color-Changing String Lights
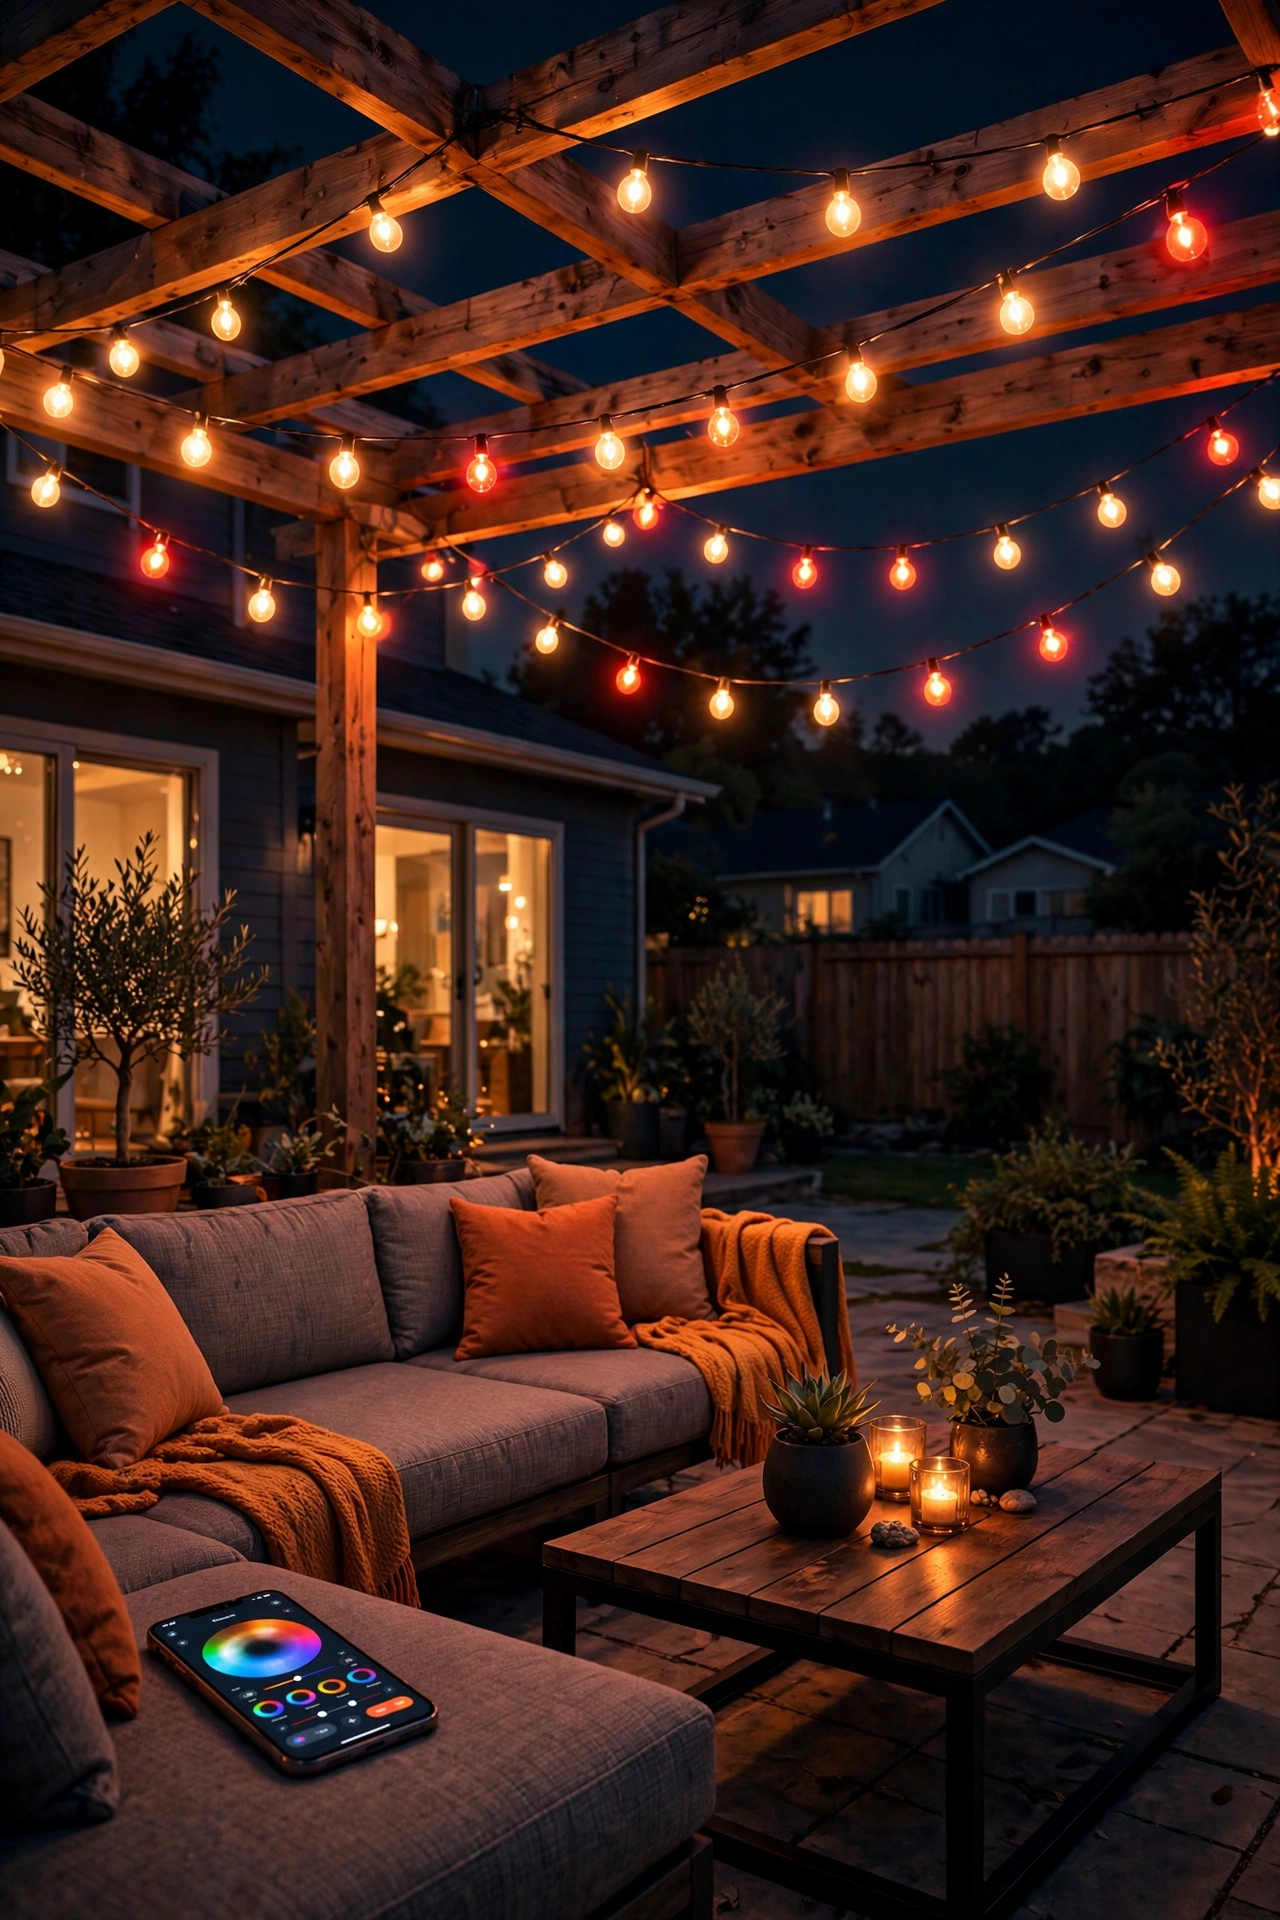
For the tech lovers: smart string lights that shift color from your phone. Warm white for Tuesday dinner, orange and purple for Halloween, red and green for the holidays, a slow rainbow fade for the kids' birthday — one strand, infinite moods. If you like hosting themed parties (or you just enjoy fiddling with your phone), these earn their keep fast. They're a natural companion to seasonal looks — our guide to outdoor Christmas light ideas shows how one smart strand can carry your whole holiday display.
Look for outdoor-rated (IP65 or better) strands with individually addressable bulbs if your budget allows — they can run chase effects and multi-color patterns that the basic single-color strands can't. Most connect over Wi-Fi or Bluetooth with an app for scenes, timers, and music sync; set a daily schedule so they turn on at sunset in warm white automatically, then switch scenes for occasions. Brightness-wise, they're comparable to standard LED string lights, plenty for a patio. The one downside: if the app ever gets abandoned by the manufacturer, you're stuck with basic functions, so I treat the app as a bonus, not the whole point, and make sure the default warm-white mode looks great on its own.
Suggested budget range: $70 – $180.
19. Pergola Beam Fairy Wrap
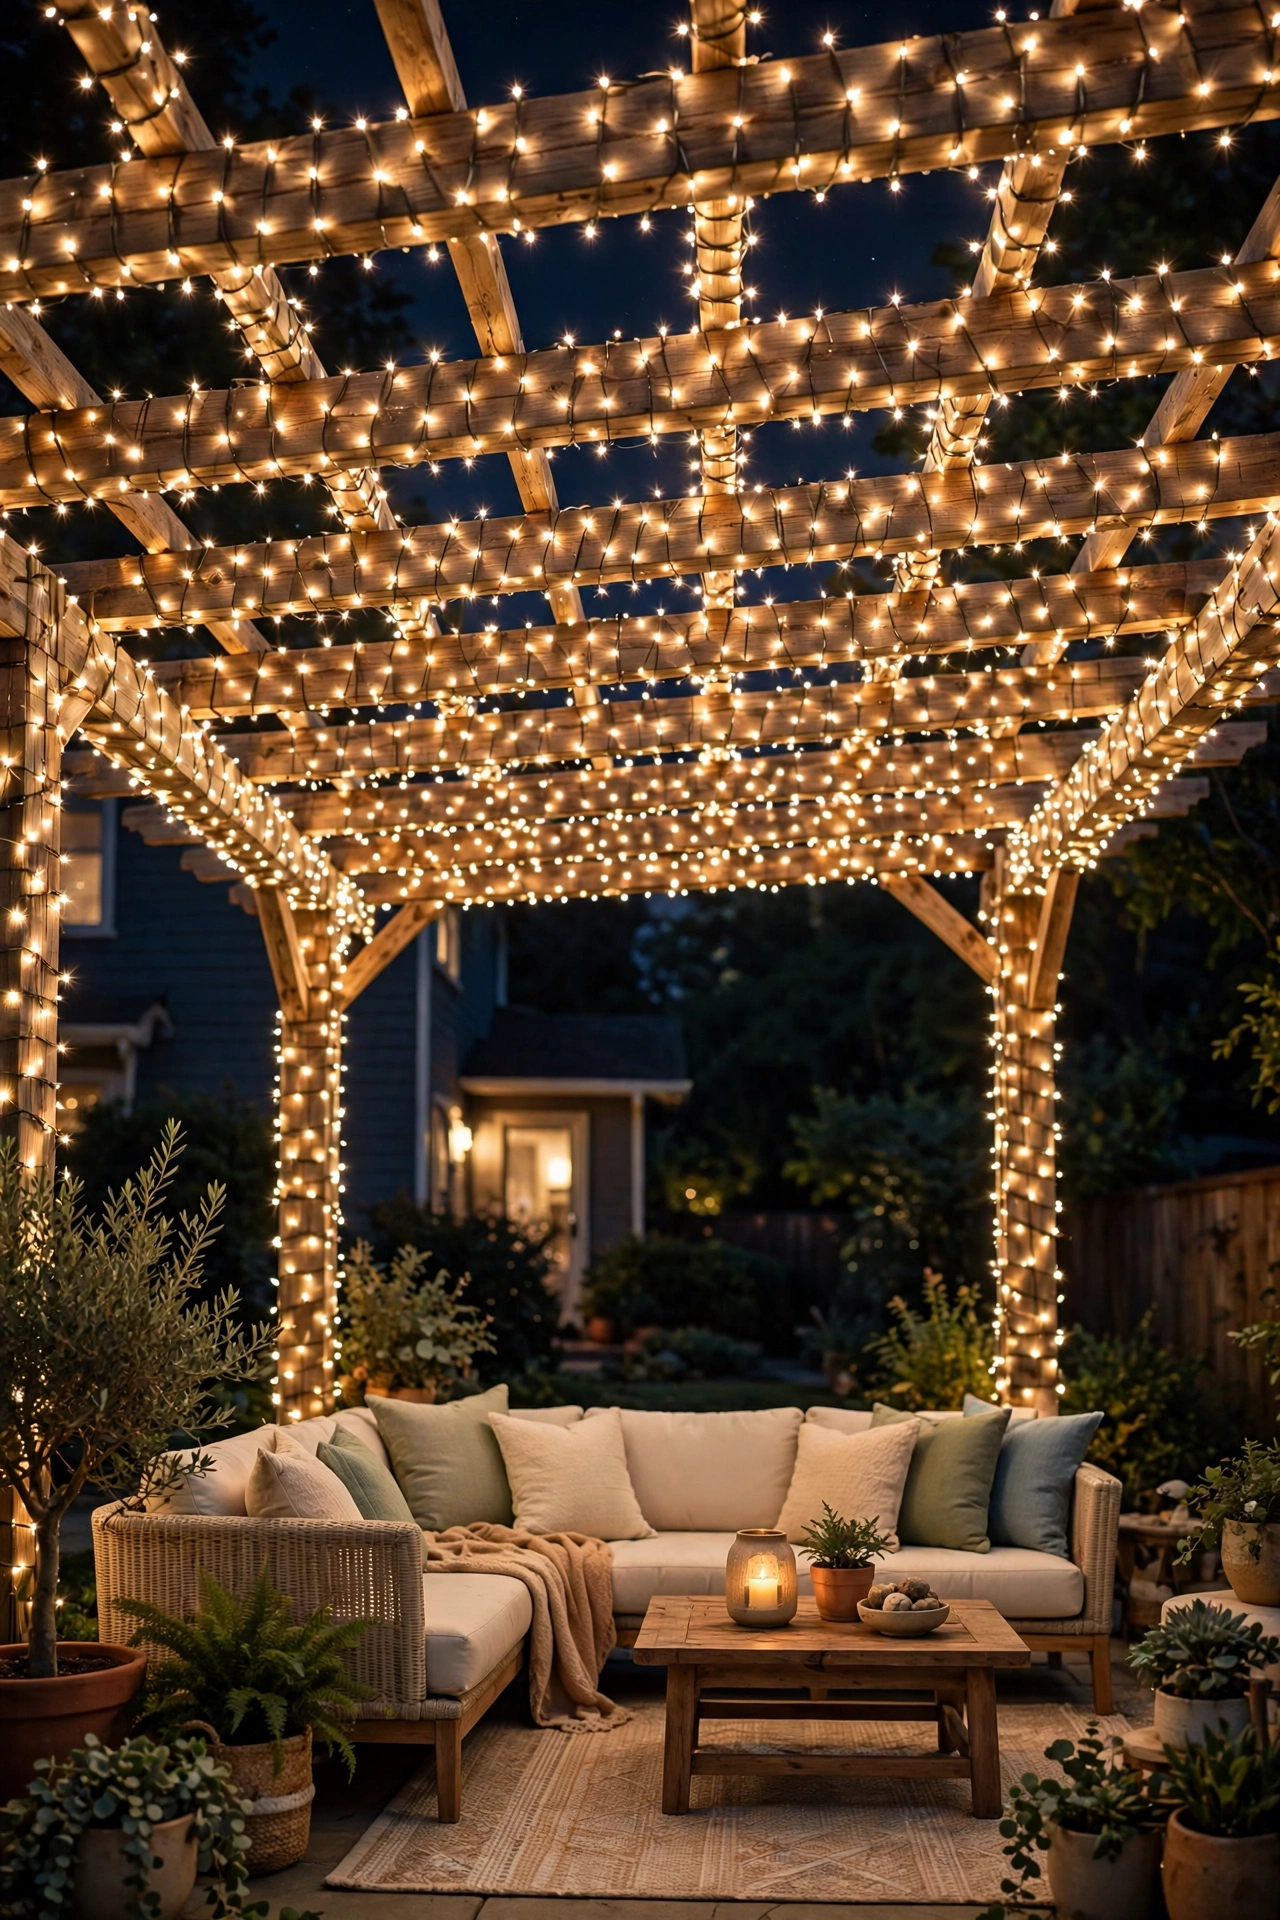
A pergola is basically a lighting frame waiting to be dressed, and wrapping its beams in fairy lights is the single prettiest thing you can do with one. Take those tiny warm-white micro LED strands on thin copper wire and spiral them around each horizontal beam, end to end. When it's done, the whole structure glows like it's woven from starlight — I am not exaggerating, it genuinely stops people mid-sentence.
A standard 10-by-12-foot pergola needs roughly 300 to 400 feet of fairy lights if you're wrapping all four main beams; that's usually four to six 66-foot strands. Start at one end of a beam and work in a loose spiral, securing every couple of feet with a small staple or clear zip tie — loose enough that the wire doesn't kink, snug enough that wind doesn't unravel it. Use plug-in strands with a timer for this (solar panels struggle under a pergola roof, and battery strands at this scale eat batteries). Drape one extra swag of lights across the middle of each beam span so the center doesn't go dark. Do it on a cool evening with a podcast on; it's meditative work, honestly.
Suggested budget range: $75 – $150.
20. Hanging Pendant Over the Dining Table
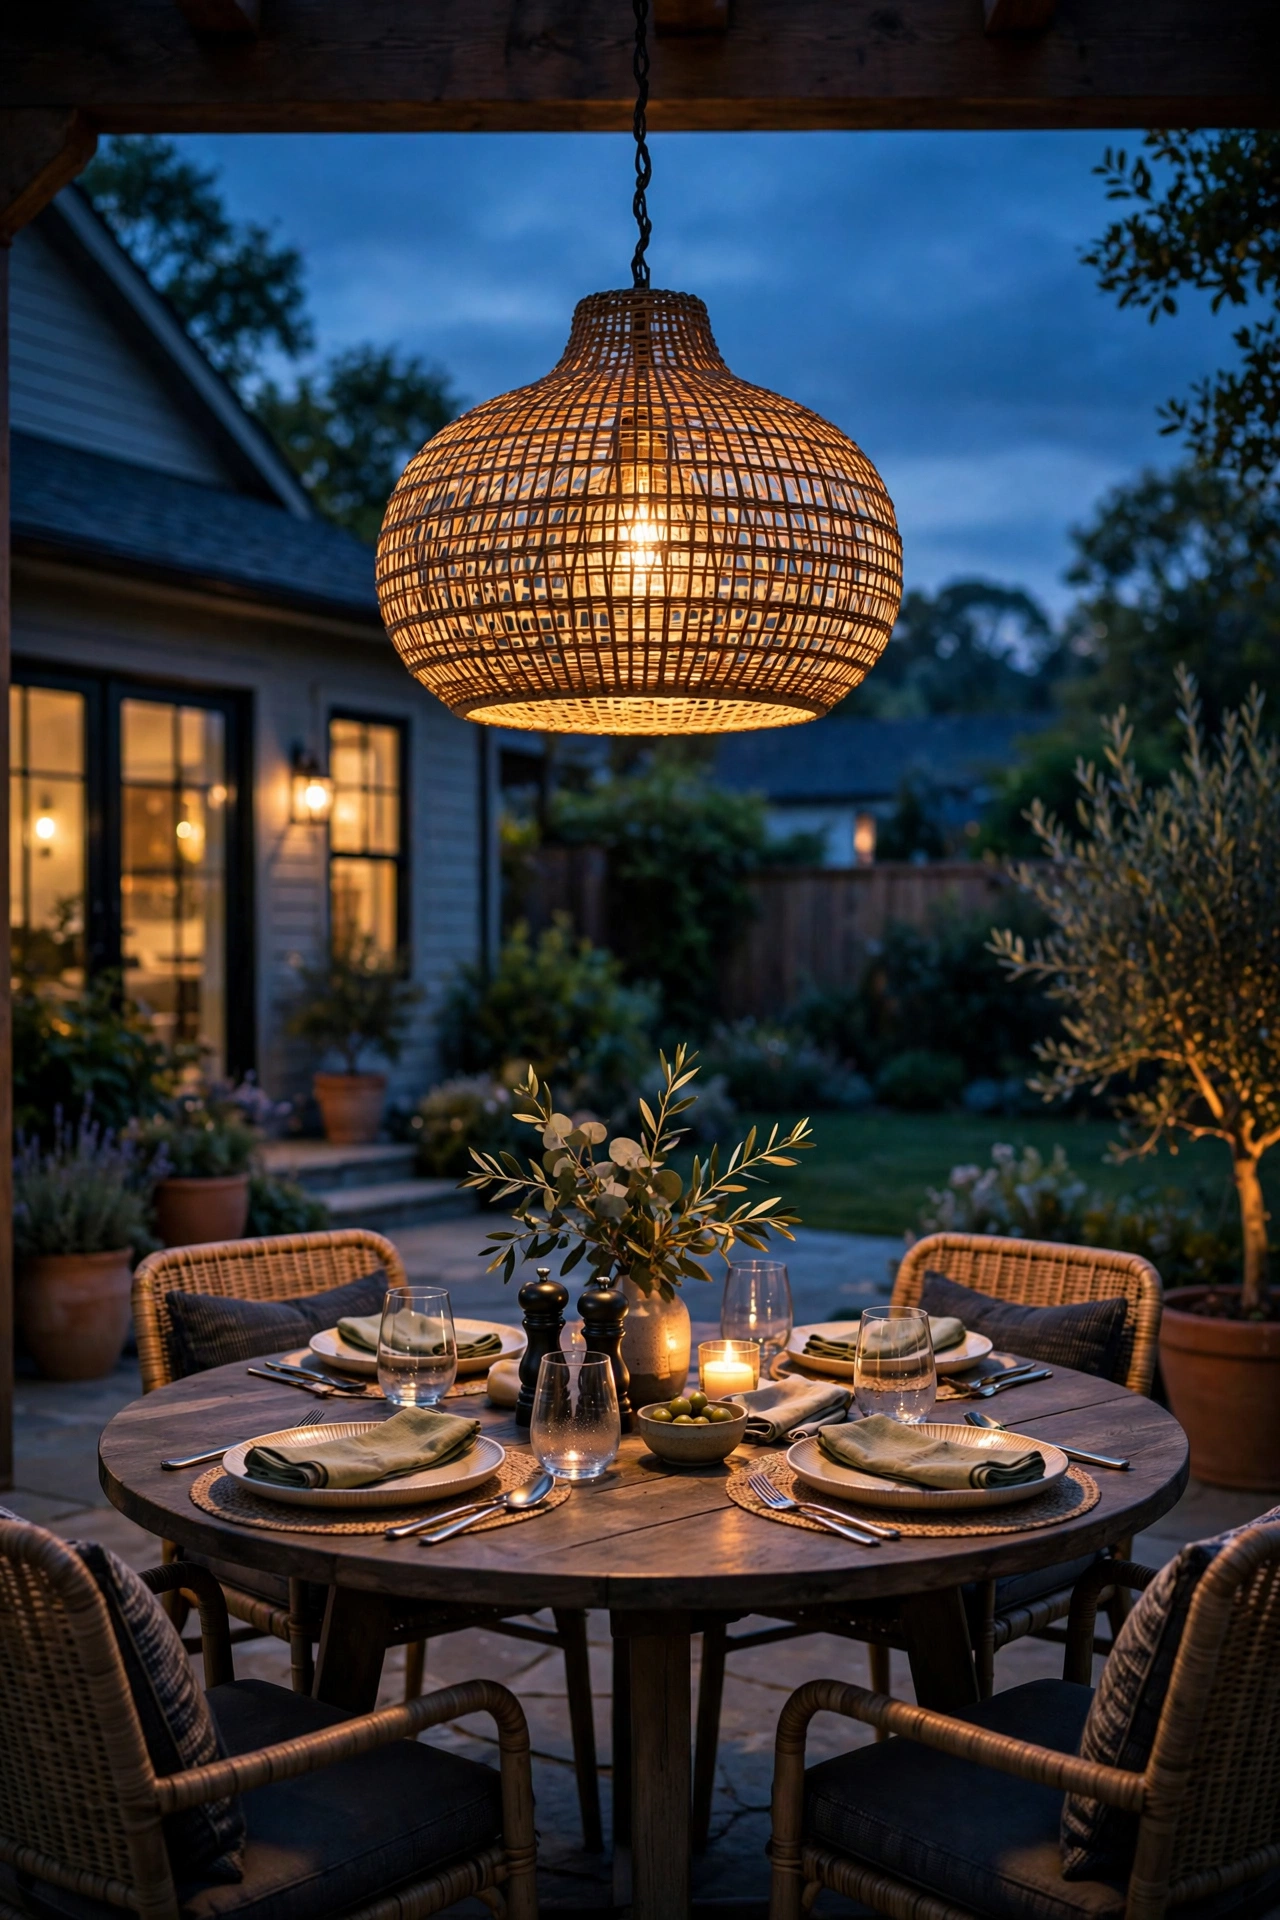
Want your patio dining area to feel like a real room? Hang a pendant light over the table. A single oversized outdoor pendant — woven rattan, seeded glass, or a simple metal dome — centered 30 to 36 inches above the tabletop gives you focused task light for eating and a strong style statement. It's the outdoor equivalent of the dining room chandelier, and it anchors the whole seating area.
You need something overhead to hang it from: a pergola beam, a sturdy tree branch, or a shepherd's-hook-style pendant stand made for patios. Plug-in corded pendants are the simplest — drape the cord along the beam and down to an outdoor outlet, using cord covers or clips to keep it tidy. Use a warm dimmable LED bulb (800 lumens is plenty over a table) so you can brighten for homework and dim for date night. Check the fixture's wet or damp rating: under a covered patio, damp-rated is fine; fully exposed needs wet-rated. And hang it high enough that your tallest guest won't bonk it standing up — 30 inches above the table is the rule I follow.
Suggested budget range: $90 – $200.
21. Fire Bowl Glow (Real Flame, Real Atmosphere)
Nothing — and I mean nothing — competes with real firelight for atmosphere. A propane fire bowl or fire table gives you a living, flickering centerpiece that doubles as a heat source on chilly evenings, which means your patio season stretches a month or two in both directions. The firelight itself is the lighting: warm, dancing, and flattering to absolutely everyone around it.
Propane is the practical choice for most patios: push-button ignition, no smoke, no ash, and you can place it on a wood deck (with a heat-safe mat underneath) or stone pavers. A 20-pound tank hides inside most fire table bases and lasts roughly eight to ten hours on a medium flame. Budget-wise, small tabletop fire bowls start around a hundred dollars; full fire tables run two to four hundred. Safety rules are non-negotiable: keep it at least three feet from anything flammable, never leave it burning unattended, and skip the marshmallow sticks directly over a propane flame unless the manufacturer says it's food-safe.
Suggested budget range: $100 – $250.
22. Outdoor Chandelier Over the Dining Area
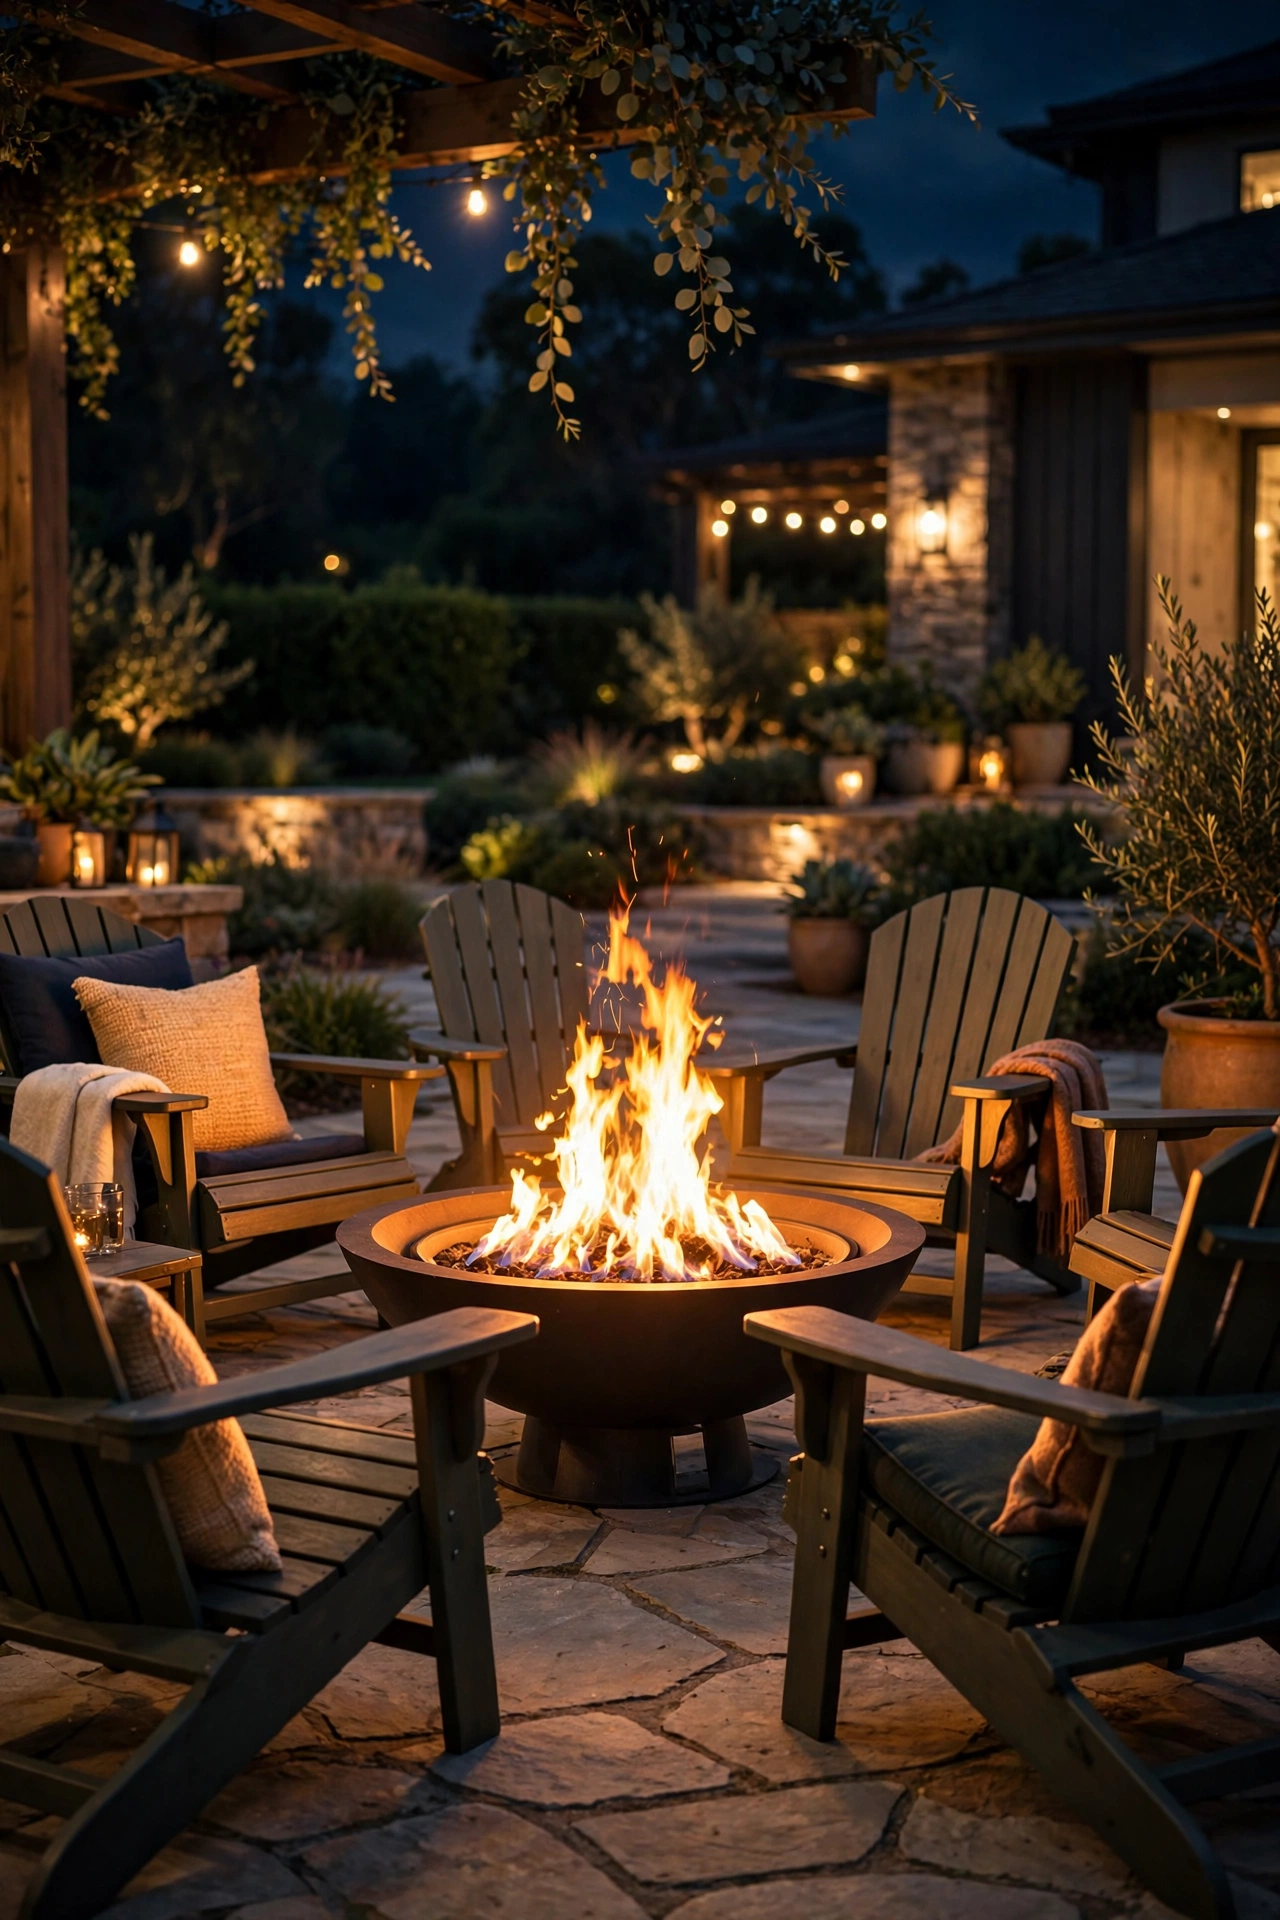
Ready for the jaw-dropper? An outdoor chandelier hung over the patio dining table is the splurge that makes guests say "wait, you can DO that outside?" — yes, yes you can. Candle-style chandeliers with LED flameless candles, beaded boho designs, or simple wrought-iron rings all work; the key is choosing one rated for damp or wet locations so humidity and rain don't kill it.
Hang it from a pergola beam, a covered patio ceiling, or a heavy-duty shepherd's hook stand rated for the weight — chandeliers run 10 to 25 pounds, so this is not a job for a flimsy hook. Center it over the table with the bottom of the fixture 30 to 36 inches above the tabletop, same as an indoor chandelier. For power, battery-operated flameless candles are the simplest (no wiring at all), while hardwired versions need an electrician if there's no existing junction box. I love the candle-style ones best: at dusk the whole thing glows like a candelabra and throws the most romantic light on the table. It's a statement piece, so let it be the star — keep the surrounding lighting soft and simple.
Suggested budget range: $200 – $450.
23. Outdoor Ceiling Fan With Light Kit
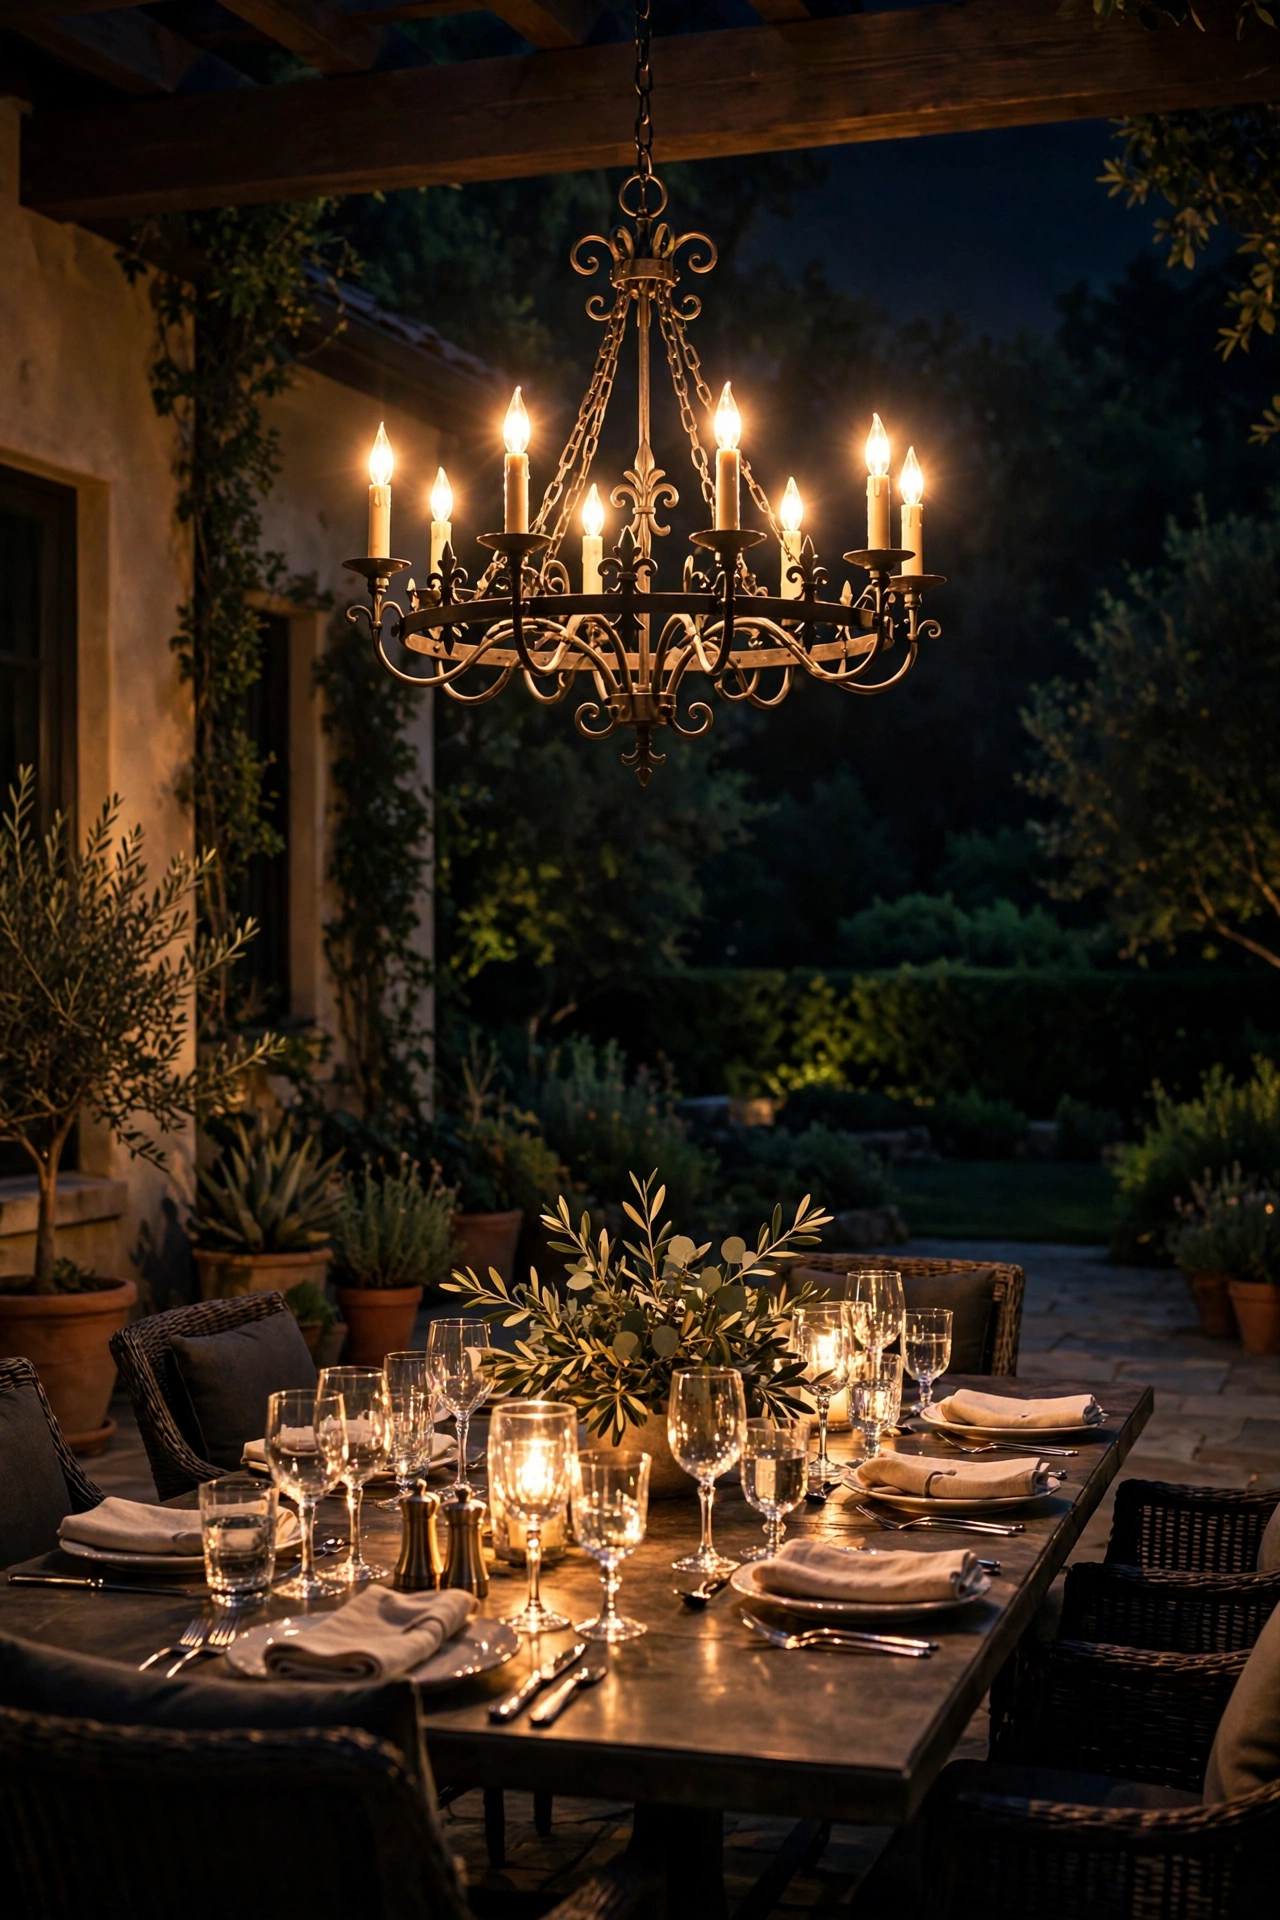
If you have a covered patio, this is the two-for-one upgrade I wish more people knew about: an outdoor-rated ceiling fan with an integrated light kit. You get real air movement on still summer nights — which, in mosquito country, is practically a superpower — plus a proper ceiling light that washes the whole seating area in warm, even illumination. It's the most "finished room" feeling you can give a covered patio.
Buy a fan explicitly rated for damp or wet locations (damp-rated for covered patios, wet-rated if rain can reach it) with a light kit that takes dimmable LED bulbs. Mount it on a downrod so the blades sit seven to eight feet off the floor for safety and airflow. If there's no existing ceiling box, you'll need an electrician to run one — budget an extra $150 to $300 for that, which is why this sits in the splurge tier. Choose a fan with a remote so you're not pulling chains in the dark, and set the light on a dimmer switch. Honestly, once you've had a breezy, well-lit covered patio in August, there's no going back.
Suggested budget range: $250 – $550.
24. Full Low-Voltage Landscape System: Big-League Patio Lighting Ideas
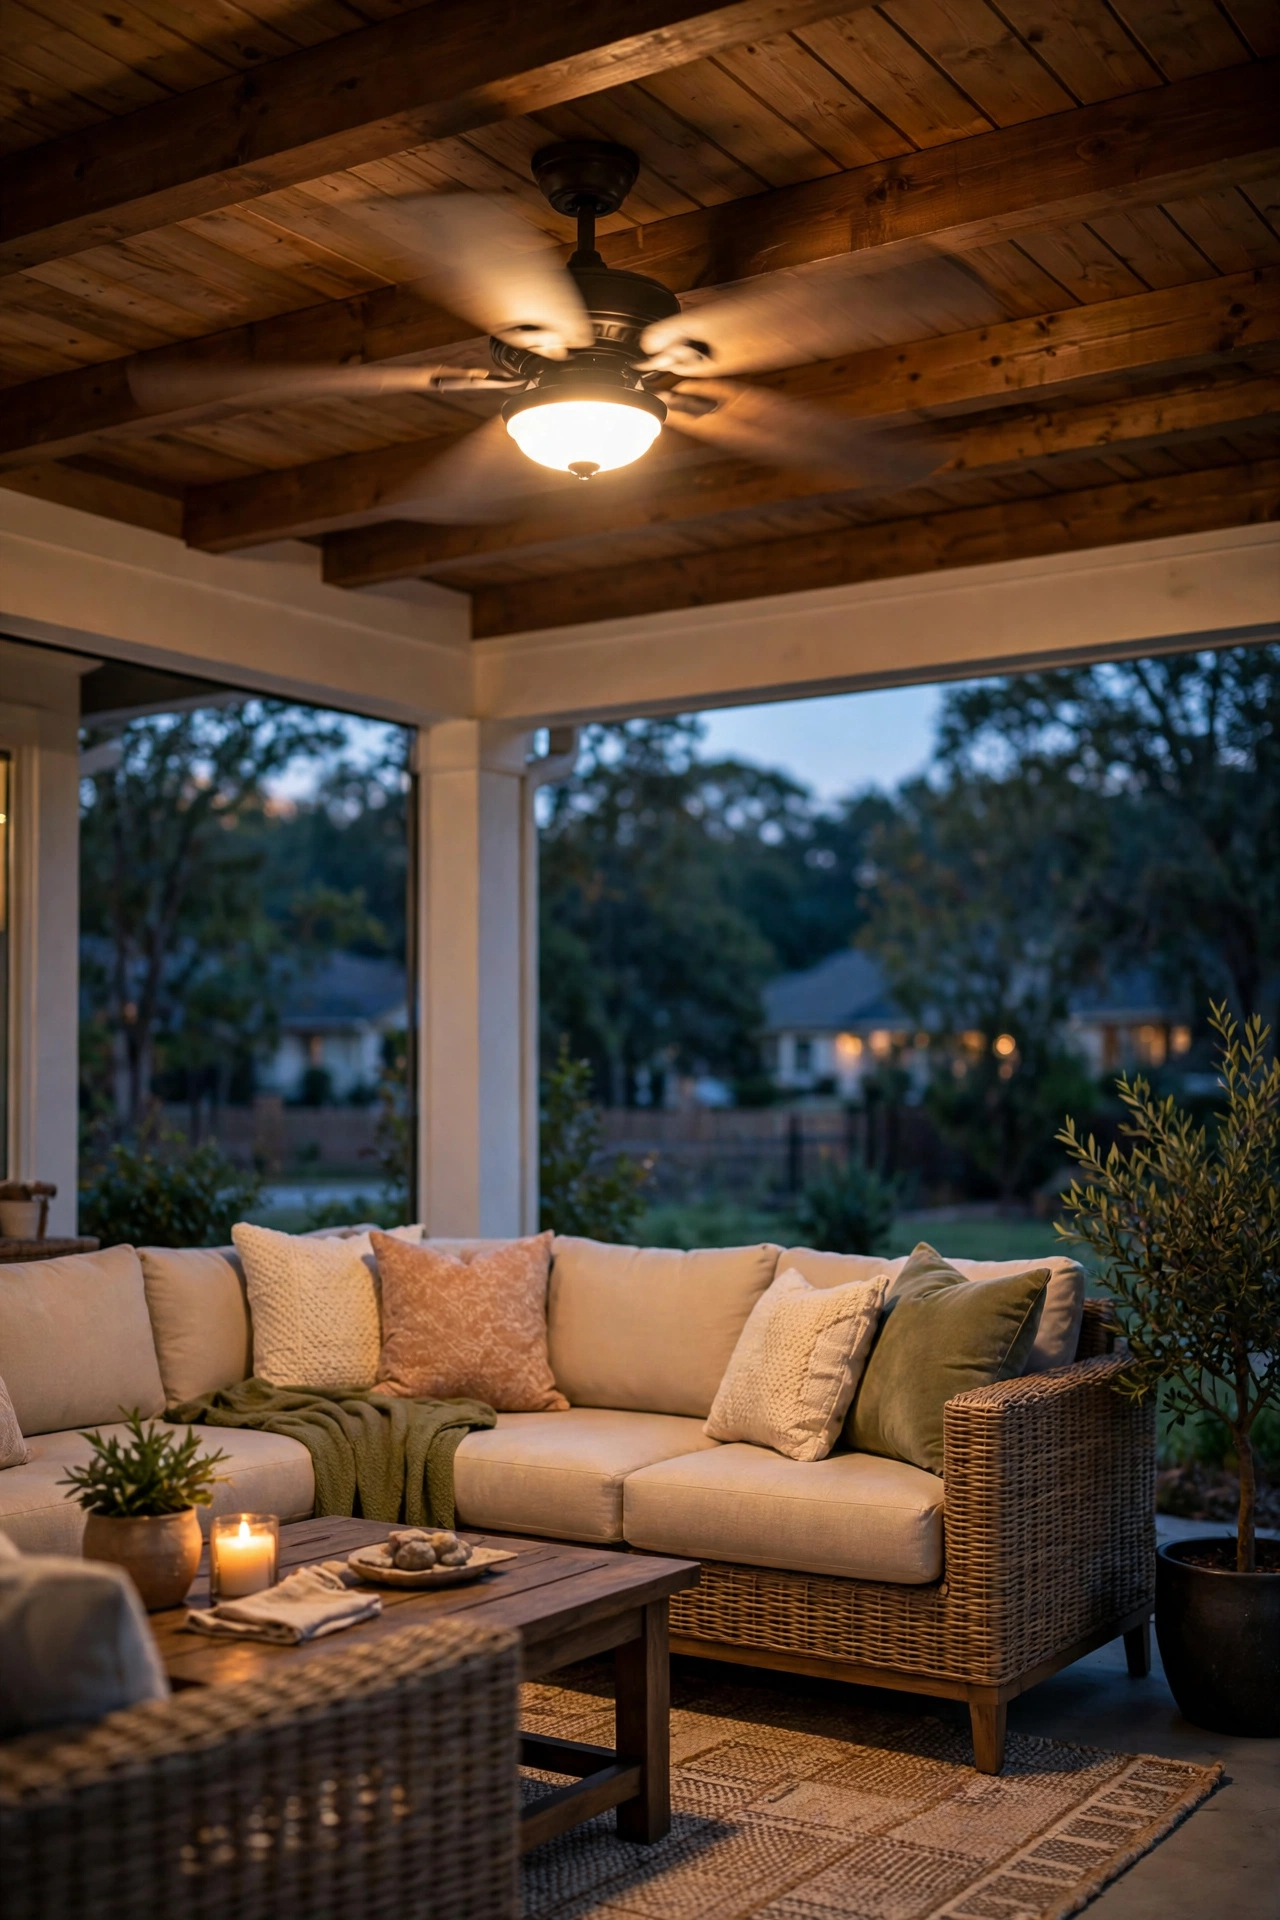
This is the professional-grade move: a low-voltage landscape lighting system with a transformer, buried cable, and zoned fixtures around the entire patio — path lights, spotlights, step lights, and deck lights all running off one hub. It's the system behind those magazine patios where everything glows perfectly and turns on by itself at dusk. And once it's in, it's essentially maintenance-free for a decade.
Here's how it works: a weatherproof transformer plugs into an outdoor GFCI outlet and steps 120-volt power down to a safe 12 volts. You run low-voltage cable in shallow trenches or under mulch to each fixture location — no conduit, no permits, no electrician required for the low-voltage side in most areas. A starter kit with a 200-watt transformer and six to eight fixtures runs $250 to $400; expanding to a full patio perimeter with uplights and path lights lands around $400 to $600. Use the voltage-drop rule of thumb — keep cable runs under 100 feet from the transformer or step up to heavier-gauge wire — and your far fixtures will burn just as bright as the near ones.
Suggested budget range: $250 – $600.
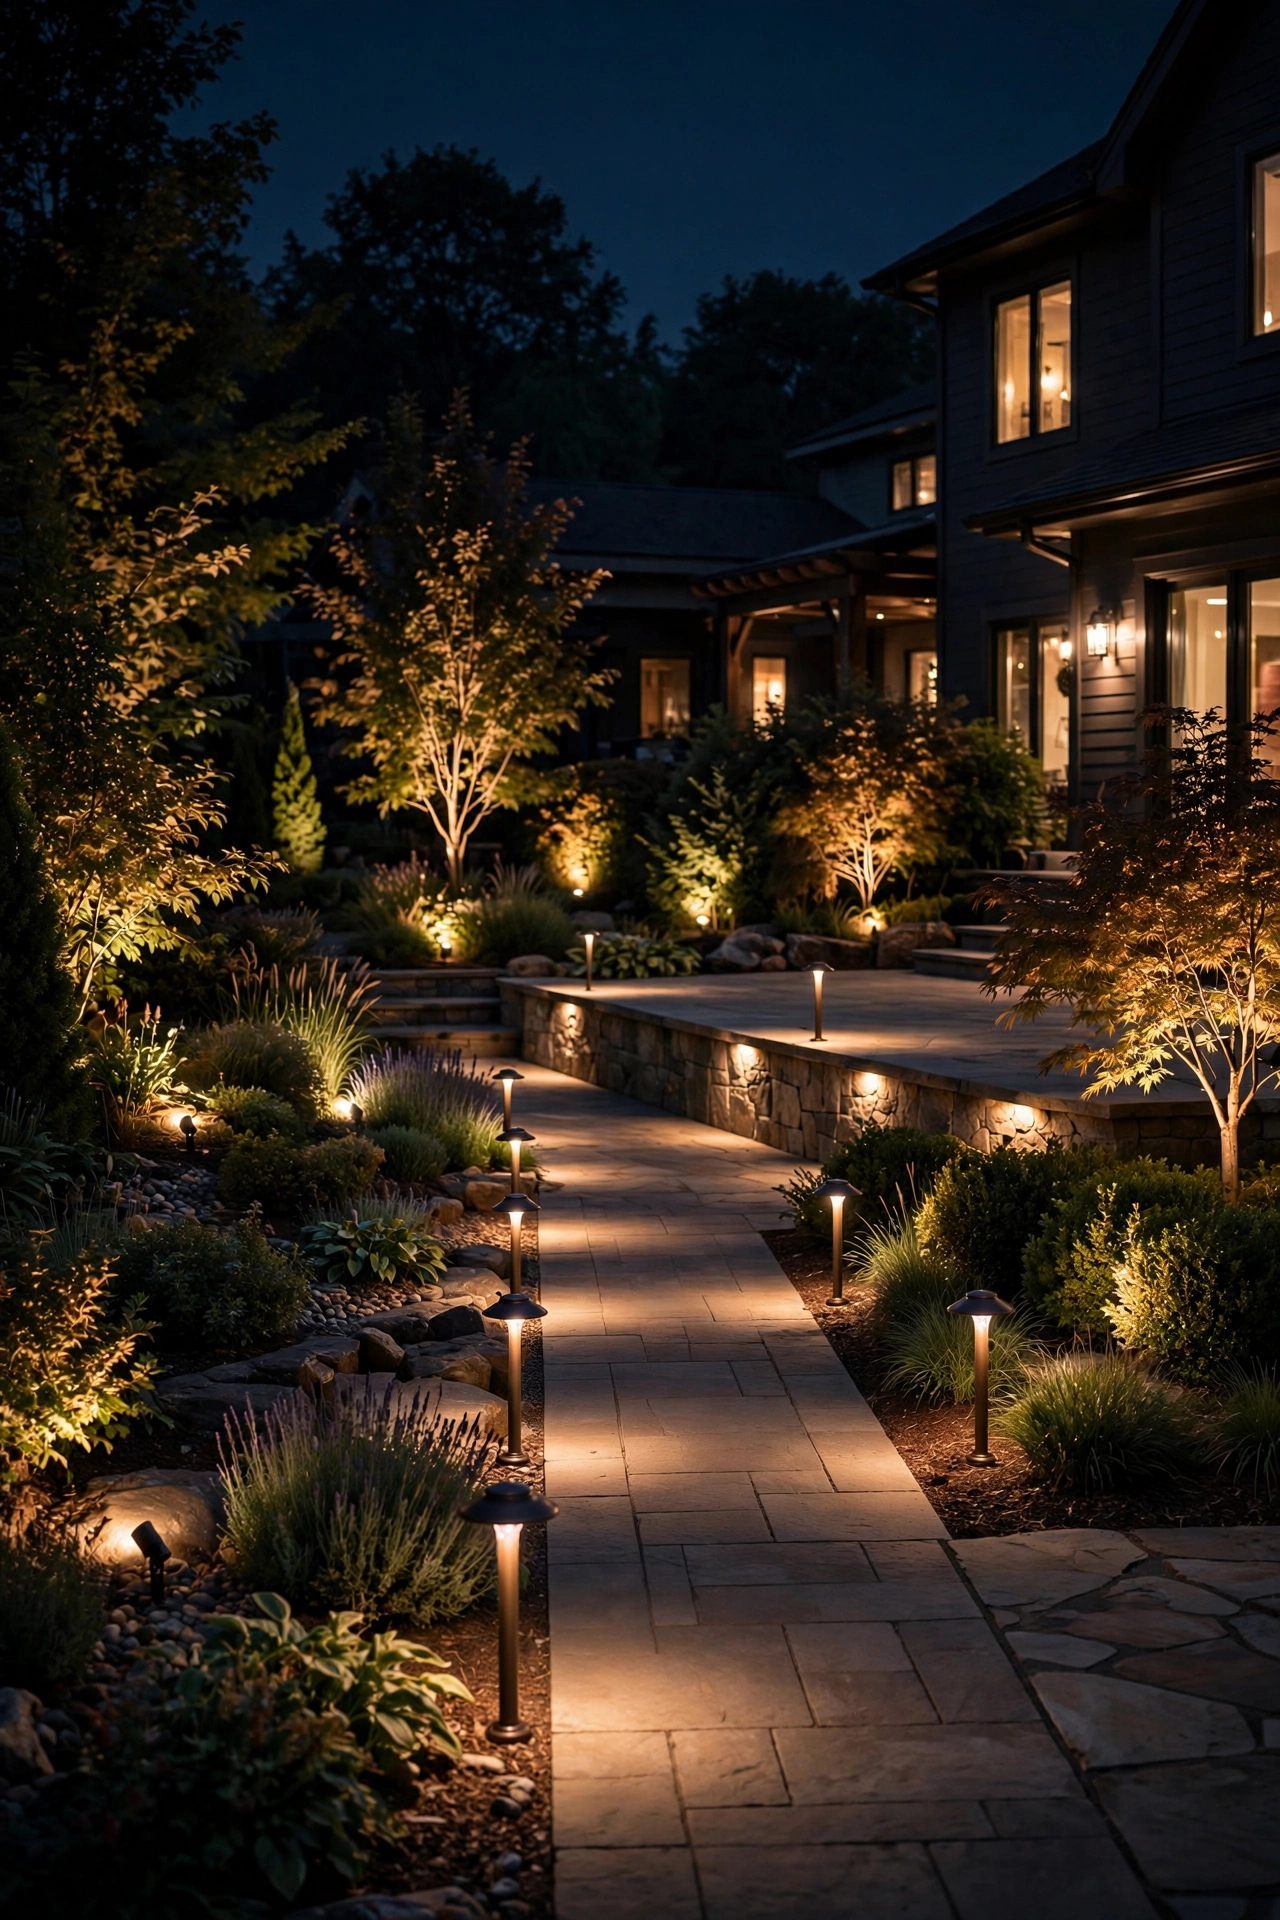
25. App-Controlled Smart Spotlights
Take the uplighting idea and give it a brain: smart outdoor spotlights you control from your phone. Each fixture connects over Wi-Fi, so you can dim the tree uplight, change the planter light to amber, and turn off the path lights — all from the couch, all on schedules that follow sunset automatically. It's the tech-forward version of the landscape system, and it's endlessly fun to play with.
Most smart spotlights are low-voltage and can join an existing 12-volt system or run off their own plug-in transformer; fully wireless solar smart lights exist too, though they're dimmer. Look for 2700K-to-5000K tunable white plus color, so you're not stuck with party colors when you want a calm evening. Group fixtures into zones in the app — "dining," "trees," "path" — and set scenes like "dinner" (warm and low) or "party" (brighter, a little color).
Suggested budget range: $200 – $500.
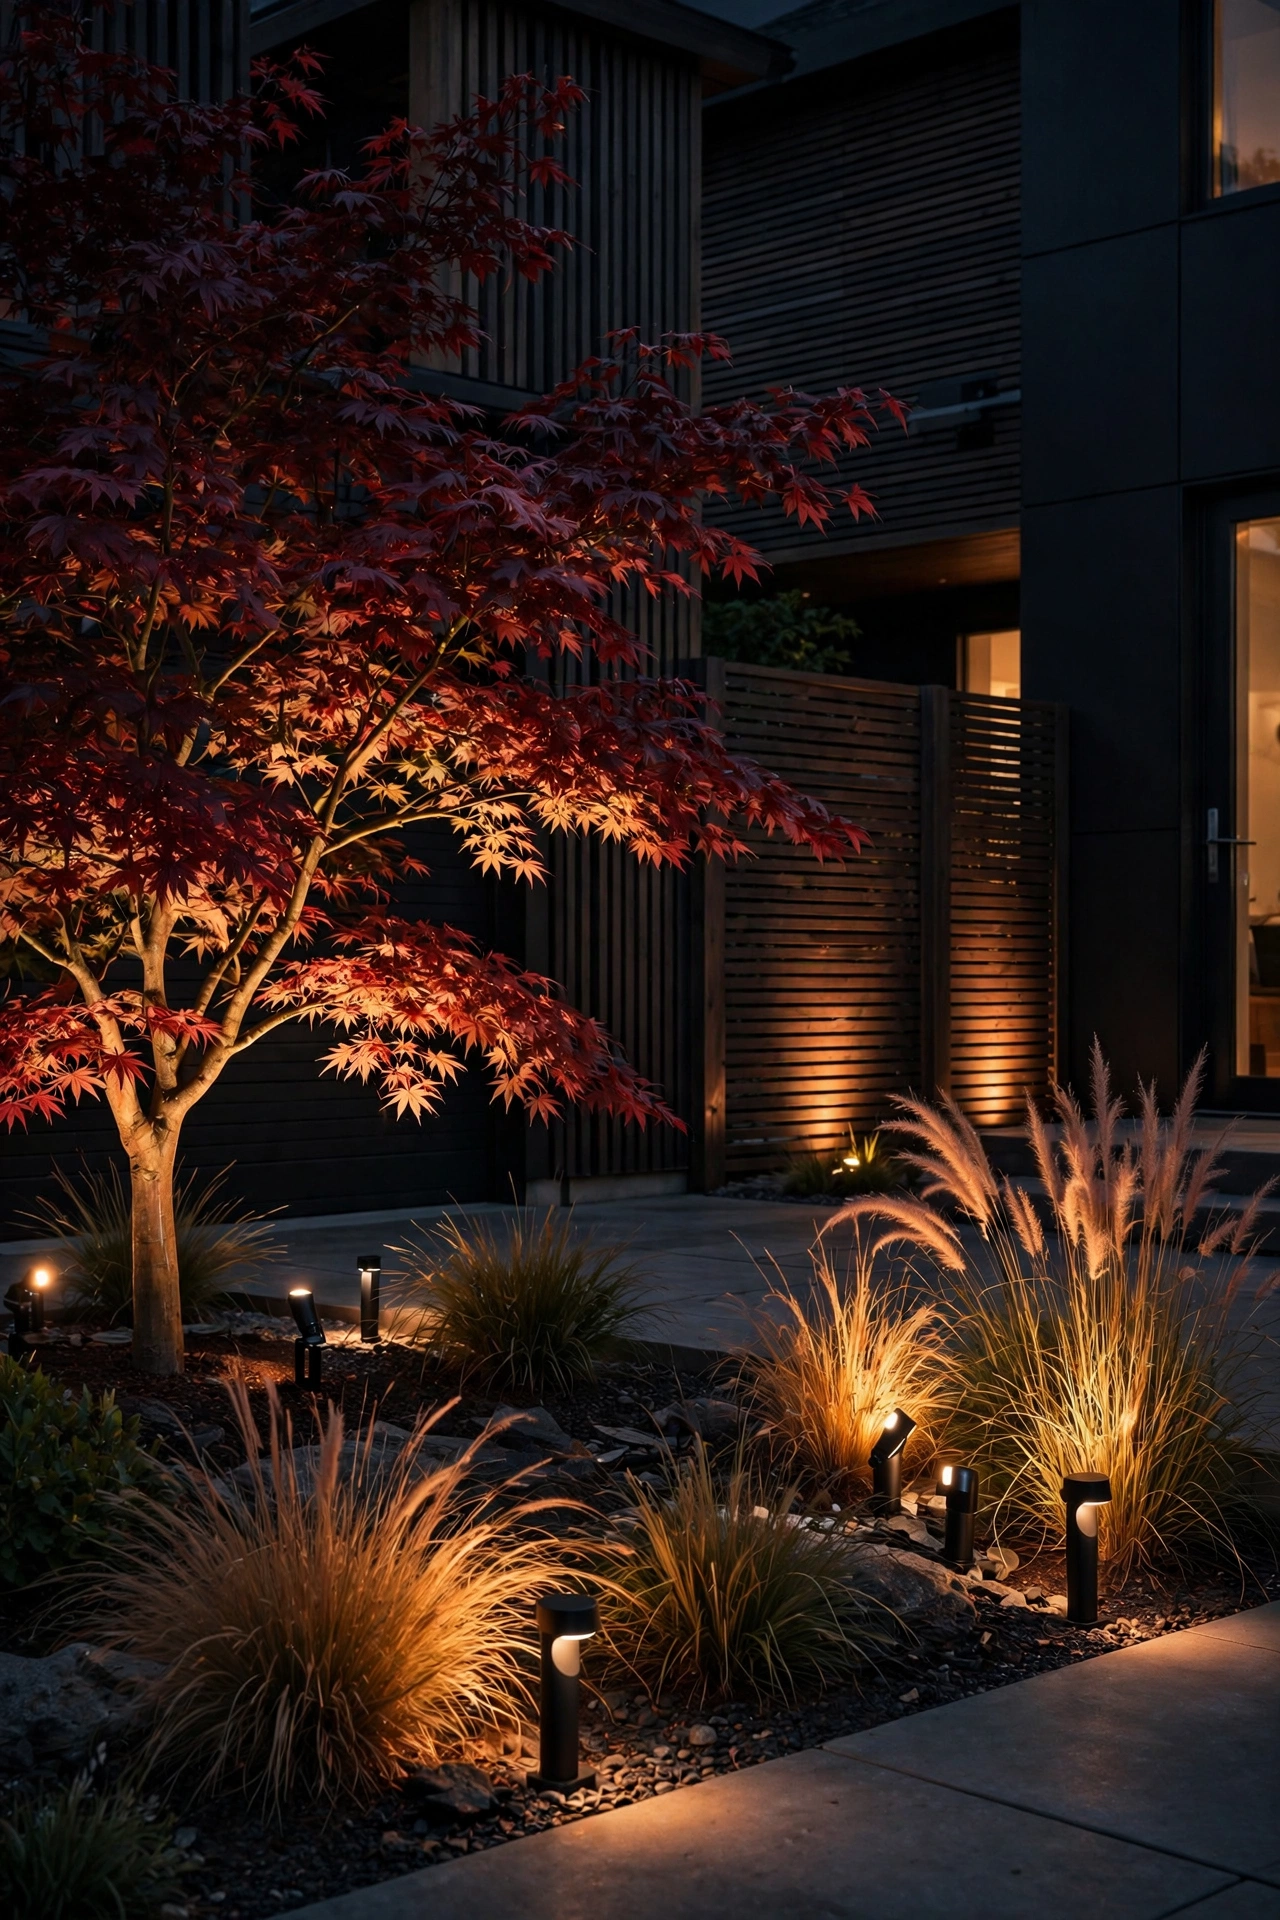
26. Water Feature With Integrated Lighting
Water plus light is a combination that never misses. A small bubbling fountain, a spillway bowl, or even a simple basin with a submersible LED light turns a corner of the patio into a glowing focal point — and the sound of moving water covers neighborhood noise in a way no speaker can. At night, the lit water throws rippling reflections onto nearby walls and plants, doubling the visual interest.
The simplest version: a glazed ceramic pot fountain with a small pump and a submersible LED ring light, all plug-in, set up in under an hour. Place it where you can see it from your main seating — near the dining area or beside the lounge chairs — and where a GFCI outlet is within cord reach (never use extension cords as permanent fountain wiring; have an outlet installed if needed). Submersible lights are sealed and safe, but keep the transformer and all connections out of the water and above the splash line. For fall evenings, this pairs beautifully with seasonal styling like our fall porch lighting ideas — mums around a glowing fountain is peak autumn.
Suggested budget range: $150 – $400.
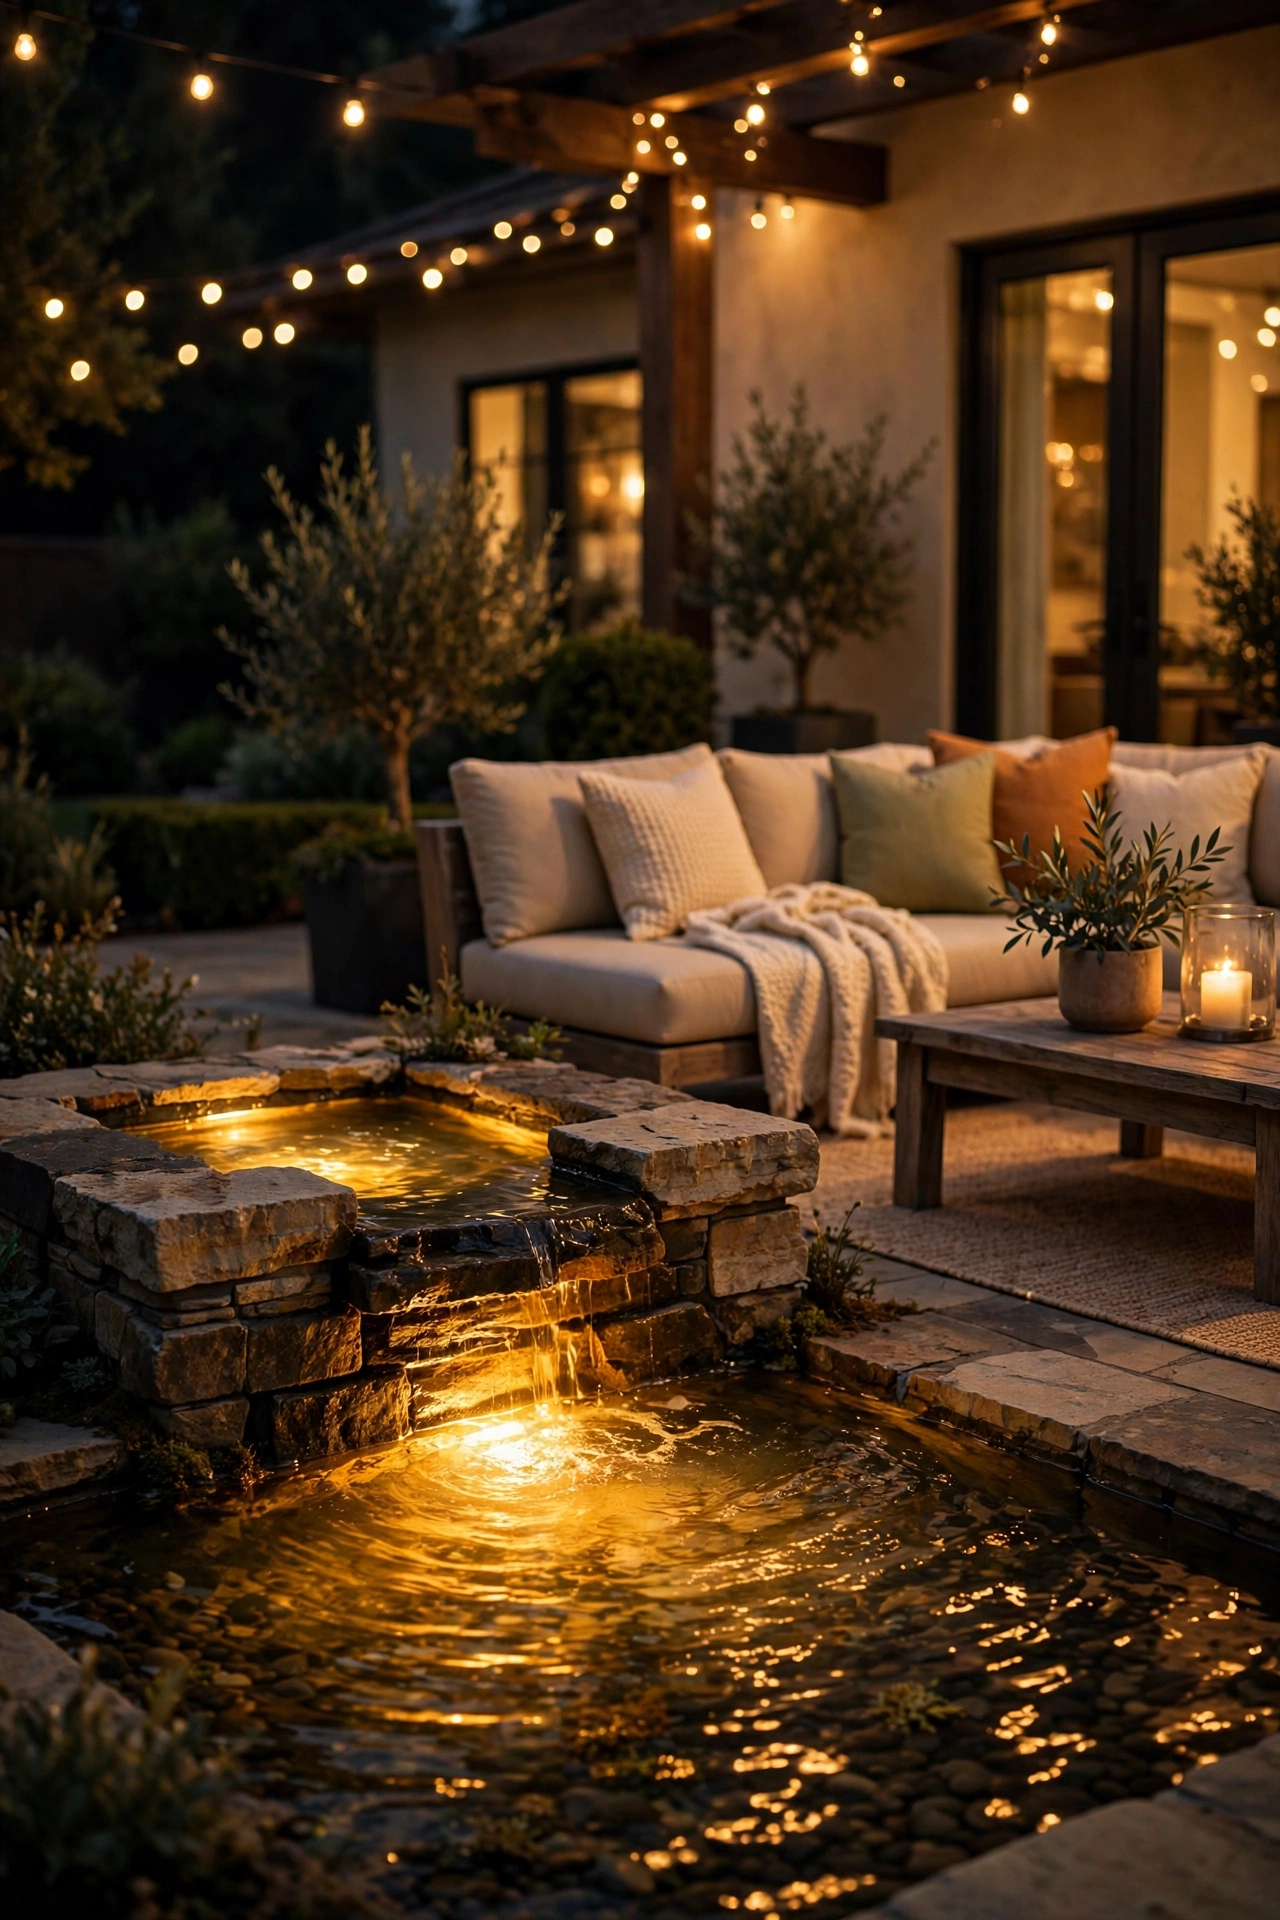
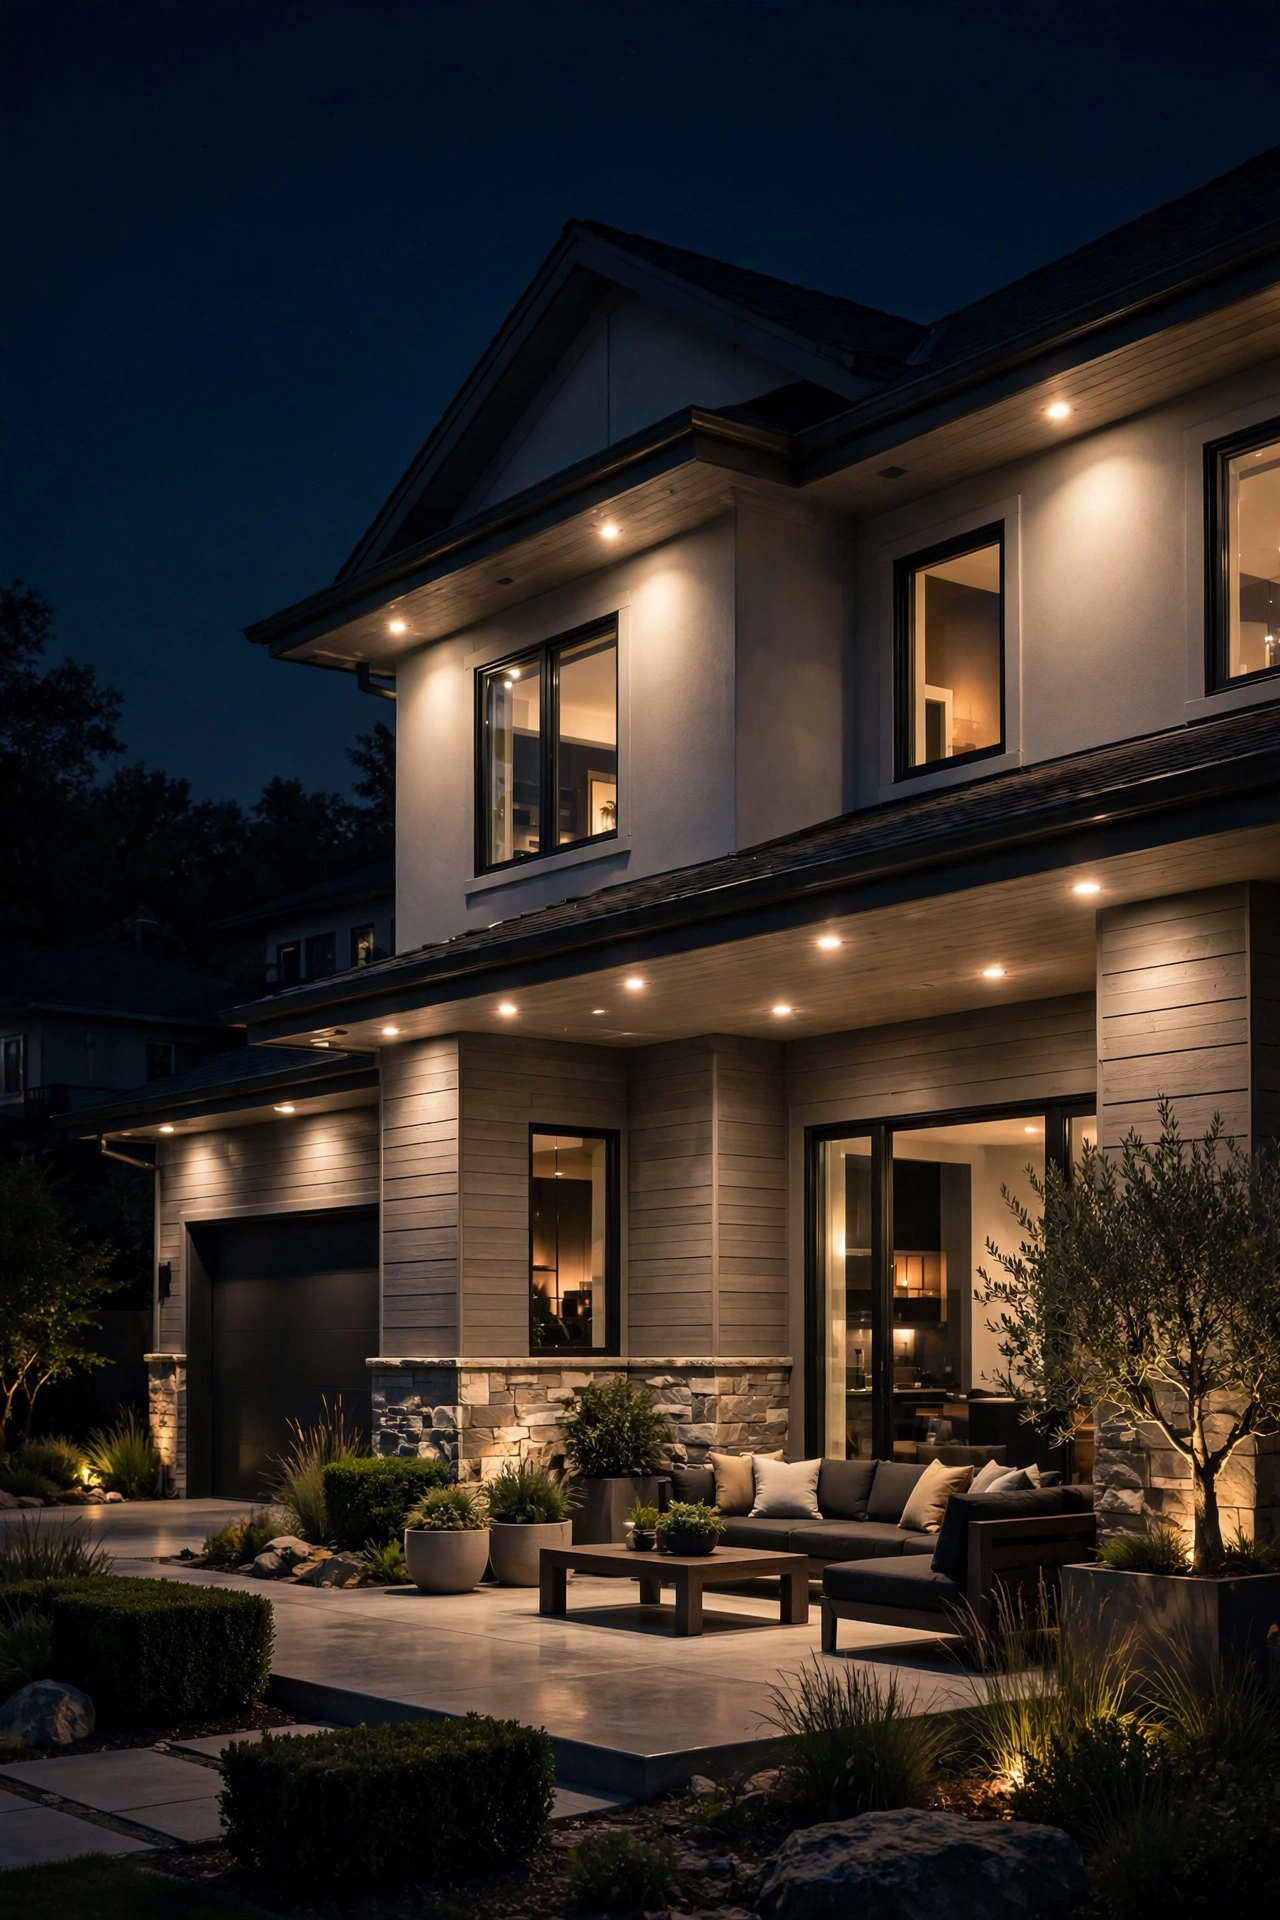
27. Professionally Installed Eave and Soffit Lighting
The ultimate splurge — and the one that makes a patio look like a five-star resort: professionally installed downlights recessed into the eaves or soffits above the patio. These wash the patio floor and walls in soft, even light with zero visible fixtures, zero cords, and zero clutter. It's architectural lighting, the kind you see on high-end homes, and it runs on a timer or smart switch so it just happens every night.
This is a hire-a-pro project: an electrician cuts recessed cans or installs slim LED downlights into the soffit, wires them to a switch or smart dimmer, and everything is hidden. Expect $400 to $1,200 depending on how many fixtures and how tricky the wiring run is — a simple four-light run off an existing circuit is the low end; a full perimeter with a new circuit is the high end. Ask for 2700K warm white LEDs and a dimmer, and have them aim or space the lights to avoid harsh hotspots — roughly one fixture every six to eight feet gives an even wash. The result is the cleanest, most low-maintenance patio lighting possible: nothing to charge, nothing to replace for years, nothing to bring inside for winter. If you're building the forever patio, start here.
Suggested budget range: $400 – $1,200.
Frequently Asked Questions
How much does it cost to light a patio?
It genuinely depends on your ambition. A cozy glow-up with solar stakes, fairy lights, and battery candles runs $50 to $100 total — that's ideas 1 through 4 on this list, and it's a real transformation. A mid-range patio with quality string lights, a dimmer, sconces, and lantern clusters lands around $200 to $400. A full low-voltage landscape system with a transformer and zoned fixtures runs $400 to $800 for a typical patio, and professionally installed soffit lighting starts around $400 and climbs from there. My advice: start with the cheap layer (solar and battery), live with it for a few weeks, then invest where you actually spend your evenings.
Are solar patio lights bright enough, or should I go wired?
Solar lights are perfect for accent and ambiance — marking paths, glowing in planters, twinkling in jars — but they're not task lighting. A solar path stake puts out maybe 10 to 15 lumens; a wired low-voltage path light delivers 100 to 200. So use solar for the magic and wired (or plug-in) for anything you need to actually see by: over the dining table, the grill, the steps. The sweet spot for most patios is a mix — solar accents plus one or two plug-in or low-voltage workhorses. And if your patio is heavily shaded, skip solar for the key spots entirely; those panels need real sun.
What color temperature is best for patio lighting?
Warm white, 2700K to 3000K, every time. It's the color of candlelight and sunset, it flatters skin tones, and it makes food look appetizing — all the things you want on a patio. Cool white (4000K and up) reads as security lighting and kills the cozy mood instantly. The one exception is task lighting over a grill or outdoor kitchen, where a slightly cooler 3500K helps you see what you're cooking. Whatever you choose, keep it consistent: mixing 2700K string lights with 5000K spotlights looks accidental and cheap, even when it wasn't.
How do I keep outdoor patio lights safe in rain and weather?
Buy fixtures rated for the job: IP65 or "wet rated" for anything fully exposed to rain, "damp rated" for covered patios. Plug everything into GFCI-protected outdoor outlets — that's the outlet with the little test and reset buttons — and keep all connections off the ground and out of puddles. Use outdoor-rated extension cords and timers, and bring paper lanterns, fabric shades, and battery candles inside during storms. For string lights, check the wire and sockets each spring for cracked insulation or corrosion. LED bulbs stay cool, so they're the safe choice near anything flammable like dried wreaths, curtains, or that boho garden party setup you're planning.
Conclusion
There you have it — 27 patio lighting ideas spanning every budget from under ten dollars to full professional installation. The thread running through all of them is the same: layer your light, keep it warm, and light the places you actually live in after dark. You don't need the most expensive option to get the resort feeling; you need the right combination of ambient, task, and accent light working together. Start with one idea this weekend — honestly, even a single strand of fairy lights changes everything — and build from there. And when you're ready for more inspiration, browse our other outdoor lighting guides for porches, gardens, and holiday displays. Your patio's glow-up is waiting.