Walls are the most underused lighting surface on most homes. The fence goes dark at six, the garage door turns into a blank gray slab, and the siding you paid good money for disappears the moment the sun drops. Solar fixtures changed that math completely, because a light that charges itself never needs an outlet, a trench, or an electrician. When I gathered these solar wall light ideas for my own fence and garage refresh, I followed the same layering rule I use everywhere: low guidance light near the ground, welcoming light at eye level, and a little accent light up high to show off texture. This list walks all three surfaces — fences, garages, and house siding — with honest notes on the one thing that makes or breaks every solar light: how much sun its panel actually gets. You will find mounting heights, spacing, brightness numbers, and the placement mistakes that leave good lights starving in the shade. Pick the surfaces that bother you after dark, start there, and let the walls do the work.
1. Start Your Solar Wall Light Ideas With a Sun-First Plan
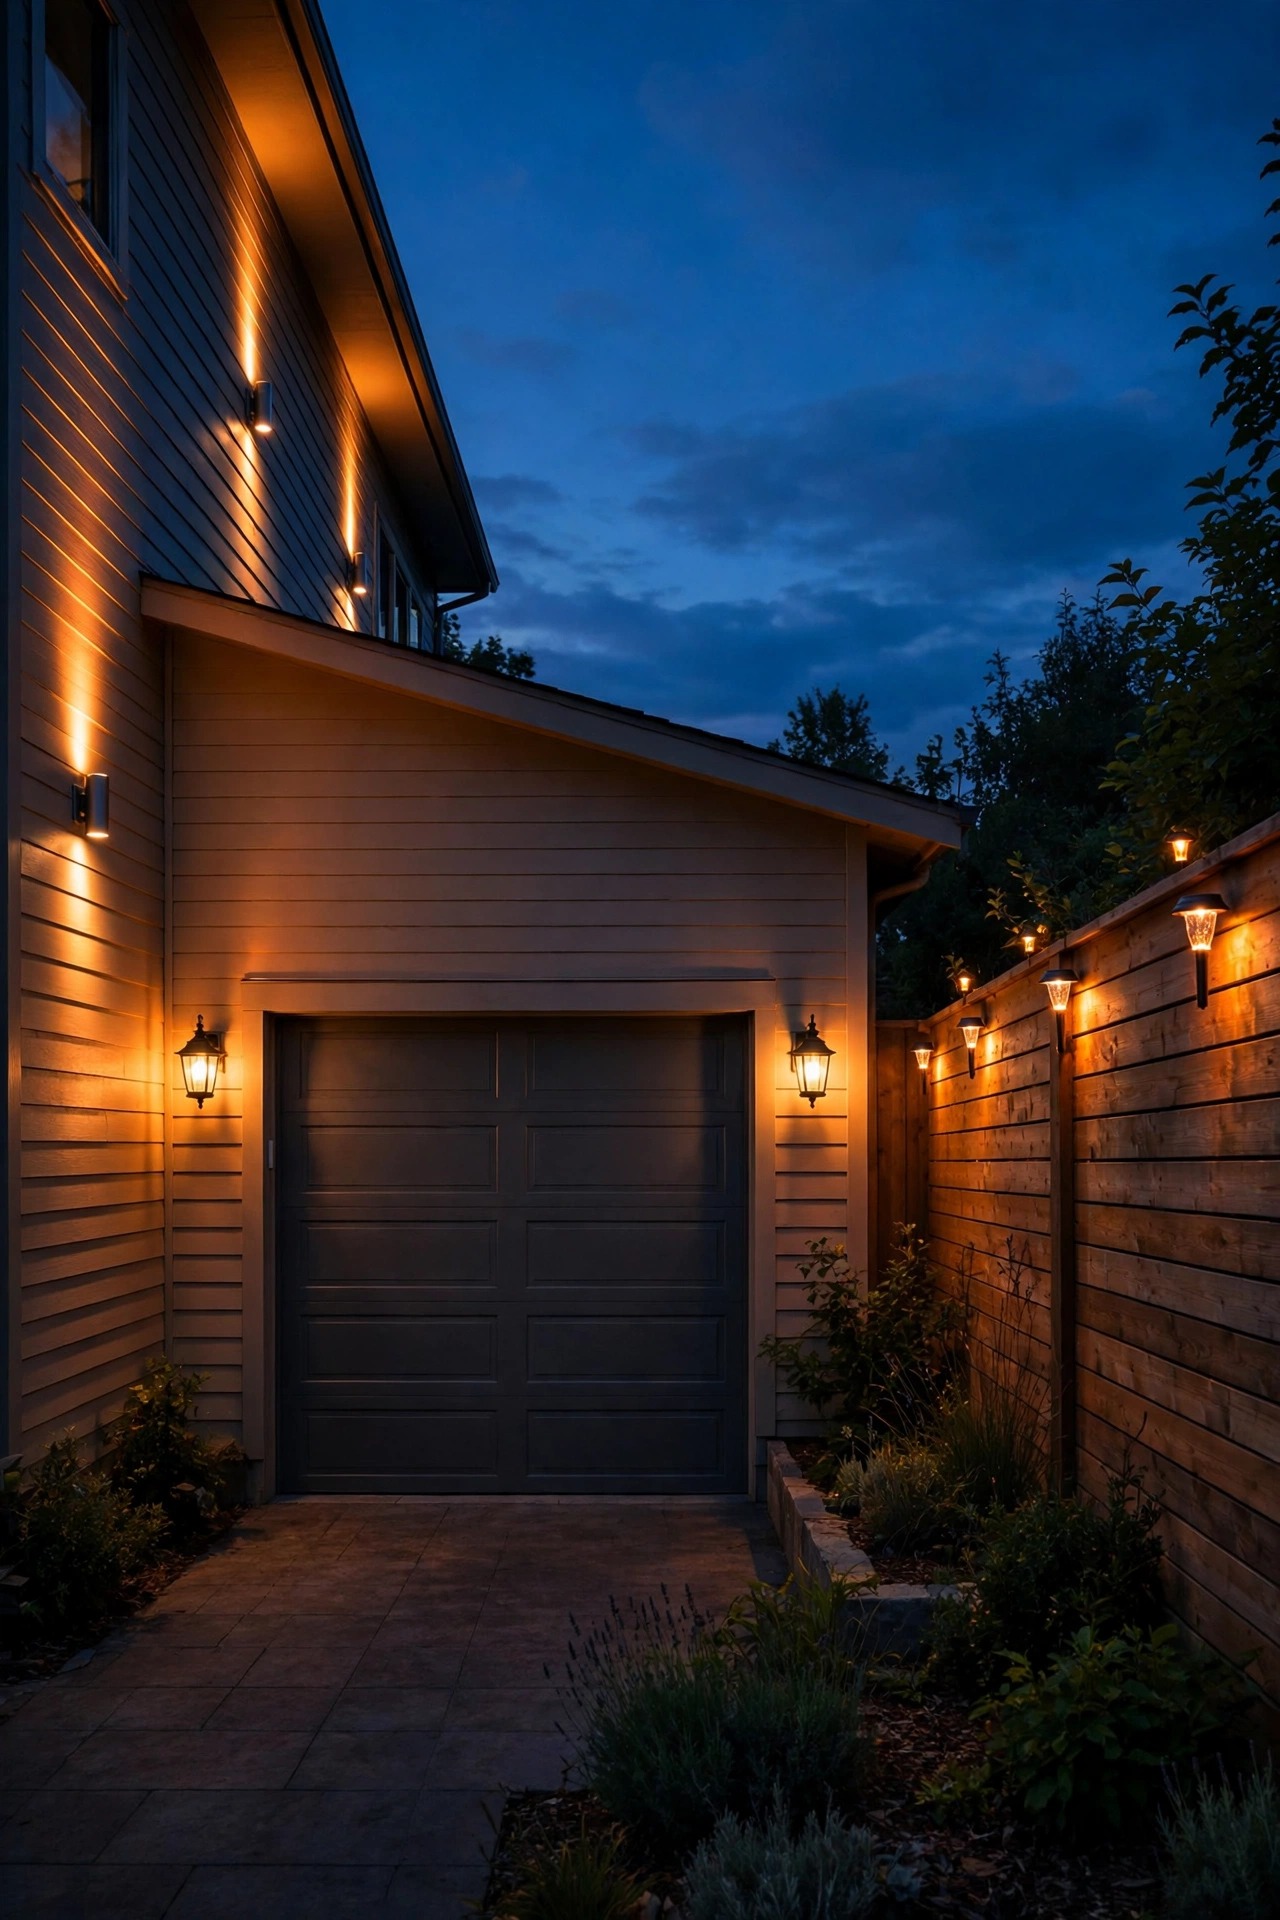
Every solar light lives or dies by one thing: how much direct sun hits its panel. Before I buy a single fixture, I walk my walls twice — once mid-morning and once mid-afternoon — and note which stretches of fence, garage, and siding sit in full sun and which hide under eaves, trees, or the shadow of the house itself. South- and west-facing walls are gold; they collect the six to eight hours a panel needs to run all night. Then I sketch the plan in layers, the same way I light any space: a low guidance layer along the fence line, a welcoming layer at eye level beside doors and the garage, and a soft accent layer higher up to show off siding texture. That sketch tells me how many fixtures I need, where they go, and which shaded spots need remote-panel models instead. Honestly, ten minutes with a notebook saves the classic mistake — a beautiful light mounted in permanent shade, dim by nine o'clock. Buy one sample fixture first, live with it for a week, and then order the rest with confidence.
Suggested budget range: $0 – $30.

2. Flank the Garage Door With a Matching Sconce Pair
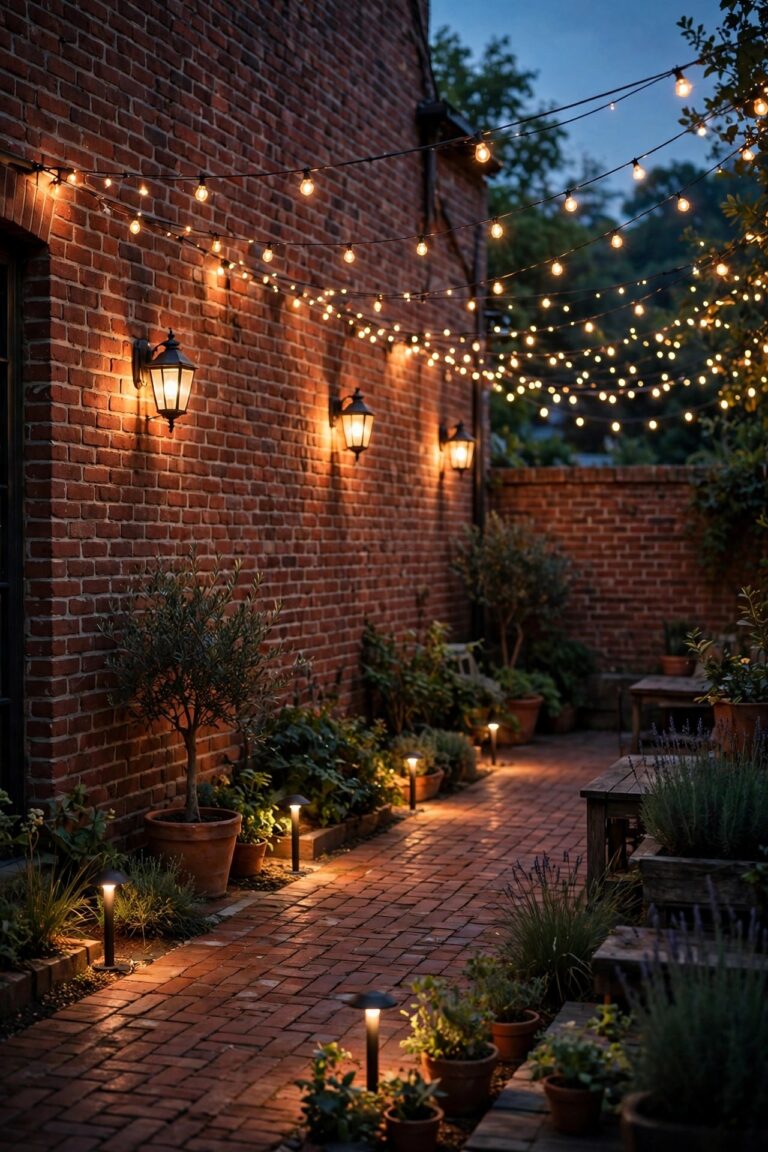
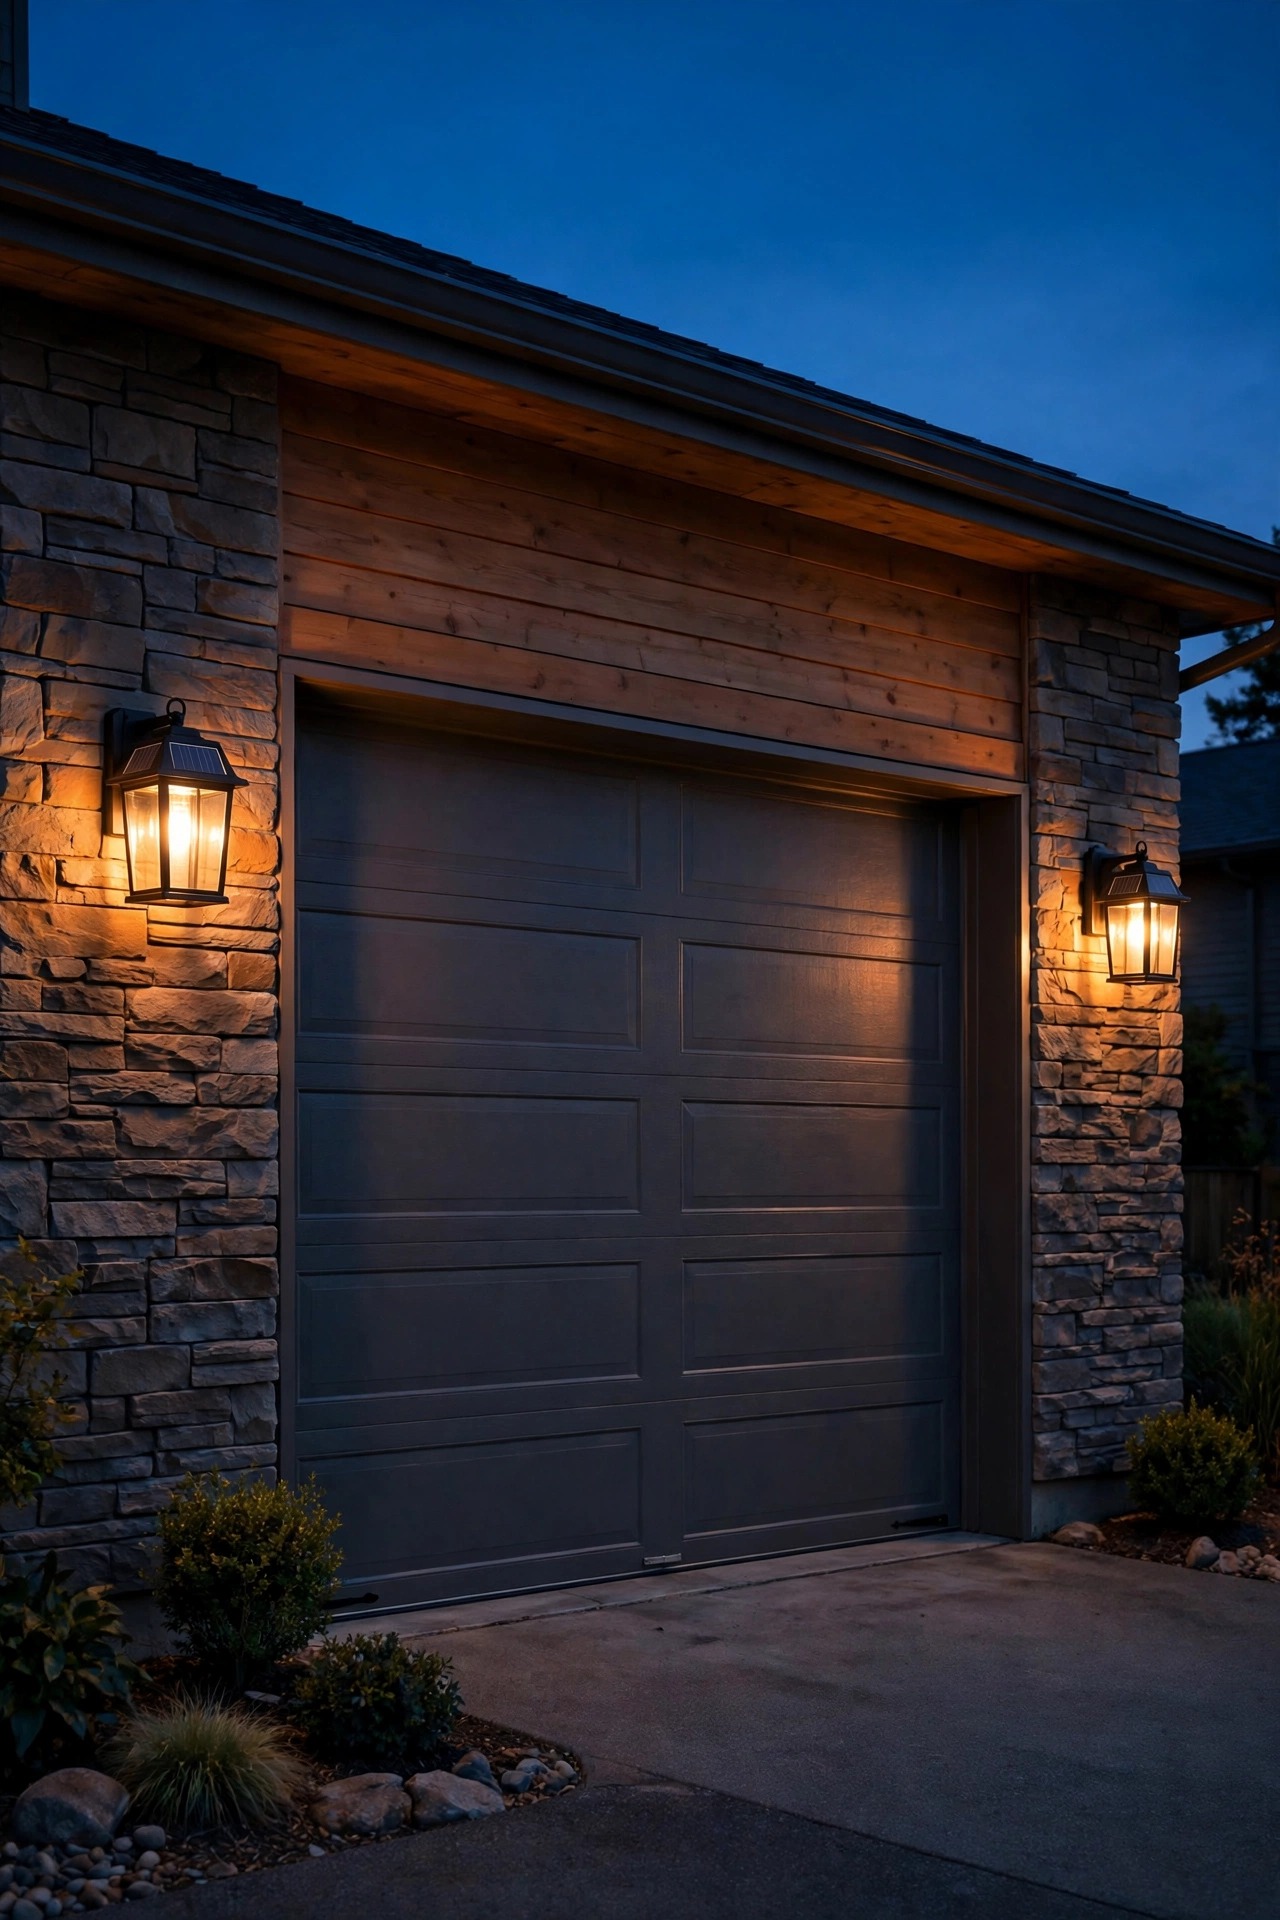
A pair of lantern-style sconces flanking the garage door is the single fastest curb-appeal upgrade on this whole list. Symmetry reads as intentional, and the garage door is usually the widest, blankest surface on the front of the house, so it needs the balance most. Mount the pair so the center of each fixture sits about 66 to 72 inches above the driveway, roughly eye level, and space them a foot or two in from the door trim. Scale is where most people go wrong: on a standard 16-foot double door, each sconce should be at least 10 to 12 inches tall or it will look lost. Solar versions hide the panel on top of the lantern cap, which keeps the classic silhouette clean — just check that your eave or soffit does not throw that top panel into shade by mid-afternoon. Warm 2700K light, a seeded or frosted lens to soften the diodes, and a dusk-to-dawn sensor are my three must-haves. I keep a full rundown of styles and sizing in my solar wall sconce ideas post if you want to compare shapes before you commit.
Suggested budget range: $35 – $90.
3. Mount a Motion-Sensor Wall Pack Above the Garage Door
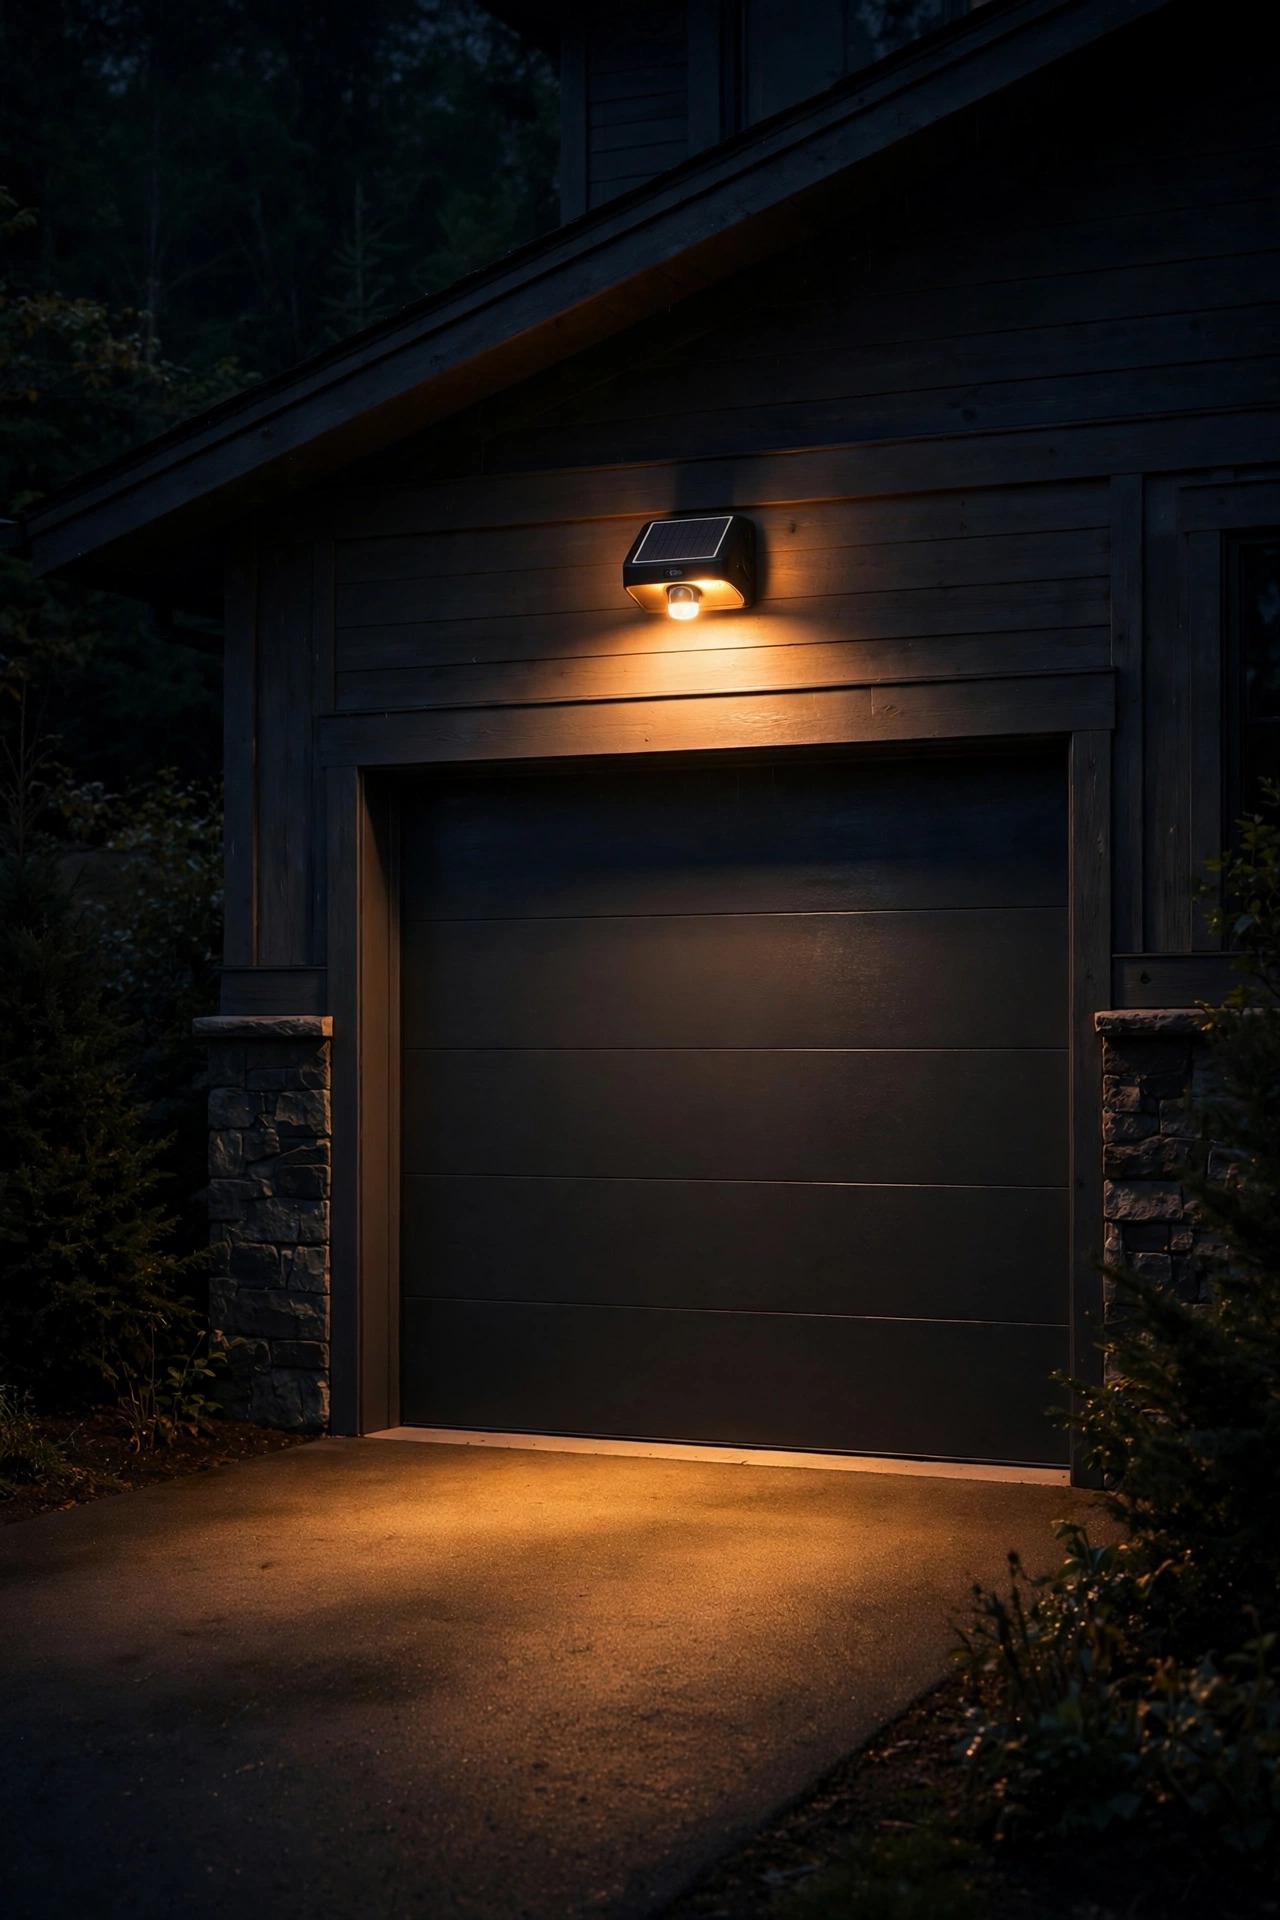
Above the garage door is where solar lighting stops being decorative and starts working for a living. A motion-sensor wall pack idles at a soft glow after dusk, then jumps to full brightness — look for 800 to 1,500 lumens — when a car pulls in or someone walks up the drive. Mount it centered over the door at 8 to 10 feet, high enough that the sensor sees the whole apron but low enough that the light still lands where feet and tires go. Angle the head down about 30 degrees so the beam pools on the driveway instead of glaring into the street or a neighbor's window. Adjustable sensitivity and a 30-to-120-second stay-on time matter more than raw brightness; a light that triggers for every passing car will annoy the whole street. Because the panel on these packs is usually generous and the fixture sits high in open sky, this is one of the most reliable solar spots on the house. Mine has run four winters on its original battery, and the low-glow mode alone makes the front of the garage feel occupied and watched over.
Suggested budget range: $25 – $65.
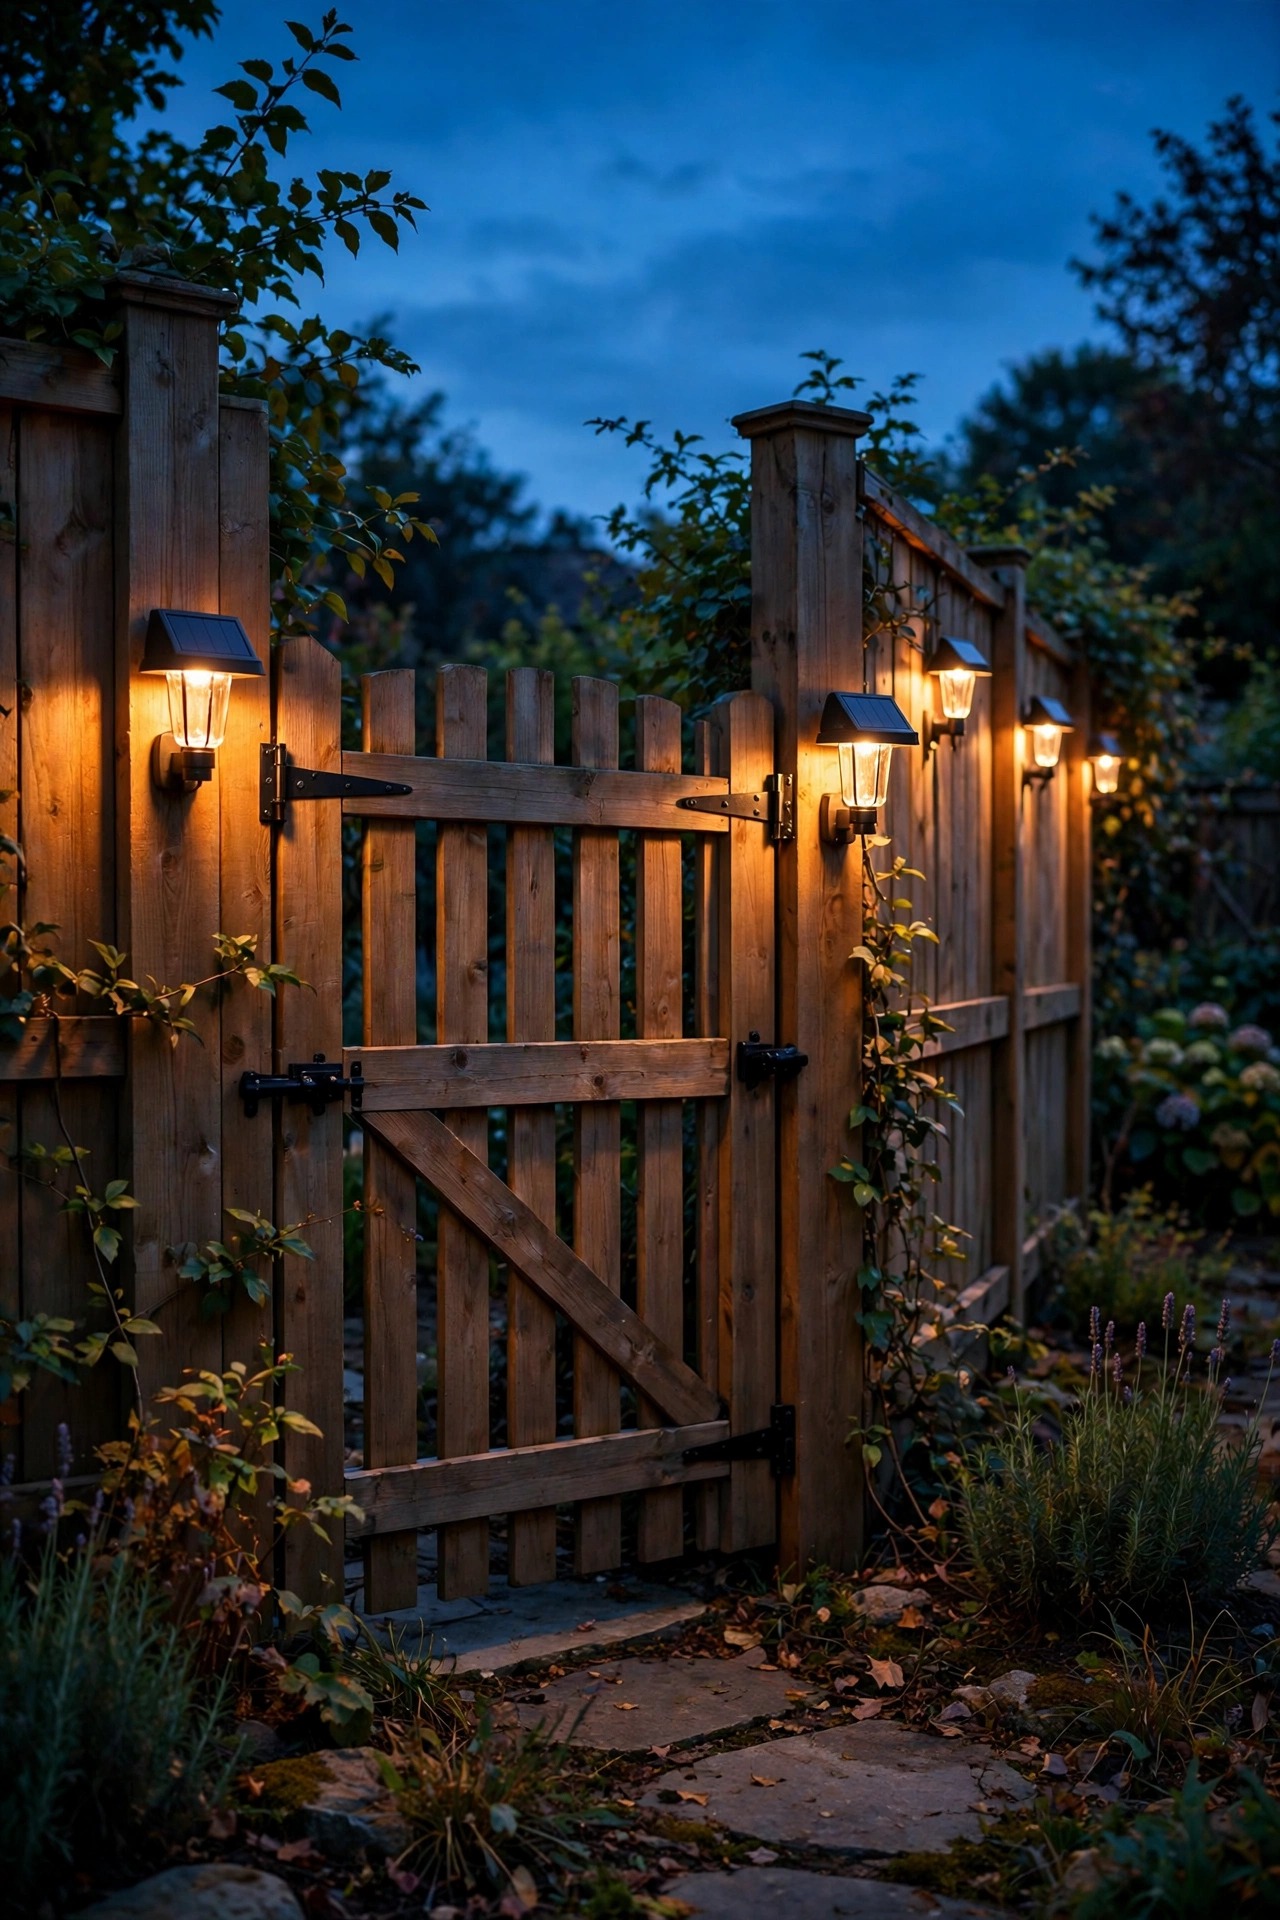
4. Graze Wood Fence Boards With Downward Washers
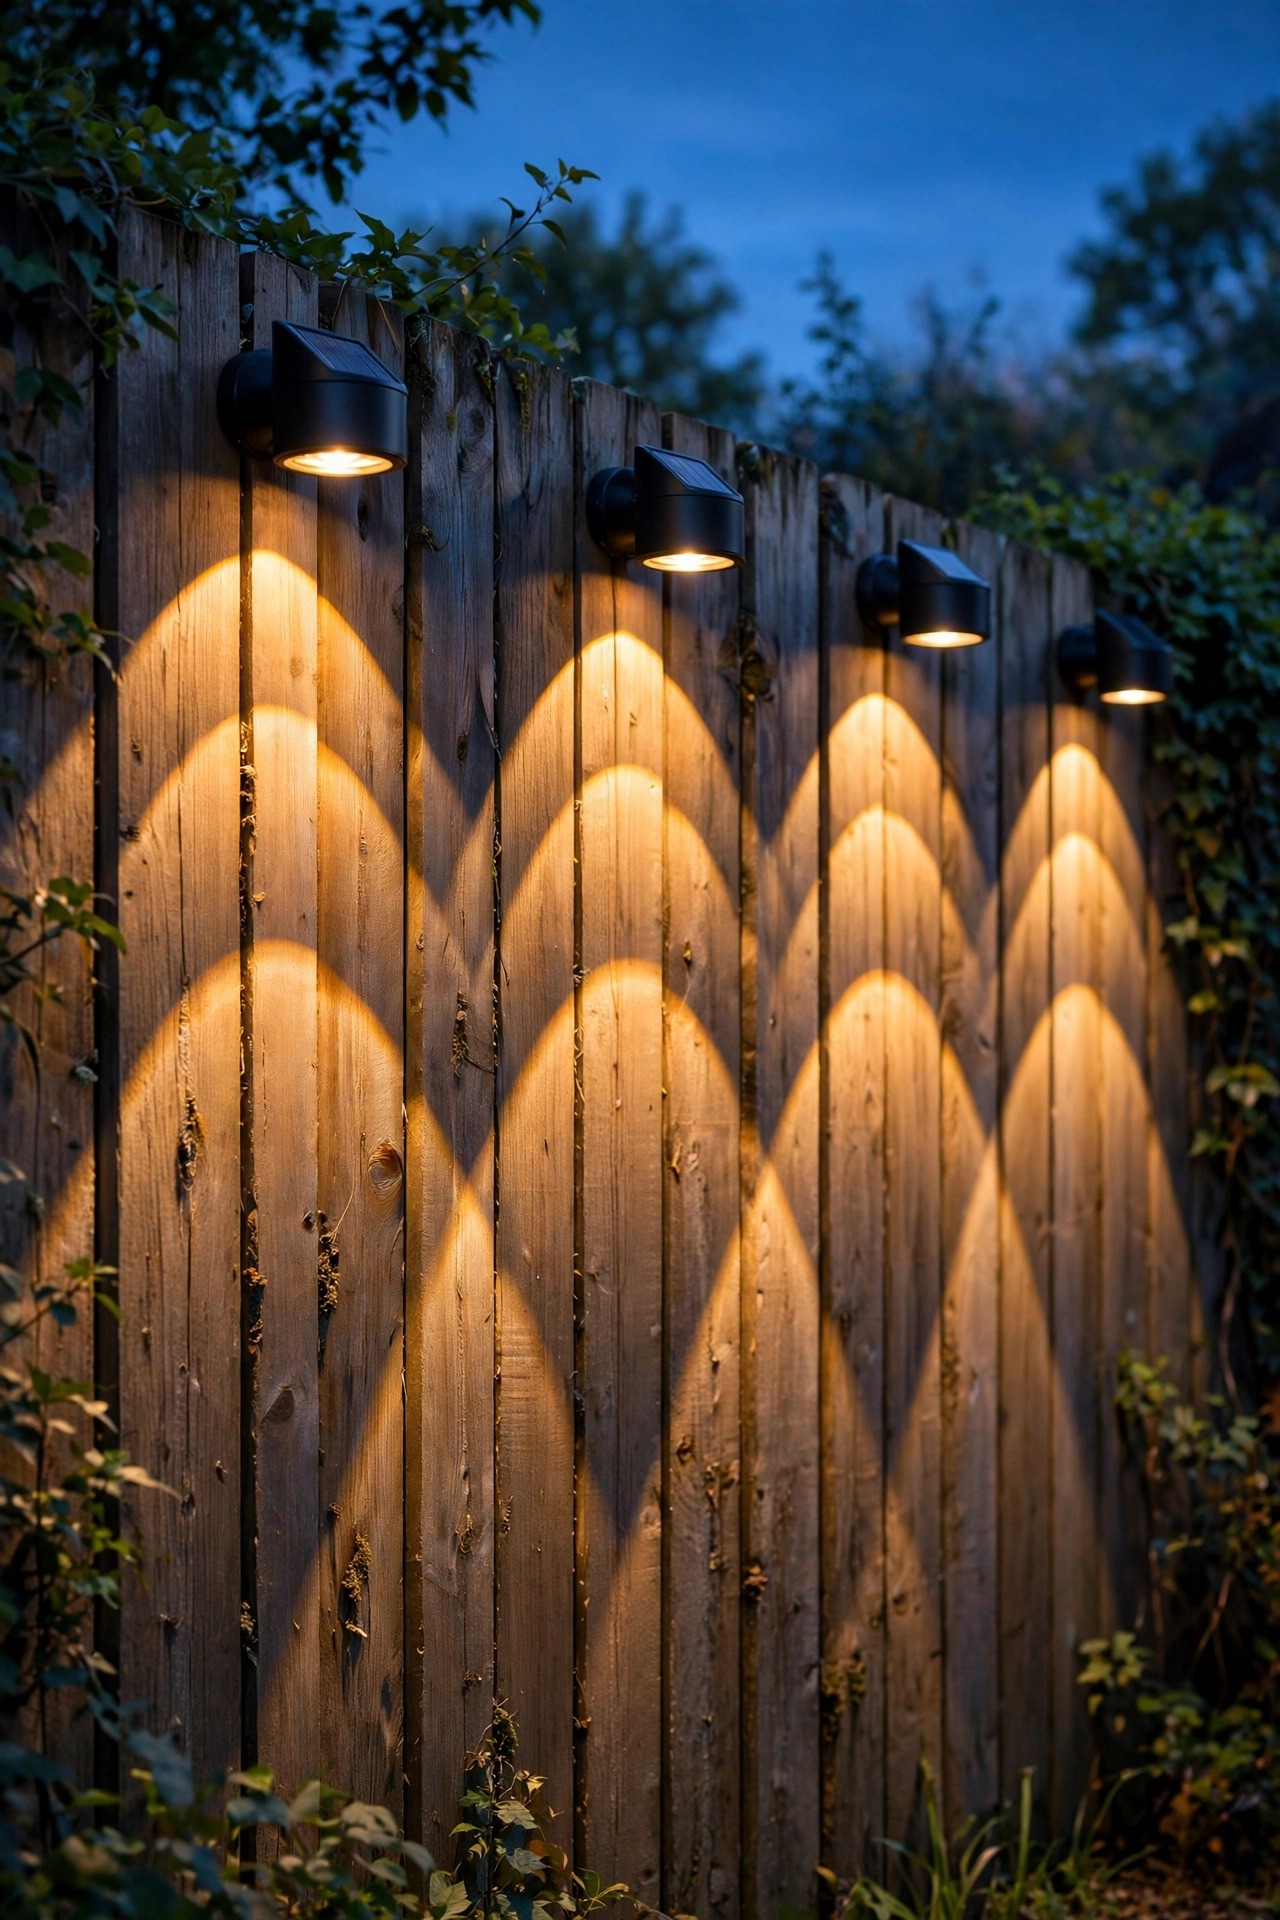
A wood fence at night is usually a black wall. A row of small downward washers changes it into the prettiest backdrop in the yard. These low-profile fixtures mount on the fence face or under the top rail and throw a soft triangle of light down the boards, grazing the grain so every knot and plank line shows. Space them 6 to 8 feet apart at a consistent height — about 5 to 6 feet up on a standard privacy fence — and the scalloped pools of light overlap just enough to guide you along the yard without a single bright hotspot. Because the fixtures hug the fence, the panels on top catch sun all day on most fence lines, which is exactly what you want. Keep the color temperature warm, 2700K to 3000K, so the wood reads honeyed instead of gray. One caution: mount into the rails or posts, not just the thin pickets, and use stainless screws so rust streaks never stain the boards. If your fence faces the street, this treatment alone makes the whole property look finished after dark. You will find more layout patterns in my fence lighting ideas roundup.
Suggested budget range: $20 – $55.
5. Hang Removable Lantern Lights Along the Fence
Not every fence light needs a screw. Hook-over lantern styles hang from the top rail or a simple bracket, charge all day, and lift off in seconds when a storm rolls in or you want to rearrange the patio. That flexibility makes them perfect for renters, for HOA rules that frown on permanent fixtures, and honestly for anyone still deciding on a final layout. I cluster two or three near the outdoor seating area rather than spacing them evenly — a little gathering of warm light feels like a destination, while a rigid row can read like a runway. Look for metal hooks with a rubber or felt pad so they do not scratch the rail, and lantern bodies in powder-coated steel or resin that imitates it; the cheapest thin plastic yellows within a season. The glow from these is gentle, more candlelight than task light, so pair them with one brighter washer near the gate where you actually need to see the latch. Expect five to eight hours of light on a good charge, and bring them under cover for the worst of winter if your climate is harsh.
Suggested budget range: $18 – $45.

6. Wash Siding With Up-Down Cylinder Lights
For a clean, architectural look on house siding, nothing beats the up-down cylinder. It throws one beam up and one beam down from a slim barrel, painting two soft triangles on the wall that make lap siding, board and batten, brick, and even stucco look deliberate and expensive. Mount them about 6 to 7 feet up, beside the front door, at the corners of the house, or spaced 8 to 12 feet apart along a long blank wall. The trick with solar cylinders is the panel: most hide it on top, so the wall must get real sun. A south-facing facade is effortless; on an east wall you will get a solid evening but maybe not a full night in December, and a shaded north wall needs a remote-panel model instead (more on those below). Choose a matte black, bronze, or white finish that either matches your trim or contrasts with it on purpose — a fixture that almost matches the siding color just looks like a mistake. Sealed IP65 bodies shrug off the rain that runs down siding, and the downward beam does real work lighting the planting bed edge and the walk along the house.
Suggested budget range: $30 – $85.

7. Add a Gooseneck Barn Light Over the Garage
A gooseneck barn light over the garage door brings instant farmhouse character, and the solar versions finally have panels big enough to do the shape justice. The curved arm holds a wide metal shade out from the wall, so the light pools down onto the driveway apron — exactly where you unload groceries, find dropped keys, and check the kids' bikes at night. Center it above the door at 9 to 10 feet; on a double door you can also run a matched pair, one over each bay. The panel usually sits on top of the shade or on a short stalk behind it, and because that spot is high and open to the sky, charging is rarely a problem even in winter. Pick a shade at least 12 to 14 inches across so the proportions stand up to a big door, and check that the arm clears the door trim and any carriage hardware. My full garage door lighting ideas guide covers placement for wired fixtures too, and every rule about height and spacing carries straight over to solar.
Suggested budget range: $45 – $110.

8. Line a Long Fence Run With Matching Wall Packs
A long side fence is where a yard quietly feels unsafe after dark, and a matched set of wall packs fixes it in one afternoon. These are the simple, sturdy fixtures sold in multi-packs: one consistent style, one consistent height line — I mount mine about 6 feet up, spaced 8 to 10 feet apart — running the full length of the fence. The repetition is the design. Your eye reads the rhythm of light pools as intentional landscaping, while practically, the run lights the path to the gate, the trash bins, and the side door. Choose shielded styles that throw light downward only, and angle them so nothing spills over the fence into a neighbor's bedroom window; courtesy is part of good lighting. Multi-pack fixtures usually share one battery size, so keep a couple of spare rechargeable cells in a drawer and swap them in spring — two minutes per light, and the whole run performs like new. Because fence tops see sun even in many shaded yards, these packs tend to be the most dependable solar lights I own. They are not glamorous. They are the backbone everything prettier gets layered onto.
Suggested budget range: $40 – $95.

9. Choose Slim Bar Lights for Contemporary Siding
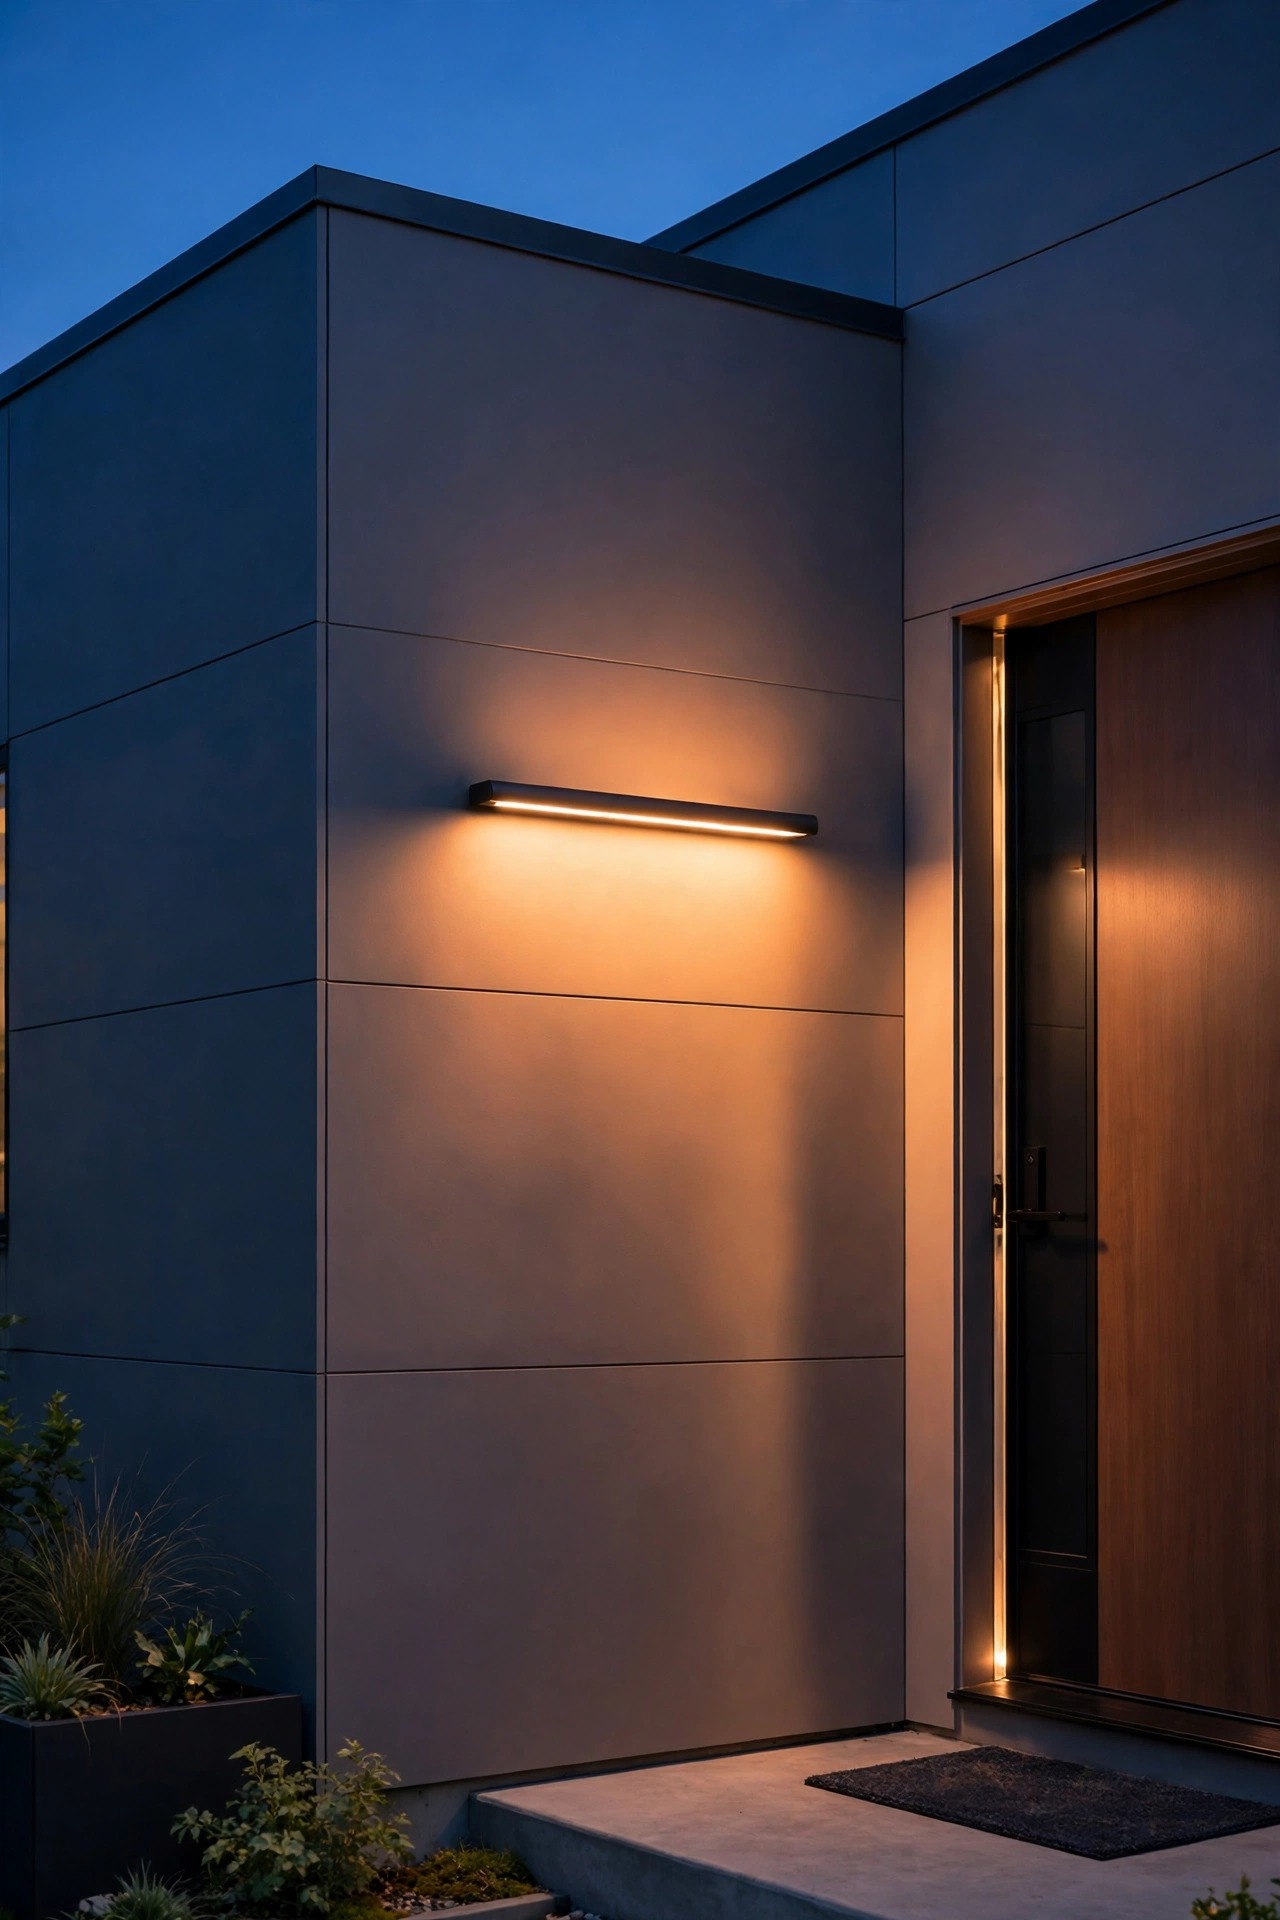
Contemporary siding — smooth fiber cement, metal panels, wide-plank composite — wants a fixture with the same restraint. Slim horizontal bar lights and flat rectangular panels sit close to the wall, wash a broad soft band of light across the surface, and practically disappear by day. I like one centered over a house number or beside a minimalist entry door, mounted around 6 feet up, where the wide beam flatters the flat surface instead of fighting it. Because the body is thin, the solar panel is usually the entire top face of the bar, which is good news for charging and a warning about placement: even a shallow eave shadow across that top face can cut your runtime in half, so check the sun line at midday before you drill. Most bars offer two or three modes — full bright on motion, steady low glow, or off — and the steady low setting is the one that makes a modern facade look like a boutique hotel. Match the finish to your window frames or door hardware, matte black above all, and keep every fixture on the wall the identical model so the elevation stays calm.
Suggested budget range: $35 – $85.
10. Light the Back Door and Side Entries
The back door is the hardest-working entrance in most houses and the worst lit. A compact solar lantern beside it means you can see the keyhole, the step down, and the dog waiting to come back in — without flipping on a harsh porch light that floods the whole yard. Mount it at eye level beside the latch side of the door, roughly 66 inches up, and if the door sits under a deep porch roof, choose a model with a remote or adjustable panel you can tilt toward whatever slice of sky the roof allows. Steps matter here: if there are two or more, a second small light lower down, near the tread line, prevents the classic missed-step shadow. Match the style loosely to your front-entry fixtures so the house feels like one design from every side. This is also the spot where a motion setting earns its keep — hands full of grocery bags, the light is simply already on. In my experience the back-door light is the one family members thank you for, because it is pure function wearing a pretty face.
Suggested budget range: $25 – $65.
11. Try Bulkhead Lights for a Nautical, Tough-as-Nails Look
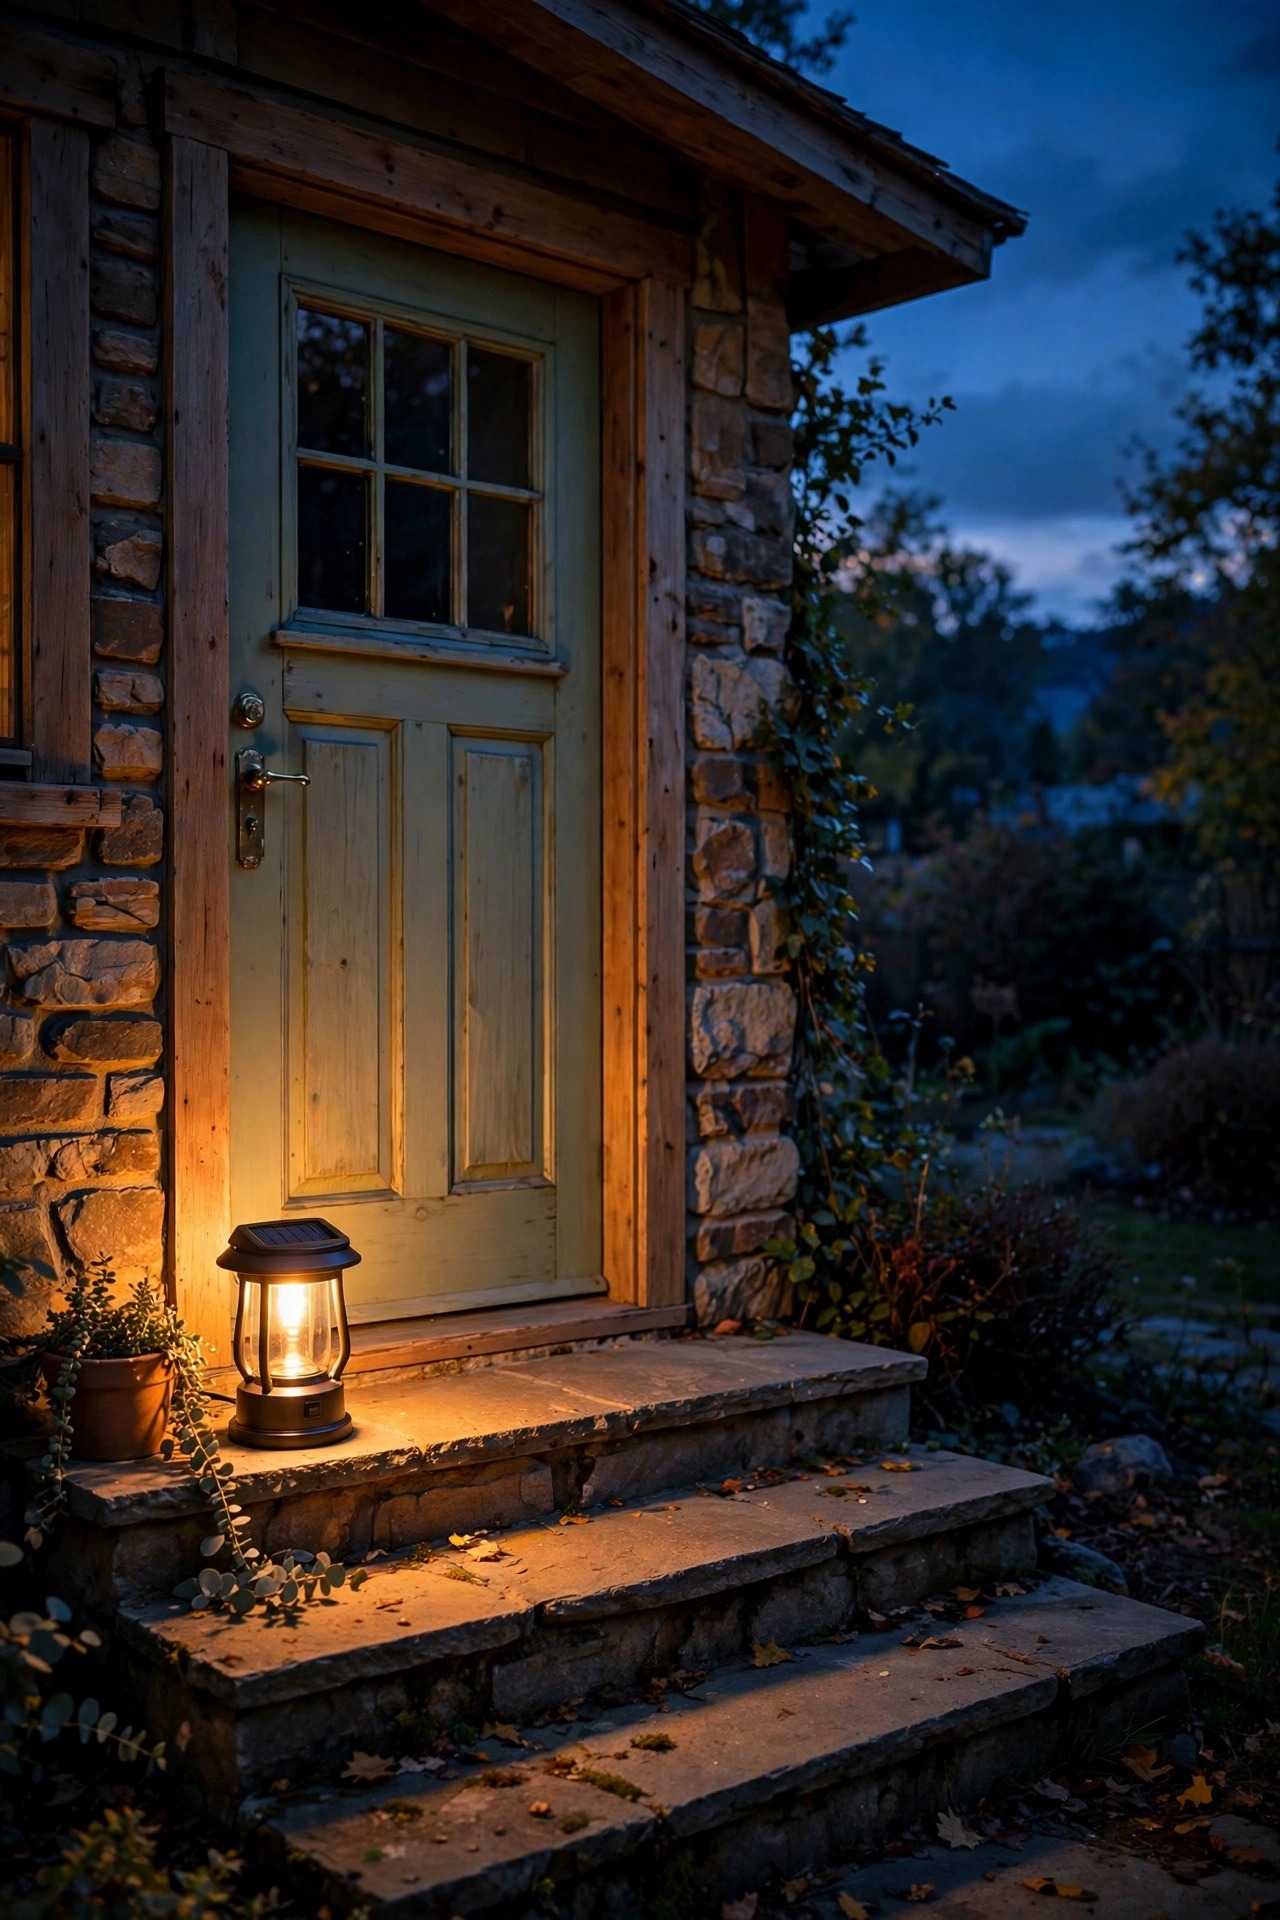
Some walls need a light that can take a beating: the garage side wall where the ladder leans, the fence gate that slams, the coastal siding that eats cheap fixtures for breakfast. Bulkhead lights — the oval or round caged style borrowed from ships and docks — are built for exactly that. A thick polycarbonate or glass lens sits inside a metal or heavy resin cage, so a bumped ladder or a wind-blown branch glances off instead of cracking anything. The look is honest and nautical, and it sits comfortably on rustic, coastal, and industrial-leaning homes where a dainty lantern would feel wrong. Solar bulkheads spread their panel across the top of the cage, and the diffused lens turns the LEDs into a wide, forgiving wash — lovely on stone veneer and rough-sawn wood, where a bare diode looks harsh. Mount them a little lower than decorative sconces, around 5 to 6 feet, since the light spreads wide rather than far. Around a gate, one bulkhead at latch height ends the nightly fumbling. These are also my pick for rental properties and workshops: tough, cheap to replace, and completely indifferent to weather.
Suggested budget range: $28 – $70.
12. Pick Remote-Panel Lights for Shaded Walls
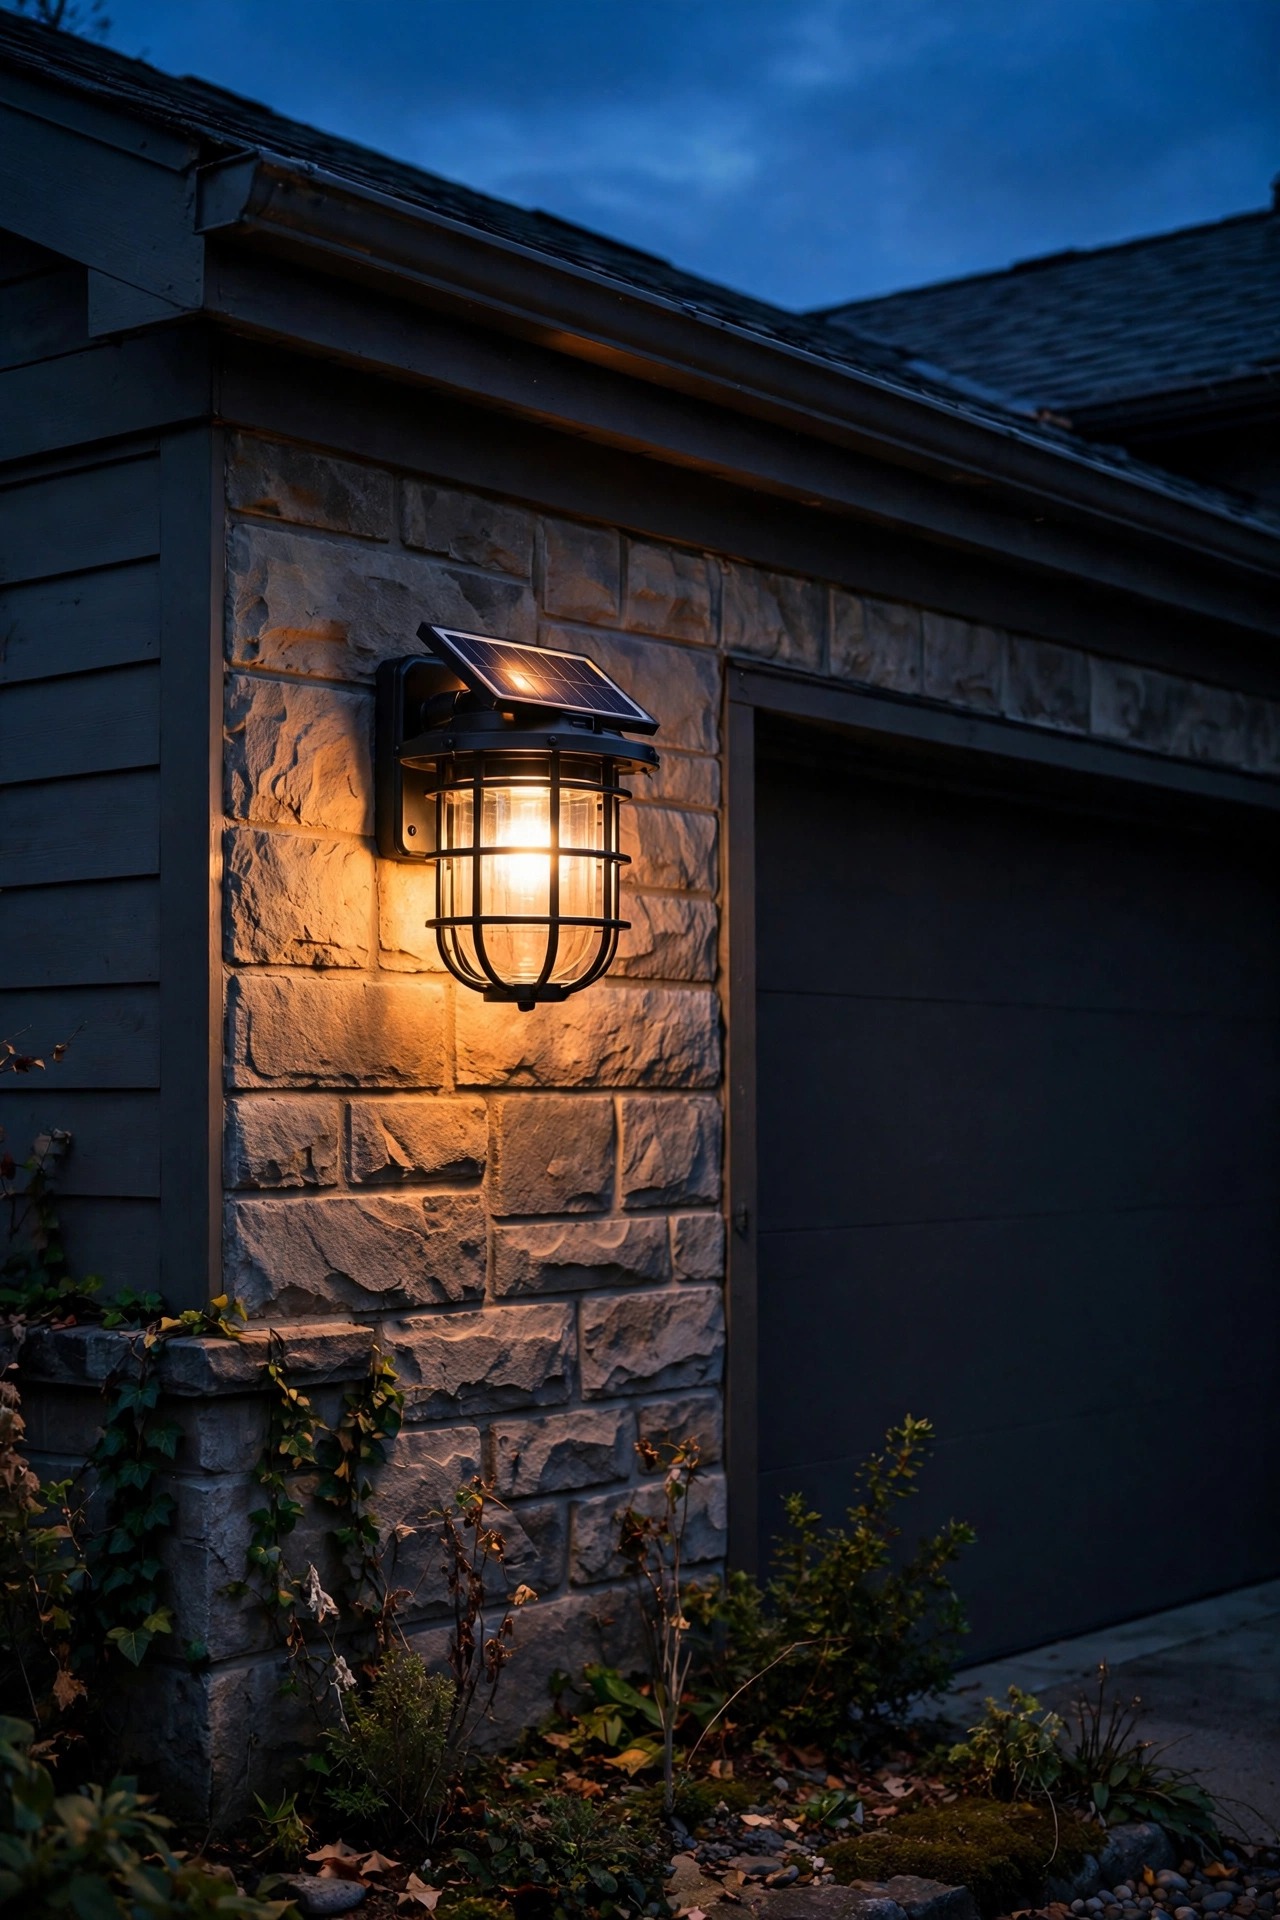
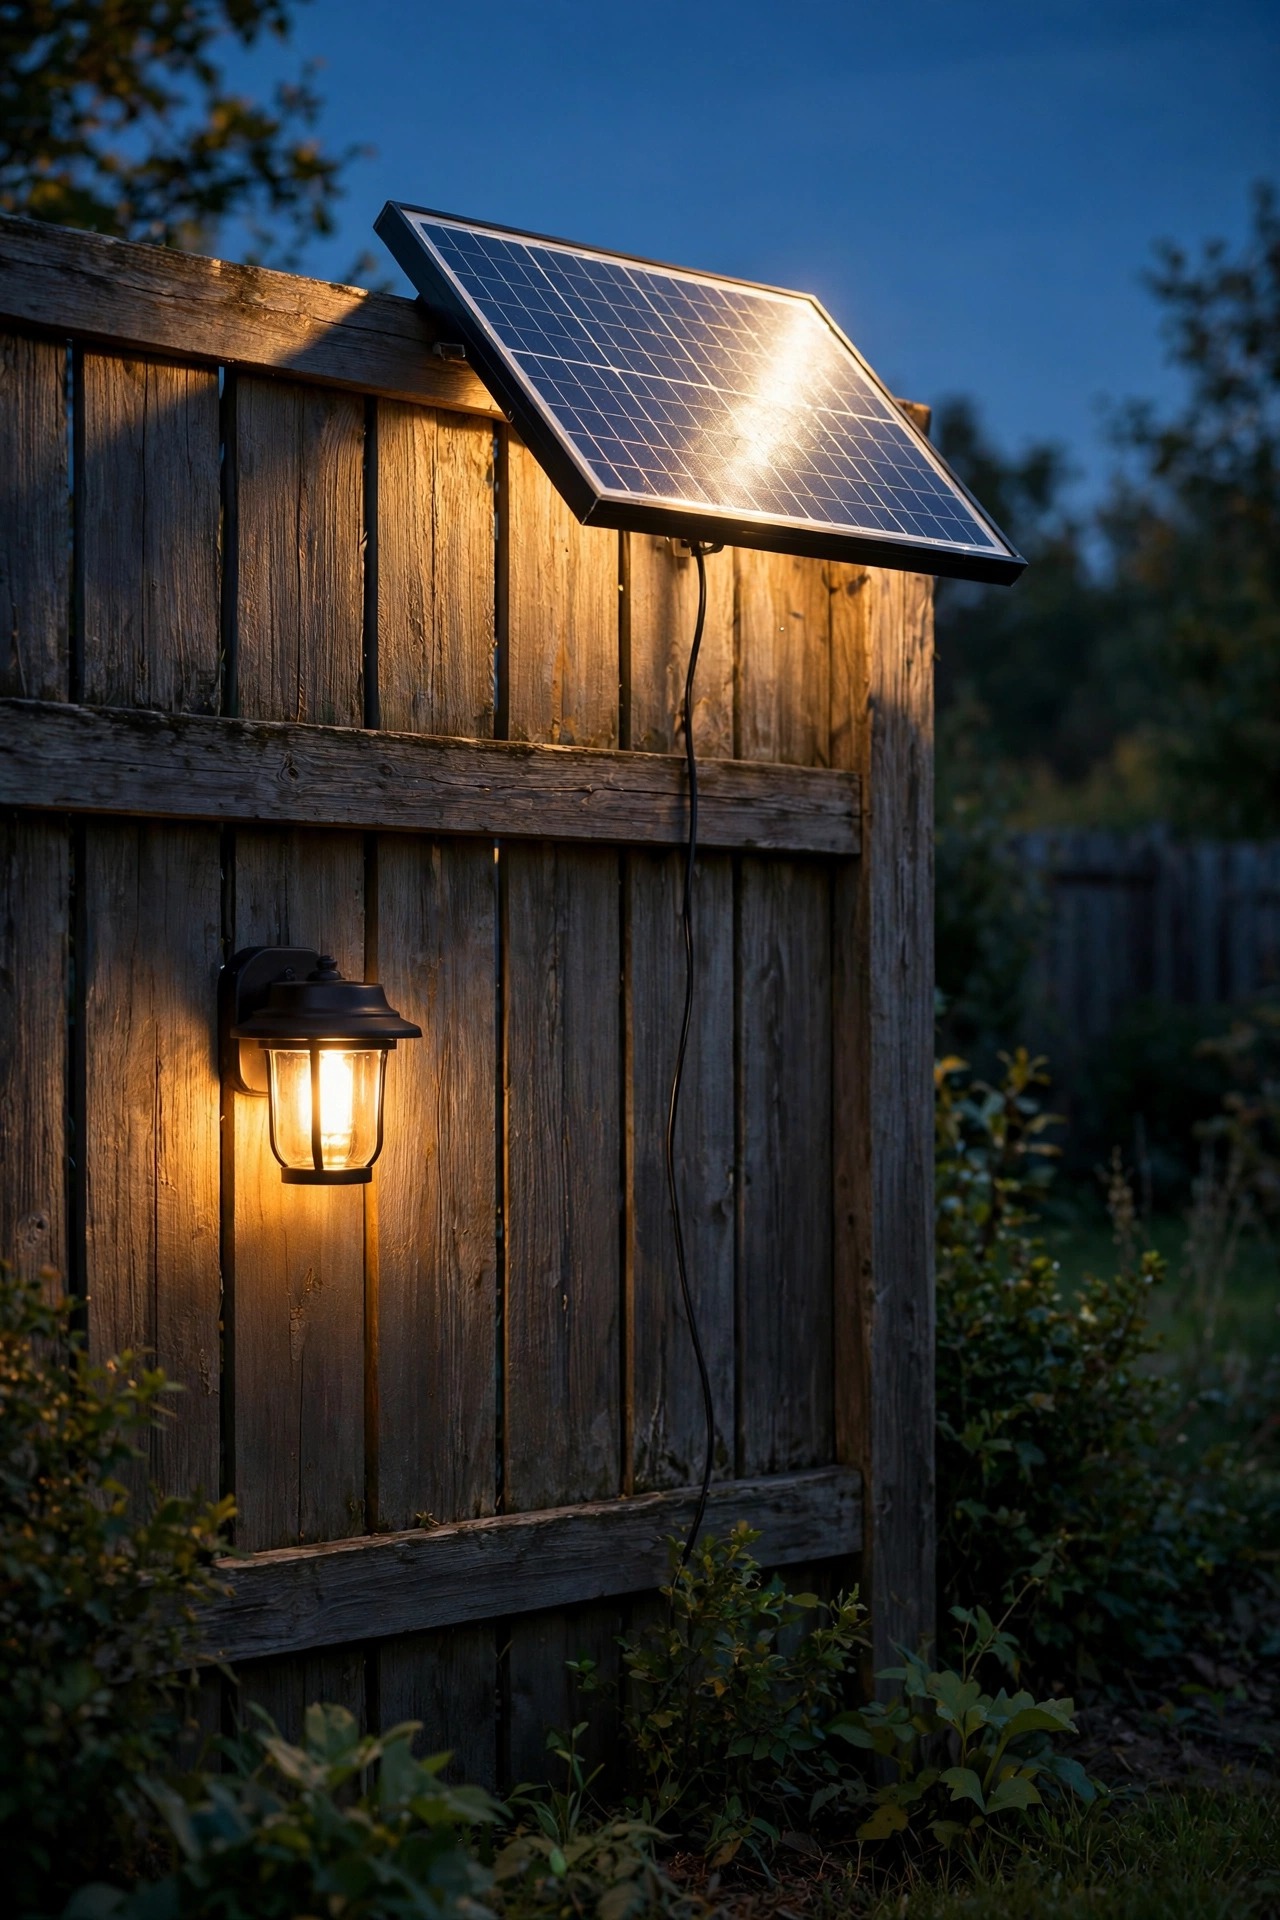
Every house has one wall that needs light and gets no sun: the north side, the wall under the porch roof, the fence stretch behind the big oak. Remote-panel solar lights were made for these spots. The fixture and the panel are separate pieces joined by a cord — usually 9 to 16 feet — so the light lives on the shaded wall while the panel rides up to the sunny fence top, the roof edge, or a small stake in a bright bed. That single change unlocks every idea on this list for the difficult side of the house. Run the cord neatly along the rail or trim line, secure it with clips every couple of feet, and leave a small drip loop where it meets the fixture so rain runs off instead of in. Panel angle matters: tilt it toward the south and, in northern states, steepen the tilt in winter to match the low sun. Because the panel can be generously sized, remote-panel setups often out-run all-in-one fixtures — my shaded back fence line burns until midnight in July. When a listing says a wall gets no sun, this is the honest workaround, not a brighter promise.
Suggested budget range: $30 – $75.
13. Add a Solar Light for the House Numbers
Guests, delivery drivers, and rideshare pickups all share one nighttime frustration: finding the house number. A small solar light dedicated to the numbers — either a backlit plaque that charges by day and glows softly all night, or a tiny spot sconce mounted just above the numerals on the siding or fence post — solves it for the price of a pizza. Mount the numbers themselves on the wall plane that faces the street, at least 4 to 6 inches tall so they read from a moving car, and light them with warm white rather than blue-white, which reads as commercial. If your numbers sit by the garage, one of the flanking sconces from earlier in this list can do double duty; a dedicated plaque is better when the entry is set back or the street is dark. Keep the glow modest — this is a marker, not a billboard — and test legibility from the curb after dark. It is a small, unglamorous upgrade that every single visitor benefits from, and more than one neighbor has copied mine after a single evening visit.
Suggested budget range: $20 – $50.

14. Stagger Heights Around a Gate or Fence Corner
Corners and gates are the two spots a fence line always fumbles: the run of light just stops, and the most-used passage in the yard sits in a gap. Fix both by staggering. Put one slightly taller wall light right at the corner post — a foot higher than the rest of the run — so its pool wraps a little way down both fence lines, and flank the gate with a matched pair at latch height so hands, keys, and the latch itself are lit from both sides. The height change is subtle, but it signals a turn the way a lamp at a hallway corner does, and guests read it instantly. On the gate itself, mount to the post, never the swinging leaf, and leave clearance so the fixture clears the latch swing. If the gate leads to a side path, borrow one fixture from the long-run wall packs so the style carries through. Solar panels on corner posts often catch both morning and afternoon sun as the light wraps the turn — a small bonus that makes corner lights some of the longest-burning on the whole fence.
Suggested budget range: $22 – $55.
15. Walk Your Solar Wall Light Ideas at Dusk Before a Single Screw
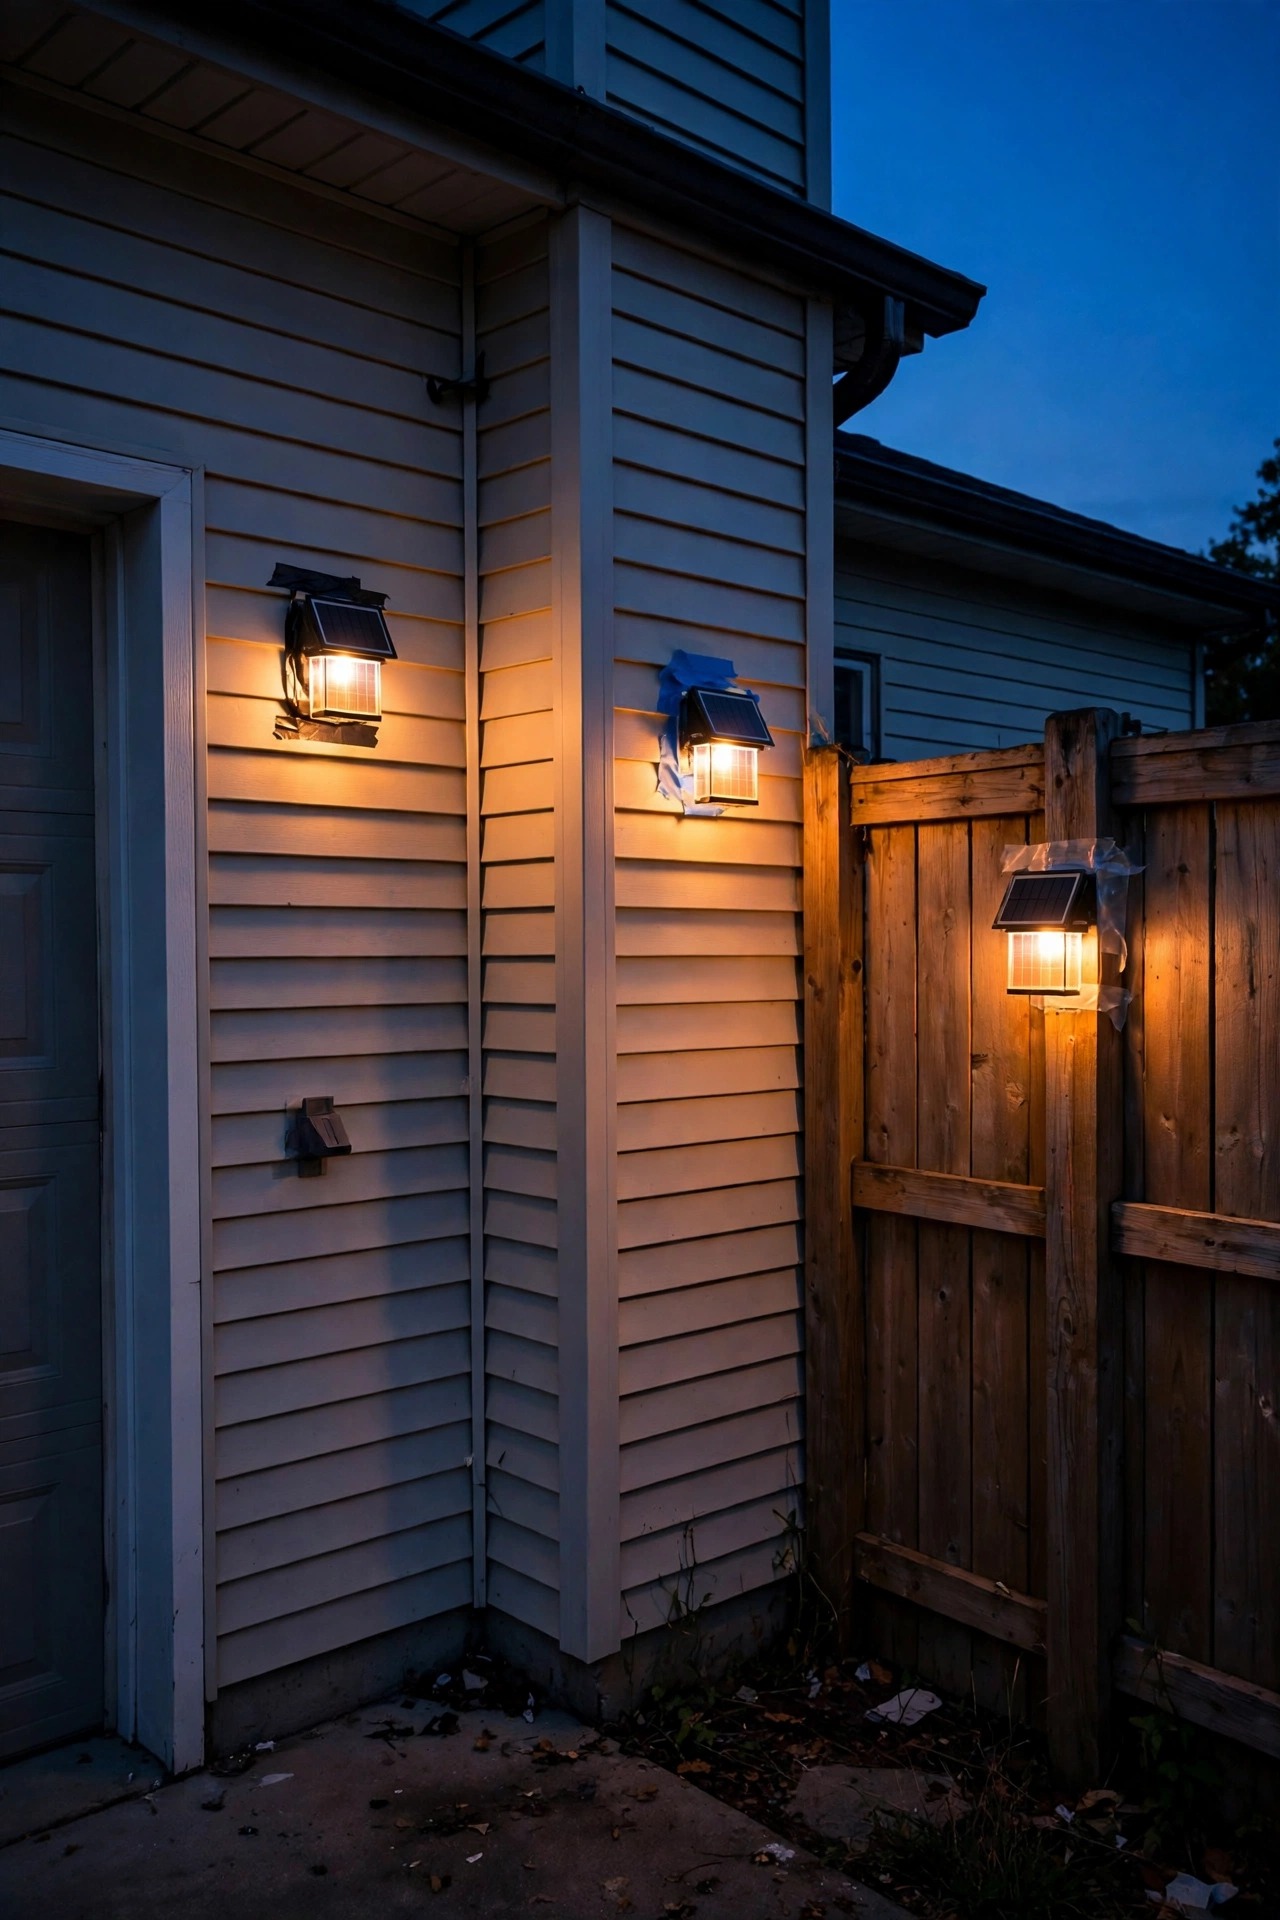
Solar fixtures forgive almost everything except a rushed install, so give every placement a dress rehearsal. For two or three evenings before you drill, mount the lights temporarily — removable adhesive strips for lightweight fixtures, hook-and-loop straps or zip ties on fence rails, a clamp on the garage trim — and live with them. Check three things at dusk. First, did the panel actually charge in that spot, or does the eave shadow arrive earlier than you thought? Second, how does the light land: pools where feet go, no bare glare from the street, no spill into the neighbor's windows? Third, stand at the curb and read the whole elevation — fence, garage, and siding together — the way a guest sees it. Adjust spacing and heights now, while adjusting is free. When you commit, drill into studs, fence rails, or mortar rather than vinyl or fiber-cement faces where you can, seal every siding penetration with a dab of exterior silicone, and keep the packaging until the second week. Of all the placement habits I have learned, this patient test is the one that guarantees the rest of them actually work.
Suggested budget range: $0 – $25.
Frequently Asked Questions
Do solar wall lights work on a north-facing wall or a shaded fence?
Honestly, an all-in-one fixture on a true north wall will disappoint you: the panel gets only indirect light, so the battery rarely fills and the light fades a few hours after dusk. The fixes are real, though. Choose a remote-panel model and put the panel on the sunny fence top or roof edge, tilt an adjustable panel toward whatever bright sky the wall can see, or move the fixture a few feet to where the shadow line ends. On lightly shaded walls, expect shorter winter runtimes and pick fixtures with larger panels and honest battery sizes.
How bright are solar wall lights compared with wired sconces?
Decorative solar sconces and fence washers typically produce 50 to 200 lumens — a warm glow meant for welcome and guidance, not task work. Good solar fixtures with larger panels reach 300 to 800 lumens, and motion-sensor wall packs can burst to 800 to 1,500 lumens, which rivals a wired security light. A typical wired sconce sits around 300 to 800 lumens, so the middle of the solar range overlaps it more than most people expect. Judge by the lumen rating on the box, never by the number of LED chips.
How long do solar wall lights stay lit each night?
After a full sunny day, most quality fixtures run 8 to 10 hours in summer, which covers the whole night. In winter, shorter days and a lower sun usually mean 4 to 6 hours, and cloudy stretches shorten that further. Dusk-to-dawn modes with a low idle glow, or motion-only modes, stretch the charge much further than full-brightness all night. Batteries are the wear item: expect to replace the rechargeable cells every one to two years, and a fresh set usually restores the original runtime completely.
Can I mount solar lights on vinyl siding without drilling holes?
Yes, and it is the right instinct — drilled vinyl cracks and lets water behind the siding. Use hooks and clips made for vinyl siding that slide up under the lap and lock in place; they hold lightweight solar fixtures securely and come off clean on moving day. Removable outdoor adhesive strips work for the lightest fixtures on smooth siding in mild weather, but check them after storms and heat waves. Whatever the mount, keep heavy fixtures on screwed brackets into trim or studs instead, and never hang a fixture by its solar panel.
Conclusion
The through-line in all fifteen is simple: solar wall light ideas succeed or fail on sun, not style. Walk the walls first, match each surface — fence, garage, siding — to the fixture shape it wants, keep every bulb warm and every height consistent, and test at dusk before you drill. Do that, and the blank walls that used to vanish at sunset become the framework of your whole evening yard. Start with the surface that bothers you most tonight, and browse the rest of the lighting ideas here on the site when you are ready for the next layer.