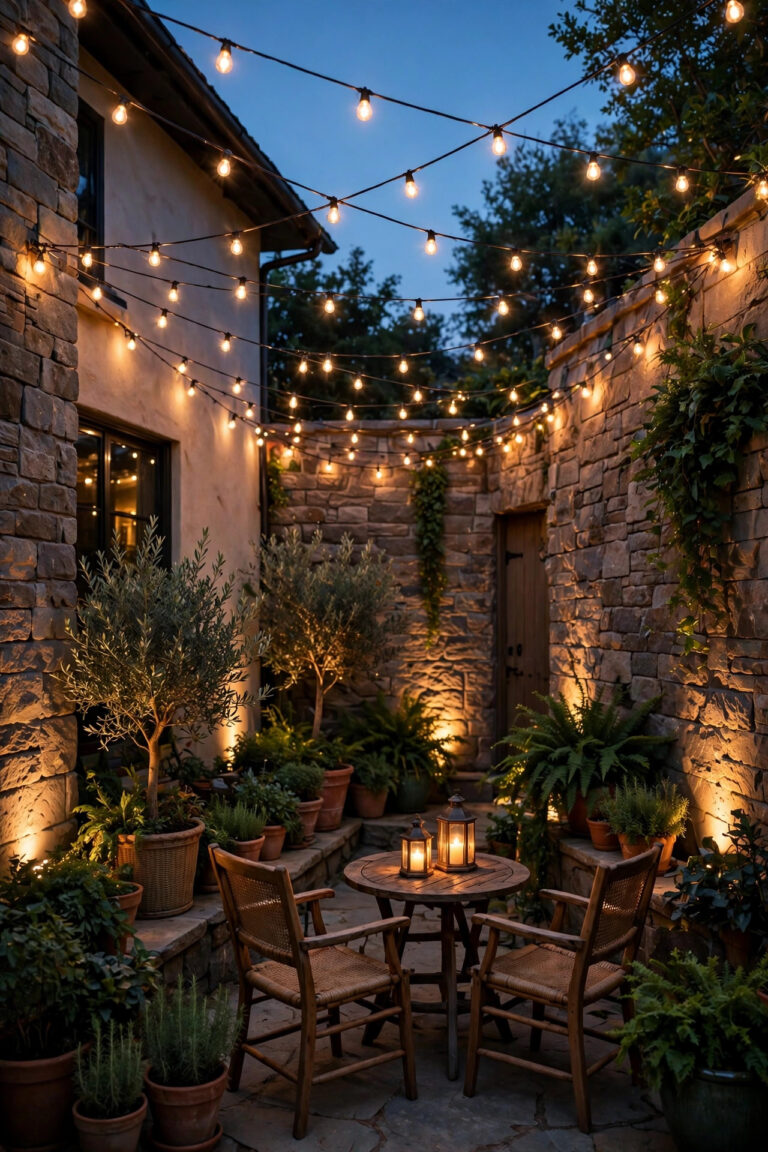
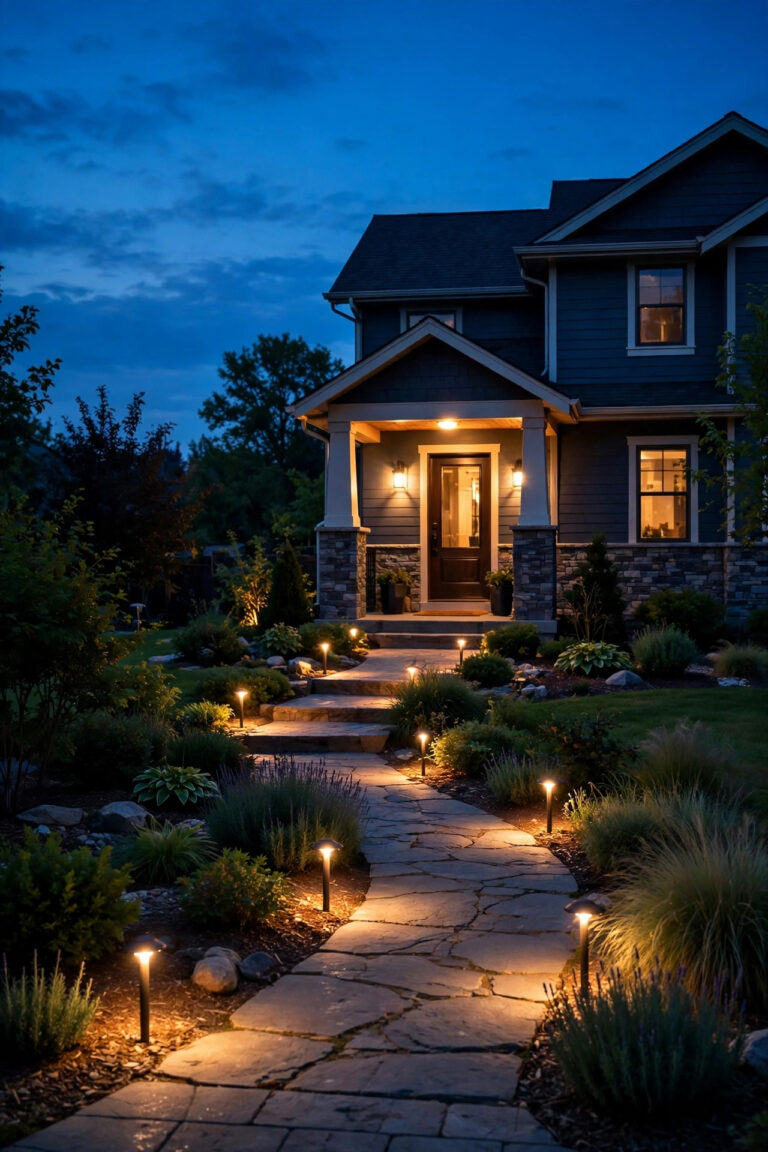
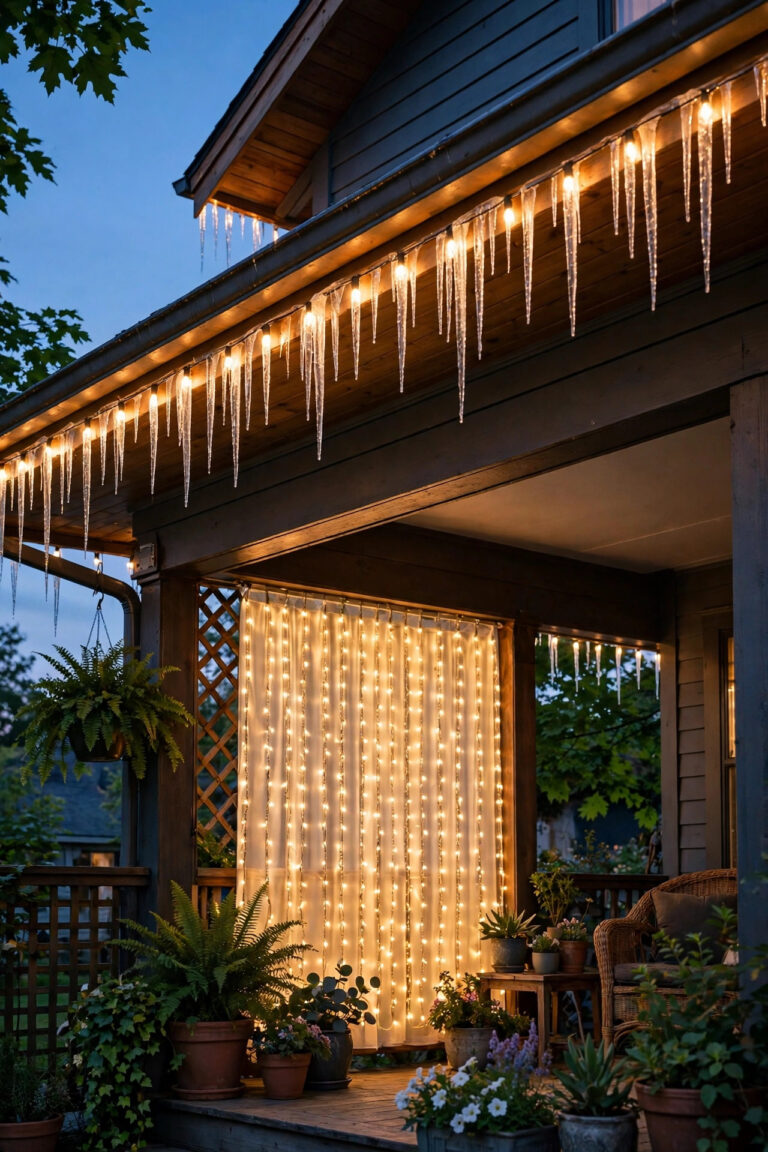
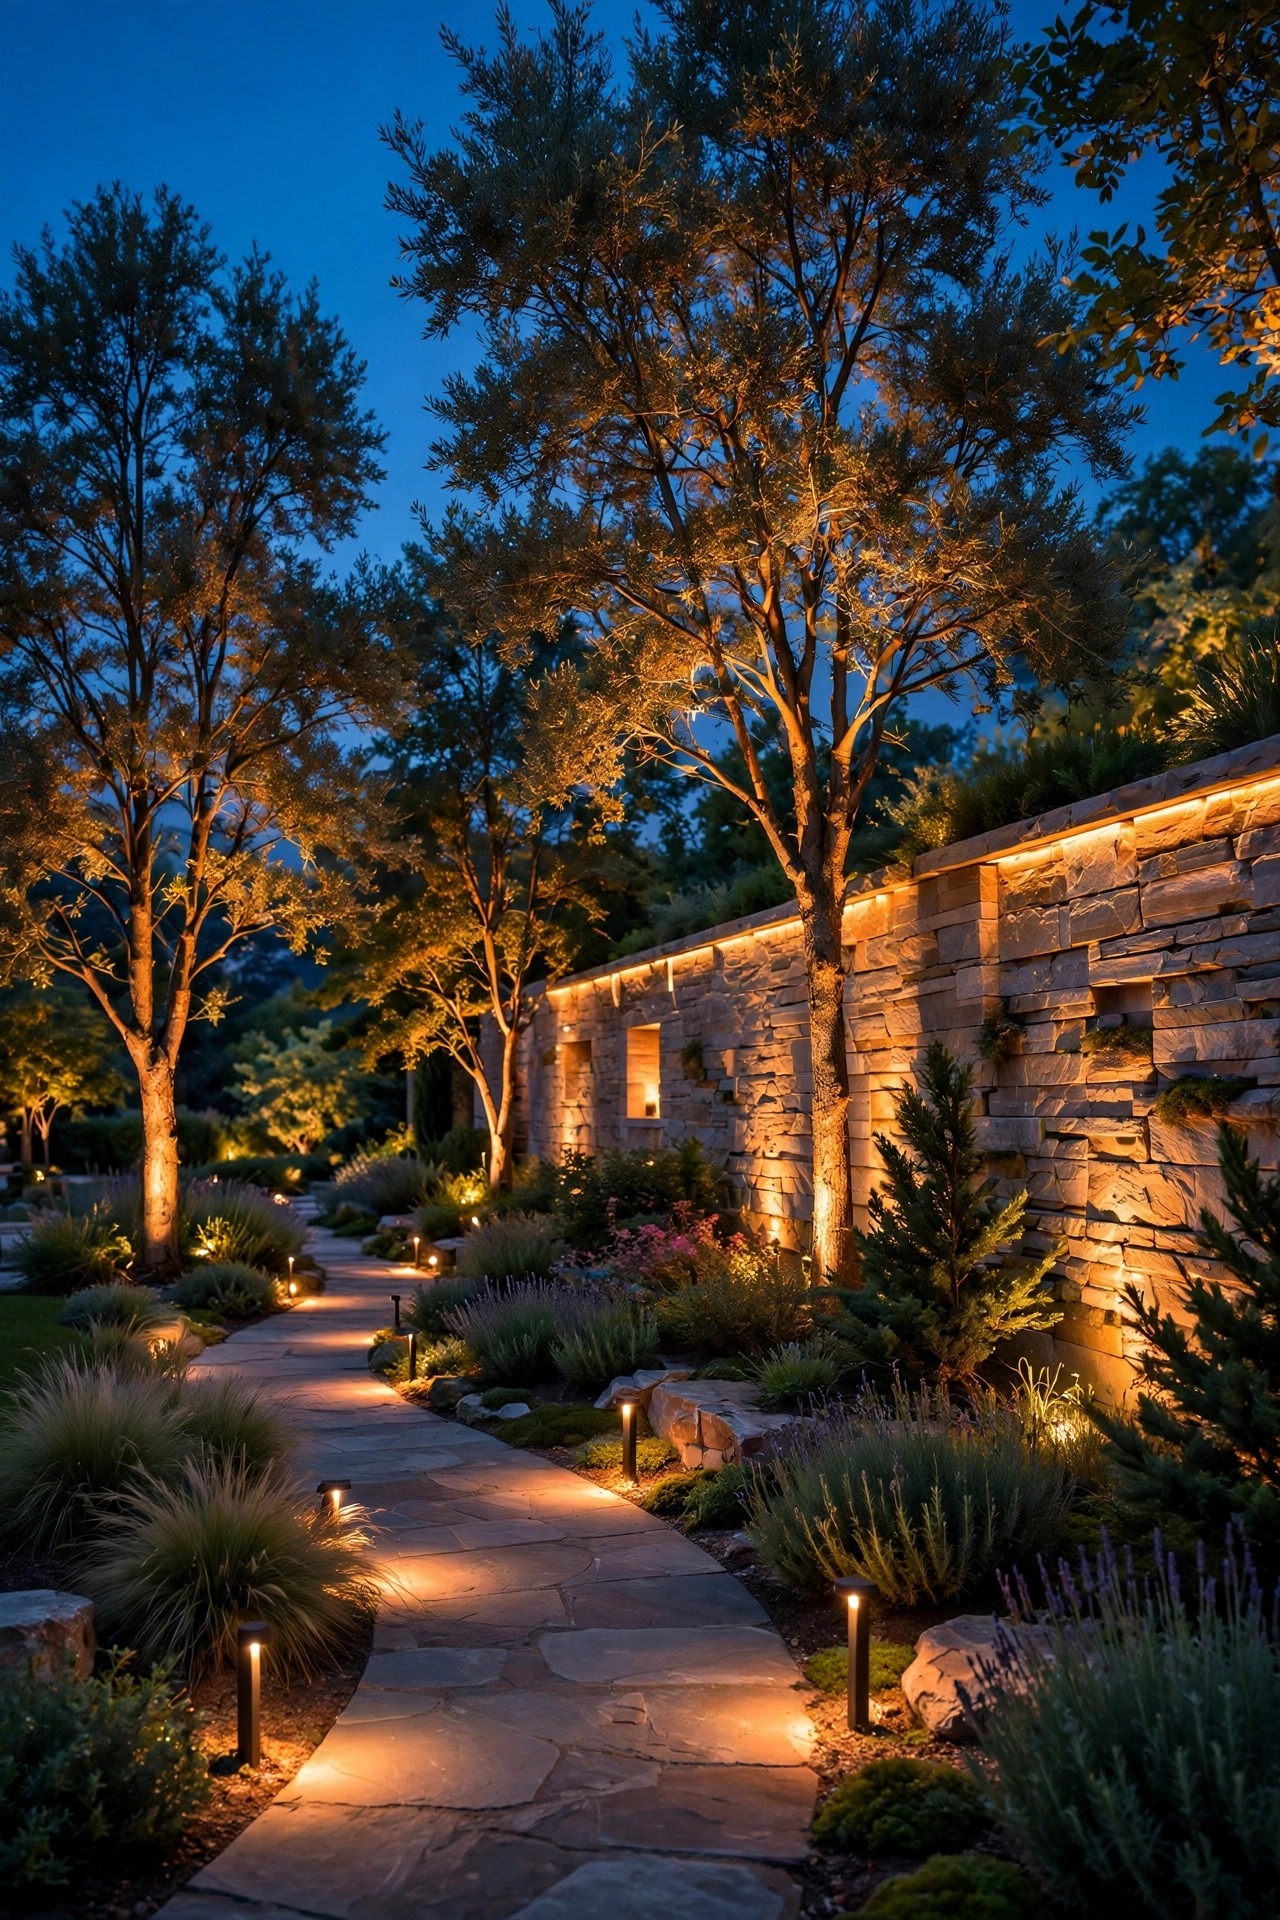
Years ago I walked a professionally lit garden at dusk and could not figure out why it felt so calm. There were no visible fixtures shouting for attention, no runway of matching path lights, no blue-white glare — just trees floating over soft pools of light and a stone wall glowing like it was lit from inside. That is the secret behind every set of high-end landscape lighting ideas worth copying: designers light effects, not objects. The fixture disappears; the leaf, the bark, the water does the talking. In my experience, the formula is always the same three layers — low guidance light where feet go, warm welcome light where people gather, and gentle accent light on the plants and architecture that deserve it — all in one warm color temperature, all dimmer than you expect. Below are the 17 moves I have borrowed from the pros over the years, from the first paper sketch to the final dusk edit, so your yard can feel quietly expensive instead of loudly lit.
1. High-End Landscape Lighting Ideas Start on Paper, Not in a Shopping Cart
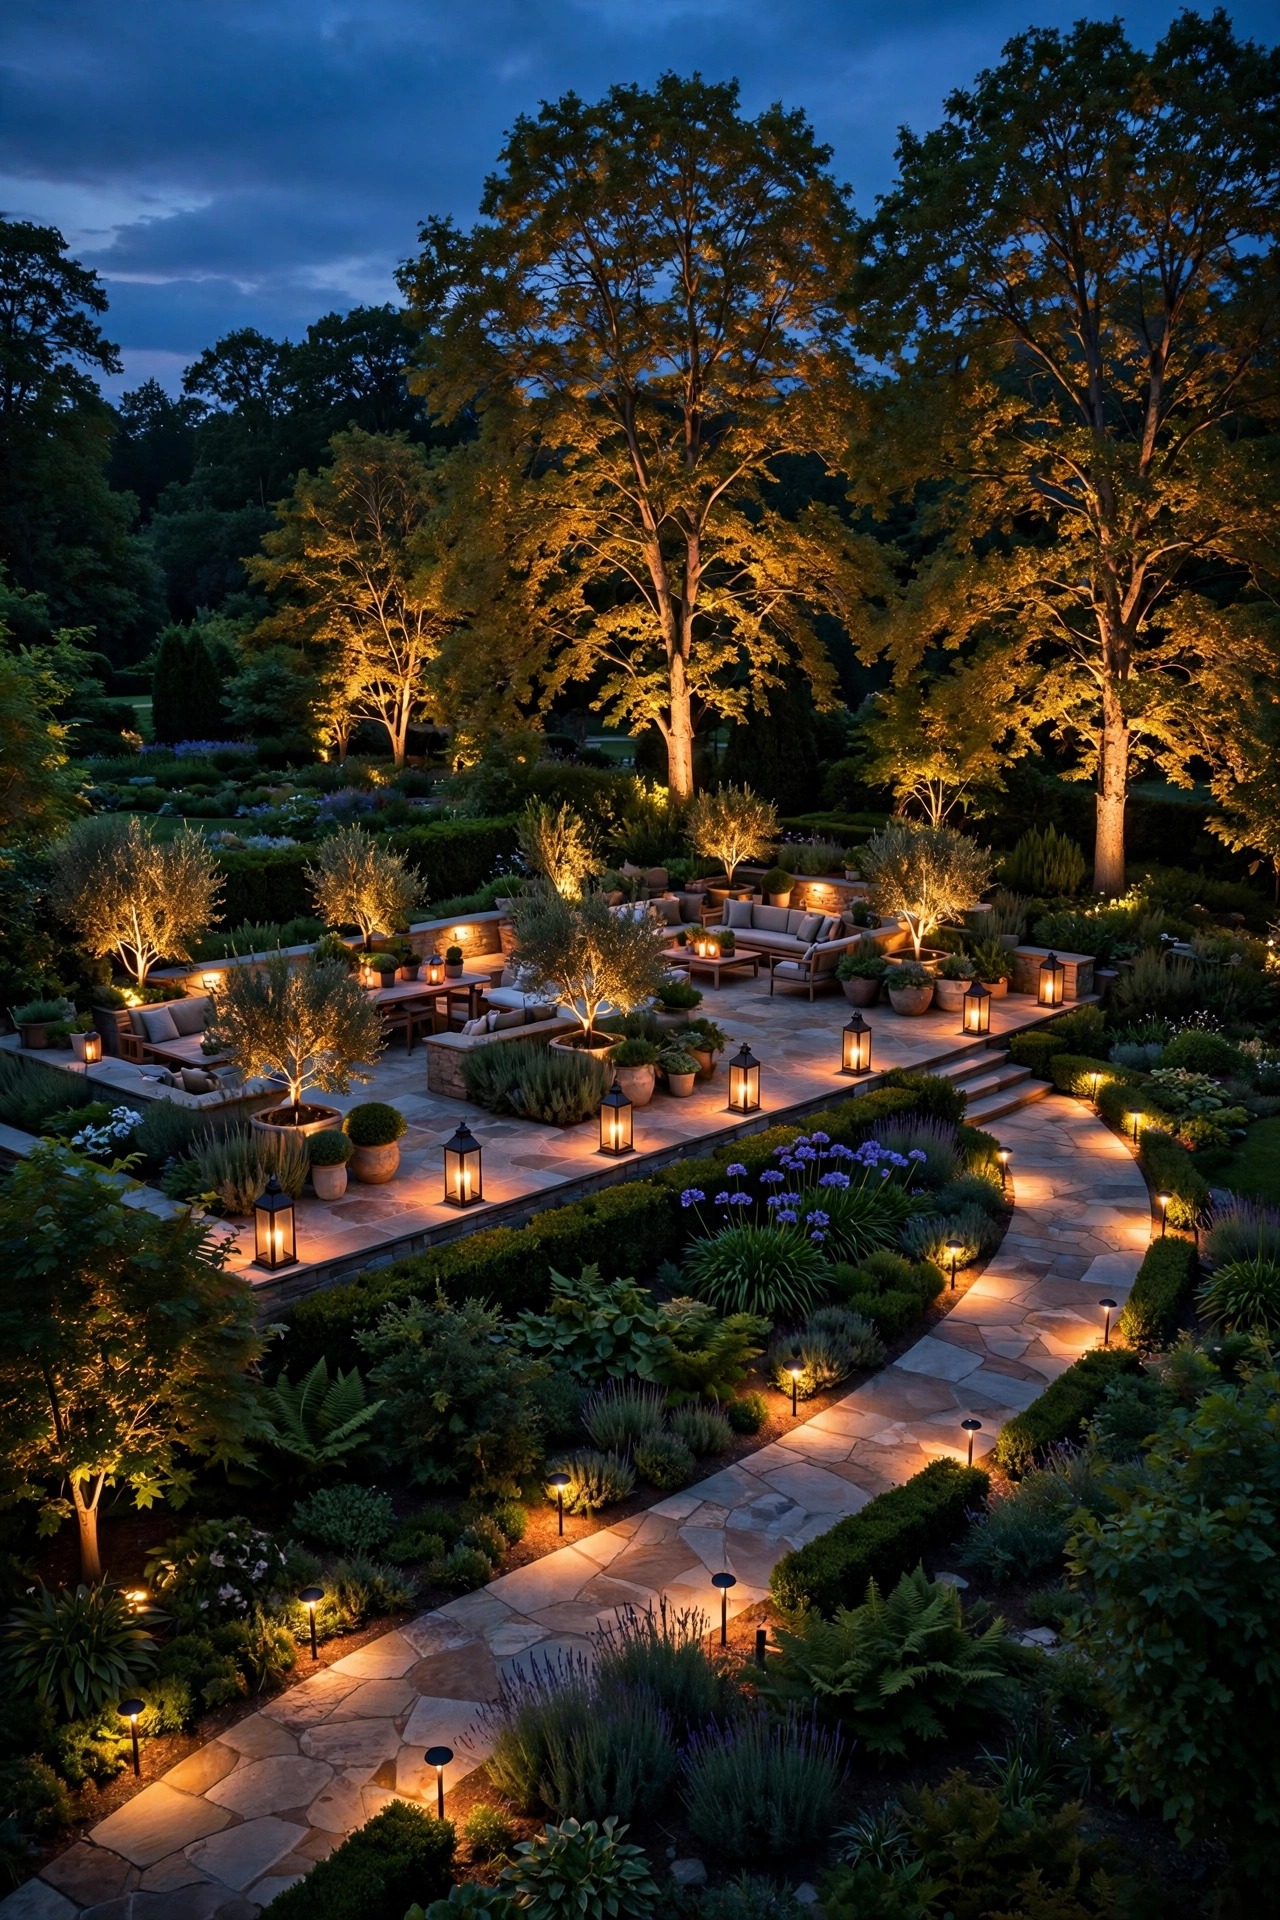
Every designer I have ever watched starts with a pencil, and honestly, this is the step most homeowners skip straight past. Sketch your yard to rough scale — house, beds, trees, paths, seating — then mark three layers: guidance light low along walks and steps, welcome light at doors and gathering spots, and accent light on the two or three features truly worth showing off. Now count what your sketch actually needs. Most yards come in around 15 to 25 fixtures, not the 60-piece kit the big-box store wants to sell you. That restraint is the whole ballgame: a designer would rather place one perfect uplight on a sculptural oak than scatter six cheap spots across every shrub. Note transformer placement and cable runs on the same sketch, keeping runs short and central so voltage stays even from the first fixture to the last. If you want a second set of eyes, many designers will review a homeowner sketch for a modest consult fee, and it is money well spent before a single hole is dug.
Suggested budget range: $0 – $500.
2. Buy Solid Brass and Copper Fixtures Once
Ask a designer what separates a high-end system from a disposable one and the answer is boring: metal. Solid brass and copper fixtures cost more up front, but they shrug off weather for decades and develop a patina that blends into planting beds instead of flaking black paint onto your mulch. In my experience, the cheap coated fixtures are the false economy of outdoor lighting — three seasons of sun and sprinkler spray and they look tired, while a brass spot still cleans up with a cloth ten years on. Spend the most on the fixtures that work hardest and sit closest to view: path lights along the front walk, spots on the hero tree, anything at eye level. Save with simpler housings deep in the beds where nobody sees the fixture anyway. One more designer habit worth stealing: pick one finish family and stay loyal to it across the whole yard, so the few fixtures that do show read as a set, not a yard sale.
Suggested budget range: $600 – $2,500.

3. Light Your Best Tree Like a Sculpture
Designers pick one hero tree — the oak with the dramatic limbs, the Japanese maple by the patio — and light it properly instead of giving every tree a token spot. The classic technique is cross-lighting: two fixtures placed at roughly 45-degree angles to the trunk, 12 to 24 inches out from the base, aimed up into the canopy so the light models the bark instead of flattening it. Use a warm 2700K bulb and a beam wide enough to wash the canopy edges softly; a narrow beam just draws a bright circle in the leaves. Stand back at full dark and adjust the tilt until the trunk glows and the fixture itself vanishes from the main viewing angles. If your tree is near a path, add a shield or glare guard so guests see lit branches, not a bulb in the eye. I keep my full method, including spacing for different canopy sizes, in my tree uplighting guide.
Suggested budget range: $300 – $900.

4. Moonlight From High in the Canopy
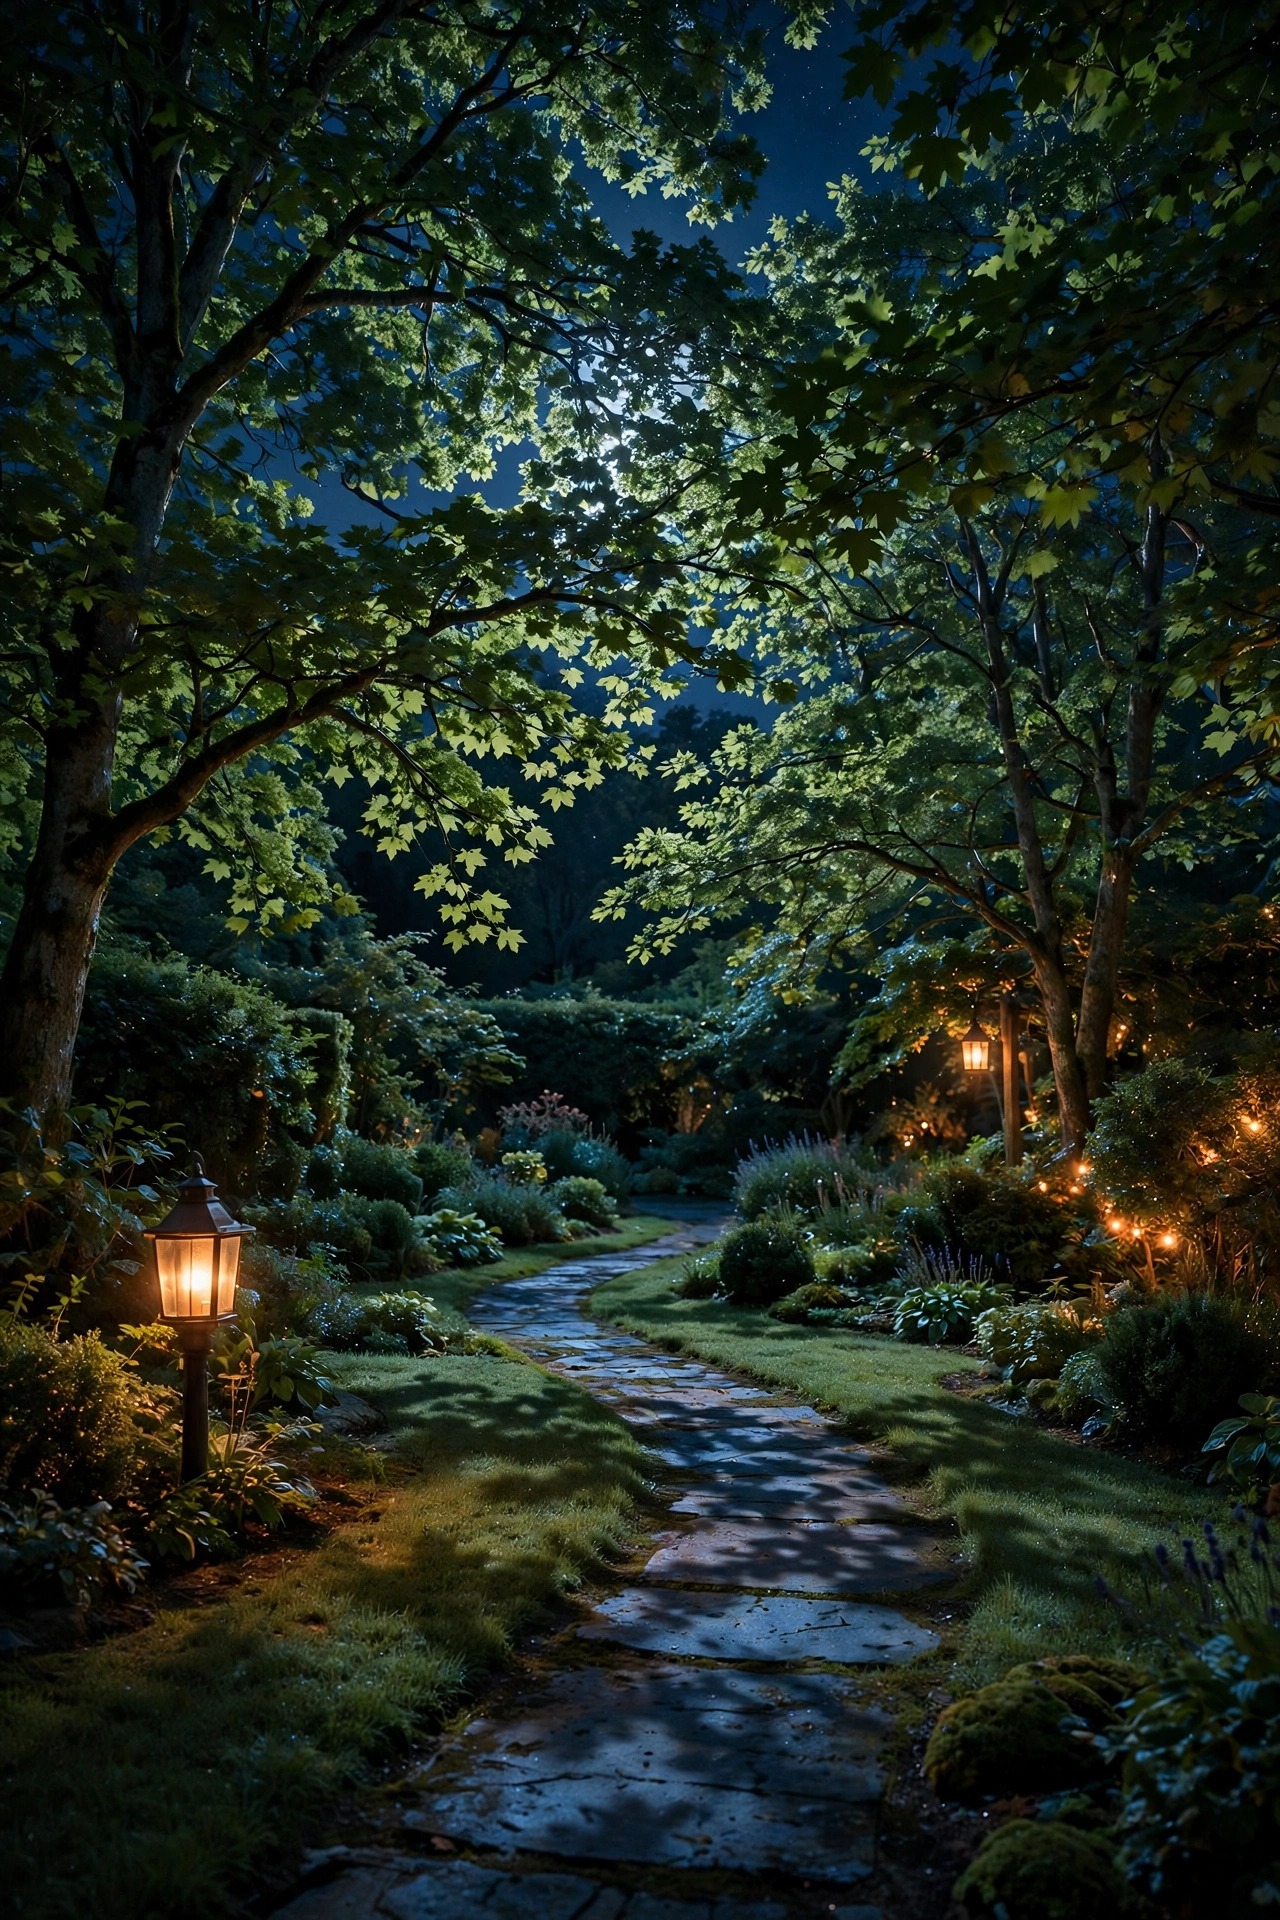
If uplighting is sculpture, moonlighting is atmosphere, and it is the technique designers reach for when a client says the magic word: natural. A fixture mounted 20 to 30 feet up in a mature tree shines down through the branches, dappling the lawn and paths below with the same soft pattern the moon makes. The effect is gentle enough to walk by and dramatic enough to stop a dinner conversation. Because the work happens at height, near rooflines and sometimes over structures, this is the one job I always recommend hiring out — a pro has the climbing gear, the tree-safe straps that will not girdle a growing trunk, and the eye for hiding the fixture against a limb. Ask for a shielded, downward-only fixture at 2700K, and have them aim it while you stand below at dusk, not from a ladder at noon. Done right, guests will swear the light is just a full moon doing you a favor. My moonlighting trees guide walks through fixture heights and tree shapes if you want to study up first.
Suggested budget range: $600 – $1,800.
5. Bury the Glare With In-Ground Well Lights
Nothing cheapens a beautiful yard faster than a row of shiny fixture heads, so designers bury their hardest-working lights. In-ground well lights sit flush with the soil or lawn, their housings hidden below grade, washing walls, trunks, and columns from a source nobody can find. Use them anywhere a visible spot would clutter the view: under the facade, at the base of a specimen shrub, grazing up a stone chimney. Look for fixtures with a grate or louvered top if feet pass overhead, and a sealed, gasketed housing rated for burial and sprinkler spray. Leave a small gravel bed beneath each one for drainage — a well light sitting in a puddle of its own making will not stay sealed forever. In my experience, two well lights flanking a front entry, aimed up the wall on either side of the door, do more for perceived value than any other single move on this list. By day the yard looks untouched; by night the house glows.
Suggested budget range: $250 – $900.

6. Wash Smooth Walls, Graze Rough Ones
Designers talk about walls the way photographers talk about light, and the distinction is simple. A smooth surface — stucco, painted siding, a clean fence — wants a wash: place the fixture 12 to 18 inches out and aim across a wide area so the wall becomes a soft backdrop that makes the plants in front of it pop. Rough surfaces — stacked stone, brick, rough cedar — want a graze: tuck the fixture just 3 to 6 inches from the base and aim nearly straight up, so every bump and mortar line throws a tiny shadow and the texture doubles. Get it backwards and you either flatten beautiful stonework or spotlight every flaw in your siding. My rule of thumb from years of tweaking: if you can run your hand over it and feel the story, graze it. A grazed stone wall behind a patio is also the cheapest backdrop upgrade I know, because one fixture does the work of a whole garden ornament.
Suggested budget range: $200 – $700.

7. Commit to One Color Temperature: 2700K
Walk a designer-lit yard and you will never catch the lights arguing with each other. Every bulb sits at the same warm temperature — almost always 2700K, occasionally 3000K on very modern homes — and that consistency is a huge part of why the scene feels intentional and expensive. The fastest way to make good fixtures look cheap is to mix a leftover 4000K bulb into a warm system; it sticks out like a fluorescent tube at a candlelit dinner. When you buy, buy the whole system at once from one line, and order two or three spare bulbs in the same batch for future replacements, because batches drift slightly. Honestly, I even keep a small labeled box in the garage: spares, all 2700K, all the same beam spreads I use outdoors. If a section of your yard already runs cooler bulbs, swap those first — matching temperature across the property does more for the high-end feel than adding any new fixture could.
Suggested budget range: $100 – $400.

8. Lay Path Lights as Pools, Not a Runway
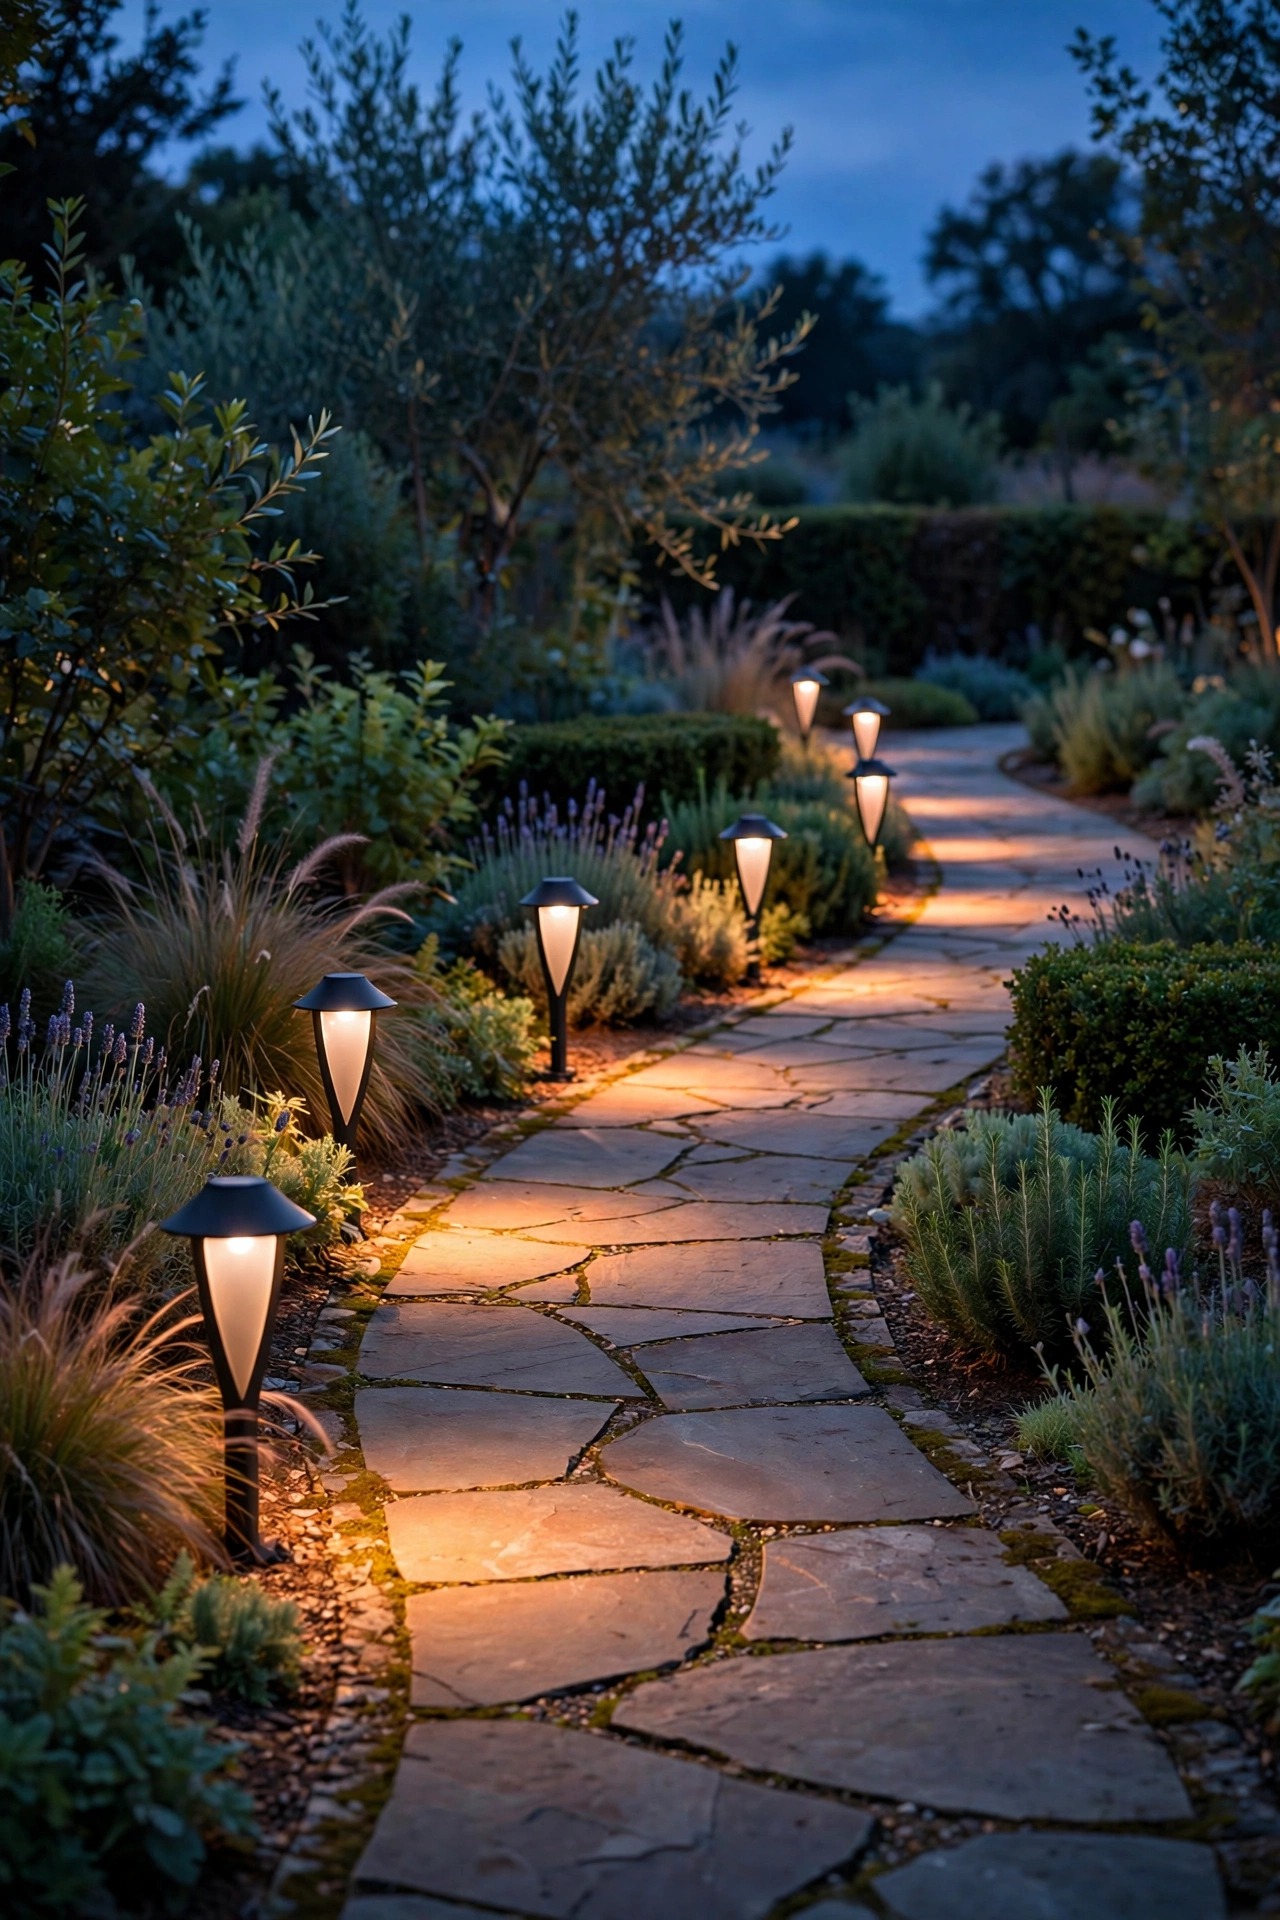
The runway — a soldier-straight double row of identical path lights marching to the door — is the single most common amateur tell, and designers avoid it like a drafting error. Instead, place fewer fixtures, stagger them from side to side of the path, and space them 8 to 12 feet apart so their light pools overlap just slightly at the edges. You want to read the path as a gentle rhythm of glow and shadow, not a landing strip. Choose shielded fixtures that throw light down and out at the walking surface rather than up into faces, and keep the heads low, around 14 to 18 inches, so the fixture tucks into plantings by day. On curves, put fixtures on the outside of the bend where feet actually need the cue. In my experience, cutting a planned path run by a third makes it look twice as designed — and the money you save buys the brass upgrade from idea two.
Suggested budget range: $400 – $1,200.
9. Make Every Fixture Disappear by Day
Here is a test designers quietly apply to their own work: stand in the yard at noon and count how many fixtures you can find. In a high-end install, the honest answer is almost none. Spots angle away from main sightlines and hide behind rocks, logs, or the plants they light. Path lights tuck into the foliage edge of a bed instead of standing in open mulch. Junction boxes and cable runs bury below the mulch line where no guest will ever trip over the secret. Even the transformer gets a home out of view — behind a shrub, on the shadow side of the house, or inside a discreet deck box, never bolted beside the front door like an afterthought. This is partly aesthetics and partly honesty about how yards are used: kids kick balls, dogs dig, and mowers swing wide, and a hidden fixture survives all three better than an exposed one. Light the effect, hide the source, and the yard keeps its magic around the clock.
Suggested budget range: $50 – $300.

10. Give Water Its Own Light
Still water is a mirror and moving water is a sparkler, and designers use both. A small underwater fixture in a pond, fountain basin, or reflecting pool turns the whole feature into a lantern after dark — place it to shine across the water toward the main viewing seat rather than straight up, and the surface shimmers instead of glaring. For a fountain, one light aimed at the falling water from inside the basin makes every droplet glow; for a birdbath or shallow bowl, a solar puck is honestly enough. Two safety notes I never skip: anything in or near water needs fixtures rated for submersion and a GFCI-protected circuit, full stop, and the transformer stays well back from the splash zone. Keep the color at the same 2700K as the rest of the yard so the water reads as part of the scene. On still nights, an uplit tree reflected in a lit pond is the single most photographed moment in my own garden.
Suggested budget range: $150 – $600.

11. Play With Silhouette and Shadow
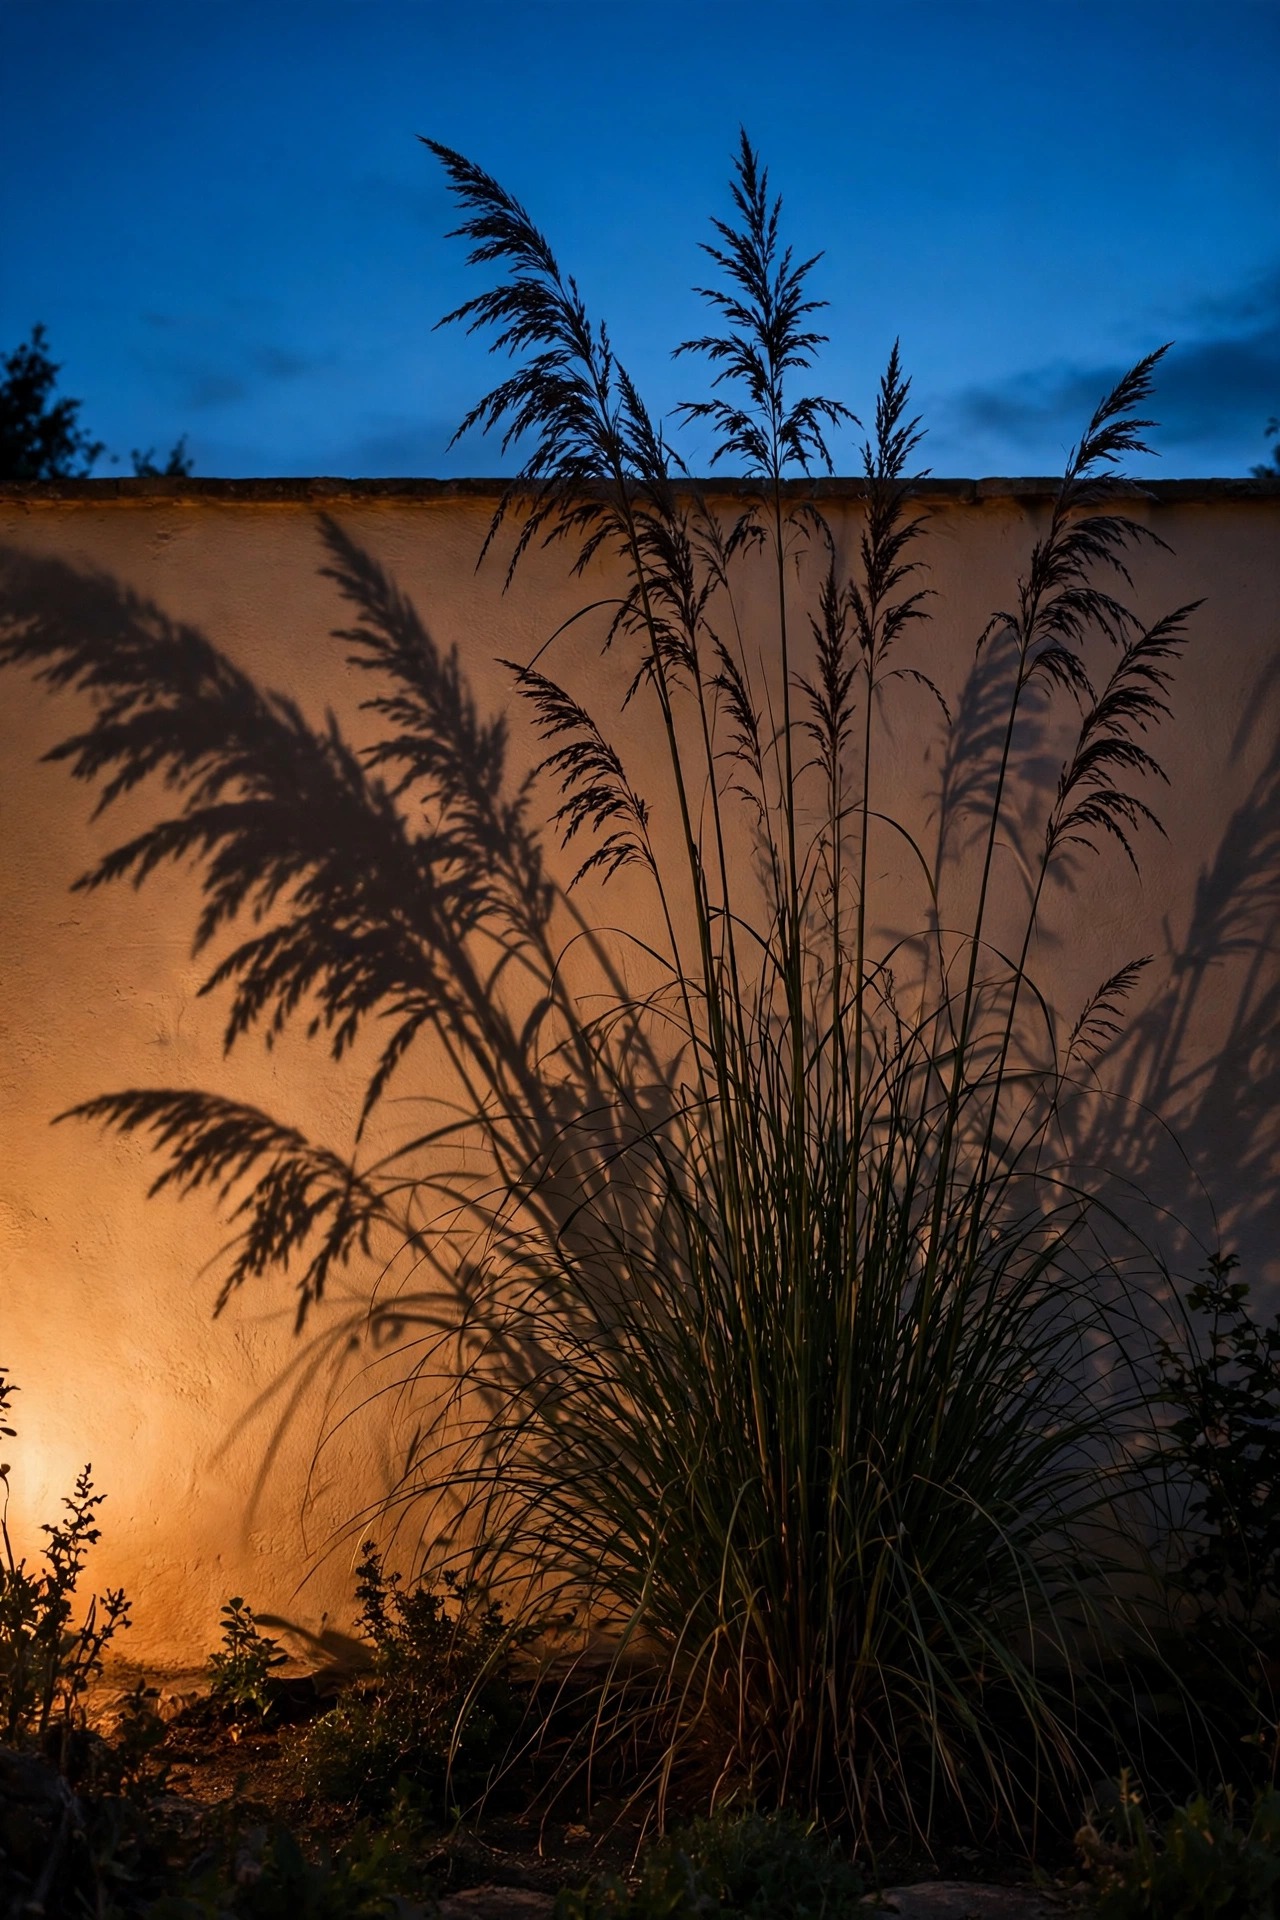
Most homeowners only think about what light lands on, but designers think just as hard about what it passes. Place a fixture behind a plant with bold structure — an ornamental grass, a yucca, a small multi-stem tree — and aim it at a wall or fence, and the plant throws a dramatic shadow twice its size across the surface. That layered shadow-play is pure theater, and it costs one fixture. The reverse works too: a plant lit from the front against a dark background reads flat, while the same plant silhouetted against a washed wall reads like garden art. I use this trick along blank fence runs where nothing else wants to grow, and beside the patio where a shadow of swaying grass moves in the breeze all evening. Keep the background surface evenly washed and the plant a foot or two in front of it so the shadow stays crisp. It is the most designer-looking effect on this entire list, and the easiest to rearrange when you get bored.
Suggested budget range: $150 – $500.
12. Dim Every Zone Separately
A high-end yard is never simply on or off — it has moods. Designers wire the system in zones (paths, trees, patio, water) and put each zone on its own dimmer, because the right light for a Tuesday alone with a book is a quarter of the right light for a Saturday party. With zones dimmed independently, you can drop the path lights to a whisper, keep the hero tree glowing, and let the patio carry the evening. Dimming also saves the scene from the most common high-end mistake, which is simply too much light: most of my zones live at 60 to 80 percent, and the garden looks better for it. Multi-tap transformers make zoning easy at install, so plan the zones on your paper sketch from idea one rather than discovering them later. If your system already exists, a plug-in dimmer on the largest zone is a cheap taste of the difference. Once you have lived with dimmers for one evening, you will never run a yard at full blast again.
Suggested budget range: $300 – $1,000.

13. Let an Astronomical Timer Run the Show
The fanciest yard on the street still looks forgotten when its lights burn at noon or sit dark at a dinner party, so designers automate everything. An astronomical timer knows your local sunset and sunrise for every day of the year and adjusts itself, so the garden wakes up at dusk without you touching a thing. Pair it with a simple schedule — full scene at dusk, a dimmer late-night setting after 11, off at 1 a.m. — and the yard always looks attended. App-controlled smart transformers add scenes you can tap from the couch when guests arrive, and honestly that small convenience is the one clients mention most a year later. Keep it generic and simple: one controller, a few named scenes, no gadget sprawl. If you already own a standard transformer, a plug-in astronomical timer upgrades it in ten minutes for very little money. Automation is invisible when it works, which is exactly the point — luxury never looks like effort.
Suggested budget range: $150 – $600.

14. Recess Step and Wall Lights Into the Masonry
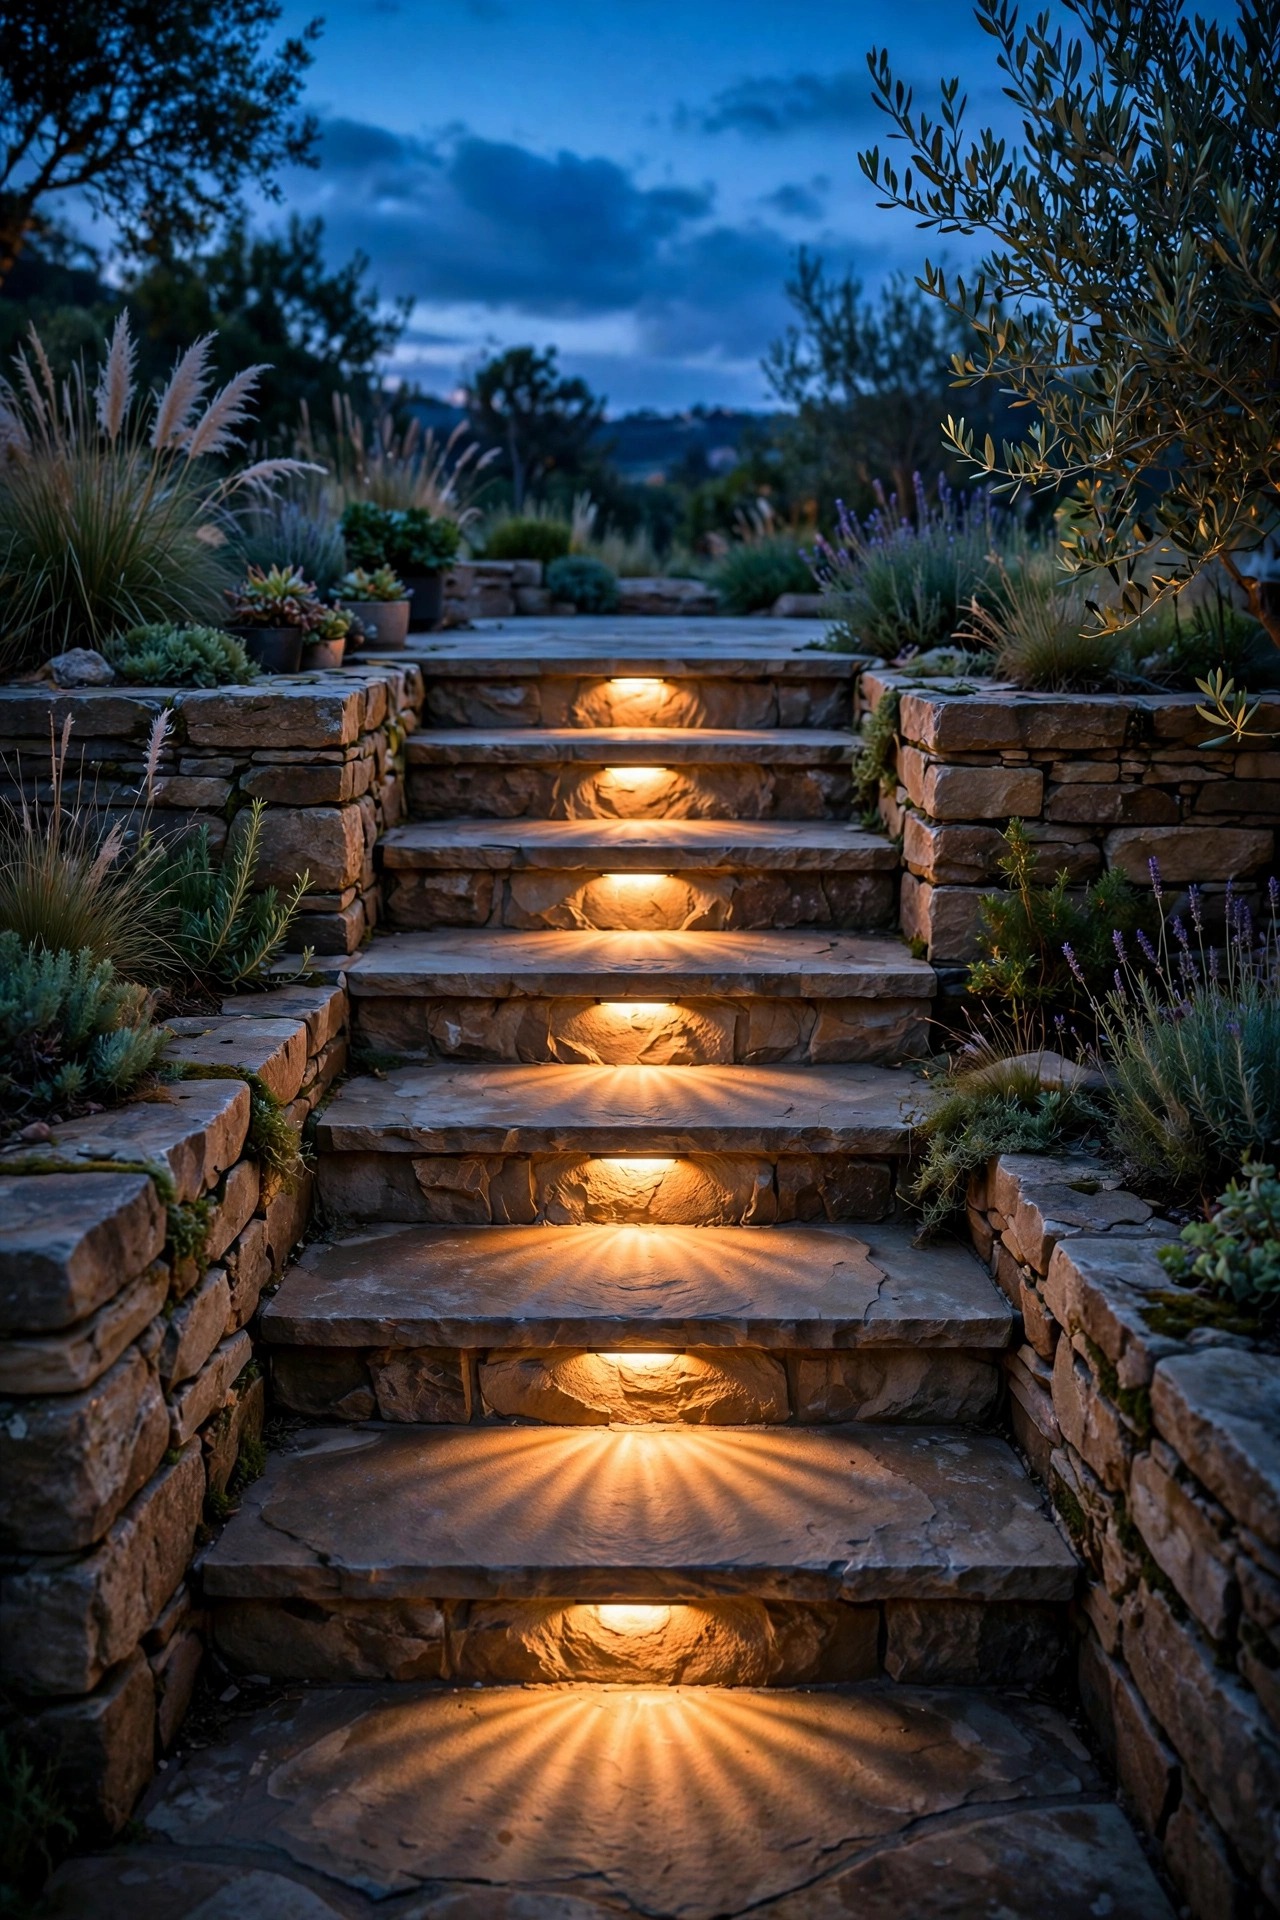
Steps are where guests trip and where cheap surface-mounted fixtures look clunkiest, so designers build the light into the structure itself. Small recessed fixtures set into step risers, retaining walls, and seat walls wash each tread in a soft fan of light with no visible hardware and nothing to kick loose. The effect is pure architecture — you see lit stone and safe footing, never a bulb. Plan these during any hardscape project, because cutting conduit channels into a finished wall costs far more than laying them while the wall goes up; if you are adding a retaining wall or patio steps this year, that is your moment. For existing steps, low-profile surface fixtures mounted under each tread nosing get you most of the look without the masonry work. Keep the light warm, shielded, and aimed down at the tread — glare on stairs is a genuine hazard, not a style choice. Seat walls around fire pits take the same treatment beautifully under the capstone.
Suggested budget range: $250 – $800.
15. Spotlight the Art, the Urns, and the Details
Every established garden has a few objects that carry its personality — a weathered urn, a stone bench, a sundial, a piece of garden sculpture — and designers light those the way a gallery lights a painting. One narrow-beam spot from 3 to 5 feet away, aimed slightly off-center so the shadows model the shape, turns an overlooked corner into a destination. Keep the fixture hidden and the beam tight; spill beyond the object is what separates a gallery moment from a floodlit yard. This is also the kindest way to handle architectural details on the house itself: a soft uplight at the base of a column, a gentle graze across a stone chimney, a wash behind a fountain mask. In my experience, three well-chosen detail lights do more for the perceived value of a landscape than a dozen generic spots. Walk your yard at dusk with a flashlight before you buy anything, and audition each candidate object the way a designer would — most will fail the test, and the winners will be obvious.
Suggested budget range: $100 – $450.

16. Oversize the Transformer and Bury the Cable Deep
The least glamorous designer habit is the one that keeps a system beautiful for twenty years: infrastructure with headroom. Size the transformer at roughly one and a half times your planned load, so adding three fixtures next spring does not mean buying a second box. Run heavier 12-gauge cable on long legs to fight voltage drop — the silent flaw that leaves the far fixtures dim and orange while the near ones blaze — and bring the runs together at accessible junction hubs rather than daisy-chaining fixture to fixture. Bury cable 6 inches deep along bed edges where a spade is unlikely to find it, and leave a few inches of slack loop at every fixture so you can re-aim or swap it without splicing. Photograph your cable runs before you cover them; future you, planting bulbs in October, will be grateful. If you are weighing where the money goes across a whole system, my breakdown of landscape lighting splurge vs save is the honest version of that conversation.
Suggested budget range: $250 – $700.

17. The Dusk Walk-Through Edit That Finishes High-End Landscape Lighting Ideas
Every designer I know finishes an install the same way: standing in the yard at full dark with the homeowner, dimmers in hand, subtracting. That final edit is where high-end landscape lighting ideas either become a scene or stay a collection of fixtures. Walk the property from the street, then from every seat and window that matters, and ask one question of each light: does the scene get better with you in it? Re-aim the spot that glares from the dining chair. Dim the path run that overpowers the moonlighting. Turn one fixture off entirely and notice the garden improve — it happens on almost every job, including mine. Take phone photos from the main viewpoints; the camera finds glare and hot spots your eyes forgive. Plan to repeat this walk each spring, because plants grow into beams and last year's perfect angle becomes this year's leaf shadow. Restraint is a maintenance habit, not a one-time decision, and it is the truest designer secret on this list.
Suggested budget range: $0 – $100.
Frequently Asked Questions
What color temperature do landscape designers use?
Almost always 2700K, the warm white that matches candlelight-adjacent indoor bulbs and flatters skin, stone, and foliage. Some designers use 3000K on very modern architecture, but the key rule is consistency: every fixture in the yard at one temperature, so the scene reads as a single designed moment.
How much does high-end landscape lighting cost?
A professionally designed and installed system for a typical suburban yard usually lands between $3,000 and $8,000, and large estates run well beyond that. A determined DIYer copying the same ideas with quality brass fixtures can often land between $1,200 and $3,000, with the savings coming from labor rather than cheaper parts.
Is wired low-voltage better than solar for a high-end look?
For a consistent, dimmable, designer-level result, yes. Wired low-voltage fixtures deliver even brightness, exact color temperature, and zone control that solar stakes cannot match. Solar still earns a place for accents in far corners where trenching cable makes no sense, as long as you accept a softer, shorter glow.
Should I hire a designer or install it myself?
A hybrid works beautifully for most yards. Pay for a professional design or consult — the paper plan, fixture schedule, and zoning — then install the low-voltage system yourself over a few weekends if you enjoy the work. Hire out anything at height, like moonlighting, and anything involving line voltage or water.
Conclusion
Strip away the budgets and the brass, and every one of these high-end landscape lighting ideas comes back to the same three designer habits: plan in layers, hide the source, and use less light than feels safe. Pick one hero tree, one wall, and one path, apply the ideas that fit, and live with the scene for a few evenings before adding anything else. The yards people remember are never the brightest ones on the street — they are the ones that feel calm, warm, and quietly intentional. Browse the rest of the lighting ideas here whenever you are ready for the next layer, and I will be out at dusk, dimmer in hand, editing my own garden right along with you.