There is a particular kind of house on every street, the one cars slow down for after dark. Not because it is the biggest, but because its arrival feels choreographed: a soft glow at the gate, a rhythm of light down the drive, the front door lit like a welcome. That is what the best luxury front yard lighting ideas really sell, not brightness, but arrival. In my experience, a grand front yard always works in three layers. Guidance light runs low along the driveway, the front walk, and any steps. Welcome light sits at eye level around the door, the gate, and the garage, where guests actually arrive. Accent light does the showing off, grazing stone, crowning the hero tree, catching the fountain. Keep every layer warm, dimmable, and consistent, and even an ordinary suburban lot starts to feel like an estate entrance. Below are the 21 upgrades I recommend when a front yard needs to stop whispering and start announcing, calmly, elegantly, and without a single glaring floodlight.
1. Luxury Front Yard Lighting Ideas Start With a Layered Arrival Plan
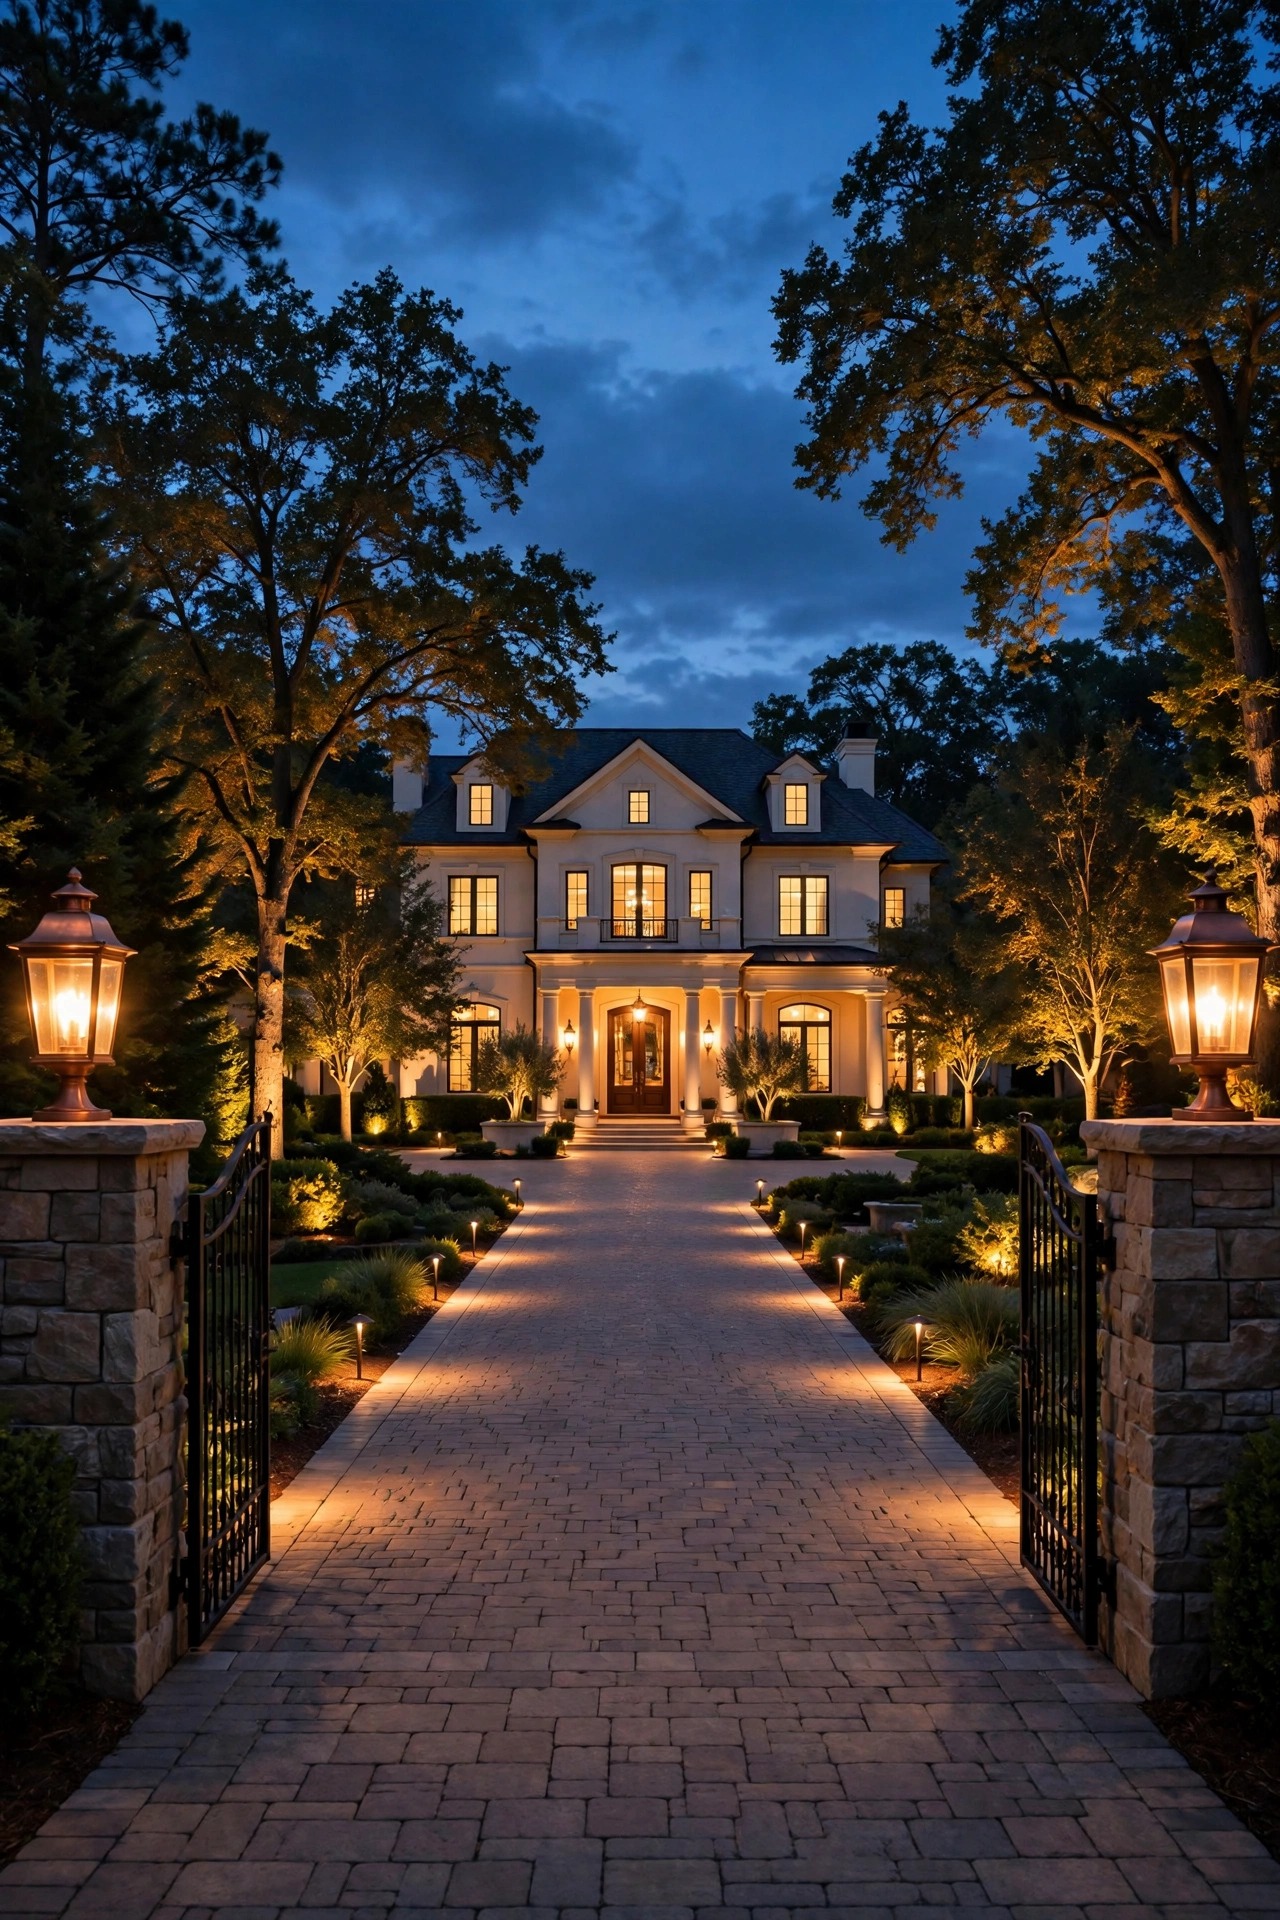
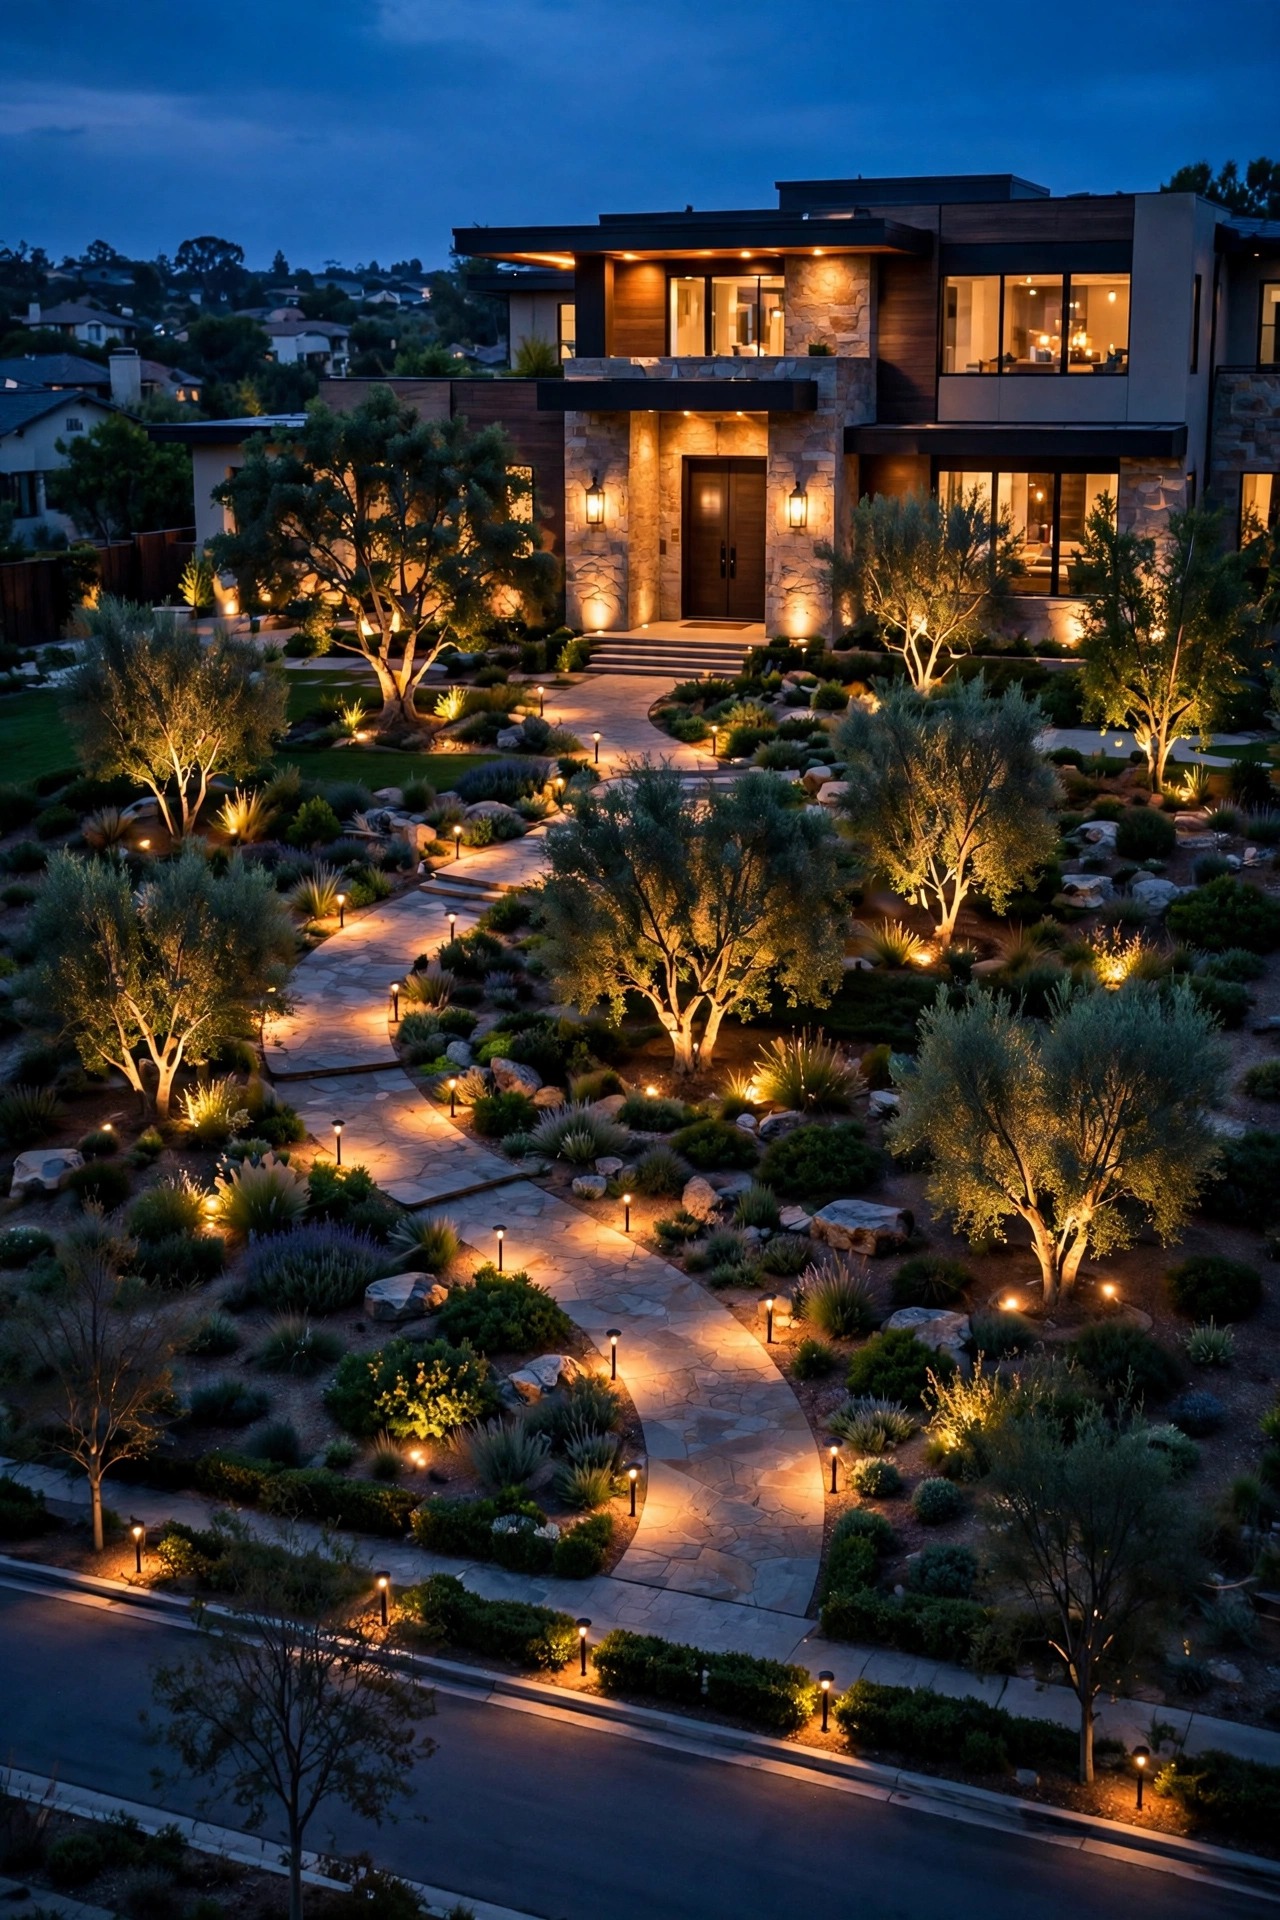
Every grand arrival I have ever admired started at the curb, not at the front door, so begin by standing across the street at dusk and looking at your house the way a guest does. The eye should travel in a calm sequence: a hint of light at the curb or gate, a gentle rhythm along the drive, a brighter pool at the walk, and the warmest glow of all at the door. Sketch that sequence on paper and assign every fixture to one of the three layers, guidance low, welcome at eye level, accent up high. I lay out the full method in my guide to front yard landscape lighting, but the luxury version adds one firm rule: restraint. One hero tree, one lit stretch of facade, one water feature, not everything you own. On bigger lots, plan zones of eight to twelve fixtures so the arrival court can dim independently from the garden accents. A drawn plan also phases the spending sensibly, arrival first and ornaments last, and it earns you tighter, more honest quotes from installers.
Suggested budget range: $0 – $150.
2. Top the Gate Piers With Lanterns That Mark the Threshold
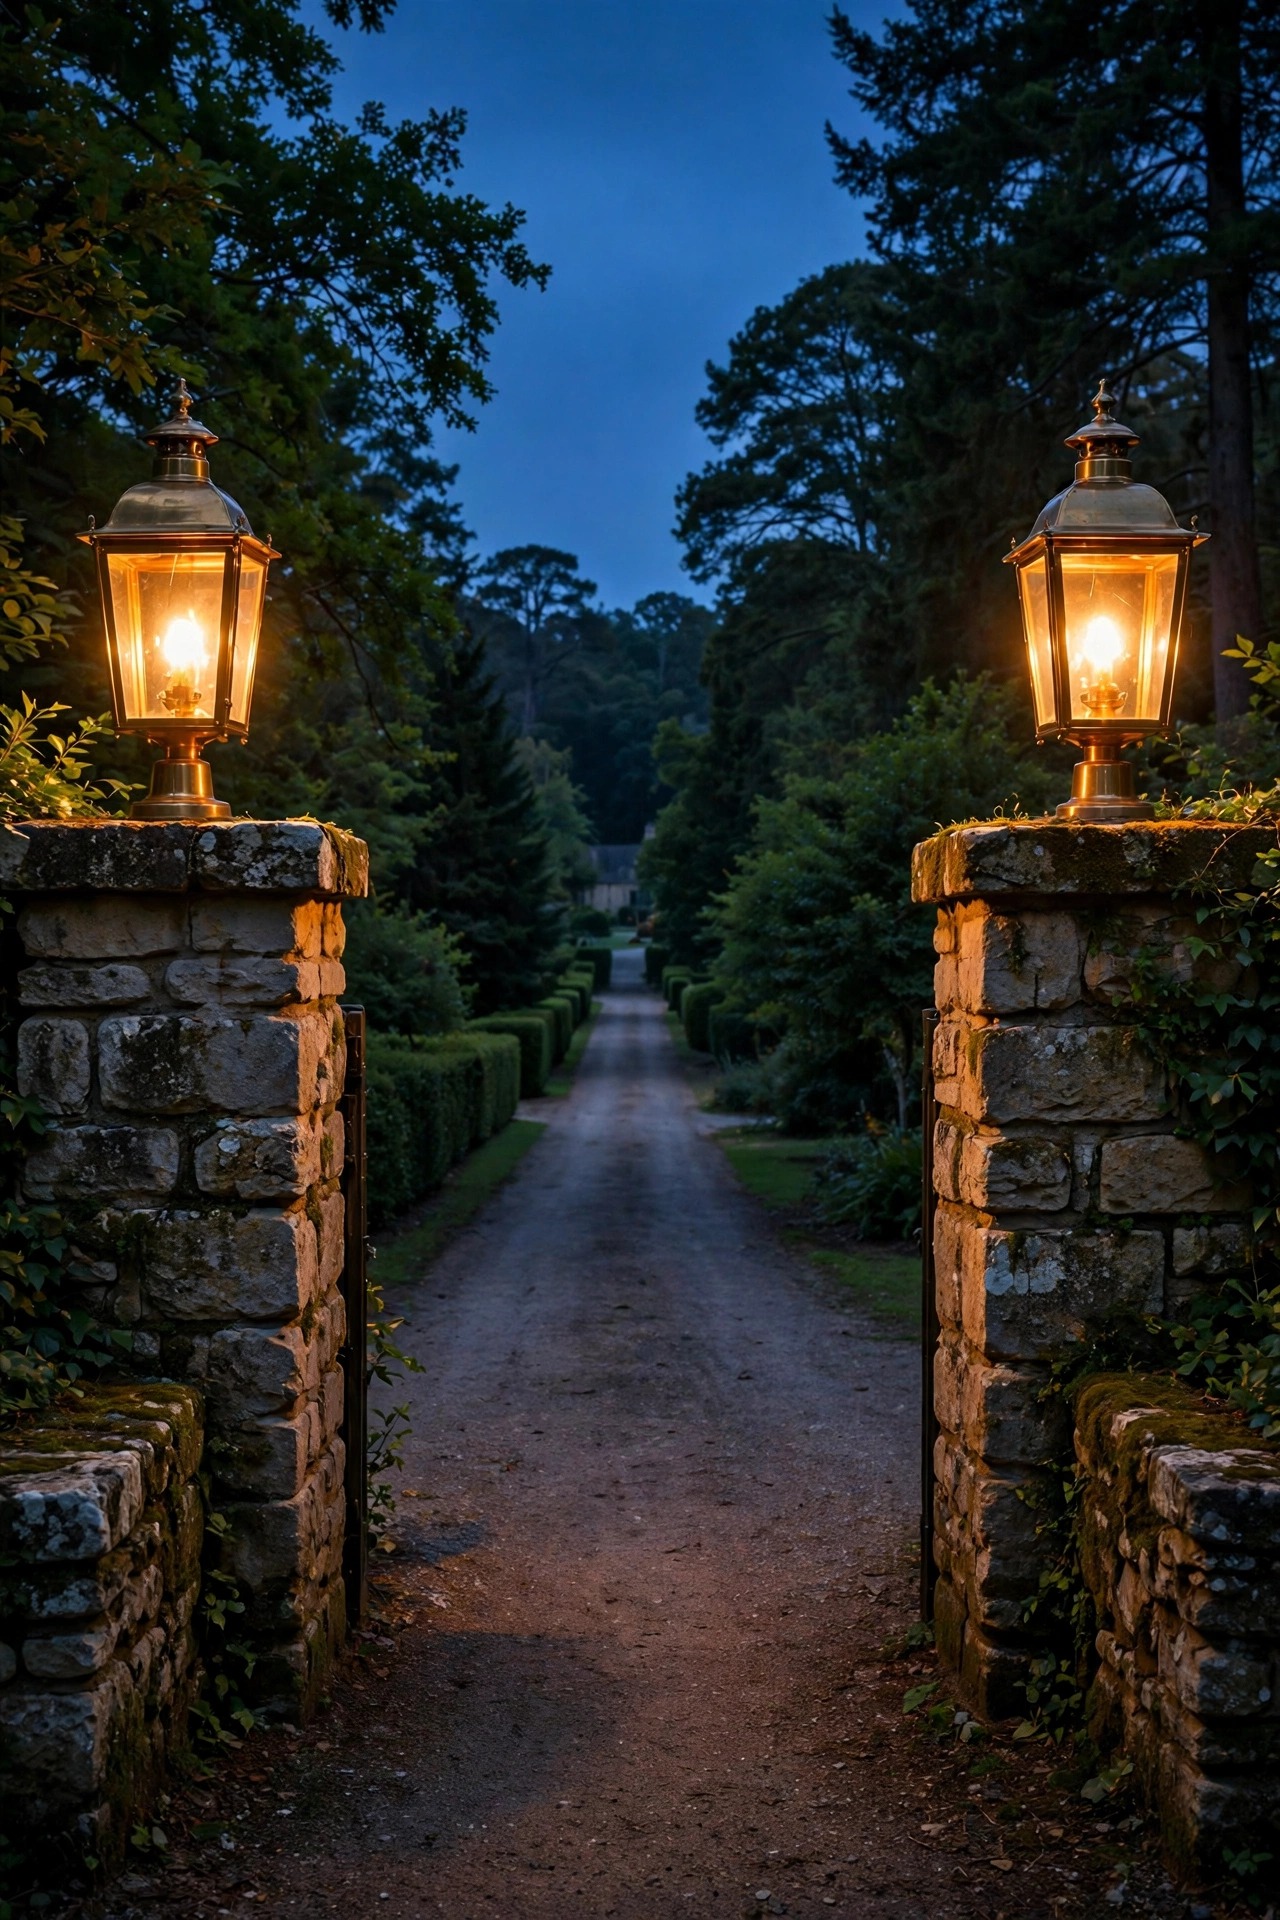
A pair of lanterns on gate or driveway piers is the opening note of the whole arrival, and it tells guests they have reached somewhere worth reaching. Size the lanterns to the piers, roughly one-third the width of the cap, and choose frosted or seeded glass with a warm filament-style LED inside so they glow like gaslight instead of glaring like a security light. If the piers are being built, have the electrician run conduit up through the masonry now; retrofitting later means surface wire and regrets. Already-built piers can take hardwired caps with a slim low-voltage run buried along the drive edge. Set them on a photocell or the same timer zone as the entry so the piers and the front door always wake up together. Keep the pair perfectly matched and level, because the eye reads symmetry as expense. From a car seat, the lanterns should sit near eye level, around five to six feet up, close enough to read as welcome and never so bright they bloom in the windshield.
Suggested budget range: $600 – $2,400.
3. Line the Driveway in Perfect Symmetry
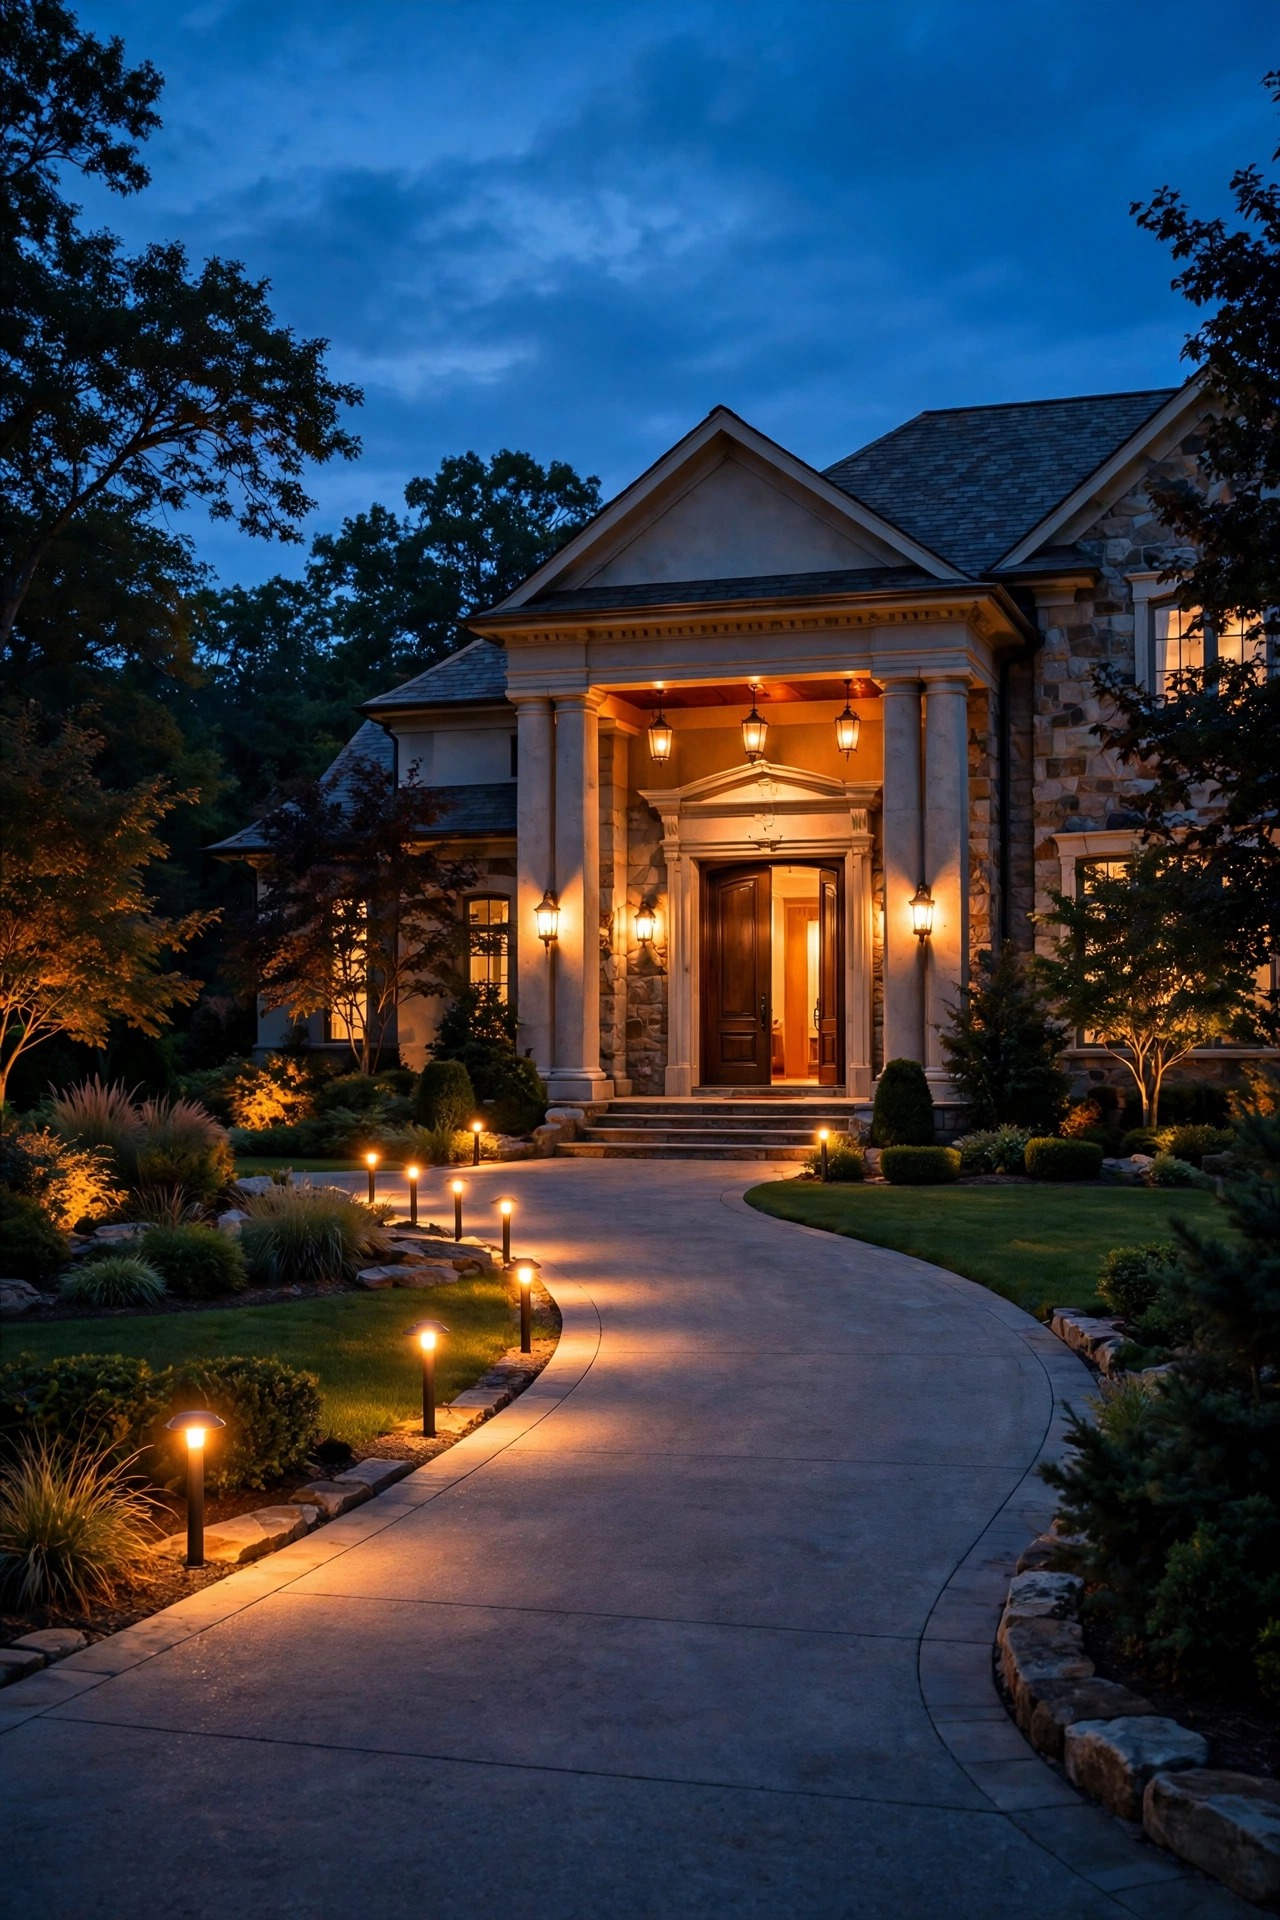
Nothing reads as estate faster than a driveway edged in matched pairs. Bollards or low path fixtures placed directly opposite each other, every eight to twelve feet, create the calm rhythm guests subconsciously register as money. Staggering is fine for a cottage garden, but on an arrival drive, symmetry is the whole point. Keep fixtures eighteen to twenty-four inches back from the pavement edge so car doors and snowplows clear them, and choose shielded, downward-facing designs that put light on the gravel or pavers rather than in drivers eyes. Near the street apron, step up to drive-over rated in-ground markers that can take an occasional tire. I always recommend running both sides from one transformer zone so they age, dim, and switch as a single gesture. If your drive curves, tighten the spacing on the bend; the light line should trace the curve like a ribbon. Resist the urge to over-light it. Six matched pairs glowing softly beat twenty cheap dots at full blast, every single time.
Suggested budget range: $1,200 – $4,000.

4. Go Oversized With Lanterns at the Front Door
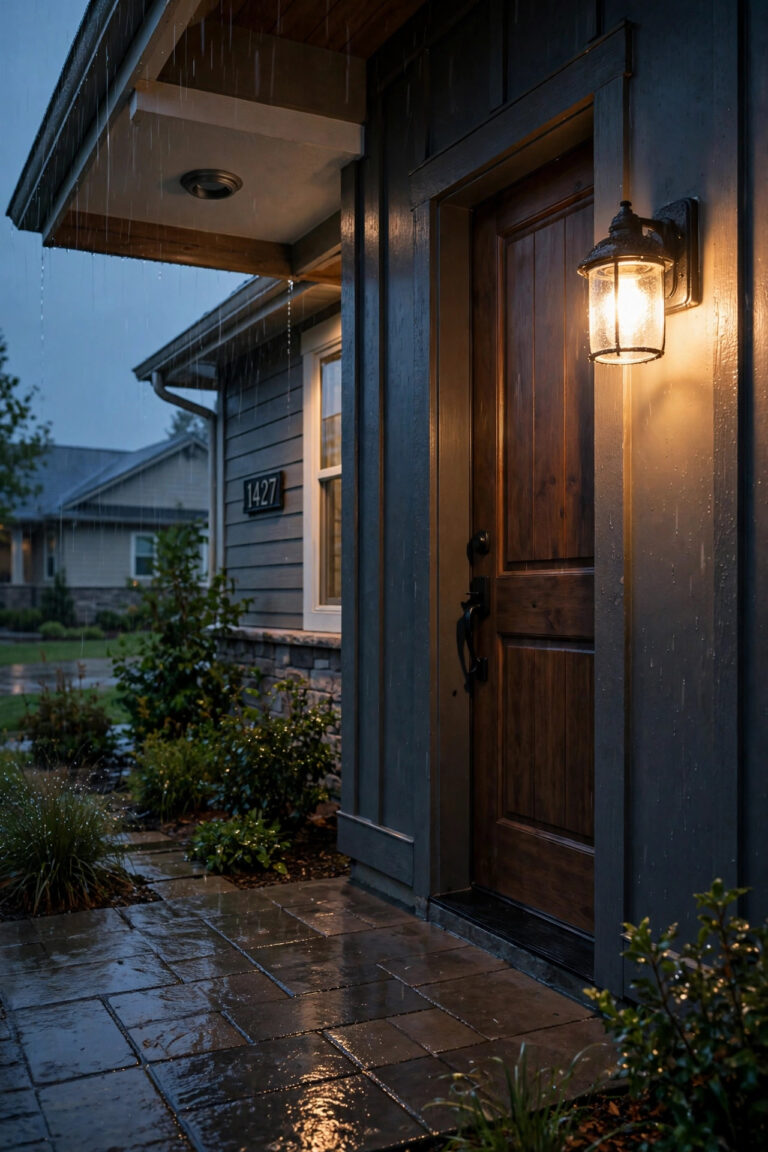
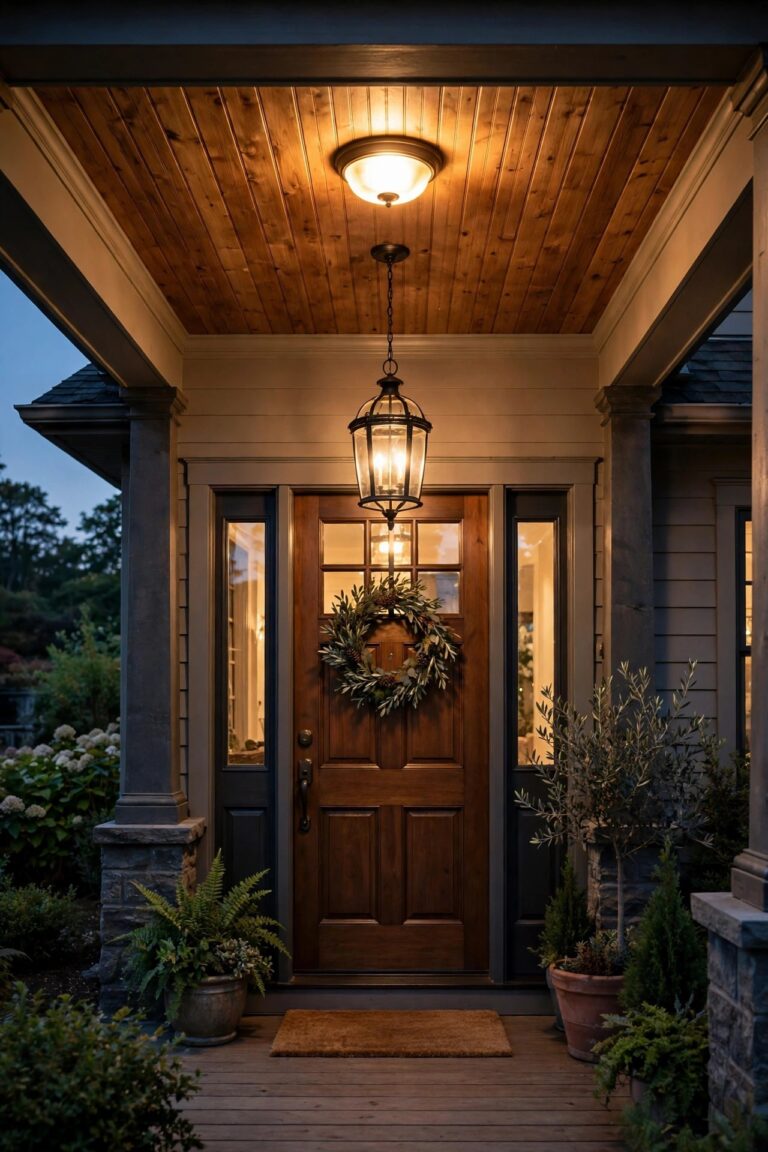
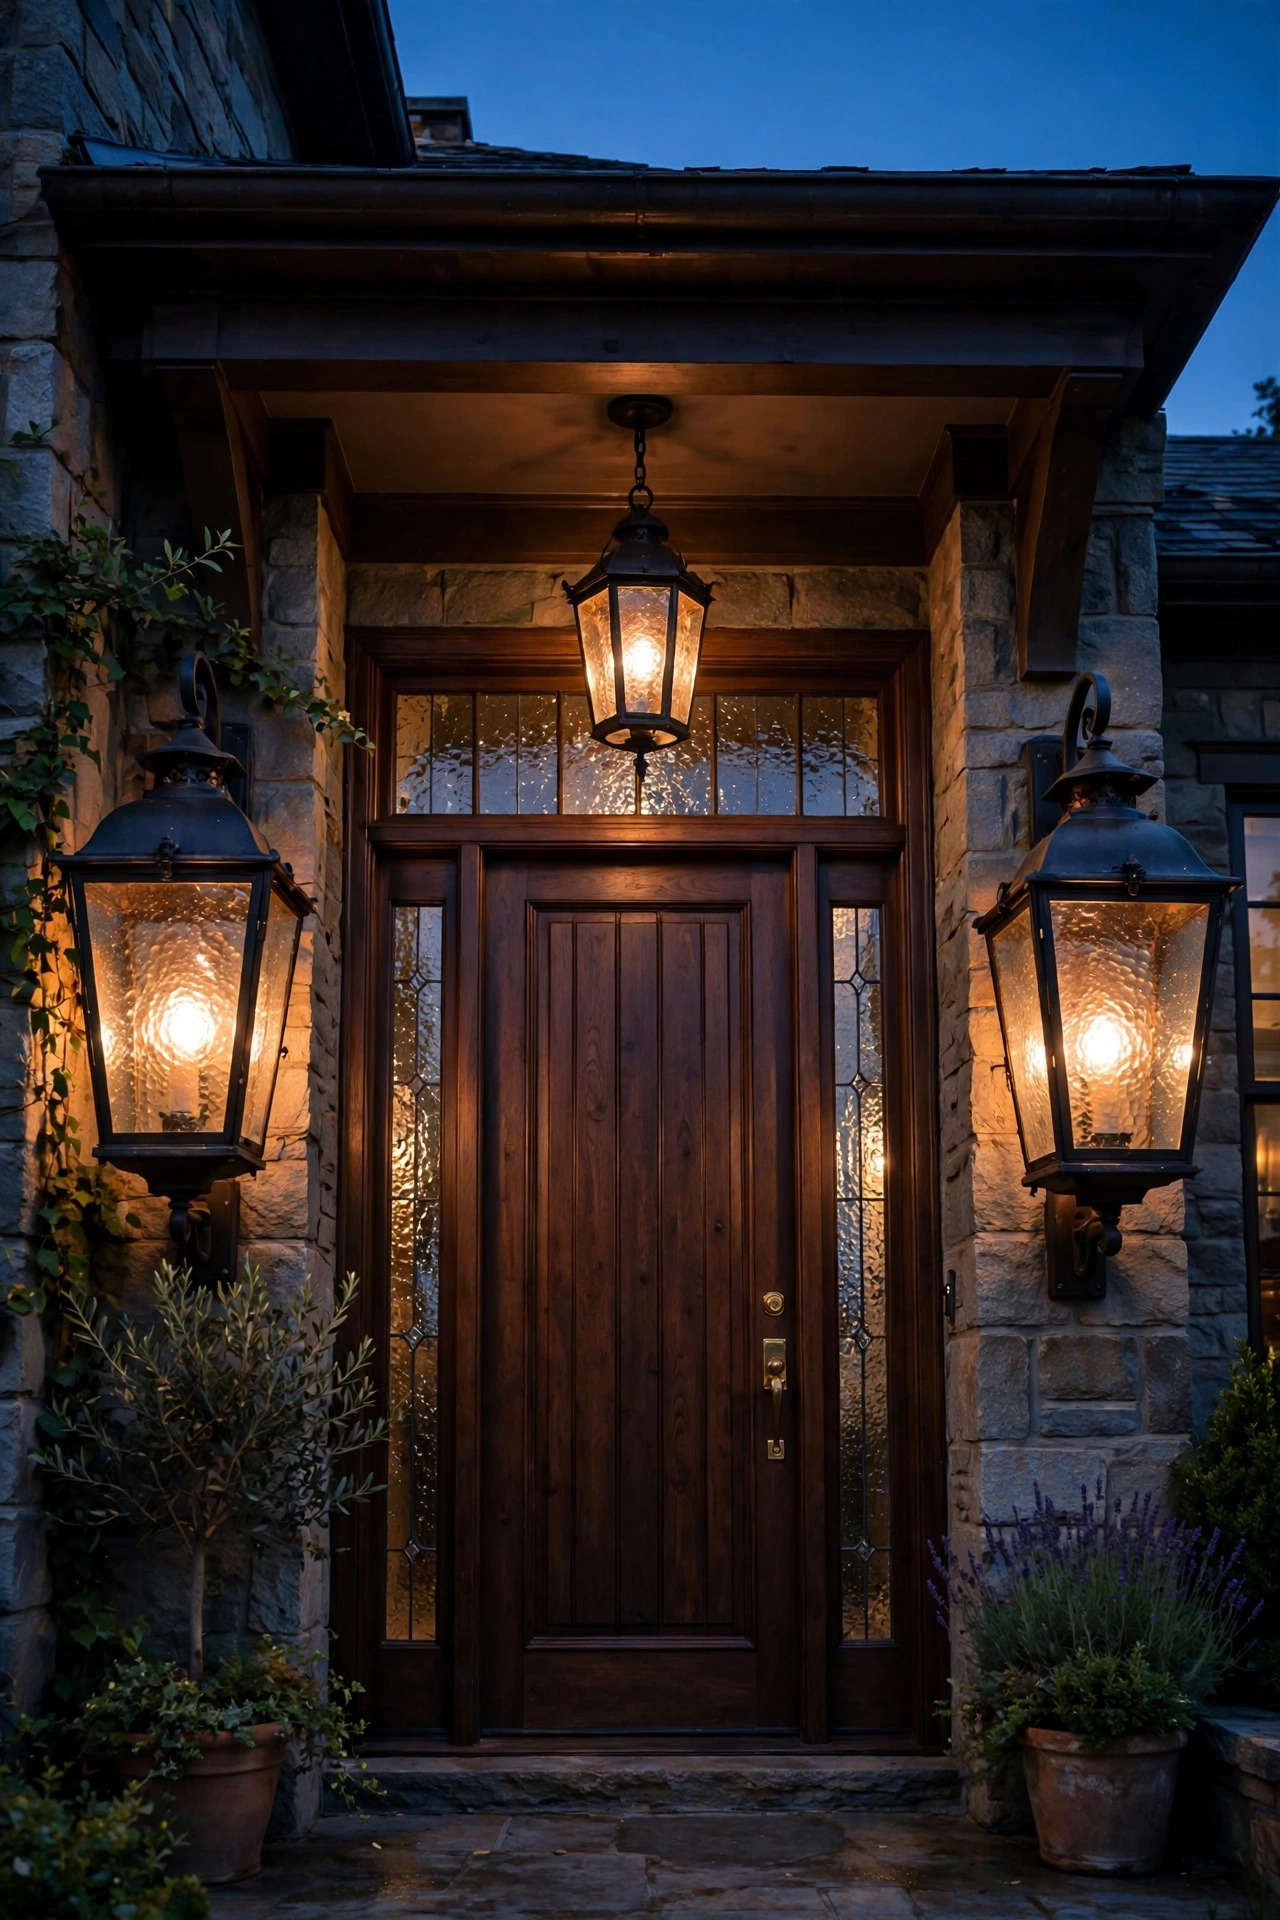
Scale is the quiet secret of every grand entrance. On a two-story facade or a tall portico, standard twelve-inch sconces simply vanish, so reach for lanterns in the twenty-four to thirty-six inch range. My rule of thumb is one-quarter to one-third the height of the door itself, mounted so the bulb sits around sixty-six inches from the threshold, right at guest eye level. Flank the door with a matched pair, and if the entry has a portico or deep porch ceiling, hang one larger lantern centered above the door to complete the triangle. Seeded or frosted glass keeps the glow soft and hides the bulb, and warm filament-style LEDs give you the gaslight flicker feel without the gas line. Put the pair on a dimmer, because entry lanterns should welcome, not interrogate. Honestly, this one change does more for after-dark curb appeal than almost anything else on this list, simply because the front door is where every first impression forms.
Suggested budget range: $500 – $1,500.
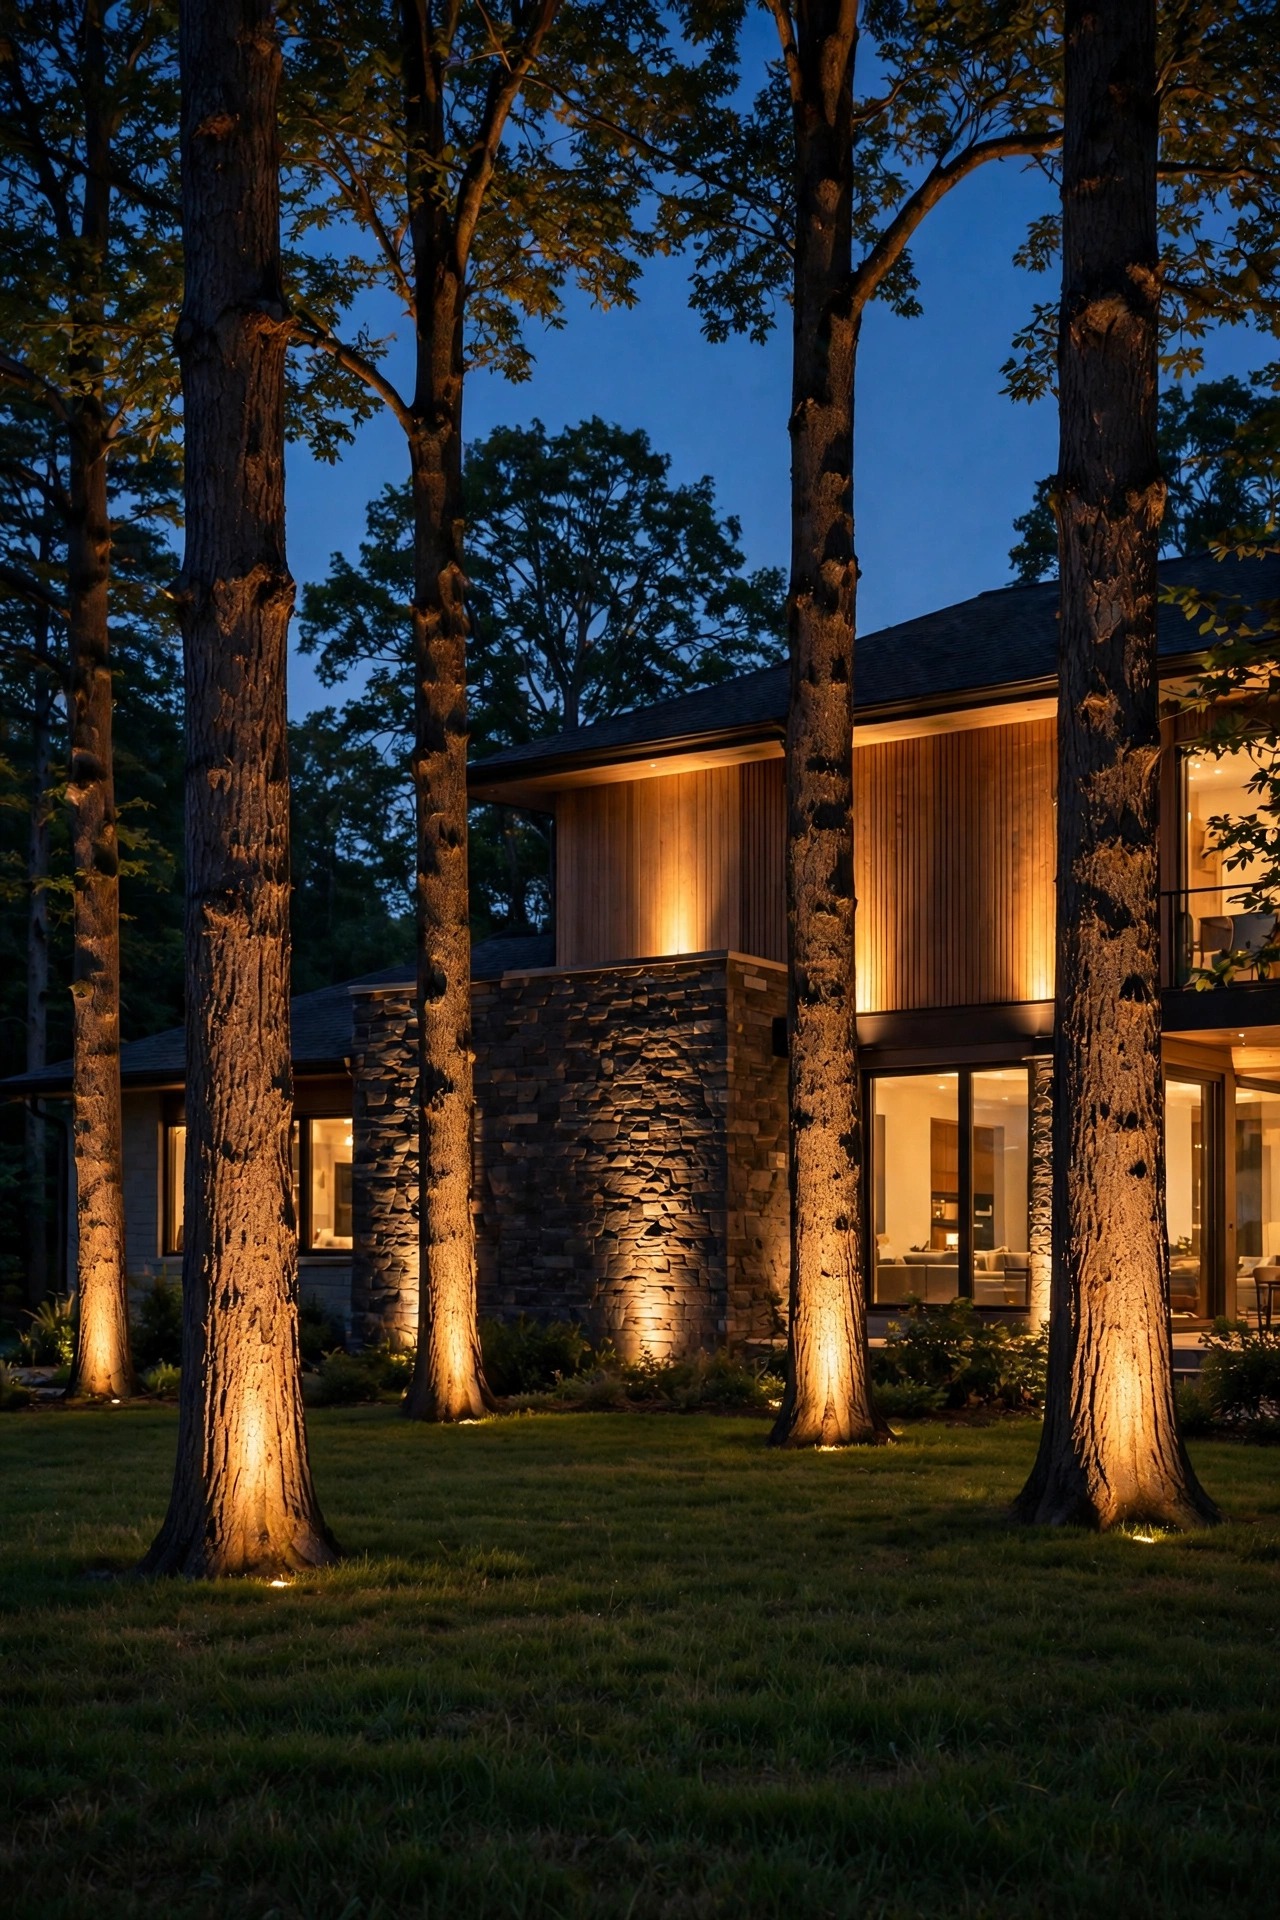
5. Crown the Hero Tree With Uplighting
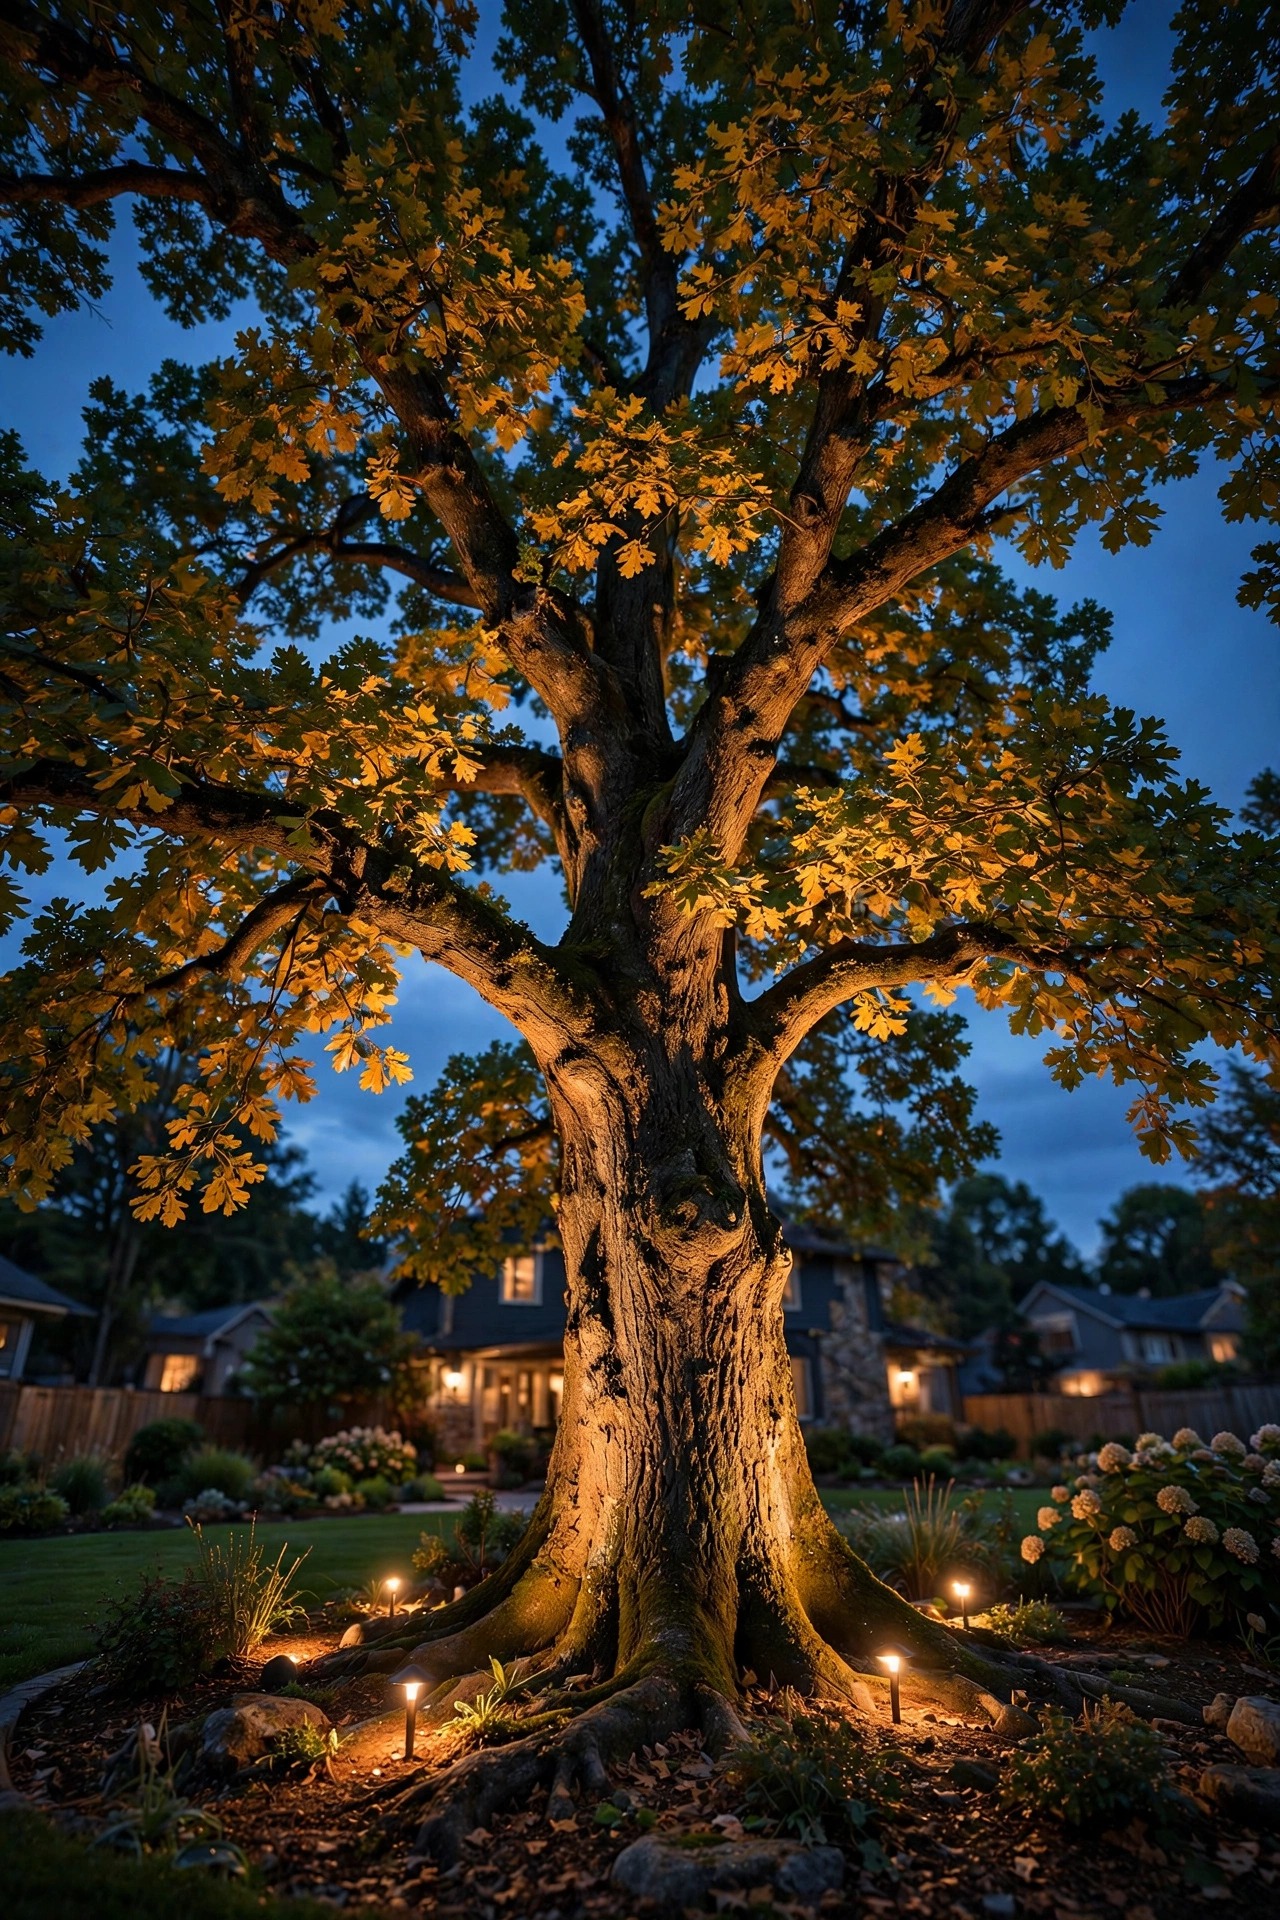
Every luxury front yard has one tree doing the heavy lifting, usually the big oak, magnolia, or maple closest to the street, and uplighting it turns the whole property into a landmark. Use two or three fixtures rather than one: a narrow beam aimed up the trunk to show off the bark, and wider floods washing the canopy from below so the crown glows like a chandelier. Set the fixtures twelve to twenty-four inches out from the trunk, angled to keep the hottest spot off the bark and the glare out of the street. Warm 2700K keeps foliage looking rich instead of swampy green. Well lights disappear into the mulch bed, while quality stake spots are easier to re-aim as the tree grows; either way, keep them clear of the mower path. One magnificently lit tree beats five mediocre ones competing for attention. Stand at the curb when you aim them, because the view that matters is the one arriving guests get first.
Suggested budget range: $300 – $900.
6. Graze the Facade to Show Off Stone and Brick
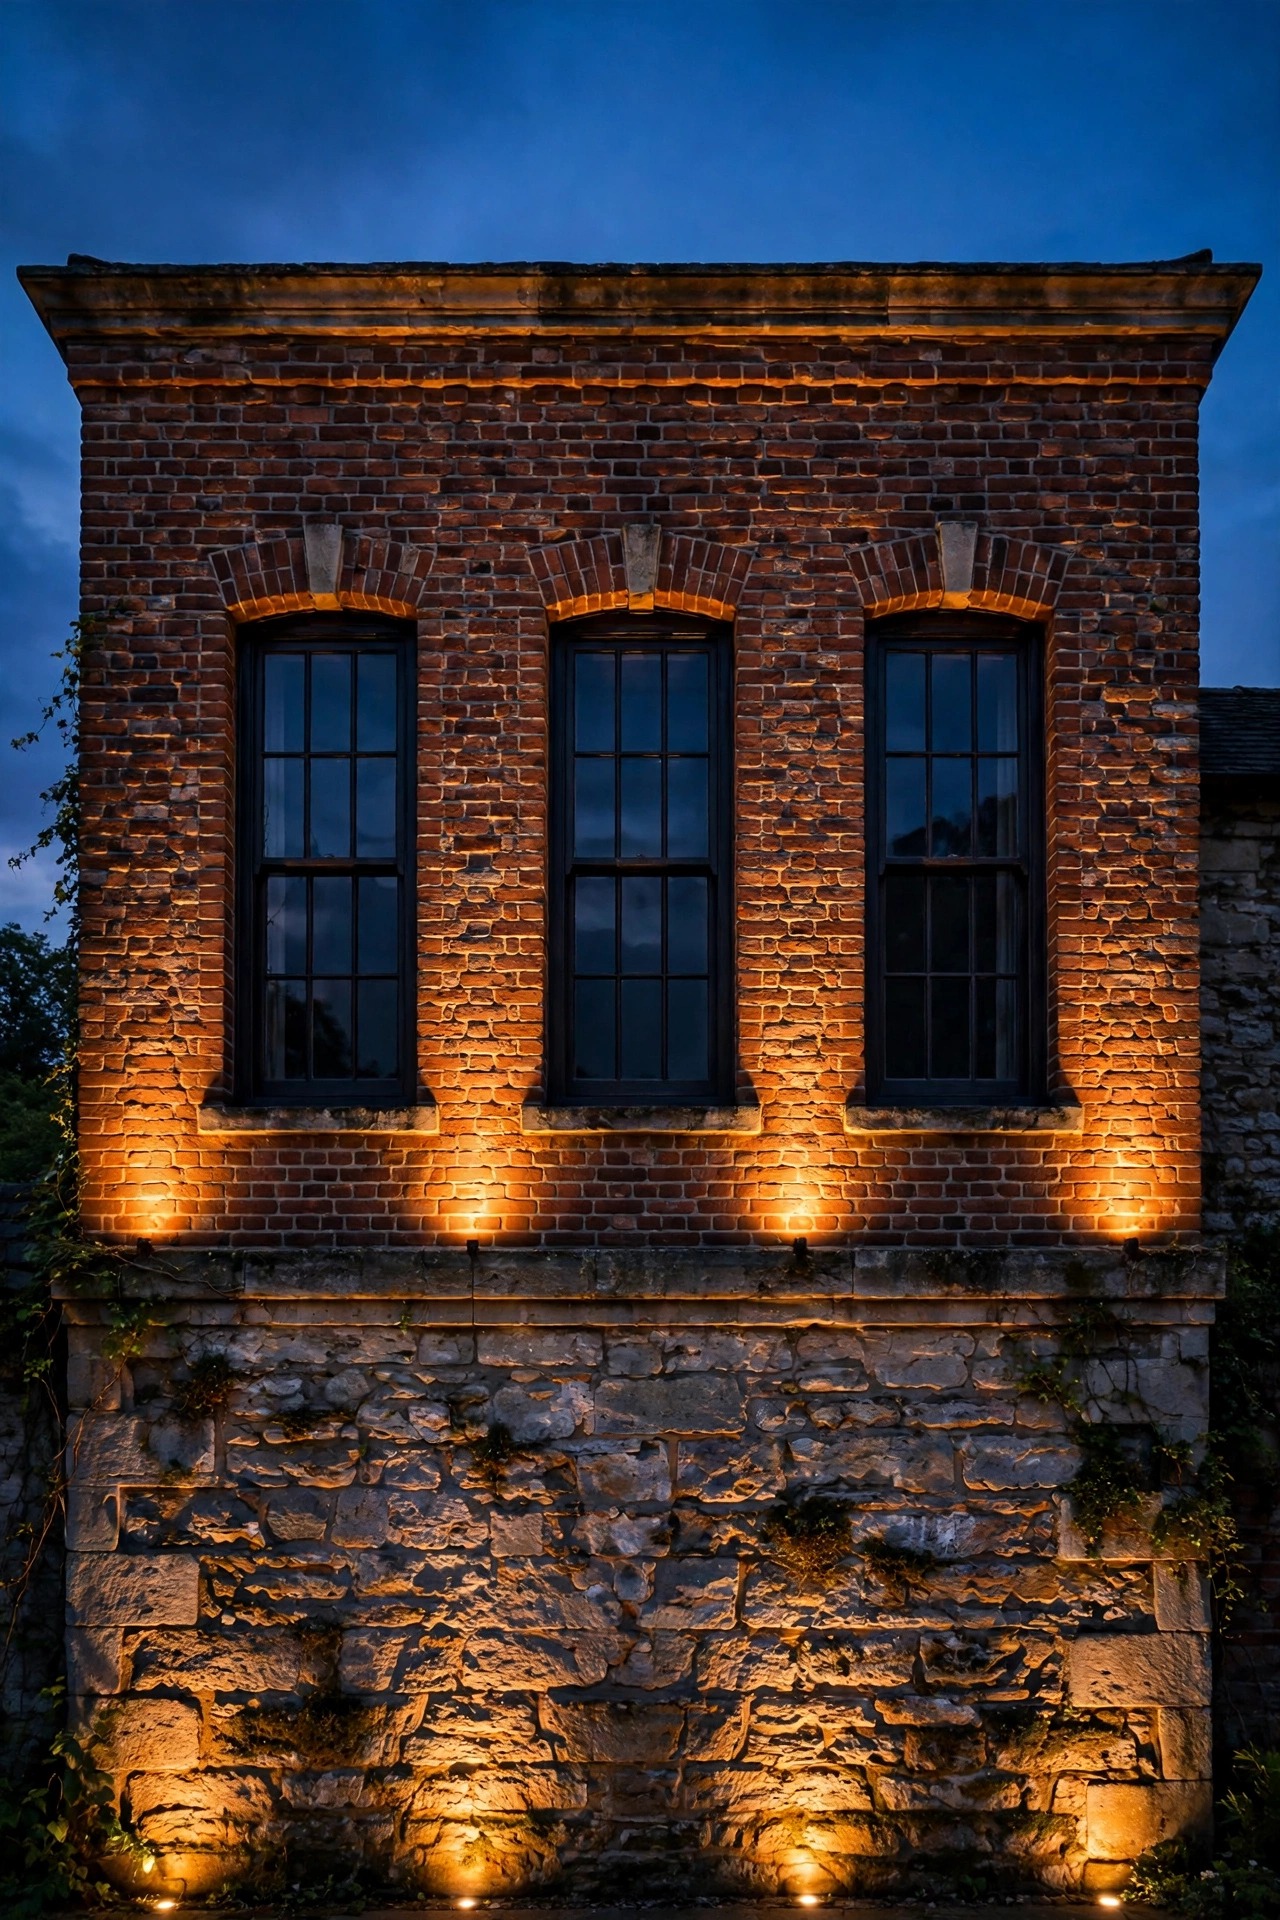
Flat light makes flat houses; grazing light makes architecture. Placing a fixture just six to twelve inches from the wall and aiming it straight up lets the beam rake across stone, brick, or stucco, throwing every texture and mortar line into soft relief. It is the single most photographic effect in residential lighting, and it costs nothing but placement discipline. Use narrow beams on tall stretches and wider washes on rough stone. On smooth siding, pull the fixture back a few feet and soften the beam, or the grazing will expose every ripple in the panels. Keep fixtures aimed between windows so you never blast light into bedrooms, and add shields or louvers on any fixture a passerby might see head-on. I like to light the strongest stretch of facade, a chimney breast, a stone gable, rather than washing the entire front; partial and painterly always reads richer than total. Done well, the house itself becomes the largest fixture in the yard.
Suggested budget range: $400 – $1,200.
7. Hide the Source With In-Ground Well Lights
The most expensive-looking light is light you cannot find the source of. In-ground well lights sit flush with the lawn, gravel, or planting beds, so by day the landscape shows zero hardware and by night the glow simply appears. They are my first choice for uplighting columns, facade stretches, and trees that stand in open lawn, anywhere a visible stake light would cheapen the view. Specify tempered glass and a drive-over load rating near the drive, and bed each fixture in a gravel sump so the lens never sits in standing water after a storm. Interchangeable beam spreads make one fixture do many jobs: a tight fifteen-degree beam for a column, a broad wash for a wall. Keep a soft cloth in the garage and wipe the lenses each season, because a film of sprinkler minerals or a single stuck leaf will quietly dim the whole effect. Nothing to trip over, nothing for the mower to knock crooked, just pure, sourceless glow.
Suggested budget range: $150 – $400.
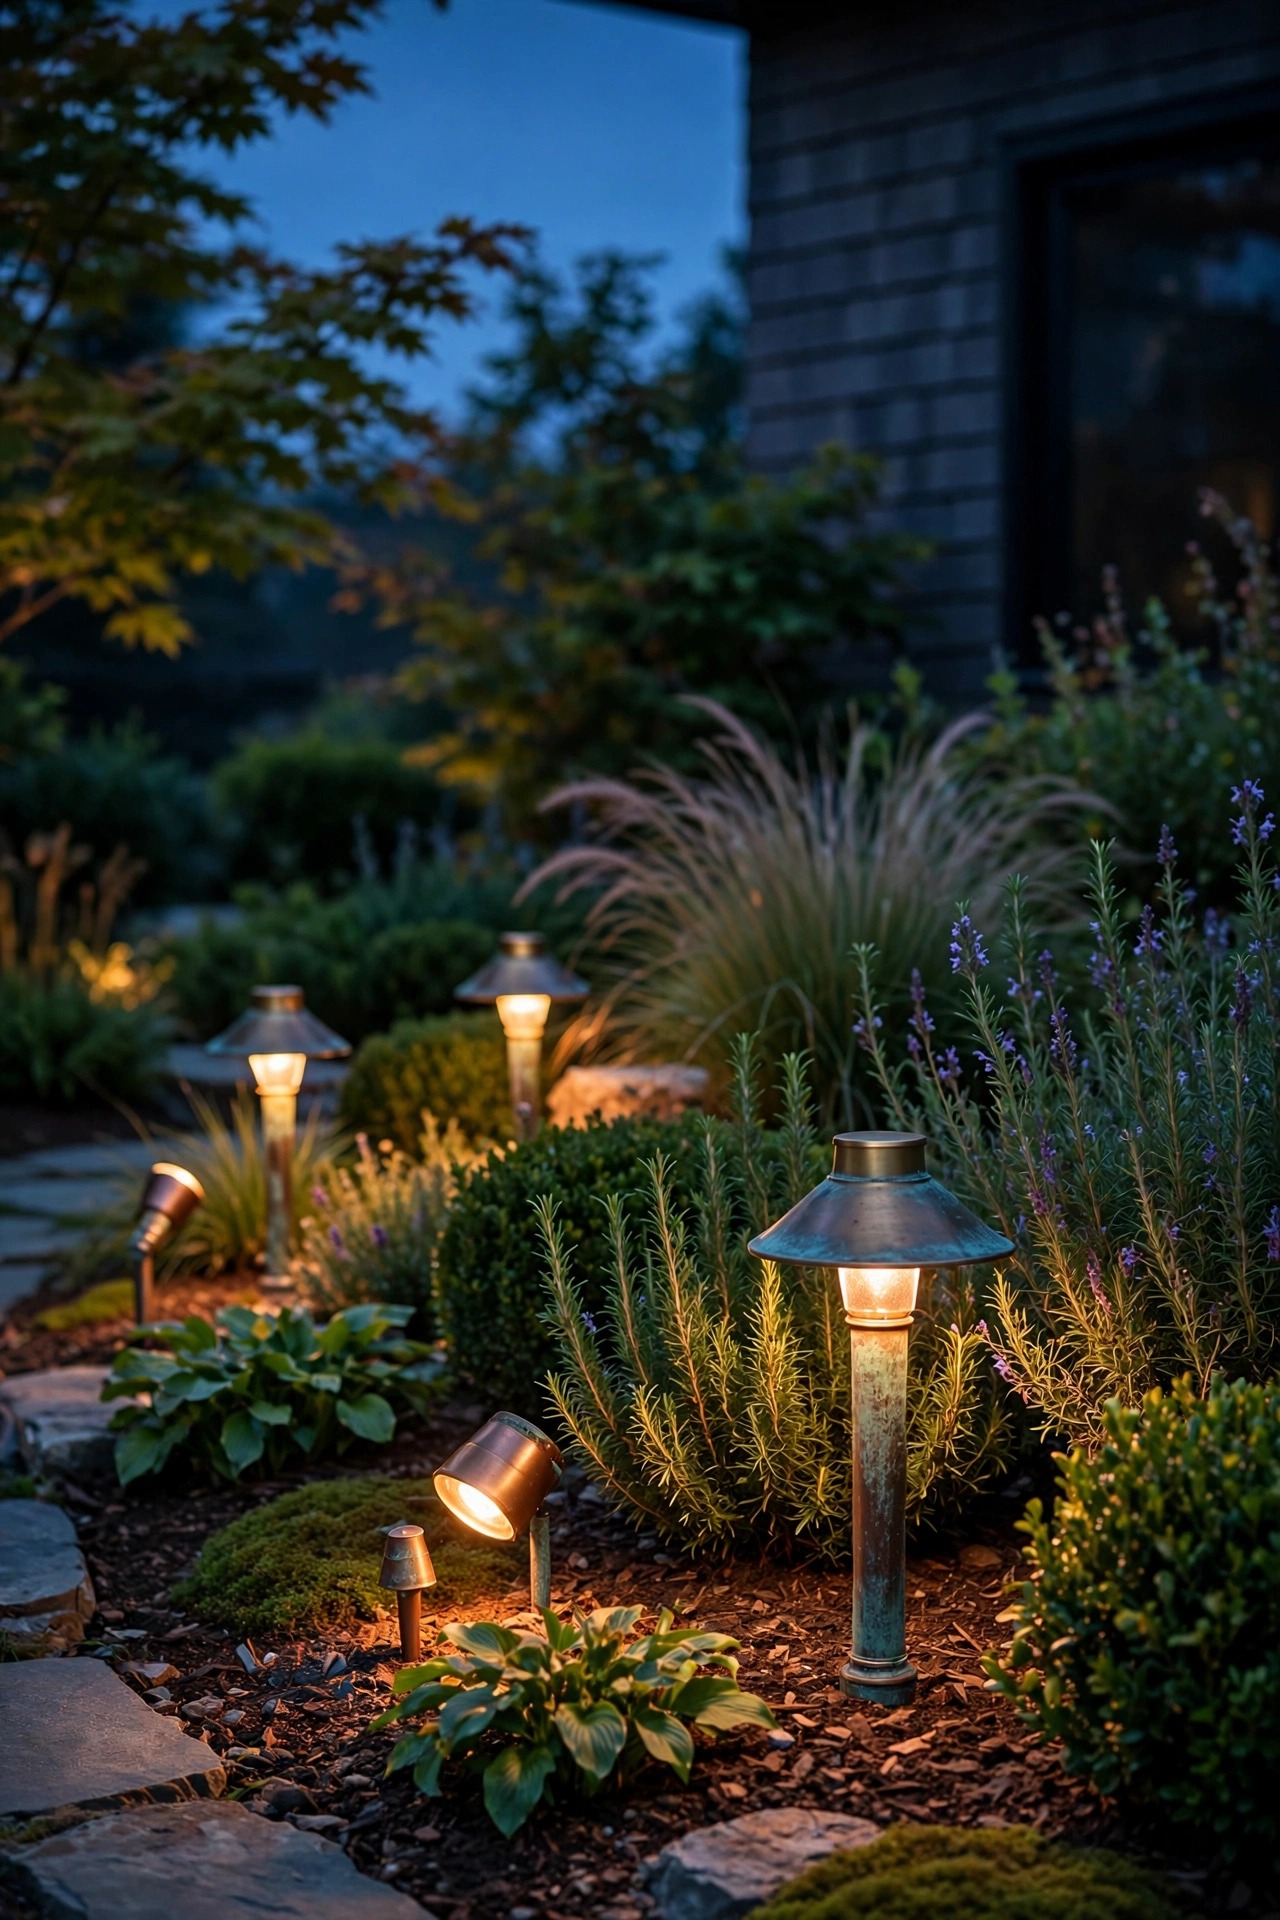
8. Choose Solid Brass, Copper, and Bronze Fixtures
If there is one place the luxury budget truly shows, it is the metal in your hand. Solid cast brass, copper, and bronze fixtures feel satisfyingly heavy, shrug off sprinkler spray and coastal air, and slowly take on a rich patina that painted aluminum can never fake. Powder-coated finishes chip at the edges within a few seasons and then the rust blooms start; solid brass simply never rusts, which is why good makers warranty the housings for life. Keep one finish family across the whole property, raw brass, aged copper, or oil-rubbed bronze, because a consistent metal story reads as designed, while a mix of chrome and bronze reads as accidental. I work through where the money earns its keep in my notes on landscape lighting splurge vs save, and fixtures near the entry always top the splurge list. A brass path light costs three or four times its big-box cousin, but you buy it once, and it looks better in year ten than it did on day one.
Suggested budget range: $150 – $450.
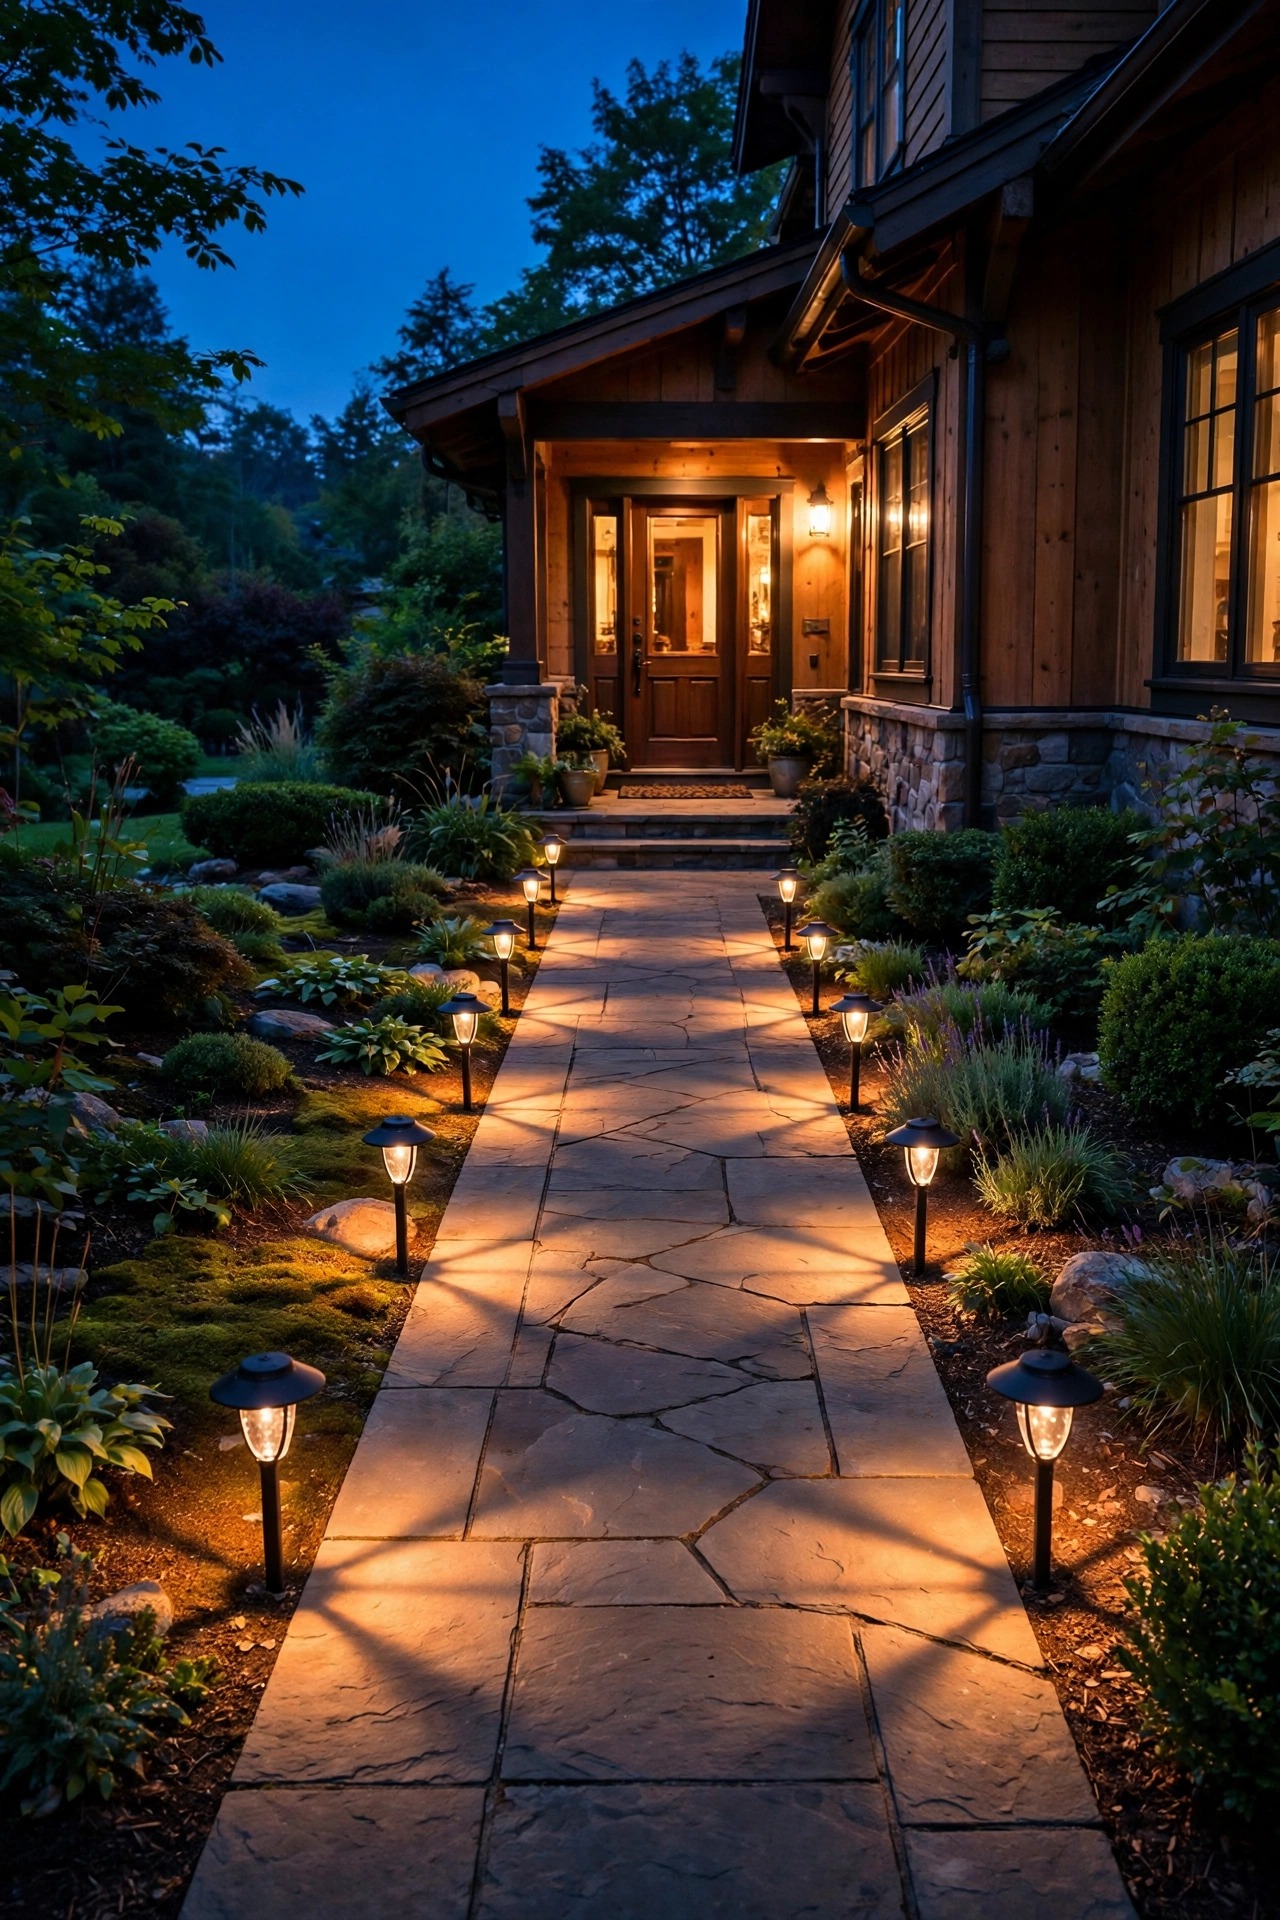
9. Roll Out a Red Carpet of Path Light on the Front Walk
The front walk is where guests transition from car to door, and it deserves the full red-carpet treatment. Paired path lights every six to eight feet, their pools of light just touching, read as ceremony rather than wayfinding. Choose shielded fixtures that throw light downward onto the pavers and keep the bulbs hidden from eye level; visible bulbs are what turn a walk into a runway, and not in a good way. Taller stems, eighteen to twenty-four inches, suit wide walks and deep planting beds, while low mushroom styles hug narrow cottage walks. Keep every fixture plumb and spaced by a measured string line, not by eyeball, because crooked spacing is the first thing the eye catches. If the walk bends, follow the bend with the lights and let the rhythm carry guests around it. This is guidance layer at its most elegant: bright enough that nobody hunts for the edge of a step, soft enough that the door lanterns still win the scene.
Suggested budget range: $600 – $1,800.
10. Add Moonlighting High in the Canopy
Moonlighting is the connoisseur move: fixtures mounted twenty-five to thirty-five feet up in a mature tree, shining down through the branches so the lawn wears the same dappled pattern a full moon would paint. It covers a huge area with almost no visible hardware, and it flatters everything beneath it, the drive, the walk, the planting beds. Use cool restraint with brightness; the effect should feel like weather, not stadium lighting, so dim it low and let shadows do half the work. This is one job I always hand to a professional installer, because it means climbing, discreet mounting hardware that grows with the tree, and cable runs hidden against the trunk. Ask for shielded downlights with a soft spread, and keep the color warm-neutral so it blends with your 2700K layers below. Once a season, check the mounts and clear any lens the canopy has swallowed. Neighbors will ask what changed, and nobody will guess it is simply light falling from the trees.
Suggested budget range: $800 – $2,000.

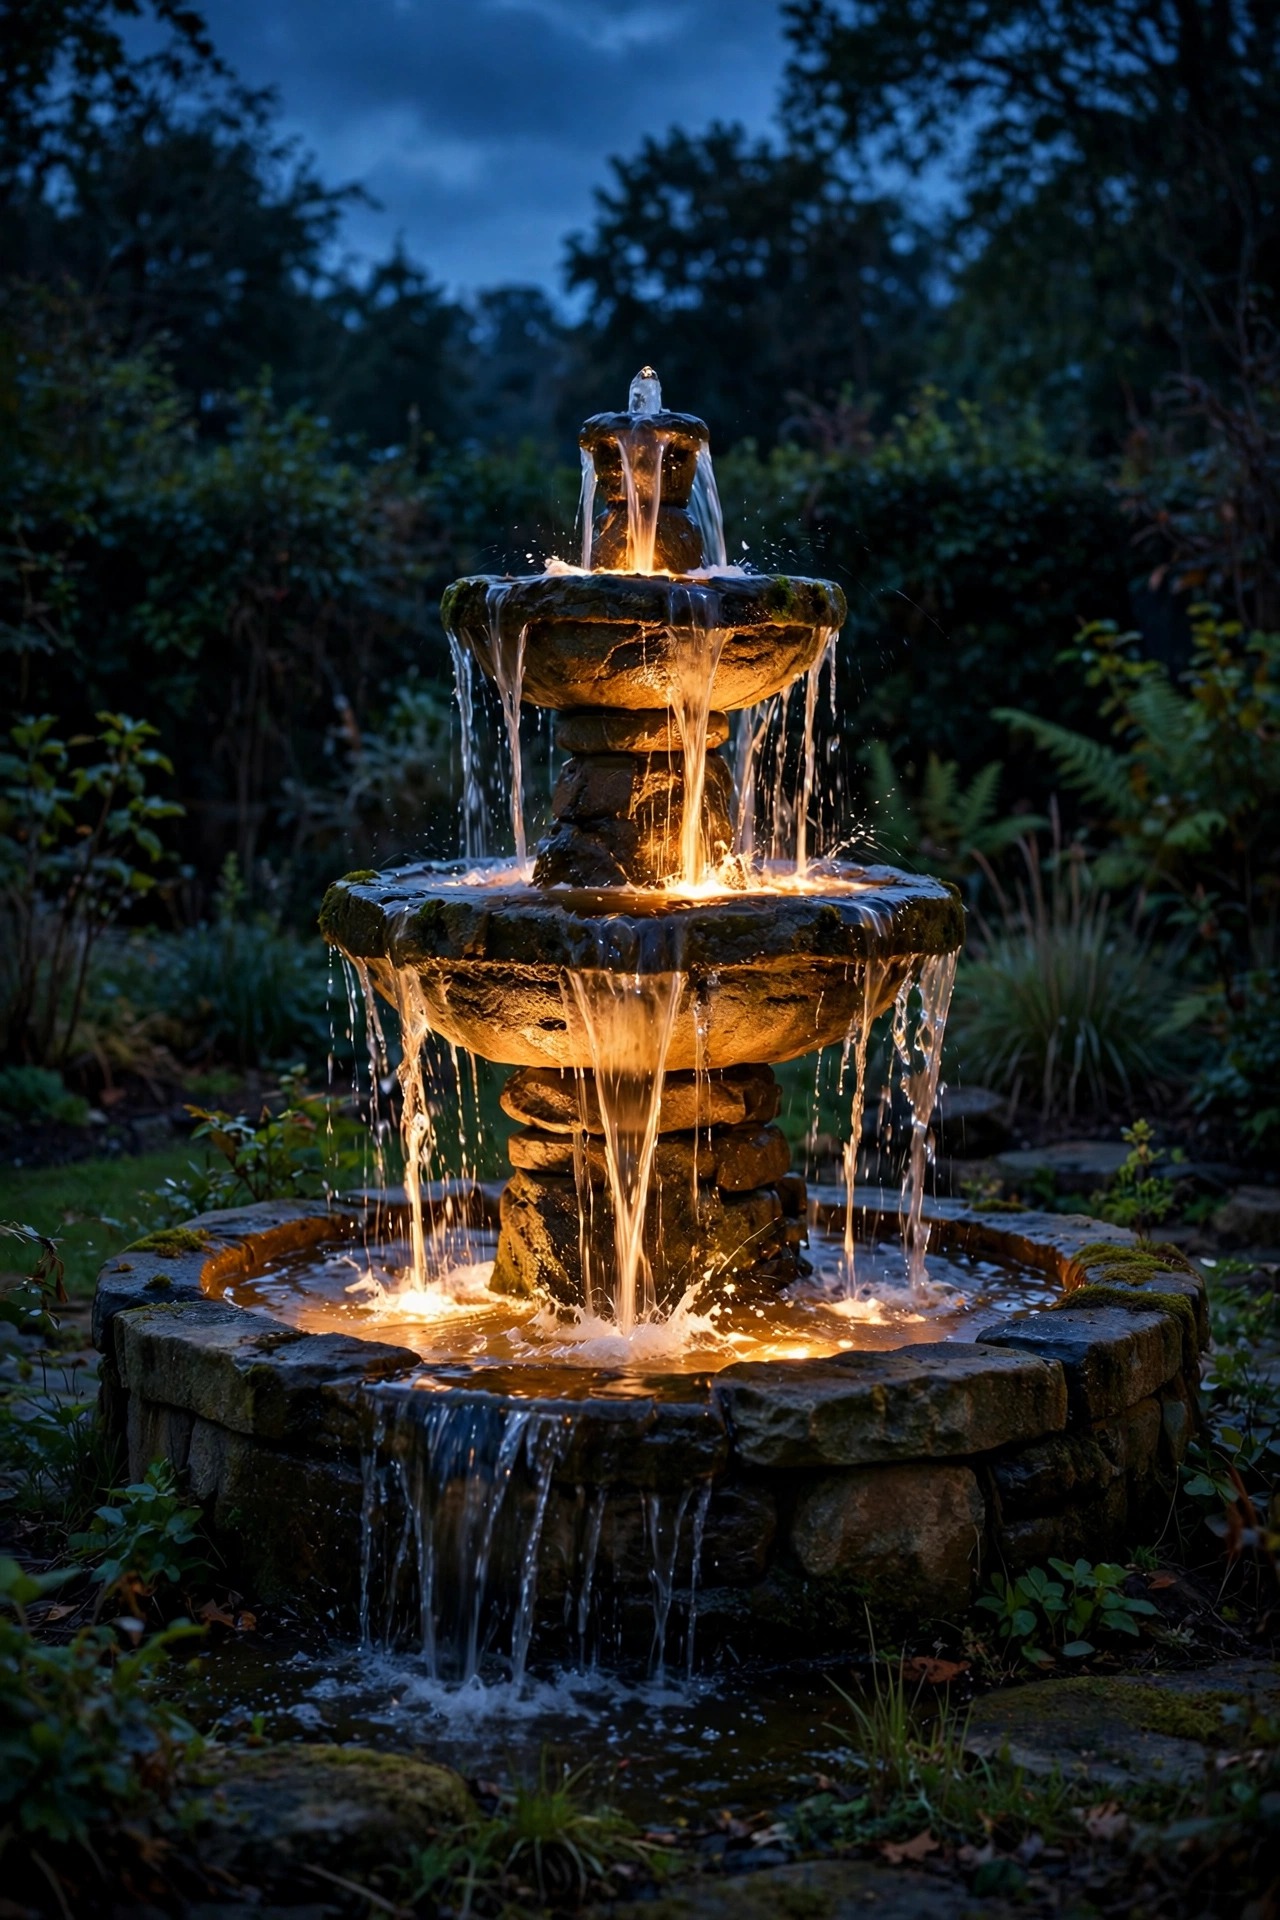
11. Make a Fountain the Front-Yard Focal Point
Water and warm light together are pure theater, and a front-yard fountain earns its keep after dark like nothing else. A submersible fixture rated IP68, tucked at the base of the basin, turns falling water into a column of sparkle; add one low uplight behind it to silhouette the spray against the dark garden. Everything near water runs through a GFCI outlet, no exceptions, and the pump and lights belong on a timer that rests them around midnight. If a full fountain is beyond the plan, the same trick works at smaller scale: a lit birdbath, a glazed urn with water sheeting over its lip, even a stone basin in a gravel court. Keep underwater color warm white, never blue or color-changing novelty hues, which cheapen the scene instantly. Position the fountain where the arrival sequence can see it, from the drive, the walk, and the door, so one feature performs for the whole front yard. Movement plus glow plus the sound of water is arrival, fully announced.
Suggested budget range: $500 – $2,500.
12. Light the House Numbers and Mailbox Like Jewelry
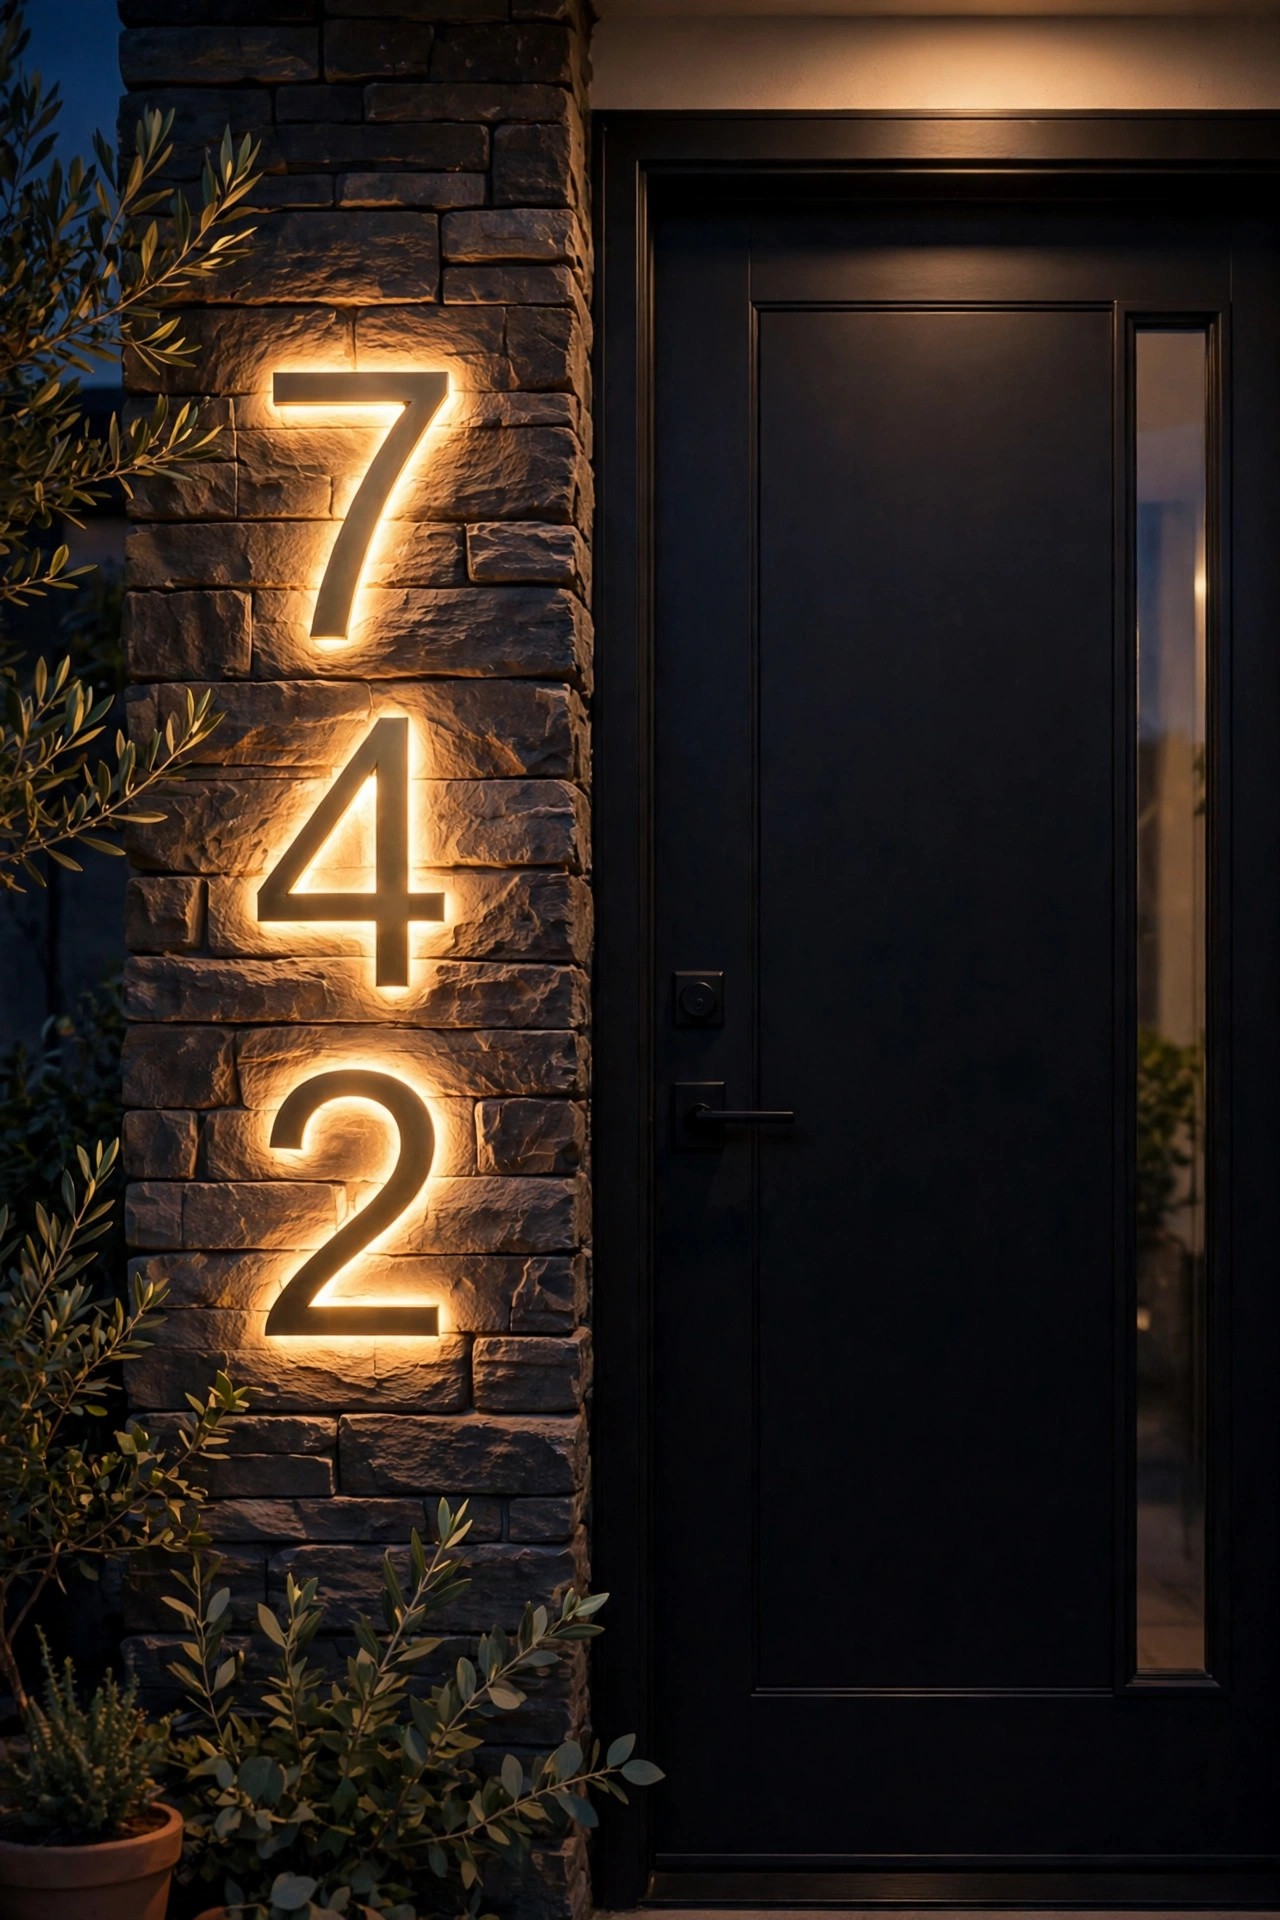
Small, bright, and finished like jewelry: backlit house numbers in solid brass are the detail that makes guests say the house feels considered. Choose numbers four to six inches tall so they read from a moving car, mounted on a plaque, pier, or the wall beside the door, with a soft halo glow that never glares. Match the metal to your lanterns, and give the mailbox the same treatment, a small lantern on its post or a gentle wash from a nearby path light, so the whole street edge tells one story. Beyond elegance, lit numbers are genuinely useful: deliveries find you, guests find you, and emergency services find you faster. Tap the low-voltage system you already own rather than adding a separate solar unit, because wired numbers stay consistent in brightness and color with everything else. Keep the glow on the same dusk-to-late-evening schedule as the entry lanterns. It is a modest line item that photographs beautifully and quietly signals that no detail on this property was left to chance.
Suggested budget range: $120 – $450.
13. Float Light Across the Steps and Stoop
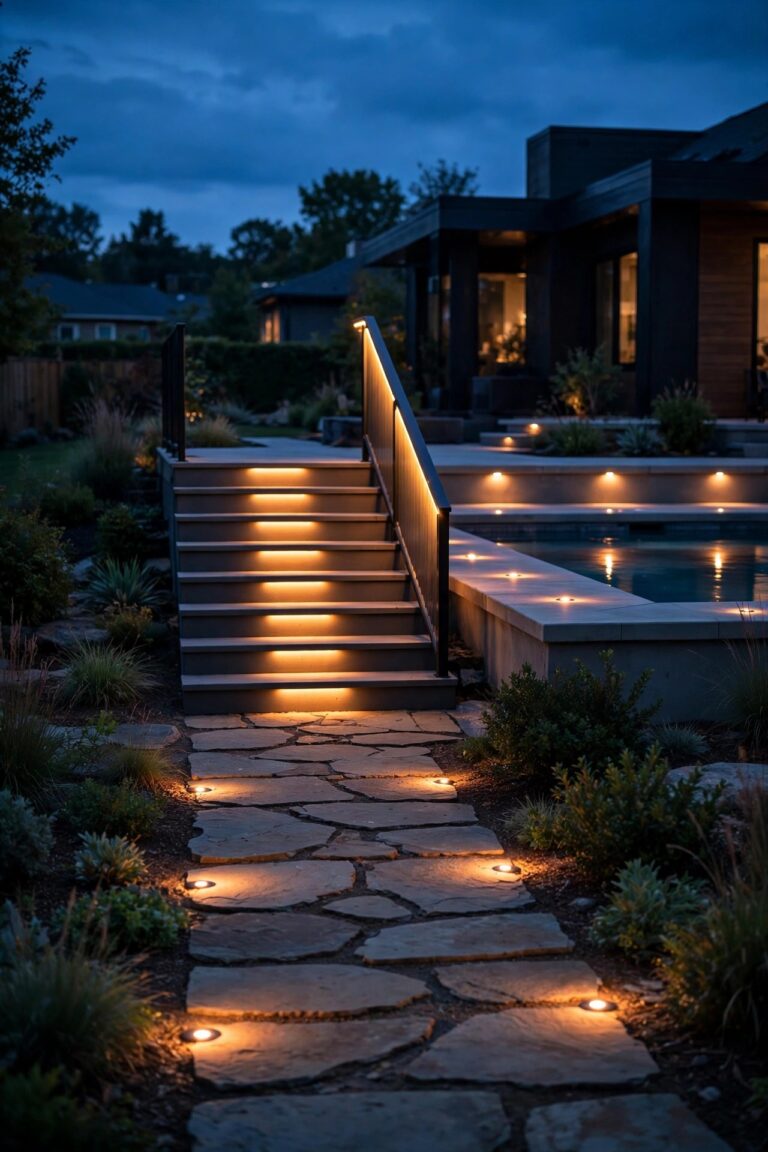
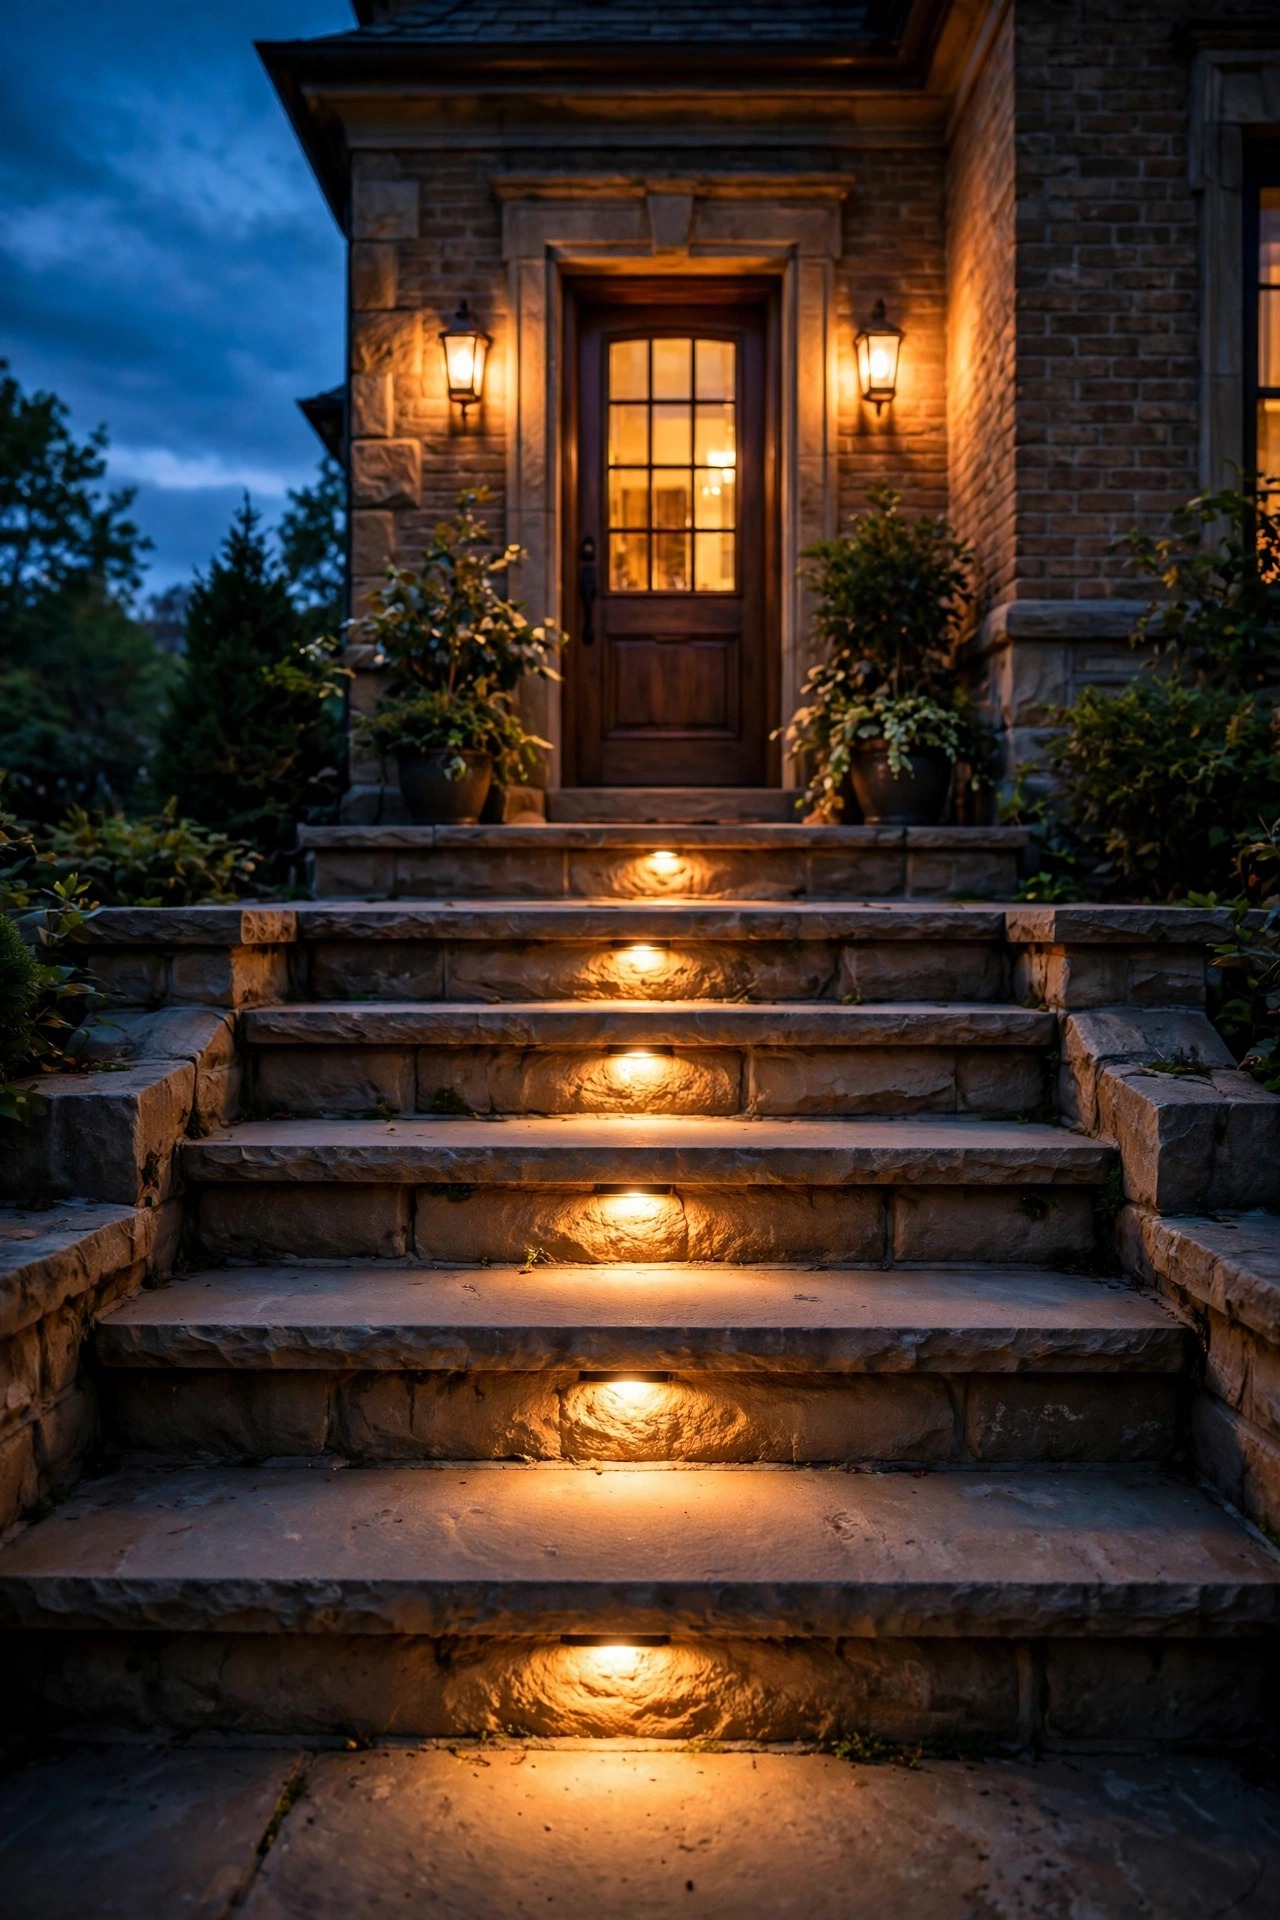
Grand arrivals often climb, and every change of level deserves its own whisper of light. Recessed fixtures tucked into step risers or under tread nosings float a soft band across each tread, so the ascent feels ceremonial and nobody guesses at edges in the dark. Light every step on a formal stoop, or every other step on a long garden stair, and keep the color identical to the path lights feeding into them. On a raised stoop, add a low wash across the landing itself so the door lanterns are not doing all the work. Masonry steps take core-drilled fixtures best during construction, but slim surface-mount strips retrofit neatly under most treads. This is safety wearing evening dress: the light prevents the trip, the fall, the spilled drink, while looking like pure decoration. Keep brightness modest and even, since one hot step among dim ones reads as a mistake. Guests will remember the welcome; their feet will remember the care.
Suggested budget range: $250 – $800.
14. Uplight the Columns and Portico for Architecture After Dark
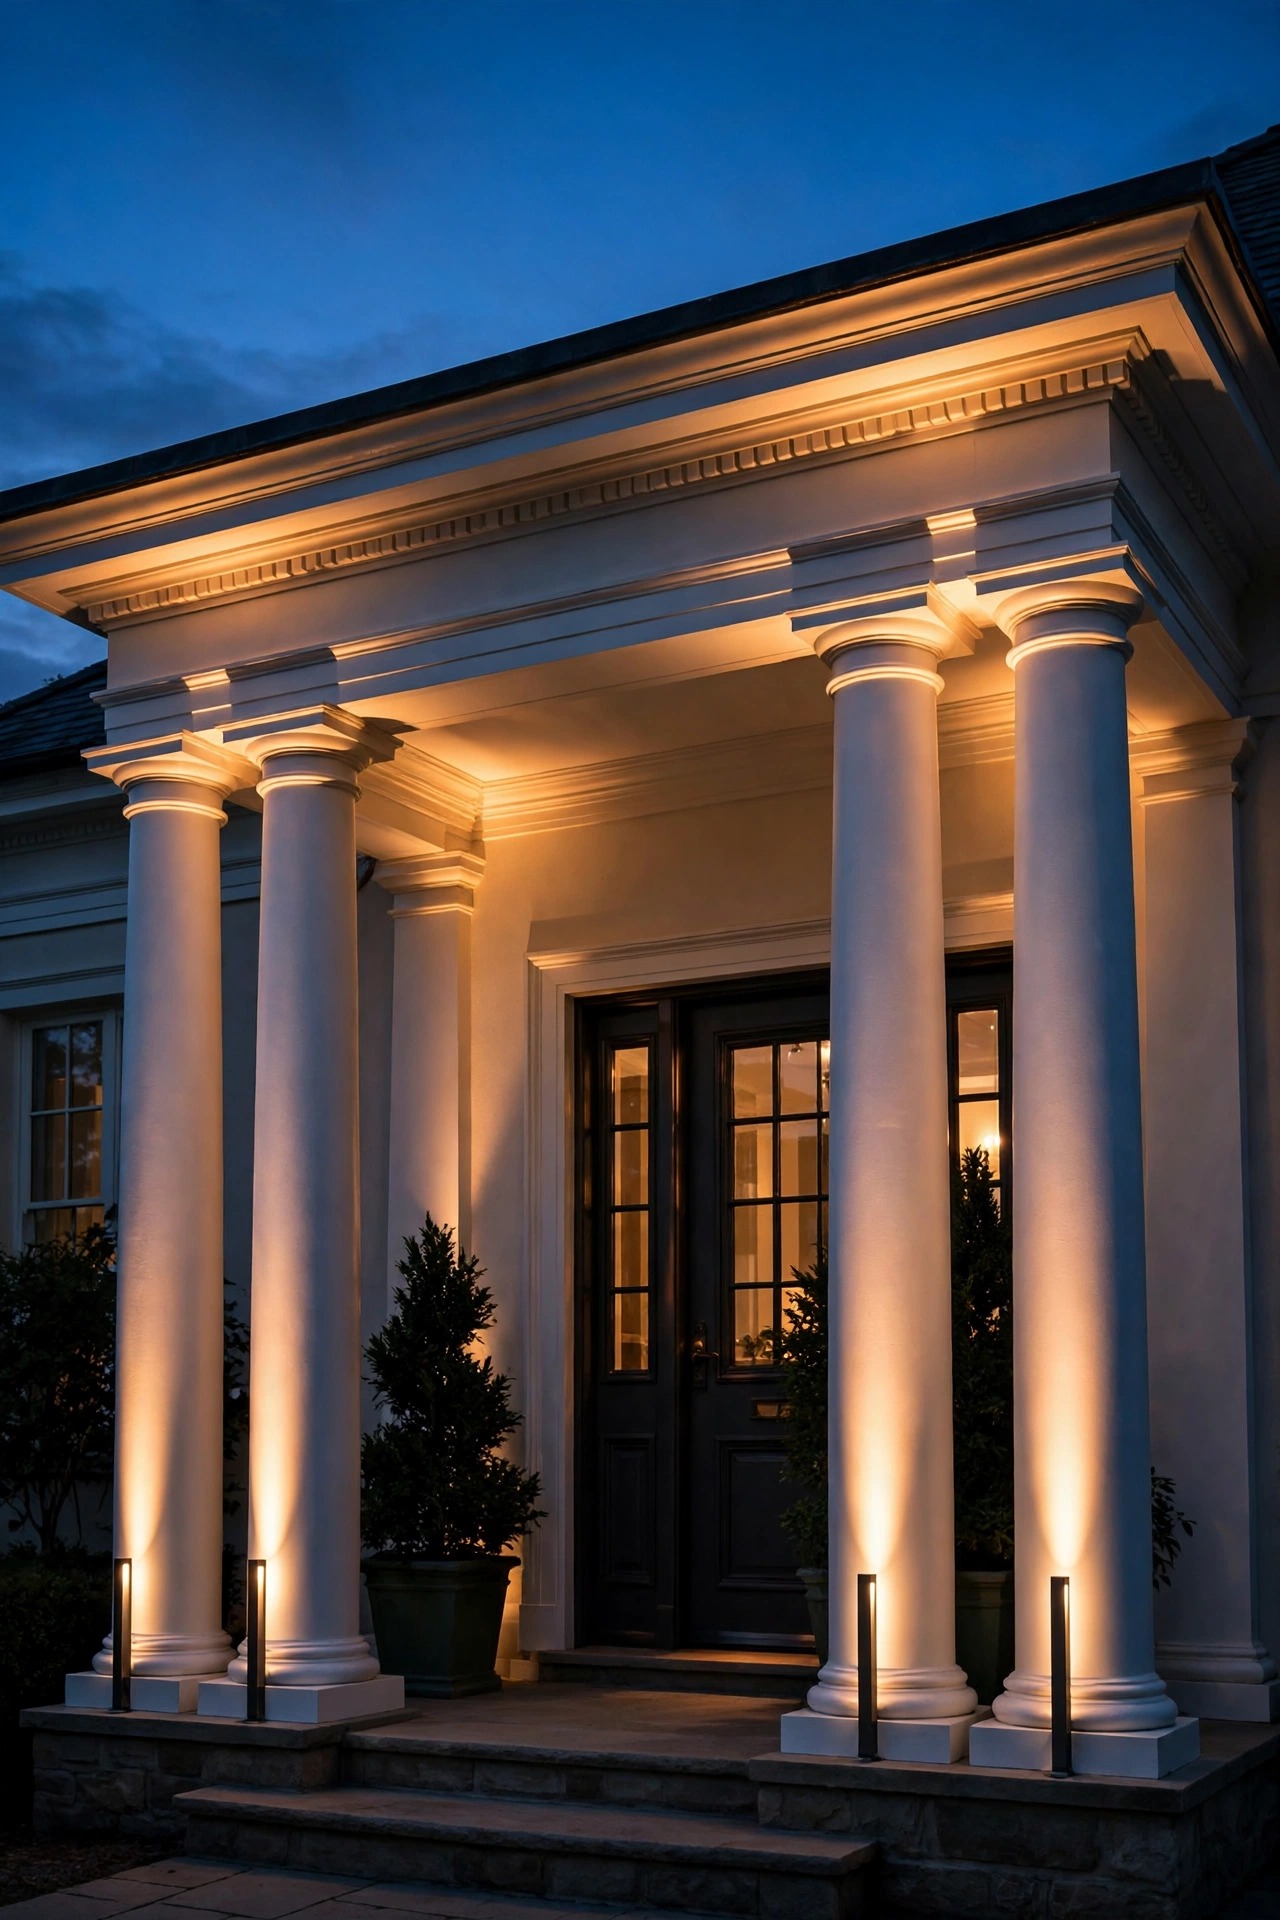
If your entry wears columns, lighting them turns the whole facade into a temple front after sunset, and I mean that as the highest compliment. Place a narrow-beam uplight, around fifteen degrees, at the base of each column and let the beam climb the full height, catching capitals and crown molding on the way. Work in matched pairs so both sides of the portico rise together, and add a soft wash across the portico ceiling if it is painted a pale color; the reflected glow is the gentlest welcome light there is. Flat columns and pilasters take grazing light beautifully, while round columns want the fixture pulled back slightly for an even wrap. Keep the drive-side columns a touch dimmer than the door pair so the eye still lands on the entrance. This is accent layer doing exactly its job: telling arriving guests the architecture was worth lighting before they ever reach for the doorbell.
Suggested budget range: $400 – $1,100.
15. Keep One Warm Temperature: 2700K Everywhere
Mixed color temperature is the fastest way to make expensive lighting look cheap. One path light glowing amber, the next shining blue-white, a porch bulb somewhere in between, and the whole yard reads as a clearance aisle. Luxury is discipline: 2700K warm white for every fixture in the front yard, from the gate piers to the tree spots. The single permitted exception is the lantern glass at the door, where a 2200K flame-style bulb can flicker like gaslight. When you buy bulbs or integrated fixtures, buy spares from the same batch, because color drifts slightly between production runs and a replacement two years later may not match its neighbors. Check every existing bulb during this project and swap the strays; it is the cheapest transformation on this entire list. Warm consistency flatters stone, brick, skin, and foliage all at once, which is exactly why hotels and resorts guard it fiercely. One temperature, everywhere, no apologies.
Suggested budget range: $50 – $200.

16. Program an Arrival Sequence With Smart Scenes
A luxury scheme should behave like good staff: present before you ask, quieter as the night deepens. A smart low-voltage controller lets you program the front yard as a sequence instead of a switch. At dusk, the gate piers, drive, and walk come up to full welcome brightness. A motion sensor near the drive apron can lift the entry lanterns as a car pulls in, then settle them back after a few minutes. At eleven, everything dims to half for the late scene, and after midnight only the piers, numbers, and a whisper of path light remain. Astronomical timers track sunset through the seasons so you never touch a dial, and a vacation scene can vary the pattern while you travel. Keep the programming simple enough that anyone in the house can override it from one switch or app scene. Technology should disappear into the choreography; guests should feel the welcome, never notice the machinery arranging it.
Suggested budget range: $200 – $700.
17. Play With Silhouette and Shadow
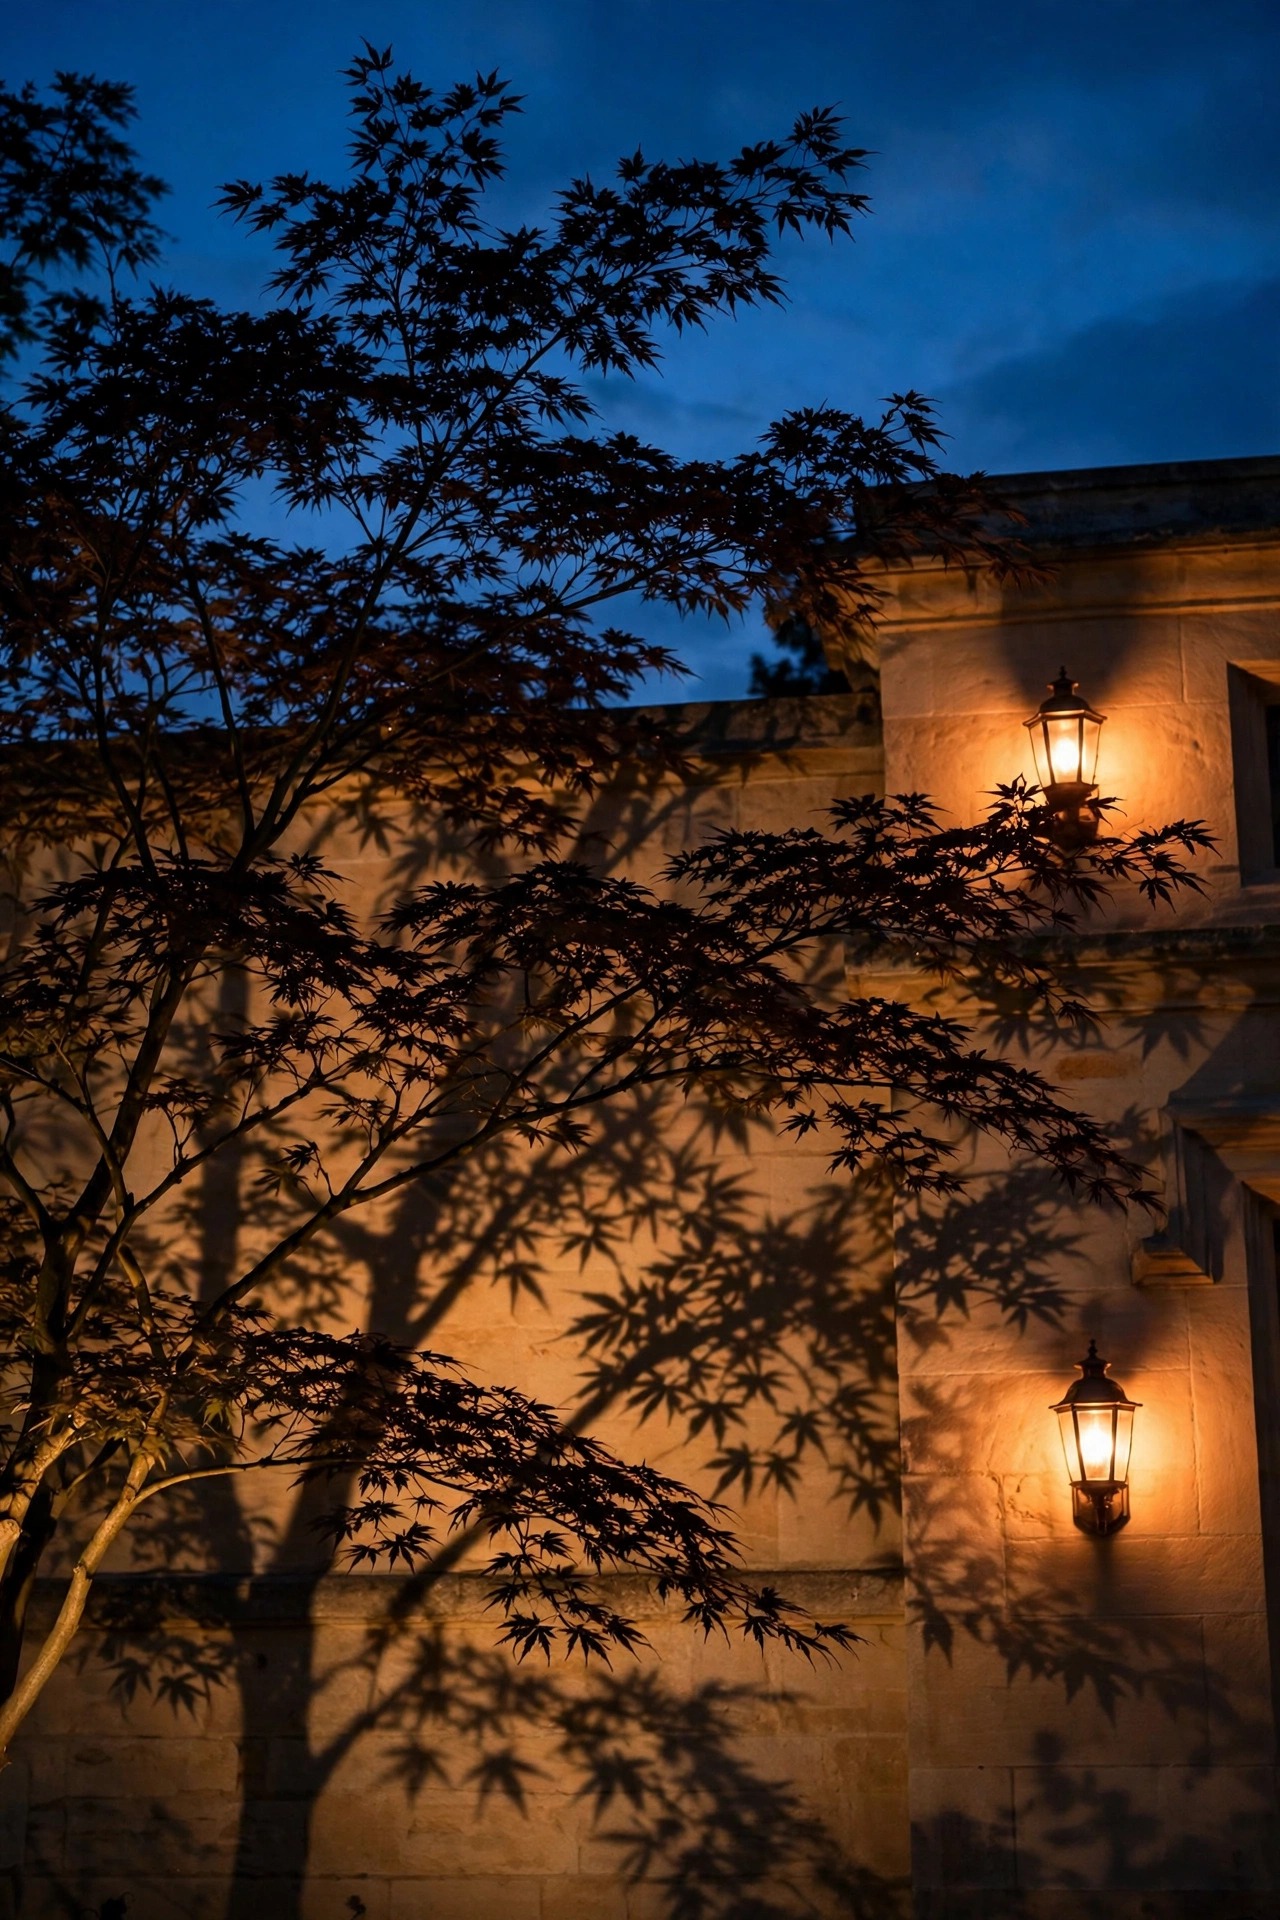
Not every luxury effect shines on something; some of the richest ones shine behind it. Place a fixture low between an ornamental shrub or a sculptural small tree and the facade, and the plant becomes a dark silhouette against a warm wall, all shape and drama. The same trick throws leaf shadows dancing across stone on a breezy night, which feels alive in a way flat washing never does. Keep the background wall evenly lit and the plant itself unlit; the contrast is the entire effect. It works beautifully with Japanese maples, olive trees, ornamental grasses, and clipped topiary, anything with a distinctive outline. One or two silhouette moments per facade is plenty; more becomes a shadow puppet show. I love this move on the blank stretch of wall every house has, the one with no windows and nothing to say. Suddenly it is the most interesting surface on the property, for the price of a single well light.
Suggested budget range: $200 – $600.
18. Dress the Entry With Lit Urns and Planters
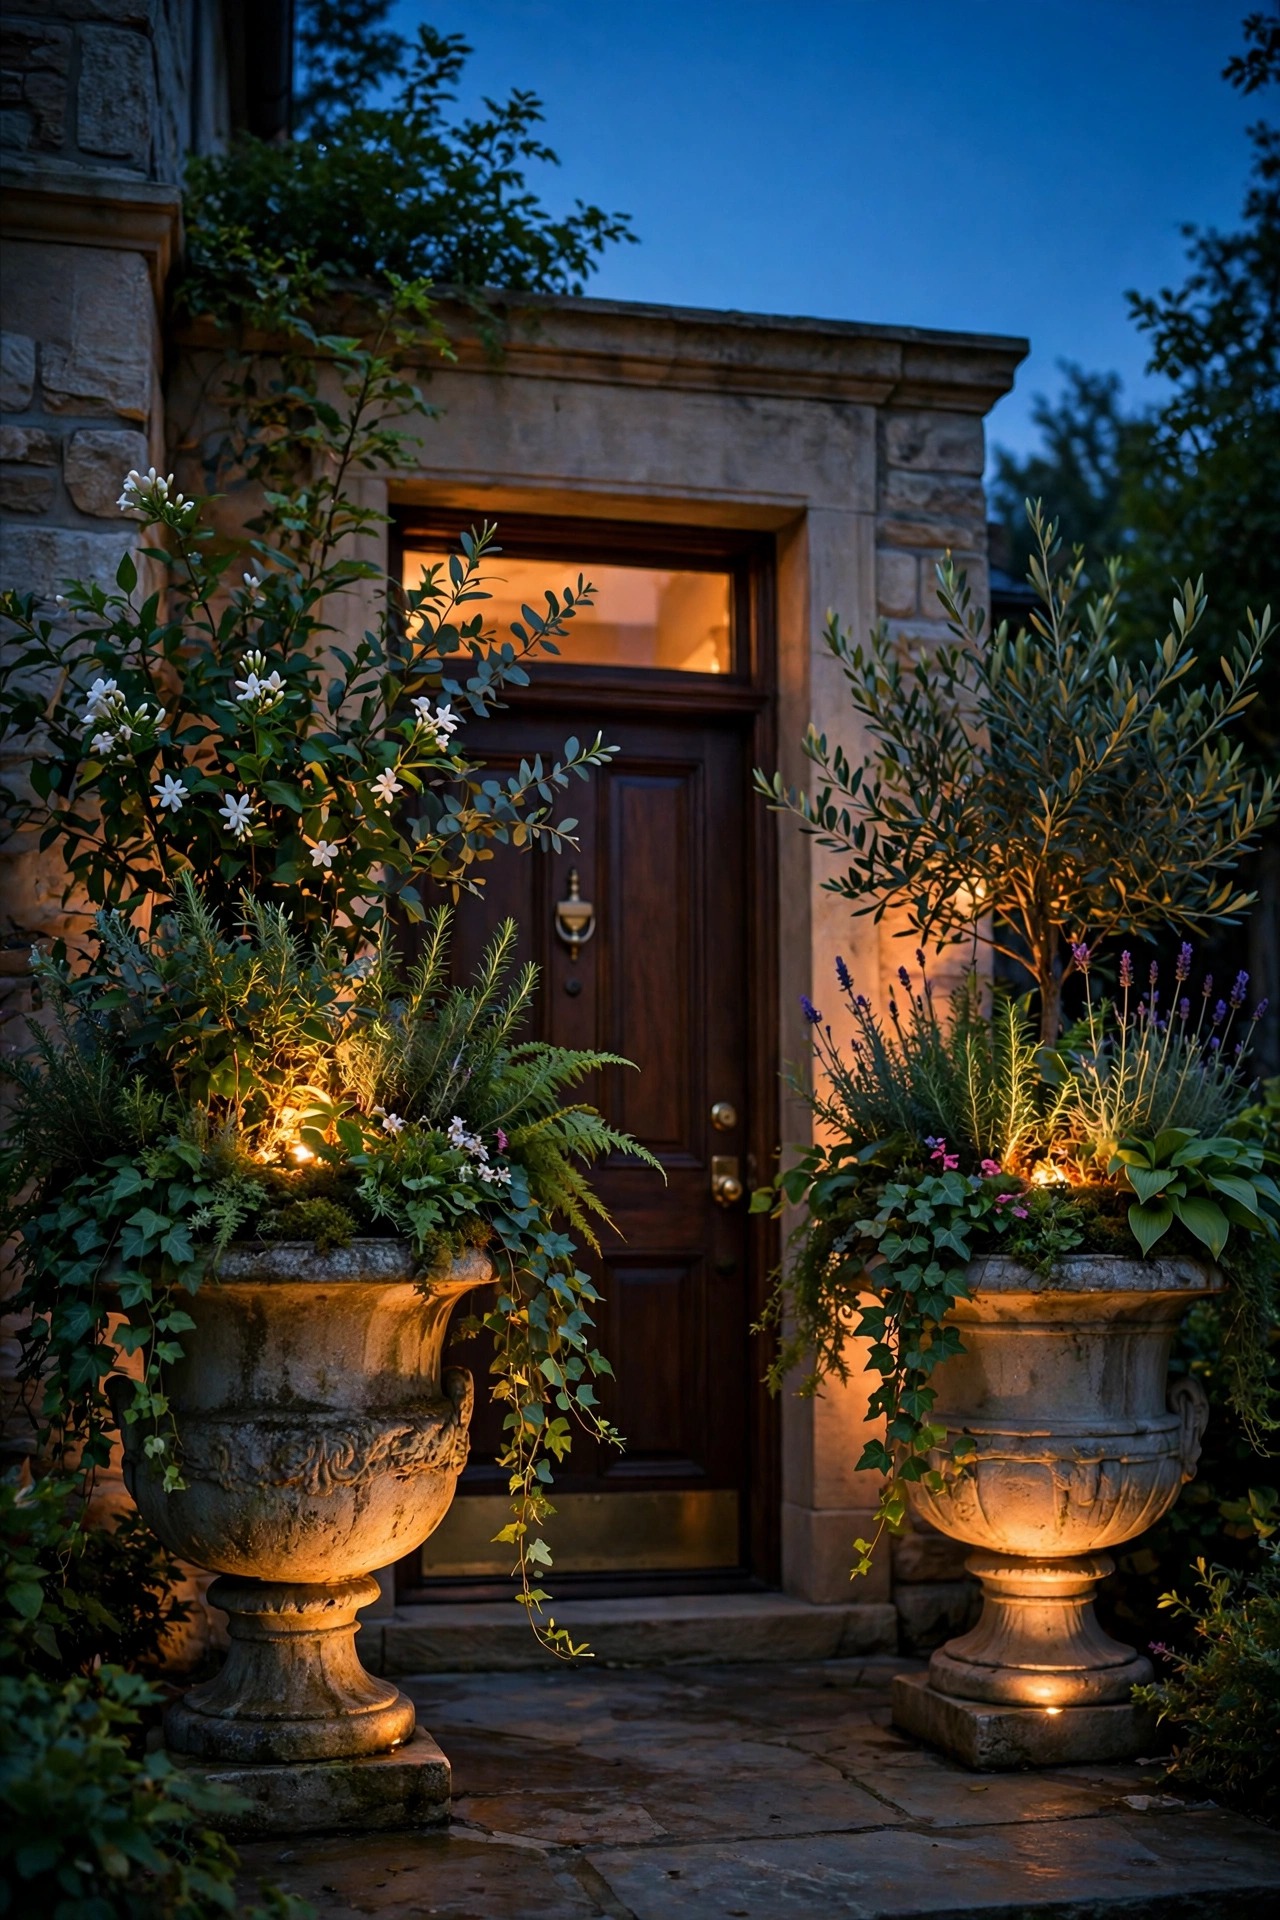
A pair of substantial urns flanking the front door is the oldest luxury signal in the book, and lighting them doubles their presence after dark. Tuck a small uplight at the base of each planter to catch the foliage from below, or thread copper-wire fairy lights loosely through the plantings for a soft internal sparkle. Keep every light LED and flameless near leaves and mulch, and route cords discreetly behind the urns. Refresh the plantings seasonally: boxwood and ferns for the classic look, ornamental grasses for movement, white blooms that catch the light in summer, and evergreen boughs with a few pinecones in winter. Scale matters as much as it did with the lanterns; urns should stand at least two feet tall beside a full-size door, or they read as clutter instead of ceremony. The pair frames the door, fills the awkward corners of the stoop, and gives the entry lanterns something beautiful to shine on. Symmetric, seasonal, and lit: arrival complete.
Suggested budget range: $200 – $700.
19. Match the Garage With Carriage-Style Coach Lights
The garage is often the widest face a house shows the street, and leaving it dark while the entry glows makes the composition lopsided. Carriage-style coach lights, one centered over each bay or a pair flanking a wide door, bring the garage into the same design family as the entry lanterns: same finish, same glass, same warm temperature. Size them generously, since garage doors are big surfaces; small fixtures get swallowed. Mount them high enough to clear the door swing and low enough to keep the glow at human scale, usually just above the door frame. Put the garage zone on the same dusk schedule as the entry, but let it dim earlier in the late scene, since it is backdrop rather than destination. A matched garage stops looking like a storage box and starts reading as part of the architecture, and the whole street face of the house finally tells one coherent story from curb to door.
Suggested budget range: $350 – $1,000.

20. Give Garden Sculpture Its Own Spotlight
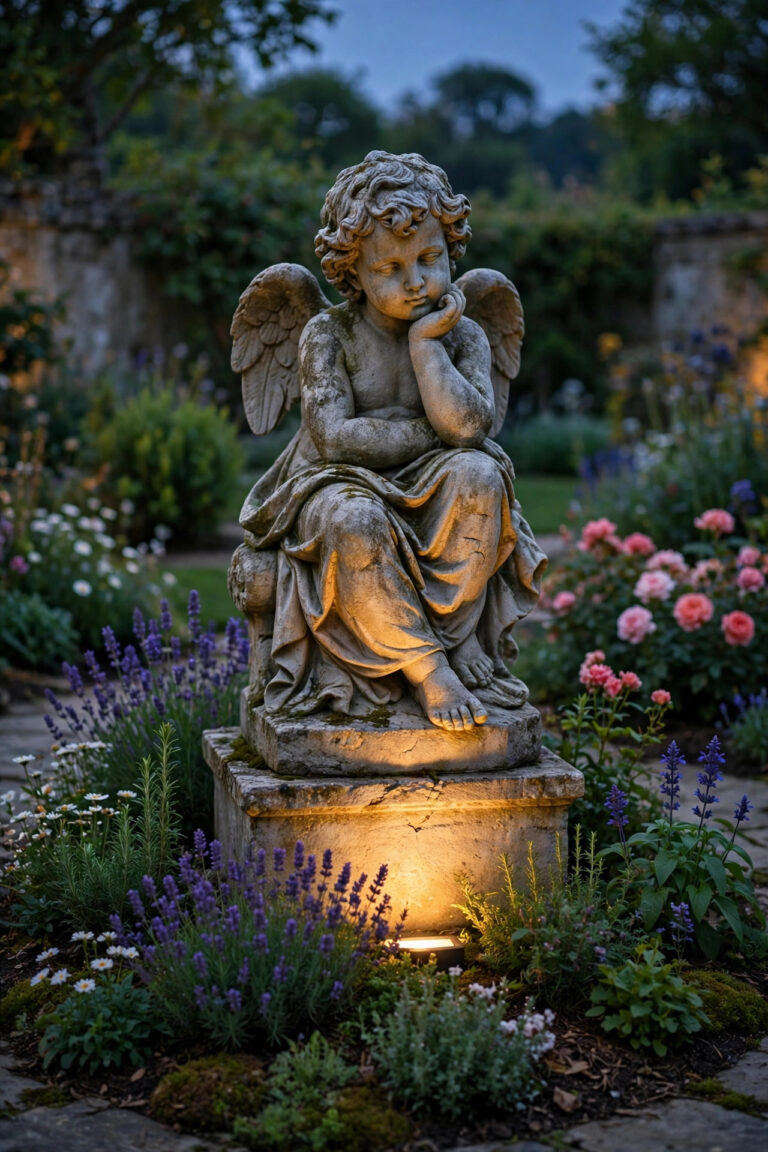
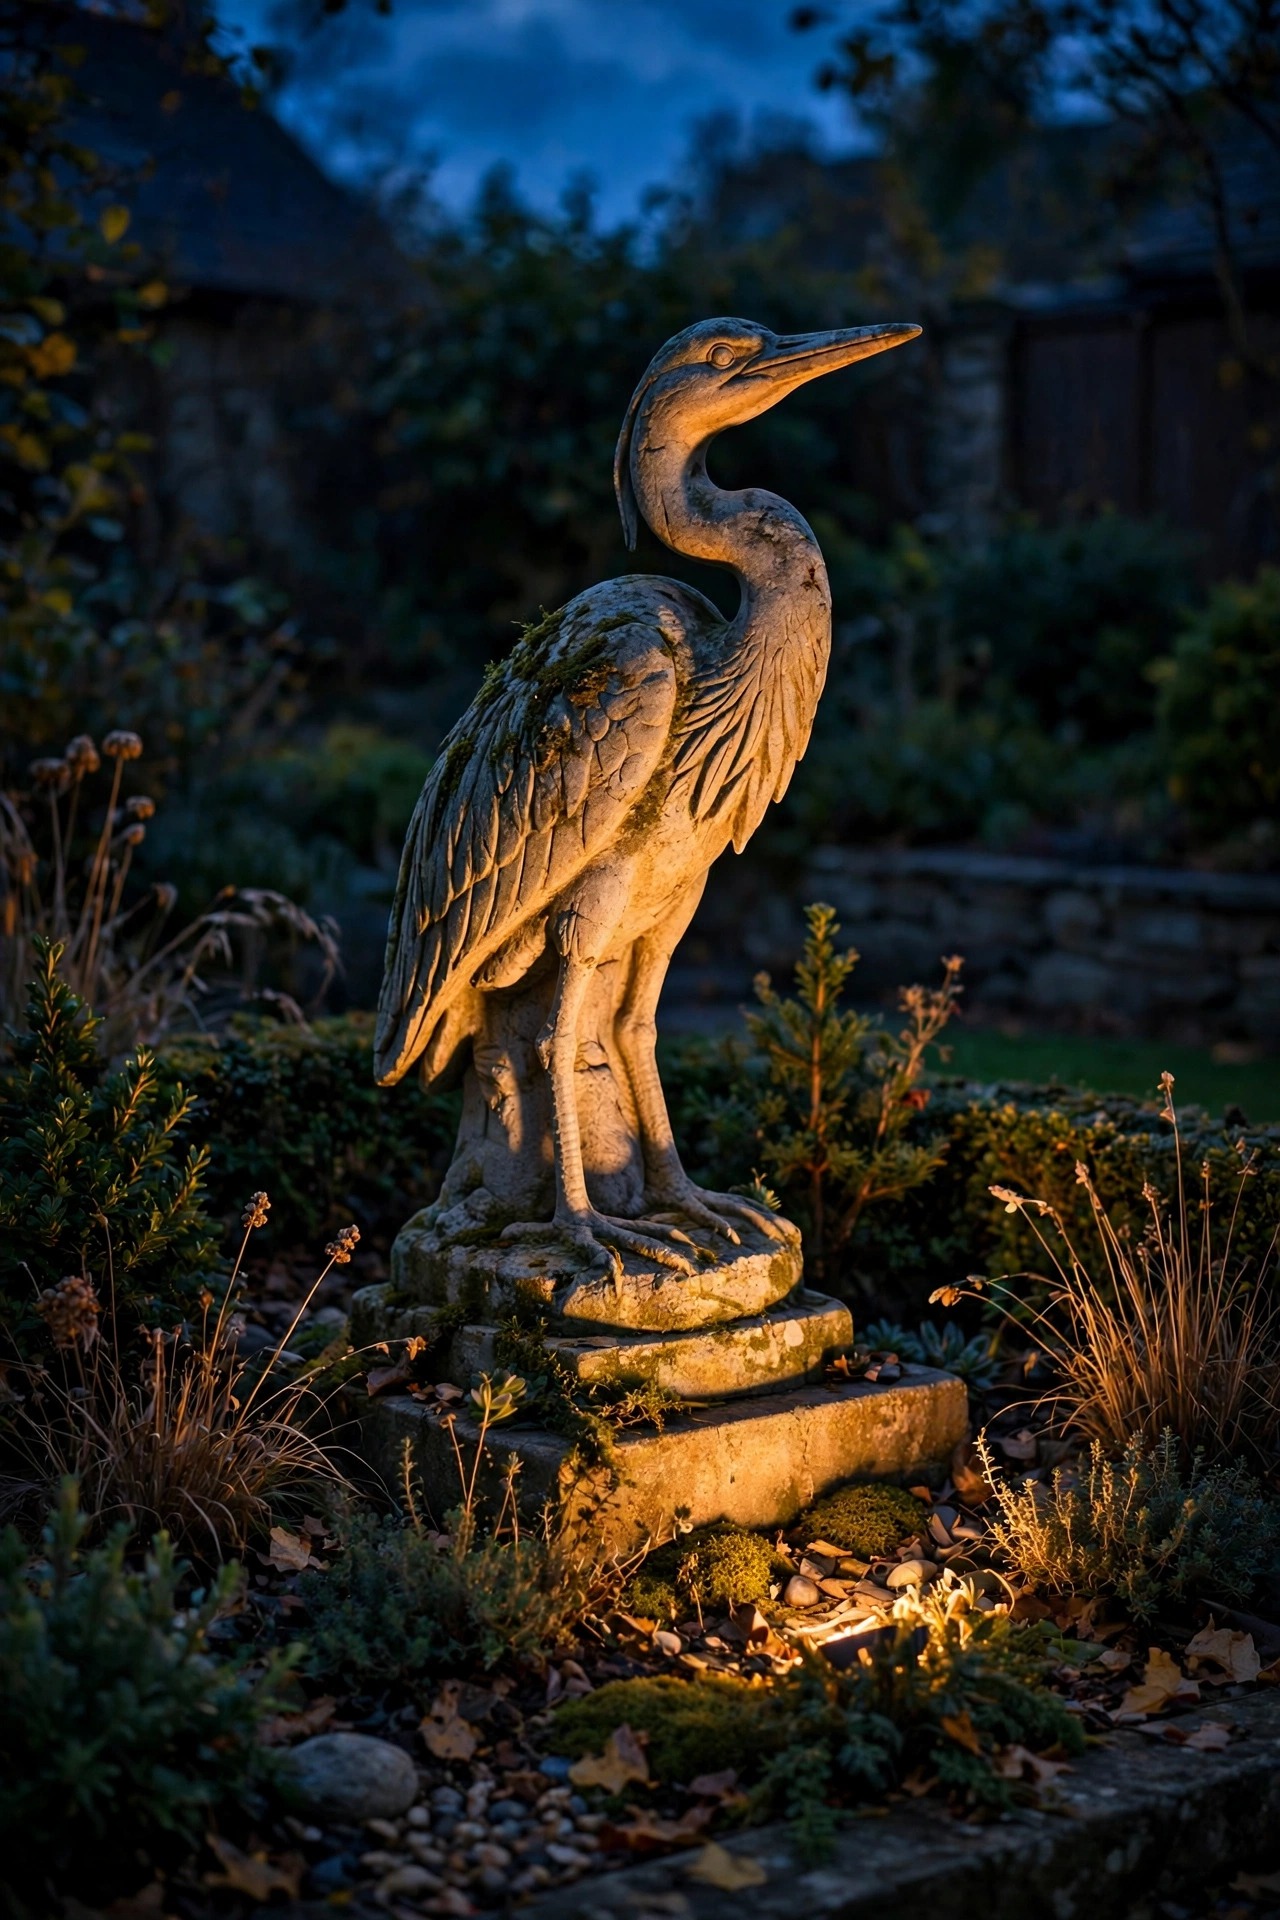
A piece of sculpture, a stone orb, a classical figure, a modern metal form, deserves the museum treatment: one narrow-beam spotlight, aimed from the front and slightly to the side, so the form models itself in light and shadow. Straight-on flat light flattens; a thirty to forty-five degree angle gives depth. Keep the fixture hidden in the planting bed and the brightness a notch below the entry scene, because art in a garden should be discovered, not announced. Restraint applies here most of all: spotlight one or two beloved pieces and let the rest of the garden stay dark and quiet around them. Weatherproof everything, check the aim after storms and garden work, and wipe the lens when you do the well lights. I have seen a simple stone sphere on a plinth, lit this way, stop evening walkers on the sidewalk. That pause, right there, is the entire luxury effect in miniature.
Suggested budget range: $150 – $500.
21. Finish Luxury Front Yard Lighting Ideas With a Dusk Walk-Through
The last step separates the estate look from the expensive guesswork: walk the whole arrival at dusk, slowly, the way a guest experiences it. Start across the street. Cross to the gate, drive or stroll the drive line, walk the front walk, climb the steps, and stand at the door looking back. Squint as you go; anything that makes you squint is too bright or badly aimed. Note the hot spots, the crooked path light, the tree beam that slipped, the one bulb that glows a different white, and fix them on the spot or list them for the weekend. Take a phone photo from the curb, because the camera is brutally honest about glare and imbalance. Repeat the walk each season as plants grow and fixtures settle. Every estate-quality yard I know is the product of these small edits, repeated patiently, not one big purchase. The plan got you close; the walk-through makes it sing.
Suggested budget range: $0 – $100.

Frequently Asked Questions
What color temperature looks most luxurious in a front yard?
Warm white at 2700K, everywhere, without exception. It flatters stone, brick, foliage, and arriving faces the way candlelight flatters a dining room. The only place I bend the rule is inside door lanterns, where a 2200K flame-style bulb can mimic gaslight. Mixed temperatures are the tell of an amateur scheme, so when in doubt, match everything to 2700K and buy spare bulbs from the same batch.
How much does luxury front yard lighting cost overall?
A confident DIY low-voltage scheme with quality brass fixtures usually lands between $1,500 and $5,000 in materials. Professionally designed and installed front yards commonly run $5,000 to $15,000, and estate properties with gate piers, masonry work, and smart controls go higher. The fixture count and metal quality drive the number far more than the yard size. I break down real numbers by fixture and zone in my front yard lighting cost guide if you are building a budget.
Is solar or low-voltage better for a high-end front yard?
Low-voltage wired, and it is not close. Wired fixtures are brighter, dimmable, consistent in color, and they keep working through a week of cloudy days. Solar has improved, but output still fades by midnight and varies from stake to stake, which breaks the matched, choreographed look luxury depends on. I reserve solar for distant garden accents where running wire truly makes no sense.
How many fixtures does a front yard actually need?
Most layered front yards land between fifteen and thirty fixtures: a handful for the drive, four to eight on the walk, two to four at the entry, and the rest as accents. More is not better. Brightness should come from placement and beam control, not fixture count, and every fixture should be able to name its layer: guidance, welcome, or accent. If it cannot, it probably should not be there.
Conclusion
Announcing arrival was never about wattage. The luxury front yard lighting ideas that actually work all come back to the same discipline: three layers in warm 2700K, real materials that age gracefully, symmetry where guests arrive, and restraint everywhere else. Start with the plan, light the path from curb to door in one calm sequence, crown one tree, graze one wall, and then edit at dusk until nothing glares and nothing competes. Do that, and your house becomes the one cars slow down for. When you are ready to keep going, browse the rest of my outdoor lighting ideas on the site; the backyard deserves the same choreography.