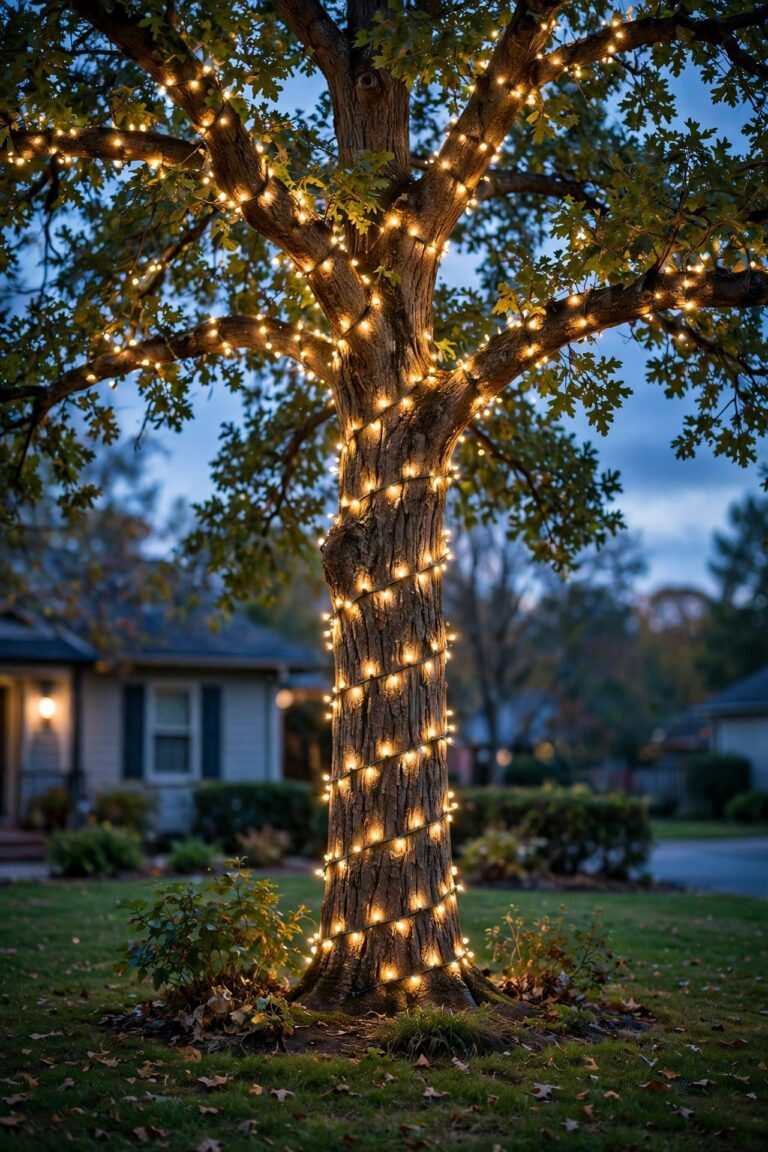
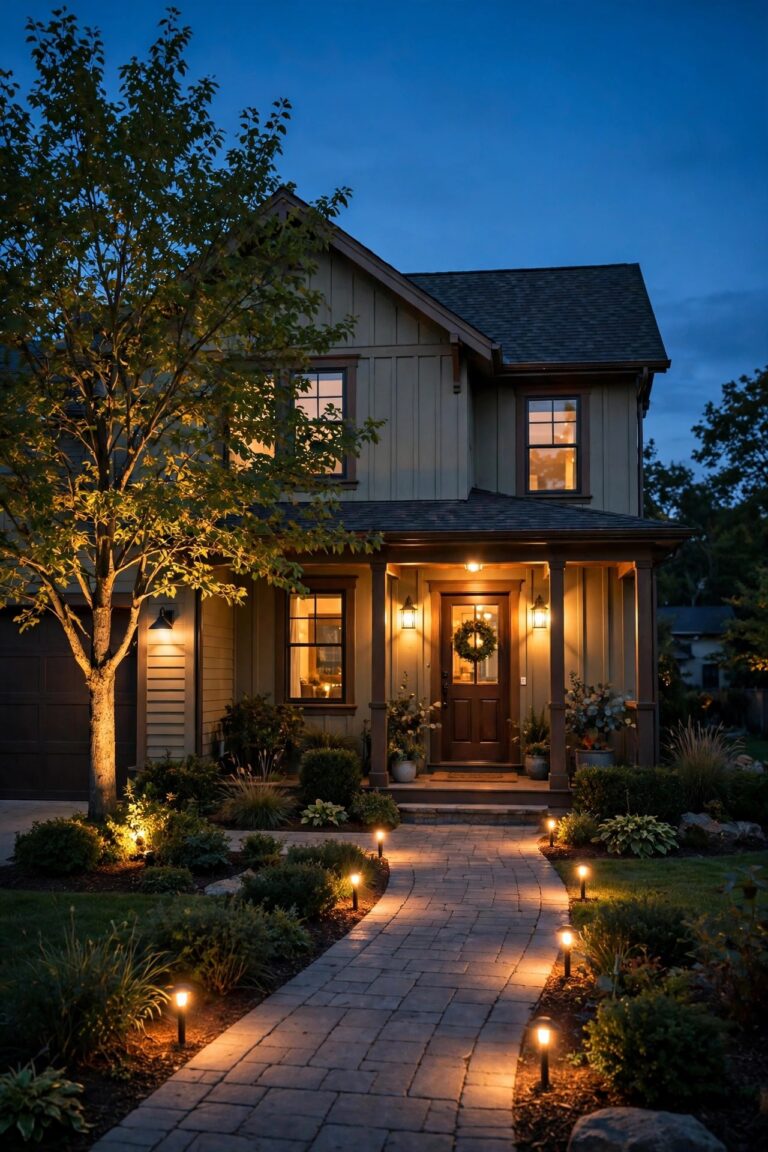
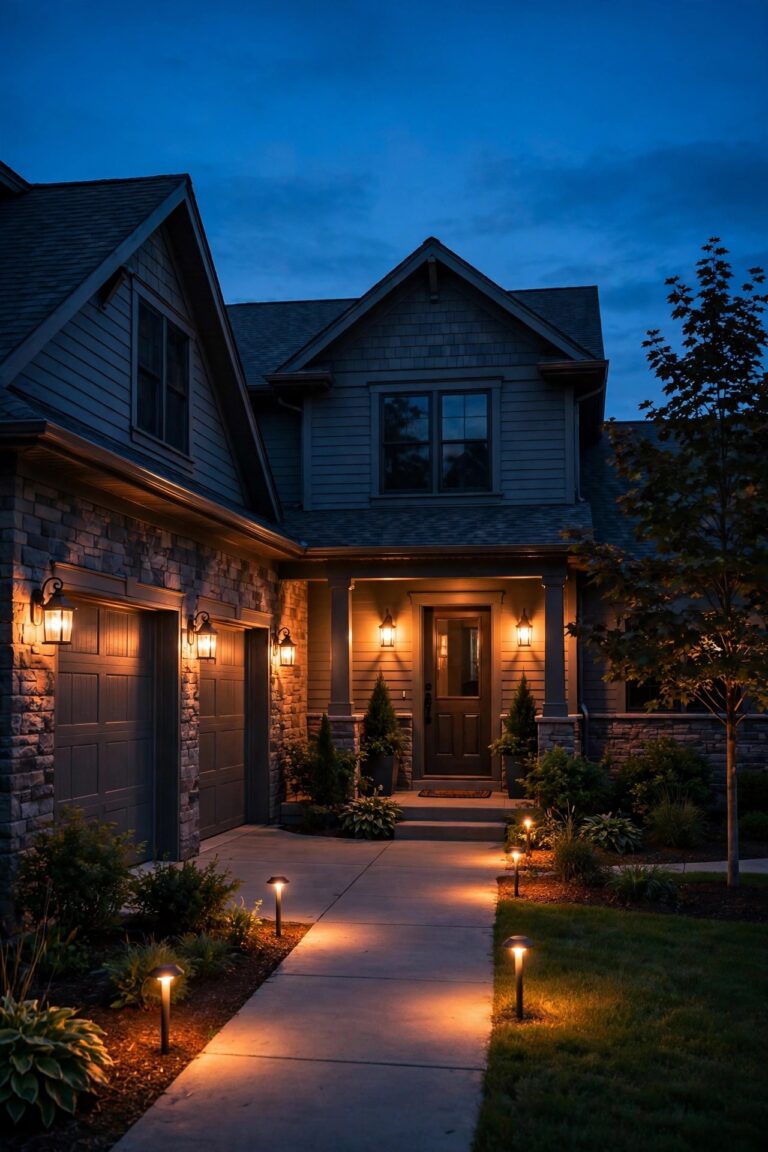
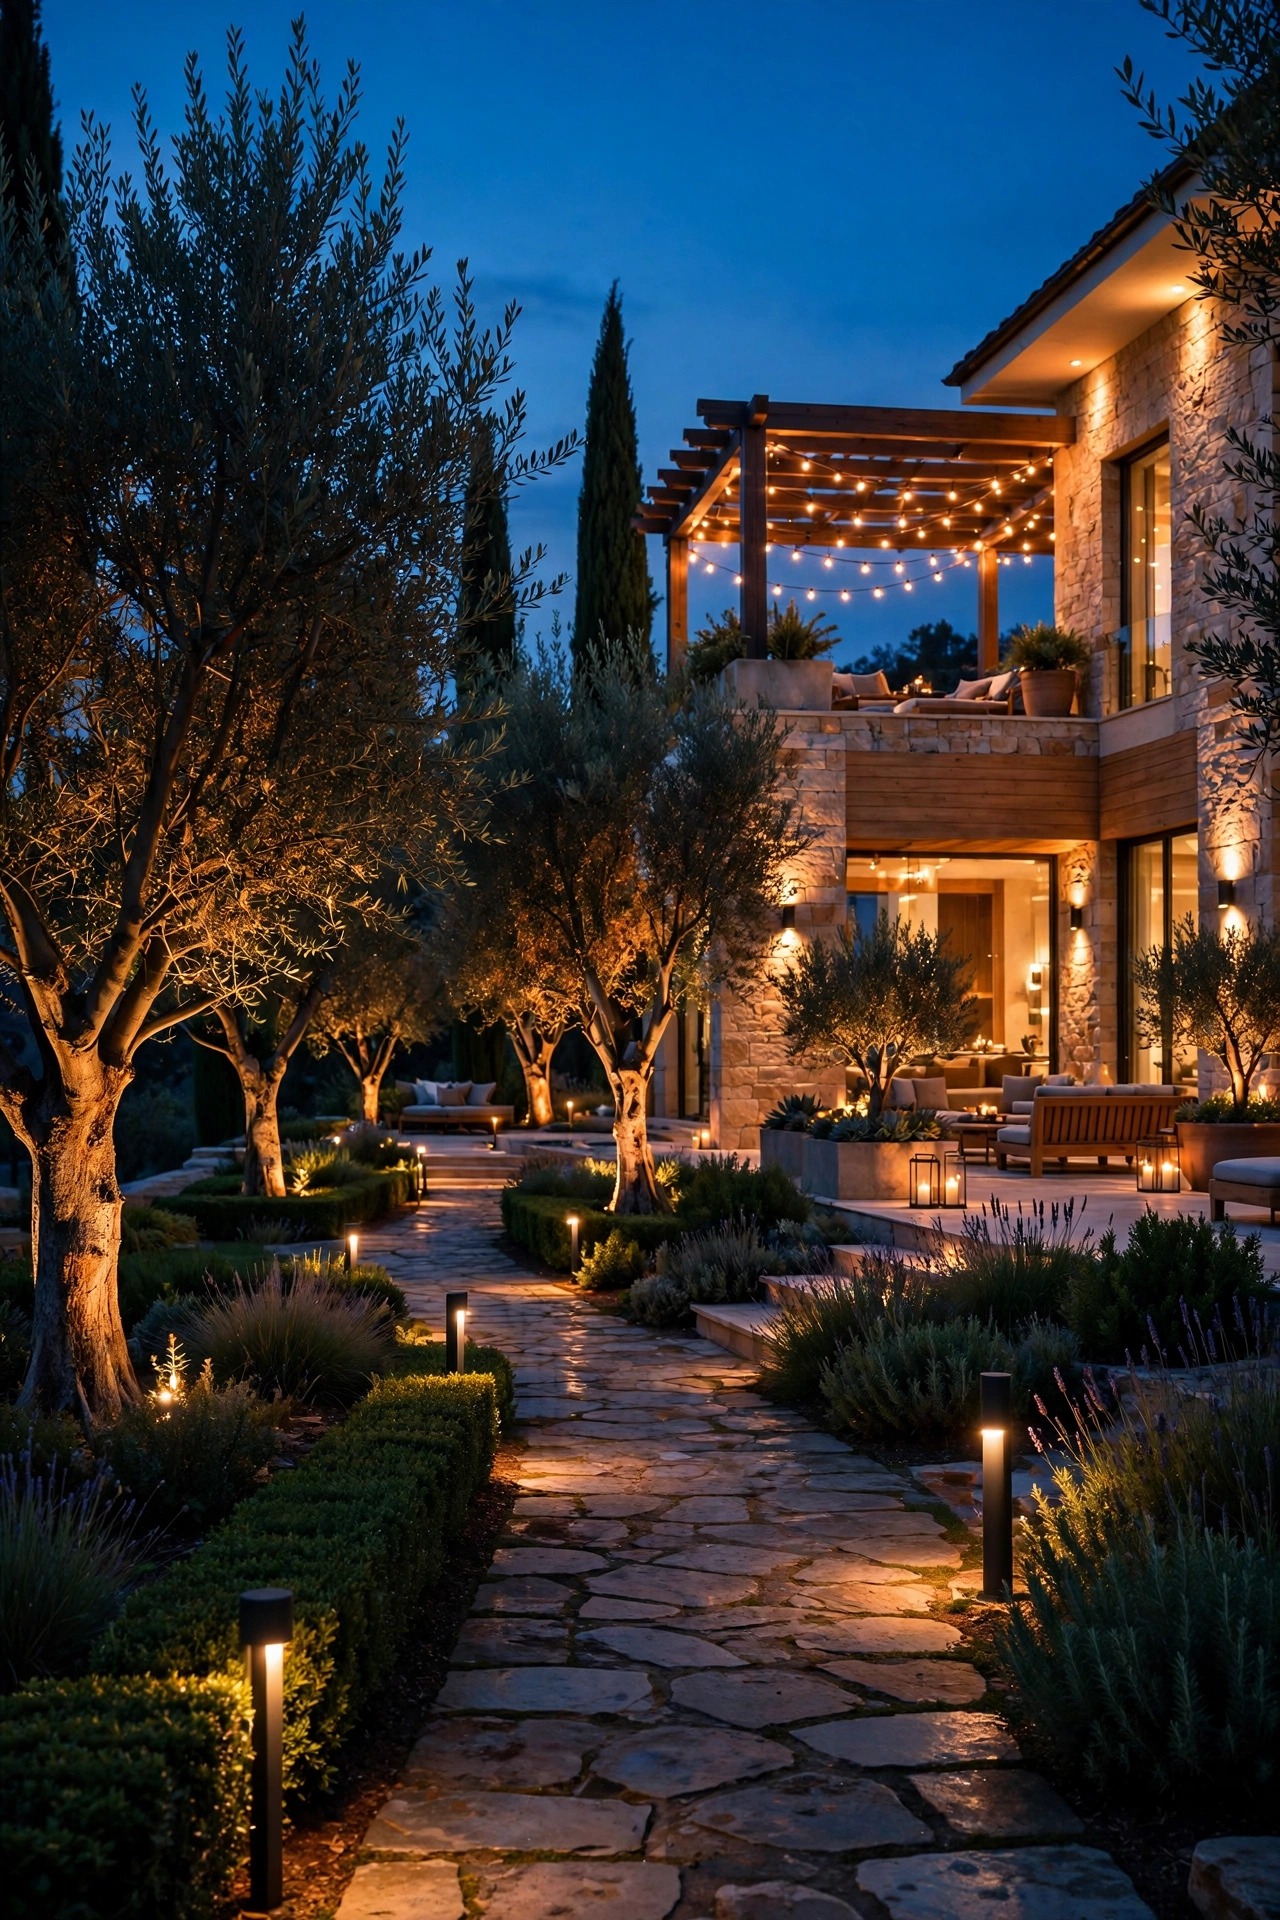
There is a moment on my evening walks when I pass the big stone house at the end of our street and just slow down. Nothing about its lighting is loud, yet the whole property glows like a boutique hotel — the gate piers, the oak, the fountain, every layer calm and deliberate. That is exactly what luxury outdoor lighting ideas are about: not more light, but better light, placed with intention and built from materials that age beautifully. In my experience, estate-worthy lighting always works in three layers. Guidance light runs low along drives, walks, and steps. Welcome light sits at eye level by doors and gates, where guests arrive. Accent light does the showing off — grazing stone, crowning trees, catching water. Keep all three layers warm, dimmable, and in fixtures of real brass, copper, and bronze, and even a modest house starts to feel grand. Below are the 27 upgrades I recommend whenever someone asks me how to give an exterior that polished, resort-level finish.
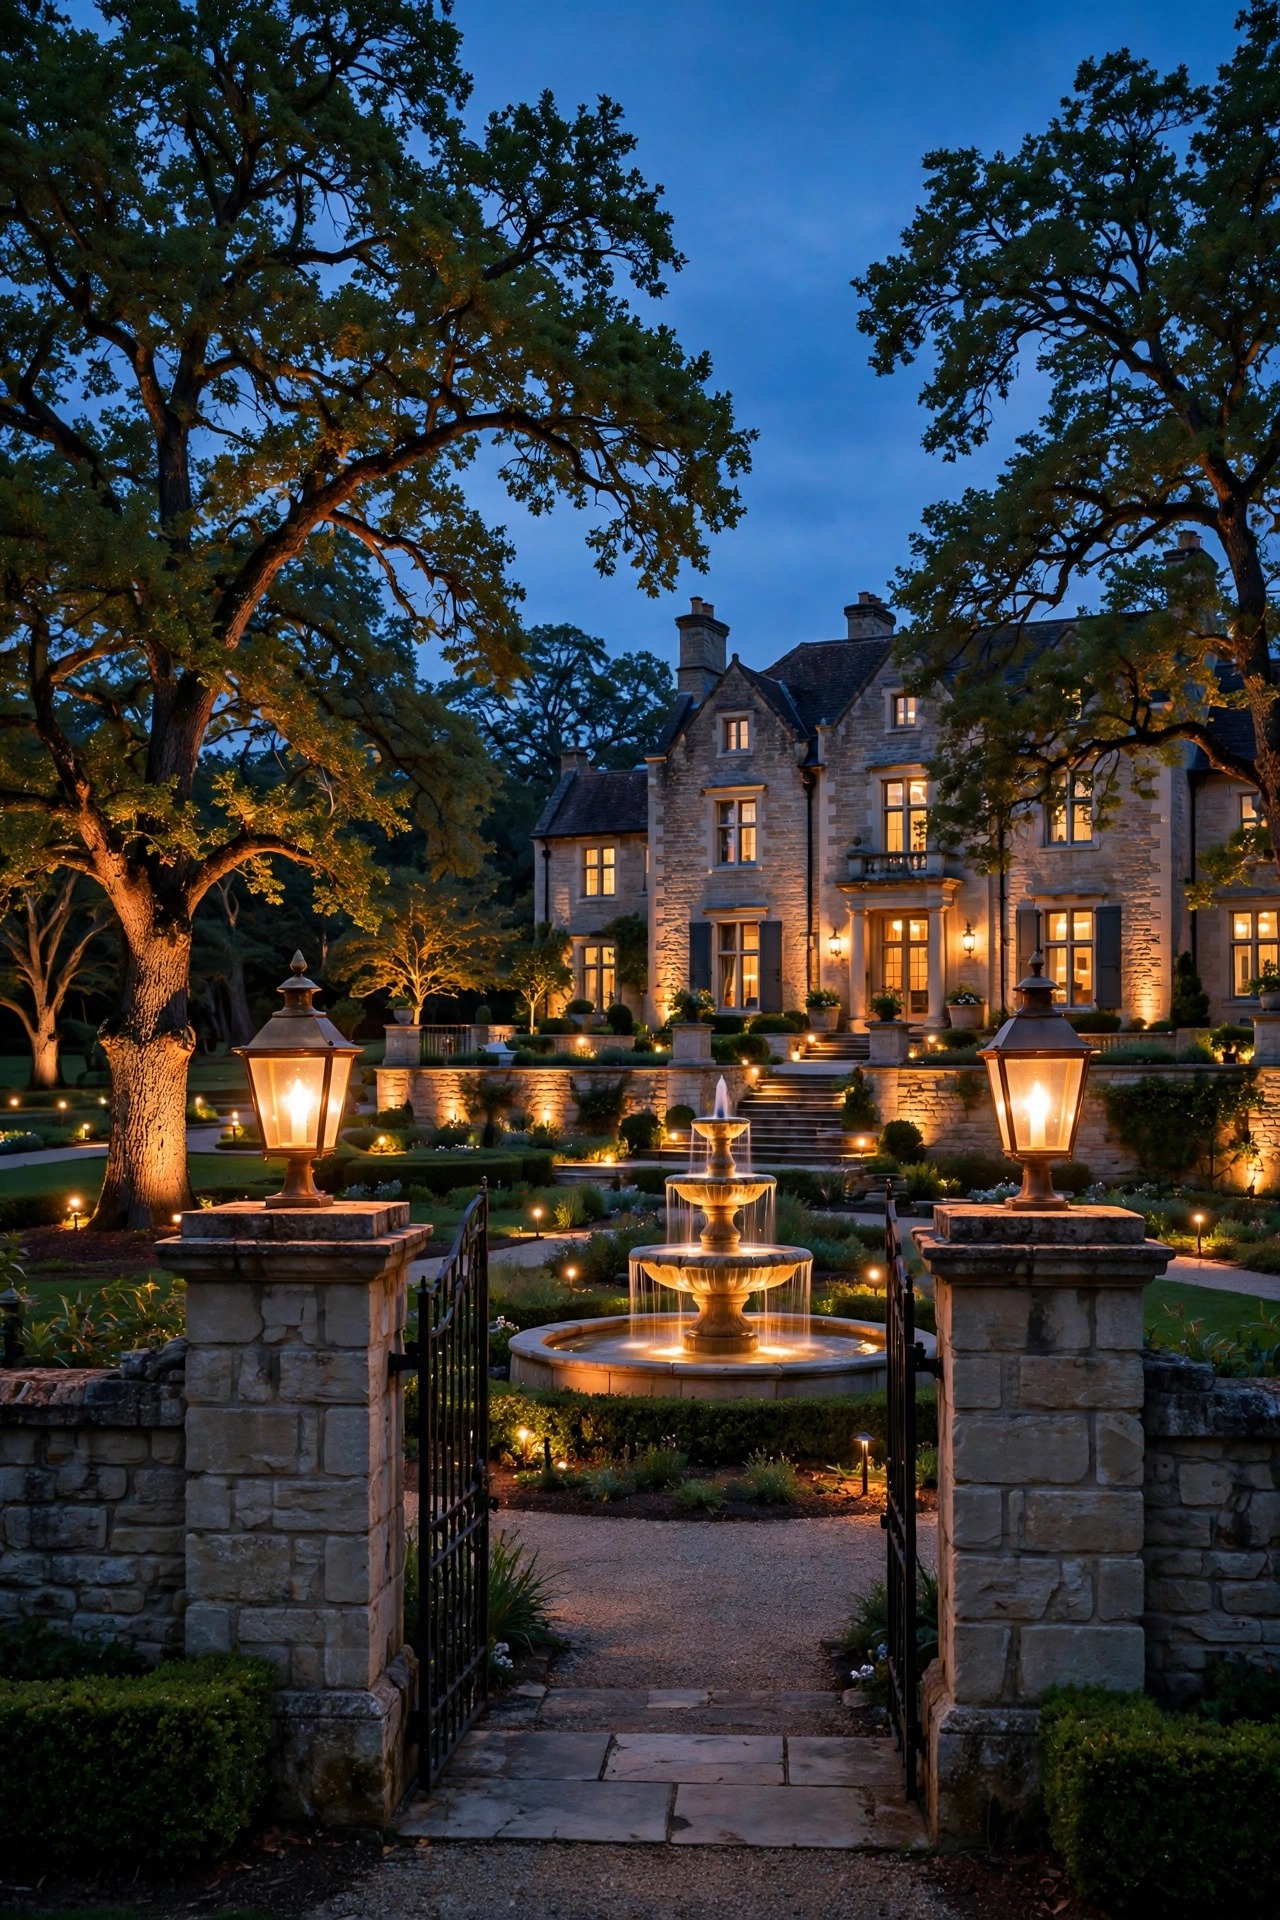
1. Luxury Outdoor Lighting Ideas Start With a Layered Master Plan
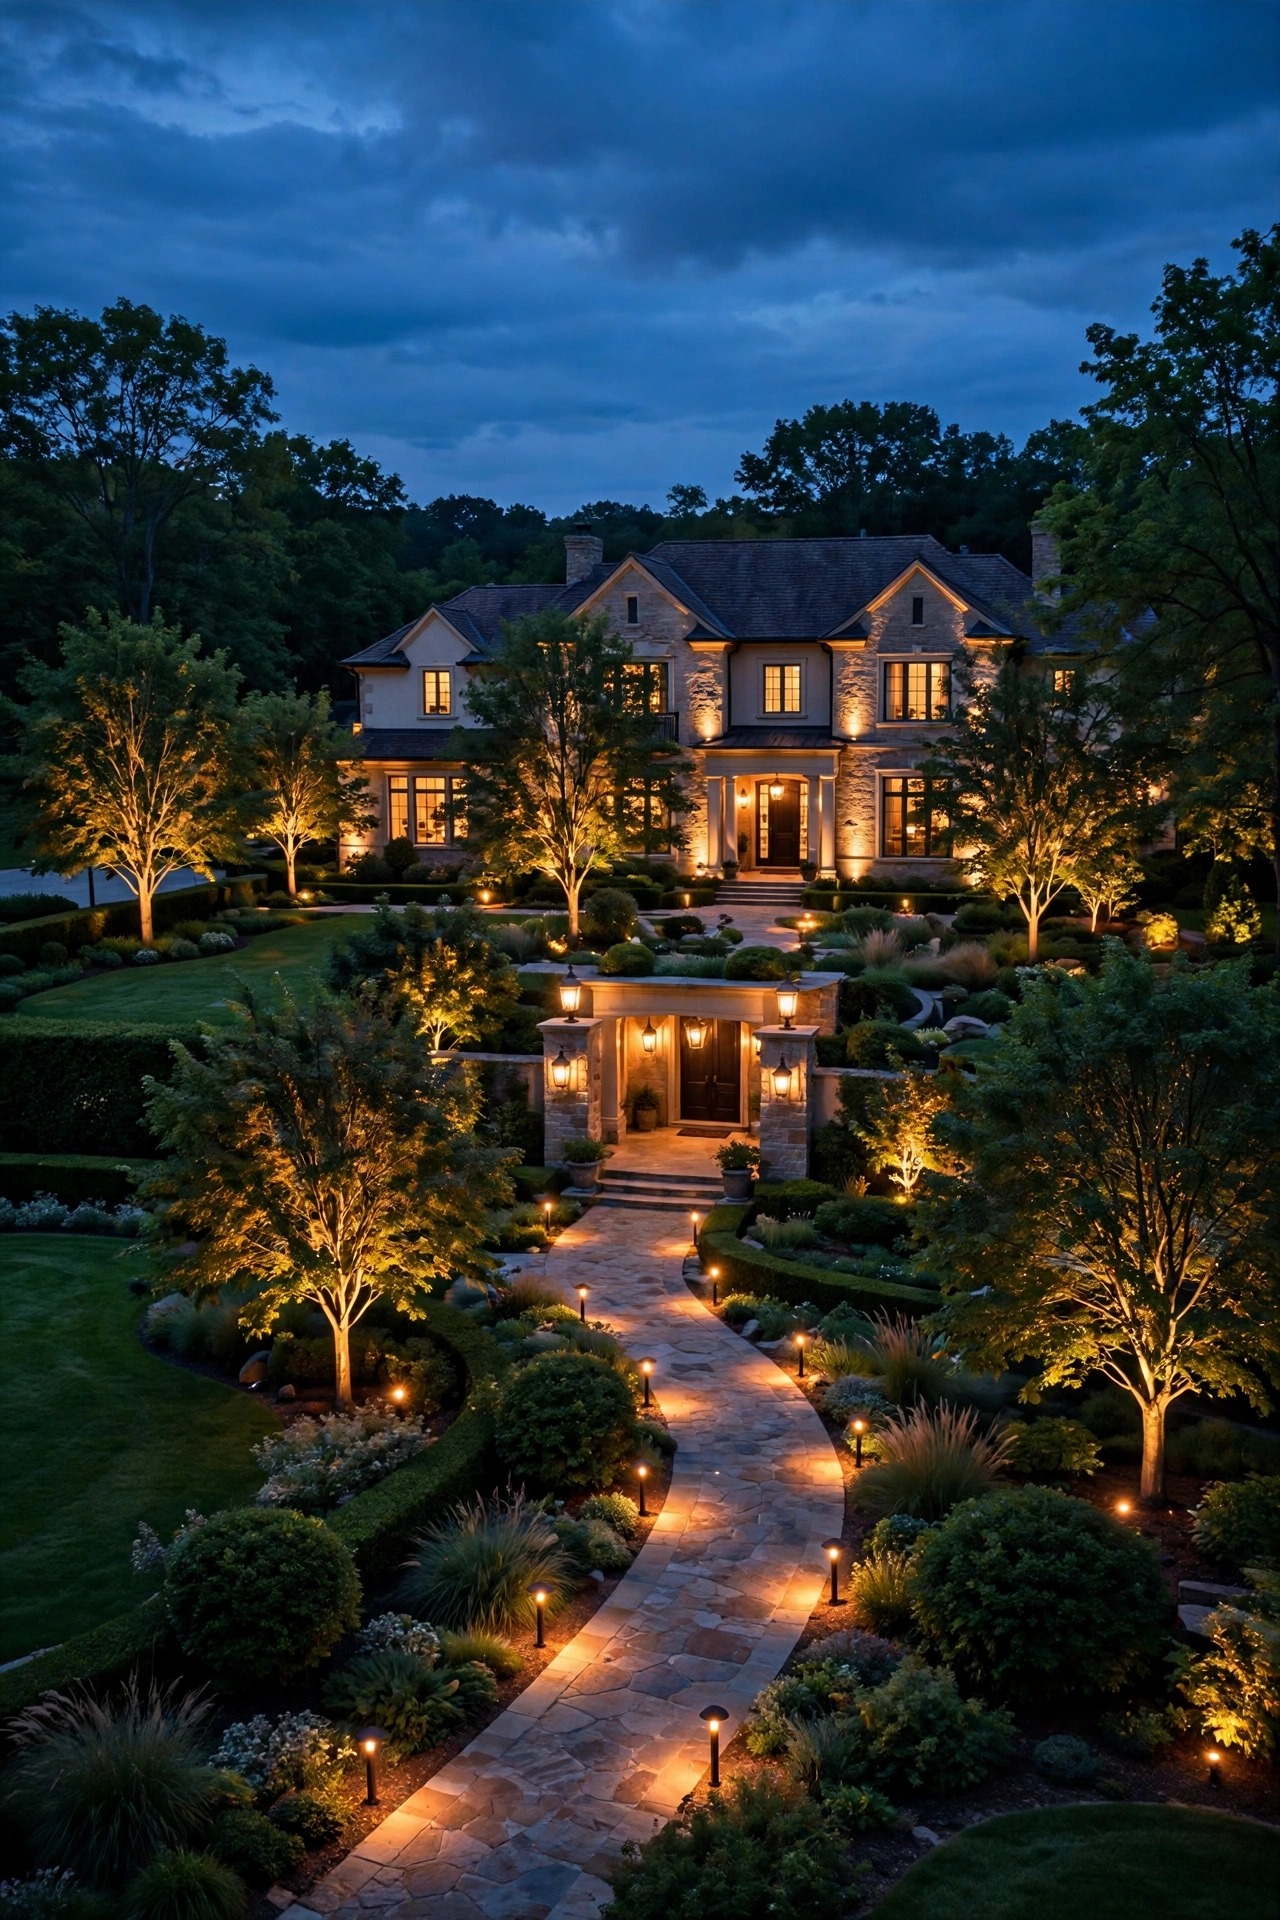
Every estate scheme I admire began on paper, not in a shopping cart, so pour a coffee and sketch your property first. Mark the three layers honestly: guidance along the driveway, front walk, and every grade change; welcome at the front door, side gates, and garage; accent on the two or three features truly worth showing off — a specimen tree, a stone facade, a fountain. On a large lot, plan in zones of 8 to 12 fixtures per transformer tap so you can dim the entertaining areas independently from the arrival court. I always recommend walking the property at dusk with the sketch in hand before ordering anything; what looks like a dark corner on paper sometimes borrows plenty of light from a neighbor or a streetlamp. Luxury is restraint with a plan behind it. A drawn plan also keeps the project phased and sane: arrival first, entertaining second, pure ornament last. Contractors give tighter, more honest quotes from a plan too, and you will avoid the classic mistake of buying twenty beautiful fixtures that all fight for the same layer.
Suggested budget range: $0 – $150.
2. Invest in Solid Brass and Copper Fixtures
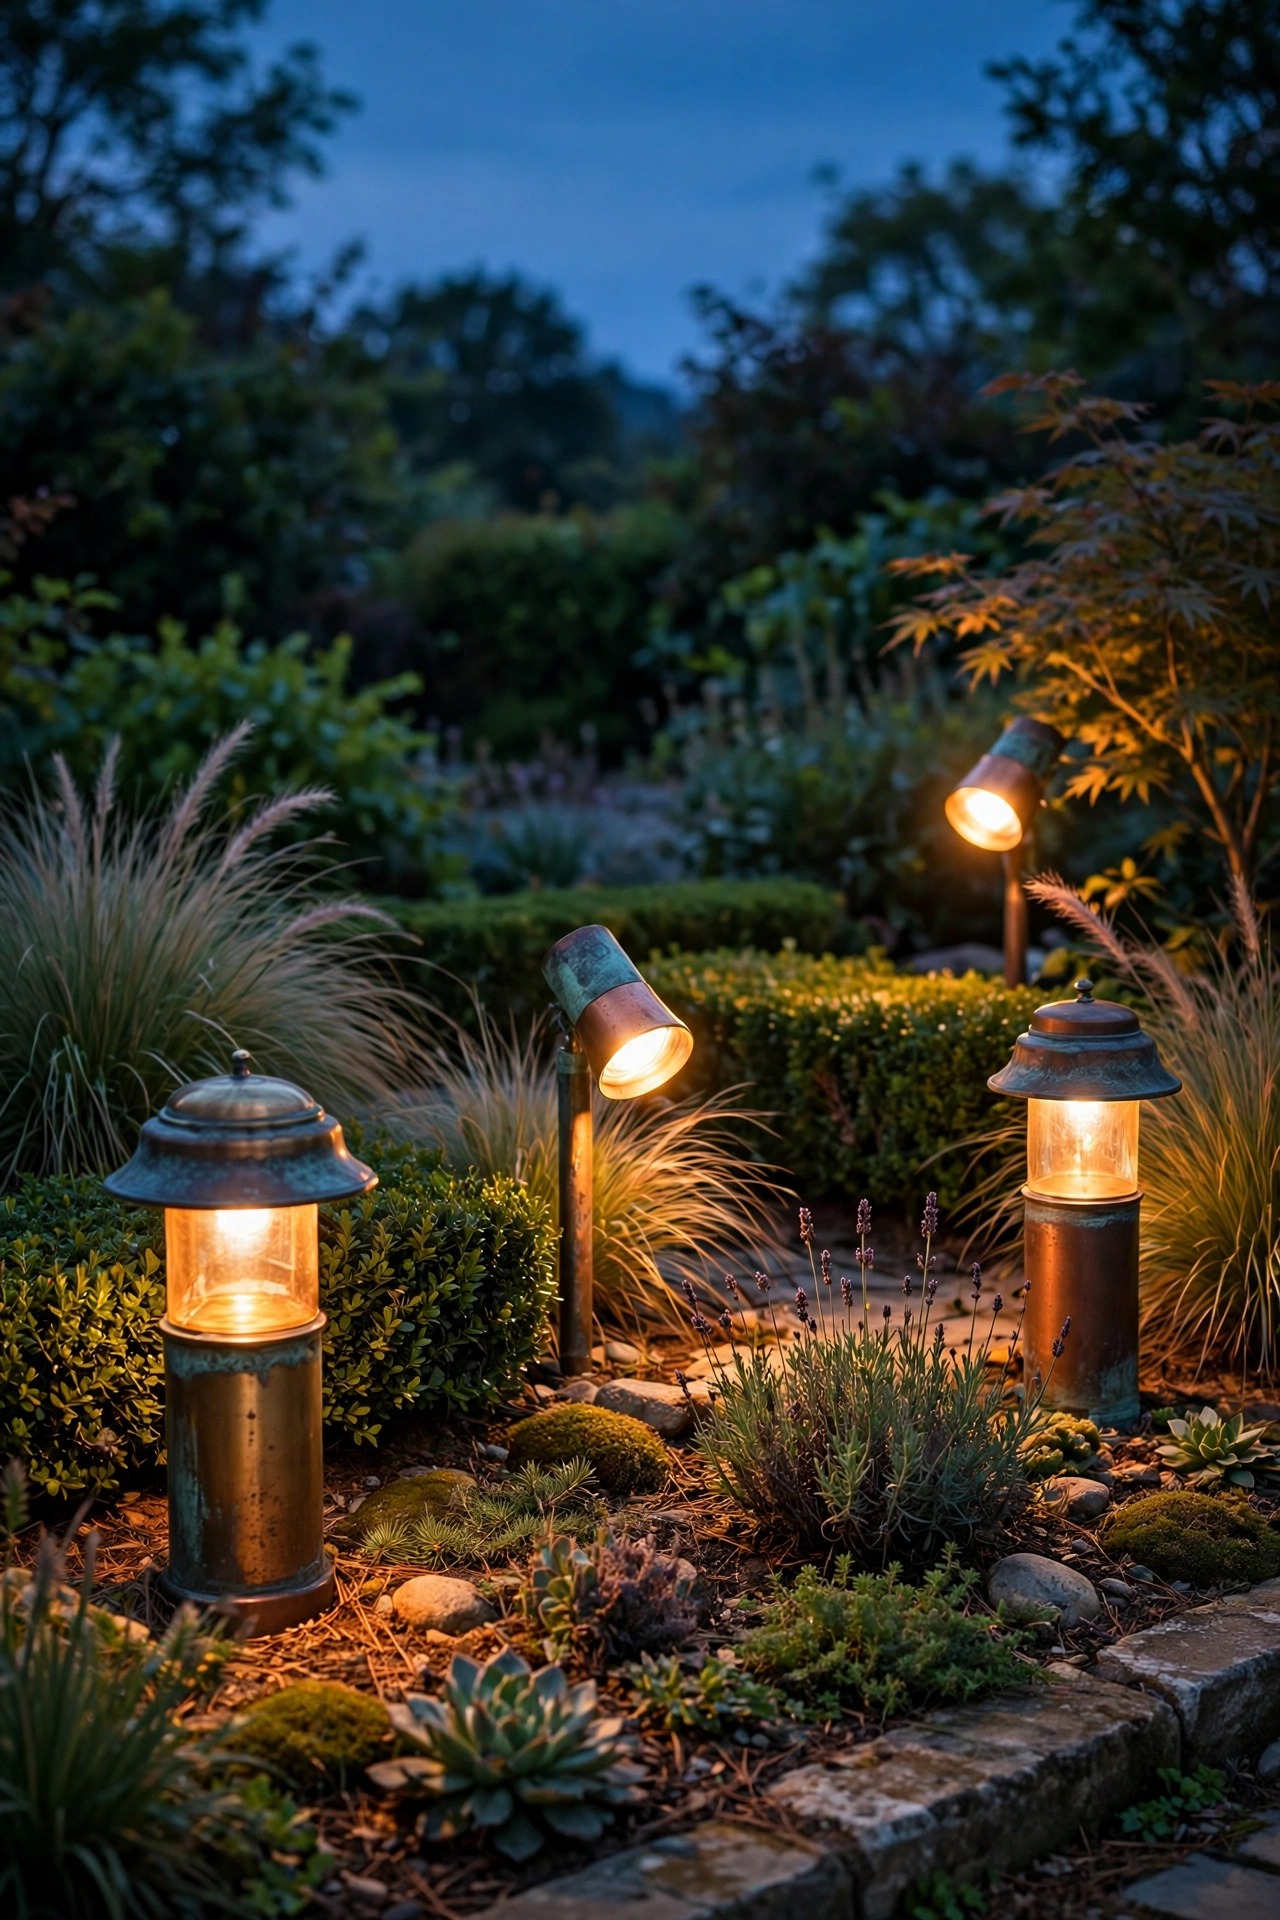
If there is one upgrade that separates estate lighting from ordinary lighting, it is the metal itself. Solid cast brass and copper fixtures feel heavy in the hand, shrug off coastal air and sprinkler spray, and slowly develop a rich patina that painted aluminum simply cannot fake. Powder-coated fixtures chip at the edges within a few seasons and then rust blooms; solid brass never rusts, which is why the pros I know offer lifetime warranties on the housings. Choose living finishes — raw brass, copper, and oil-rubbed bronze — and let them weather to match the house. Keep the finish family consistent across the whole property; mixing shiny chrome with aged bronze reads as accidental, not eclectic. Yes, a brass path light costs three or four times its big-box cousin, but you buy it once. In my experience, fixtures are the worst place to economize on a luxury scheme: the light quality comes from placement, but the jewelry comes from the metal. Start with brass anywhere a fixture will be seen up close — the entry, the terrace, the garden paths guests actually walk.
Suggested budget range: $150 – $450.
3. Go Oversized With Entry Sconces and Lanterns
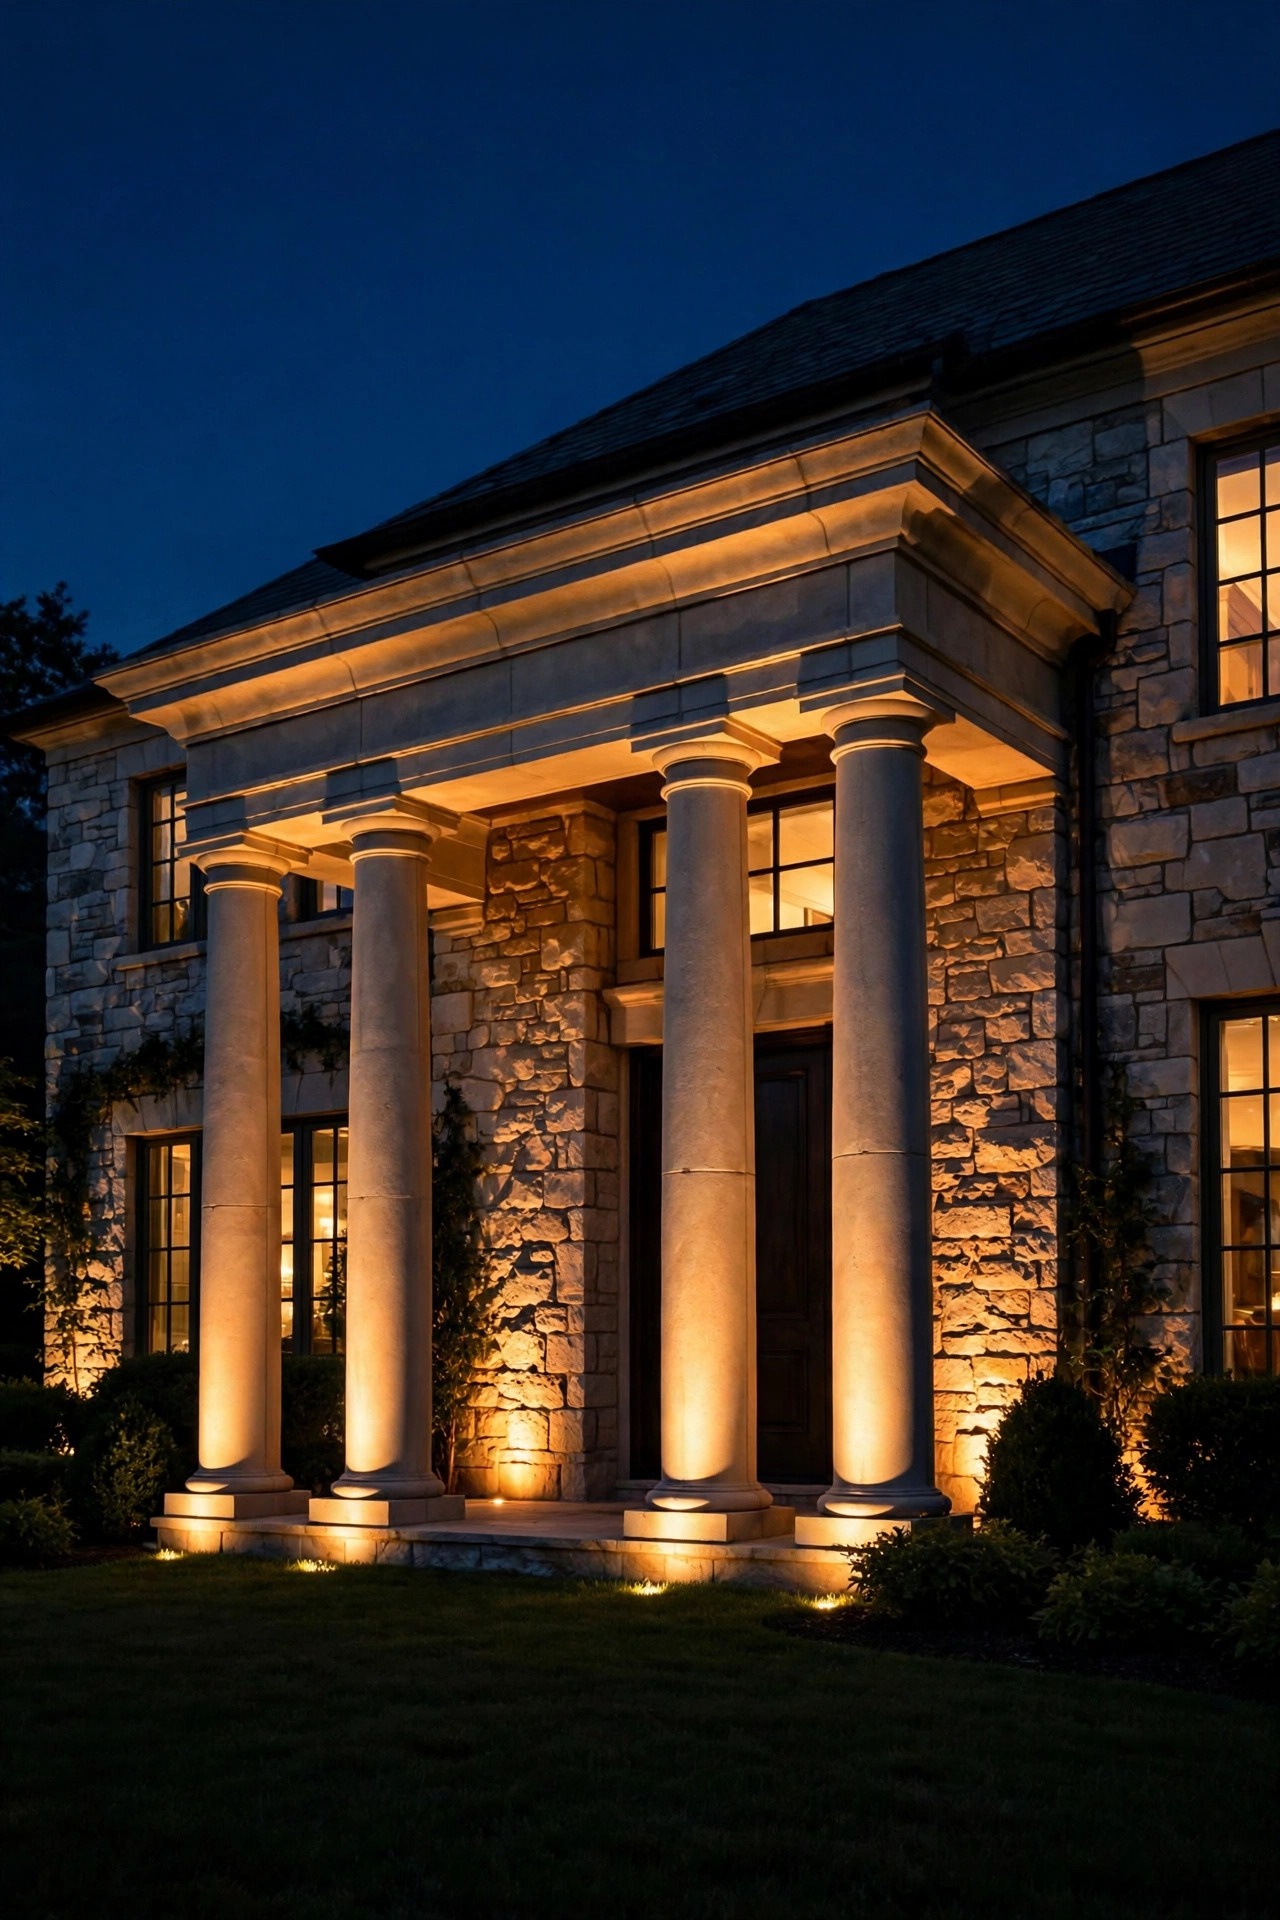
Scale is the quiet secret of every grand entrance. On a tall facade or a two-story portico, standard 12-inch sconces disappear; estate entries wear 24- to 36-inch lanterns that hold their own against big architecture. I always recommend sizing a door lantern to roughly one-quarter to one-third the height of the door itself, and mounting the pair so the bulbs sit at eye level, about 66 inches from the threshold. Hang a matching oversized lantern centered over the door or from the portico ceiling if the pair alone feels sparse. Use frosted or seeded glass and warm filament-style LED bulbs so the fixtures glow like gaslight rather than glare like a porch flood. Dim them — entry lanterns should welcome, not interrogate. If your entry has columns, repeat a smaller version of the same lantern on the garage so the whole arrival sequence speaks one language. Honestly, this single change does more for curb appeal after dark than any other on this list, because the front door is where every guest forms their first impression of the house.
Suggested budget range: $400 – $1,200.

4. Hide the Source With In-Ground Well Lights
Nothing says expensive like light that appears from nowhere. In-ground well lights sit flush with the lawn or gravel, their housings buried and only a lens at grade, so the daytime landscape shows zero hardware and the nighttime effect is pure glow. Use them to uplight facades, columns, and tree canopies where a visible stake light would cheapen the view. Specify fixtures with tempered glass rated for drive-over loads anywhere near the motor court, and choose models with drainage or gravel sumps beneath them so lenses never sit in standing water. Aim for warm 2700K lamps with interchangeable beam spreads — narrow 15-degree beams for columns, wider 36-degree floods for walls. Keep the lens clean; a leaf or a film of sprinkler minerals will dim the effect noticeably, so add a quick wipe to your seasonal garden routine. In my experience, well lights are also the safest luxury choice along walkways and pool decks, because there is nothing to trip over, knock crooked, or catch a mower on in the dark.
Suggested budget range: $120 – $350.
5. Graze Stone and Brick Facades With a Warm Wash
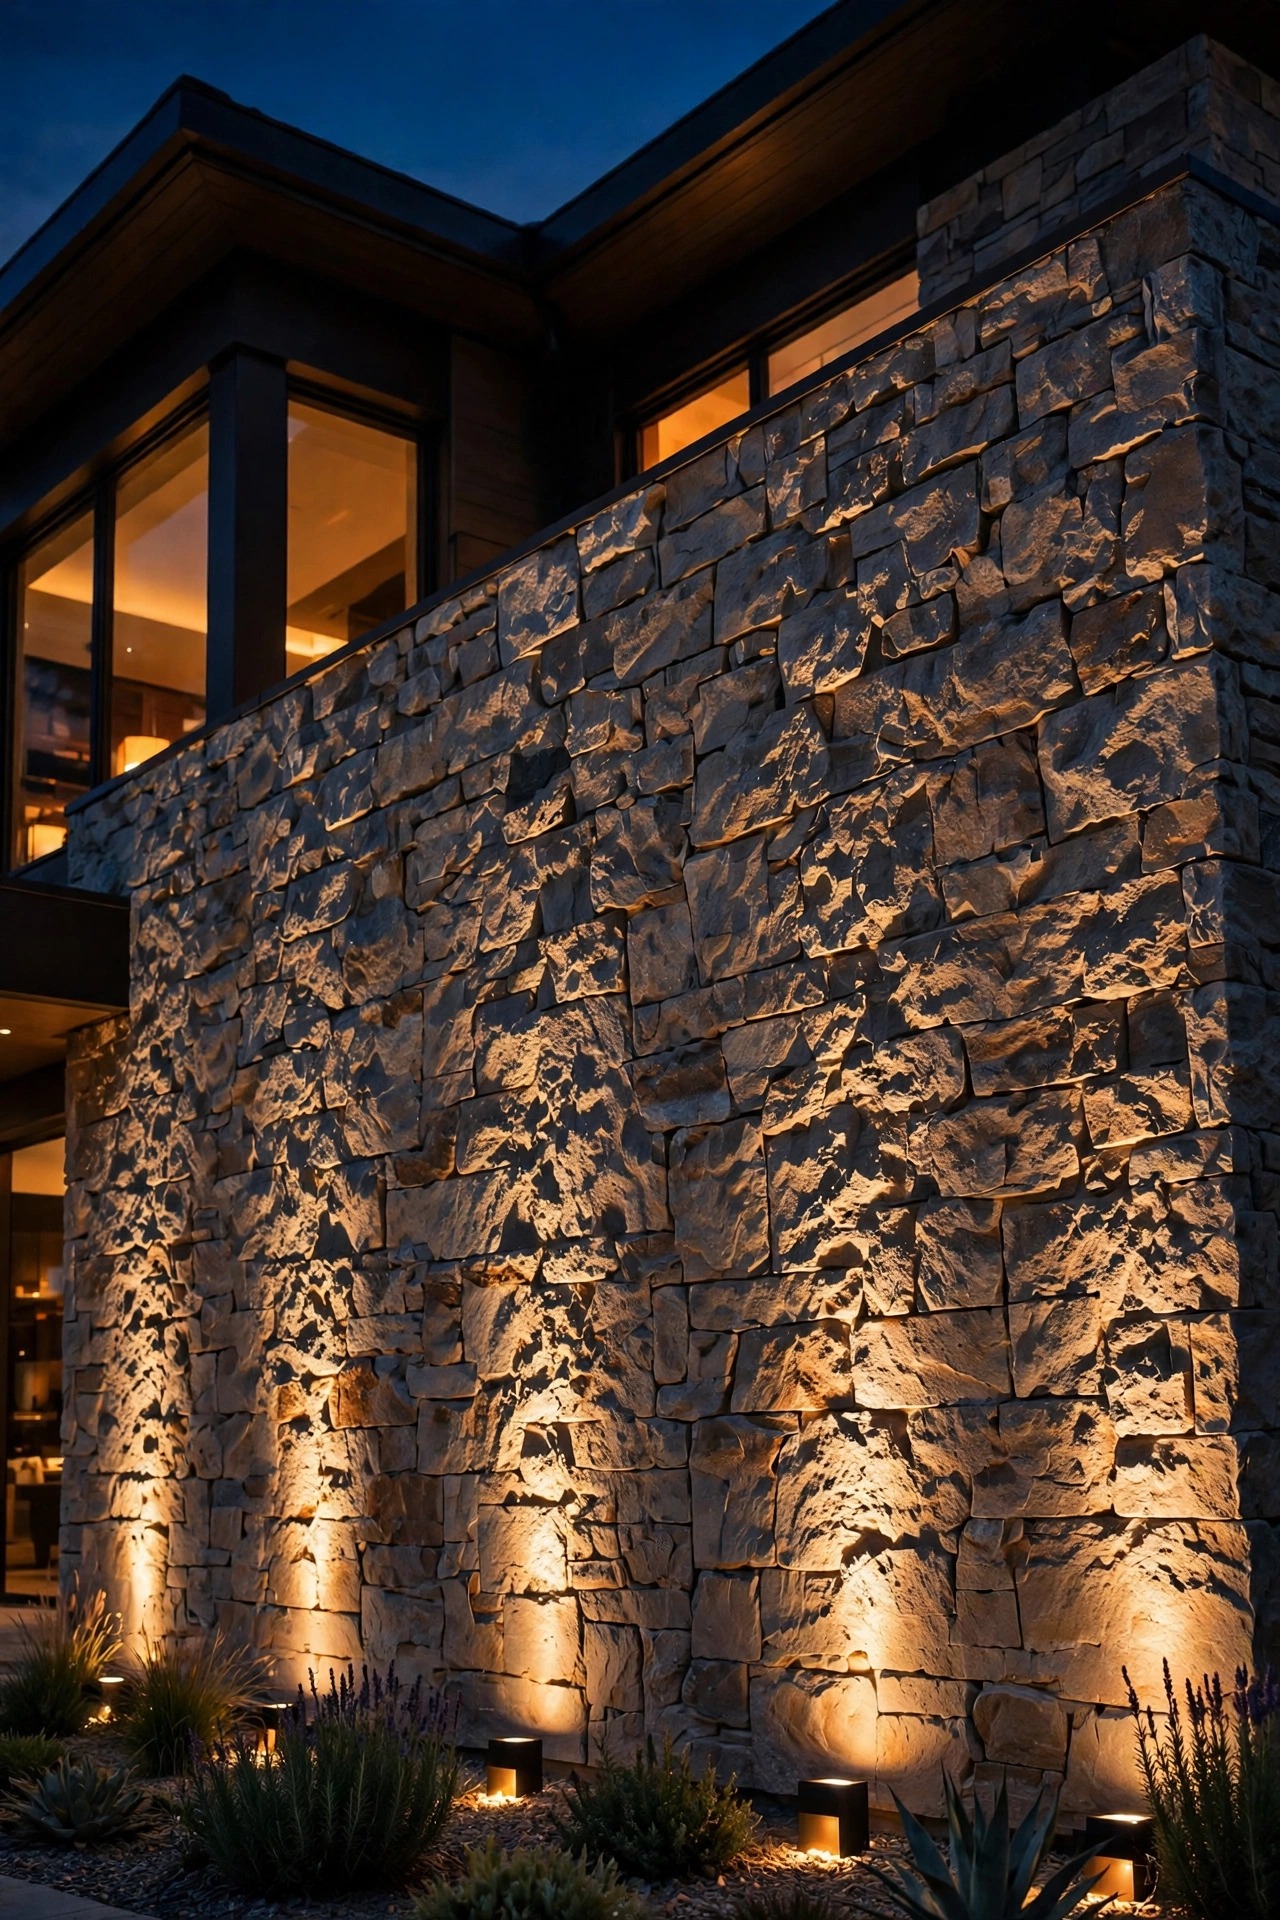
Architectural grazing is how estates make their masonry look carved after dark. Place a narrow-beam uplight 6 to 12 inches out from the wall, aimed almost straight up, so the light rakes across the stone and every texture and mortar line casts a tiny shadow. The closer the fixture, the more dramatic the texture; pull it back 2 to 3 feet and the wash softens into a gentle glow for smooth stucco or painted brick. Work in bays — one fixture centered under each window bay or pilaster reads as rhythm, and rhythm reads as design. Keep the color temperature consistent at 2700K so limestone stays honey-colored rather than hospital gray. This is one place to resist brightness: a grazed wall at moderate intensity looks like candlelight, while an overpowered one looks like a stadium. I always recommend testing with a single fixture and a long extension lead for a night or two before trenching the whole run; an evening of adjusting beats a season of regretting.
Suggested budget range: $150 – $400.
6. Crown Specimen Trees With Multiple Uplights
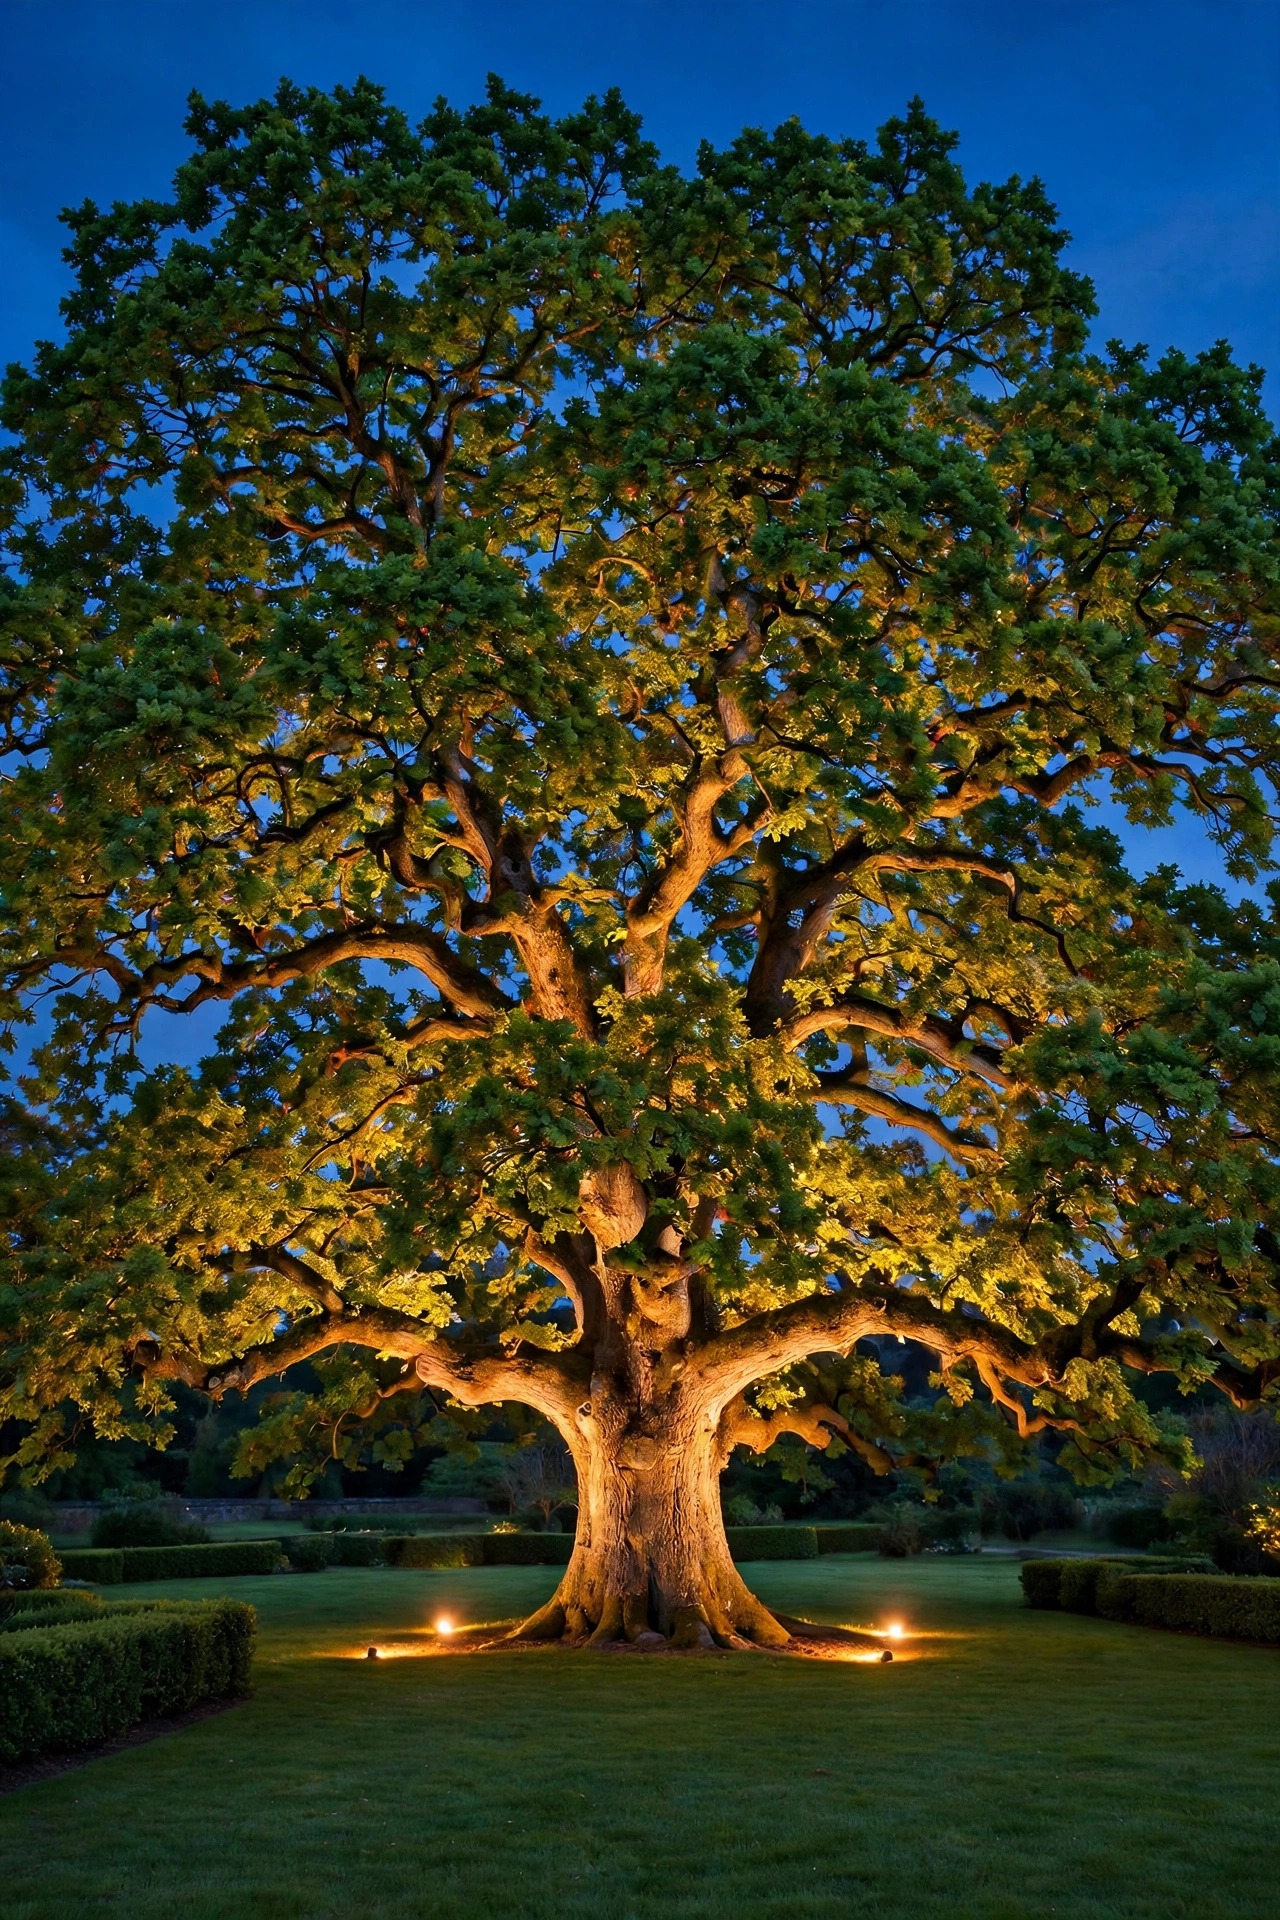
One spotlight under a great oak looks like a campfire trick; three or four, artfully placed, look like a resort. For a mature canopy tree, I use at least three uplights arranged in a wide triangle a few feet out from the trunk, each aimed at a different third of the canopy so the whole crown fills with dappled light instead of one hot column. Add a fourth, softer fixture to catch the trunk itself if the bark has character. Mature estates often light the same tree from the front for guests and let the back stay dark for depth. Mix beam spreads: narrow beams to punch the high branches, a wide flood to wash the underside of the canopy that people sit beneath. This is the technique I detail step by step in my tree uplighting guide, including aiming angles for different canopy shapes. Keep fixtures off the trunk — strap-mounted lights wound bark — and re-aim every spring, because a growing tree rearranges its own lighting design annually whether you plan for it or not.
Suggested budget range: $300 – $900.
7. Moonlight From High in the Branches
Moonlighting is the most romantic effect in the luxury playbook, and the one guests ask about most. A fixture mounted 25 to 35 feet up in a large tree, fitted with a soft wide beam and a glare shield, filters down through the branches and paints the lawn with the same dappled pattern as real moonlight. Shadows of leaves move in the breeze, paths get gentle guidance without a single visible path light, and a terrace below feels candlelit. Use a cool-neutral lamp a touch higher in temperature — around 3000K — to sell the moonlit illusion, or stay at 2700K if you prefer the whole property in one warm family. This is professional work: it needs a climber or bucket lift, stainless mounting hardware that will not girdle the limb, and a cable run down the back of the trunk. Have the arborist combine the install with routine pruning to save a second lift fee. In my experience, one moonlight over the main lawn or terrace does more for atmosphere than a dozen path lights ever will.
Suggested budget range: $600 – $1,500.

8. Flank the Gate With Lantern-Topped Stone Piers
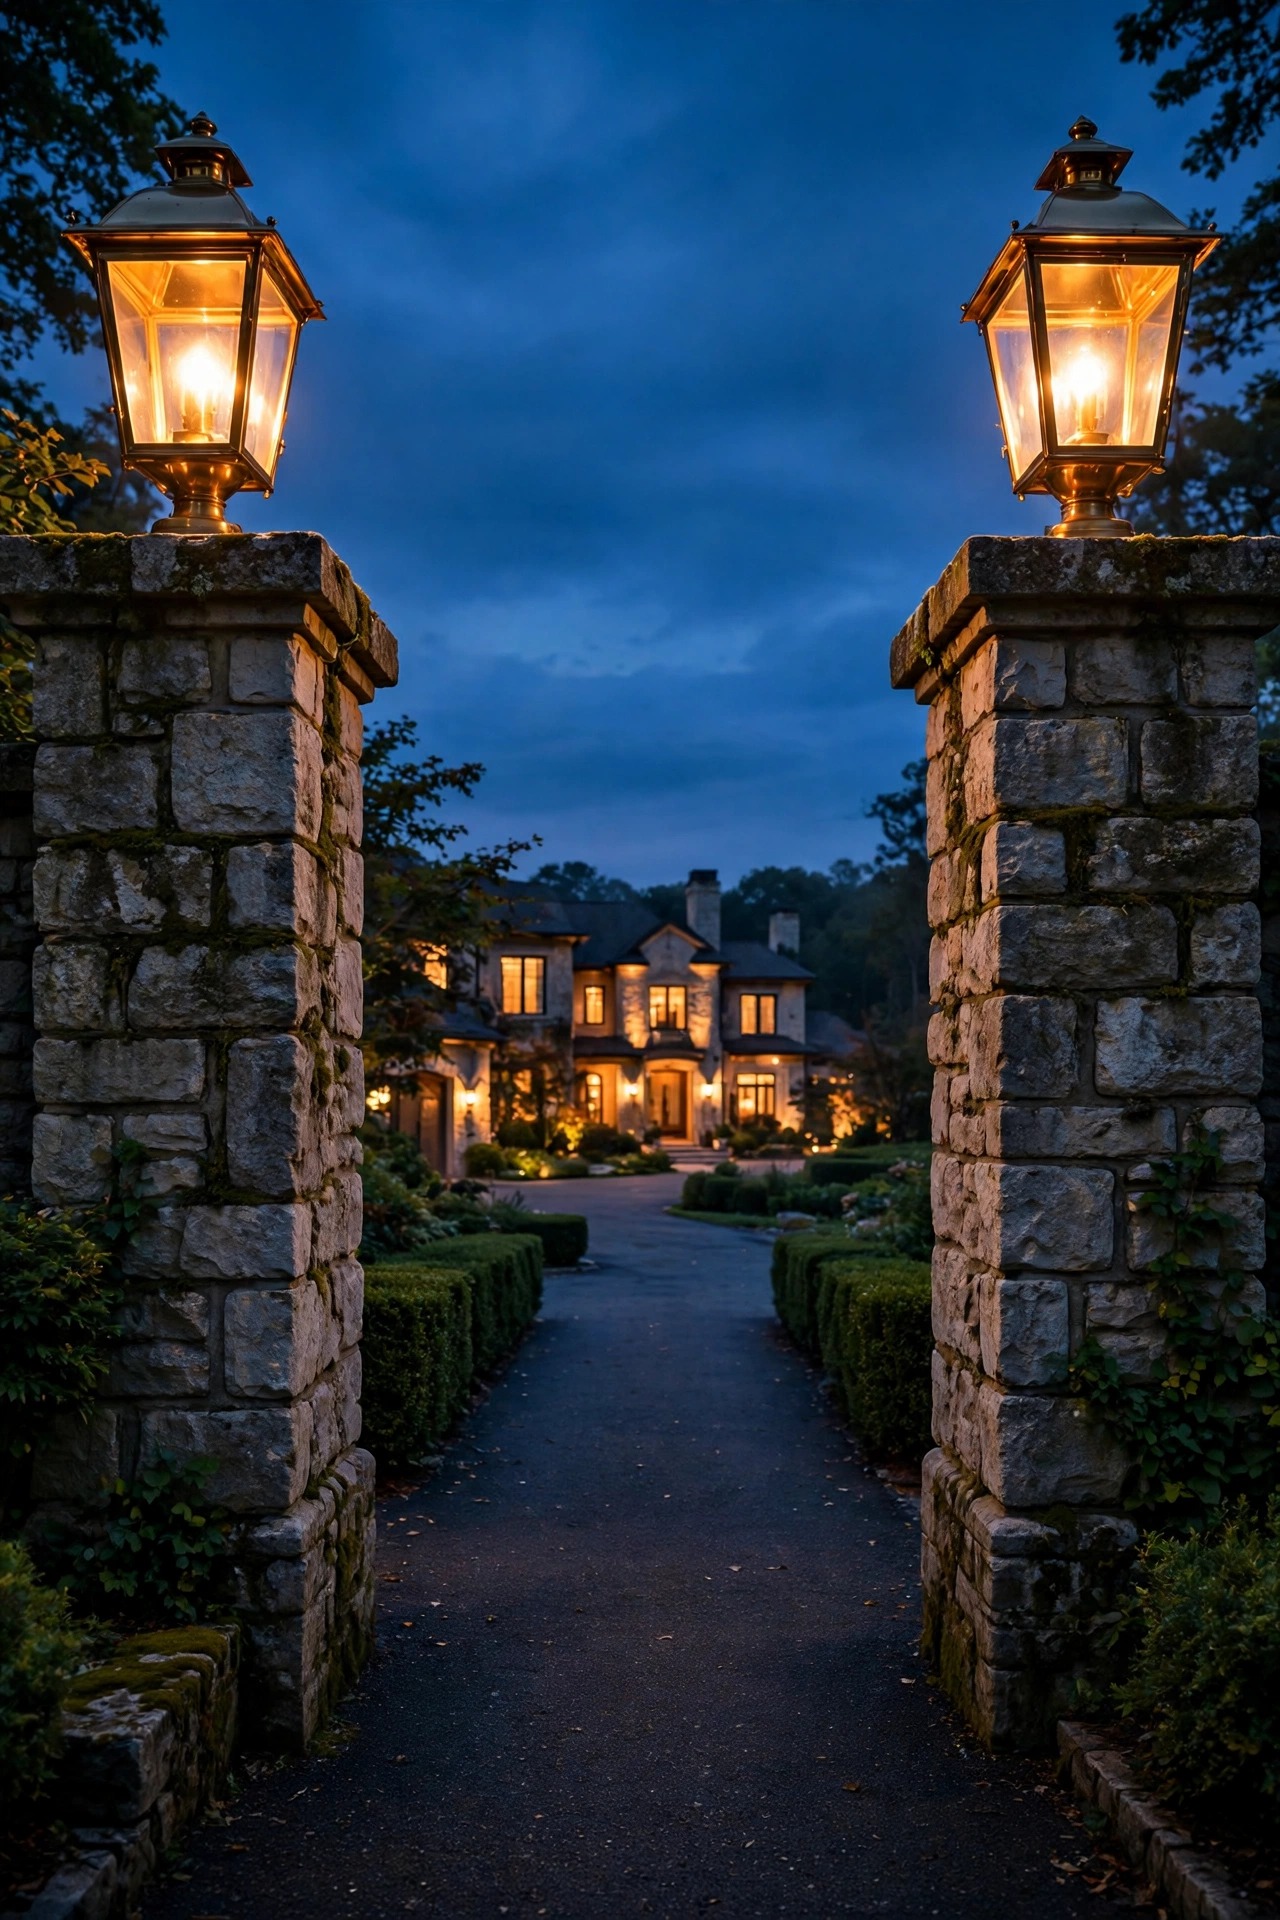
An estate announces itself at the street, and nothing does it more gracefully than a pair of stone or brick piers crowned with substantial lanterns. Size the lanterns generously — 18 to 24 inches tall on a typical pier — because they are read from a moving car and from far down the street. Match the metal and glass to the entry sconces so the design story starts at the curb and finishes at the front door. Run true low-voltage cable under the drive in conduit while any gate work is happening; solar pier caps never reach the same brightness or reliability, and they fade unevenly, which looks worse than no light at all. If the piers flank an automatic gate, ask the electrician to tie the lanterns into the same photocell circuit as the entry so the whole arrival sequence wakes up together at dusk. Add a slim downlight under each cap if the piers are tall, washing the stonework itself. Honestly, I have seen plain ranch houses borrow instant gravitas from two well-lit piers — it is architecture and lighting in one gesture.
Suggested budget range: $500 – $1,500.
9. Edge the Motor Court With Flush Markers
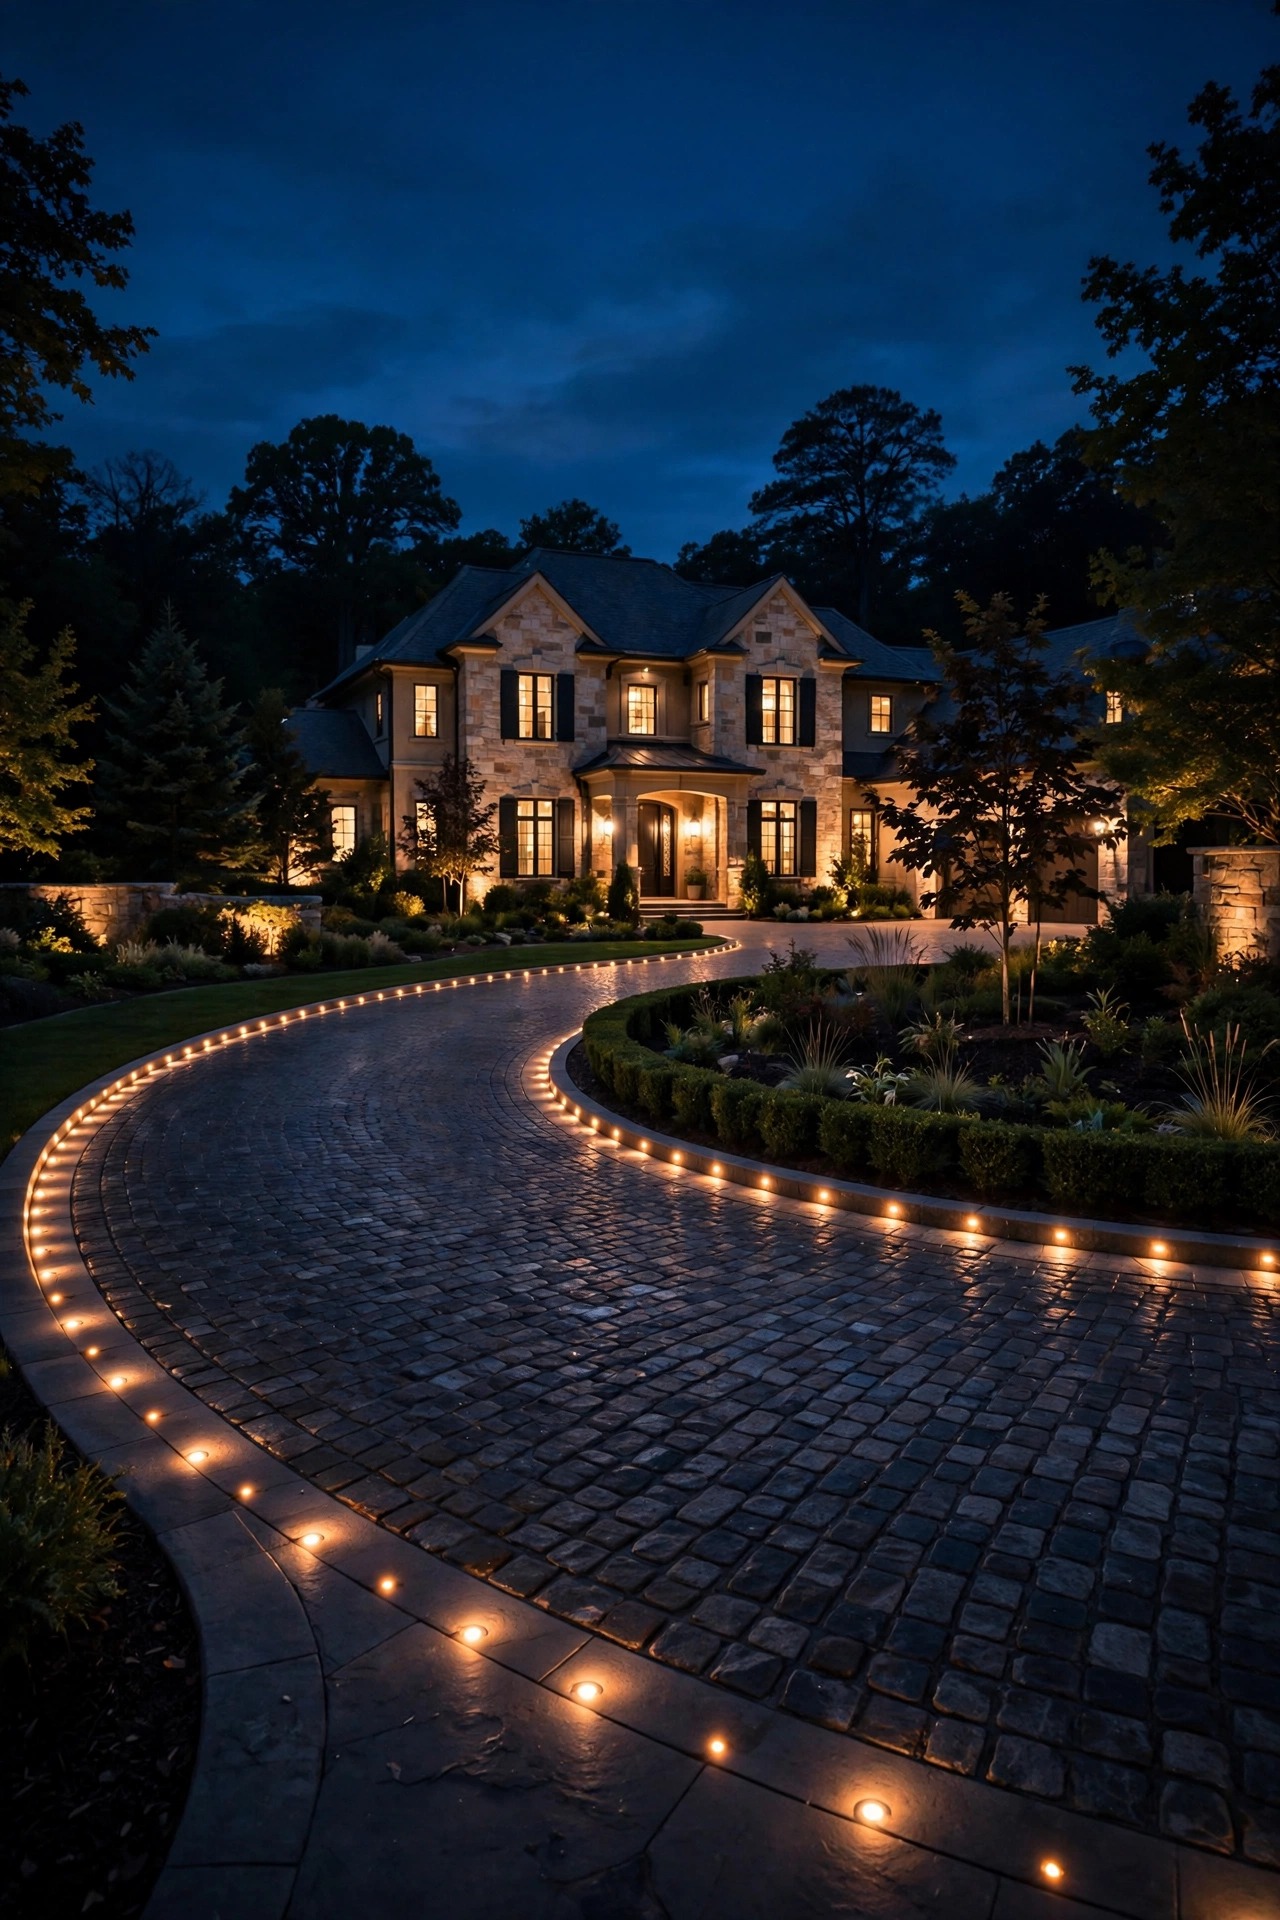
For the wide sweep of a motor court or circular drive, visible bollards can feel suburban; flush in-grade markers feel like a fine hotel. Set small, drive-over-rated fixtures in a graceful arc along the paving edge, spaced 10 to 15 feet apart, so arriving cars read the curve of the court in soft pools of light. Choose fixtures that throw light low and wide across the pavement rather than up into drivers' eyes — shielded, louvered lenses are worth every penny here. On gravel courts, the same fixtures mounted in short brass collars at the edge keep them findable after raking. Keep this layer subtle and let the gate lanterns and facade do the talking; the markers are choreography, not decoration. Any fixture in a driving surface must be rated for vehicle loads and sealed against pressure washing, so read the spec sheet, not just the catalog photo. In my experience, this detail is the one visitors subconsciously register as "this place is properly looked after" before they even reach the door.
Suggested budget range: $100 – $300.
10. Light the Pool Like a Resort at Night
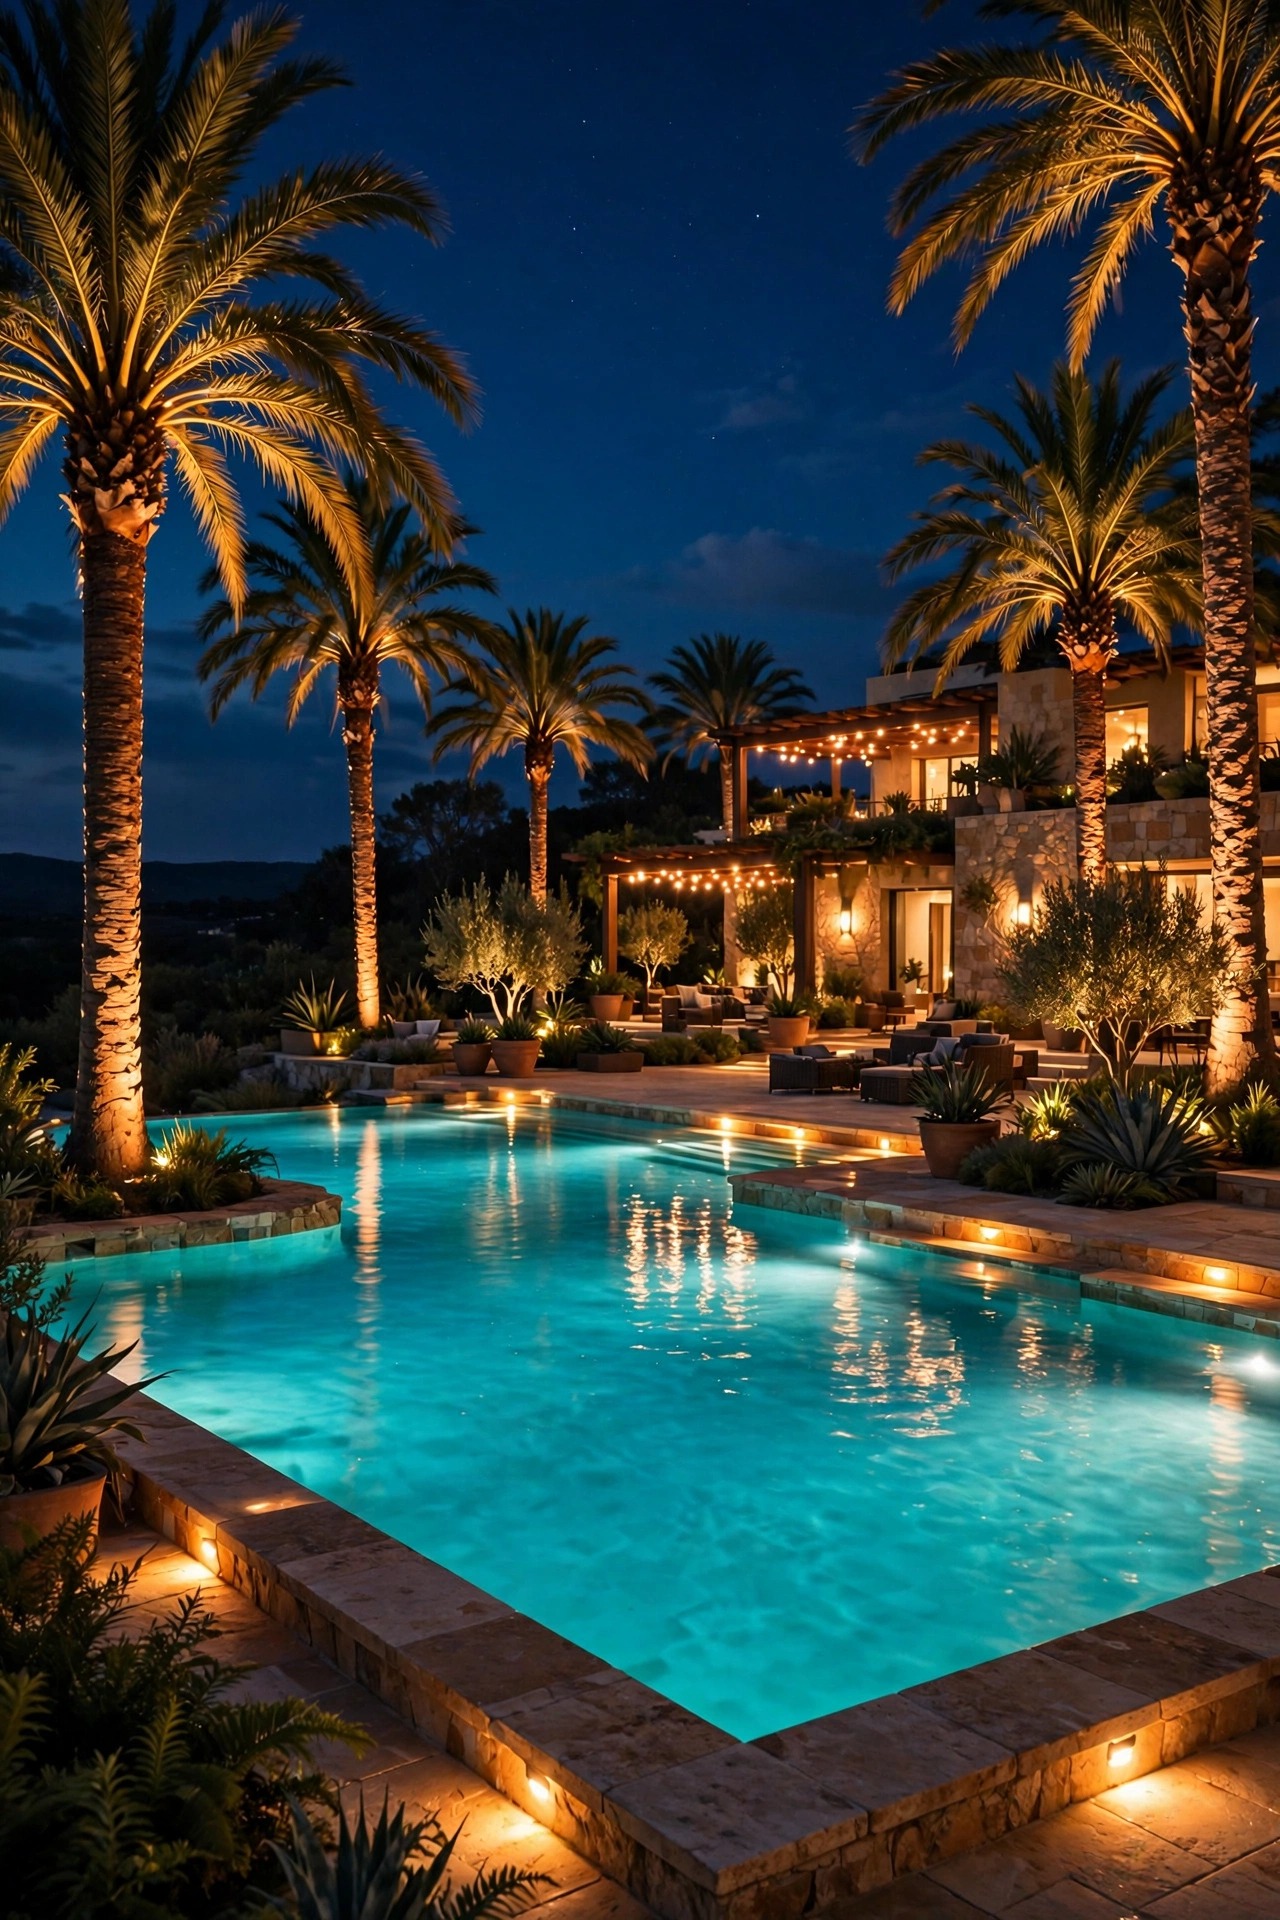
A luxury pool after dark should look like it belongs to a five-star hotel: calm, even, and safe. Modern LED pool lights in warm white — yes, warm, around 2700–3000K — make the water glow turquoise-gold instead of that dated electric blue. On a large pool, two or three smaller fixtures spaced along the long wall light the water more evenly than one blazing unit, and placing them on the wall facing the house keeps the direct glare out of swimmers' and loungers' eyes. Layer the surrounding scene rather than blasting it: low uplights on the palms or olive trees, a soft wash on the pool house, and candle-level accents on the deck. Everything within reach of the water needs proper bonding, GFCI protection, and fixtures rated for the zone — this is licensed-electrician territory, full stop. Add the pool lights to your evening smart scene so one tap brings the water, the trees, and the terrace up together. The effect is so pretty that, honestly, the pool becomes the best-looking room of the house after sunset.
Suggested budget range: $800 – $2,500.
11. Give the Fountain Its Own Spotlight
Moving water and light were made for each other. A submersible spotlight placed in the basin, aimed up through the falling sheet of a fountain, turns every droplet into a spark and gives an otherwise still courtyard a living centerpiece. For tiered fountains, one fixture in the main basin usually suffices; for a wall fountain, a small light tucked behind the spout makes the water arc glow like glass. Use fixtures rated for continuous submersion (IP68) on a GFCI circuit, and keep the lamp warm — 2700K reads as candlelight on stone, while cool white makes water look like a fish tank. If your fountain sits in a front courtyard, let it be the single brightest accent in the arrival sequence; the eye needs one star. Clean the lens monthly in hard-water areas, since mineral film dulls the sparkle fast. I always recommend putting fountain lights on their own dimmer zone: full sparkle for parties, a bare shimmer for quiet weeknights when the whole court is otherwise dark.
Suggested budget range: $250 – $700.

12. Build Light Into Stone Steps and Terraces
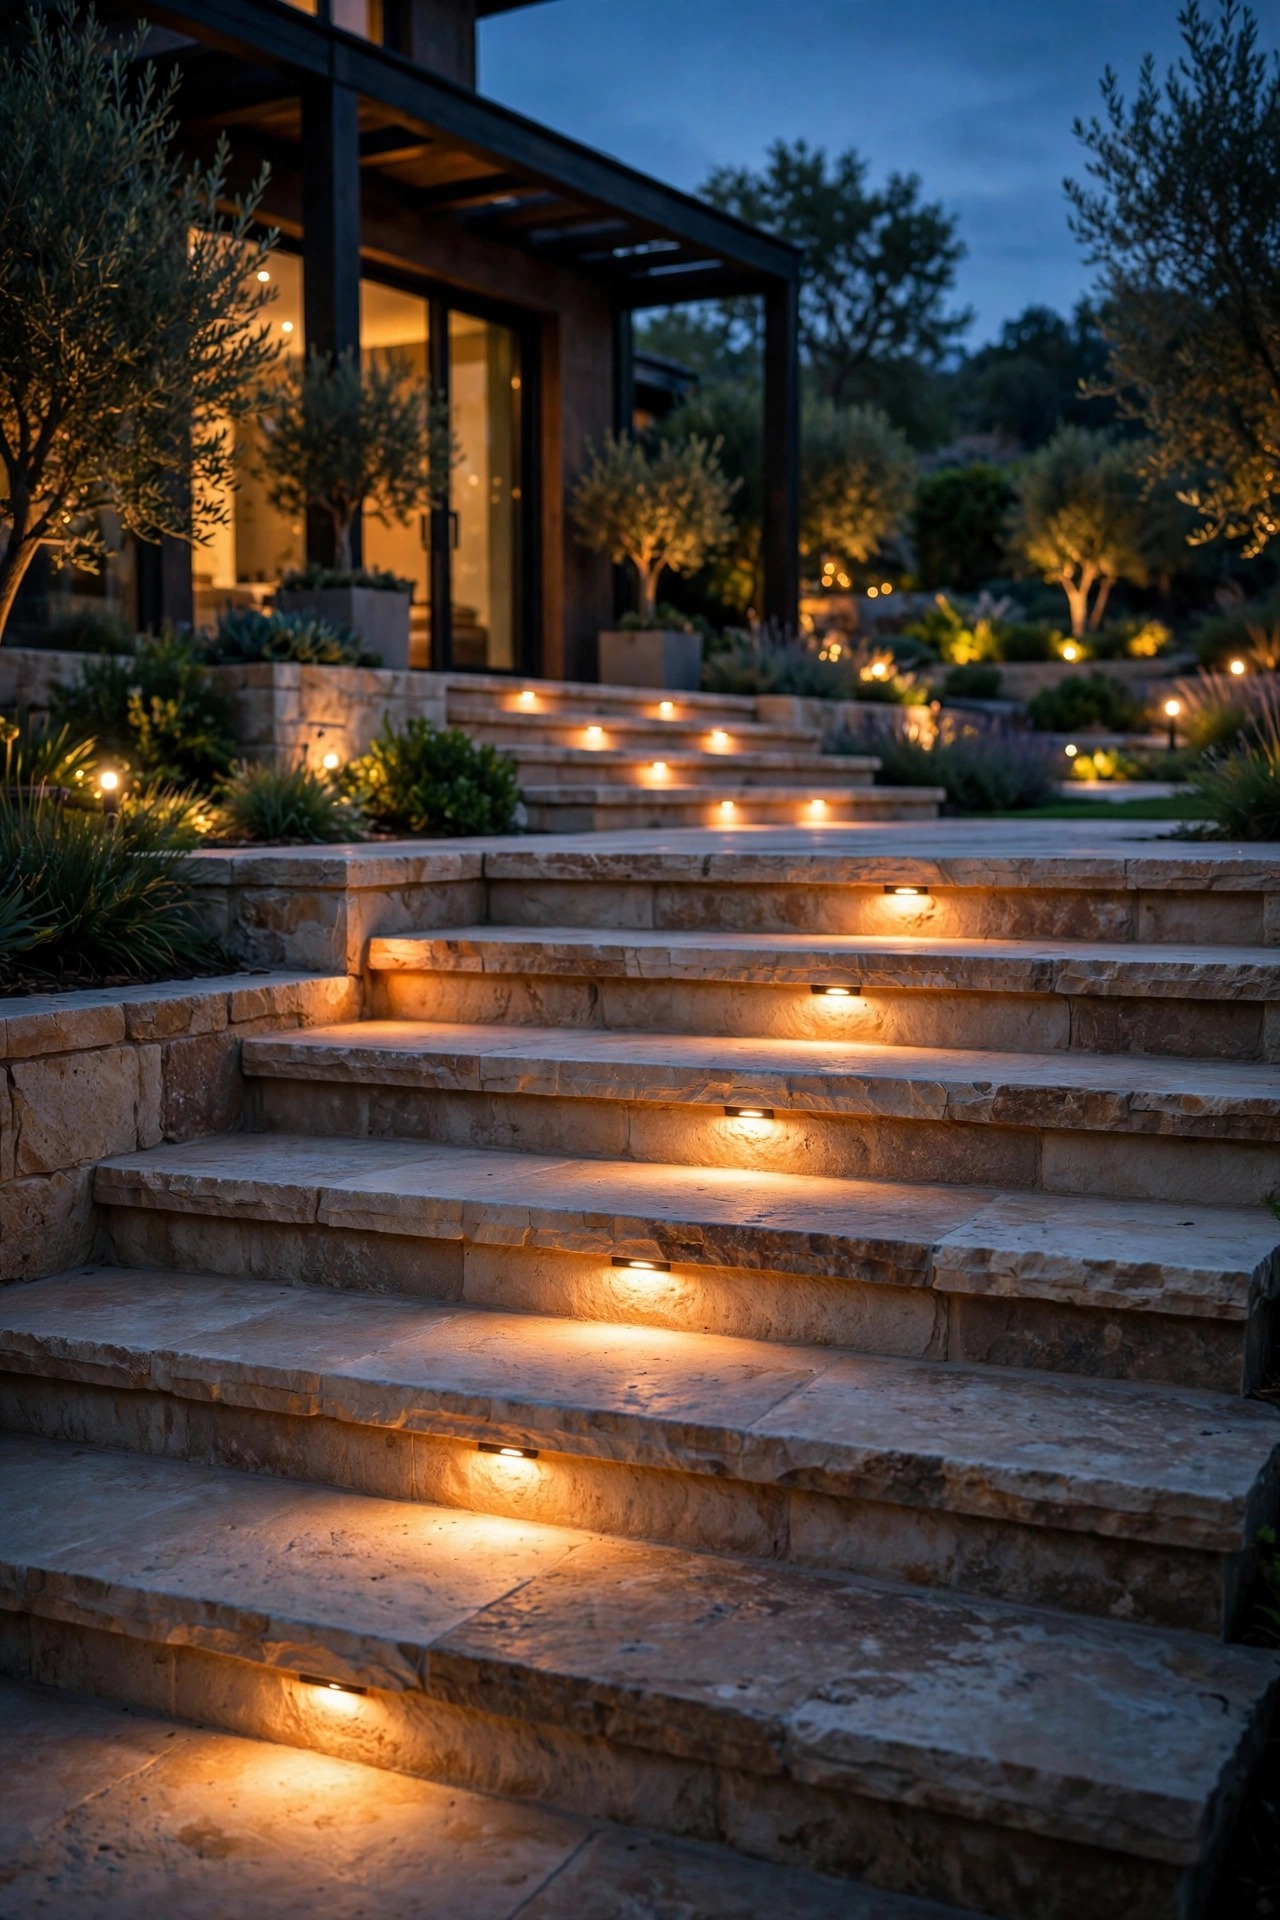
The most luxurious step lighting is the kind you never see until your foot needs it. Recessed fixtures set into the riser or the side wall of each stone step wash the tread below in a soft band of light — safe, glare-free, and invisible by day. On wide estate staircases, one fixture centered per step or a pair at the edges of a grand flight both work; keep the spacing rhythm even, because the eye reads stair light as pattern. Where steps are already built, a slim LED strip tucked under a handrail or a stone nosing achieves nearly the same effect without cutting masonry. All step lights near grade need sealed, wet-location housings and gentle output — you are lighting feet, not landing aircraft. Keep them on the same warm 2700K family and the same dimmer zone as the terrace they serve. Honestly, guests may never consciously notice this layer, and that is the point: they just feel that the whole property is easy, safe, and quietly expensive.
Suggested budget range: $75 – $250.
13. Hang a Real Chandelier in the Loggia or Pergola
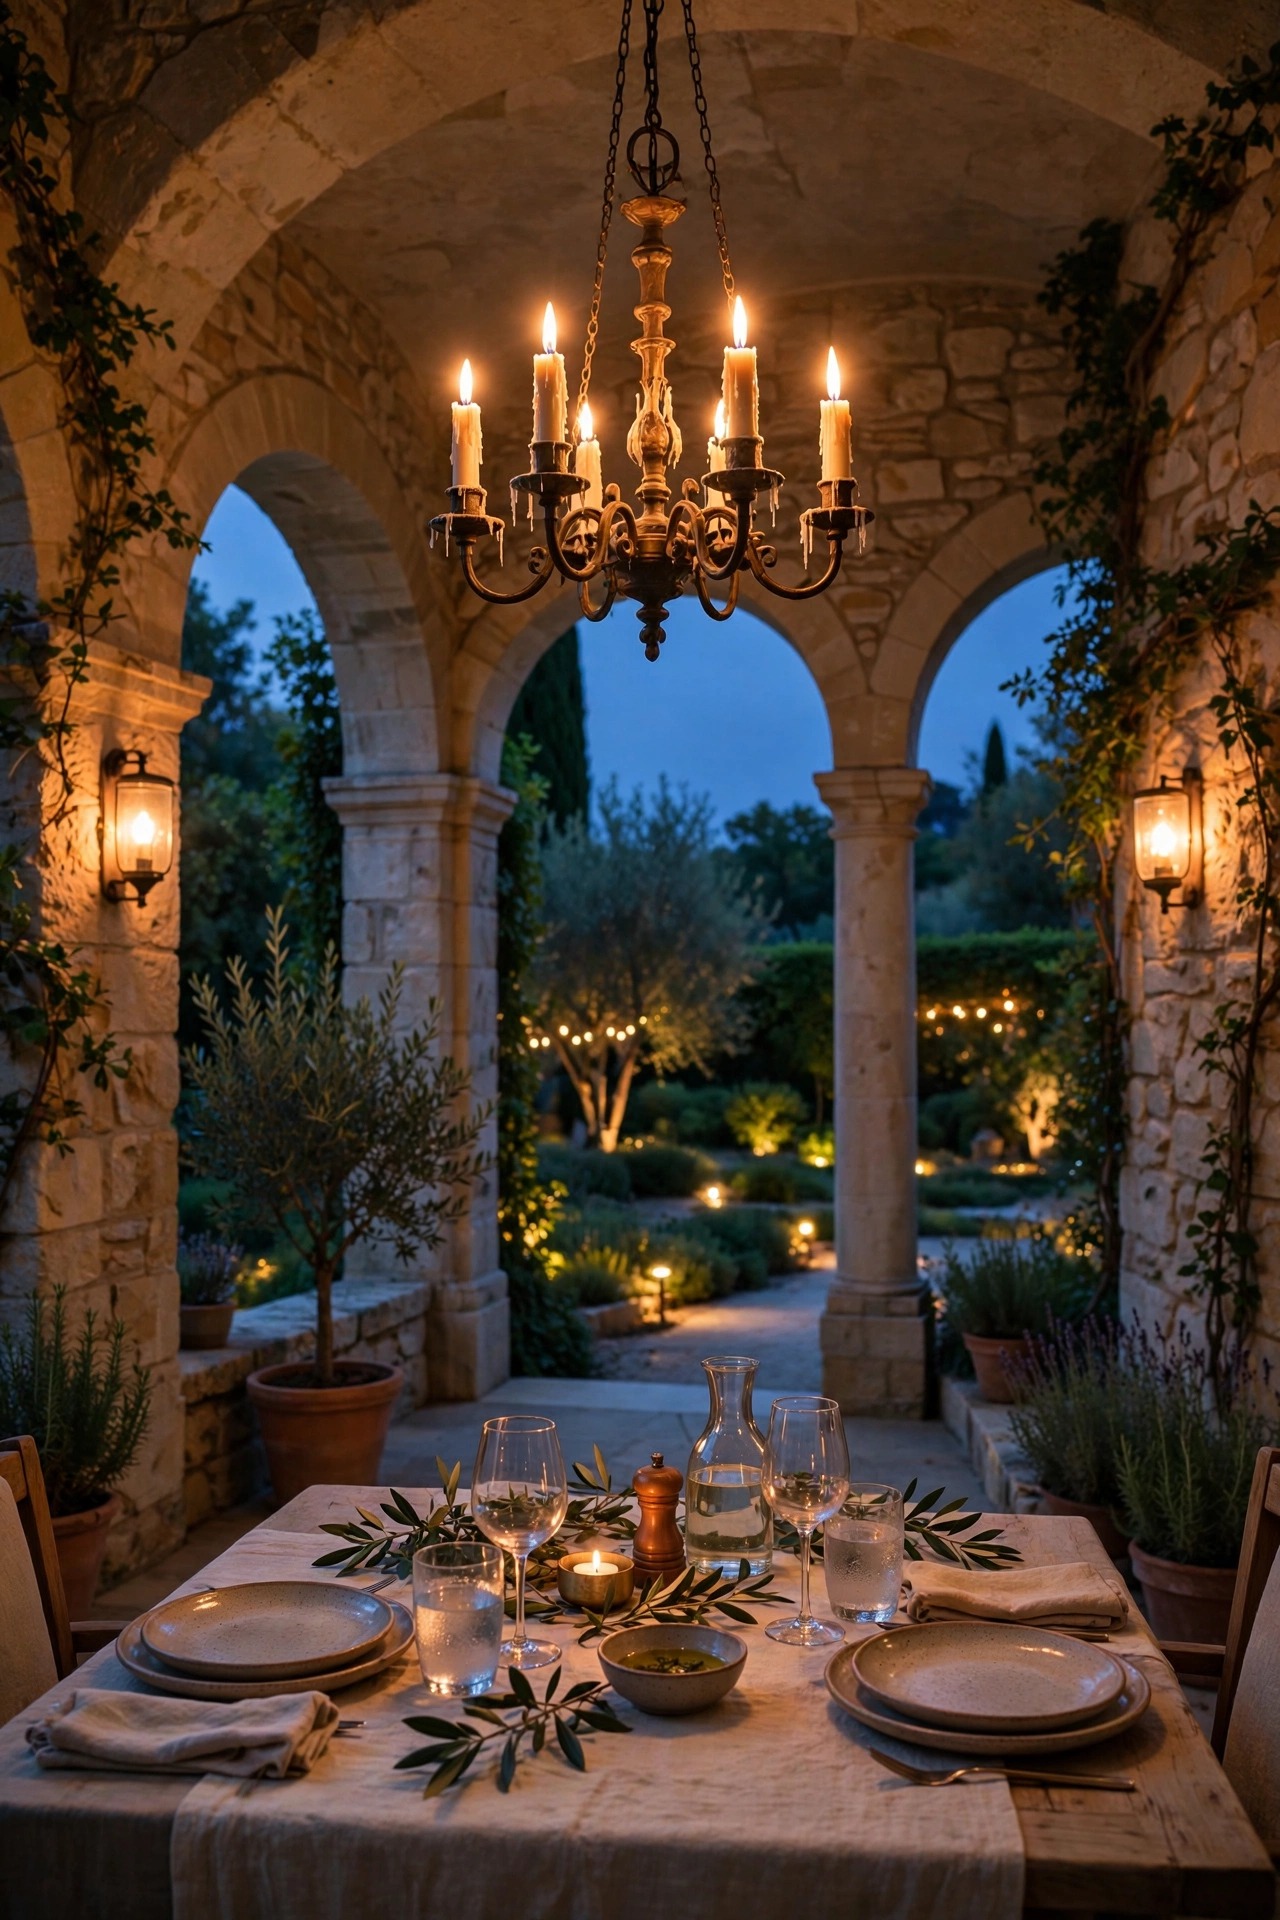
Outdoor rooms deserve ceiling jewelry. A wet-rated chandelier over the loggia dining table — candle-style bulbs, aged bronze or blackened brass, sized at least one-third the width of the table — instantly turns a covered terrace into the most glamorous room of the house. Hang it so the lowest point sits about 30 to 36 inches above the tabletop, and always on a dimmer; full brightness is for setting the table, candle-glow is for sitting at it. If your structure is a pergola rather than a solid roof, choose a fixture rated for full wet exposure and hang it from the central beam with a rated canopy and chain. Match the metal to your sconces and lanterns so the terrace reads as one designed suite. Keep real flame far away from the pergola vines and stick with LED filament bulbs everywhere near fabric cushions and dried plantings. In my experience, clients who add a chandelier end up eating outdoors twice as often — the room simply pulls people out after dark.
Suggested budget range: $600 – $2,000.
14. Anchor the Terrace With a Fire Feature Glow
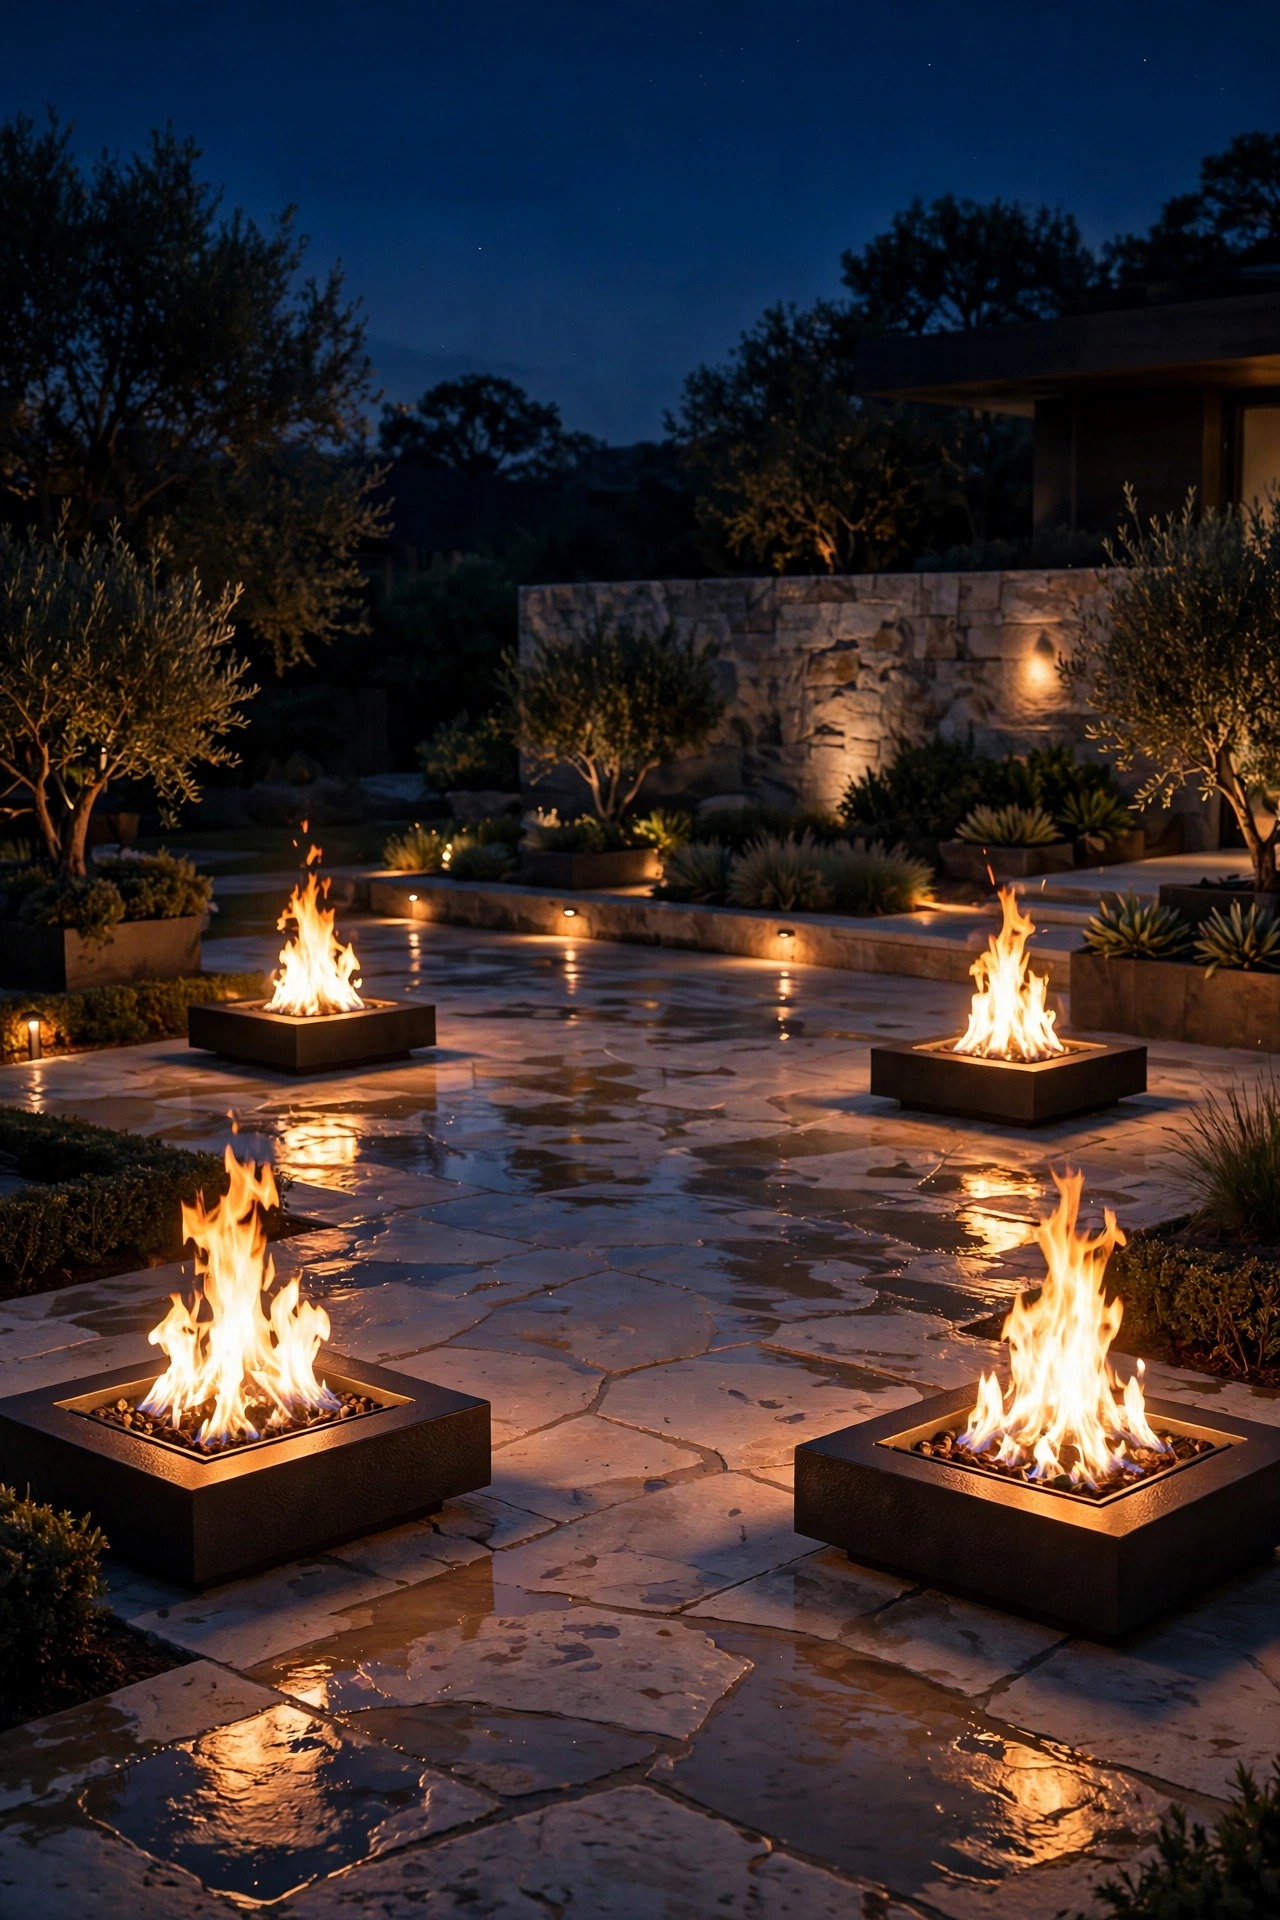
Fire is the original luxury light, and a well-placed fire feature gives a terrace a gravitational center that no fixture can match. A gas fire bowl at each corner of a pool, a linear fire trough along the seating wall, or one grand fire table on the terrace — each throws warm, moving light across faces and stonework in a way that flatters everything. Keep electric lighting around a fire feature deliberately dim; competing brightness kills the flame effect, so put nearby fixtures on their own dimmer zone and run them at half while the fire is lit. Observe clearances scrupulously: no fabric, foliage, or wooden structure within the manufacturer's stated distance, and a shutoff valve somewhere sensible and reachable. Linear burners need wind screens in breezy exposures or the flame leans and the effect turns scruffy. If open flame is not allowed in your area, high-quality flame-effect LED bowls are a respectable stand-in. Paired with the layered plan from idea one, a fire anchor is what turns a lit yard into an evening destination.
Suggested budget range: $1,000 – $4,000.
15. Uplight Statues, Urns, and Garden Art
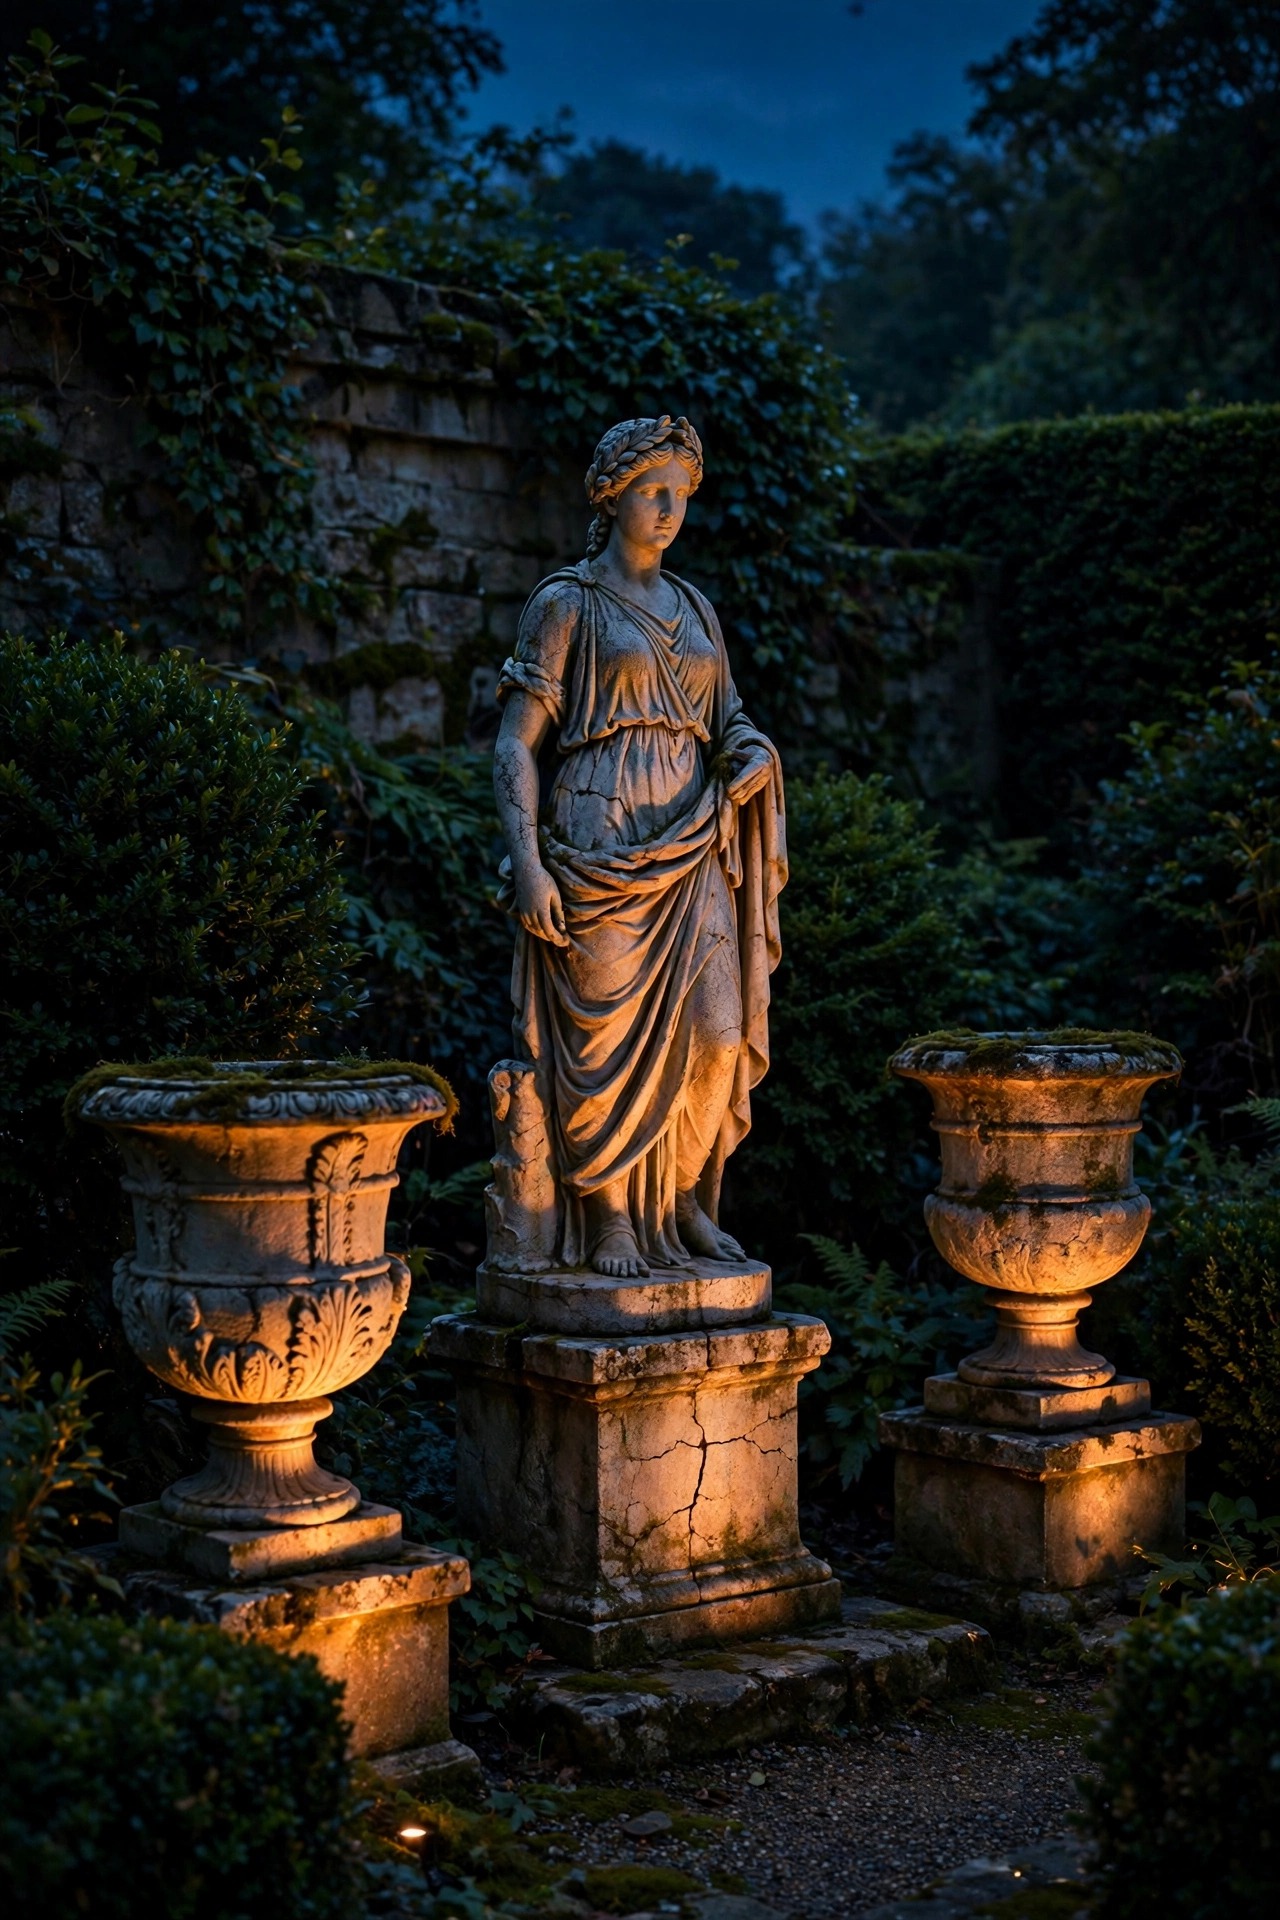
Estates collect focal points — a bronze, a pair of antique urns, a sculptural olive in a giant pot — and each deserves its own quiet spotlight. The rule I follow: light the art, not the garden around it. One narrow-beam fixture placed close to the base, aimed so the light rakes across the surface, reveals texture and form; a second, much dimmer fill from the opposite side keeps the shadows from going pitch black. Keep statues lit at a lower intensity than the facade; art should be discovered as guests wander, not announced like a monument at a theme park. For urns and planters, a small spotlight hidden inside the planting itself, aimed at the rim and trailing foliage, makes the arrangement float. Use fixtures with honeycomb louvers to trim spill so neighboring beds stay dark and the composition stays clean. Bronze and stone both look best at 2700K, which warms their surfaces the way candlelight does. Rotate which pieces get lit seasonally if you have several — a garden that changes its highlights through the year always feels freshly designed.
Suggested budget range: $100 – $300.
16. Backlight Sculptural Plants Into Silhouettes
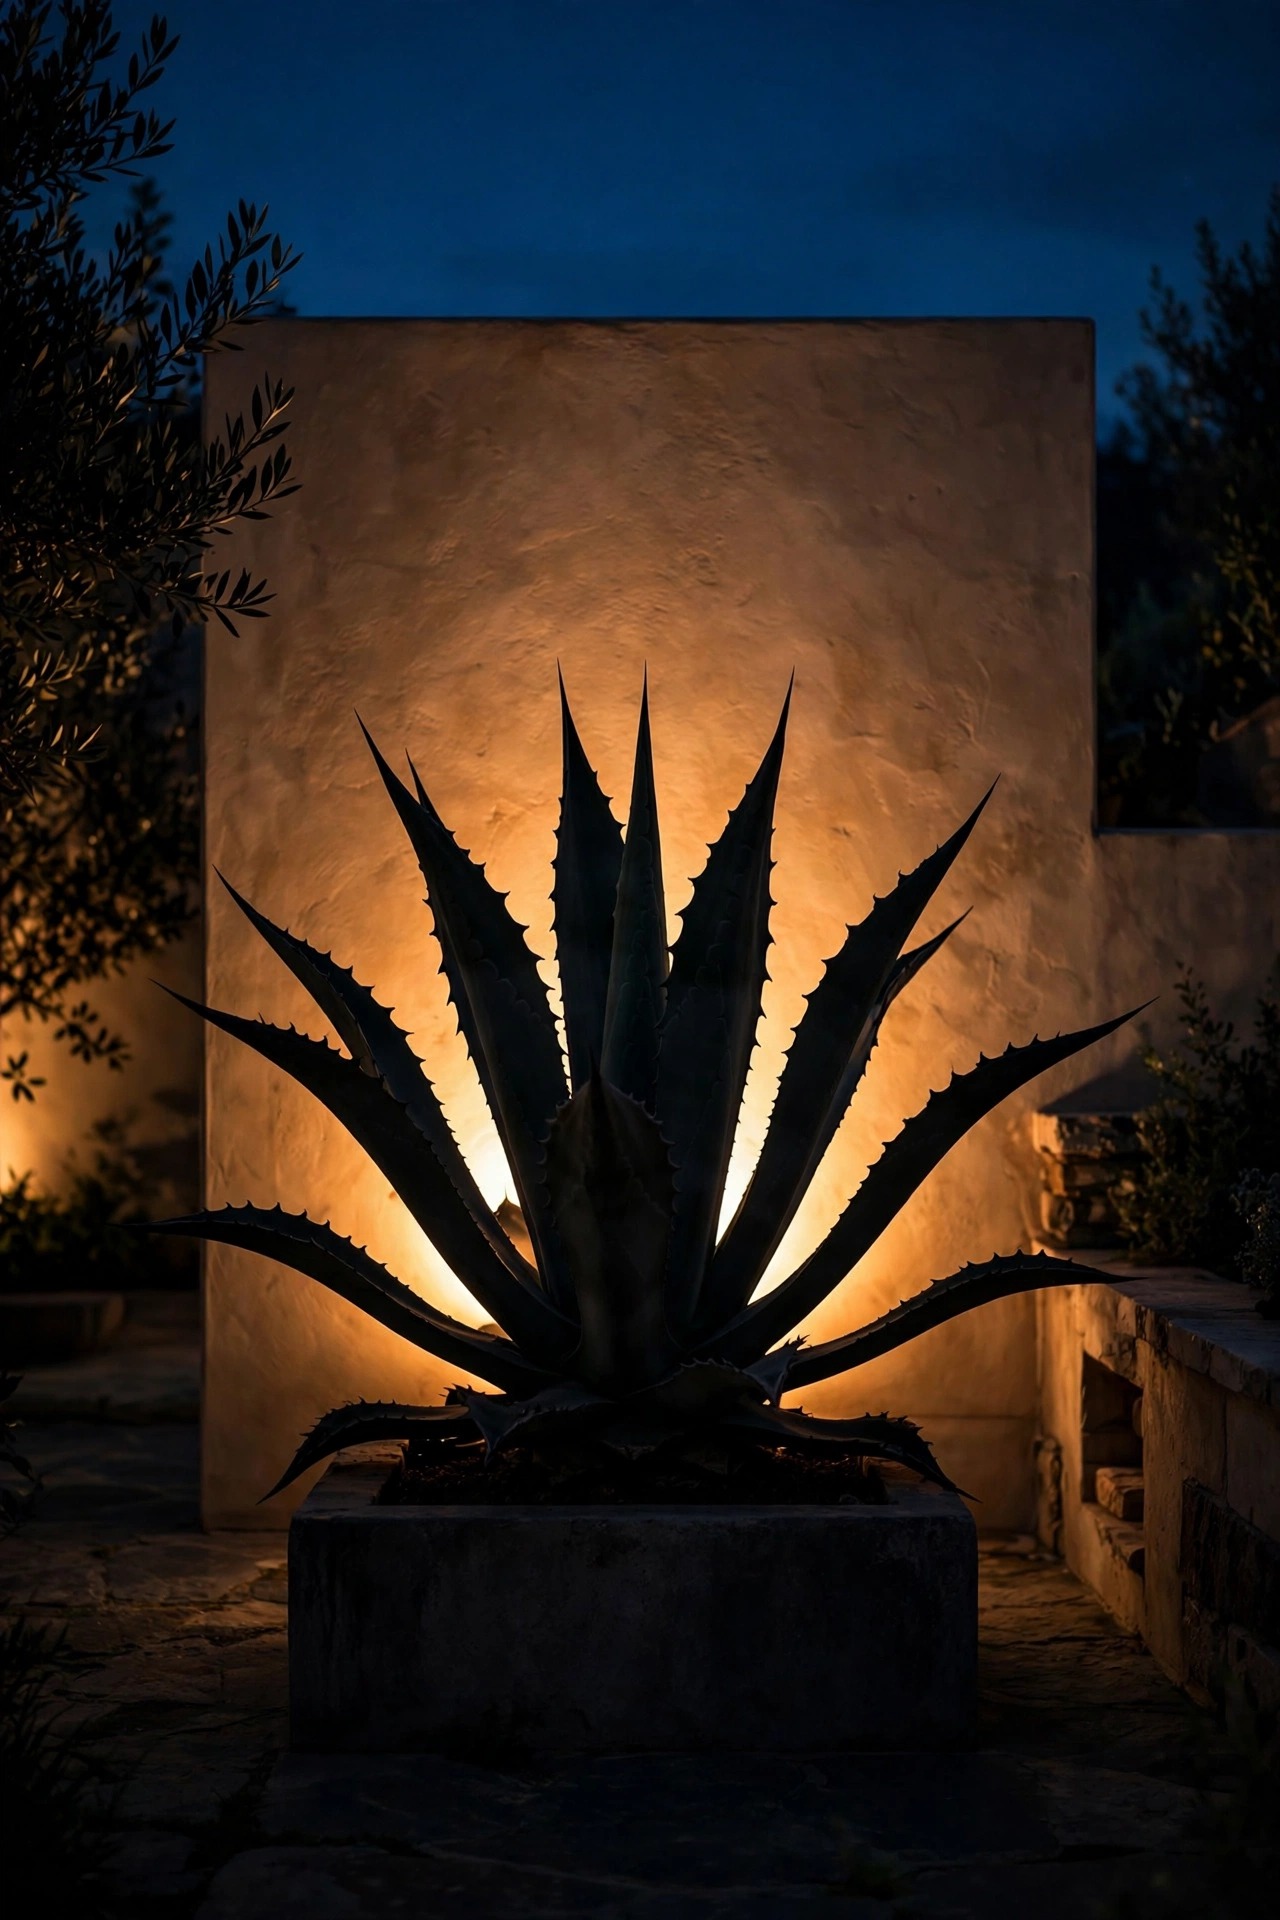
One of the most sophisticated tricks in the luxury book costs almost nothing: place a spotlight behind a sculptural plant — an agave, a Japanese maple, a clump of ornamental grass — and aim it at the wall or fence behind it. The plant becomes a dramatic black silhouette against a warm halo, graphic and modern even in a traditional garden. This works beautifully in courtyards and along garden walls where there is a flat backdrop to catch the light. Keep the fixture completely hidden behind the plant's own mass so no source is visible, and use a wide flood to spread the halo evenly. Agaves and yuccas reward this treatment most, since their geometry is bold from every angle. Pair silhouettes in odd numbers along a wall for a gallery effect, and let this layer sit on its own zone so you can turn the drama on for parties and off for quiet nights. In my experience, three well-placed silhouette lights deliver more wow per dollar than anything else on this entire list.
Suggested budget range: $75 – $200.
17. Wash Columns and Porticos With Gentle Downlight
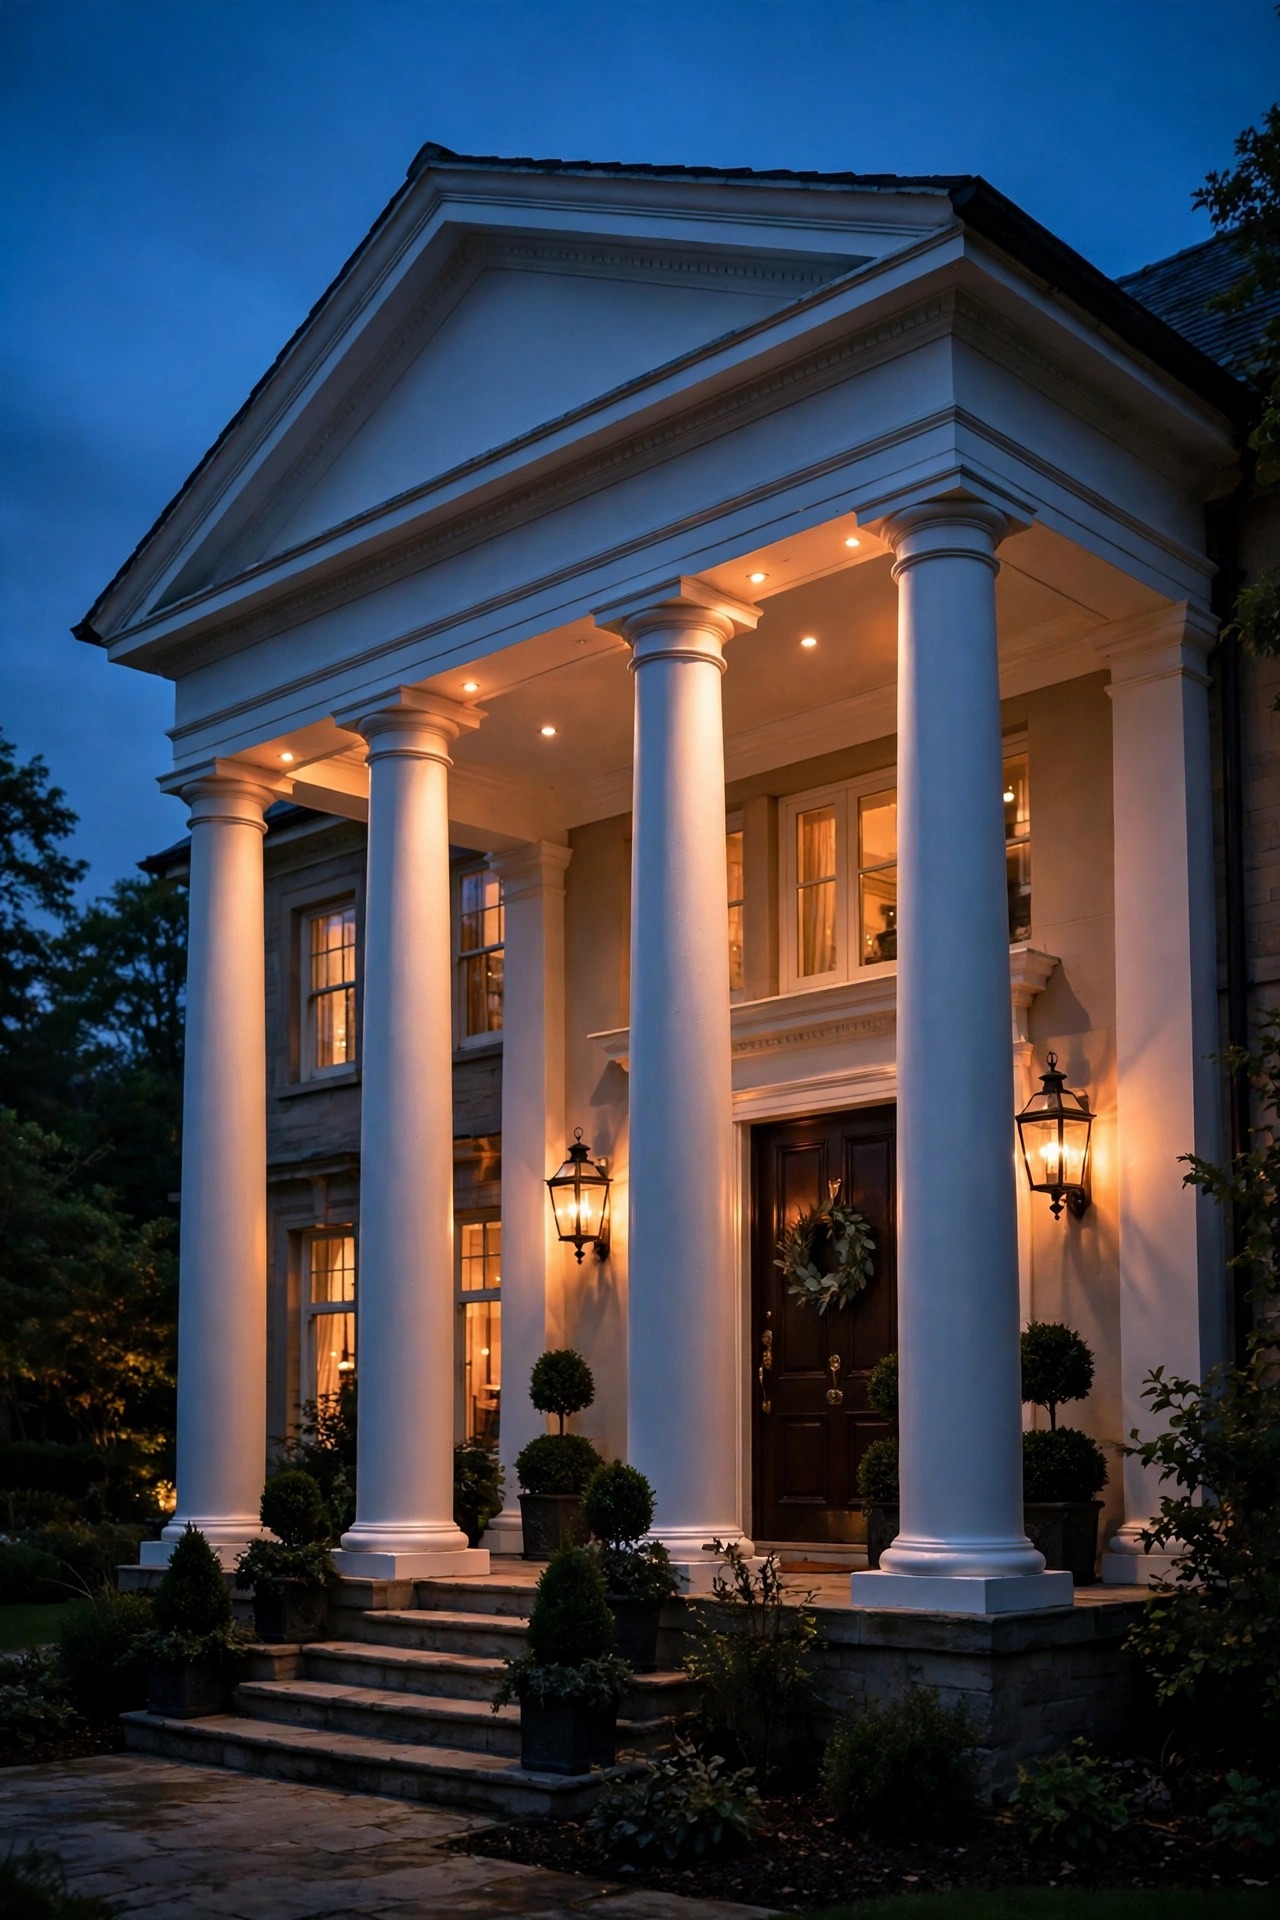
Downlighting a portico from its own ceiling or entablature gives an entrance the composed, architectural calm of a courthouse or a grand hotel. Recessed or surface-mounted downlights tucked at the top of each column wash the shaft in a soft vertical gradient that emphasizes height and makes pale stone glow. Where the ceiling is finished, small recessed cans with warm lamps and narrow beams, spaced to match the column rhythm, are nearly invisible by day. Mind the glare: fixtures should be regressed or louvered so a guest looking up sees architecture, not bulbs. This layer pairs beautifully with the oversized lanterns from idea three — the lanterns give the sparkle, the downlights give the structure. On painted wood porticos, keep output modest so the ceiling does not hotspot; dimming is essential. If your home has a two-story columned entry, honestly, this is the single most transformative item on the list. It is the difference between a house with porch lights and a house with presence.
Suggested budget range: $200 – $500.
18. Layer the Outdoor Kitchen Like an Indoor One
An estate outdoor kitchen deserves the same three-layer thinking as its indoor counterpart. Start with task light: discreet downlights or a row of small pendants over the counter and grill, bright enough to judge a steak by, on their own switch. Add ambient light from sconces on the kitchen structure or nearby wall so faces are lit when people gather with drinks. Finish with accent: a low uplight on the pizza oven's stone face, or a wash across the backsplash tile that makes the whole station glow. Everything near cooking surfaces must tolerate heat and grease, so choose sealed fixtures you can wipe down, and keep bulbs and wiring well clear of the grill hood. Treat light switches like appliance controls — at the station, not back at the house door. Keep the palette at 2700K so food looks appetizing; cool white makes a beautiful steak look gray, which rather defeats the purpose of the whole room.
Suggested budget range: $500 – $1,500.

19. Do String Lights the Grown-Up Way
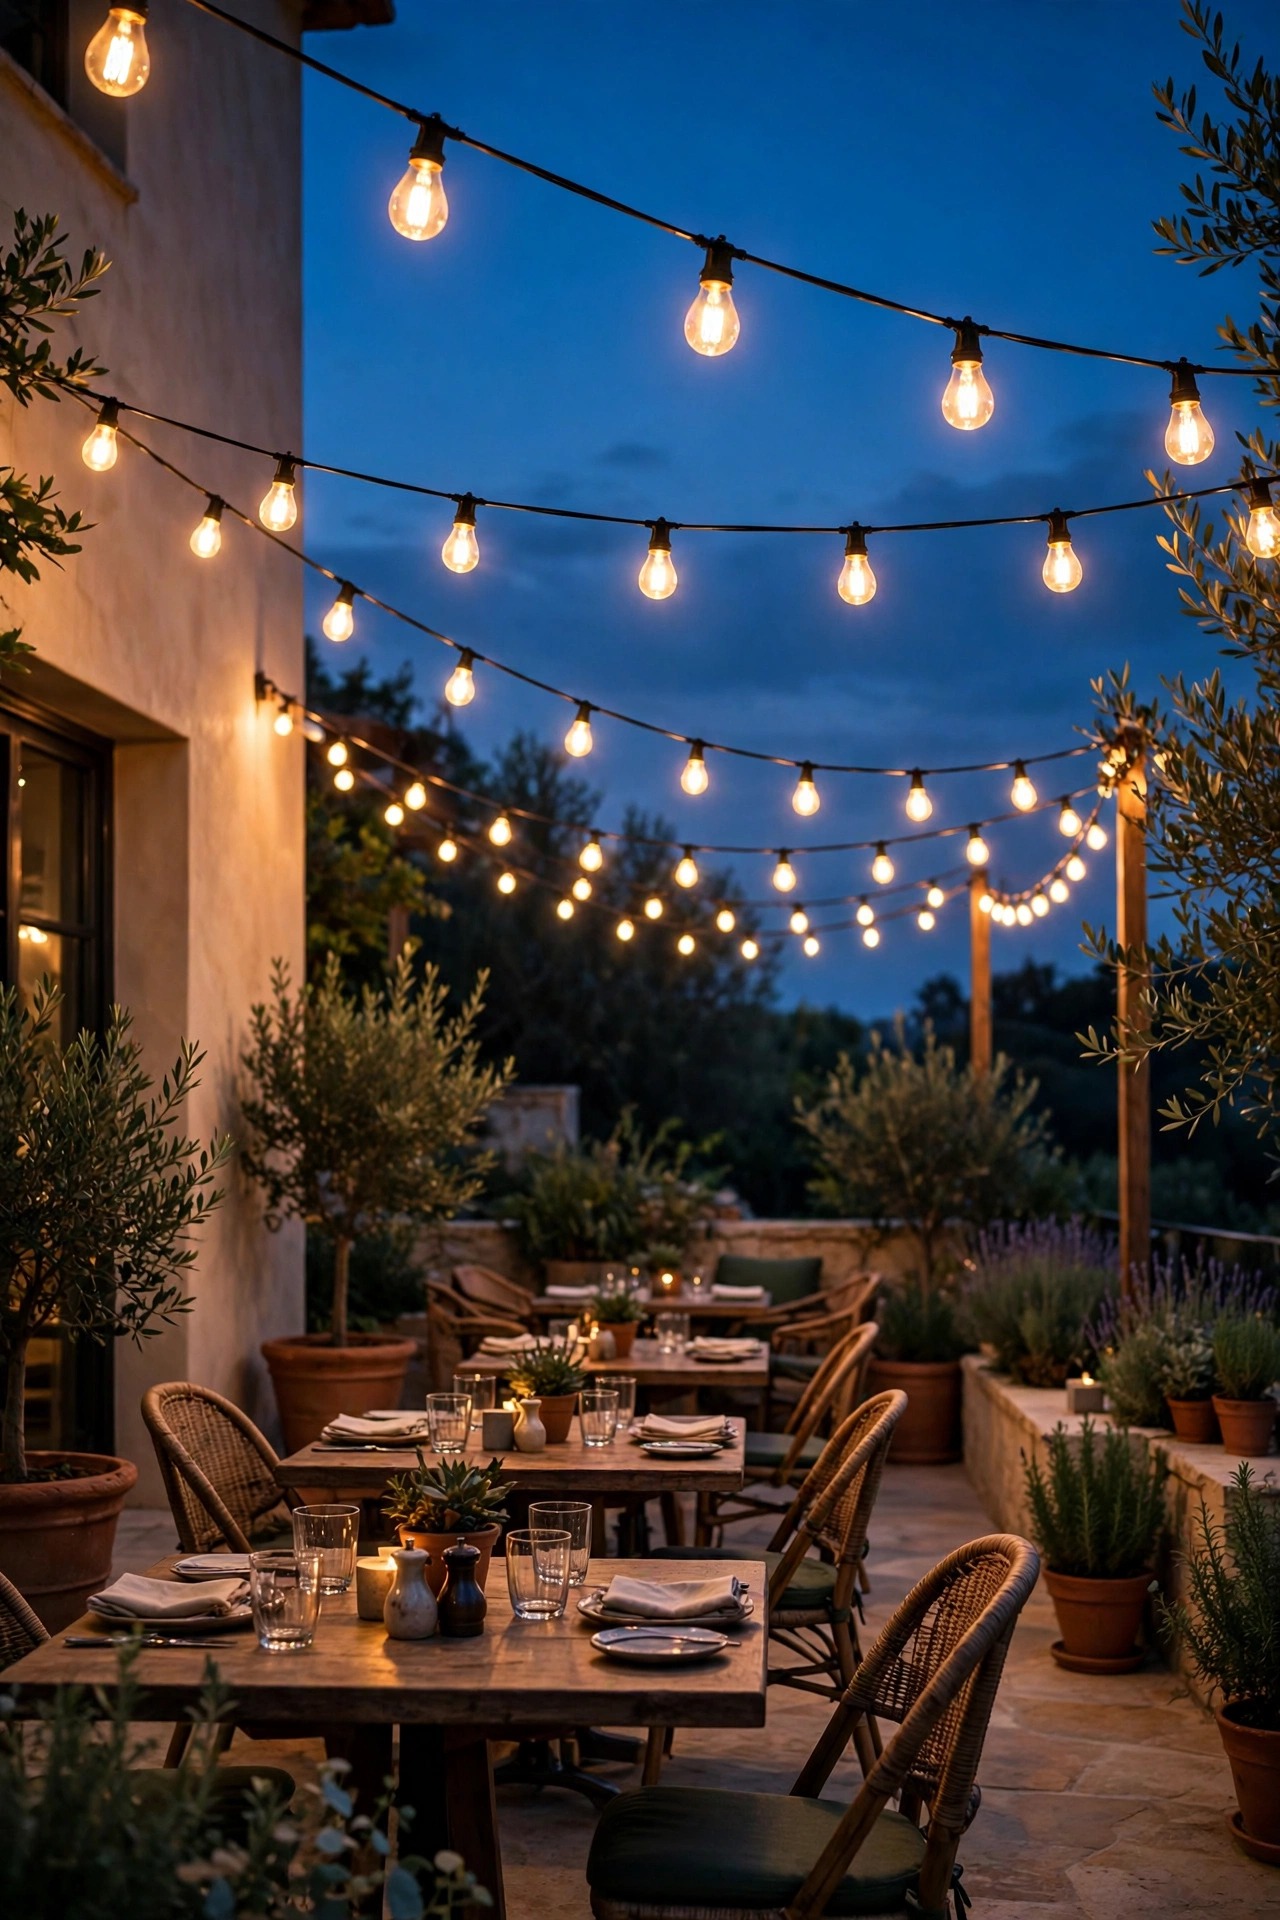
Yes, string lights can be luxurious — the difference is entirely in the execution. Skip the saggy bargain strands and choose commercial-grade cable with heavy sockets, strung in taut, deliberate catenary curves between the loggia, a pergola, and a tree, all on dimmers. Warm filament-style bulbs at even spacing, hung at a consistent height of about 9 to 10 feet over a dining terrace, read as a European piazza rather than a dorm patio. Keep the runs geometric: straight lines and clean angles look designed; random zigzags look like an afterthought. Use guide wires on long spans so the cable never droops unevenly, and anchor to structure or proper poles, never to gutters. One disciplined canopy over the entertaining area beats strands dripping from every branch of the garden. On a dimmer, café strands shift from cheerful dinner light to a faint starfield for late drinks, which is exactly the flexibility a terrace needs. This is the friendliest luxury upgrade for renters of the idea — big effect, no trenching.
Suggested budget range: $200 – $600.
20. Commit to One Warm Temperature and Dim Everything
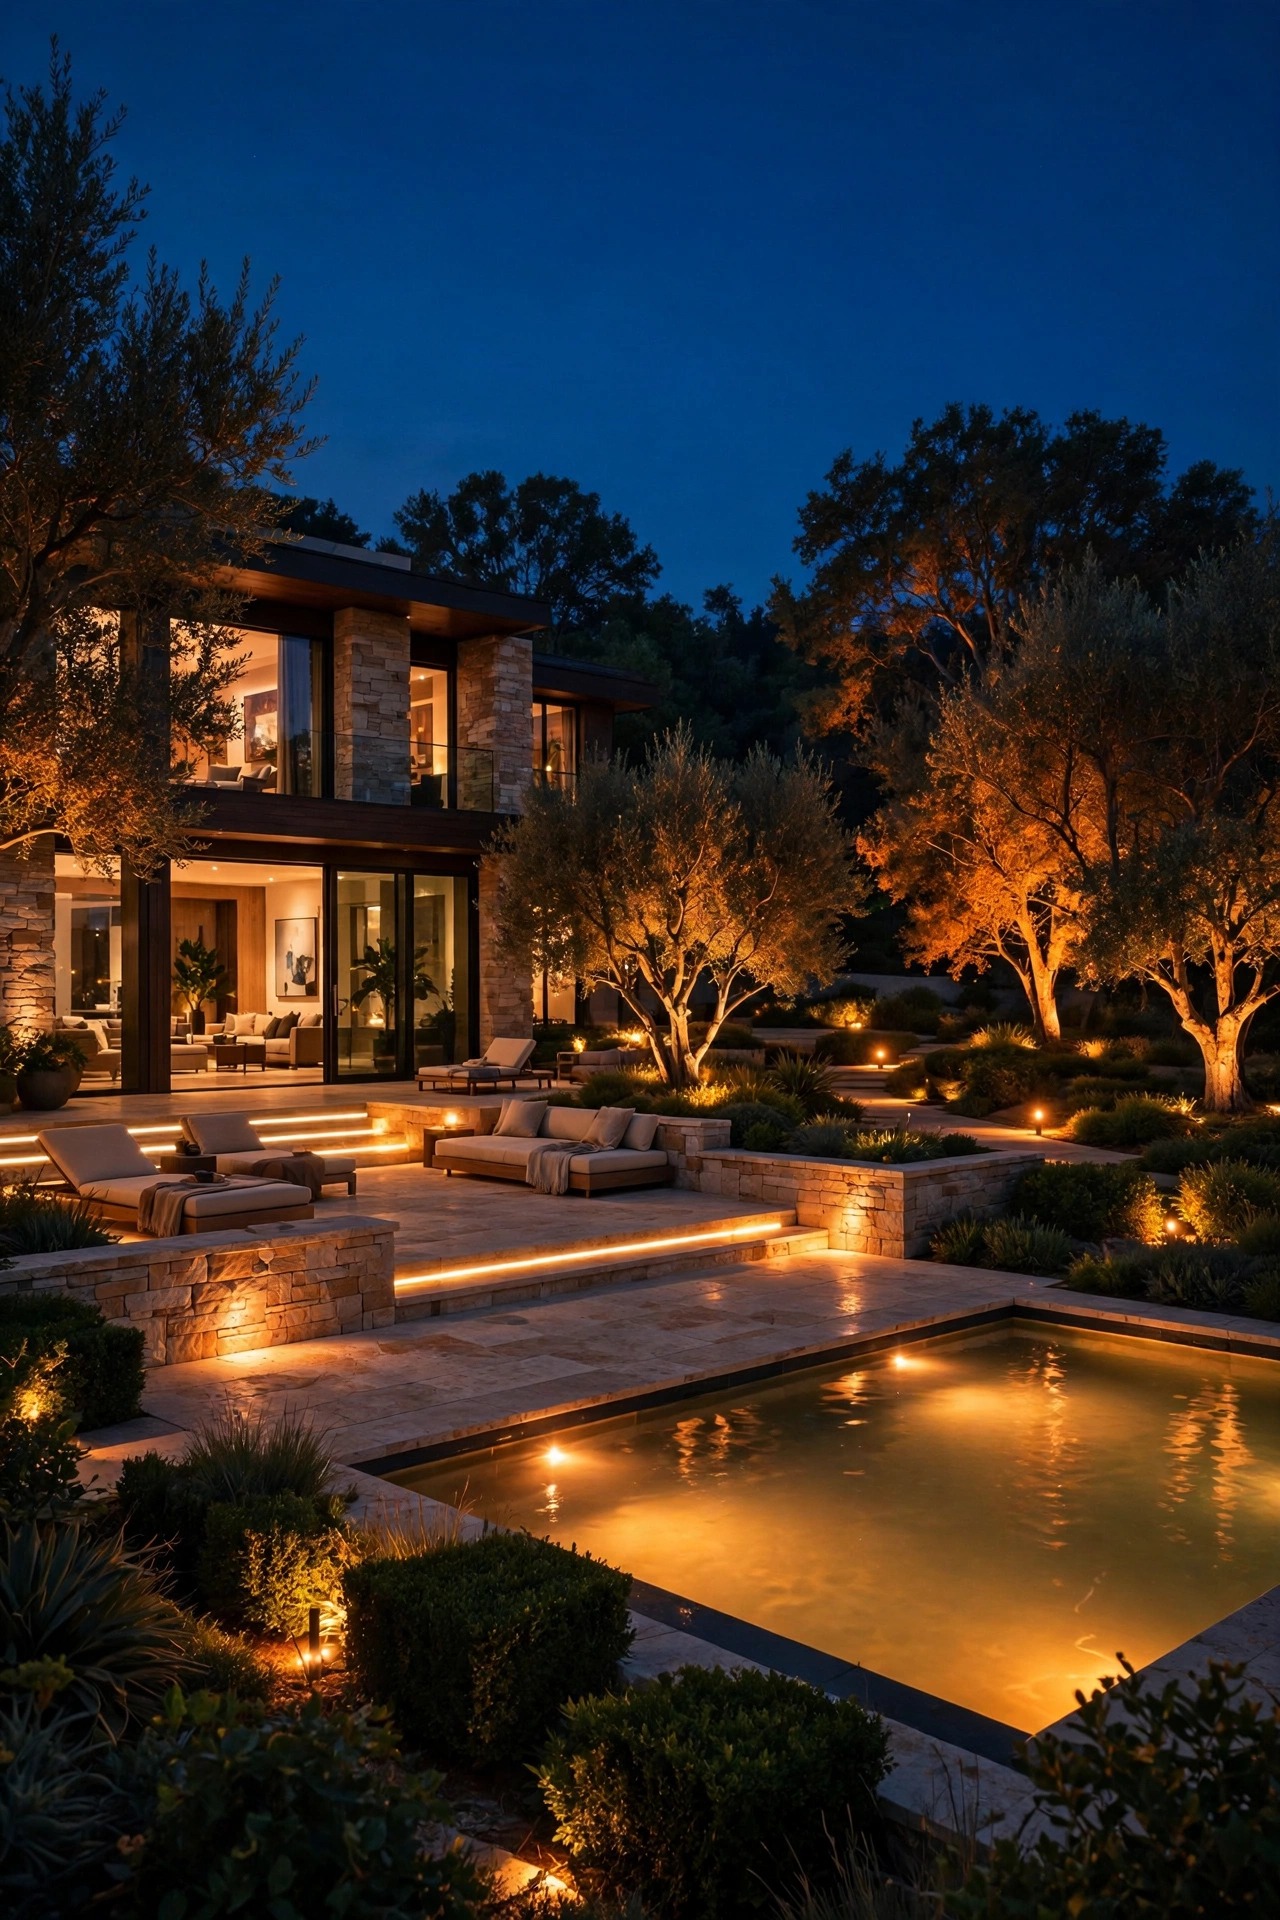
Nothing undermines a luxury scheme faster than a patchwork of bulb colors — blue-white by the garage, yellow on the porch, daylight in the garden. Estates look expensive partly because every source agrees: one warm temperature, typically 2700K, across every fixture, with the flames and fire features setting the only variation. Buy spare lamps from the same family when you install, so replacements match perfectly. Then dim. Nearly every luxury effect on this list depends on running lights at 60 to 80 percent: grazing turns gentle, tree canopies turn dappled instead of theatrical, and the whole property gains that calm, expensive hush. Use dimmers rated for your transformer and lamp load, and set evening scenes at levels you test after dark, not at noon in the showroom. In my experience, the honest difference between a good scheme and a great one is rarely more fixtures — it is this discipline of temperature and restraint, applied without exception across every bulb on the property.
Suggested budget range: $50 – $200.

21. Run It All With Smart Scenes and Zones
On a property with forty fixtures, luxury means never walking around flipping switches. A smart control system with astronomic timing turns everything on at dusk without seasonal adjustment, and — more importantly — lets you set scenes. My four essentials: Arrival (gate, drive, entry, facade), Entertaining (terrace, pool, fire features, strings), Garden (trees, art, accents only), and Late Night (guidance only, everything else dark by midnight). Group fixtures into zones by layer and area when the cable is trenched, because zoning decided later is zoning paid for twice. App and voice control are lovely, but insist on simple wall keypads at the main doors too, for guests and house sitters. I cover the controller and plug options in depth in my smart outdoor lighting guide, including how to retrofit an older transformer. A well-scened system also saves energy quietly: most estates I visit need full lighting for only three or four hours a night, and darkness after midnight is its own kind of luxury.
Suggested budget range: $300 – $1,000.
22. Choose Substantial Cast-Brass Path Lights
Path lighting is where inexpensive schemes confess. Thin stamped stakes lean, fade, and scatter uneven light within a year; substantial cast-brass path lights with proper weight and a wide, shielded shade stand plumb for decades and throw a clean, even pool exactly where feet land. Space them by effect, not by habit: stagger them on alternating sides of a curved walk, 8 to 14 feet apart depending on shade width, and overlap the pools slightly so there are no dark scallops between. Keep sources shielded below the shade so walkers see light on the path, never the bulb itself — glare is the opposite of luxury. In planting beds, choose taller stems that clear the foliage by a few inches, and re-check heights each spring as plants fill in. Match the finish to your other metals and let the brass patina naturally; polishing path lights is a chore nobody keeps up. In my experience, upgrading just the front walk to heavy brass at proper spacing is the fastest way to make the whole property feel a tier more expensive.
Suggested budget range: $120 – $300.

23. Add an Event Layer You Can Switch On for Parties
Designers who light real estates build in a second, quieter secret: an event layer. These are a handful of fixtures that stay off on ordinary nights — extra uplights for the big lawn tree, a wash for the tent lawn or croquet flat, color-capable lamps swapped in for a charity gala in the garden. Planning for them is cheap during installation: a couple of spare capped junction points and one extra zone on the controller. When the party comes, the property rises to the occasion in minutes instead of a week of rental chaos. Keep event lighting warm and consistent with the house palette for weddings and dinners; save playful color for holidays, where it reads as festive rather than random. A wash of light across a tent ceiling from two ground uplights makes an ordinary canopy feel like a ballroom. I always recommend photographing your event scene once it is set, and saving the levels in the controller, so next year's party starts exactly where this year's triumph left off.
Suggested budget range: $300 – $1,200.
24. Make Fixtures Disappear by Day
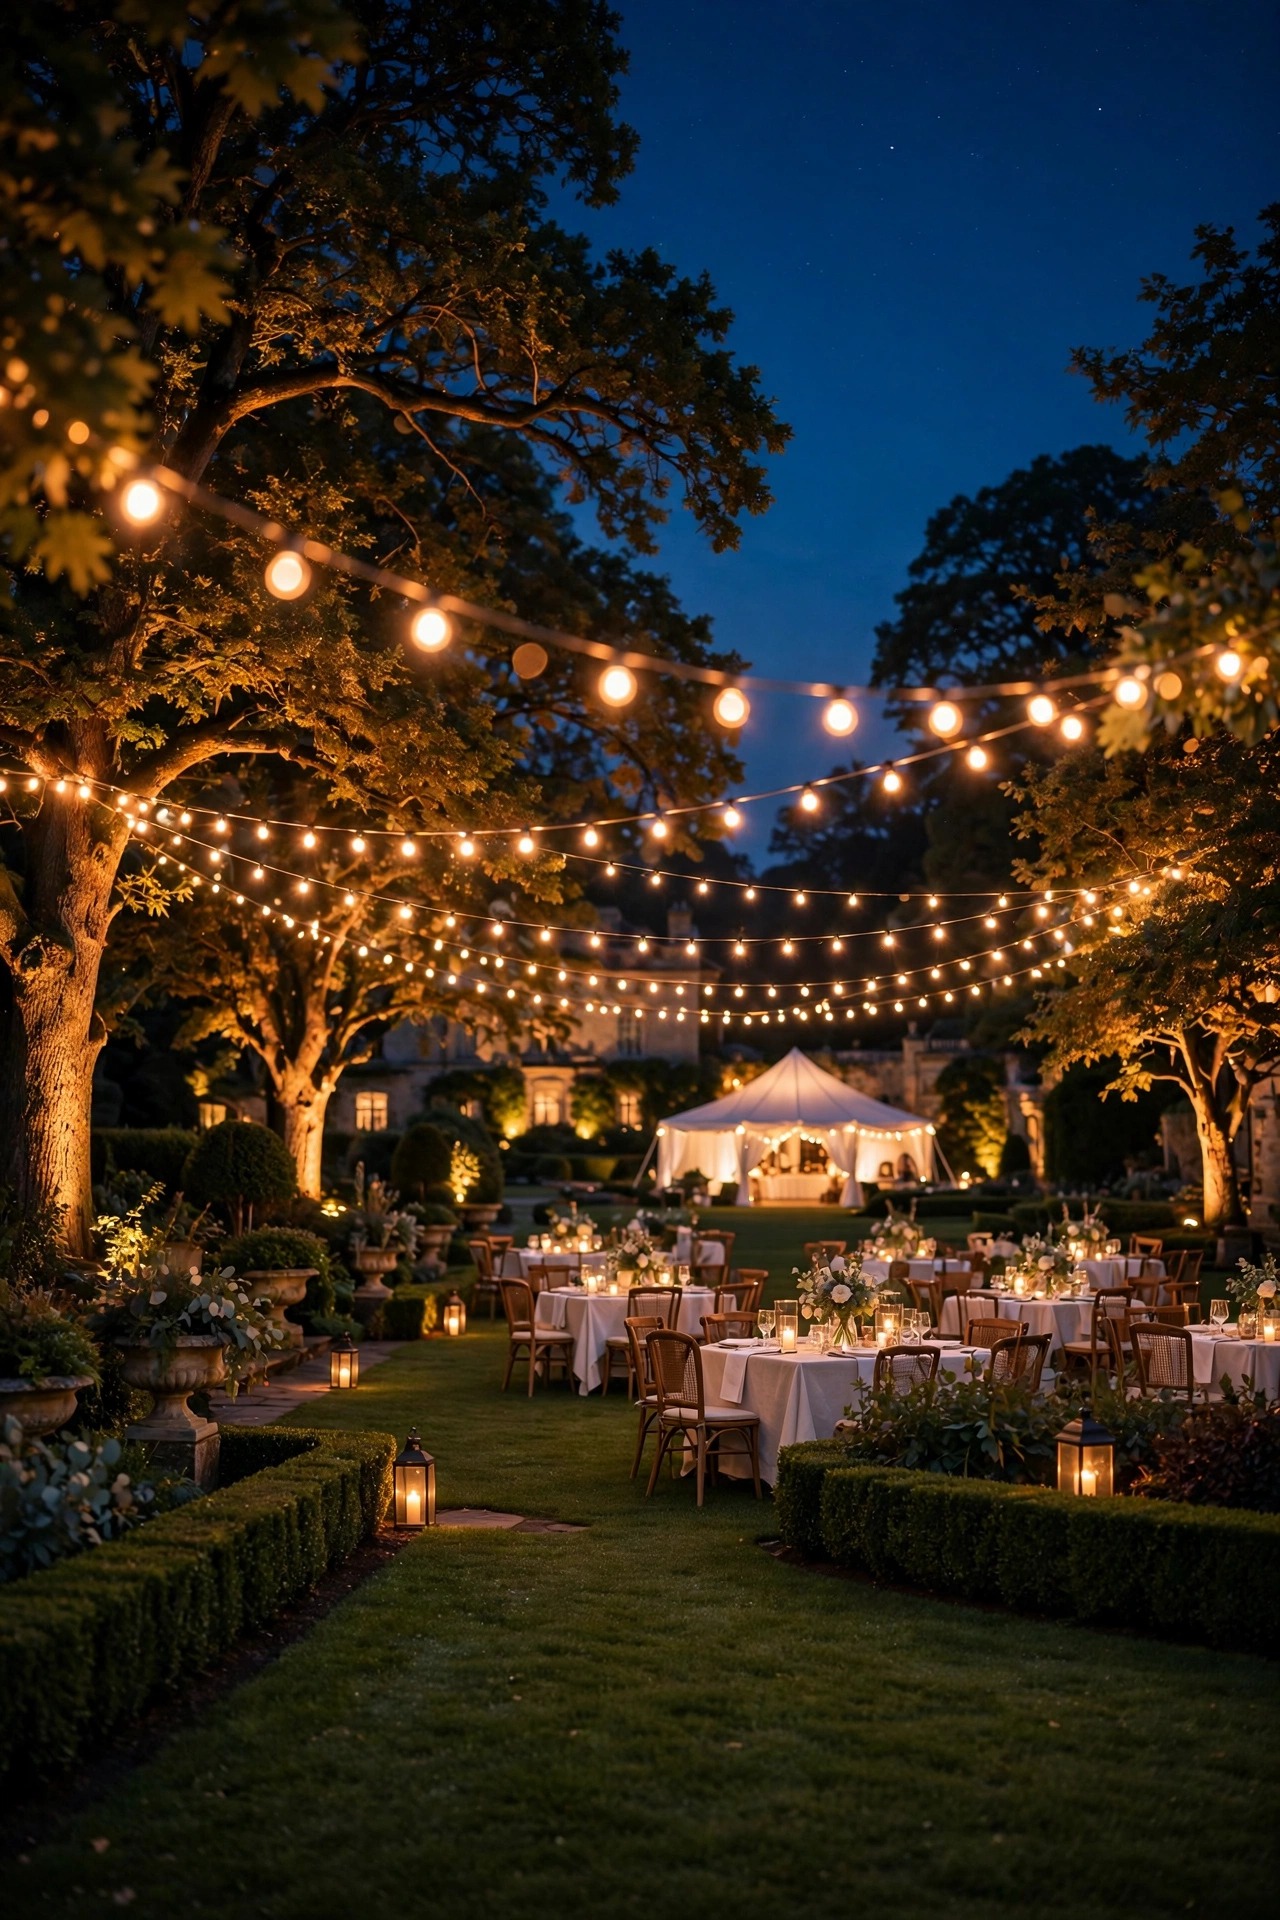
Walk a truly fine property at noon and you will notice something odd: you can barely find the lights. Recessed well lights flush with the lawn, fixtures tucked behind low walls and inside planting pockets, sources hidden under benches and stair nosings — the daytime landscape is pure garden, and the magic only appears at dusk. Pursue that invisibility deliberately. Choose in-grade and recessed fixtures wherever sight lines matter, paint unavoidable junction boxes to match their background, and bury every cable properly rather than snaking it across mulch. Where a visible fixture is unavoidable, make it a beautiful object in its own right — that is the other half of the bargain, and why substantial brass matters. Ask your installer to stake everything temporarily and live with the layout for two nights before trenching; fixtures that seemed hidden from the terrace have a way of winking from the kitchen window. Honestly, this daytime test separates designed landscapes from decorated ones, and it costs nothing but patience.
Suggested budget range: $50 – $200.
25. Hire a Designer or a Lighting-Only Contractor
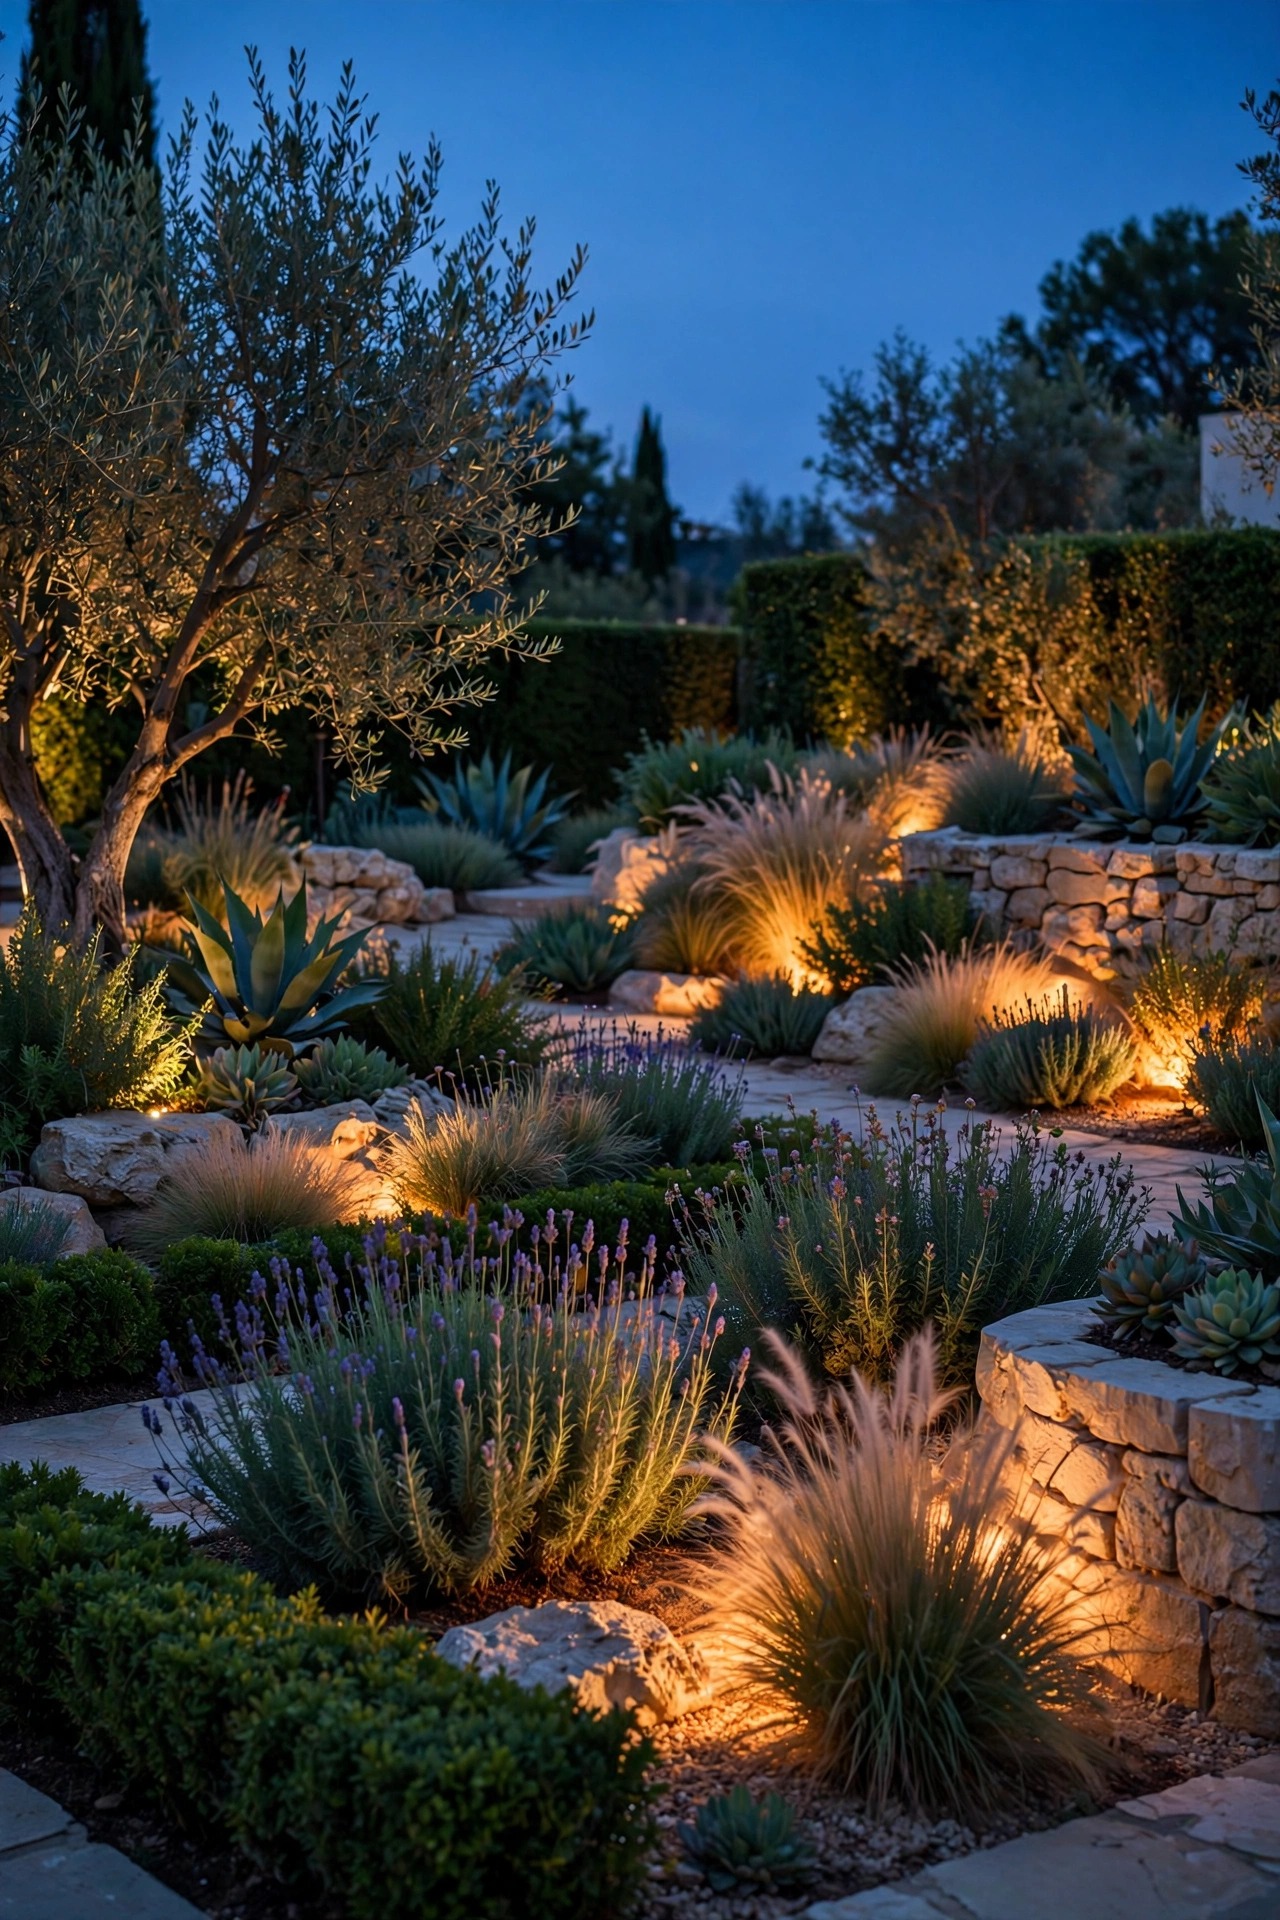
At estate scale, the fixtures are the smaller half of the budget; the design and the wiring are what you actually live with. A lighting designer or a landscape-lighting-only contractor brings things DIY cannot: voltage-drop calculations so the last fixture on a 200-foot run glows exactly like the first, commercial-grade transformers with multiple taps, waterproof gel-filled connectors instead of the twist caps that fail in two winters, and aiming artistry at dusk with a radio in hand. Get two or three proposals, insist on a nighttime demonstration or a mock-up of one area before signing, and ask for an as-built plan of cable runs — future you, planting a tree, will be grateful. Phasing is normal and smart: arrival this year, gardens next. If budget forces a hybrid, at least have the pro design the plan and rough in the cable, then set fixtures yourself in stages. In my experience, poorly aimed expensive fixtures look cheaper than modest fixtures aimed by an expert, every single time.
Suggested budget range: $1,500 – $5,000.
26. Splurge Where Eyes Land, Save Where They Do Not
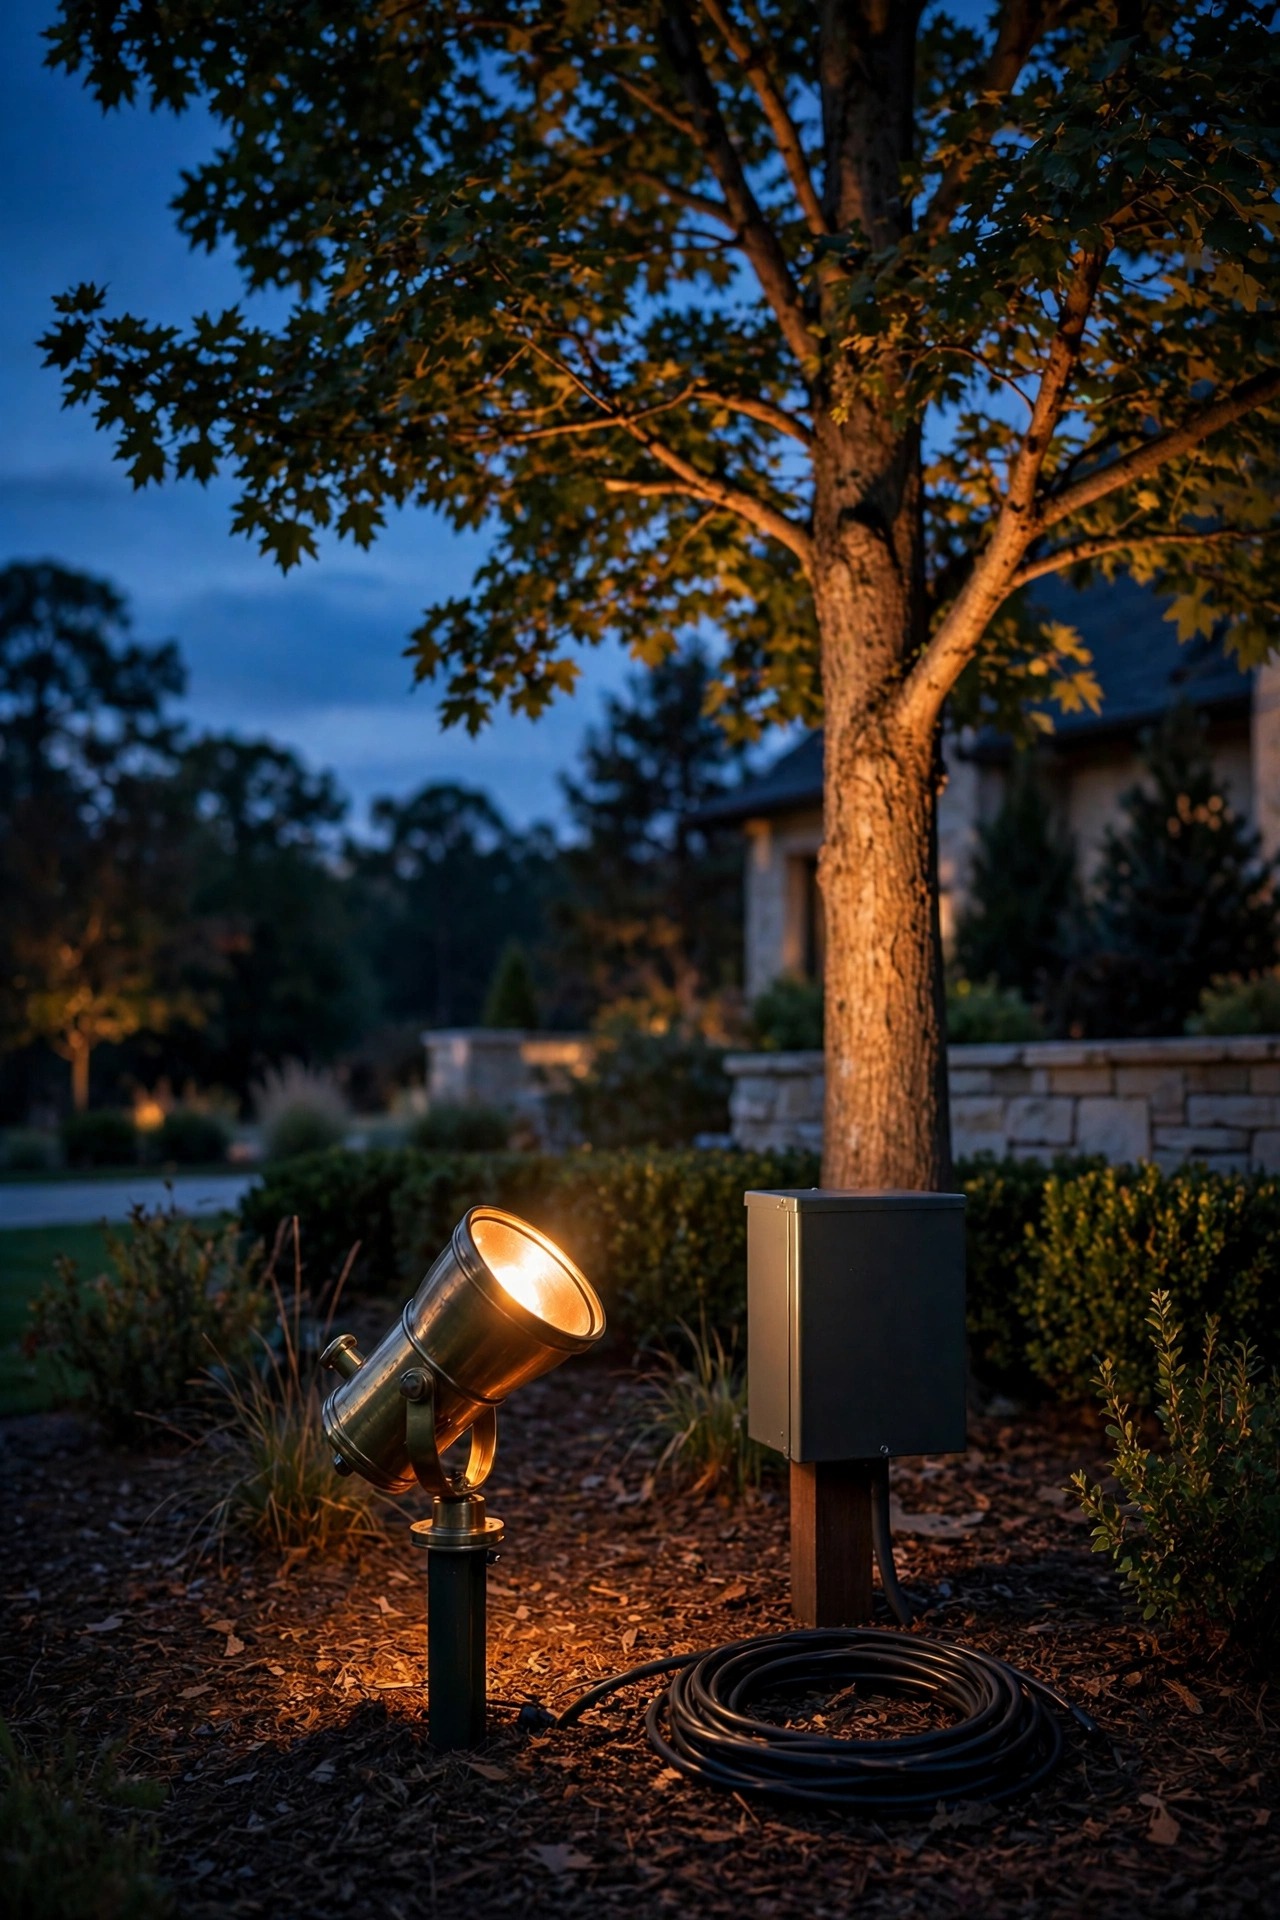
Luxury is a budget strategy as much as a style. Splurge on what guests see and touch: solid brass at the entry and terrace, the oversized door lanterns, the tree uplighting in the main view, a proper smart controller. Save — sensibly — on the purely functional edges: side-yard guidance, utility areas by the bins and the AC units, and any run hidden behind hedges, where good-quality mid-range fixtures perform identically and nobody will ever admire the metal. Solar has a place in that save column for far garden corners, though never on the arrival sequence. I break down the full tier-by-tier logic in my landscape lighting splurge versus save guide, and I recommend reading it before signing any quote, because contractors naturally upsell the visible and undersell the wiring. Reallocating, rather than increasing, the budget this way is how mid-range projects end up looking like estate projects: every dollar sits where the eye actually goes.
Suggested budget range: $0 – $100.
27. Walk Your Luxury Outdoor Lighting Ideas at Dusk and Edit
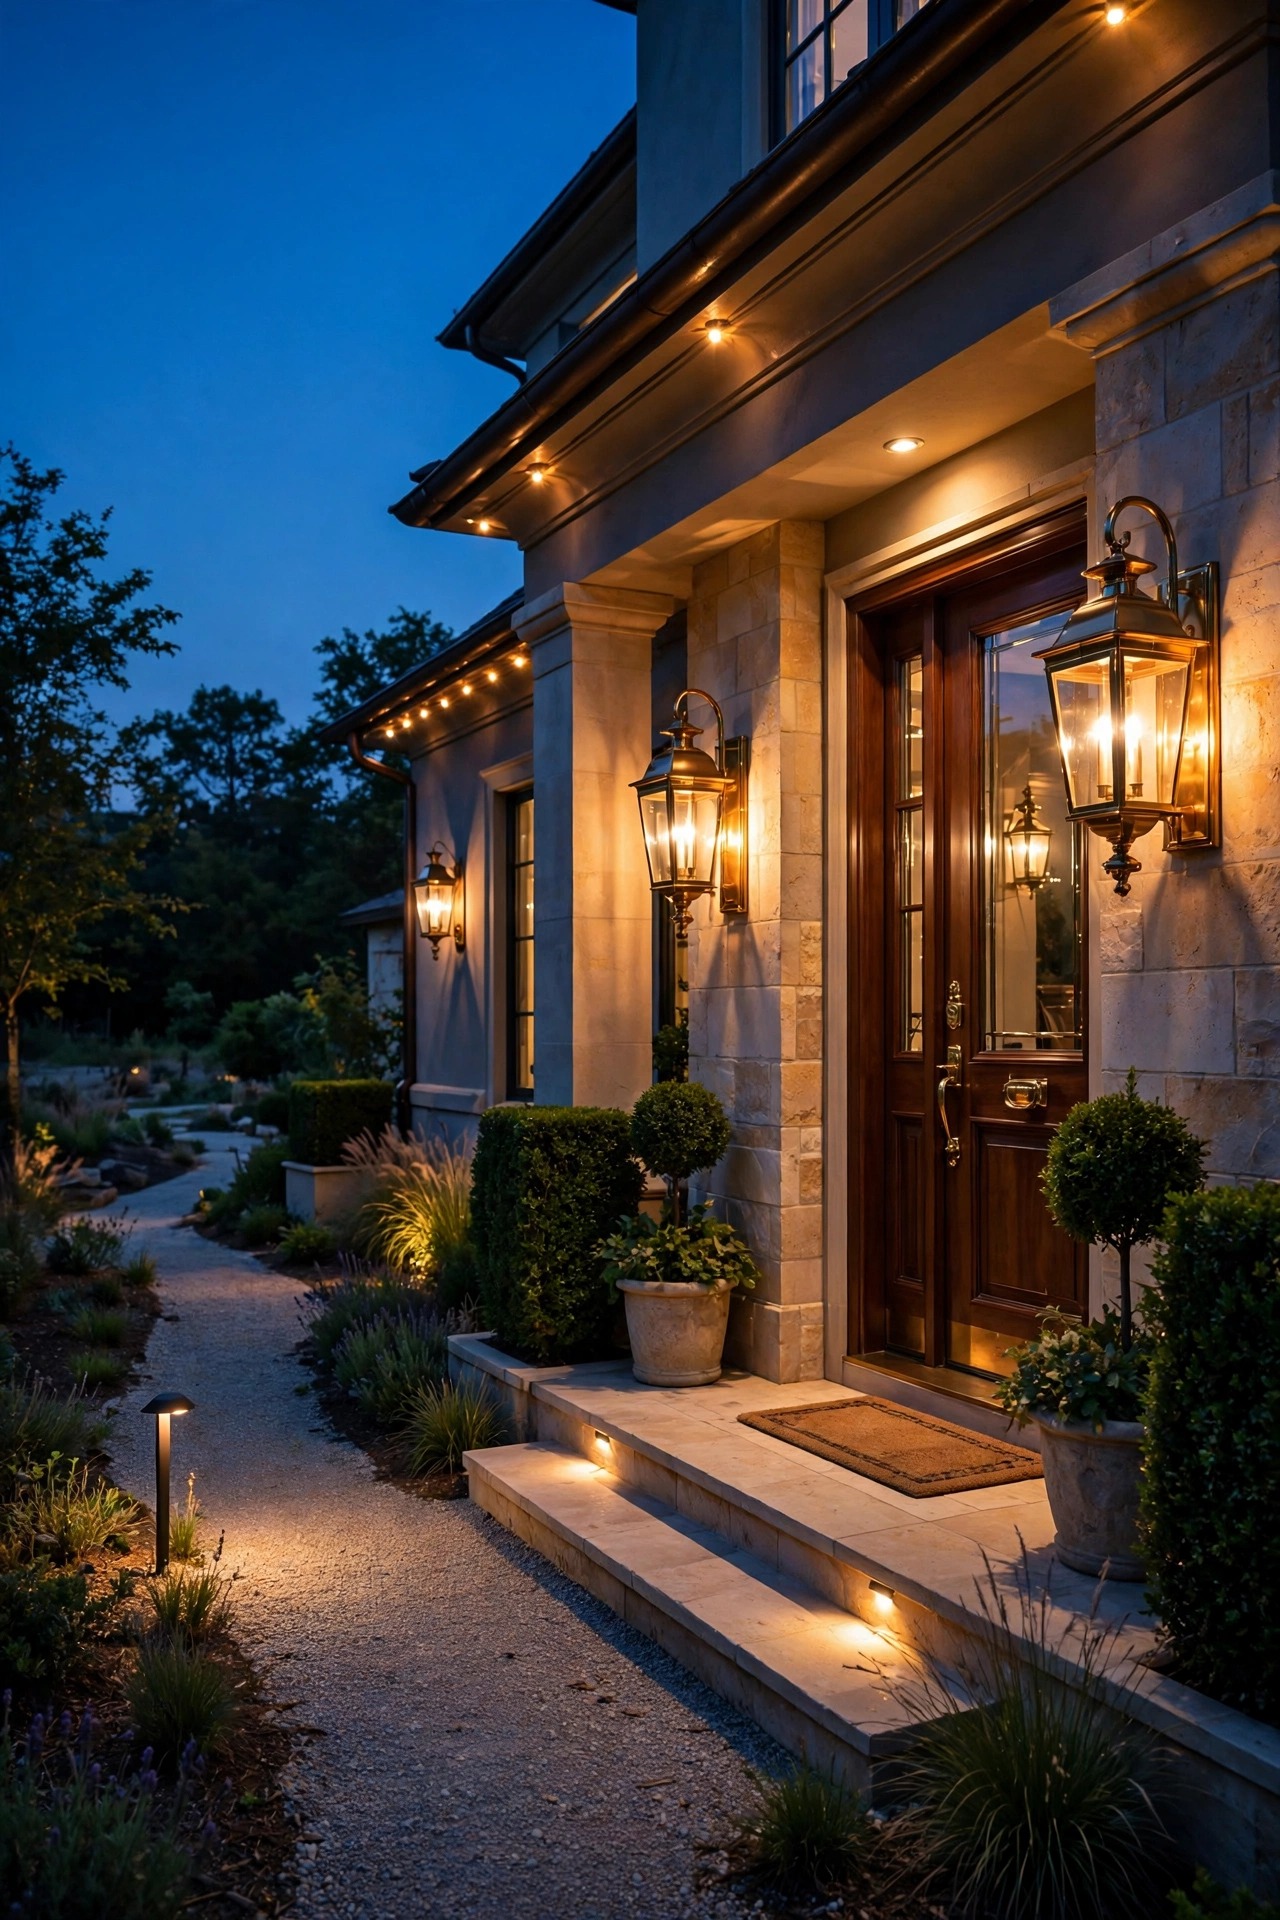
The final step is the one the pros never skip: the dusk walk. Once everything is in, wait for full dark, start at the street, and approach your own house the way a guest would. Look for the failures this list cannot see for you — the fixture glaring into the driveway, the tree canopy with a black hole, the path light drowned by an overgrown fern, the sconce reflecting in a window. Adjust angles with gloves on, note which zones need dimming down, and swap one lamp at a time so you can see each change clearly. Then walk it again from inside the house, because a scheme must flatter the views through glass as much as the views from the lawn. Repeat the walk each spring and fall; plants grow, lamps age, and a ten-minute edit restores the design. Of all the luxury outdoor lighting ideas here, this habit matters most — estates look effortless because somebody keeps quietly editing them, season after season.
Suggested budget range: $0 – $50.
Frequently Asked Questions
How much does luxury outdoor lighting cost for a large home?
For an estate-scale property, a professionally designed low-voltage system with solid brass fixtures typically runs from $8,000 to $25,000 installed, depending on fixture count, tree work, and control systems. Smaller luxury refreshes — entry, front walk, and a few specimen trees — can start around $3,000. Running costs stay low with LED, often just a few dollars a month.
What color temperature looks most luxurious outdoors?
Warm white around 2700K is the estate standard because it flatters stone, brick, wood, and skin the way candlelight and gaslight do. Moonlighting is the one exception where 3000K can feel right. Whatever you choose, use one temperature consistently across the whole property — mixed temperatures are the fastest way to make an expensive scheme look accidental.
Brass or coated aluminum: which fixtures are worth the money?
Solid brass and copper win outdoors, especially in coastal or sprinkler-heavy yards. They never rust, tolerate heat and impact, and develop a handsome patina instead of chipping. Powder-coated aluminum costs far less up front but typically shows edge wear and corrosion within five to eight years. For fixtures in prominent spots, brass is the buy-once choice.
Is professional installation worth it for landscape lighting?
At estate scale, usually yes. Correct voltage-drop planning, buried commercial cable, sealed connectors, and dusk aiming are what keep a system even and reliable for decades. A practical middle path: have a professional design the plan and install the transformer and cable runs, then add or adjust fixtures yourself over time as the garden matures.
Conclusion
Estate-worthy light is never about how much you install; it is about layers, materials, and restraint. Start with a drawn plan, build the arrival sequence from real brass and generous scale, crown the trees and water with patient accent light, and hold every bulb to one warm, dimmed temperature. Do that, and your luxury outdoor lighting ideas stop being a shopping list and become what guests actually remember — a house that glows with calm confidence after dark. For more inspiration, browse the lighting ideas across the site and pick the next layer to add this season.