Our rooftop deck sits twenty-two feet above the street, and for the first year it was basically a storage platform with a great view. After dark the city glowed all around us, but our own little roof went black, and we headed inside by nine. Everything changed once I started collecting rooftop deck lighting ideas that respect the realities of being up high: wind that never quits, outlets that barely exist, neighbors above and below, and a floor you cannot just drill into. The secret is the same layering I use everywhere, adjusted for altitude. A soft canopy overhead, warm light at sitting height, and low guidance light along the walking routes so nobody trips over a planter at midnight. Every fixture also has to be secured, weatherproof, and gentle enough to keep the skyline the star of the show. Below are the 21 setups that turned our bare roof into the room we live in all summer long, each one renter-conscious, wind-tested, and kind to a modest budget.

1. Start With a Layered Plan for Your Rooftop Deck Lighting Ideas
Before you buy a single bulb, spend one evening on the roof with the lights off and a notepad in hand. Rooftops punish random buying: every fixture has to survive wind, earn its square footage, and stay on the right side of your building rules. I sketch the deck and mark three layers. The canopy layer is overhead sparkle, usually string lights. The middle layer is light at sitting height, lanterns and sconce-height glows that light faces. The ground layer is low guidance along walking routes, step edges, and the hatch or stair door. Then I do two audits most people skip. First, an outlet audit: find every exterior outlet, note whether it is GFCI protected, and measure cord runs honestly, because most roofs have one outlet if you are lucky. Second, a wind audit: stand out there on a breezy night and note which corner takes the gusts, that is where nothing tall or top-heavy can live. If you want the ground-level version of this thinking, my notes on deck lighting ideas cover the same layers on terra firma. Ten minutes of planning now saves a season of returns.
Suggested budget range: $0 – $20.

2. Run String Lights on Freestanding Poles or a Guide Wire
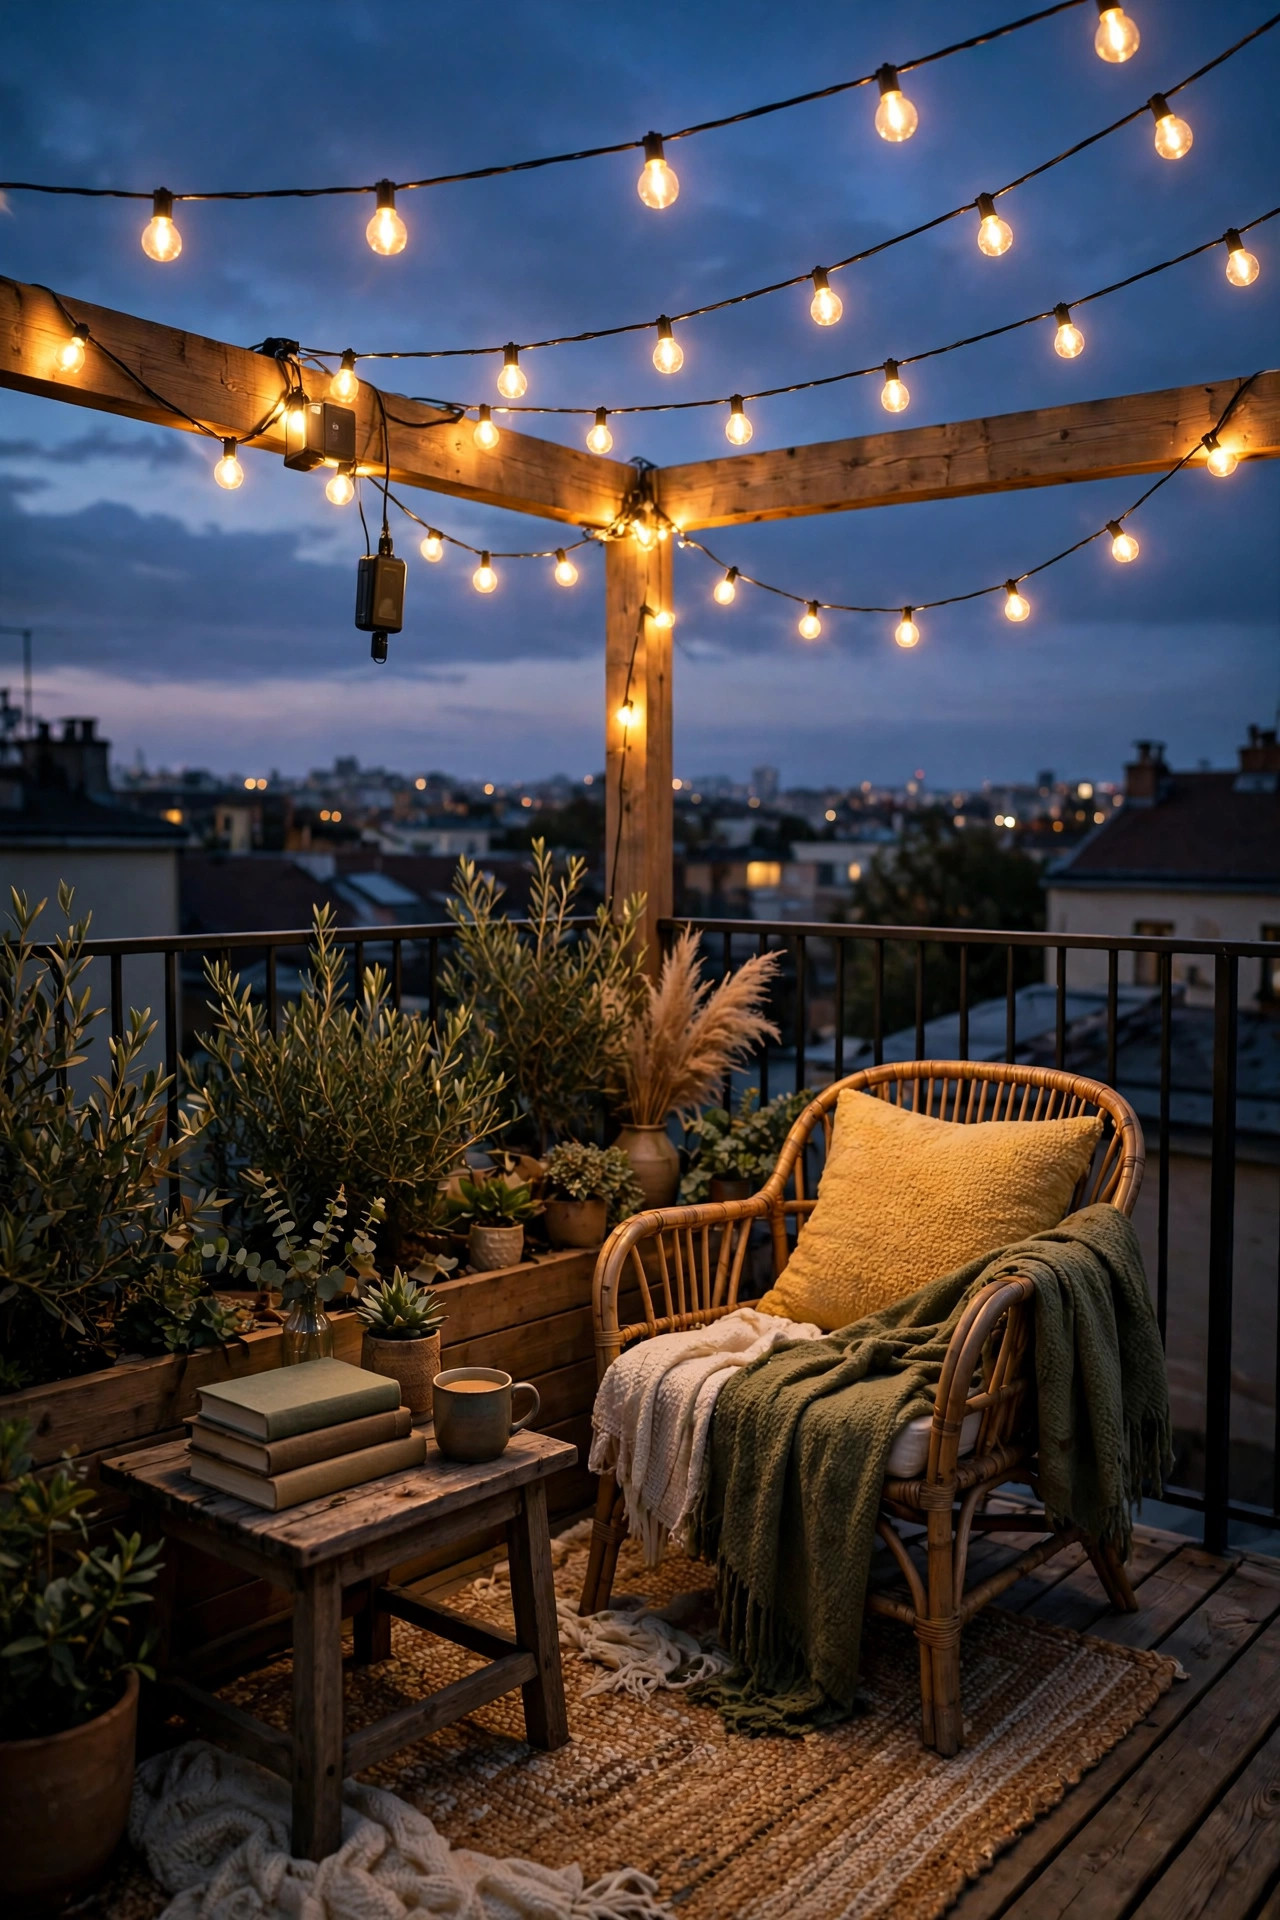
String lights are the canopy layer almost every rooftop needs, but a roof rarely gives you anything to hang them from, and drilling into a parapet wall is a fast way to lose your deposit or void a roof warranty. My answer is freestanding poles set in heavy planter bases: fill a large planter with soil and a plant, sink the pole in the center, and the planter does double duty as greenery. Two poles plus the stair bulkhead usually give me three anchor points, enough for a gentle swag pattern. Where poles will not work, a stainless guide wire strung between two secured points keeps strands taut so they sway as one instead of whipping. Keep the lowest dip of any swag at least 7 feet above the deck so nobody clotheslines themselves carrying a tray. Use commercial-grade outdoor strands with sealed sockets and shatterproof LED bulbs, and secure every run with clips or zip ties at each anchor, because rooftop wind finds every loose inch. On genuinely stormy nights I unplug and drop the strands into a storage bin; five minutes of prevention beats replacing a smashed strand.
Suggested budget range: $40 – $120.

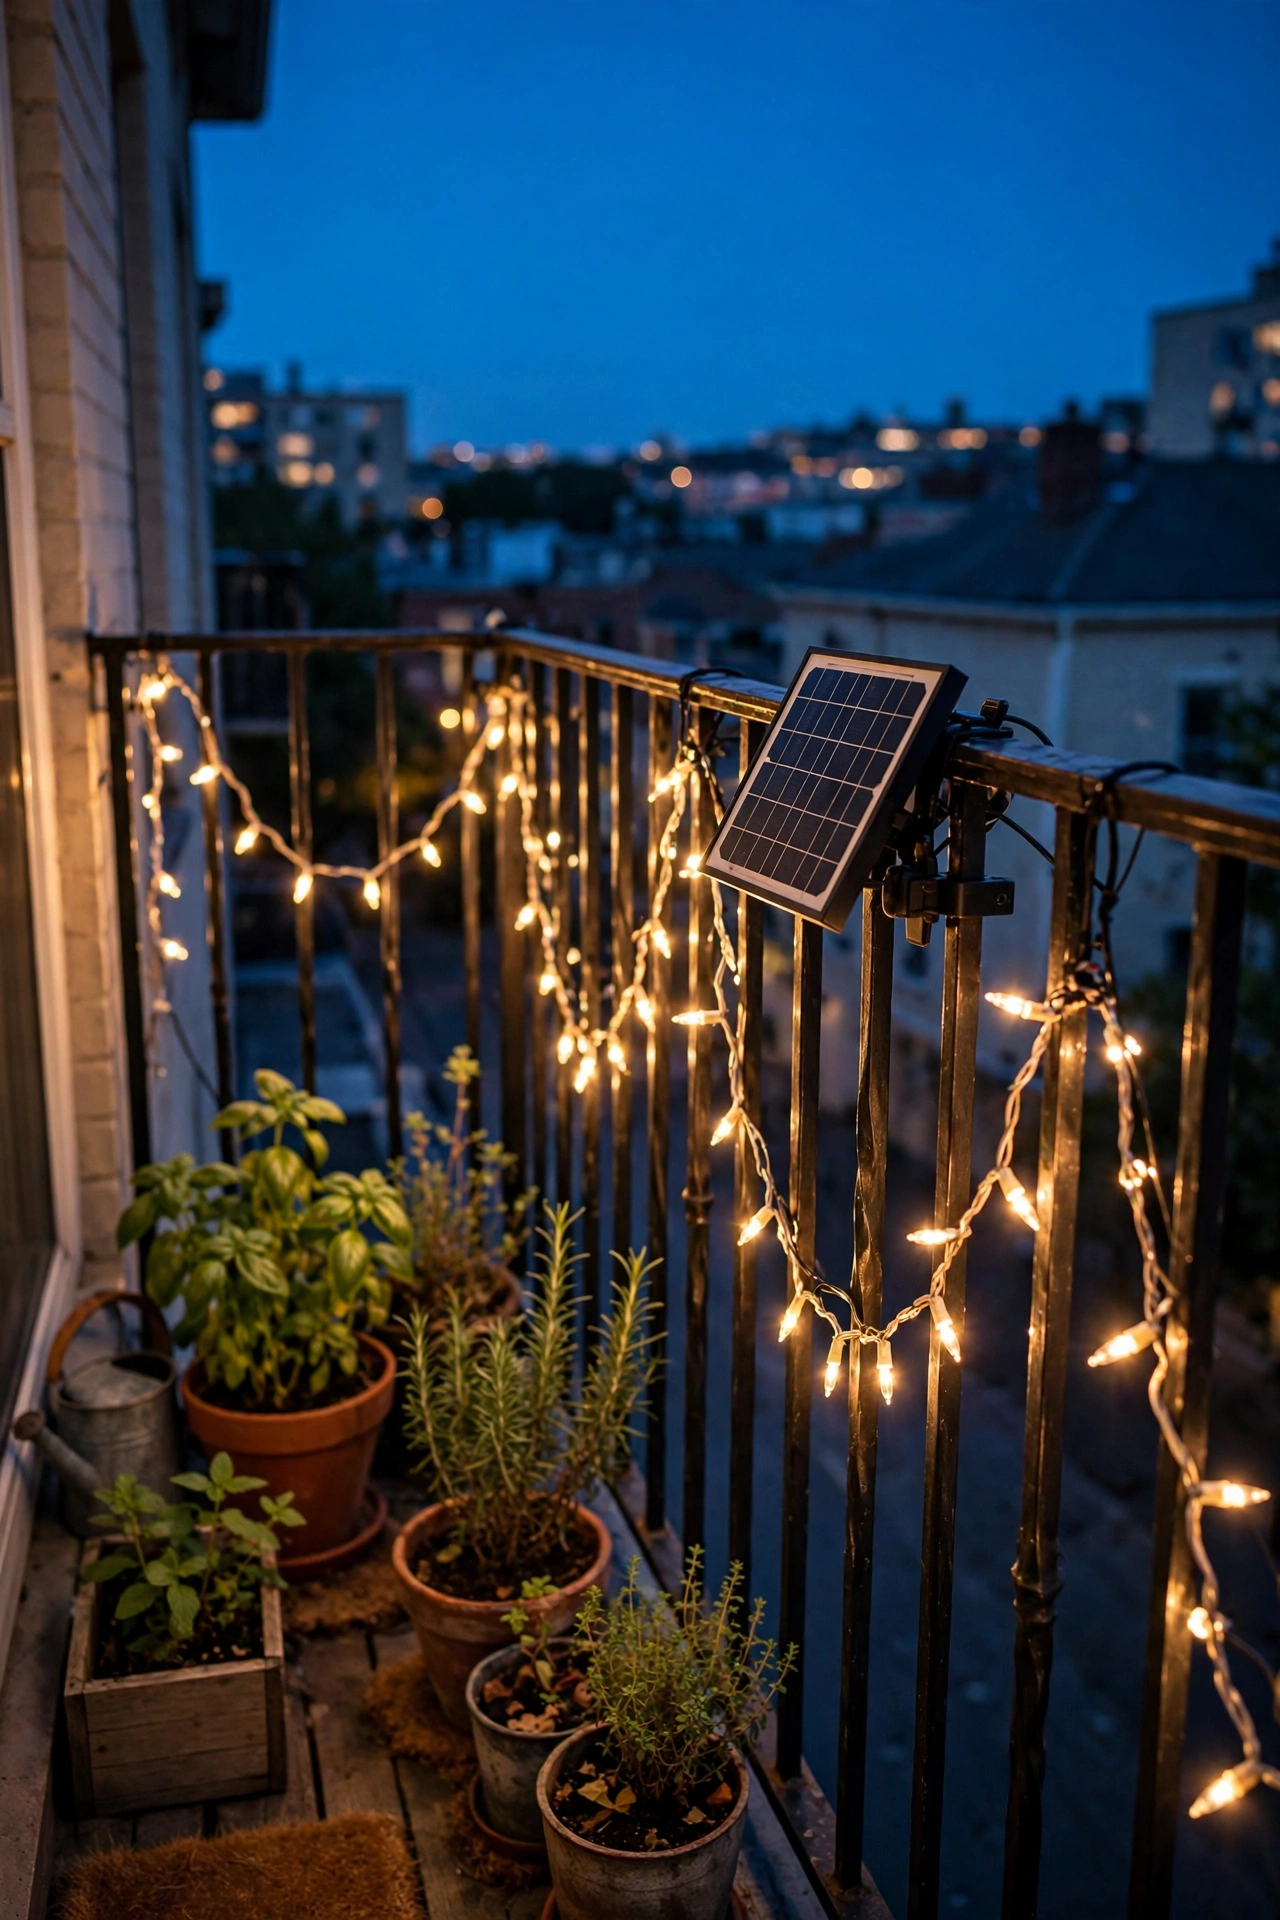
3. Choose Solar String Lights Where Outlets Are Scarce
If your roof has one outlet and it is across the deck from your seating, solar string lights solve the geography problem completely. A rooftop is honestly the best solar location in any home: nothing shades it, the panel gets full sun from morning to evening, and even a modest panel charges fully by dinner time. Look for strands with a separate solar panel on a stake or clip so you can park the panel in the sunniest corner while the bulbs hang where you actually sit. Removable battery packs are a bonus in winter, since you can bring the battery indoors during long freezes and extend its life. Expect a softer glow than plug-in strands; in my experience solar strings are perfect canopy sparkle but should not be your only light source for stairs or cooking. My roundup of solar string light ideas compares panel styles and strand lengths if you want the details. One practical tip: wipe the panel clean once a month. City dust and pollen film quietly steal a third of the charge, and a thirty-second wipe restores it.
Suggested budget range: $25 – $70.
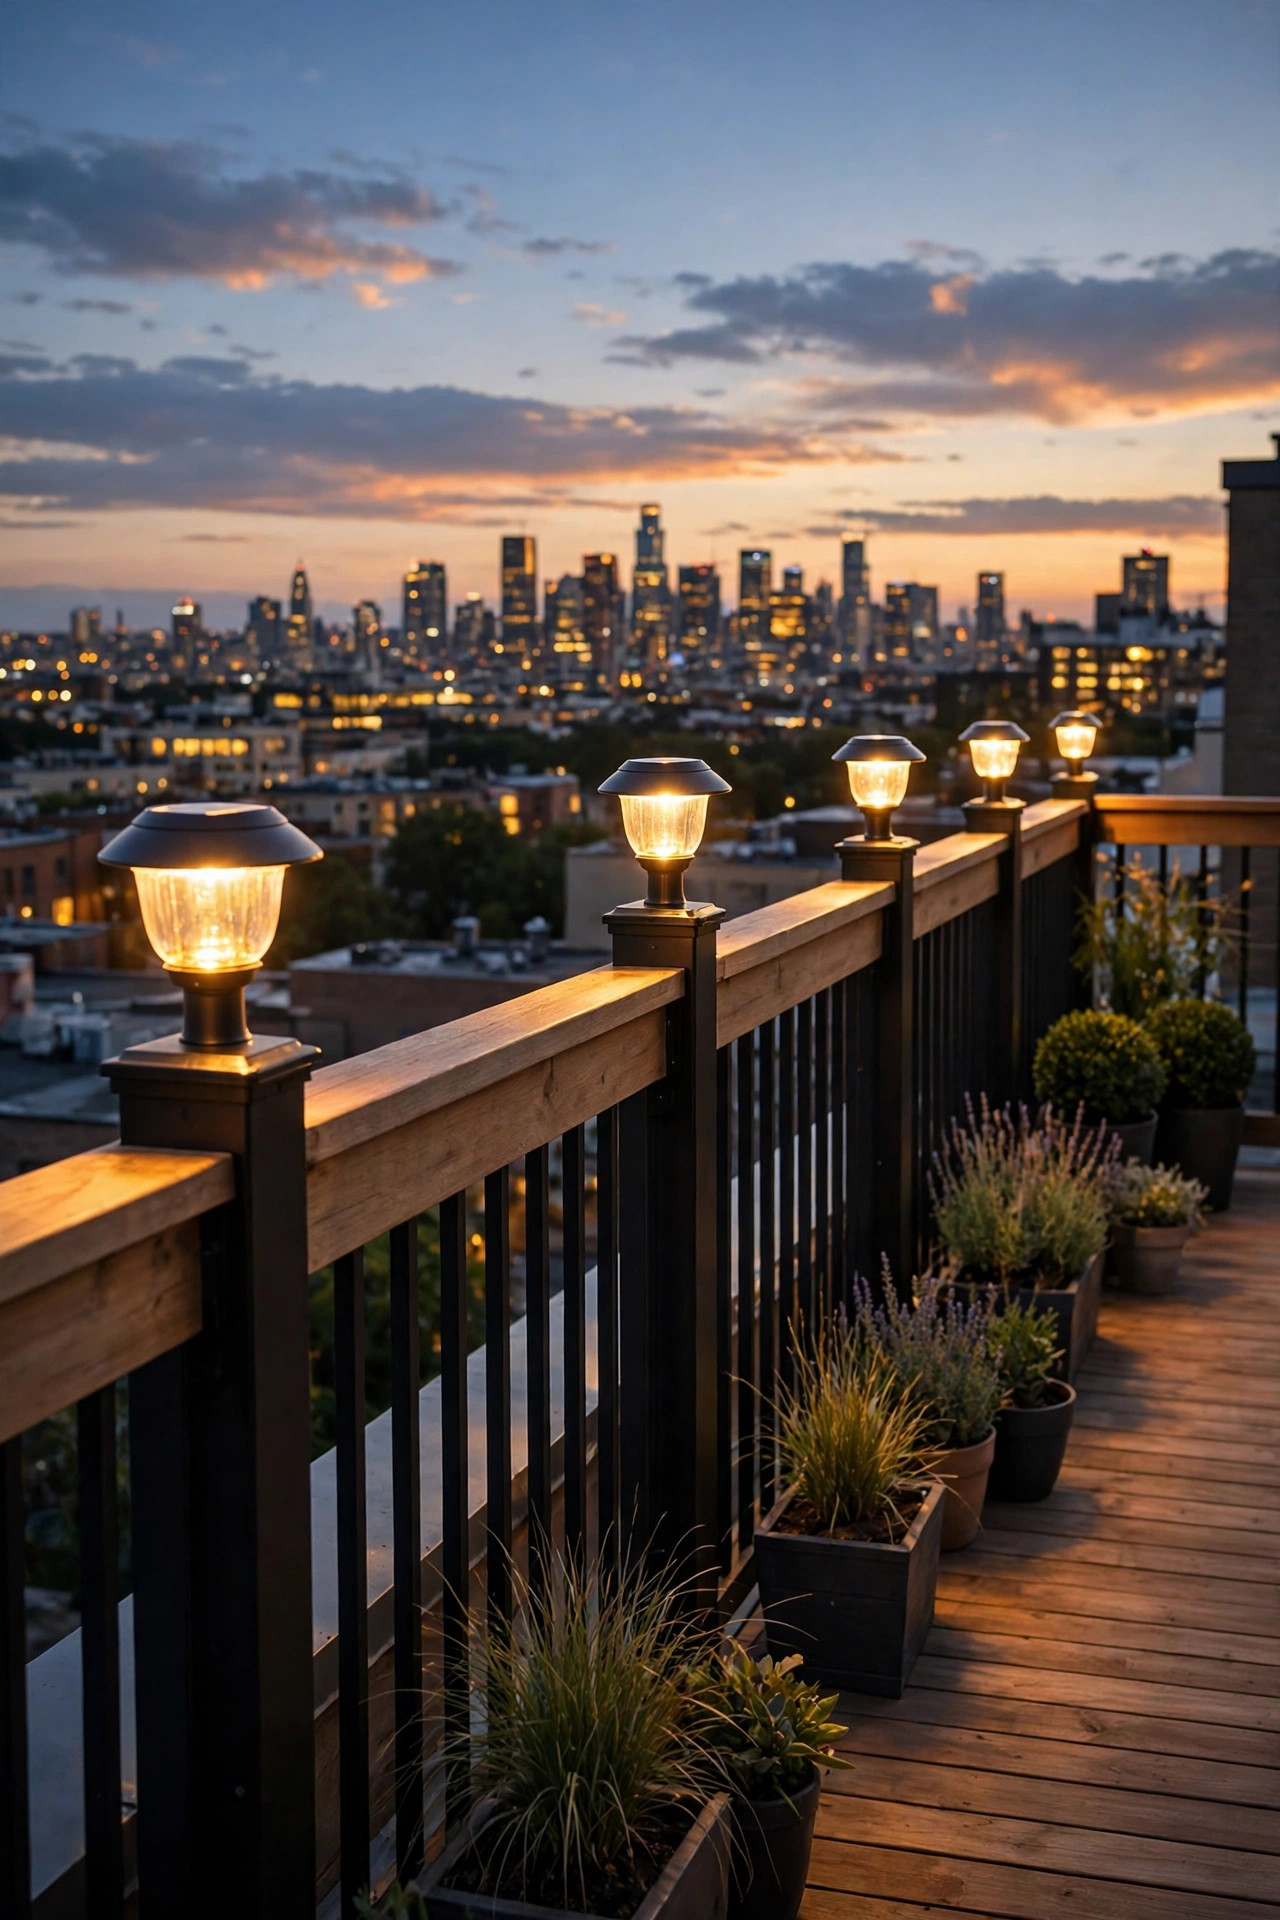
4. Clip Solar Cap Lights Along the Railing
The railing is the hardest-working surface on a rooftop deck, and a line of small lights along it defines the edge of your world after dark. Solar post cap lights made for deck posts clip or screw onto railing caps and posts, and on metal railings the clamp and magnetic versions work beautifully with zero drilling. Measure your post width before ordering; caps come in standard sizes like 4×4 and 6×6 inches, plus adjustable brackets that fit odd railings. Space them on every post or every other post, roughly 4 to 6 feet apart, so the light reads as a calm rhythm instead of a runway. Downward-facing caps are my strong preference up high, because they pool light on the deck boards and the railing line without throwing glare into the windows of the building across the street. Solar versions charge all day in that unobstructed rooftop sun and switch themselves on at dusk, which means the edge of the deck is lit before you even step out. Check them after the first windy night and add a bead of removable outdoor adhesive putty under any cap that rattles.
Suggested budget range: $30 – $90.
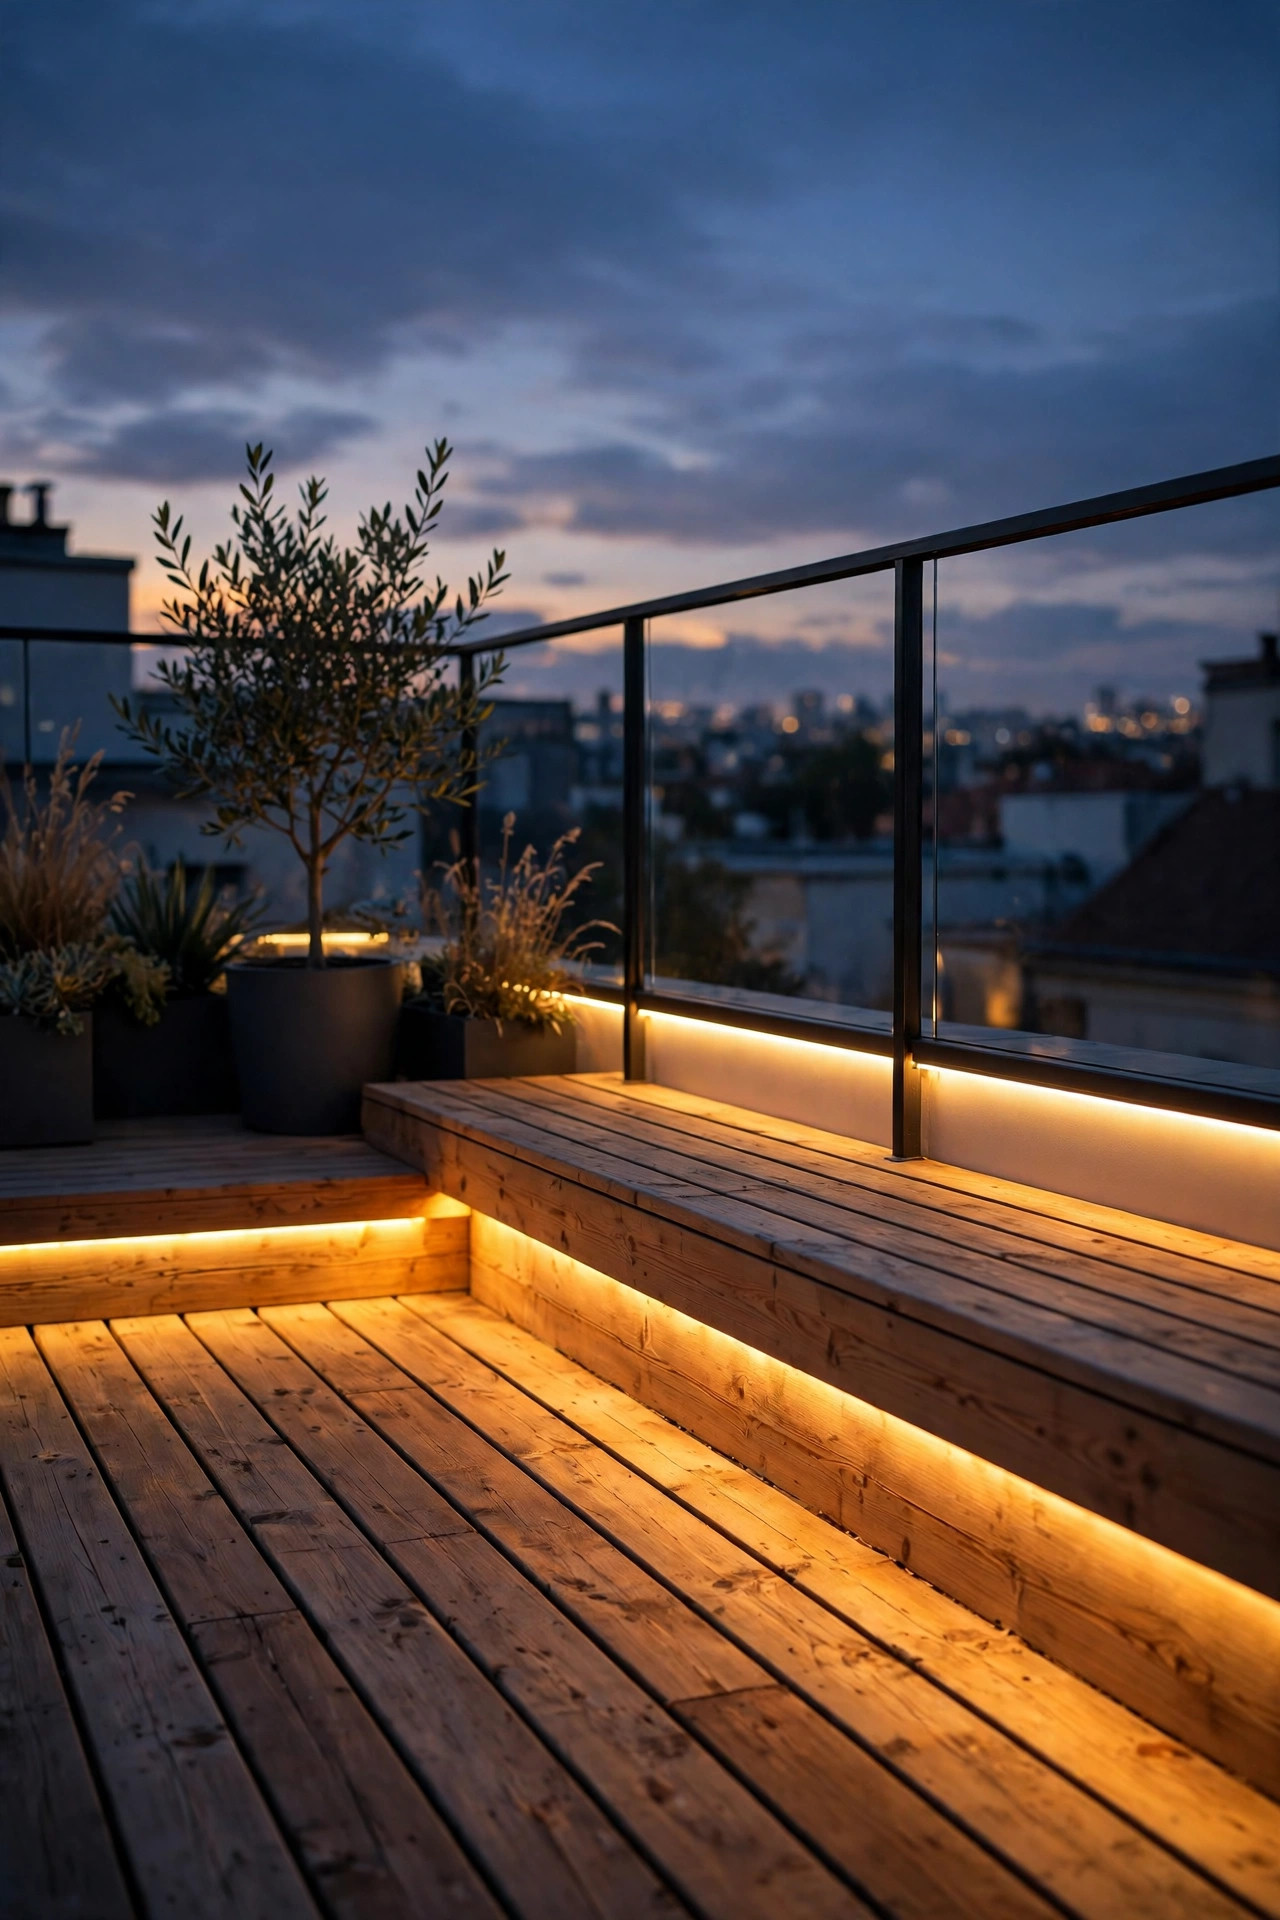
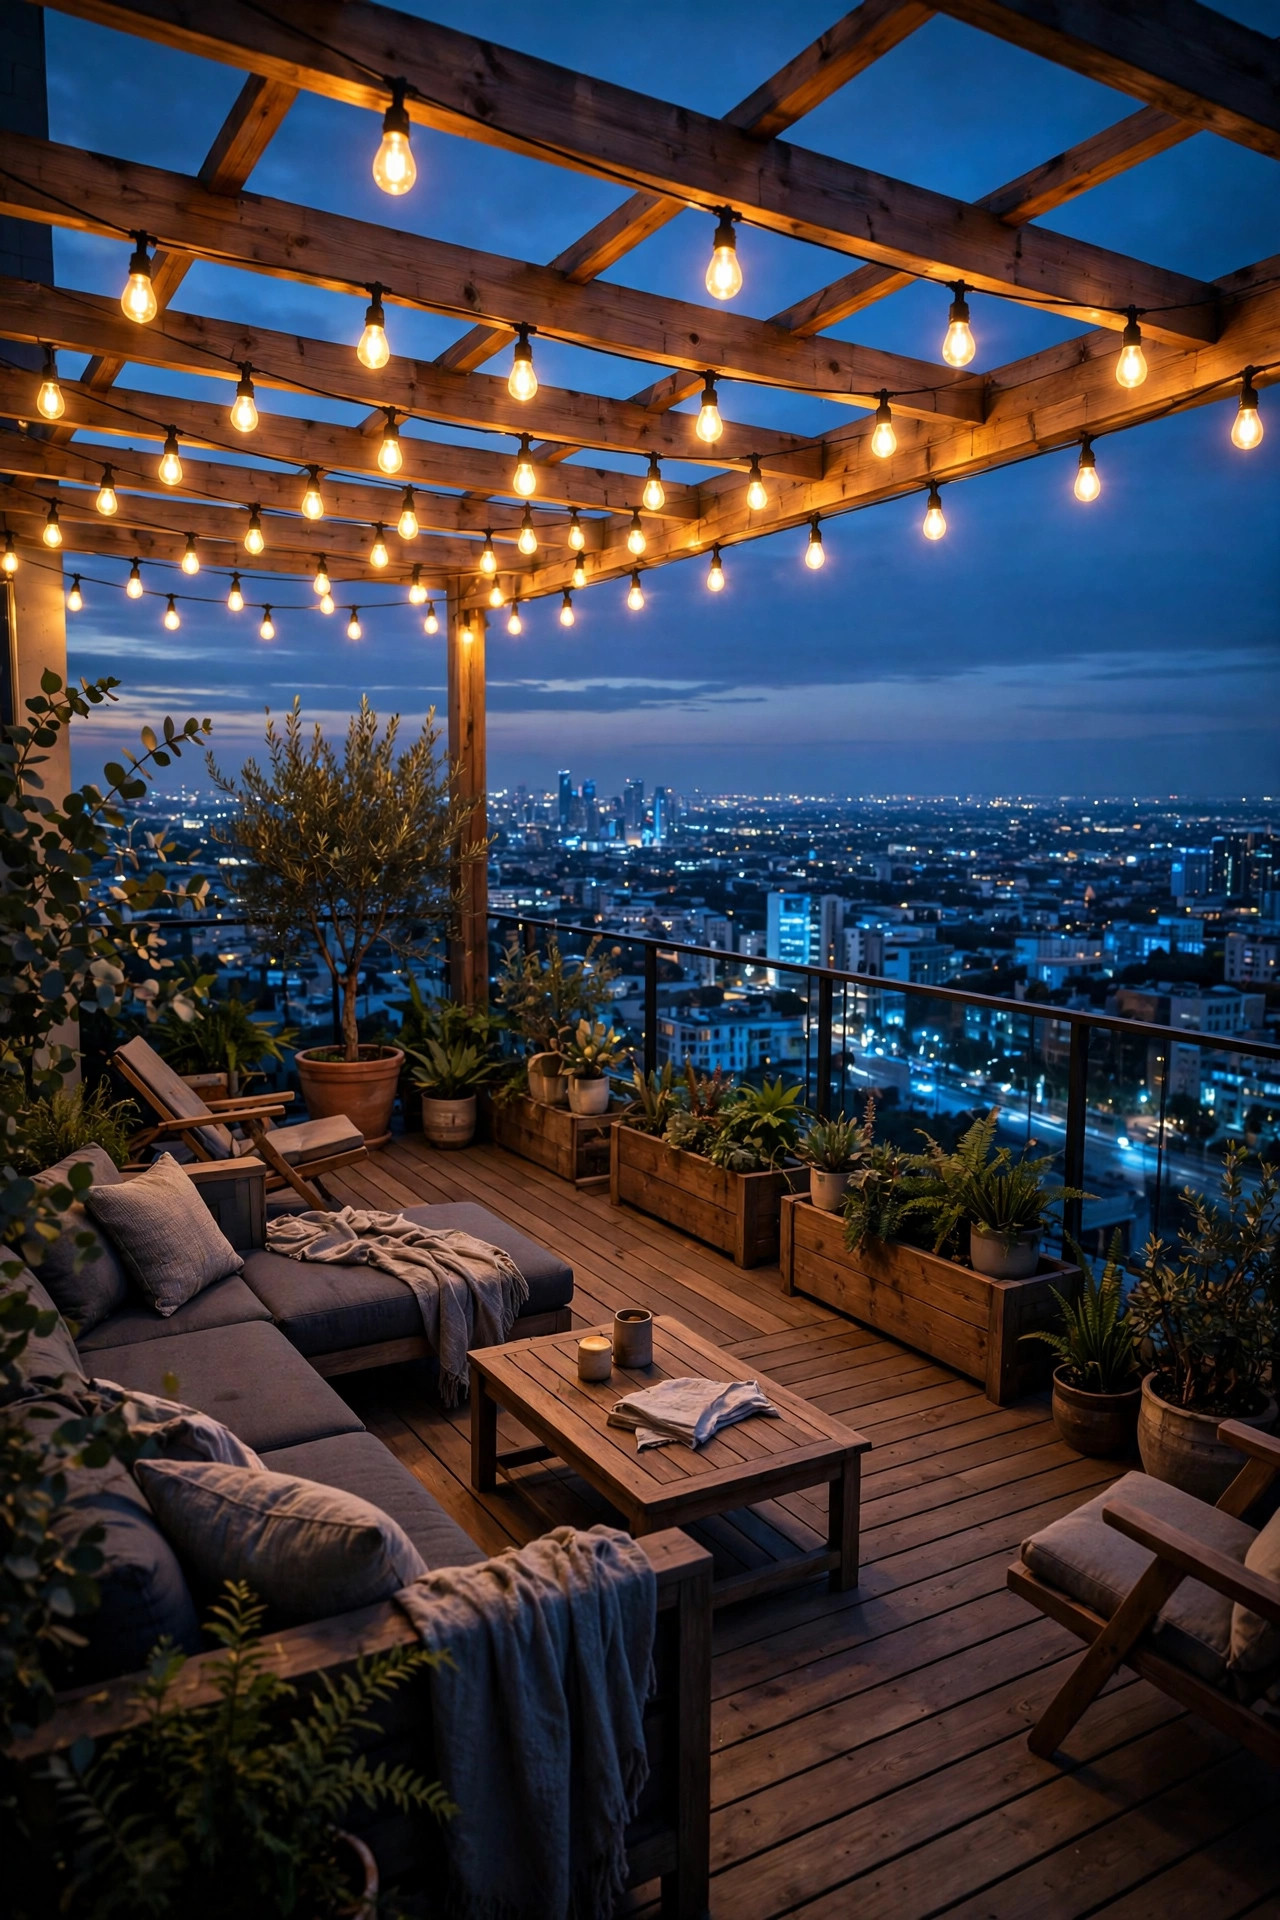
5. Hide LED Strip Lights Under the Railing and Benches
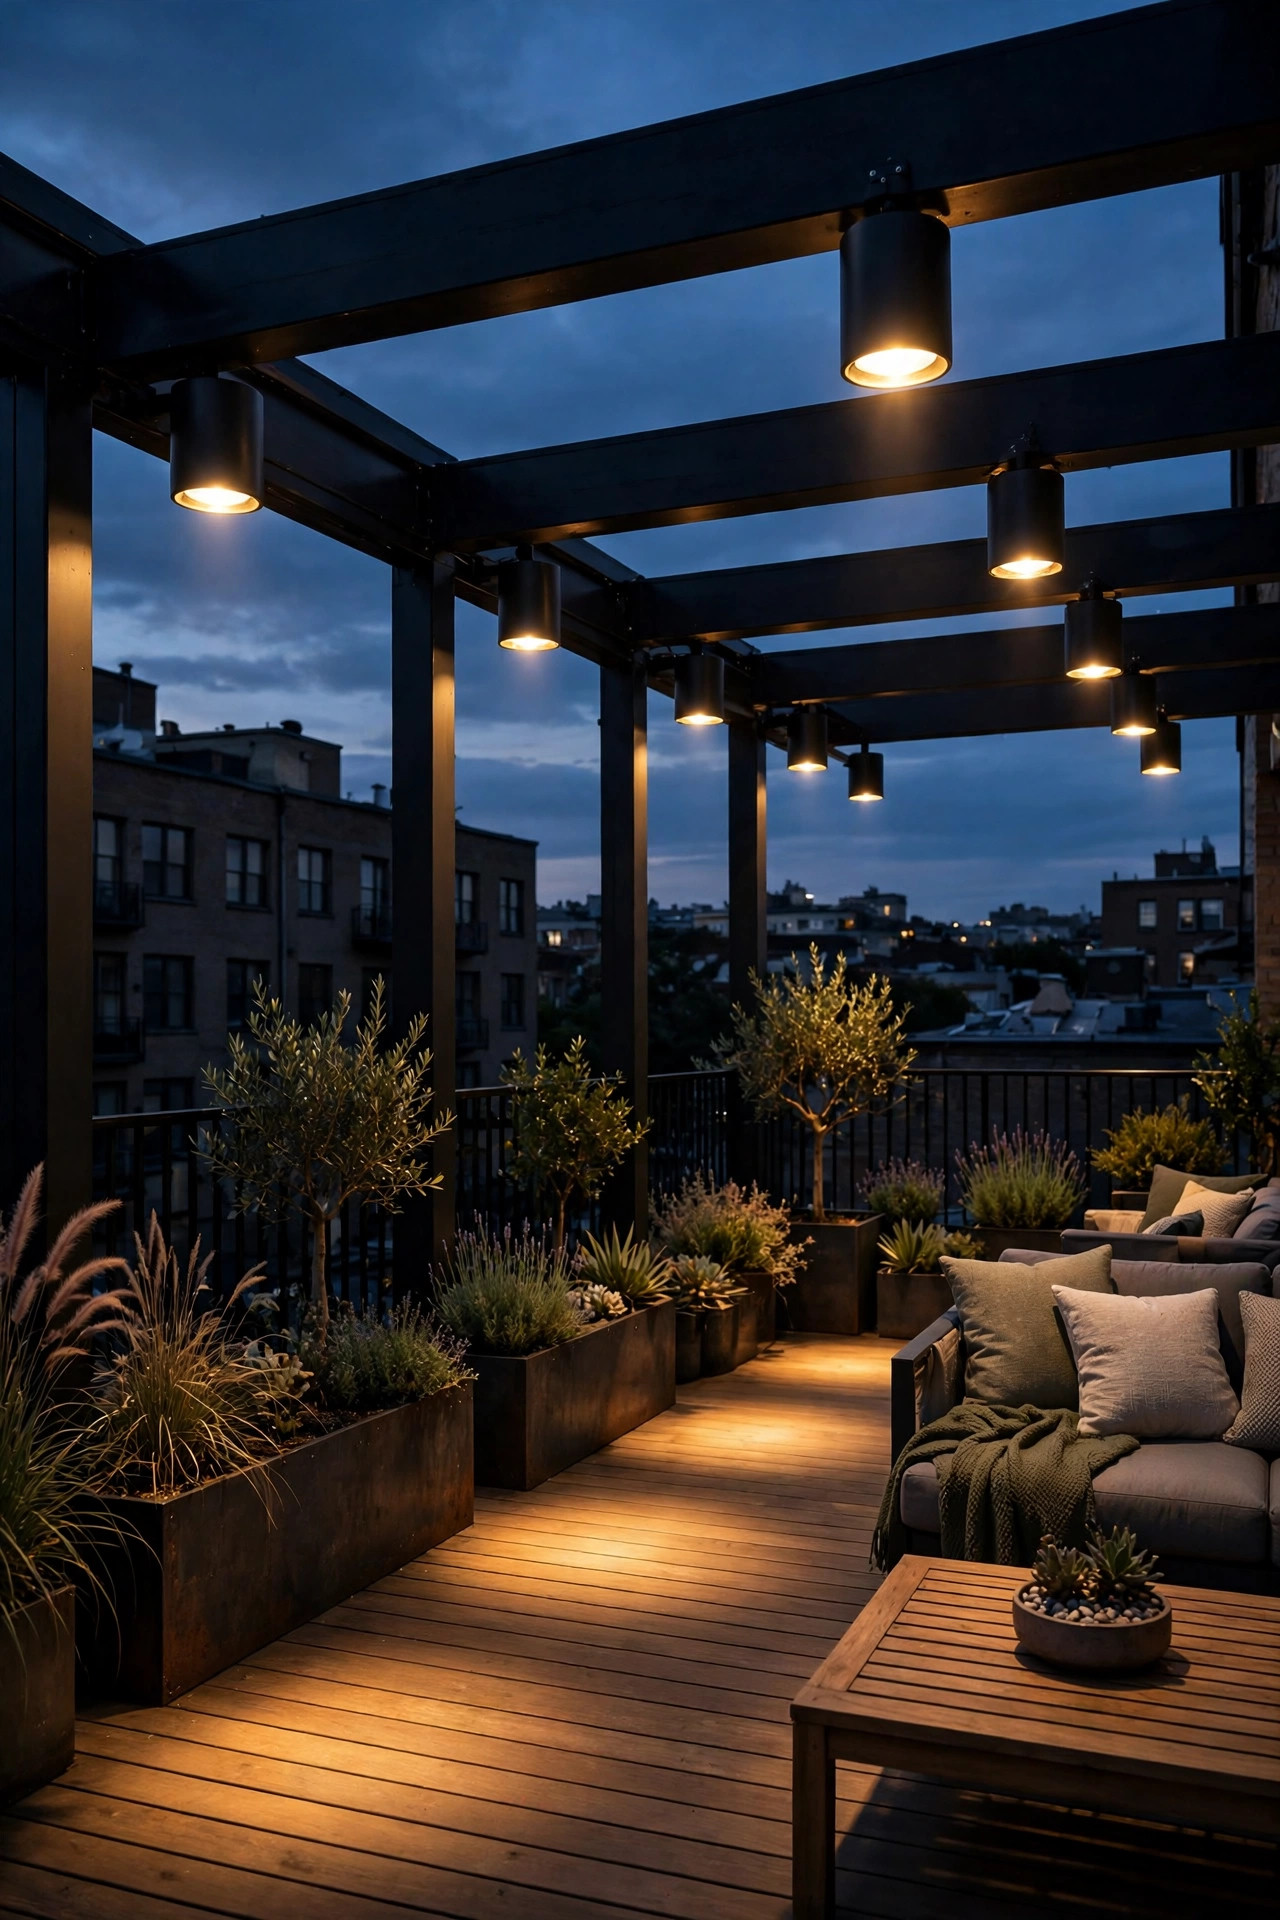
For a clean, modern line of light that takes up literally no space, waterproof LED strip lights tucked under the top rail are my favorite rooftop trick. The strip itself is hidden, so all you see is a warm wash spilling down the balusters and across the deck boards, which makes the whole perimeter feel intentional. Use outdoor-rated strip with an IP65 or better silicone coating, and slide it into an aluminum channel with a diffuser if you can; the channel protects the strip, spreads the light, and stops the dotted look. Under-bench runs do the same job at sitting height and make built-in seating look like it floats. Mount with the adhesive backing plus stainless clips every 12 inches, because rooftop heat and cold cycles defeat adhesive alone within a season or two. Battery-powered strips with a remote suit railings far from the outlet, while plug-in low-voltage strips on a timer suit permanent setups. Keep the color temperature at 2700K to match your other layers, a rule I nag about in nearly every post. Leave a drip loop where the strip meets its power lead so rainwater runs off instead of into the connection.
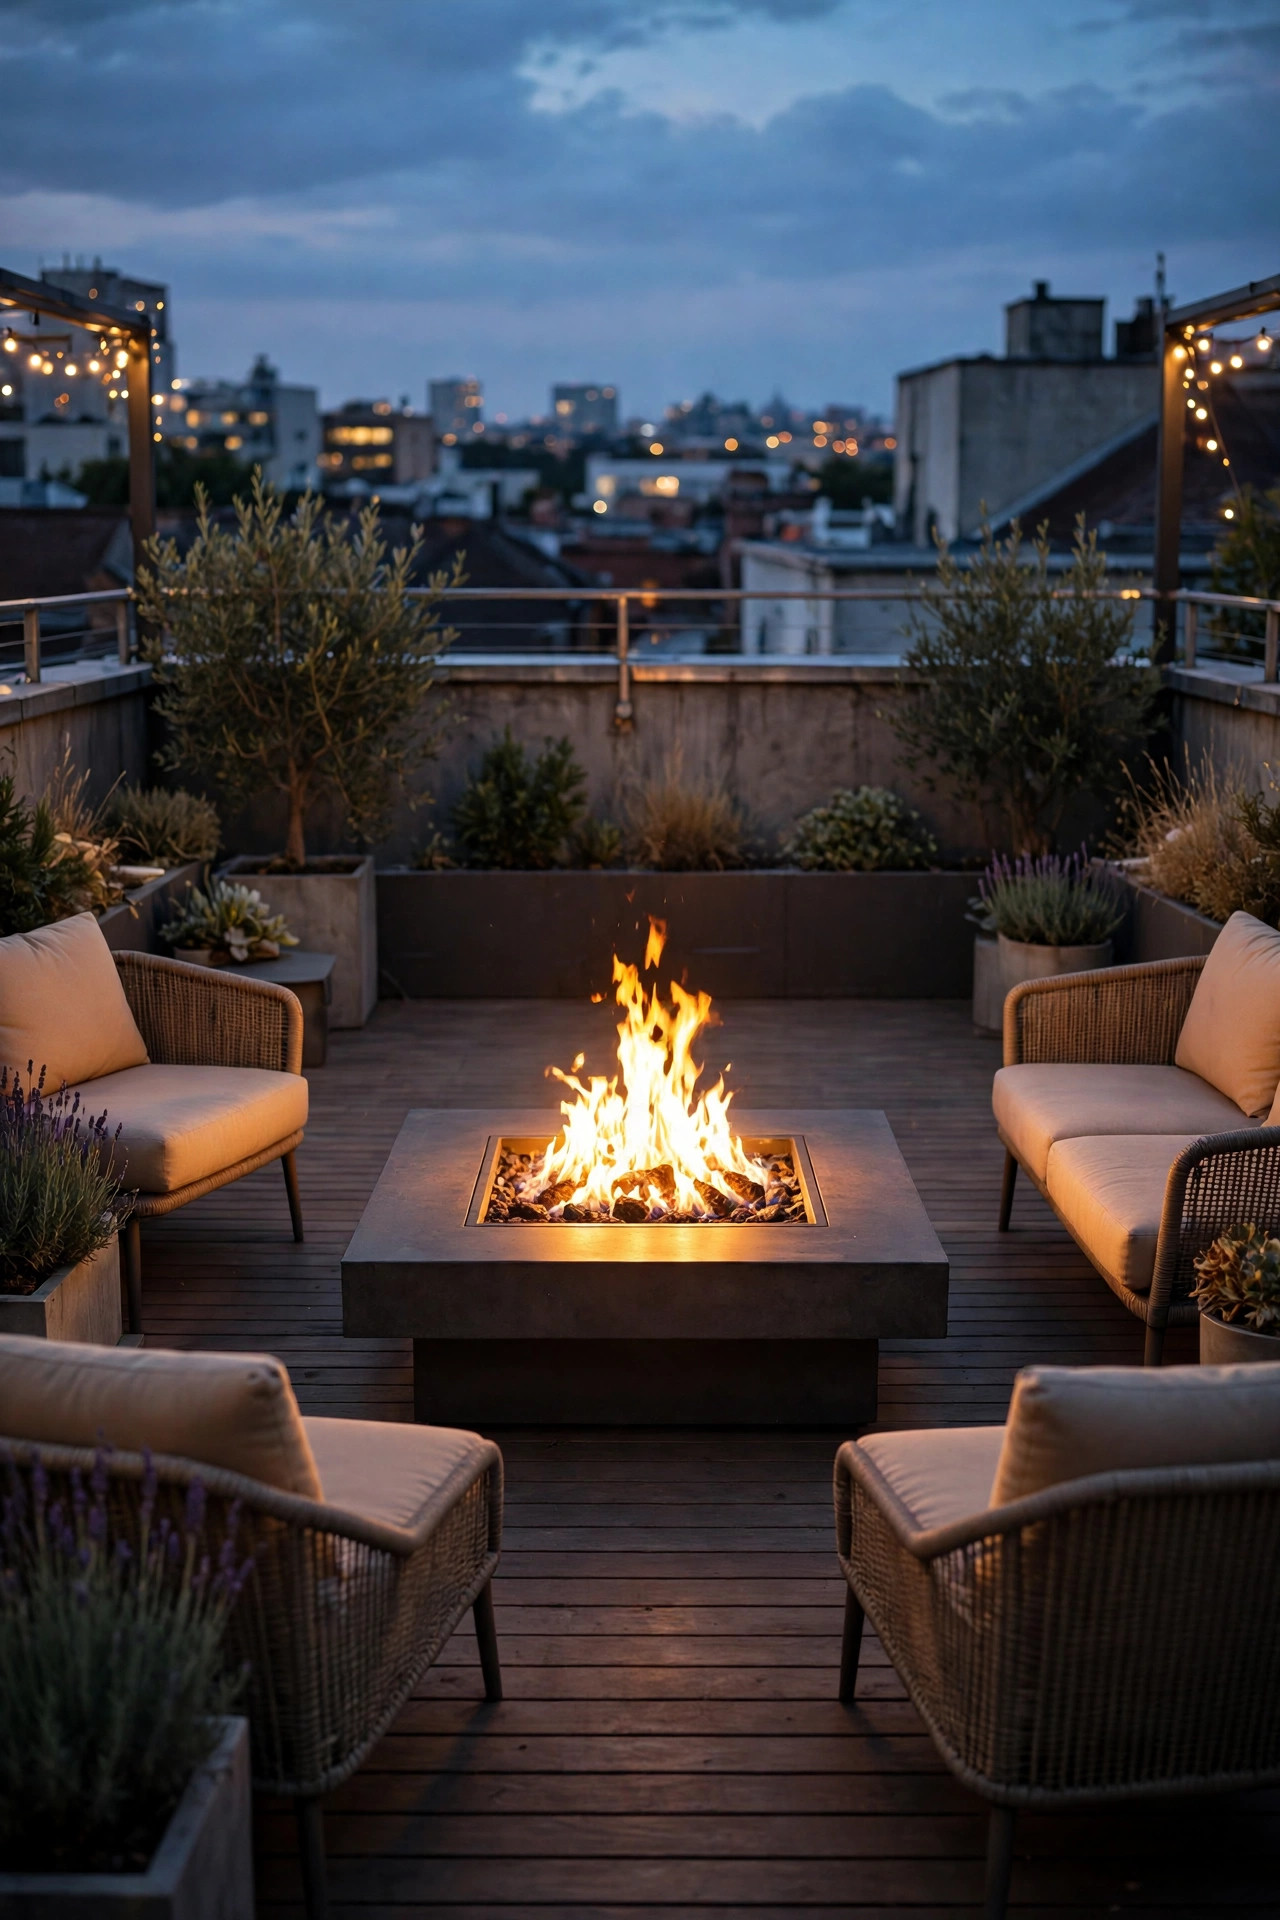
Suggested budget range: $20 – $60.
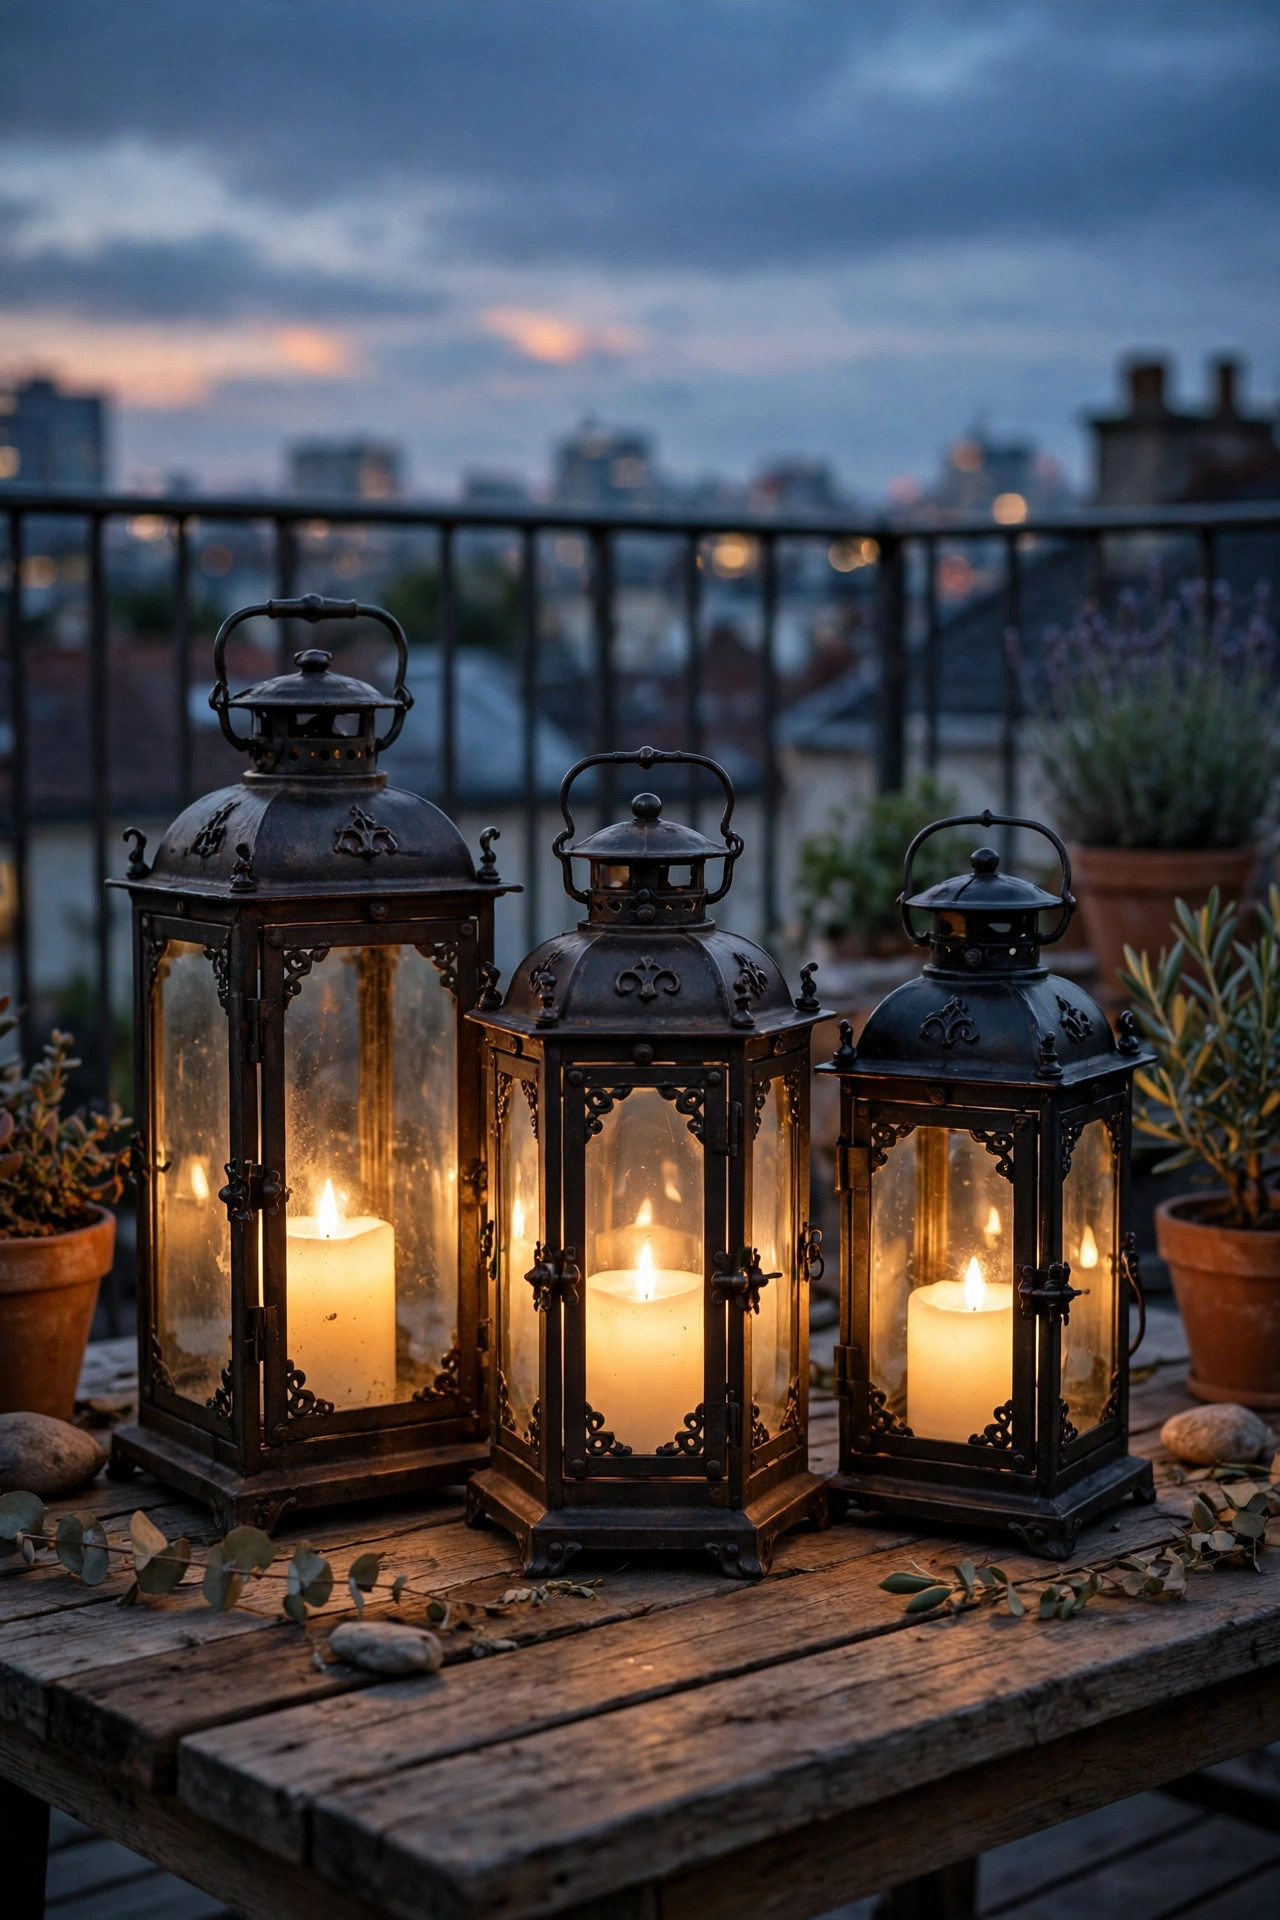
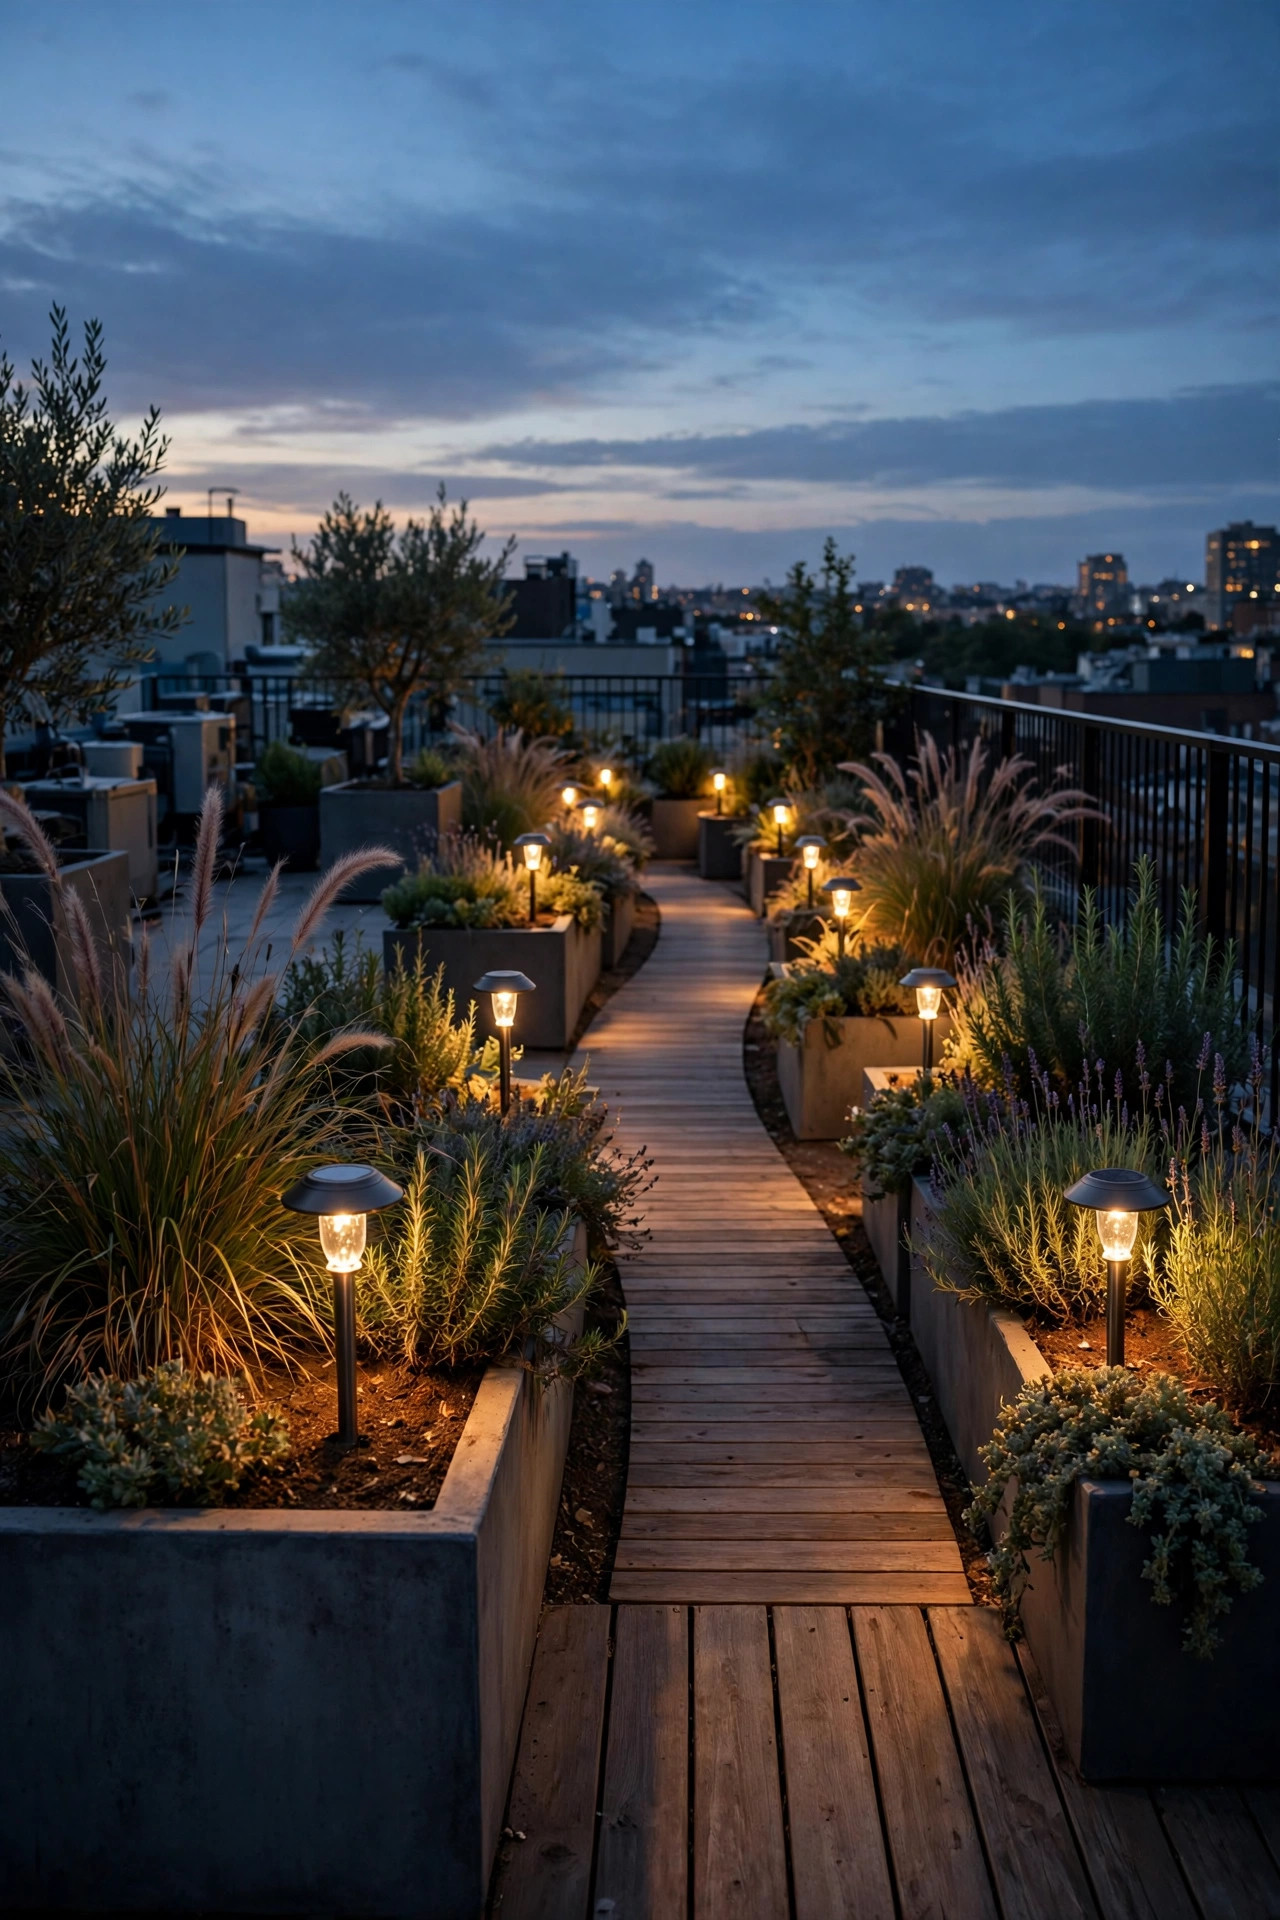
6. Anchor the Space With Weighted Lanterns That Stay Put
Table lanterns are the middle layer that lights faces and makes a rooftop feel furnished, but an unweighted lantern on a windy roof is a projectile with a candle inside. I only buy lanterns with some heft, or I make them heavy: a layer of sand or decorative stones in the base drops the center of gravity and keeps them planted through gusts that would topple a lightweight frame. Group them in threes at different heights on the coffee table, the side tables, and the top step of any level change, the same styling rule I use indoors. Battery-powered LED candles inside are non-negotiable up here; they stay lit in wind that kills a real flame in seconds, and there is no open fire near cushions and throws. Lanterns with timers earn their keep on a roof, since they click on at dusk and off at bedtime without you climbing up to fuss with switches. Before storm season, carry the whole fleet inside in one trip with a laundry basket and store them by the door. In my experience, three good lanterns moved around beats ten cheap ones scattered and forgotten.
Suggested budget range: $25 – $80.
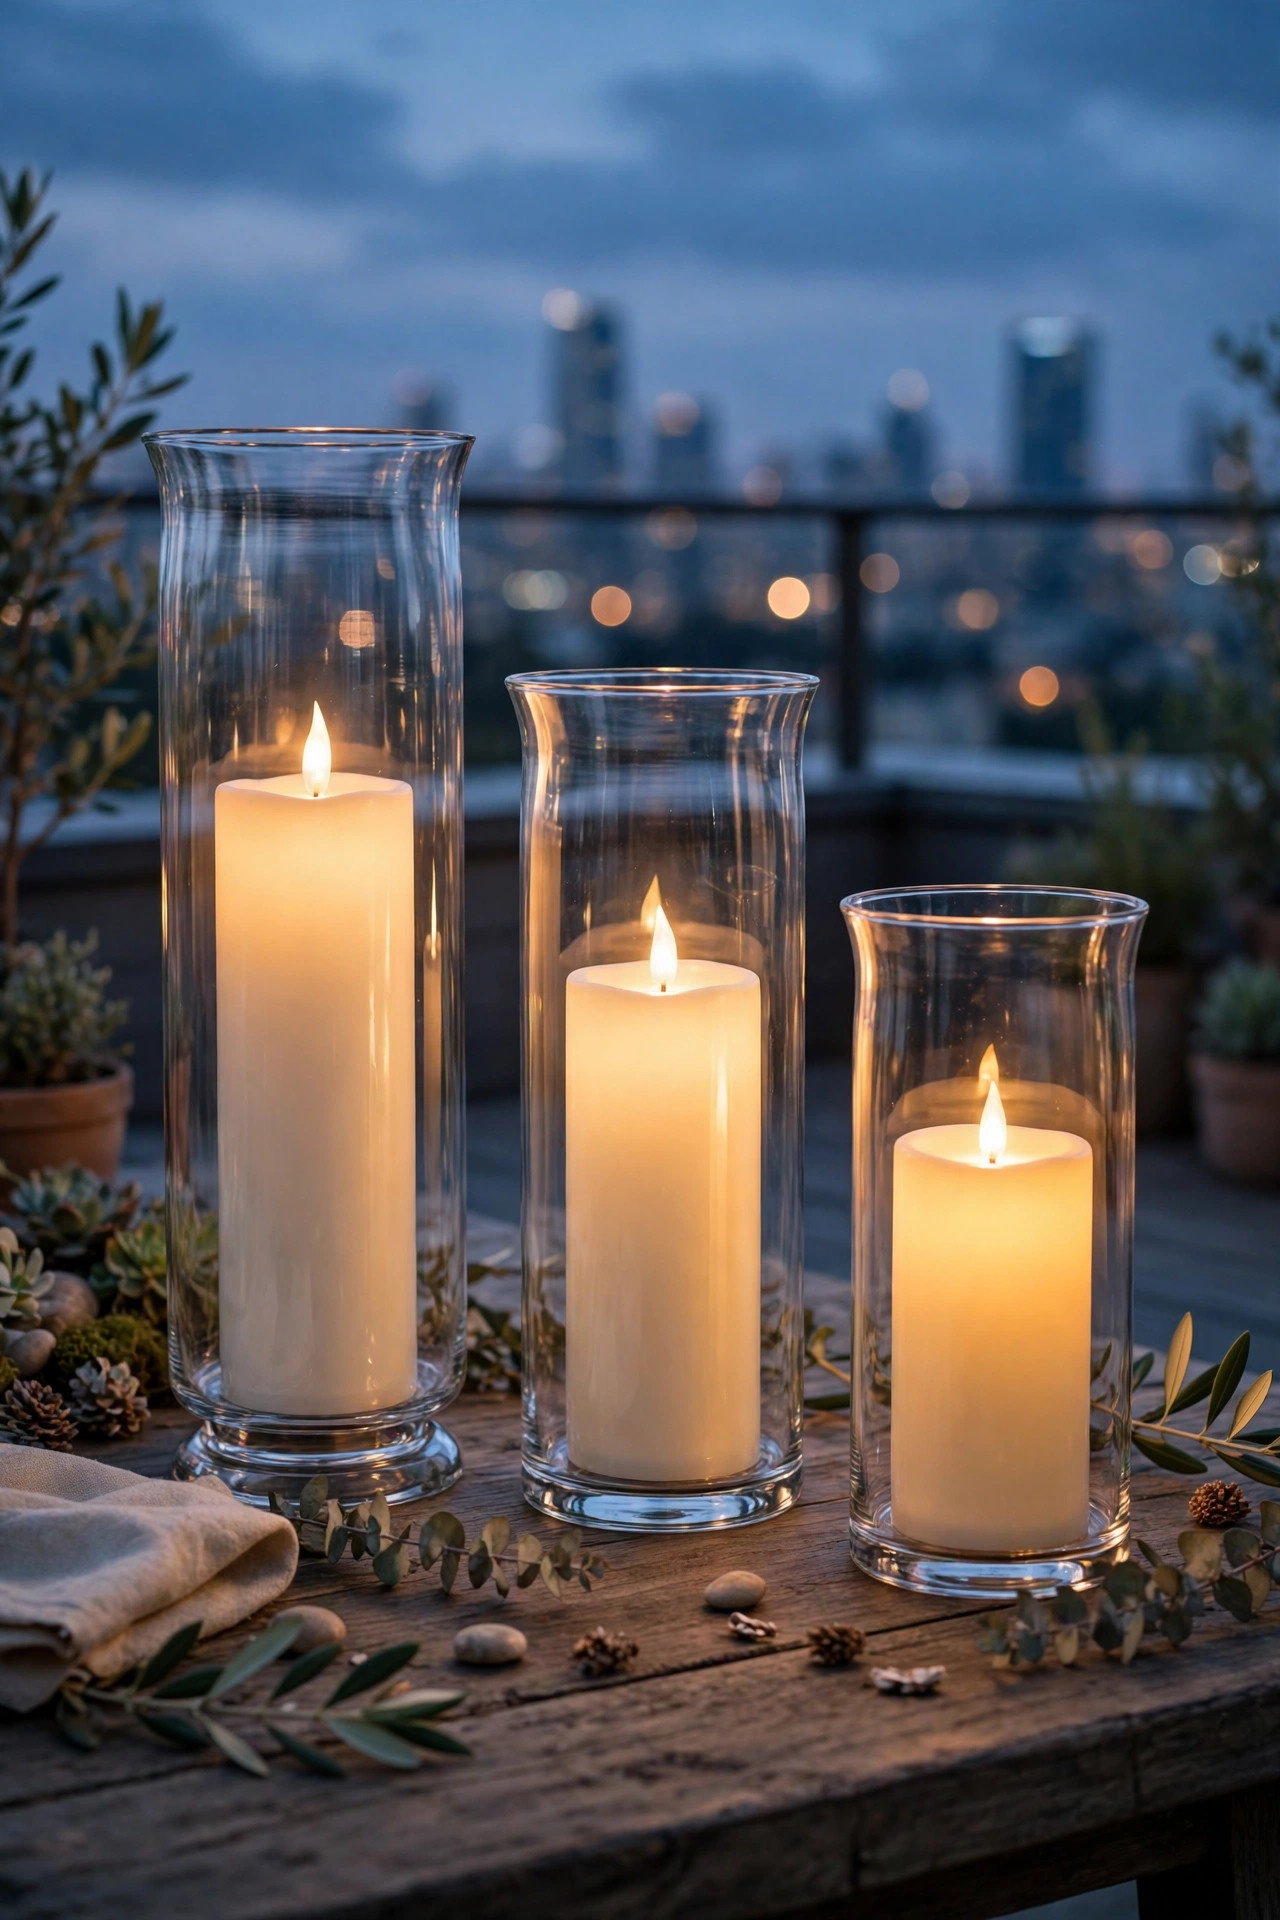
7. Cluster Flameless Candles in Windproof Hurricane Glasses
Some nights I want candlelight without even a lantern frame, and that is where tall hurricane glasses come in. The glass cylinder shields the flame from wind on normal patios, but on a rooftop I fill them with flameless pillar candles instead, which flicker convincingly and never blow out, gutter, or set a napkin drifting in the breeze on fire. Look for flameless candles made of real wax with an outdoor resin option if they will live outside; resin pillars shrug off heat and rain that melt wax ones on a sunny roof. The remote-control sets are worth the small premium because you can light a dozen candles from your chair as the sky darkens. Cluster three hurricanes on a tray so the whole arrangement moves indoors in one trip before a storm, and add a handful of flameless tea lights inside smaller jars for the low sparkle between them. Keep heights varied, tall in back and short in front, and set the cluster where it reflects in a window or glass door if you have one; the reflection doubles your candlelight for free. Honestly, this is the cheapest atmosphere per dollar on this entire list.
Suggested budget range: $15 – $50.
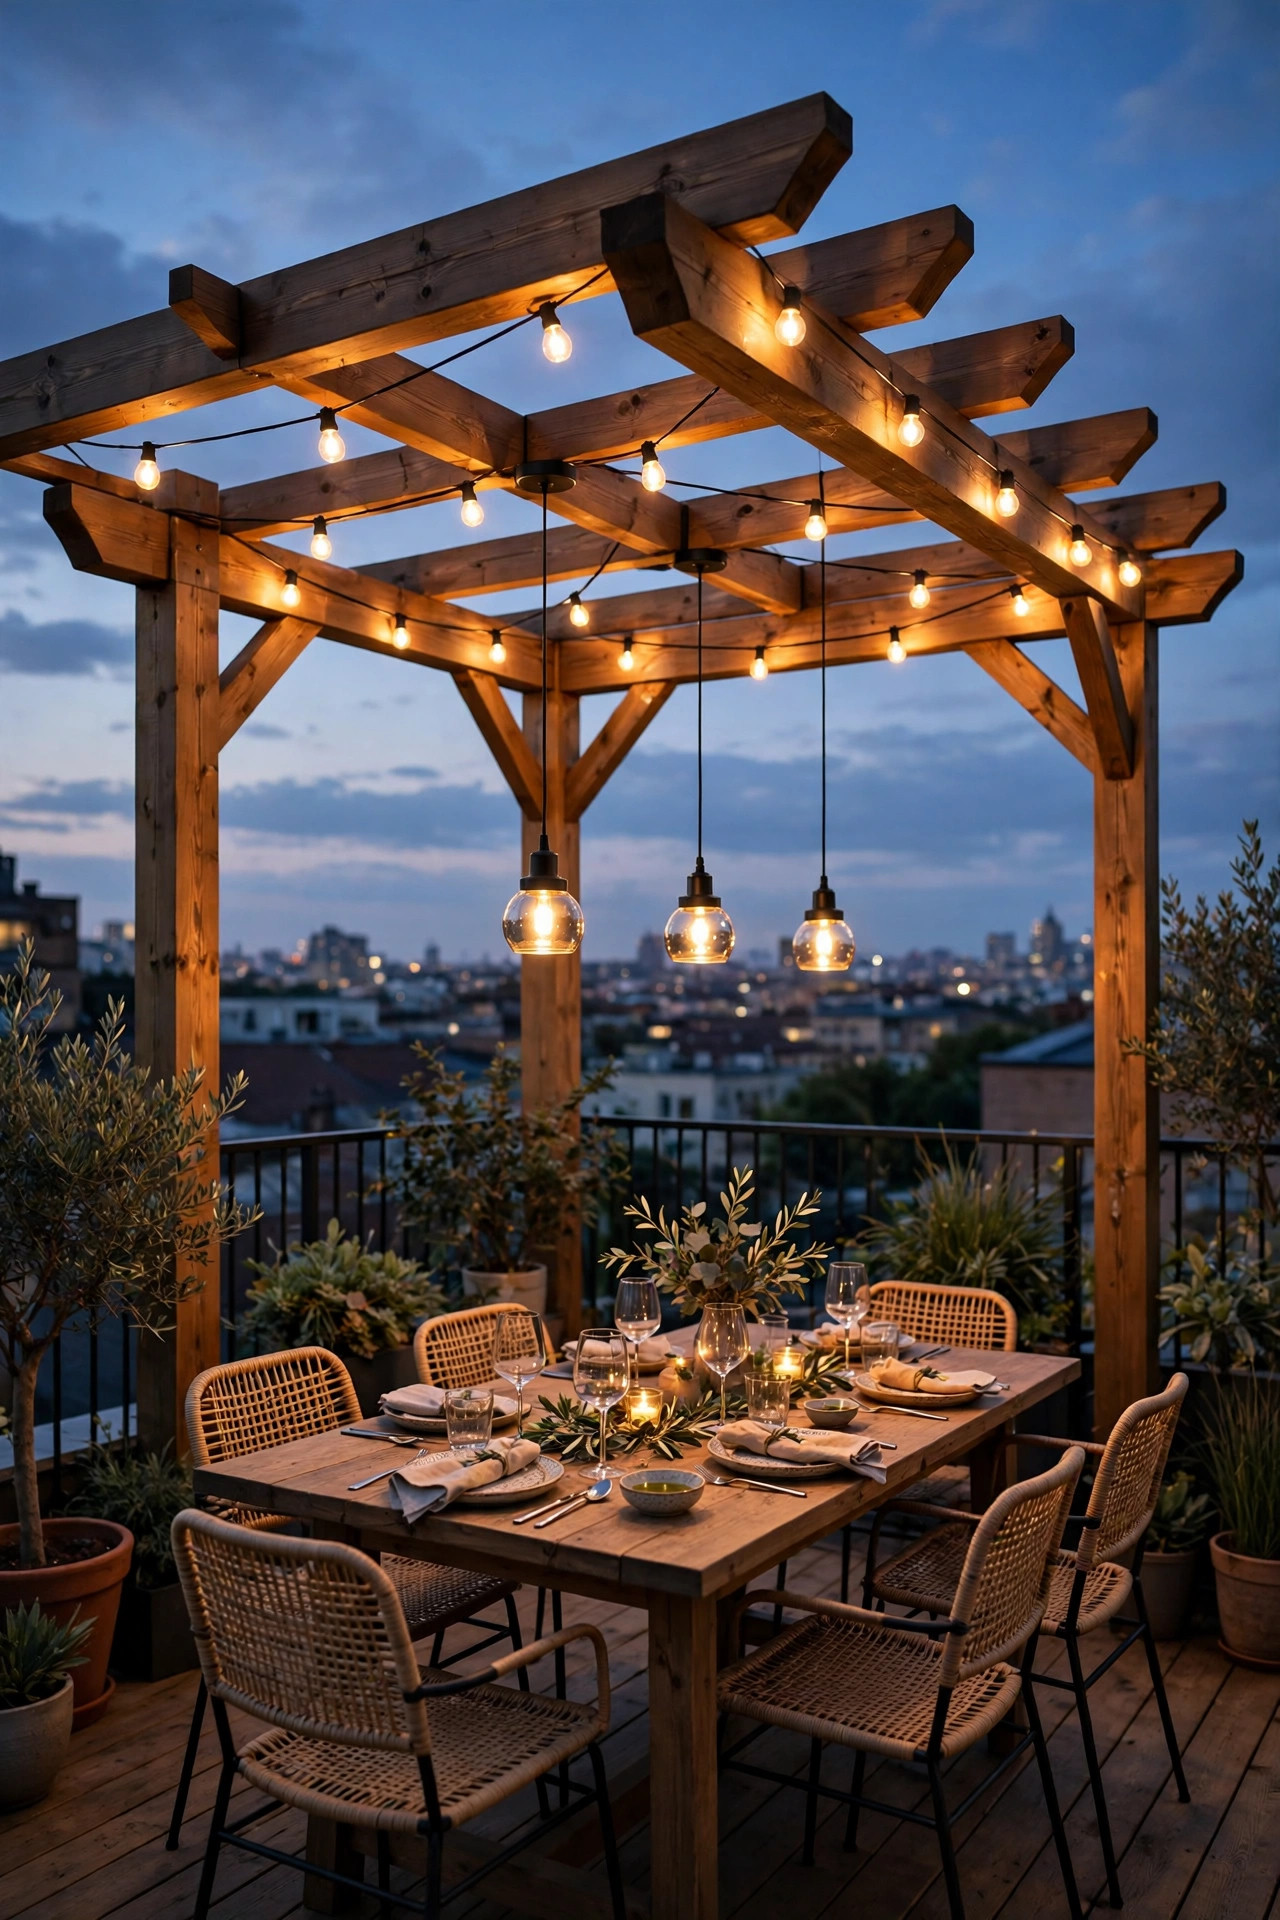
8. Glow Up a Freestanding Pergola or Shade Sail
A pergola on a rooftop sounds ambitious, but freestanding kits designed for decks give you the one thing a bare roof lacks: a ceiling to hang light from. Check your building rules and the deck load rating first, since a pergola plus planters plus people adds real weight, and some roofs flatly prohibit structures. If you get the green light, the lighting options multiply. Wrap the beams with outdoor string lights, hang two or three weatherproof pendants over the dining table, or run a strip light along the inside edge of the roof beams for a soft architectural outline. A shade sail is the lighter-weight cousin: it tensions between poles and anchor points, shrugs off wind better than a solid roof when installed with a slight twist, and takes a swag of string lights along its lowest edge beautifully. Either structure also buys you shade by day, which protects your furniture and your solar panels alike. Keep every fixture under the structure rated for wet locations, because a pergola roof slows rain but does not stop wind-blown spray. Honestly, defining a room in the sky is the single biggest transformation on this list.
Suggested budget range: $150 – $600.
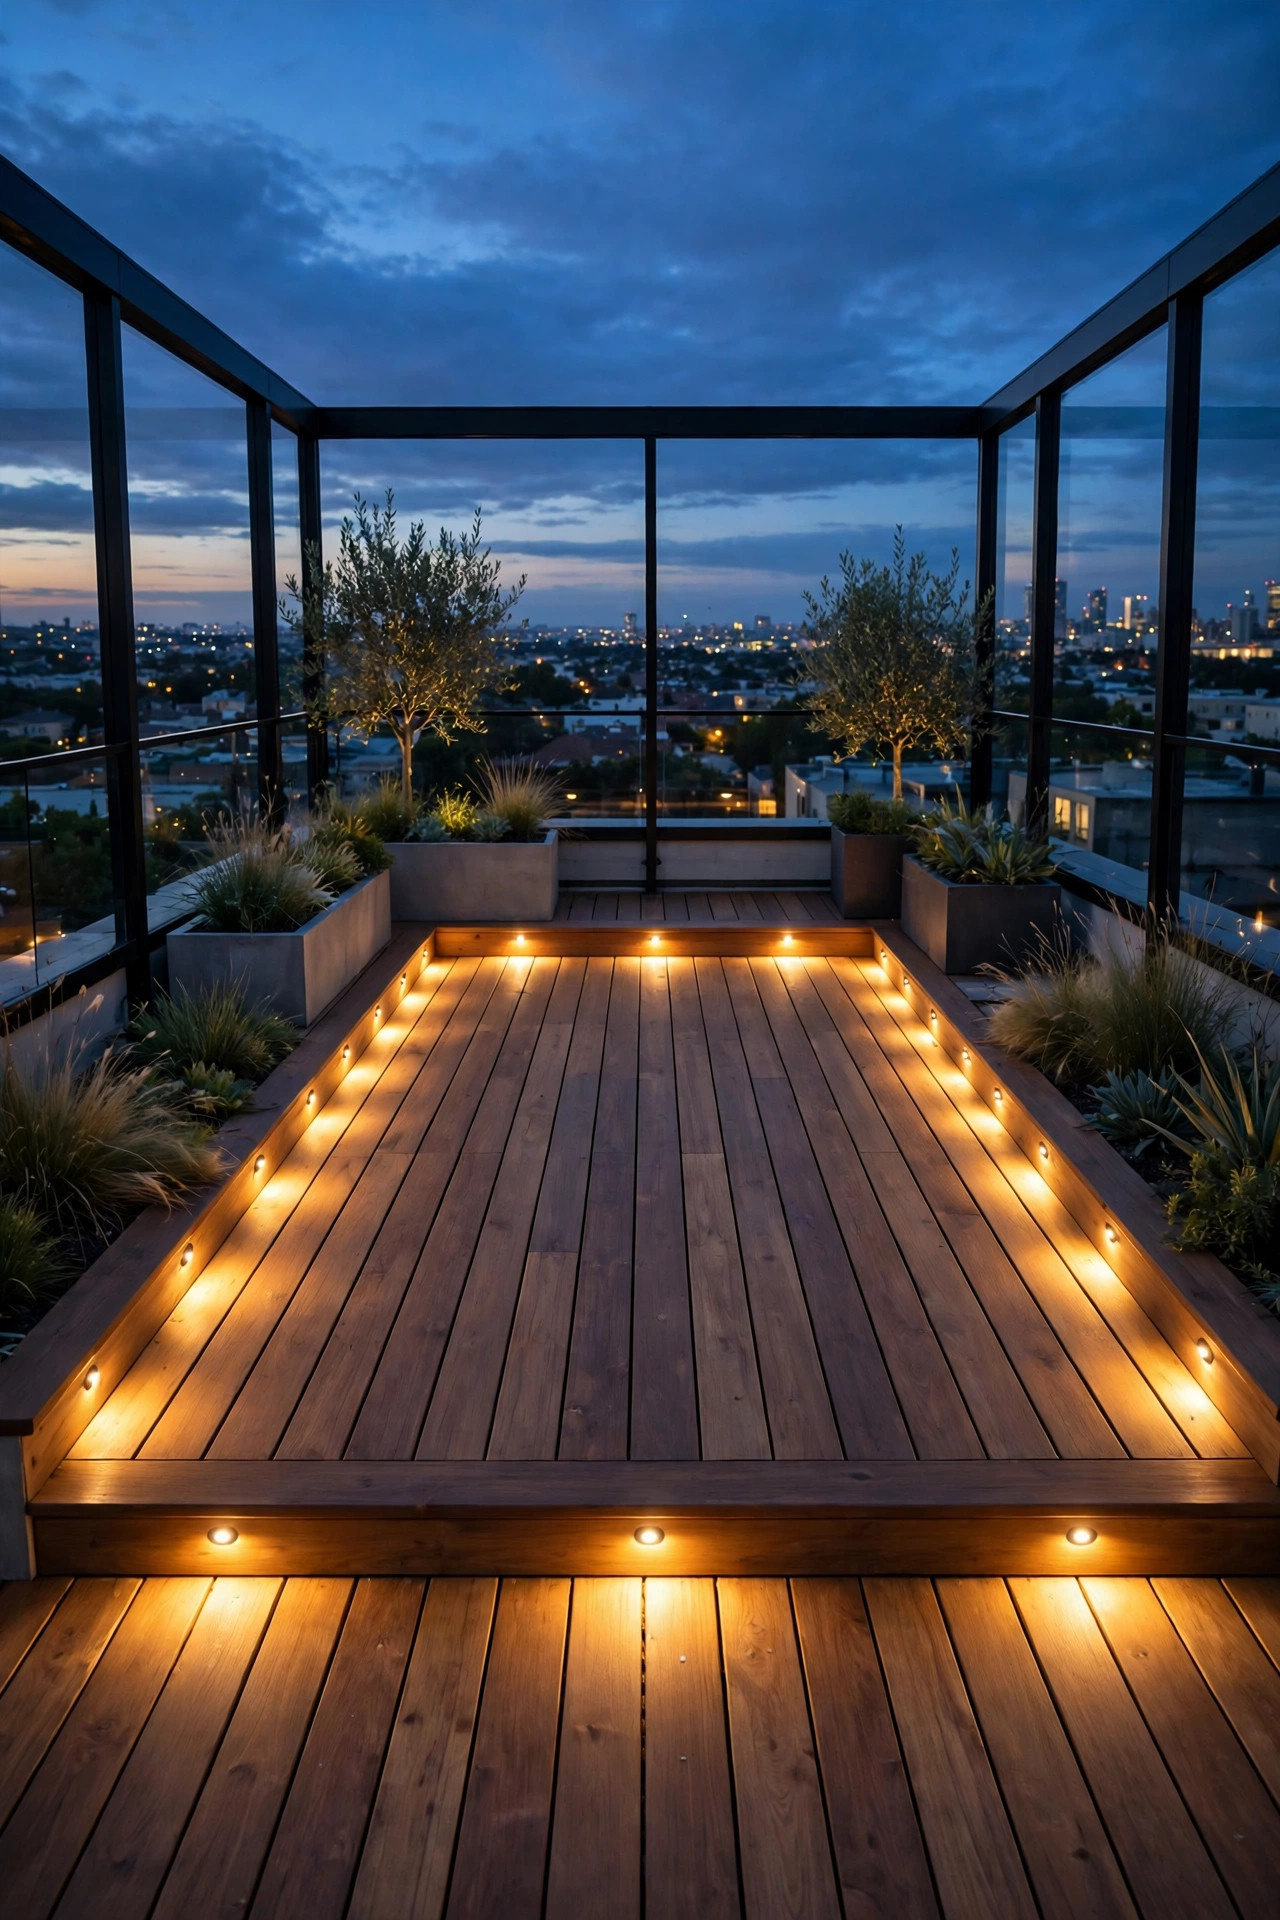
9. Set Recessed Lights Into the Deck Boards for a Clean Perimeter
If you own your deck and plan to stay, recessed deck lights are the polished, permanent option: small round fixtures set flush into the boards around the perimeter, so the light source nearly disappears and only a calm ring of glow remains. They are made for walking routes and edge definition, exactly the ground layer, and being flush means wind cannot touch them, chairs slide over them, and nothing trips anyone. Low-voltage systems are the DIY-friendly route, with a transformer plugged into your GFCI outlet and cable run under the boards or along joists. Space them 4 to 6 feet apart and stagger them slightly off the traffic line so feet are not stepping directly on lenses all night. Choose warm 2700K versions with frosted lenses; bare bright dots at ankle height glare upward more than you expect. On a rooftop over living space, be extra careful with penetrations: follow the deck builder guidance, seal every hole, and if your deck sits on a membrane roof, skip drilling entirely and use the surface-mounted puck style instead. This is the one project where I happily suggest hiring a pro for an afternoon.
Suggested budget range: $100 – $350.
10. Light the Stairs and Roof Hatch for Safe Trips Up and Down
Every rooftop evening starts and ends with a trip through a bulkhead door or up a stair, and that route is where someone eventually carries a tray in the dark. Treat the access route as its own lighting zone. A motion-sensor light beside the door means the first step onto the roof is never a guess, and it switches off behind you so it never competes with your evening layers. On any steps, small lights on the risers or a handrail strip make each tread edge readable; my deeper notes on deck stair light ideas walk through placement heights and spacing in detail. Keep this zone purely functional and a touch brighter than your ambient layers, around 3000K is fine here even if the rest of the roof is warmer, because clarity beats mood on stairs. Solar step lights work if the stair gets daytime sun through a skylight or open hatch, but a wired or battery unit is more trustworthy in an enclosed bulkhead. Add a small light at any threshold lip or hatch coaming too; those raised edges are the classic rooftop trip hazard nobody notices until a guest finds one.
Suggested budget range: $20 – $90.

11. Twine Fairy Lights Through Planter Greenery
Copper-wire fairy lights are the rooftop stylist secret weapon, because they weigh nothing, bend around anything, and turn ordinary planters into glowing sculpture. I weave a strand through a tall grass planter, another through the branches of a potted olive or small tree, and one along the greenery in a long railing box. The wire nearly disappears by day and the tiny points of light float in the foliage at night, which reads as pure magic against a skyline. Battery packs are the practical choice up here: tuck each pack into a small waterproof box or under the planter rim so rain never reaches it, and choose packs with a timer mode that runs six hours on and eighteen off, so the planters light themselves every evening. One strand per planter is plenty; fairy lights lose their charm when you can see the wiring pattern instead of the plant. Keep them off any plant you water daily from above if you can, or lift the strand while you water, since repeated soaking shortens even outdoor-rated wire. Solar fairy strands work too, with the little panel clipped to the sunny side of the pot.
Suggested budget range: $10 – $40.

12. Commit to One Warm 2700K Temperature Against the City Glare
Cities glow cool. Streetlights, office windows, and signage lean blue-white, and if your rooftop lighting matches that temperature, your deck just becomes more city. The fix is discipline: choose 2700K warm white for every fixture, bulb, strip, and candle you bring up there, and your roof reads as a warm little cabin floating above the cool skyline. Mixed temperatures are the number one reason layered lighting looks off in photos and in person; the eye reads the mismatch as a mistake even when each light is pretty alone. When you shop, treat the Kelvin number like a size: check it on string lights, solar caps, and strip lights alike, and be suspicious of anything labeled only daylight or cool white. Amber-toned flameless candles at roughly 2200K are the happy exception, since candlelight is supposed to sit warmer than the room around it. If a beloved fixture only comes in 3000K, group it in its own zone, like the stair light, rather than mixing it into the seating layers. This one rule costs nothing extra and makes every other idea on this list look twice as expensive.
Suggested budget range: $0 – $30.
13. Aim Everything Down to Respect Neighbors and the Building
On the ground, a careless floodlight bothers one neighbor. On a roof, your light spills into windows above, below, and across the street, and many buildings and cities have actual rules about it. The good news: downlighting looks better anyway. Choose shielded fixtures that hide the bulb and throw light onto the deck, not the sky. Cap lights that face down, strips under rails, lanterns with covered tops, and string lights are all naturally polite because their glow stays in your space. Avoid bare upward spotlights and anything with an exposed bulb aimed outward from the railing. Put the whole system on a timer that ends the night at a considerate hour, ten or eleven, even if you occasionally stay up later with just the candles. If you are friendly with the neighbors below, ask once whether your lights bother them; that one conversation prevents the complaint letter and usually ends with them asking how you did it. Dark-sky habits also keep your own view better, because shielded warm light preserves the stars and the skyline sparkle you climbed up there for in the first place.
Suggested budget range: $0 – $40.
14. Add a Fire Table or Tabletop Fire Bowl, With Clearances
A small fire feature is the one light source that also heats, and on a breezy roof that warmth stretches the season by weeks. Rule one, and it is not optional: check your lease, condo rules, and local fire code before anything else, because many buildings prohibit open flame on roofs entirely, full stop. If fire is allowed, a tabletop fire bowl or a compact propane fire table keeps the flame low, contained, and off the deck surface. Keep the manufacturer clearances honestly: typically at least 2 to 3 feet from cushions, railings, and anything fabric, more from overhanging sails or pergola beams. Never leave it burning unattended, never light it on a genuinely windy night when gusts lean the flame sideways, and keep the extinguisher you should already own somewhere you can reach in the dark. The flame light itself is gorgeous at about 1800K, warmer than every other layer, so let it anchor the seating area and keep electric light around it dim. If your building bans flame, an electric flame-effect heater or a cluster of oversized flameless candles gives you most of the mood with none of the paperwork.
Suggested budget range: $60 – $300.
15. Guide Walking Routes With Solar Lights Staked Into Planters
Ground-level guidance lights usually stake into soil, and a rooftop has none, but planters solve that elegantly. Push short solar path lights into the soil of your largest pots and line them along the walking route from the door to the seating and back to the hatch. The route reads instantly after dark, and guests stop shuffling through your greenery. Choose lights in the 20 to 50 lumen range; path markers should whisper, not shout, and dimmer lights keep the skyline in charge. In pots that sit in shade from a pergola or bulkhead, use low-voltage wired markers instead, since a shaded panel will quit on you by nine in the evening. Where there is no planter at all, weighted-base solar bollards and deck-mount puck lights fill the gap without a single screw. Keep fixtures out of the direct walking line by a few inches so heels and chair legs are not finding them nightly. I also add one marker at the edge of any level change or step down between deck sections, because a shadow line across a single step is exactly how ankles get rolled at parties.
Suggested budget range: $20 – $70.
16. Put It All on Timers and Smart Plugs That Follow the Sunset
The best rooftop system is the one that is already glowing when you carry the drinks up, and timers make that automatic. An astronomical timer or smart plug learns your sunset time and shifts with the seasons, turning the string lights and railing caps on at dusk and off at your chosen hour without you touching anything. Plug-in layers go on the smart plug at the GFCI outlet; solar layers handle themselves; battery lanterns with built-in timers join the same schedule once you set them the first night. Dimmable smart bulbs in any hardwired fixture by the door let you drop the whole roof to candlelight level from your phone when the conversation gets good. Set the schedule with your neighbors in mind, because automation that forgets to turn off at midnight is how good lighting gets a bad reputation in a building. I also program a storm scene: everything off except the stair and door light, so one tap secures the roof when weather rolls in. Start with a single timer on your main strand before going full smart-home; in my experience that one device delivers ninety percent of the magic.
Suggested budget range: $15 – $60.

17. Add a Motion Sensor Light at the Door and Storage Bench
Some rooftop corners only need light when you are in them: the doorway, the storage bench where the cushions live, the little utility corner with the hose and broom. A battery or solar motion sensor light is perfect there, popping on when you approach and off a minute later, so it never argues with your ambient layers. Mount it 6 to 7 feet up and angle it down so it catches a person at about 10 to 15 feet without blasting the seating area every time someone gets up for a drink. Choose a warm white model with an adjustable sensitivity dial if you can find one; rooftop wind moving plants and covers can false-trigger a cheap sensor all night and drain its batteries in a week. Solar versions charge beautifully in rooftop sun, but in an enclosed stair bulkhead go battery or hardwired instead. This is also the polite security light for a roof: it tells you when someone comes up the stair without flooding the neighbors with all-night glare. Small, boring, and somehow the fixture guests comment on most, because it makes the whole roof feel thoughtfully finished.
Suggested budget range: $15 – $45.

18. Uplight One Tall Planter or Ornamental Grass Feature
Every deck needs one moment of drama, and on a rooftop a single uplighted plant delivers it. Pick your tallest feature, a columnar evergreen in a big pot, a clump of ornamental grasses, or a small multi-stem tree, and set one adjustable spotlight at its base aimed up through the foliage. The plant glows from inside, throws moving shadows in the breeze, and silhouettes against the skyline like a stage set. A solar spotlight staked into the pot itself is the zero-wire version and charges in the same pot all day; a low-voltage wired light is steadier for a permanent installation. Angle the beam to rake the plant, not the sky, and shield or reposition it if any light escapes past the foliage, out of respect for the dark-sky rule from idea thirteen. Warm 2700K flatters leaves and bark; cooler light makes greenery look gray and tired. Resist the urge to uplight everything: one star plant, dramatically lit, looks designed, while five competing spotlights look like a garden center at closing time. Move the light seasonally as the plant grows and the sun angle changes.
Suggested budget range: $15 – $50.

19. Stretch Battery String Lights to the Far Corners
Every rooftop has two zones the outlet cannot reach and the sun barely charges: the far corner behind the bulkhead, the reading nook at the shady end. Battery string lights on a USB power bank are my bridge to those spots. A modern power bank runs a modest strand for several evenings between charges, and you simply carry the bank inside to recharge like a phone. Weatherproof battery boxes with a built-in timer are the tidy alternative; hang the box on the railing out of the rain path and set it to the same six-hour cycle as your planter fairy lights so the whole roof keeps one schedule. Keep strands short out there, ten to fifteen feet, since the goal is a gentle pool of light over a chair or a bar cart, not another canopy. Shatterproof bulbs matter doubly in the corners where wind funnels. Honestly, these movable strands are also my party trick: I relocate them to wherever the evening migrates, the grill corner one night, the telescope corner the next, and the roof never feels like it has a dead zone again.
Suggested budget range: $15 – $45.
20. Hang a Curtain of Lights on a Privacy Screen
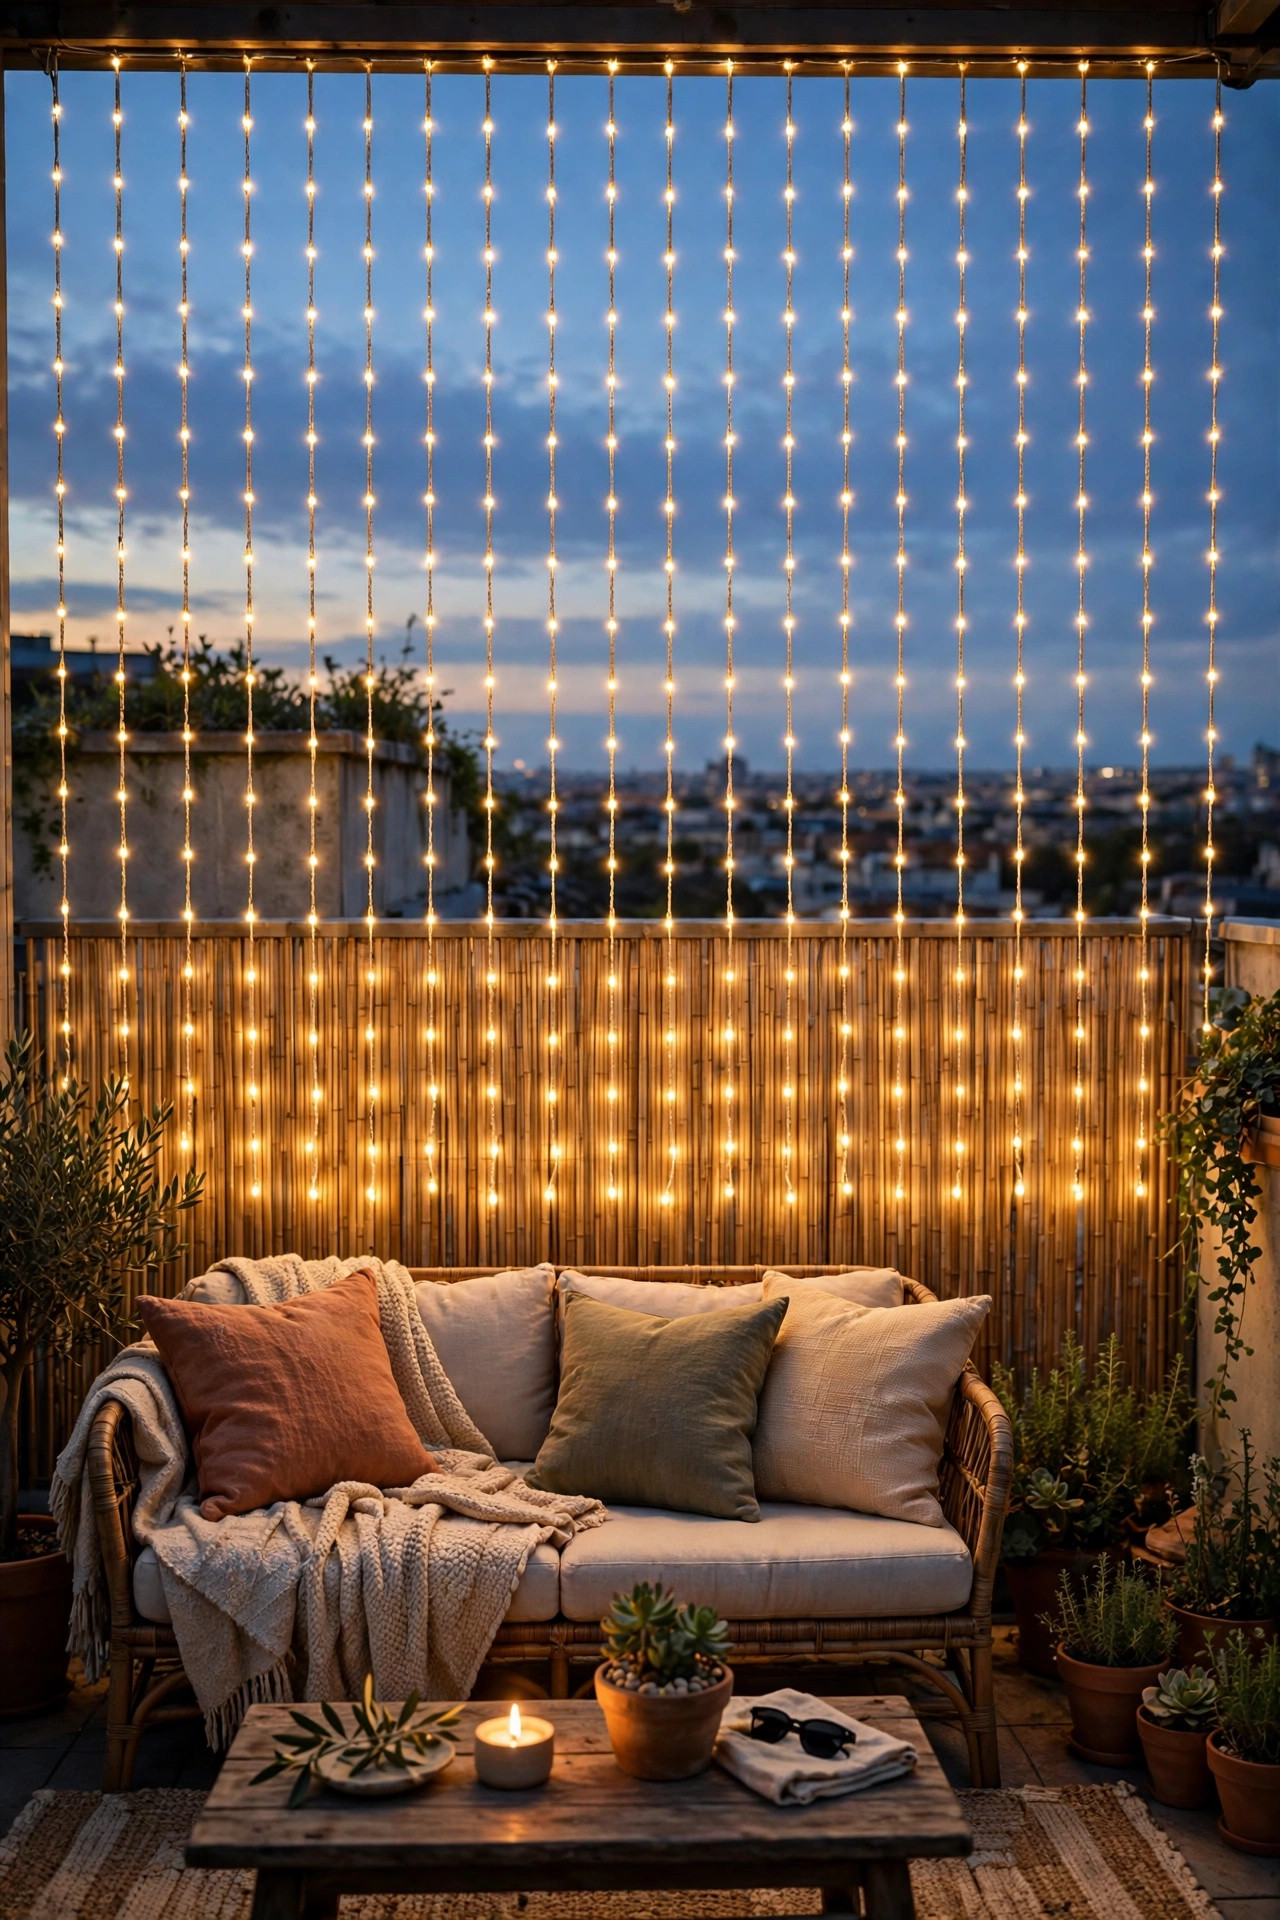
Rooftop neighbors are close, and a privacy screen of slatted wood, outdoor fabric, or a trellis earns its place on most city roofs. Dressing that screen with a curtain light turns a defensive wall into the prettiest backdrop on the deck. Curtain strands hang from a top wire in even drops, so installation is one straight line of clips rather than a hundred decisions, and the effect is a soft wall of warm points behind your seating. Keep the screen itself secured like everything else up high, anchored to planters or the railing structure per your building rules, because a sail of fabric in a storm is a real load. A solar or battery curtain keeps the wiring trivial, and the panel or pack mounts right on the screen frame. If a full curtain feels like too much sparkle, hang the strands only along the top third for a valance of light, or weave a single fairy strand through a trellis with climbing plants instead. From inside your seating, the curtain hides the building across the way; from the street, your roof just looks like it is celebrating something. Both are wins.
Suggested budget range: $25 – $80.
21. Finish With a Walk-Through Check of Your Rooftop Deck Lighting Ideas
The final step is the one that makes the other twenty work as a system: go up at full dark and audit your rooftop deck lighting ideas in person, then go down to the street and look up. From the deck, walk every route a guest would take, from door to seating to the far corner, and crouch at sitting height to find glare; any bulb you can see directly from a chair needs a shade, a diffuser, or a new angle. Tug every strand, cap, and lantern like the wind would, because the wind will, and add clips or weights anywhere something shifted. Check the timers against the actual sunset and confirm nothing is scheduled to blaze past your building quiet hours. From the street and, if you can, from a neighbor floor, confirm your roof reads as a warm glow, not a spotlight rig; adjust anything that spills. Finally, make a tiny storm routine and tape it inside the storage bench: what gets unplugged, what comes inside, what stays. Do this walk-through at the start of every season and after the first big storm, and your roof will look intentional all year instead of slowly unraveling.
Suggested budget range: $0 – $30.

Frequently Asked Questions
What color temperature is best for a rooftop deck?
Warm white at 2700K is my recommendation for every layer on a roof. City light already leans cool and blue, so a disciplined warm temperature makes your deck feel like a retreat floating above it, and it flatters faces, food, and foliage at the same time. Keep flameless candles warmer still, around 2200K, and reserve anything near 3000K for purely functional spots like stairs where clarity matters most.
Are solar lights bright enough on a rooftop surrounded by tall buildings?
Yes, and a roof is usually the best solar spot a home has, since little shades it. If a neighboring tower shadows your roof for part of the day, choose fixtures with a separate panel you can place in the sunniest corner, or with removable battery packs you can charge indoors. Use solar for sparkle, edges, and markers, and keep one plug-in or battery anchor light for stairs and cooking.
How do I keep rooftop lights from bothering my neighbors?
Aim everything down and choose shielded fixtures that hide the bulb, skip exposed bulbs and upward spotlights, and put the system on a timer that ends the night by ten or eleven. Warm dim light at deck level is almost never the problem; glare aimed outward is. A quick friendly question to the neighbors below, plus one street-level look at your own roof, settles it for good.
Can I leave string lights up on a rooftop all year?
Commercial-grade outdoor strands with sealed sockets can stay up year-round in most climates, and many rooftop owners do leave them. The honest caveats are wind and UV: secure every run with clips, drop the strands before major storms, and expect rooftop sun to age cords faster than on a sheltered patio, so inspect for cracking each spring and retire any strand that shows it.
Conclusion
Great rooftop deck lighting ideas all come back to the same handful of habits: layer the light, keep it warm, aim it down, secure it against the wind, and let timers do the remembering. Start with your railing line and one strand of canopy lights, add lanterns and route markers as the season settles in, and do the street-level check before you call it done. If you are ready for the next project, browse the rest of the deck and patio lighting ideas here on the site; there is a whole summer of evenings up there waiting for you.