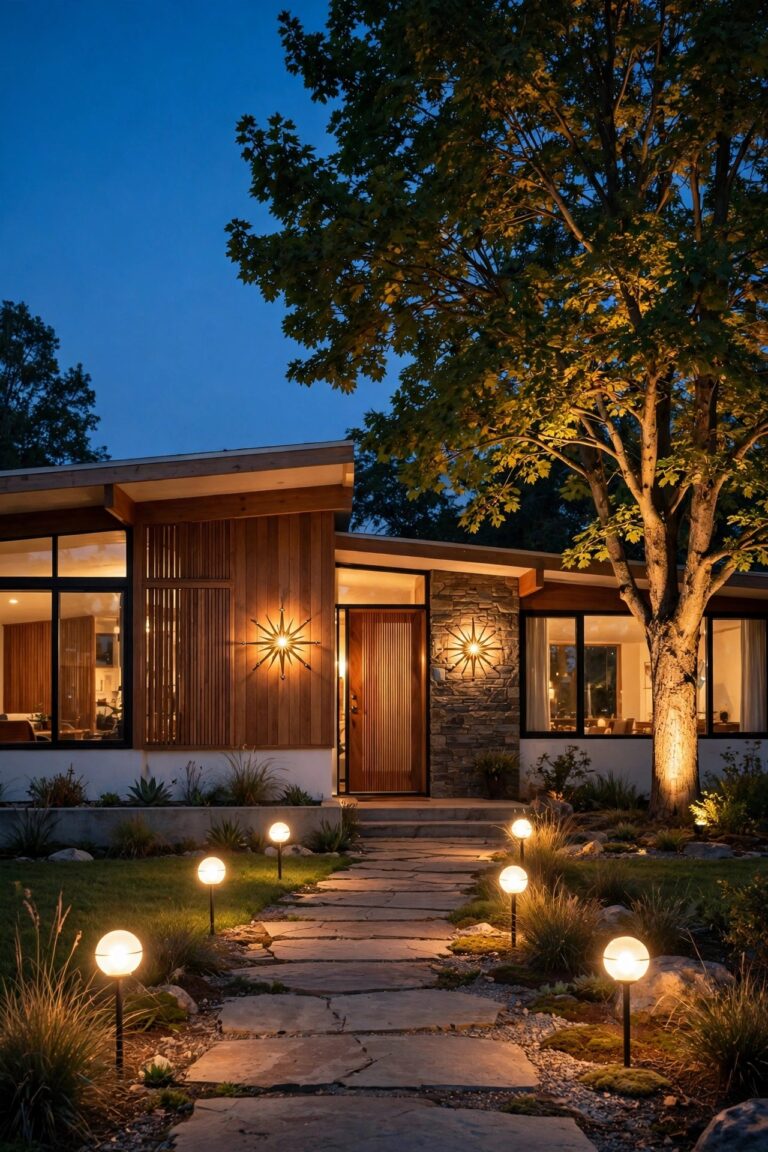
For years, I poured every strand of lights I owned into the front yard, then spent December evenings curled up in a backyard that looked, honestly, like February. The fix was embarrassingly simple: treat the backyard like a room, not an afterthought. Good backyard christmas tree lighting works in layers, the same way I layer a living room — one big anchor, a frame around the edges, and small glows tying everything together. Out back, the trees are your anchors, the fence is your frame, and path stakes and lanterns are the glue. Start with the largest tree, outline the fence so the whole yard feels enclosed and intentional, then fill the gaps with smaller sparkle. You do not need all 19 ideas here; five or six, layered well, will make neighbors slow down on their evening walks. Every idea below uses outdoor-rated LED strands, because LEDs stay cool against bark and dry garland and sip electricity all season. Grab a ladder, a thermos of cocoa, and let us light the back forty.
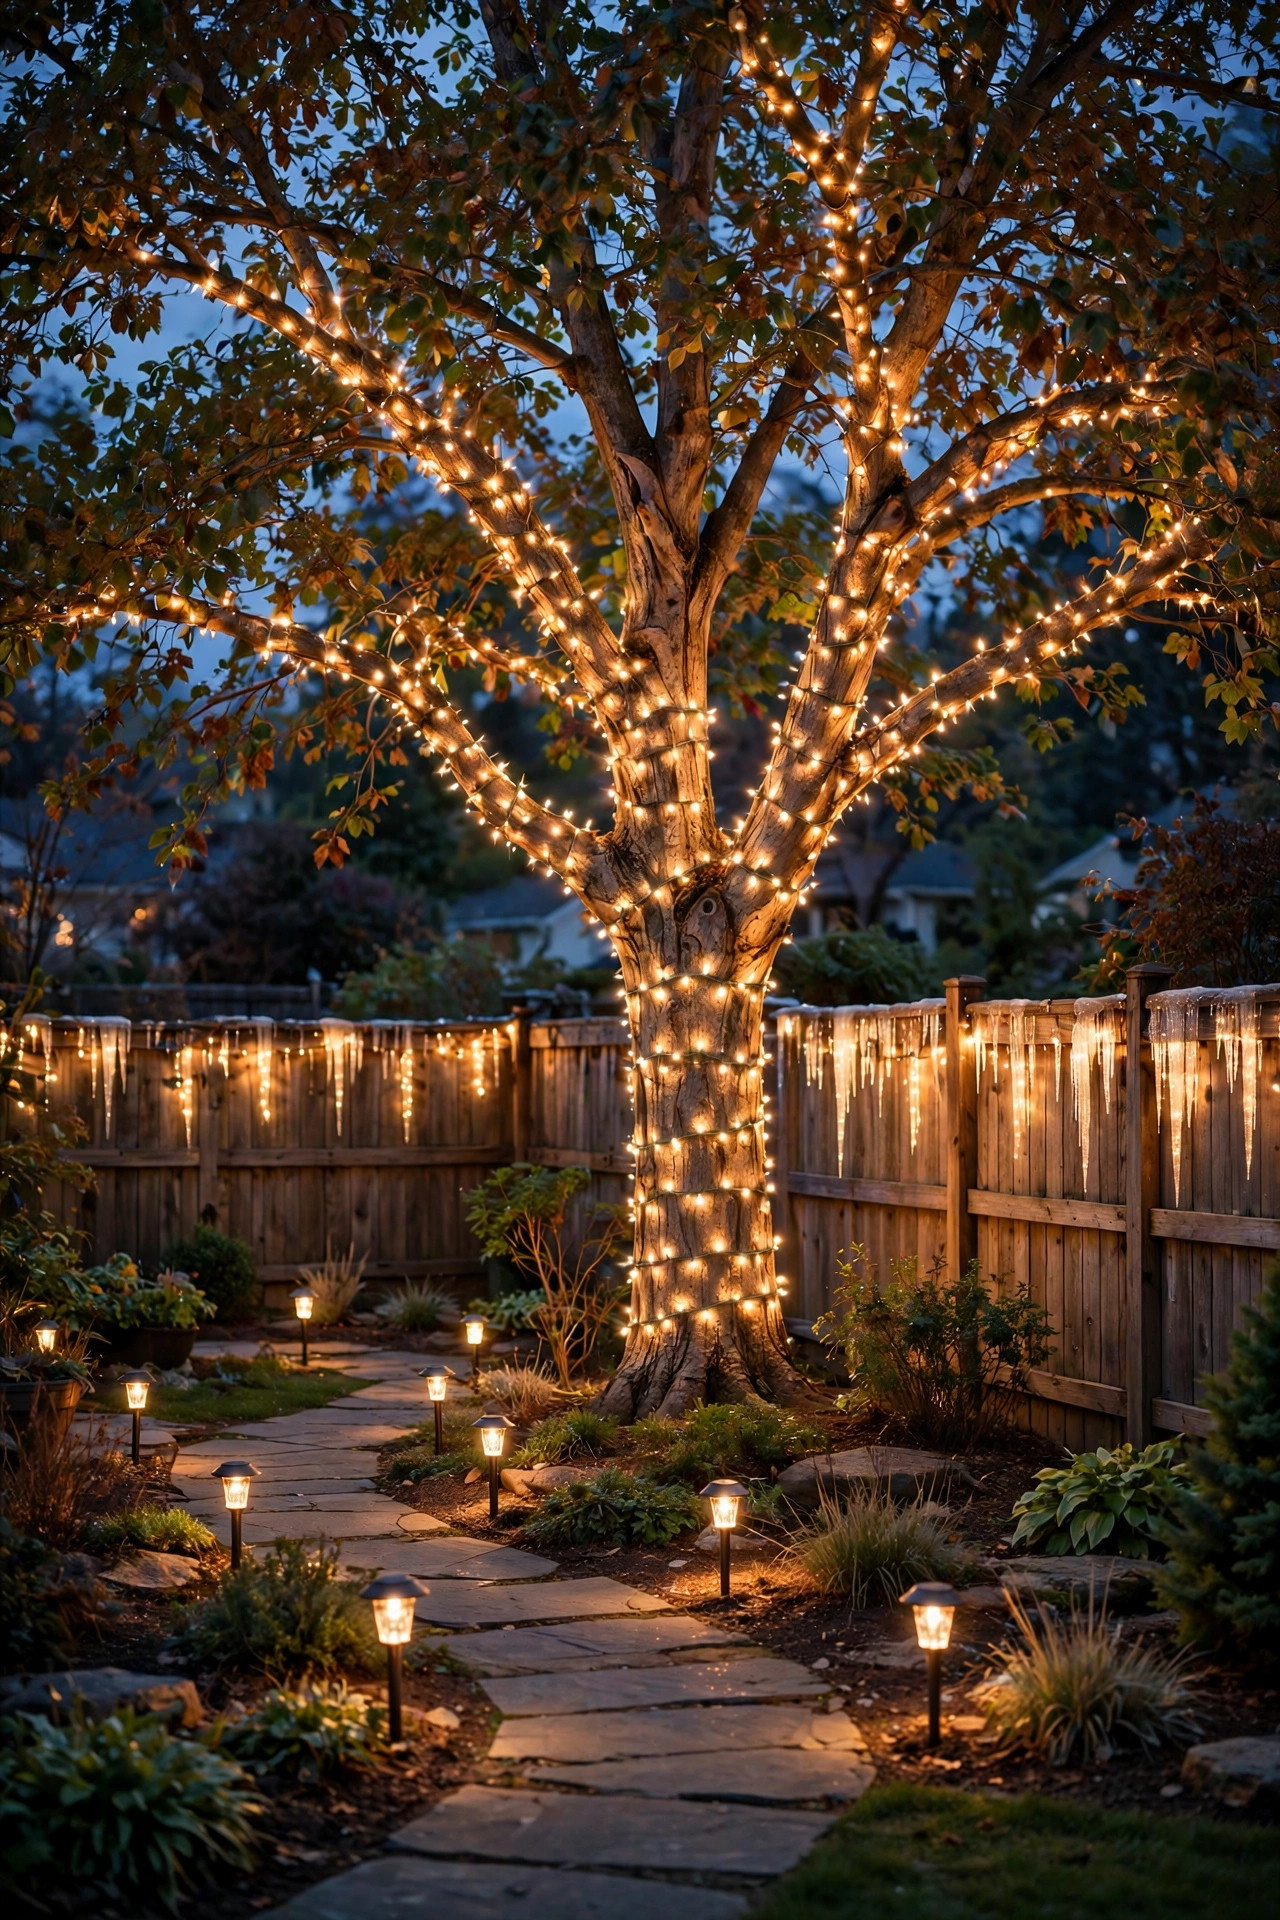
1. Start With Classic Backyard Christmas Tree Lighting: The Full Branch Wrap
If you do only one thing on this list, make it the full wrap on your biggest backyard tree. Work from the trunk outward: wrap the trunk snugly, then follow each main branch from the trunk to about two-thirds of its length, spacing the strand roughly 3 to 4 inches apart so the light reads as a glow, not a candy cane. A good rule of thumb is 100 mini lights for every foot of tree height if you want that dense, catalog look; LEDs let you connect far more strands end to end, but check the limit printed on the box anyway. I always plug in and drape the first strand before committing, then step back to the patio to check for dark gaps. Warm white (2700K) flatters brick, wood, and winter skin tones alike. Secure loose ends with reusable twist ties, never staples, and leave a little slack — branches sway in December wind, and a too-tight wrap can snap a strand by New Year's Eve. This is the look every other idea in the yard will lean on, the same layered anchor I use in my year-round backyard tree lighting ideas.
Suggested budget range: $40 – $120.
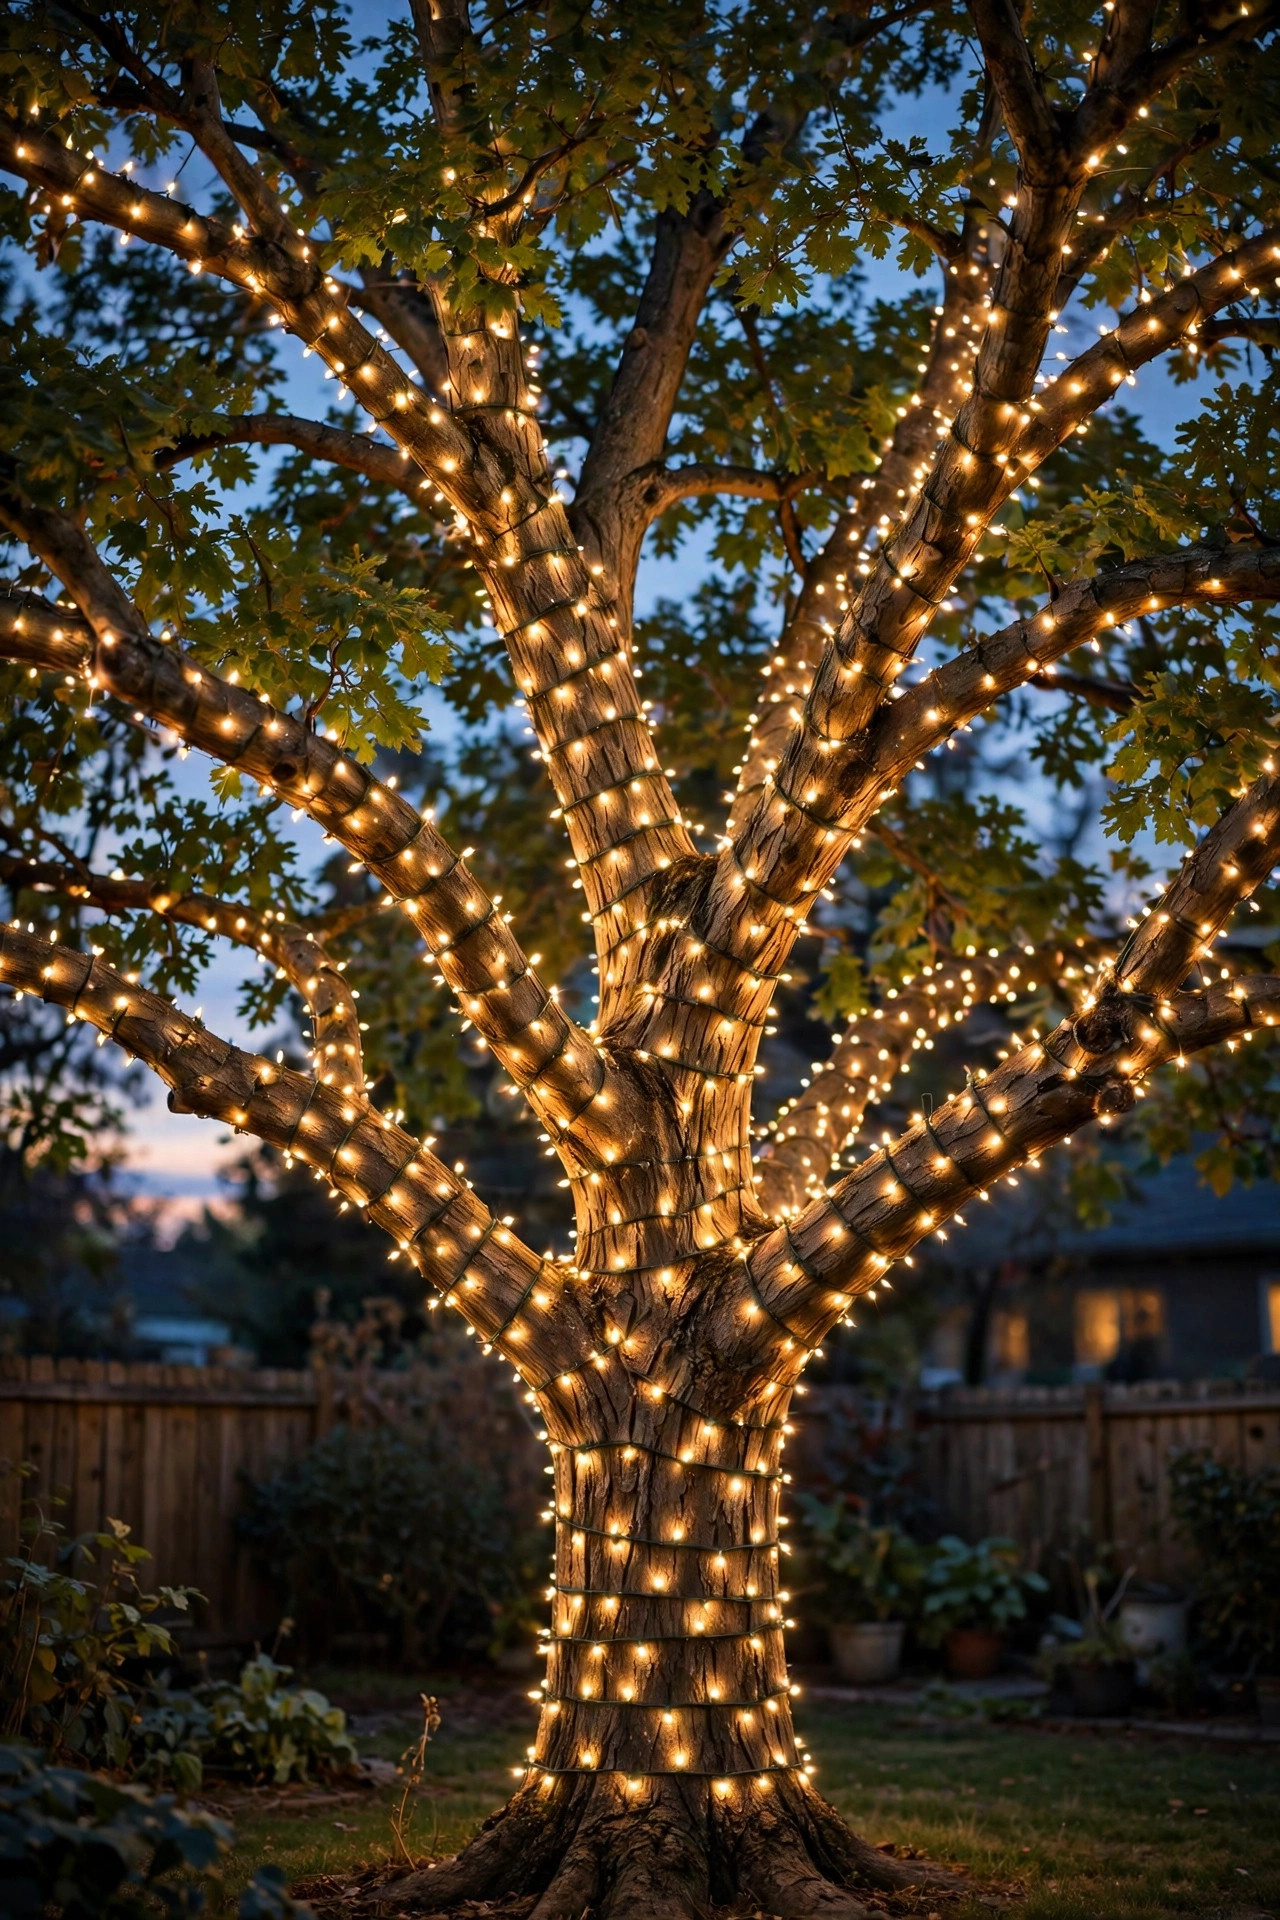
2. Spiral-Wrap a Pine or Spruce From Tip to Trunk
Conifers are the easiest Christmas trees you will ever light because the shape does the design work for you. Start at the top with the plug end tucked near the trunk, then spiral downward in wide, even bands, letting the strand rest deep in the branches rather than skimming the surface — that depth is what makes a pine look lit from within. On a 10-foot spruce, I count on four to five 100-count LED strands and roughly 45 minutes with a step ladder. Keep each spiral row about 6 to 8 inches below the last on smaller trees, a little wider on big ones. Work in the late afternoon so you can see the shape in flat daylight, then wait for dusk to judge the glow honestly. One safety note I never skip: use a sturdy ladder on level ground, have someone foot it, and never lean out to reach a stray branch — come down and move the ladder instead. Finish by wrapping the lowest row slightly tighter, which gives the tree a clean, deliberate edge above the mulch.
Suggested budget range: $25 – $80.
3. Drape Net Lights Over Shrubs and Small Ornamental Trees
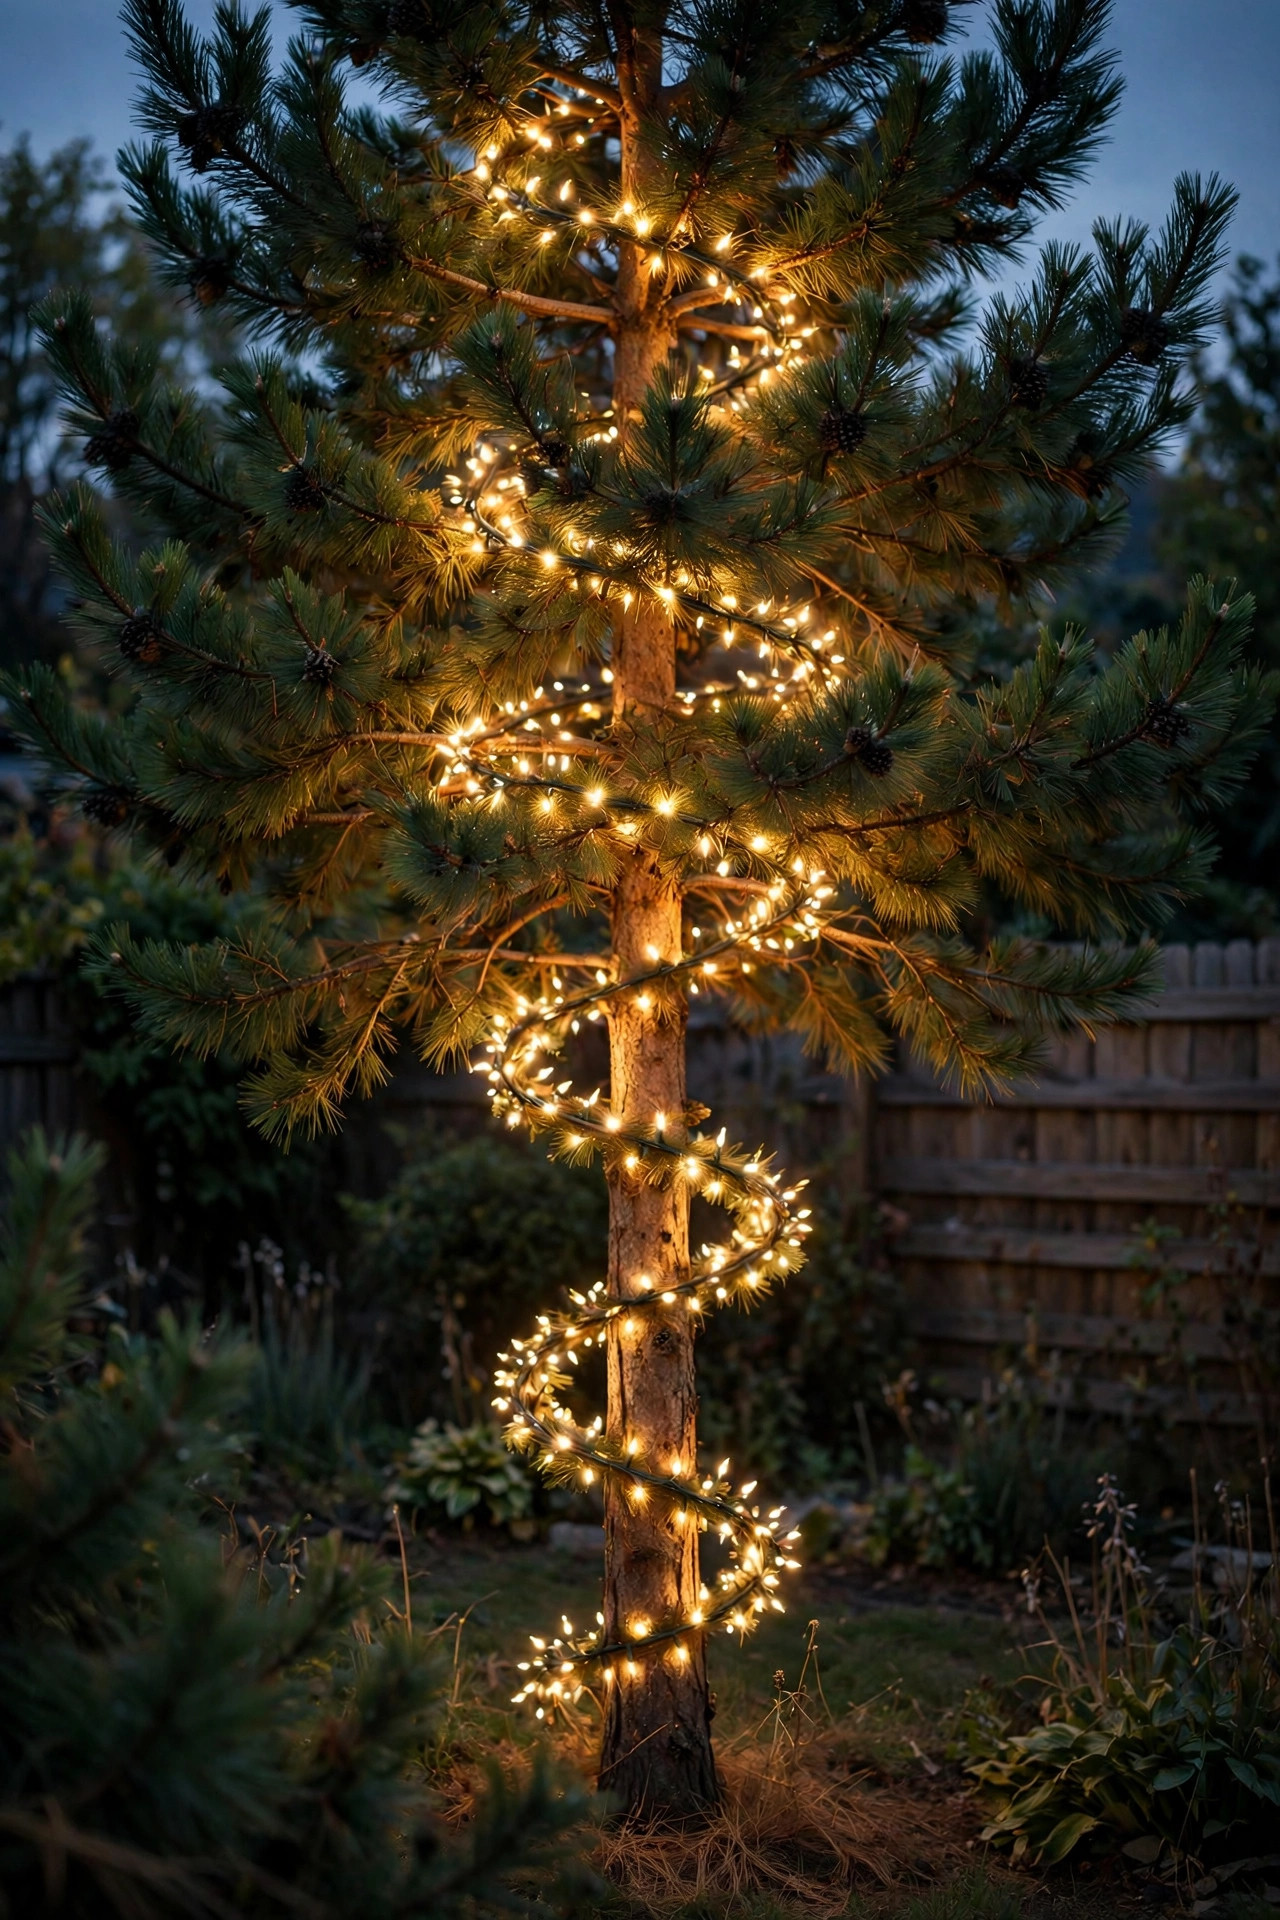
Net lights are my favorite shortcut for the little guys — the dwarf Alberta spruce in a pot, the Japanese maple that lost its leaves, the row of boxwoods along the fence. A standard net runs about 4 by 6 feet and drapes over a shrub in under two minutes, and because the bulbs sit in a grid, the coverage looks even and intentional instead of tangled. For bare ornamental trees, drape the net over the top like a tablecloth and let the edges hang; the grid follows the branch structure and reads as hundreds of tiny stars. Connect two nets for larger shrubs and tuck the plug ends up inside the foliage where rain cannot pool in them. I like nets in a slightly warmer white than the big tree, which adds a subtle depth difference. They are also the first thing I hand to older kids who want to help — almost no way to do it wrong. Store nets rolled around a piece of cardboard and they will come out tangle-free next year.
Suggested budget range: $20 – $60.
4. Hang Icicle Lights Along the Fence Top Rail
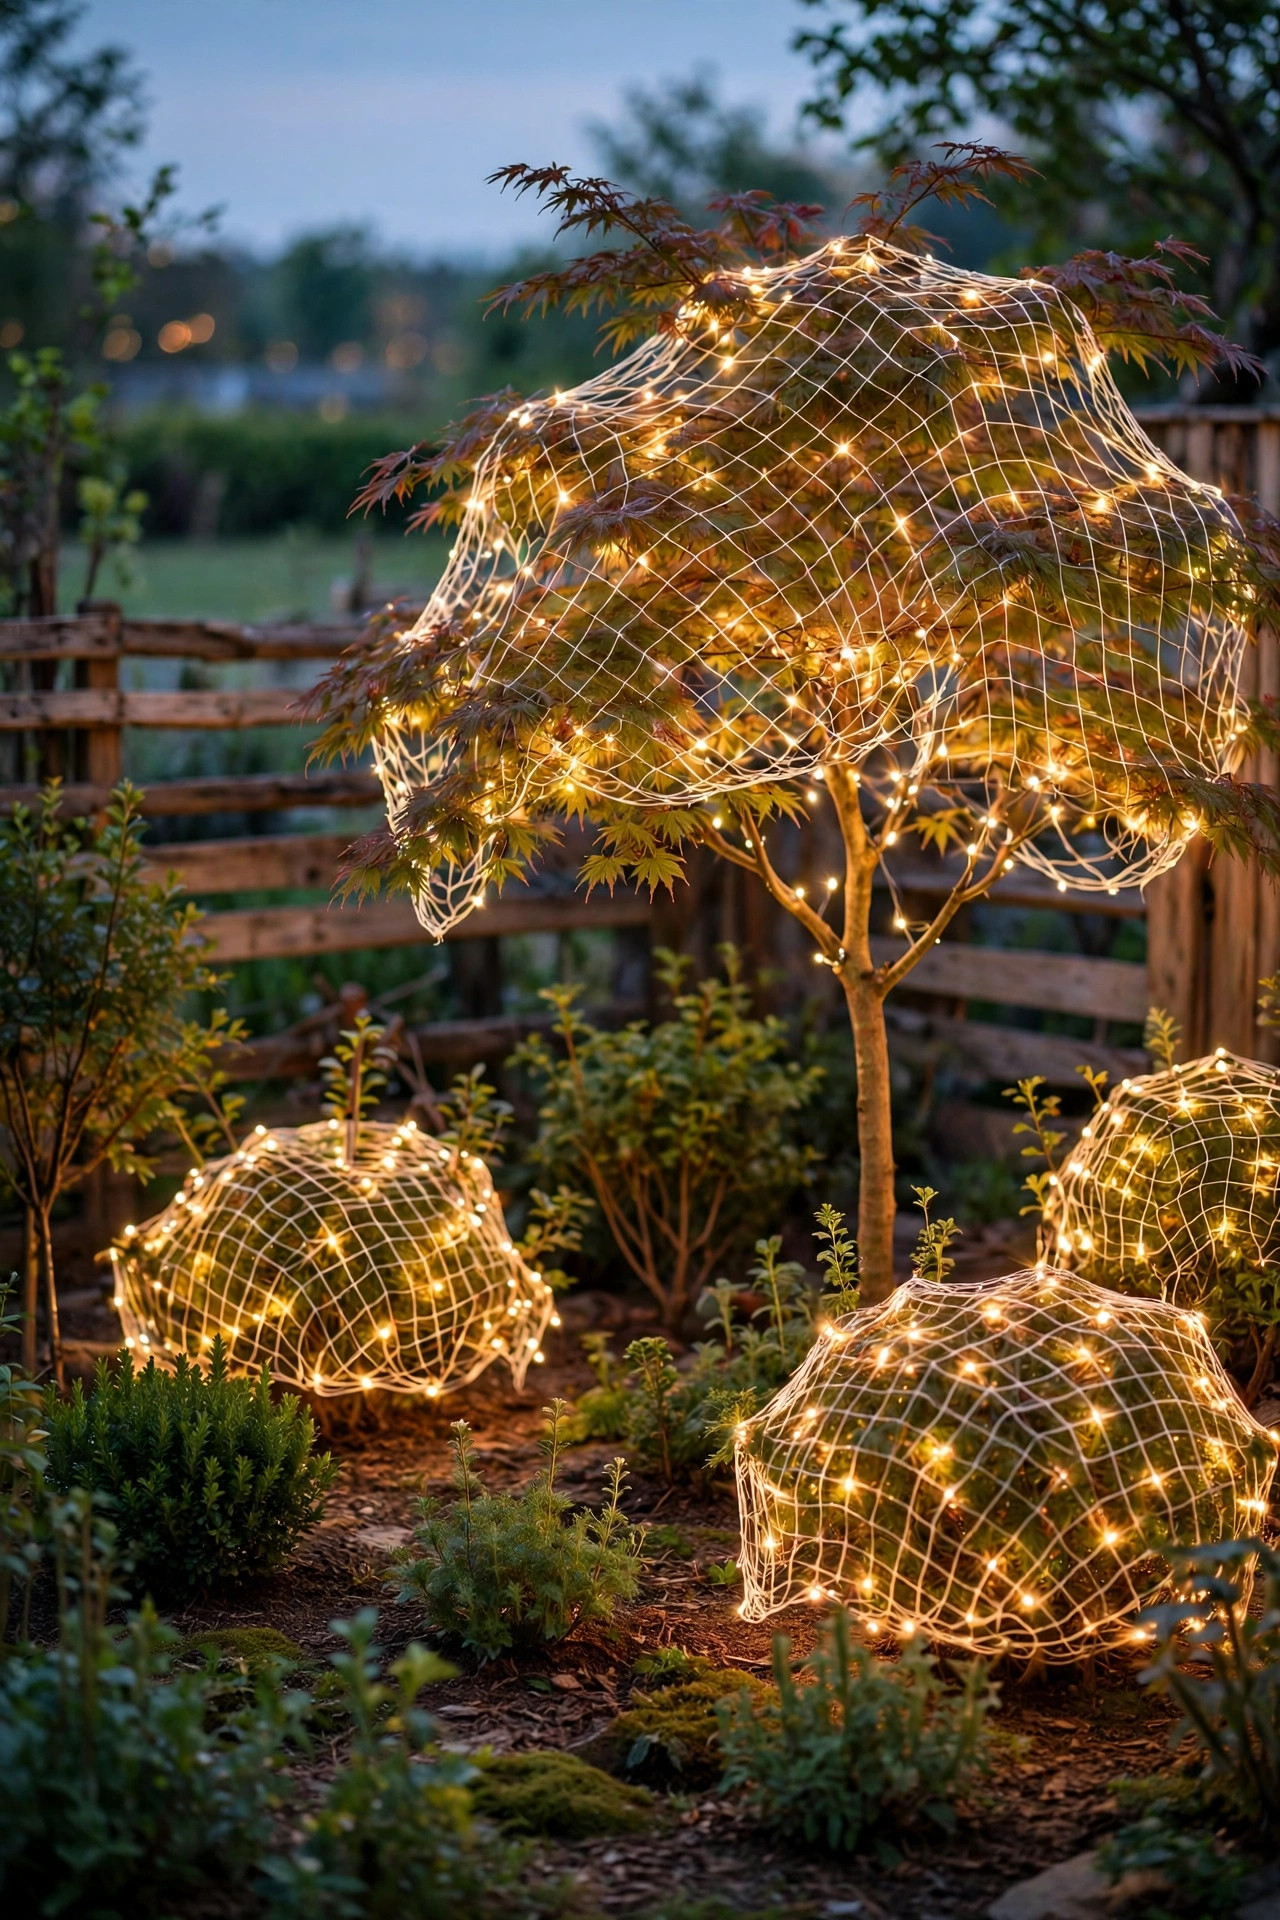
A privacy fence is a giant blank canvas, and icicle strands turn its top rail into a dripping line of light that frames the entire yard. Mount them with all-in-one gutter-and-rail clips spaced every 12 inches so the drops hang straight; uneven clips are the number one reason icicle displays look droopy by week two. Most strands offer drops of mixed lengths — 12, 18, and 24 inches reads most natural. Run the plugs at the corners where two strands can meet at one outlet, and use outdoor extension cords rated for the load rather than daisy-chaining indoor cords out a window. I run mine along the back fence only, leaving the side fences dark, which creates a backdrop effect that makes the patio feel like a stage set. Choose pure warm white for a classic look, or alternate one icicle strand with one steady strand for softer shimmer. For more ways to make that fence earn its keep the other eleven months, I keep coming back to these fence lighting ideas as a base layer.
Suggested budget range: $30 – $90.
5. Line the Fence With Big Retro C9 Bulbs
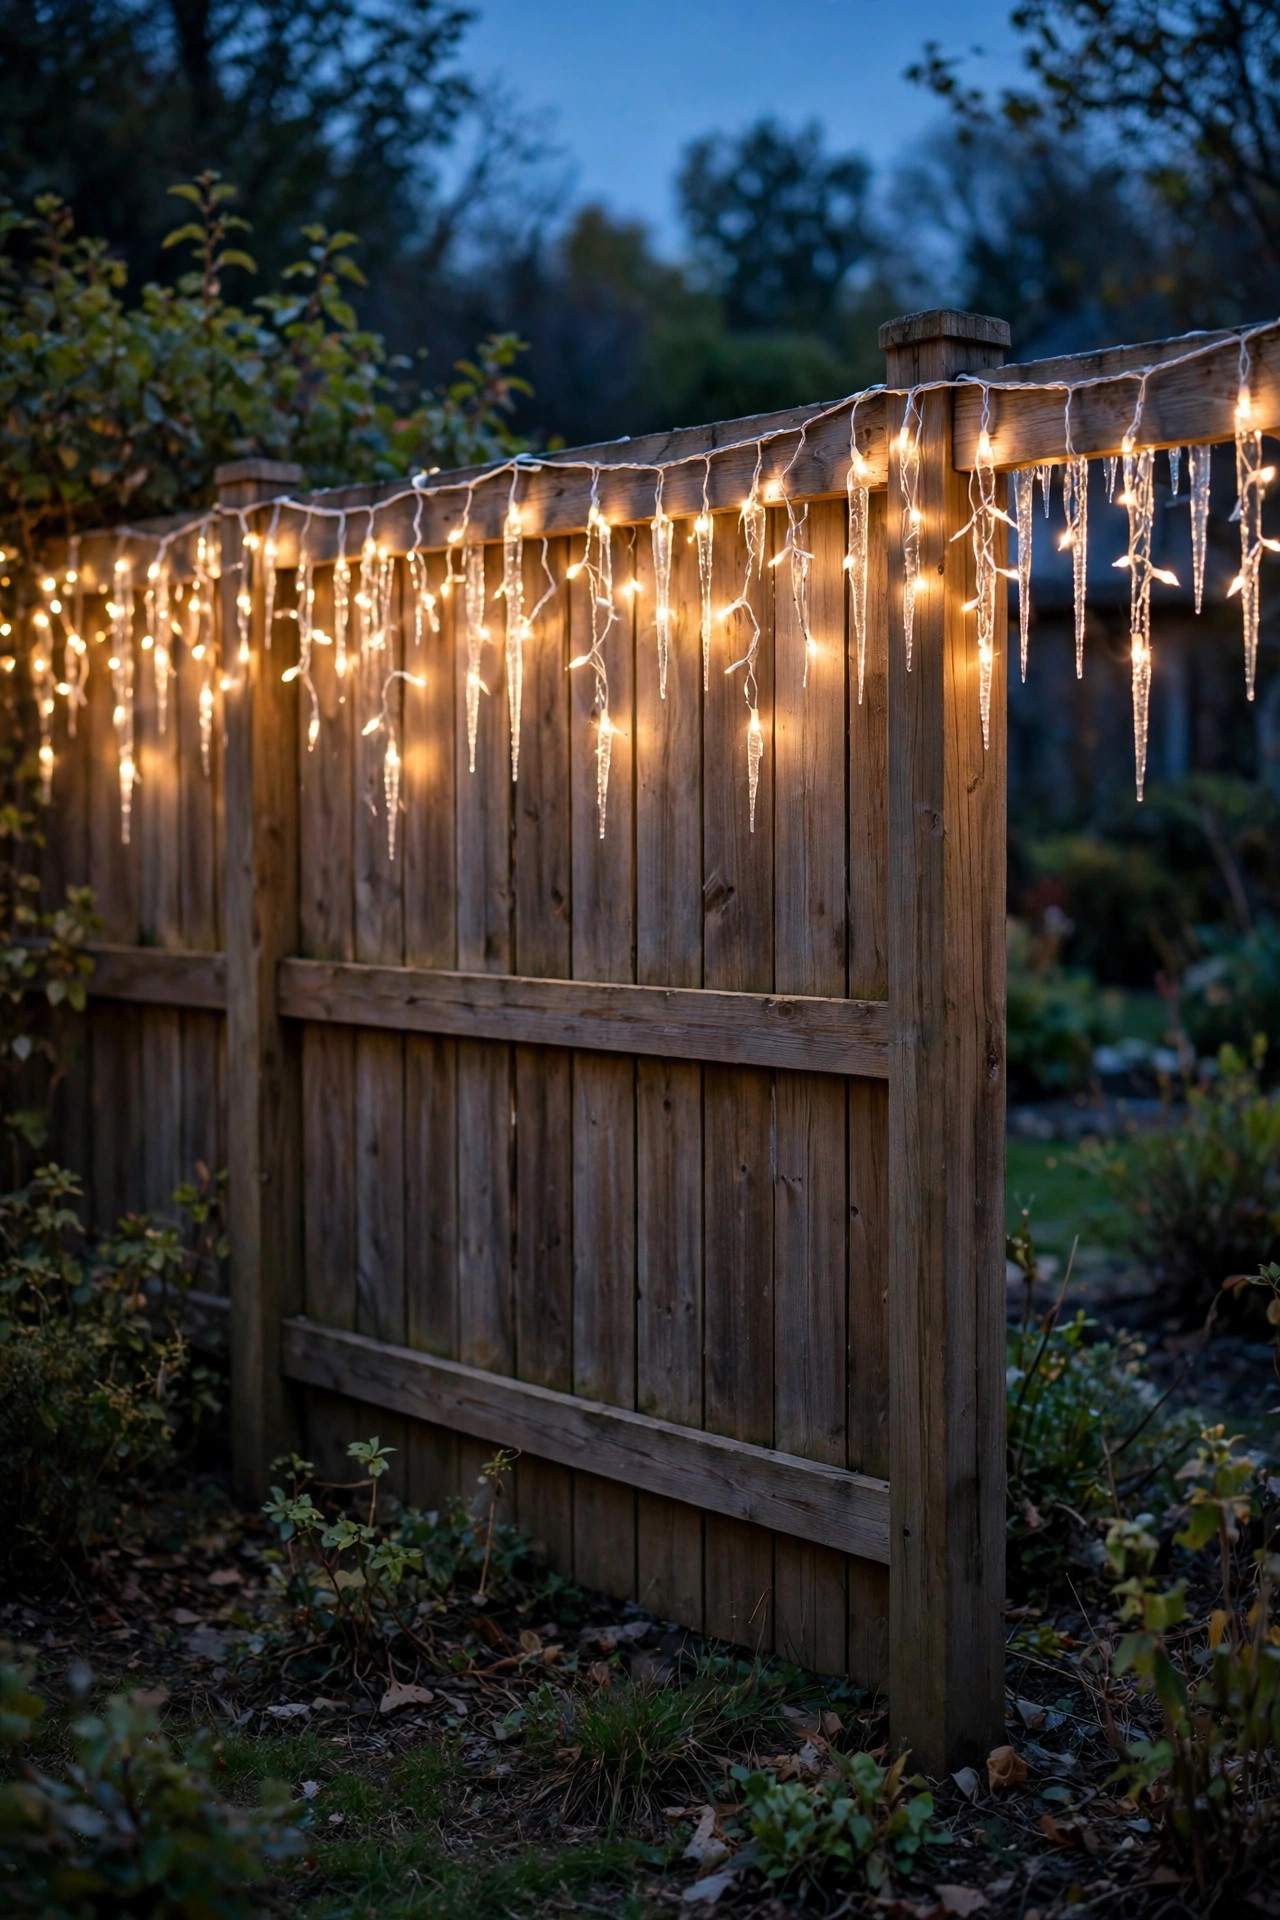
C9 strands bring the nostalgic, carnival-bright look a lot of us grew up with, and modern LED versions deliver it without the heat or the electric bill of the old incandescents. Space the bulbs evenly along the fence — most strands put a socket every 12 inches — and mount them facing outward on the top rail or just under it, using screw-in clips made for C9 sockets so the bulbs stay upright in wind. On a 60-foot back fence you will need roughly five 25-count strands. I love C9s in warm white for elegance, but a multicolor run along the fence paired with a warm white tree is the combo my grandkids vote for every single year. Because the bulbs are bigger, they read clearly from the house windows, which matters on nights too cold for the patio. Buy one spare strand; if a socket fails mid-season, swapping a whole strand is far easier than troubleshooting on a ladder in the cold.
Suggested budget range: $35 – $100.
6. Swag Pre-Lit Garland Across the Fence Panels
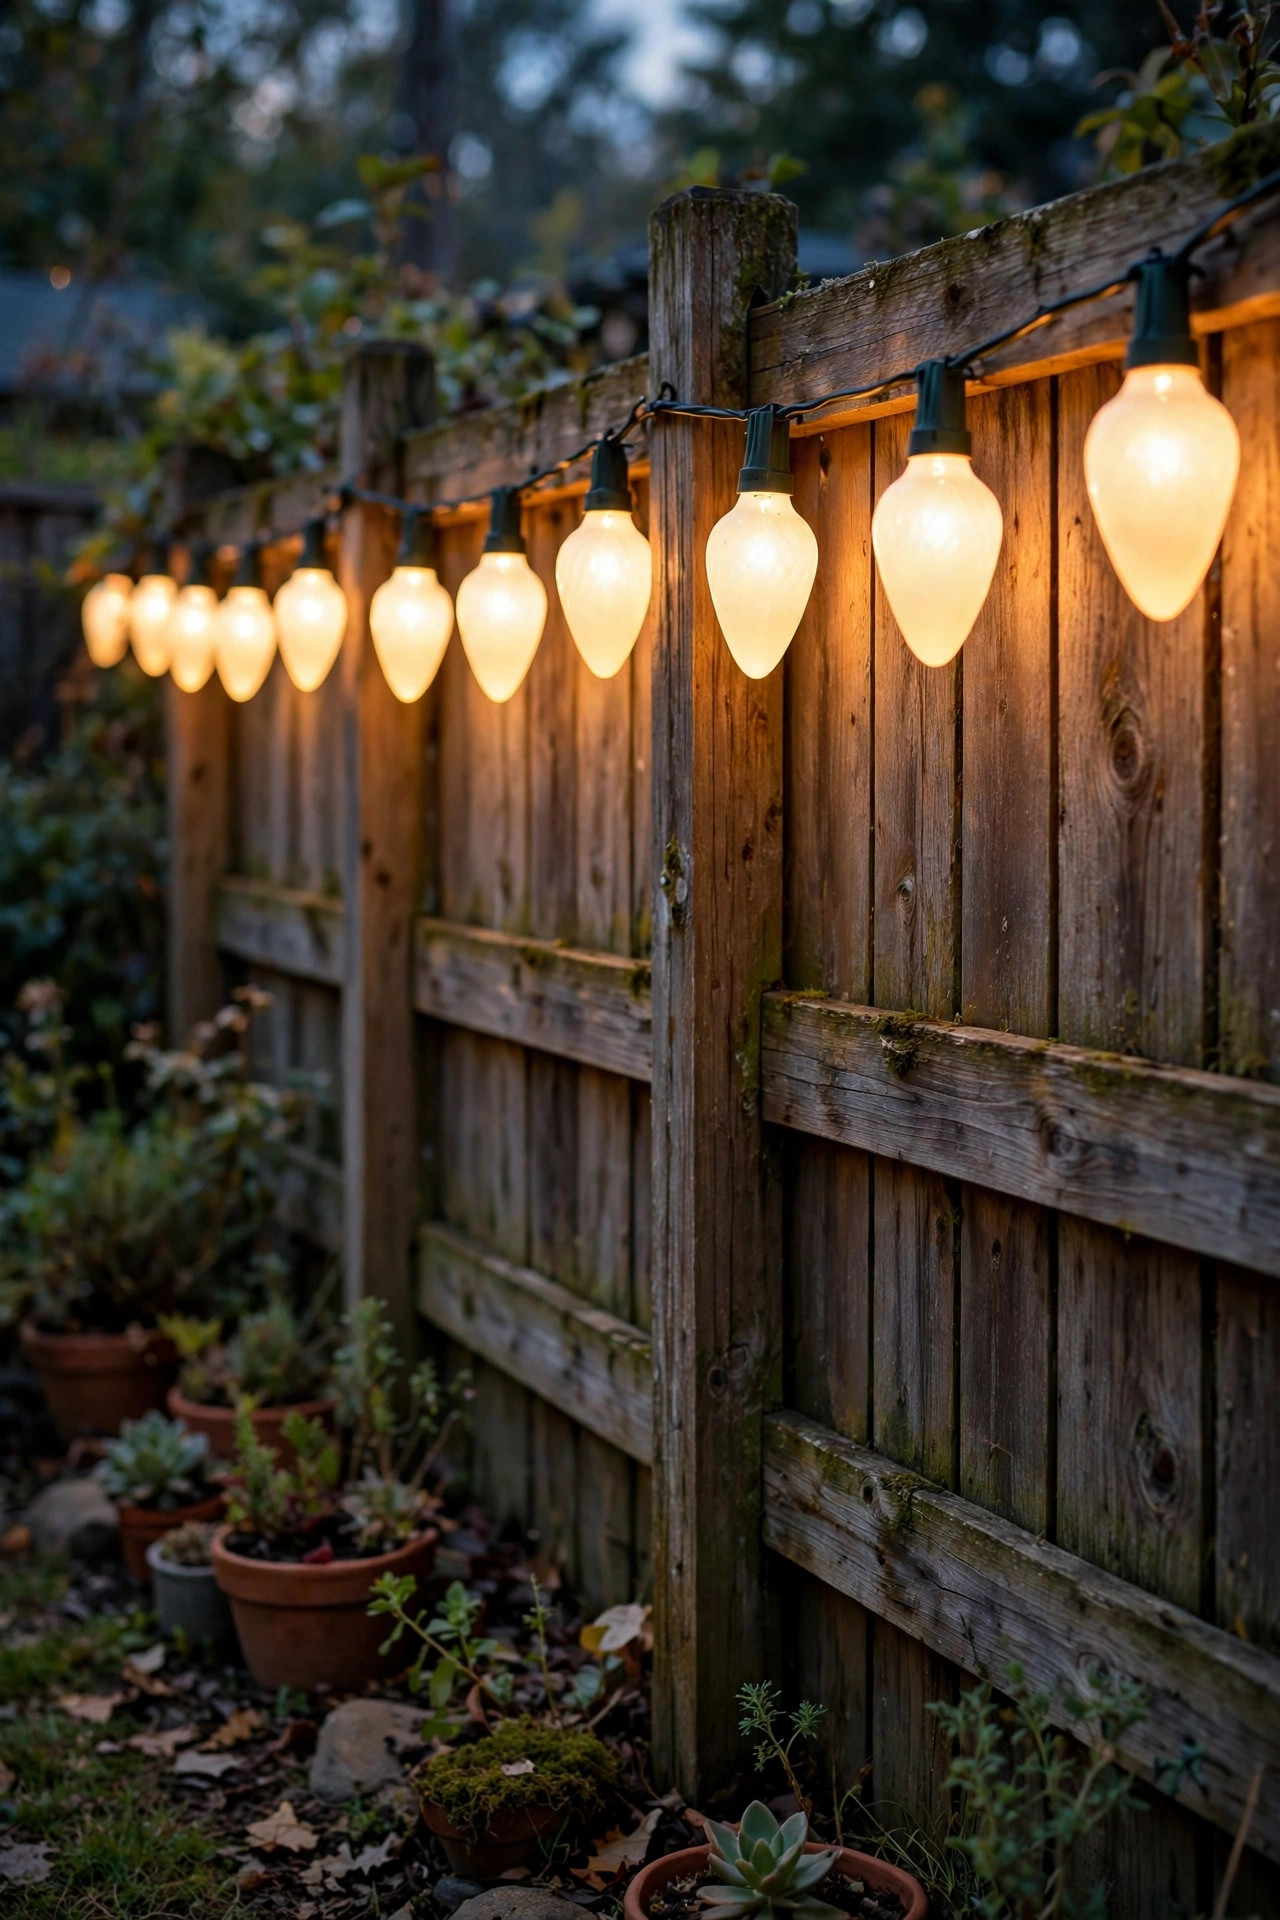
Garland swags give you greenery and light in one step, and they make a plain fence look dressed even in daylight. Drape a 9-foot pre-lit garland in a gentle scallop between fence posts, letting the middle sag about 18 to 24 inches below the attachment points — too shallow reads stiff, too deep looks like it is falling. Anchor each end with a screw hook or heavy-duty outdoor hook into the post itself, not the thinner panel boards. If your garland is unlit, wind a 50-count LED strand through it in a loose zigzag before hanging; doing it on the ground is ten times easier than dressing it on the fence. Add a simple red bow at each post for daytime color. Battery-operated garlands with built-in timers are perfect for fence sections far from an outlet, and they switch themselves off at bedtime. Keep real-flame anything away from the greenery, and choose garland rated for outdoor use so the needles and wiring survive rain and freeze-thaw cycles.
Suggested budget range: $45 – $130.
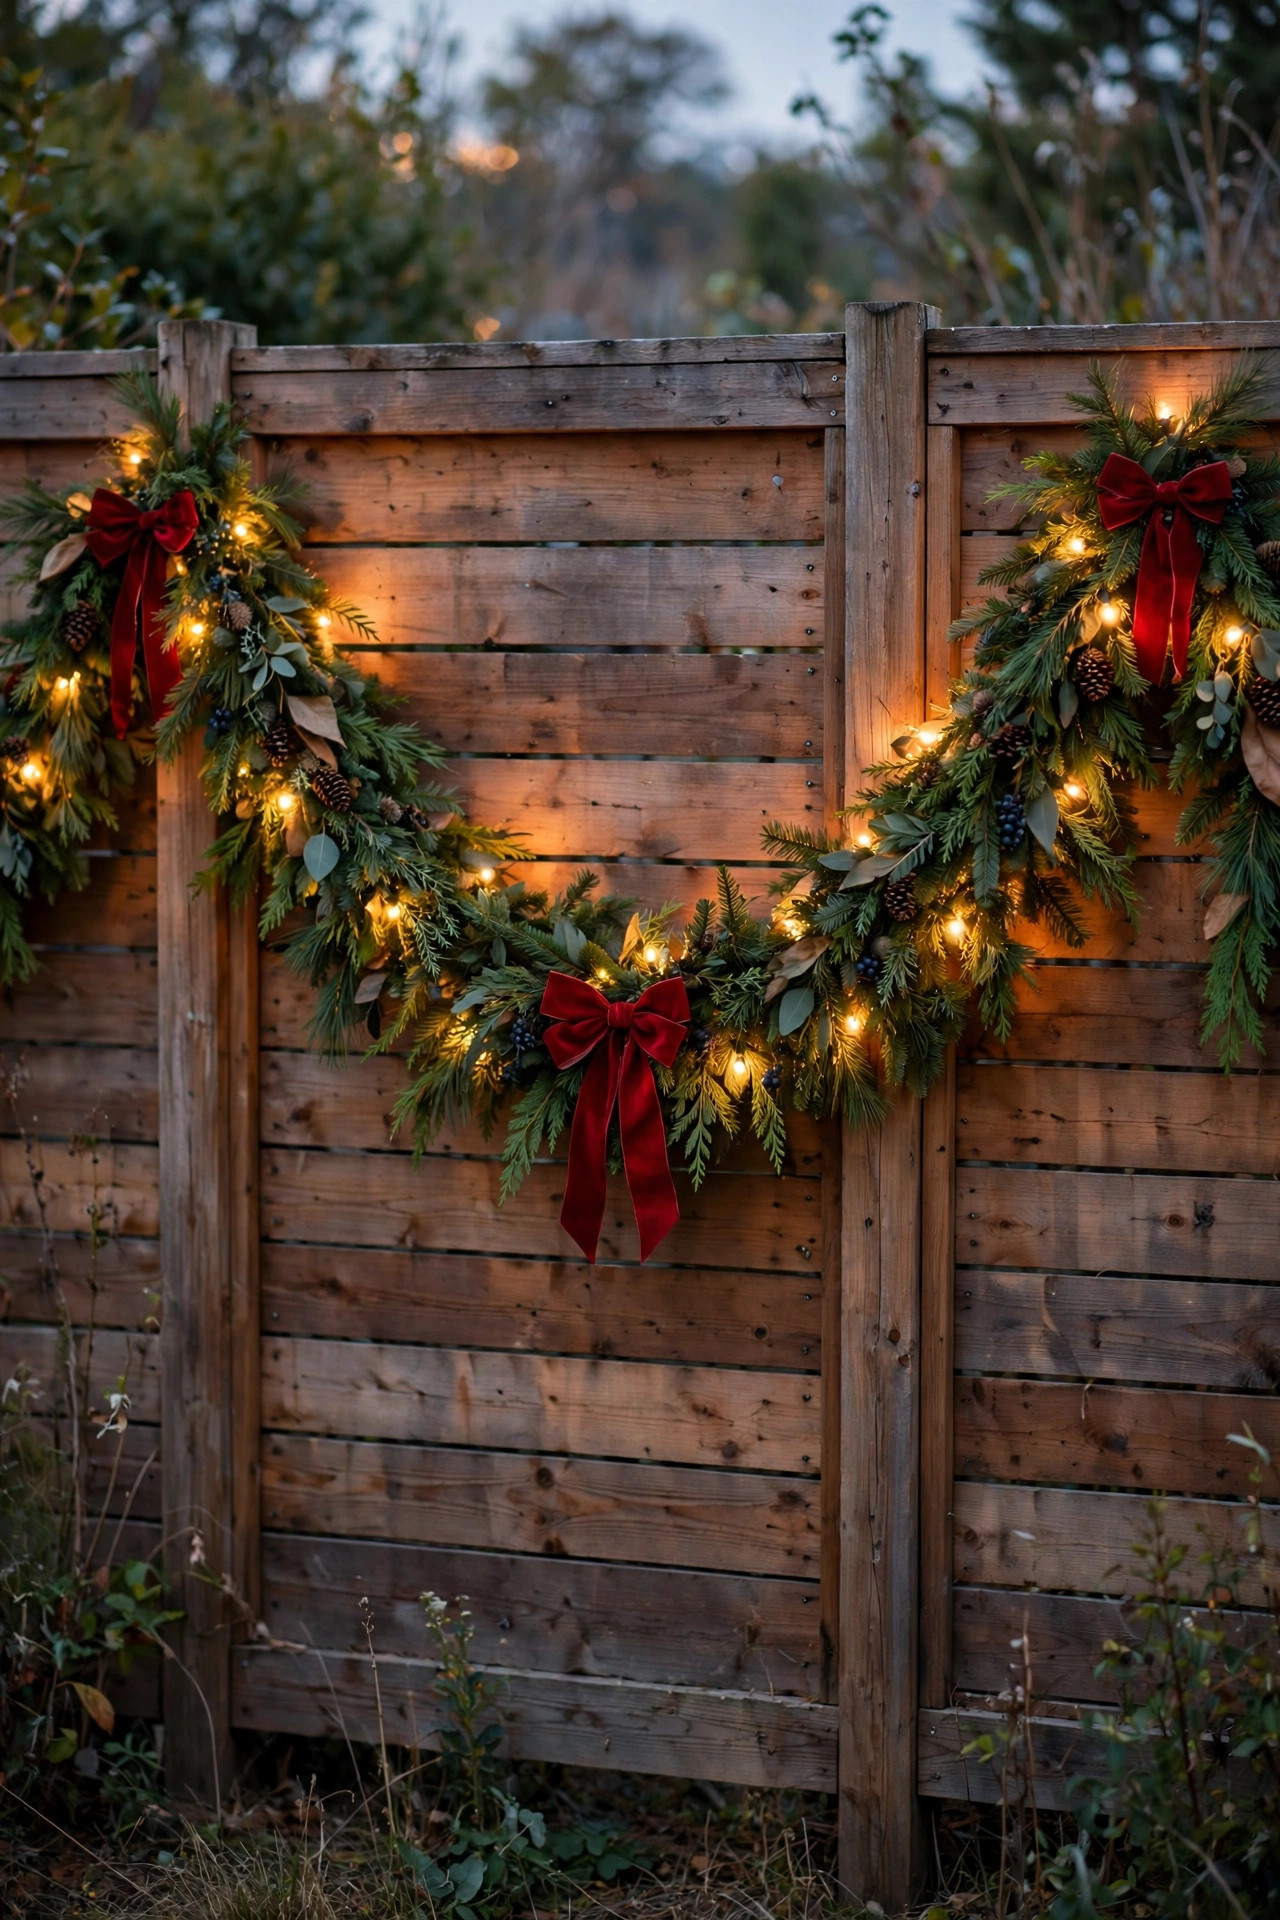
7. Hang Lighted Wreaths on the Gate and Fence Panels
Your fence gate is the backyard's front door, and a lighted wreath tells guests exactly where the party entrance is. A 24-inch battery wreath with a built-in six-hour timer is the workhorse here: hang it with an over-the-gate hook (no screws, no damage), set the timer once, and it greets everyone from dusk until the evening winds down. If your fence run is long, hang smaller 16-inch wreaths on every third or fourth panel to create a rhythm of green circles down the line. Keep the light color consistent with your tree so the yard reads as one design rather than several projects. I add a plaid ribbon tail to the gate wreath — it moves a little in the breeze and catches the light beautifully. Choose wreaths with shatterproof ornaments if your gate swings near a walkway. When January comes, these store flat in a wreath box and take up almost no shelf space, which my garage appreciates.
Suggested budget range: $25 – $75.
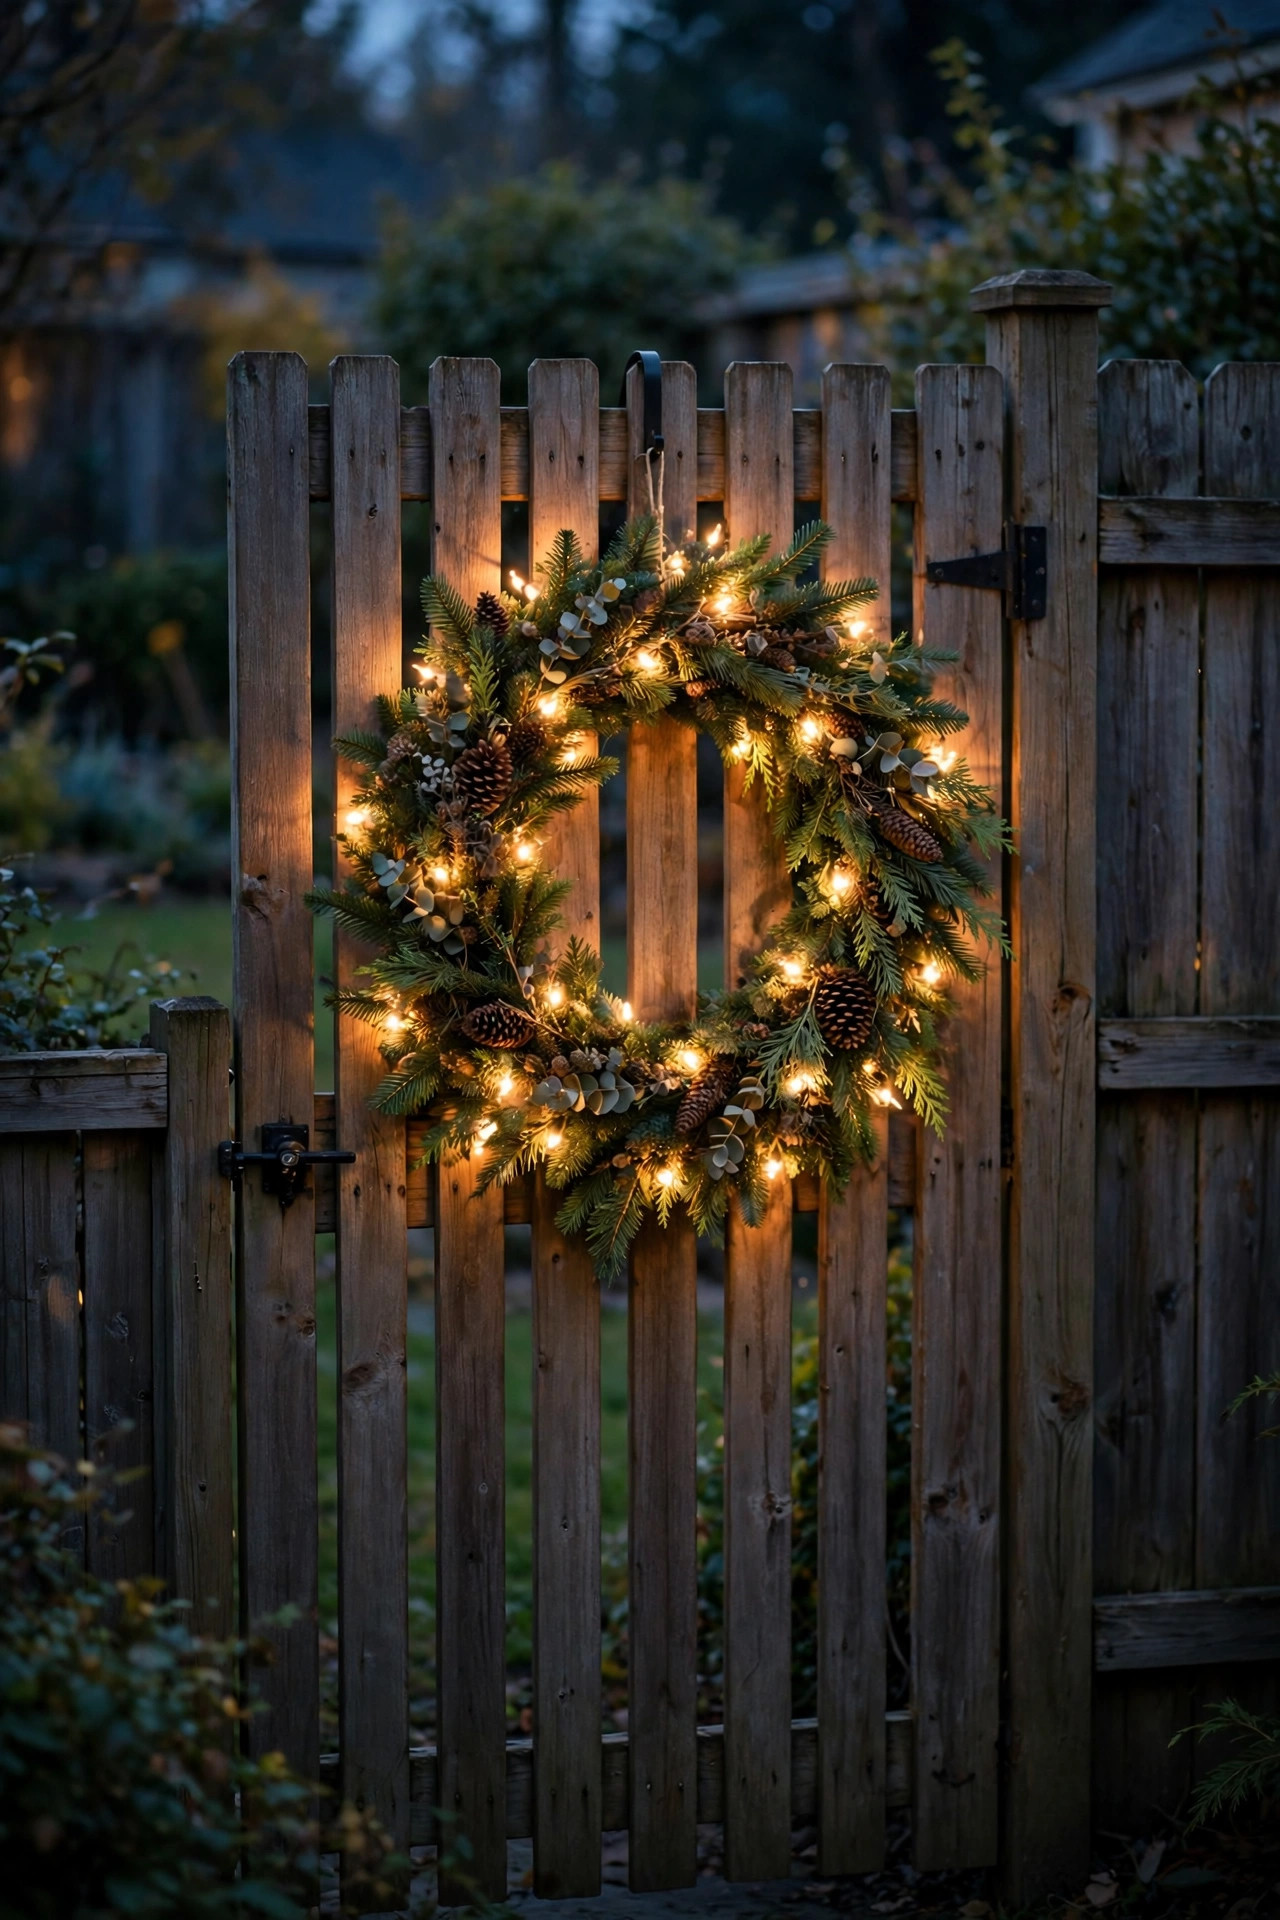
8. Set Solar Candy Cane Stakes Along the Fence-Line Path
The path from patio to gate is where guests actually walk, so light it like you mean it — playfully. Solar candy cane stakes, classic red-and-white or warm white spiral versions, spaced every 3 to 4 feet give the walk a defined edge and keep feet off the flower beds. Push them into softened soil a full 6 inches deep so they stand straight through frost heaves; in frozen ground, start the hole with a screwdriver. Because they are solar, there is no cord to trip over and no outlet math, but place the row where it gets at least five hours of direct December sun — a north-facing fence shadow can starve them by week two. Wipe the little solar panels with a damp cloth every couple of weeks; dusty panels are the silent killer of solar displays. Mix in a few plain warm white stake lights if the candy canes feel too whimsical for your taste. My experience: a lit path changes how the whole yard feels more than almost any single strand on a tree.
Suggested budget range: $20 – $55.
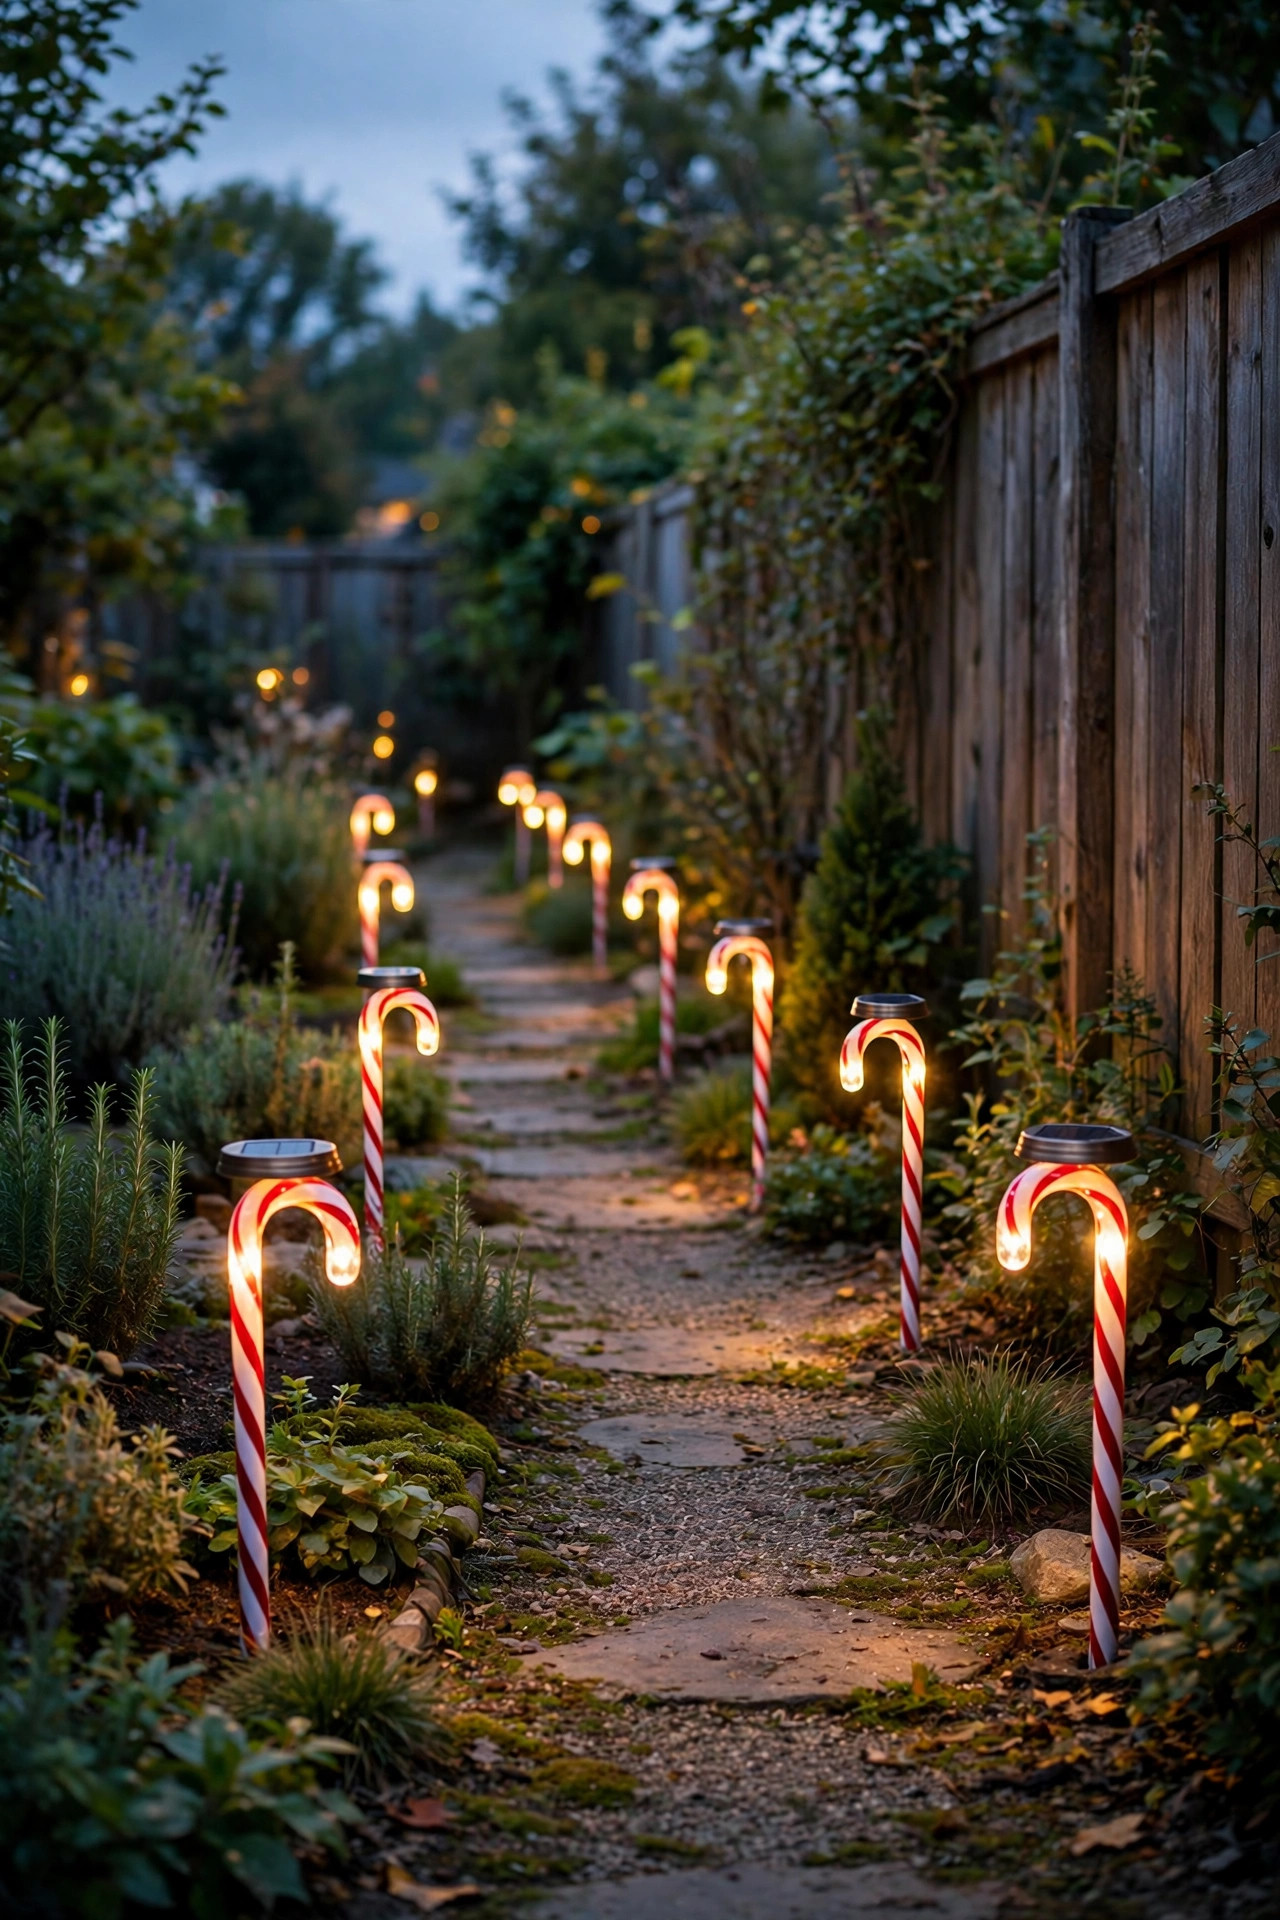
9. Give One Tree the Full Multicolor Retro Treatment
Every yard deserves one joyful, unapologetic tree, and multicolor is mine — usually the smaller spruce near the playset where the kids claim decorating rights. Multicolor LED strands have come a long way; look for sets where the colors are rich jewel tones rather than pale pastels, and wrap generously, because color reads dimmer than warm white at the same bulb count. I use the same branch-following wrap as my classic tree so the structure matches, then let the color be the only difference. The trick to keeping multicolor tasteful is discipline everywhere else: fence and path stay warm white, so the color tree becomes a deliberate focal point instead of visual noise. If your strand offers a steady-on and a slow-fade mode, choose steady — fading multicolor plus twinkling white elsewhere can feel like a carnival. This is also a forgiving place to use older strands short on length; two different brands of multicolor blend far better than two mismatched warm whites ever will.
Suggested budget range: $30 – $85.
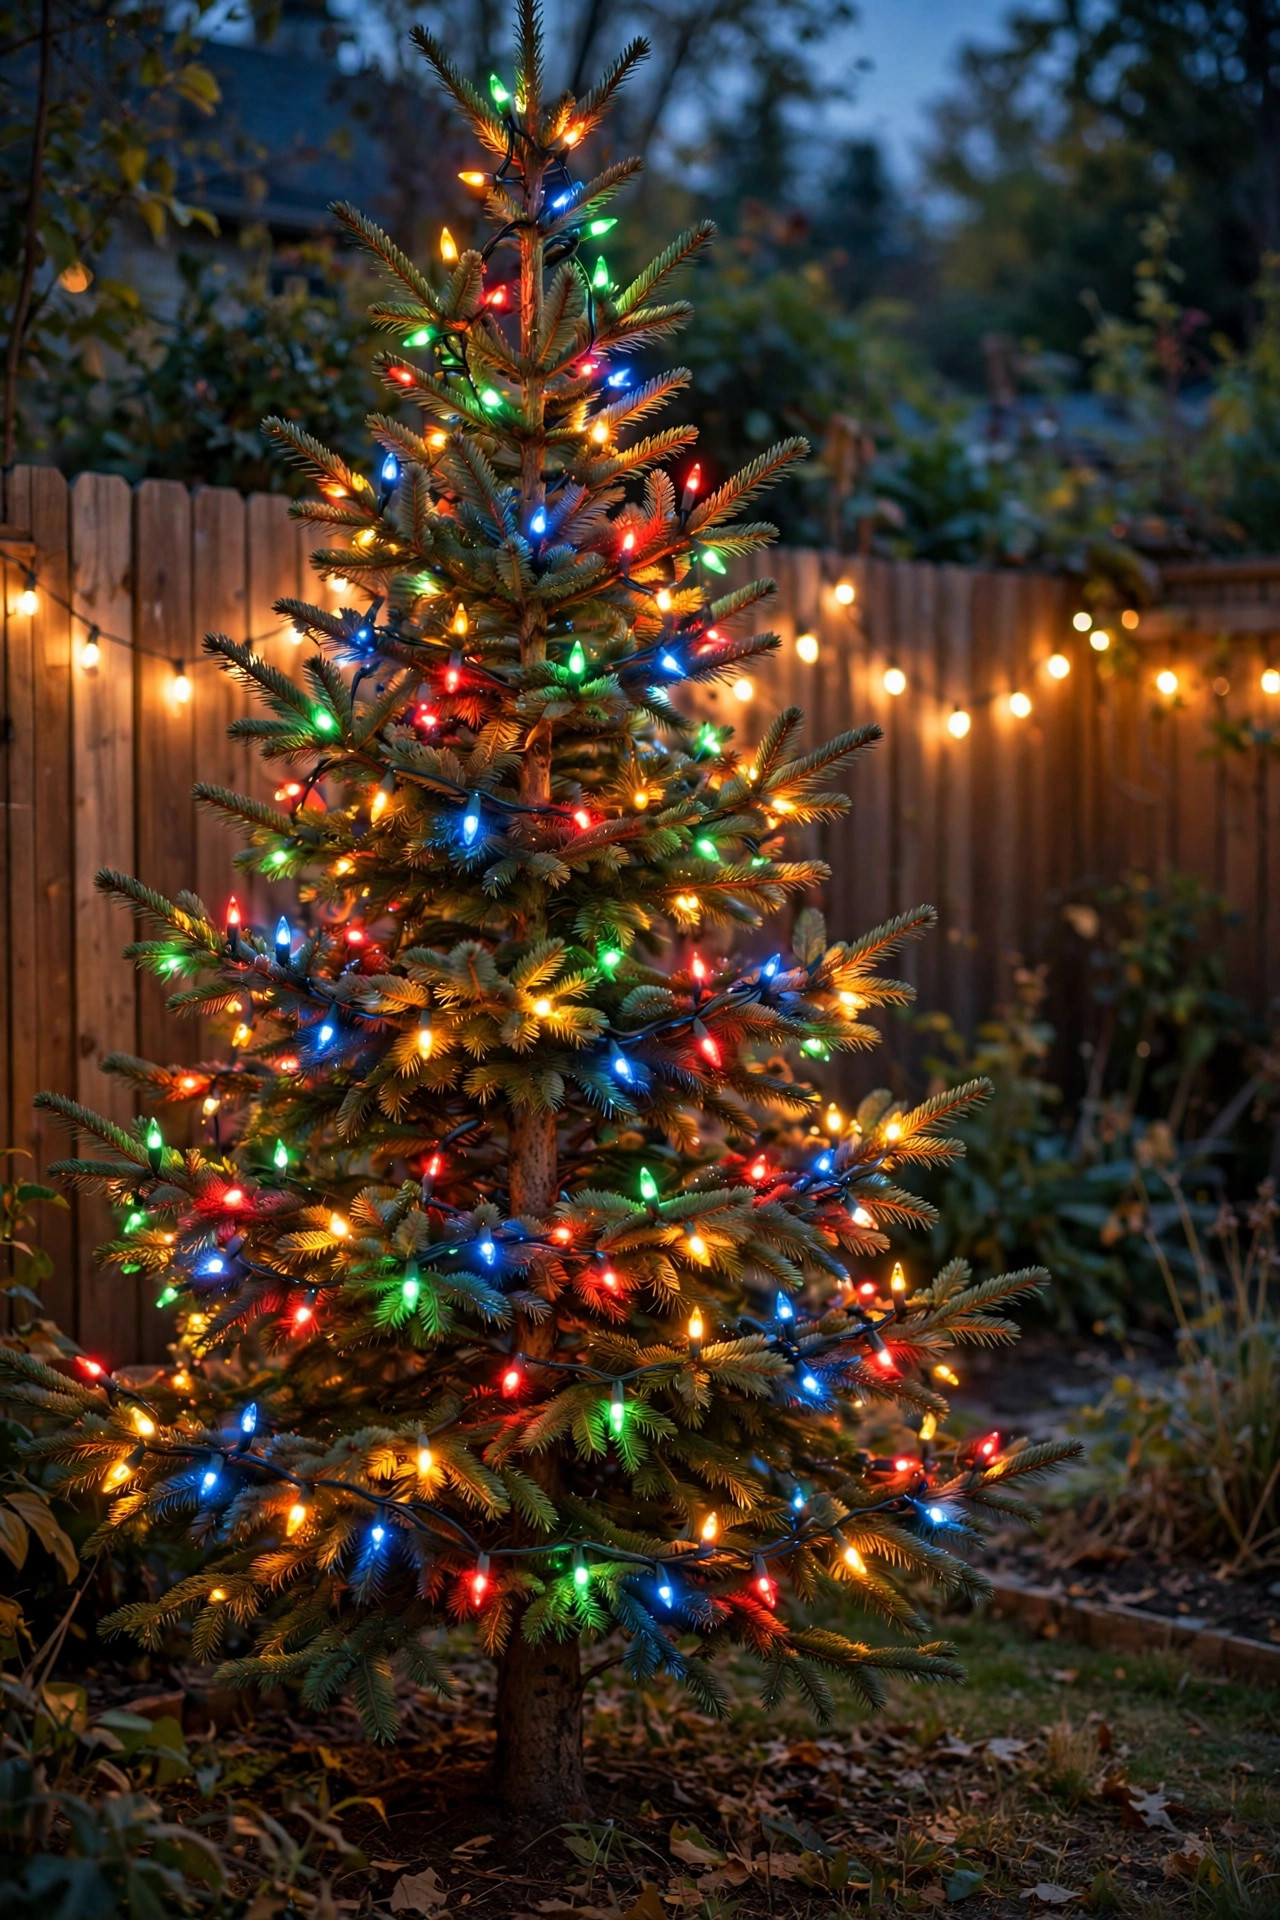
10. Hang Meteor Shower Tubes From High Branches
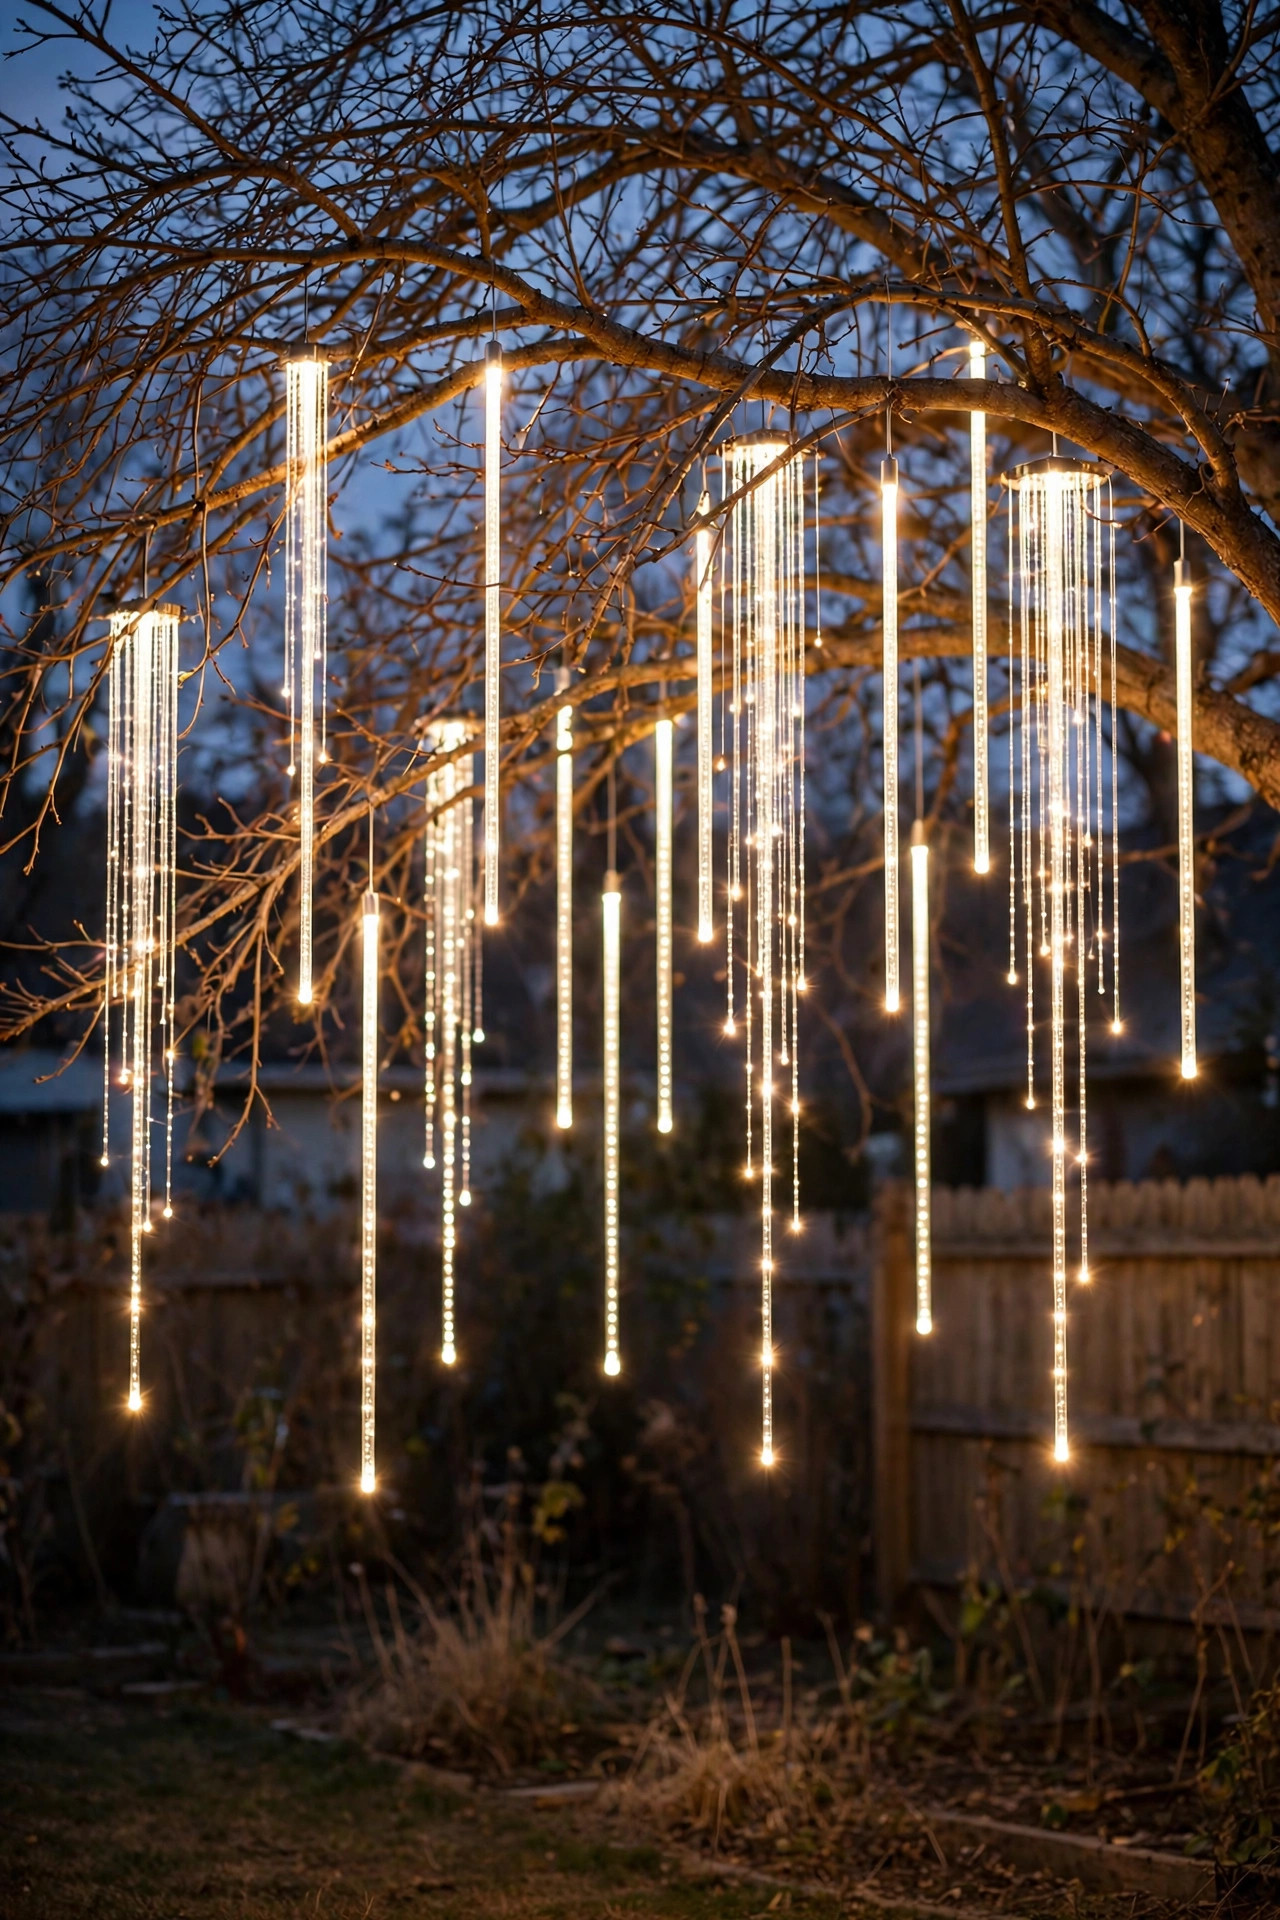
Meteor shower lights — those clear tubes where light cascades downward like falling snow — are pure magic hung from a bare deciduous tree. Suspend eight to twelve tubes from branches 10 to 15 feet up, using the built-in loops and weatherproof zip ties, and vary the heights by a foot or two so the rhythm feels organic rather than synchronized. The effect works best against a dark background, so aim them over the open lawn rather than in front of the lit fence. Most sets run on one plug with tubes branching off a main line; keep that connection point up off the ground inside a weatherproof cord cover. In my experience, less is more: a single large oak with ten tubes will stop foot traffic on the sidewalk, while tubes scattered on every tree dilute the spell. LED tubes stay cool and draw very little power, so they are safe near dry December leaves, though you should still clear leaf piles from beneath the tree as a general fire-smart habit.
Suggested budget range: $25 – $70.
11. Weave Copper-Wire Fairy Lights Through Bare Branches
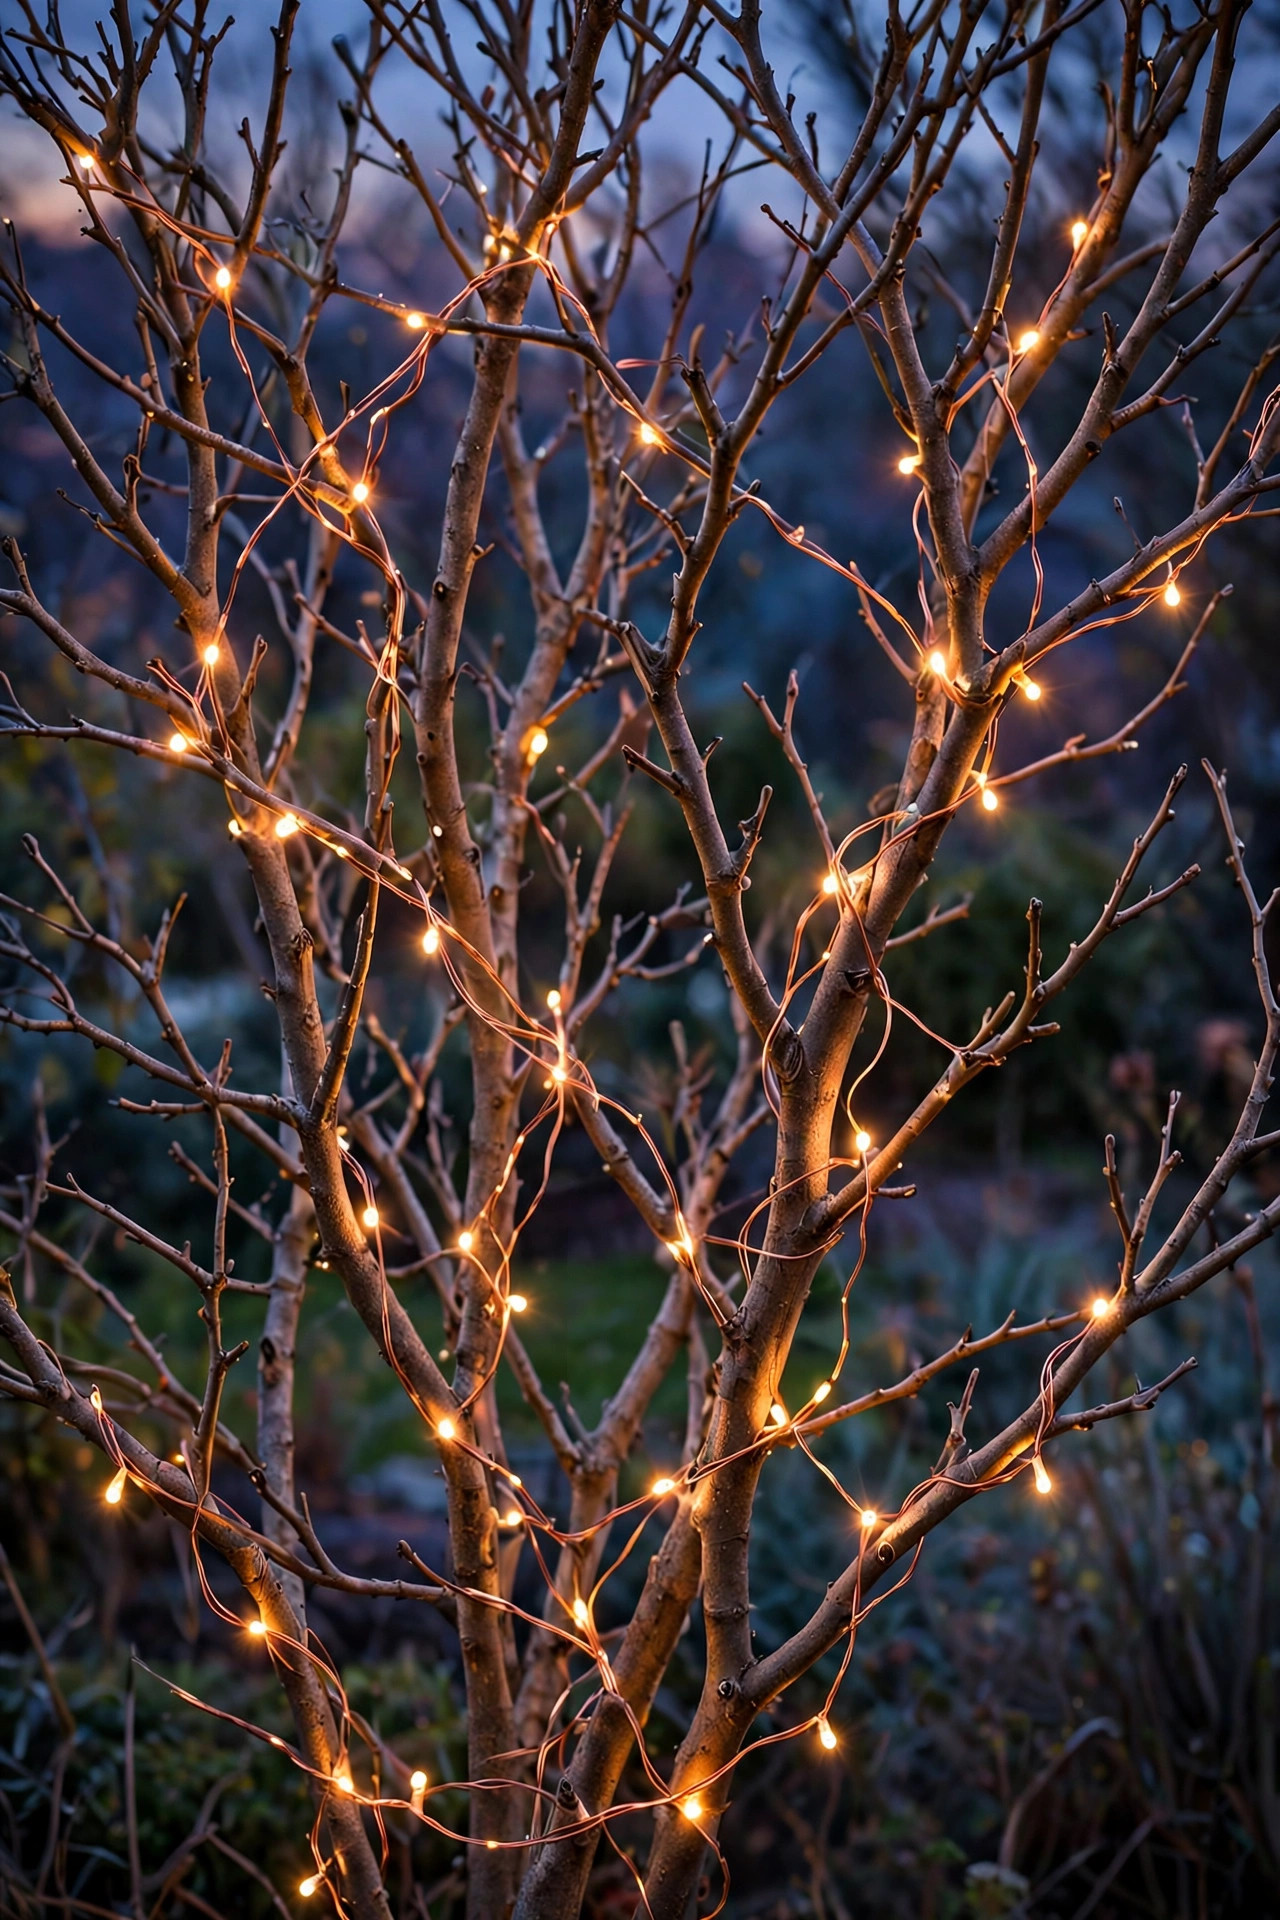
When the leaves fall, deciduous branches become sculpture, and copper-wire fairy lights show off every twist. These flexible strands bend and hold their shape, so you can spiral them around individual branches all the way out to the twiggy tips that regular strands could never reach. A 33-foot strand handles one medium branch cluster; a small ornamental tree takes three or four strands and about an hour of pleasant, podcast-friendly work. Choose battery packs with timers for trees far from outlets, and tuck the pack into a zip bag inside a crook of the trunk to shield it from rain. The tiny bulbs read as floating fireflies at a distance and pure glitter up close — my favorite backdrop for the patio seating area. Because the wire is nearly invisible in daylight, the tree looks clean and un-decorated by day, which neatniks in my family deeply appreciate. Keep voltage low and strands outdoor-rated if the tree stands in open weather rather than under cover.
Suggested budget range: $15 – $45.
12. Wash the Trunk and Canopy With Colored Uplights
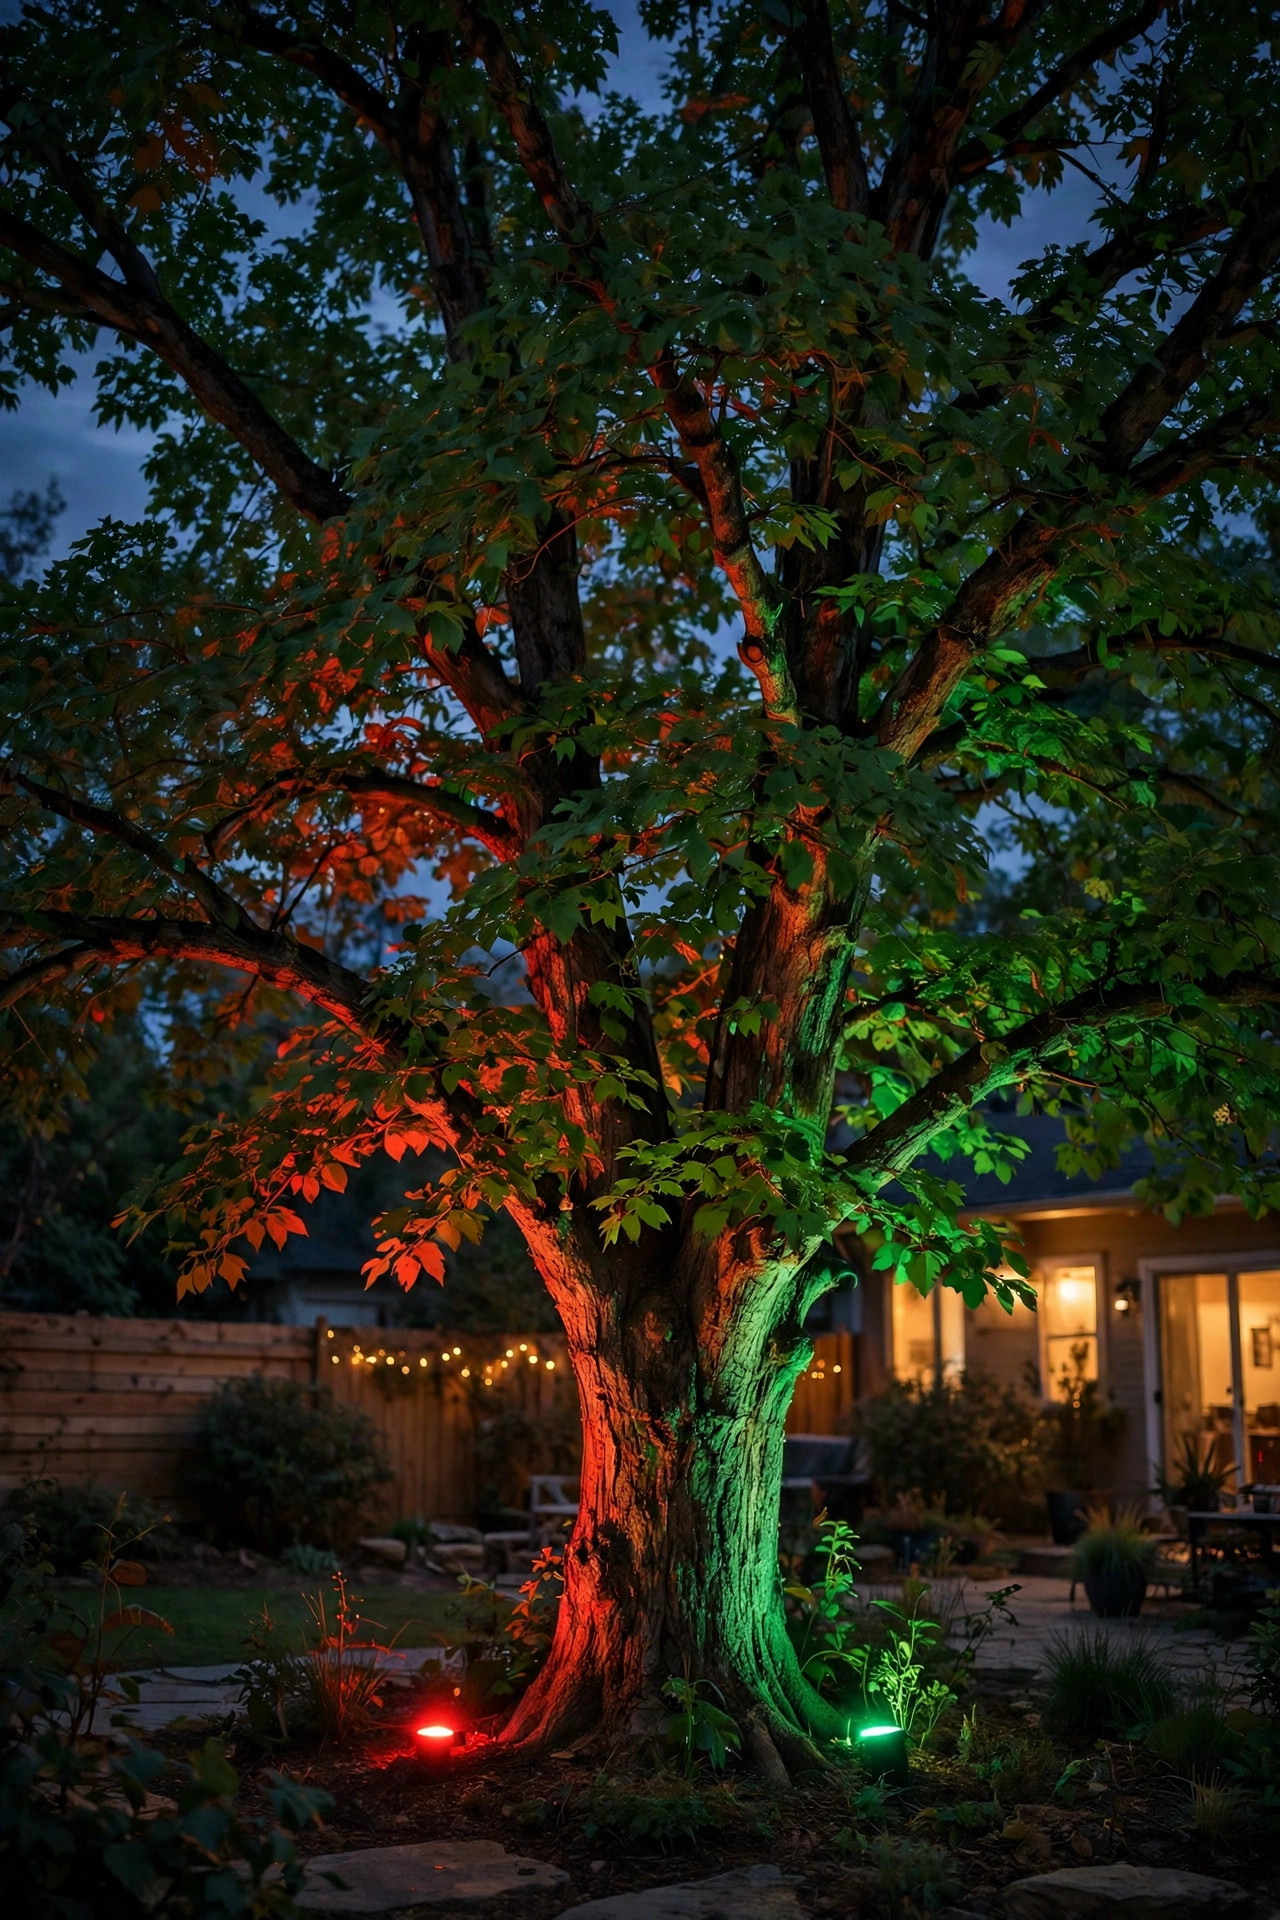
Spotlights are the fastest transformation on this list: two LED uplights at the base of a big tree turn it into a glowing sculpture in about ninety seconds. Stake one fixture 2 to 3 feet from the trunk aimed straight up for a dramatic trunk column, and a second further back for a canopy wash. Red and green are the classic Christmas pairing — one of each on a wide tree, blended where the beams overlap — but deep green alone looks surprisingly sophisticated, and warm amber suits a rustic yard. Low-voltage landscape fixtures you already own may accept colored LED bulbs, which makes this nearly free if your system is in place. Keep fixtures rated for outdoor use, aim them away from neighbors' windows, and check after the first rain that the stakes have not tilted. I angle mine slightly inward so the light stays in my yard and off the street. This is the idea I recommend to anyone who says they have no time to decorate: no ladder, no wrapping, all drama.
Suggested budget range: $30 – $90.
13. Wrap the Trunk Tight and Let the Canopy Glow
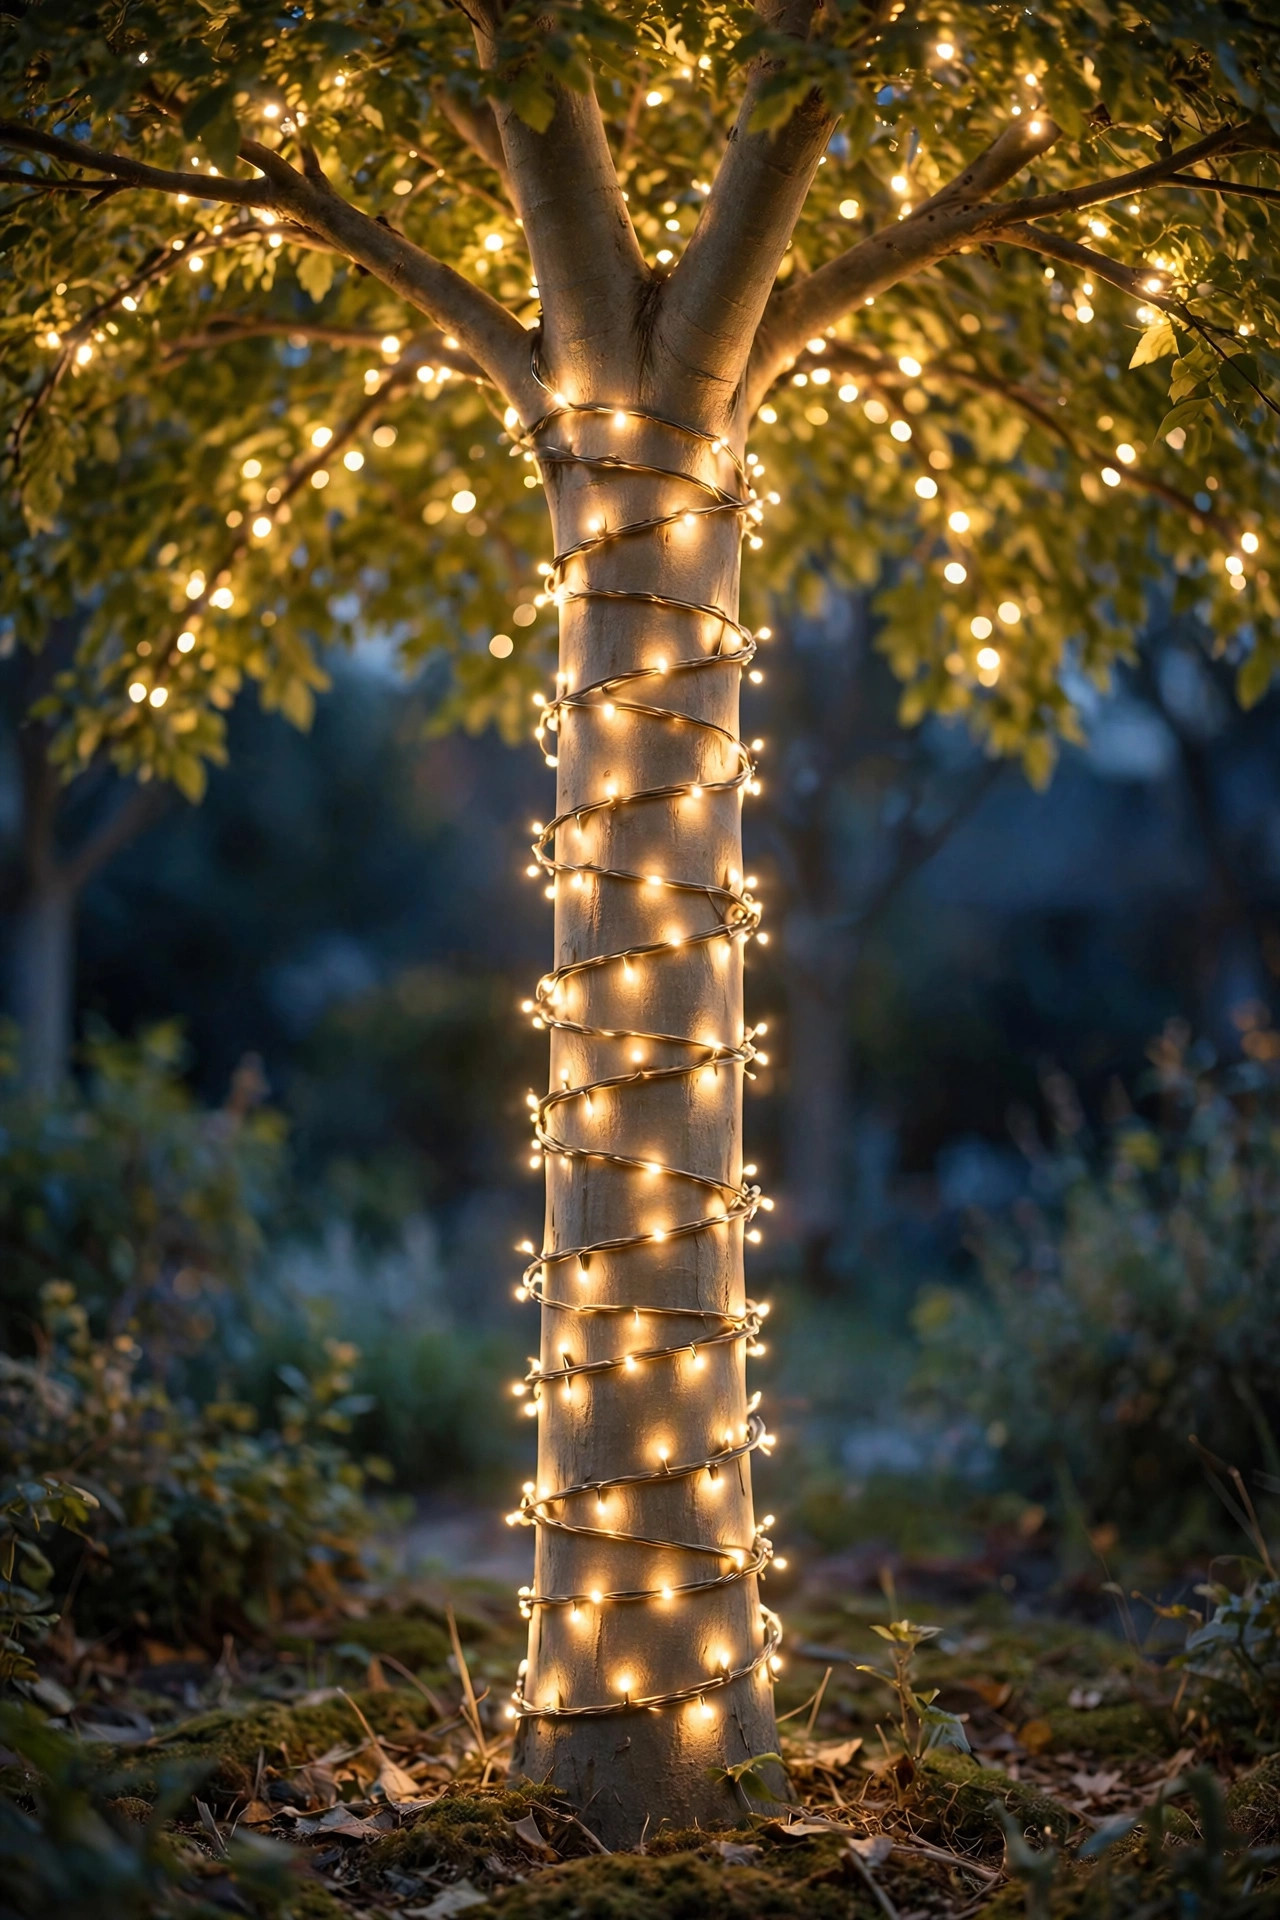
For a modern, sculptural look, wrap only the trunk — but wrap it like you mean it. Spiral a strand in tight, even coils from the ground to the first fork, keeping each row just a finger-width apart so the trunk becomes a solid column of light. Then add one loosely draped strand through the lowest main branches, or a single large lighted star or sphere hung at the fork, to give the eye a finishing point. This treatment flatters smooth-barked trees like crepe myrtles and river birches, whose trunks deserve the attention. It is also mercifully quick: one 100-count strand finishes most trunks in fifteen minutes, and takedown in January takes five. Because the wrap is low, it is the safest option for anyone avoiding ladders entirely. Leave slack as you coil — bark expands, wind works on the trunk, and a wrap strung drum-tight in December can girdle a young tree by spring if forgotten, so calendar a reminder to remove it right after New Year's.
Suggested budget range: $20 – $60.
14. String Swags From the Tallest Tree Out to the Fence
Connect the two stars of the show: run café-style string light swags from a hook high in your biggest tree down to the fence corners, and the whole yard becomes one connected ceiling of light. Use commercial-grade stringer cord with suspended sockets for spans over 15 feet, and support long runs with a guide wire so the weight hangs on steel, not on the sockets or the branch. Keep swags at least 8 feet above walkways and well clear of any fire pit's heat column. The geometry is forgiving: three swags to three fence points create a tent effect over the lawn that photographs beautifully. Warm white exposed-filament LED bulbs give that bistro glow, and because they are plastic, a dropped bulb is a shrug instead of a cleanup. I anchor the tree end with a padded hook strap rather than a screw — healthier for the tree and renter-friendly. Standing under this canopy with a mug of something warm is, honestly, the entire point of December.
Suggested budget range: $35 – $110.
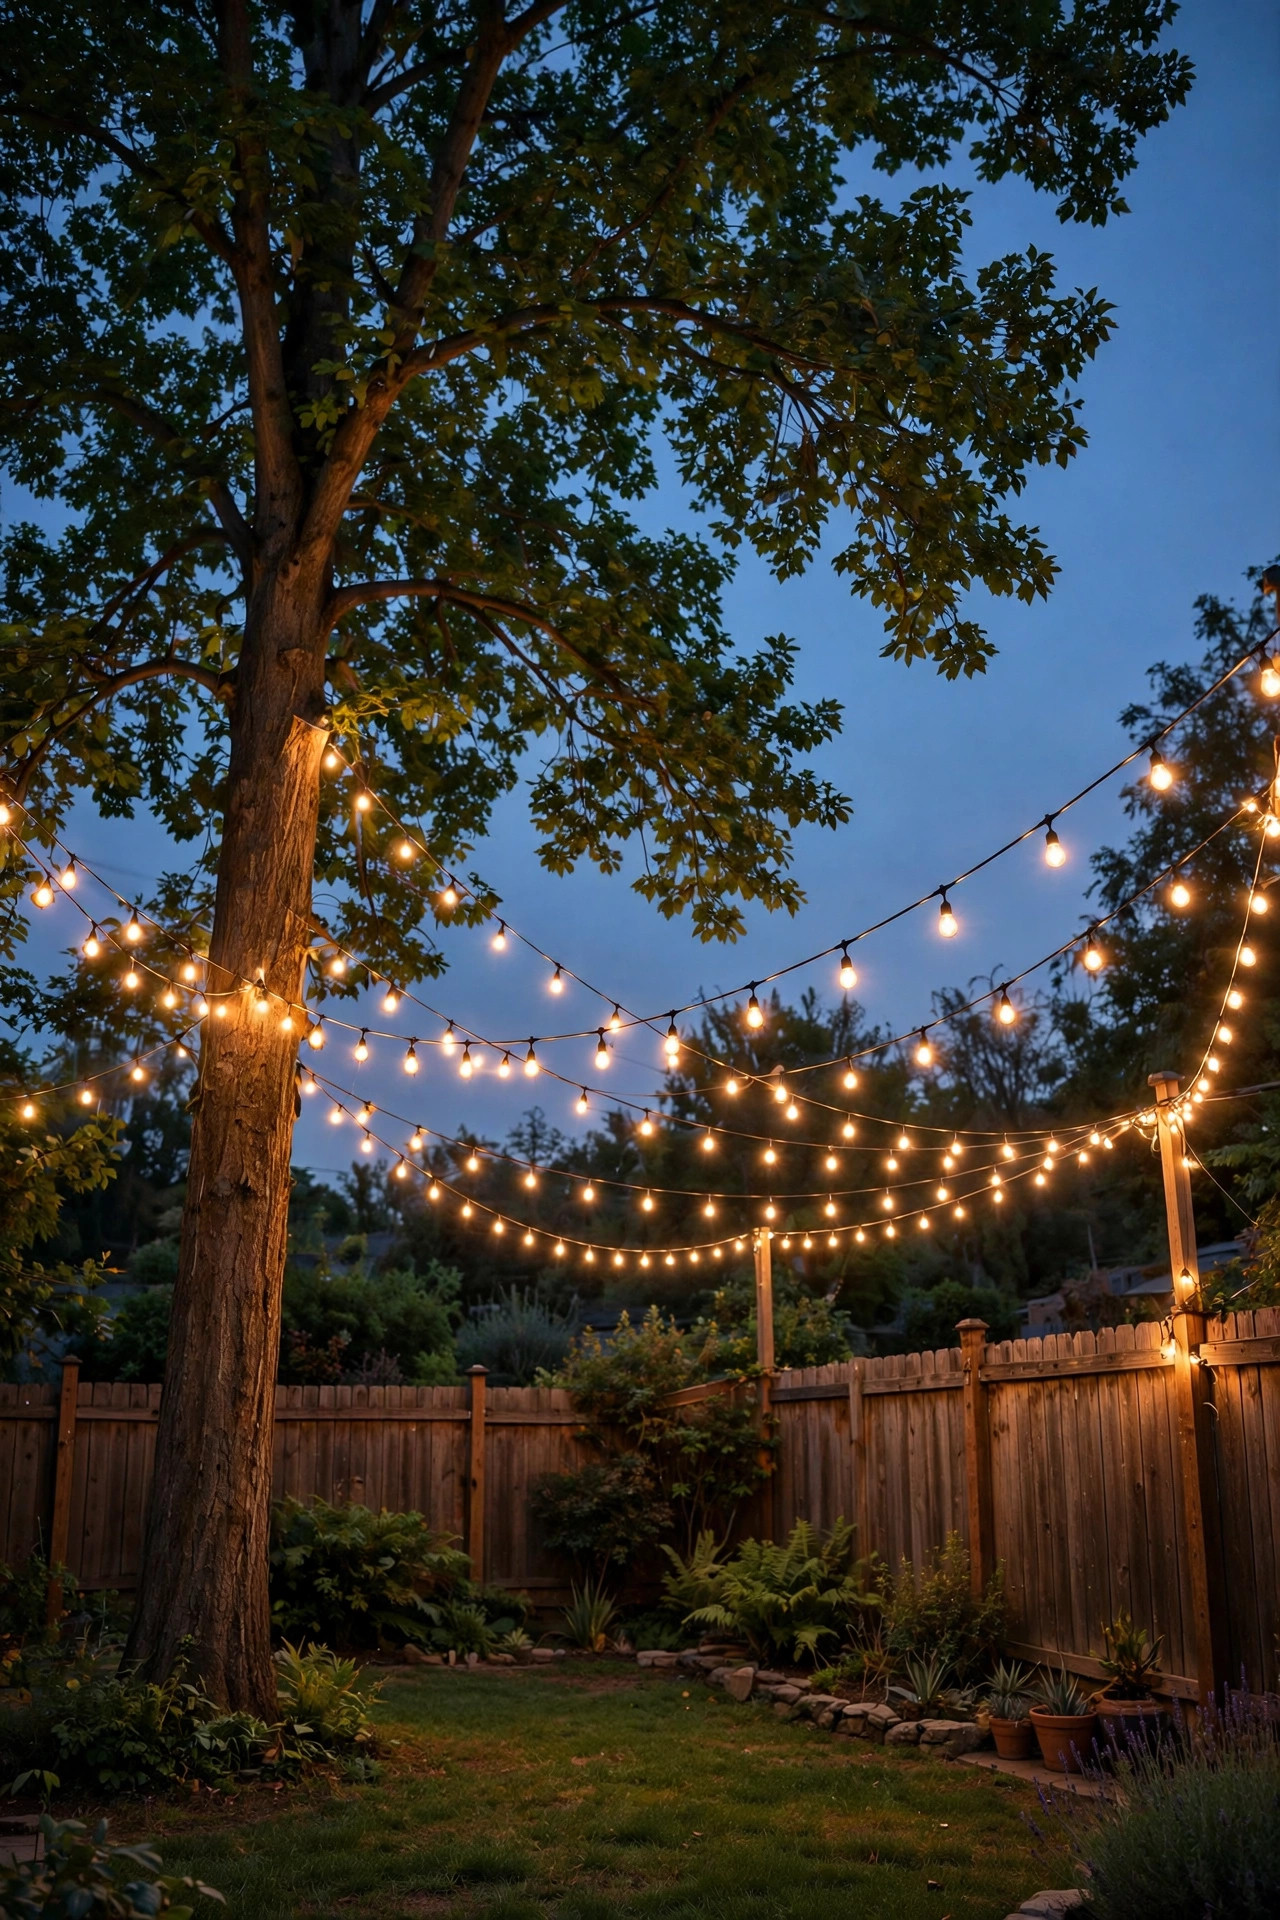
15. Hang Oversized Lighted Ornaments in the Branches
Think of your biggest tree as the Christmas tree, and dress it accordingly — with a handful of oversized lighted ornaments hung at eye-catching heights. Shatterproof globe ornaments in the 8- to 12-inch range, each with its own soft LED glow, hang from sturdy branches on short lengths of fishing line or ribbon, spaced so five to seven read clearly without crowding. Battery versions with timers are easiest; set them to the same six-hour window as your other displays so the whole yard wakes and sleeps together. Keep the color palette tight — all gold, or red and gold — so it reads as design, not leftovers. Hang them where they will catch a breeze just slightly; a gentle sway doubles the sparkle. This is a wonderful use for a tree whose branches are too irregular to wrap neatly, turning a decorating problem into the yard's signature. Bring them in before any forecast ice storm, since added weight plus ice is the one real risk to smaller branches.
Suggested budget range: $25 – $80.
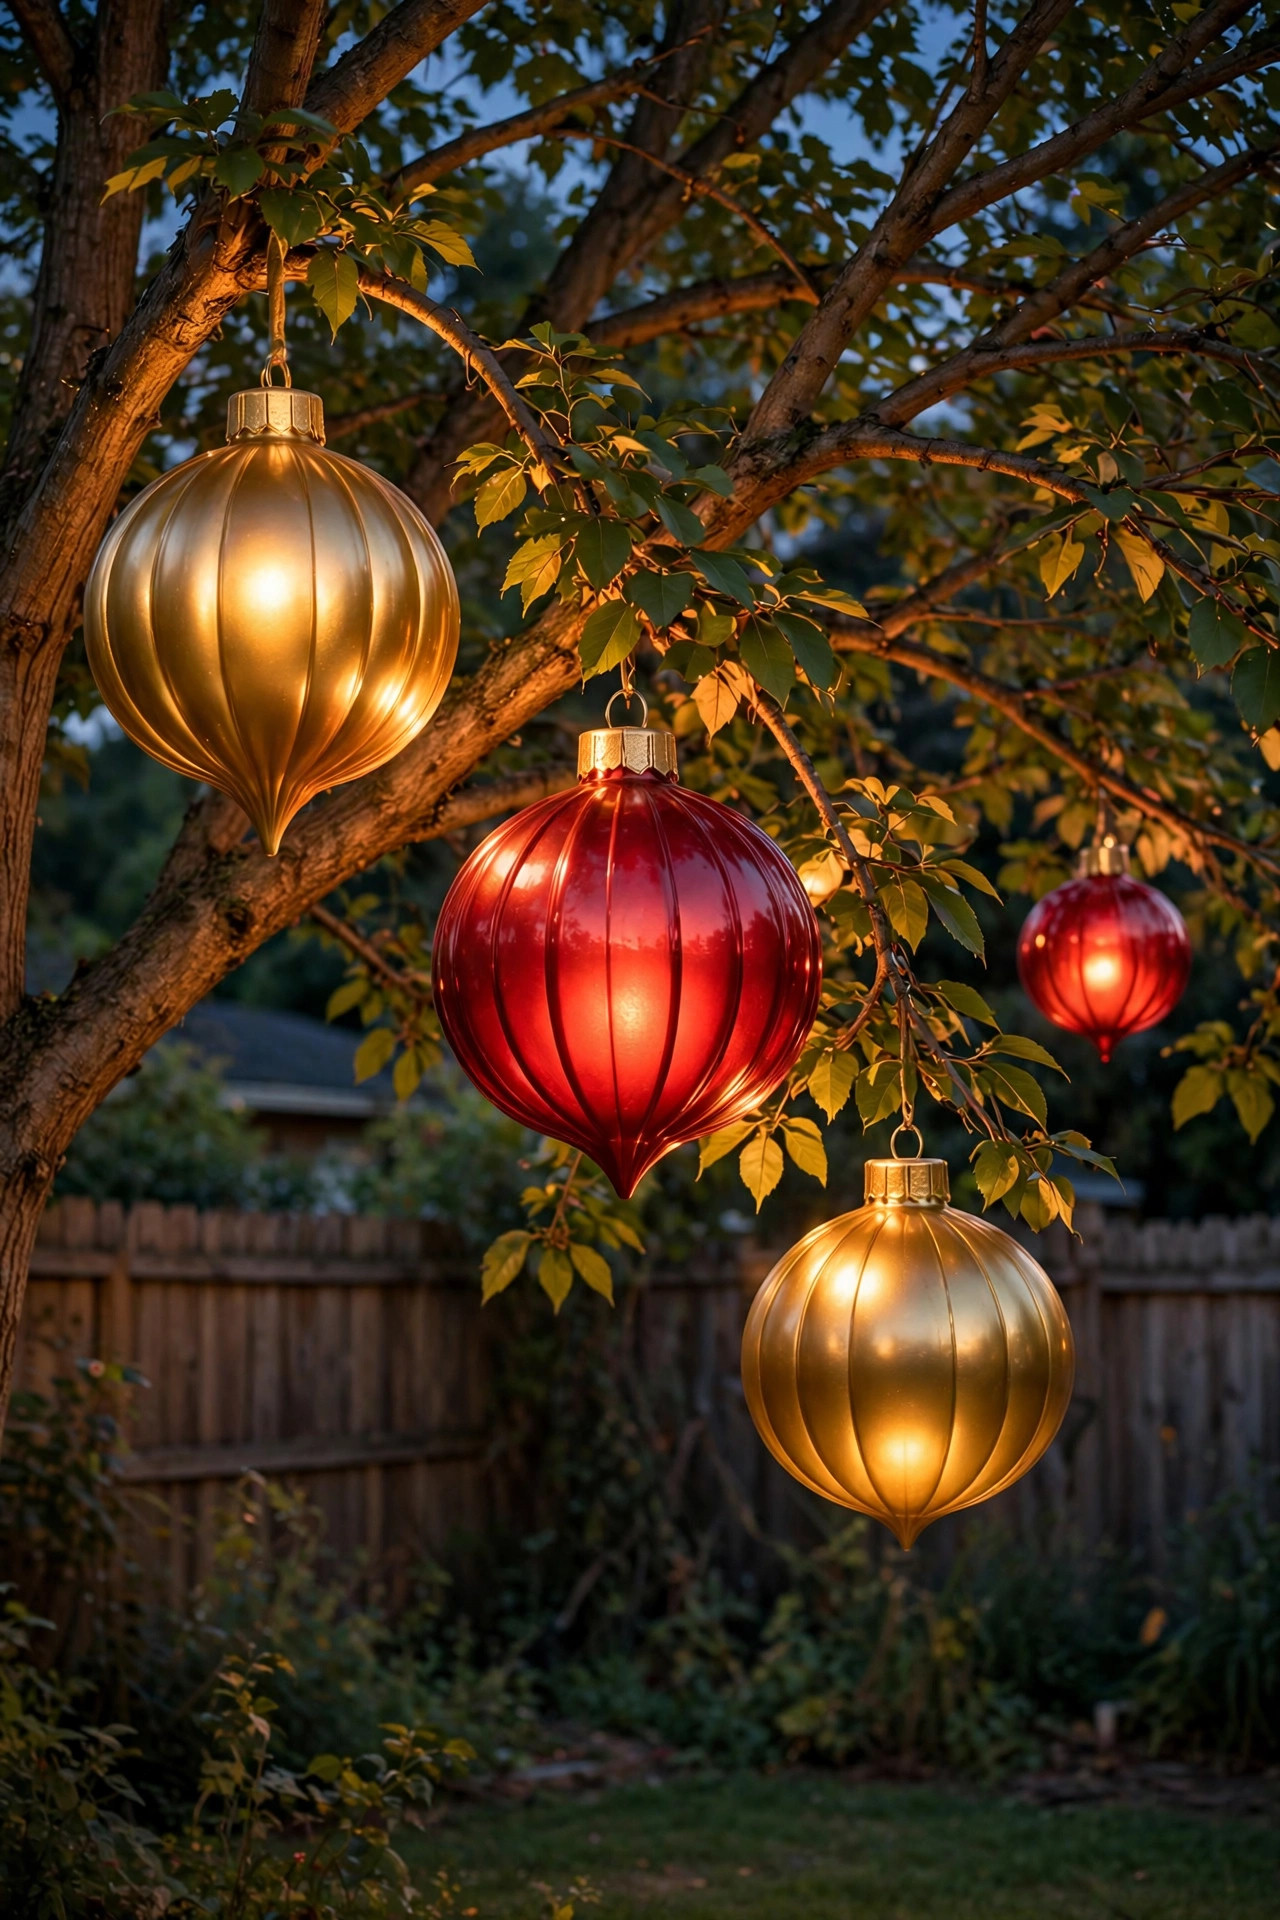
16. Frame Fence Panels With Snowflake and Star Silhouettes
Flat lighted silhouettes — snowflakes, stars, and the occasional reindeer — turn individual fence panels into a gallery. Mount one 18- to 24-inch motif centered on a panel, hung from a small hook on the top rail with the cord run neatly down the post to a low outlet or battery pack. Alternating snowflake, star, snowflake down a long fence creates a pattern your eyes read instantly from the house, and it is endlessly charming behind falling snow. Keep the motifs all one color family — cool white reads icy and wintry, warm white reads cozy — but do not mix the two on the same run. Leave one or two panels dark between motifs on shorter fences so the design breathes. These pieces store flat and stack in a single tote, which makes them a smart buy for smaller garages. Choose silhouettes framed in LED rope light rather than exposed bulbs; the lines stay crisp and the glow is even, with no hot spots against the wood.
Suggested budget range: $20 – $65.
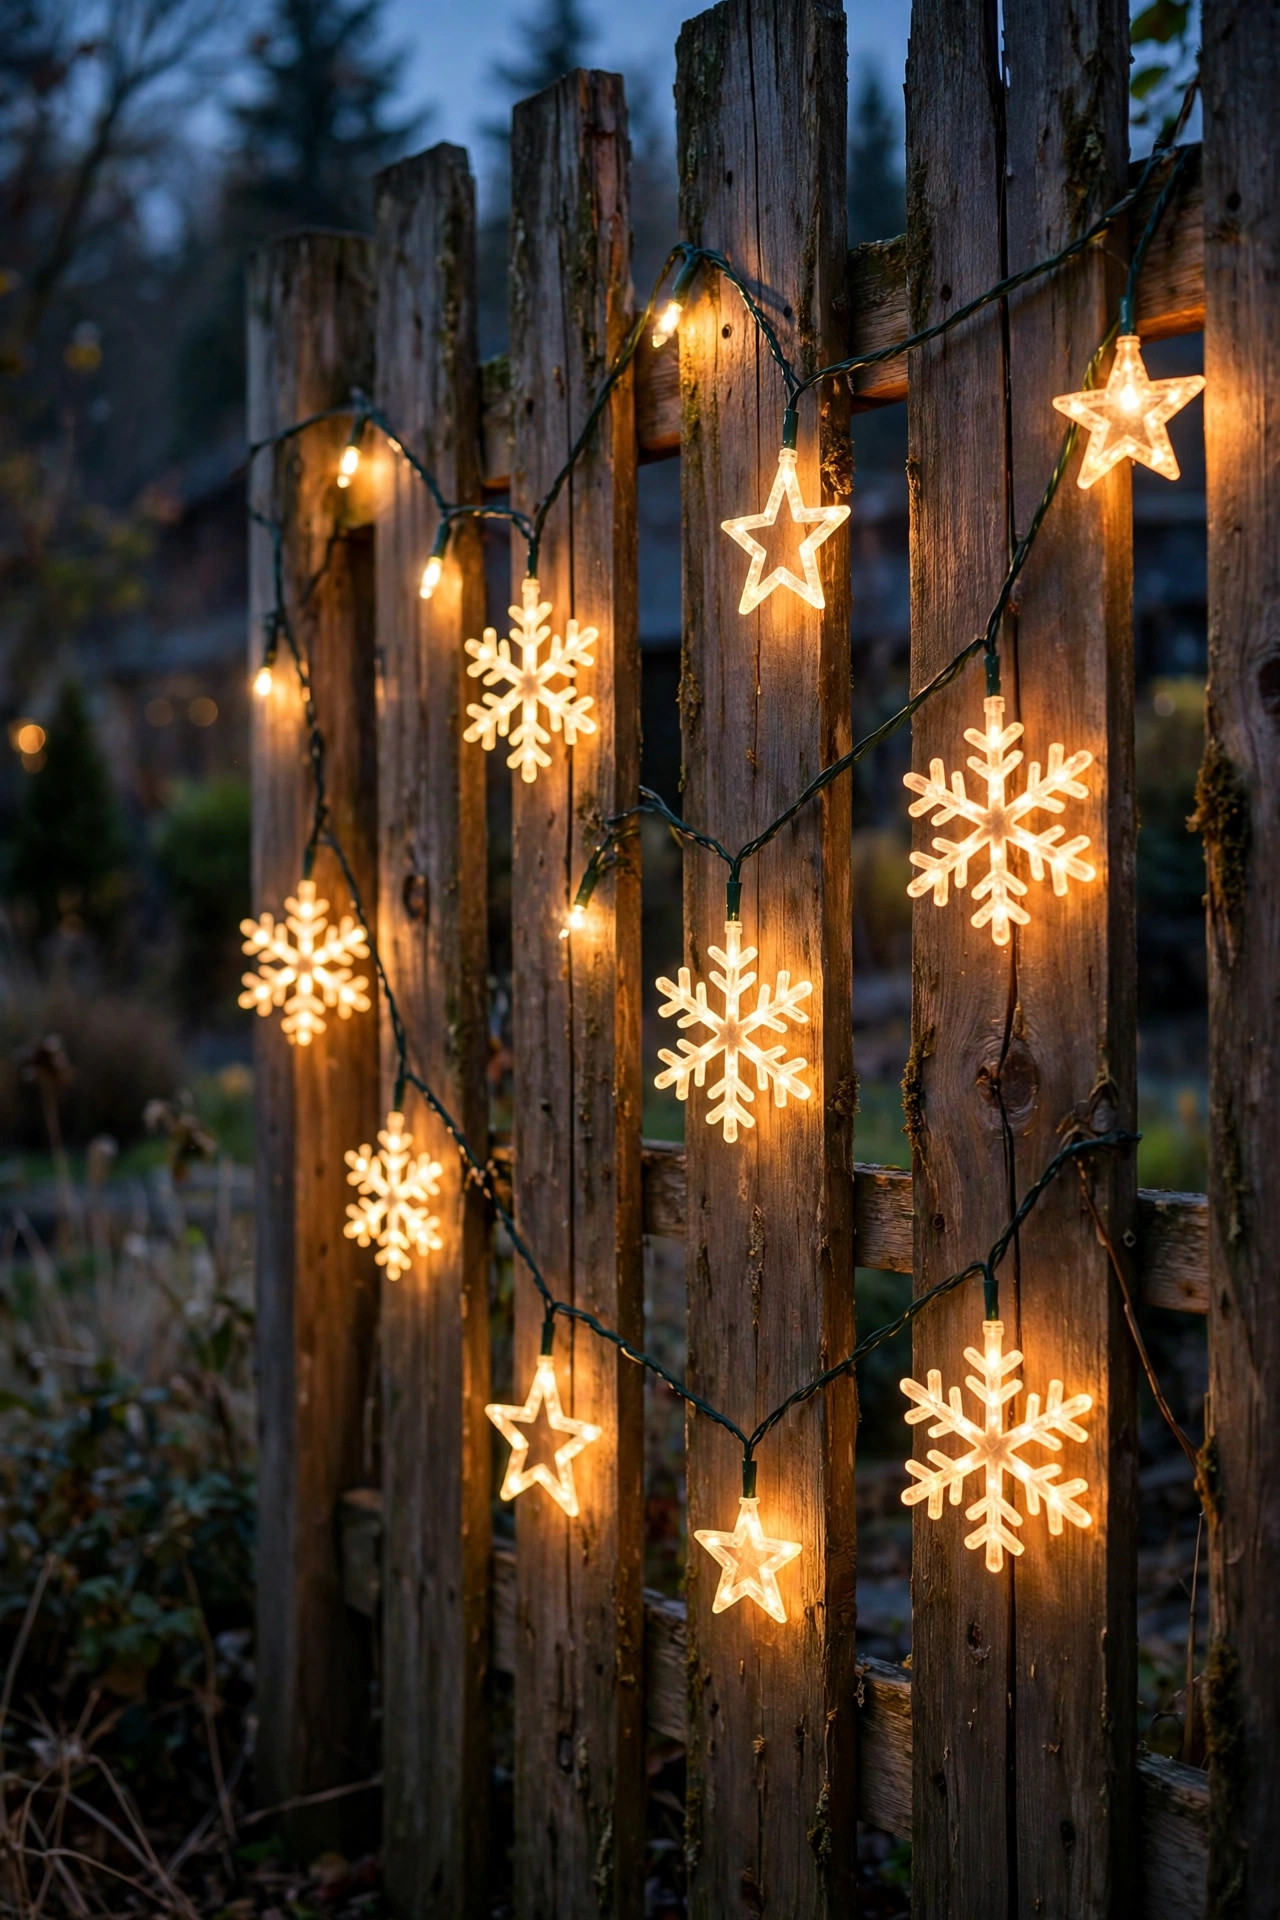
17. Mix Twinkle Strands Into the Wrap for Movement
A static display is pretty; a gently twinkling one is alive. The secret is restraint: for every four or five steady strands on a tree, weave in one twinkle strand — the kind where random bulbs pulse softly — and the whole tree breathes without blinking like an airport runway. Random-twinkle (sometimes labeled sparkle or shimmer) is the mode to buy; avoid fast chase settings outdoors, which read frantic after ten minutes. I distribute the twinkle strand through the middle branches where the density is highest, so the pulses appear and vanish inside the glow. The same trick livens up fence garland: one twinkle strand wound through the swags makes candlelight-style flicker across the greenery. Everything stays LED and cool, and the overall wattage barely changes, so your timer and circuit math stay simple. If twinkle strands cost more in your area, buy one each year; three seasons in, you will have exactly the layered shimmer the high-end displays use.
Suggested budget range: $20 – $55.
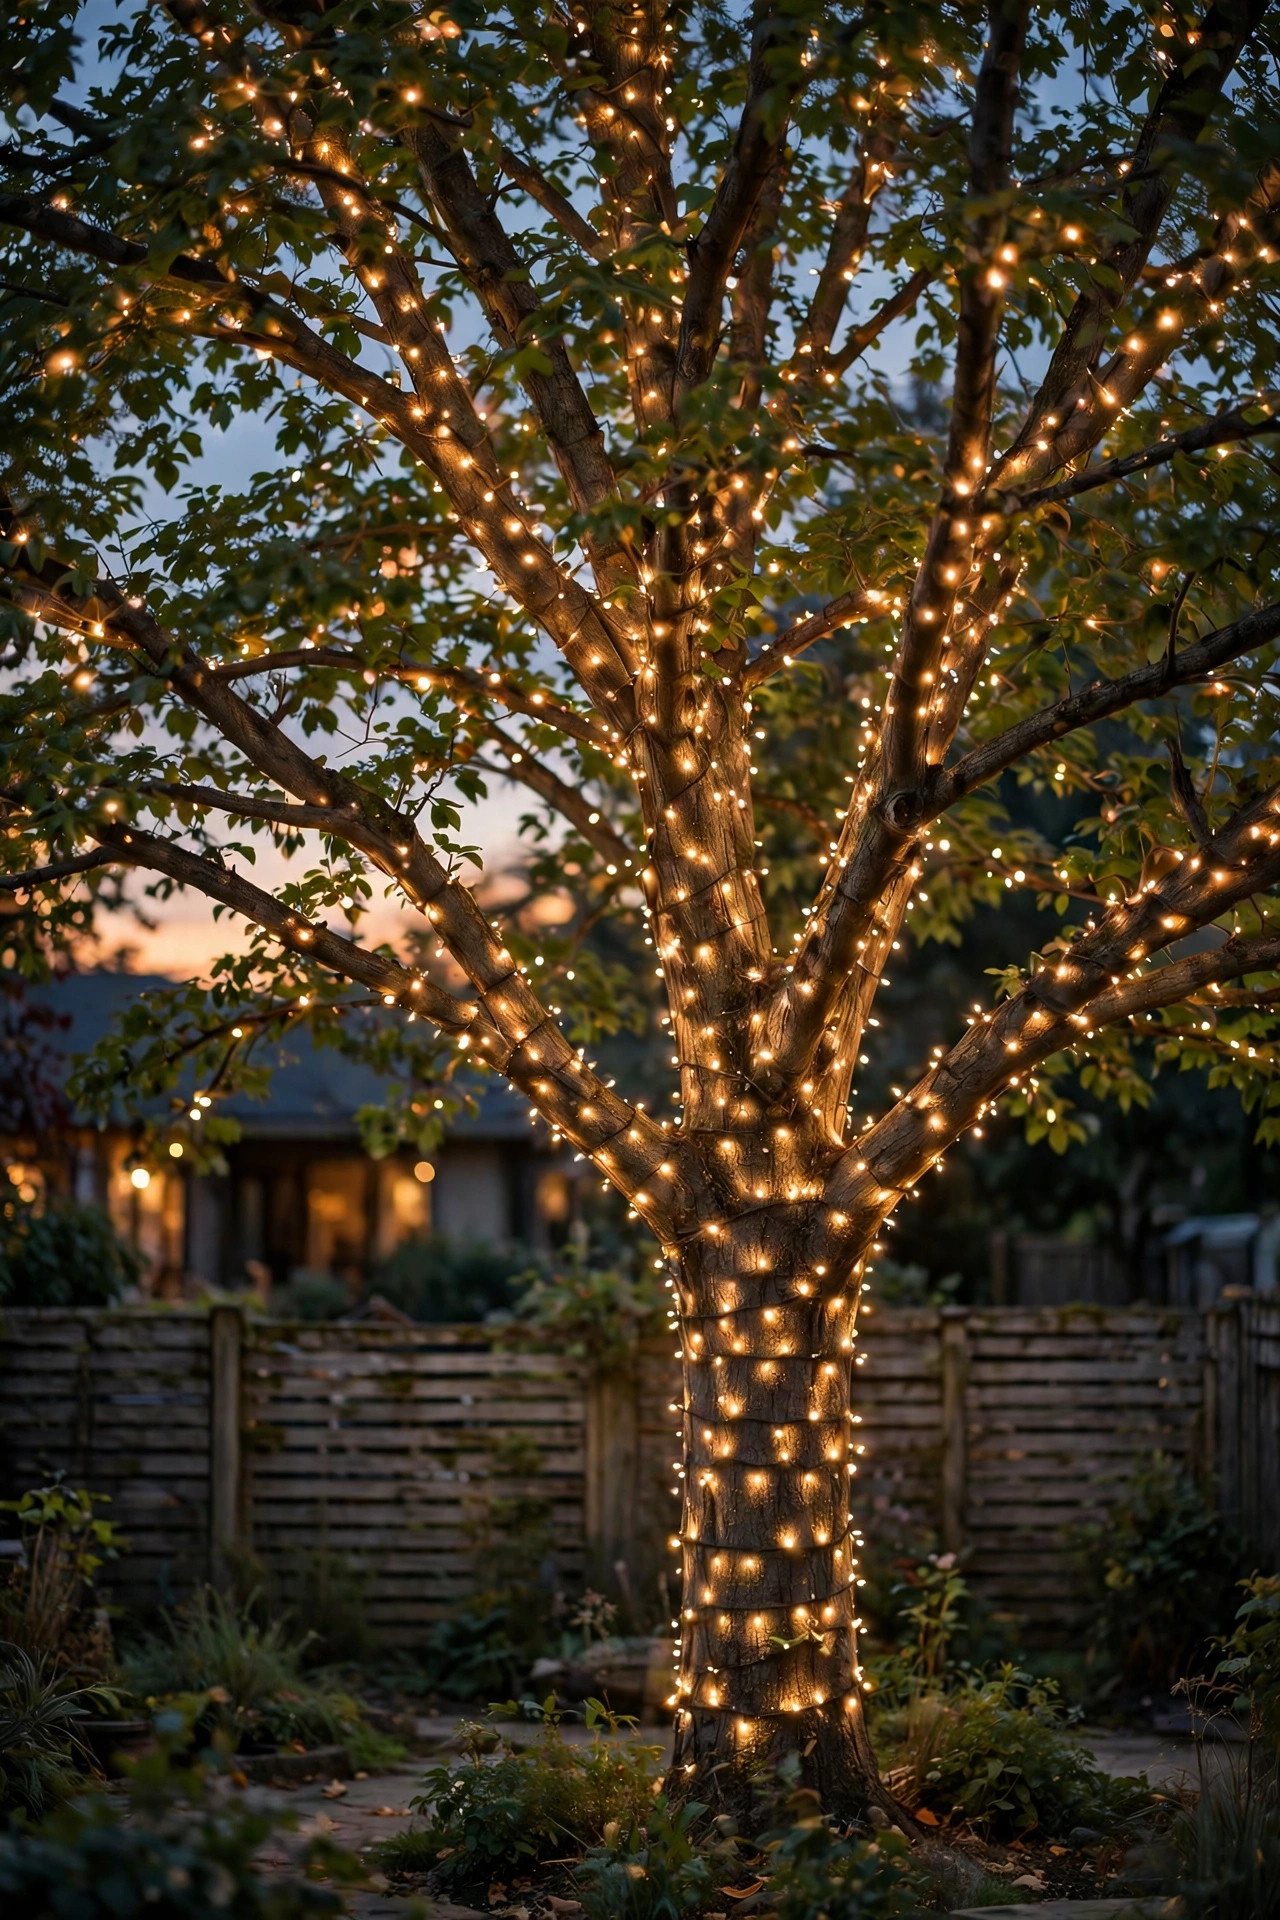
18. Put the Whole Backyard Christmas Tree Lighting Display on Timers
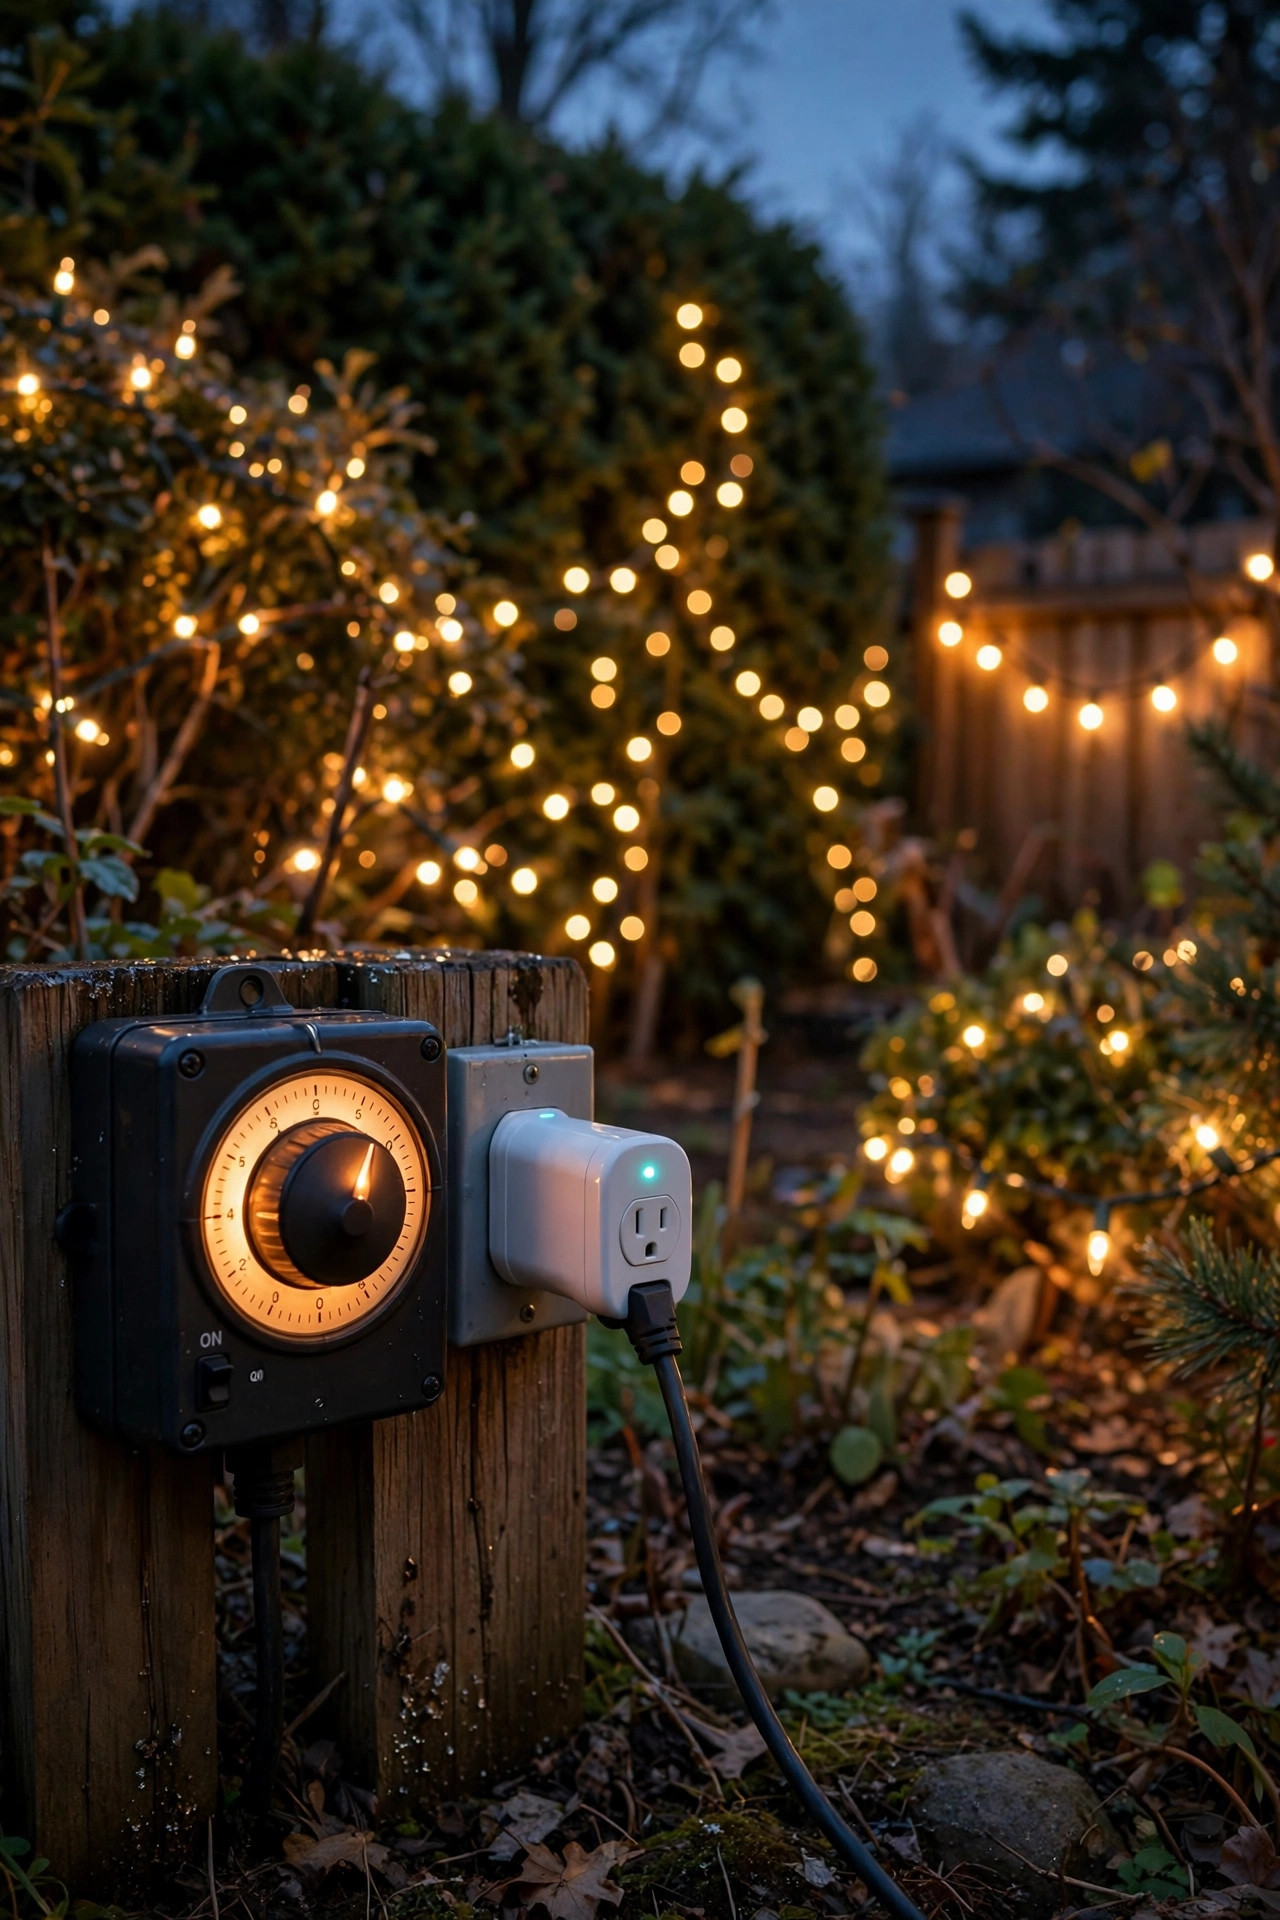
The best display is the one that is actually on, and timers make that effortless — this is the unglamorous idea that makes the other eighteen look good. Plug each zone (big tree, fence run, path stakes) into its own outdoor timer or smart plug so a single failure never darkens the yard, and set everything for dusk to 11 p.m.; that window covers dinner, guests, and the dog's last outing without burning electricity all night. Astronomical timers adjust to sunset automatically, which matters when dusk moves nearly an hour between December 1 and Christmas. Photocell timers are simpler still: on at dark, off after six hours. Keep plugs elevated on a stake or hook, connections wrapped in weatherproof covers, and everything on a GFCI outlet — non-negotiable with December rain. I have a deeper walkthrough saved among my favorite outdoor lighting timers and automation tips if you want the full menu of options. Set it once, then spend the season enjoying instead of remembering.
Suggested budget range: $15 – $50.
19. Layer It All: The Full Backyard Christmas Tree Lighting Finale
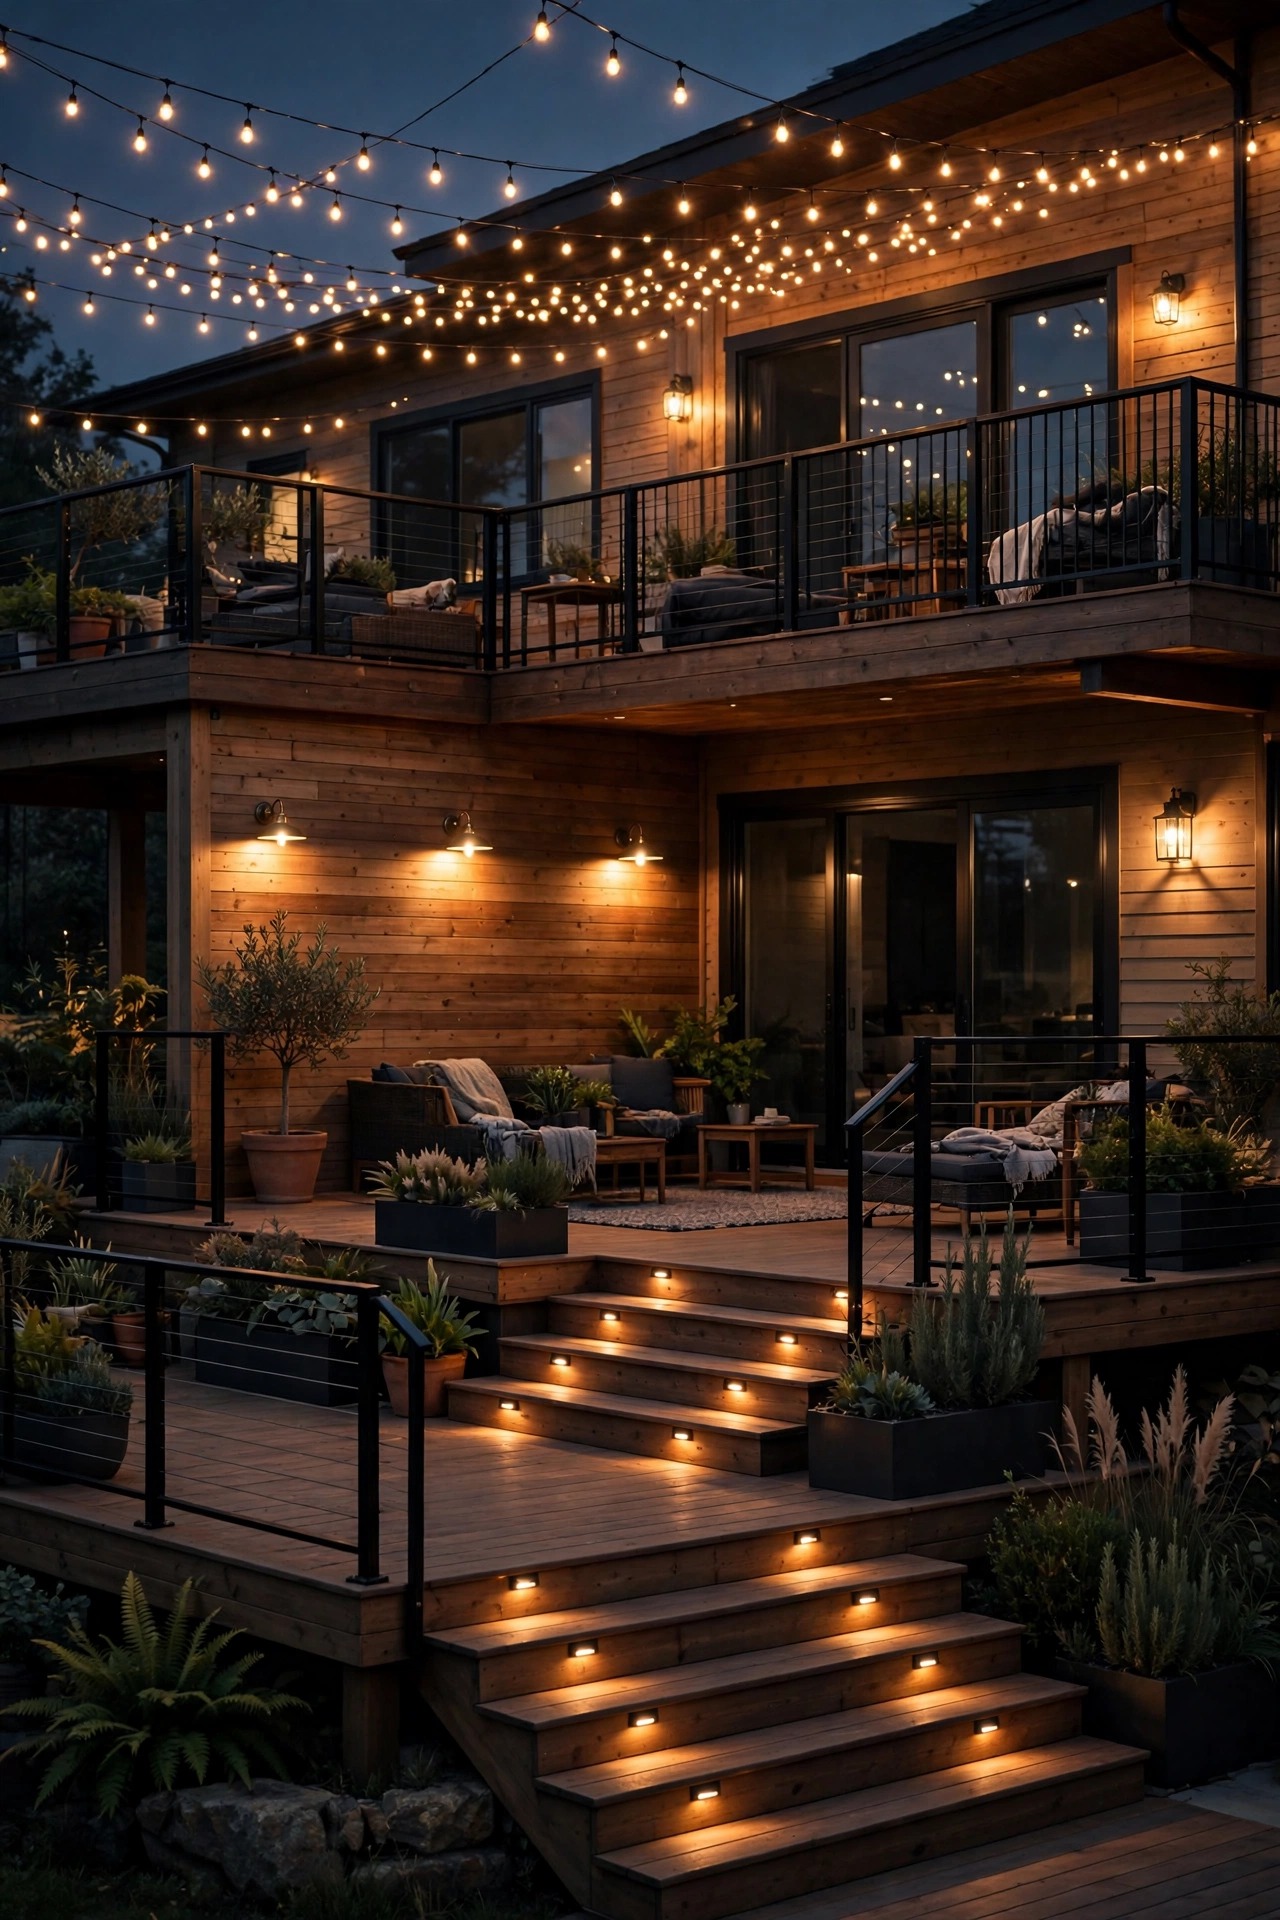
Here is how the whole design comes together, the way I would build it from scratch. Pick one hero tree and give it the full branch wrap in warm white. Outline the fence with a single treatment — garland swags if your fence is plain, icicles if it is tall, C9s if you lean retro — and keep that treatment consistent on all three sides. Light the path with stakes so the yard has a floor, then add exactly one wild card: the multicolor tree, the meteor tubes, or the oversized ornaments. Finish with timers on every zone. That formula scales from a townhouse patio yard to a half-acre; just add a second wrapped tree per extra quarter-acre and repeat the fence treatment. When you step back at dusk and the yard glows in three clear layers — anchor, frame, floor — you will feel the same thing I feel every December: the backyard is no longer the place the decorations forgot. Start this weekend with the hero tree; everything else can join over the following evenings, one cocoa at a time.
Suggested budget range: $150 – $400.
Frequently Asked Questions
How many lights do I need for a backyard tree?
Plan on roughly 100 mini lights per foot of tree height for a full, dense wrap — a 12-foot tree needs about 1,200 lights, or twelve 100-count strands. For a lighter spiral wrap, half that amount looks intentional rather than sparse. LED strands connect many more end-to-end than old incandescents, but always respect the maximum printed on the packaging, and measure your tree's actual height rather than guessing from memory.
Can Christmas lights stay on trees and fences through rain and snow?
Yes, as long as every strand, plug, and timer is rated for outdoor use and plugged into a GFCI outlet. Keep connection points off the ground, ideally elevated and shielded with weatherproof covers, since pooled water in a plug is the most common failure. LED bulbs themselves shrug off cold beautifully — they actually run more efficiently in winter. Inspect strands for cracked insulation before hanging, and retire anything damaged.
Should I choose solar or plug-in lights for the backyard fence?
Plug-in strands win on brightness and reliability, especially in December when days are short and often cloudy. Solar makes sense for single accents far from an outlet — a gate wreath, a few path stakes — where running a cord is impractical. A hybrid is what most yards end up with: plug-in for the fence outline and hero tree, solar for scattered accents. Just place solar panels where they catch at least five hours of direct sun.
When should I hang and take down backyard Christmas lights?
I hang mine the weekend after Thanksgiving, when the weather is usually mild and the ladder work is pleasant, and everything comes down the first mild weekend after New Year's. Never leave wraps on growing trees into spring — expanding trunks can be girdled by tight strands, and squirrels remodel anything left up. Store strands coiled around cardboard, labeled by location, and next year's setup takes half the time.
Conclusion
The front yard may get the drive-by compliments, but the backyard is where you actually live December — morning coffee by the window, guests drifting out after dinner, one last look before bed. Layered backyard christmas tree lighting, a wrapped hero tree against a framed fence with a lit path underfoot, turns that everyday backdrop into the coziest room of the house. Pick your hero tree this weekend, hang one fence treatment, and let the rest grow evening by evening. Then browse the rest of my lighting ideas here and start plotting January's porch refresh — because honestly, once the yard glows, there is no going back.