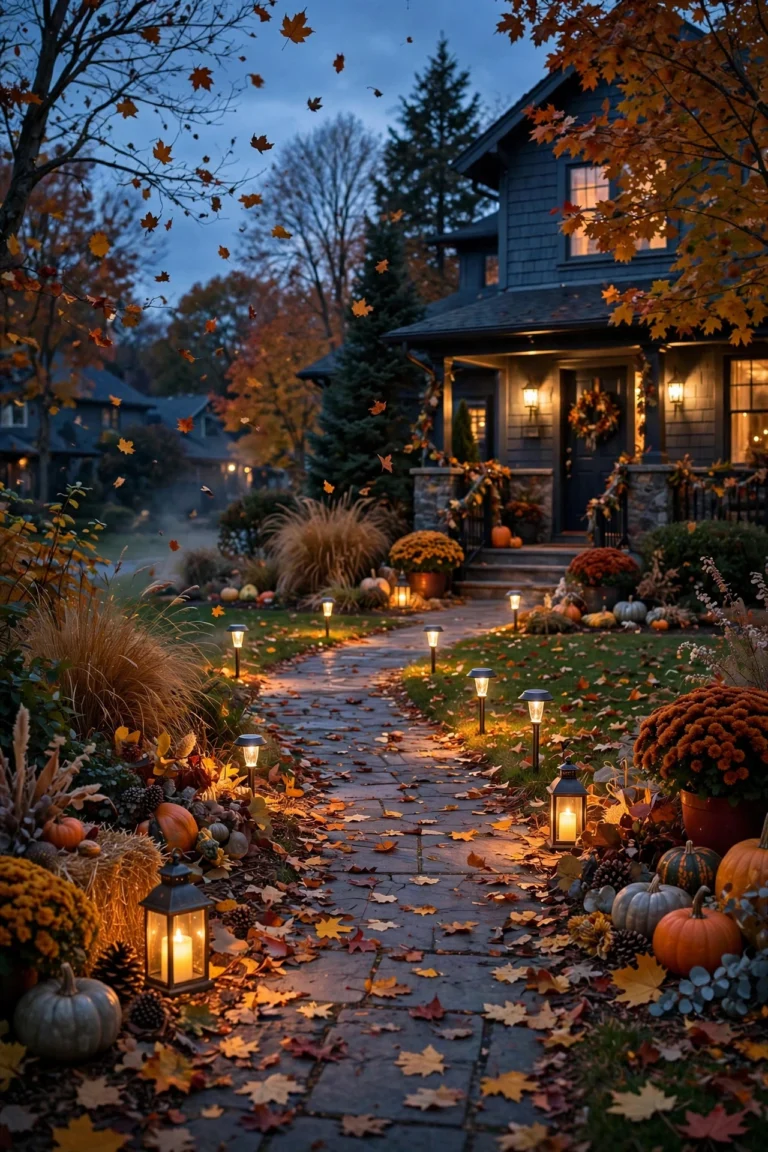
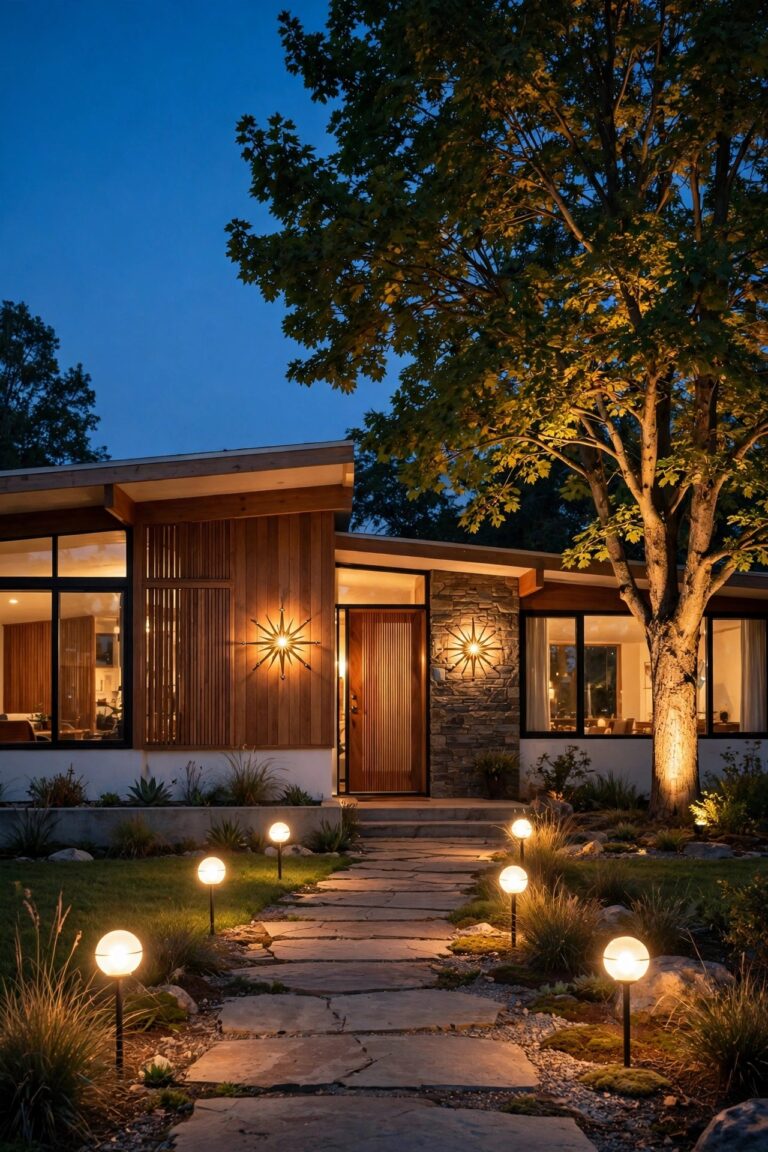
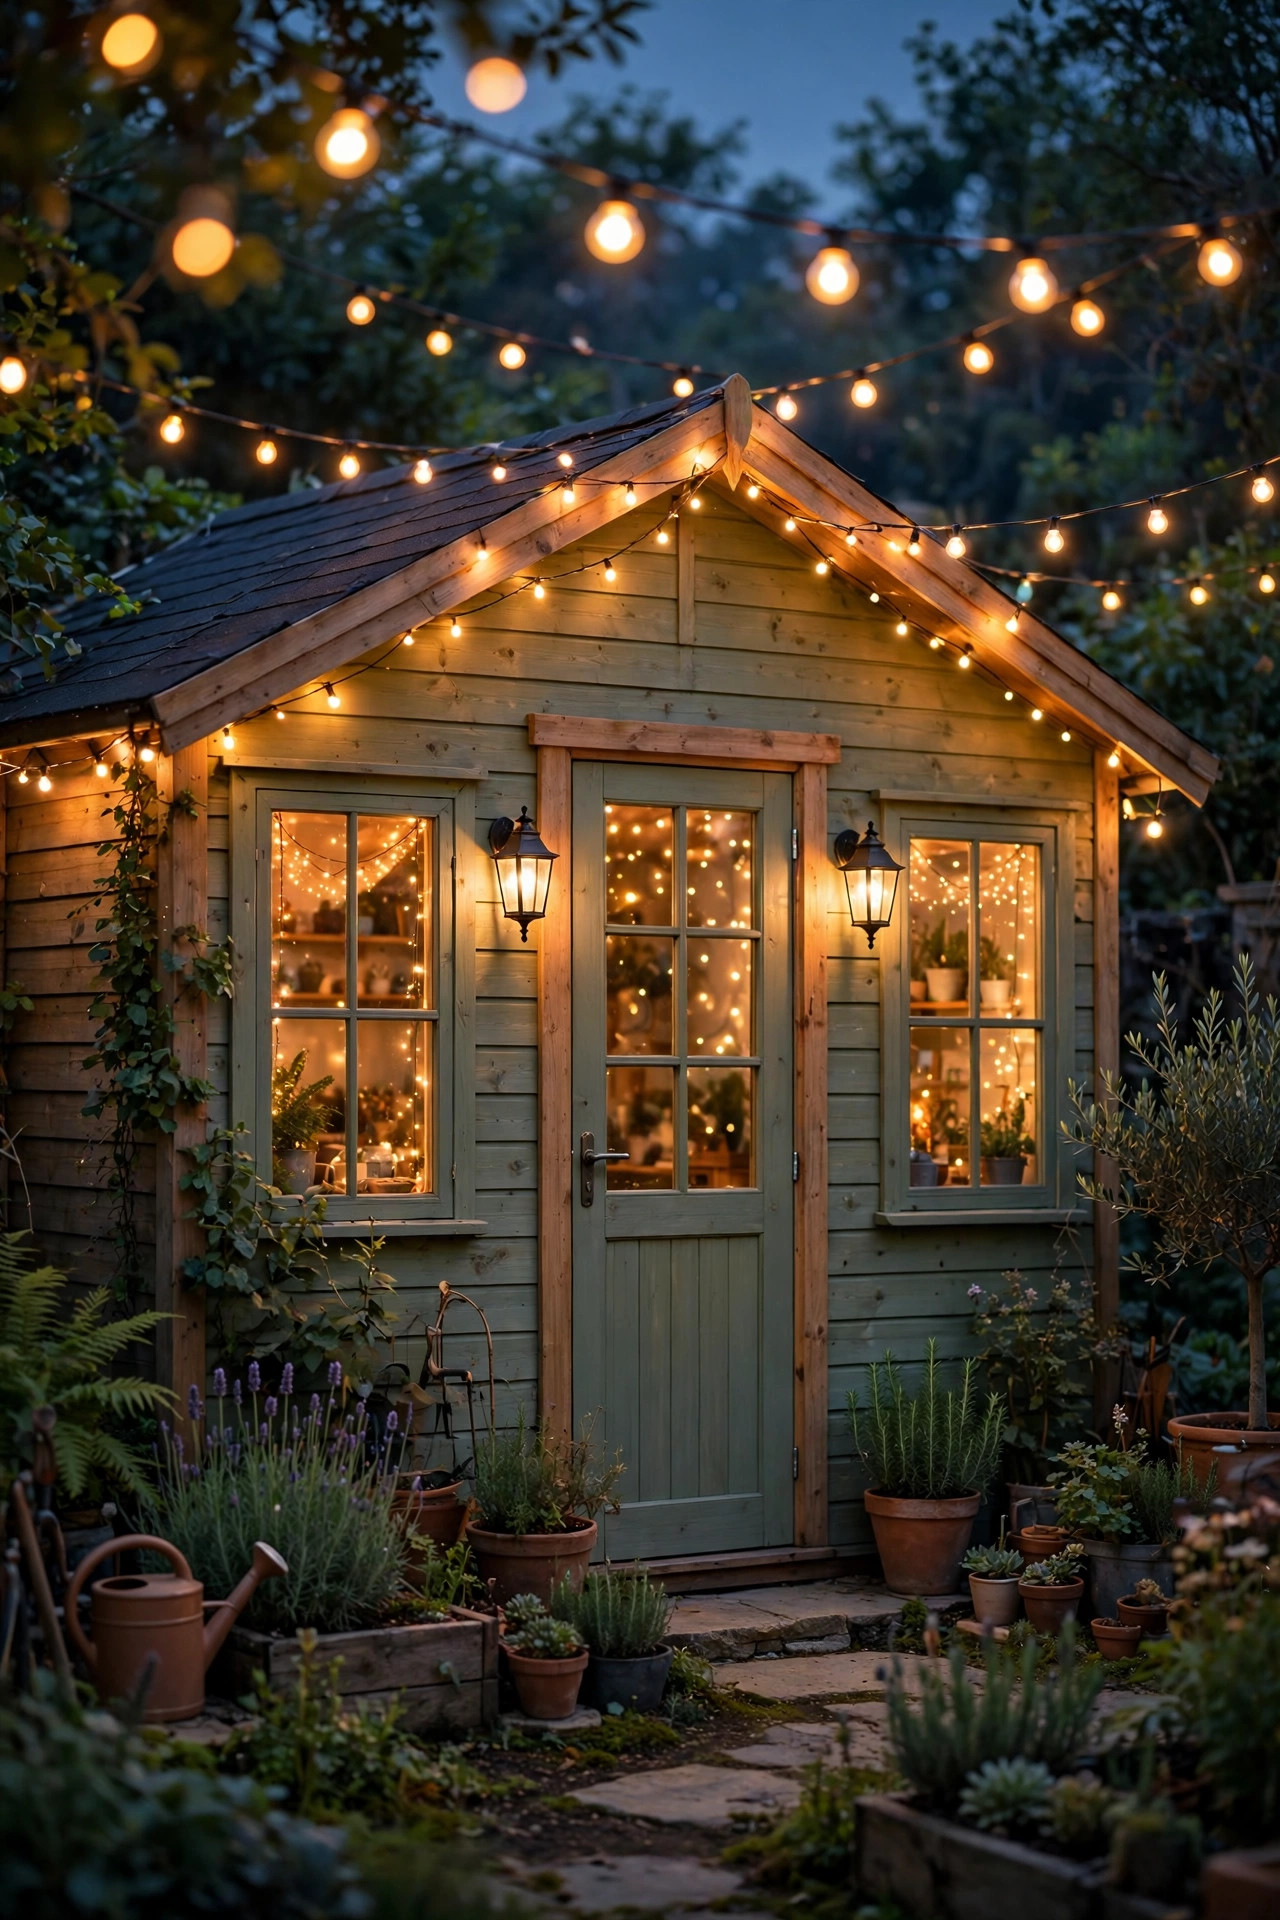
My she shed started as a plain little garden building with one bare bulb and big dreams. The day I swapped that harsh bulb for warm, layered light, the whole space changed personality — suddenly it was not storage with a chair in it, it was my studio, my reading hideaway, my favorite room in the house that just happens to sit in the backyard. If you are hunting for she shed lighting ideas that make a small space feel intentional, you are in exactly the right place. In my experience, the secret is the same layering I use in every room: a soft ambient base, honest task light right where you work, and a little sparkle on top purely because it makes you happy. Below I am sharing fifteen ways I have lit my own shed and helped friends light theirs, from solar sconces by the door to fairy lights in the rafters. Every idea includes the practical bits — bulb types, color temperature, spacing, and weather ratings — plus a realistic budget so you can plan your weekend project with confidence.
1. Start With a Layered Plan: She Shed Lighting Ideas That Actually Work
Before you buy a single bulb, stand in your shed at dusk and divide it into three jobs: ambient light for the whole room, task light for your desk or craft table, and accent light for the pretty corners. I sketch this on paper every time, and honestly? It saves money, because you stop buying random fixtures and start buying a plan. For a typical 8×10 or 10×12 shed, aim for one main ambient source, one focused task source, and two or three accents. Keep every bulb in the warm 2700–3000K range so the layers blend instead of fighting. Put anything plug-in on a simple outlet timer or a smart plug so the whole shed can glow at sunset and switch itself off at bedtime. If your shed has no power yet, do not worry — solar and battery options appear all through this list. The layered approach is also forgiving: you can add one layer per paycheck and the space improves with every single step. Start with ambient, add task, then finish with sparkle, and your little studio will feel finished long before it is technically done.
Suggested budget range: $30 – $90.
2. Swag String Lights Across the Rafters
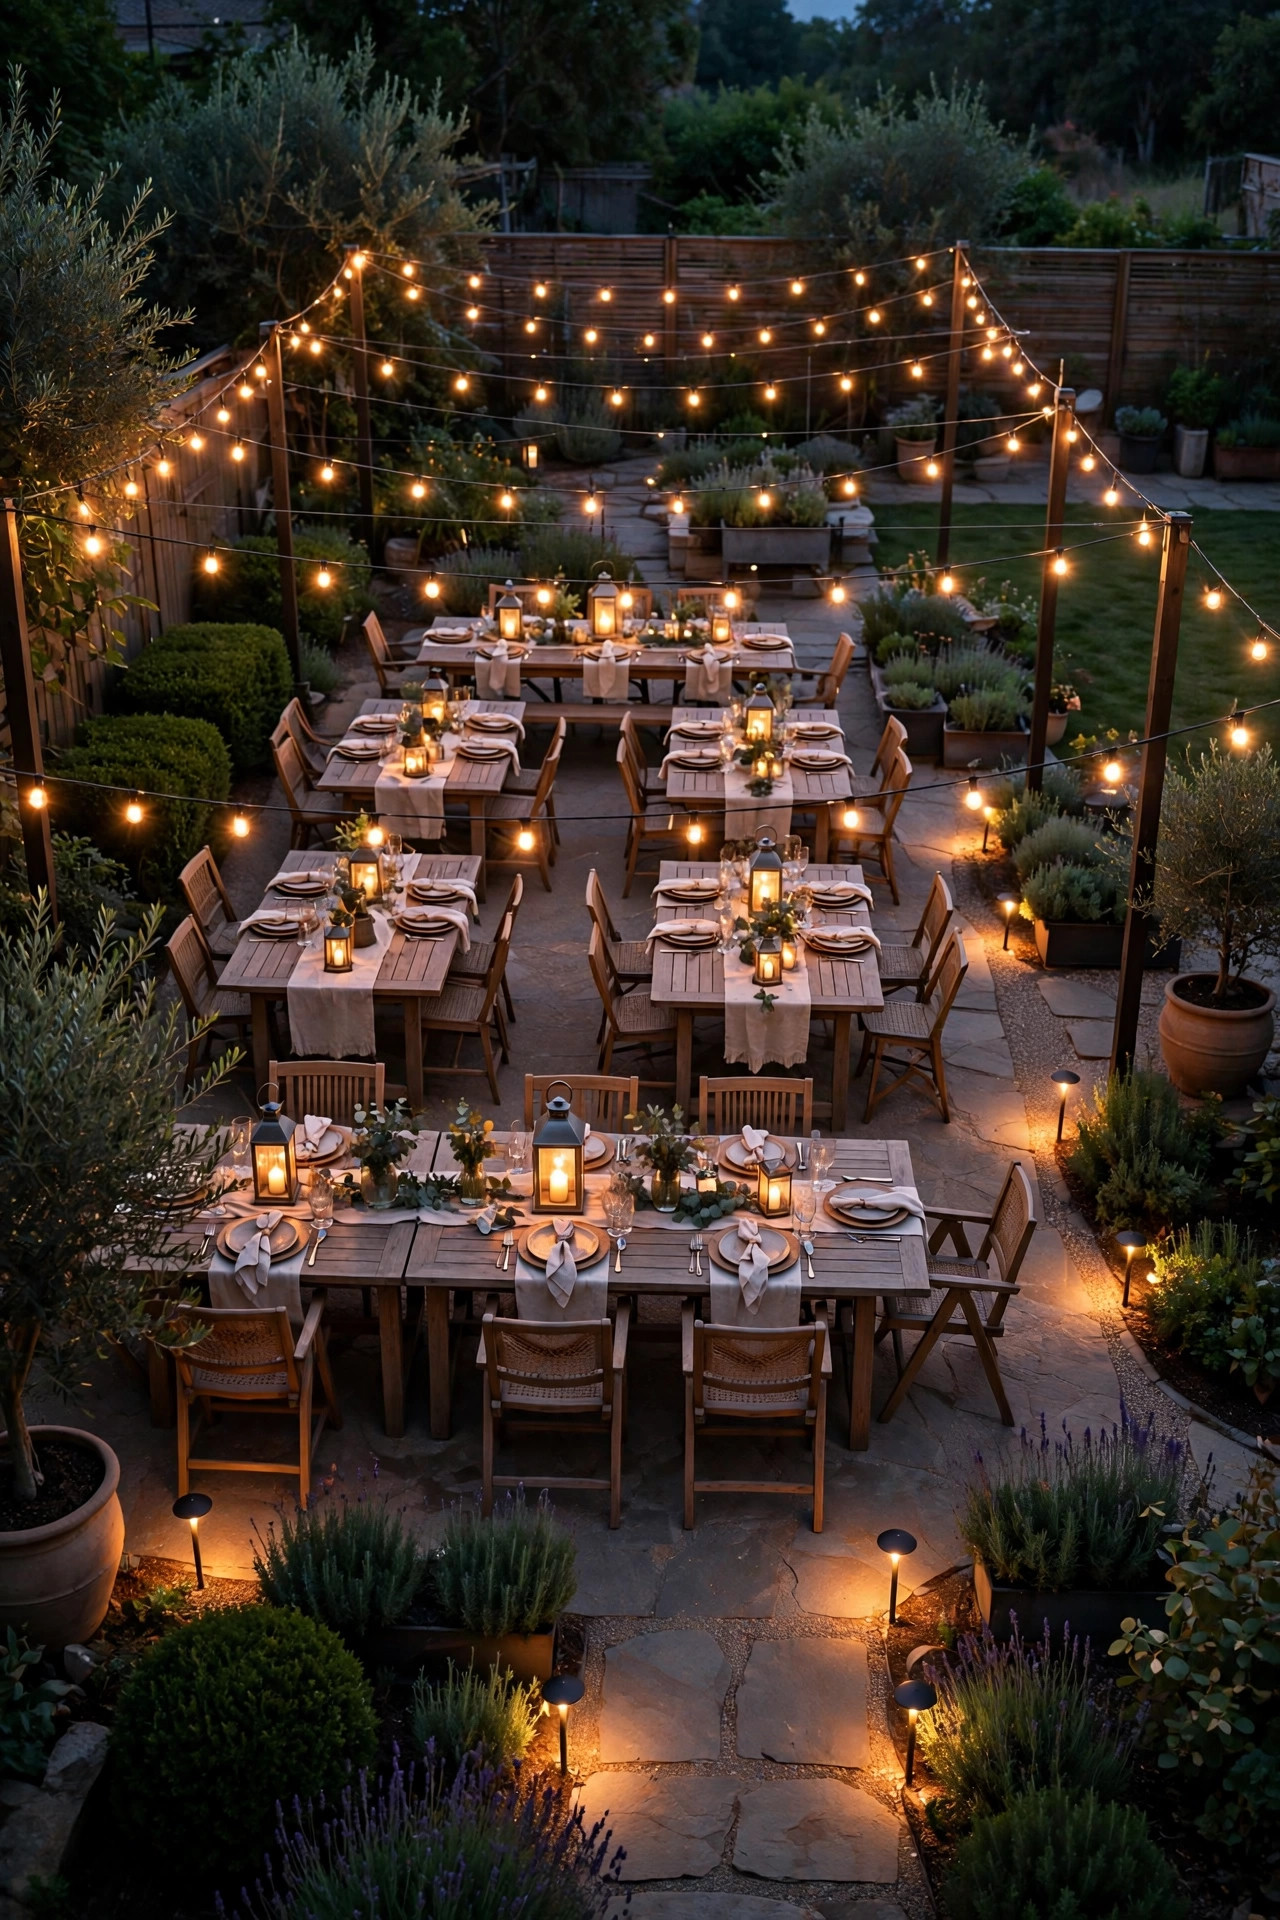
Exposed rafters are a gift — they are practically begging for string lights. I run two or three strands in gentle swags across the ceiling, anchoring them with screw-in cup hooks every 4 to 5 feet so the dips stay even and graceful. Choose LED filament-style bulbs for that warm vintage glow; they stay cool to the touch, which matters in a small wooden space, and a 48-foot strand usually covers a small shed ceiling with swags to spare. Drape the first swag about 12 inches down from the ridge so the bulbs hang at a flattering height rather than skimming your head. If your shed is unpowered, solar strands work, but plug-in strands on a timer give you far more reliable brightness on cloudy weeks. This is the exact same layering trick I use outdoors with my backyard string light ideas, just shrunk to fit a ceiling. One safety note I always give: keep strands at least a few inches from stored paper, fabric, and dried flowers, and never drape them over a space heater.
Suggested budget range: $25 – $70.

3. Hang a Statement Pendant Over the Work Table
Every garden studio needs one fixture with a little personality, and a pendant over your main table is mine. Hang it so the bottom of the shade sits about 30 inches above the tabletop — low enough to feel intimate, high enough that you are not ducking under it to reach your scissors. In a shed with an 8-foot ceiling, a short cord or a flush-mounted stem works best. Pick a bulb around 800 lumens in warm white so the pool of light is generous without glaring off paper and paint. Woven rattan, aged metal, and seeded glass shades all suit the garden-studio look, and a dimmer switch turns the same fixture from work mode to wine mode in one twist. If running new wiring feels like too much, battery-operated pendant kits with a remote give you nearly the same look with zero electrician. I always recommend testing the hang height with a friend holding the fixture before you commit to the ceiling hook — five minutes of patience saves a crooked pendant forever.
Suggested budget range: $40 – $120.

4. Frame the Windows With Fairy Lights
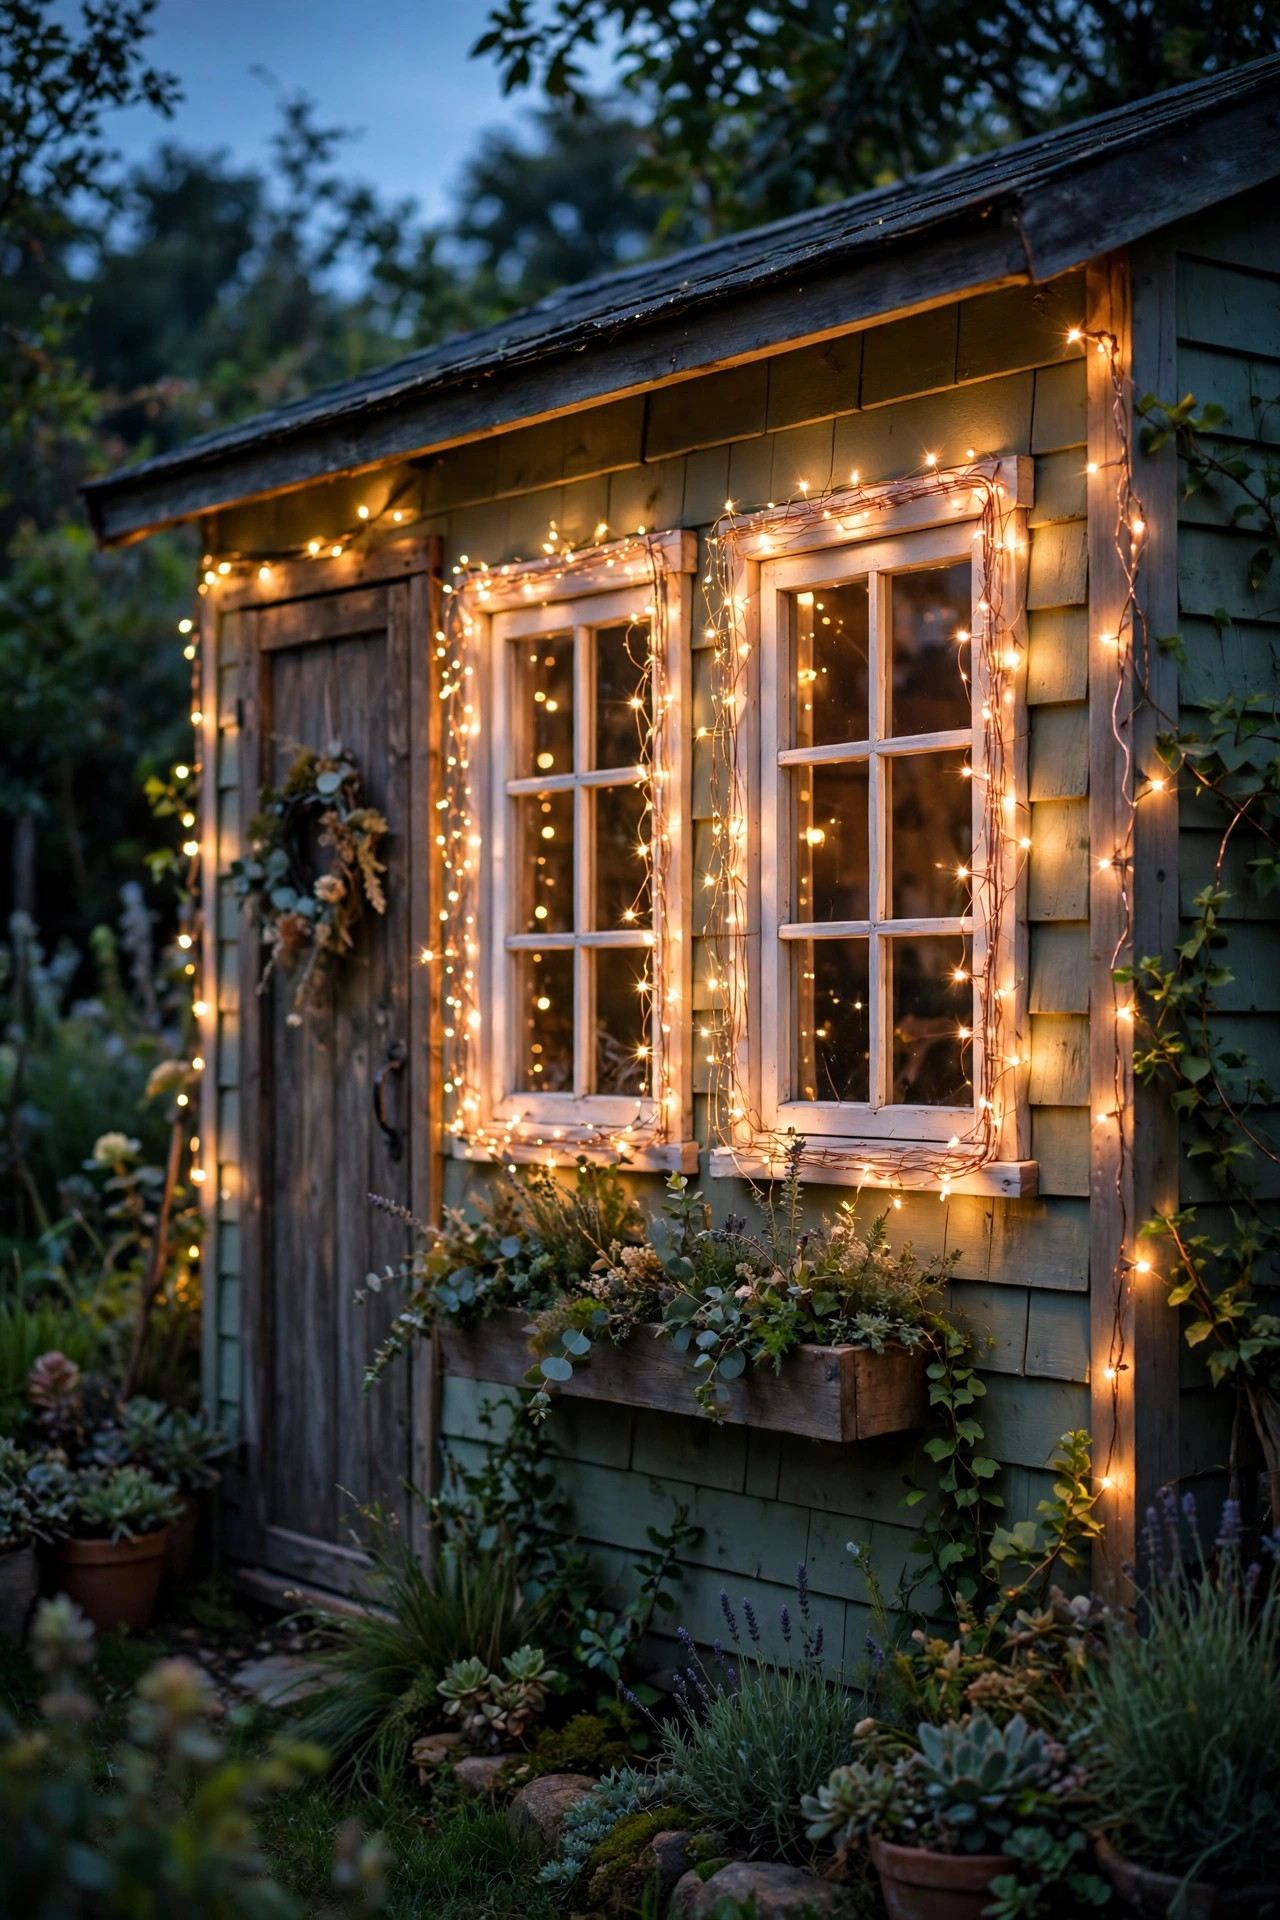
This is the cheapest transformation on the whole list and somehow the one every guest photographs. I weave copper-wire fairy lights around the inside of each window frame, tucking the wire behind the trim so all you see is a constellation of tiny warm pinpoints outlining the glass. A 33-foot strand handles two average windows, and the battery packs hide neatly behind a curtain or a plant pot. Set the built-in timer once — six hours on, eighteen off — and the shed sparkles to life every evening without you touching a thing. The glow reads beautifully from the house, too, which makes the whole backyard feel tended. I have a whole collection of outdoor fairy light ideas if you want to carry the same sparkle onto the fence and trees outside. One styling tip: warm white only. The multicolor strands are fun at Christmas, but for an everyday studio retreat, warm white keeps it serene, grown-up, and endlessly cozy.
Suggested budget range: $10 – $30.
5. Flank the Door With Solar Sconces
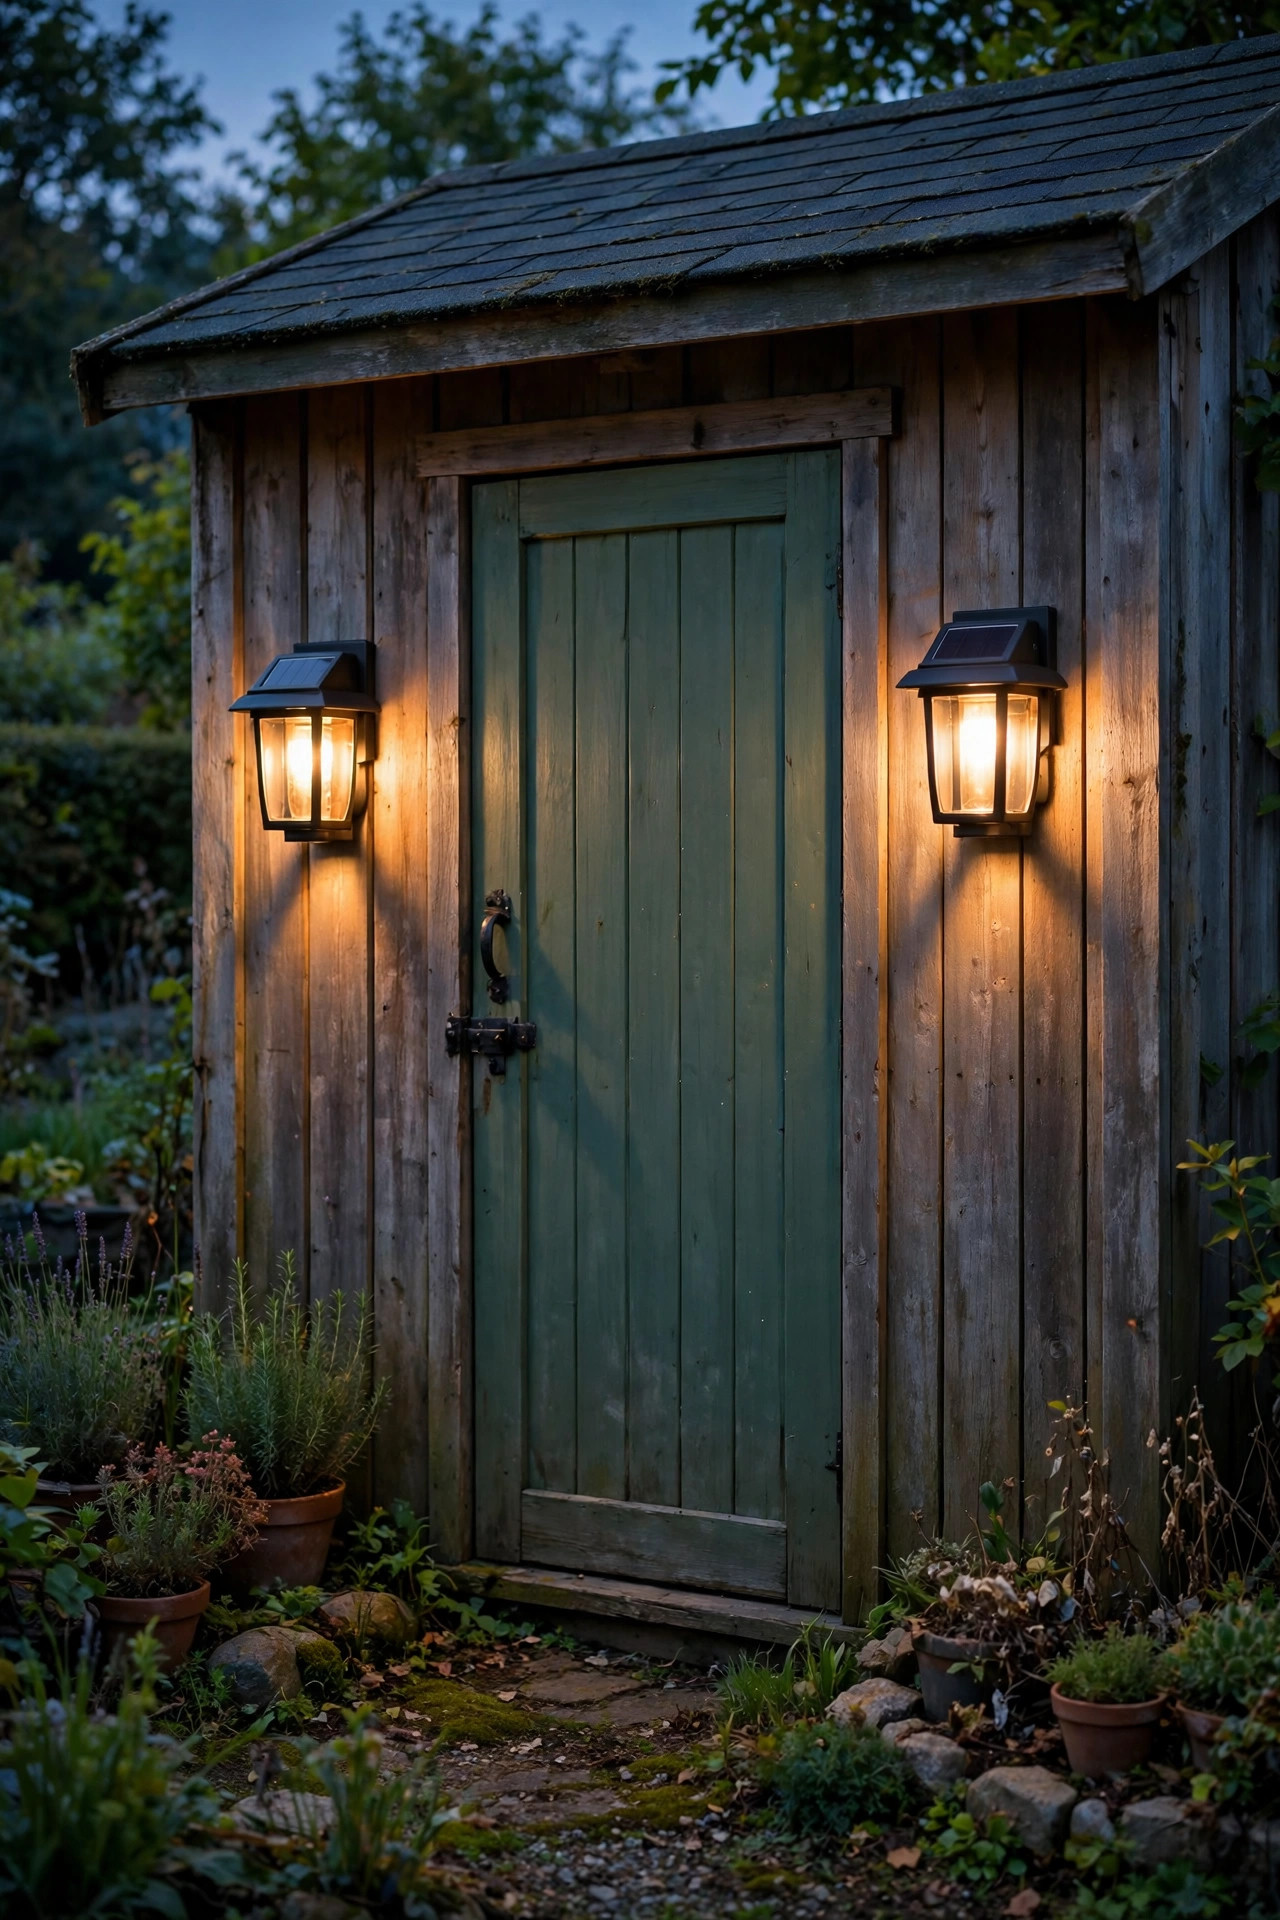
The outside of your shed deserves the same attention as the inside, and a pair of sconces flanking the door is the fastest curb-appeal win I know. Mount them 60 to 66 inches above the step, roughly level with your eyes, so the light washes your face softly instead of blasting downward. Solar sconces are perfect here because most sheds sit in decent sun and there is no wiring to trench across the garden. Look for models with a replaceable battery and at least 100 lumens each — anything dimmer reads as decoration rather than light. Give the little solar panels a wipe every few weeks; pollen film quietly steals brightness. If your shed door sits in shade all day, choose sconces with a separate panel on a cord so you can park the panel in a sunny spot up to 10 feet away. Matching the finish to your door hardware — black, oil-rubbed bronze, or weathered copper — makes even a basic shed look deliberately designed.
Suggested budget range: $30 – $80.
6. Run LED Strips Under the Shelves
Shelves swallow light, and that is exactly where your supplies hide. Peel-and-stick LED strip lighting under each shelf turns shadowy cubbies into a glowing little apothecary. I measure each shelf, cut the strip at the marked lines, and press it about an inch back from the front edge so you see the glow, not the diodes. Warm white strips in the 2700–3000K range keep paints, fabrics, and yarn looking true. A small aluminum channel with a frosted cover diffuses the light beautifully and costs very little — worth it if the shelves are at eye level. Most strips run on USB or a small plug-in driver, so a single outlet can power a whole wall with a splitter. Add a simple inline dimmer and you have task light for sorting beads at full brightness and a soft nightlight glow at ten percent. Keep strips and drivers away from any water source, and if your shed has no power, battery strip kits with remotes cover a shelf or two happily.
Suggested budget range: $15 – $45.

7. Build a Reading Nook Around a Swing-Arm Sconce
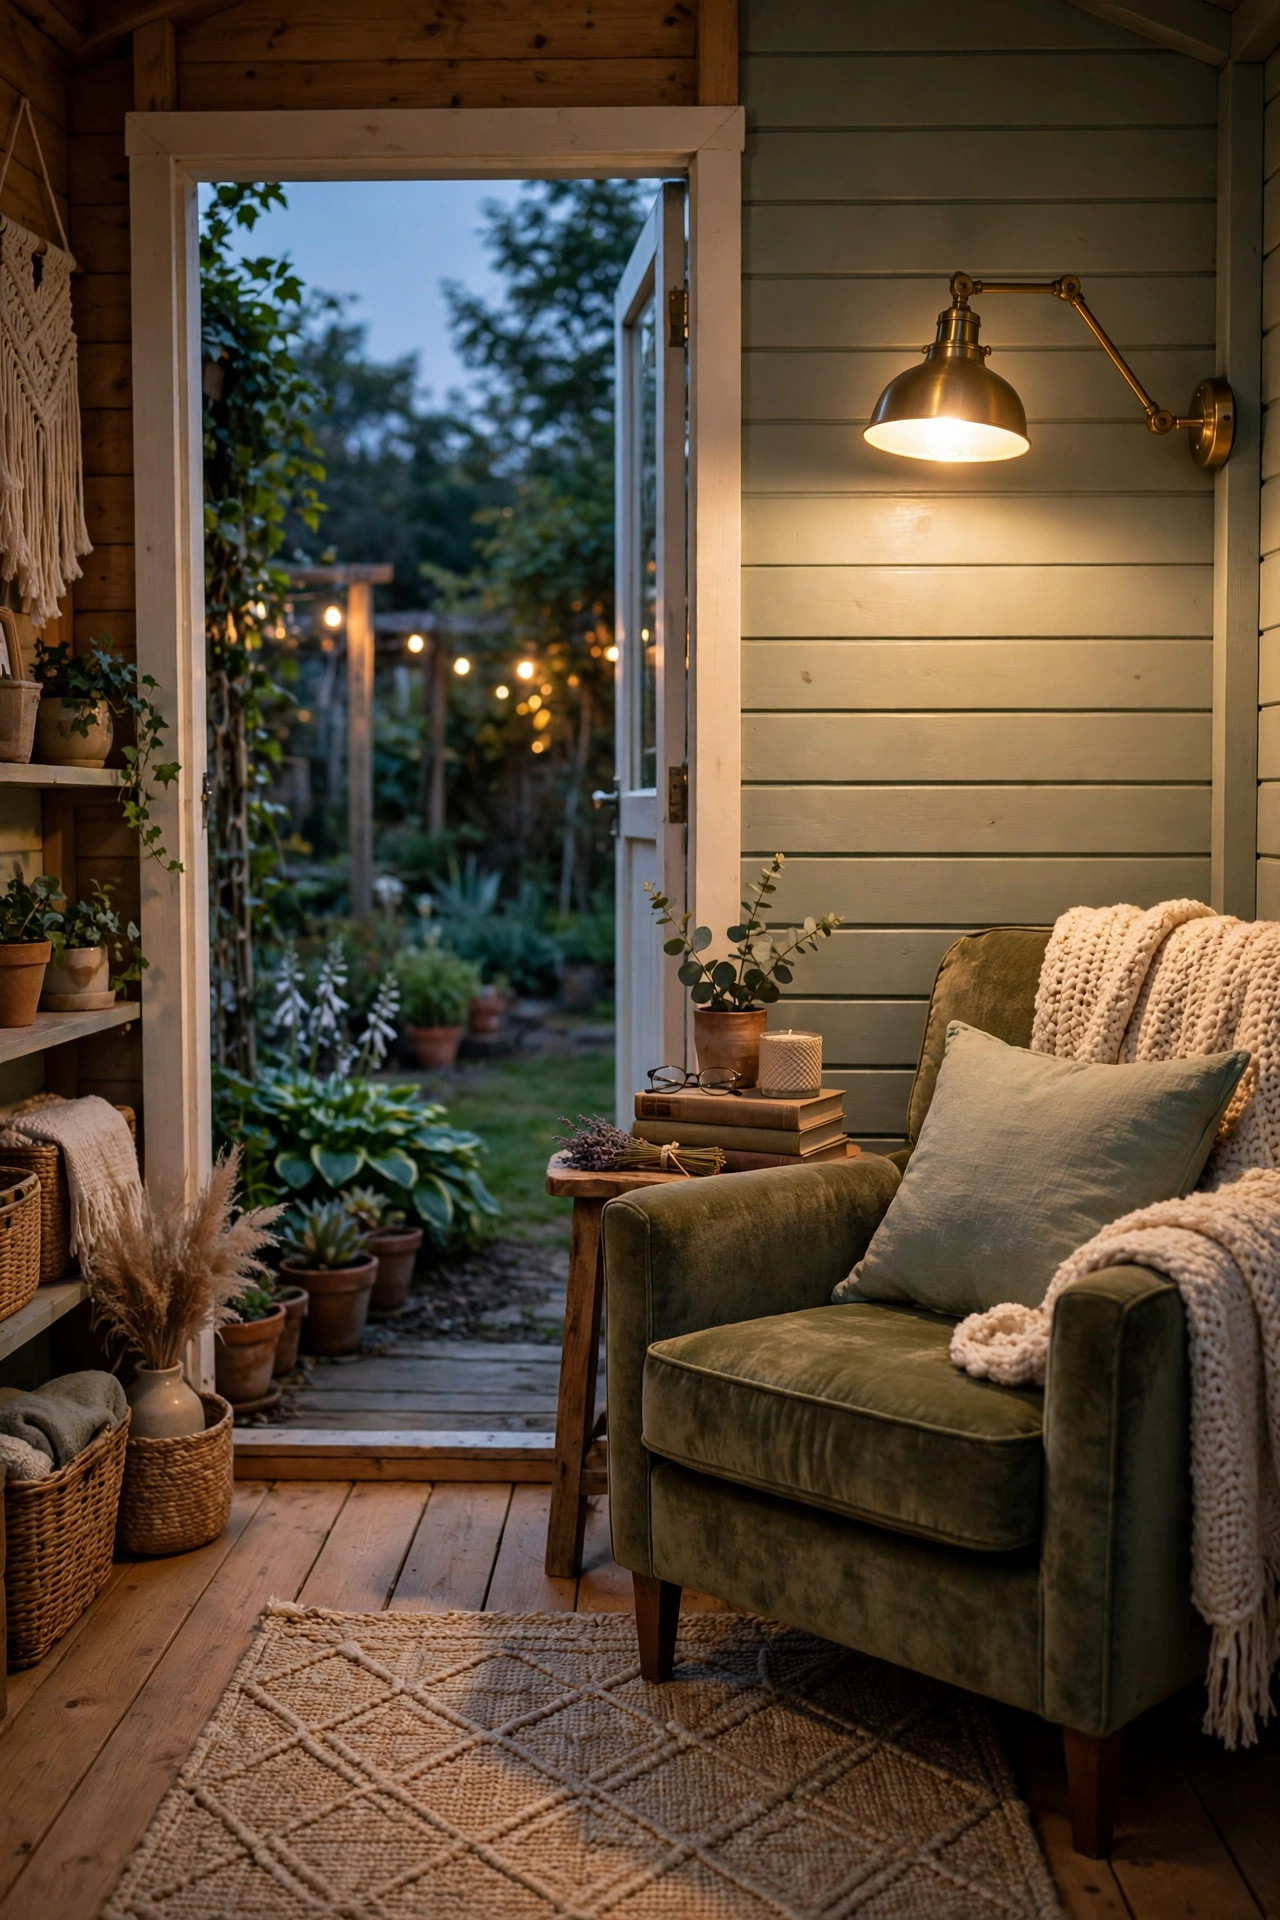
Every she shed deserves one chair that nobody is allowed to pile laundry on. Mine sits in the sunniest corner under a plug-in swing-arm sconce, and it is the most contested seat on our property. Mount the sconce so the shade lands roughly at shoulder height when you are seated — about 48 to 52 inches from the floor in most chairs — and angle it to wash the page rather than your eyes. A 40- to 60-watt equivalent LED bulb gives you honest reading light without heat. Plug-in sconces with a cord cover are a renter-friendly miracle: two screws, no electrician, and the cord disappears down the wall. Layer a small battery lantern on the side table for the nights you want everything dim except your book. Add a folded throw and a footstool and the lighting does the rest — warm, focused, and just dim enough at the edges to make the rest of the world feel pleasantly far away.
Suggested budget range: $35 – $95.
8. Drop Battery Puck Lights Into Cabinets and Cubbies
Some corners are too small and too far from an outlet for anything wired, and that is where puck lights earn their keep. These little battery discs stick under cabinet lips, inside deep cubbies, and over the potting bench with nothing but adhesive or two tiny screws. Motion-sensor versions are my favorite for a shed: wave a hand, get light, and they switch themselves off before the batteries suffer. Expect three AAA batteries to last a few months of normal shed use. I line three across the top of my tallest storage cabinet and the whole glitter-and-glue stash becomes findable at midnight. Color temperature varies wildly between cheap sets, so order one set first, check it leans warm rather than blue, then buy the rest. Pro tip from my own mistake: mount pucks with removable adhesive strips instead of the permanent foam pads, because you will want to pop them down to change batteries, and your future self will thank you.
Suggested budget range: $12 – $35.
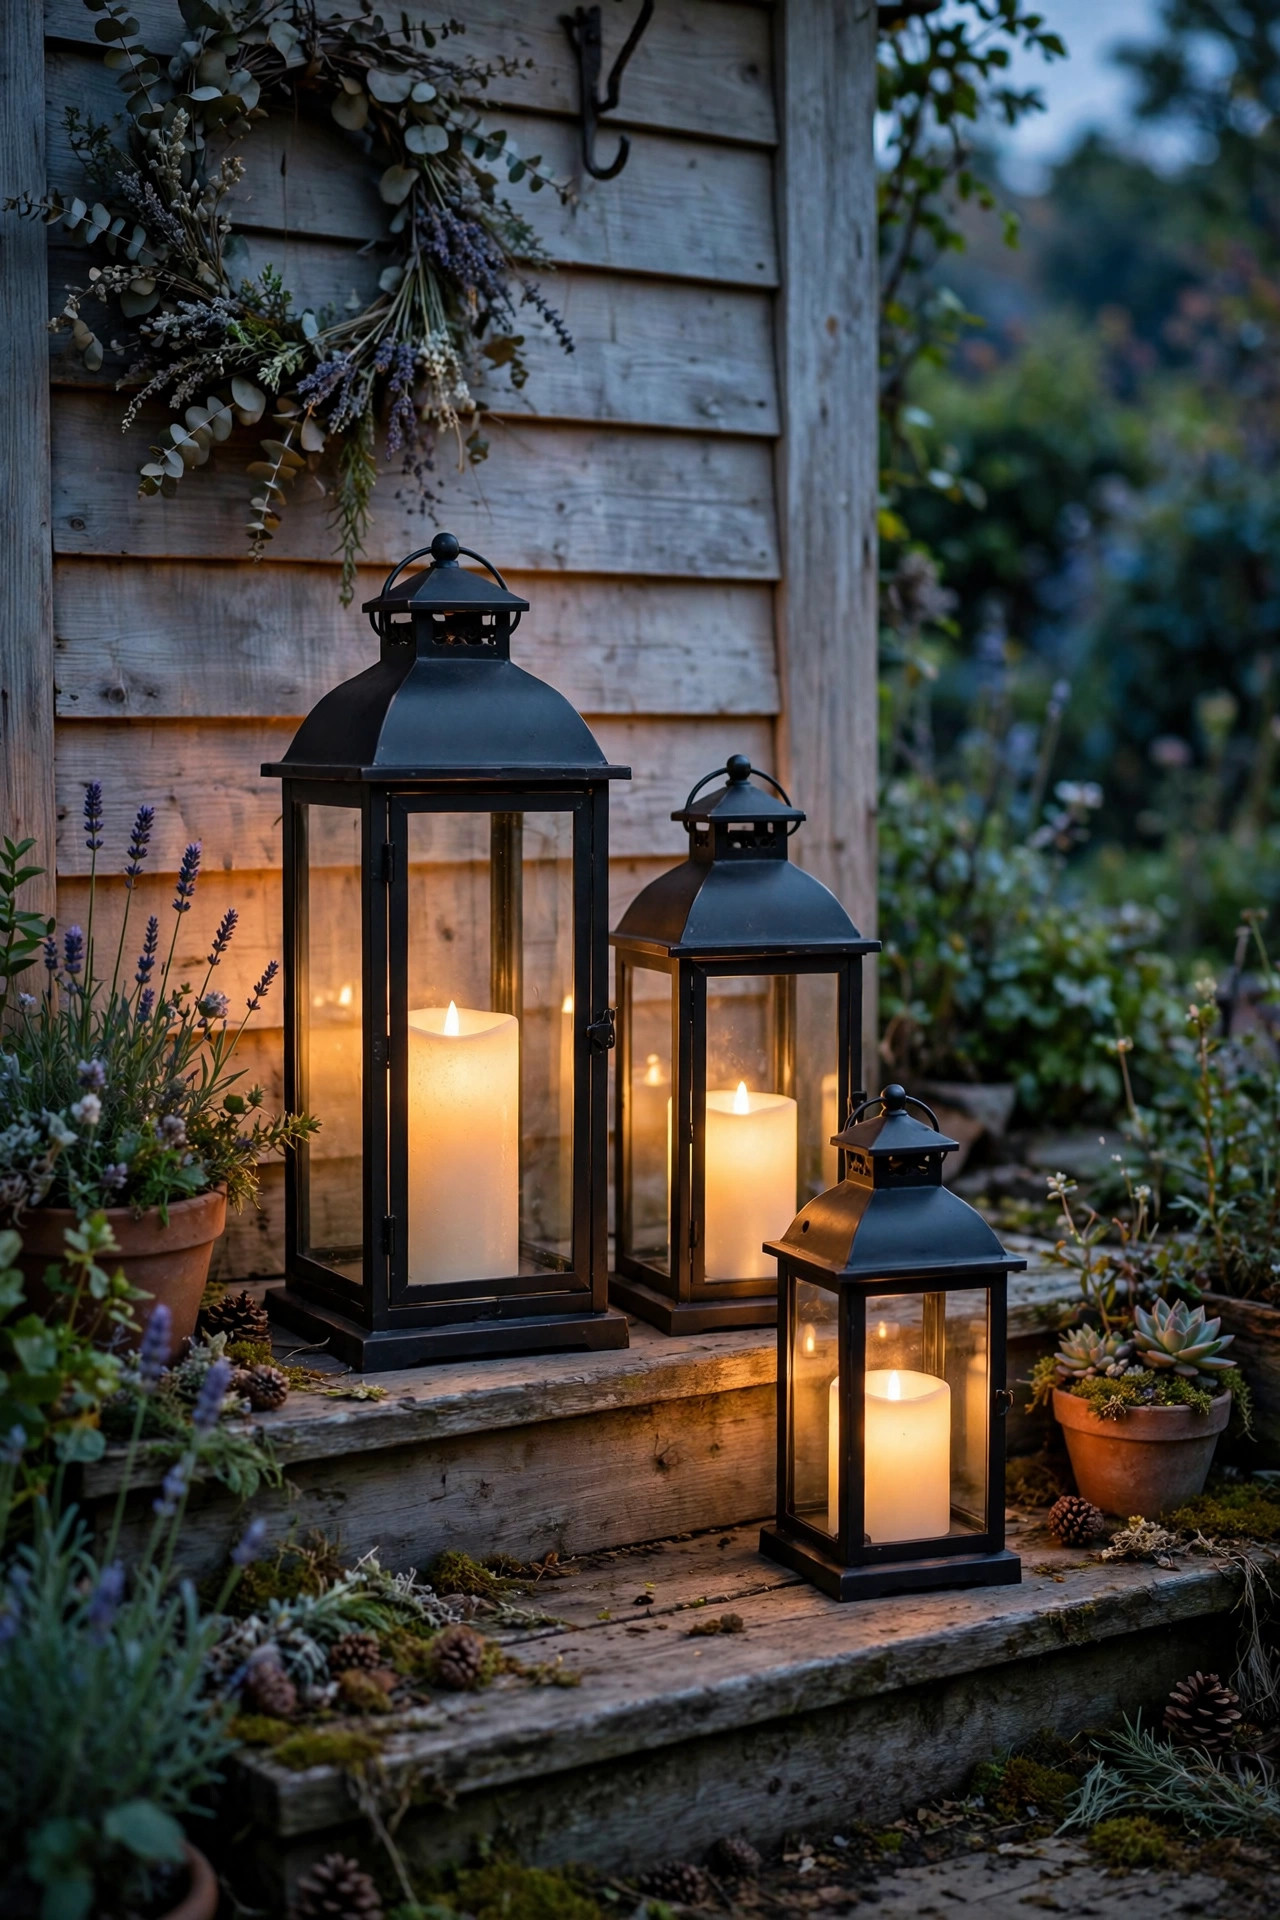
9. Cluster Lanterns on the Porch Step
If your shed has even a tiny stoop or step, give it a lantern moment. I group three flameless candle lanterns in staggered heights — roughly 12, 16, and 20 inches — on the step, and the asymmetry is what makes it look styled instead of stored. Flameless candles with a timer setting are non-negotiable for me: real flames and a wooden building full of paper crafts are a combination I refuse to entertain, and the LED flicker is honestly convincing now. Weather-resistant lanterns in black metal or weathered wood survive the seasons outside; daintier indoor styles can commute out for special evenings. Tuck a small solar lantern into the cluster for a guaranteed glow even when batteries fade. From the house, that little constellation on the step signals that the studio is open for business, and it gently lights the step itself so evening trips out with a mug of tea stay graceful and trip-free.
Suggested budget range: $25 – $75.
10. She Shed Lighting Ideas Deserve One Chandelier Moment
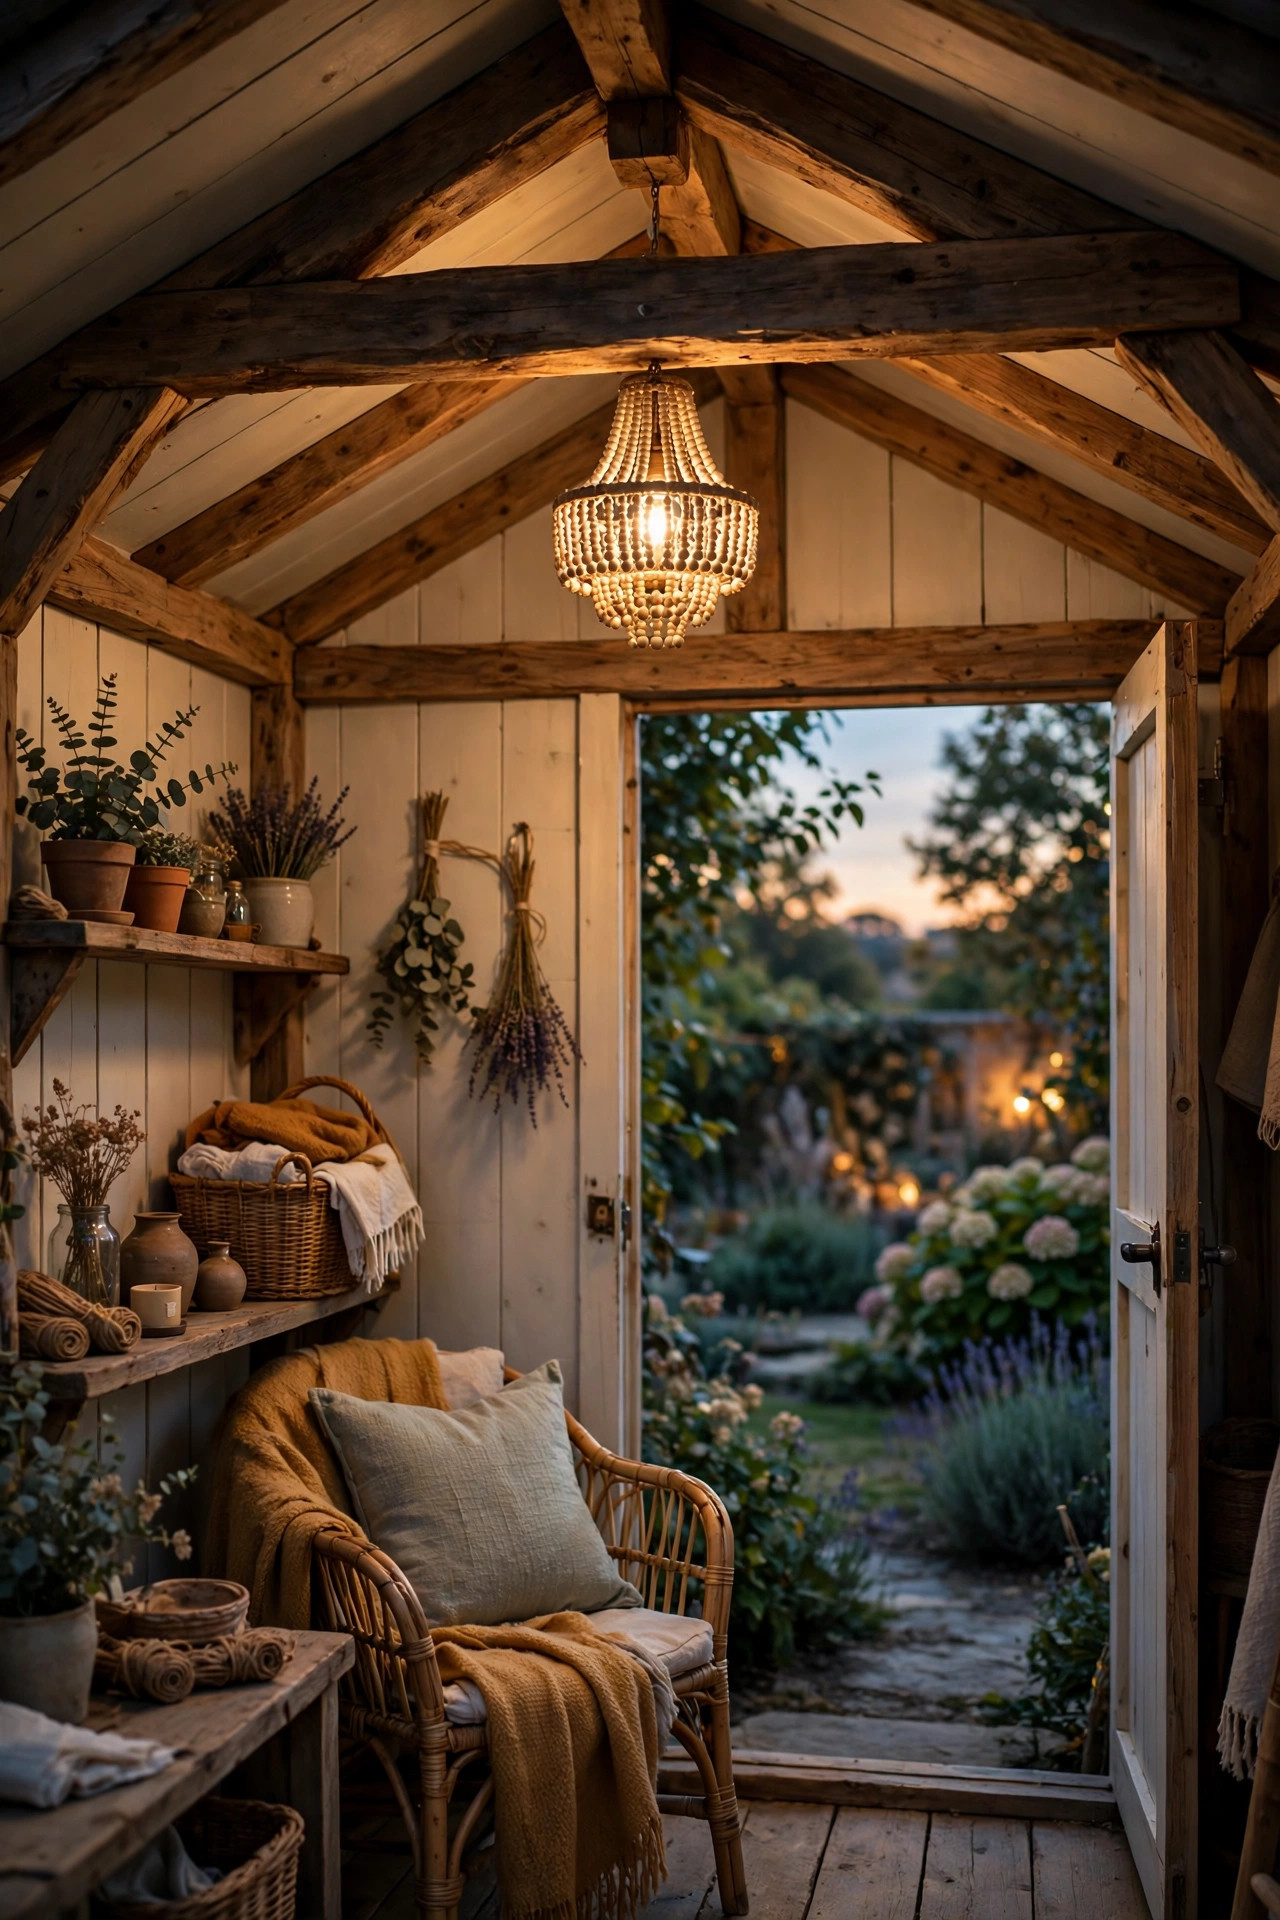
Hear me out: a small chandelier in a garden shed is not too much, it is the whole point of a she shed. A petite crystal-look or beaded chandelier over the center of the room turns a utility building into a tiny ballroom for one. Keep the scale honest — 12 to 16 inches wide suits most sheds — and hang it from the ridge beam so the bottom clears your head by a good margin, at least 6 feet 8 inches off the floor where the ceiling allows. Solar chandelier kits exist for unpowered sheds, with the panel mounted on the roof, and plug-in versions on a swag chain let you position the fixture anywhere without new wiring. Use warm dimmable bulbs around 60 watts equivalent total and let the pendant and sconces do the heavy lifting; the chandelier is jewelry, not worklight. Every single friend who has stepped into my shed has looked up, laughed with delight, and said the same thing: I need one of these.
Suggested budget range: $45 – $150.
11. Put Honest Task Light at the Craft Bench
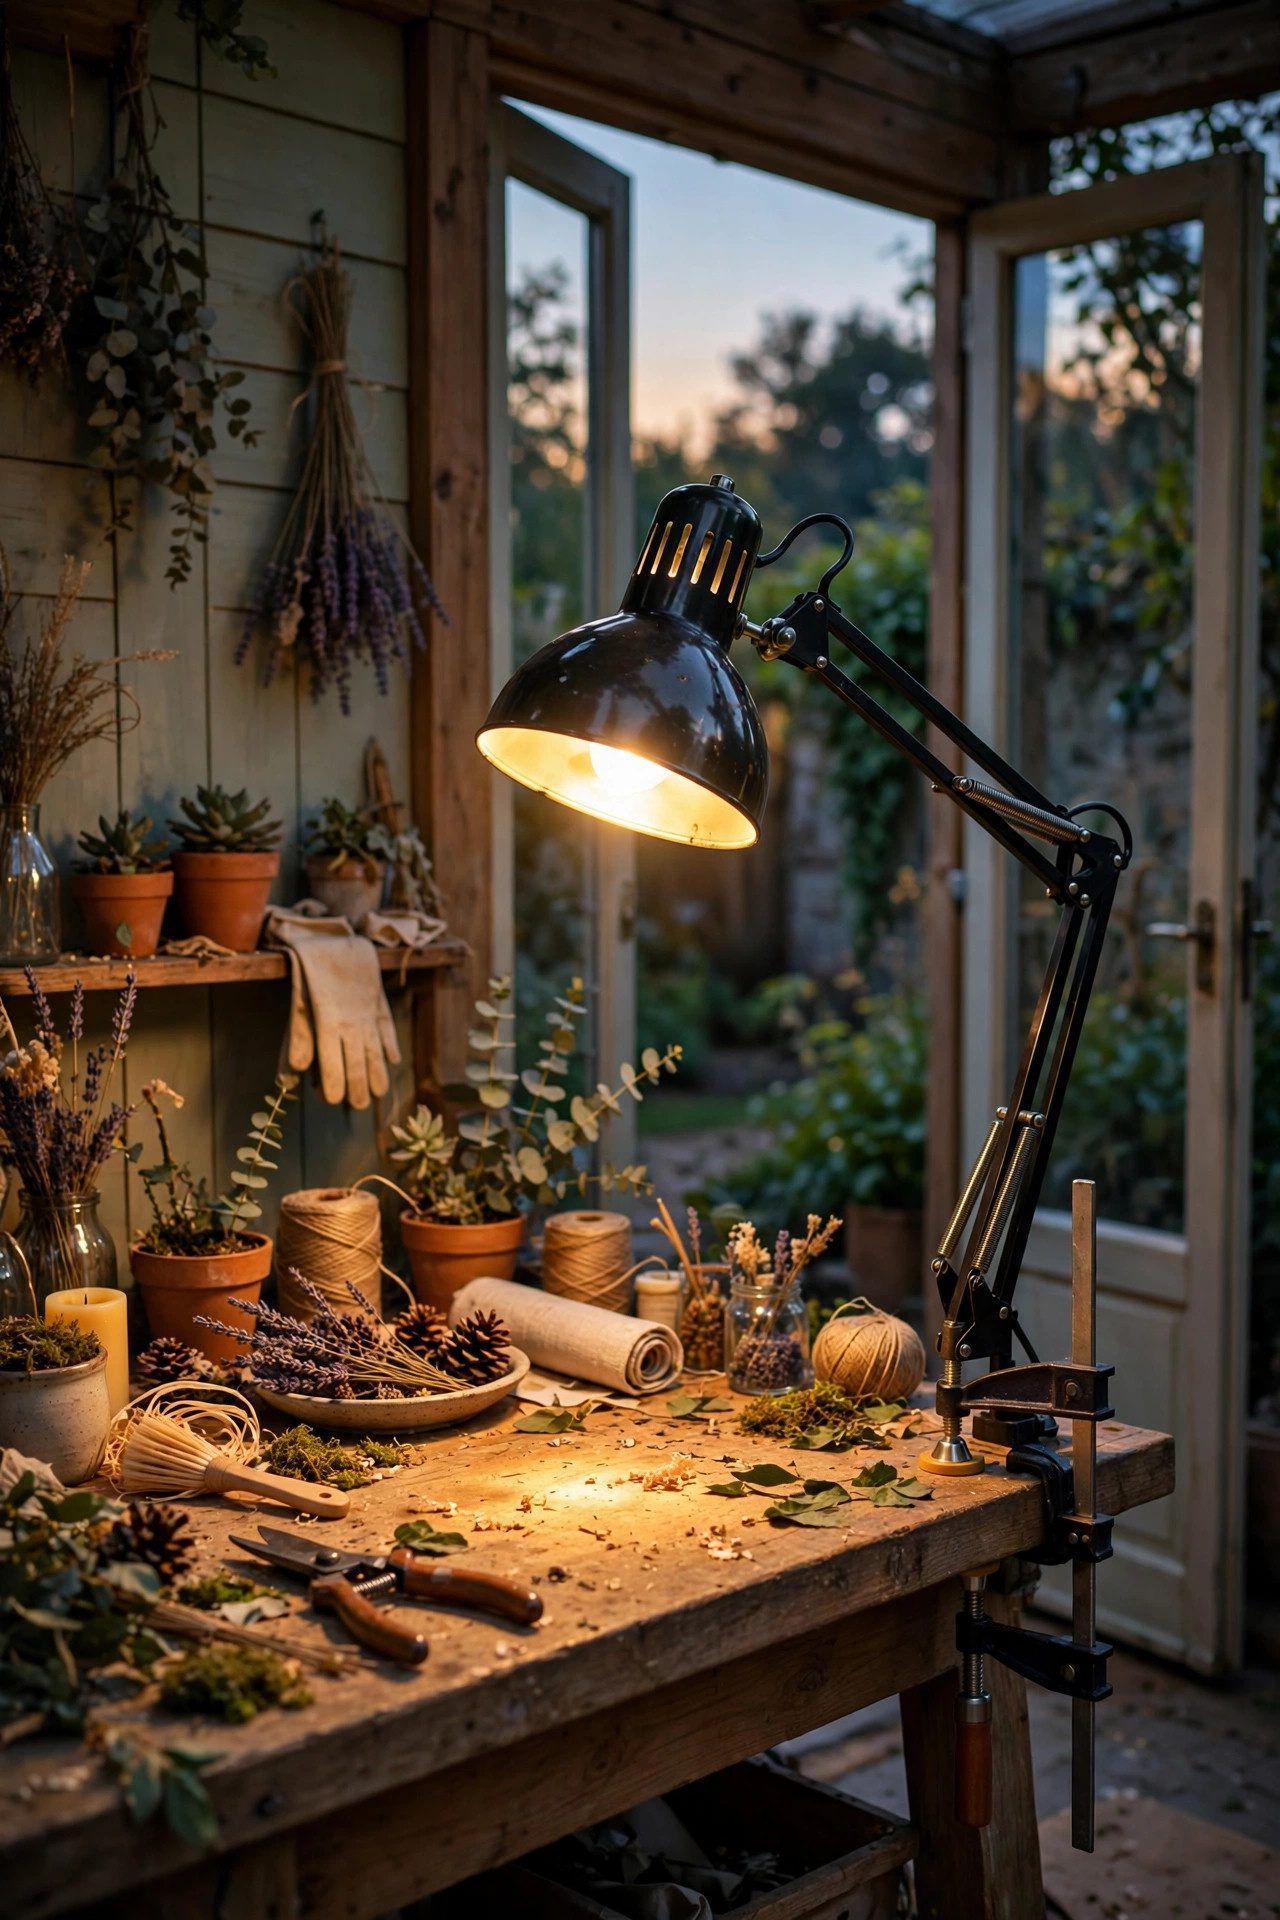
Pretty light is lovely, but threading a needle in it is not. At my craft bench I use a clamp-on task lamp with an adjustable arm, aimed from my non-dominant side so my hand never shadows the work. Look for at least 1,000 lumens and a high color rendering index — CRI 90 or above — because accurate color matters when you are matching paint, fabric, or seed beads. A slightly brighter 3000–4000K bulb is acceptable at the bench even in a warm-white shed; think of it as a little pool of noon inside your evening. Clamp lamps cost little, move anywhere, and spare you drilling into studs. If you sew or paint miniatures, add a lighted magnifier version to the wishlist. One habit that keeps the whole studio pleasant: task lights point down at work, never out into the room, so the rest of the shed keeps its soft golden mood while your bench stays crisp, bright, and completely glare-free.
Suggested budget range: $20 – $60.
12. Uplight the Exterior for a Finished Look
Walk out to the street at dusk and look back: if your shed vanishes into the dark while the house glows, it is time for two little uplights. Solar spotlights staked in the planting bed, aimed up at the shed facade from about 18 inches out, wash the siding with warmth and make the whole building look intentional. Angle one toward a climbing rose or a window box and you get shadows and depth instead of a flat wash. Two fixtures are plenty for a small shed; three if yours is wide. Choose warm white and a modest 100 to 200 lumens — landscape uplights should flatter, not interrogate. This pairs beautifully with the wider garden lighting ideas on the site if you are planning beds and borders at the same time. Total install time is about ten minutes, most of it spent walking back to admire the angle and nudging the stake a few degrees left.
Suggested budget range: $20 – $55.

13. Use Smart Bulbs to Shift From Work to Wind-Down
One bulb, two sheds. During the day my main ceiling bulb runs bright and clear for painting and paperwork; at seven in the evening it melts down to a candle-warm dim for journaling, and I never touch a switch. App-controlled smart bulbs screw into any standard socket and let you schedule that shift automatically, tune brightness in tiny steps, and even warm the color temperature as the night deepens. They are perfect for sheds with power but only one hardwired fixture — the bulb becomes the dimmer, the timer, and the mood manager all at once. Set a weekday scene and a weekend scene and the studio starts keeping your rituals for you. A word of honest caution: smart bulbs need Wi-Fi that actually reaches the garden, so test your signal at the shed door before buying a multipack. If the signal is weak, a simple remote-control dimmable bulb gives you ninety percent of the magic with none of the connectivity fuss.
Suggested budget range: $12 – $40.

14. Scatter Flameless Candle Lanterns for Slow Evenings
Some nights the studio is not for making anything — it is for sitting, thinking, and watching the garden go blue. Those are flameless candle nights. I keep a basket of LED candles in mixed sizes by the door and scatter five or six around the room: one on the desk, two on the windowsill, a pair flanking the reading chair. The flicker setting matters more than brightness, so choose candles with a realistic moving-flame or soft flicker effect and a warm 2200K-style glow. Grouping them at different heights — floor, table, shelf — builds that layered candlelit depth without a single real flame near your paper, fabric, and dried flowers. Timer remotes let you light the whole room from the doorway in one click and have everything sigh off after four hours. In my experience this is the lowest-cost, highest-romance lighting there is, and it travels beautifully to the porch, the patio table, or a blanket in the grass.
Suggested budget range: $15 – $50.
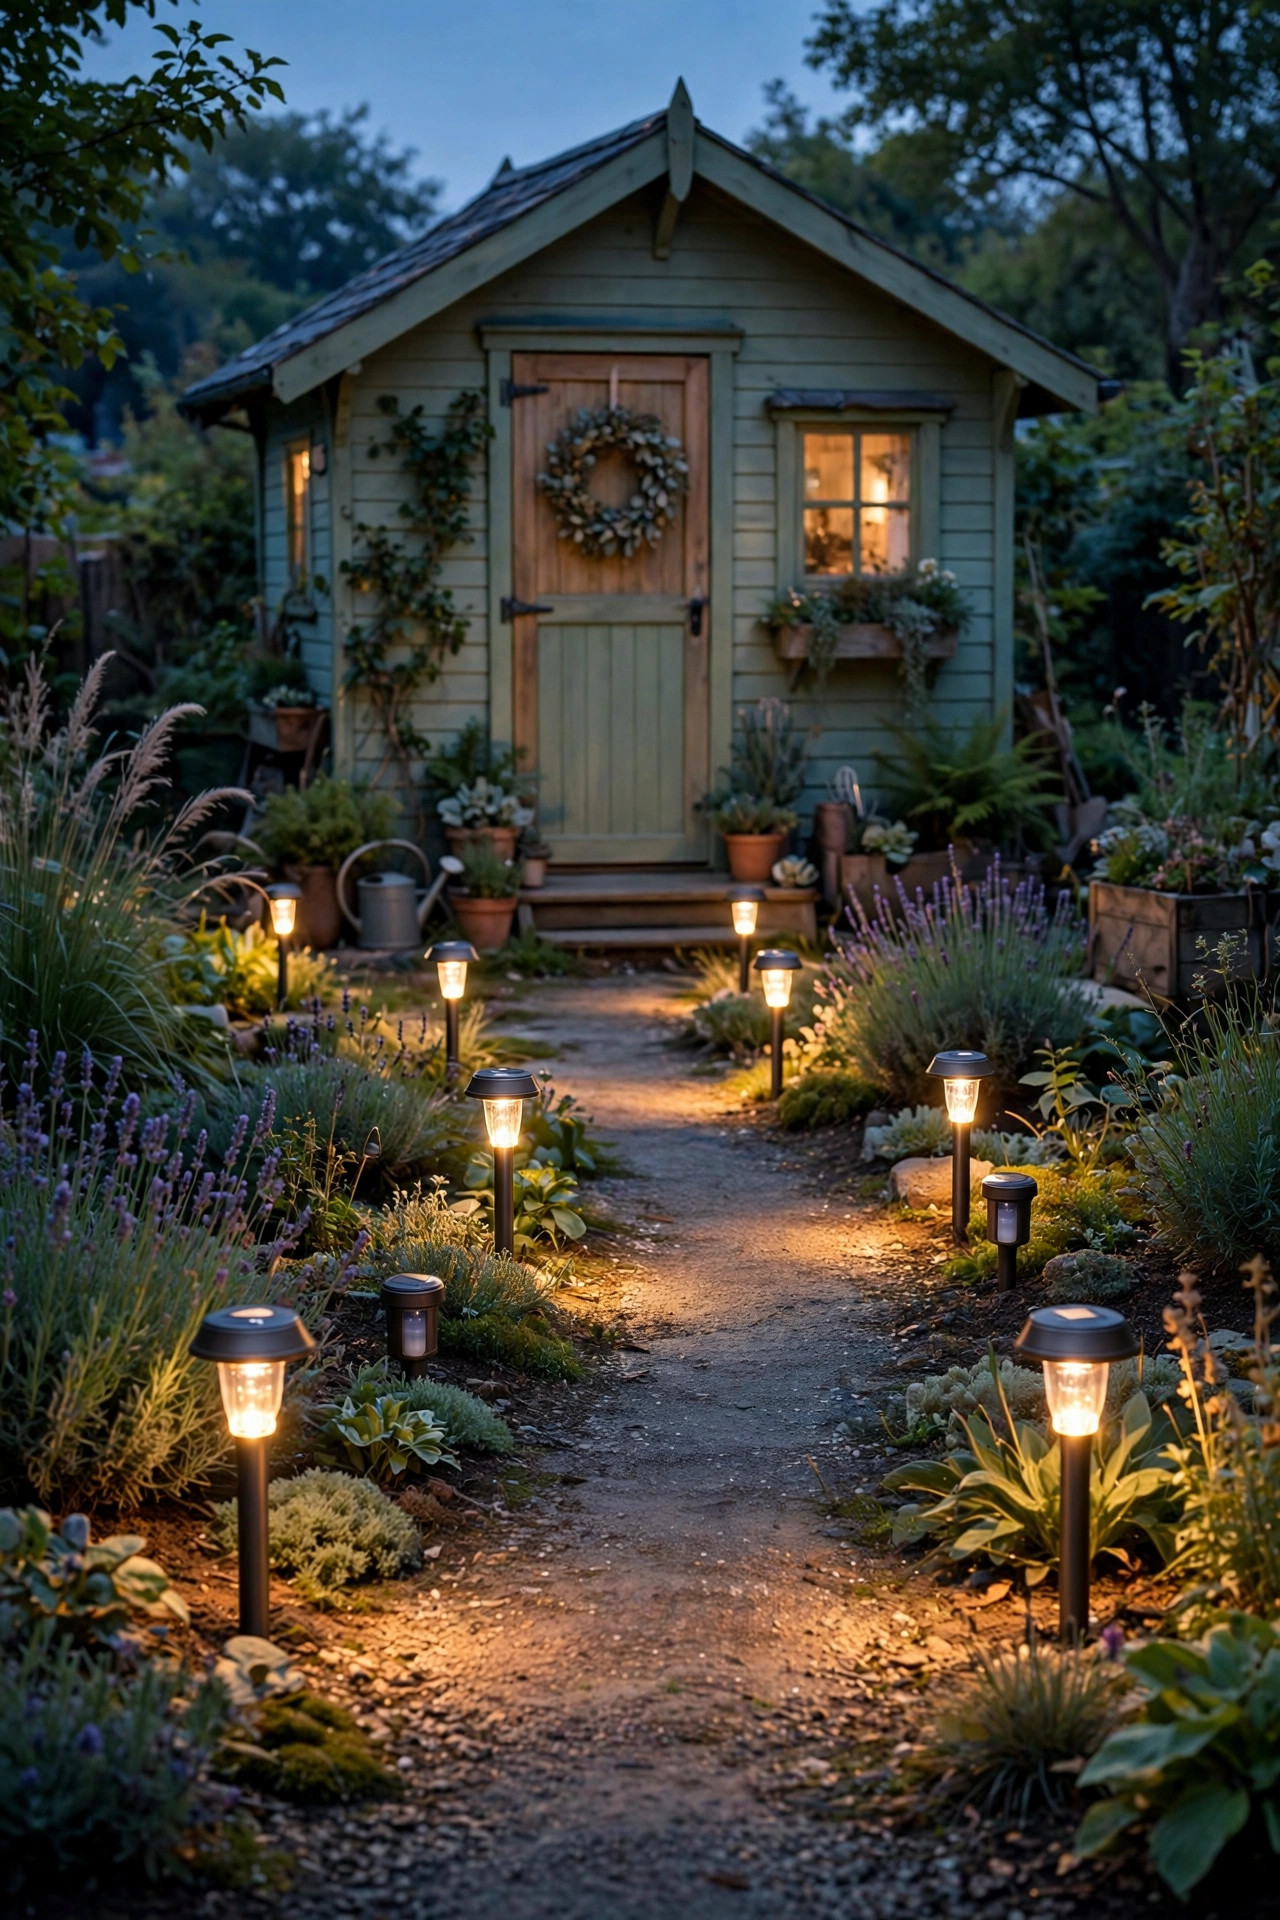
15. Light the Path With Motion-Sensor Stakes: She Shed Lighting Ideas Start Outside
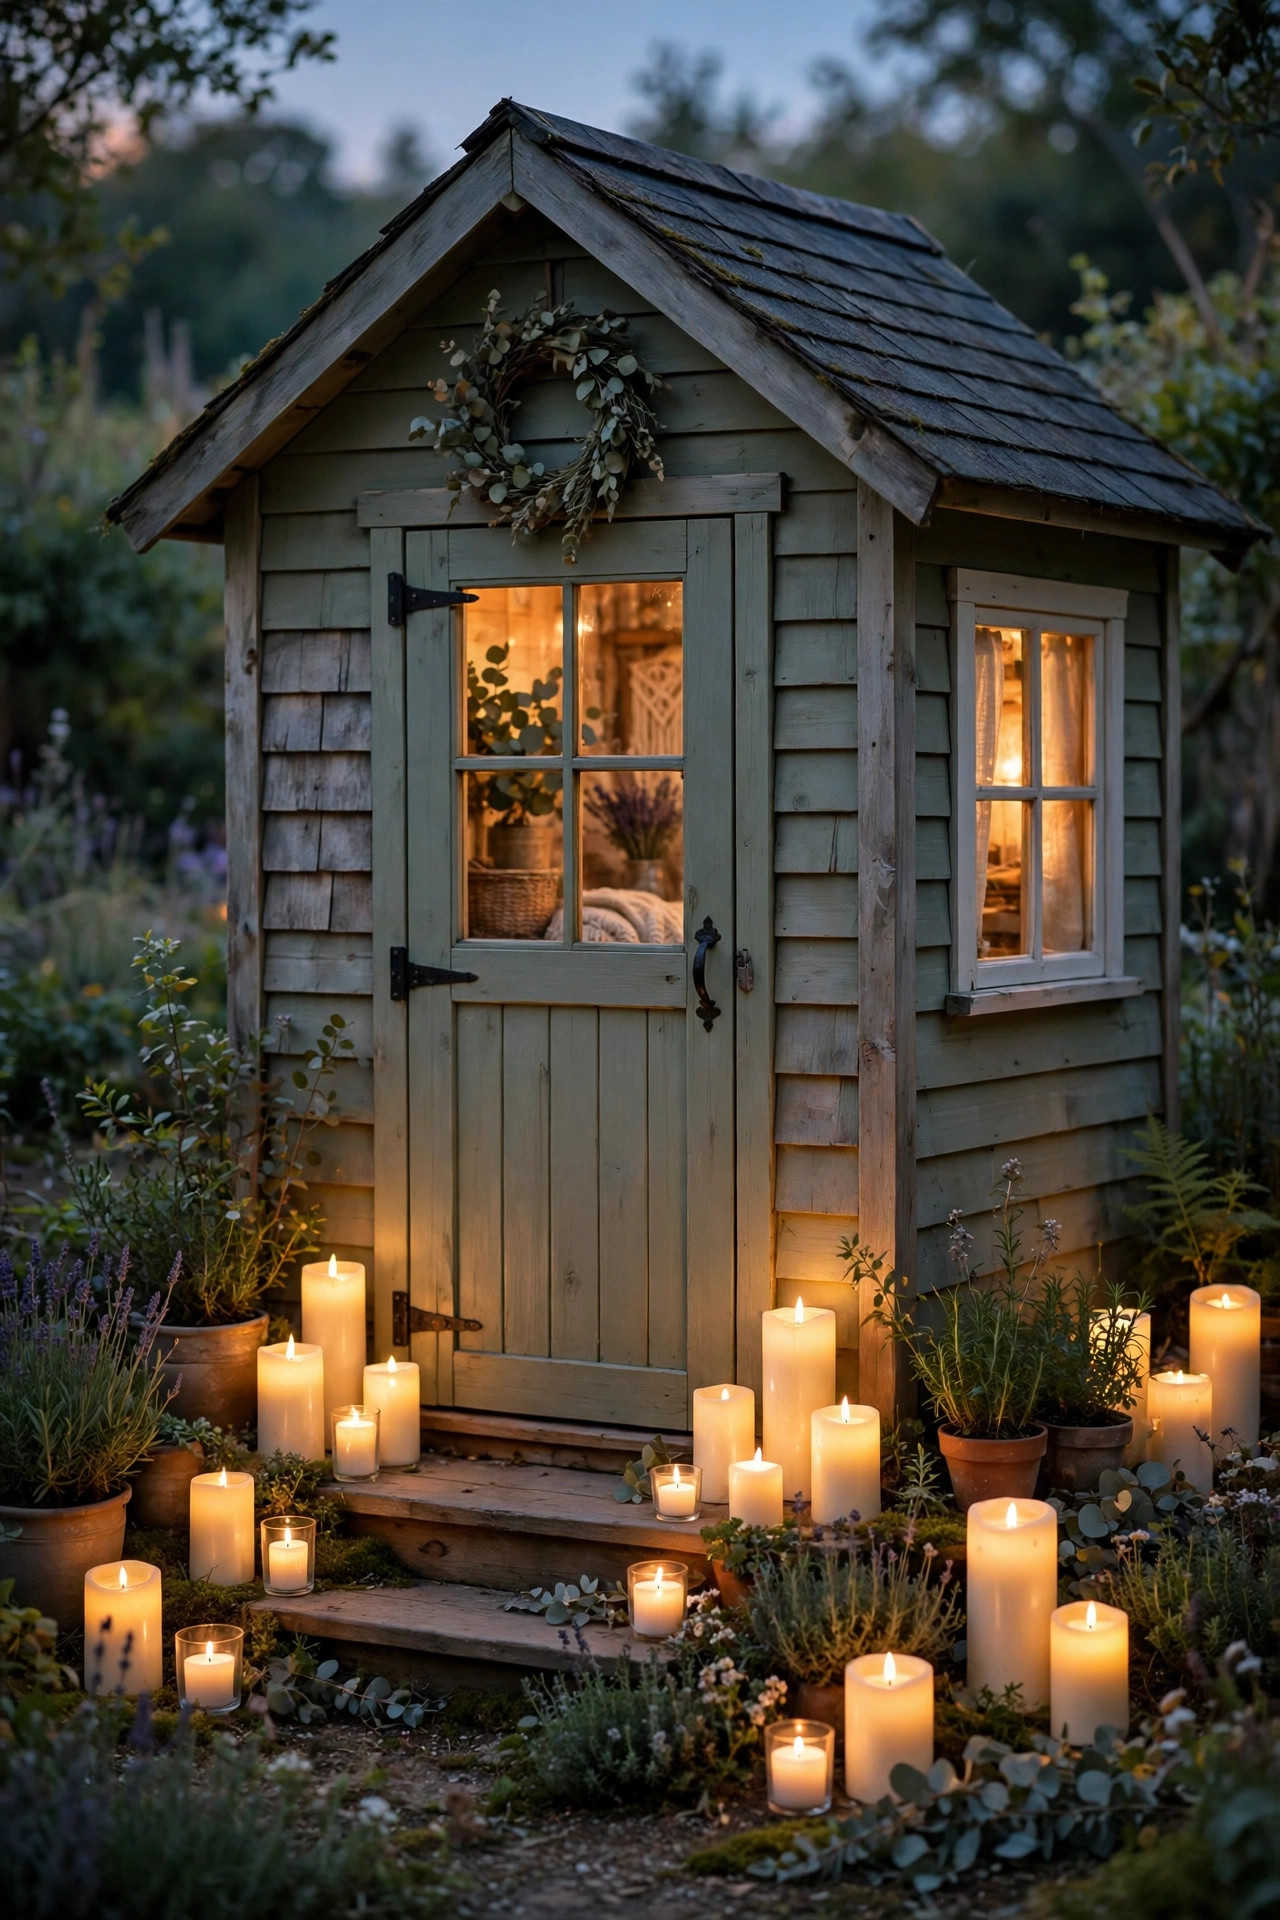
The best she shed lighting ideas actually begin twenty feet before the door, on the path. A short run of motion-sensor path lights turns the evening walk out to the studio into part of the pleasure — each stake wakes as you approach and dims behind you, like the garden is showing you in. Space them 4 to 6 feet apart along one side of the path; alternating sides can look playful but one clean line reads more elegant. Solar stakes with sensors are widely available and bright enough at 50 to 100 lumens for safe footing. Keep the light aimed low so it pools on the stepping stones instead of shining in your eyes, and check after the first rain that no stake has tilted into a puddle — drainage matters for the little solar panels and batteries. By the time you reach the door sconces, the shed has already greeted you, and the whole ritual of arriving at your retreat feels considered from the very first step.
Suggested budget range: $25 – $65.
Frequently Asked Questions
What color temperature is best for a she shed?
Warm white, every time. Bulbs in the 2700–3000K range give that golden, candlelit feeling that makes a small studio feel like a retreat instead of an office. The one exception is your craft bench, where a slightly crisper 3000–4000K task bulb with a CRI of 90 or higher helps you judge color accurately. Whatever you choose, keep every ambient bulb in the same temperature so the layers blend.
Can I light a she shed without running electricity to it?
Absolutely, and most of my shed runs that way. Solar sconces, solar string lights, and solar path stakes handle the outside and the doorway, while battery fairy lights, puck lights, and rechargeable lanterns cover the inside beautifully. The trade-off is brightness and cloudy-week stamina, so layer several smaller sources instead of relying on one. A small rechargeable power station can also run plug-in pendants for a weekend project.
How do I keep lighting safe in a wooden shed?
Choose LED everything — LEDs produce almost no heat, which matters around wood, paper, and fabric. Keep real flames out entirely and use flameless candles instead. Only use fixtures rated for damp or outdoor locations on the exterior, plug interior lights into a GFCI-protected outlet where possible, and never run extension cords permanently or tuck them under rugs. Finally, keep all lighting at least a few feet away from any space heater.
How much does it cost to light a whole she shed?
A cozy basic setup — string lights, fairy lights, a pair of solar sconces, and a few battery lanterns — lands between $80 and $180 and takes one afternoon. A fuller layered studio with a pendant, task lamp, shelf strips, and path lighting usually runs $250 to $500. Because small spaces need small fixtures, she sheds are one of the cheapest rooms you will ever light well.
Conclusion
A she shed is never really about the shed — it is about having one small, beautiful corner of the world that answers only to you, and lighting is what turns four walls and a roof into that feeling. Of all the she shed lighting ideas here, start with the layered plan, add honest task light where you work, and let the fairy lights and lanterns do the flirting. Browse the rest of the lighting ideas on the site for the garden around your studio, pour something warm, and go enjoy your first glowing evening out there. You built the retreat — now let it shine.