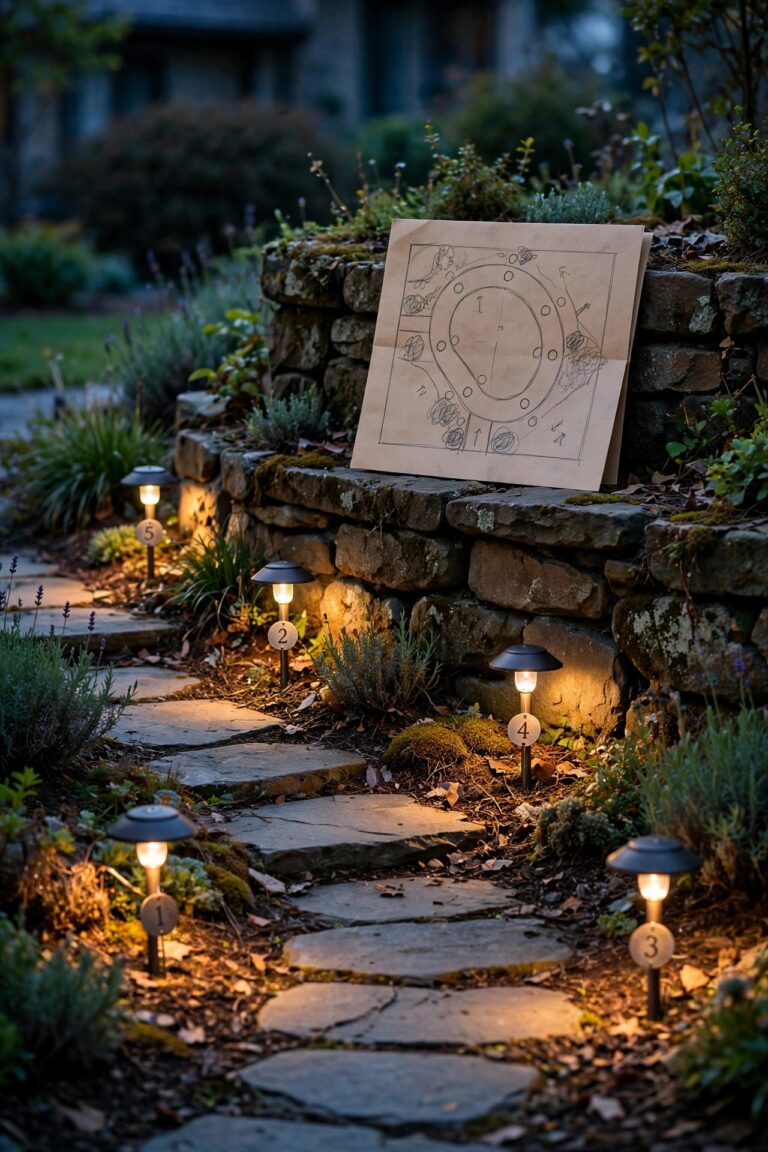
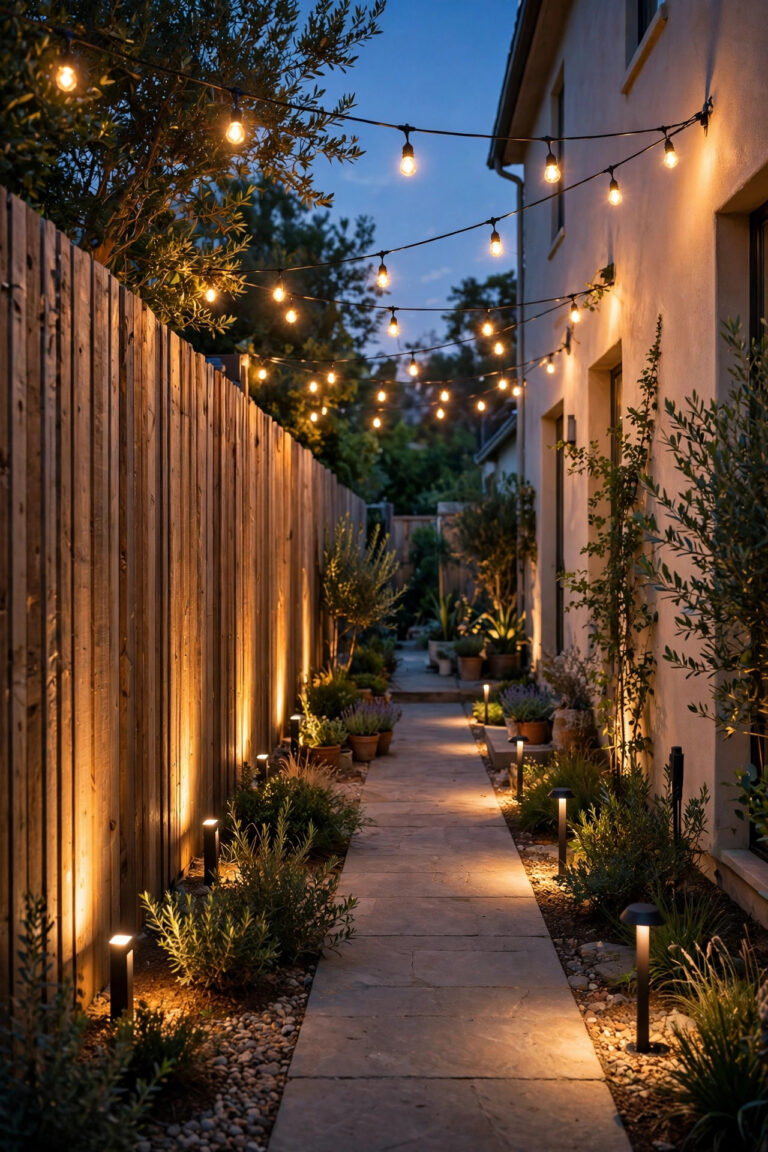
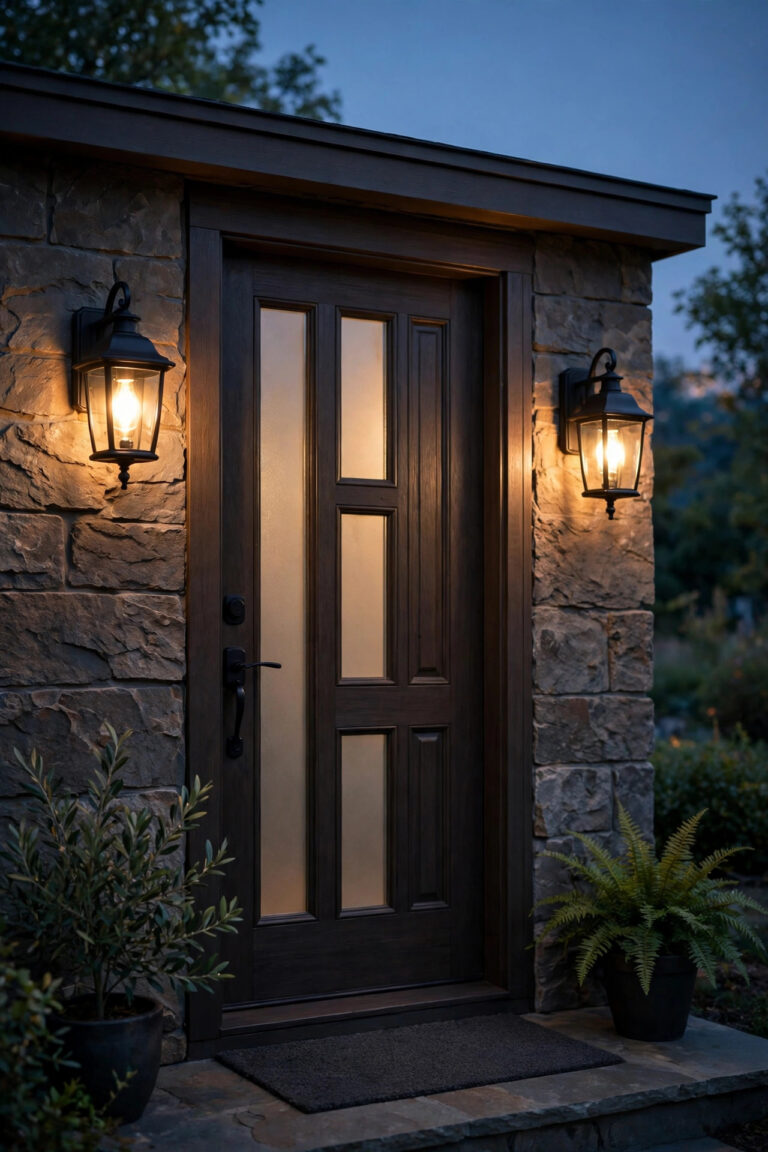
There is a moment every evening, right after sunset, when my garden does something I never get tired of — the daytime colors soften, the air cools, and the beds I tucked in back in spring start to glow. Honestly, learning a few good flower bed lighting ideas changed how I use my whole yard. I used to admire my hydrangeas, roses, and dahlias only in daylight, but once I added gentle light down at petal level, the beds became the prettiest part of the evening.
In my experience, the secret is layering. One harsh floodlight flattens everything, but several soft lights at different heights — a low glow in the mulch, a mid-level wash across the blooms, a little moonlight falling from above — give a bed real depth. Think of it as painting with light, one layer at a time.
Below are the 21 tricks I reach for again and again, from five-dollar solar stakes to wired uplights that turn tall delphiniums into sculpture. If your beds sit streetside, my companion post on front yard flower bed lighting covers the curb-appeal angles. Every idea here is weekend-friendly, uses outdoor-rated LED-only fixtures, and comes with a realistic budget.

1. Solar Stake Lights — The Easiest of All Flower Bed Lighting Ideas
If you are new to lighting a garden, start here. Solar stake lights are the friendliest flower bed upgrade I know: no wires, no transformer, no electrician — just push the stake into the mulch and let the sun do the work. I tuck mine right between plants, spaced about 12 to 18 inches apart along the front half of the bed, so the light pools on petals and foliage instead of glaring into your eyes from the path.
Look for warm white bulbs in the 2700K to 3000K range, because cool blue-white solar lights make reds and pinks look muddy and gray. In my experience, models with replaceable rechargeable batteries last two or three seasons longer than sealed throwaway stakes, so they are worth a few extra dollars. One honest tip: that little panel on top needs real sun, ideally six hours a day, so do not bury stakes in the deep shade under dense shrubs — or plan to rotate them to a sunny charging spot every few weeks. My full solar path lights guide covers panel placement tricks that genuinely double your evening glow time.
Suggested budget range: $15 – $45.
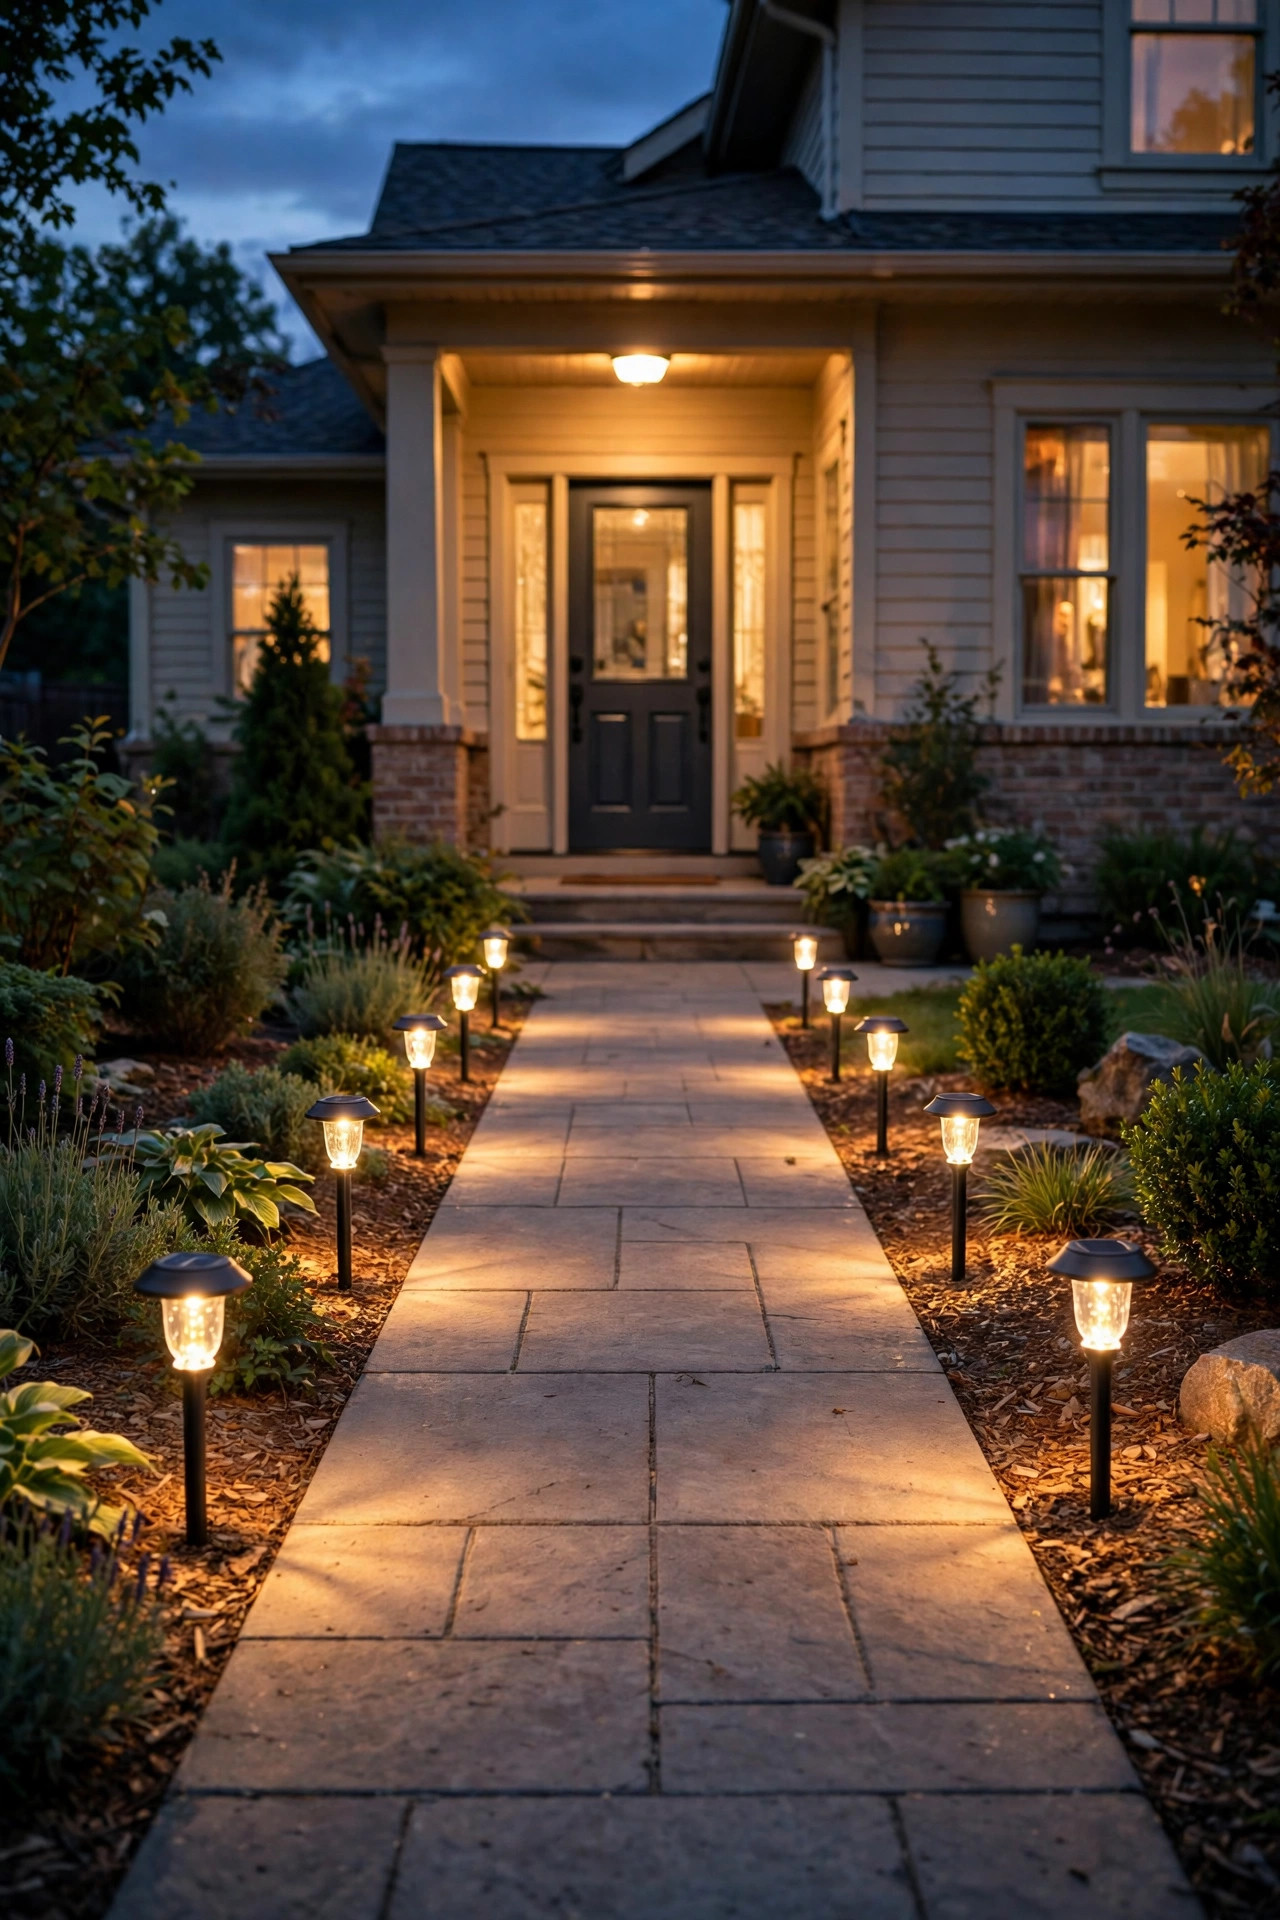
2. Low-Voltage Uplights at the Base of Tall Blooms
For real drama, nothing beats a wired 12-volt uplight aimed up through tall flowers. I place a small spotlight 6 to 12 inches from the base of delphiniums, hollyhocks, foxgloves, or a climbing rose, angled at roughly 30 to 45 degrees so the beam rakes up the stems and catches the blossoms from below. The flowers practically ignite, and the shadows they throw on a fence behind them are half the show.
A modest 200 to 400 lumens per fixture is plenty — you want a glow, not an interrogation. Low-voltage cable buries just 6 inches under the mulch, and because it is only 12 volts, this is the safest wired project a beginner can tackle. Keep fixtures LED-only so the heat never scorches low leaves, and choose a hooded or louvered style if the bed sits near a walkway, so guests are not staring into the bulb. I run one uplight per star plant rather than one per plant, period — restraint is what makes it look designed instead of decorated.
Suggested budget range: $60 – $150.
3. Moonlighting From a Branch Above the Bed
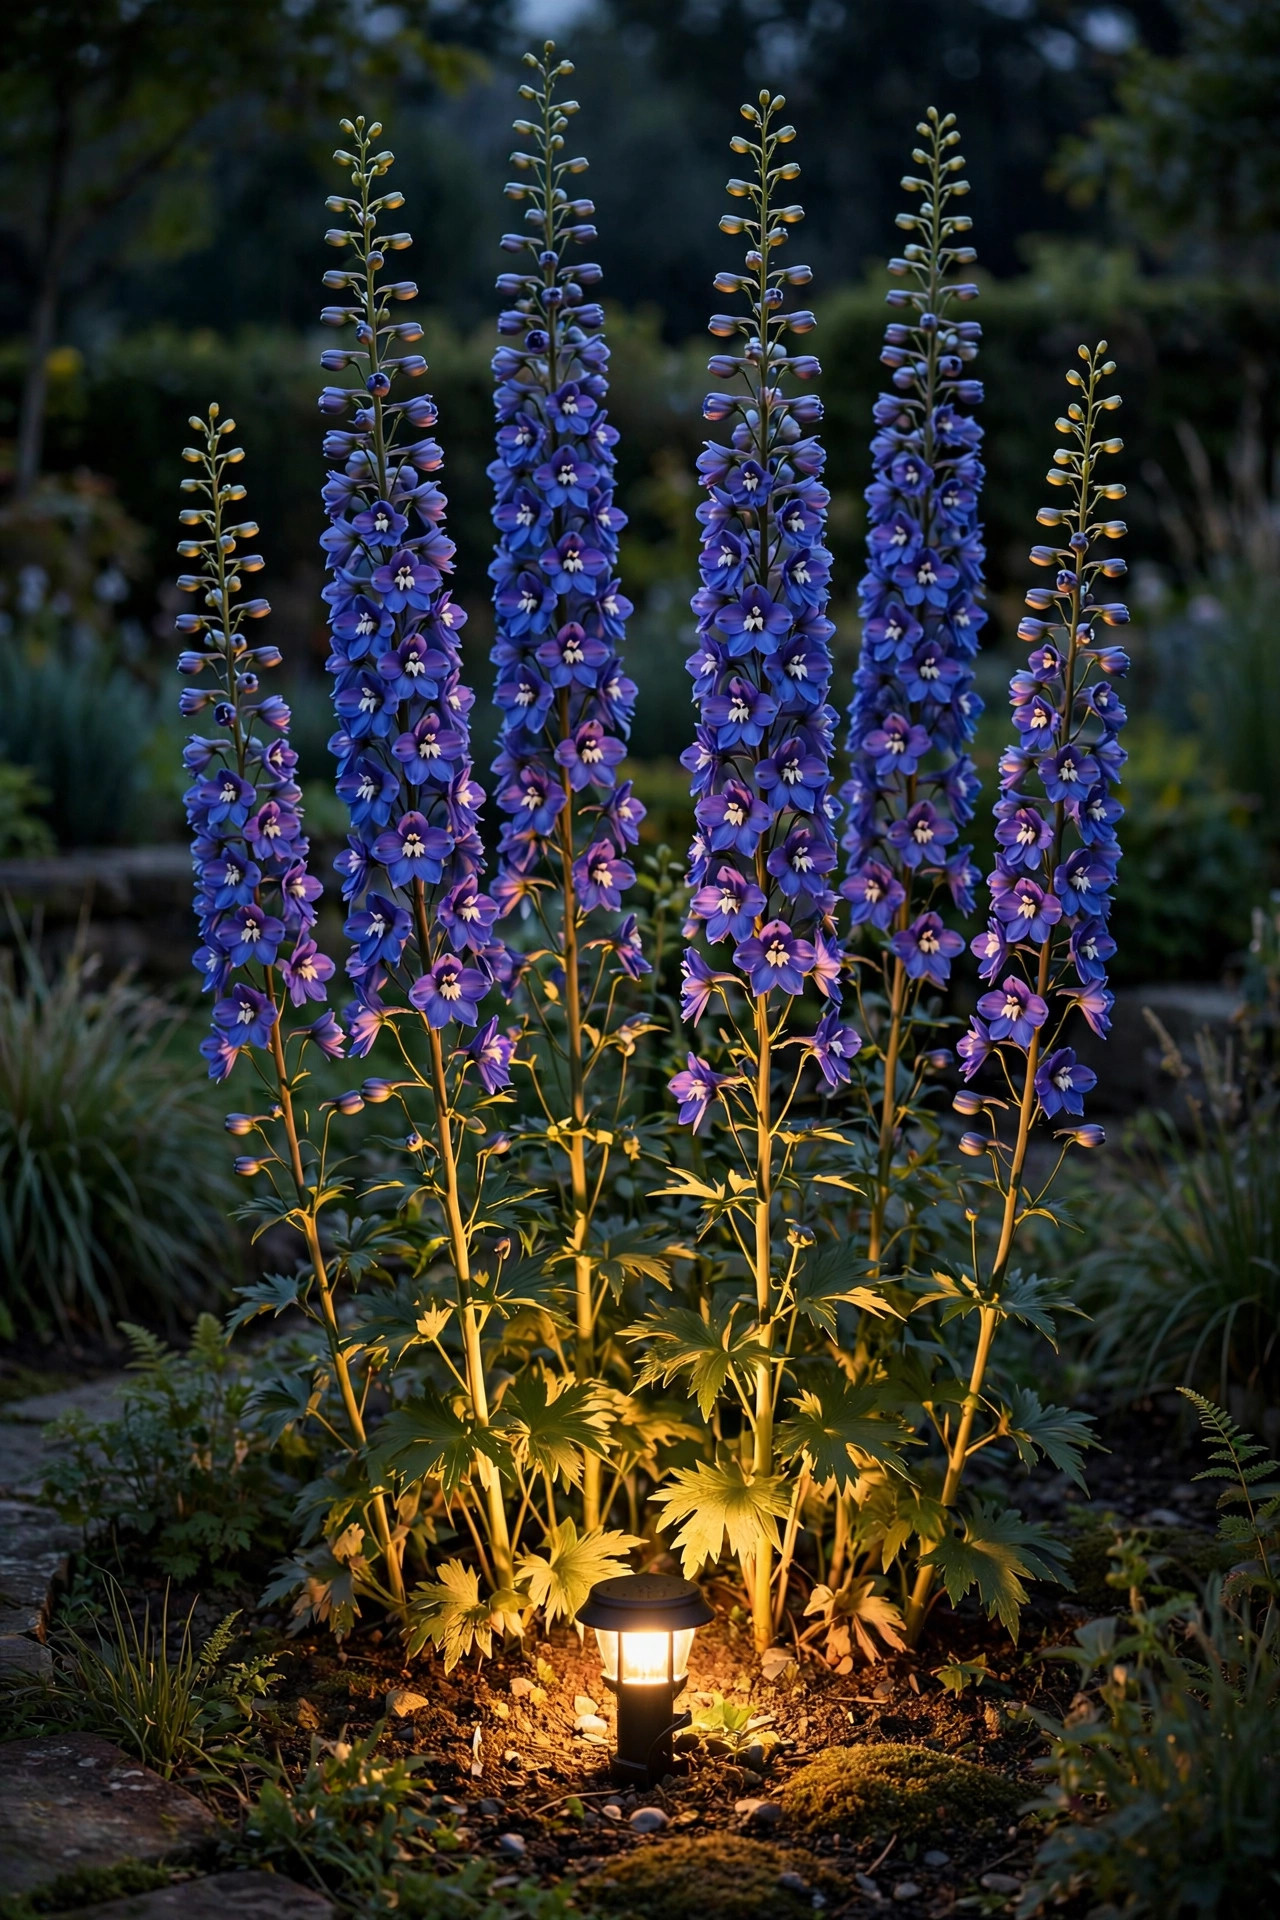
Moonlighting is my favorite trick for big, mature beds. You mount a small shielded downlight 12 to 18 feet up in a tree branch overhanging the garden, aim it down, and let the light filter through leaves so it dapples the flowers below exactly the way real moonlight does. The effect is soft, romantic, and completely glare-free, because nobody ever looks straight up into the source.
Use a cool-neutral 3000K bulb here rather than warm — it reads as moonlight, and the slight contrast against warm lights lower down adds beautiful depth. The fixture needs a long stem mount and a proper tree strap that will not girdle the branch as it grows. Honestly? If the branch is high or the tree is valuable, I always recommend hiring an arborist or lighting pro for this one install; it is a one-time cost and the fixture will live up there for a decade. Keep the beam wide and the brightness modest, around 300 lumens, and let shadows do most of the work.
Suggested budget range: $120 – $300.
4. Copper-Wire Fairy Lights Woven Through the Stems
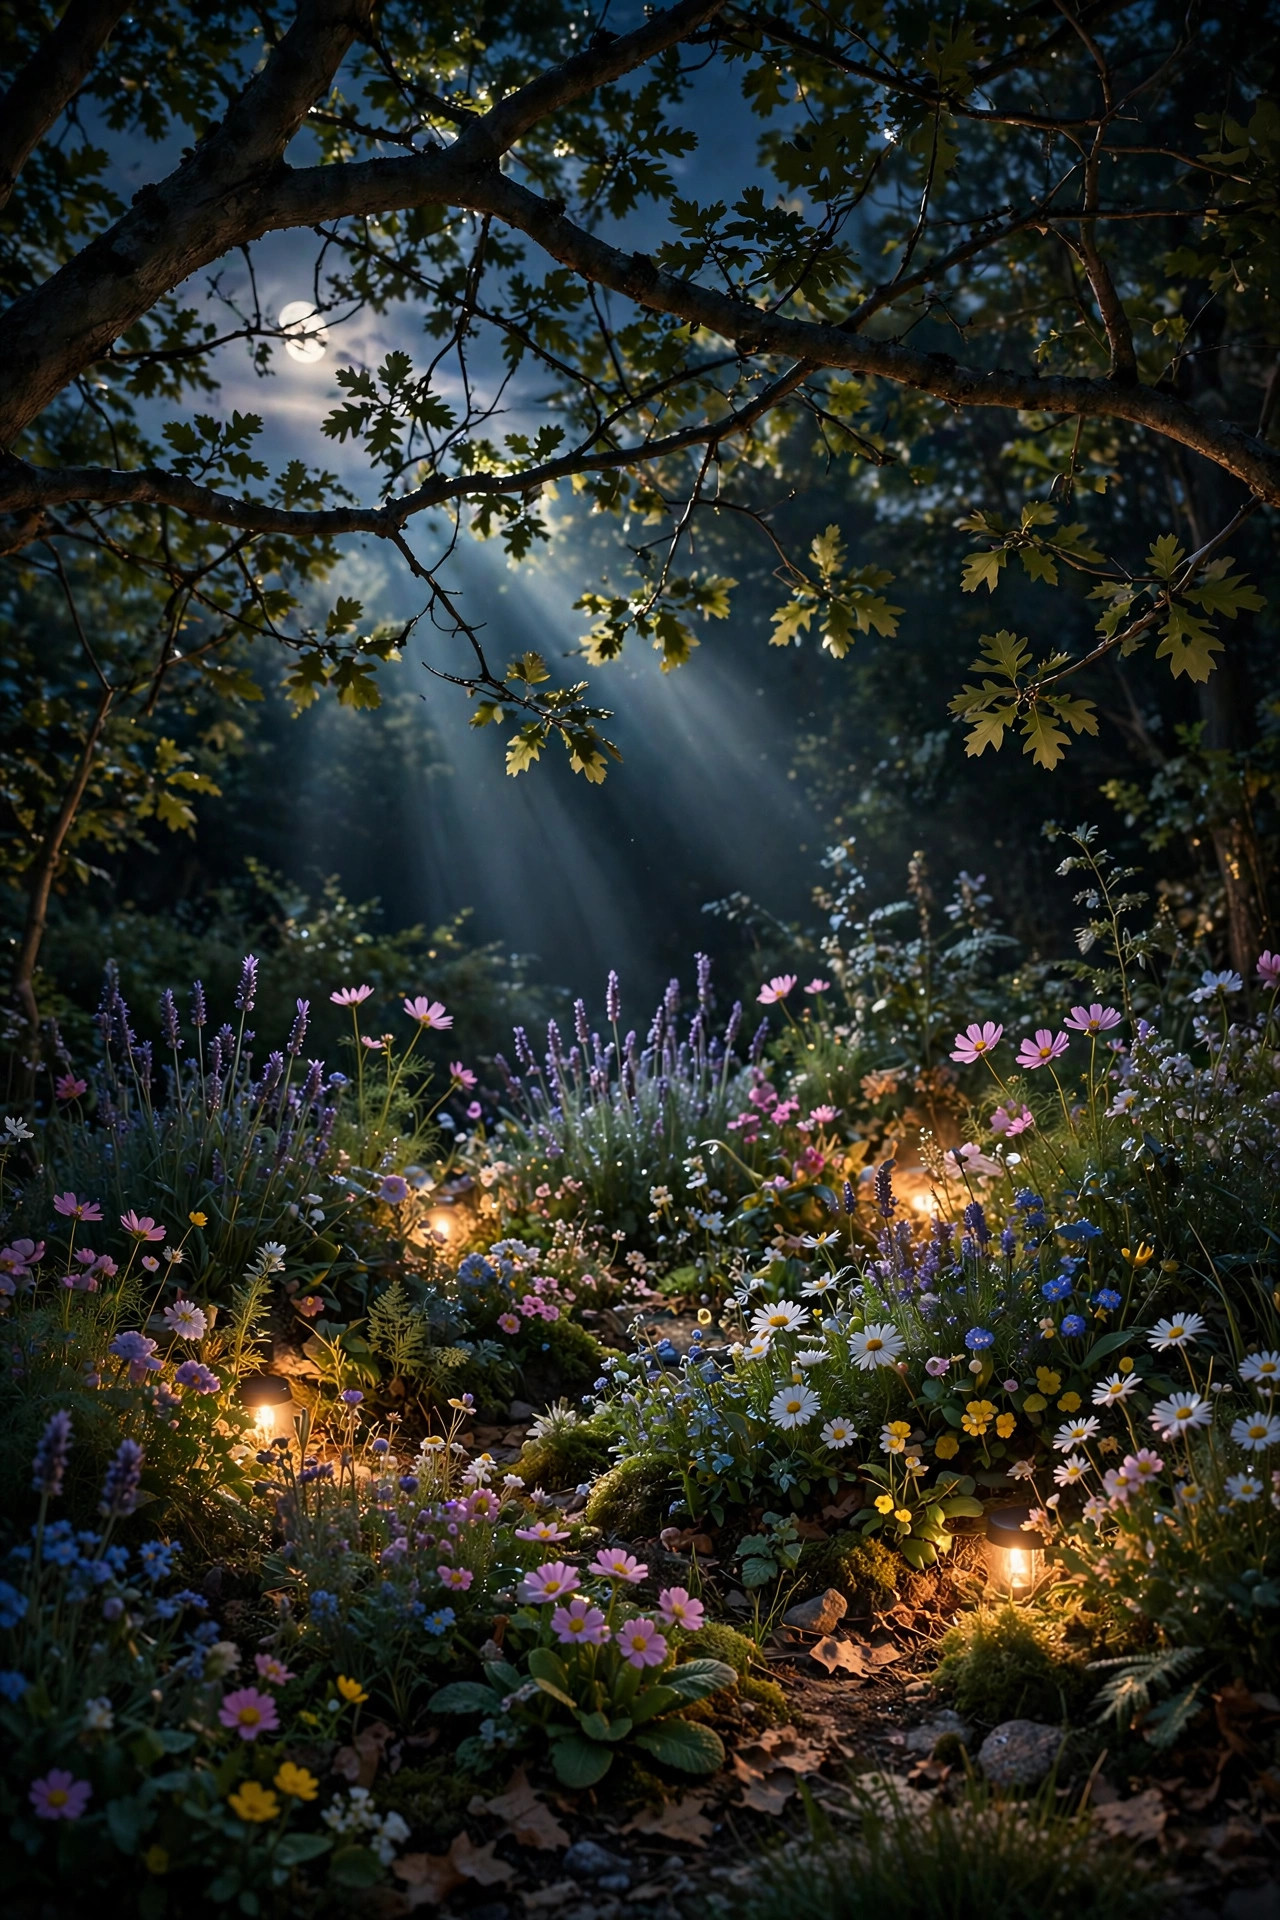
On evenings when I want pure whimsy, I weave copper-wire fairy lights through the bed. These hair-thin wires carry dozens of tiny LEDs that look like fireflies settled into the foliage, and because the wire is bendable, you can wrap it loosely around rose canes, lavender stems, and the branches of small shrubs without any clips or ties.
Battery and solar versions both work; I prefer the solar ones with a separate panel I can stake in a sunny gap at the bed edge. Look for a built-in timer — six hours on, eighteen off — so you are not out there fishing for a switch every night. These lights are LED-only and stay cool to the touch, which matters when wire rests directly against dry foliage in August. Keep the density gentle: one 33-foot strand per 8 to 10 feet of bed is plenty. More than that tips from magical into holiday-display territory, which is fun in December but a bit much in June.
Suggested budget range: $10 – $30.

5. Spotlights That Turn One Specimen Plant Into Sculpture
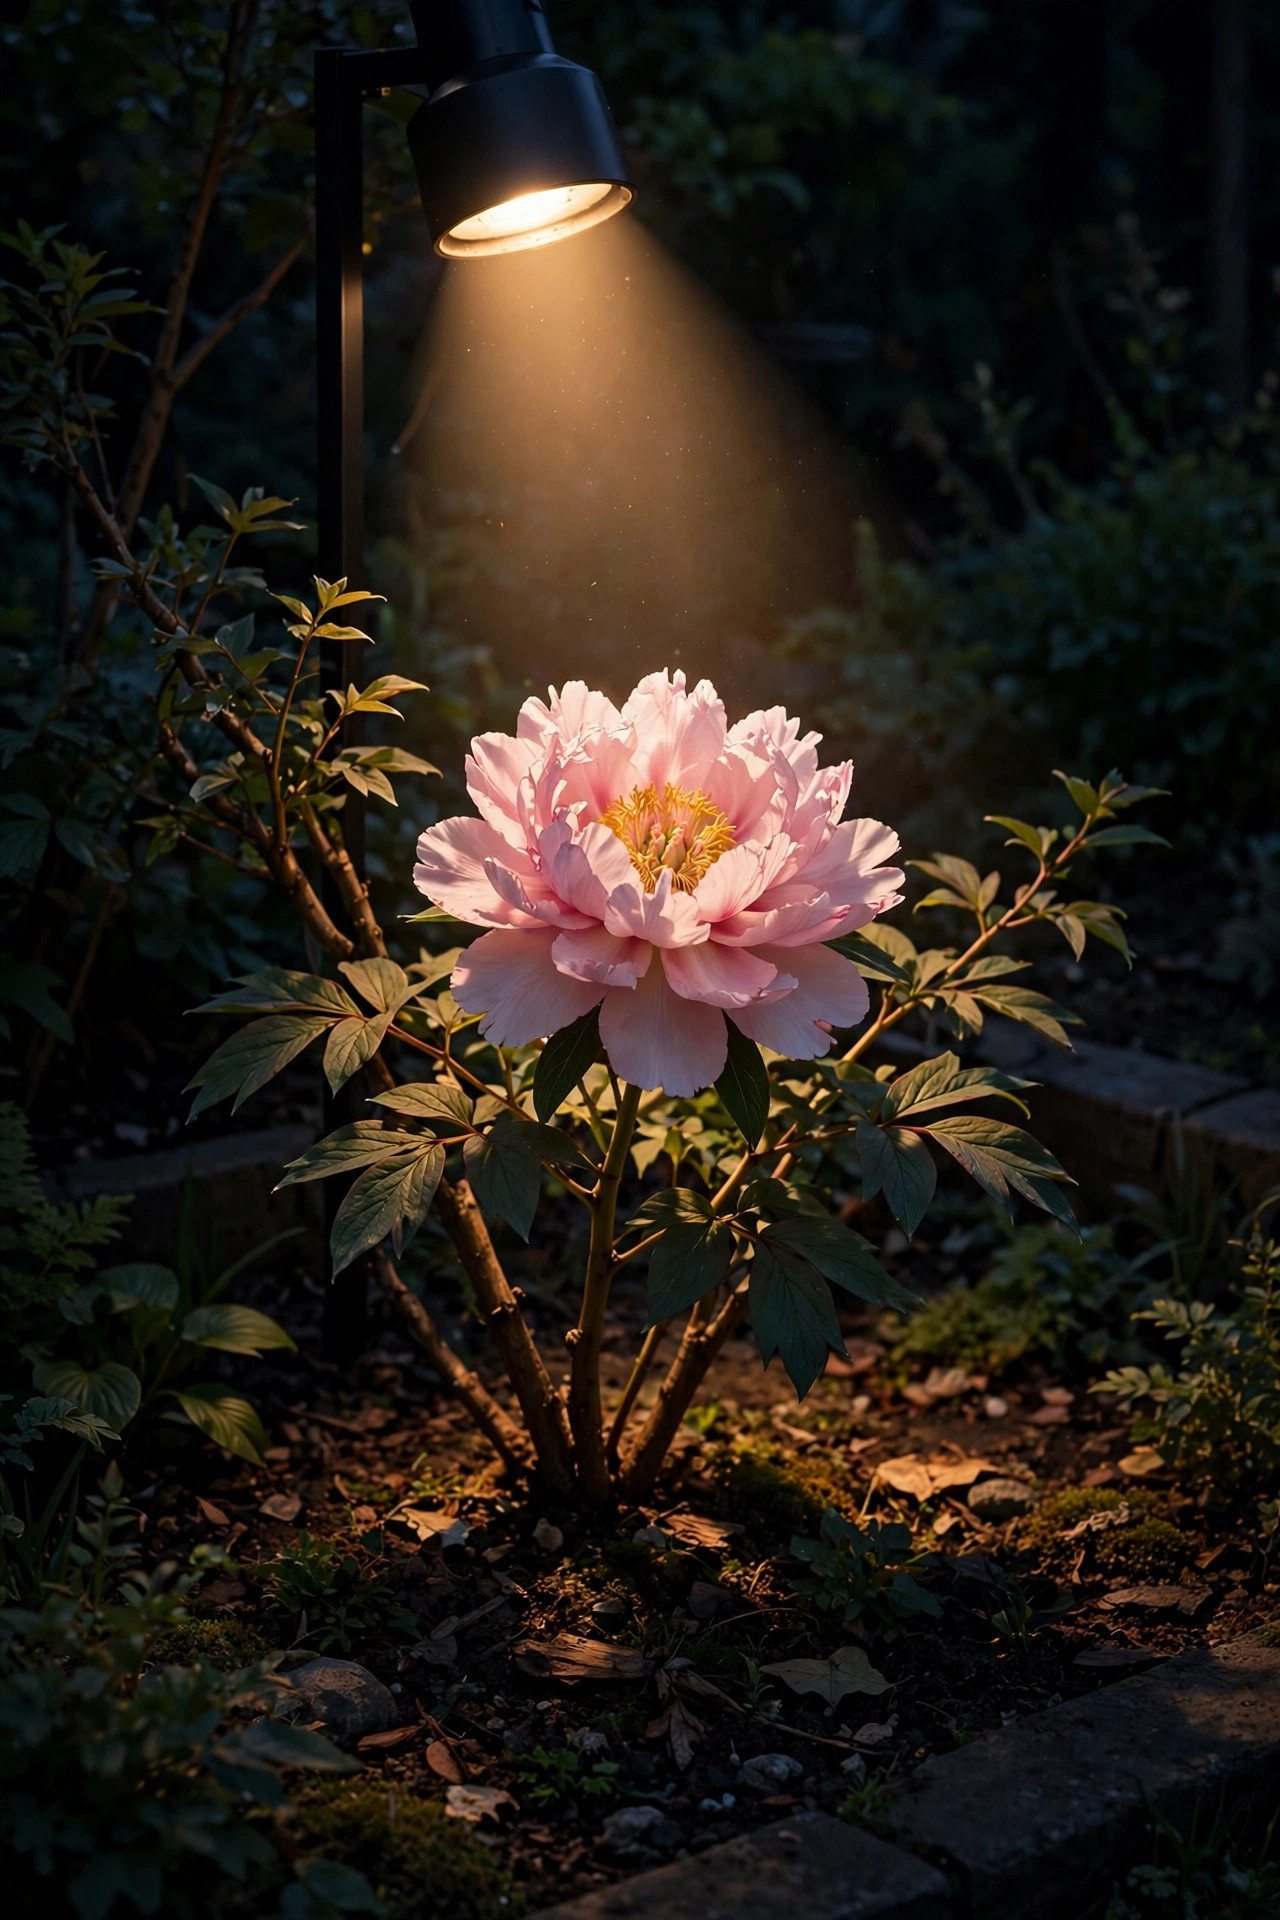
Every bed has a star — a tree peony in full bloom, a sculptural Japanese maple, a mass of dahlias taller than the fence. Give that one plant its own spotlight and the whole bed gets a focal point the eye lands on first. I use a narrow beam, around 15 to 30 degrees, from a fixture hidden 2 to 3 feet back in the mulch, aimed to graze the plant rather than blast it flat.
Cross-lighting works even better: two modest fixtures at angles beat one bright one straight on, because they model the shape with light and shadow instead of washing it out. Keep this spotlight a touch brighter than the surrounding layers — maybe 400 to 600 lumens — and let everything else stay dimmer. When the star is not in bloom, the same fixture can aim at the next plant coming into flower; I nudge mine around three or four times a season as the show rotates through the bed. That little flexibility is a strong argument for stake-mounted fixtures you can pull and reposition in seconds.
Suggested budget range: $40 – $120.
6. Solar Spotlights When You Cannot Run Wire
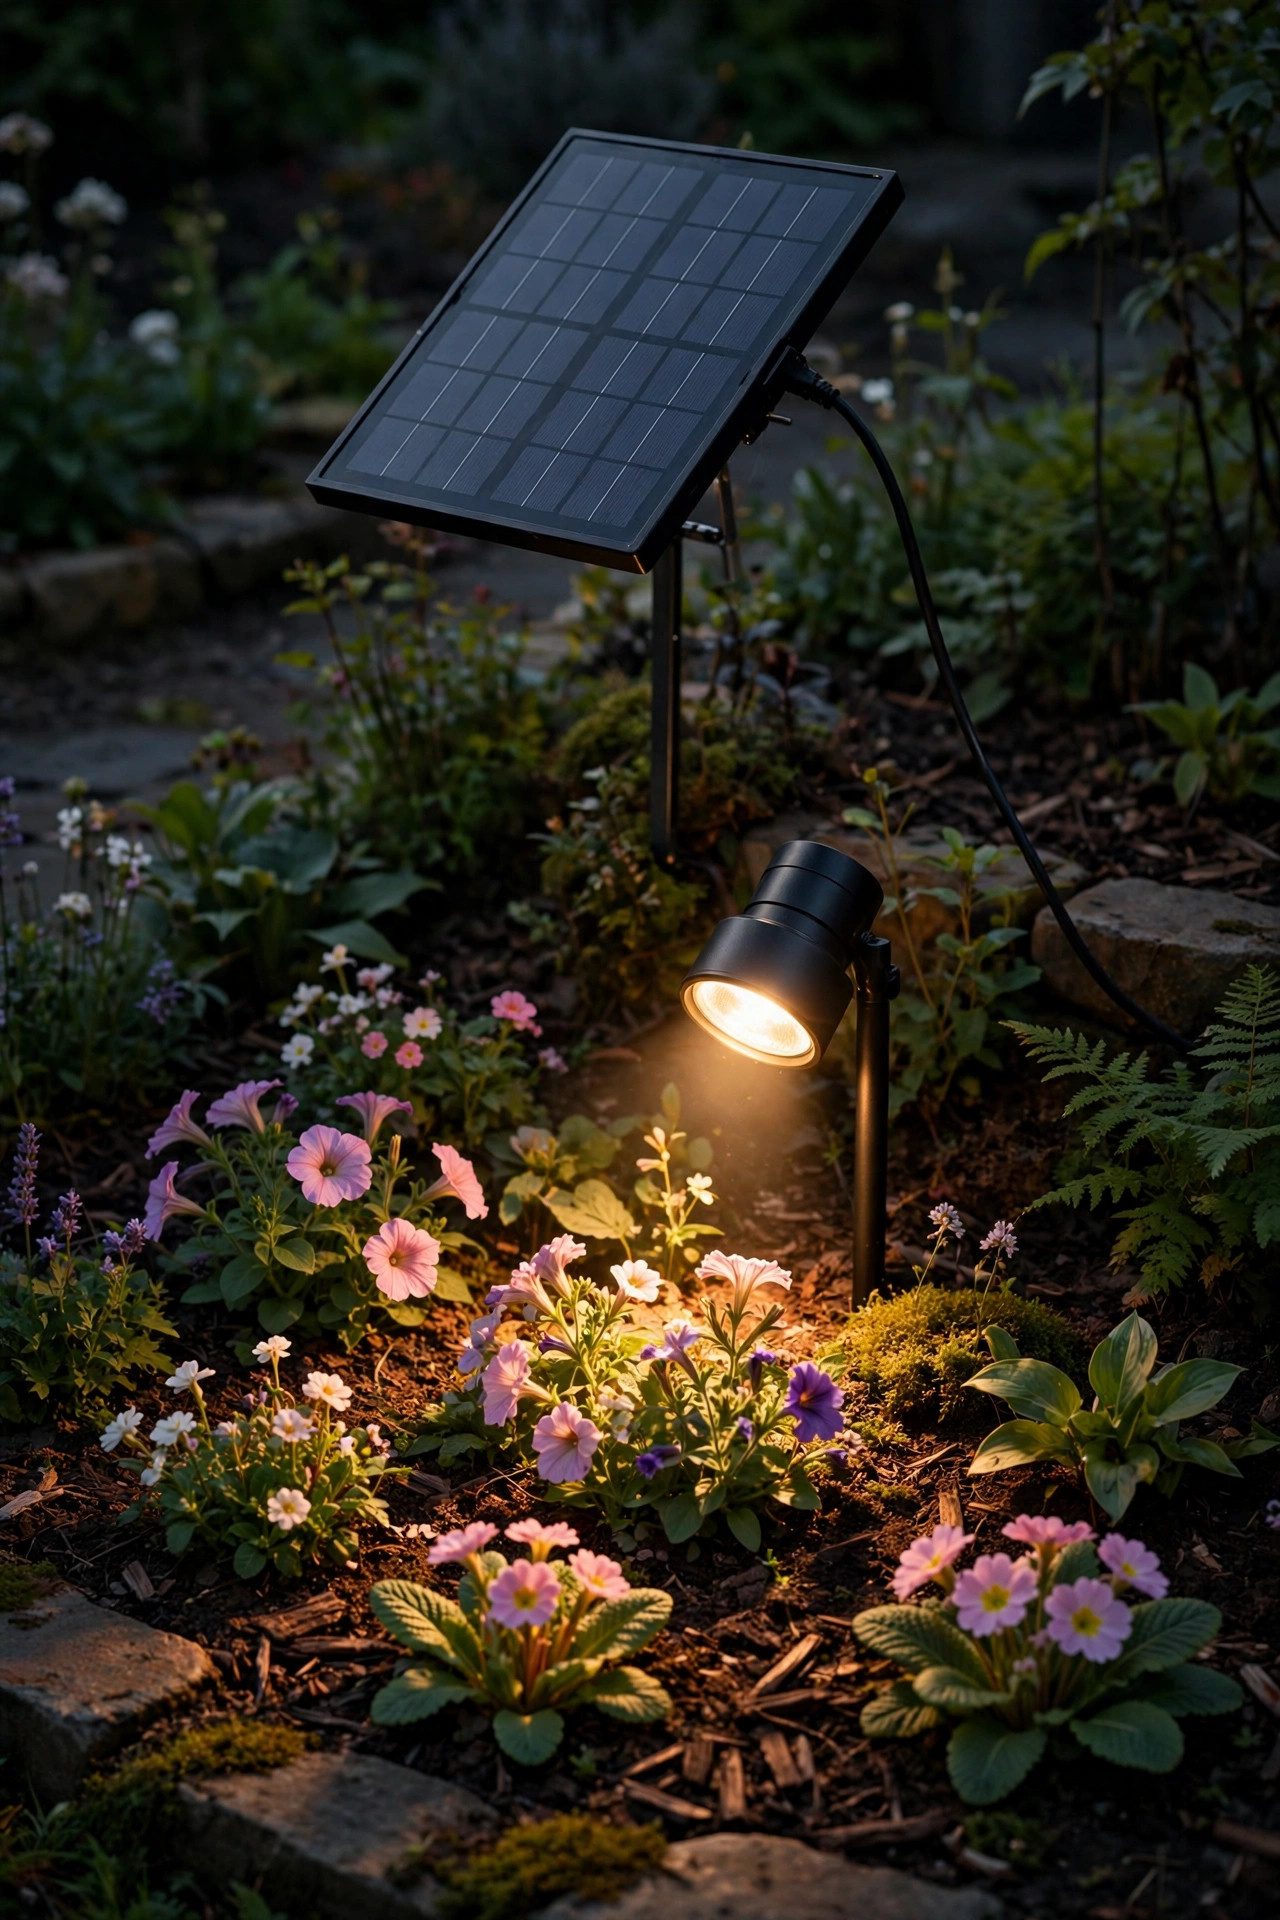
Maybe your bed sits far from an outlet, or maybe you rent. Solar spotlights with a separate, cabled panel solve the problem beautifully. The panel stakes into full sun at the bed edge or even behind a fence, while the spotlight heads — usually two or three on adjustable arms — sit in the shade where you actually want the light.
This separation is the whole game. All-in-one solar fixtures fail in shaded beds because the panel starves; a remote panel drinking six to eight hours of sun will run strong spotlights until well past midnight. Aim each head individually: one up into a shrub, one across a patch of blooms, one down along the edging. Choose warm white, avoid the rainbow color-changing modes unless it is a party, and expect 100 to 250 lumens per head — enough for accents, not for lighting a whole border alone. I always recommend buying one set first and living with it a week before committing to a full bed of them.
Suggested budget range: $25 – $70.
7. Path Lights Along the Edging for a Finished Border
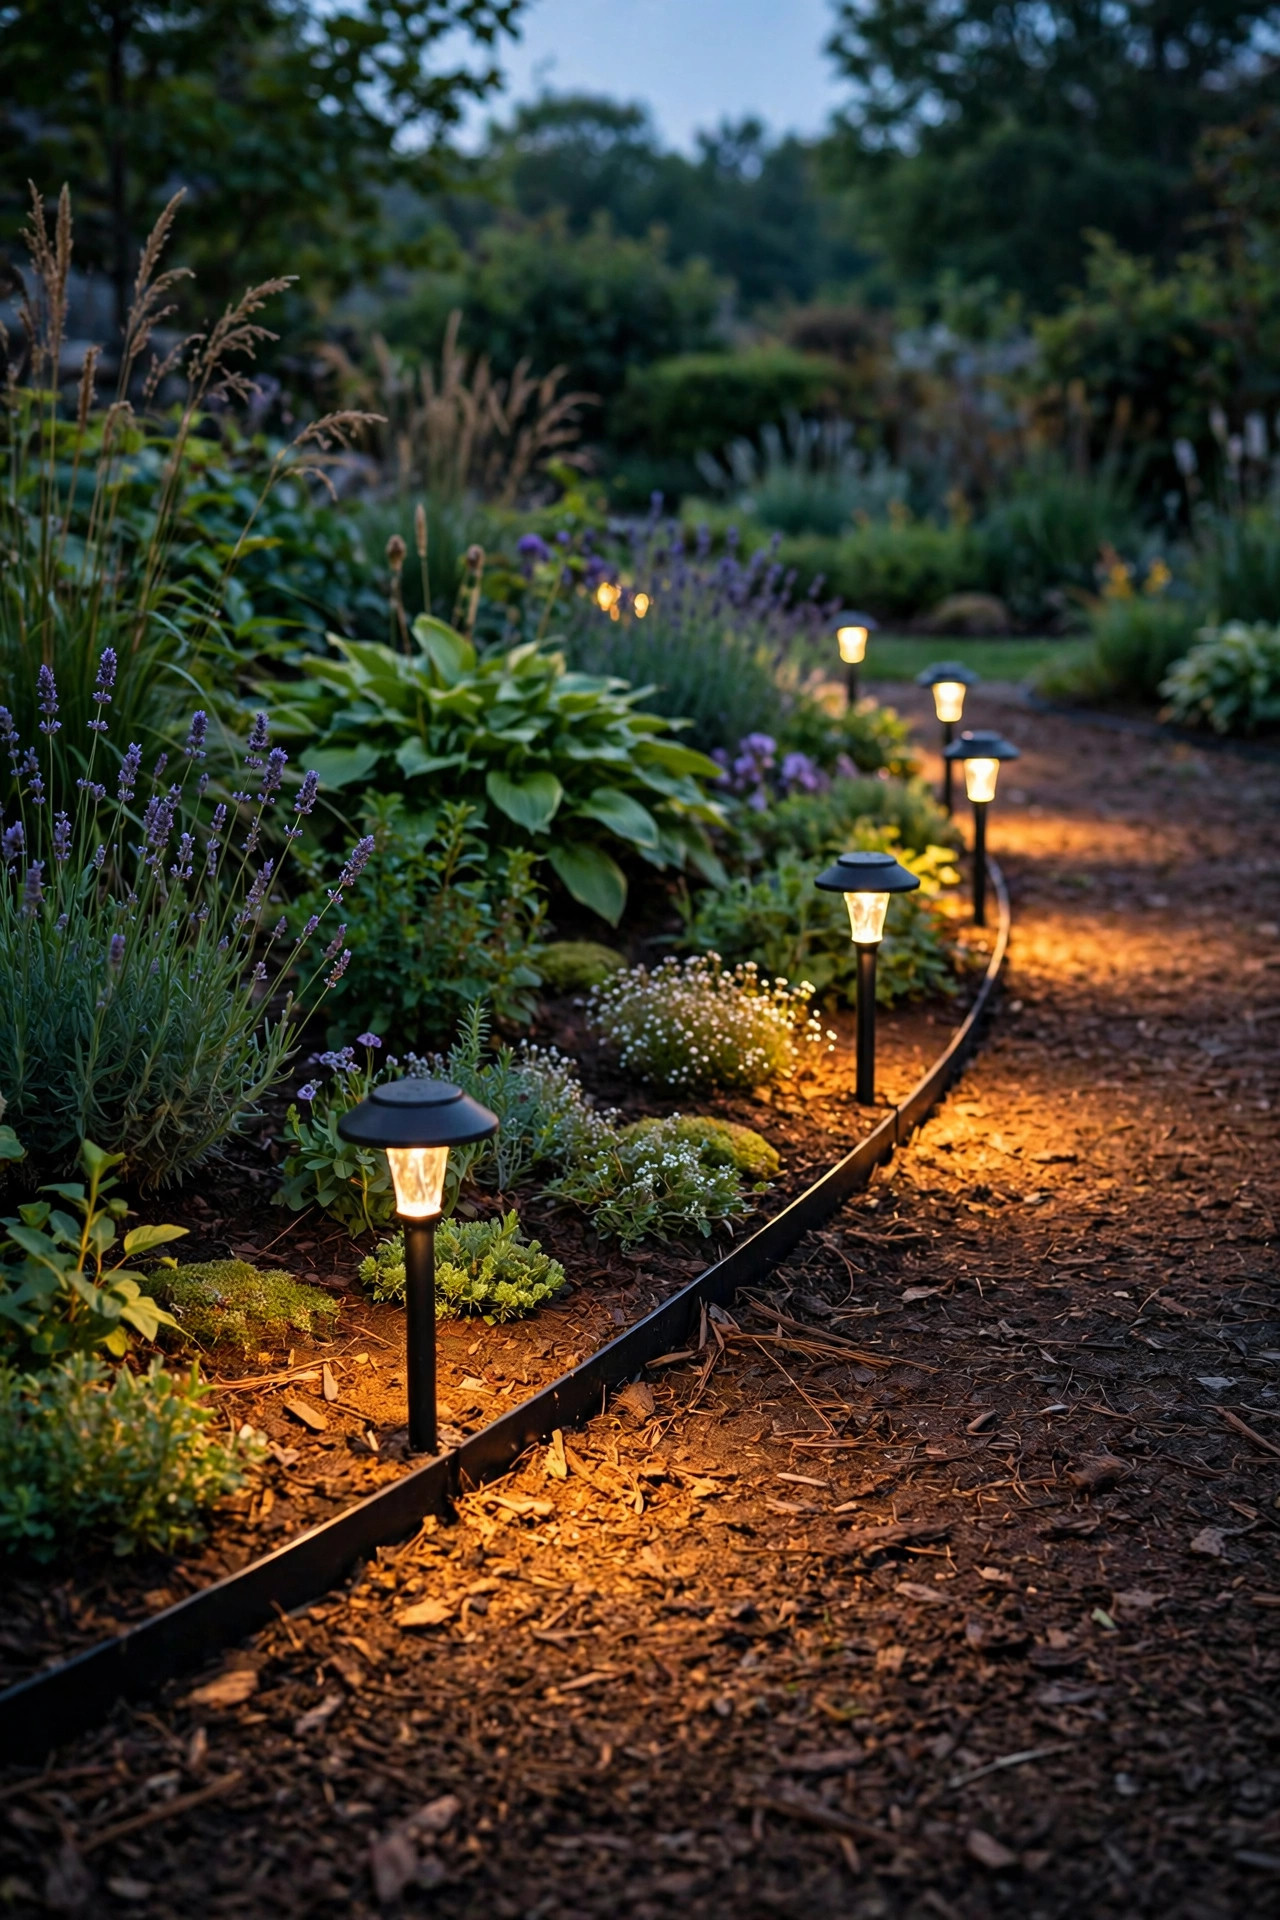
A row of low path lights along the front edge gives a flower bed that tailored, finished look — and it guides feet safely at the same time. I space mine 4 to 6 feet apart, close enough that the pools of light just kiss each other without merging into a runway stripe. Staggering them a few inches in and out of the edging line keeps it relaxed instead of military.
Keep these fixtures short, 12 to 18 inches tall, so during the day they disappear under the front-row plants — mounding geraniums, catmint, and lady mantle are perfect camouflage. Wired low-voltage versions give the most even, reliable light and tie into the same transformer as your uplights. Solar versions work too if the bed gets decent sun. Angle matters less here than shielding: pick hooded or downward-facing styles so the light lands on the mulch and low blooms, not in the eyes of anyone sitting on the porch swing nearby.
Suggested budget range: $50 – $140.
8. Lanterns Nestled Down Into the Mulch
For instant cottage charm, set lanterns directly into the bed. I use solar or battery lanterns with flameless LED candles, grouped in threes and fives at different heights among the plants — one tucked under a hydrangea, a taller pair flanking a garden bench edge. Nestling them slightly into the mulch makes them feel settled and intentional rather than dropped there.
Raise each lantern on a flat stone or a brick if your beds get soggy; standing water is the enemy of battery compartments. Because these are flameless LEDs, there is zero fire risk against dry mulch or brushing stems, which is exactly why I never use real candles out in the garden, however pretty they look. Flicker-mode candles give a lovely living flame effect at flower height. Rotate lanterns seasonally if you like — galvanized metal in spring, woven rattan in summer — it is the fastest bed makeover I know for under an hour of puttering.
Suggested budget range: $20 – $60.

9. Color-Tunable Smart Lights for Shifting Seasons
Smart outdoor bulbs and fixtures in standard landscape sockets let you tune color temperature from a phone — and used with restraint, they are genuinely useful in a flower bed. Most of the year I keep mine at a candle-warm 2200K to 2700K. In fall I deepen to amber for the chrysanthemums and asters; in spring I nudge cooler, nearer 3000K, so white and blue blooms like iris and salvia stay crisp instead of going creamy.
Where people go wrong is the saturated rainbow modes. A magenta uplight under a maple is fun for a party, but nightly rainbow beds look like a carnival. Set scenes instead: "Evening Bloom" at warm white, "Party" slightly brighter with one accent color, all on an automatic sunset schedule. Smart plugs can bring dumb fixtures along too — plug your transformer into one and the whole wired system joins the schedule. Just confirm any bulb you buy is rated for enclosed, outdoor, wet-location fixtures before it goes into the garden.
Suggested budget range: $45 – $130.
10. LED Strip Light Hidden Under a Retaining Wall Cap
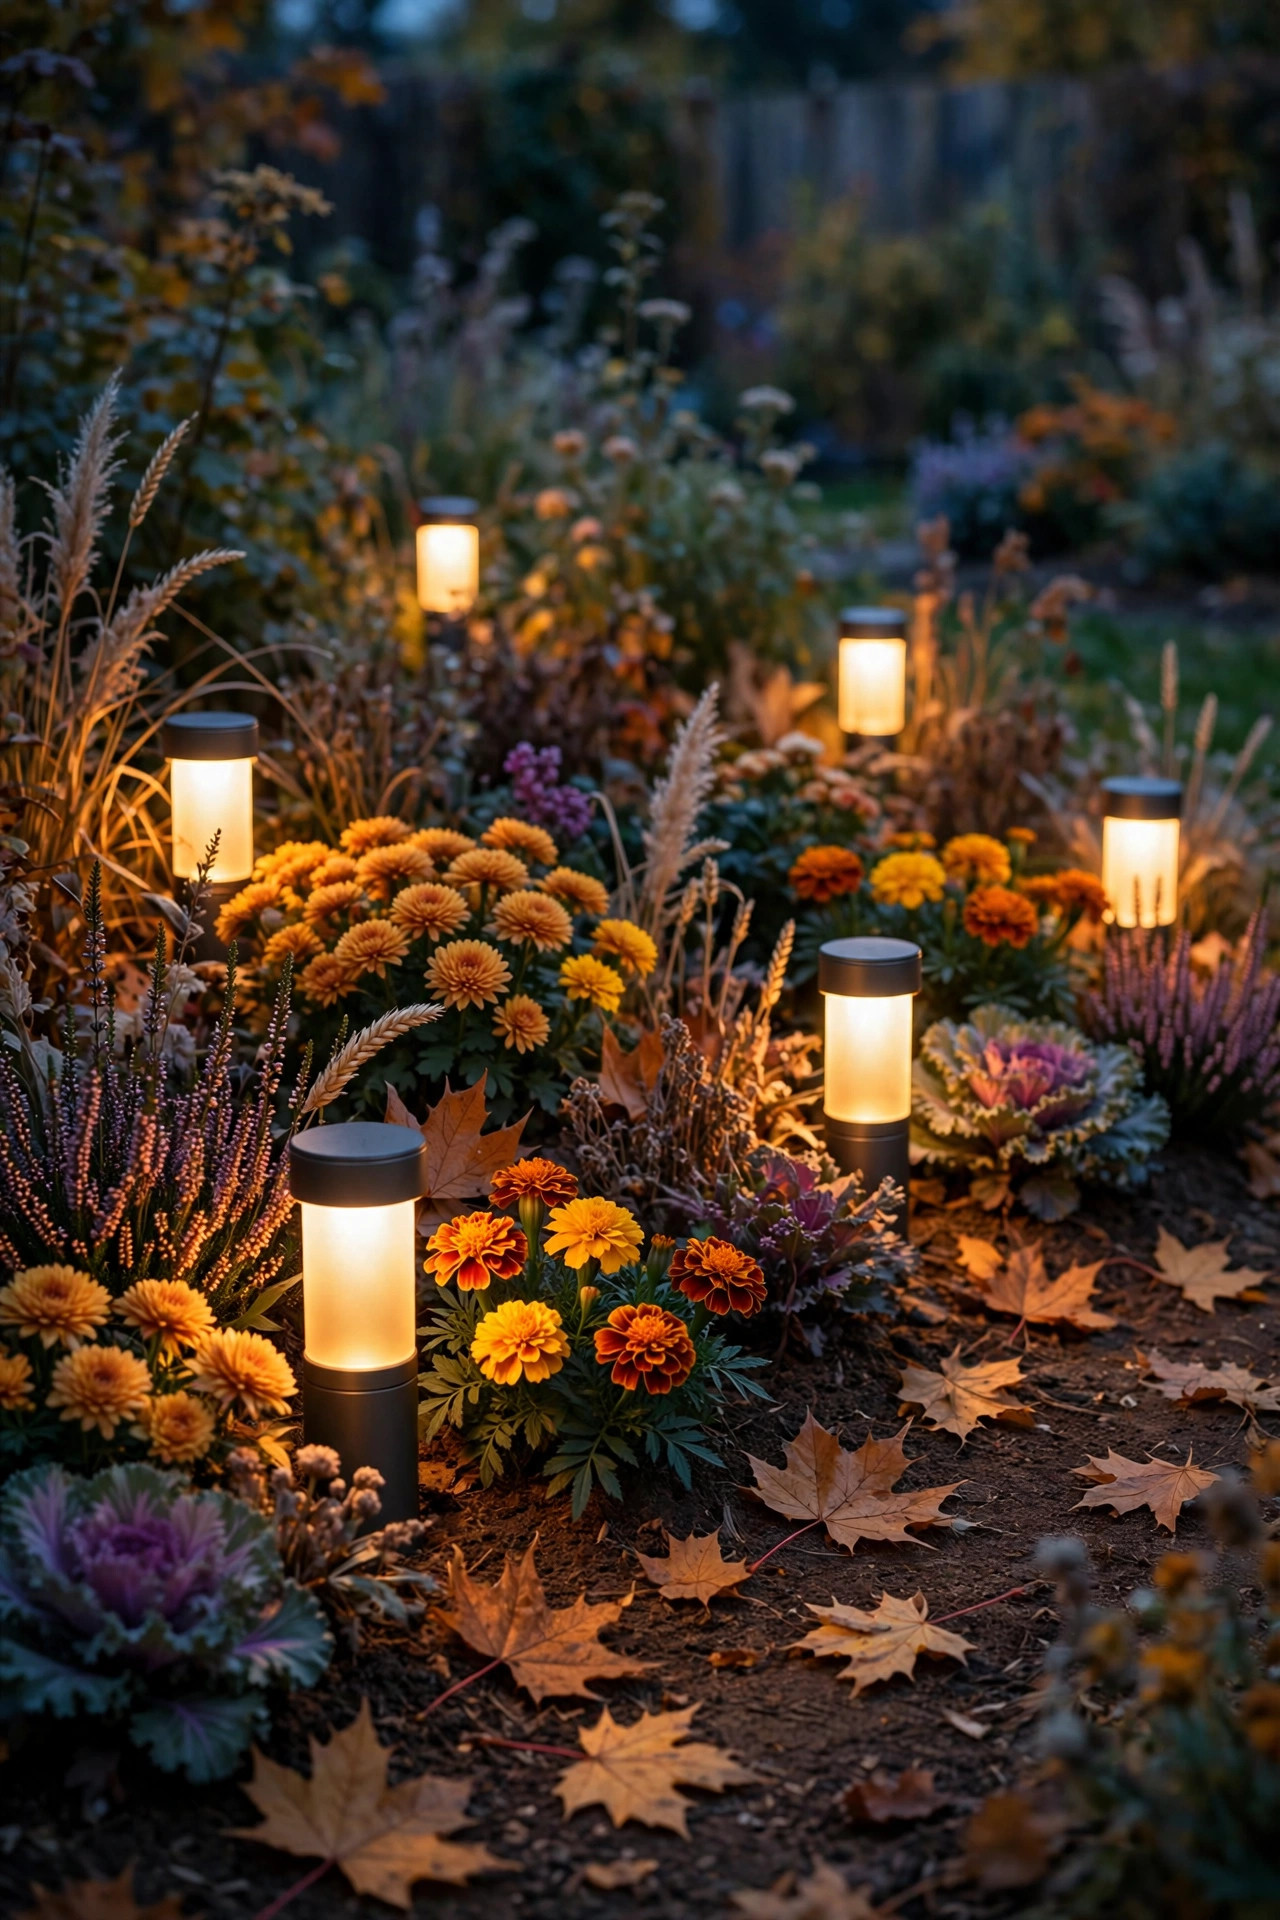
If your flower bed is raised or backed by a low retaining wall, hide a waterproof LED strip under the capstone lip and let a sheet of light wash down the wall face and spill onto the plants below. The source stays invisible, which makes the glow feel architectural and a little bit luxurious — guests always ask where it is coming from.
Insist on IP65 or better strip, ideally silicone-sleeved, and mount it in an aluminum channel so summer heat and winter freeze do not kill the adhesive. The driver and any plug-in transformer must live in a weatherproof box or on a GFCI outlet, no exceptions outdoors. Run the strip the full length of the wall for an even wash — patchy strips read as unfinished. This is also the rare bed light that doubles as safety lighting for the step or path at the wall base, so it earns its budget twice. Keep the color warm, 2700K, to flatter stone and bloom colors alike.
Suggested budget range: $35 – $90.
11. In-Ground Well Lights: Flower Bed Lighting Ideas That Vanish by Day
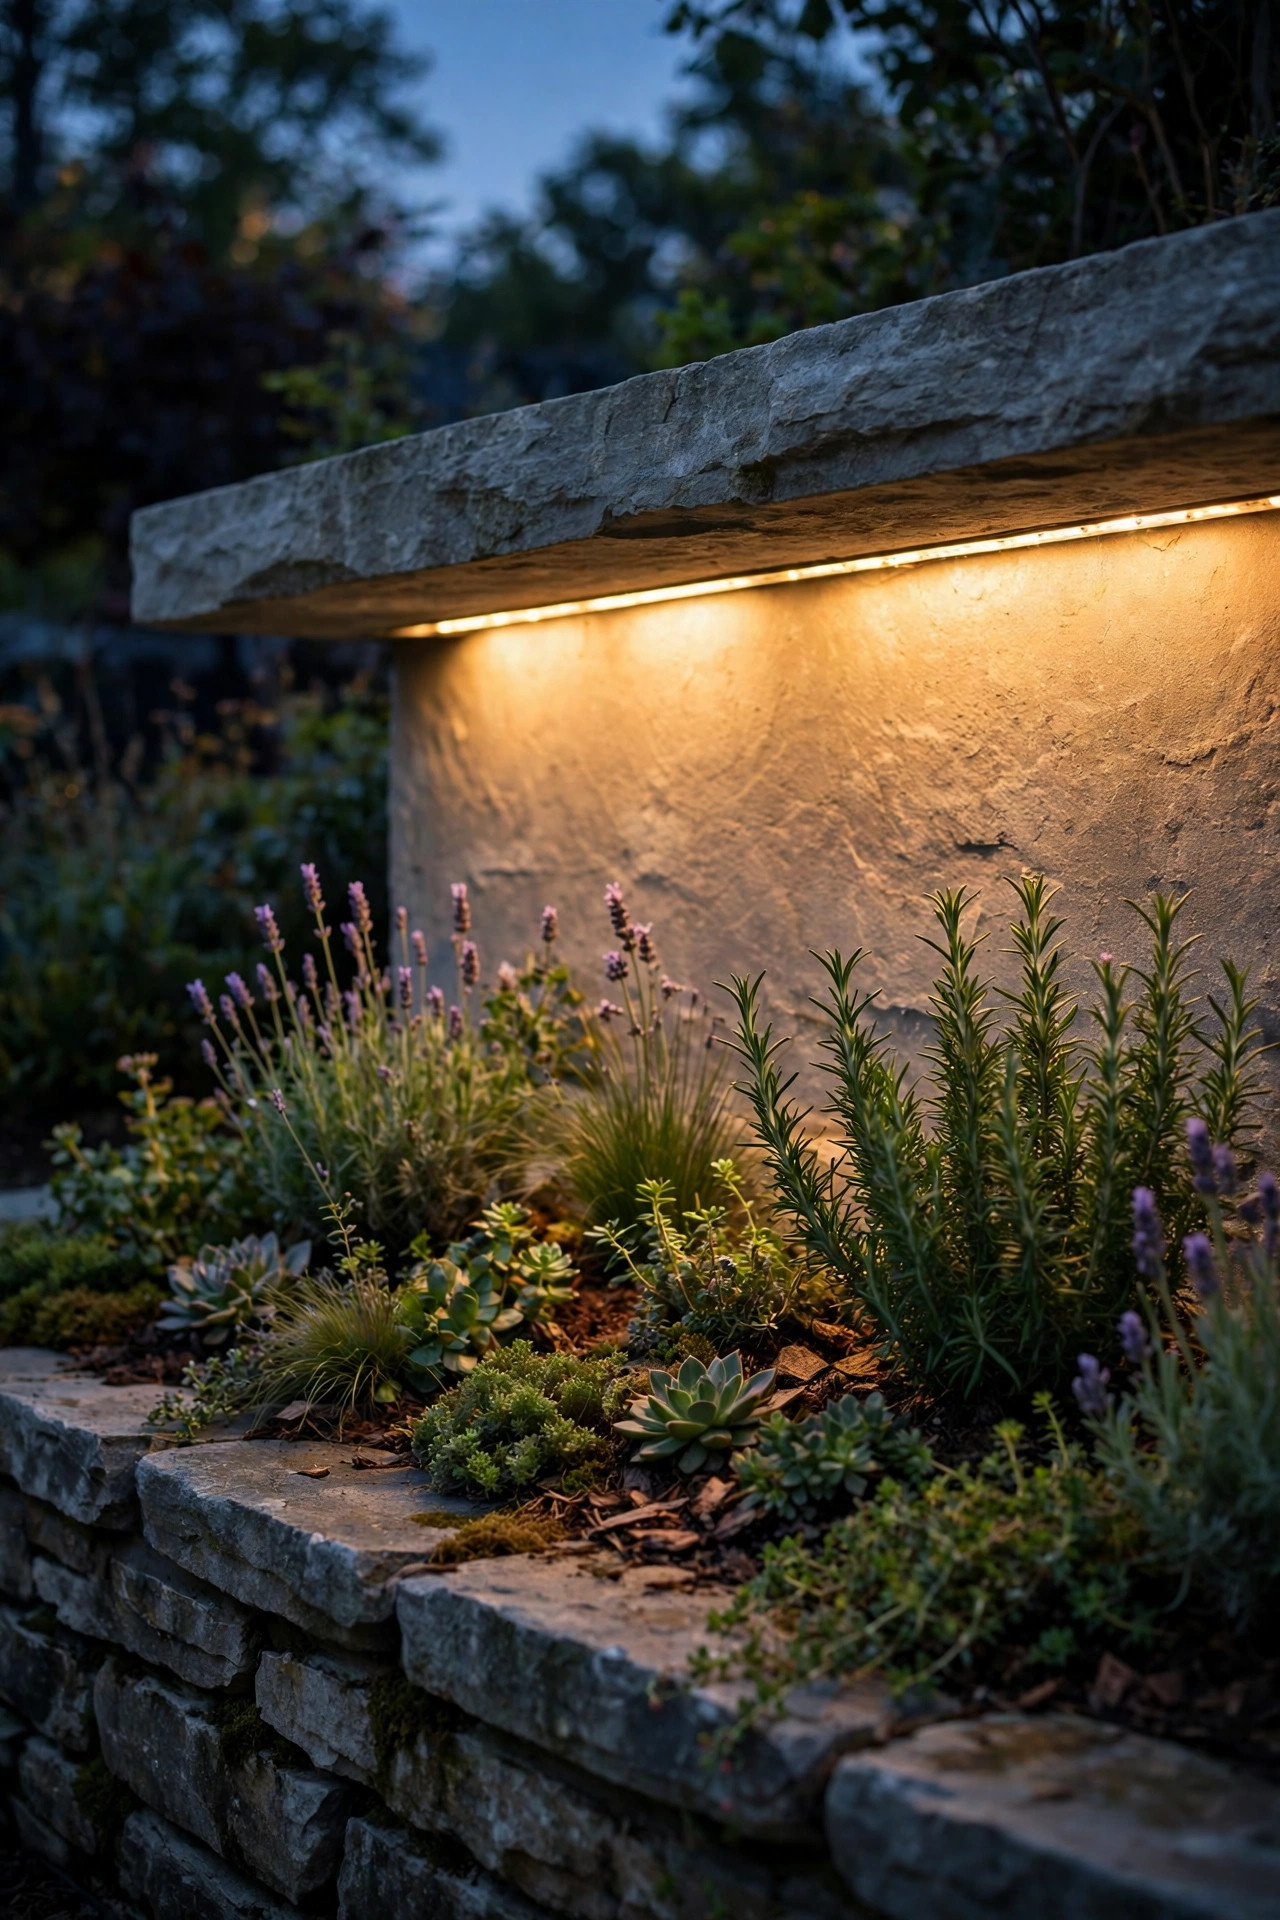
Well lights sit flush in the soil inside a buried sleeve, so by day there is literally nothing to see — no stakes, no fixtures, just flowers. By night the beam rises straight up into shrubs, ornamental grasses, and small trees planted within the bed. For a clean, modern bed or a front garden where you hate visible hardware, these are the answer.
Installation takes a little more care. Dig the sleeve hole a few inches deeper than the fixture and add a gravel bed at the bottom for drainage, because a well light sitting in pooled water will fog and fail early. Choose fixtures with tempered glass rated to be stepped on if the bed edges a path. These are uplights only — the beam goes up — so aim by placement: centered under a vase-shaped shrub, offset toward the trunk of a small tree. I use them sparingly, one per major plant, since the straight-up beam is strong and a bed full of them starts to look like a landing strip.
Suggested budget range: $70 – $180.
12. Frosted Globe Lights Floating Over Low Blooms
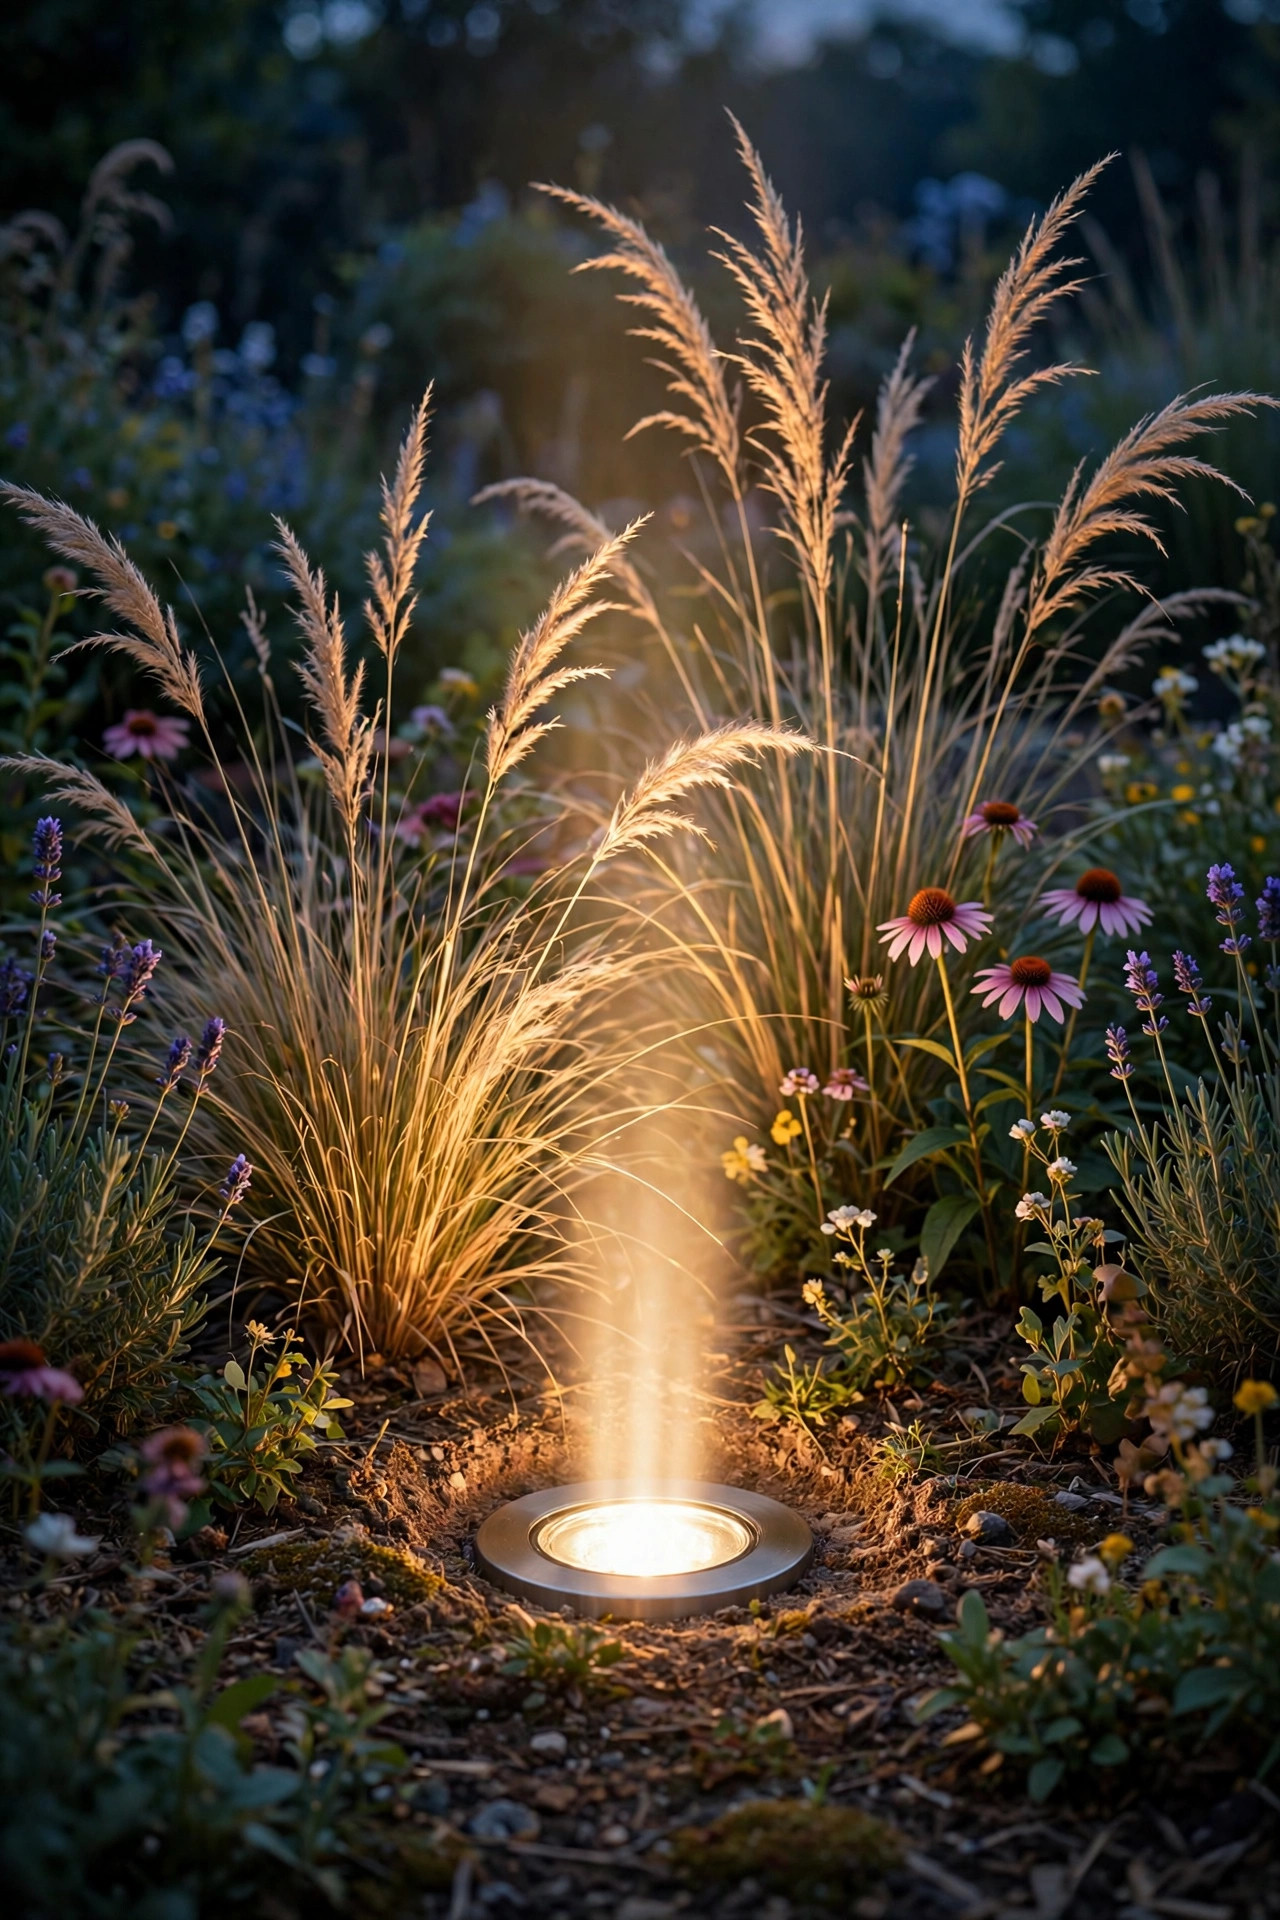
Soft frosted globes on short stakes, or orbs resting right on the mulch, give a bed a gentle moon-garden glow that flatters low mounding flowers — alyssum, dianthus, creeping phlox, dwarf zinnias. Because the whole globe is the light source, the illumination is diffuse and shadowless, completely different in mood from a spotlight beam.
I cluster three globes of different sizes, say 6, 8, and 12 inches, near the front corner of a bed where they can be admired up close, rather than spacing them evenly like runway markers. Solar globes are the easy route; wired ones give steadier brightness for a front bed you rely on nightly. One caution from experience: cheap plastic globes yellow and crack within two summers. Glass or quality resin costs more up front but still looks clear and white in year four. Warm white only, please — cool globes read as floating security lights, and that is nobody goal for a flower garden.
Suggested budget range: $30 – $80.

13. Downlighting From the Fence or Pergola Behind the Bed
Beds against a fence or under a pergola have a free mounting surface most people ignore. Small hooded downlights screwed 5 to 7 feet up on fence posts, aimed down and slightly out, create overlapping cones of light that wash the whole back row of a bed. It feels like stage lighting from a proscenium — the flowers perform, the fence disappears into darkness above.
This backlight angle is also the kindest to tall back-row plants like hollyhocks and Joe-Pye weed, which uplights can leave top-heavy and glaring. Space fixtures one per fence panel, roughly every 6 to 8 feet, and wire them along the fence rail where the cable stays tidy and out of the mower path. Use shielded fixtures so neighbors see glow, not bulbs — fence-line downlighting done badly is the number one cause of light-trespass grumbles on my street. A dimmer or a two-level transformer pays off here, letting you drop the whole back row to a whisper on quiet weeknights.
Suggested budget range: $55 – $130.

14. Silhouette Lighting Against a Wall or Fence
Silhouetting flips the usual approach: instead of lighting the front of a plant, you light the wall behind it and let the plant stand dark and dramatic in front. Place a small spotlight in the gap between plant and wall, aimed at the wall surface, so a shapely shrub or a stand of ornamental grass becomes a black cutout against a warm glowing backdrop.
This works brilliantly with plants that have architecture — feathery grasses, a contorted filbert, tall verbena stems, agave-like yucca. It fails with blobs, so choose subjects with a readable outline. The fixture hides completely behind the plant, and the effect reads as pure theater from the house or patio. Keep the wall wash even by pulling the light 12 to 18 inches out from the wall base and choosing a wide beam. If your wall is pale stucco or painted brick, you need surprisingly little brightness, 150 to 250 lumens, because the light surface bounces it right back at you.
Suggested budget range: $40 – $110.

15. Grazing Light Across Textured Foliage
Not every star in the bed is a flower. Hostas, ferns, heuchera, and ornamental grasses earn their keep with texture, and grazing light is how you show it off. Set a fixture very close to the plant — almost touching the foliage — and aim the beam so it skims across the surface at a sharp angle. Every rib, ruffle, and ripple throws a tiny shadow, and the leaf suddenly has depth you never see at noon.
Grazing is the opposite of flooding: you want a narrow, low beam and patience while you fiddle with the angle at dusk. I always set these fixtures after dark with a flashlight-free half hour of adjusting, because ten degrees of tilt is the difference between flat and fabulous. This technique also loves stone — run the same skimming beam across a boulder or the bed edging for instant texture. Because fixtures sit low and close, pick sturdy metal housings that shrug off the string trimmer, and keep the lens wiped; a muddy lens scatters the beam and ruins the whole effect.
Suggested budget range: $35 – $95.

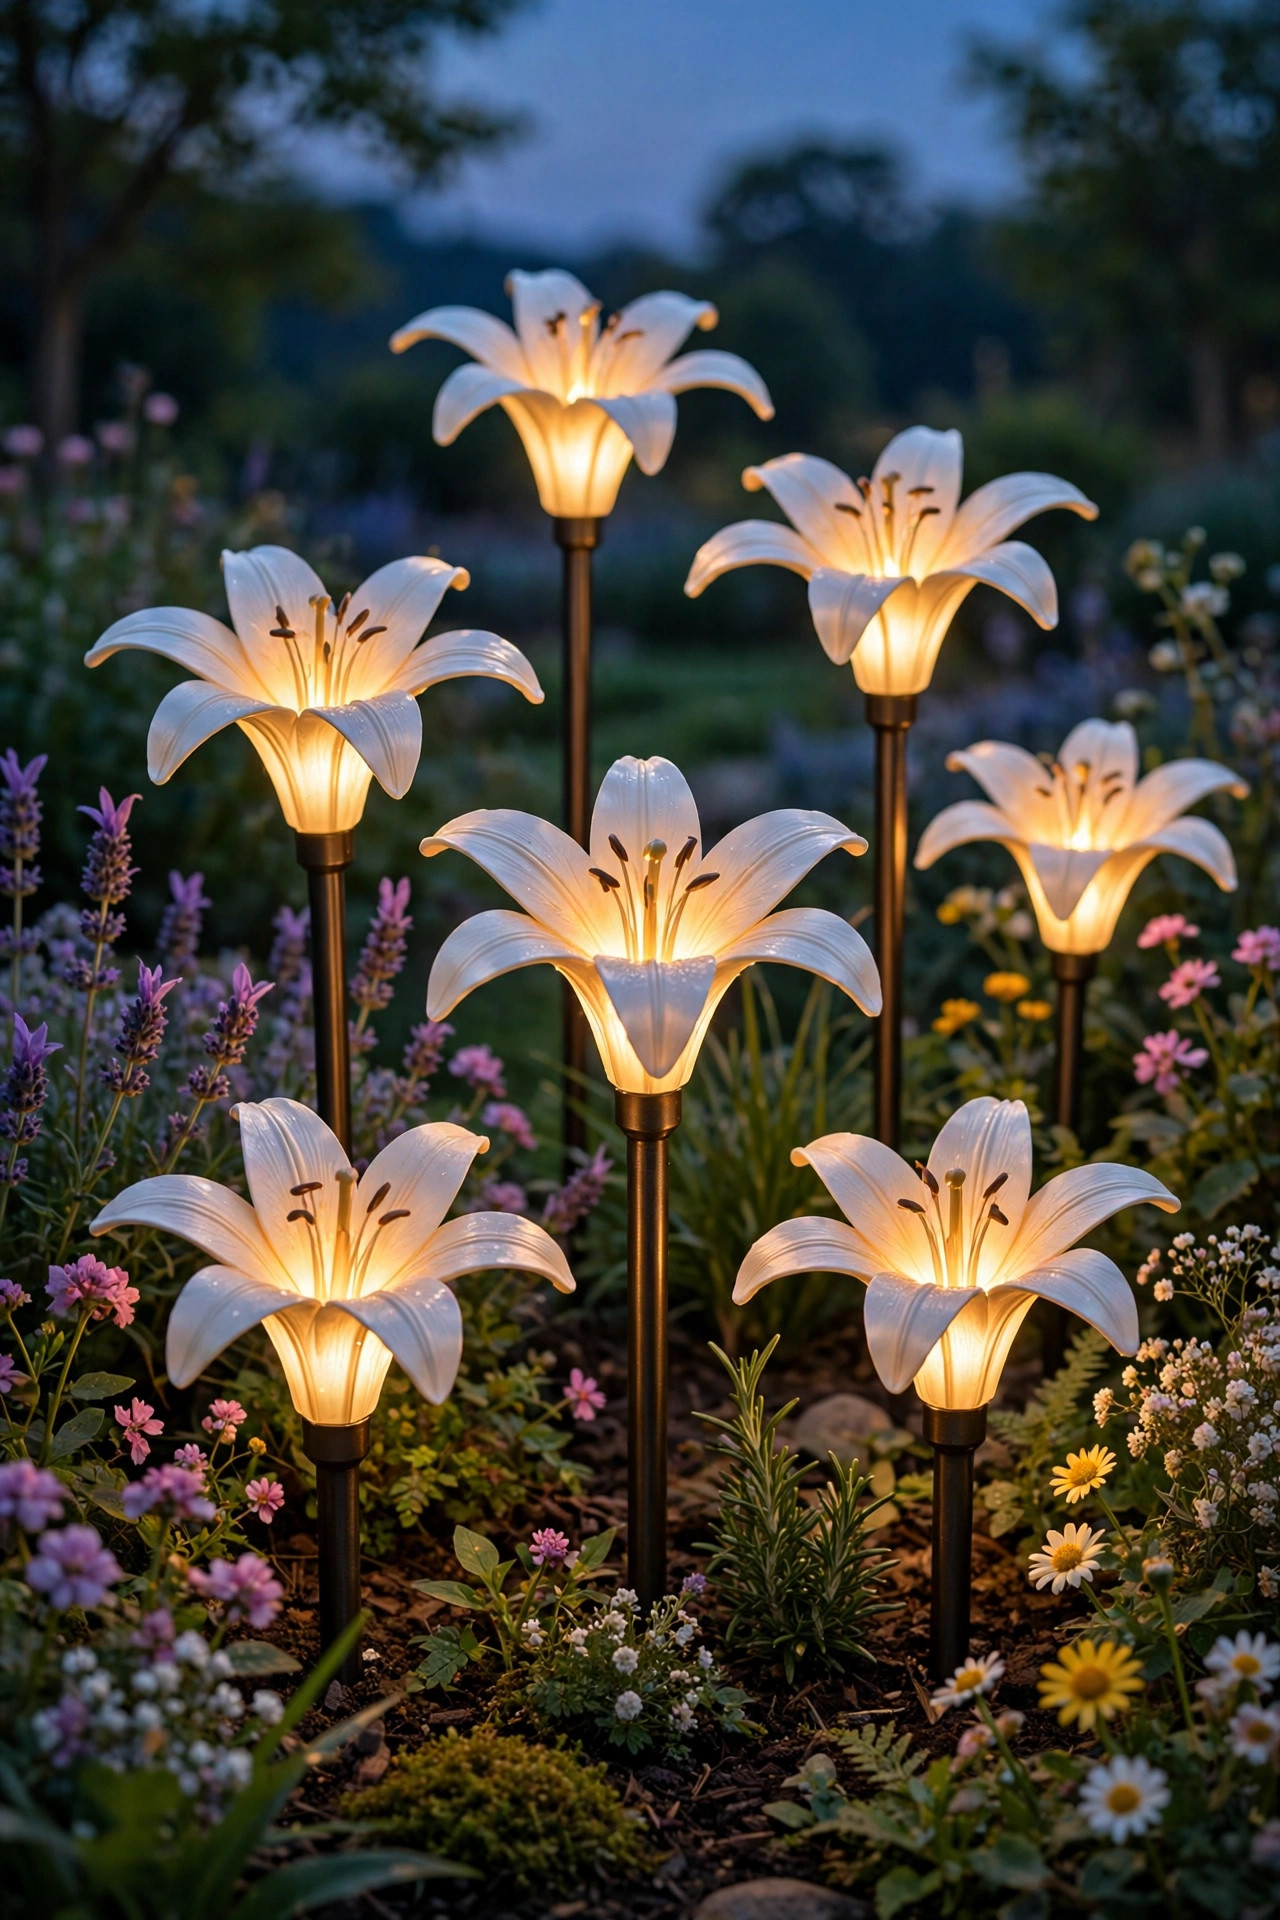
16. Solar Flower Stakes That Bloom After Dark
Some lights are pure jewelry. Solar stakes topped with lighted lilies, tulips, or hydrangea heads glow in soft color after sunset and look like ordinary garden ornaments by day. In a bed that is between bloom cycles — that awkward July gap after the peonies fade — a few of these keep the garden feeling alive and intentional.
Let me be honest about their role: they are garnish, not dinner. Their light is a gentle point glow, not illumination, so layer them over a real lighting plan from the other ideas here rather than relying on them alone. Choose versions with the solar panel on a separate short stake you can angle toward the sun, since the flower heads themselves often end up shaded by real foliage. Quality varies wildly, so buy from the mid-price range and expect to refresh them every couple of seasons. Mixed into a cottage-style bed with actual blooms around them, they blur the line between plant and light in the sweetest way.
Suggested budget range: $15 – $45.
17. Put the Whole Bed on a Timer or Photocell
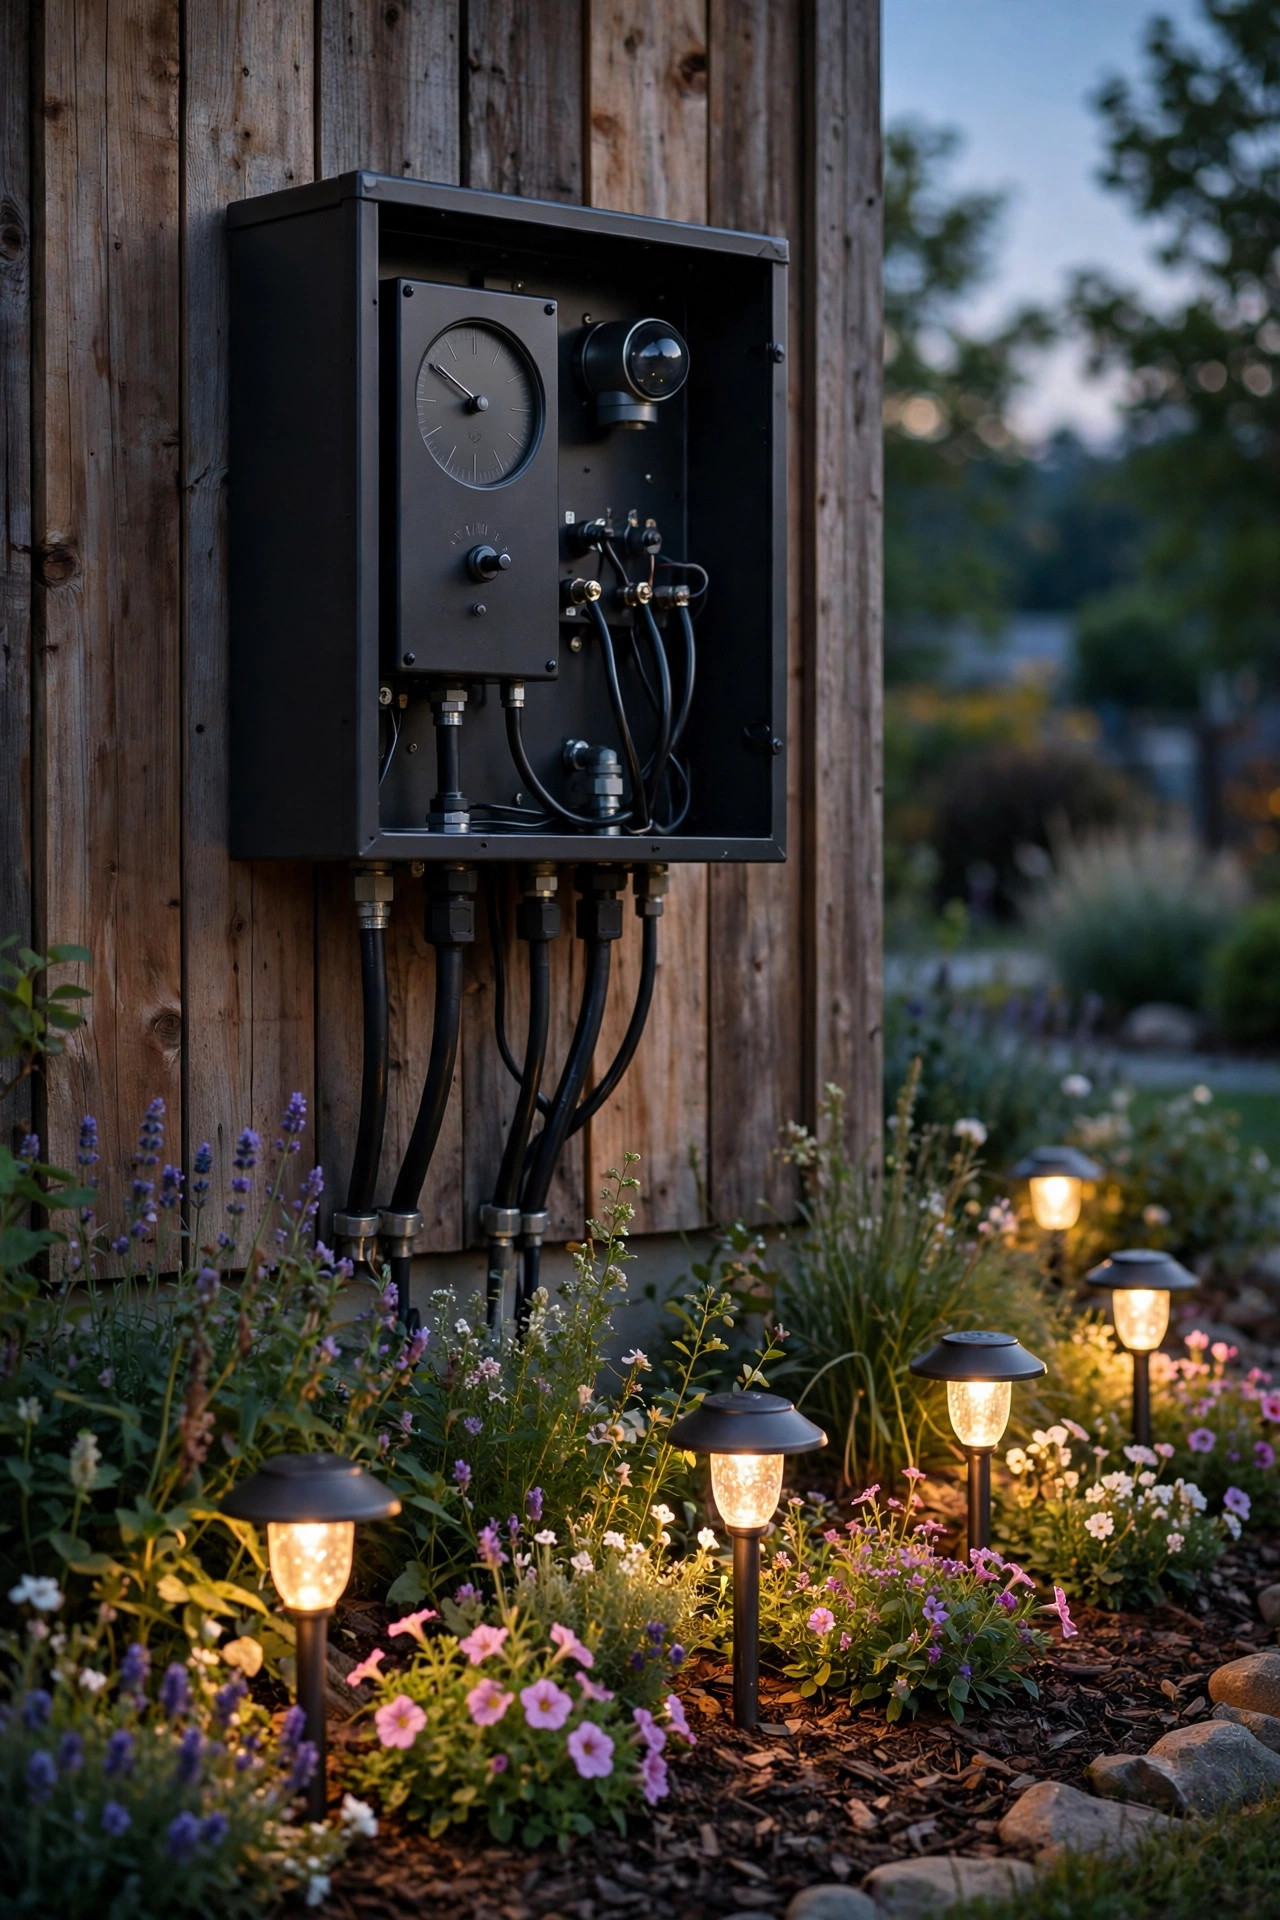
The best lighting plan in the world fails if it depends on you remembering a switch. A photocell that turns the transformer on at dusk, or an astronomical timer that tracks sunset through the year, makes the bed light itself like clockwork — and shuts down at a sensible hour, which your electric bill and your plants both appreciate.
I run my beds from dusk to about 11 p.m. in summer. After that the garden goes dark for the night, which reduces light pollution, keeps the neighbors happy, and gives pollinators a natural dark period. Smart transformers with app control are lovely if you entertain late — extend the schedule from the patio without going inside. For solar fixtures, most have built-in photocells already; just check that mulch and leaves are not shading the sensor, the sneakiest cause of a stake that never lights. A fifteen-dollar timer on the transformer is, dollar for dollar, the highest-value upgrade on this entire list.
Suggested budget range: $15 – $60.
18. Layer Lights at Three Heights for Real Depth
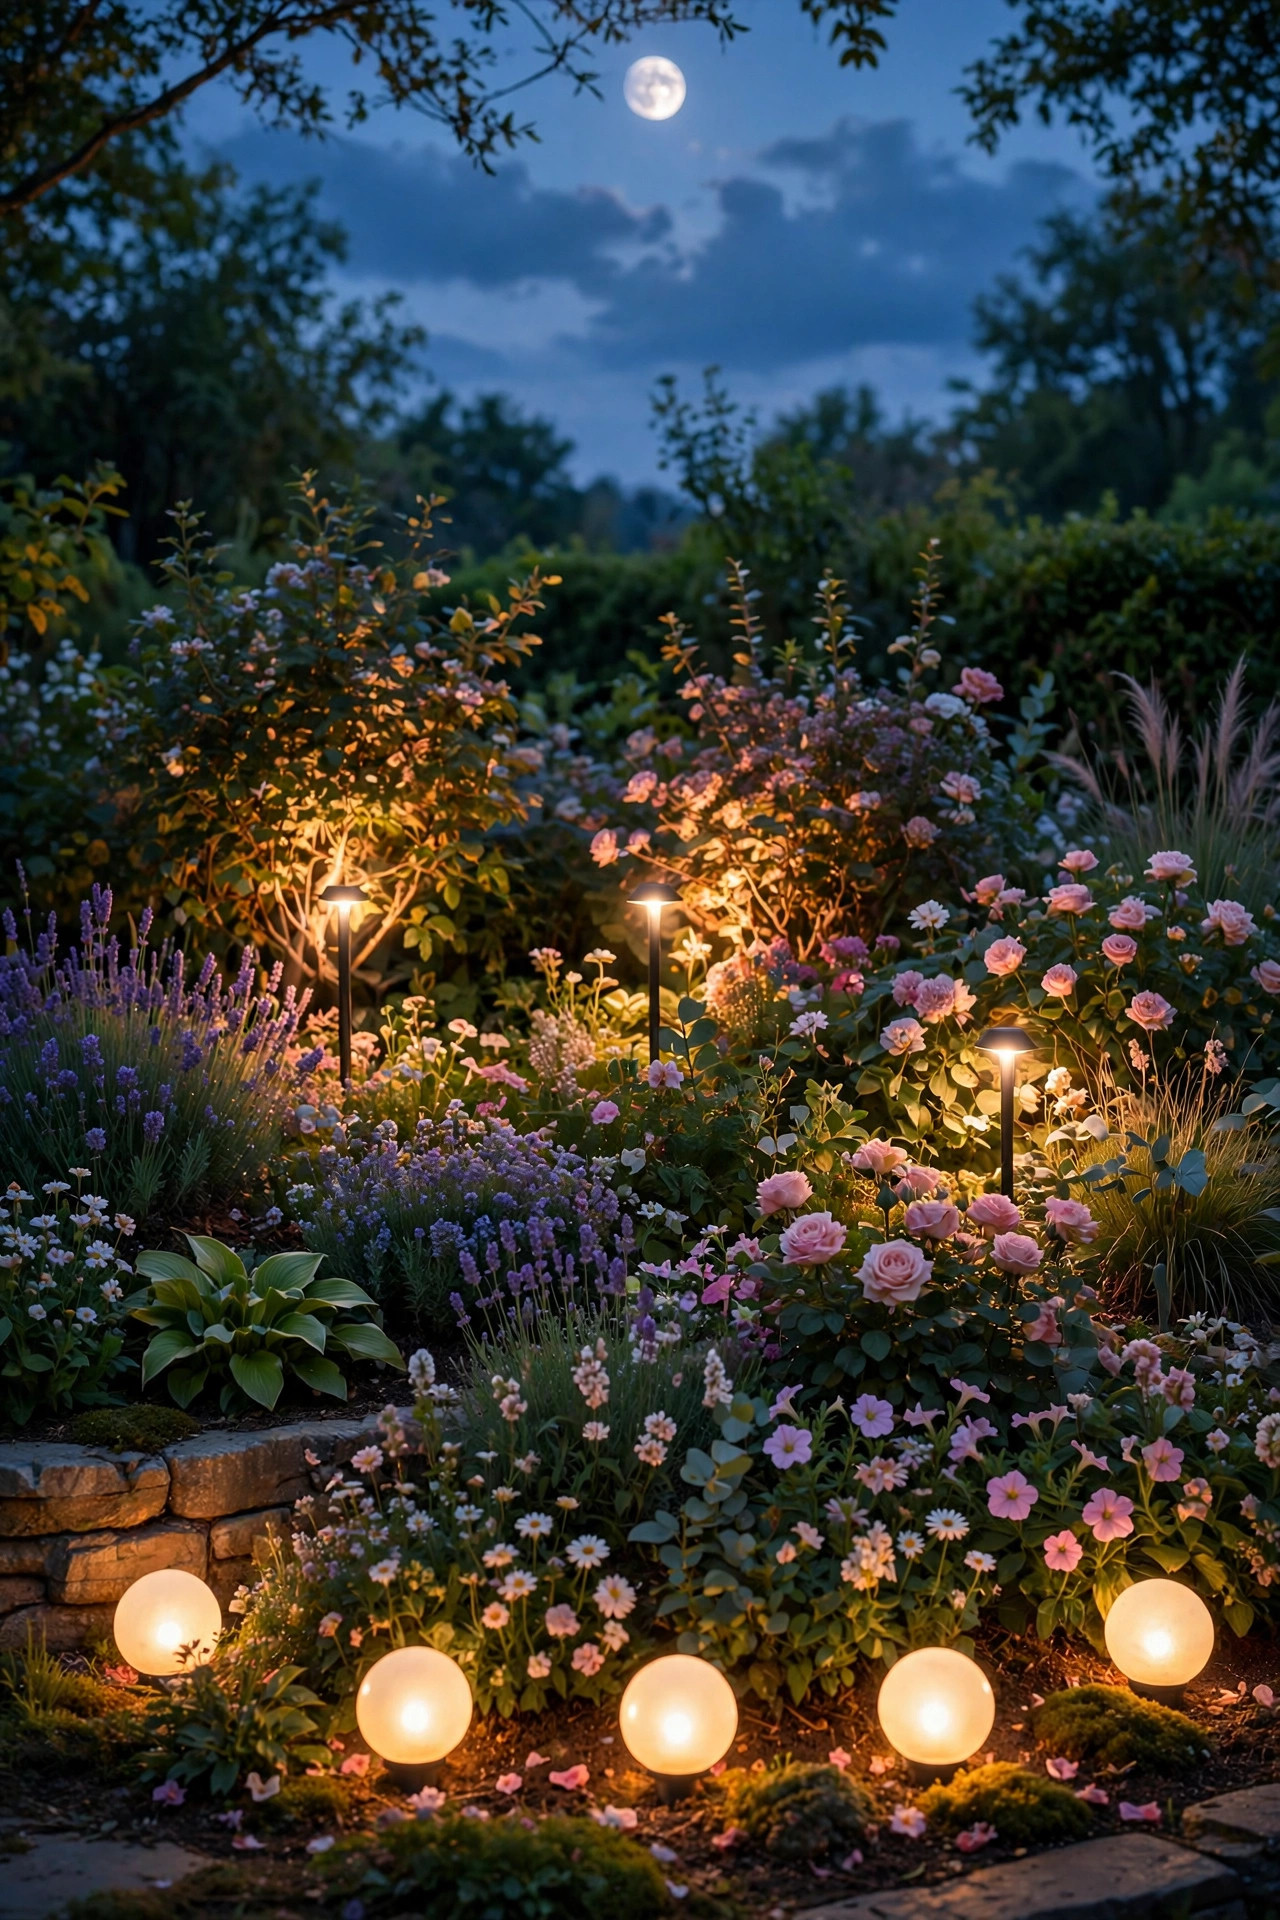
Here is the principle underneath nearly every idea on this list: beds lit at one height look flat, and beds lit at three heights look like magazine photos. Aim for a low layer at ground level — stakes, globes, lanterns — a mid layer washing the bloom canopy at 18 to 36 inches, and a high layer of moonlighting or fence downlight above 5 feet.
You do not need all three everywhere. One corner of the bed might get low plus high, another gets mid plus low, and the star plant gets its own spotlight moment. What matters is that somewhere in the composition, the eye travels up and down through light instead of across a single bright band. When I am helping a friend lay out a bed, we literally crouch at viewing height from the porch and check where the dark gaps are — the fix is almost always one more fixture at a different height, not a brighter bulb in the same old spot.
Suggested budget range: $80 – $250.
19. Match the Light Color to the Blooms Themselves
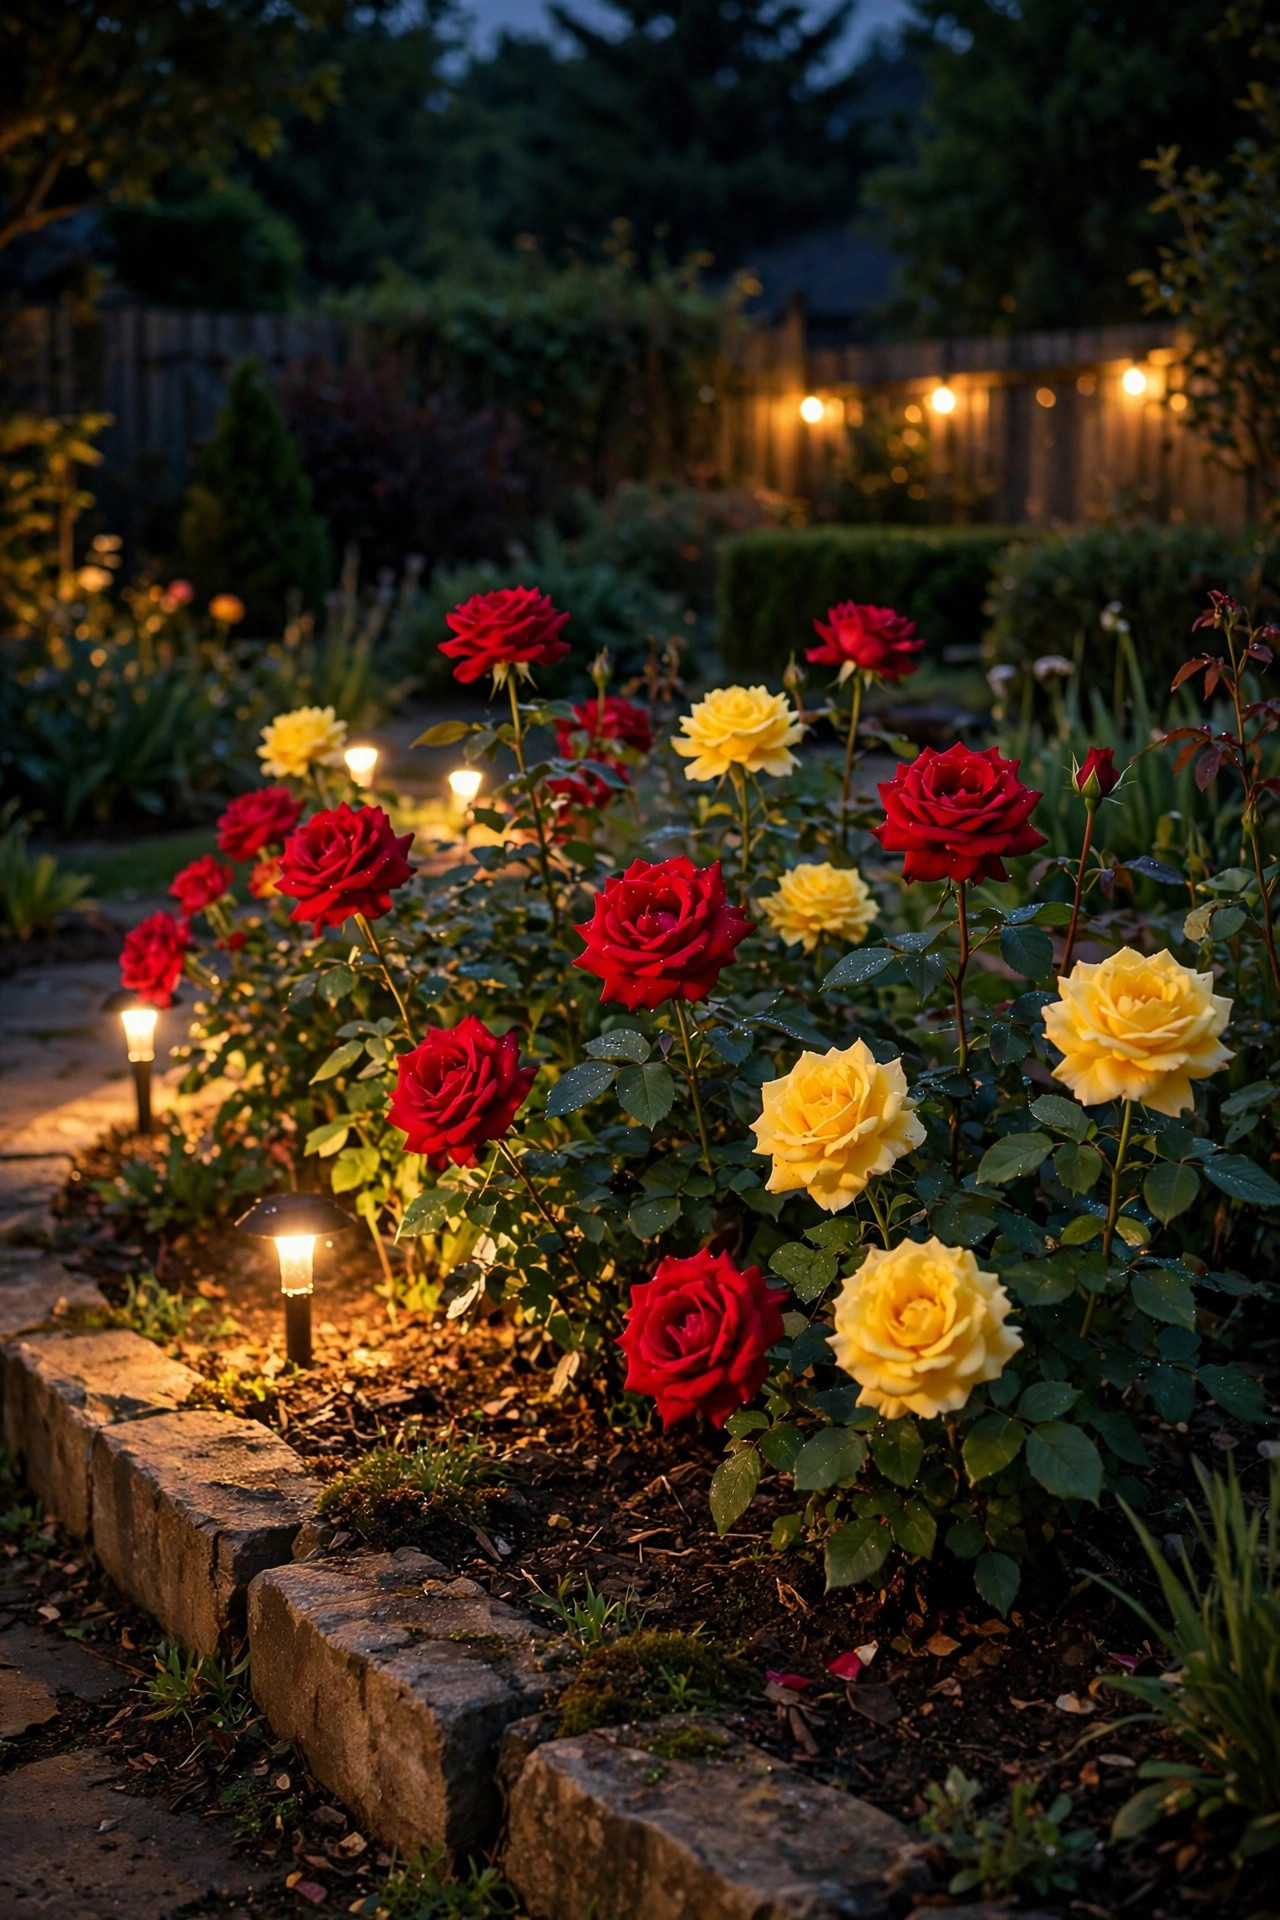
Color temperature is not one-size-fits-all, and this is where a little intention pays off. Warm 2700K light pours honey over red, orange, coral, and yellow blooms — roses, daylilies, marigolds, and zinnias look richer and more saturated under it. The same warmth turns blue and violet flowers slightly gray, so beds heavy on salvia, iris, lavender, and blue hydrangeas often look truer under a neutral 3000K.
White flowers are the referee: they read creamy under 2700K and crisp under 3000K, and only you know which mood your garden wants. What I always recommend avoiding is 4000K and above in a flower bed — daylight-balanced bulbs make the whole garden look like a parking lot and flatten every color they touch. If you inherit harsh bulbs in existing fixtures, swapping them for warm LEDs is a one-hour, low-cost rescue. Test before you commit: hold one bulb of each temperature beside your biggest bloom mass at dusk and trust your eyes over any chart, including this one.
Suggested budget range: $10 – $50.
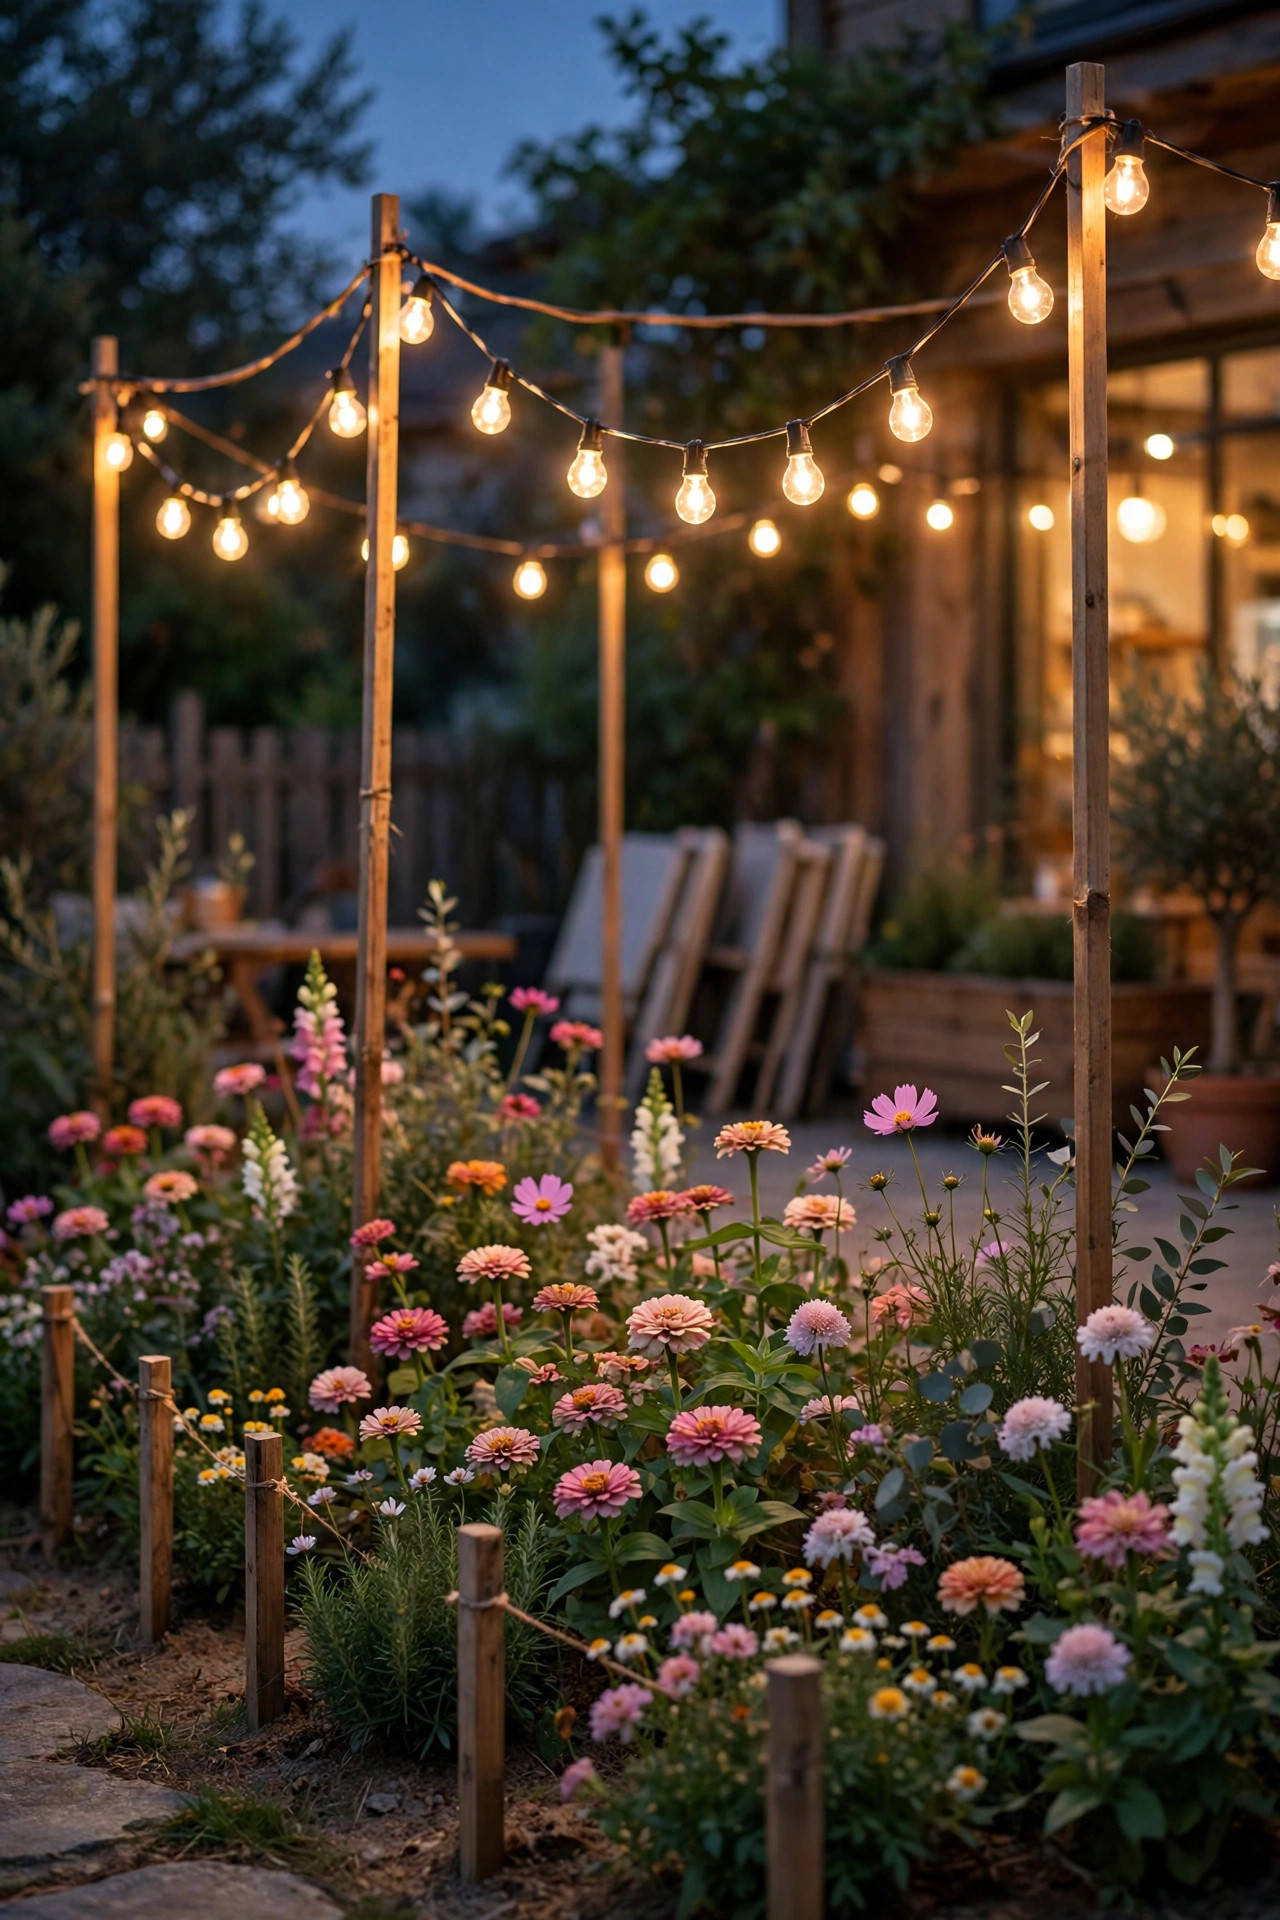
20. String Lights on Short Stakes Over a Cutting Garden
For a casual, festive layer over a cutting garden or a wide informal bed, swag café-style string lights between short stakes or slim poles set right into the bed. Keep the poles low — 3 to 4 feet — so the catenary loops hang just above the tallest blooms and the whole bed feels like a little outdoor room ceilinged in light.
Use shatterproof LED bulbs only, and strain-relieve the swag so wind load goes to the guide wire or poles, never the bulb sockets. This is decorative light, not task light, so choose the warmest filaments you can find, around 2200K to 2700K, and resist piling on strands; two gentle swags beat a dense net. Mind the mower and your own feet — route the run along the bed center, not the edge where you kneel to weed. When a storm threatens or the season ends, the whole thing lifts out in ten minutes, which is more than I can say for anything buried.
Suggested budget range: $30 – $85.
21. My Full Recipe: Layered Flower Bed Lighting Ideas That Never Fail
When a reader emails me a photo of a bed and asks where to start, I send back the same recipe every time, because it works on any bed in any zone. Start with five low-voltage path lights along the front edge, spaced about 5 feet apart. Add one uplight per star plant — most beds have two or three. Weave one strand of copper fairy lights through the middle layer for sparkle, or set a trio of lanterns in a bare corner.
Then put the transformer on an astronomical timer, dusk to 11 p.m., and live with it for a full week. Walk out every evening and note where your eye snags: a dark hole gets one fixture, a glaring hotspot gets a shield or a re-aim, never a bigger bulb. Add the moonlight or fence layer last, once the lower layers feel right. This slow build keeps the budget honest — you buy maybe ten fixtures total instead of twenty — and the bed ends up looking like it evolved over seasons, not like it arrived in one afternoon. That layered patience, more than any single product, is the real secret.
Suggested budget range: $150 – $400.

Frequently Asked Questions
What color temperature is best for flower beds?
For most beds, 2700K warm white is the sweet spot — it flatters warm-colored blooms like roses, daylilies, and marigolds and feels cozy against green foliage. If your planting leans blue, violet, and white, try 3000K for truer color. Avoid anything 4000K or higher in the garden; it reads as harsh security lighting.
Are solar lights bright enough for a flower bed?
For accents, yes. Quality solar stakes and spotlights produce enough glow to define blooms and edges, especially in the first few hours after dusk. For the brightest, most reliable effects — uplighting tall plants, washing a wall — wired low-voltage fixtures are noticeably stronger and more consistent. Many beautiful beds mix both.
How many lights does one flower bed actually need?
A good starting rule is one light every 4 to 6 feet along the front edge, plus one uplight per focal plant. A typical 12-foot bed comes alive with six to nine fixtures total. You can always add; starting sparse keeps the garden restful instead of resembling a runway.
Will landscape lighting harm my plants?
Low-voltage LED fixtures produce almost no heat at the plant, so foliage and blooms are safe. The lighting itself does not meaningfully disturb most ornamentals, especially on a timer that gives plants a full dark period overnight. Just avoid aiming intense beams at the same leaves all season, and keep buried cable clear of roots when you dig.
Conclusion
A flower bed you can only love at noon is half a garden. Start small — a few solar stakes, one uplight on your favorite plant, a timer so it all happens without you — and let the layers grow the way the plantings did. Of all the flower bed lighting ideas I have tried over the years, the layered, warm, and slightly understated ones are the keepers. For more ways to extend the glow, browse my complete collection of garden lighting ideas and keep experimenting — your evening garden is waiting.