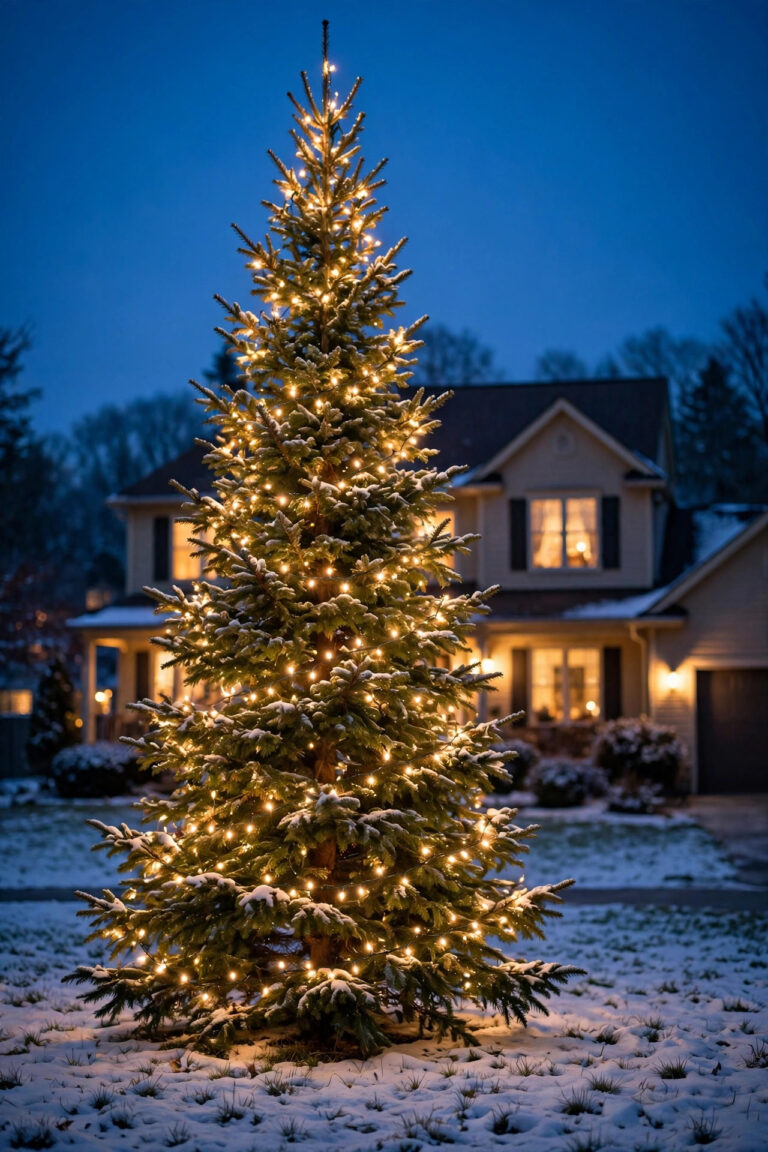
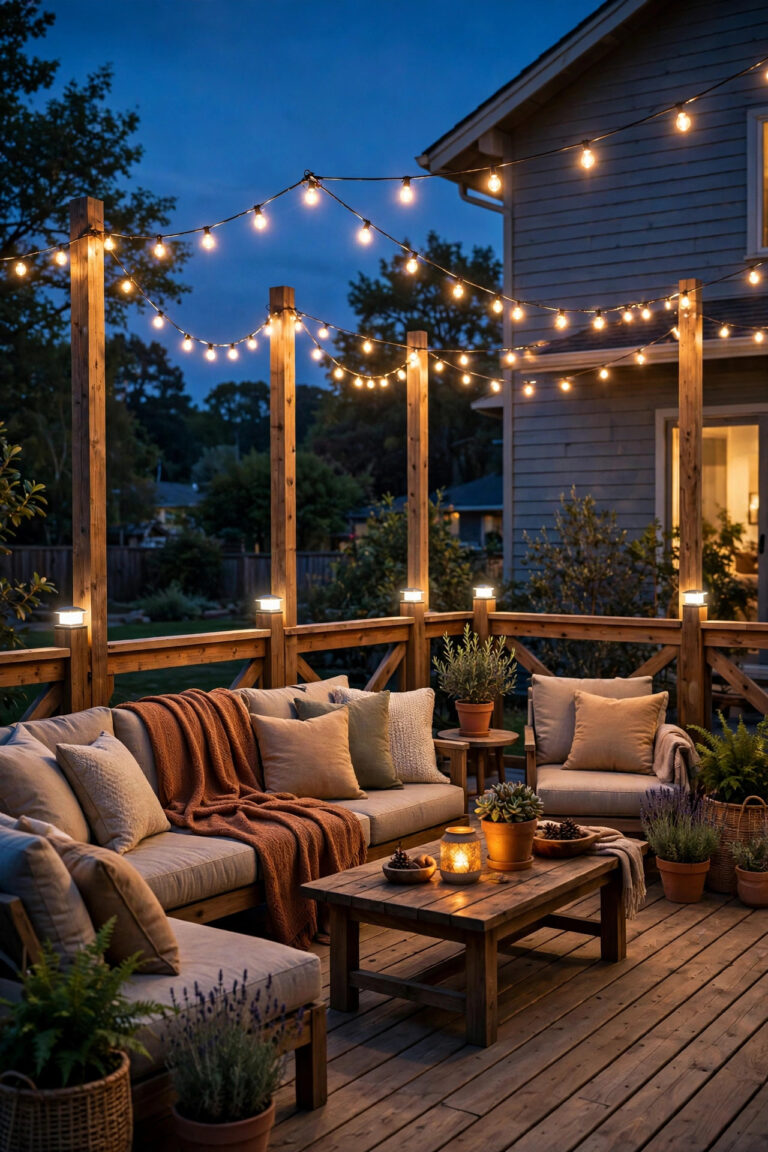
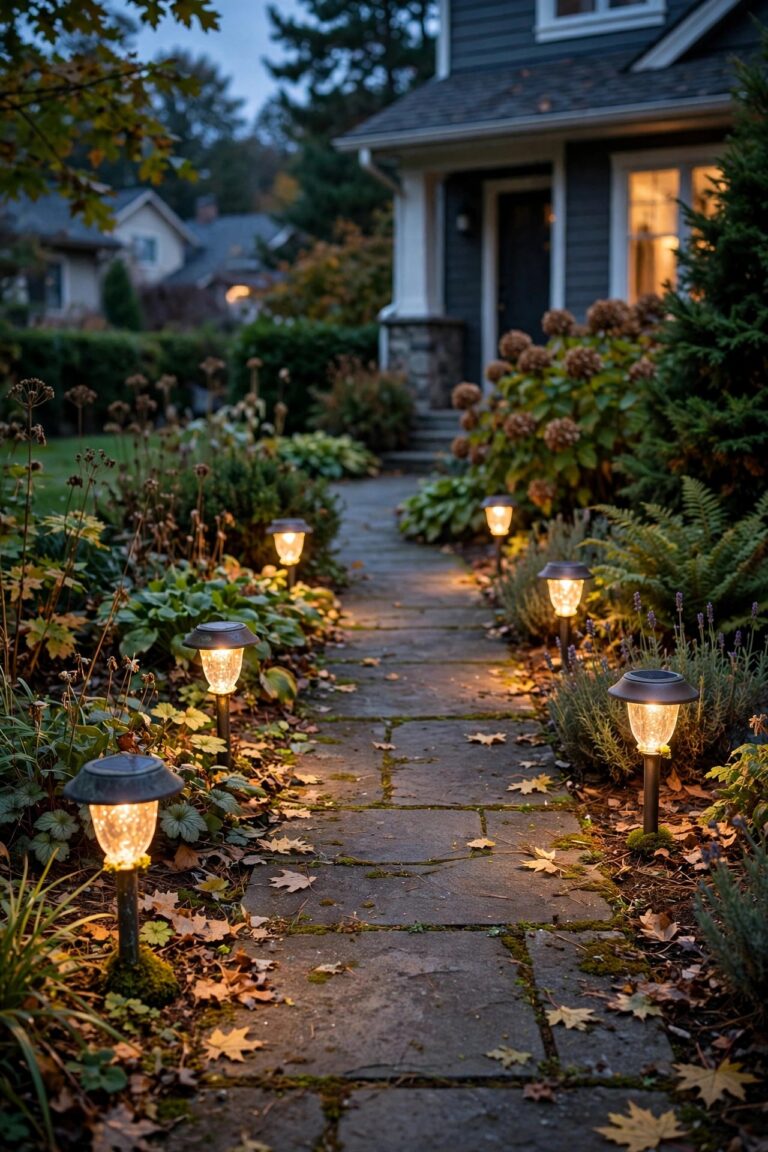
There is a moment every summer evening, right as the sky goes indigo, when my backyard tree becomes the most beautiful thing on the property. Not the patio, not the flowerbeds — the tree. That did not happen by accident. After years of experimenting, I have learned that the best backyard tree lighting ideas all follow one simple philosophy: layer the light. A wash from below, a twinkle inside the canopy, and a soft pool of light where people actually sit. One layer alone looks flat; three together look like a boutique hotel garden. In this post I am sharing 23 ways to light the trees you already have, from a fifteen-dollar solar spotlight to the branch lanterns glowing over my swing. Every idea includes the practical details I wish someone had told me — mounting heights, bulb temperatures, spacing, and how to keep everything weatherproof. Pick one tree, pick two or three ideas, and start tonight.

1. Classic Trunk Uplighting with In-Ground Well Lights
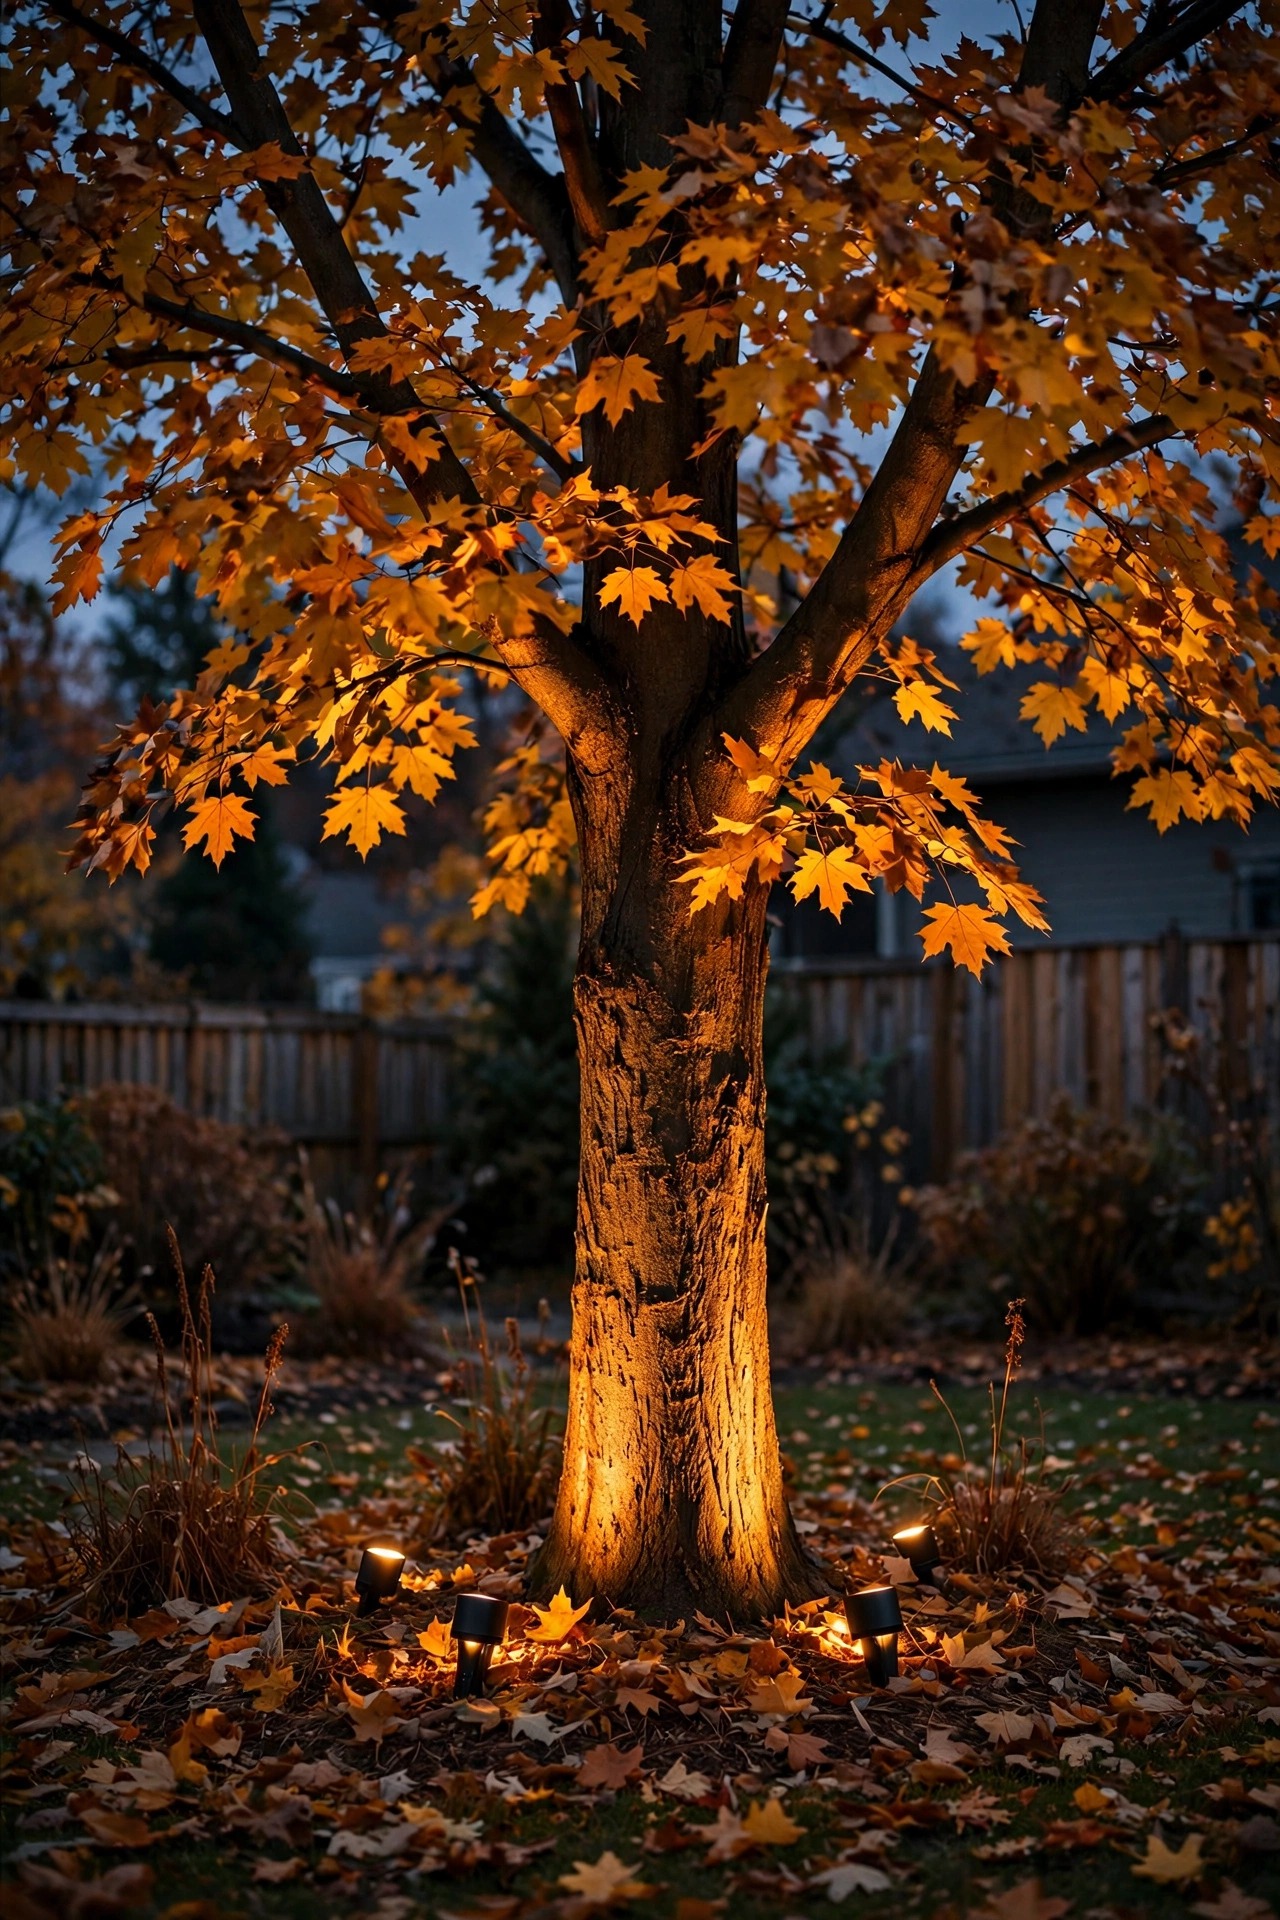
If you only ever try one technique, make it this one. I place two or three in-ground well lights in a loose ring about 18 to 24 inches from the trunk, angled up at roughly 30 degrees so the beams graze the bark instead of blasting straight through it. That grazing angle is the whole secret — it picks up every ridge and furrow in the bark and throws long, dramatic shadows into the lower branches. Choose fixtures with a 2700K LED and a beam spread around 35 to 45 degrees; narrower beams work on tall, straight trunks, wider beams flatter spreading oaks. In my experience, two fixtures beat one for any trunk wider than about a foot, because a single light leaves a hard dark stripe on the far side. Bury low-voltage cable 6 inches deep, use gel-filled waterproof connectors, and set the transformer on a dusk-to-dawn timer so the show starts itself. Honestly, this is the idea neighbors ask me about most, and it is the easiest to get right.
Suggested budget range: $60 – $140.

2. Moonlighting from High in the Canopy
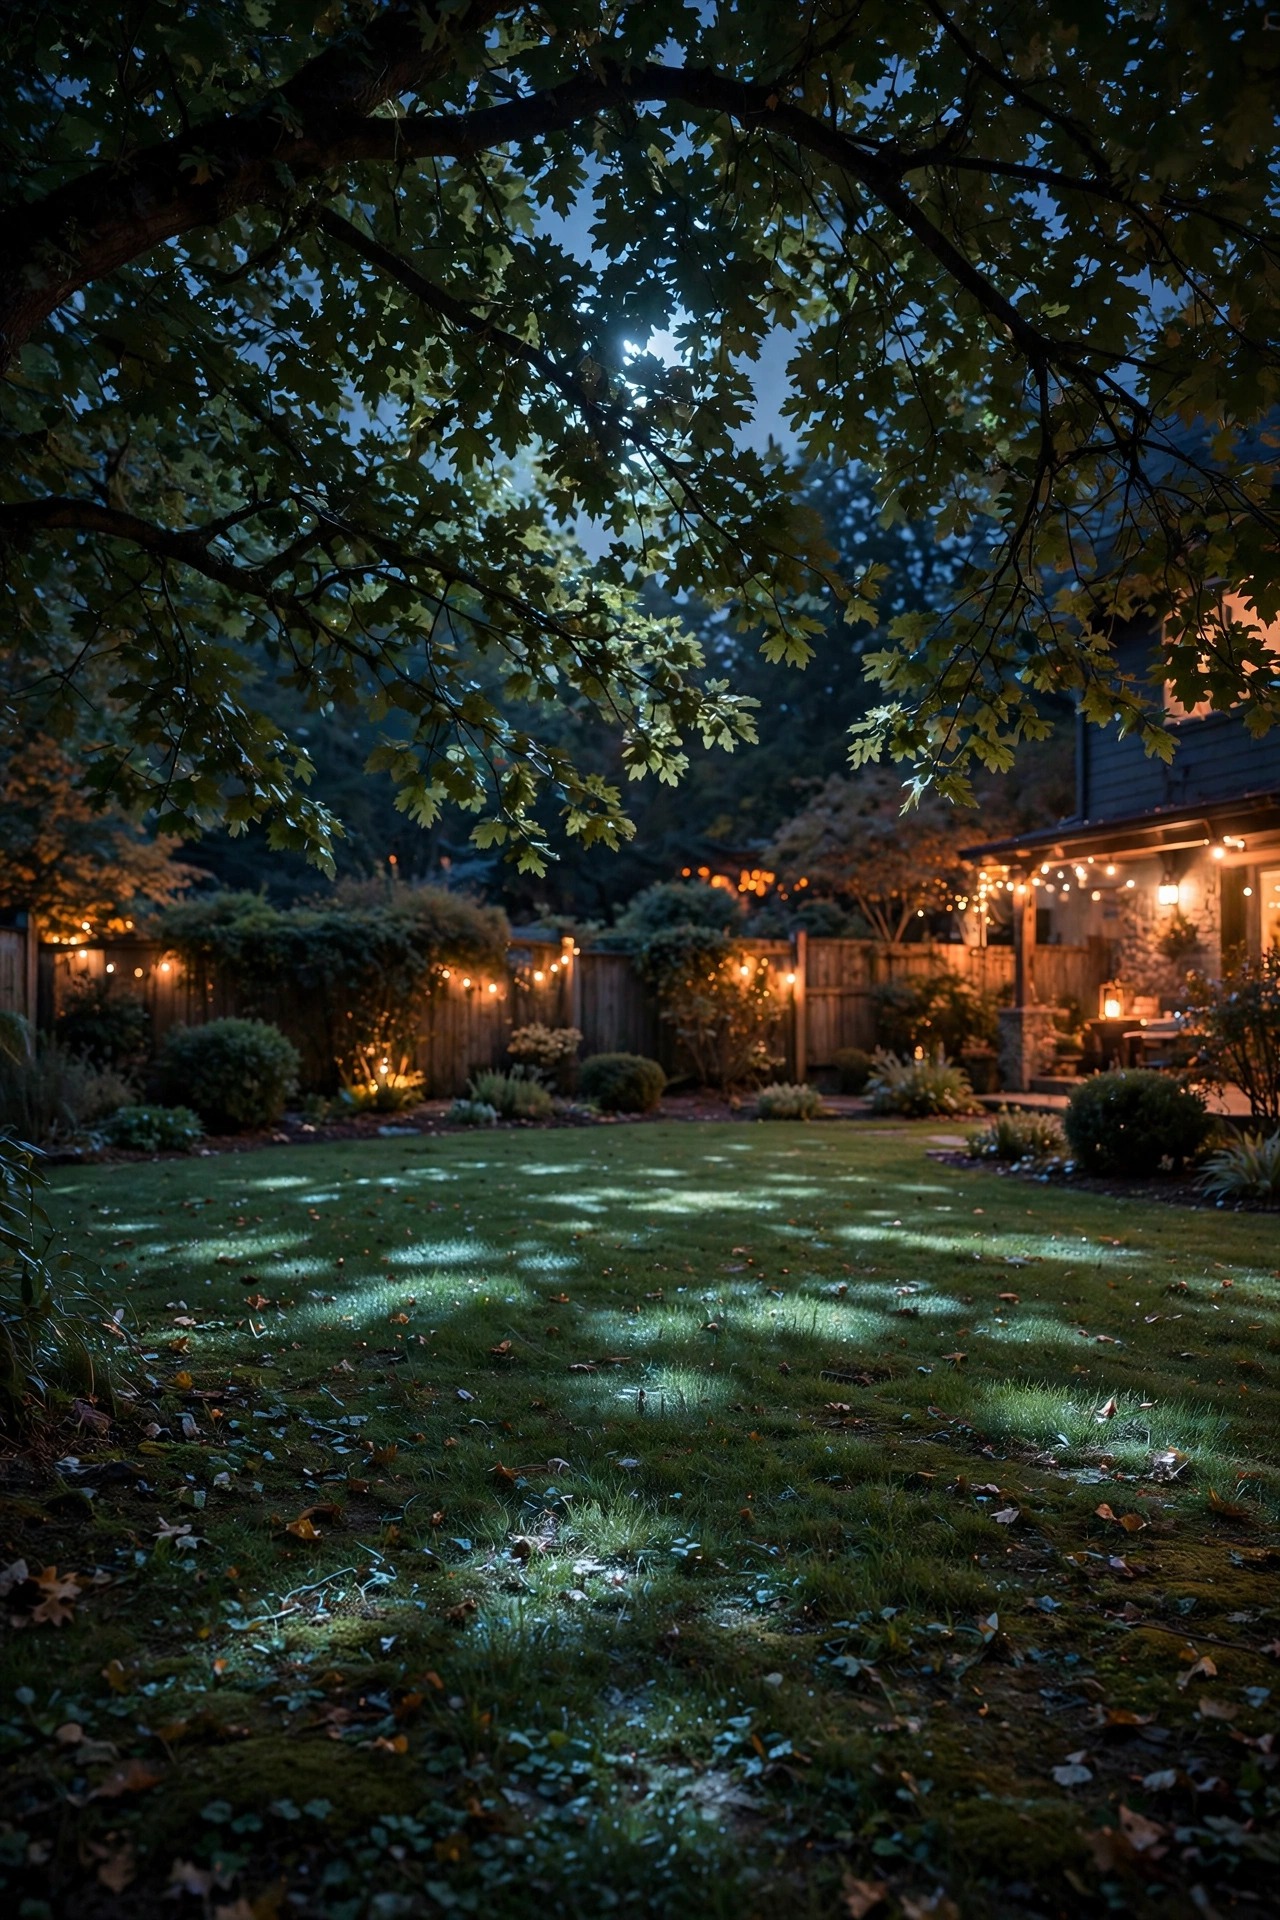
Moonlighting is the most romantic trick in my whole yard. A small downlight fixture mounted 20 to 30 feet up in the canopy, fitted with a soft 3000K bulb and a honeycomb louver, shines down through the branches so the ground below gets dappled pools of light — exactly like a full moon filtering through leaves. I had an arborist place mine during a routine pruning visit, which saved me from ever climbing up there myself, and I always recommend the same to friends. Keep the wattage low; the effect should whisper, not shout. Aim for overlapping circles of light about 6 to 8 feet across on the lawn or patio below. Use stainless or brass hardware with proper tree-friendly straps that get loosened as the tree grows, never screws driven deep into living wood. If you want the full walkthrough, my moonlighting trees guide covers fixture placement branch by branch. This one takes the most effort to install and pays it back every single night.
Suggested budget range: $120 – $300.
3. Wrapped Trunks with Copper-Wire Fairy Lights
A wrapped trunk reads like pure celebration. I use copper-wire fairy lights — the thin, nearly invisible kind — and spiral them around the trunk with about 4 to 6 inches between each pass, working from the base up to the first big fork. Plan on roughly 100 feet of strand for an average trunk; the solar versions with a small panel work beautifully if the panel gets its own patch of sun a few feet away. The warm-white 2700K strands are my favorite because they melt into the bark tones, while the tiniest twinkle or fade mode adds gentle movement. One warning from experience: wrap loosely. Trees grow, bark expands, and a tight wrap becomes a tourniquet by the following season, so I re-wrap mine every fall when I put up the autumn decor anyway. My full collection of fairy light tree wrap ideas shows tighter and looser spiral patterns side by side if you want to compare. Clip the battery pack inside a small weatherproof box at the base and this look runs for weeks on a single charge cycle.
Suggested budget range: $15 – $45.

4. Hanging Lanterns from Low Branches
Low, sturdy branches were made for lanterns. I hang mine at staggered heights — roughly 5, 6, and 7 feet off the ground — using wide fabric straps or padded hooks that will not chew into bark, and I always choose lanterns with real LED candles or low-heat LED bulbs inside, never actual flame anywhere near leaves and dry mulch. A trio of lanterns in mixed sizes looks collected rather than matched, which is exactly the vibe I like. Black metal reads classic, aged copper warms up fast, and the rattan styles feel beachy for summer. Hang them where the light lands on something: over a bench, beside the swing, above a little side table with drinks. From underneath, the glow through the lantern cutouts throws the prettiest patterns on the grass. I have a whole separate post of hanging lantern ideas if you fall for this look the way I did. Swap in flameless candles with timers and the lanterns click on at dusk without you lifting a finger.
Suggested budget range: $35 – $90.

5. Backyard Tree Lighting Ideas with Bistro String Lights
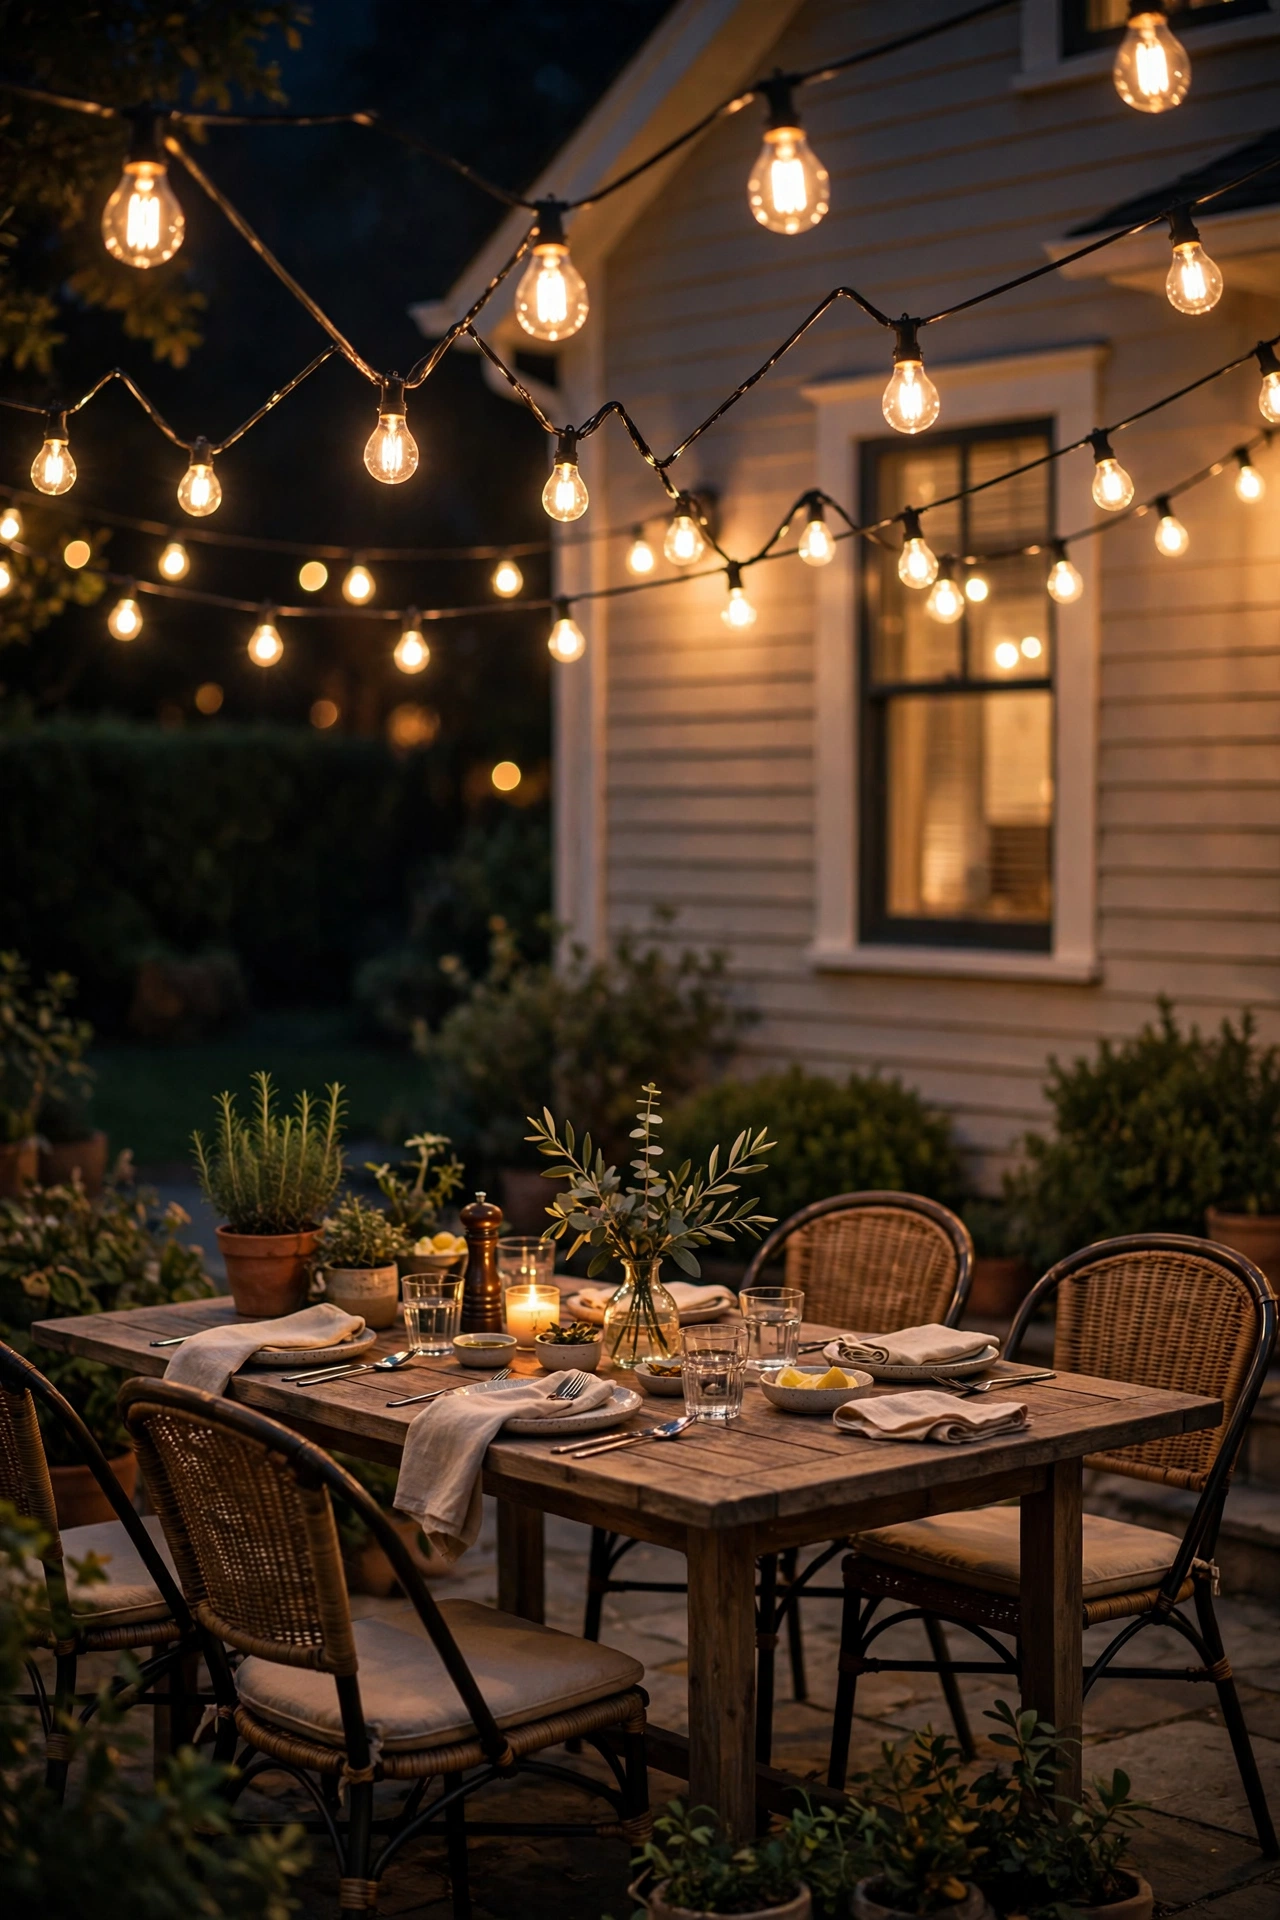
When people picture backyard tree lighting ideas, this is usually the one in their head: café string lights swagged from the trunk out to the branches, or from tree to tree across a seating area. The trick is tension and planning. I run a stainless guide wire first, then clip the strands to it, so the weight never sags on the sockets themselves. Keep swags gentle — about a foot of dip for every 10 feet of run — and cross the midpoint of your seating, not the edge, so the light is over people's heads where it flatters everyone. Commercial-grade strands with suspended sockets and shatterproof LED filament bulbs are worth every penny over the cheap seasonal sets; mine have survived three winters outdoors. Space bulbs so the canopy sparkles rather than strobes, and put the whole run on a dimmer if you can. A dimmed strand at 60 percent over a dinner table is, in my experience, the single most complimented lighting in my yard.
Suggested budget range: $45 – $120.
6. A Tree Swing Lit by Its Own Branch Lanterns
Our tree swing gets used more at dusk than any other hour, so I lit it like a destination. Two small lanterns hang from the same branch that carries the swing, positioned a few feet to either side so they are never in the swing's arc — please learn from my first attempt and measure that swing path twice. The lanterns sit about 7 feet up, high enough to clear a standing adult's head, low enough to pool warm light right where feet push off. I add a single subtle uplight at the trunk base aimed away from the swing so the tree itself glows without shining in anyone's eyes. Everything is LED and cool to the touch, because bare feet and hot bulbs do not mix. Battery lanterns on timers are honestly the easiest route here since cords and swinging ropes are enemies. The result is a little glowing room under the tree that my grandkids call the fairy porch, and I cannot argue with them.
Suggested budget range: $40 – $85.

7. Solar Spotlights for a Zero-Wiring Glow
Not every tree sits near an outlet, and solar spotlights have gotten genuinely good. I look for panels that are separate from the fixture on a short cord, because the light belongs in the shade at the trunk while the panel needs full sun a few feet away — that one detail doubles the runtime. Aim for at least 200 lumens per spotlight, a 2700K to 3000K color temperature, and an adjustable head you can actually aim. Two spotlights crossed at the base of the trunk give you most of the drama of wired uplighting for a fraction of the effort, and they stake in five minutes. In my experience, mid-range solar spots last two to three seasons before the batteries fade, so I treat them as the flexible, move-them-anywhere layer of my lighting plan. Winter tip: angle panels steeply so leaves and snow slide off, and wipe them monthly. For a rental, a new yard, or a tree at the very back of the lot, this is where I always start.
Suggested budget range: $25 – $60.

8. Canopy Twinkle with Globe String Lights
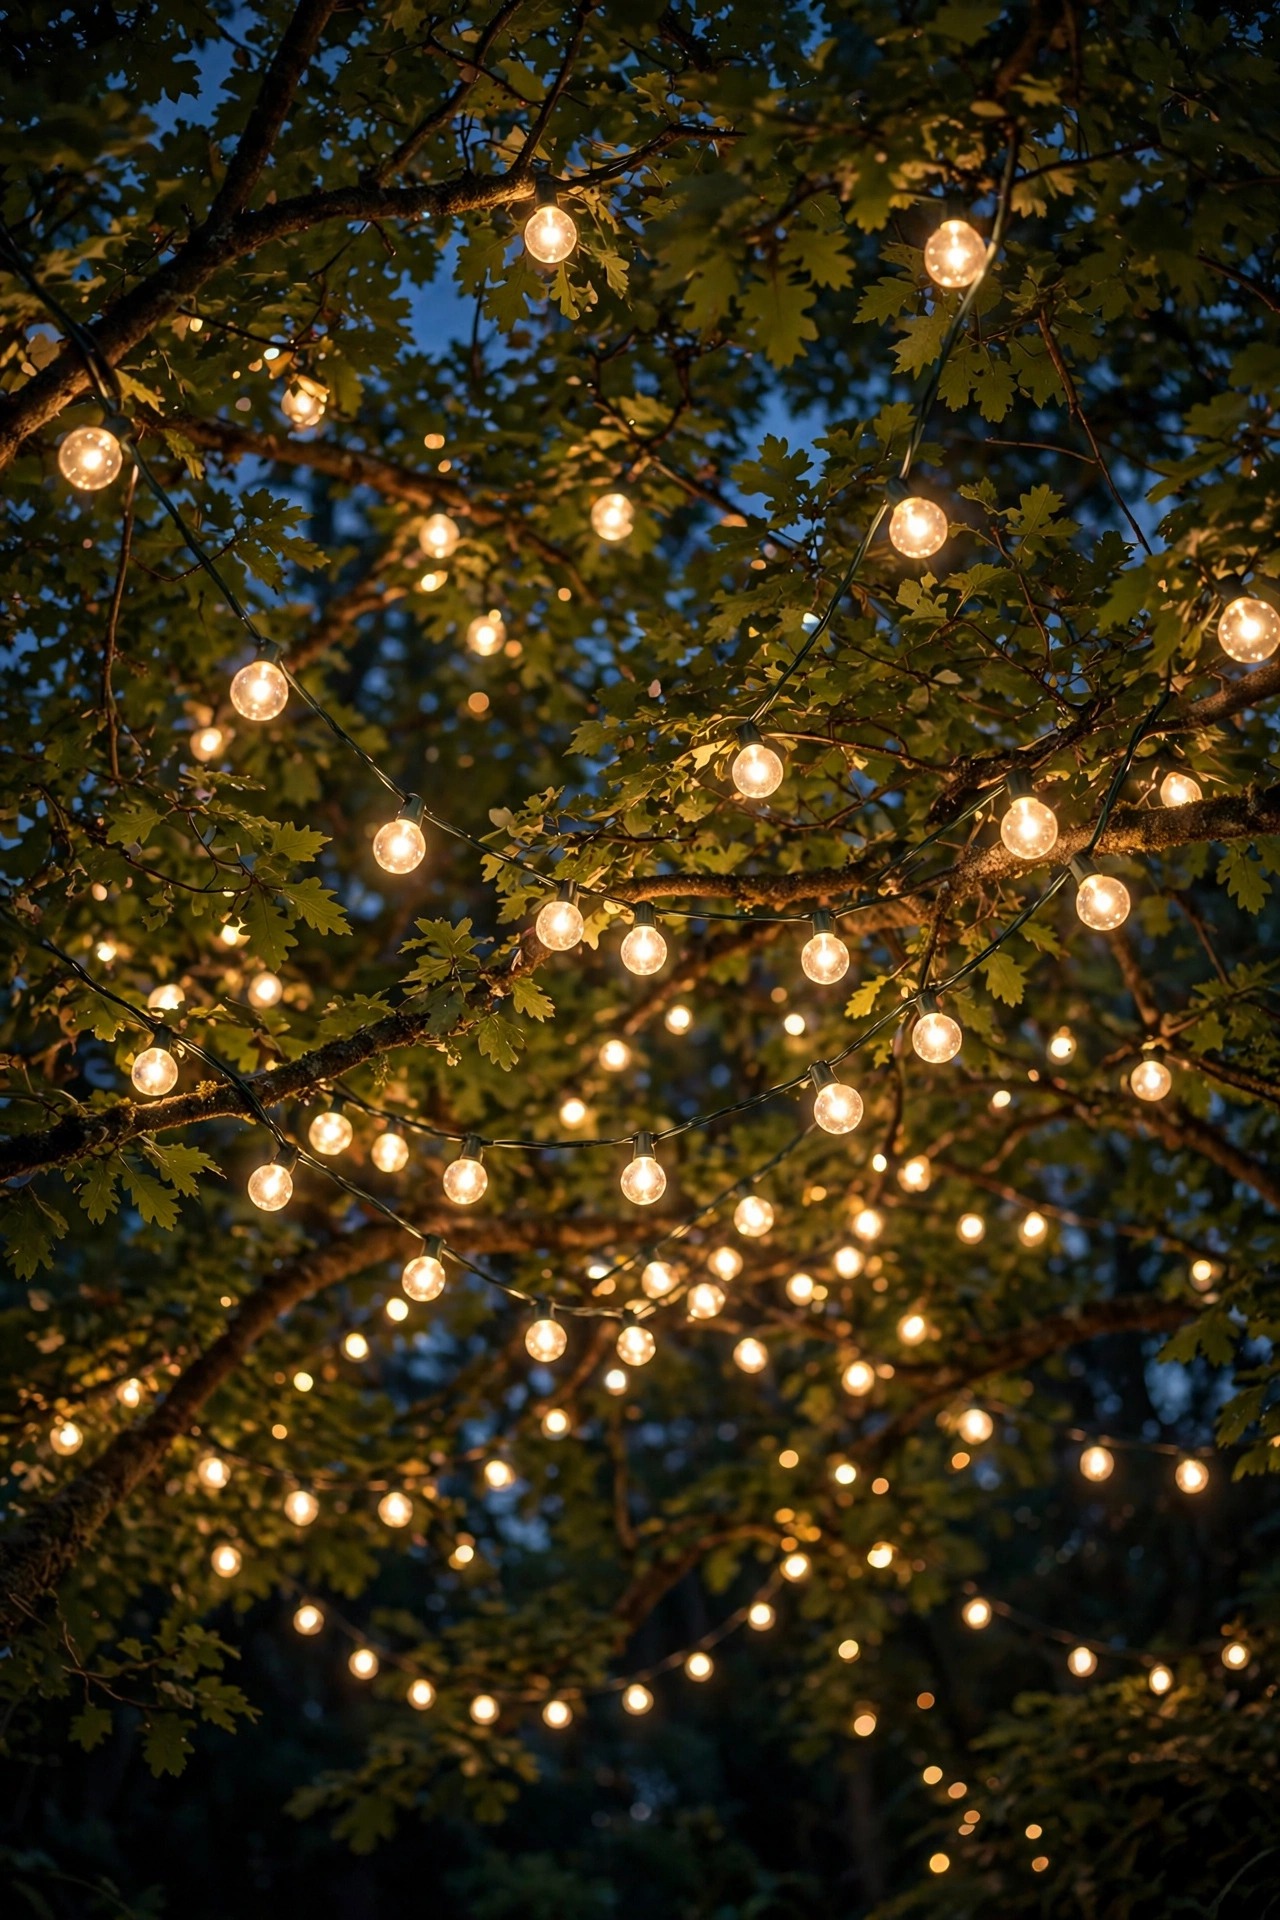
Globe bulbs inside a canopy create the closest thing to bottled starlight I know. I use G40-style LED globe strands with the bulbs spaced about 12 inches apart, and I weave them loosely through the outer third of the branches where the leaves are thin enough to let the light breathe. Work from a stable ladder with a helper footing it, or use an extension pole with a hook to lift strands into place — never pull branches down to you. The globes should peek through the foliage, not outline every twig, so step back every few feet and edit. Warm white is timeless; the soft amber filament styles feel like a vintage garden party. Because these strands live up high, I spend the extra money on outdoor-rated, replaceable-bulb sets and put them on a smart plug scheduled for dusk to 11 p.m. One strand of 50 feet dressed a medium maple for me. From the street, our house looks like it is hosting something lovely every night of the summer.
Suggested budget range: $40 – $95.
9. Downlighting the Path Beneath the Tree
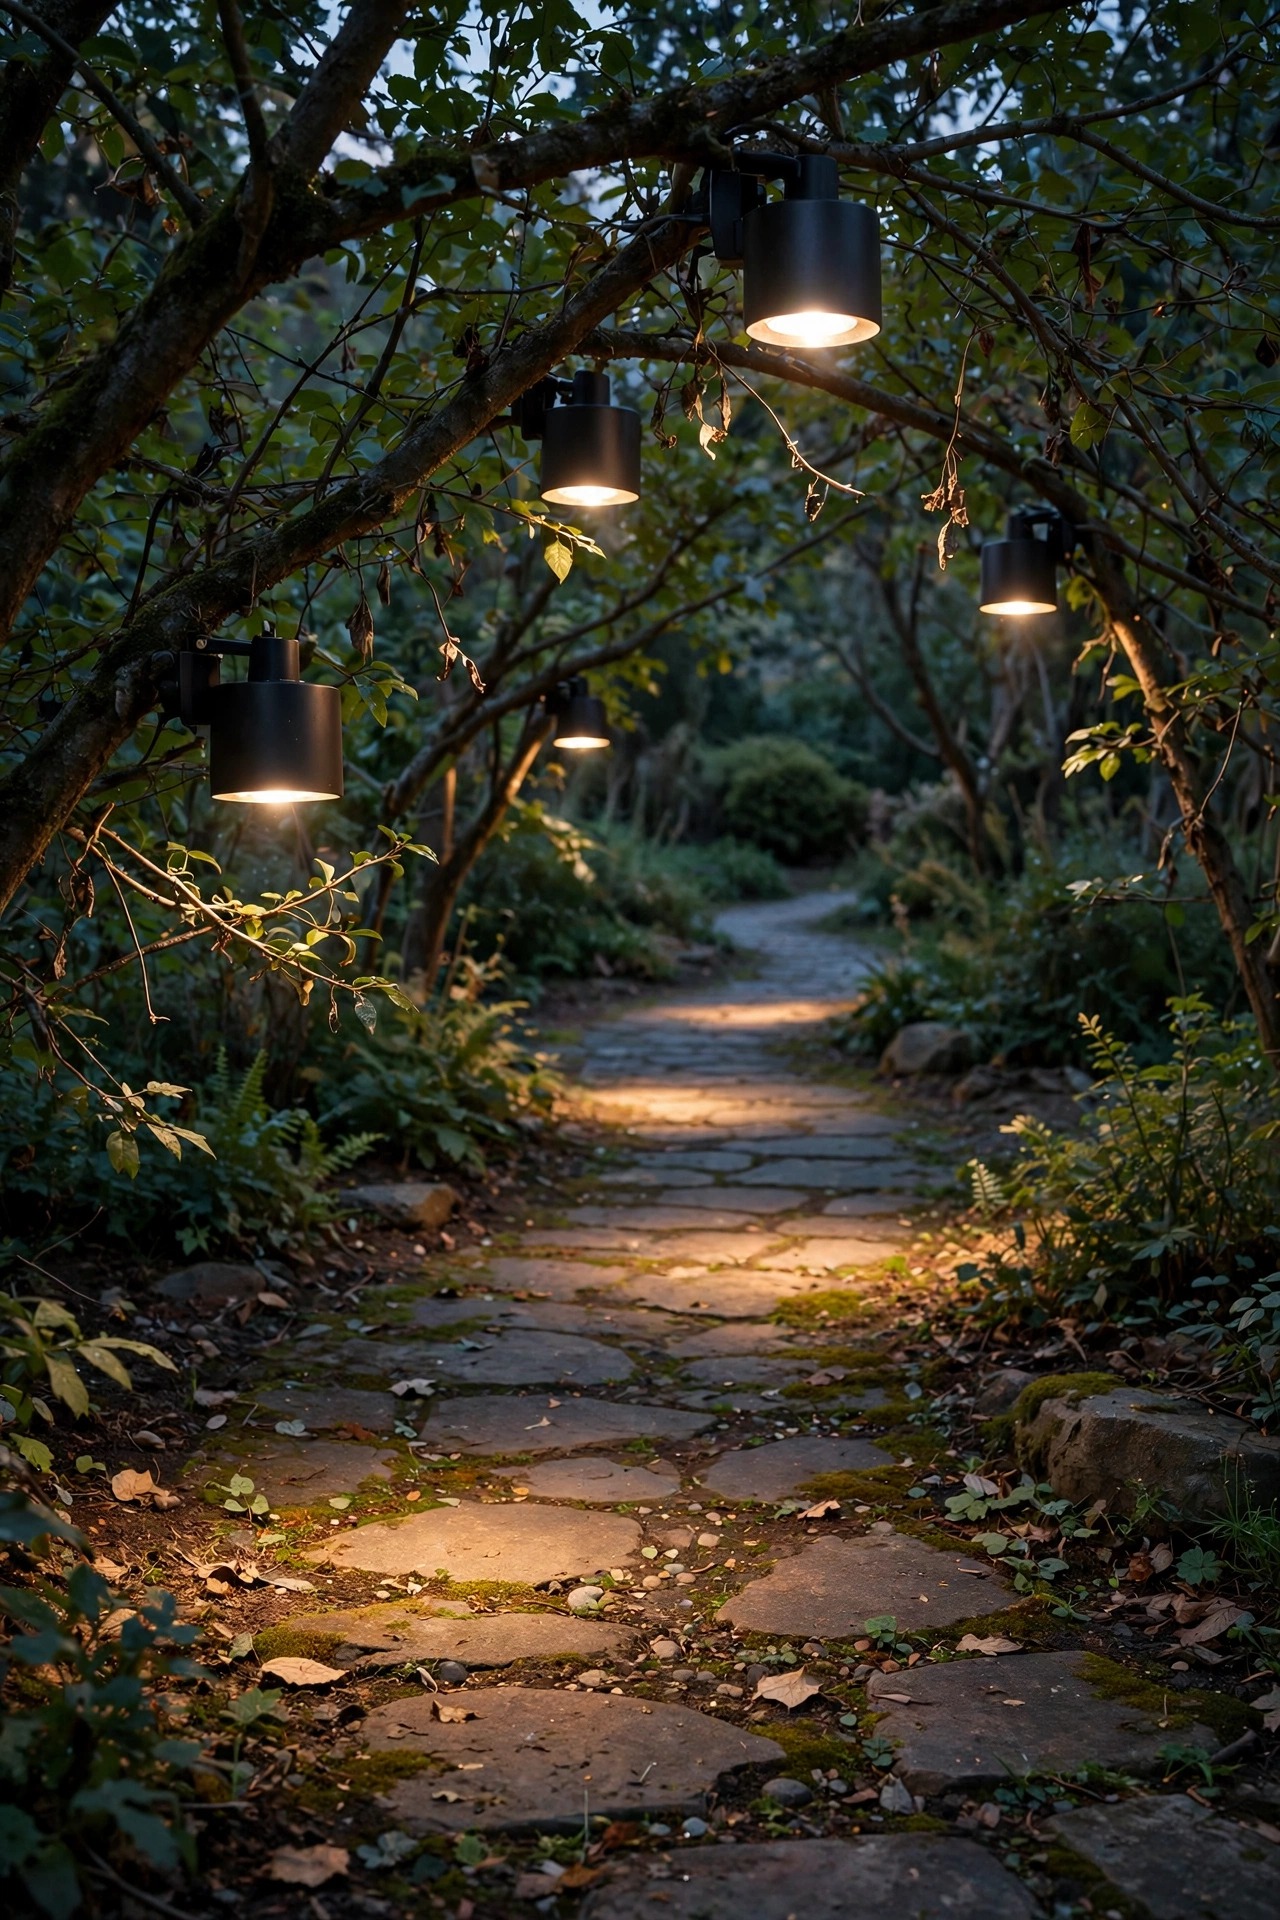
Every big tree in my yard has a path passing under it, and that path used to vanish at night. Small shielded downlights tucked into the lowest branches, about 8 to 10 feet up and aimed straight down, fixed it without a single fixture on the ground to trip over or mow around. The light should land in soft overlapping ellipses, each roughly 4 feet wide, so your feet always know where the stones are. Choose fixtures with a glare shield or barn-door style shade so you see the light on the path, never the bulb itself. I keep these on the same circuit as my other path lights, all 2700K, all on one timer, so the whole route through the yard reads as a single design. This is also the safest idea on the list for older guests and kids running back to the house after dark. In my experience, two downlights per tree are plenty — one for each side of the canopy where the path enters and exits.
Suggested budget range: $55 – $110.
10. Lantern Clusters in Hanging Planters
Here is a trick I borrowed from wedding venues: hang wire planters or open baskets from branches and nestle a lantern inside each one, surrounded by trailing greenery like ivy or sweet potato vine spilling over the edges. By day it reads as a hanging planter; by night the whole cluster glows like a chandelier that grew there. Use flameless LED candles or solar lantern inserts only — real candles inside baskets of foliage are a hard no in my book. Three clusters at different heights on the same branch system look best, roughly 6 to 8 feet off the ground so the light washes the seating below. Water the plants from a step stool with a long-spout can, or cheat like I do and use realistic faux trailing greens in the baskets you cannot reach easily. The glow filtering through leaves and lantern glass together is softer than any single fixture I own. Guests always ask where I bought them, and the honest answer is a thrift store, a hardware store, and twenty minutes.
Suggested budget range: $30 – $75.

11. Color-Changing Smart Uplights for the Holidays
My everyday tree uplights are warm white, but I keep two color-changing smart uplights in the garage for the seasons. In October they wash the maple in amber. In December the front oak goes deep festive red and green for the first two weeks, then settles back to warm white for the rest of the month because honestly, that is the classier look. Look for outdoor-rated fixtures with an app or remote, and check the Wi-Fi reach — the tree at the far corner of my yard needed the signal checked before I bought anything. A ground-stake smart spotlight with a metal housing has outlasted the plastic novelty versions at my house by years. The trick is restraint: one or two trees in color, the rest of the yard holding warm and calm, so the colored tree becomes a true focal point. Set the schedule in the app once and the tree changes with the calendar without you touching a ladder or a cord.
Suggested budget range: $50 – $110.
12. Paper Lanterns for One Perfect Party Night
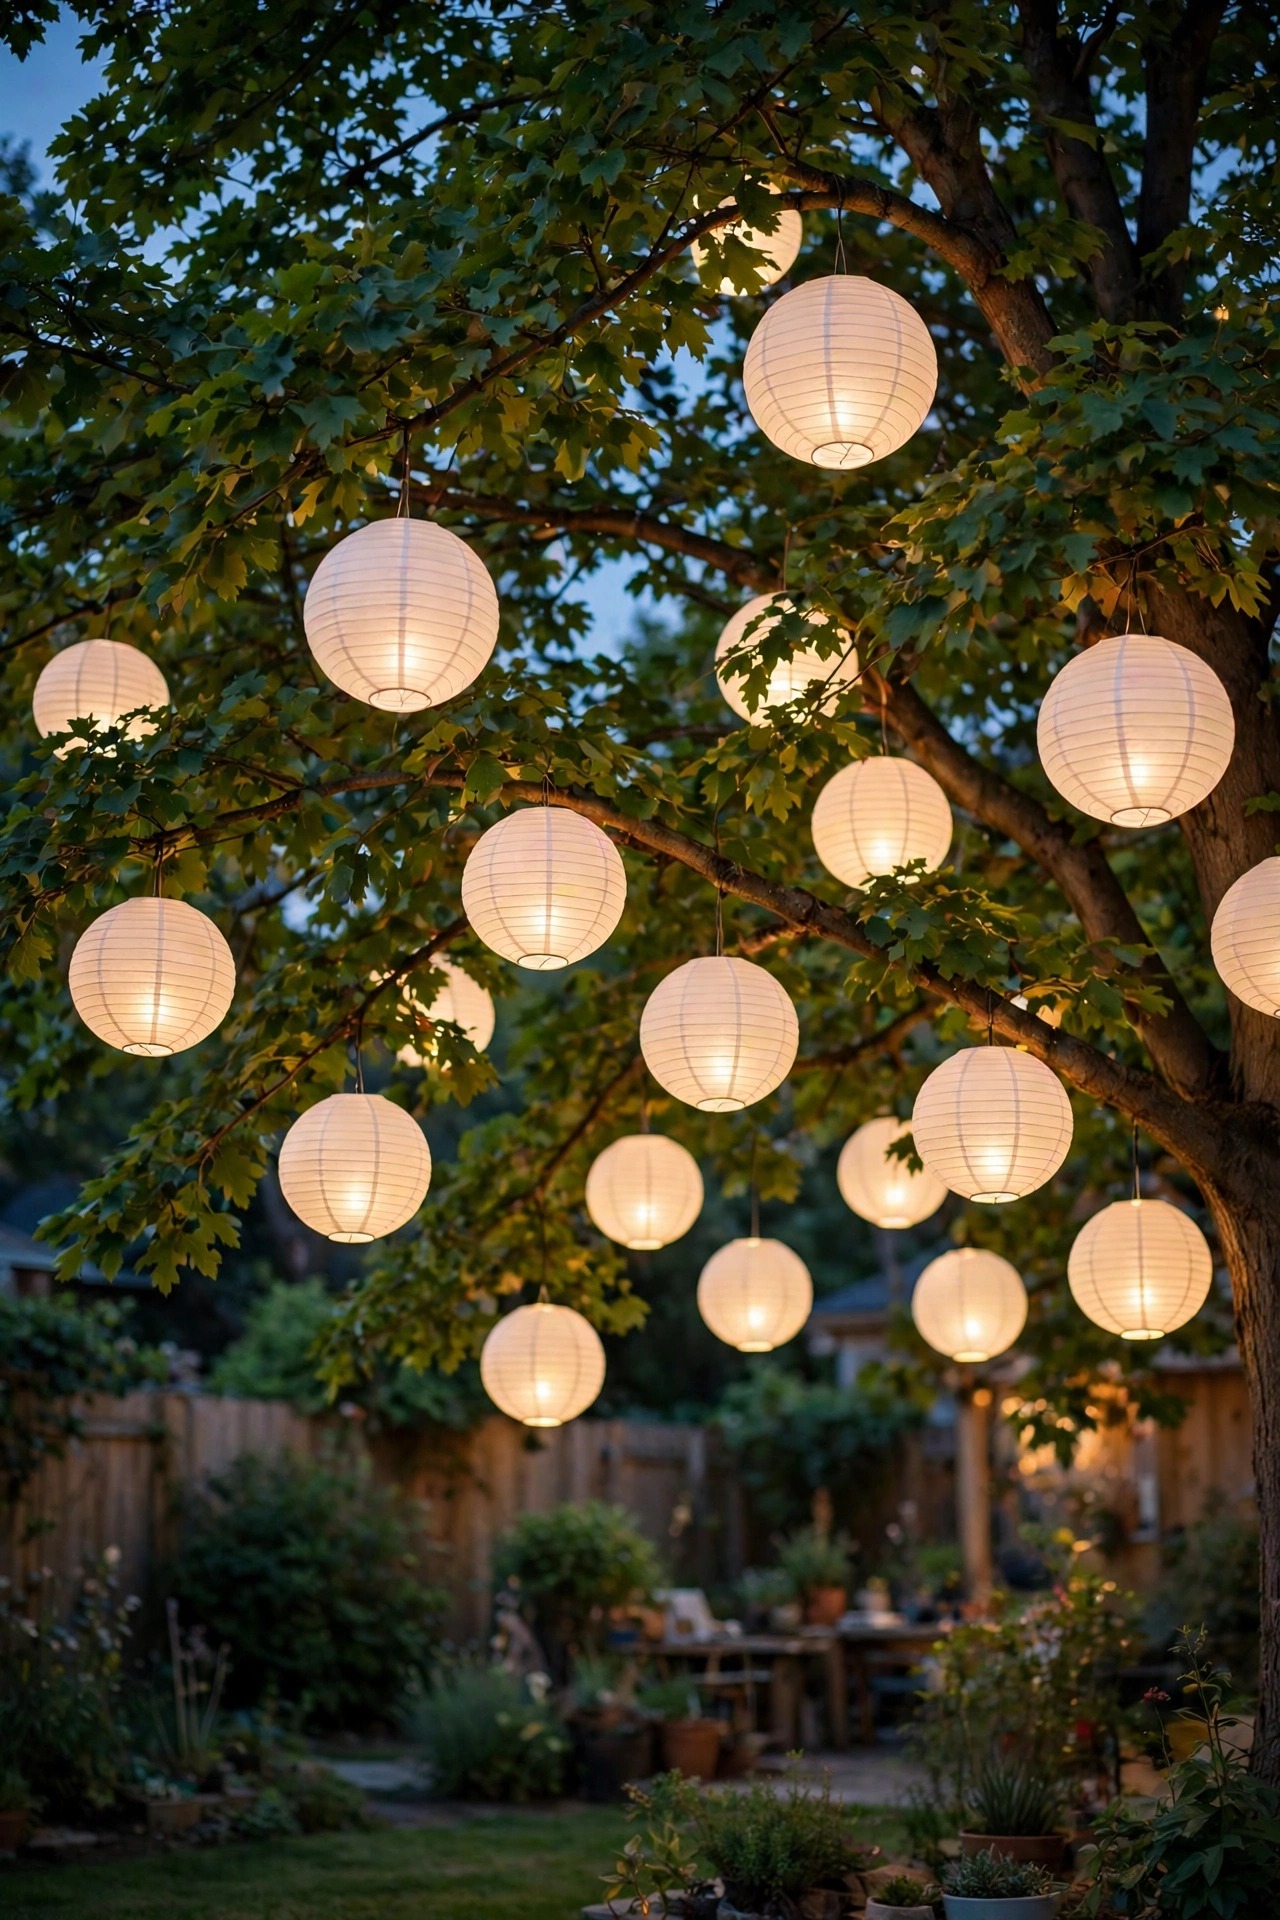
Some lighting is forever and some is for Saturday. Paper lanterns are my Saturday specialty. For a party, I hang a dozen paper lanterns in two or three sizes through the lowest branches of our big tree, each with a battery LED puck inside, all switched on an hour before guests arrive. The rule I never break: LED only, never a real bulb that heats up and never, ever a candle, because paper and flame near dry summer leaves is a risk I will not take. White lanterns glow like little moons; the pale blush and sage sets photograph beautifully for birthdays and showers. They come down the next morning and store flat in a single bin, which makes this the cheapest drama per dollar on the entire list. Hang them with fishing line so they appear to float among the branches. In my experience, twelve lanterns on one tree beat four lanterns on three trees every single time — concentrate the magic in one place and let that tree host the party.
Suggested budget range: $20 – $50.
13. Tree Ring Lighting with Recessed Well Lights
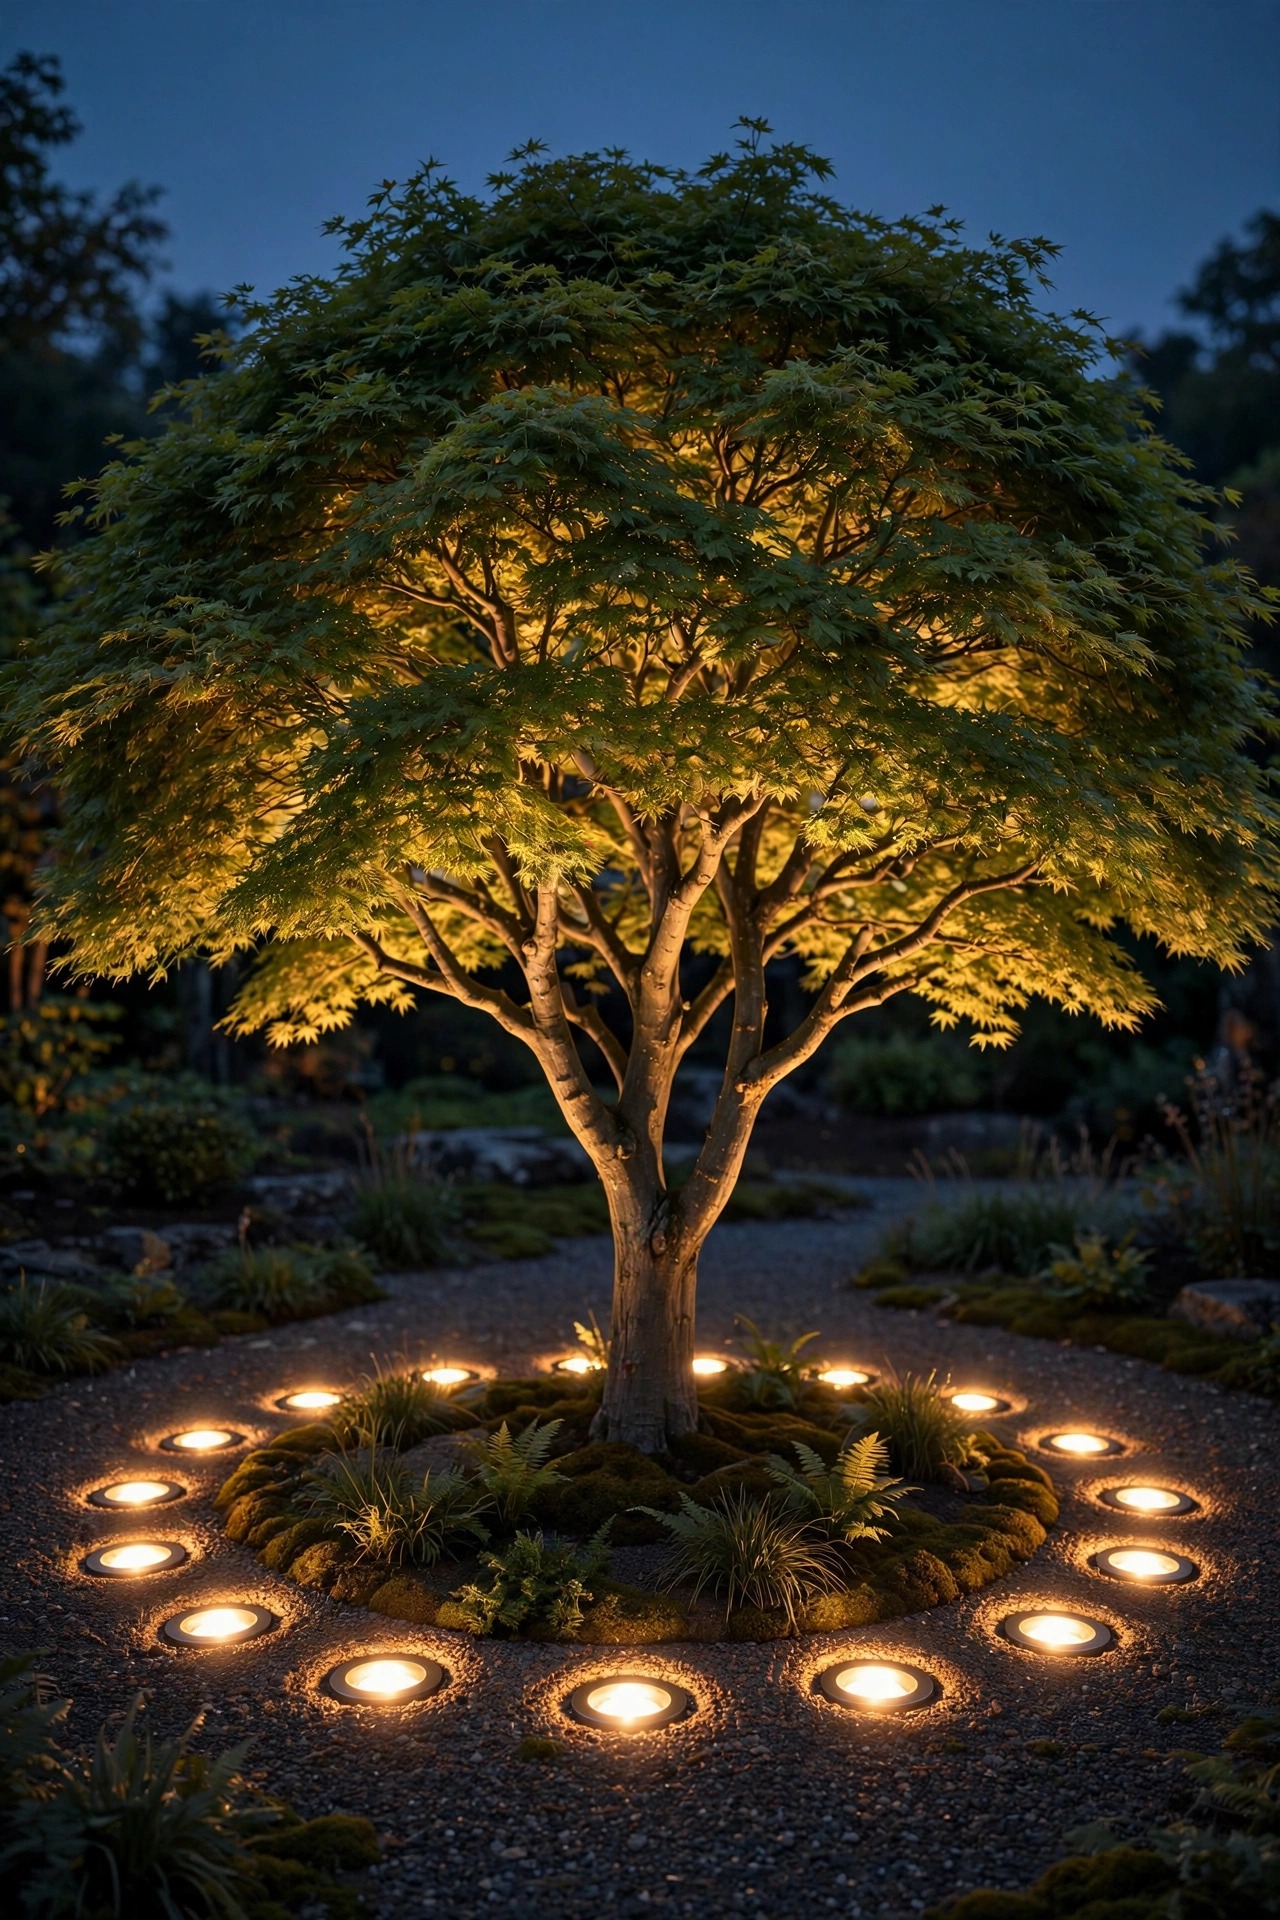
For a formal front-facing tree, nothing beats a perfect ring. I install four to six recessed well lights in a circle at the drip line, each aimed inward and upward at a gentle angle, so the canopy lights evenly from every side and the trunk reads as the sculpture it is. This is the technique landscape designers use on specimen trees, and the symmetry is what makes it feel expensive. Space the fixtures evenly — measure the circle with a rope from the trunk so your spacing is honest — and keep every fixture at the same tilt. A 3000K bulb with a medium beam suits most canopies; go slightly brighter than you think, because light is lost in a full leaf canopy in June. These fixtures live flush with the mulch, so nothing catches a mower wheel. In my experience this is the highest-effort idea in the uplighting family and the one that gets the house photographed by passing neighbors, so save it for the tree that deserves a portrait.
Suggested budget range: $140 – $280.
14. Silhouette Backlighting Behind the Canopy
Most people light a tree from the front. Try lighting it from behind. I place one strong uplight on the far side of the trunk, aimed up into the canopy, so the tree becomes a glowing halo behind a dark, sculptural trunk silhouette. From the patio, the effect is pure theater — the shape of the tree drawn in light against the night sky. This works especially well on trees with interesting branching: crape myrtles, Japanese maples, olive-style multi-trunk trees. One fixture is genuinely all it takes, which makes this the most budget-friendly drama on the list. Choose a slightly wider beam, around 60 degrees, so the glow spreads through the whole canopy instead of spearing one branch. Keep the front of the tree completely dark on purpose; the contrast is the entire point. In my experience, guests either love it instantly or ask why the tree looks like it is in a movie. Both reactions mean it worked.
Suggested budget range: $35 – $80.

15. A Spiral Staircase Wrap Down the Trunk
The classic trunk wrap goes straight up and down in even rows. The spiral wrap is its prettier cousin. I wind a single long strand of warm fairy or rope light in a continuous ascending spiral, keeping the spacing between turns consistent — about 8 inches apart on a big trunk, 5 on a slim one — and I let the spiral continue out along the first major branch for an asymmetric flourish. Start at the top and work down, loosely, so gravity helps instead of fights, and secure the strand with soft plant ties every couple of turns rather than tight tape. The spiral catches the eye and leads it upward into the canopy, which makes even a modest tree feel taller and more graceful. Rope light gives a smooth neon-ish line that reads modern; fairy wire gives a dotted sparkle that reads romantic. I re-do mine each spring after checking for winter damage, and the whole job takes twenty unhurried minutes with a coffee in hand.
Suggested budget range: $18 – $45.

16. Edison Bulb Strands Draped Through the Branches
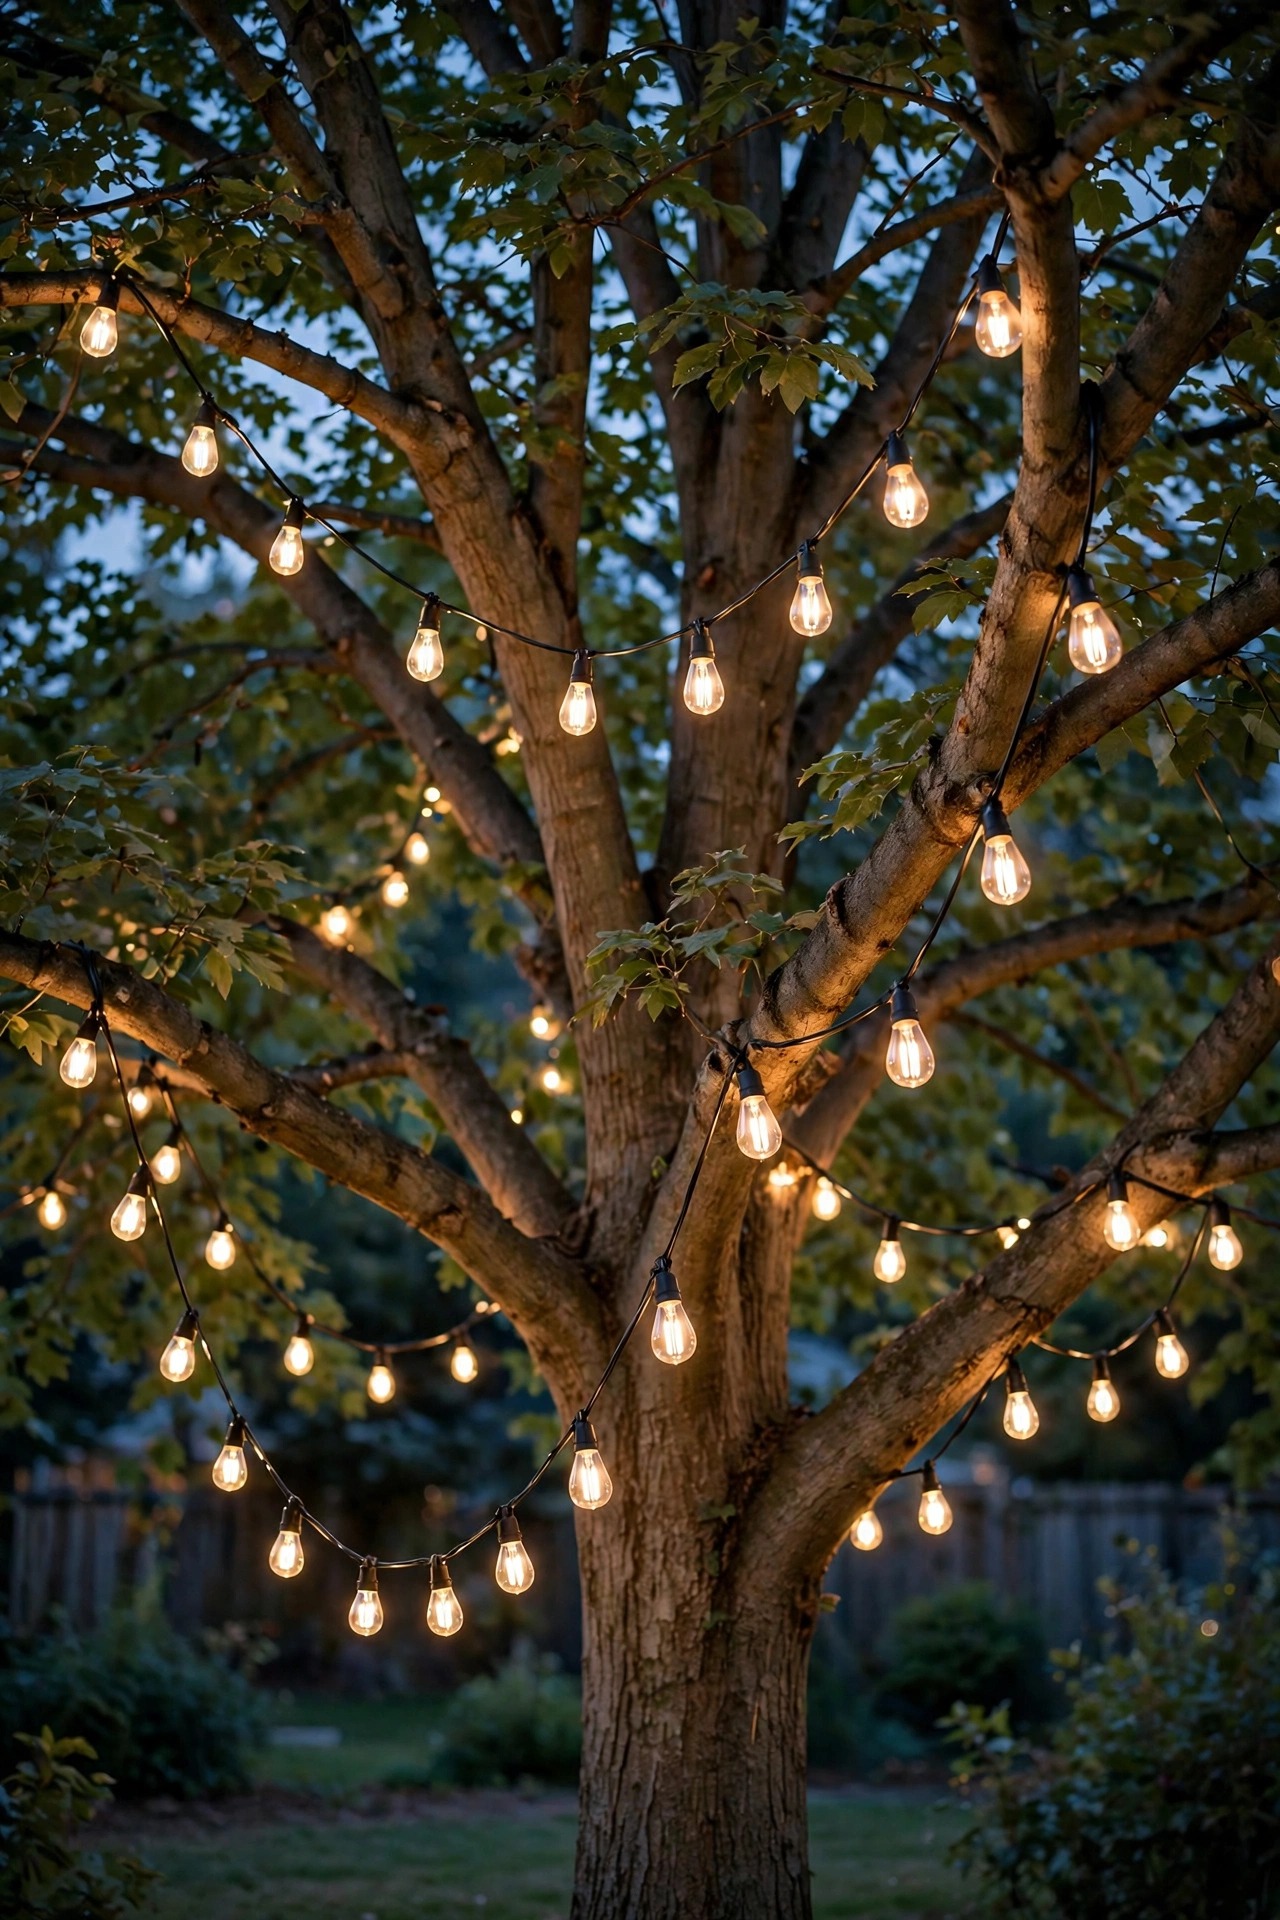
Edison-style filament bulbs were born for tree branches. I drape heavy-duty strands in loose catenary curves between two or three sturdy branches of the same big tree, letting each bulb hang at its own natural point like fruit made of light. The amber filaments — keep them in the 2200K to 2700K range — give a vintage glow that makes everyone look golden and relaxed. Because these strands hang inside the canopy rather than over a patio, use a step ladder and a telescoping hook pole, clip each socket run to a lightweight guide line, and never let a strand rest its full weight on a small branch. Shatterproof LED versions are the only ones I will hang over seating, full stop. From below, looking up through layered leaves and hanging filaments, my oak looks like a ceiling of stars that somebody plugged in. It is the view I show people when they say outdoor lighting feels cold or commercial. Nothing about this is cold.
Suggested budget range: $45 – $100.
17. Clusters of Mason-Jar Lanterns
Mason jars were doing farmhouse charm long before it had a name. I fill wide-mouth jars with a coil of solar fairy lights or a flameless tea light, hang them in clusters of three with twine and wire handles from the lowest branches, and let them bob gently over the garden bench. The glass softens the light into something that feels handmade — because it is. Group jars at slightly different heights, about 5 to 6 feet up, and keep clusters at least a few feet apart so each one reads as its own little chandelier. Solar lids with the panel built into the top are the tidy option for jars that get decent daytime sun through the leaves; battery tea lights last longer in deep shade. This is my favorite project to do with kids, since there is no wiring, no heat, and no way to really get it wrong. In my experience, nine jars on one good branch system is the sweet spot — enough to glow, few enough to still feel gathered rather than cluttered.
Suggested budget range: $15 – $40.

18. An Under-Canopy Seating Glow
Sometimes the tree itself is the room. I arrange our Adirondack chairs in a loose circle under the widest tree, then light the space from inside the canopy: two small downlights aimed gently at the center of the circle, plus one uplight at the trunk so the ceiling of leaves glows overhead. The light level should stay low — this is firelight territory, about the brightness of a couple of candles per person. A low stone fire bowl in the middle on cool nights completes the illusion, with the electric lights doing the work on warm nights when a fire is too much. Keep every fixture shielded and aimed away from faces; nobody relaxes while being interrogated by a spotlight. In my experience, this layered under-canopy setup turns a plain shade tree into the most requested seat in the yard from May through September. Add a small side table in the circle and people will stay out there an hour past when they meant to go in.
Suggested budget range: $70 – $150.

19. A Spot-Wash to Show Off the Bark Texture
Some trees are wearing art. The peeling cinnamon bark of a river birch, the patchwork camouflage of a sycamore, the deep furrows of an old pine — these deserve a wash of light aimed purely at texture. I use a single narrow-beam spotlight, around 15 to 20 degrees, placed close to the trunk, about 12 inches out, and aimed almost straight up so the beam rakes vertically along the bark. That steep grazing angle stretches every bump and peeling curl into long shadows, and the trunk becomes a totem pole of light and dark. This is a one-fixture, one-tree idea, so spend on a quality fixture with a real glass lens and a 2700K LED that renders those warm bark tones honestly. It pairs beautifully with total darkness around it — no competing lights nearby. Honestly, this is the idea I use to convince skeptical friends that lighting design is a real thing. One birch, one light, and the whole front corner of the yard turns into a gallery.
Suggested budget range: $40 – $85.

20. Net Lights Over the Shrubs at the Tree Base
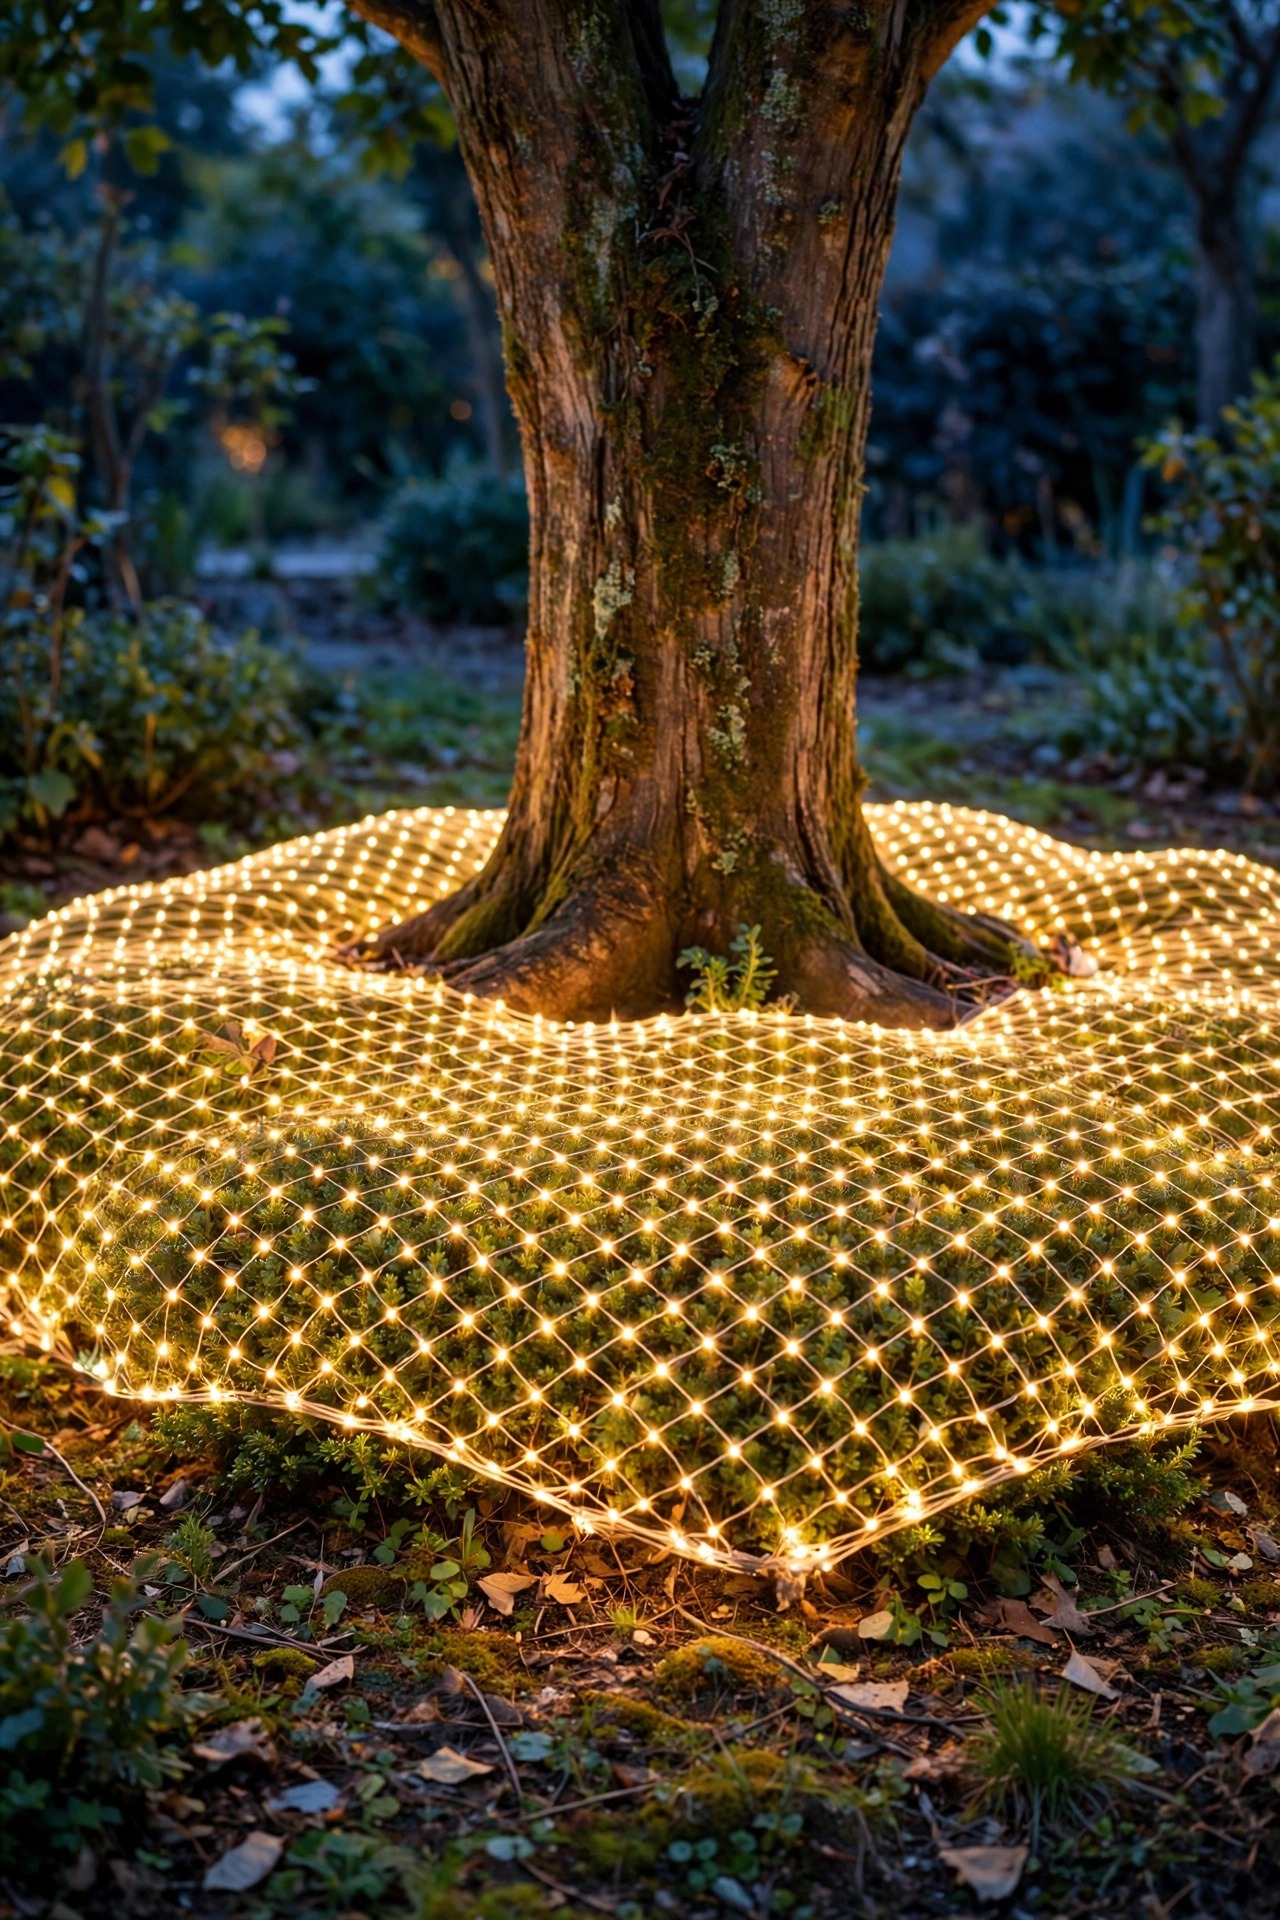
The base of a mature tree is often a shady, bare patch where grass gives up. I dress mine with a low ring of shrubs and drape net lights over them, so the tree appears to rise out of a glowing cushion. Net lights — the grid-style strands made for bushes — take ten minutes to lay over a boxwood or azalea and give a perfectly even sparkle you could never achieve strand by strand. Keep the glow low and warm, and let the taller tree layers above do the drama; this layer is the foundation, not the star. Solar net lights exist and work for shrubs that catch afternoon sun, but for shrubs in the tree's own shade, plug-in sets on a timer are the reliable choice. One caution from my own yard: pull nets off before spring pruning, and never leave them on through a whole growth season or the shrub grows through the grid and the removal becomes a whole afternoon of regret.
Suggested budget range: $20 – $50.
21. Firefly Stake Lights Around the Drip Line
For the softest, most playful layer, I scatter solar firefly lights around the drip line of the tree — those flexible stems with tiny warm bulbs that sway in the evening breeze and genuinely look like fireflies hovering over the planting bed. They are not task lighting and they are not meant to be; they are the jewelry. A bundle of ten to twelve stems reads as a swarm from the patio, and the gentle movement keeps the whole scene feeling alive instead of staged. Push the little solar panel stakes toward the sunniest edge of the drip line, and group the stems in loose drifts of three or four rather than an even soldier's row. In my experience, these are the lights children notice first and photographers of the yard ask about most. They cost almost nothing, install in minutes, and layer under every other idea on this list without competing. When one stem eventually fades after a couple of seasons, I just tuck a fresh one into the drift.
Suggested budget range: $15 – $35.

22. A Rope-Light Wrap for the Swing Ropes
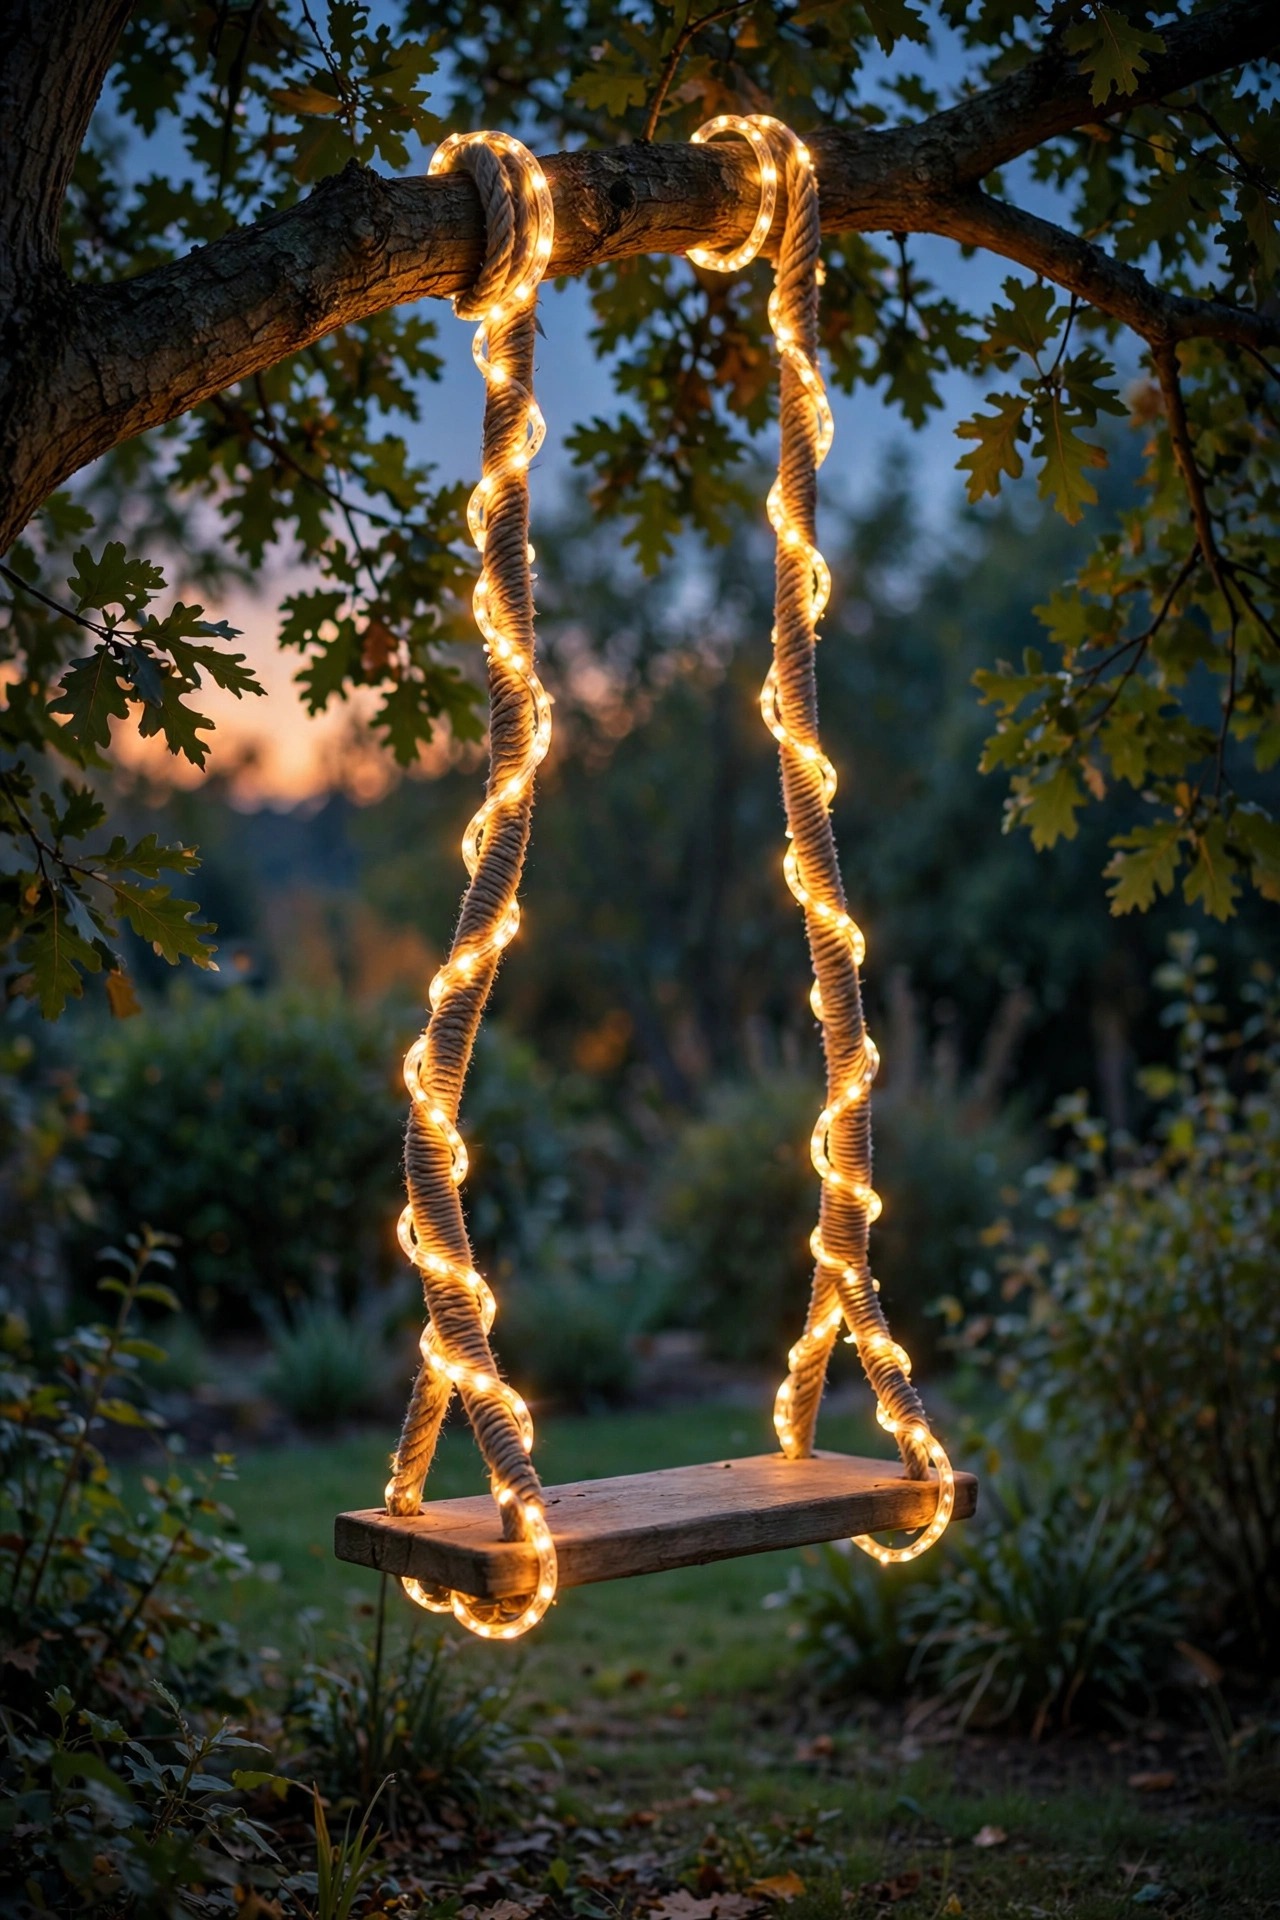
If your tree carries a swing, dress the ropes. I wind a battery-powered warm rope light — the flexible LED tube kind — in a gentle spiral down one swing rope and up the other, securing it with small clear zip ties snipped flush. The swing itself becomes a glowing sculpture: two lines of light that move as it sways, with the wooden seat catching the spill. Keep the battery pack in a weatherproof pouch tied up high on the rope where rain and little hands mostly leave it alone. Because the lights travel with the swing, use nothing mains-powered here, ever — battery only, low voltage, cool to the touch. The effect at dusk is pure storybook, and it makes the swing visible from the house so I can see at a glance whether it is occupied or empty. In my experience this ten-minute upgrade gets more delight per dollar than anything else under the tree, and the photos basically take themselves.
Suggested budget range: $12 – $30.
23. Layer All Three: My Favorite Backyard Tree Lighting Ideas Combined
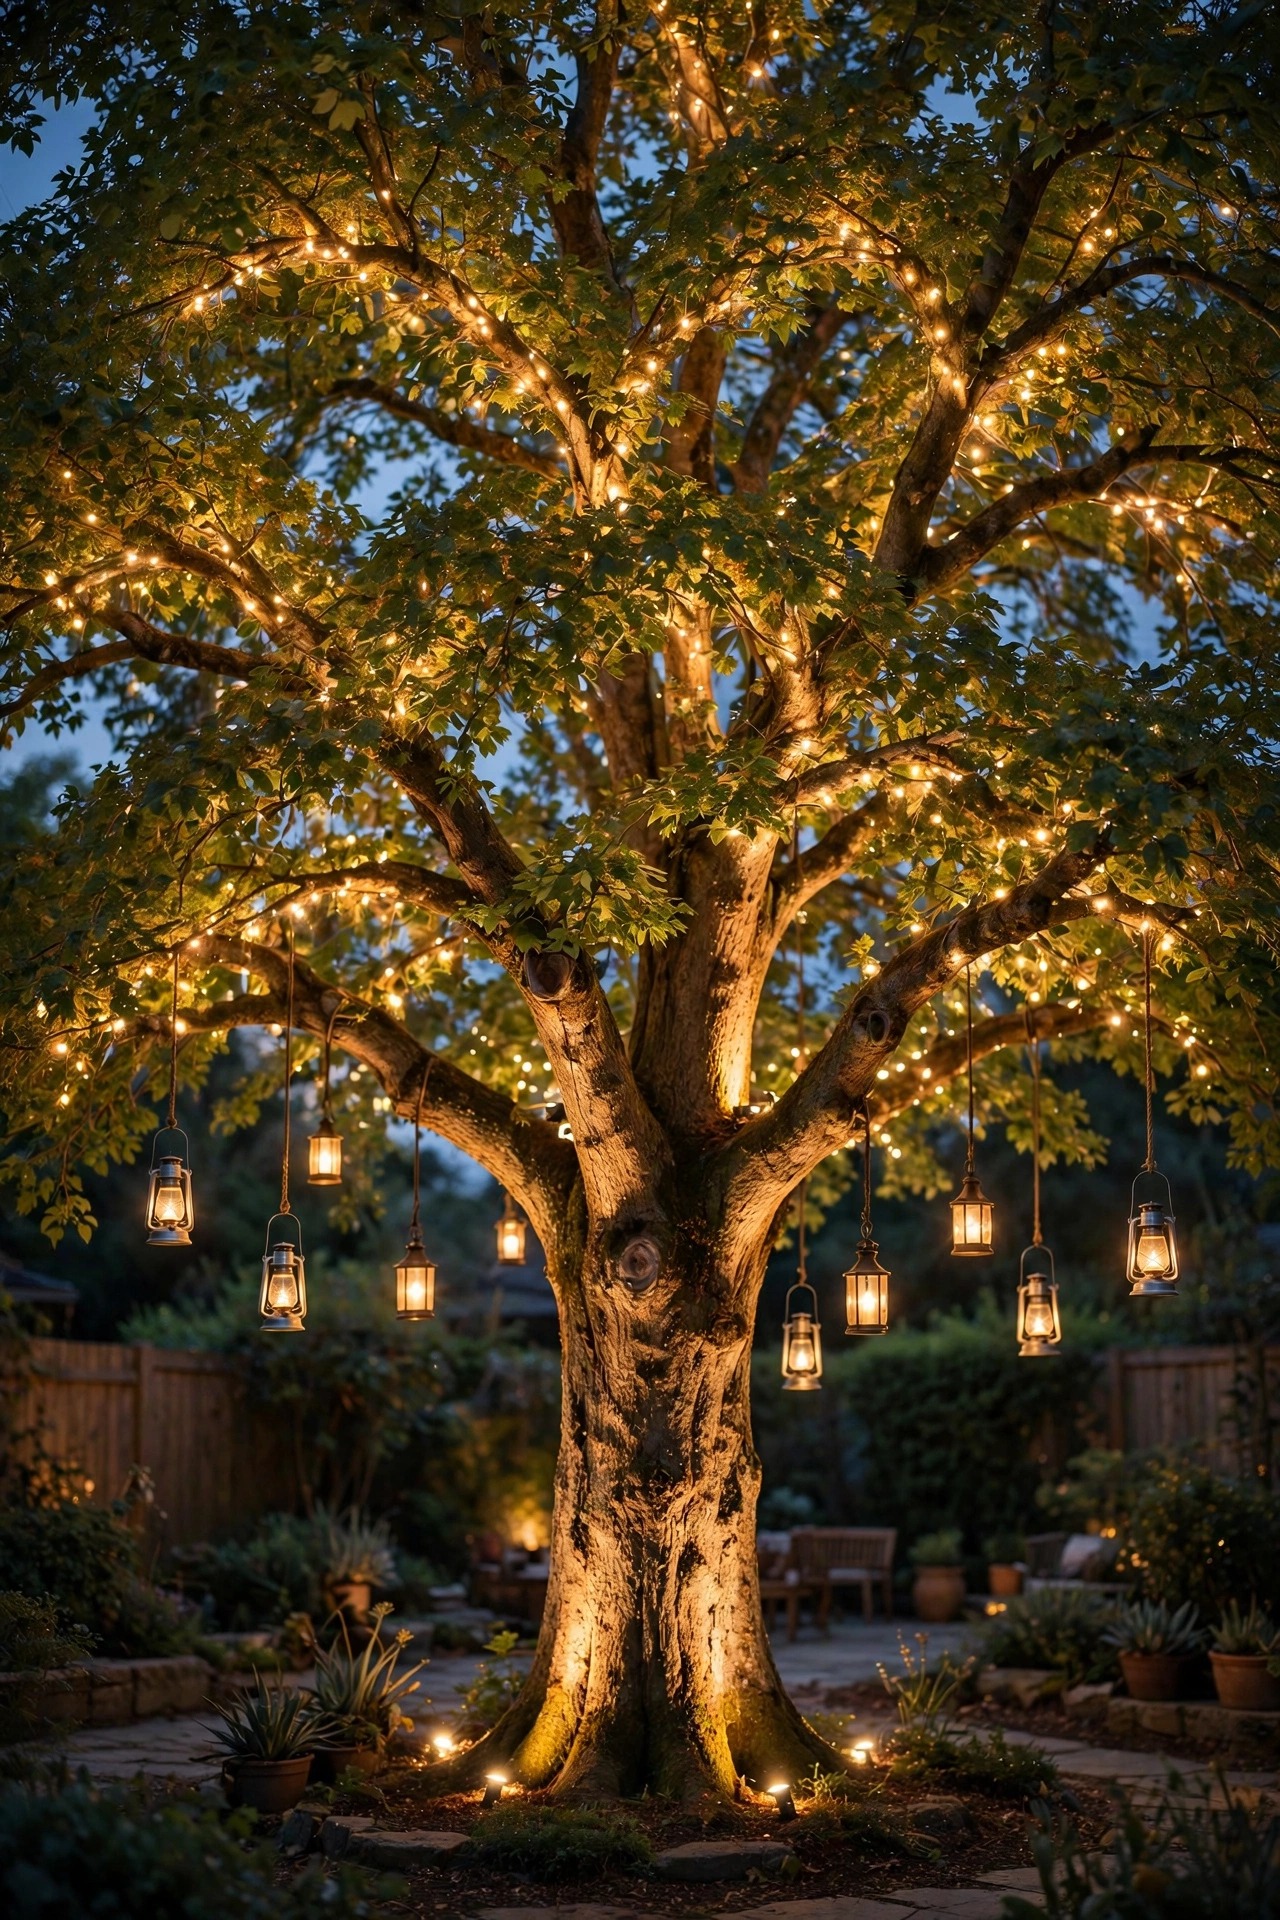
Everything on this list is a solo act; this finale is the trio. My signature treatment for one hero tree layers three sources: a pair of uplights at the trunk for structure, a moonlight or downlights inside the canopy for depth, and fairy lights or lanterns at people-height for warmth. The rule I follow is one layer per height — ground, middle, crown — with each layer a touch dimmer than the one below it, all sharing the same 2700K color temperature so nothing clashes. Put each layer on its own timer or smart plug zone so you can run the full show for guests and just the trunk uplights on a quiet Tuesday. This is, of all my backyard tree lighting ideas, the one that made our plain builder-grade oak look like it belongs to a magazine garden. Start with the uplights this weekend, add the canopy layer next month, hang the lanterns when you find ones you love. Layering is a process, not a purchase, and every stage looks finished on its own.
Suggested budget range: $150 – $320.
Frequently Asked Questions
What color temperature looks best on trees?
Warm white, almost always. I stick to 2700K for trunks and lanterns because it flatters bark and skin alike, and 3000K is as cool as I will go for moonlighting, where a hint of silvery light actually helps the illusion. Anything above 4000K turns foliage an eerie blue-green that reads more parking lot than garden. Whatever you choose, keep every fixture on the same tree within the same temperature so the layers blend.
Are solar tree lights bright enough, or should I go wired?
Honestly, it depends on the job. Modern solar spotlights with separate panels handle trunk uplighting on small to medium trees surprisingly well. For tall canopies, moonlighting, or a tree ring on a specimen tree, low-voltage wired fixtures win on brightness, consistency, and lifespan. My yard uses both: wired for the permanent architecture, solar for the flexible accents I like to move around seasonally.
Will wrapping lights around a trunk hurt the tree?
It can, if you wrap tightly and forget about it. Bark expands as the tree grows, and a snug wrap becomes a girdle. I wrap loosely, use soft ties instead of tape or wire, and remove or redo every wrap at least once a year — fall is my rhythm. Done that way, wraps have lived on my trees for years with zero damage. Never screw hooks into a young or thin-barked tree; use wide straps instead.
How high should I mount moonlighting fixtures in the canopy?
Aim for 20 to 30 feet up, or simply the highest sturdy fork you can safely reach, with the fixture angled down through layered branches. The height matters because it spreads the light into wide, soft pools and hides the source, which is the whole moonlight illusion. Have an arborist mount them during scheduled pruning if heights make you nervous — I did, and I have never regretted paying for that one visit.
Conclusion
A tree is the biggest, most generous piece of architecture in your yard — all it asks for is a little light after dark. Start with the layer that suits your tree and your budget, keep the color warm, respect the bark, and add a second layer when you are ready. These backyard tree lighting ideas turned my plain oak into the heart of every evening we spend outside, and I am betting your tree is one weekend away from the same transformation. Browse the rest of the site for more outdoor lighting inspiration, pick your tree, and let it glow.