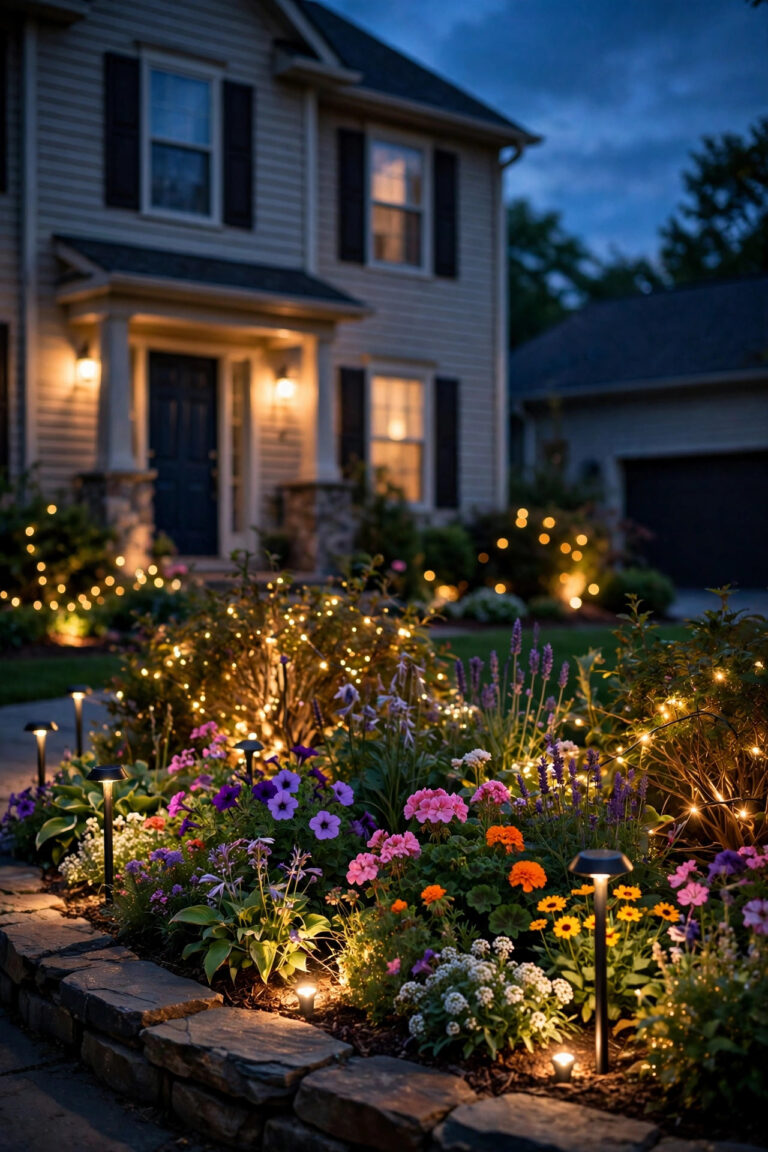
Every March, the same thing happens in my yard: the days get a little longer, I start dreaming about garden season, and half my solar path lights just sit there, dark as stones. If finding your solar lights not working after winter has you ready to toss the whole set in the trash, hold on a moment. In my experience, most "dead" solar lights aren't dead at all — they're dirty, damp, shaded, or running on a tired little battery that one good charge cycle can wake right back up. Winter is genuinely brutal on these small fixtures: short days starve the panels, freeze-thaw cycles pry open seals, and snow buries them for weeks at a time. The good news is that the revival process is simple, cheap, and takes about an hour for a whole yard's worth of lights. In this guide, I'll walk you through the exact six steps I use every spring, how to tell a fixable light from a truly finished one, what fresh batteries actually cost in 2026, and the simple storage routine that keeps my lights alive year after year.
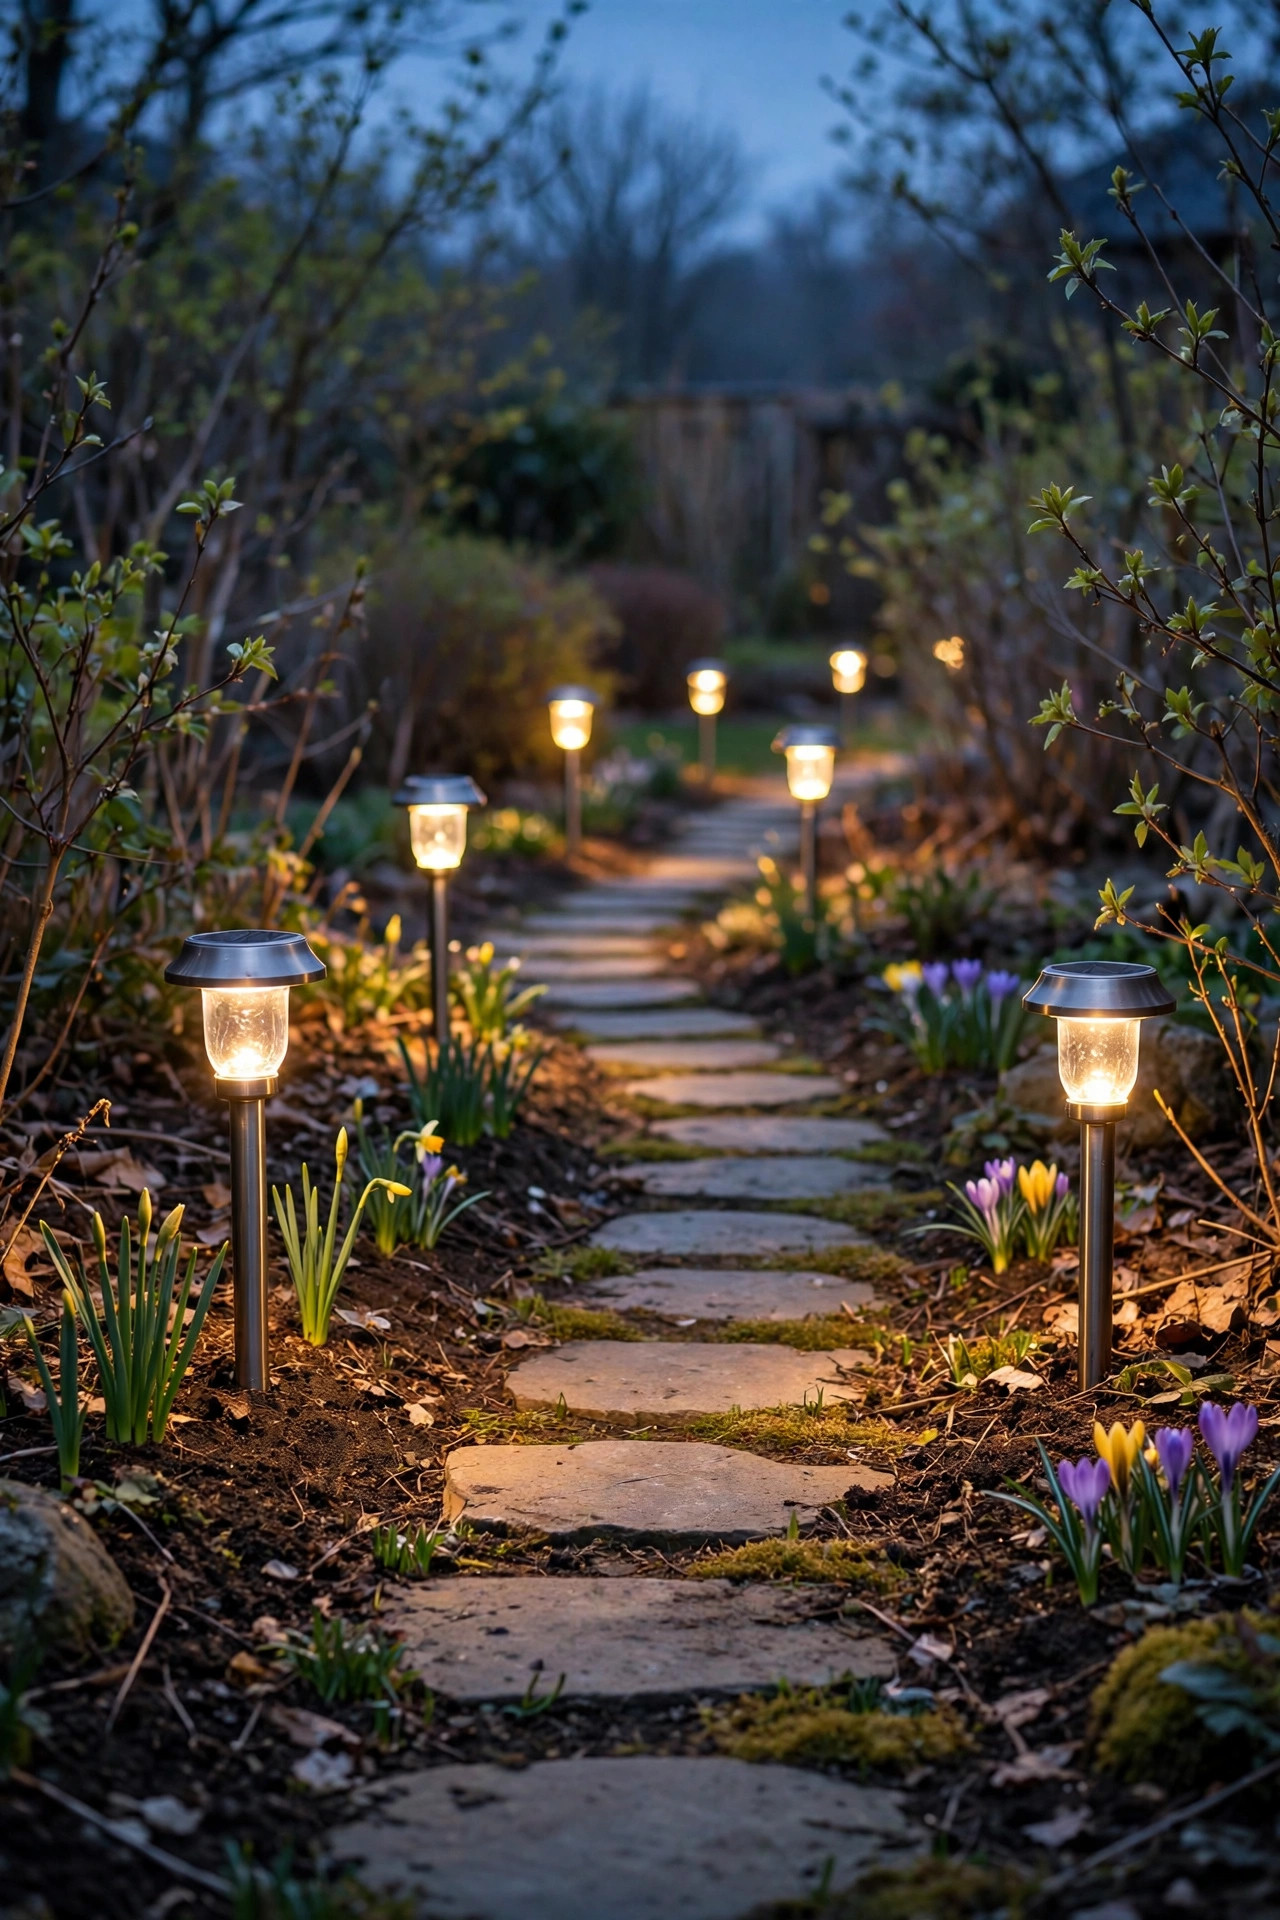
The Short Answer
If your solar lights stopped working after winter, work through these six steps in order: first, scrub the solar panel and lens clean; second, check the on/off switch, battery pull-tab, and photocell sensor; third, give the battery two or three full sunny days to recharge; fourth, swap in fresh rechargeable NiMH batteries; fifth, dry out any moisture inside the housing and reseal it; and sixth, move the light if shrubs or a shifted sun angle now shade the panel. Most lights come back to life by step four, and new batteries for a whole set usually cost under $15.
Why Winter Is So Hard on Solar Lights
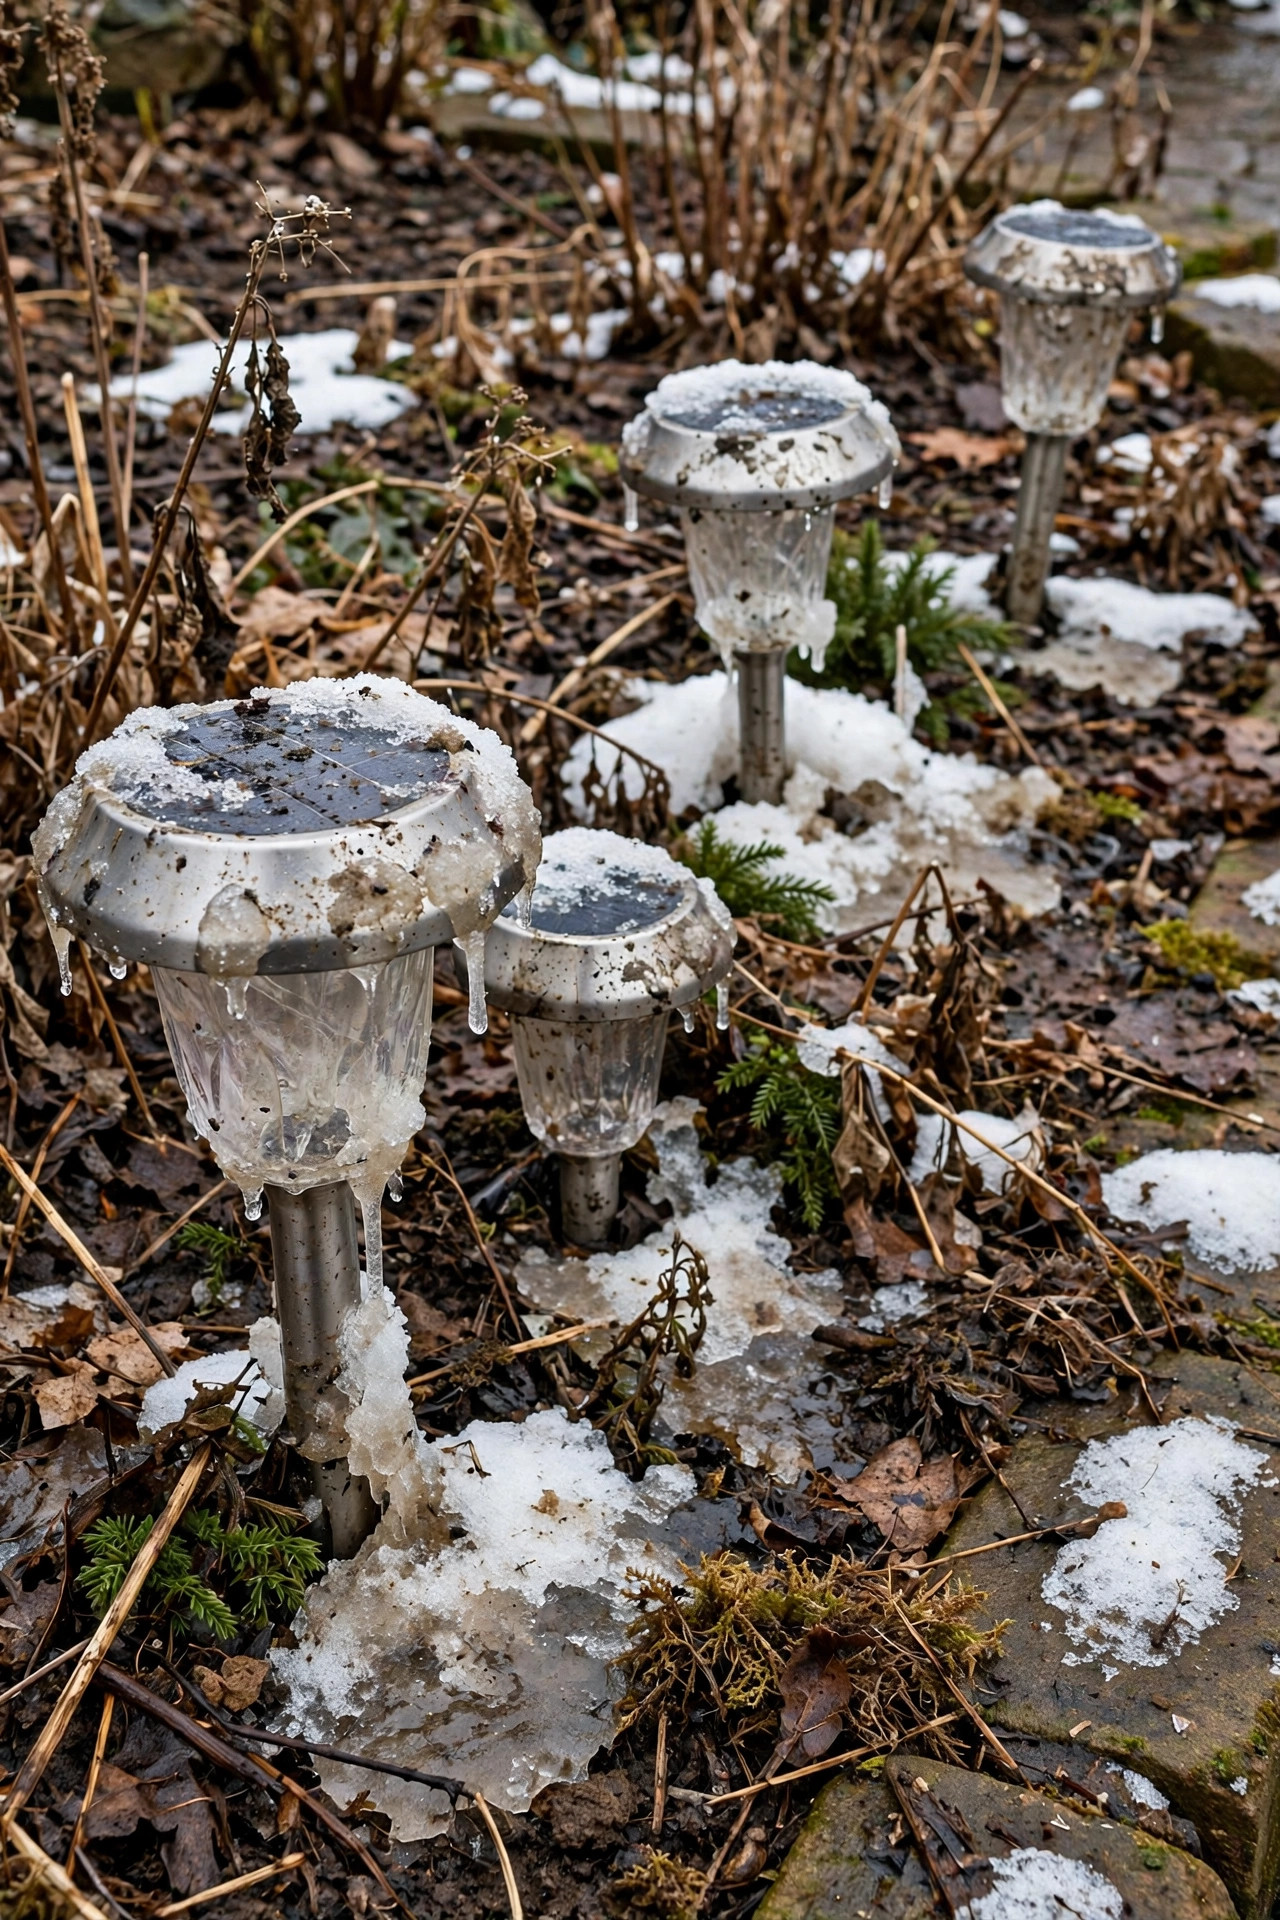
A solar light is a tiny power plant with four parts that all have to cooperate: the panel collects sunlight, the rechargeable battery stores it, a photocell sensor decides when it's dark enough to switch on, and the LED spends the stored energy overnight. Winter attacks every single one of those parts. In December and January, most of the US gets fewer than ten hours of weak, low-angle daylight, so the battery never fully charges even on a clear day — and a battery that sits half-empty for months gradually loses its ability to hold a charge at all. Meanwhile, water sneaks in through hairline cracks as snow melts and refreezes, corroding the battery contacts and fogging the inside of the lens. The panel itself gets coated with a film of road salt, dust, and pollen that can cut its output dramatically. Finally, anything you planted last summer has grown, so a spot that was sunny in September may now sit in shrub shade. When spring arrives, all of that damage shows up at once — which is why the fix has to be systematic rather than random poking. Knowing this is oddly comforting, honestly: your lights didn't fail because you chose the wrong ones, they failed because winter is a genuinely hostile season for small solar electronics.
Solar Lights Not Working? A Quick Triage: Dead, Dim, or Just Tired?
Before you start taking lights apart, spend five minutes sorting them, because the symptom tells you where the problem lives. A light that is completely dark usually has a power problem: a dead battery, a switch left off, a corroded contact, or a photocell that thinks it's always daytime. A light that glows but is noticeably dim is almost always a charging problem — a dirty panel, a shaded spot, or a battery that's fading but not gone. A light that comes on brightly at dusk but dies by 10 p.m. has a storage problem: the battery charges fine but can't hold enough anymore, which is the classic signature of an aging NiMH cell. And a light that flickers or works only when you wiggle it has a connection problem, usually corrosion on the terminals. I grab a marker and put a tiny dot on the stake of each light as I sort it, so I know which group I'm treating. This five-minute sort saves real time later, and it also tells you how many replacement batteries to buy — I cover choosing and sizing those in my guide to solar path lights, which is worth a read before you order anything.

Step 1: Clean the Solar Panel and Lens
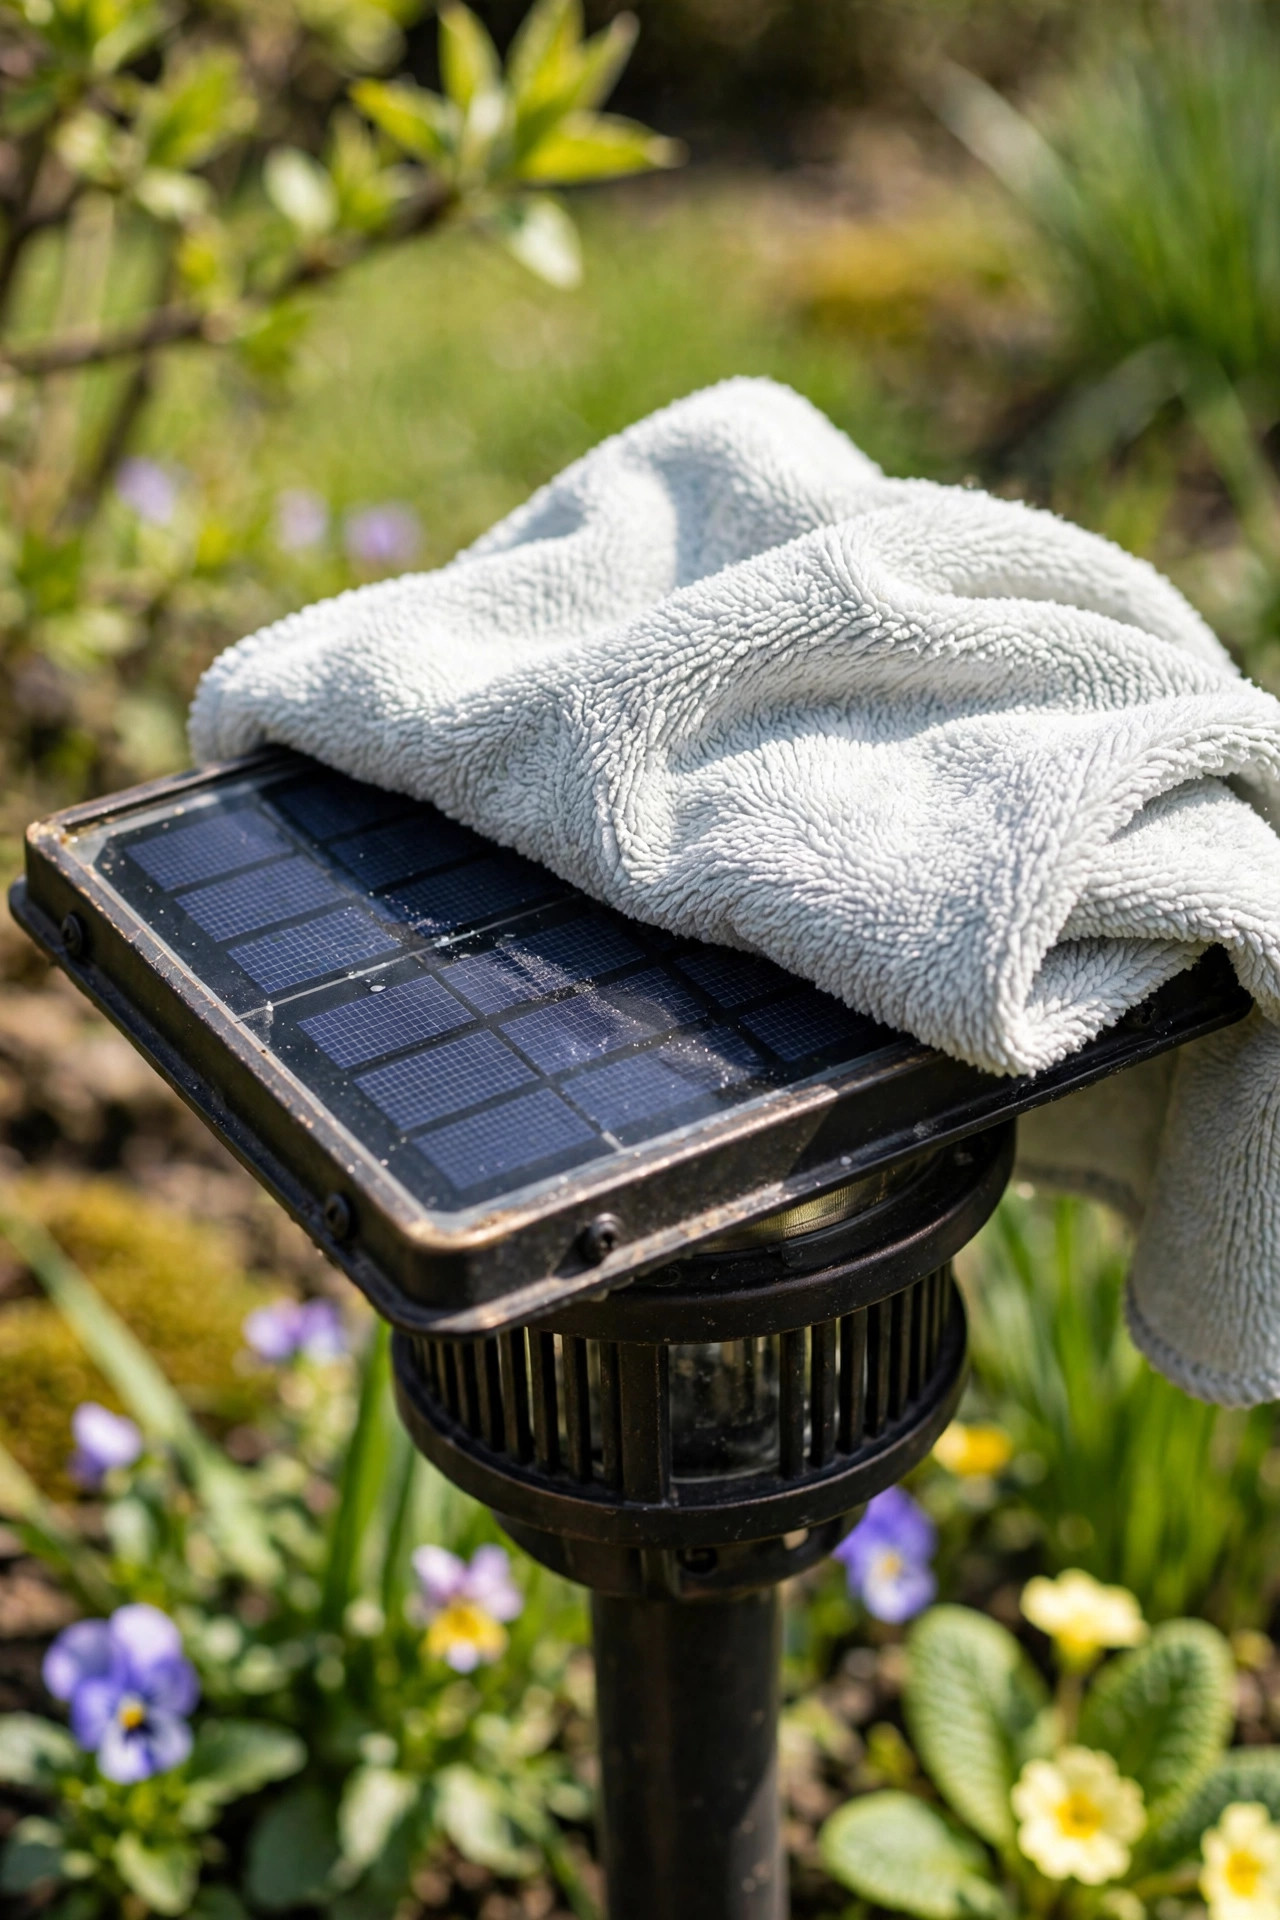
This sounds too simple to matter, and honestly? It's the step that fixes more lights than any other. The panel on a typical stake light is only about two inches square, so even a thin film of winter grime — salt spray, dust, dried pollen, a smear of algae — can cut the light reaching the solar cells by a third or more. A panel that's been charging at two-thirds power all winter leaves the battery chronically underfed, and the light looks dead even though every part works. Use a soft cloth or an old microfiber towel with warm water and a drop of dish soap. Wipe the panel gently; if there's a stubborn crust, let a damp cloth sit on it for a minute to soften it rather than scrubbing hard, because scratched plastic panels cloud over and lose efficiency permanently. While you're at it, wash the outside of the lens or diffuser too, and check the panel for a chalky, milky haze. That haze is UV damage to the plastic cover, and if cleaning doesn't clear it, the panel underneath is being starved no matter how clean it looks — that light goes on the "maybe replace" pile. Dry everything fully before you put lights back out, and give them one full sunny day before judging the result.
Step 2: Check the Switch, the Sensor, and the Battery Contacts
You would be amazed how many "broken" lights are simply switched off. Many solar stakes have a tiny on/off or auto/off switch under the cap or on the underside of the head, and it gets bumped during fall cleanup, storage, or a hard freeze shifting the housing. If your lights are new-ish or were stored, also look for a paper or plastic pull-tab in the battery compartment — manufacturers ship them that way, and a tab that worked its way back between the contacts will cut power completely. Next, check the photocell sensor, the little dark window near the panel. If it's covered with mud or positioned so a porch light or streetlight shines on it all night, the light thinks it's daytime and never switches on. Test it by cupping your hand over the panel in daylight: a healthy light should come on within a few seconds. Finally, open the battery compartment and look at the metal contacts. Green or white crust means corrosion, which strangles the connection. Scrub it off with a dry toothbrush or a pencil eraser, and gently bend a flattened spring contact back out with a toothpick so it presses firmly against the battery.
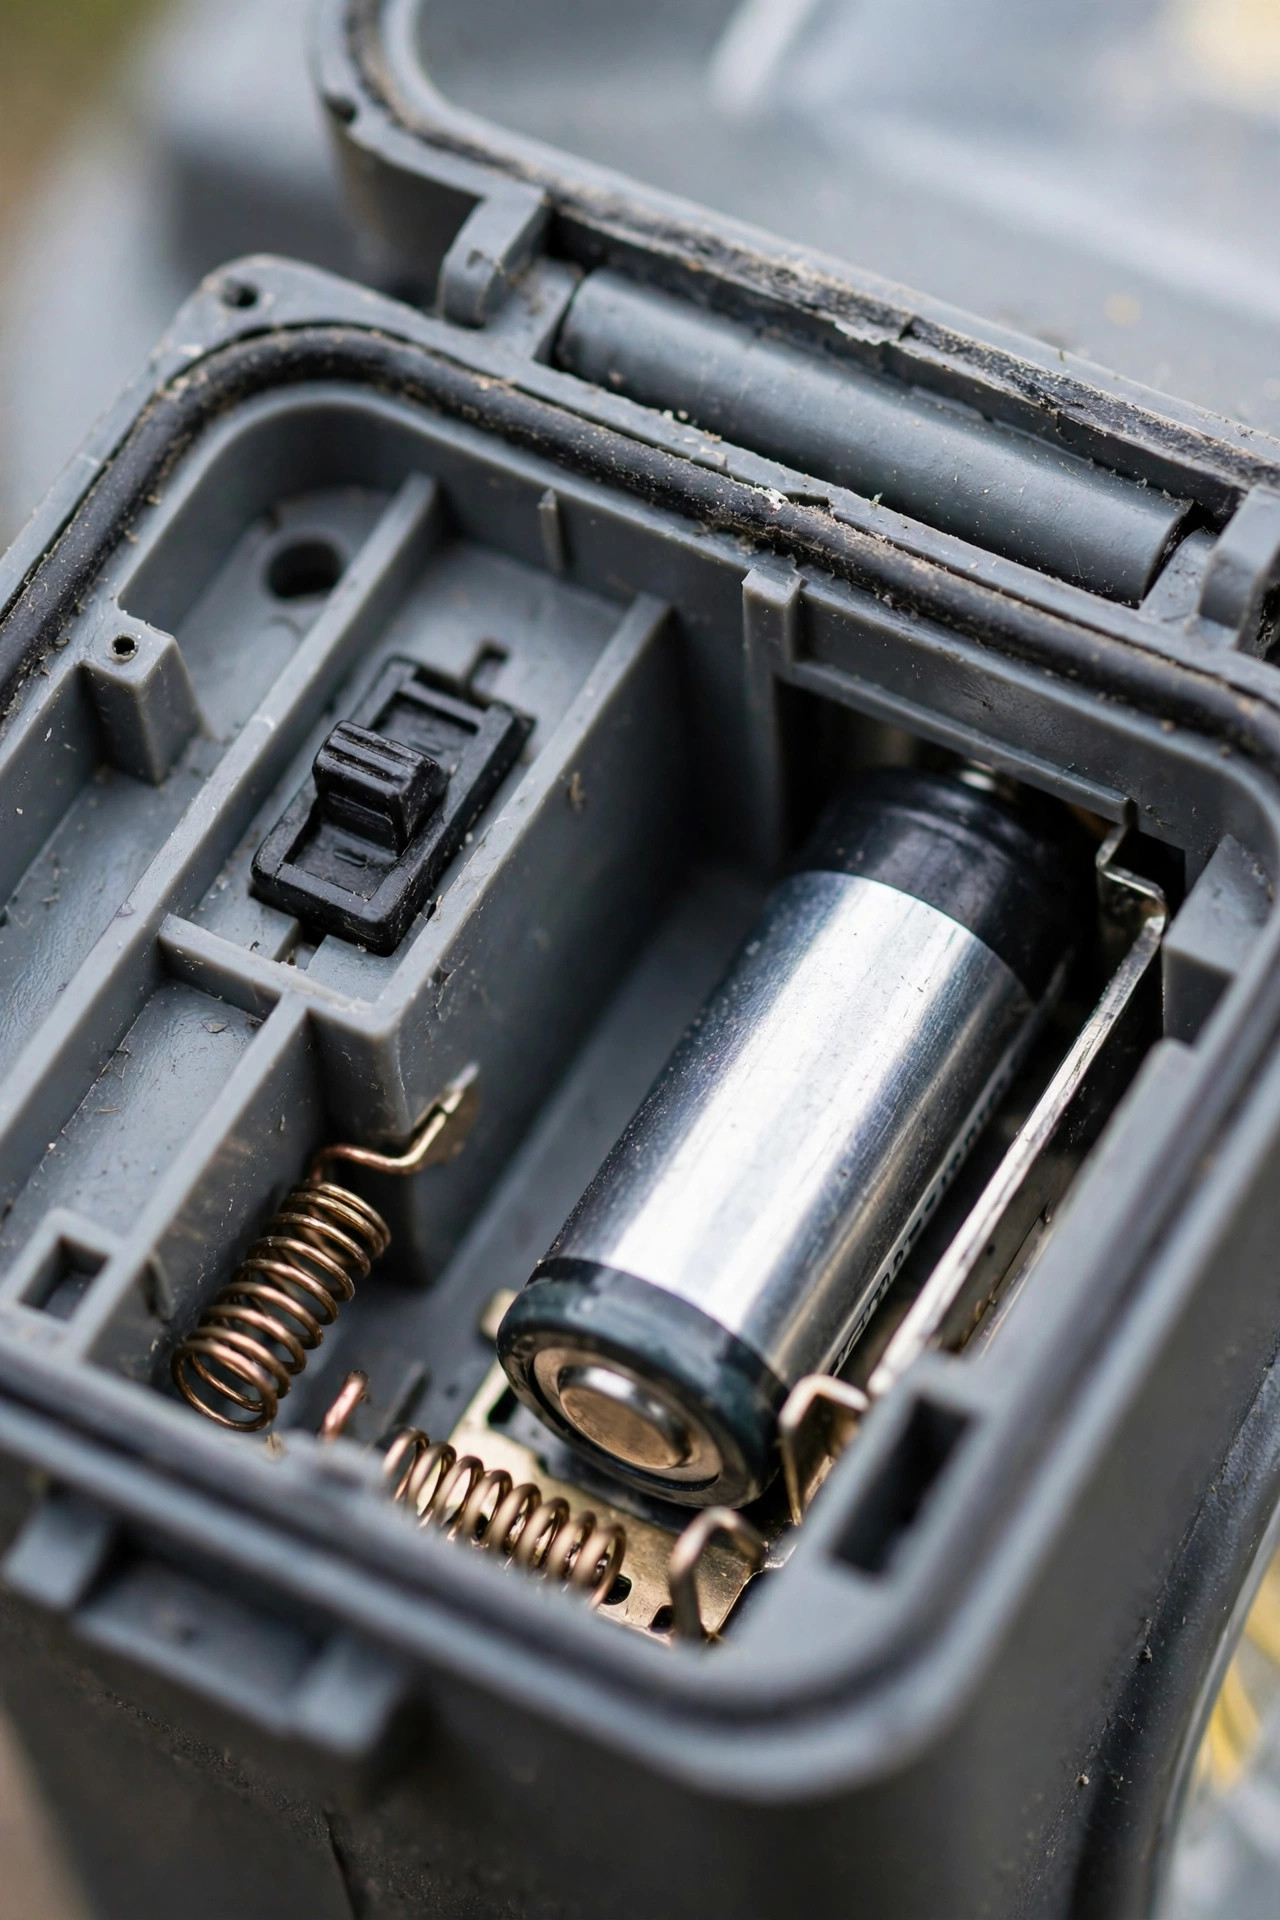
Step 3: Wake the Battery With a Full Charge Cycle
Rechargeable batteries that sit discharged through a cold winter often go into a kind of sleep. The chemistry is still there, but the cell needs a few complete, generous charge cycles before it remembers how to hold a full charge. Here is the routine I use. First, switch the light off — this matters, because a light that's off sends every bit of collected energy into the battery instead of spending some at night. Then place the lights in the sunniest spot you have, ideally somewhere that gets six or more hours of direct sun, panel angled up and wiped clean. Leave them there for two to three full sunny days, switched off the whole time. On the evening of the third day, switch them on and see what you get. A woken battery will run most of the night; one that's truly finished will fade within an hour or two even after this pampering. Don't judge after one cloudy day — a gray day delivers a fraction of the charge, and I've had lights I nearly gave up on come back perfectly after one genuinely sunny weekend. If a light revives but still seems weak, repeat the cycle once more before moving on to replacement batteries.

Step 4: Replace the Batteries — the Fix for Most Solar Lights Not Working After Winter
If cleaning, checking, and charging didn't do it, the battery itself is done — and in my experience this is the single most common cause of solar lights not working once they're more than a year or two old. The cells inside most solar lights are small NiMH rechargeables, usually AA or AAA size, rated anywhere from 300 to 1,000 mAh, and they're honestly the cheapest part of the light. After two or three winters of freeze-thaw abuse and months sitting half-charged, they simply wear out. Replacing them is easy: twist or unscrew the cap, pop the old cell out, and match the size and type. Always replace with rechargeable NiMH cells, never regular alkaline batteries — alkalines can't be recharged by the panel, can leak, and may damage the light. Choose a capacity close to the original; a much higher-capacity cell sounds better but takes longer to charge from a small panel, so it may never reach full in short spring days. I keep a spare set on hand so a whole walkway can be re-batteried in ten minutes. While the compartment is open, it's worth confirming the LED still works: drop in the fresh battery at dusk and cover the panel — if the light blazes on, you've found your fix.

Step 5: Dry Out Moisture and Reseal the Housing
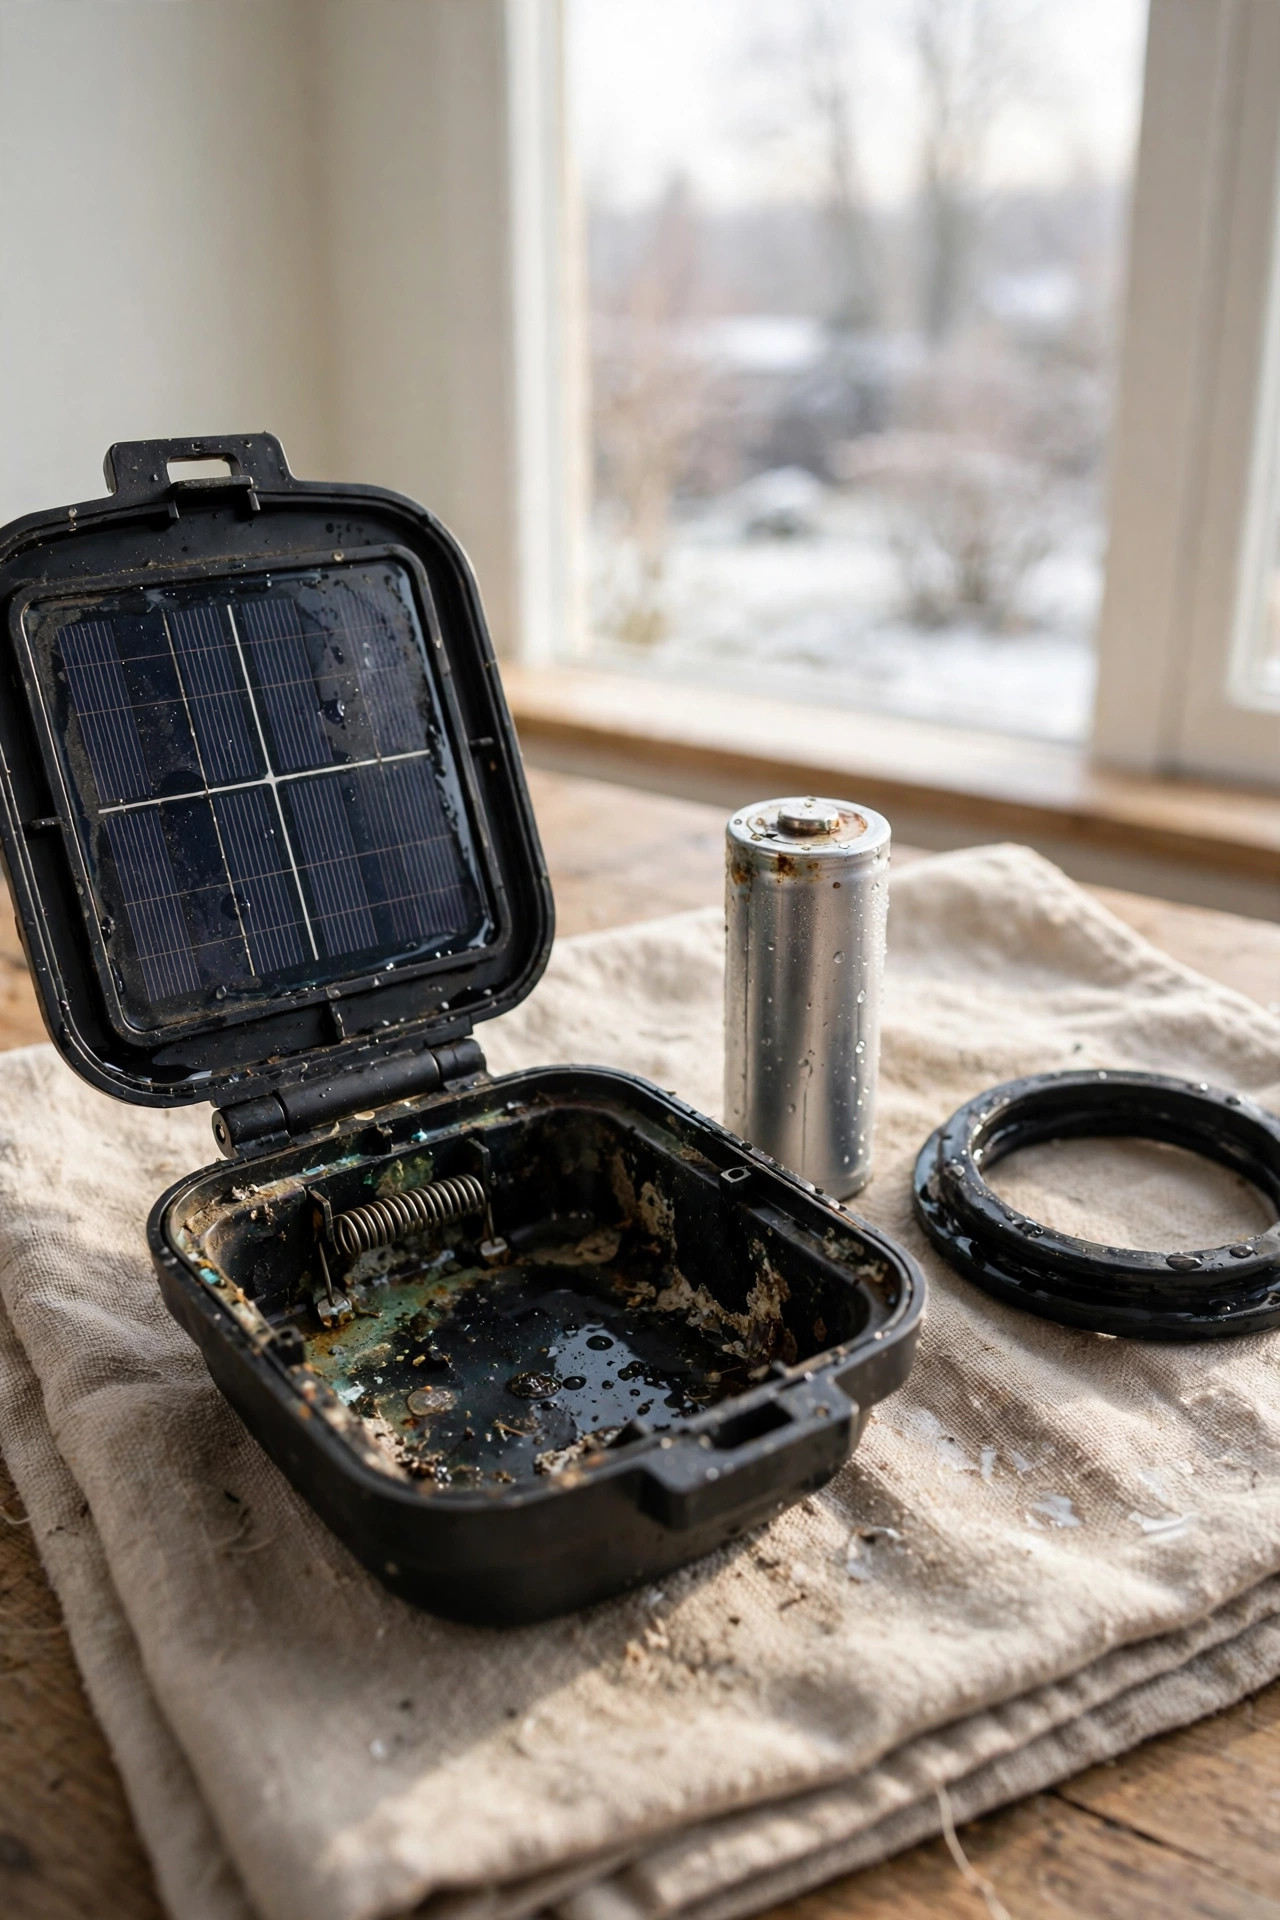
Condensation inside a solar light is the quiet killer of spring. All winter, warm days and freezing nights make the air inside the housing expand and contract, and that breathing pulls moist air in through every seal. By March you may see fog on the inside of the lens, droplets on the circuit board, or rust blooming on the battery springs. Left alone, that moisture corrodes contacts and eventually shorts the little circuit board that runs everything. To dry a light out, bring it indoors, open every compartment you can, remove the battery, and let it sit in a warm, dry room for 24 to 48 hours. A bowl of uncooked rice or a silica gel packet tucked beside the open light speeds things along, though plain air and patience work fine. Once it's fully dry, inspect the rubber gasket or O-ring around the cap — if it's cracked, flat, or missing, that's your leak. A thin smear of silicone grease on the gasket helps it seal again, and a tiny bead of clear outdoor silicone around a cracked seam can buy an older light another season or two. Reassemble, and check again after the first rainy week.
Step 6: Fix the Placement — Sun, Shade Creep, and Snow Lines
Sometimes the light is perfectly healthy and the yard is what's broken. Solar lights need roughly six hours of direct sun to charge fully, and the yard that provided that last September may not provide it now. Shrubs and ornamental grasses grow; a tree leafs out earlier than you expect; even the sun's angle changes, so a spot that caught winter sun along a fence line can fall into the house's shadow by spring. Walk your yard at midday and again in mid-afternoon and actually look at where the shadows fall — I do this every April and I'm always surprised by at least one light that's been slowly swallowed by a hydrangea. Also think about snow: lights staked where plowed or shoveled snow piles up spend weeks buried and battered, and lights along a driveway edge get blasted with salt spray all season. Moving a struggling light even three or four feet into honest sun often revives it completely, no parts required. When you re-stake, push the lights a little higher than usual if your soil is soft from spring rain, and angle the panel slightly toward the south if the design allows. Then give any moved light two full sunny days before you judge it.

When a Light Is Truly Dead: Repair Versus Replace
Every spring, a few of my lights fail all six steps, and that's fine — some failures aren't worth chasing. A panel with deep milky haze, a circuit board with visible green corrosion spreading across it, a cracked housing that lets water pour straight in, or an LED that won't light even with a known-good battery are all end-of-life signs. Solar lights are inexpensive, and the honest math is that once a light needs more than batteries and a cleaning, replacement usually wins. But before you replace a whole matched set because two lights died, consider whether the set still earns its keep: individual matching lights are often available, and a $6 battery that revives four lights beats a $40 new set every time. This is also the moment I ask myself the bigger question — for a spot I truly rely on, like the steps or the address numbers, is solar still the right tool, or would wired lighting serve better? I worked through that comparison in my post on solar vs. wired landscape lighting, and it's the decision that finally ended my flickering-step-light saga. Recycle dead lights and old NiMH batteries at a hardware store battery drop-off rather than tossing them in the trash.

What It Costs in 2026
The revival itself is nearly free, which is exactly why I always try it before buying anything. A pack of four AA NiMH rechargeable batteries runs about $6 to $10 in 2026, and AAA packs are similar; buying an eight-pack for $12 to $18 covers most walkway sets in one go. A tube of clear outdoor silicone or a small tub of silicone grease for gaskets costs $5 to $8 and lasts for years of repairs. If you want to test batteries properly, a basic battery tester is $10 to $15, though honestly the swap-and-see method costs nothing. Replacement parts beyond that are rarely worth it: a brand-new solar stake light of decent quality runs $5 to $12 per light, so spending more than a few dollars reviving one makes little sense unless it matches a set you love. Compare that with replacing a whole twelve-light walkway set at $60 to $120, and the six steps above pay for themselves many times over. The running cost, as always with solar, is zero — no electricity, no wiring, nothing. My full spring revival for fourteen lights this year cost me one eight-pack of batteries and about an hour of pleasant puttering.
5 Mistakes That Kill Solar Lights Every Winter
Mistake 1: Leaving them out in the harshest spots. Lights along the driveway where the plow piles snow, or under a drip line that dumps roof water on them, take triple the abuse of a sheltered bed light. Move your best lights to calmer spots for winter or bring them in.
Mistake 2: Storing them dirty and discharged. A light put away with a flat battery and a grimy panel often never wakes up. Clean them, charge them fully on a sunny fall day, then store them — that order matters.
Mistake 3: Using alkaline batteries as replacements. They can't recharge, they underperform within days, and they leak. NiMH rechargeables only, matched to the original size.
Mistake 4: Judging a revival too fast. One cloudy day tells you nothing. Give cleaned, re-batteried lights two or three genuinely sunny days before declaring them dead.
Mistake 5: Ignoring small cracks until they become big ones. A hairline crack in a housing in October is a cup of water inside the light by February. A dab of silicone in fall prevents the whole spring ordeal.
Avoid these five, and the six-step revival above becomes a quick spring tune-up instead of a rescue mission. Most years now I only lose a light or two, and it's almost always one I forgot to bring in before the first big storm.
A Winter Storage and Spring Routine That Actually Works
Prevention beats revival, and my routine takes maybe twenty minutes twice a year. In late fall, before the first hard freeze, I walk the yard with a cloth and a bucket: every light gets its panel wiped, its battery checked, and one last full sunny day of charging with the switch off. Lights in exposed spots — along the driveway, under eaves, anywhere snow piles — come indoors to a shelf in the garage; hardy lights in sheltered beds can stay out if your winters are mild, though I bring in anything I really love. Store them with batteries in and switches off, and if you remember, give them a sunny windowsill day once in mid-winter. In spring, reverse the process: inspect for cracks and moisture, clean the panels, run the charge cycle, and re-stake once the soil has thawed enough to hold them firmly. I also pencil both dates onto my calendar, because honestly, this whole routine only works if it actually happens twice a year, every year. I've folded this into the same weekend as my other outdoor checks — my outdoor lighting maintenance checklist is the list I actually work from. Done faithfully, this routine has stretched my favorite set of path lights through five winters and counting.

Frequently Asked Questions
Why did all my solar lights stop working at the same time?
When a whole set fails together, suspect a shared cause rather than twelve simultaneous deaths. A stretch of heavily overcast winter weather can leave every battery deeply discharged at once, and months of sitting in that state damages them all on roughly the same schedule. Check whether something new is shading the whole row — a grown hedge or a neighbor's fence — and whether a nearby porch or street light is shining on the sensors at night, which keeps every light switched off. Work through the six steps on two or three lights first; if batteries fix those, they'll fix the rest.
How long do solar light batteries usually last?
The rechargeable NiMH cells in most solar lights last about one to two years of nightly use, or roughly 300 to 500 charge cycles, before they noticeably fade. Lights in harsh winter climates tend toward the short end of that range because cold and deep discharge are hard on the chemistry. The light fixture itself, kept reasonably dry, can last five years or more — it's almost always the battery that gives up first, which is why a $6 battery swap is such a satisfying fix.
Can I charge solar lights without sun, indoors?
You can top them up, yes. A bright south-facing window works on clear days, though glass filters some of the light and charging takes noticeably longer. A strong LED lamp placed a few inches from the panel for several hours can also add a partial charge — enough to test whether a light works, which is genuinely useful in March. For a full revival charge, though, nothing beats direct outdoor sun. If you own a plug-in NiMH charger, charging the removed batteries in it is the fastest, most reliable way to separate a battery problem from a panel problem.
Is it worth repairing cheap solar lights, or should I just replace them?
It depends on the failure, not the price tag. If a cleaning, a charge cycle, or a fresh battery revives it, the repair cost you almost nothing and kept a matched light in your set — absolutely worth it. If the panel is hazed white, the board is corroded, or the housing is cracked through, replacement is the smarter buy, since new stake lights start around $5. My rule: one battery swap is always worth trying; beyond that, I replace.
Conclusion
Finding your solar lights not working after a long winter feels like a total loss, but it's almost never the end of the story. Work the six steps in order — clean, check, charge, re-battery, dry, relocate — and most lights will be glowing again by the weekend for little more than the price of a coffee. Whatever refuses to revive has earned its retirement, and now you know exactly why it died and how to protect its replacement. So before you buy a new set, grab a cloth, a toothbrush, and a sunny afternoon, and give the old ones their chance. Then come back and browse more of my outdoor lighting ideas for the spots that deserve something new.