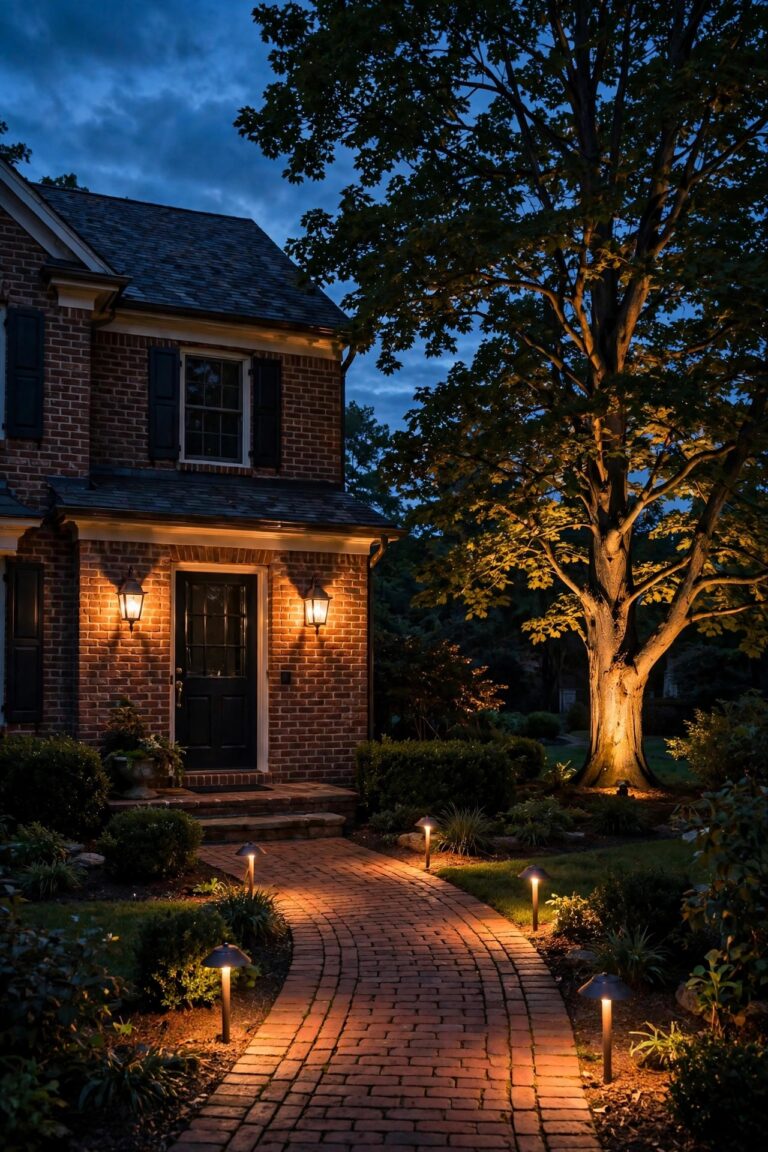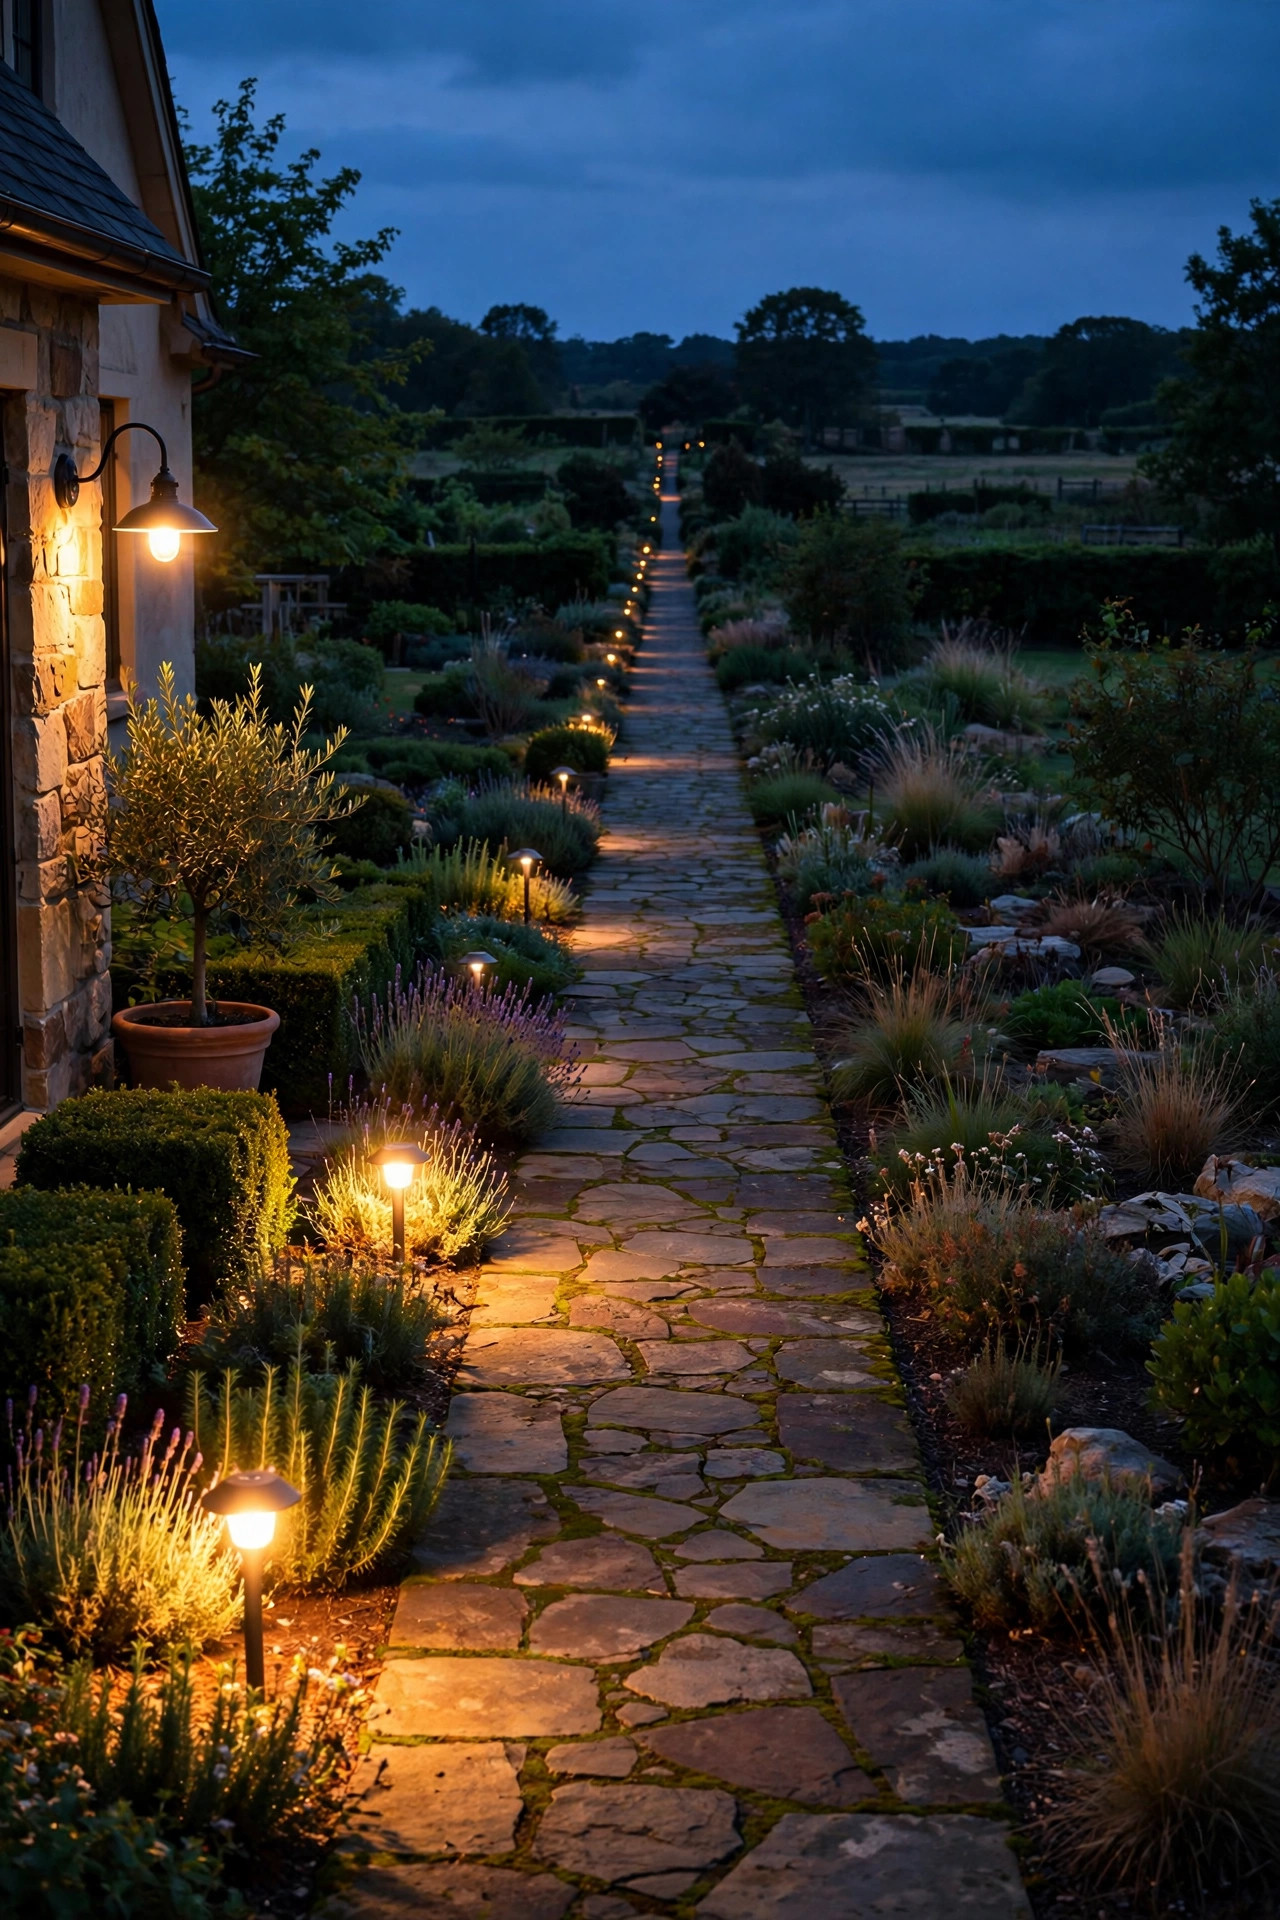
The first time I noticed it, I stood at my back door with a cup of tea, admiring my new path lights — and then I looked past them. The three lights nearest the house glowed that perfect warm white I had picked out. The ones halfway down the garden were noticeably softer. And the poor little fixture at the very end? It was glowing a tired, orangey amber, like a candle about to give up. Nothing was broken. Nothing was burnt out. I was looking at landscape lighting voltage drop, and honestly, it is the single most common reason a low-voltage system disappoints people. The good news? Once you understand what causes it, the fixes are straightforward, mostly inexpensive, and absolutely doable in a weekend. In this guide I'll explain what's happening in plain English, show you how to measure the drop in your own yard with a basic multimeter, and walk through the four fixes that actually work — from a simple wire swap to the transformer trick the pros use. By the end, every light on your run will shine the way the first one does.
The Short Answer
Voltage drop is the gradual loss of electrical pressure as power travels down a long or overloaded low-voltage cable. The fixtures closest to your transformer get their full 12 volts; the ones at the end of the run get whatever is left — sometimes 9 volts or less — so they glow dimmer and warmer in color. The reliable fixes are thicker wire (12-gauge instead of 16-gauge), shorter or split cable runs, equal-length "hub" wiring, and a multi-tap transformer that lets you start the longest run at 13–15 volts so it lands right at the far end. Measure first with a multimeter, then fix — guessing gets expensive.
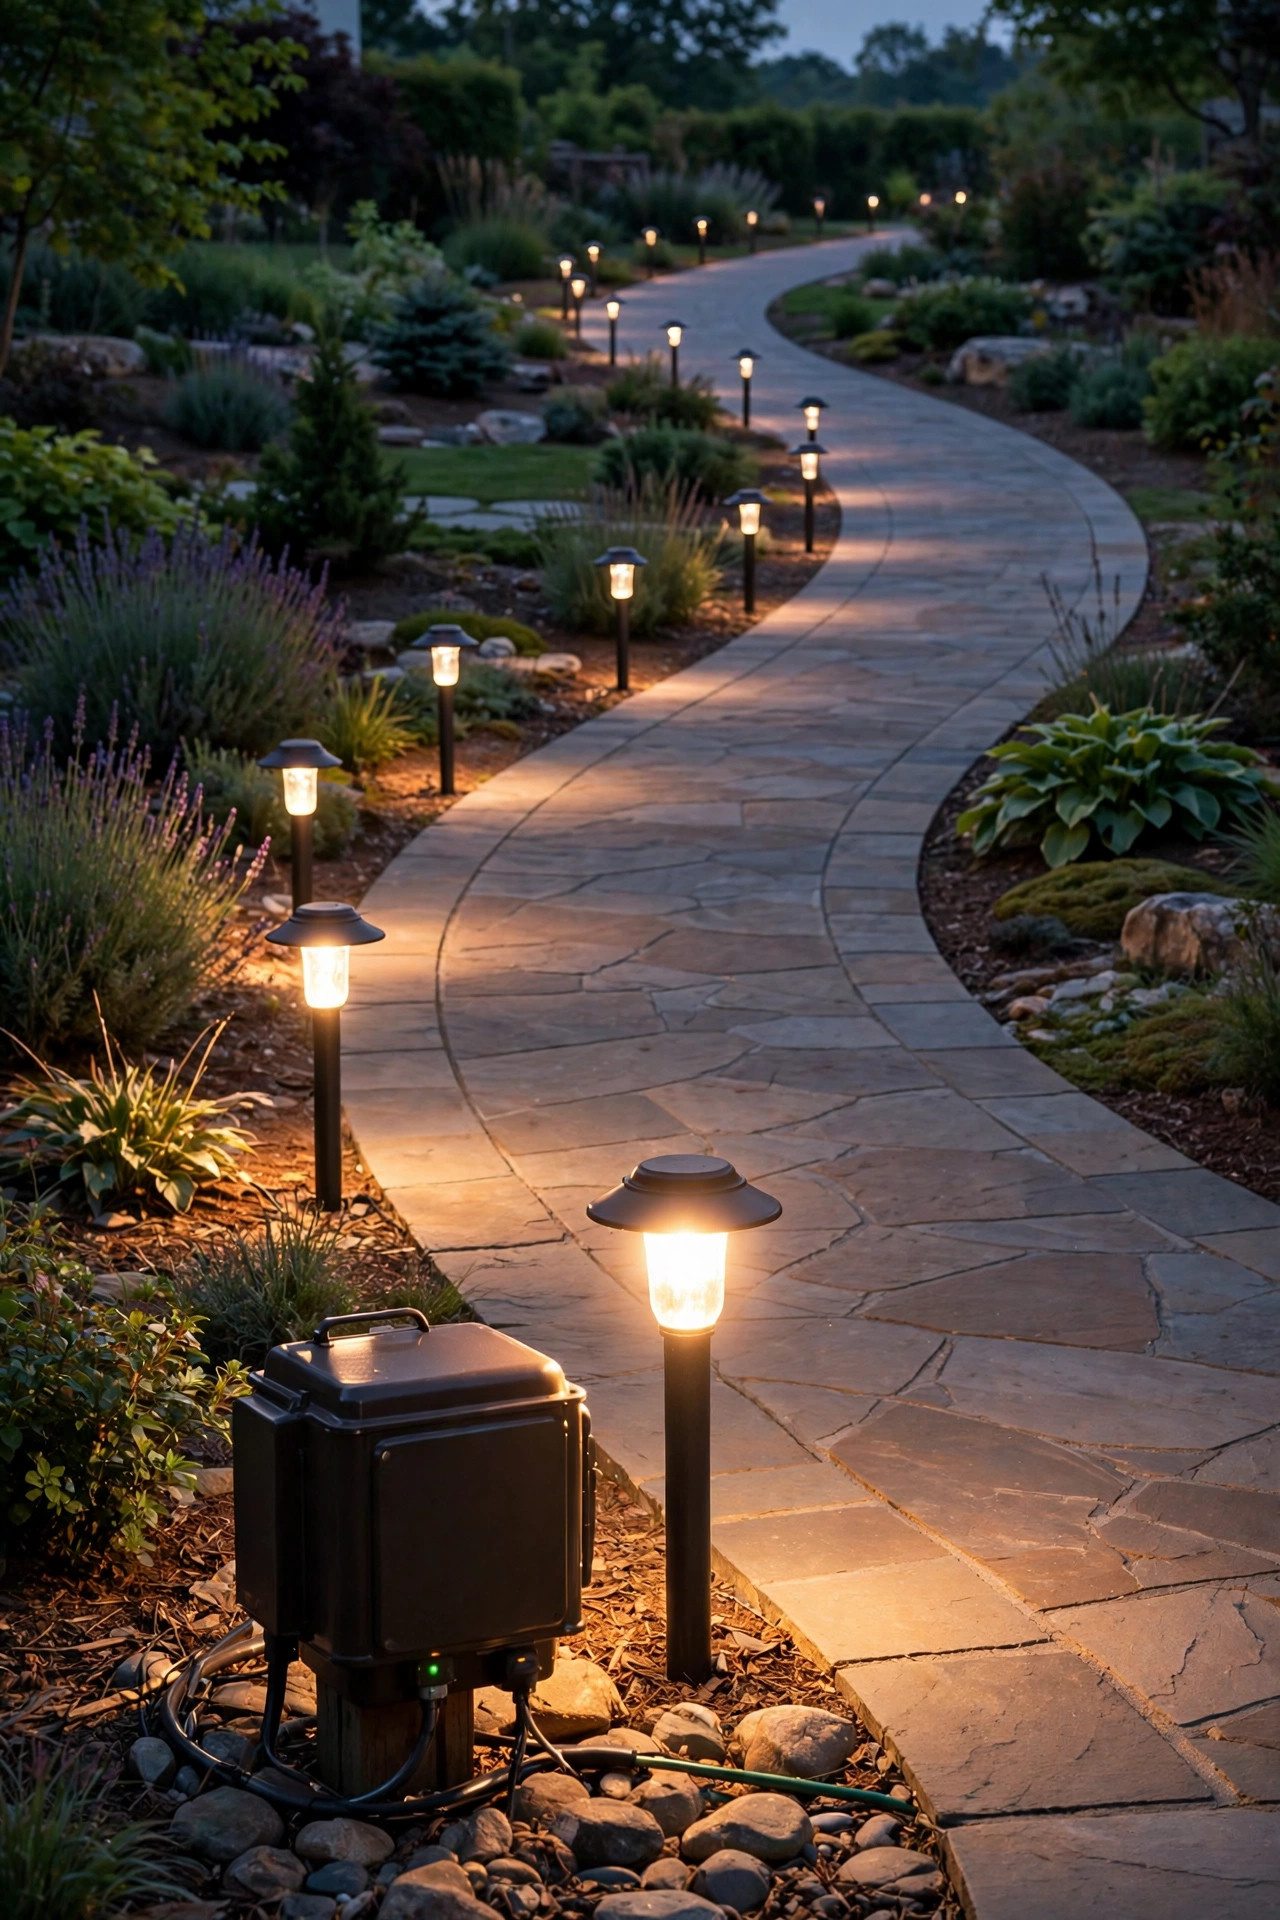
What Landscape Lighting Voltage Drop Actually Is
Think of your low-voltage cable like a garden hose. The transformer is the faucet, voltage is the water pressure, and every fixture along the line is a sprinkler taking its share. Just as pressure fades by the end of a very long hose, voltage fades by the end of a long cable run. The wire itself is the reason: copper resists the flow of electricity a little, and that resistance quietly converts some of your voltage into heat as the current travels. You never feel the heat — it's tiny — but your lights absolutely feel the missing volts.
Three things decide how much voltage you lose. First, distance: the longer the cable, the more resistance the current has to push through. Second, wire thickness: thin wire (16-gauge) resists far more than thick wire (12-gauge), the same way a narrow hose chokes a flow. Third, load: every fixture on the run draws current, and more current pushing through the same resistance means more drop. A run carrying five small LED path lights sips power; a run carrying ten halogen spotlights gulps it. Here's a real-world example. One hundred feet of 12-gauge cable carrying 5 amps loses roughly 1.6 volts along the way — noticeable but livable. Swap in 16-gauge and that same run loses around 4 volts, which turns your last fixtures into glow worms. That's why two neighbors with identical lights can get completely different results: the difference is hiding underground, in the wire.
Why the End of the Run Always Suffers Most
Here's the part that confuses people: why does the first light look perfect while the last one struggles, when they're wired in a simple line? Because voltage drop is cumulative. The first fixture sits just a few feet from the transformer and might lose a tenth of a volt getting its power. The second fixture's power has to travel farther — and it also has to share the cable with everything upstream. By the time current reaches the final fixture, it has survived the resistance of the entire cable, and every fixture before it has taken its cut along the way.
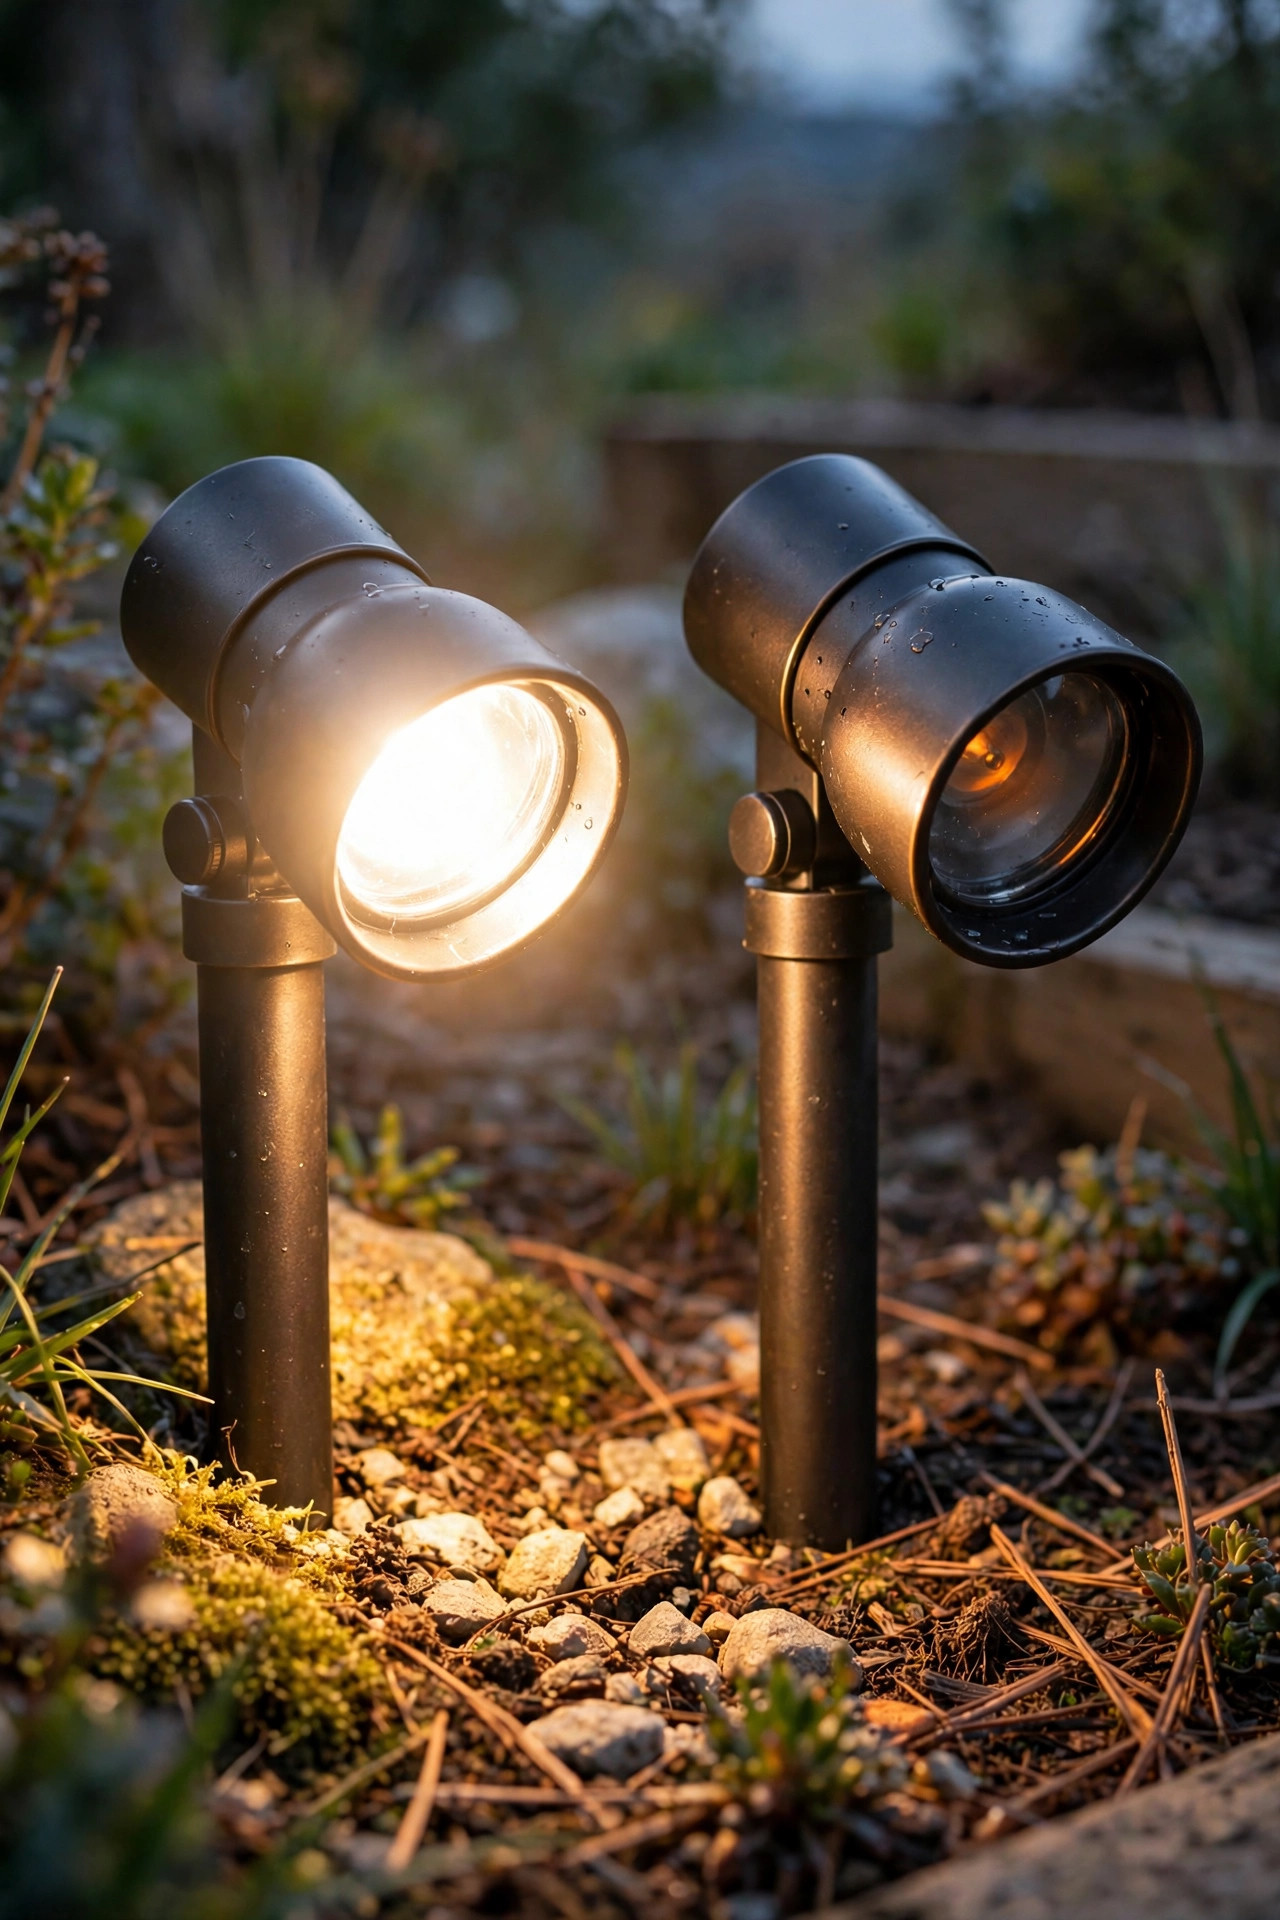
The visible result is a gradient. Your lights don't just get dimmer toward the end; they also shift color. LEDs are engineered to produce their rated warm white — say a cozy 2700K to 3000K — at their full voltage. Starve them and the output slides warmer and yellower, so the end of your path can look like it belongs to a different lighting system entirely. Halogen bulbs are even more dramatic: a halogen running at 9 volts instead of 12 can lose close to half its brightness and turn distinctly orange. I always recommend judging a system from the street after dark. If you can see a brightness "slope" down your path or along your garden beds, you're not imagining it, and your bulbs aren't dying. That's voltage drop, and it's a wiring problem, not a fixture problem — which is wonderful news, because wiring is fixable.
How to Diagnose Landscape Lighting Voltage Drop in Your Yard
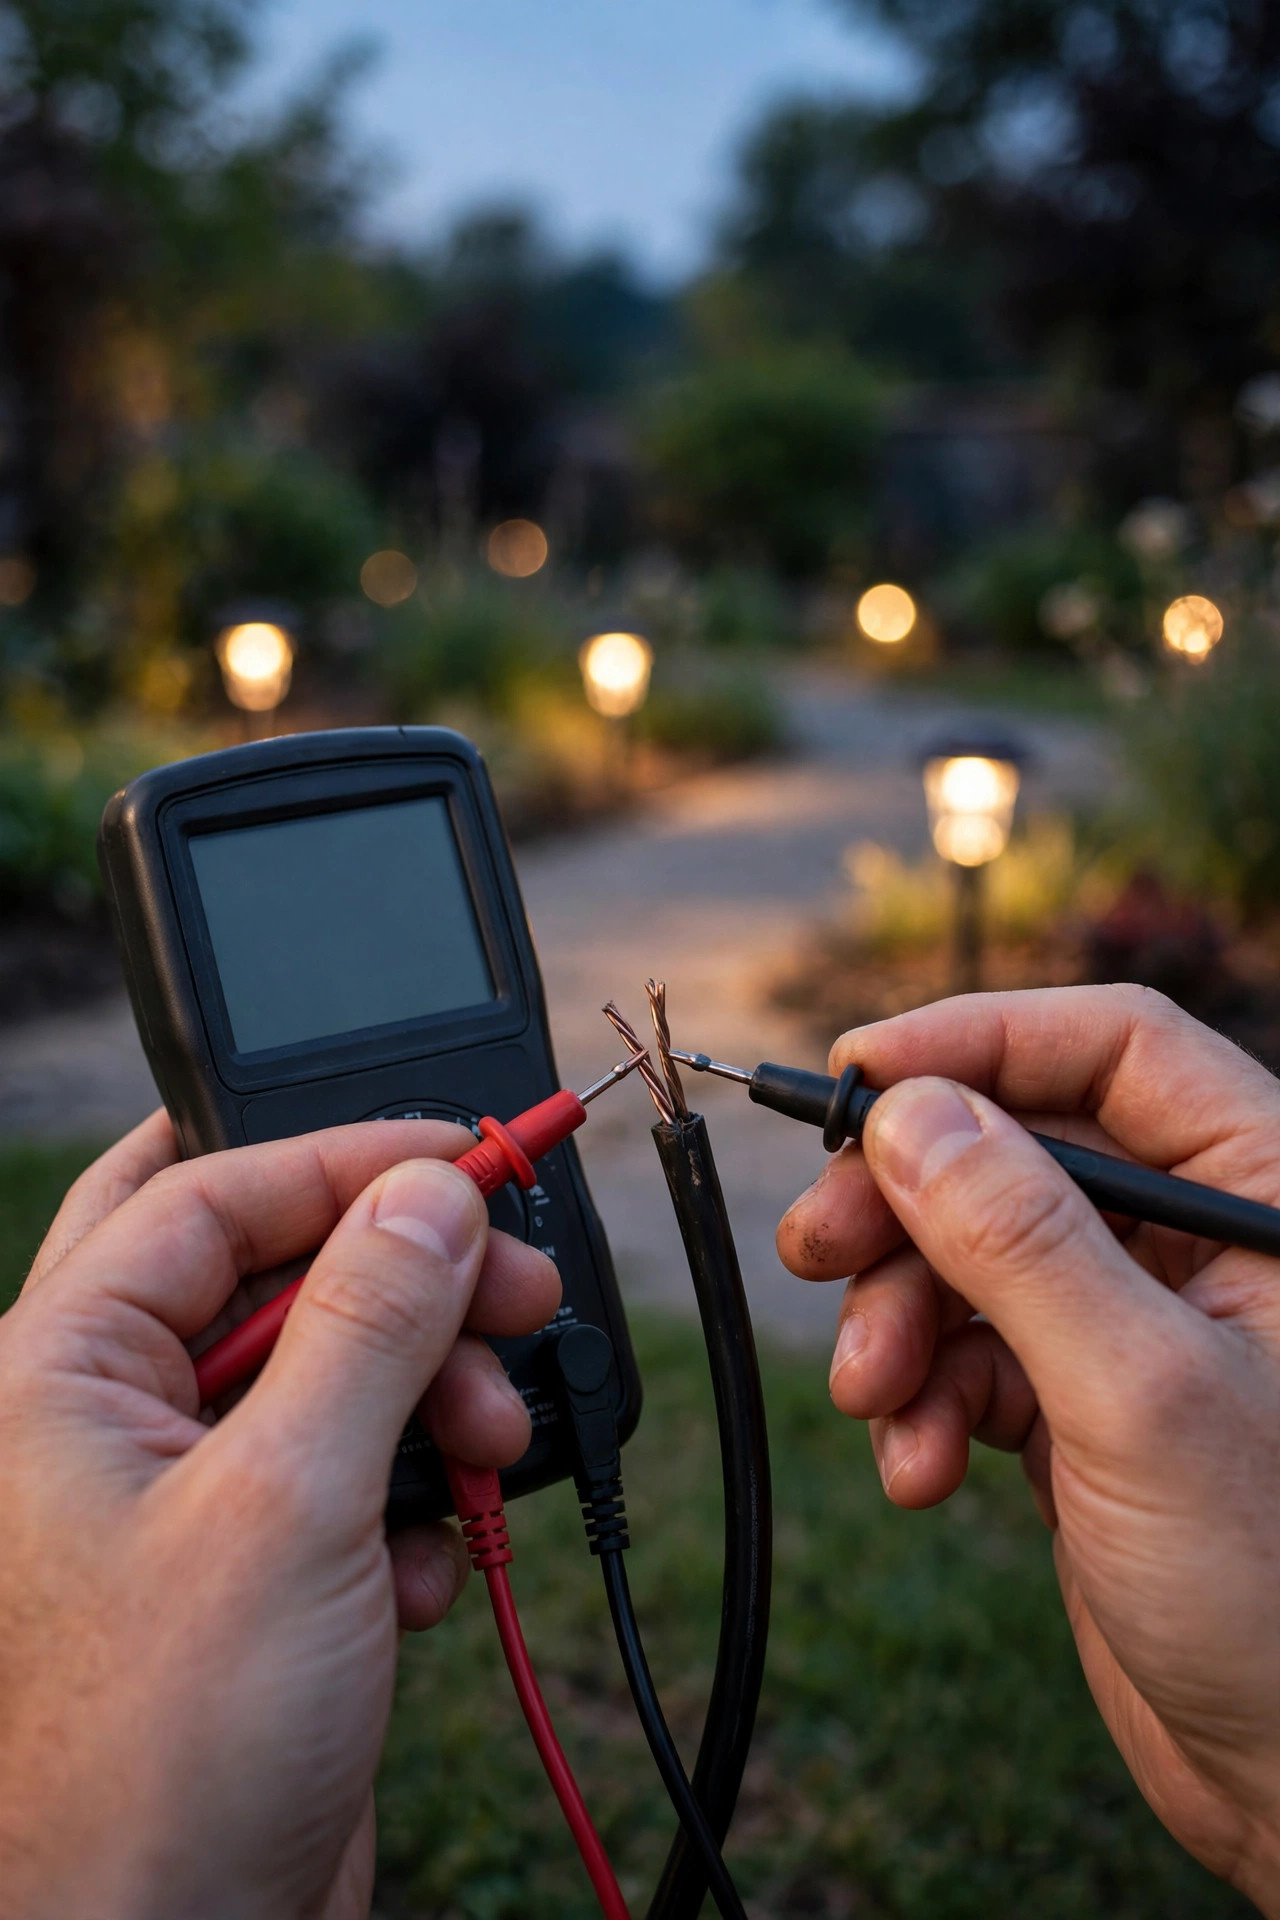
Before you spend a dollar, measure. A basic digital multimeter costs $20–$40 at any hardware store, and ten minutes with one will tell you exactly how healthy your system is. Here is the test I run on every system I troubleshoot:
1. Wait until dark and turn the whole system on. You must test under load — with every light burning — because voltage drop only shows itself when current is actually flowing.
2. Set your multimeter to AC voltage (low-voltage transformers output AC, so use the V~ setting, 20V range if it asks).
3. At the transformer, touch the probes to the common terminal and the tap terminal you're using. A 12V tap usually reads 12–13 volts with the lights on. Write it down.
4. Walk to the very last fixture on the longest run. Open its connection or touch the probes to the fixture's leads where they join the main cable, and read the voltage there.
5. Subtract. If the last fixture is getting 10.8 volts or more, you're in fine shape. Between 10 and 10.8, you'll see a mild dimming. Below 10 volts, that fixture is being starved — and below 9.5, even good LEDs start to look sad.
While you're out there, note the pattern. If only one fixture is dim but its neighbors are bright, that's not voltage drop — check that fixture's connection for corrosion, which adds its own resistance and is fix #0 in my book: clean, tight, waterproof connections. Voltage drop dims everything progressively toward the end of a run. One lone dim light is almost always a bad splice.
The Three Numbers That Keep You Out of Trouble
You don't need an engineering degree to design around voltage drop — just three numbers. First: 10.8 volts is the floor. Most quality LED landscape fixtures are rated to perform happily between about 10.8 and 15 volts; below that floor they dim, shift color, and some will flicker or drop out entirely. Second: 100 feet is the practical run limit for a single line of 12-gauge cable with a moderate load. Beyond 100 feet, you should be splitting runs, looping, or stepping up the starting voltage — not just hoping. Third: 80 percent is your transformer load ceiling. Add up the wattage of every fixture on the transformer and keep the total at or under 80% of its rating. A 300-watt transformer should carry no more than about 240 watts of lights. An overloaded transformer sags on voltage all by itself, before the cable takes its share.
Wire gauge deserves a plain-English translation, because the numbers run backwards: the *smaller* the gauge number, the *thicker* the wire. Twelve-gauge is the thick, serious cable. Fourteen-gauge is the middleweight. Sixteen-gauge is the skinny stuff that comes in cheap kits — and the single most common culprit I find when someone calls me about dim lights. My personal rule for new installs: 12-gauge for any run over 50 feet or carrying more than about 100 watts, no exceptions. The price difference over a whole yard is usually less than one nice fixture, and it buys you even light everywhere.
Fix #1: Go One Gauge Thicker
If your diagnosis shows a healthy transformer but a starving last fixture, and your runs are long, the most direct fix is replacing thin cable with thicker cable on the worst run. Resistance roughly halves when you jump from 16-gauge to 12-gauge, so the same run that lost 4 volts now loses about 2 — often enough to bring the end fixtures right back into their happy zone. Here's how the common gauges honestly compare:
| Wire gauge | Resistance feel | Sensible max run* | Typical cost per foot |
|---|---|---|---|
| 16 AWG | High — kit cable | 50 ft, light loads only | $0.30–$0.50 |
| 14 AWG | Medium | 75 ft | $0.40–$0.70 |
| 12 AWG | Low — the pro default | 100–150 ft | $0.50–$0.90 |
| 10 AWG | Very low | 150 ft+ / heavy loads | $0.80–$1.30 |
*With a moderate LED load; heavy halogen loads shorten every number on this table.
You rarely need to rewire the whole yard. Start with the longest, dimmest run — that's where the transformation will be most dramatic — and work in sections if you like. While the trench is open, it's also the perfect moment to tidy your routing; my guide to hiding landscape lighting wires covers clean, mower-safe ways to bury and disguise cable so the fix looks as good as it performs.

Fix #2: Split the Run, Hub It, or Loop It
Sometimes the smartest fix isn't thicker wire — it's smarter geometry, and this one costs little more than connectors and an afternoon. The idea is to stop asking one long cable to feed everything in a line.
Split the run. Instead of one 160-foot run of twelve lights, make two 80-foot runs of six, each leaving the transformer separately. Each run is shorter and carries half the current, so drop falls dramatically on both.
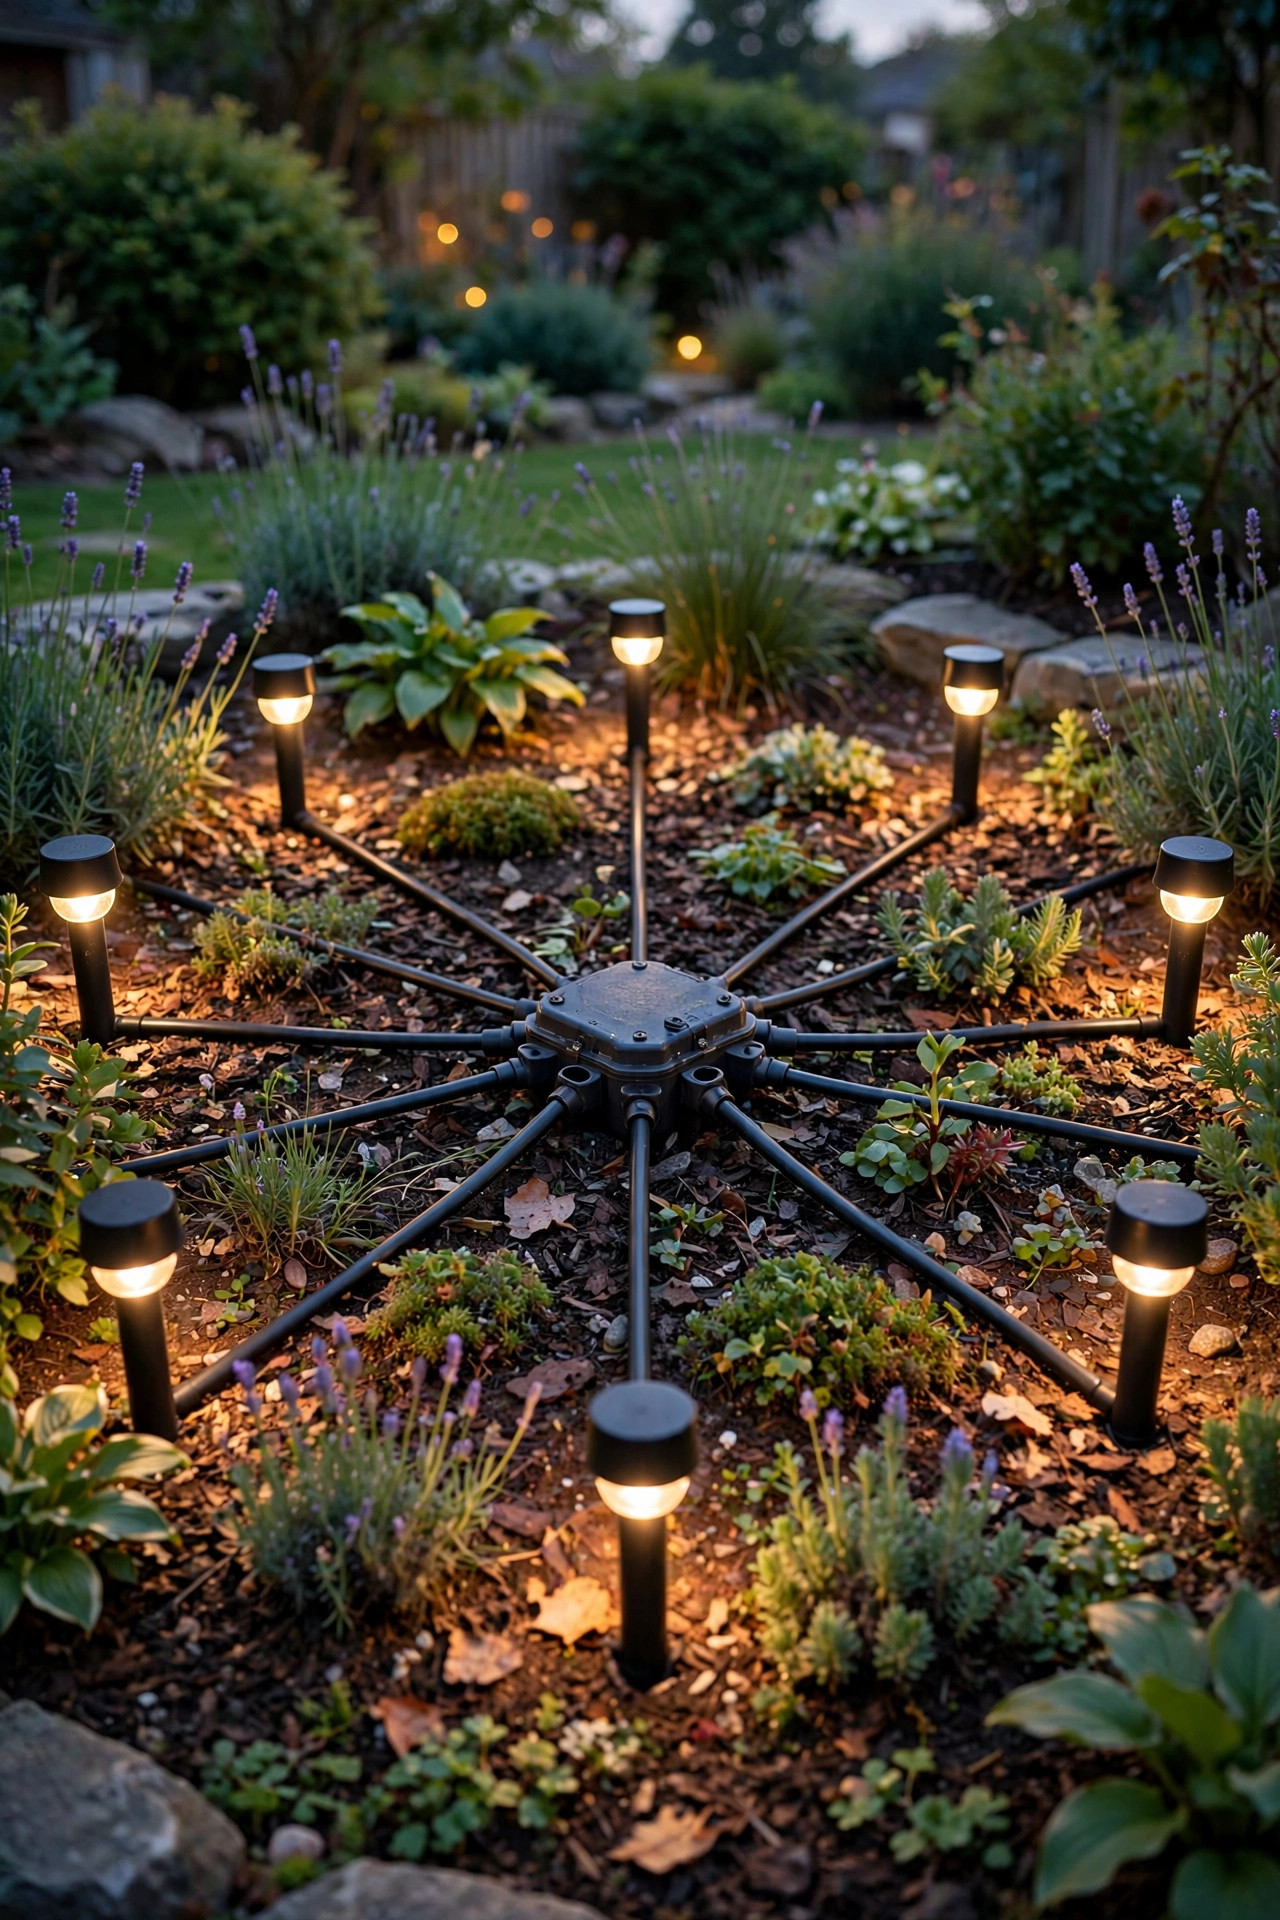
Use the hub method. Run one heavier "home run" cable out to a central junction — a hub — placed near a cluster of fixtures, then connect each fixture to the hub with its own shorter lead, all roughly the same length. Because every fixture's total path from the transformer is nearly identical, they all receive nearly identical voltage. No gradient, no dim cousin at the end. This is the method I use on my own garden beds, and the evenness is honestly startling the first time you see it.
Close the loop. If your fixtures already line a path, add one more cable connecting the *end* of the run back to the transformer. Now power reaches the last fixture from both directions, and the worst-fed light effectively sits in the middle of the circuit instead of the end. A loop can cut the worst-case drop roughly in half to a quarter. Whichever geometry you choose, plan the layout on paper first — sketching transformer placement and run lengths up front is the heart of good low-voltage landscape lighting design, and ten minutes of sketching saves hours of re-trenching.
Fix #3: Use a Multi-Tap Transformer
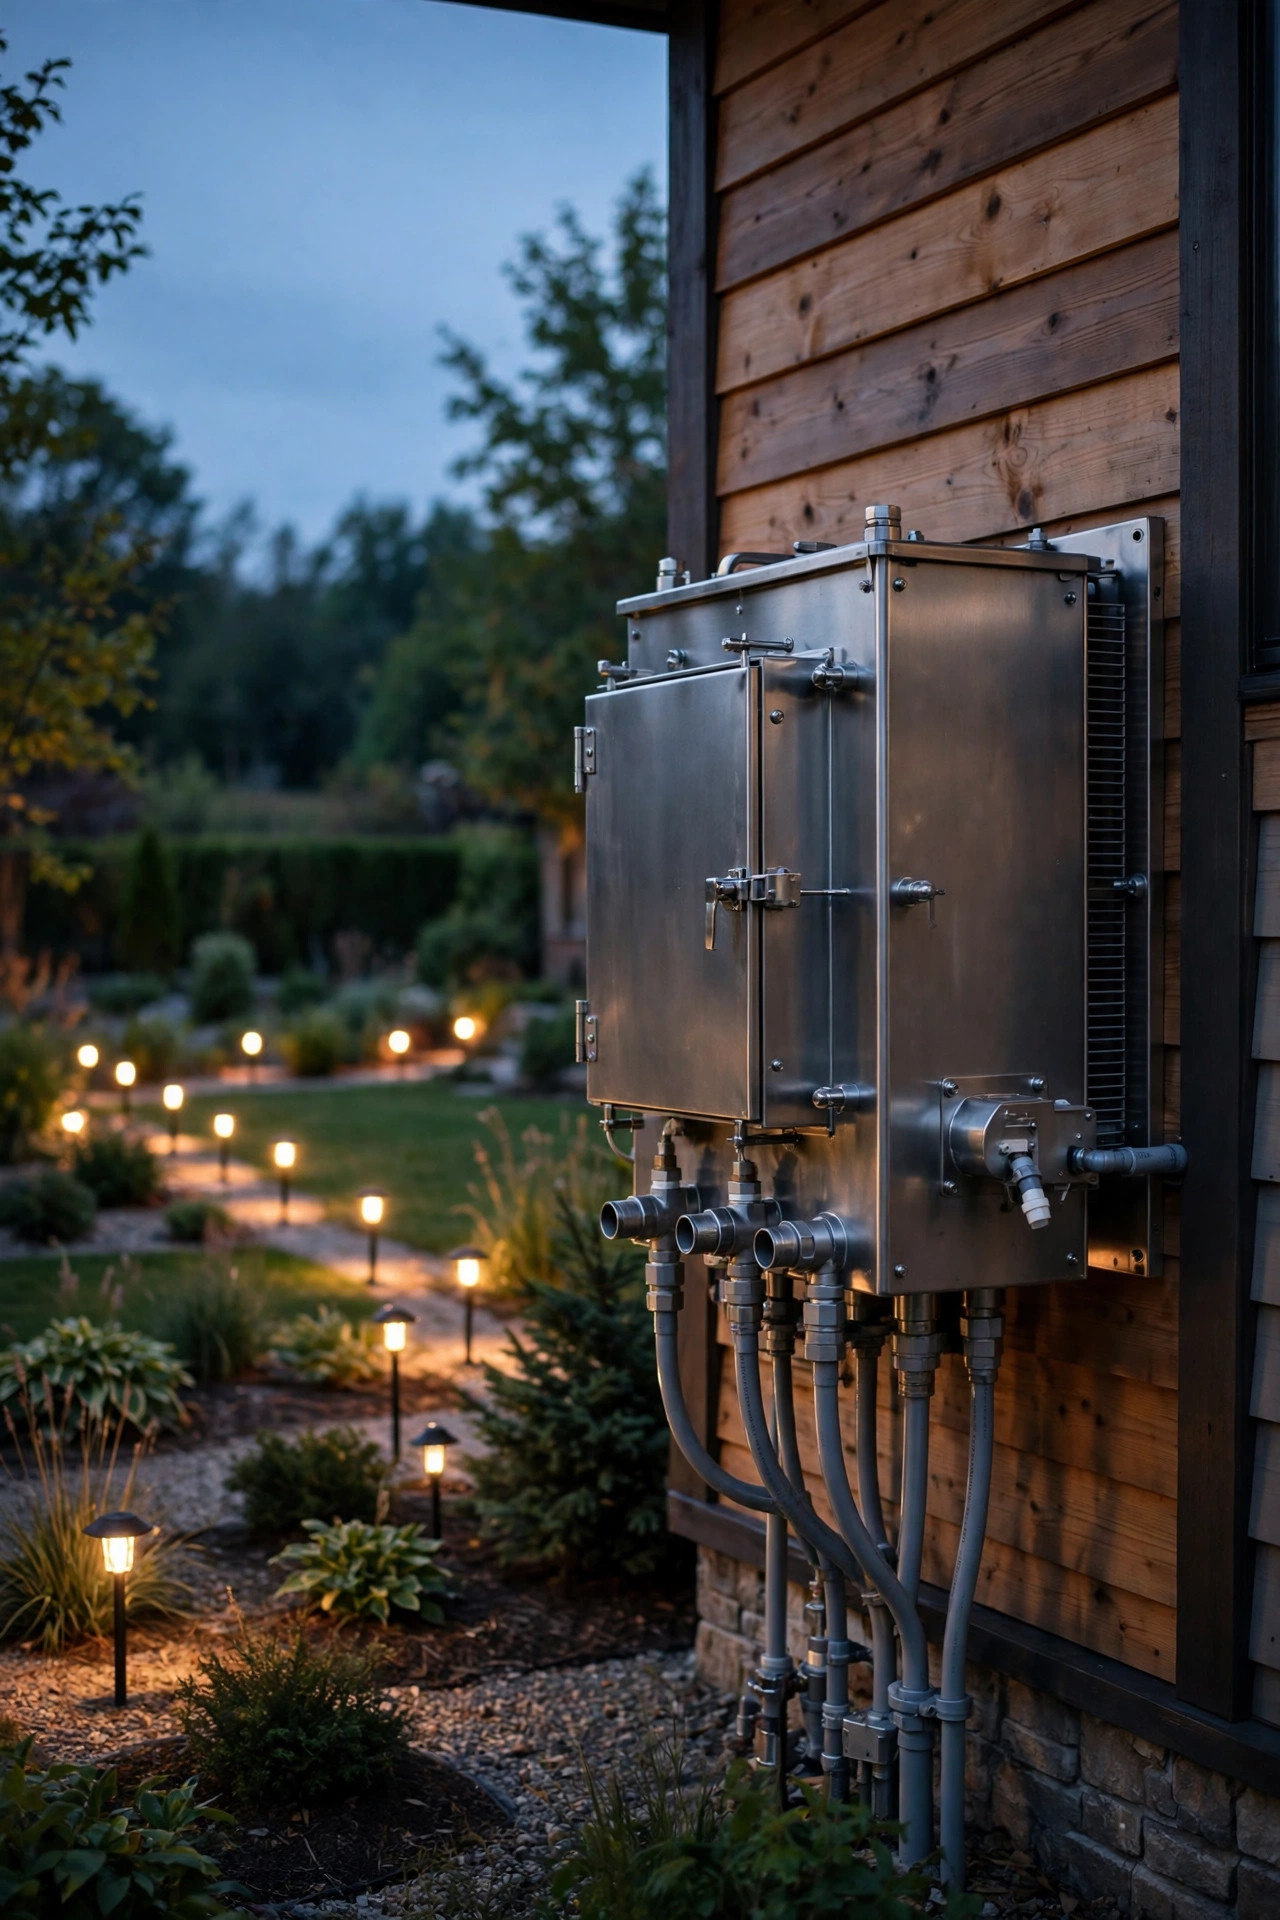
This is the pro's secret weapon, and it still delights me. A standard transformer gives you one output: 12 volts, take it or leave it. A multi-tap transformer offers several — typically 12, 13, 14, and 15 volts. The logic is beautifully simple: if your longest run predictably loses about 2.5 volts along the cable, feed that run from the 14- or 15-volt tap. The fixtures near the transformer on that run would get too much, so multi-tap setups pair best with hub or split layouts where each run is roughly uniform — but on a dedicated long run, the far fixtures land right around 12 volts and glow at full, true color.
Two honest cautions. First, higher taps are compensation, not magic: you must confirm with your multimeter that no fixture on the run exceeds about 15 volts, because chronic over-voltage shortens LED driver life. The fixtures *closest* to the transformer on a boosted run are the ones at risk. Second, multi-tap transformers cost more — plan on $120–$300 for a quality stainless unit versus $60–$120 for a basic one — but they also tend to include better timers, photocells, and build quality. If you're replacing an aging transformer anyway, I always recommend spending the difference. It's the single upgrade that makes every other part of the system behave.
Fix #4: Move the Transformer to the Middle (and Shrink the Load)
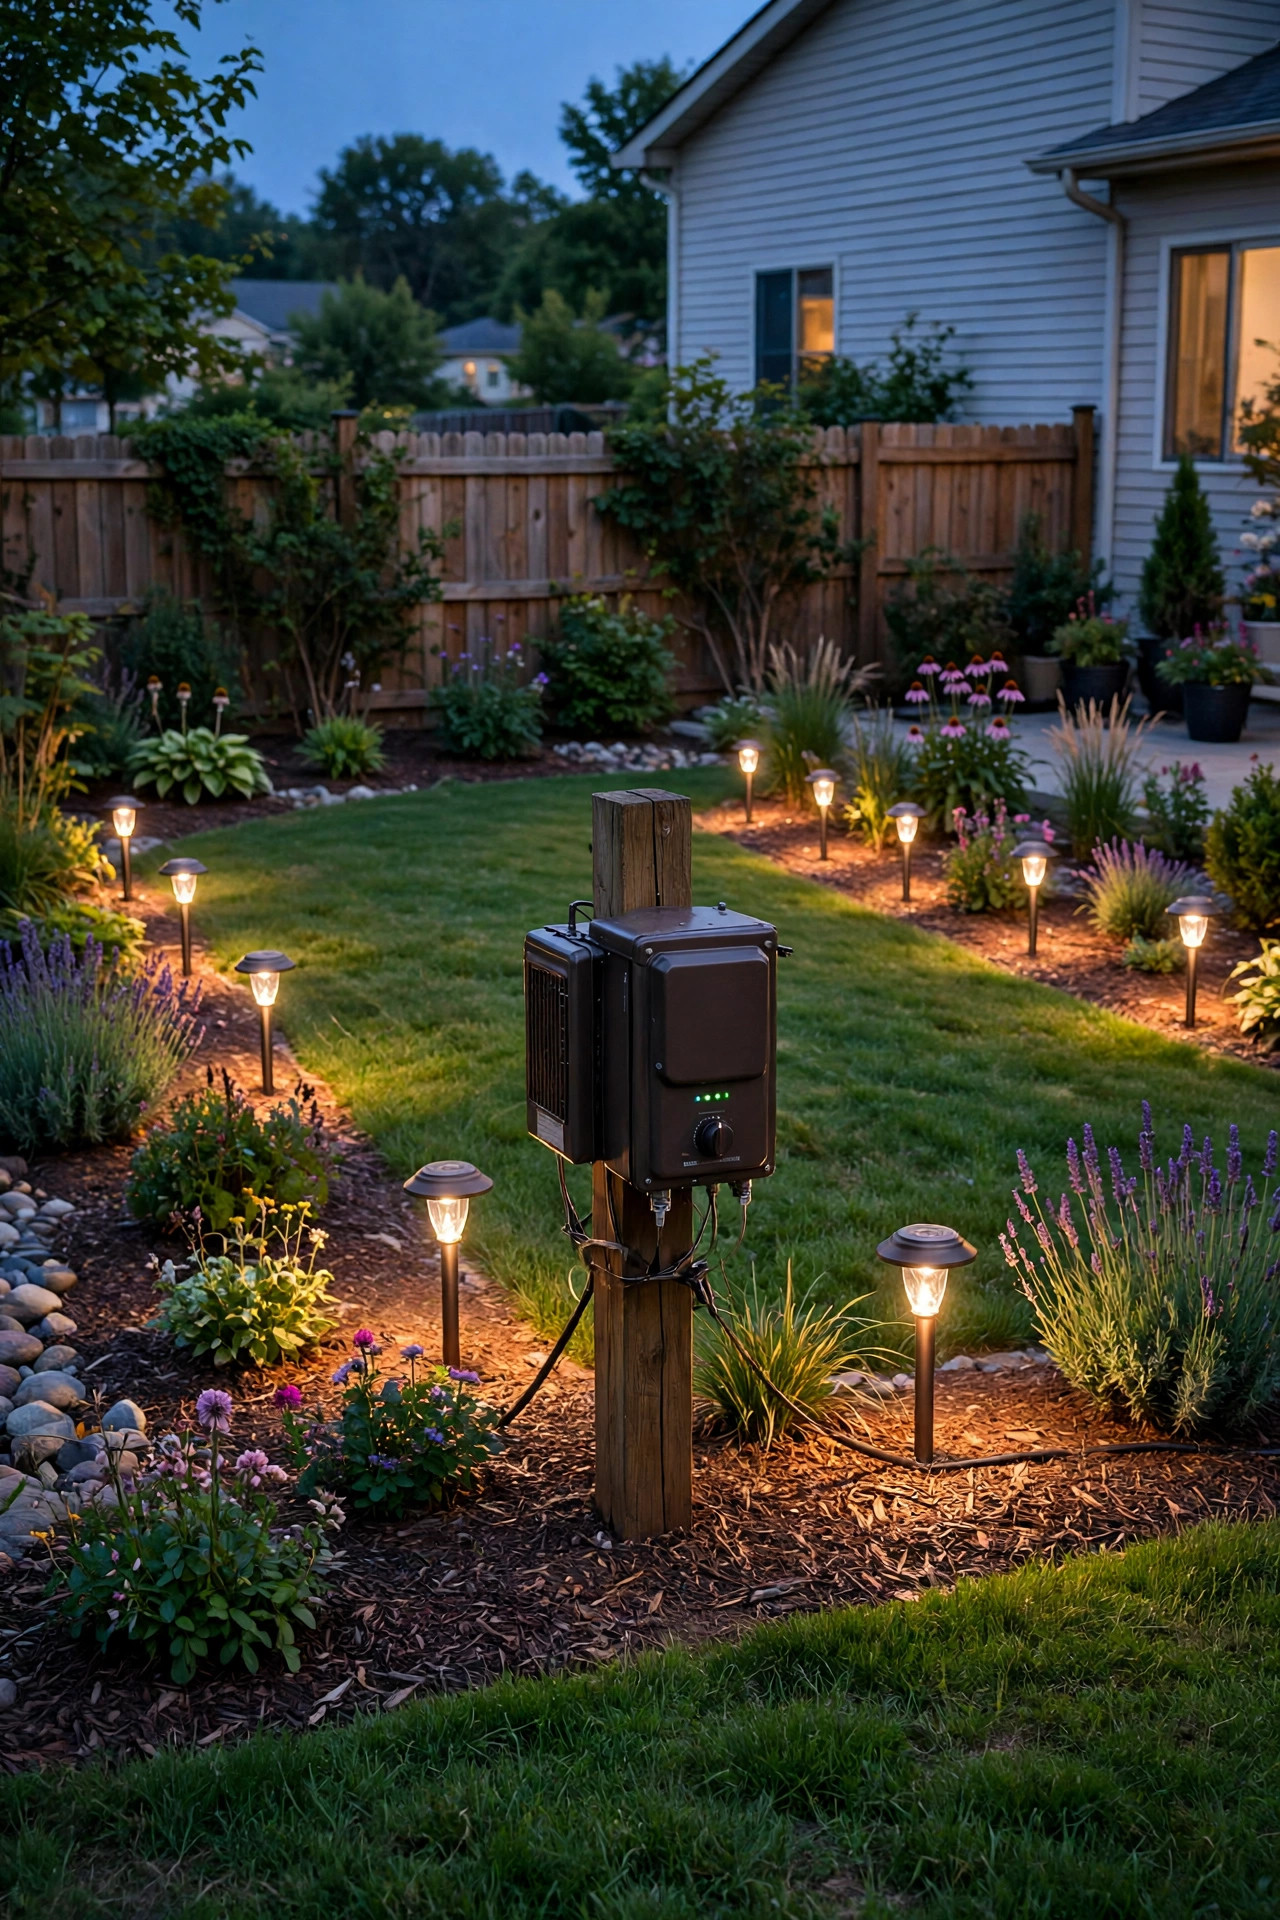
Sometimes the transformer is simply in the wrong place. It usually lands wherever the nearest outdoor outlet happens to be — a far corner of the house — forcing one heroic cable run across the entire property. Moving the transformer to a central location, even just to the other side of the patio, can halve your longest run overnight. Halving the distance roughly halves the drop, and it frequently cures a "hopeless" system without buying a single new fixture. If there's no outlet where you need one, having an electrician add a GFCI-protected receptacle typically runs $150–$350 — worth pricing before you rewire a whole yard around a bad location.
The companion trick is shrinking the load itself. Remember, drop grows with current, and current grows with watts. Swapping old 20-watt halogen bulbs for 4-watt LEDs cuts the current on that run to about a fifth — which cuts the voltage drop to about a fifth too, on the exact same cable. I've "fixed" more than one dim system with nothing but an LED retrofit: the last light on the run went from amber ember to proper warm white without touching a single wire. Fewer amps also means your transformer loafs along well under that 80% ceiling. Between a central transformer and an all-LED load, many yards never need the heavier cable at all.
What These Fixes Cost in 2026
Let's talk real numbers, because "fix your voltage drop" sounds expensive and usually isn't. A 100-foot spool of 12-gauge low-voltage cable runs $50–$90. Gel-filled waterproof connectors are $1–$3 each; buy the twenty-pack for $15–$25 and you'll have spares for every future splice. A perfectly good digital multimeter is $20–$40 and will serve you for a decade. A multi-tap transformer in the 300-watt class costs $120–$300 depending on finish and controls. An electrician, if you need a new outlet or want a pro to verify your work, charges $75–$150 per hour in most areas, and a voltage-drop diagnosis is a one-hour visit at most. If your soil fights back during a long rewire, a half-day trencher rental runs $60–$90 — though honestly, a flat spade and a free Saturday handle most low-voltage trenches perfectly well.
Put together, the typical DIY rescue — rewire the worst run in 12-gauge, convert it to a hub layout, fresh connectors throughout — lands between $75 and $200 in materials and a Saturday afternoon. The full belt-and-suspenders version, adding a multi-tap transformer, runs $250–$450 all in. For context on where that sits in the bigger picture, my breakdown of landscape lighting costs for 2026 shows what complete systems and pro installs run — you'll see that curing voltage drop is one of the cheapest meaningful upgrades in the whole category.
5 Mistakes That Make Voltage Drop Worse
1. Trusting the kit cable. Those 16-gauge spools in bargain kits are sized for a patio, not a property. Using them for a 120-foot run guarantees a gradient.
2. Daisy-chaining "just one more light." Every added fixture raises the current on the whole cable — including the drop suffered by lights that were fine before. Recheck your end voltage after any addition.
3. Burying twist-on indoor connectors. Corrosion creeps in within a season, adds resistance at every splice, and quietly mimics (and multiplies) voltage drop. Gel-filled, direct-burial connectors only.
4. Mixing gauges mid-run. A thick cable that necks down to a thin tail still starves everything past the neck. The thinnest segment sets the limit for everything downstream of it.
5. Testing in daylight with the lights off. Voltage drop hides until current flows. A system that "tests fine" at noon can be 3 volts short at nine o'clock. Always diagnose at night, under full load.
Mistake number two is the one that bites people most often, because everything looks fine the evening you add that extra light — the gradient creeps in so gradually that weeks pass before anyone notices the far end has gone amber again. Avoid all five, and you'll be ahead of most professional-looking installs I walk past in my neighborhood — including, honestly, my own first attempt years ago.
Safety and Electrical Basics
Low-voltage lighting is loved for good reason: the 12 volts in your yard cables can't give you a dangerous shock, and it's genuinely DIY-friendly. But respect the one place where real household current lives — the transformer plugs into a 120-volt outlet, and that outlet should be GFCI-protected and fitted with an in-use weatherproof cover. Always unplug the transformer before cutting, splicing, or re-routing cable; "it's only 12 volts" is true of the yard side, not of the unit you're handling.
A few more ground rules from my own checklist. Use cable rated for direct burial, and bury it about 6 inches deep — deep enough to escape aerators and edging tools, shallow enough to find again. (Slide a photo of your cable routes into a phone album before you close the trench; future-you says thanks.) Keep splices in gel-filled connectors rated for wet locations, never bare twists or electrical tape alone. If a fix involves adding an outlet or touching anything on the 120-volt side, that's electrician territory in my book, full stop. And if any part of a run crosses a driveway or walkway, sleeve that section in conduit where it passes under hardscape — a crushed cable years from now looks exactly like sudden, mysterious voltage drop.
Frequently Asked Questions
How much voltage drop is acceptable in landscape lighting?
Aim to lose no more than about 1 to 1.5 volts between the transformer and your farthest fixture, keeping that fixture at 10.8 volts or above on a 12-volt system. Small drops are invisible; once a fixture falls below roughly 10.5 volts, dimming and color shift become noticeable to most people.
Can voltage drop damage my LED fixtures?
Low voltage won't cook an LED the way excess voltage can, but chronically under-voltaged fixtures may flicker, drop out, or shift color — and some drivers behave erratically near their minimum. The bigger lifespan threat is the opposite fix done carelessly: boosting a run so high that the nearest fixtures sit above 15 volts. Measure both ends after any change.
Will a bigger transformer fix my dim end-of-run lights?
Not by itself. A larger transformer provides more *capacity* (watts), but if your current one isn't overloaded, the dimming is cable resistance, not capacity. Where a transformer upgrade does help is choosing a multi-tap model, which lets you raise the starting voltage on the long run to compensate for the drop.
Should I just replace a dim wired run with solar lights?
Only for accents. Solar fixtures have no voltage drop because each carries its own battery — but their brightness and runtime depend on sun exposure, and they can't match a wired fixture's output or consistency in shade or winter. I use solar as a supplement for far corners, never as a cure for a fixable wired run.
Conclusion
Landscape lighting voltage drop isn't a defect in your lights — it's physics sending you a small, solvable message about distance, wire, and load. Measure at the last fixture on a dark evening, and you'll know exactly which fix you need: thicker cable, a smarter layout, a multi-tap transformer, a better transformer home, or simply lighter-loading LED bulbs. Most yards need just one or two of the five, and most fixes cost less than a single new fixture. Do the work once, and every light on the run will greet you at the same warm, even glow — from the first path light by the door to the little spotlight at the very end of the garden. If you're planning your next project, browse the rest of my lighting guides and ideas here on the site for layouts that build voltage-drop-proofing in from day one.