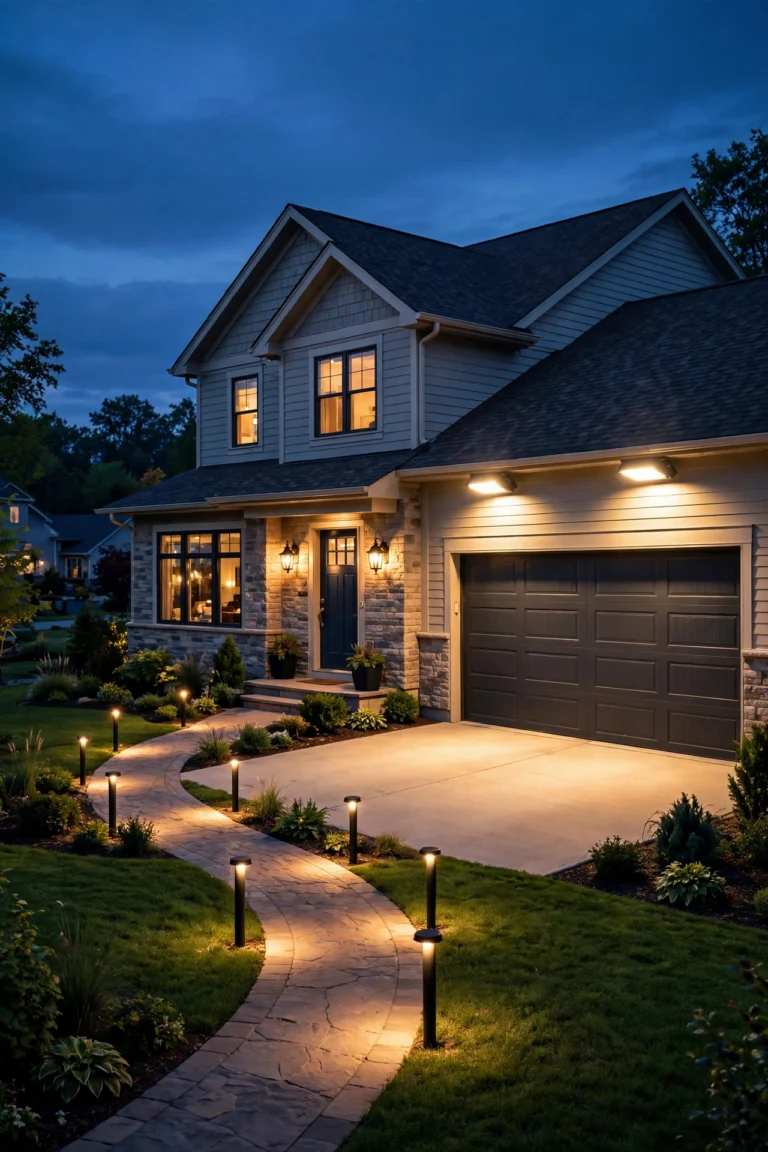
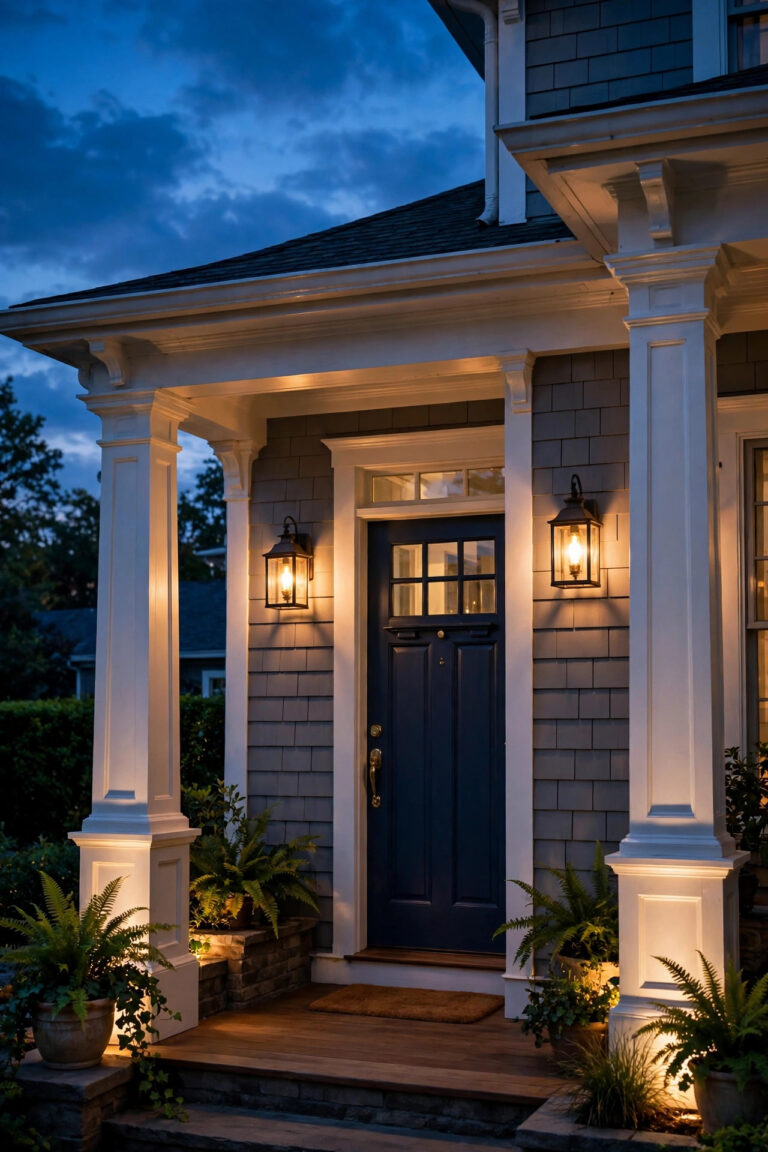
Long walls are the hardest-working backdrop in any yard, and after dark most of them just disappear — or worse, get blasted by one lonely floodlight that leaves hot spots and shadows. The fix I reach for again and again is linear led light bars outdoor fixtures: slim, ground-hugging bars that pour a smooth ribbon of light up a wall, a fence, or a foundation with no scallops and no gaps. A single spotlight paints a circle; a wash bar paints the whole canvas. My lighting philosophy has always been layering, and wash bars are the perfect base layer — they give you that even ambient glow that makes brick look richer, stone look deeper, and a plain fence look like it was designed. In this post I'm sharing 15 ways to use them: ground grazes, foundation washes, in-grade runs, solar options, and smart setups, with real spacing measurements, mounting distances, and honest budgets for every single idea.
1. The Classic Ground Graze: Linear LED Light Bars Outdoor Walls Deserve
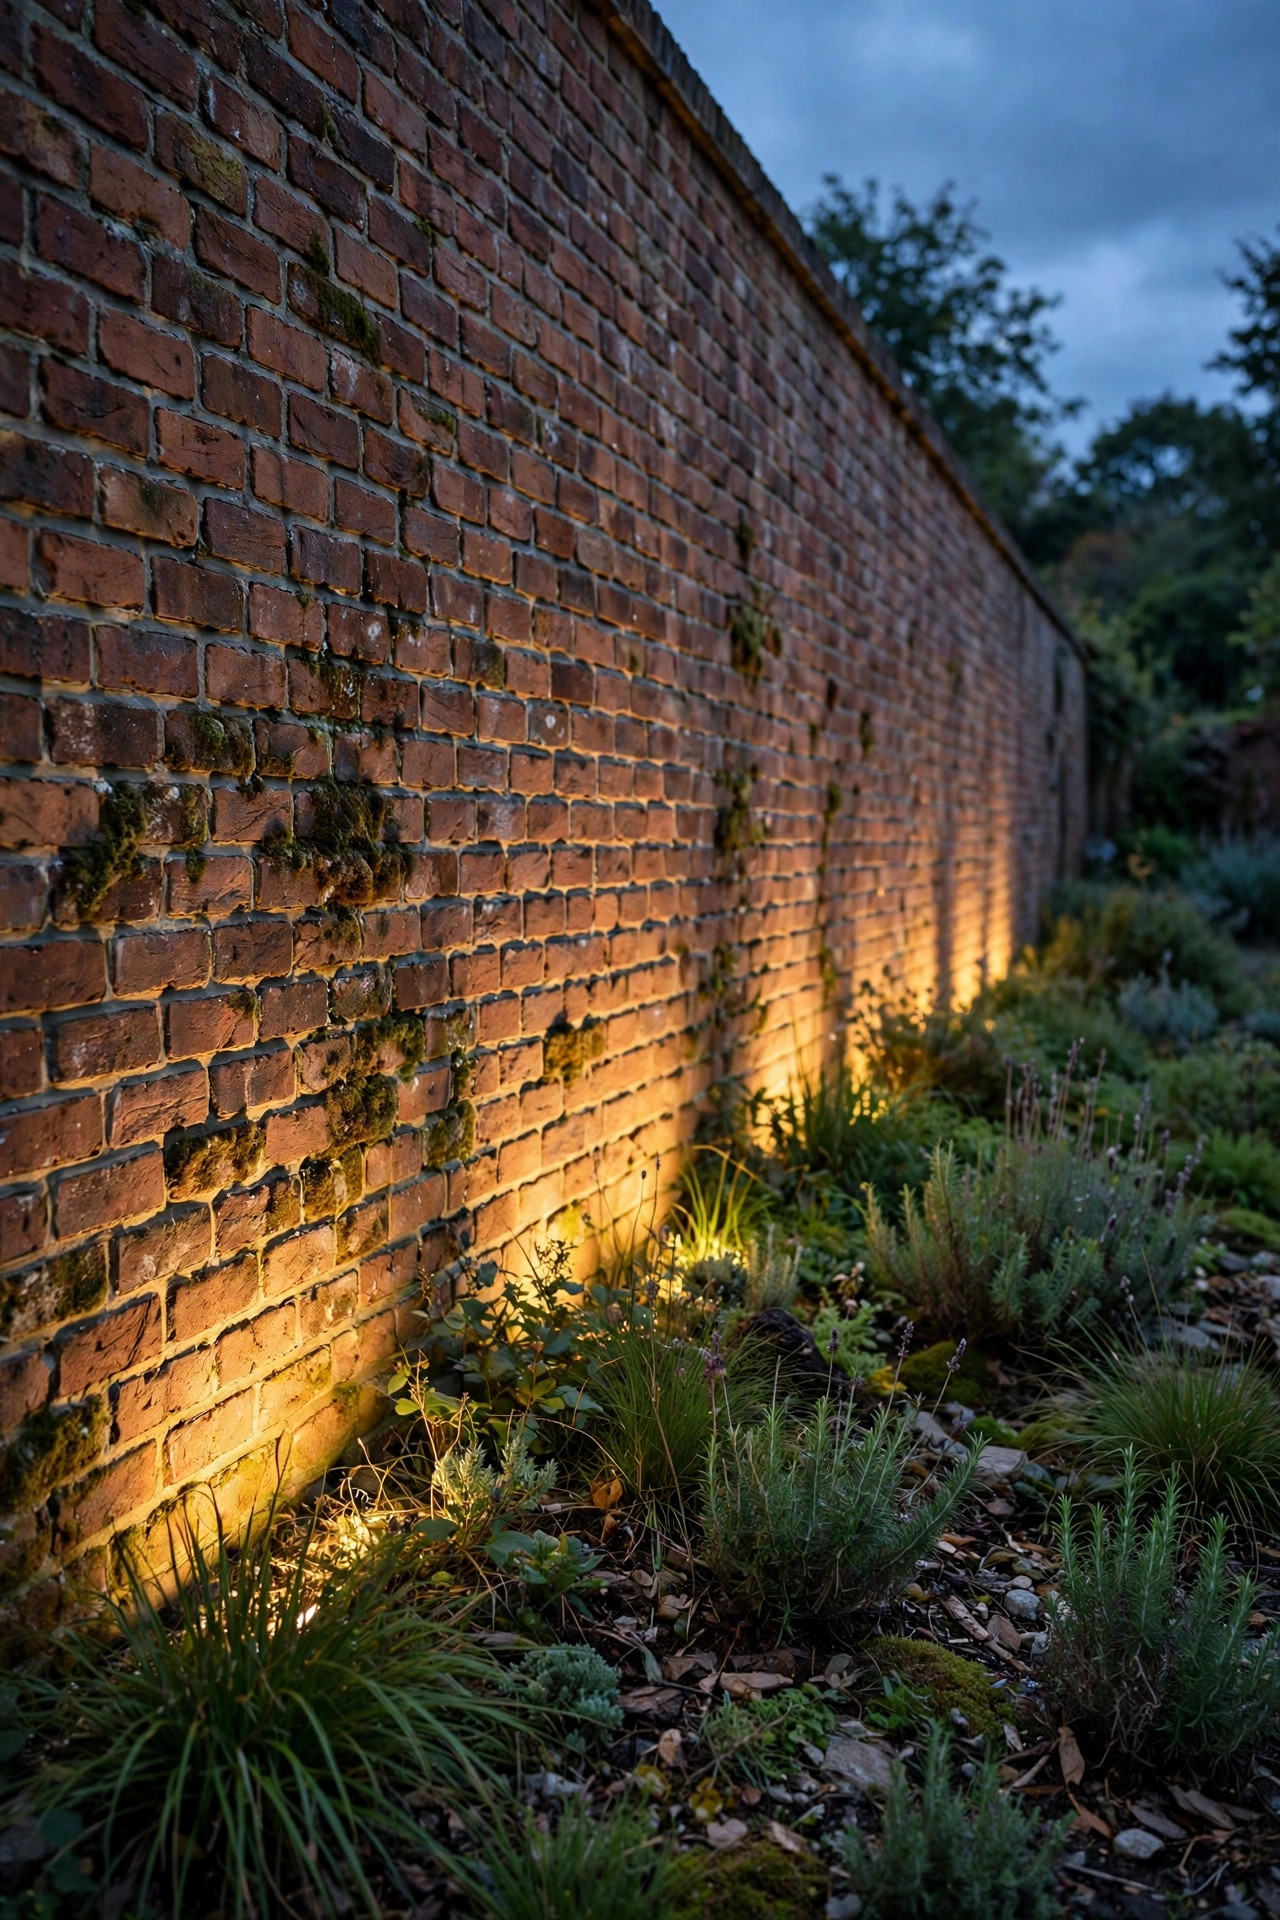
This is the setup that sells people on wash bars in the first place. Mount a row of low-voltage linear bars in the planting bed at the base of your front facade, 6 to 12 inches out from the wall, and aim them straight up so the light skims the siding or brick. That tight, close placement is called grazing, and it exaggerates texture beautifully — every mortar line, stone edge, and board shadow pops. Bars come in 12-, 24-, and 36-inch lengths, and for a graze you want them nearly end to end so the ribbons merge. Choose a narrow-to-medium beam, around 15 to 30 degrees, in 2700K warm white. Run the low-voltage cable in a shallow 3-inch trench along the bed, and stake or screw the mounting feet into a buried paver if your soil is soft, so the aim never drifts after a heavy rain. If you're new to the technique, my guide to wall washing and grazing walks through the placement math in more detail. Honestly, once you see your own house grazed like this, a bare floodlight will never satisfy you again.
Suggested budget range: $45 – $120.
2. Foundation Planting Washes That Hide the Hardware
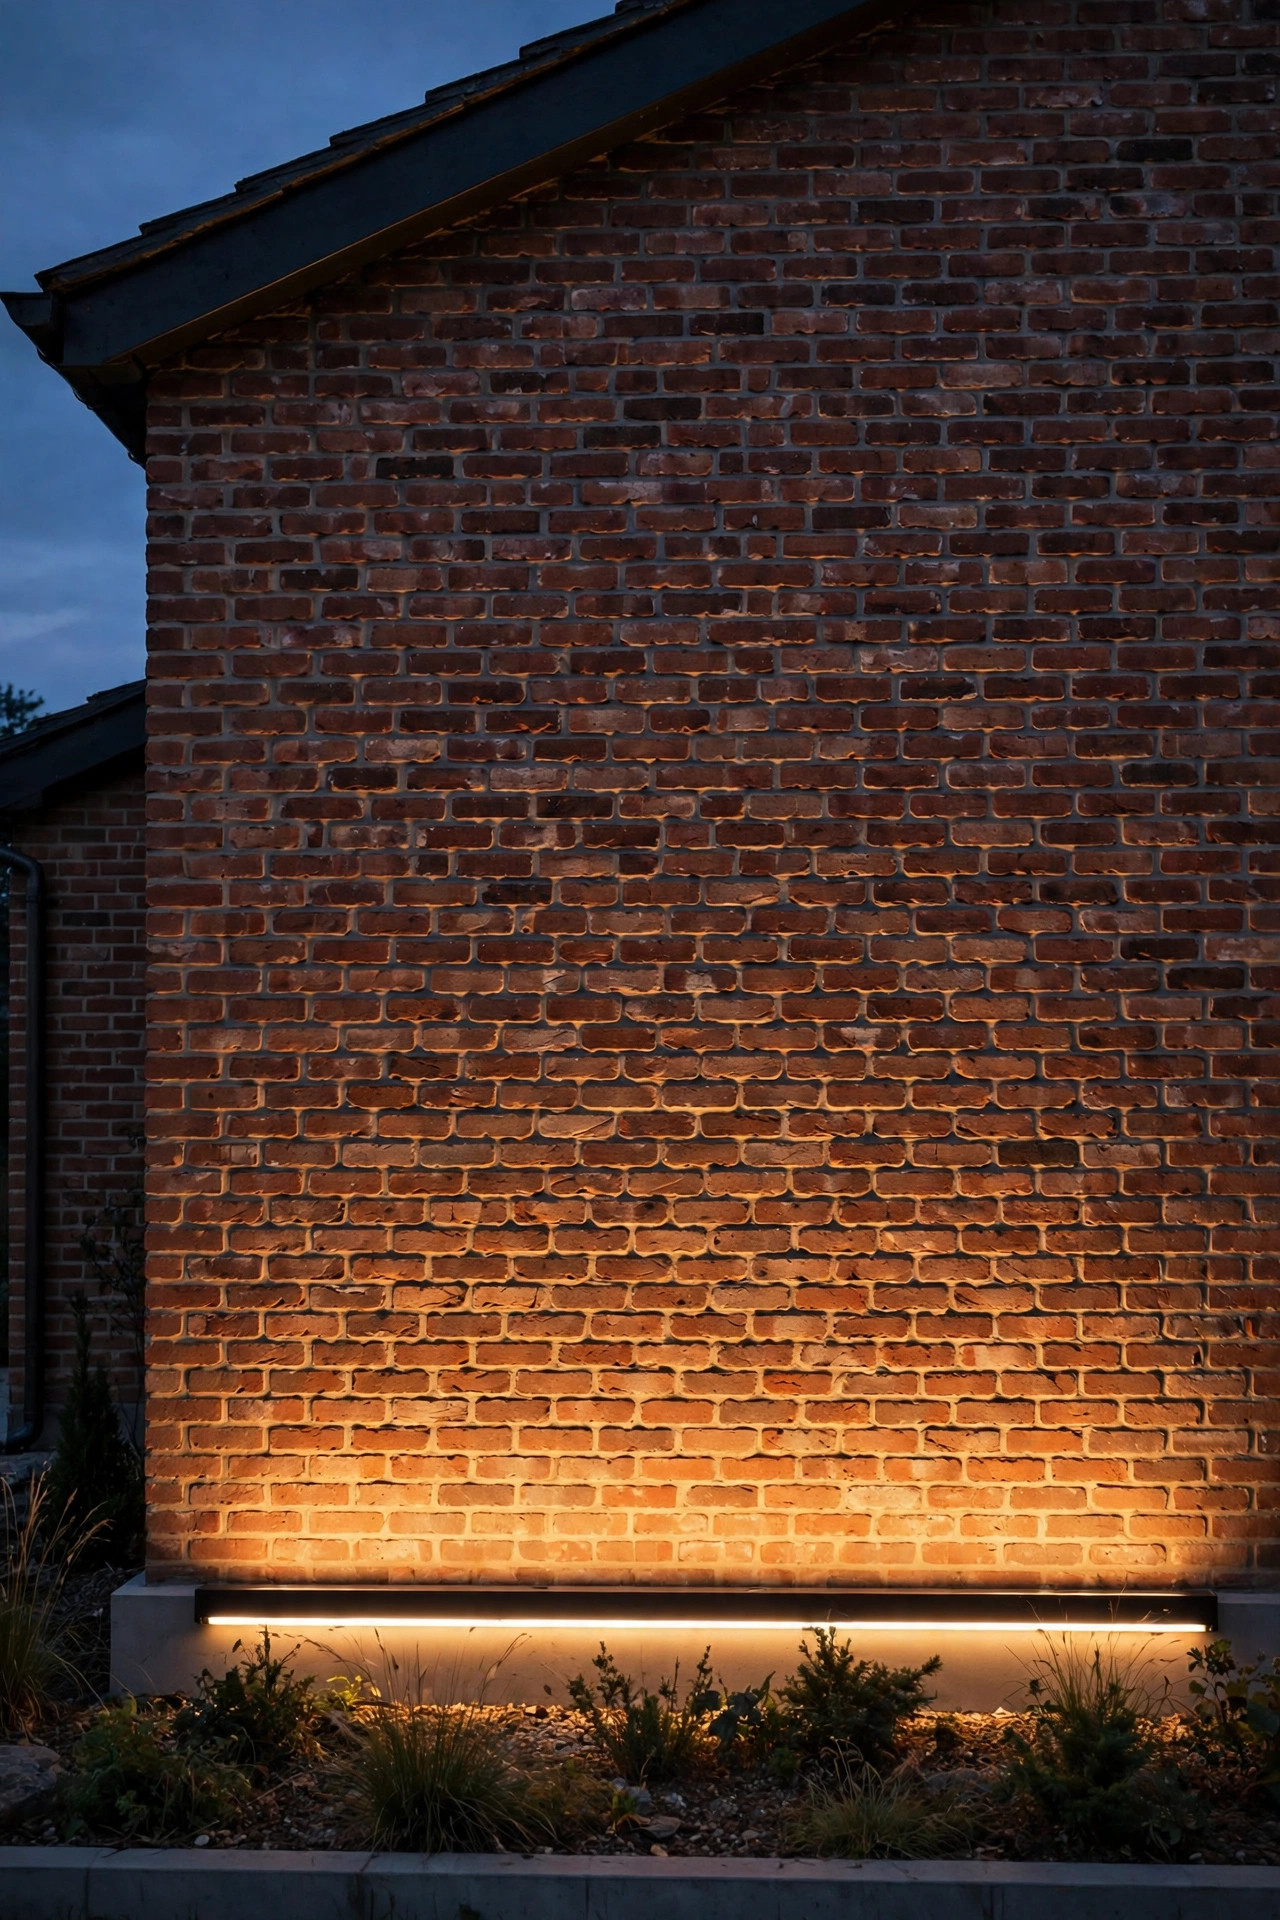
Foundations are where wash bars really earn their keep, because the typical foundation shrub row is exactly the thing that swallows individual spotlights. Slide the bars into the mulch in front of your boxwoods or hydrangeas, tilted up at about 30 degrees, and the light washes through the planting and onto the wall behind it — you see layered depth instead of a row of glowing fixtures. Space 24-inch bars about 30 to 36 inches apart here; the shrubs diffuse the light, so small gaps disappear. Because the fixtures sit low and dark-finished, they're invisible by day, which matters on a front foundation everyone sees from the street. One practical tip from my own beds: leave 4 inches of clear mulch in front of each bar and check twice a season, because mulch migrates and a buried lens dims fast. Choose IP65-rated bars at minimum, since they'll live in irrigation spray, and keep brightness modest — 300 to 500 lumens per bar is plenty when the wall behind is light-colored. The result is that soft, expensive glow that makes neighbors slow down on evening walks.
Suggested budget range: $40 – $110.
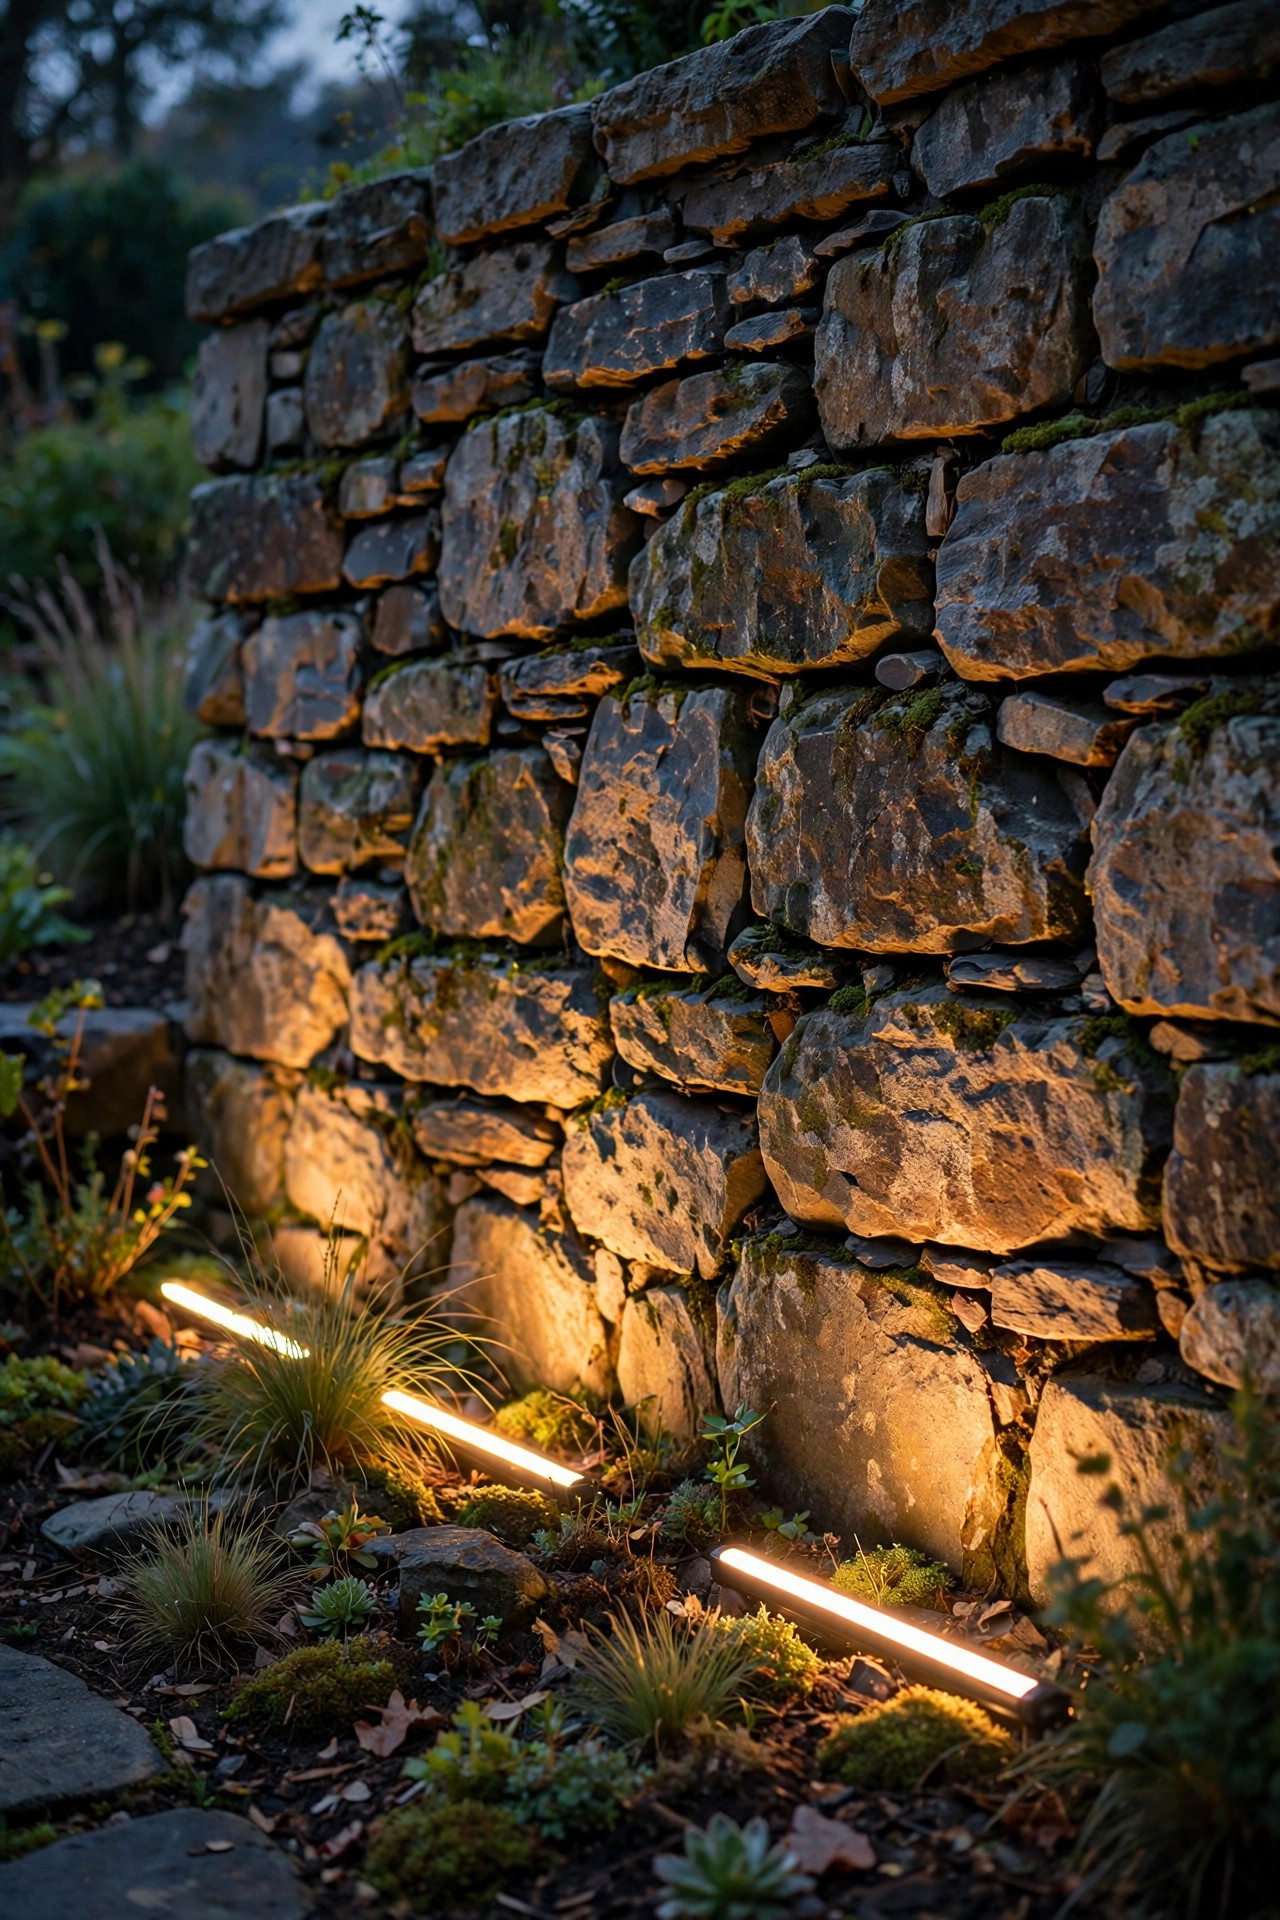
3. Retaining Wall Washes From the Bed Below
A long retaining wall — timber, block, or natural stone — is a gift for a wash bar, because the bed at its base gives you a perfect mounting strip and the wall gives you a tall, flat canvas. Set the bars 8 to 10 inches from the wall face and aim straight up; the light climbs the full height and turns a purely functional structure into the evening's main feature. On tiered yards, wash each tier separately rather than trying to light two levels from the ground — the top tier always ends up dim and muddy otherwise. For stone walls, grazing is the way to go: bring the bars in close, 4 to 6 inches out, and the raking light will carve shadows into every joint. For smooth poured concrete or stucco, pull back to 12 to 18 inches for an even, shadow-free sheet of light. Waterproofing matters here more than anywhere: beds at a wall's base collect runoff, so pick IP67 bars and make your wire connections above grade in gel-filled connectors. This is one of those projects where an extra twenty dollars in rating saves you a full replacement next spring.
Suggested budget range: $50 – $130.
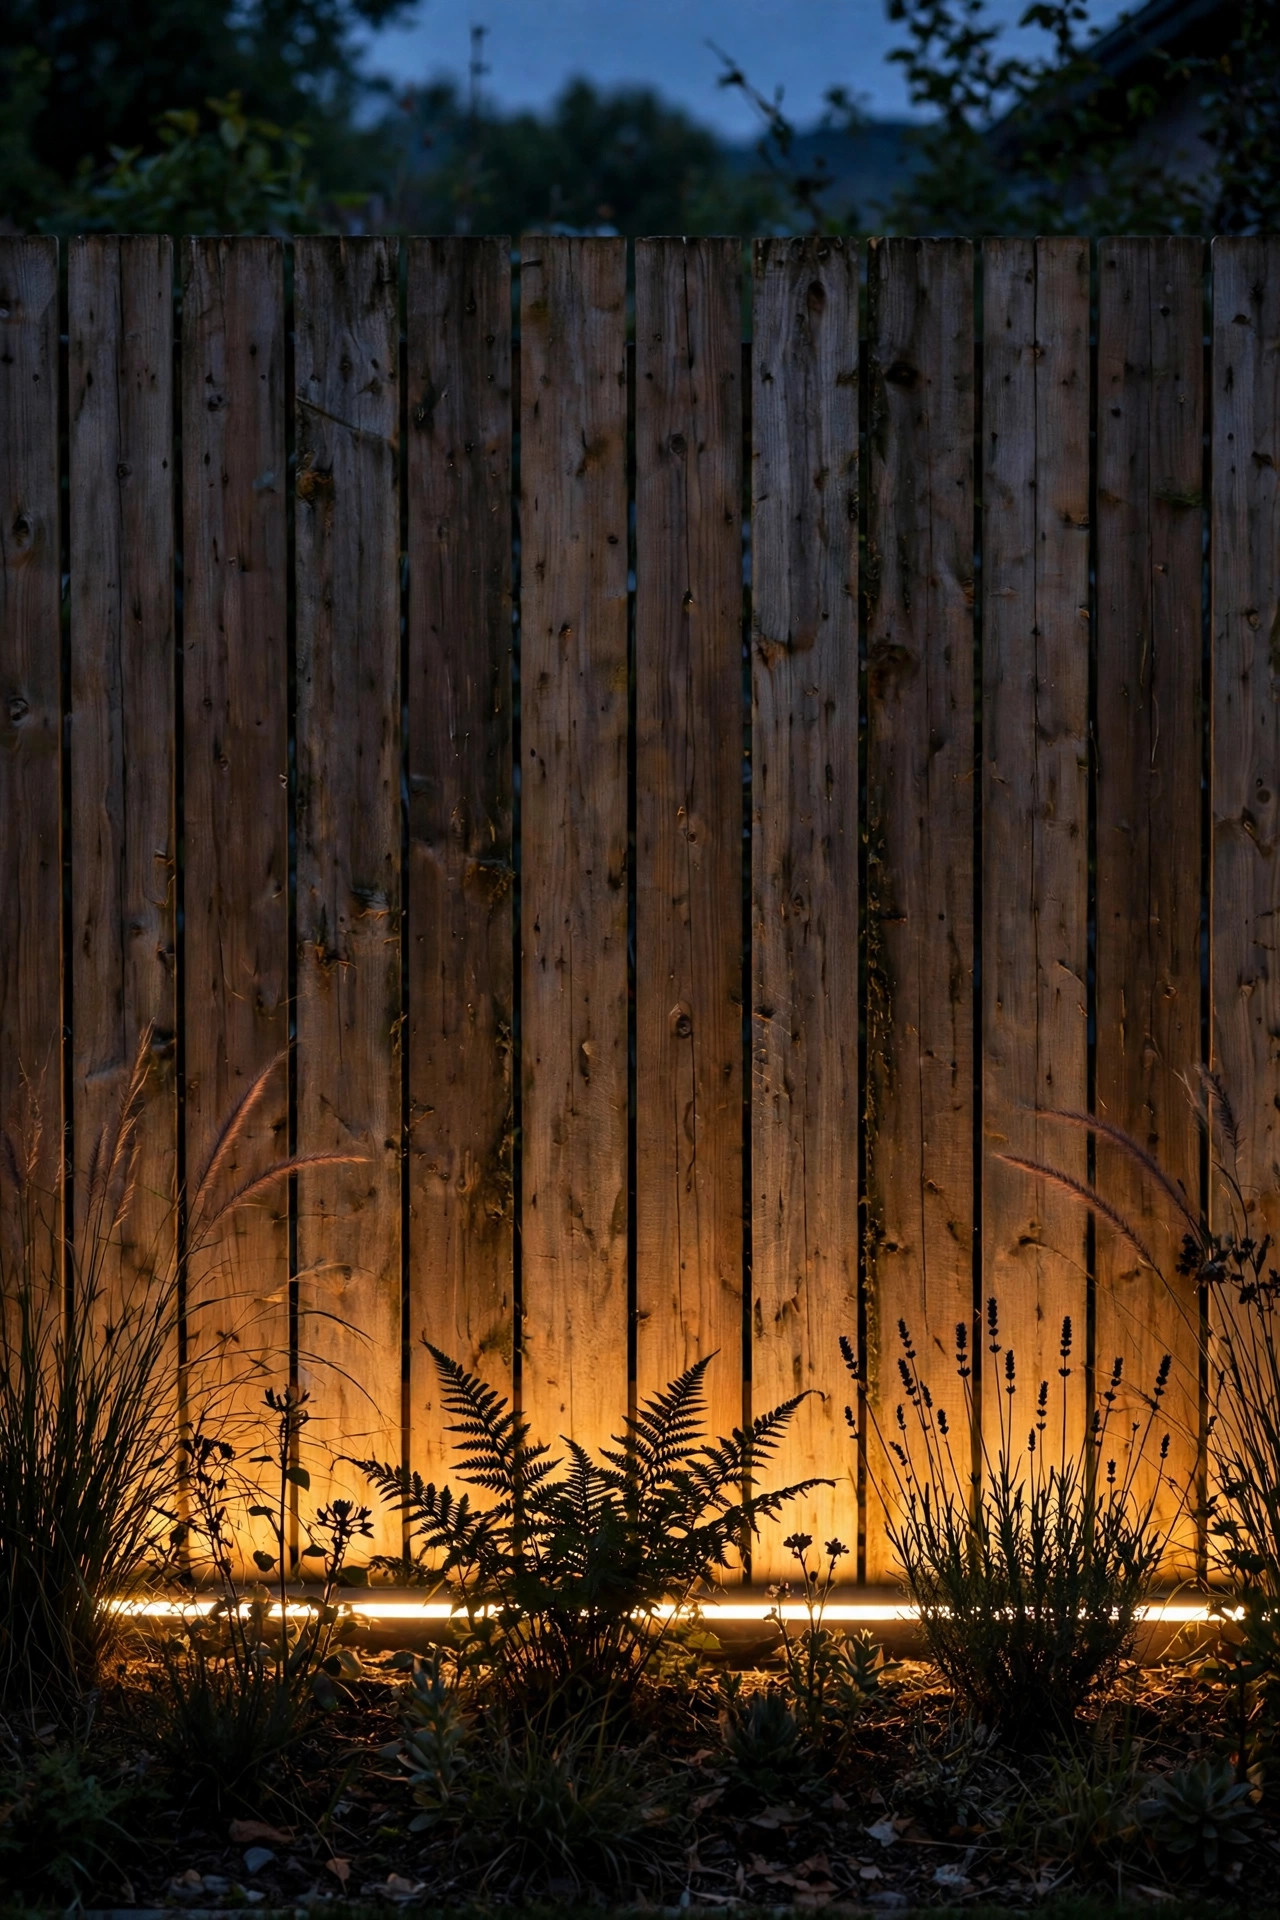
4. A Privacy Fence That Glows Like a Garden Wall
A plain wood privacy fence is six feet of visual nothing after sunset — until you wash it. Run linear bars along the planting bed at the fence base, 10 to 14 inches out, and tilt them up so the boards take a warm, even glow from bottom to top rail. Suddenly the fence reads as a designed garden wall, plants silhouette against it, and the whole backyard feels enclosed in the coziest way. Wood drinks light, so budget a bit more output than you would for pale siding: 500 to 700 lumens per bar in 2700K keeps it warm without going amber-dark. If your beds are narrow, mount the bars directly on the fence's bottom rail with the beam grazing upward — you lose a little softness but gain a dramatic board-by-board texture. I have more layouts for exactly this surface in my roundup of fence lighting ideas. One caution: aim carefully near property lines. A gentle wash is neighbor-friendly; a tilted bar spilling over the top rail is not. Shielded or hooded bars solve it in one step.
Suggested budget range: $35 – $95.
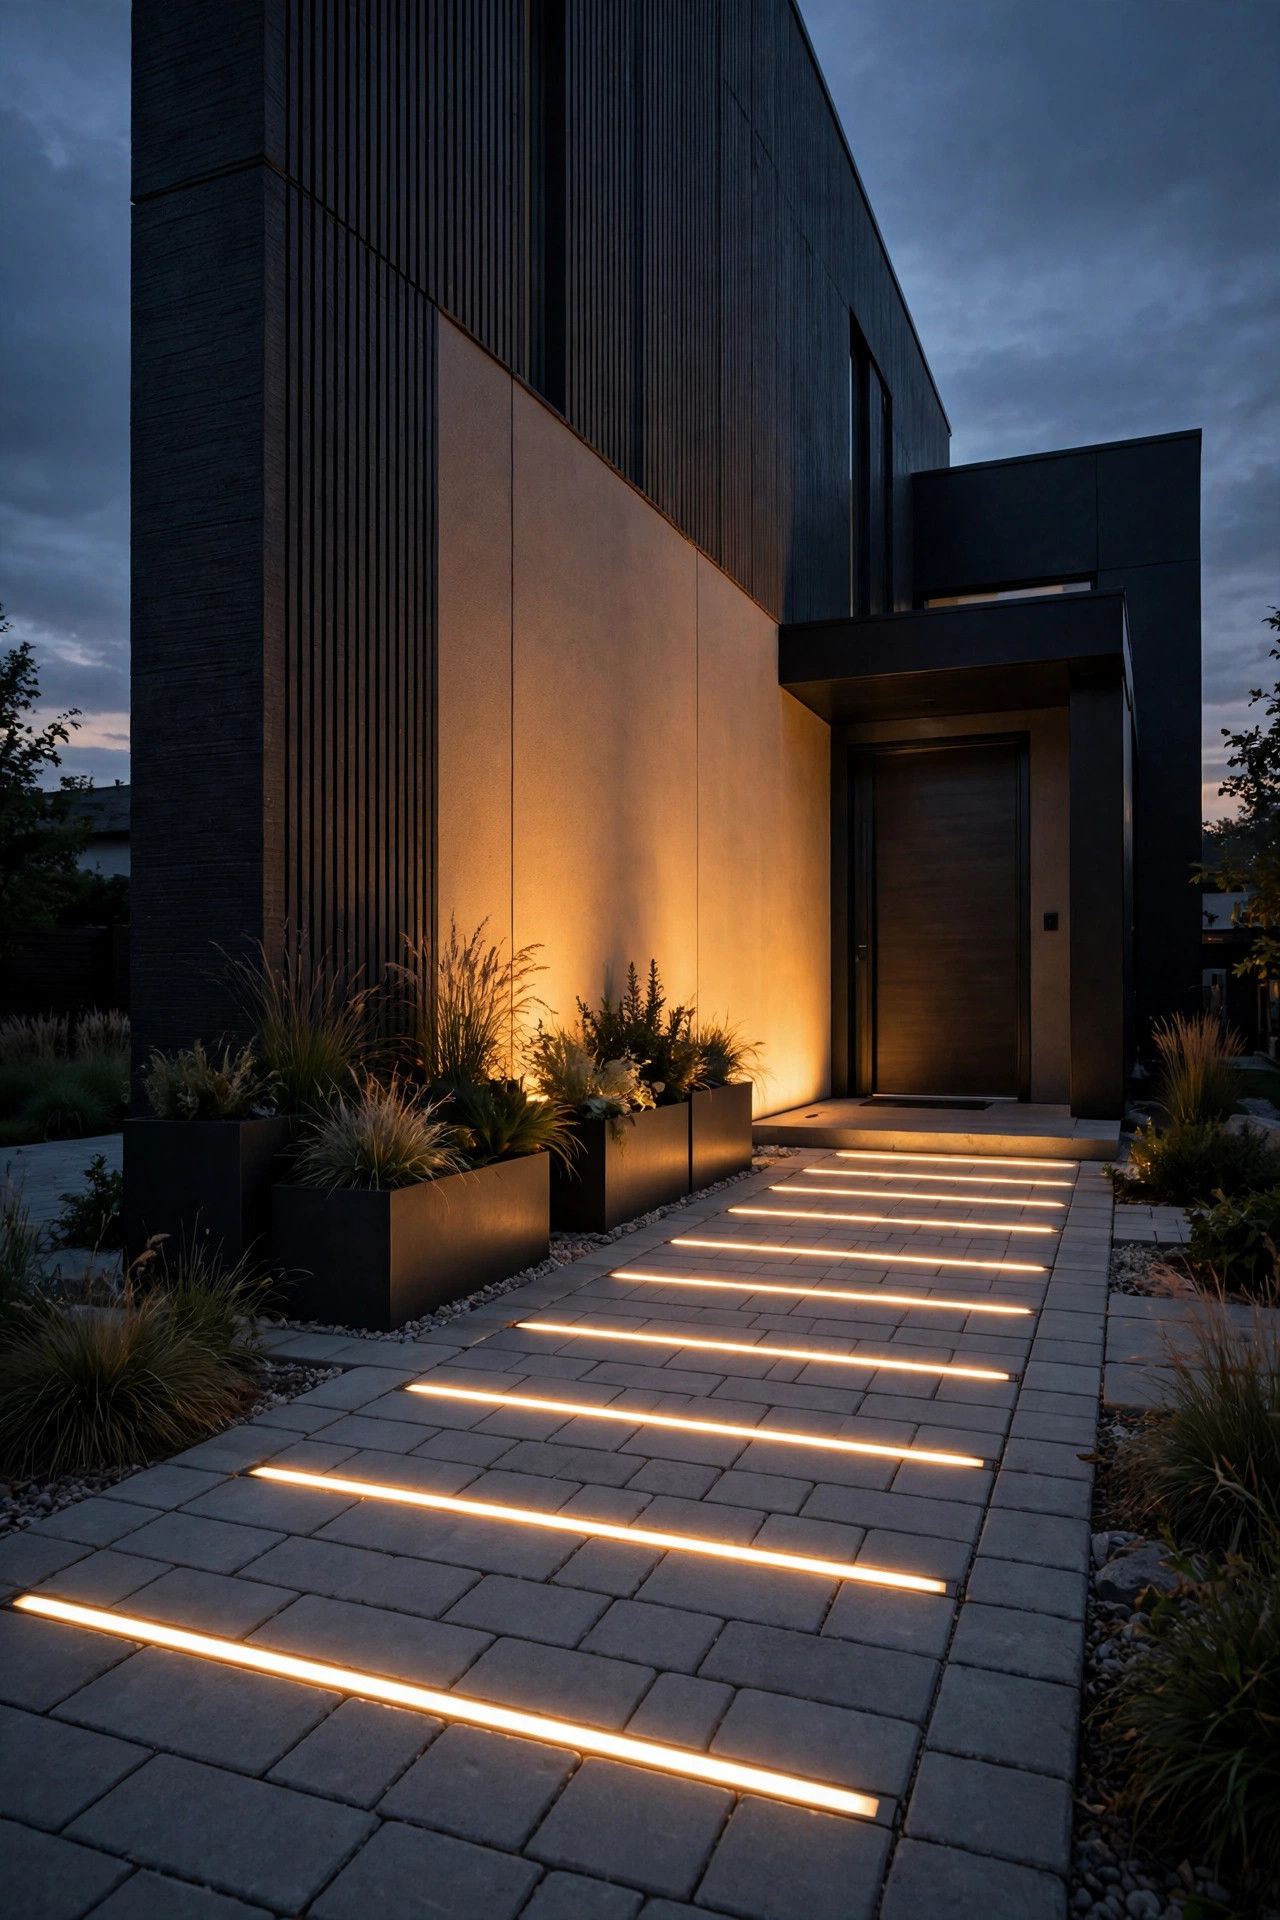
5. In-Grade Bars Set Flush in Pavers and Concrete
When there's no planting bed — just hardscape running right up to the wall — in-grade linear bars are the polished answer. These fixtures sit in a sleeve or channel set flush into pavers, a concrete walk, or a gravel band, so all you see after dark is a clean line of light rising up the wall. They're the most architectural option on this list: think of the way hotels and modern homes light their entries. Installation is the real cost here, since you'll cut a channel, set a drainage bed of gravel under each fixture, and run conduit for the cable — this is a plan-it-during-the-patio-build project, or a confident weekend for an experienced DIYer. Specify IP67 or IP68, drive-over ratings if the run crosses a driveway edge, and tempered lenses you can actually replace. Keep the bars 6 to 8 inches from the wall for a graze, or set them into the walk a full 18 inches out for a broad wash across a porch wall. The payoff for the effort is a fixture that's mow-proof, trip-proof, and invisible at noon.
Suggested budget range: $90 – $220.
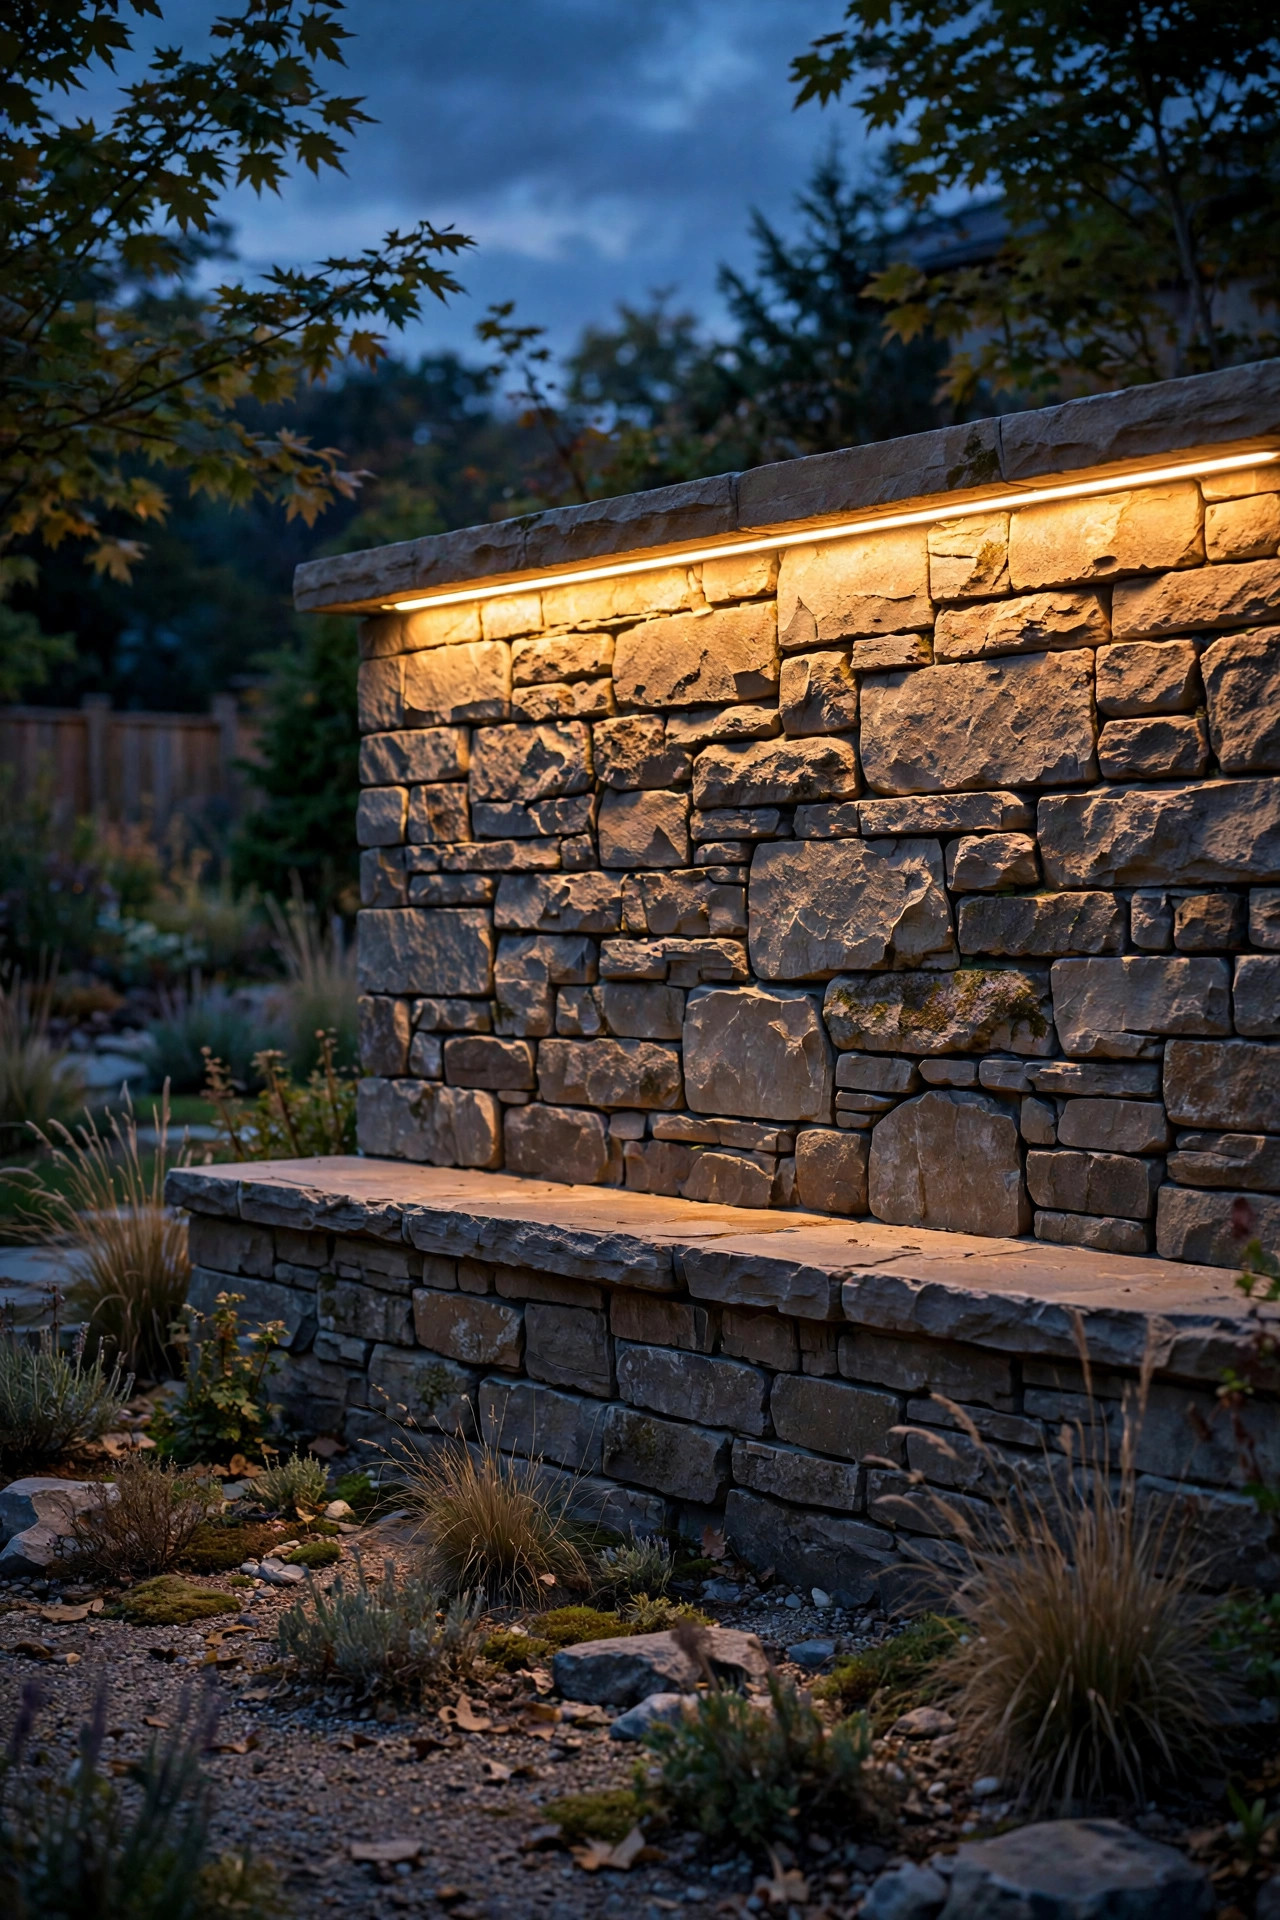
6. Under-Cap Bars for a Floating Seat Wall Glow
Seat walls and capped garden walls hide a lovely trick: mount a short linear bar — or a rigid LED bar channel — under the capstone overhang, aimed down, and the wall below glows while the light source stays completely hidden. The cap's 1- to 2-inch overhang is just enough shadow line to tuck a slim bar into, and the effect reads like the wall is floating on light. This is downlighting rather than a wash up, but it belongs in every wash-bar conversation because it pairs so well with them: graze the tall walls up, glow the low walls down, and the yard gets two layers for very little wattage. Use bars rated IP65 or better, silicone-sealed end caps, and mount with stainless clips or outdoor-rated adhesive channel so nothing sags by August. Keep the color temperature matched to the rest of your landscape lighting — 2700K everywhere is my house rule. A 24-inch bar under each cap section, spaced with the wall's natural joints, gives you an unbroken ribbon. Guests always ask where this light is coming from, and honestly, that's the best compliment a fixture can get.
Suggested budget range: $55 – $140.
7. One Seamless Run: Connecting Bars End to End on a 40-Foot Wall
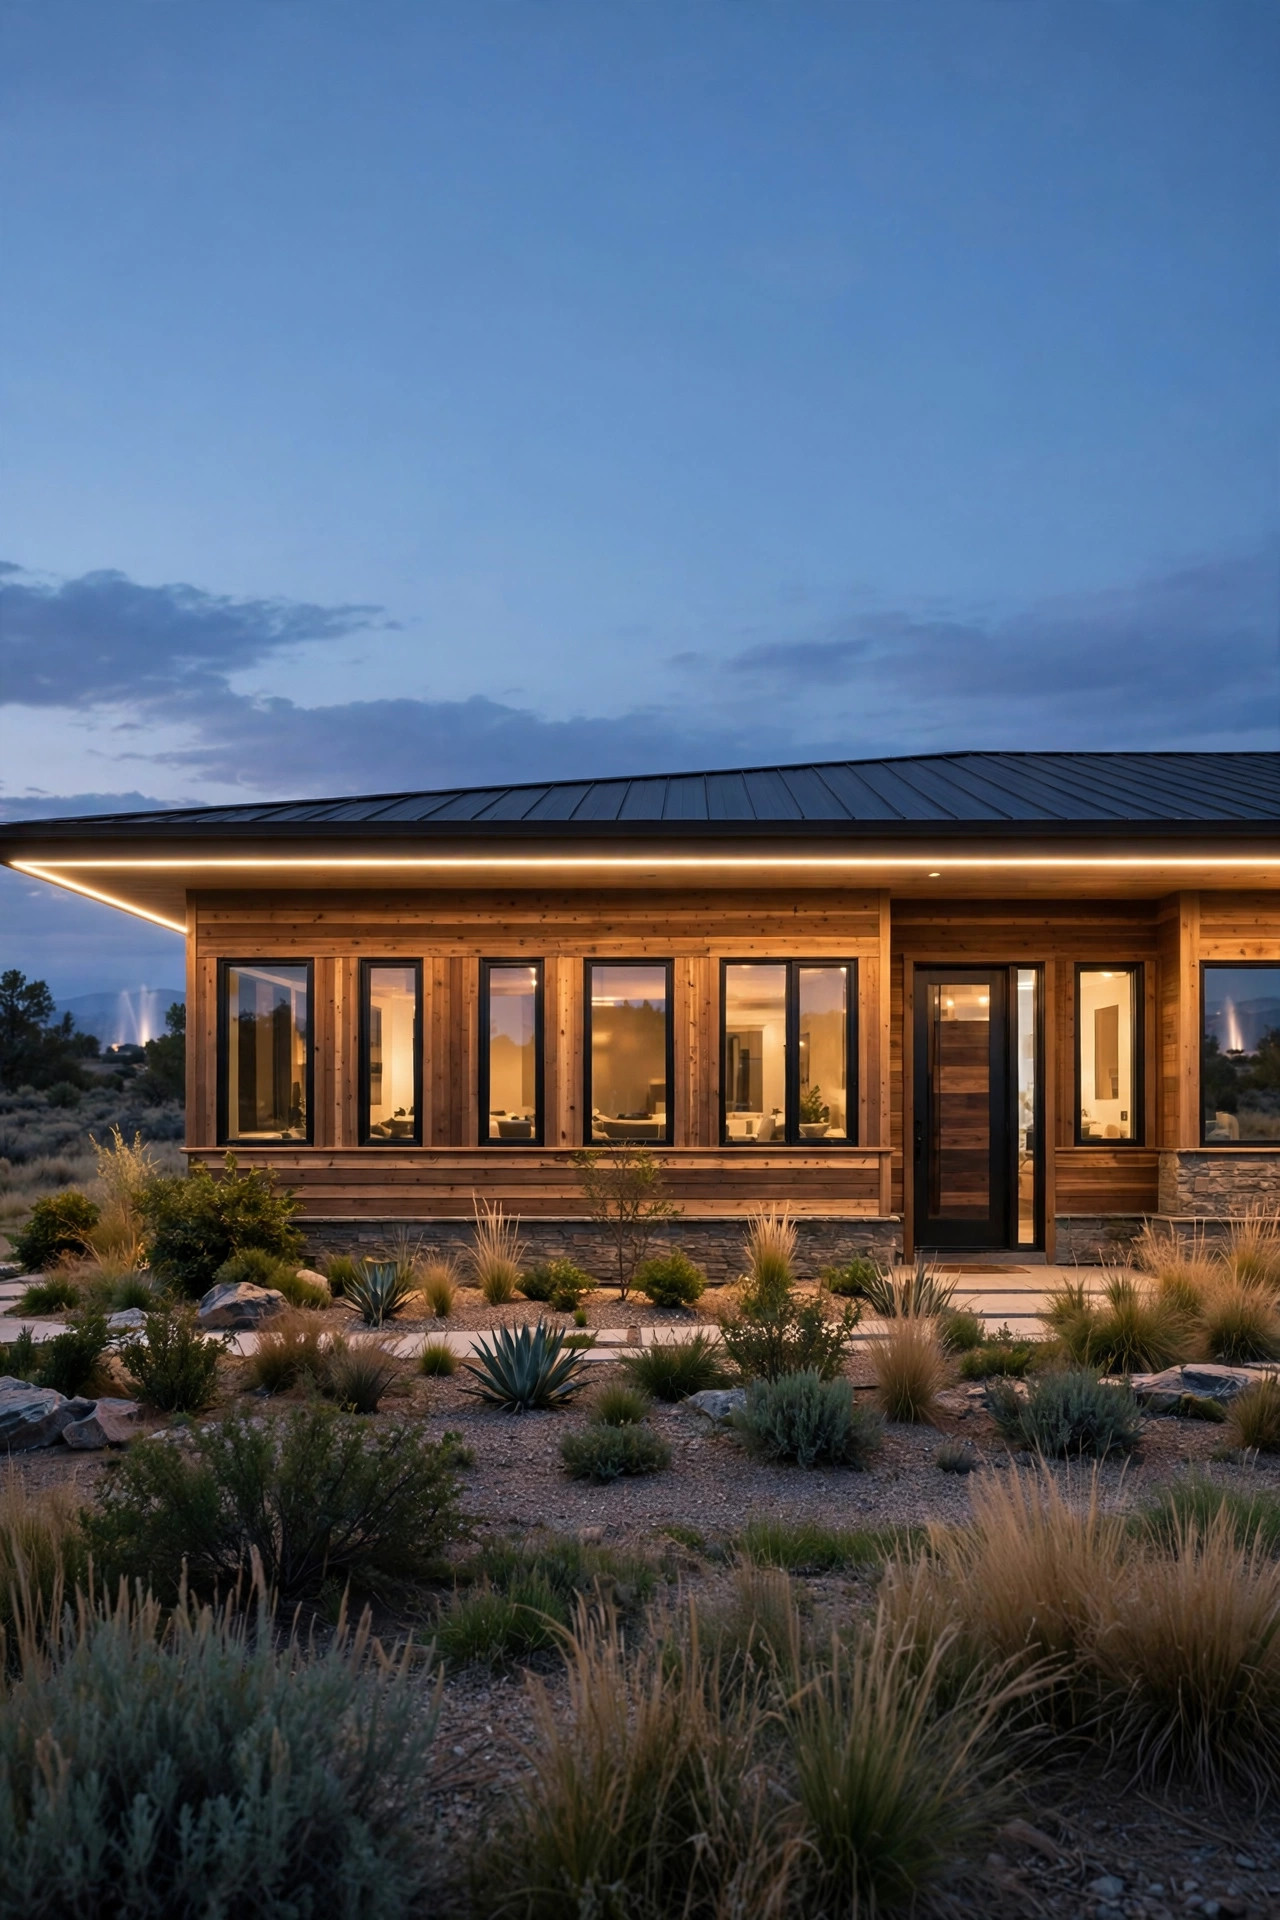
Very long walls — a ranch home's full facade, a side yard fence, a garden wall that runs the lot line — need bars that link into one continuous run, and planning that run is its own idea. Choose a bar family with end-to-end connectors or linkable cables so fixtures butt together with no dark seams, then do the voltage math before you buy: a 12-volt run feeding more than about 25 to 30 feet of bars from one end will dim visibly at the far end. The fix is simple — feed the run from the center, or run power to both ends, and size your transformer at 20 percent above the total wattage. Lay the whole run out on the ground first and power it at dusk before you bury a single cable; shifting a bar six inches at this stage costs nothing. On a 40-foot wall, three 36-inch bars plus two 24-inch bars, centered, usually beats five identical bars for a clean, symmetric finish. End the run 6 to 12 inches short of each corner so the light falls off naturally instead of wrapping awkwardly.
Suggested budget range: $120 – $300.
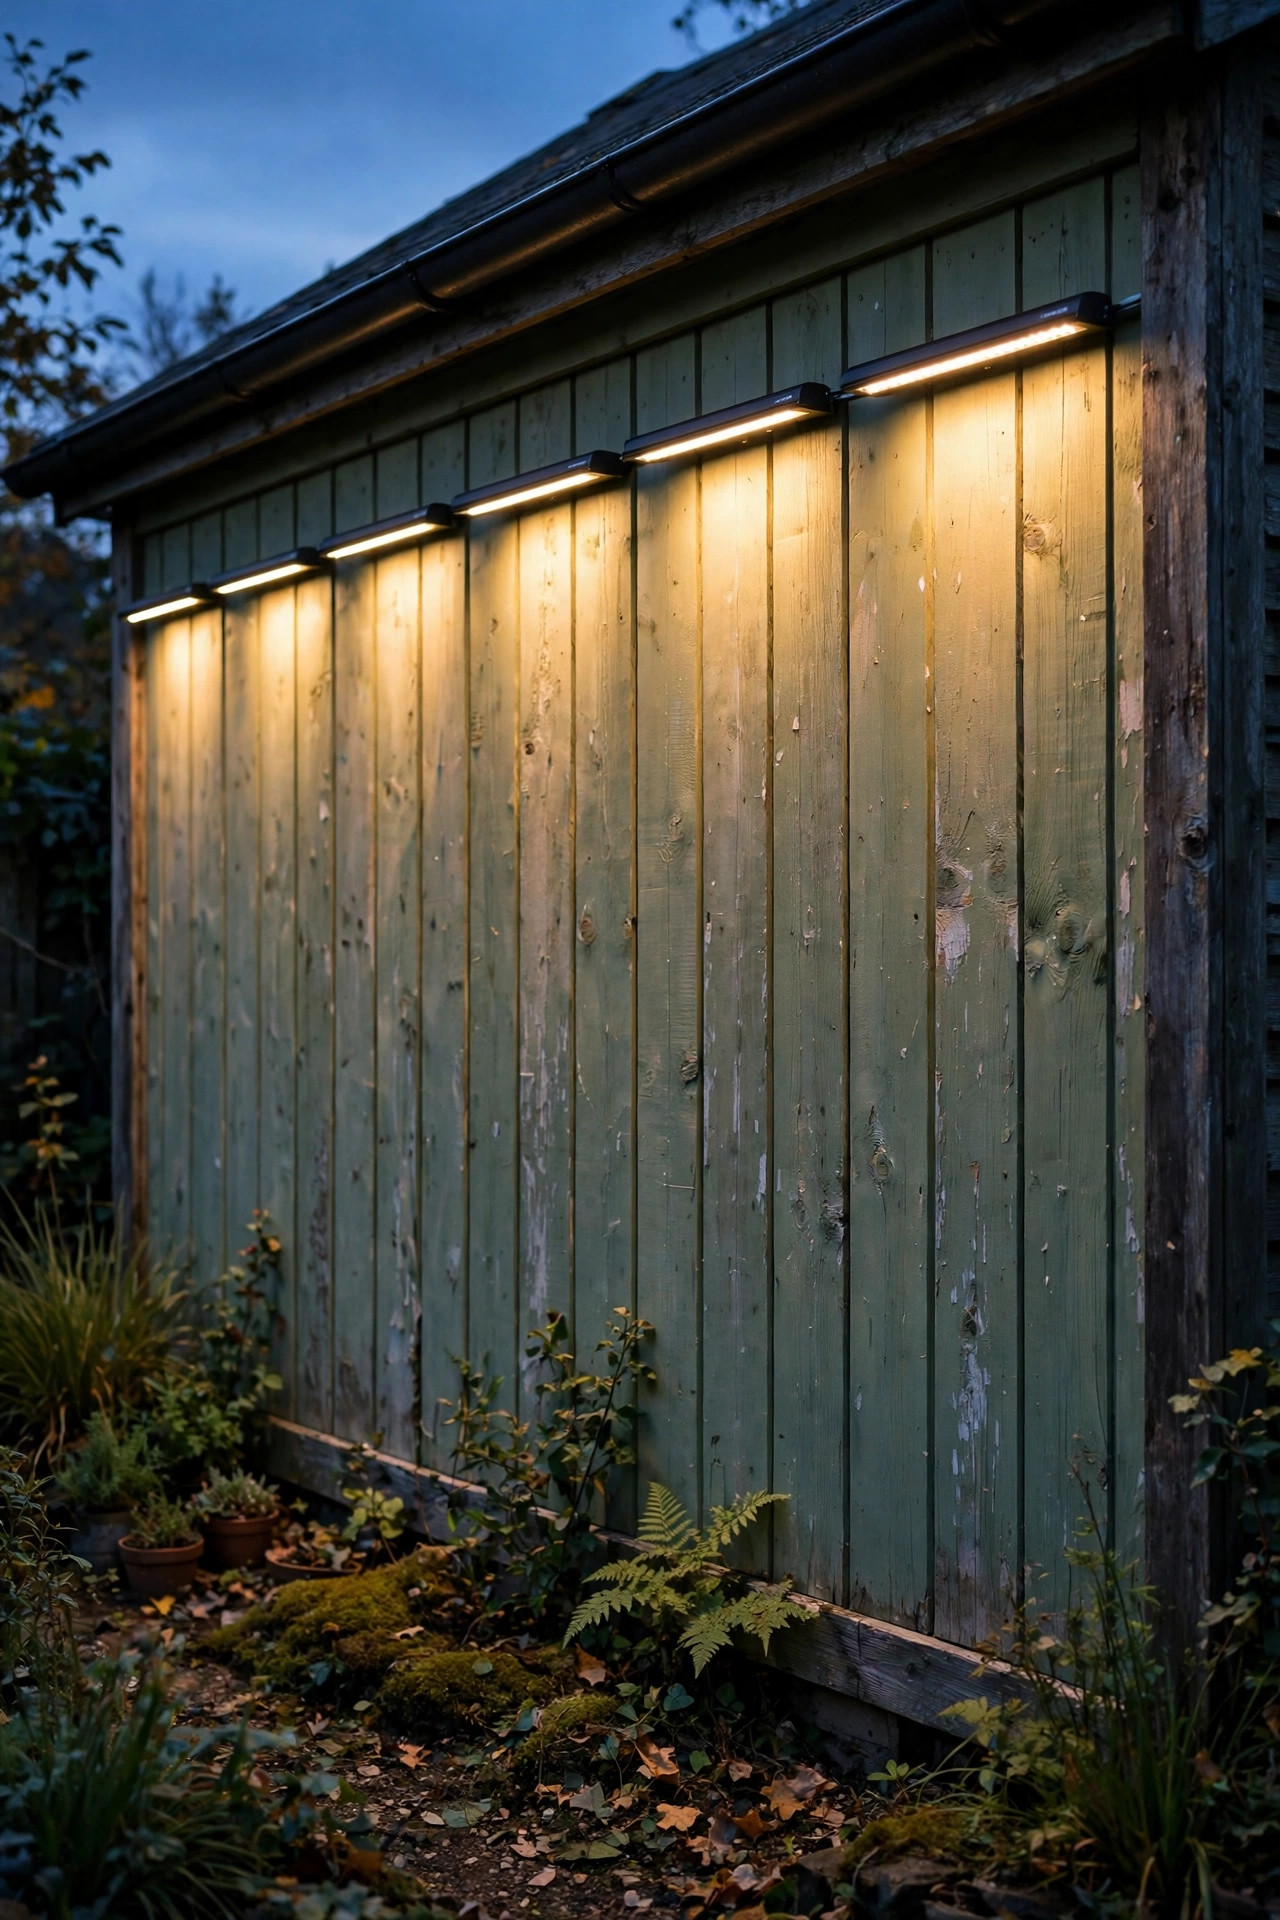
8. Solar Linear LED Light Bars Outdoor Walls Can Run on Sunshine Alone
No outlet, no transformer, no problem — up to a point. Solar linear bars pack the panel, battery, and LED strip into one slim fixture you stake or screw along a fence, shed wall, or garden wall that gets at least six hours of direct sun. They've gotten genuinely good for gentle accent washes: expect two to four hours of strong light after a full charge, fading gracefully rather than dying at 9 p.m. Where they shine is exactly where wiring is miserable — the far garden wall, a detached garage's side wall, a rental where you can't trench cable. Be honest about output, though: a solar bar will not graze a two-story facade, and winter's short days cut runtime hard in northern states. Mount the panel face clear of shrub shadows — a bar in a sunny spot with a shaded panel is the number one disappointment I hear about. Look for replaceable batteries and an IP65 rating, and treat them as the accent layer, not the foundation of your plan. Two bars flanking a garden gate, glowing softly every single night with zero wiring, still feels like a small miracle to me.
Suggested budget range: $30 – $80.
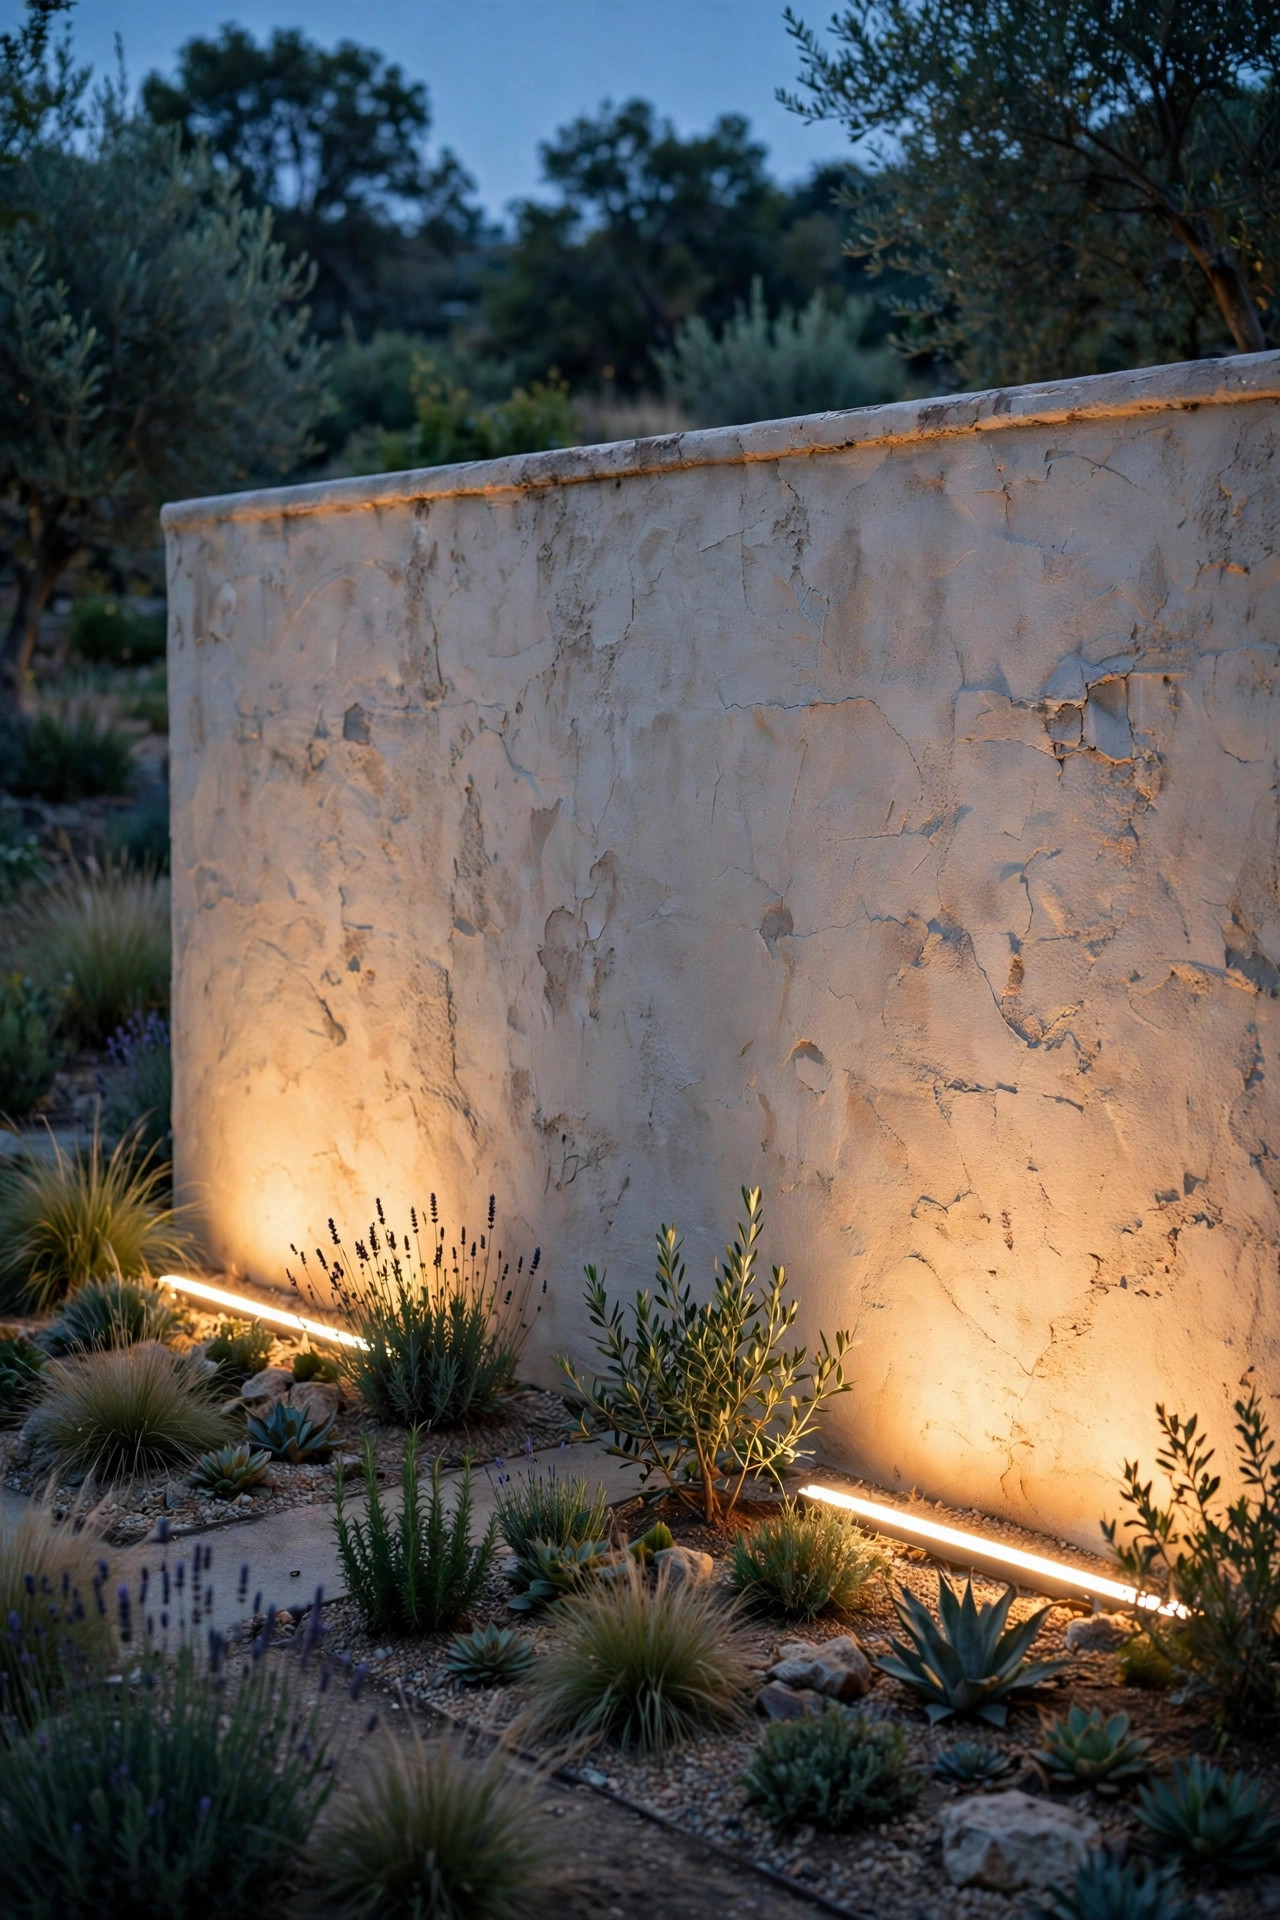
9. Washing Both Sides of a Freestanding Garden Wall
A freestanding garden wall, courtyard divider, or stucco privacy wall has two faces, and lighting only one leaves the other side a black void your guests walk into. Double the run: bars at the base of both sides, each washing its own face. The trick is balance — match bar lengths, spacing, and color temperature exactly, or the two sides will feel like different properties. On the garden side, tuck the bars into the planting bed for a soft, diffused wash; on the patio side, where the bed may be hardscape, use low-profile bars in a gravel strip at the wall's foot so nothing trips anyone. If the wall has a gate or opening, treat it as a natural break and end each run a foot short of it, letting the opening go dark so it reads as a doorway. Two-sided washing also solves a subtle problem: a lit wall seen from behind a window looks finished, while a one-sided wall shows a glaring bright edge along its top. Put both sides on the same timer or photocell so the wall always comes on as one piece, and the whole courtyard settles in at dusk like it was designed that way.
Suggested budget range: $80 – $200.
10. Corner-Wrapping Runs That Turn the House Corner Cleanly
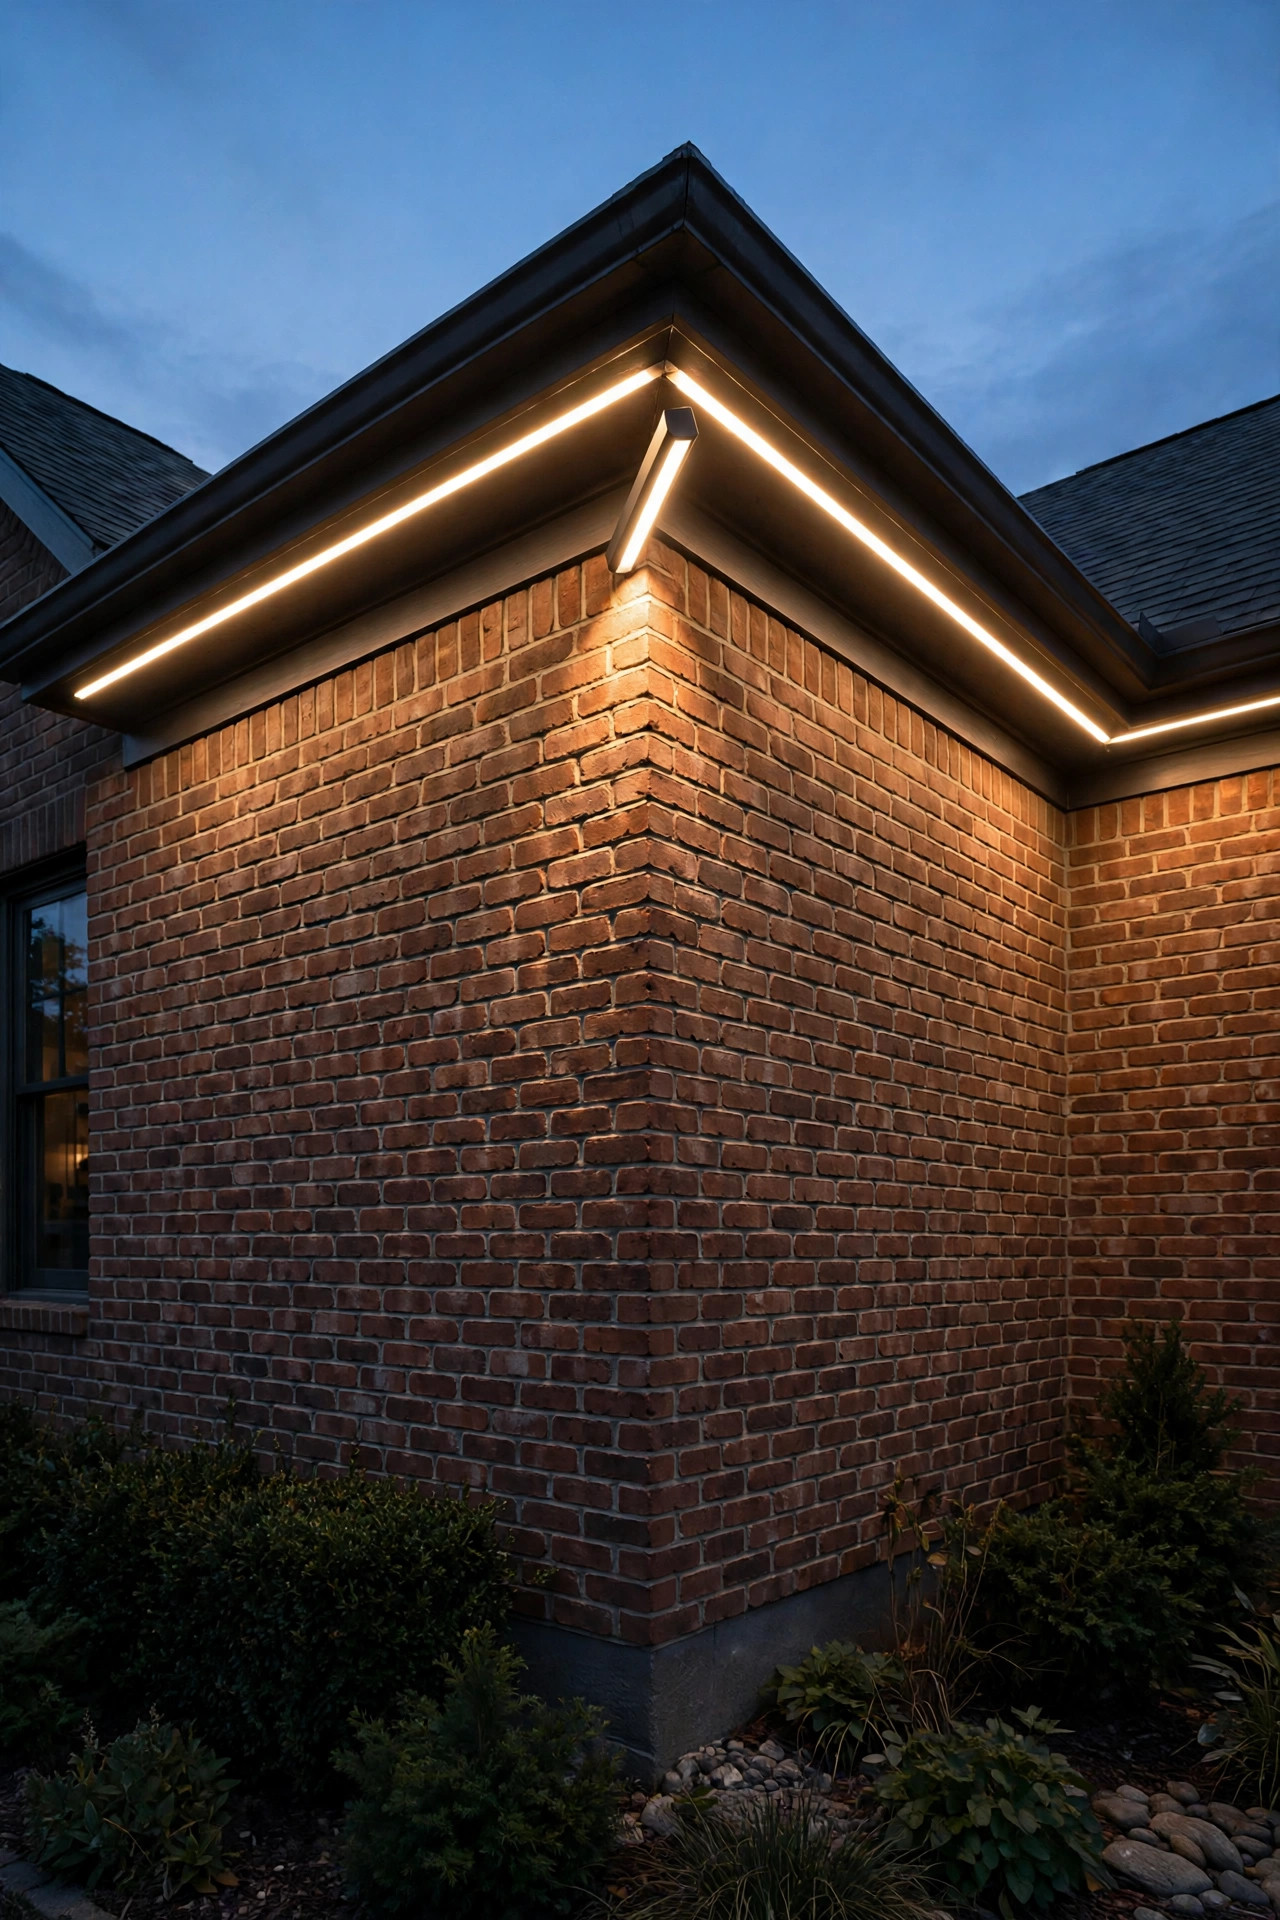
Corners are where amateur wash jobs fall apart: two runs meet at an angle, one bar overshoots, and you get a bright overlap wedge on one face and a dark stripe on the other. The clean solution is a corner plan. End each straight run about 8 to 10 inches before the corner, then place one short 12-inch bar angled across the corner gap itself — most bar families sell a flexible link cable or a corner connector that lets the run bend without a hard seam. For an outside corner on brick or stone, that single angled bar grazing both faces actually highlights the corner beautifully, like a spine of light. Inside corners, the L where a porch meets the house or a wing turns, collect light, so drop the corner bar's output or choose a wider beam there to avoid a hot wedge. Always mock this up at dusk with the bars loose before final mounting; corners lie in the daytime. And keep gutters and downspouts in mind — a bar placed under a downspout will paint a strange bright river up the wall every time it rains. A foot of clearance solves it.
Suggested budget range: $70 – $180.
11. Terraced Stair Walls That Guide You Down Safely
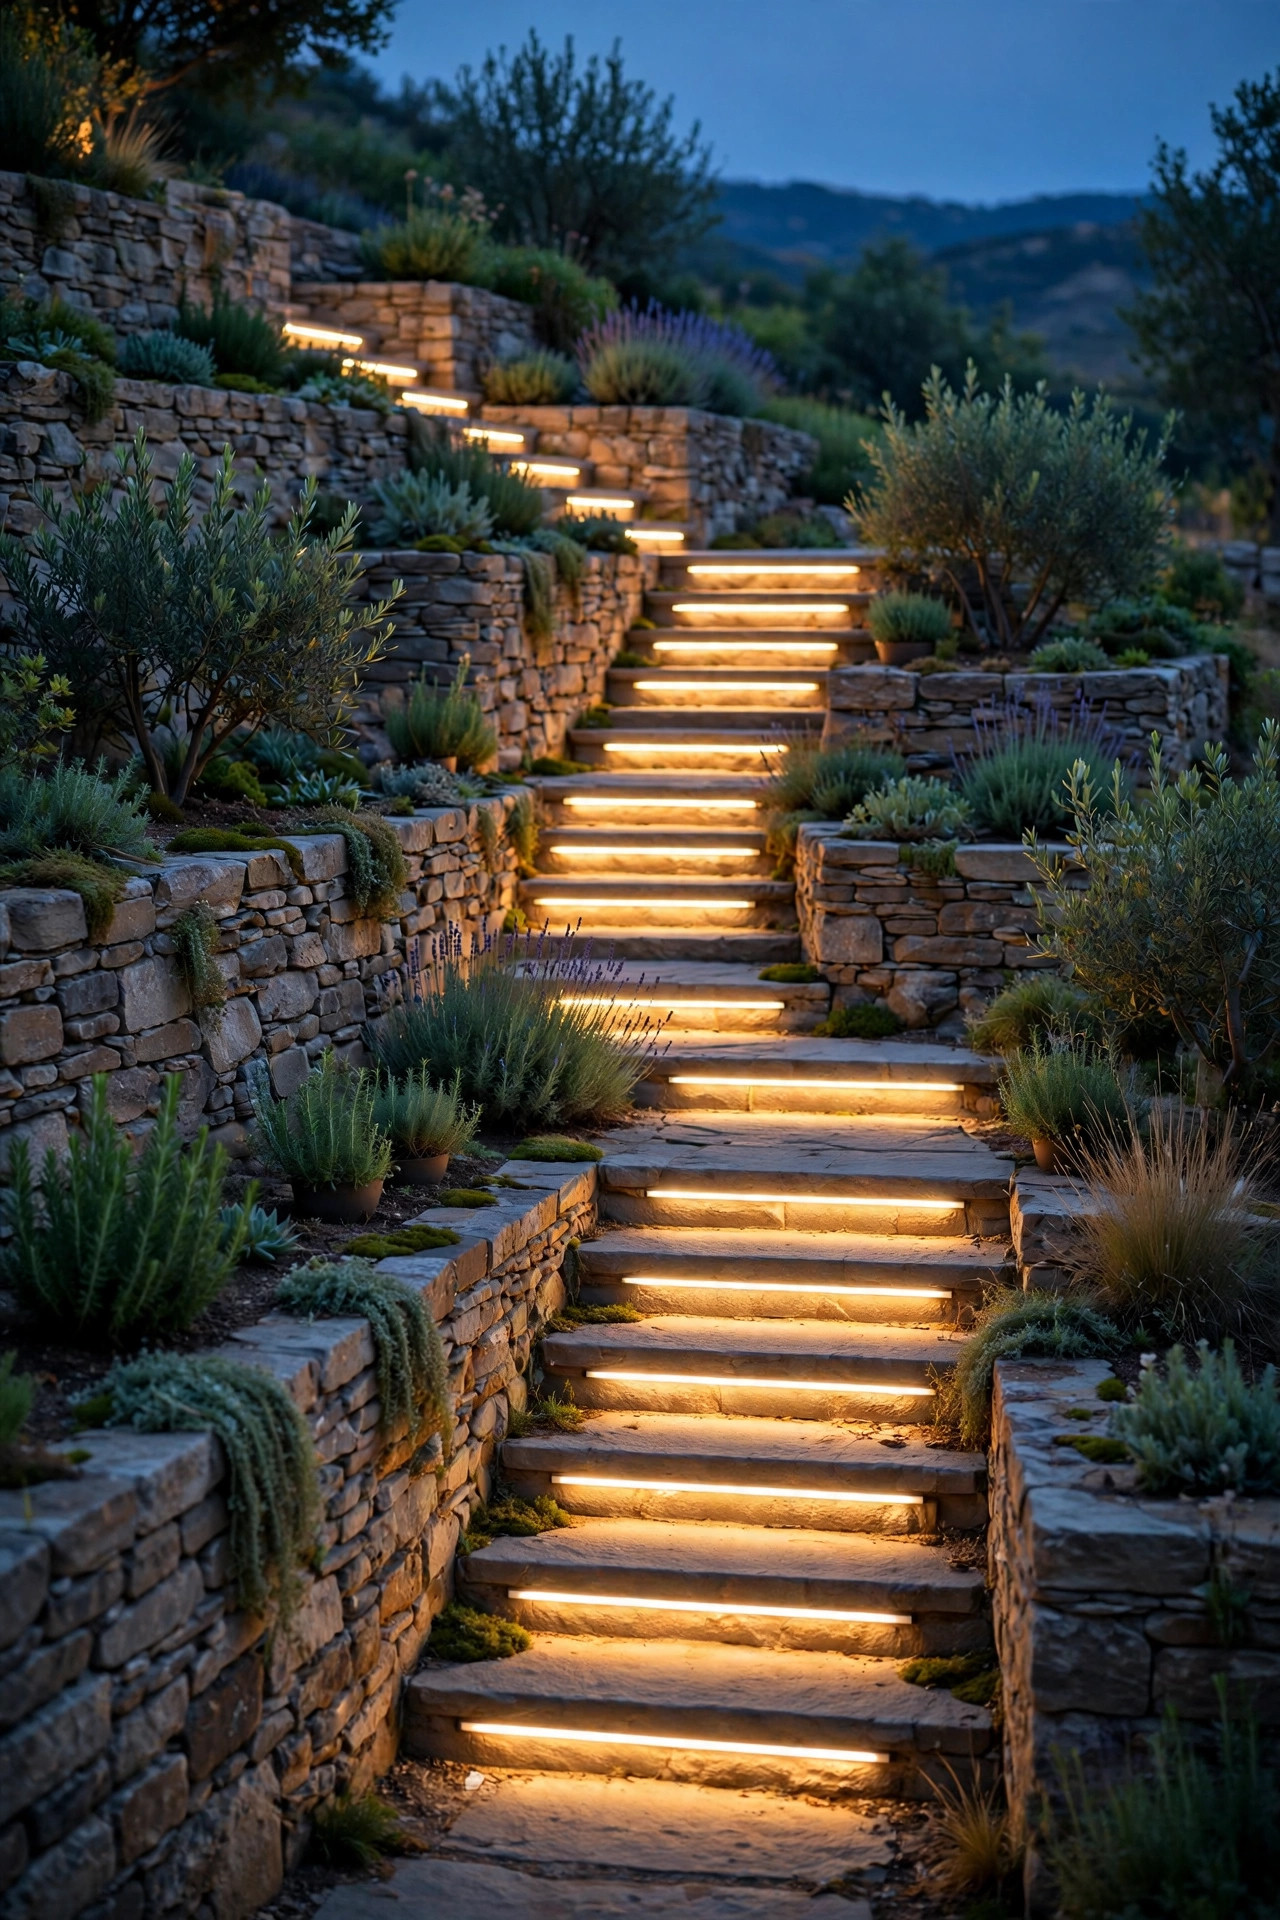
Terraced yards and wide garden stairs usually have a cheek wall or a series of short retaining walls running beside the steps, and a wash bar along the top tier's base does double duty: it washes the wall and spills a soft edge of light across the treads beside it. Mount the bars 6 to 8 inches from the wall, aimed up the wall face rather than at the steps themselves — you want the wall to become a glowing guide rail of light, not glare bouncing off concrete into a descending guest's eyes. On multi-tier terraces, one bar per tier, aligned vertically, makes a rhythm the eye follows naturally downhill. Choose shielded bars here, or recess the fixture slightly below the bed's surface stones, so nobody looking down the stairs sees the LED source directly. This is accent-level brightness — 200 to 400 lumens per bar — because stair safety comes from contrast and consistency, not raw power. Pair it with a dedicated step light on any tread that's shadowed by a planting, and never let a wash bar be the only light on a stair with more than three steps. Pretty and safe can absolutely be the same installation.
Suggested budget range: $45 – $115.
12. Pool and Lanai Walls With Proper Wet Ratings
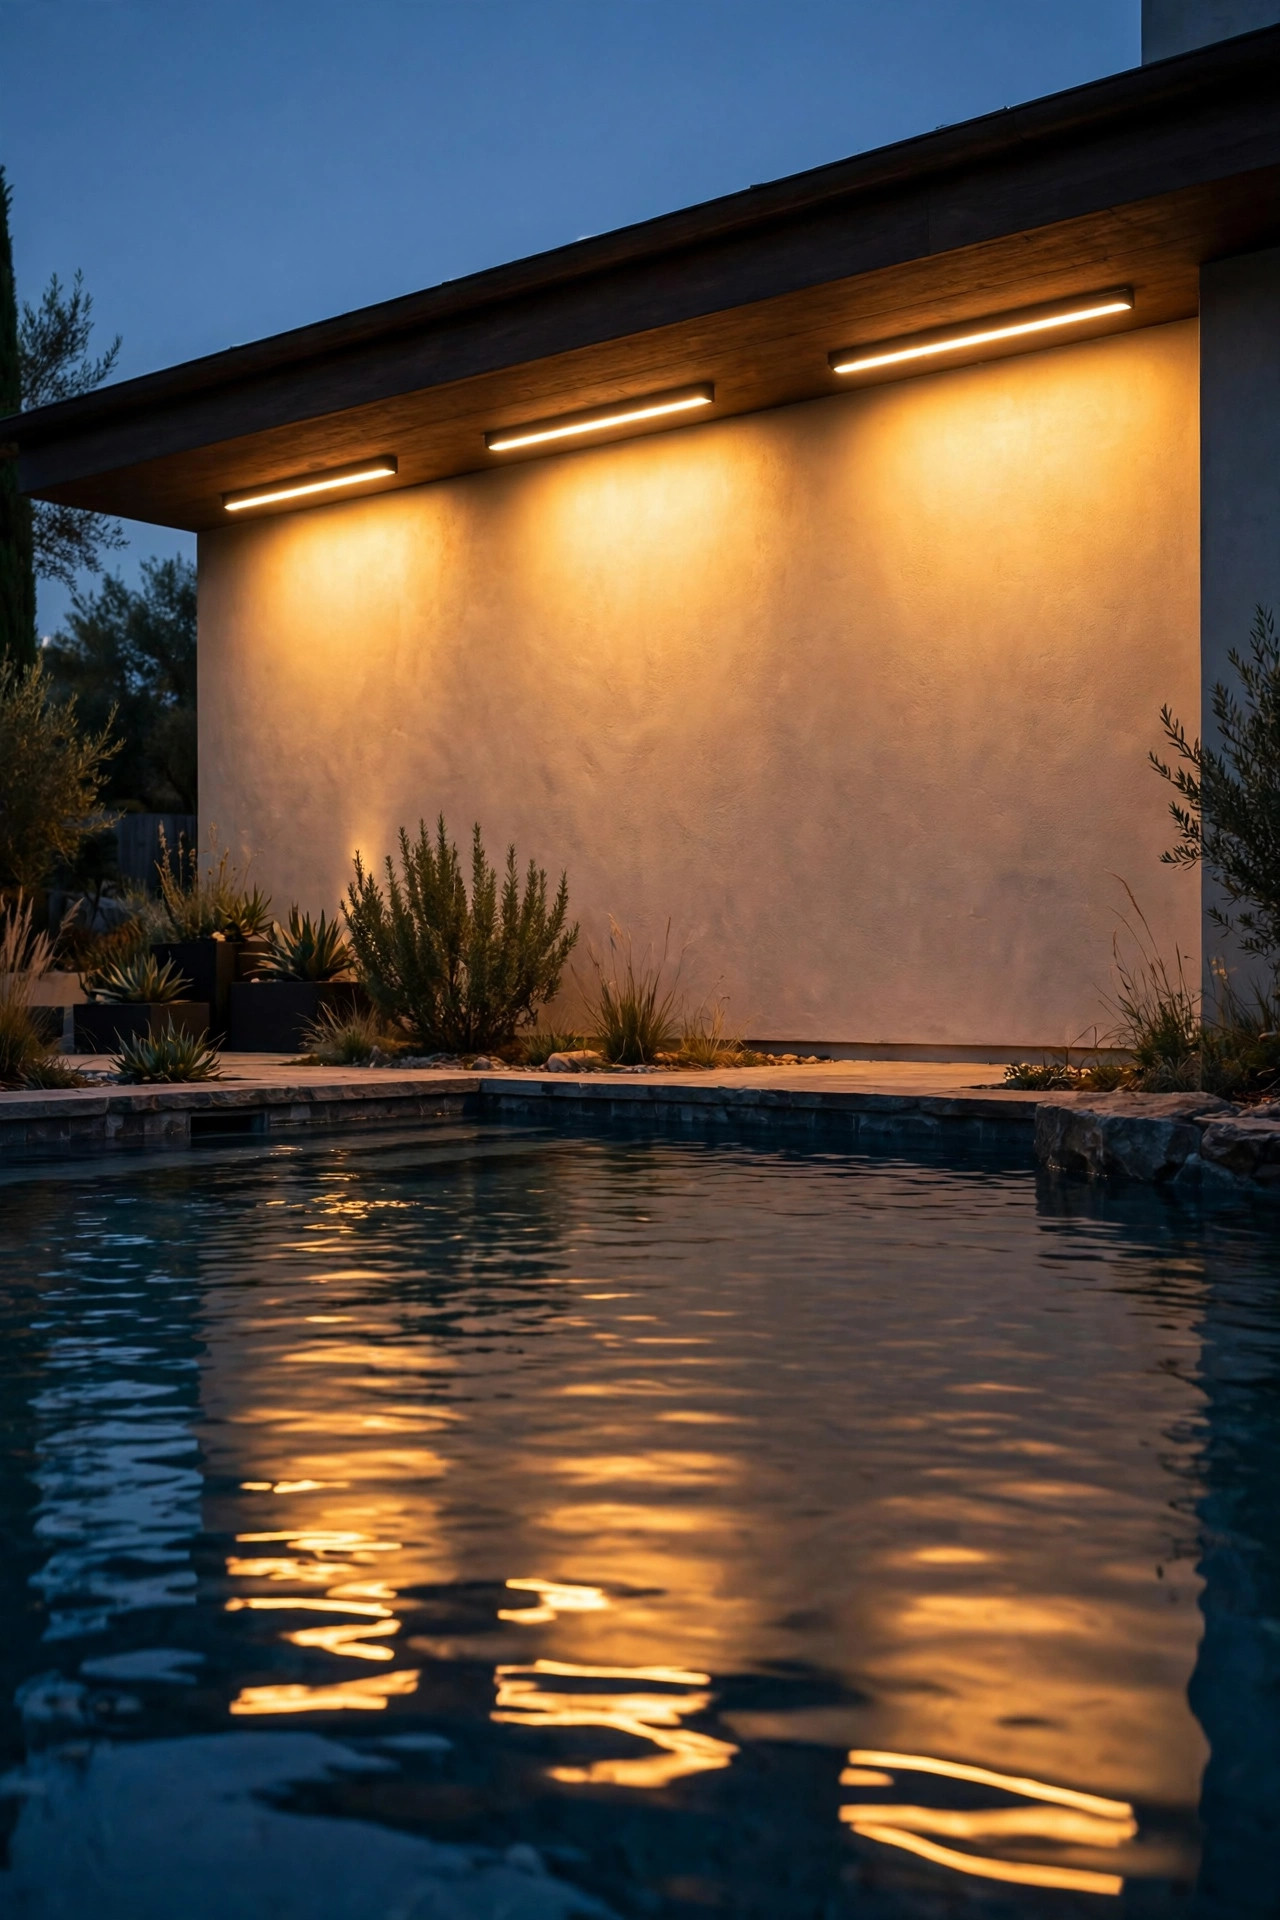
Around a pool, every fixture lives a harder life: constant humidity, splash-out, and in a lanai or screened enclosure, pressure-washer day. Linear bars are wonderful here — a run along the house wall behind the pool washes the wall, reflects in the water, and doubles the perceived light without a single fixture aimed at a swimmer's eyes. But specifications stop being suggestions in this zone. Choose IP67 bars minimum, IP68 if the run sits where water pools, with sealed cable glands rather than plug connections, and put everything on a GFCI-protected circuit, no exceptions. Low-voltage 12-volt systems are the safer and usually code-friendlier choice near water; keep the transformer well outside the splash zone per its instructions. Keep bars at least a few feet from the water's edge where local codes require it, and check your area's pool-lighting rules before you buy — they vary and inspectors do look. Output can stay gentle, 300 to 500 lumens per bar, because the water's reflection does the glamorous work. The result is that resort-evening shimmer on the wall that makes a plain backyard pool feel like a boutique hotel.
Suggested budget range: $85 – $210.
13. Color-Tunable Bars for Holidays and Game Days
A white-only wash is the right 350-days-a-year choice, but a color-tunable (RGBW) bar run is the one that makes your house the fun one on the street. The key letters are the W: bars with a dedicated warm-white channel give you a true 2700K everyday wash, then switch to orange for Halloween week, red and green accents at Christmas, or team colors on game day — all from the same fixtures, no swaps, no ladders. Run them at a tasteful 30 to 50 percent saturation for most effects; full-saturation color up a whole facade reads theme park fast, while a whisper of color in the wash looks deliberate and chic. Keep the everyday scene saved as the default so the house always returns to warm white afterward. Mounting and spacing follow all the same rules as the white runs in this post — 6 to 12 inches out for grazing, matched lengths, center-fed power on long runs. One honest note: color bars cost more per foot and their apps vary in quality, so I'd do one showcase wall in color and keep foundations and fences on simpler warm-white bars. Balance, as always, is the whole game.
Suggested budget range: $60 – $160.

14. Smart Bars on Timers, Sensors, and Zones
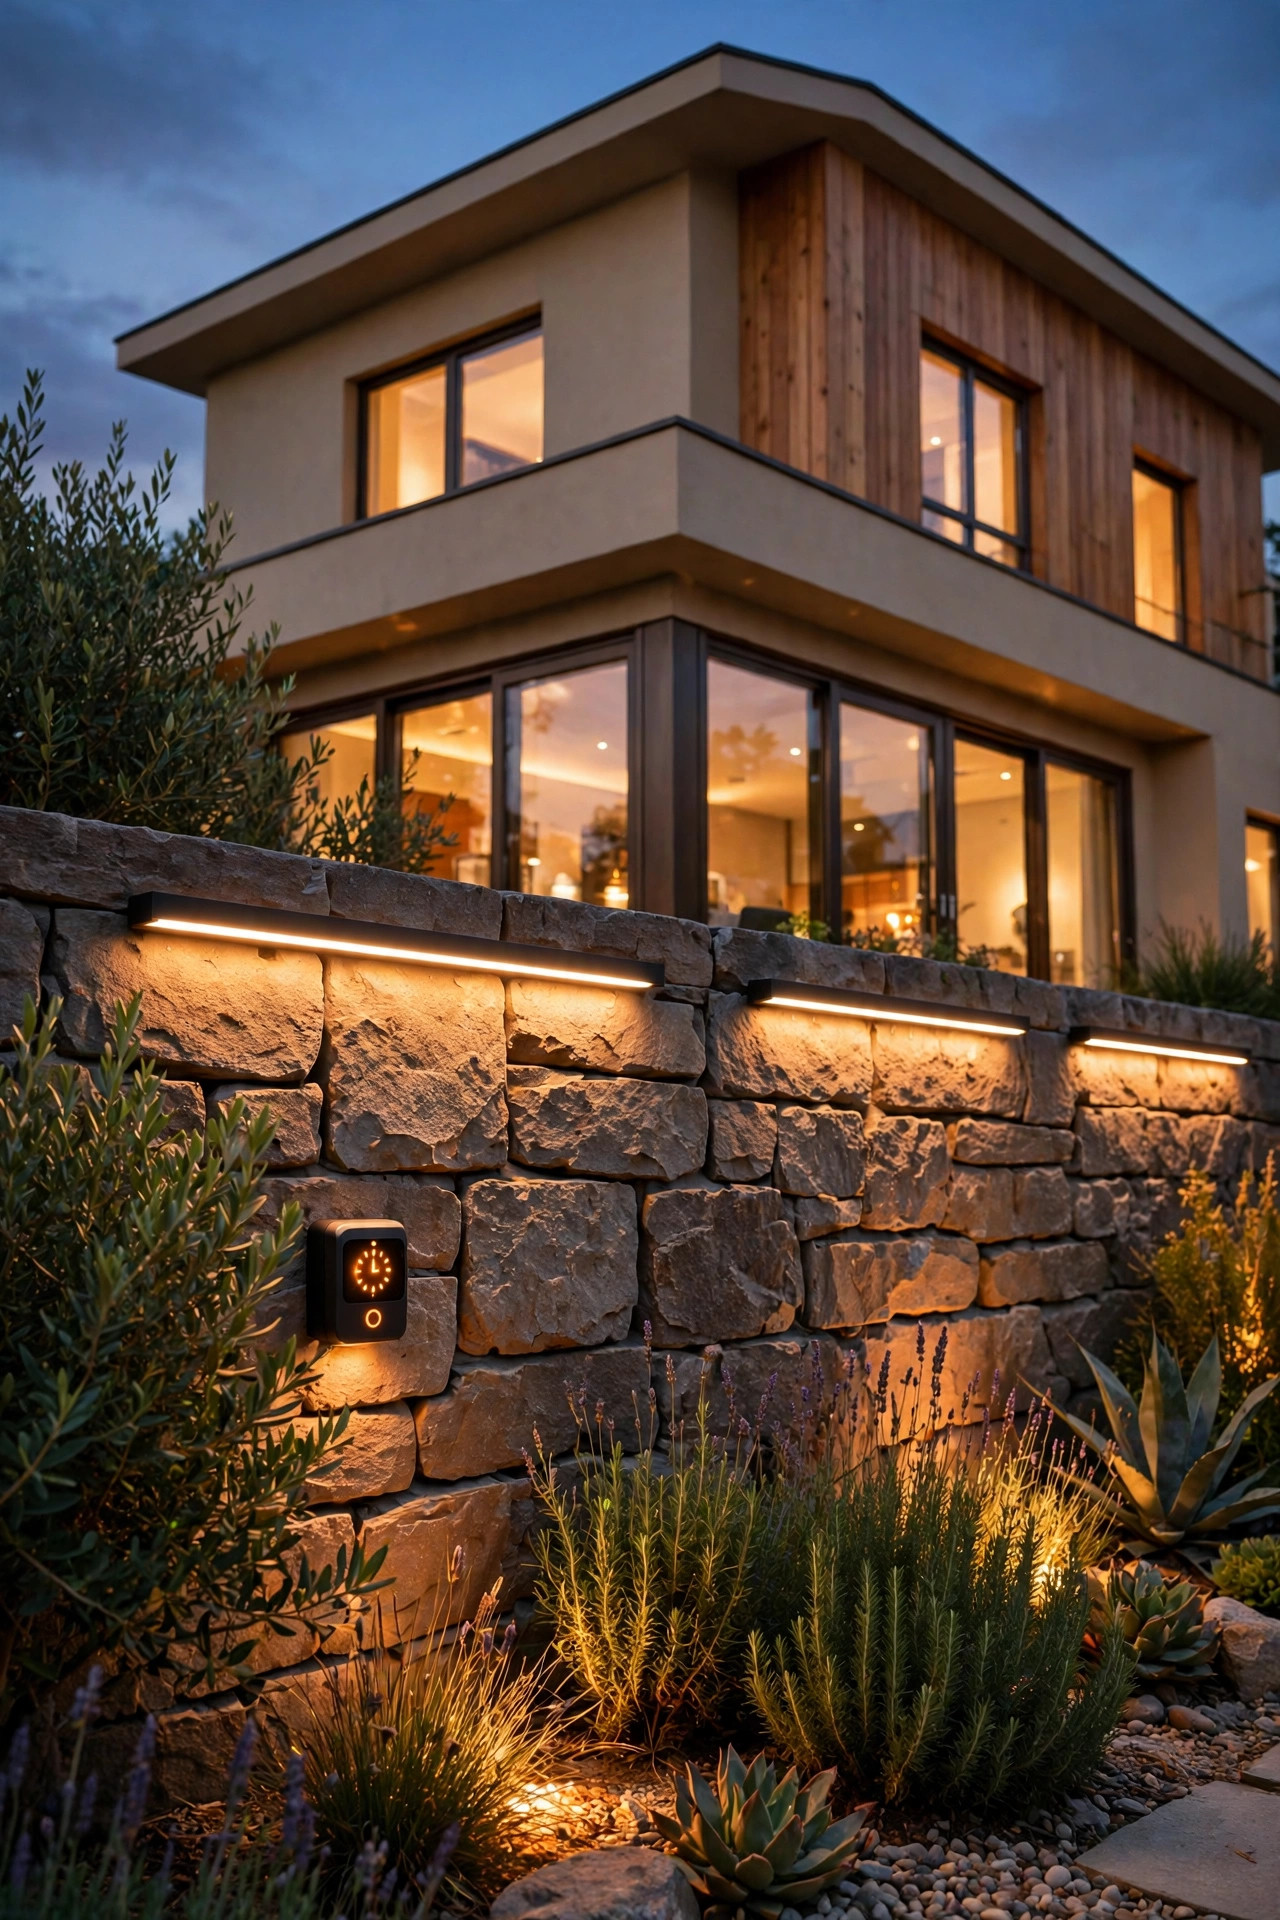
A wash bar run is only as good as its schedule, and smart control is what turns a nice installation into a set-and-forget one. Put the transformer or the bars themselves on an astronomical timer or smart plug that tracks sunset, so the walls glow from dusk to about 11 p.m., then drop to a low overnight level or switch off entirely — your electric bill and your neighbors both win. Zoning is where it gets genuinely useful: facade bars on one zone, fence bars on another, so a backyard evening lights the garden walls while the front facade stays dark, or the whole property wakes up when you tap "arriving home." Motion-triggered boost is the security-friendly version — the wash idles at 30 percent and rises to full when the driveway sensor trips, which reads as "someone's home" far better than a blinding flood. Whatever controller you choose, insist on a manual override you can reach without an app spelunking session; guests and power outages both argue for a dumb switch somewhere. Keep the schedule boring and reliable — that's the kind that actually survives real life. Set it once, and the house just handles its evenings.
Suggested budget range: $65 – $170.
15. The Layered Finale: Wash Bars Plus Uplights Plus Path Lights
Here's how I finish a real yard, pulling everything together. Start with the wash bars as your base layer — a grazed facade, a glowing fence, a washed foundation — because that even ribbon of light is what makes everything else look intentional. Then add the middle layer: two or three spot uplights on the ornamental tree, the chimney, or the architectural detail the wash can't reach, kept narrow and specific. Finally the low layer: path lights or step lights guiding the walk, at ankle height, so people can move safely through all that beauty. The rule that keeps it from becoming a lighting store explosion is restraint in numbers and unity in color: every fixture 2700K, bars doing walls, spots doing heroes, path lights doing routes, and nothing doing two jobs badly. If you want to see how the layers stack across a whole property, my walkthrough of layered landscape lighting maps the same approach zone by zone. Of all the linear led light bars outdoor projects in this post, this layered plan is the one I'd spend real money on — it's the difference between a lit house and a home that glows.
Suggested budget range: $250 – $600.

Frequently Asked Questions
How far from the wall should I mount a linear wash bar?
It depends on the effect you want. For a dramatic graze that rakes across brick or stone texture, mount the bar 4 to 12 inches from the wall and aim it straight up. For a smooth, even wash on siding or stucco, pull back to 18 to 24 inches and tilt the bar slightly toward the wall. My honest advice: prop one bar in place at dusk and test both distances before installing the whole run — walls surprise you.
What color temperature looks best for wall washing?
Warm white, 2700K, is my pick for nearly every home: it flatters brick, wood, and skin tones, and it matches most other landscape lighting. A 3000K bar can look crisp on pale stucco or modern gray siding, but anything cooler than that starts reading commercial and blue against plantings. Whatever you choose, buy all your bars in the same temperature and, ideally, the same production family so the run matches perfectly.
Can linear LED wash bars stay outside all year?
Yes, if you buy the right rating. Look for IP65 as a minimum for bars in open beds, IP67 for in-grade fixtures or anywhere water collects, and sealed connectors rather than exposed plugs. In snowy climates, mount bars on short risers or clear the lens line when you shovel, since a buried bar under snow just lights the snow. A quick lens wipe each spring keeps the wash even.
How many bars do I need for a 40-foot wall?
With 24-inch bars, plan on roughly 14 to 18 bars for a near-continuous graze, spacing them end to end or with small gaps. For a softer wash through plantings, 10 to 12 bars spaced 36 to 42 inches apart will do it. Add up the total wattage, size your transformer 20 percent above that number, and feed long runs from the center to avoid dimming at the far end.
Conclusion
A long wall at night is either a missed opportunity or the best canvas in your yard — and linear led light bars outdoor fixtures are how you choose the second option. Start with one run: graze the facade, wash the fence, or glow the foundation, keep everything 2700K, and let that even ribbon of light become the base layer your whole yard builds on. Browse the rest of my outdoor lighting ideas here whenever you're ready for the next layer, and honestly? Start this weekend. Dusk is waiting.