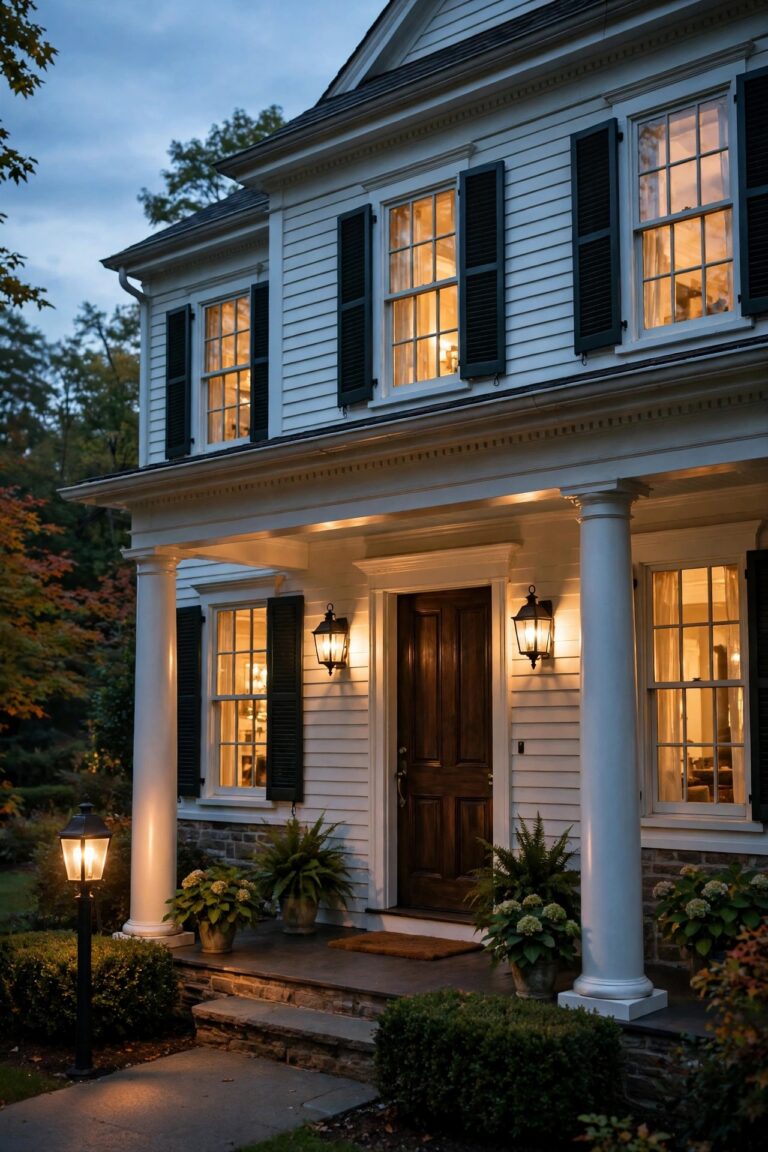
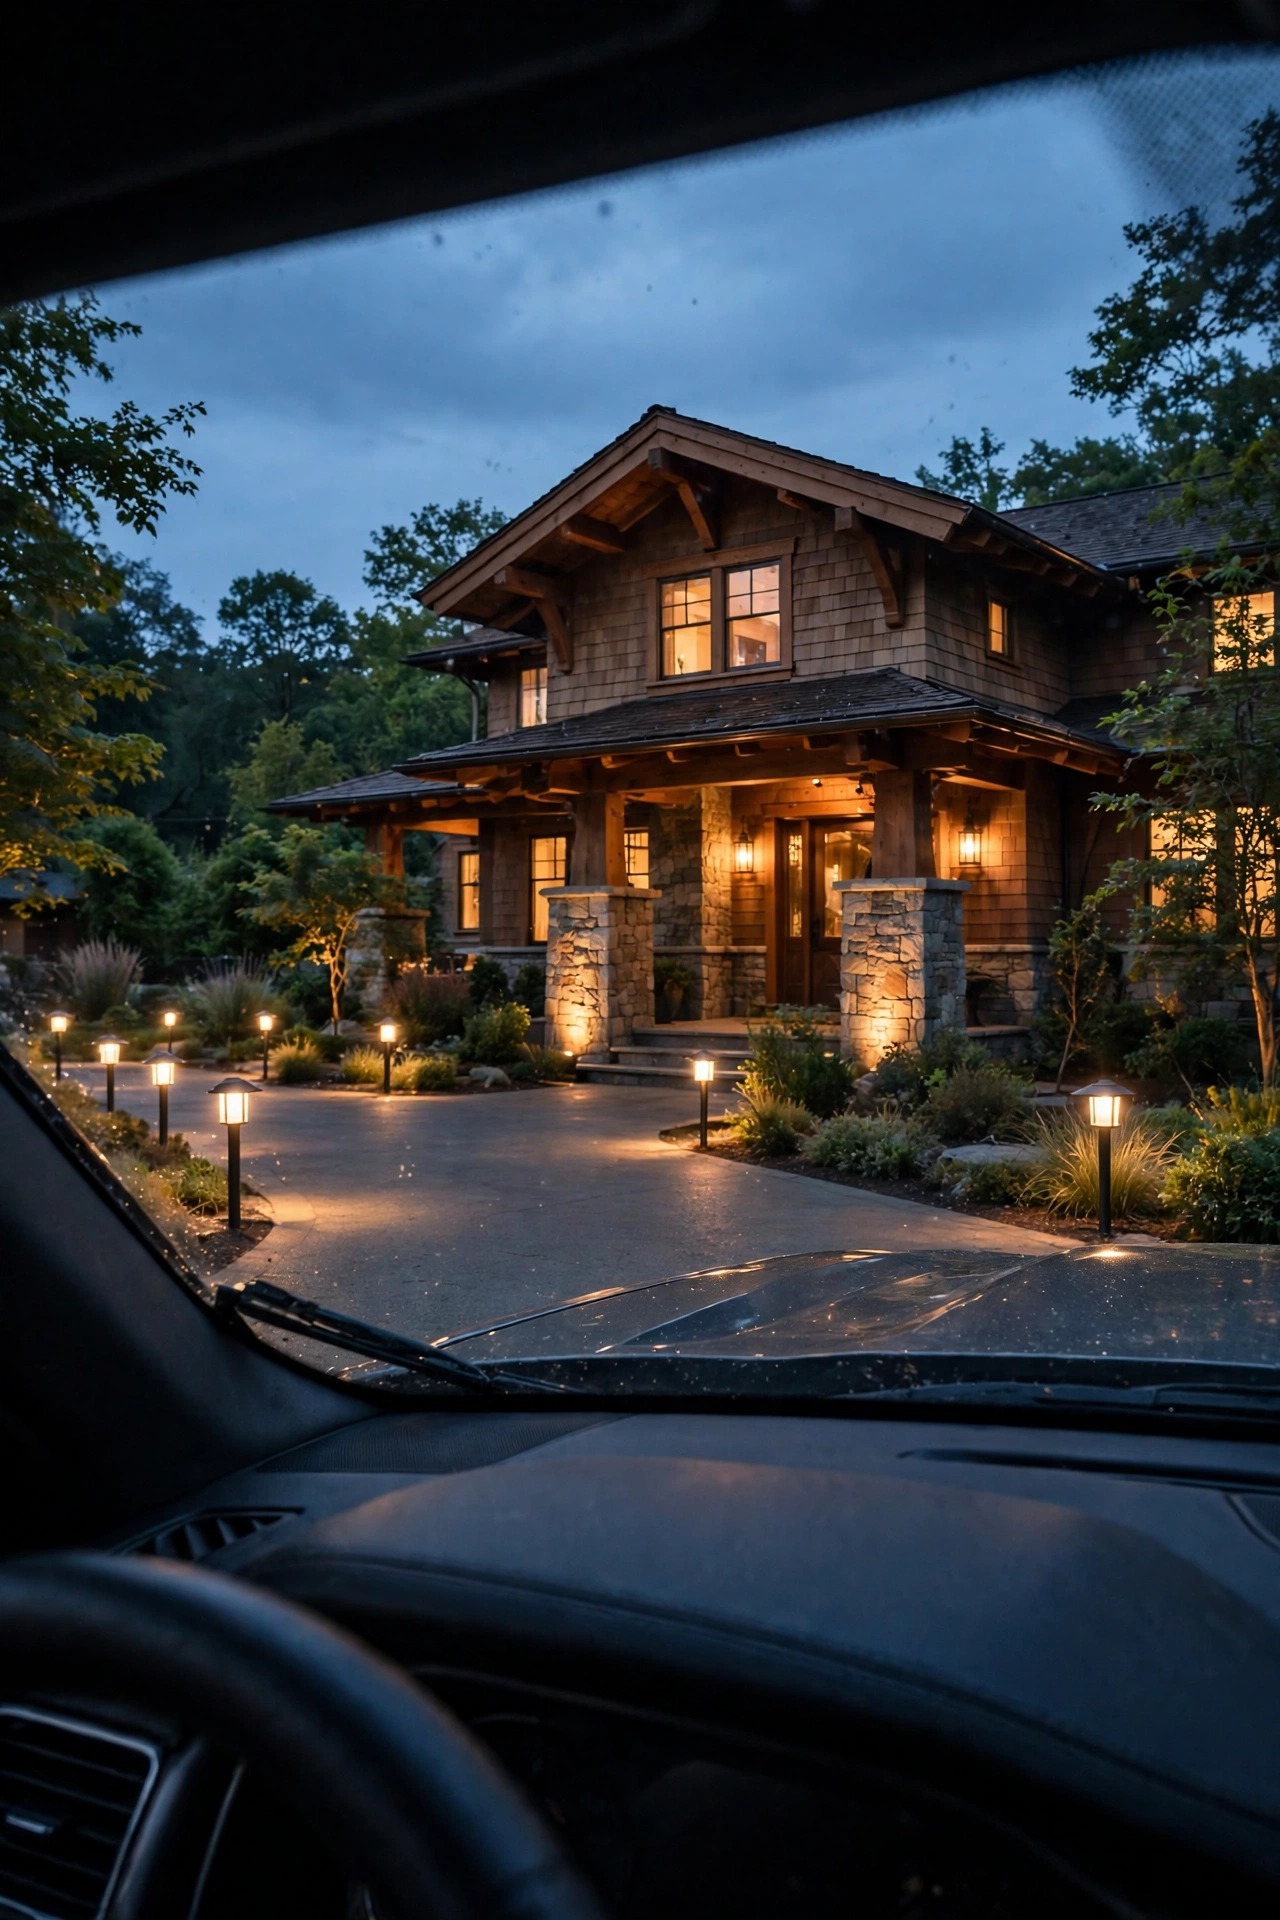
There is a particular magic to arriving home at dusk when the driveway glows like a gaslit lane from another century. If your house has even a hint of Victorian bones — a gabled roofline, a wraparound porch, a little gingerbread trim — harsh white floodlights do it no favors. The victorian driveway lighting ideas in this post trade that glare for gaslight charm: carriage-style lanterns, a gentle flame-effect flicker, and warm pools of light that guide tires and footsteps without ever shouting. In my experience, a great driveway scheme works in layers, just like a porch does: low markers that trace the edges, eye-level lanterns that welcome, and one or two taller posts that give the whole arrival a sense of occasion. Below are the 13 setups I recommend again and again, with honest budget ranges, the spacing rules I have learned the hard way, and the little placement tricks that separate a storybook lane from a runway. Walk your drive at dusk tonight and picture it — I promise the transformation is easier than it looks.
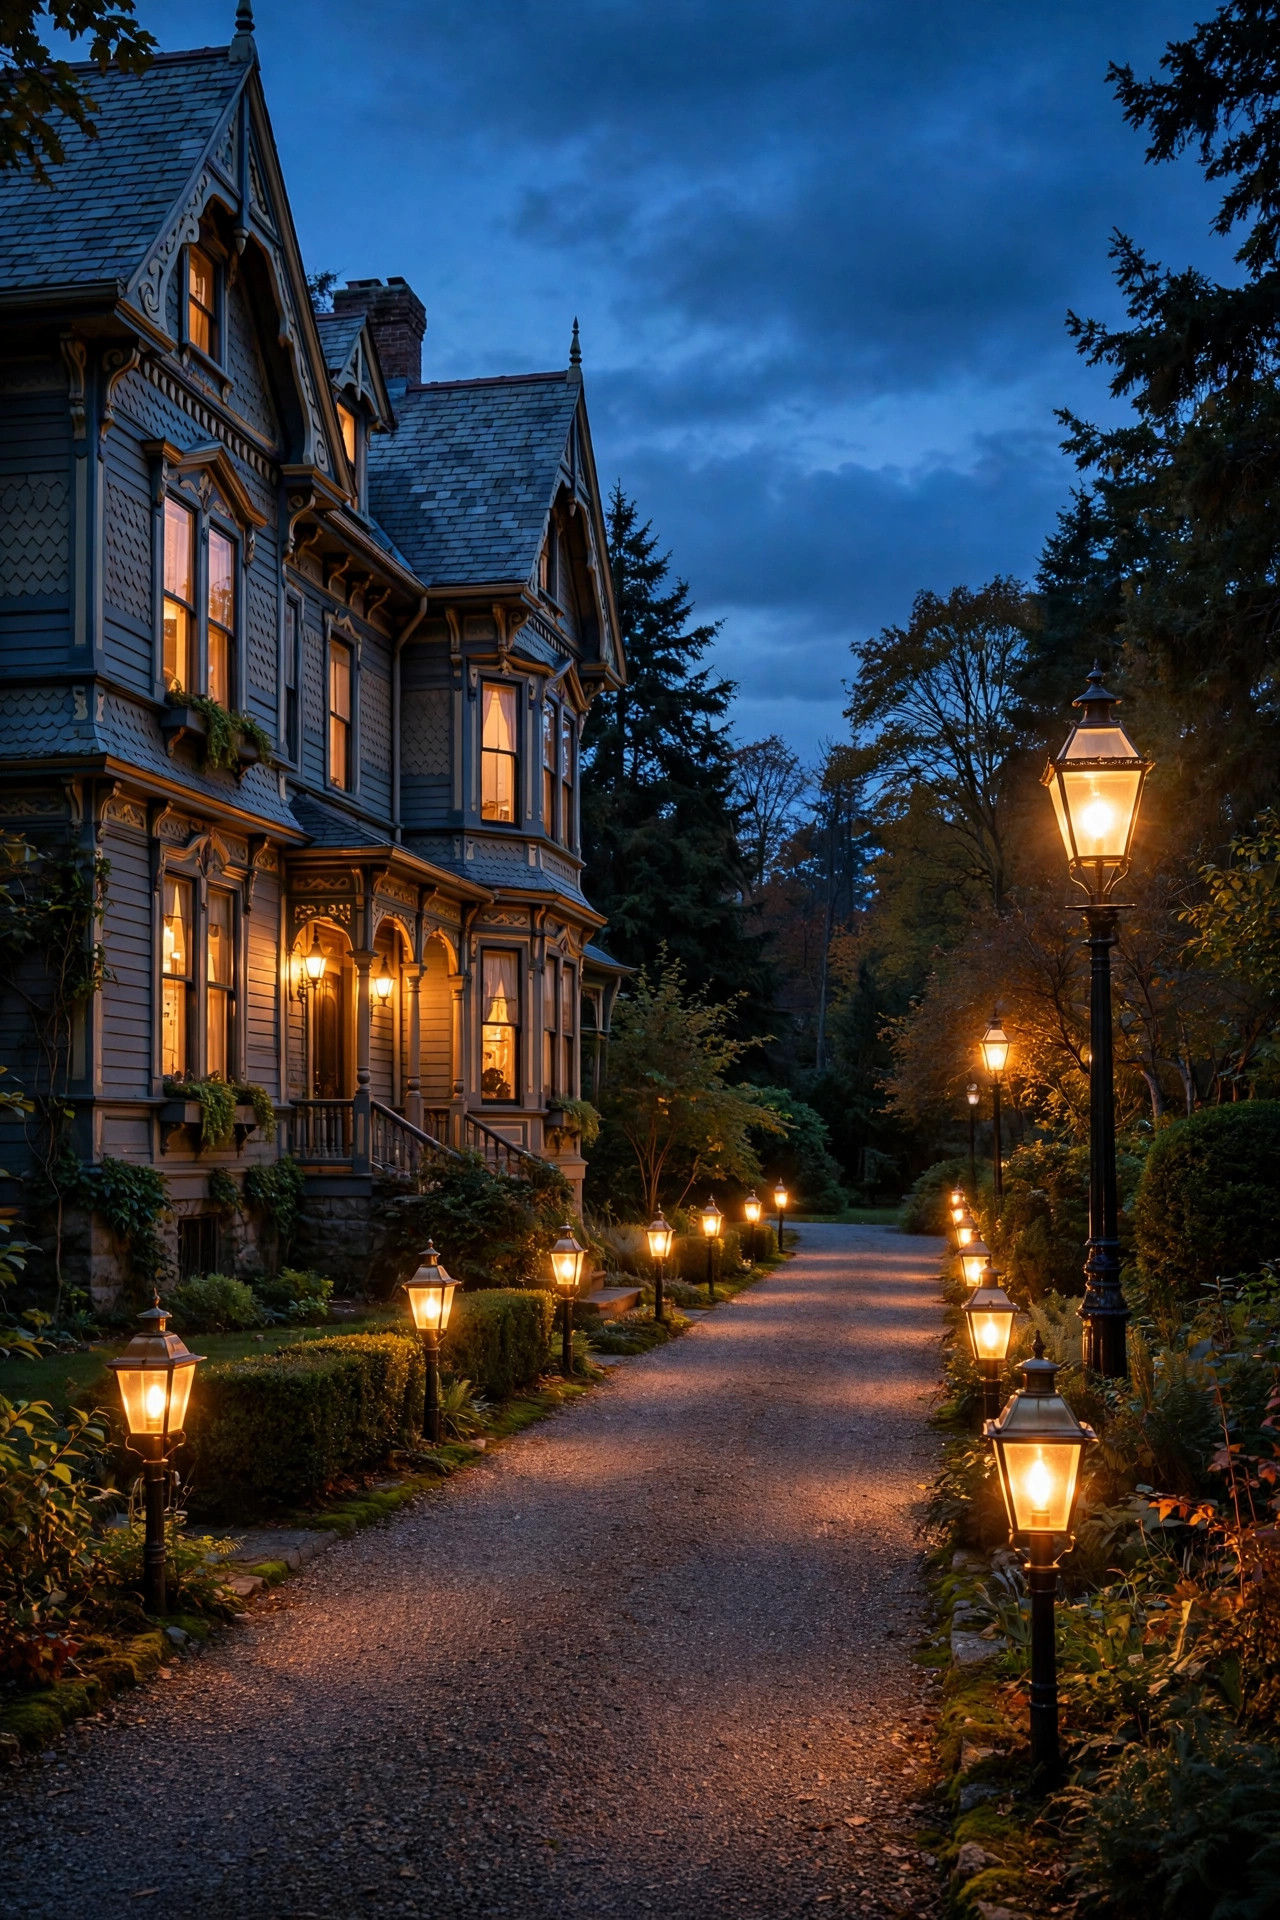
1. Layer Your Victorian Driveway Lighting Ideas Into the Arrival
Every driveway that makes me slow down and stare follows the same quiet structure I use on porches: three layers of light. The low layer traces the ground — small lanterns and edge markers 12 to 18 inches tall that pool light on the pavement so tires and heels can read the edges. The middle layer is the welcome: carriage lanterns on posts or piers, glowing at roughly eye level, where their scrollwork and seeded glass actually get admired. The high layer is the drama — a taller lamppost near the street, or moonlight washing down through a maple, that tells your eyes the journey has an end. When all three layers burn warm together, a driveway stops looking like infrastructure and starts looking like the approach to somewhere that matters. Before you buy anything, stand at the street at dusk and sketch which layer each planned fixture belongs to. If a light fills no layer, skip it. Honestly, the spaces between pools of light are part of the design — Victorian lanes were never lit edge to edge, and the dusky gaps are exactly what makes the glow feel like gaslight.
Suggested budget range: $200 – $600.
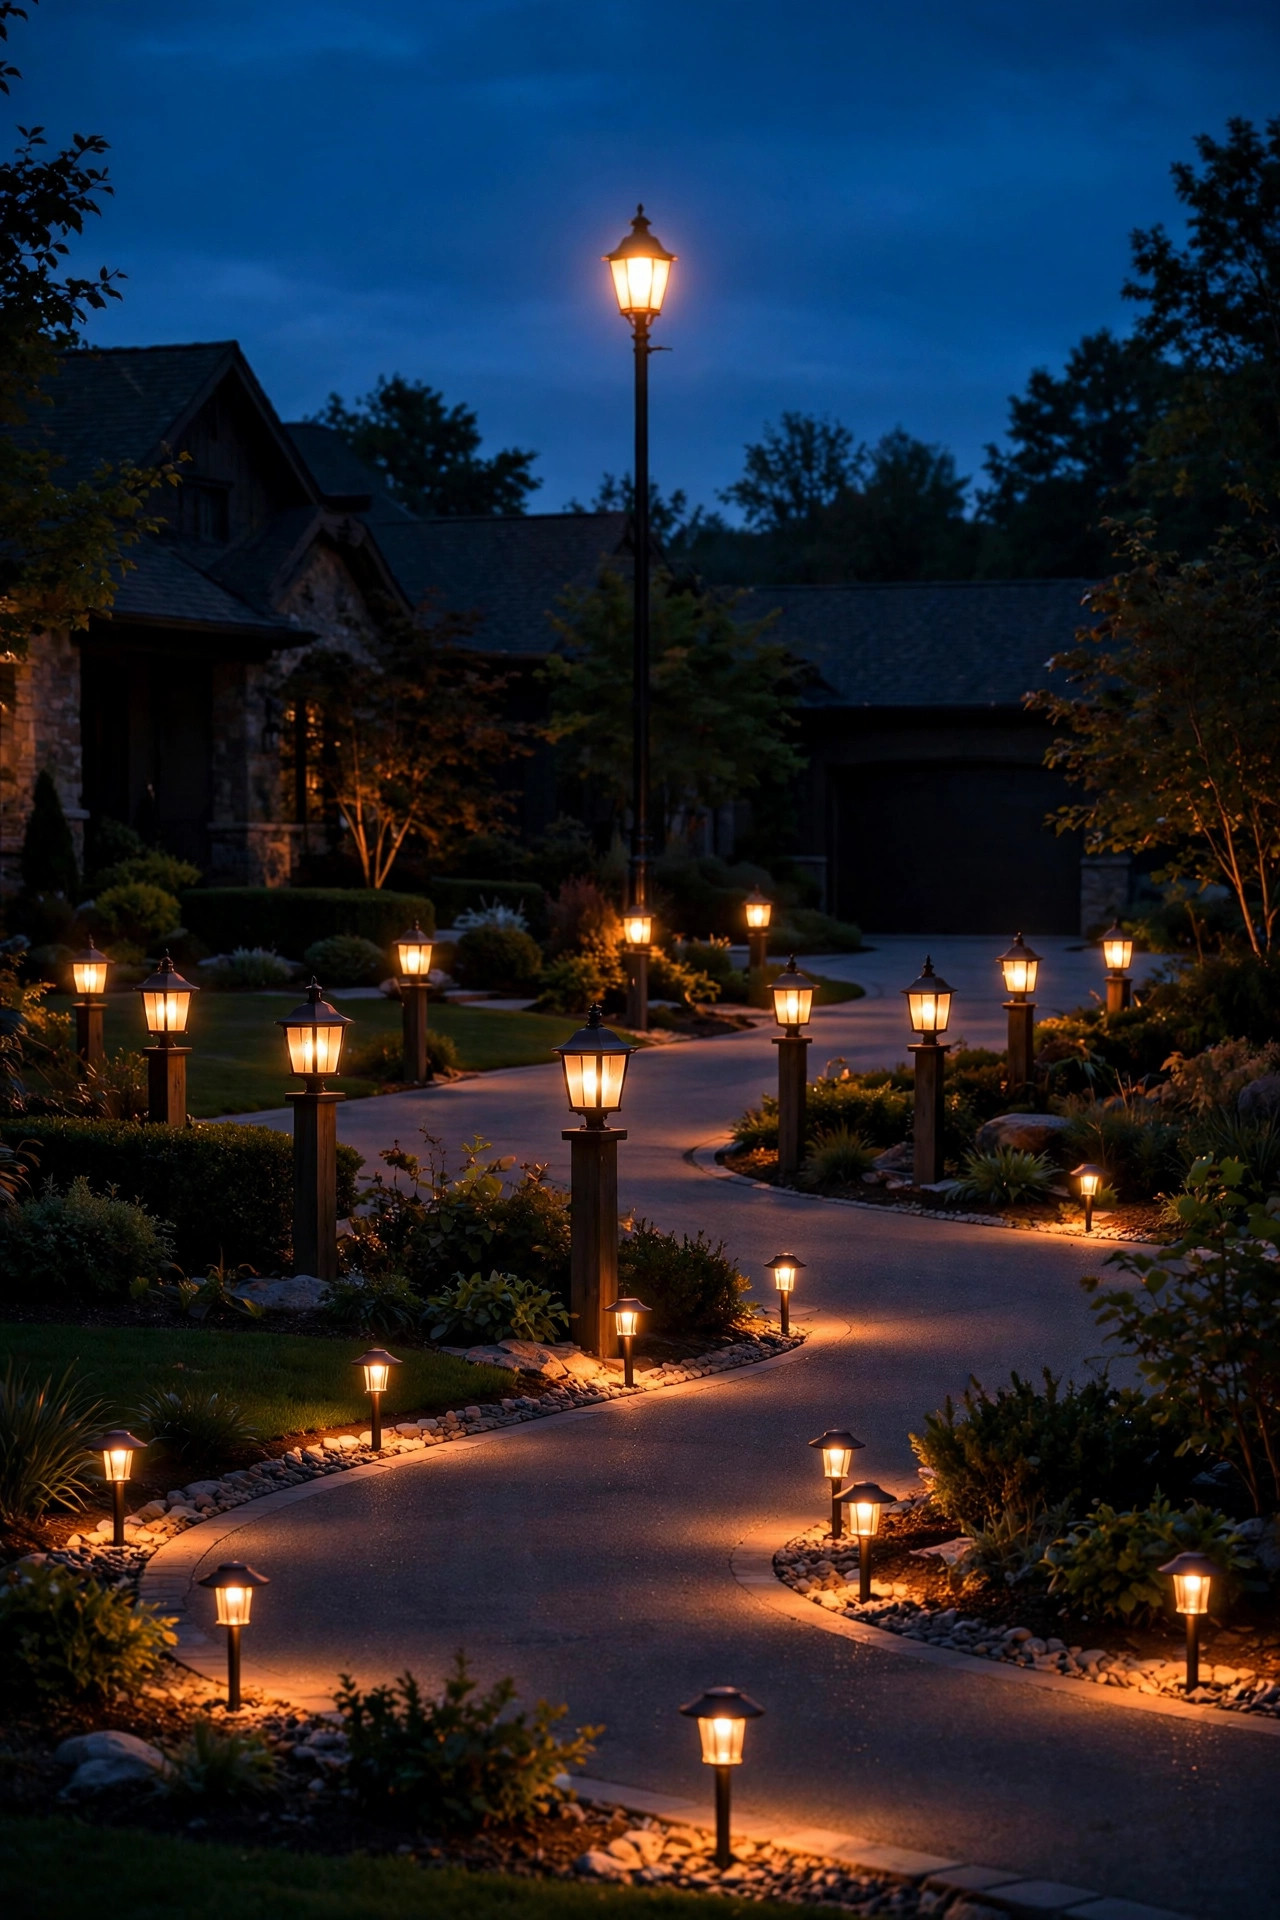
2. Flank the Entrance With Carriage-Style Post Lanterns
A pair of carriage-style lanterns flanking the driveway entrance is the single most Victorian opening move you can make. It frames the arrival the way gate lamps framed a carriage court in 1890, and it gives guests an unmistakable landmark to aim for after dark. You can mount the lanterns on short posts 4 to 5 feet tall, or on low masonry piers if your entrance already has them. Set each fixture back about 2 feet from the pavement edge so mirrors, delivery vans, and snowplows pass without drama. Match the lantern to your front-door fixtures — same finish, same glass, a similar finial on top — and the whole front of the property suddenly looks planned rather than accumulated. I always recommend a photocell in each post or on the circuit, so the pair wakes up on its own every evening. For size, a lantern head 14 to 20 inches tall reads substantial without overwhelming a residential drive. If only one side of your entrance allows a fixture, a single taller post lantern still works — symmetry is lovely, but one beautiful lantern beats two cramped ones.
Suggested budget range: $180 – $520.
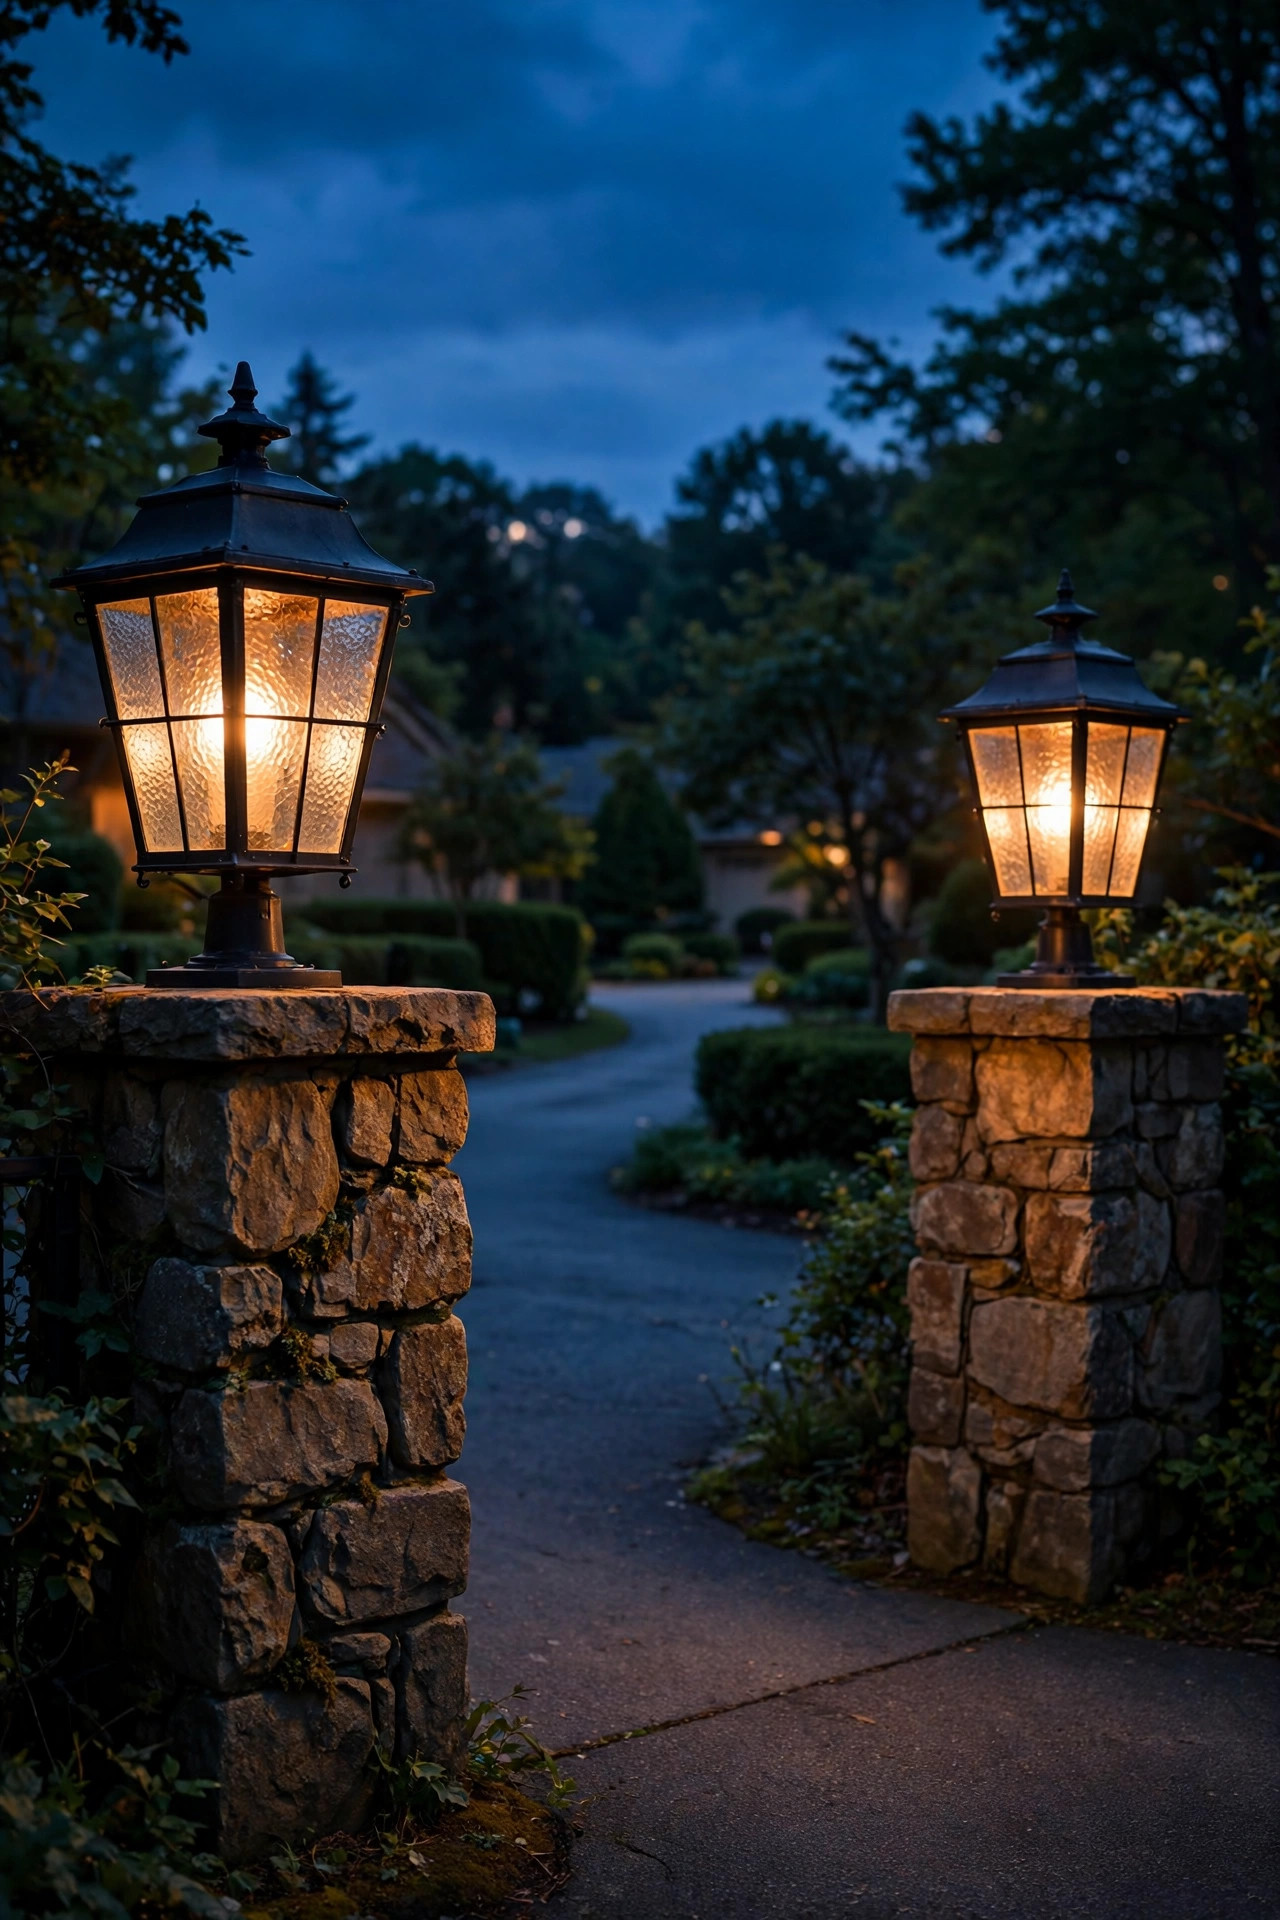
3. Choose Flame-Effect Bulbs for a True Gaslight Flicker
The fastest way to fake a gas main you do not have is a flame-effect LED bulb. These little bulbs run an animated amber flicker behind the glass — some even include a gravity sensor so the flame always points up — and at dusk, from a moving car, they are genuinely convincing. Look for bulbs rated 2000–2200K; that deep amber is the color of a real gas mantle, warmer than any standard soft-white LED. They shine brightest, figuratively, inside clear or lightly seeded glass, where the flicker can dance across the panes. Save them for the hero fixtures — entrance lanterns, the street lamppost, a pier pair — and use steady filament-style bulbs in the supporting path lights, because an entire driveway of flickering flames tips from romantic to amusement park. Because they are LEDs, they stay cool to the touch, sip electricity, and are safe near the dry leaves that collect around driveway edges every fall. Put them on a dimmer where you can: at about 70 percent, the flame slows and deepens, and guests will lean in looking for a wick that is not there.
Suggested budget range: $40 – $120.
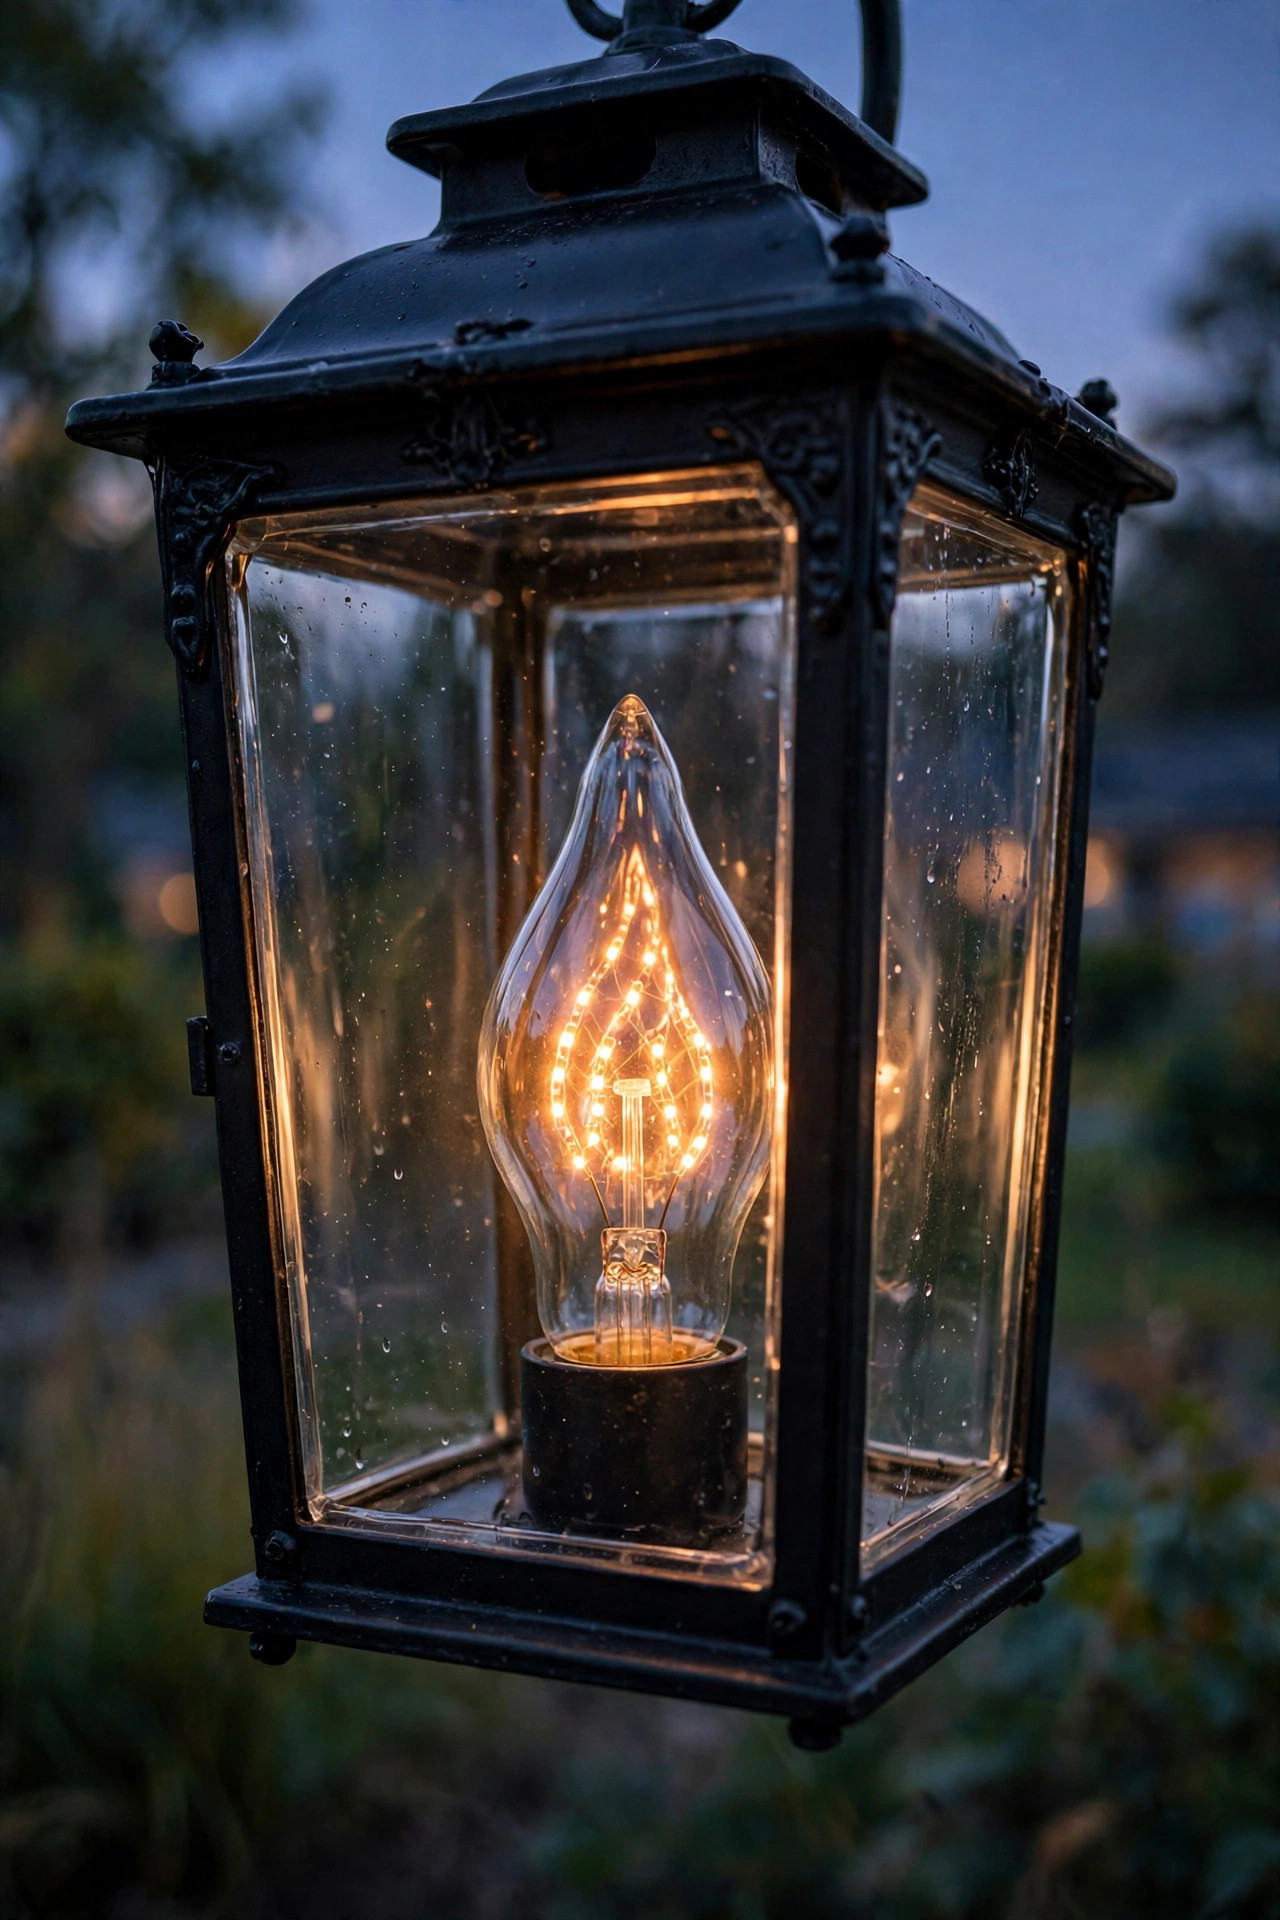
4. Line the Walk With Low Lantern Path Lights
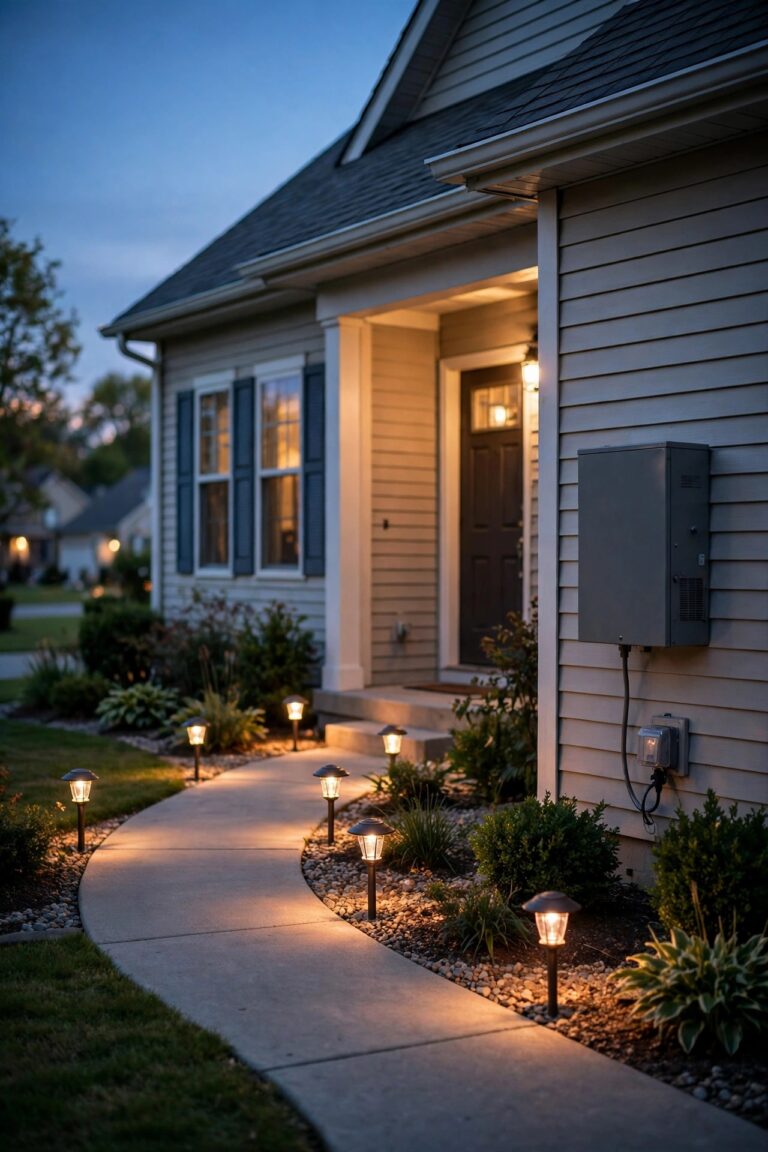
Where the front walk leaves the driveway and heads for the porch, switch from posts to low lantern path lights — miniature versions of your entrance lanterns, 12 to 18 inches tall on short stakes or stems. The lantern shape matters: the little roof and finial echo the Victorian silhouette, and caged or seeded glass keeps the bulb from glaring as you walk past. Space them 6 to 8 feet apart and stagger them on alternating sides of the walk rather than marching them in two soldier rows; staggered pools of light feel like a garden path, while rigid rows feel like a runway. Aim for pools that nearly touch, so no one steps into a fully dark gap between fixtures. Low-voltage wired sets are my default here because they burn steadily all night and share a transformer with the driveway fixtures. If you want more shapes and finishes to compare, browse my favorite lantern path light ideas before you order. One caution: keep fixtures at least a foot back from the walk edge, or every suitcase wheel and snow shovel will find them.
Suggested budget range: $120 – $350.

5. Cap Brick or Stone Piers With Period Lanterns
If your driveway entrance has brick or stone piers — or you have ever wanted an excuse to build some — cap each one with a period lantern and you have instant architecture. A pier lantern sits higher than a path light and lower than a lamppost, right in that welcoming middle layer, and its glow spills both down the drive and out toward the street. Choose a lantern 16 to 22 inches tall so it holds its own against the masonry, with a wide cap and finial, clear or seeded glass, and a finish that suits the house: matte black on brick, aged bronze or verdigris copper on stone. The practical side deserves respect. Run conduit through the pier while it is being built or cored, and let an electrician make the line-voltage connections — water finds every shortcut inside masonry. A mason can build a pair of modest piers as a weekend-scale project, but budget honestly for the pair as a small construction job, not a lighting errand. Photocell control, again, is non-negotiable for me. The result is the closest thing a modern suburb gets to a carriage-gate welcome, and it photographs like a dream.
Suggested budget range: $300 – $900.
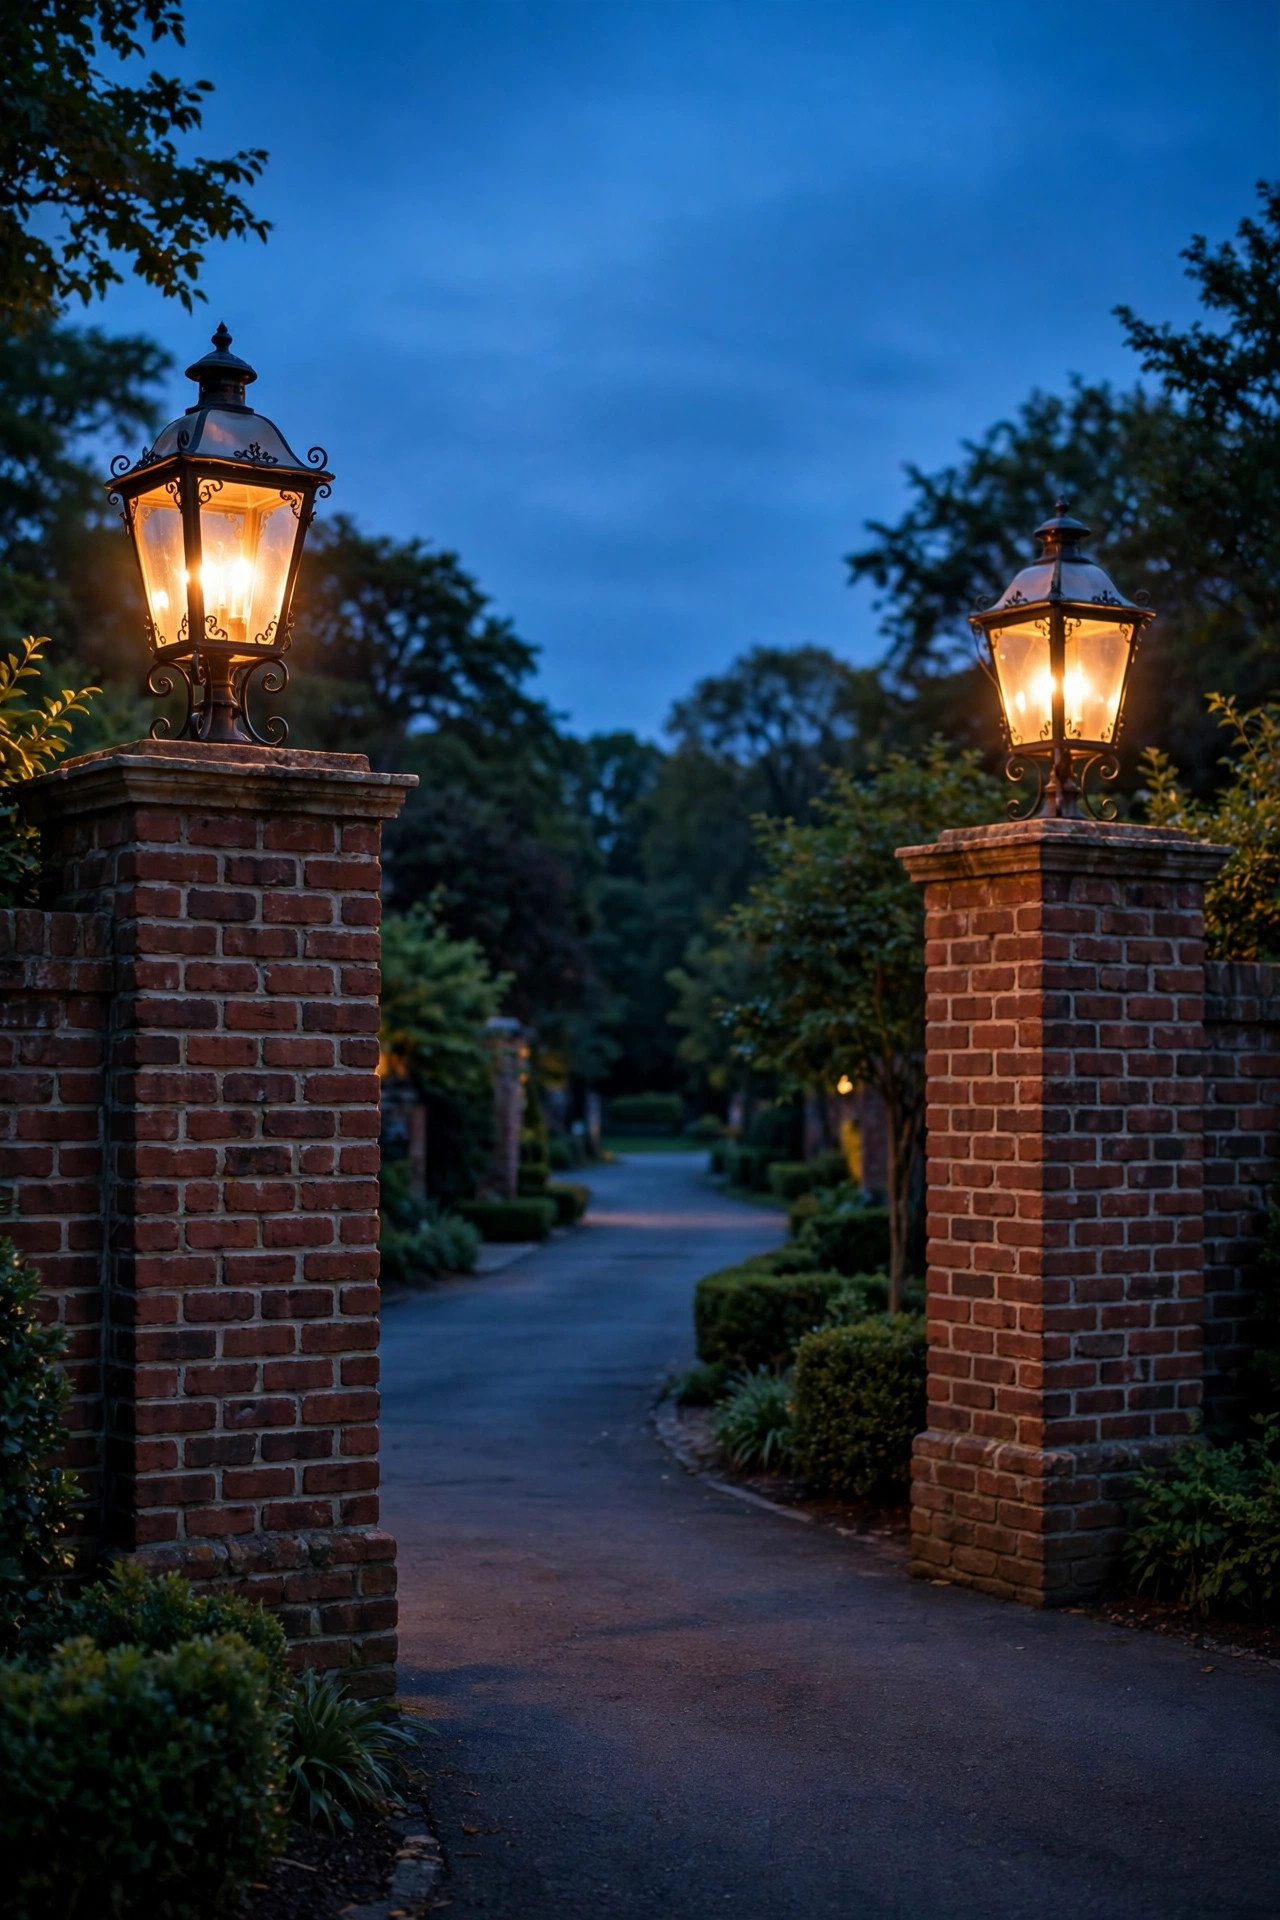
6. Trade the Garage Floodlight for a Coach Light
The garage door is the biggest flat surface on most front elevations, and the motion-sensor floodlight usually bolted above it is the least Victorian object ever made. Swap it for a carriage-style coach light — or better, a matched pair flanking the door — and the whole facade exhales. Coach lights copy the enclosed lanterns that once hung beside carriage-house doors: four tapered glass panes, a curved top loop or finial, and a silhouette that belongs on any house with gables. Mount a single fixture centered above the door at 8 to 9 feet, or flank a double door with a pair at about 7 feet. Modern versions hide motion sensors inside traditional housings, so you keep the security brightening when a car pulls in without the industrial hardware-store look. Match the finish to your entrance lanterns and the garage stops reading as an add-on. I gathered my favorite shapes in one place — see these garage carriage light ideas for sizing help. Use flame-effect bulbs here if your entrance lanterns have them; consistency sells the illusion.
Suggested budget range: $90 – $280.
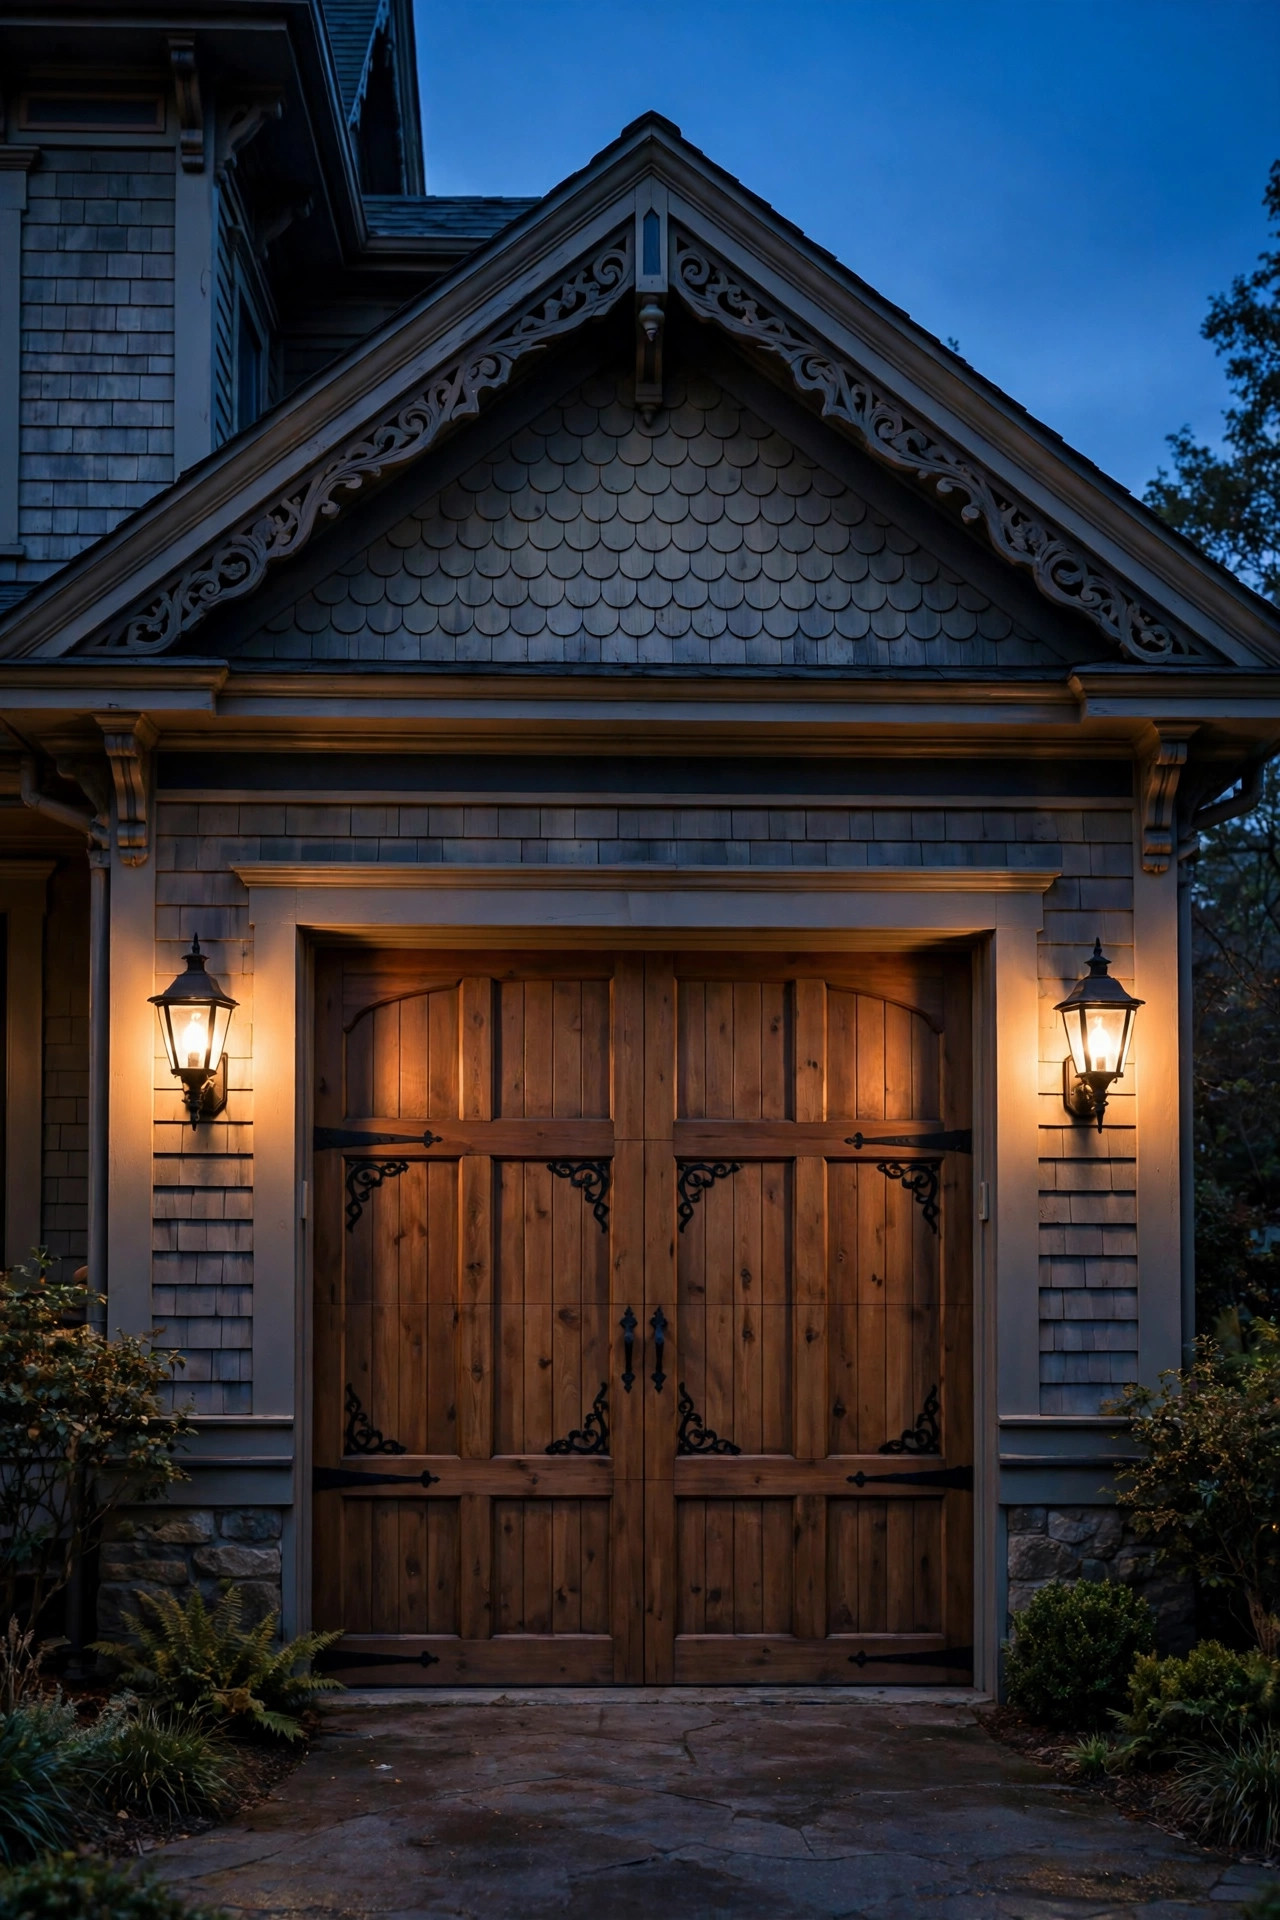
7. Run Lantern-Style Bollards Down a Long Drive
For a long driveway, a single pair of entrance lanterns leaves a dark middle act, and that is where lantern-style bollards earn their keep. These are short, sturdy posts 24 to 36 inches tall with a lantern head instead of the usual modern slot of light, so they keep the period story going all the way to the garage. Space them 10 to 15 feet apart; on a straight drive, one side is usually enough, while a curve deserves fixtures on the inside of the bend where drivers actually aim. Low voltage is the sane choice for long runs — one transformer near the garage, cable buried a few inches down in a shallow trench along the edge — but do the voltage-drop math or the last bollard will glow noticeably dimmer than the first. I walk through spacing and sizing in more depth in my driveway lighting ideas post. Choose bollards with shielded, downward-aimed bulbs so light lands on the pavement instead of in drivers' eyes, and set them 18 to 24 inches back from the edge so bumpers and plows leave them standing.
Suggested budget range: $250 – $700.
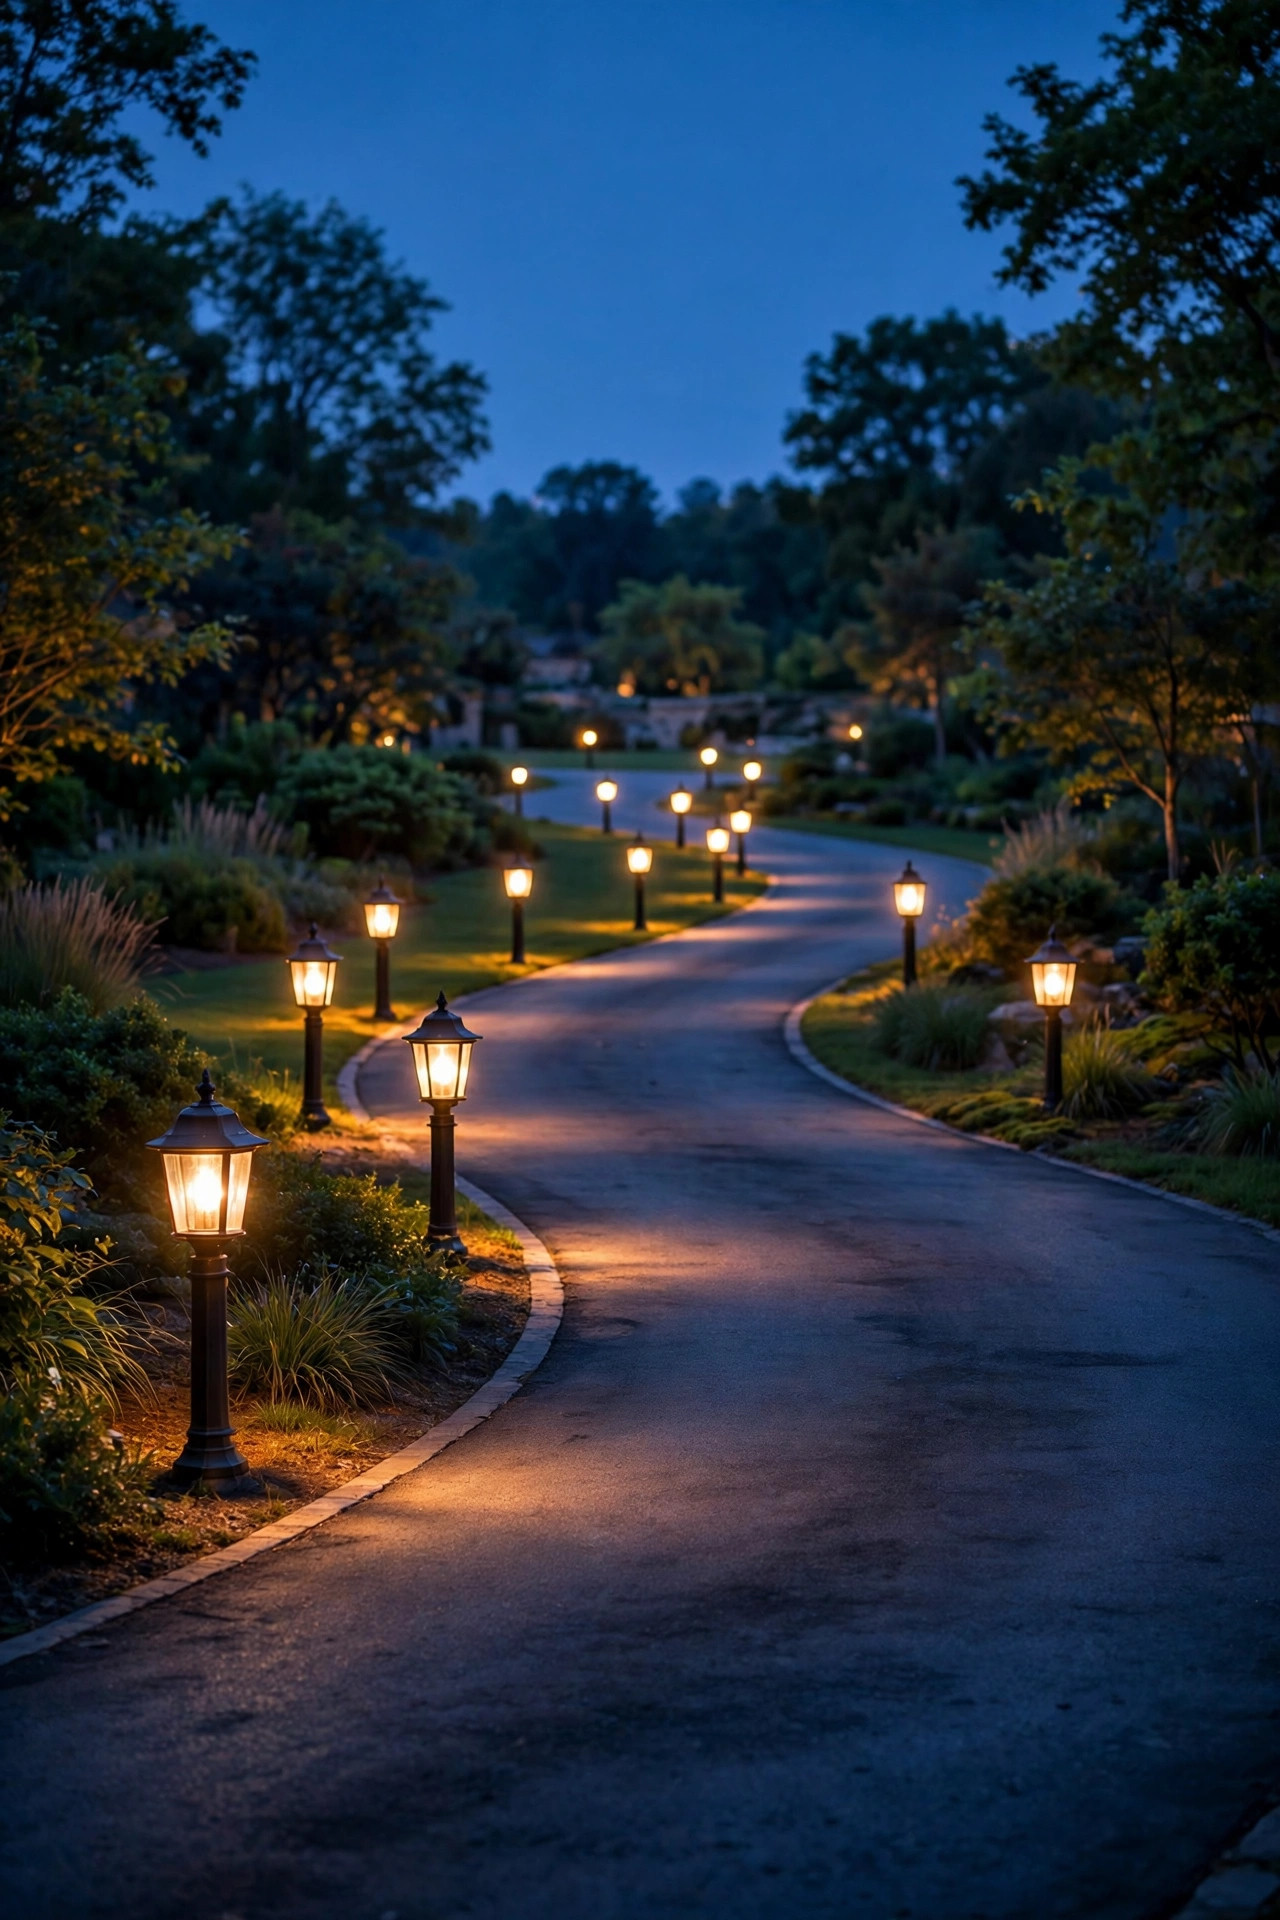
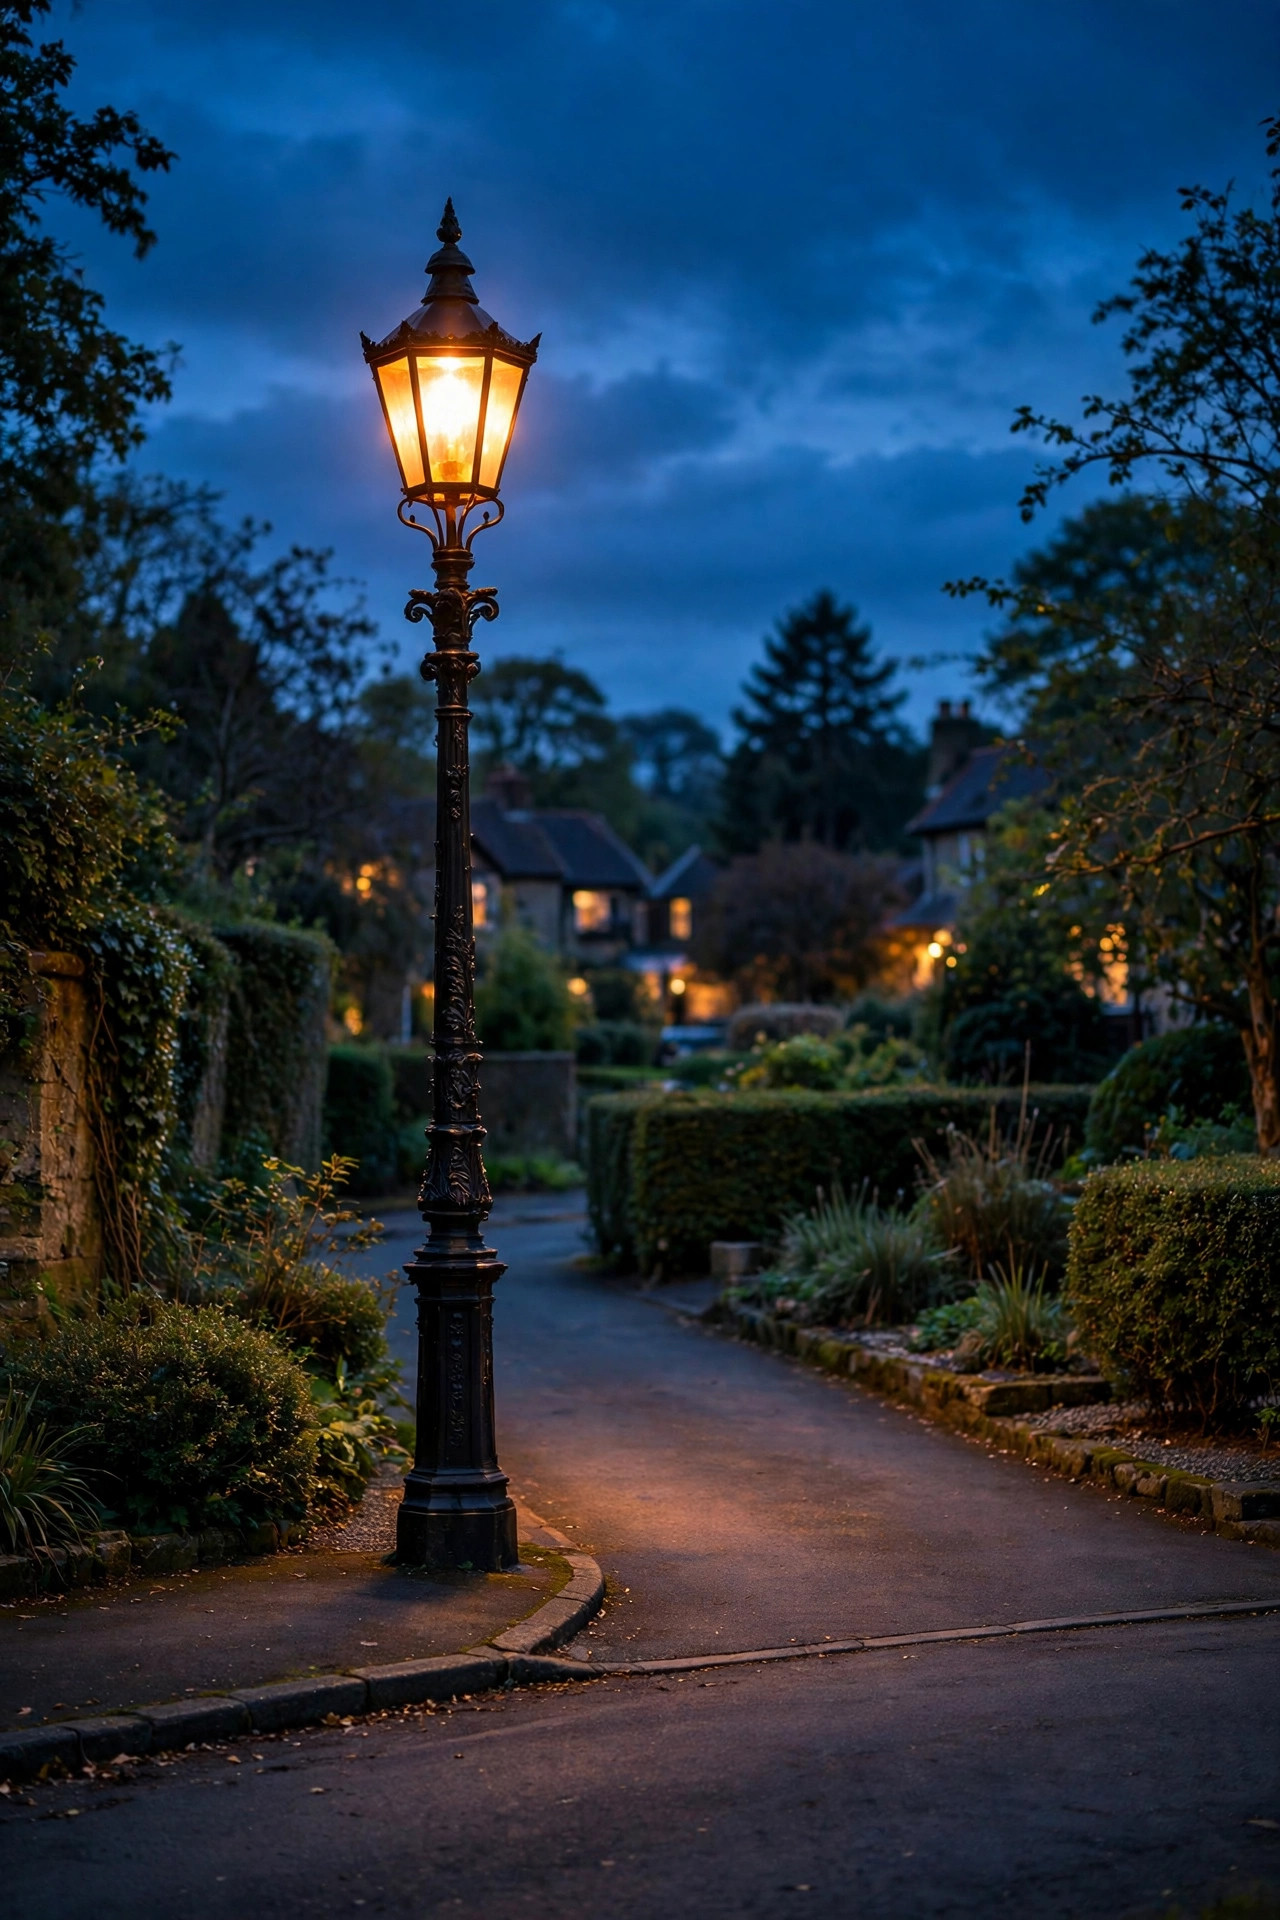
8. Plant a Lamppost Where the Drive Meets the Street
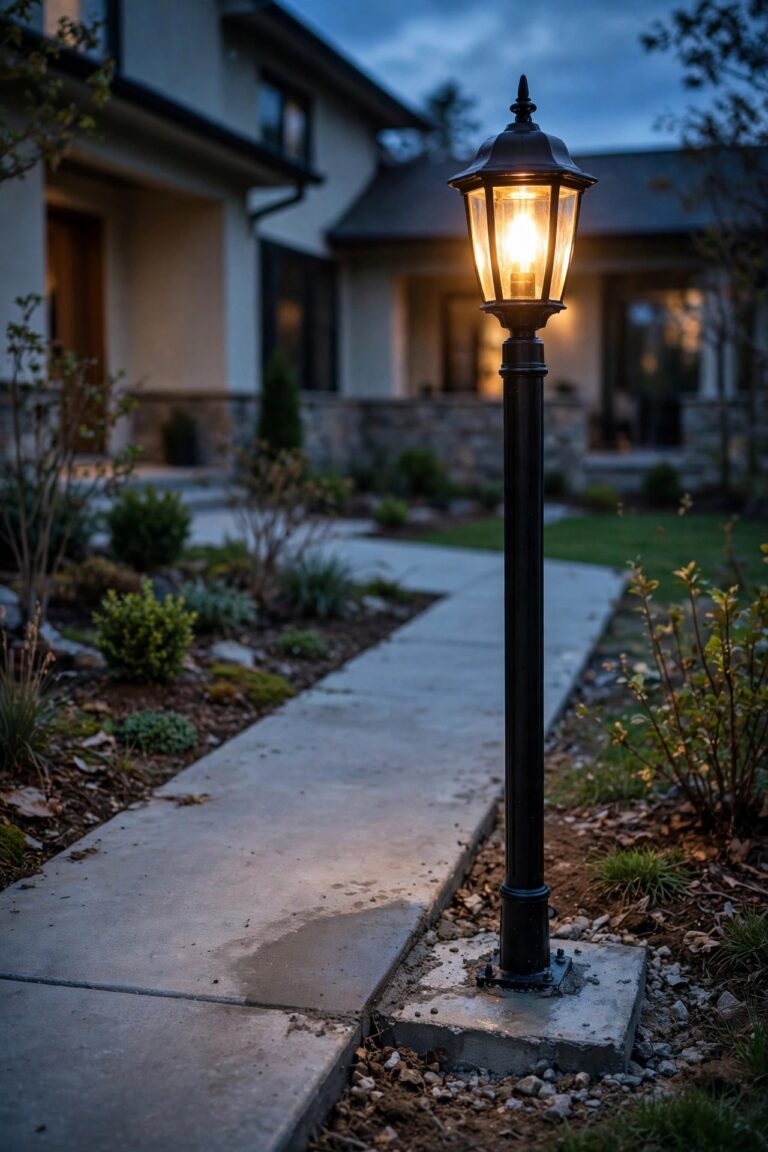
Every gaslit street in an old film has one hero: the lamppost. A single tall post where your driveway meets the street gives the whole property a period exclamation point and, practically, makes your entrance findable for guests and delivery drivers on a dark road. Choose a post 8 to 10 feet tall with a generous lantern head — acorn and four-sided carriage shapes both suit Victorian homes — and a ladder rest or decorative scroll bracket if you want full nineteenth-century theater. Set it 2 to 3 feet back from the pavement edge and clear of the sight triangle at the street corner, and check with your city or HOA before you dig; some neighborhoods claim the strip between sidewalk and curb. Line voltage with a proper conduit run is the durable route, and a photocell in the post head means it lights itself every dusk without a thought from you. Keep the bulb warm — a flame-effect bulb looks wonderful up there — and resist oversizing the wattage. A lamppost should glow like a candle in a tall lantern, not interrogate the street.
Suggested budget range: $220 – $650.
9. Tuck Solar Lantern Stakes Into the Beds Beside the Drive
Not every stretch of driveway justifies trenching cable, and that is where solar lantern stakes quietly shine. Modern versions copy the Victorian lantern silhouette — little roofs, hanging hooks, warm 2700K LEDs — and they press into the planting beds beside the drive in minutes, with no transformer, no wire, and no electrician. Use them as the accent layer: a gentle dotted rhythm through the beds, filling the gaps between your wired anchors. Honesty time, because I have tested a shelf of these: solar is a fair-weather friend. Output drops in December when nights are longest, shaded beds charge poorly, and the cheapest stakes fade to a blue-white glimmer that ruins the gaslight mood. Buy fewer, better stakes with replaceable batteries and a stated warm color temperature, and place them where they get at least six hours of direct sun. Treat them as jewelry, not infrastructure — the wired lanterns do the guiding, and the solar stakes do the twinkling. Swapped that way, a dead stake in February is a shrug, not a dark driveway.
Suggested budget range: $50 – $150.

10. Graze the Driveway Edge With Low Iron Fixtures
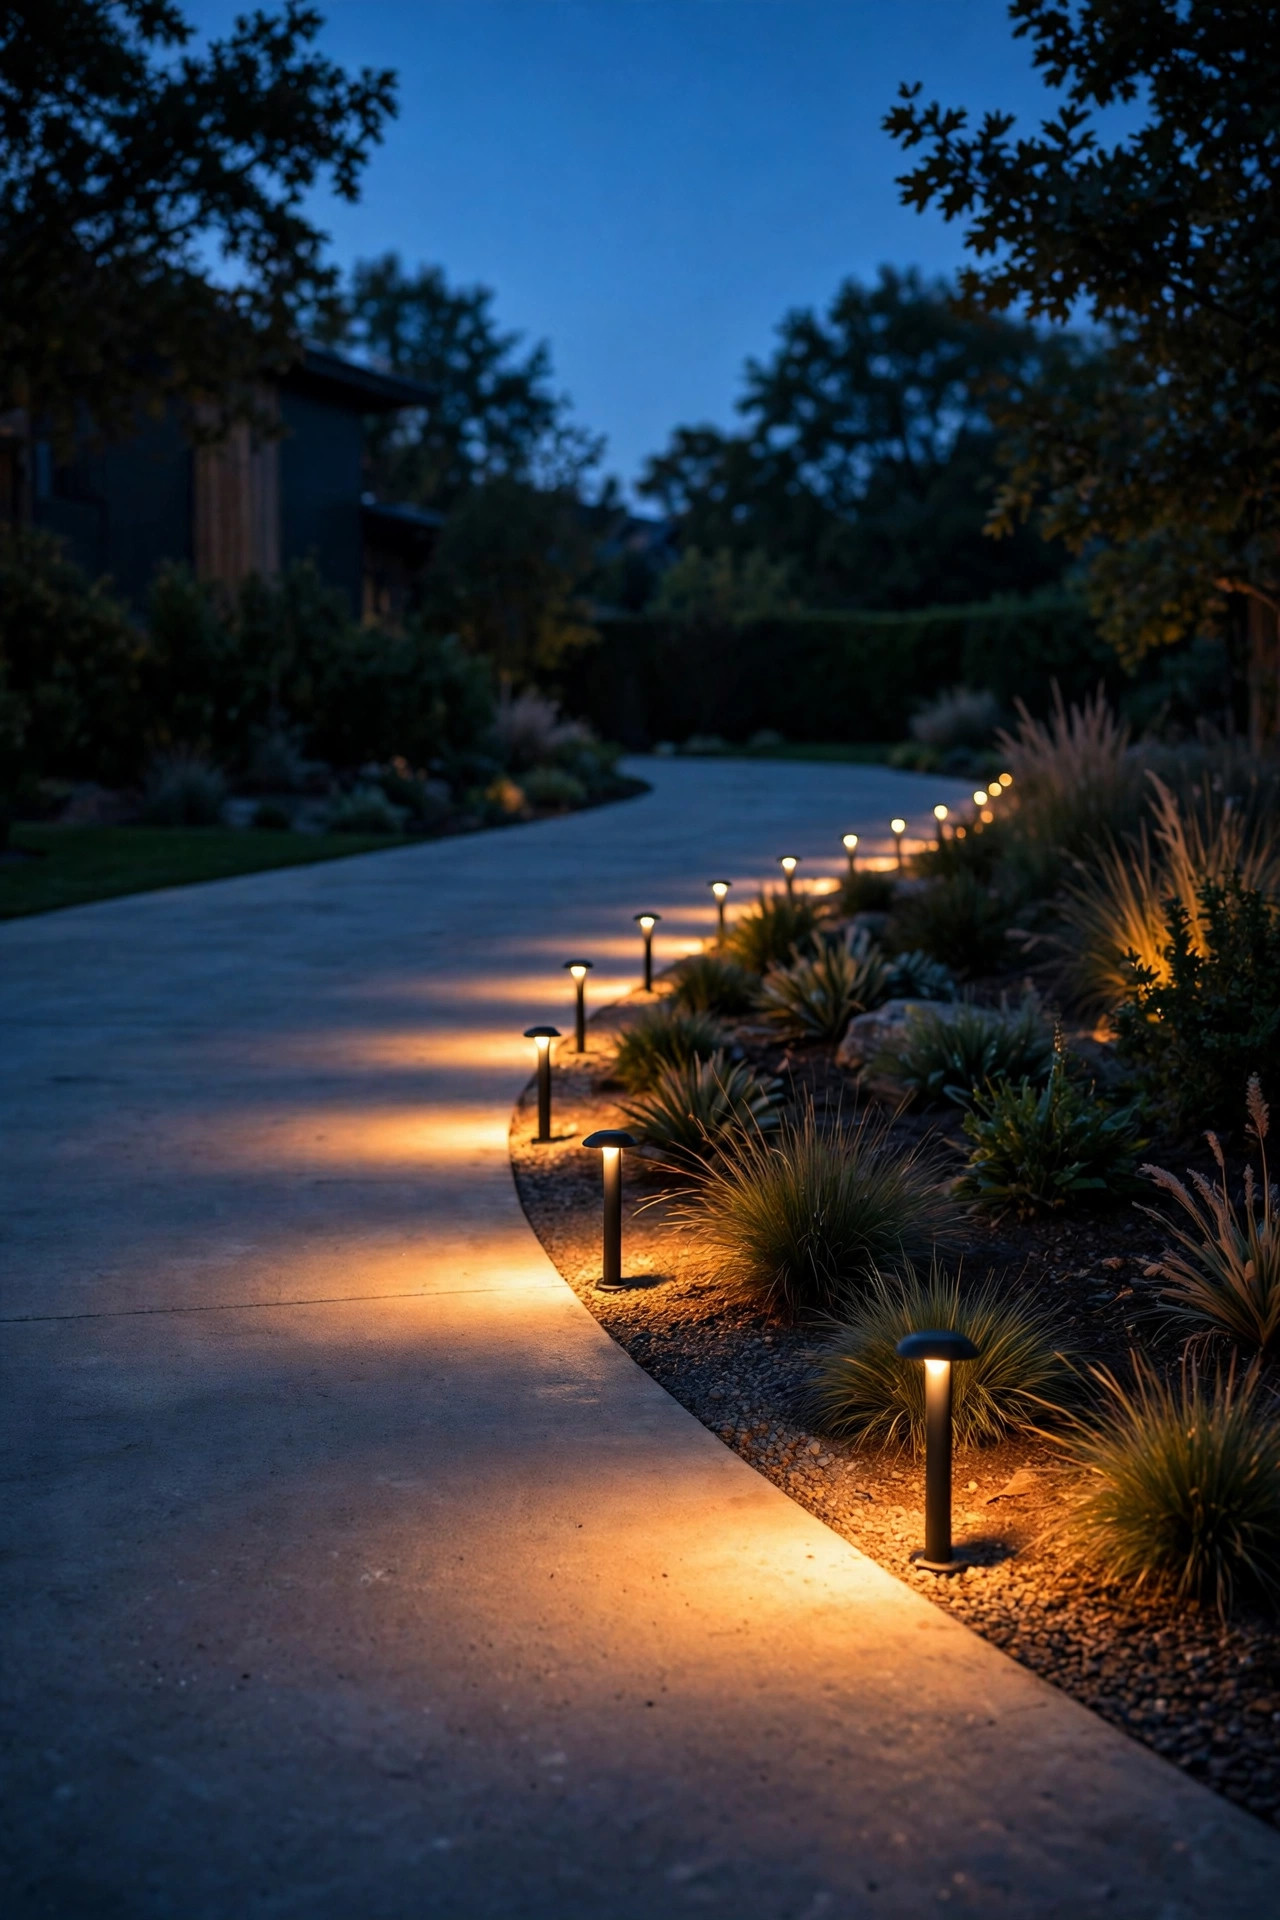
Sometimes the most useful driveway light is the one drivers barely notice: a low, glare-shielded fixture that grazes the pavement edge and quietly says the grass starts here. Look for squat cast-iron-look markers or in-grade puck lights rated for the job, mounted flush or nearly flush along the edge where tires drift — around curves, at the apron, beside the parking pad. Anything a tire can actually roll over must be genuinely drive-over rated, with a sealed housing and an IP65 or better tag; decorative path lights will not survive one delivery van. The light itself should skim low across the surface, which does double duty: it outlines the drivable width, and it rakes across the pavement texture, revealing ice patches, gravel, and the occasional tricycle long before your headlights would. Keep these steady and warm at 2700K — no flicker at ground level — and wire them into the same low-voltage run as your bollards or path lights so the whole system agrees on timing. Six to ten well-placed edge lights can make a narrow, hedge-lined drive feel twice as wide at night.
Suggested budget range: $150 – $420.
11. Put Every Fixture on Photocells, Timers, and a Dimmer
A gaslit lane never required anyone to remember a switch, and yours should not either. Photocells are the backbone: one on the transformer for your low-voltage runs, and built-in sensors on line-voltage posts and piers, so every fixture wakes at dusk on its own — including in December, when dusk arrives before dinner. Layer a timer on top if you like the lane to dim or shut down after midnight; many transformers offer dusk-to-dawn plus 4-hour, 6-hour, and 8-hour settings, and I find dusk plus 6 hours covers real life for most households. Dimmers matter most for the flame-effect bulbs at the entrance, where 70 percent brightness deepens the flicker into believable gaslight. One discipline keeps it all sane: put every driveway and walkway fixture on the same control logic. Nothing breaks the period spell faster than half the lane lit at 5 p.m. and the lamppost joining at 7. Test the system from the street after any change — if the arrival reads as one warm composition instead of a collection of gadgets, you have the controls right.
Suggested budget range: $60 – $200.
12. Commit to One Warm Color Story
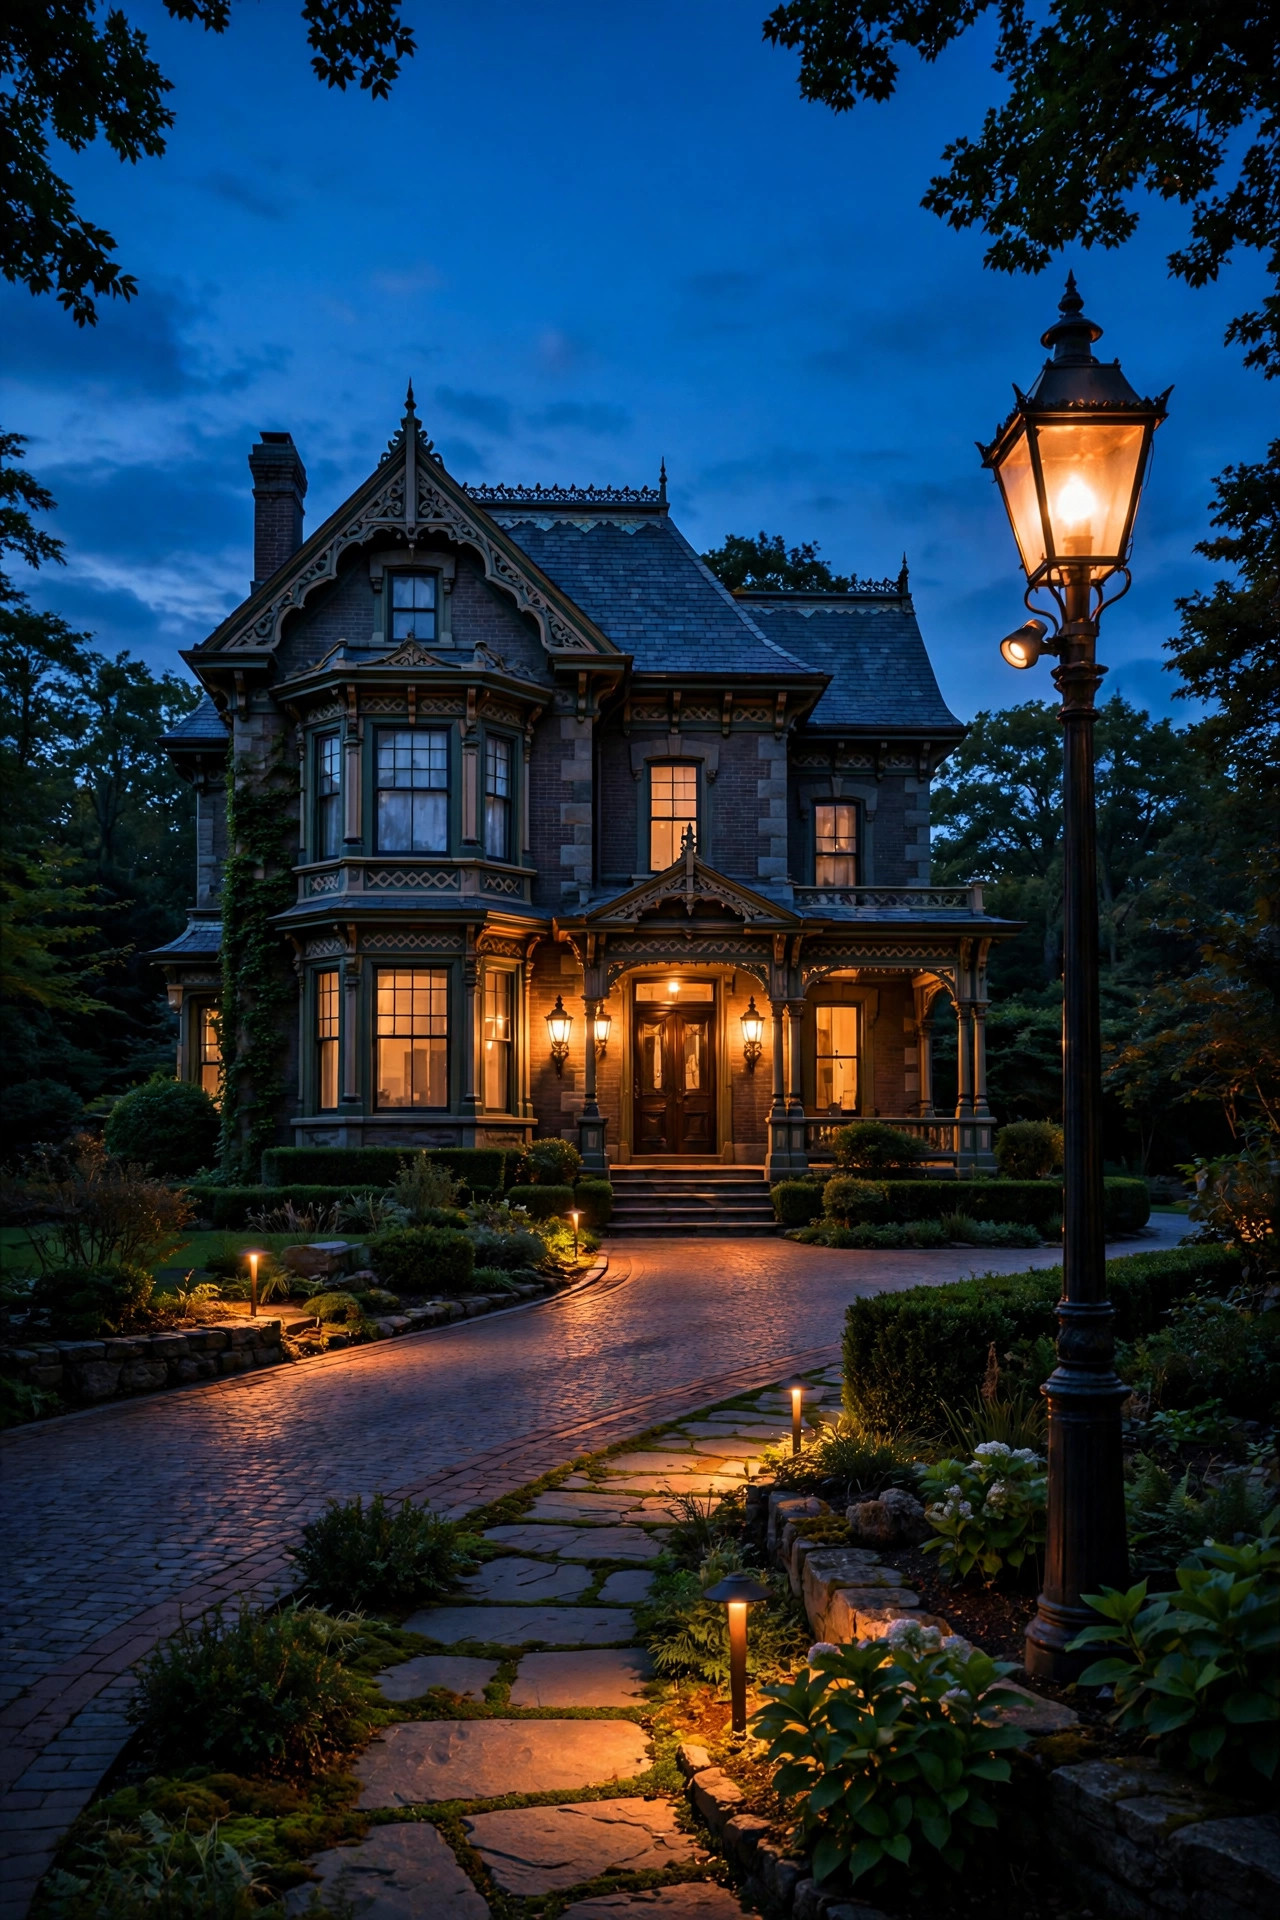
Victorian gaslight had one color: the warm amber of a burning mantle, roughly 1800–2000K. Modern bulbs give you choices, and the wrong one undoes everything else in this post. My rule is simple — two warm temperatures, used on purpose, and nothing else. Flame-effect bulbs at 2000–2200K live in the hero lanterns where flicker is the point. Everything supporting them — path lights, bollards, coach lights, edge markers — burns steady at 2700K, the familiar warm white of an old incandescent. Never let a 3000K or, heaven forbid, a 4000–5000K bulb sneak into the scheme; one blue-white fixture makes its warm neighbors look dirty and turns the whole driveway into a parking lot. When you find bulbs you love, buy spares from the same batch, because color varies slightly between production runs and a replacement can glare by comparison. If a fixture comes with an integrated LED and no stated temperature, that silence is your answer — pass. Two temperatures, both warm, everywhere: it is the cheapest discipline on this list and the one guests feel without ever naming.
Suggested budget range: $30 – $90.
13. Do the Dusk Drive-Up Test on Your Victorian Driveway Lighting Ideas
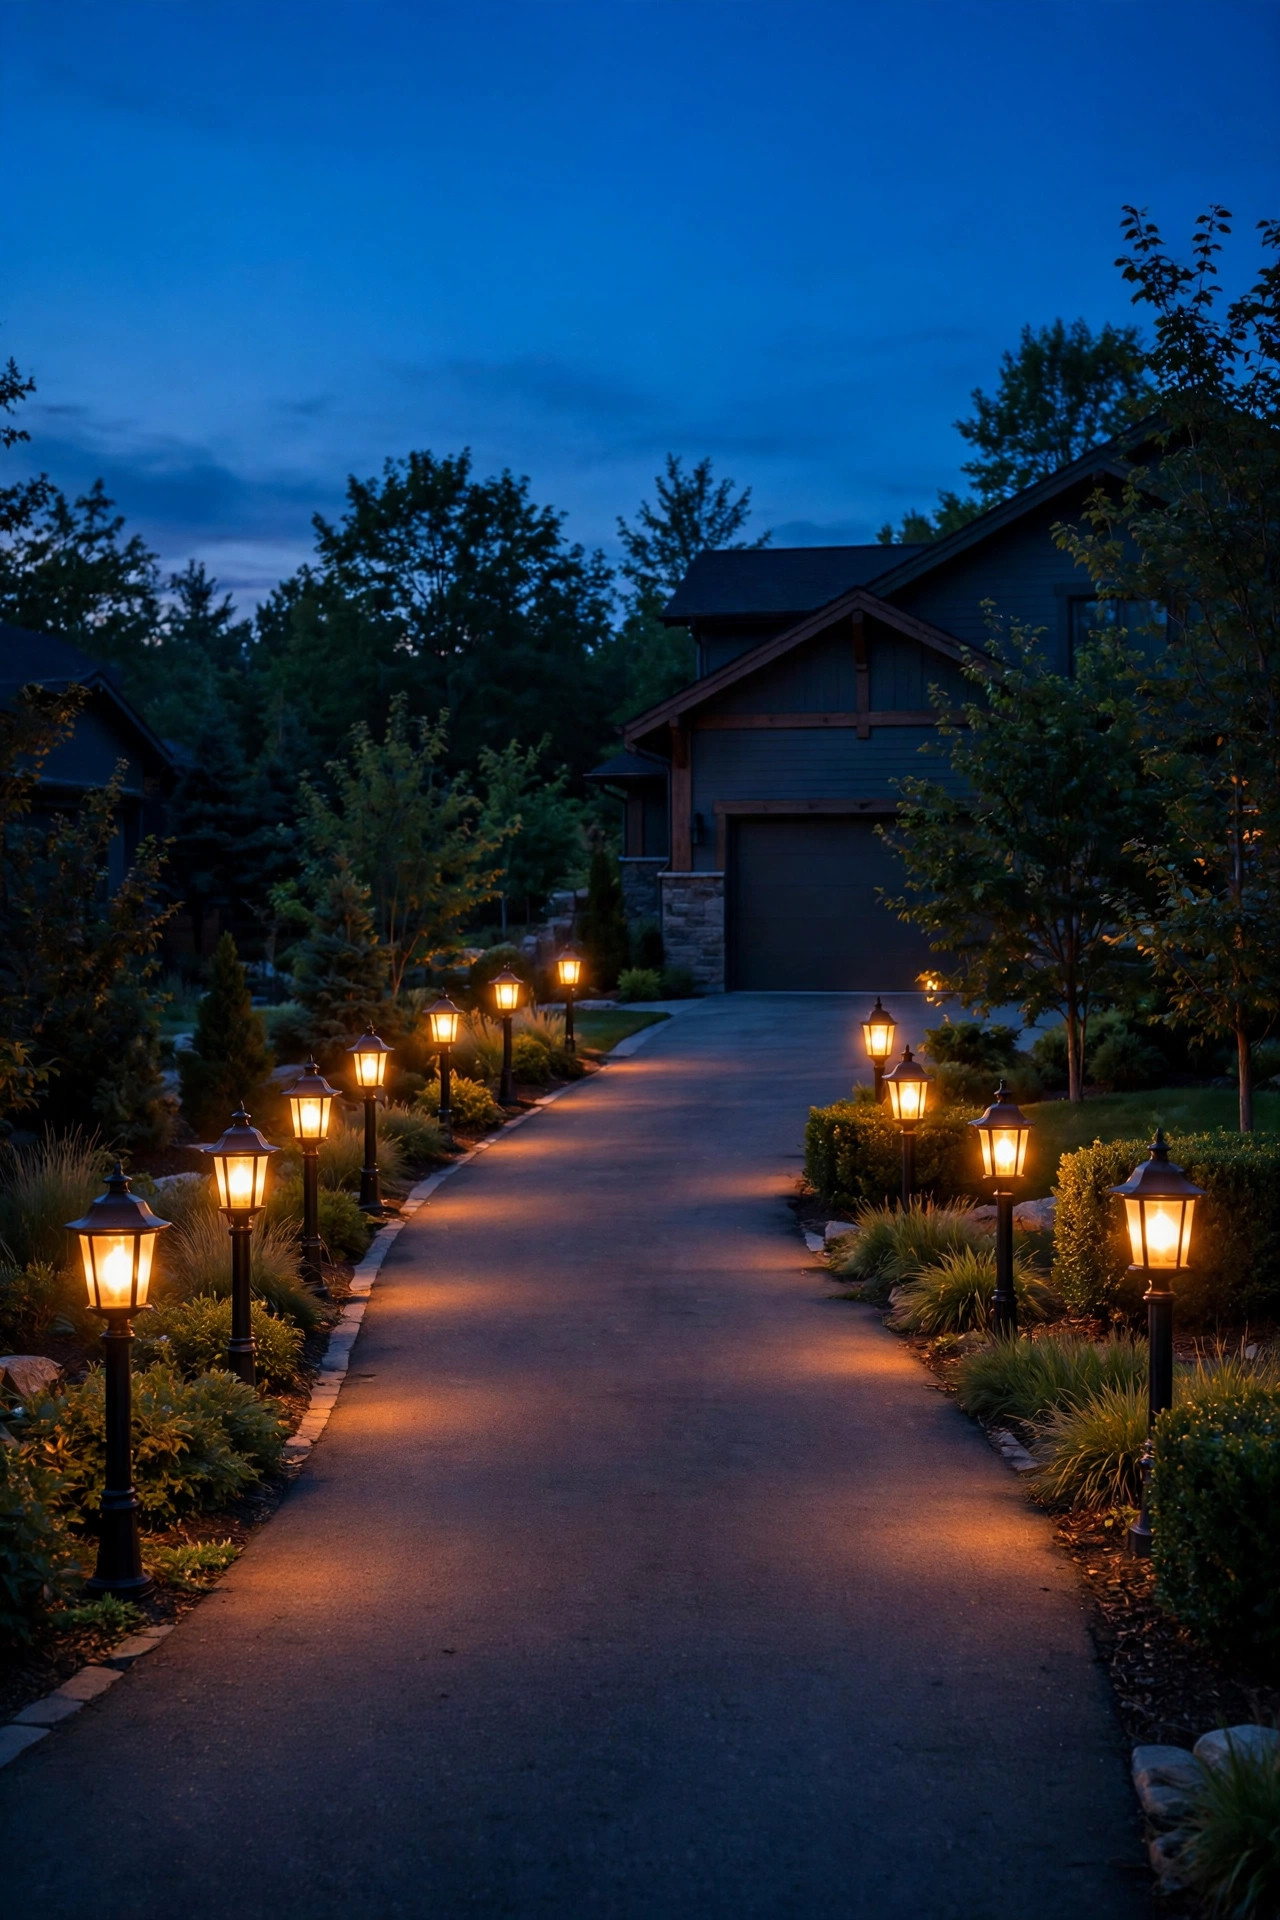
Your last step costs nothing and teaches the most: experience your driveway the way a guest does. At full dusk, drive to the end of the street, turn around, and approach at the speed a nervous first-time visitor would. Watch for the three classic failures. First, glare — any fixture whose bare bulb stares through your windshield needs a shield, a seeded-glass swap, or a dimmer click downward. Second, dark gaps — a stretch where the edges vanish between pools of light wants one more path light or a solar stake in the bed. Third, a broken story — one fixture that glows cooler, brighter, or more modern than the rest will pull your eye every single night until you fix it. Then walk the route on foot with the car parked, because guests will. Check the walk for the level changes that light can hide, and stand at the porch looking back: the lane should read as a string of warm lanterns receding into the dark. Adjust one thing per evening and re-test. That patient loop is how these lanes were always tuned — lantern by lantern, dusk by dusk.
Suggested budget range: $0 – $75.
Frequently Asked Questions
What color temperature looks most like real gaslight?
Real gaslight burns around 1800–2000K, a deeper amber than most people expect. In practice, flame-effect bulbs at 2000–2200K inside your entrance lanterns and lamppost, paired with steady 2700K filament bulbs in the path lights and bollards, reads as genuinely gaslit without turning the driveway orange. Avoid anything above 3000K on the front of a Victorian home — the blue-white cast instantly reads as a modern security light and fights every warm finish on the house.
How far apart should I space driveway and walkway lights?
For walkway lantern path lights, 6 to 8 feet apart, staggered on alternating sides, with the pools of light nearly touching. For bollards along a drive, 10 to 15 feet apart does the job, closer on curves. Posts and pier lanterns are anchors rather than rhythm, so place them at decision points: the entrance, the bend, the parking pad, the garage. The test is simple — drive and walk the route at dusk, and add a fixture wherever the edges disappear.
Can solar lights handle a whole Victorian driveway by themselves?
Only the accent layer, honestly. Solar lantern stakes look the part and work sweetly in sunny beds, but winter nights are long, shade steals charging hours, and output fades exactly when you need the light most. For the guiding lights a driveway actually depends on — entrance lanterns, bollards, walkway fixtures — wired low-voltage or line-voltage fixtures are the reliable backbone. My usual recipe: wired anchors for guidance, solar stakes for sparkle between them.
How much does a Victorian-style driveway lighting scheme cost?
A layered DIY scheme built on low-voltage fixtures typically lands between $600 and $2,200, mixing a few statement pieces — the entrance lantern pair, a lamppost, pier caps — with budget workhorses like solar stakes and a bulb swap. Line-voltage posts and masonry piers with professional installation can add $400 to $1,200. Most readers spread it across two seasons: bulbs and entrance lanterns first, because they deliver the biggest transformation per dollar, then bollards and the lamppost.
Conclusion
If this post has one heartbeat, it is that a driveway can be more than a place to leave the car. Layered low, middle, and high, and kept in warm flame tones, victorian driveway lighting ideas turn the plainest arrival into a small ceremony — lanterns waking at dusk, a lamppost glowing at the street, a path of light walking your guests to the porch. Start with the entrance pair and the bulb swap, live with it for a week of dusks, then add layers as the budget allows. For more ways to carry the glow around the rest of the house, browse my other outdoor lighting ideas here on the site — the porch chapter of this story is waiting.