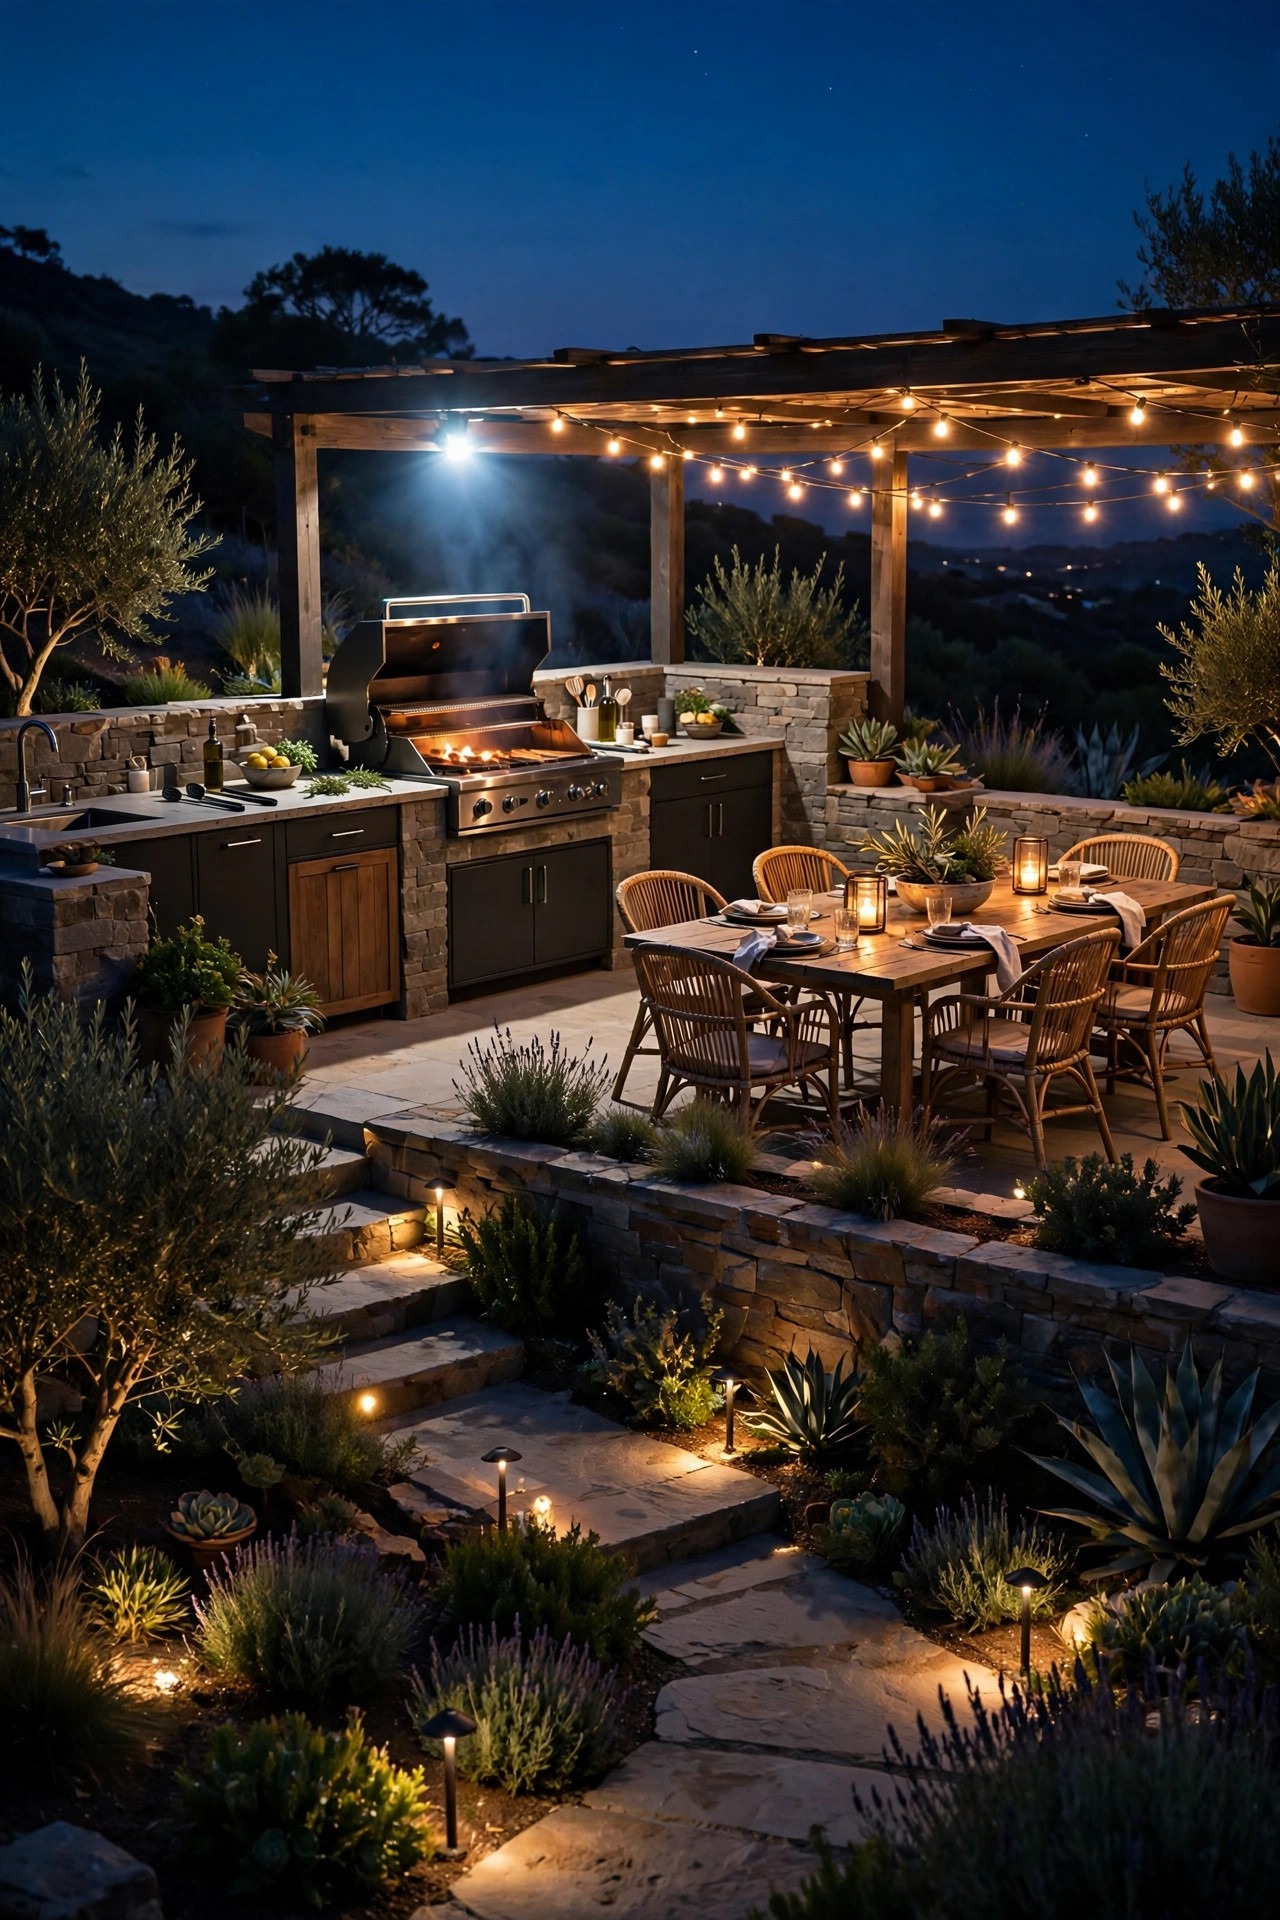
The moment I knew my outdoor kitchen needed smarter light, my hands were coated in marinade and the grill was flaring behind me — flipping a wall switch was simply not happening. That is the whole case for smart outdoor kitchen lighting: when your hands are busy, messy, or full of hot trays, the light should respond on its own. Motion sensors wake the prep counter as you walk in carrying a cutting board. A voice command brightens the grill without putting the tongs down. One saved scene carries the whole space from bright cooking light to a warm dinner glow. I plan this kitchen the way I layer every outdoor space: a strong task layer where knives and thermometers do their work, a softer ambient layer for atmosphere, and a low guide layer that keeps steps and trips back to the house safe. Below are the 13 setups that made my kitchen feel genuinely hands-free, with honest notes on what each one costs and where it earns its place. Start with the zones you use every night, and build from there.
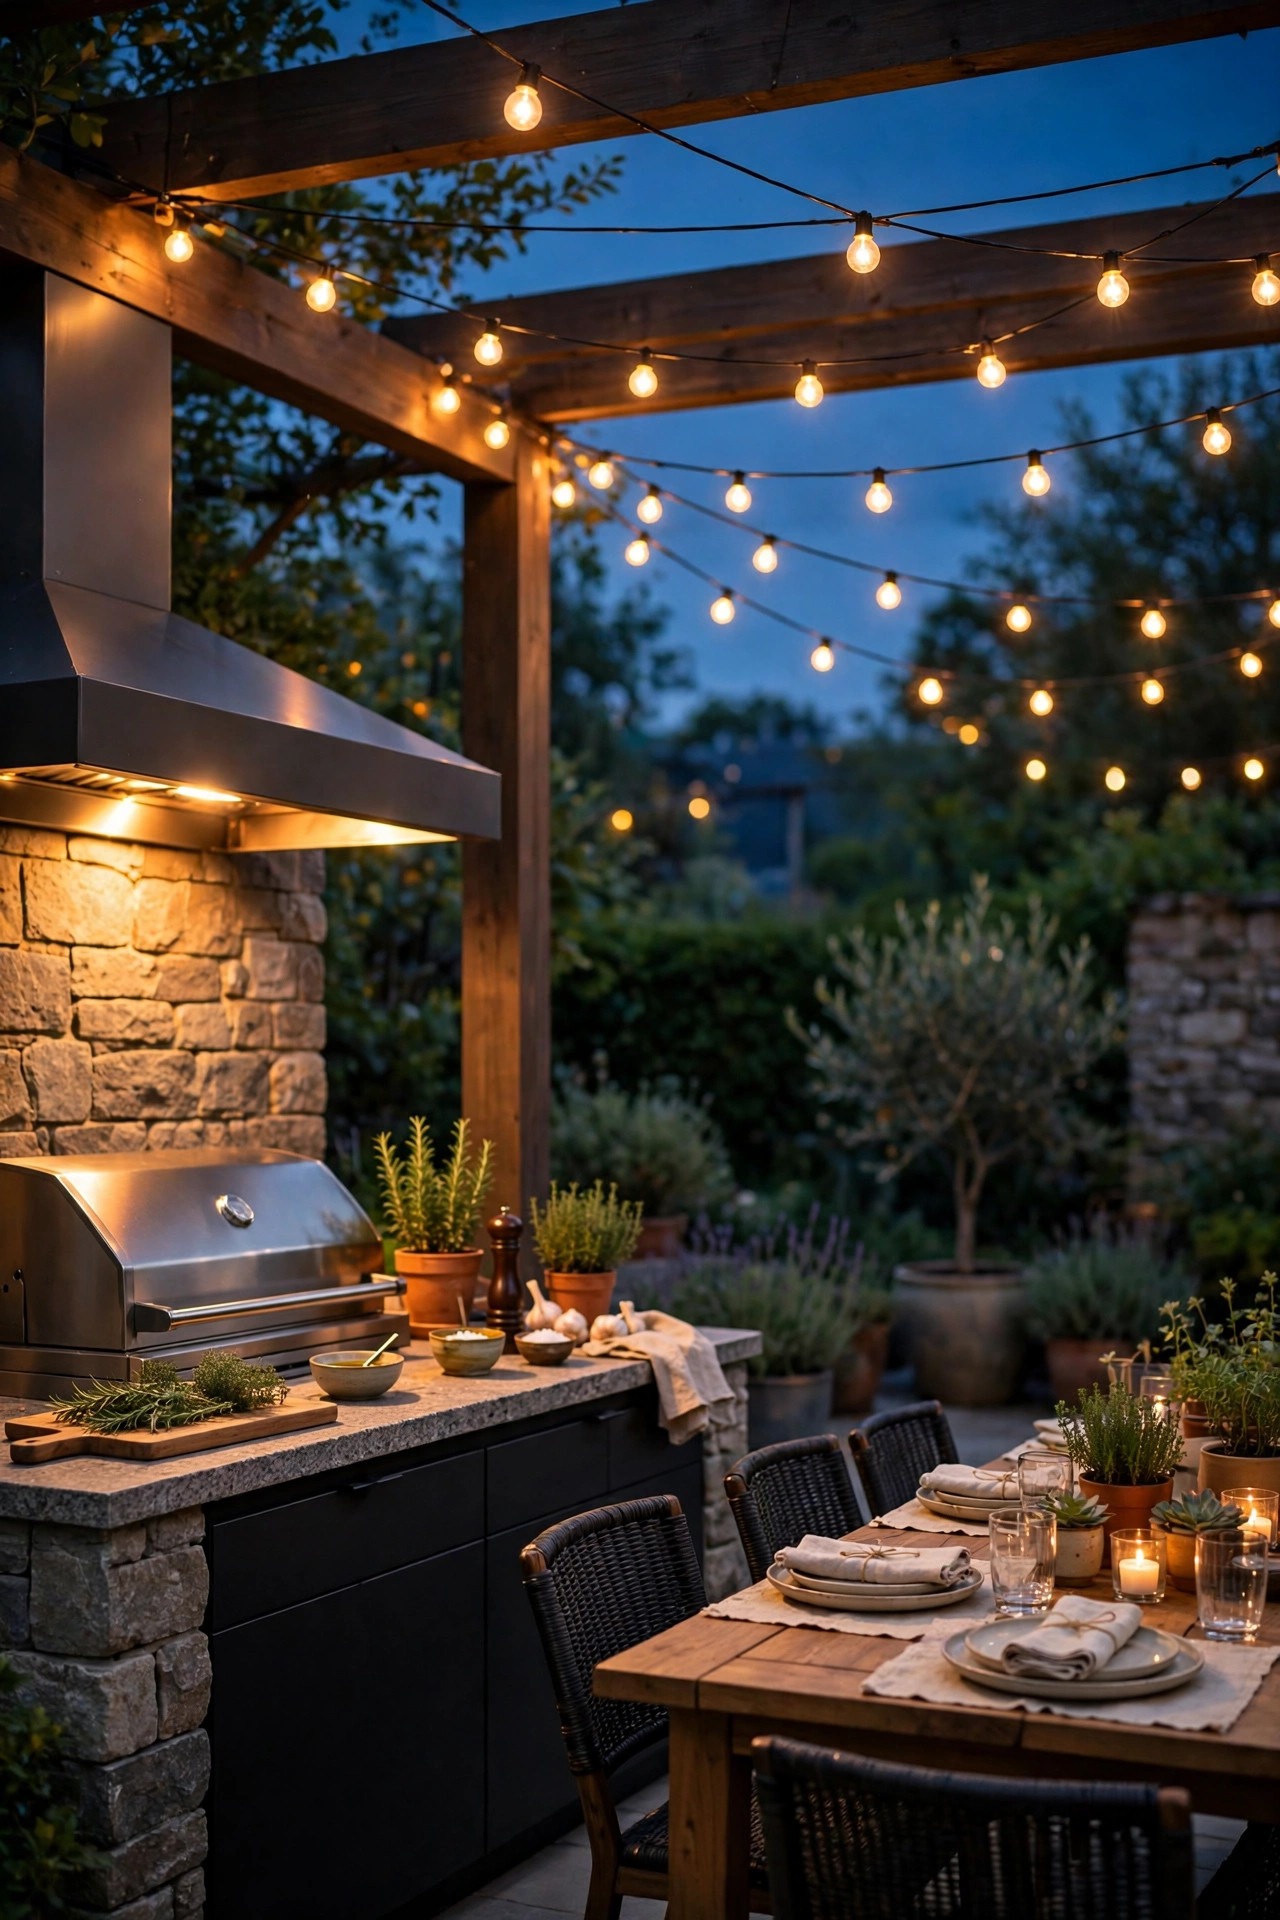
1. Start With a Motion Zone Over the Prep Counter
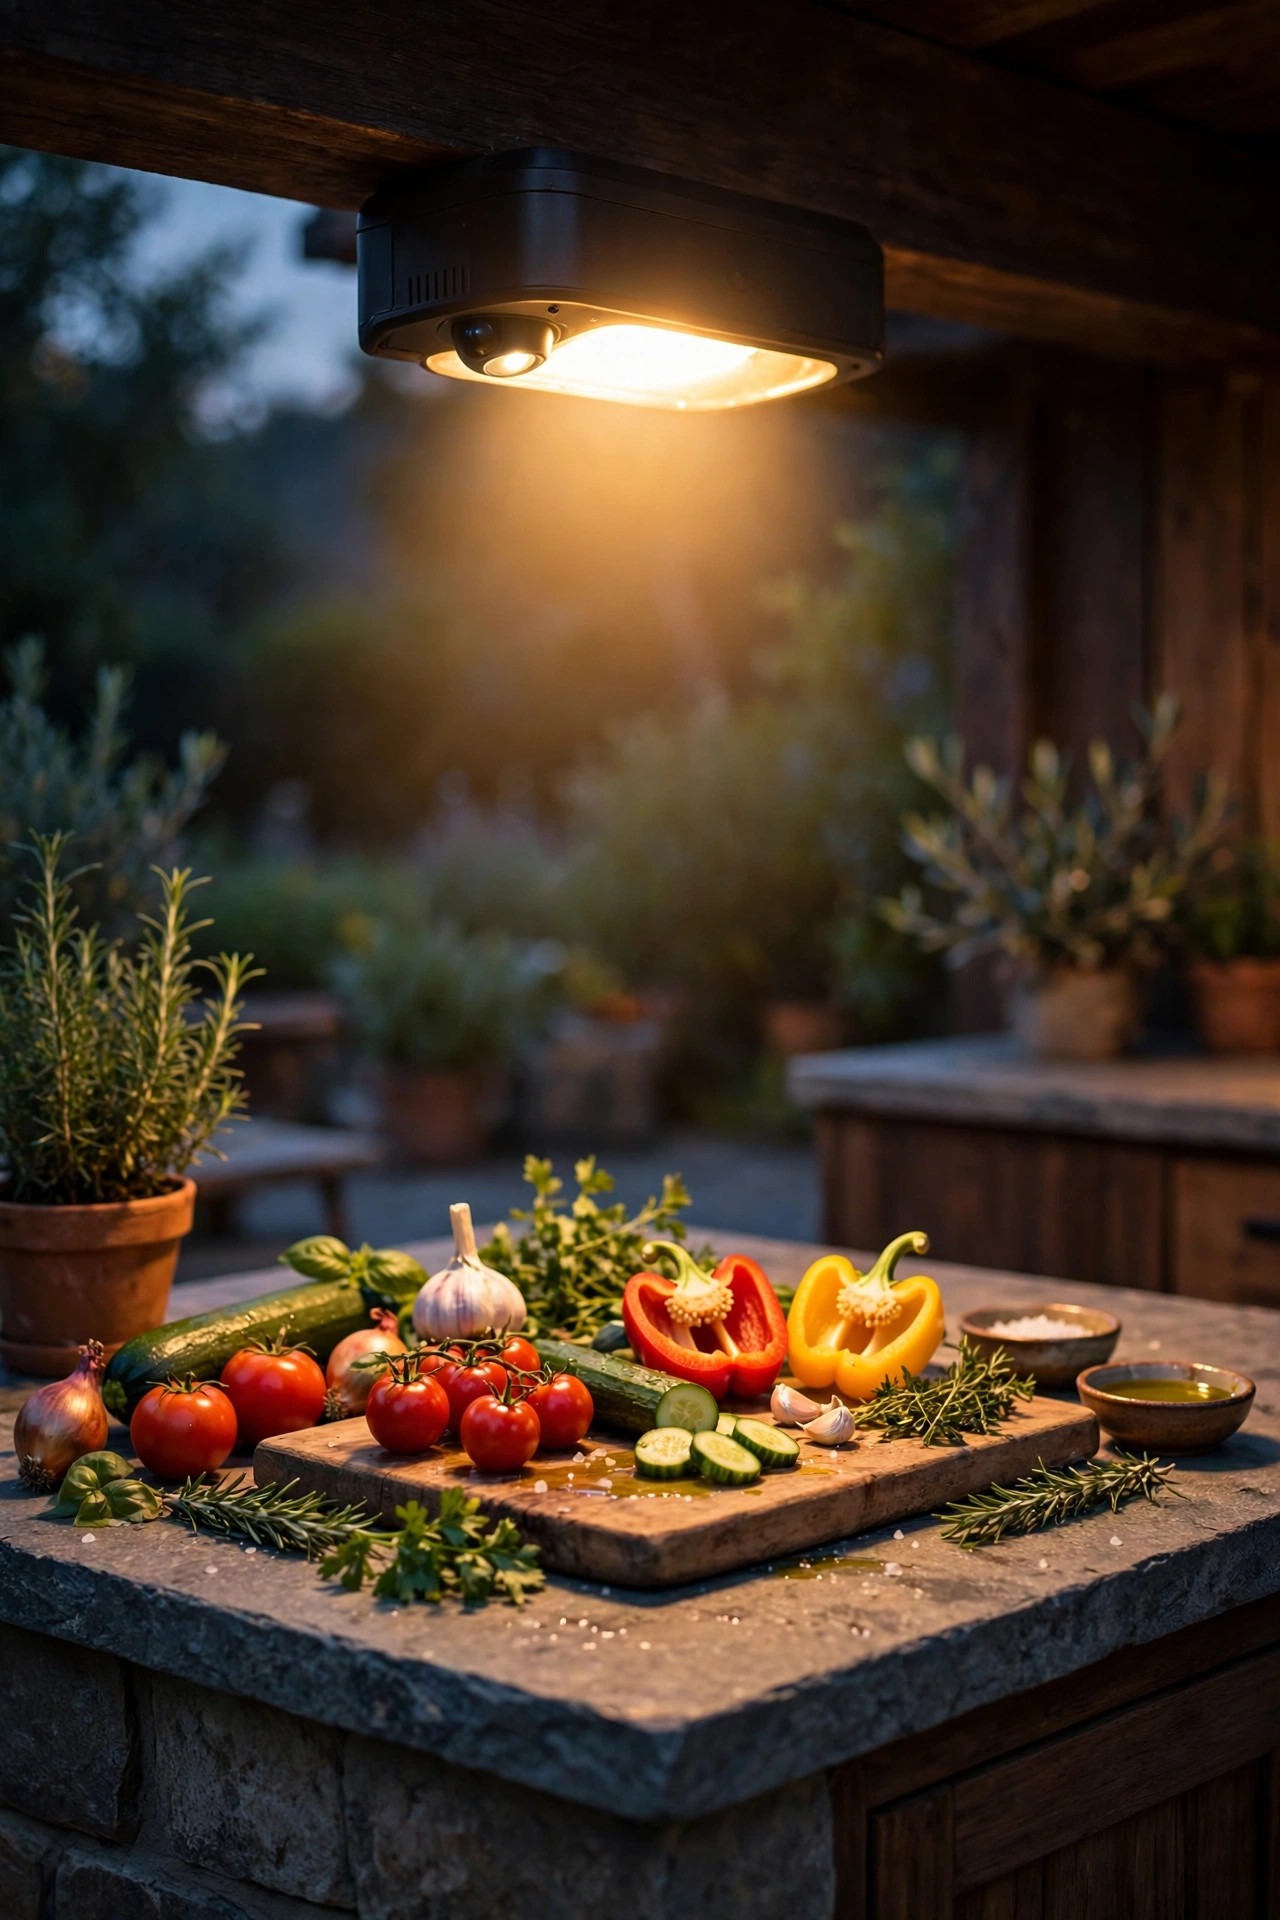
Every outdoor kitchen has one spot where the real work happens, and at my house it is the prep counter. Hands arrive there carrying cutting boards, trays of vegetables, and raw chicken, so this is the last place you should be hunting for a switch. A small motion sensor mounted under a shelf or on the pergola post above the counter fixes that completely. Walk in and the counter lights up instantly; step away and it fades off on its own. I recommend a sensor with an adjustable timer, set somewhere between five and ten minutes, so the light never cuts out mid-chop. Aim the sensor across the approach path rather than straight down at the counter, and keep it angled away from the grill — rising heat and steam can fool a sensor into thinking someone just arrived. Look for a fixture or strip rated for outdoor use, and brightness around 800 to 1,000 lumens over the work surface. This single change made weeknight grilling feel calmer than anything else on this list, because the light is simply always there before I need it.
Suggested budget range: $25 – $90.
2. Put Bright, True-Color Task Light Over the Grill
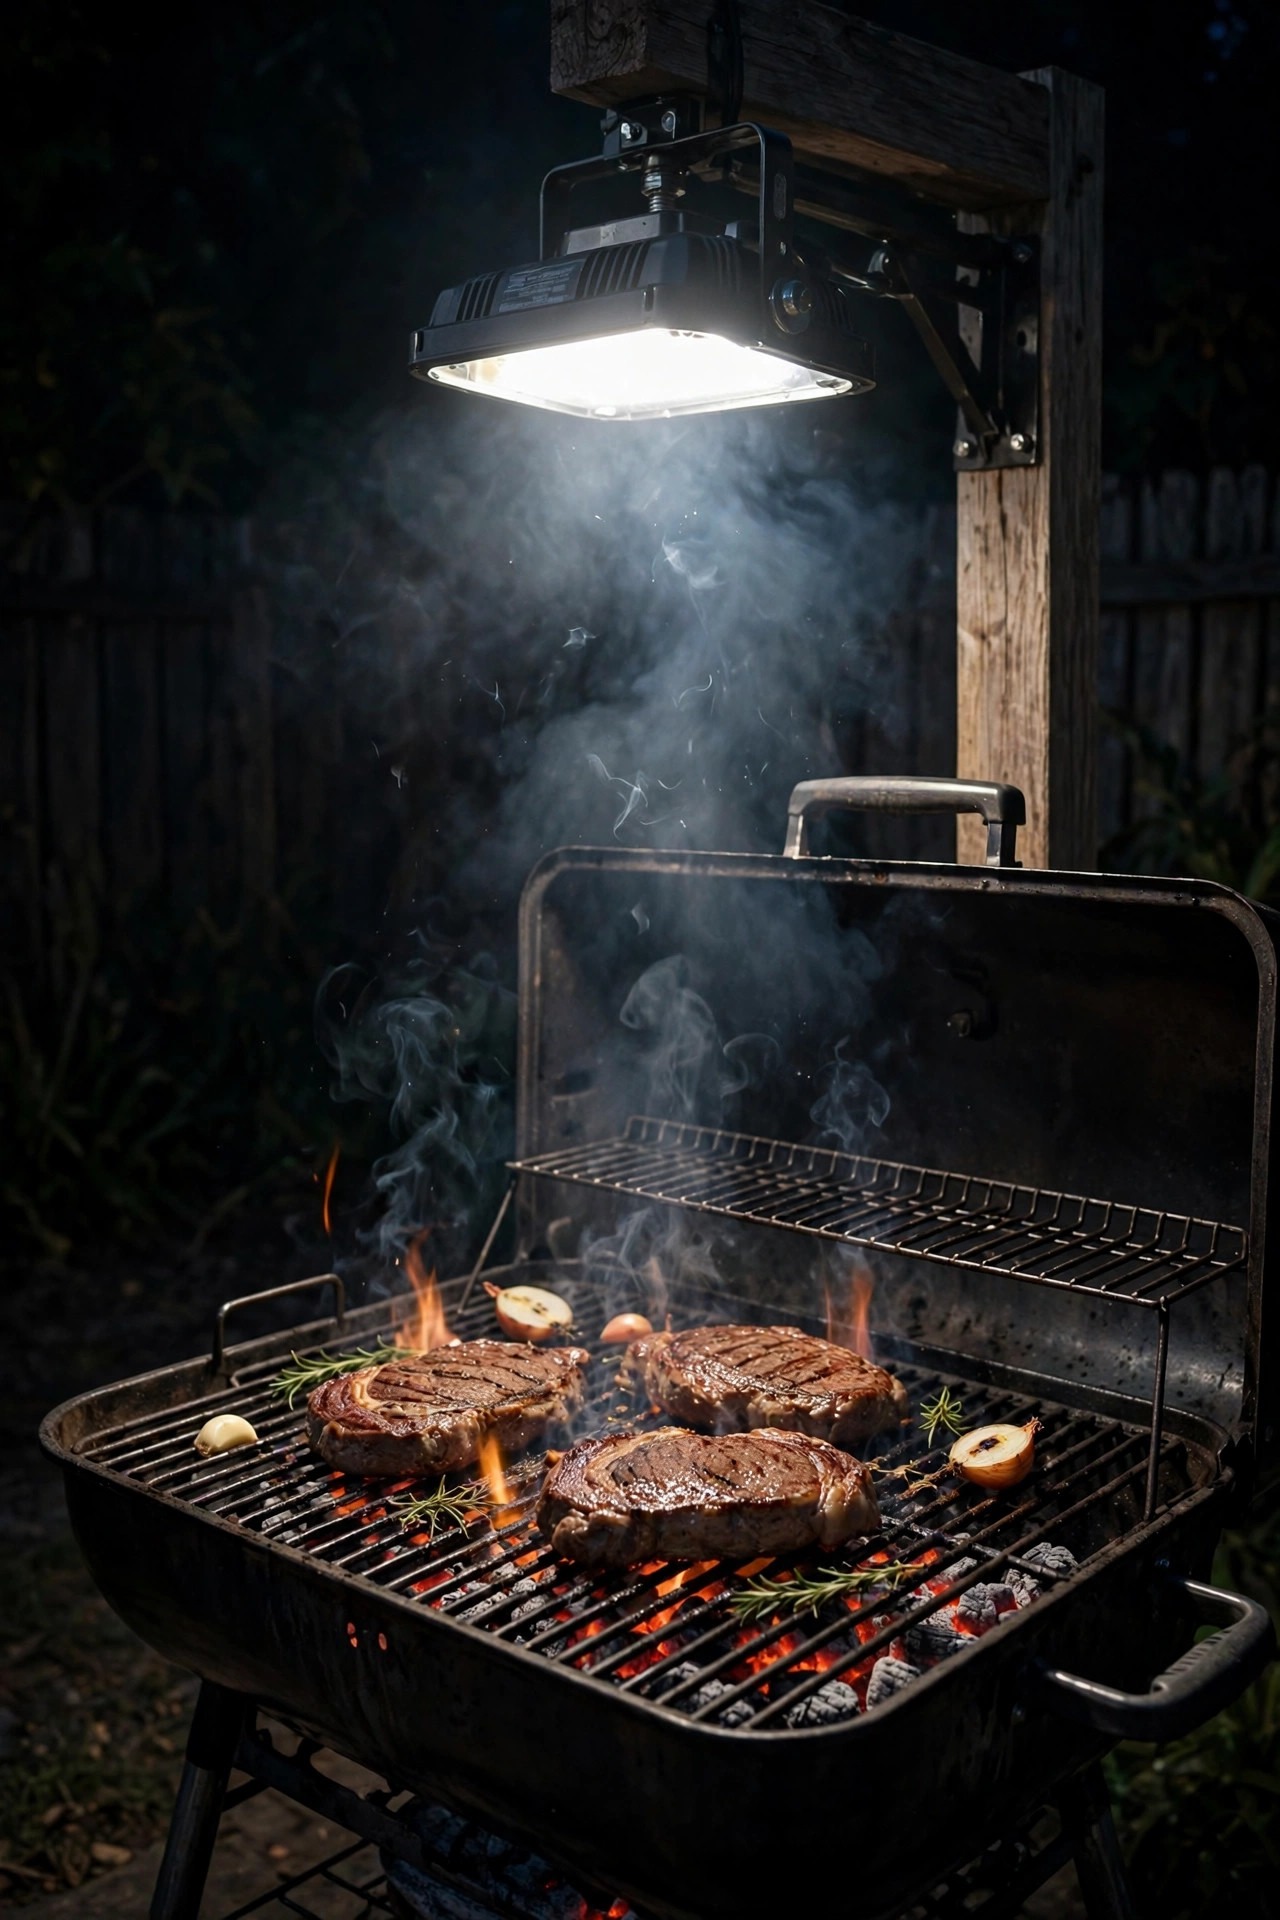
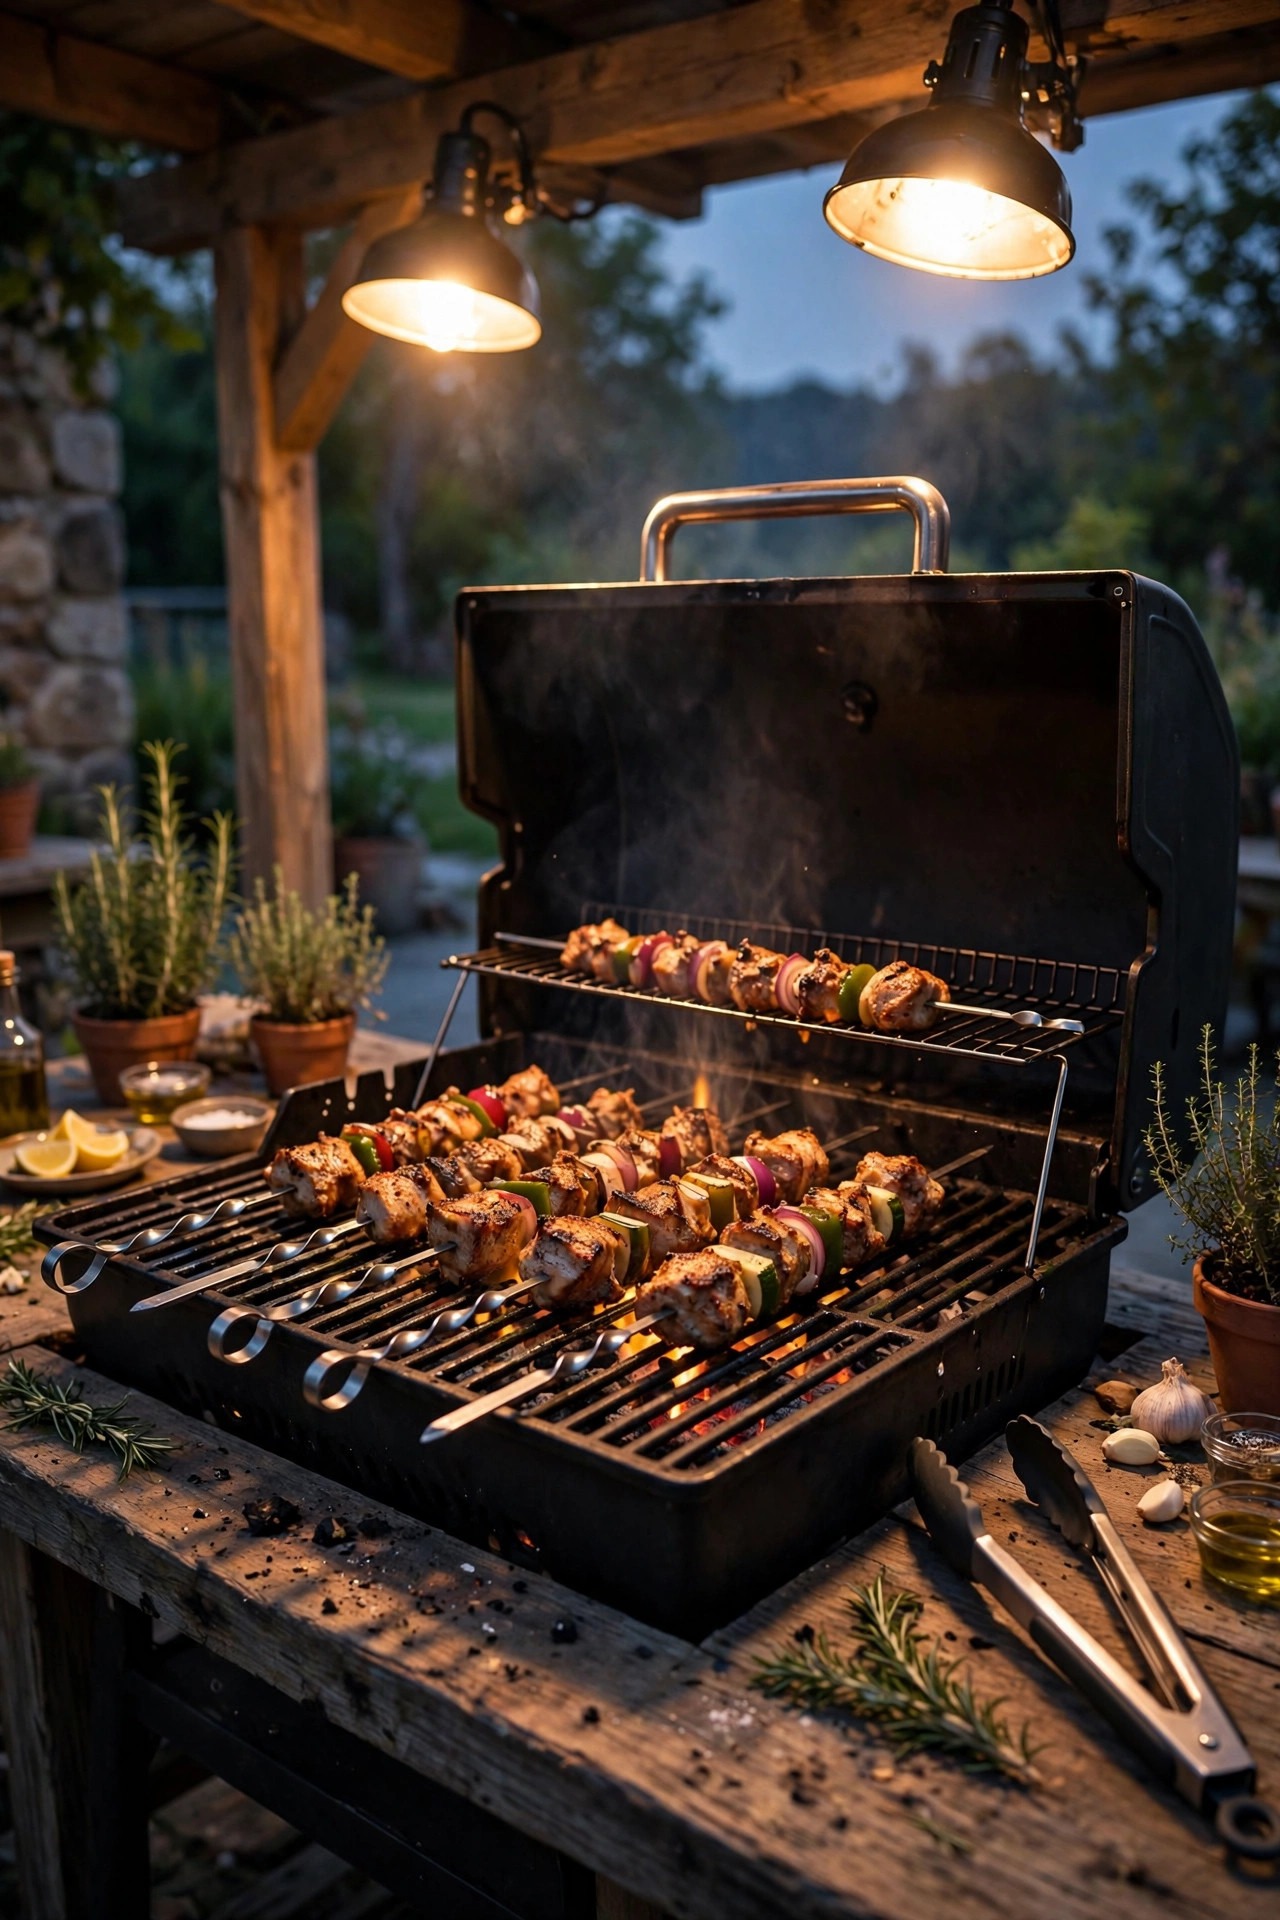
Grilling at night is really a color judgment: is that chicken golden or still pink inside the char? Under dim, amber light, everything looks done, and that is how chicken ends up back on the grate. Over my grill I use a bright, shielded fixture in a neutral white around 4000K with a high color rendering rating — CRI 90 or above — so meat, vegetables, and thermometer readings all show their true colors. Mount it on a pergola beam or a gooseneck arm a couple of feet in front of the grill hood, angled down at the grates, never shining into your eyes as you lean in. The fixture itself must be rated for outdoor use and positioned to shrug off heat and grease splatter; LED is the only sensible choice this close to open flame. I keep this light on its own control so it can run at full brightness while everything else stays mellow. My deeper notes on fixture placement and mounting heights live in my guide to grill station lighting ideas, and it pairs beautifully with the motion zone from the first idea.
Suggested budget range: $40 – $150.
3. Run Under-Cabinet Strips Along the Island Counter
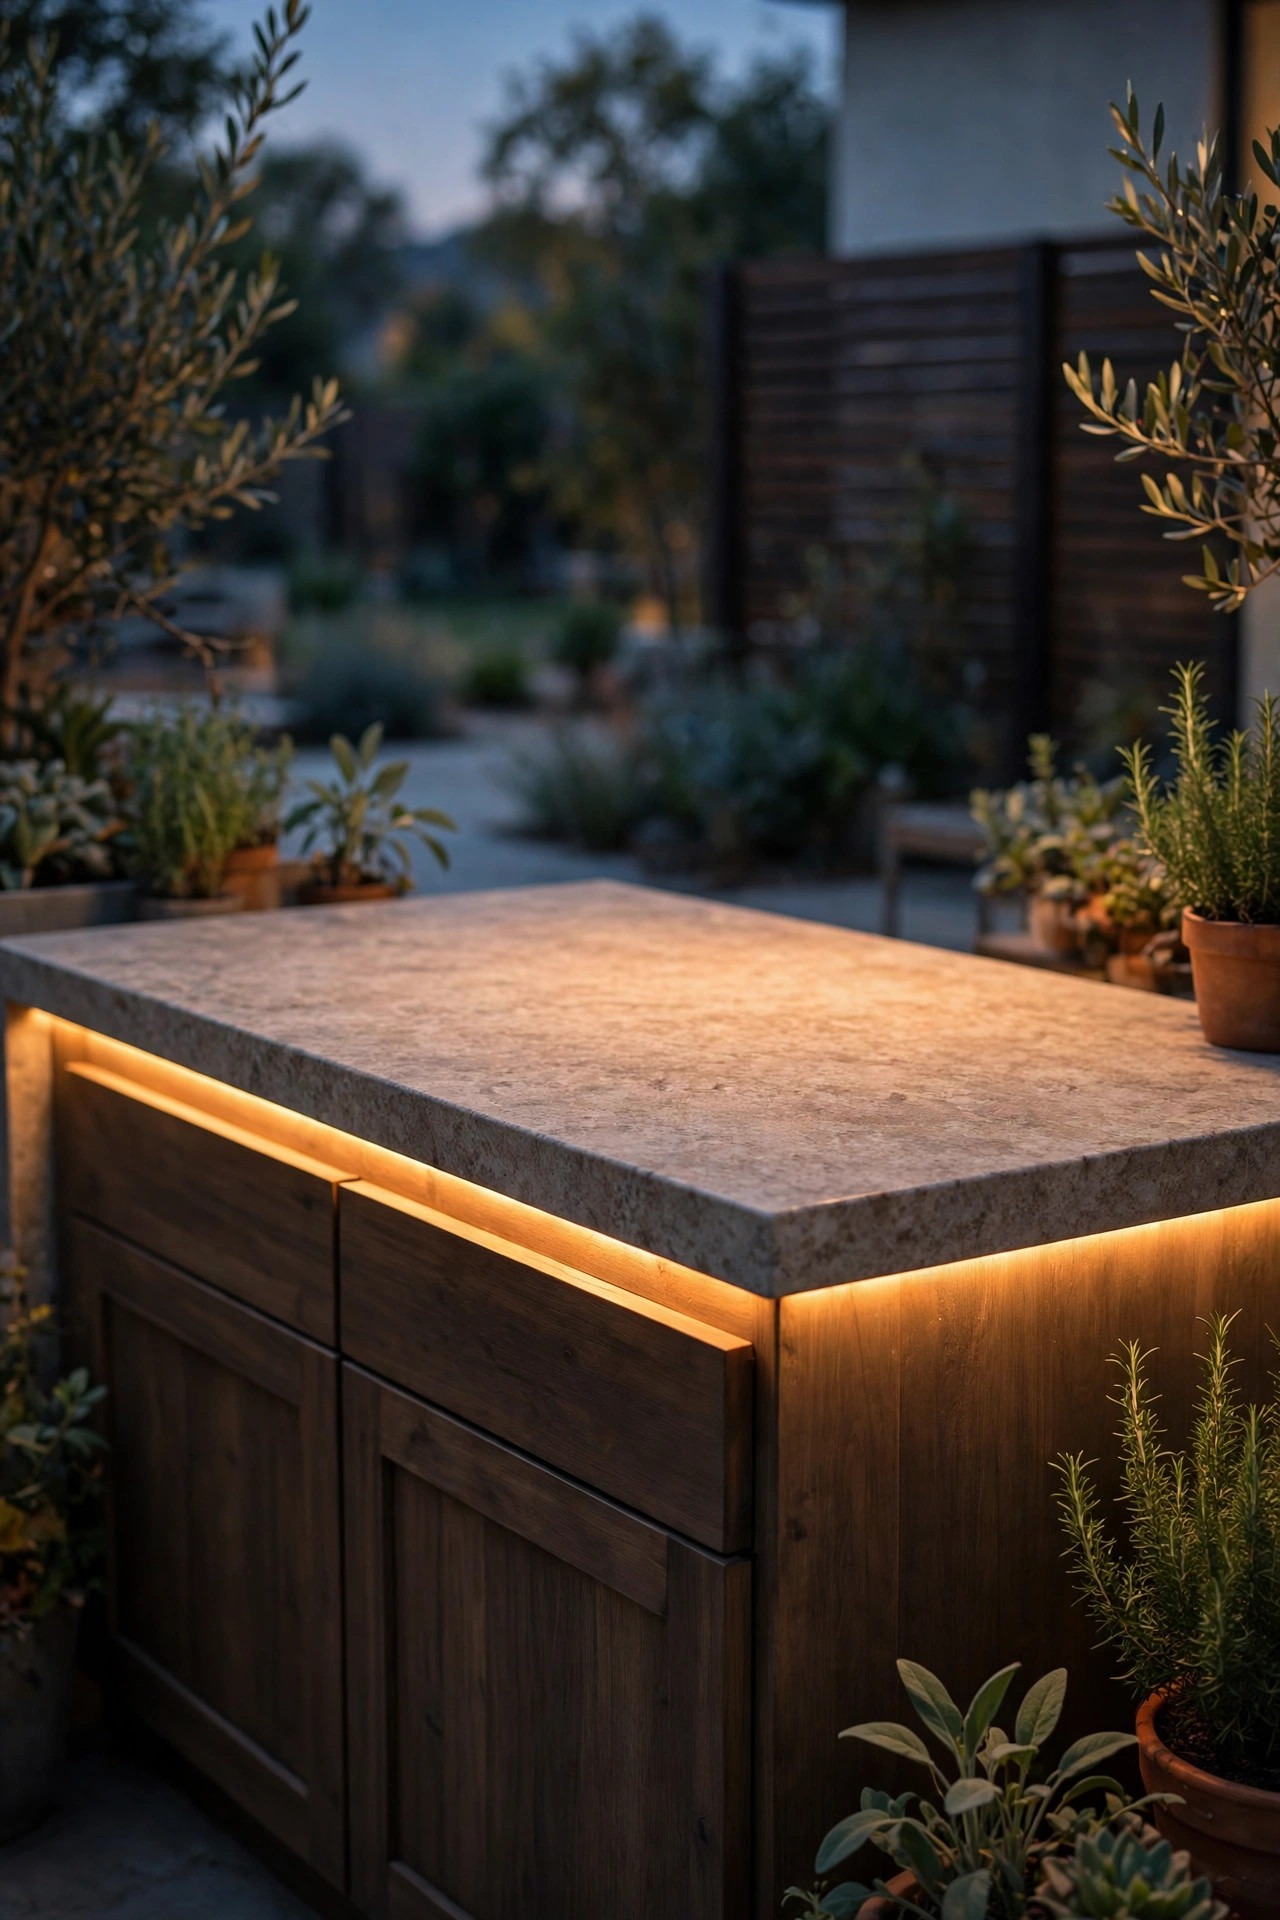
The shadow problem in every outdoor kitchen is your own body: stand at the counter and you block the light coming from behind you. Under-cabinet LED strips solve it by putting the light in front of you and above the work, tucked under the island counter overhang or a floating shelf edge. I run outdoor-rated strip in an aluminum channel with a frosted diffuser, which softens the dots into one clean wash and protects the strip from splashes and weather. Low-voltage strips are easy to work with — the small transformer tucks into a weatherproof box inside the island — and the light they throw across a counter is even, shadow-free, and perfect for knife work and plating. Put the strips on the same control as your prep zone so they wake together, or give them their own scene for a low evening glow along the island edge. If you want the full mounting and wiring walkthrough, my post on outdoor kitchen under-cabinet lighting covers it step by step. Honestly, this is the layer guests notice first and ask about most.
Suggested budget range: $30 – $120.
4. Build a Grill Night Scene — Smart Outdoor Kitchen Lighting in One Command
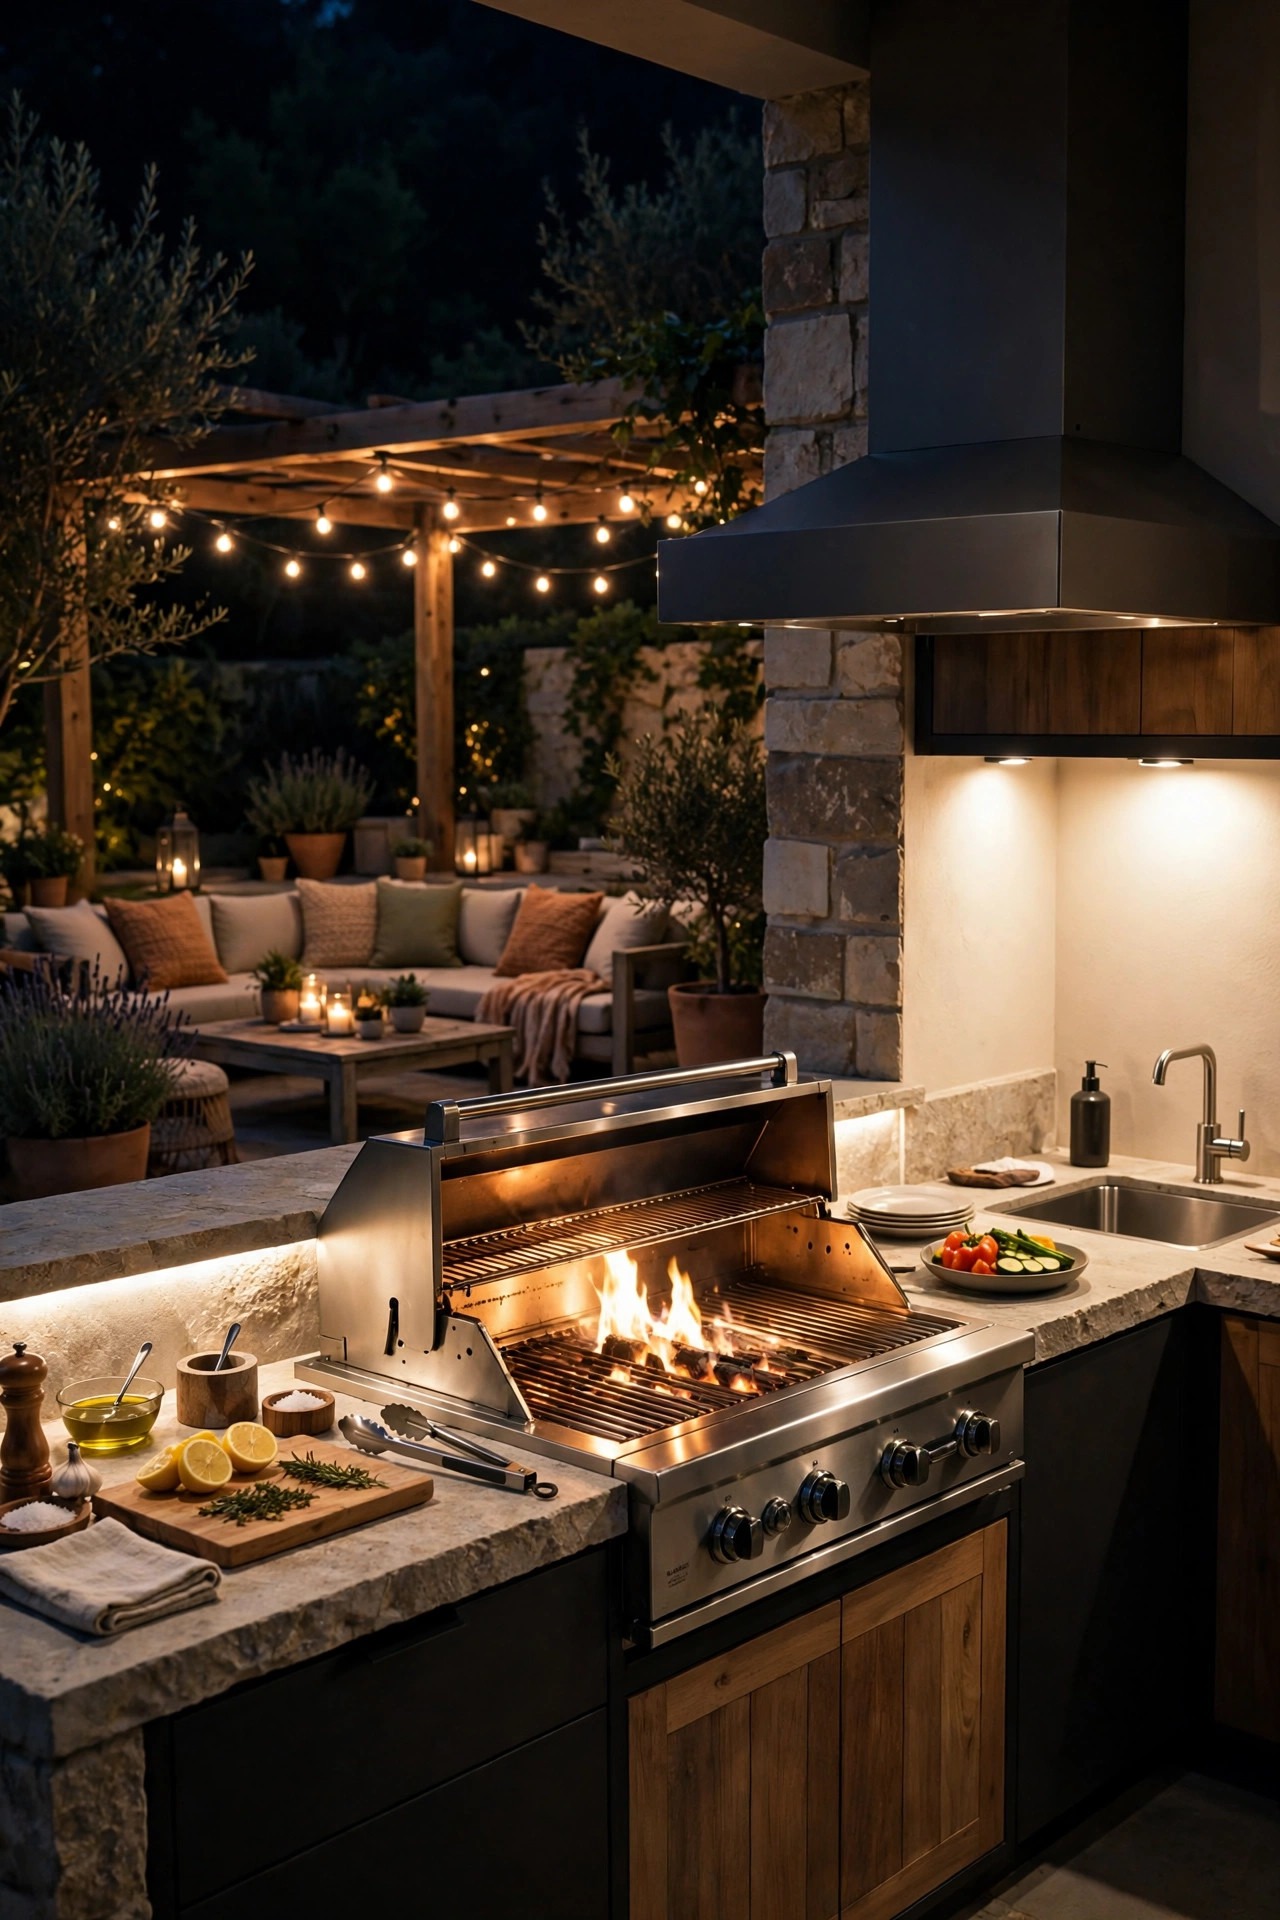
Scenes are where this whole setup stops feeling like gadgets and starts feeling like magic. A scene is simply a saved combination: one tap in a phone app, or one short voice command, and every light in the kitchen goes to a preset level at once. My Grill Night scene brings the grill task light to full, the prep counter to about eighty percent, the island strips on, and the string lights low and warm in the background. I keep two more scenes saved beside it — Prep, which is everything bright and neutral for chopping and mixing, and Serve, which starts the handoff toward dinner. Setting scenes up takes ten patient minutes the first time: walk the space, set each light where it actually looks right, then save the combination under a name you will remember when your hands are full. Name them out loud-friendly, because you will mostly trigger them by voice mid-cook. Start with one scene rather than five; you can always add more once the habit sticks. This is the idea that ties every other idea on this page together.
Suggested budget range: $0 – $60.
5. Ask for Light by Voice When Your Hands Are Full
Voice control sounds like a novelty until your hands are coated in dry rub and the light over the grill is sitting at half brightness. Then it is the only control that makes sense. A voice assistant within earshot of the kitchen — mine lives under the covered part of the patio — lets you say a few plain words and get more light, less light, or a whole scene, without touching a switch, a phone, or a single clean surface. A few things I have learned: keep light names dead simple, like grill light, counter light, and strings, because complicated names fail when the fan and the sizzle are competing with you. Place the assistant close to where you actually stand and out of the worst of the wind, and speak your commands short and boring. Set the kitchen lights up in one group so a single phrase can raise or dim everything at once. It will not be perfect on a gusty night, and that is fine — the motion zones and scenes carry you — but on an ordinary Tuesday it feels like the kitchen is reading your mind.
Suggested budget range: $30 – $100.
6. Light the Trip Back to the House With Motion Path Lights
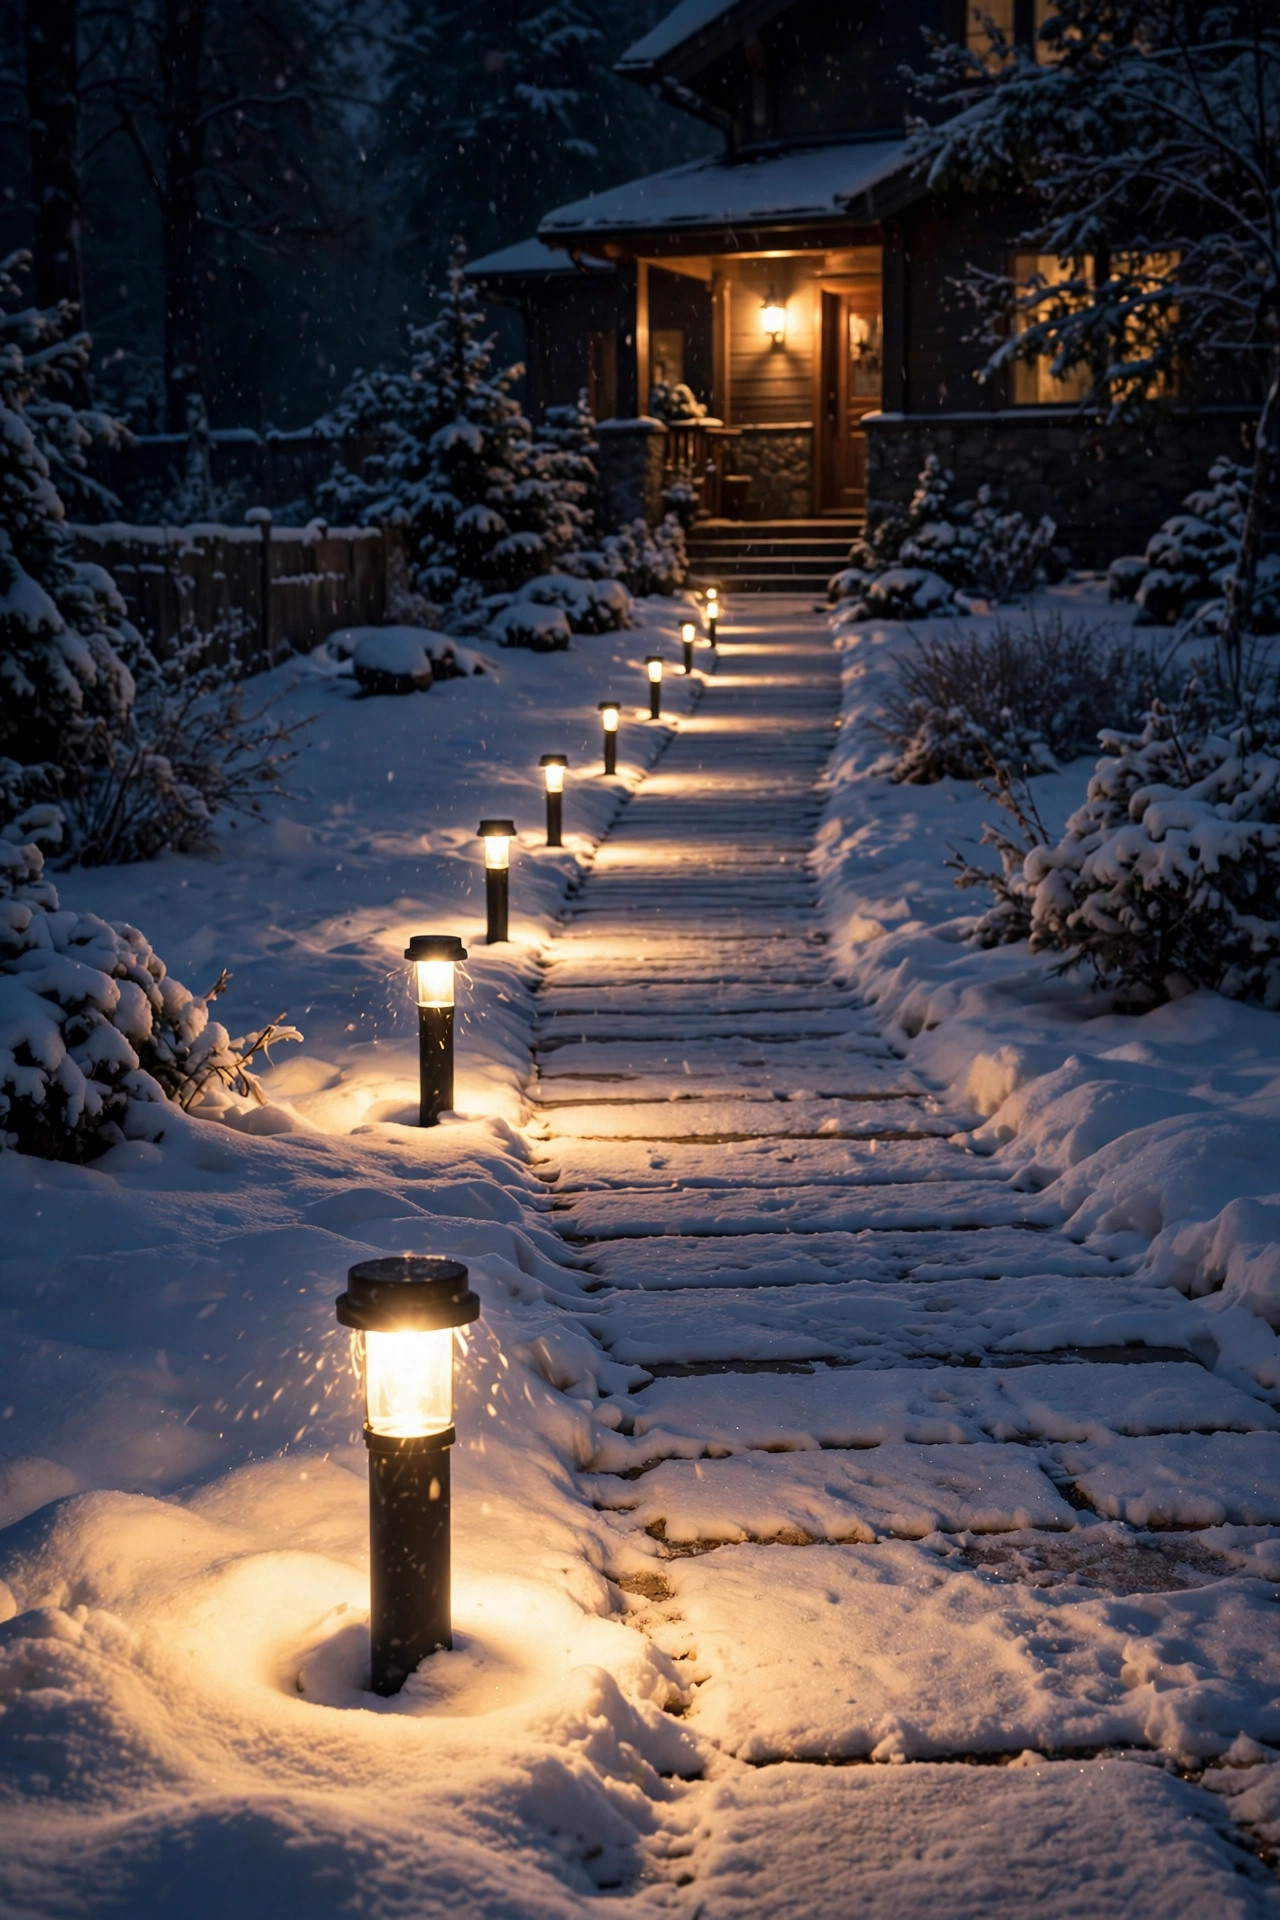
The most dangerous moment of any cookout is the trip back to the house carrying a platter with both hands, in the dark, over a step you forgot was there. A short run of motion path lights between the kitchen door and the cooking zone quietly removes that risk. Mine idle at a soft glow and brighten as I approach, then settle back down behind me, which feels a little like the yard is escorting the food. Space them six to eight feet apart along the walking line, close enough that the pools of light overlap slightly — gaps are where ankles get found. Low-voltage fixtures are my preference here for reliability, though good solar stakes work on a sunny route. Keep the fixtures low and shielded so the light lands on the path instead of in your eyes; you want to see the stone, not the bulb. This is pure guide layer, the third layer in my kitchen plan, and it earns its keep every single night — especially the night someone carries out a full sheet pan of roasted potatoes.
Suggested budget range: $35 – $110.
7. Put String Lights on a Smart Plug and Forget the Switch
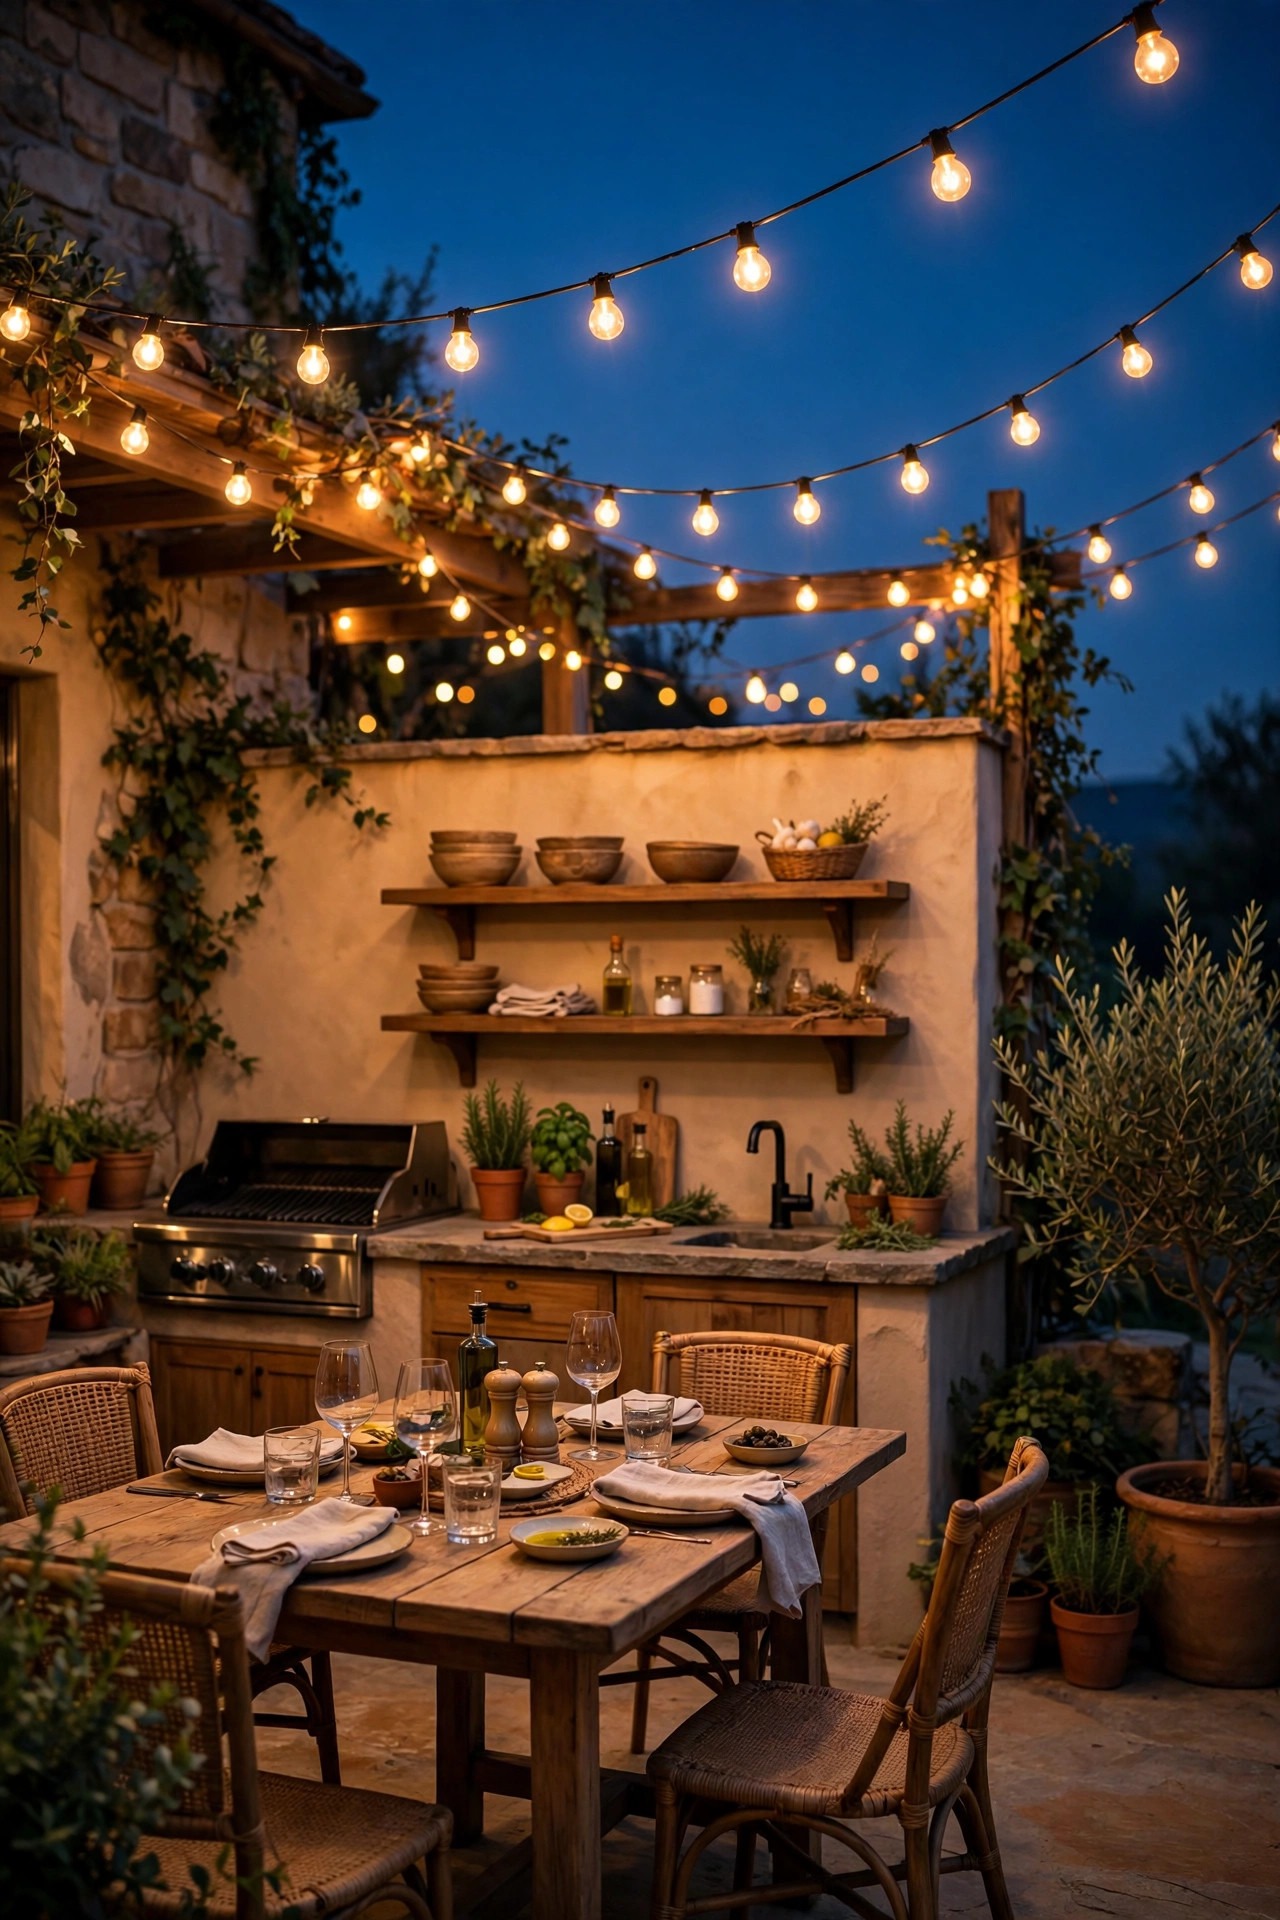
String lights are the soul of an outdoor kitchen, but the outlet is always behind the island, under the counter, or somewhere equally unreachable with clean hands. An outdoor-rated smart plug fixes that in about ninety seconds: plug the strings in once, and from then on they follow your schedule, your scenes, and your voice. Mine come on at sunset with the rest of the ambient layer and dim down when the dining scene starts. Two practical notes from experience. First, buy commercial-grade string lights with heavy cable and hanging sockets — the thin decorative sets do not survive a season of weather and heat near a cooking space. Second, keep the smart plug itself sheltered under a cover or inside a weatherproof outlet box, and make sure the circuit is GFCI protected, as any outdoor outlet should be. Spacing the strings in gentle swags above the dining side — never directly over the grill, where heat and grease rise — gives you that bistro glow without a fire worry. It is the cheapest transformation on this entire list.
Suggested budget range: $45 – $130.
8. Give the Sink Its Own Bright Wash-Up Zone
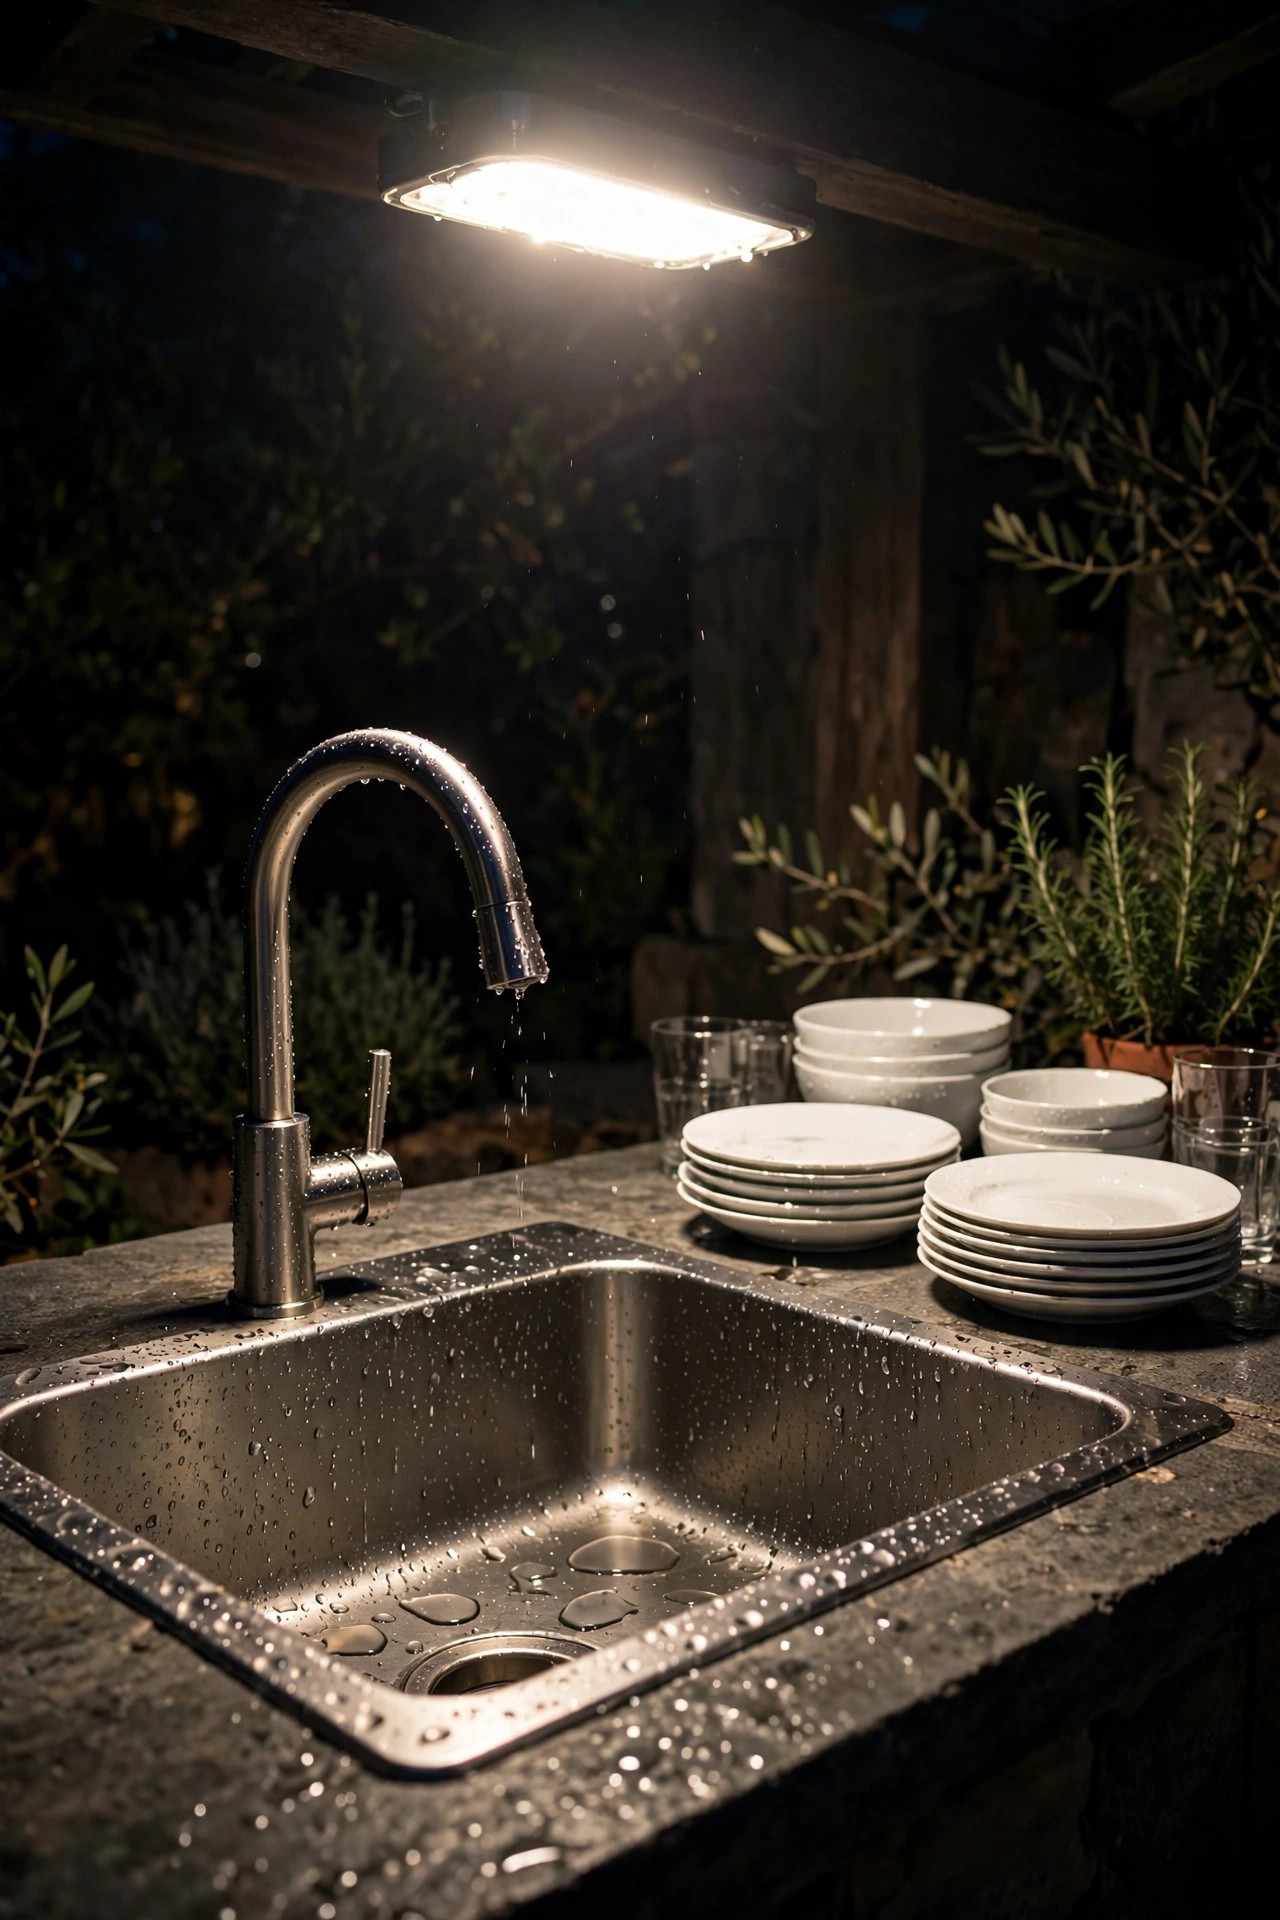
Nobody photographs the sink zone, but it decides whether cleanup feels easy or miserable. Outdoor sinks handle raw meat trays, marinade bowls, and greasy tongs, and you genuinely need to see what you are scrubbing. I gave mine a dedicated bright fixture — a compact, sealed light rated IP65 or better, mounted above and slightly in front of the sink so the basin is lit without shadows. In neutral white it shows grease and residue honestly, which is exactly what you want at cleanup time. A small motion sensor here is a quiet blessing, because hands arriving at a sink are always wet, soapy, or holding something dripping; the light just appears. When the wash-up is done, the same fixture drops into the Serve scene at a low level and becomes part of the background. One safety note I always pass along: any fixture near water belongs on a GFCI-protected circuit, full stop. It is a small, unglamorous zone, but on a big cookout night — two rounds of dishes, a cooler to wipe down — you will be grateful someone lit it properly.
Suggested budget range: $25 – $85.
9. Shift to a Warm, Dim Dining Scene When the Cooking Ends
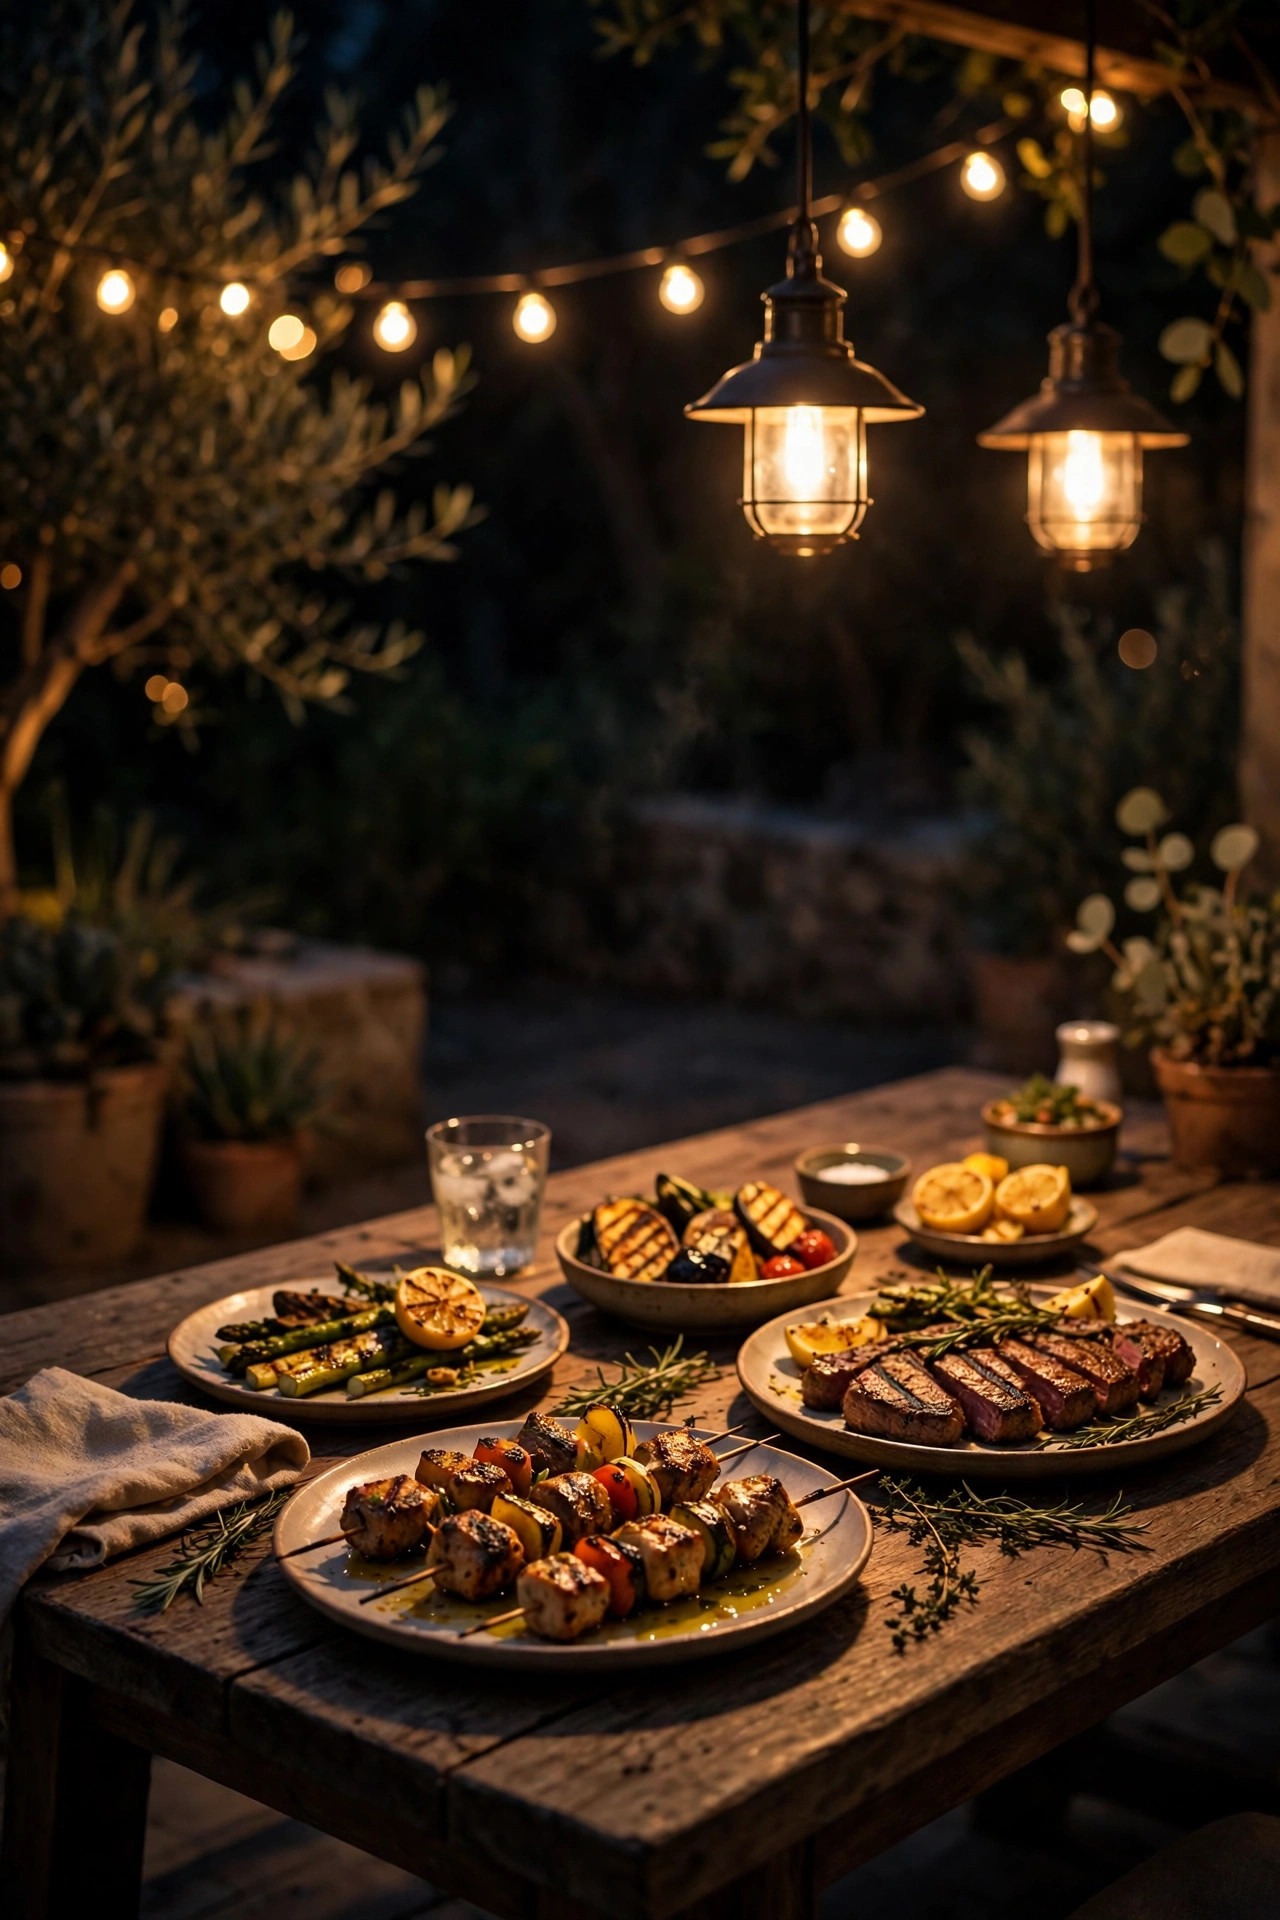
The fastest way to ruin a beautiful dinner is to eat it under full cooking light — bright neutral task light makes a plated steak look like it is under examination. The fix is a second saved scene that runs the night in reverse: grill light off, prep zone off, and the ambient layer taking over at warm 2700K and maybe forty percent brightness. Smart bulbs that dim toward warm as they lower make this transition feel like candlelight arriving on cue. I trigger Dining the moment the last item comes off the grill, and the whole space exhales. Guests always comment on it without knowing why the mood changed. If your pendants or sconces hold smart bulbs, group them into this scene along with the string lights, and let the under-cabinet strips drop to a faint glow that outlines the island. Keep the path lights active in their motion mode underneath it all, so the walk to the house stays safe even in dinner mode. One command, thirty seconds, completely different room — outdoors.
Suggested budget range: $20 – $95.
10. Schedule the Whole Kitchen to Wake at Sunset
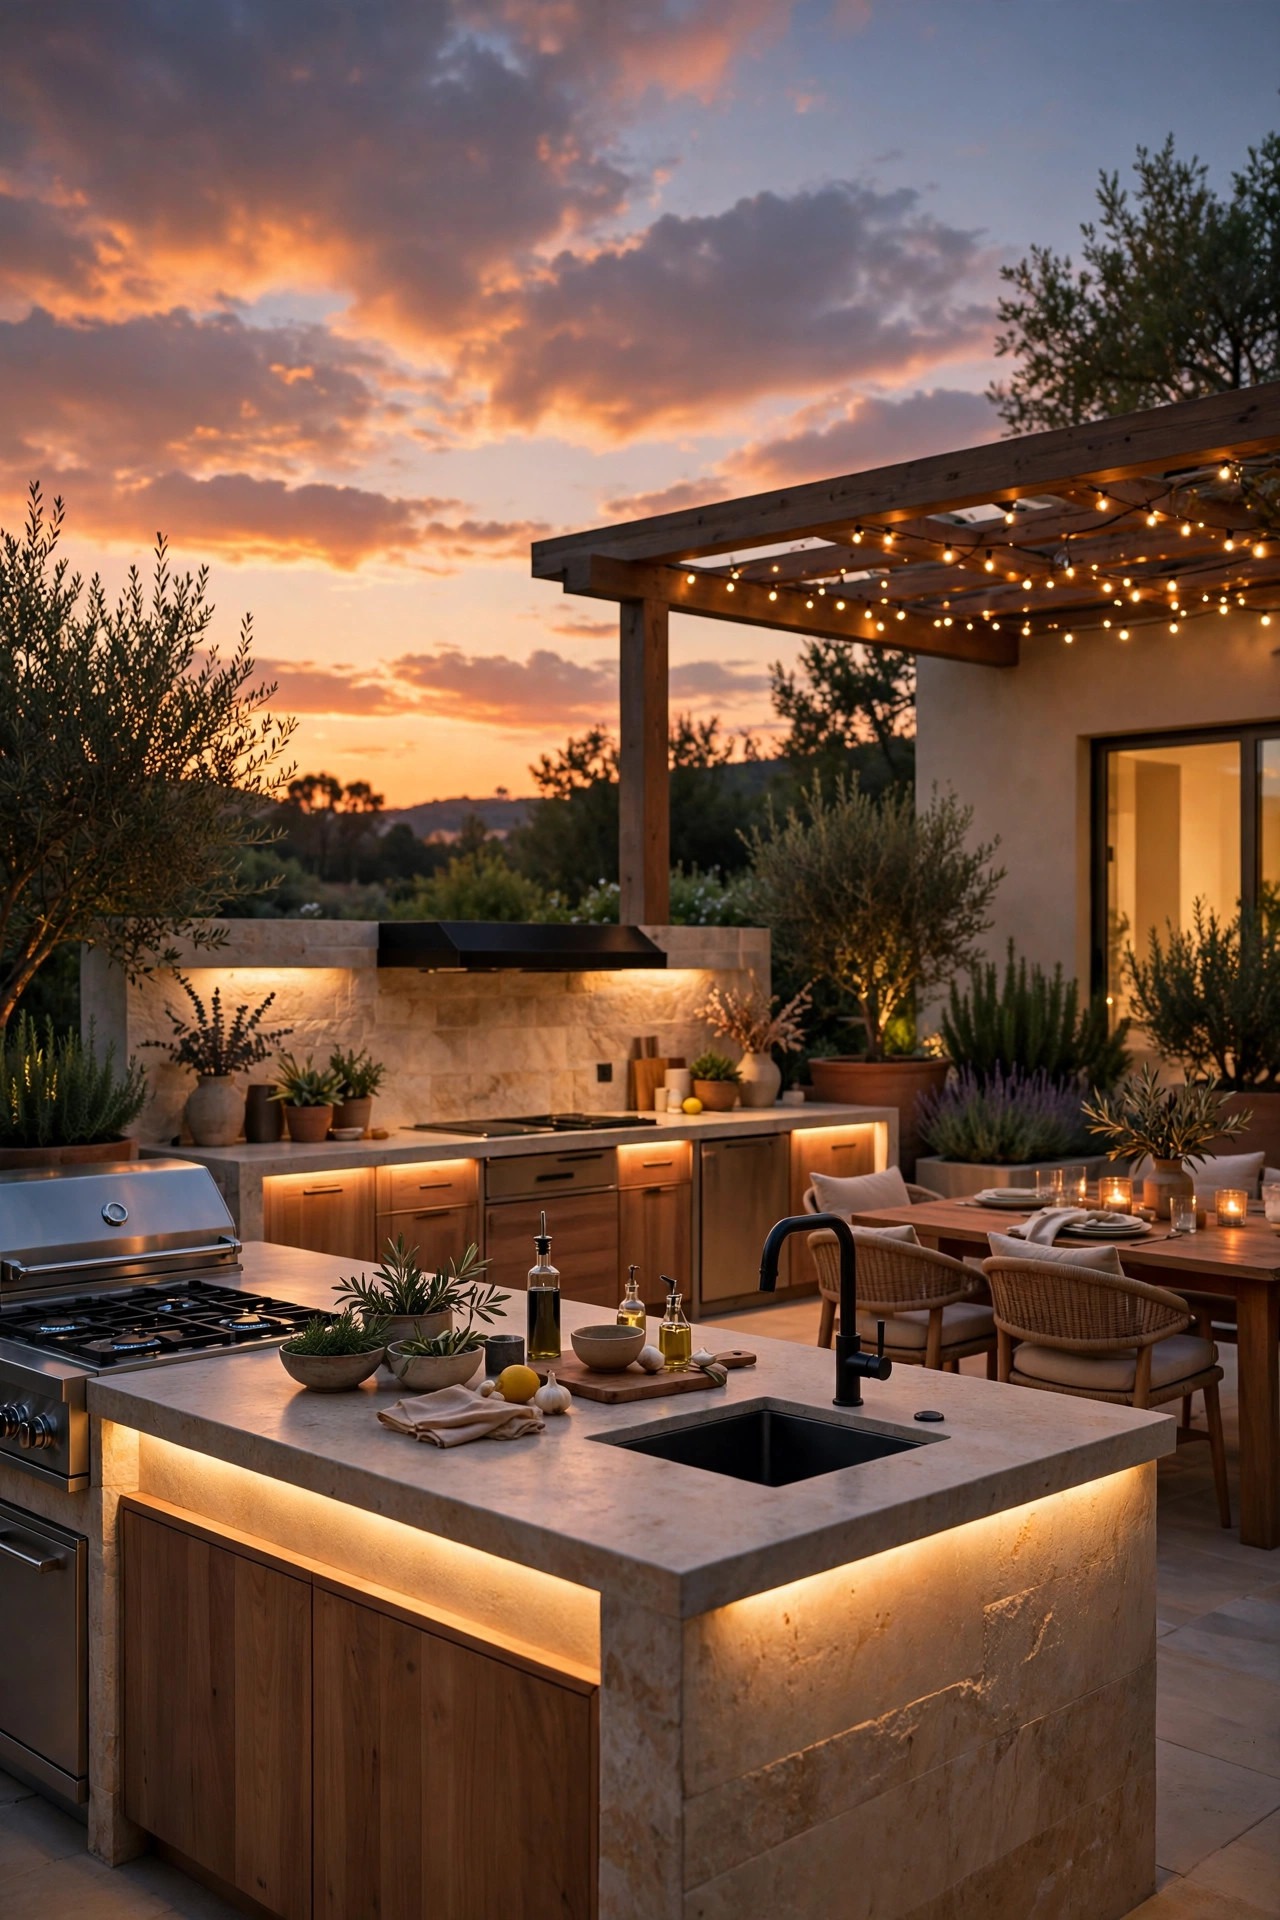
Underneath the motion zones and scenes, I like a quiet baseline: a schedule that brings the kitchen to life at dusk whether I remember or not. A timer with an astronomical setting — the kind that tracks sunset for your location and adjusts itself all year — turns the ambient layer on at a low idle as the light fades, so the kitchen always looks welcoming and never sits pitch dark when you carry the first tray out. Schedules also solve the forgotten-light problem; everything drops to off, or to a faint overnight glow, at a set hour instead of burning until breakfast. While you are setting it up, stagger the times slightly rather than having every light snap on at once — a kitchen that glows up in stages feels designed. Keep the schedule boring and reliable, and let motion and scenes do the clever parts on top of it. On vacation weeks, a randomized version of the same schedule makes the yard look lived-in while you are gone. Set it once in spring, check it in fall, and forget it exists.
Suggested budget range: $15 – $70.
11. Add Motion Step Lights for Safe Trips With Hot Pans
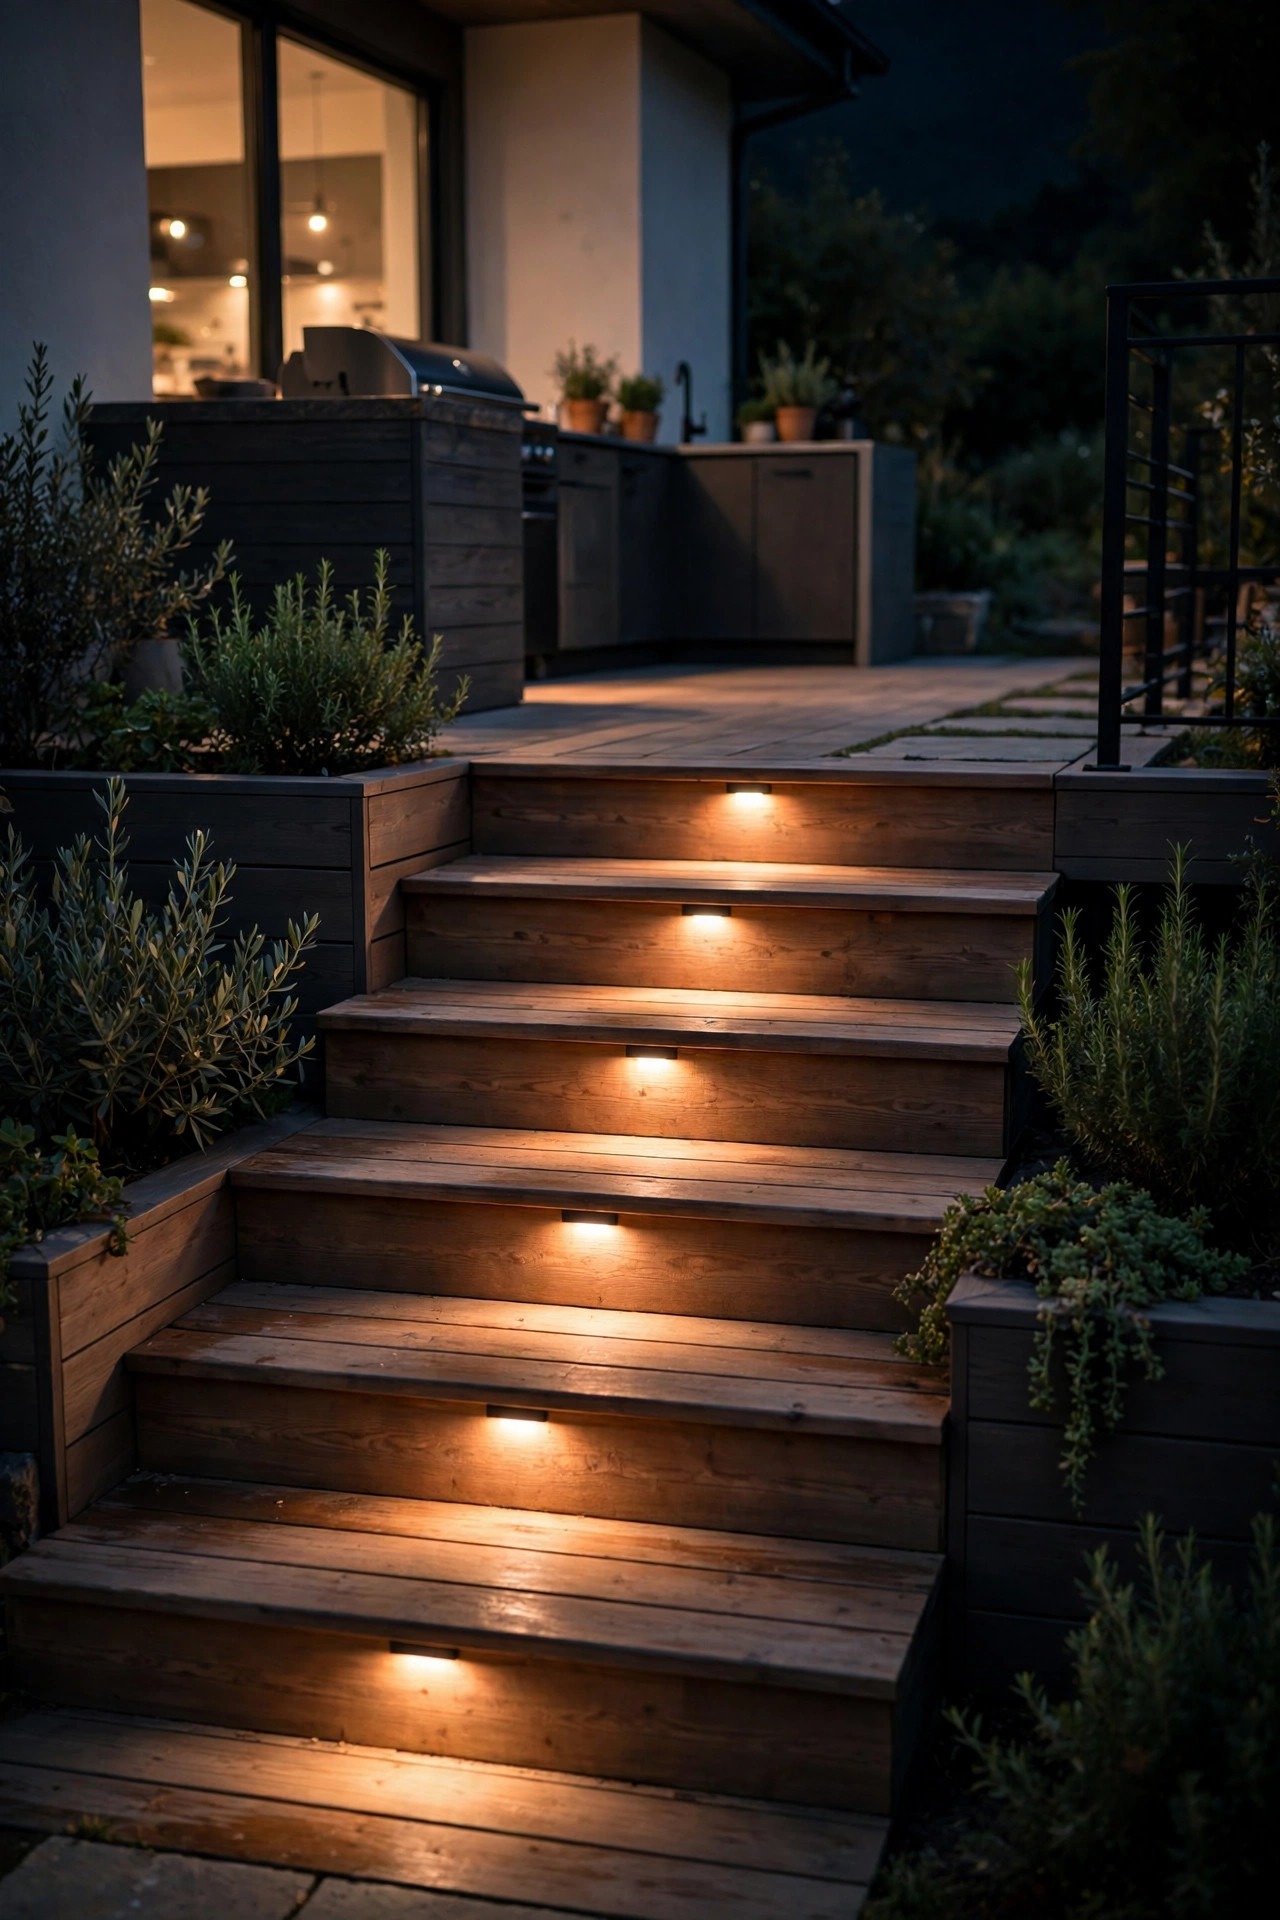
If your kitchen sits on a deck or a raised patio, the steps between levels are where hot pans and full hands get into trouble. Recessed step lights wired into a motion sensor greet you at the top step and light each tread as you climb or descend — no free hand required, which is the entire point. Mount them in the riser or the side wall of each step so the light washes across the tread surface; that angle reveals the edge of every step, and edges are what feet actually need to read. Warm white at modest brightness is plenty, and shielded fixtures keep the glow out of your eyes as you approach from below. This is another spot where I prefer wired over solar, because a step light that dies in January is worse than none. Pair the steps with the path-light route from earlier and you get one continuous, self-lighting journey from the back door to the grill. On a big night, carrying a cast-iron pan of cobbler down those steps, you will understand exactly why this idea made the list.
Suggested budget range: $30 – $100.
12. Use Smart Pendants Over the Island to Swing From Task to Glow
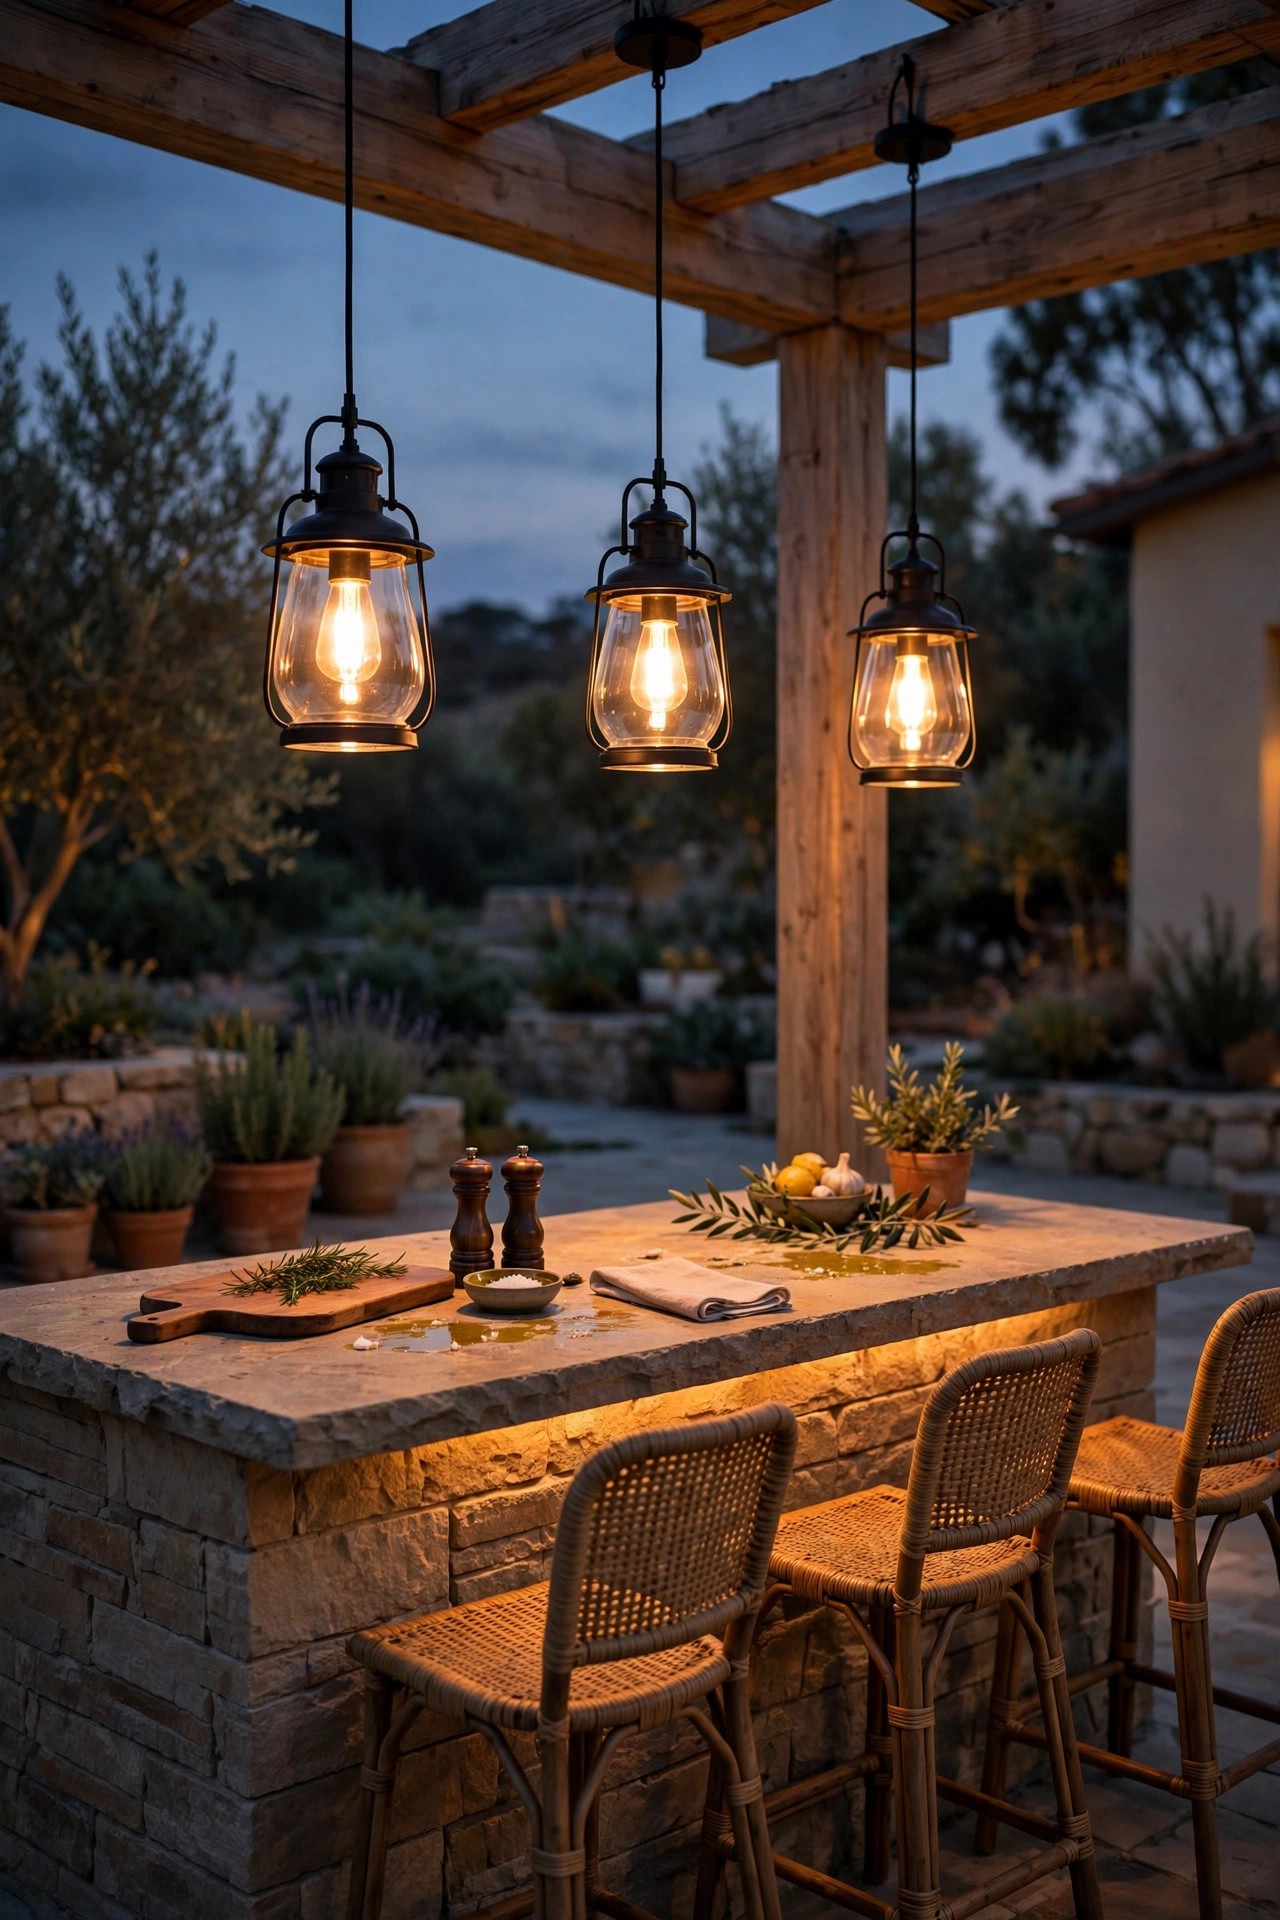
Pendants over the island or the bar seating are the hardest-working fixtures in my kitchen, because they have two jobs. During prep they need to be bright and clear enough to chop by; during dinner they need to hang there looking gorgeous at a warm murmur. Tunable smart bulbs make one fixture do both — neutral and bright while you work, then sliding warm and dim when the dining scene starts, all from the same group command as the rest of the kitchen. Hang pendants roughly 30 to 36 inches above the counter so they light the surface without blocking sightlines across the island, and choose shades that throw light down and out rather than trapping it. Three pendants across a typical island looks balanced and lights evenly. One honest caution: the fixture and bulbs both need outdoor or damp-location ratings if your roof line leaves them exposed to drifting rain, and the bulbs should be enclosed-rated if the shade closes around them. Get those two details right and the pendants become the visual anchor of the whole space.
Suggested budget range: $60 – $220.
13. Layer It All: The Smart Outdoor Kitchen Lighting Plan I Actually Use
After thirteen ideas, here is how they stack into one system — because the layers matter more than any single fixture. The task layer is bright and neutral: the grill light, the prep counter, the under-cabinet strips, the sink. The ambient layer is warm and dimmable: string lights, pendants, island glow. The guide layer is low and automatic: path and step lights that wake as you move. Then the controls layer sits on top — a sunset schedule as the baseline, motion for the moment-to-moment moments, scenes for the phases of the night, and voice for the marinade-covered emergencies. If budget forces a starting order, buy the grill and prep lights first, add the smart plug and one scene second, and let the guide layer finish the job. Even a compact setup benefits from the same thinking, as I show in my notes on small outdoor kitchen lighting. Build it in that order and every dollar lands where your hands are busiest.
Suggested budget range: $150 – $450.
Frequently Asked Questions
What color temperature is best for cooking outdoors?
For the work itself, I cook under neutral white around 4000K, because it shows the true color of meat and vegetables — pink reads pink and golden reads golden. Warm 2700K light is lovelier, but it flatters everything, including undercooked chicken. Save the warm setting for the dining scene, and if you can, choose bulbs that shift between the two so one fixture covers both jobs.
Can smart bulbs and plugs really live outside all year?
Yes, with the right ratings and a little shelter. Choose bulbs and plugs labeled for outdoor or damp locations, keep plugs under a cover or inside a weatherproof outlet box, and run everything on GFCI-protected circuits. Fixtures fully exposed to rain need sealed, wet-rated gear. Under a roof or pergola, standard outdoor-rated smart gear handles the seasons comfortably — mine has survived three summers and two frosty winters.
Do motion sensors behave near a hot grill?
Mostly, if you place them with the heat in mind. A sensor aimed across a walkway or counter approach works beautifully, but one pointed at the grill can be fooled by rising heat and steam, flickering on when nobody is there. Angle sensors away from the cooking plume, mount them a few feet to the side, and lower the sensitivity a notch. Test at night with the grill running before you call the placement final.
Will the system still work if the signal is weak out on the patio?
The most important parts will. Motion sensors work locally and need no signal at all, and most schedules and timers store their settings on the device itself, so the kitchen still wakes at sunset. Voice commands and app control are the pieces that suffer first with a weak connection. A simple outdoor-rated range extender near the patio door usually fixes it, and the layers you built still carry the night either way.
Conclusion
A good outdoor kitchen already asks a lot of your hands, so the light should never ask for them too. Smart outdoor kitchen lighting, built in honest layers — bright and true at the grill, warm and low at the table, automatic on the paths between — turns cooking outside from a juggling act into a pleasure. Start with the zones you use every night, add one scene and one schedule, and let the system grow from there. Then browse the rest of my outdoor lighting ideas here and plan your next layer.