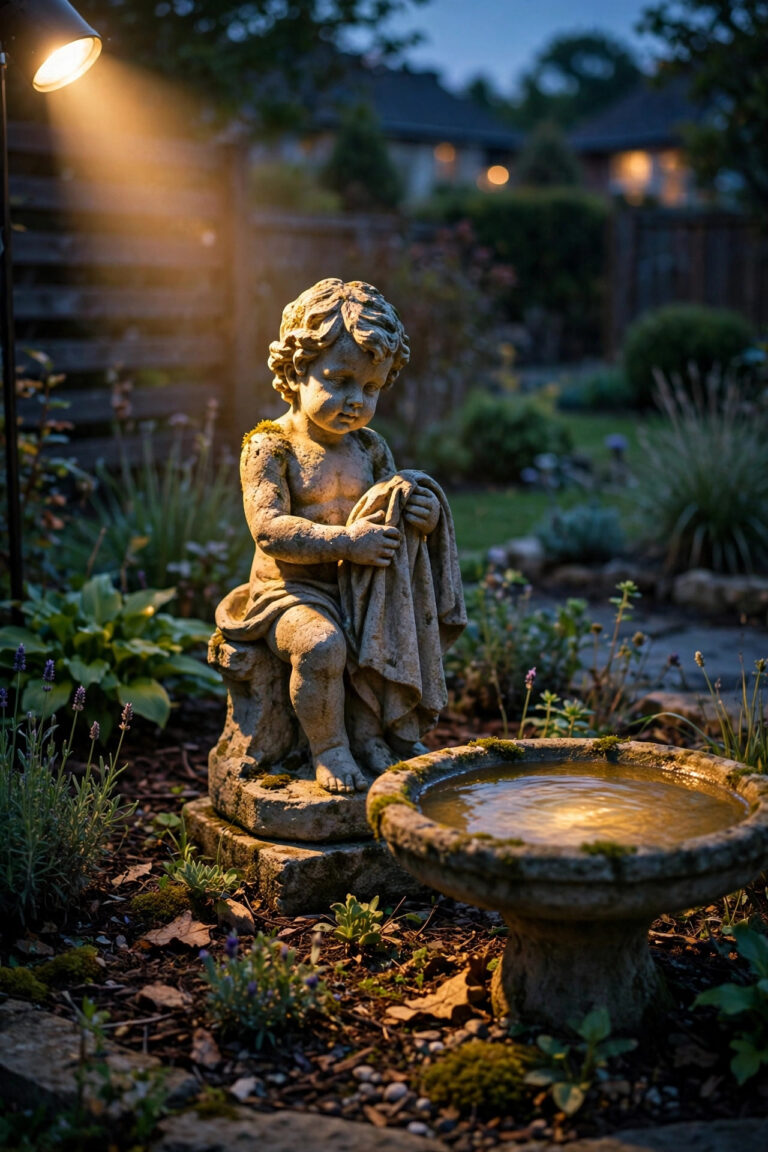
When my parents announced they were staying in their house for good — the brick steps, the sloping front walk, forty years of memories and all — the first project I volunteered for was the lighting. Not because anything had gone wrong, but because good outdoor lighting for seniors safety is really just good lighting, planned a little earlier and a little more carefully. No dark tread on the stairs. No fumbling for a switch with an armful of groceries. No bare bulb glaring in your eyes on the exact three steps where you most need to see. And absolutely nothing that looks like a hospital corridor. In my experience, the secret is the same layering I use everywhere: a guidance layer that makes every step and edge unmistakable, a welcome layer that keeps the entries warm and bright, and controls so simple they practically disappear. Here are the fifteen upgrades I made at their house, in the order I would do them again.

1. Light Every Step Evenly — Outdoor Lighting for Seniors Safety Starts at the Stairs
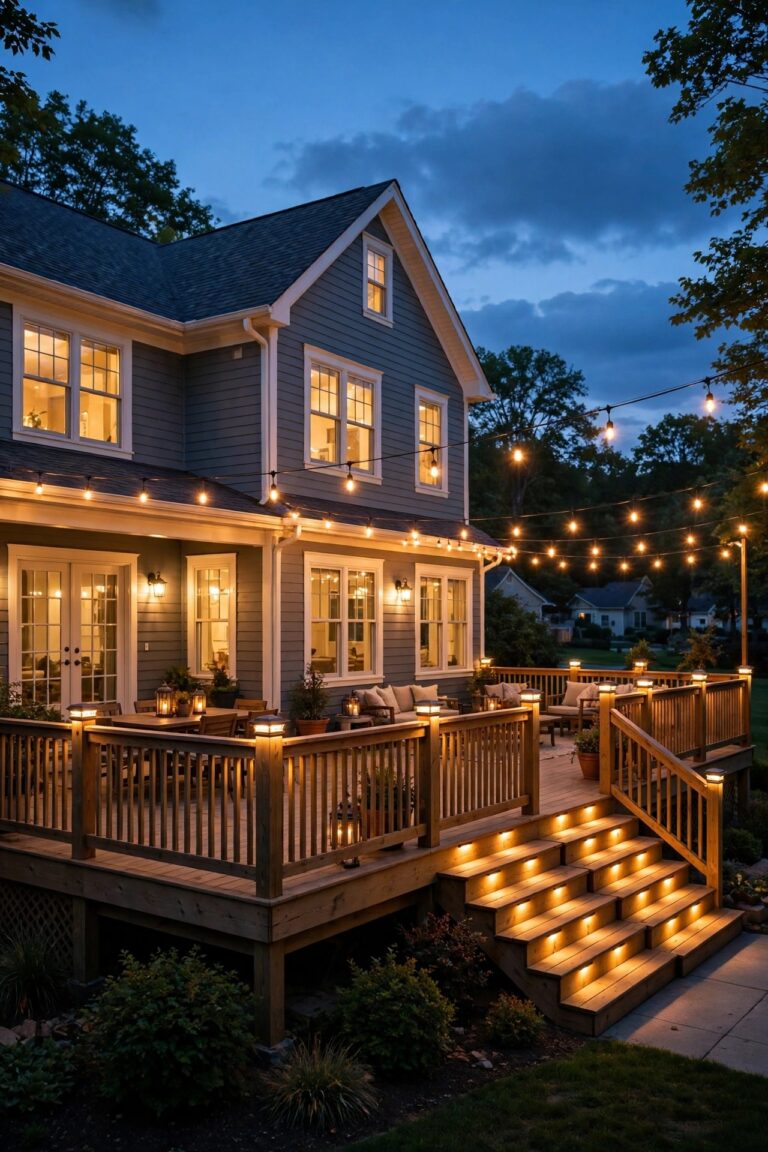
Stairs are where outdoor lighting earns its keep, and the rule is simple: every single tread gets its own wash of light, with no dark step hiding in the middle. One bright fixture at the top of a staircase is the classic mistake — it silhouettes the steps below it and leaves the bottom treads in shadow. Instead, use recessed riser lights, small fixtures tucked into the side wall, or a light strip under each tread nose, spaced so the pools of light overlap slightly and the whole flight reads as one even staircase. On wide steps, put a fixture at each end so there are no dim corners. Aim everything down at the treads, never out toward the eyes of whoever is climbing. Low-voltage LED step lights sip electricity, stay cool, and last for years, which matters when a bulb change means dragging out a ladder. My full breakdown of layouts and spacing lives in my guide to porch step lighting ideas, but the short version is this: if you stand at the bottom at night and any tread looks darker than its neighbors, that step needs a light.
Suggested budget range: $40 – $180.

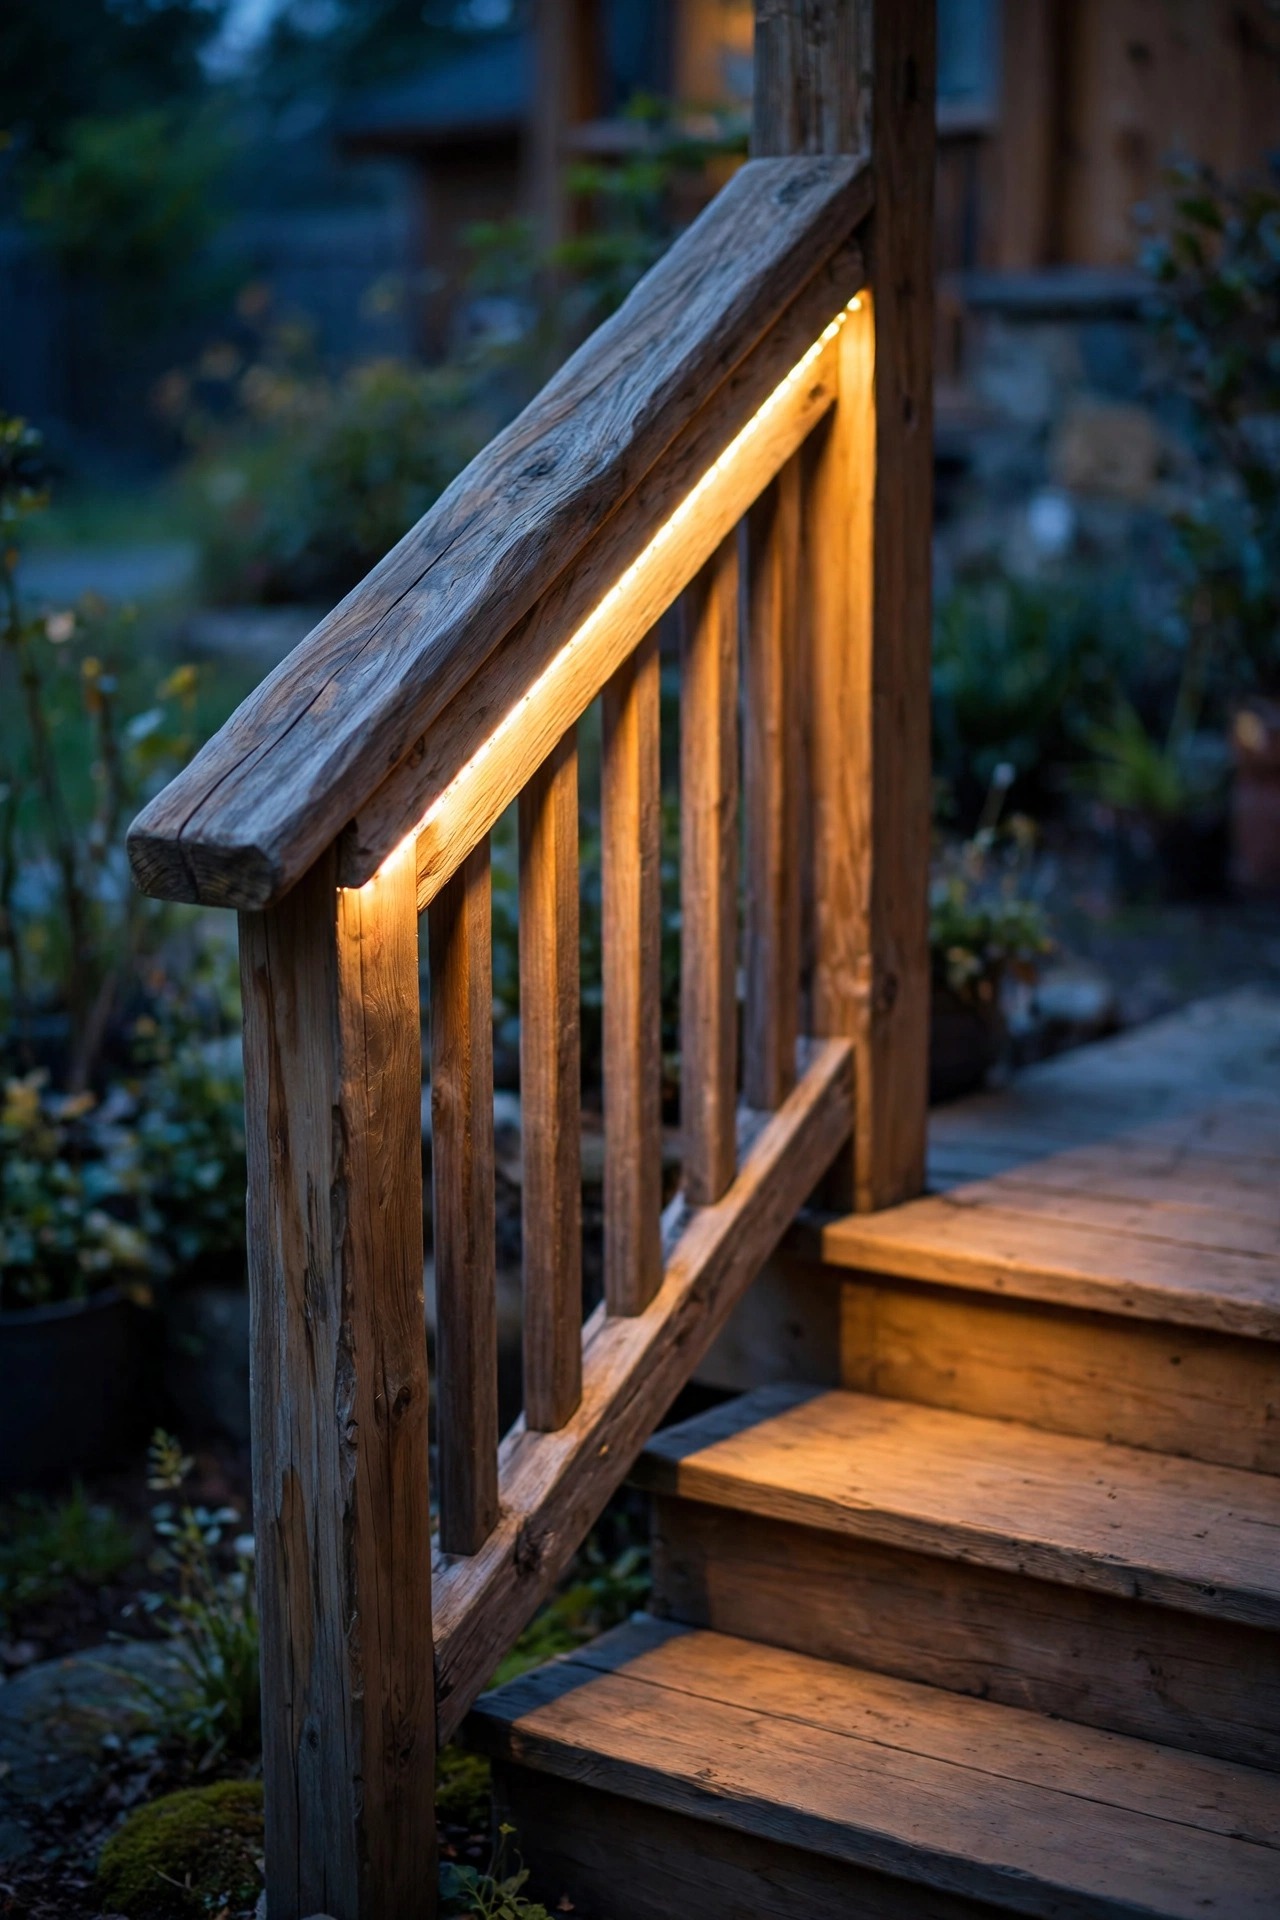
2. Give the Handrail a Glow of Its Own
A handrail does two jobs on a staircase, and light makes it better at both. Running a waterproof LED strip along the underside of the rail turns it into a continuous line of light that your hand — and your eye — can follow from the first step to the landing. There are no dark gaps to guess through, and because the strip points down, it washes the treads below it at the same time. Choose warm 2700K tape rated for outdoor use, power it from a low-voltage transformer, and tuck the wire inside the rail channel or along a post so nothing dangles. On a metal rail, adhesive-backed strip plus a few clips holds beautifully; on a wooden rail, a shallow routed groove makes it look built-in. It reads as a designer detail, honestly — guests always ask about it — but at my parents' house it quietly became the most-used light on the property, because a glowing rail is a handhold you can find without thinking, even with your arms full of mail.
Suggested budget range: $25 – $90.
3. Use Motion Lights That Switch On Before You Reach Them
A motion light that pops on when you are already standing in the dark has missed the point. The trick is placement: mount sensors so they see you coming, a good ten to fifteen feet before you reach the steps, the gate, or the garage door. Wide-angle sensors mounted eight to ten feet up cover a generous approach zone, and corner spots may need a second sensor or a dual-head fixture so nobody approaches from a blind side. Set the sensitivity so a person triggers it reliably but the neighbor's cat does not, and keep the on-time at five minutes or so — long enough to unlock a door, unload a bag, and get inside without the light quitting mid-task. Dual-brightness fixtures are my favorite upgrade here: they hold a soft, pretty glow all evening, then brighten the moment someone approaches, so the yard never looks stark or startled. I cover sensor angles, mounting heights and false triggers in depth in my motion sensor outdoor lights guide — get the placement right once and the light simply feels like it knows you.
Suggested budget range: $30 – $120.

4. Mark Tread Edges With Honest Contrast
Depth perception gets less reliable in dim light for everyone, and the place it shows up first is the edge of a step — that last inch where a tread ends and the drop begins. A band of contrast along each tread nose makes the edge unmistakable without a single extra watt. On dark stone or brick steps, a pale strip reads clearly; on pale concrete, a charcoal band does the job. Use matte finishes only, because a glossy strip can shine under a light and vanish at exactly the wrong angle. Paint-on nosing, adhesive tread strips rated for outdoor use, or a contrasting row of tile or pavers on a rebuild all work, and the same trick helps at thresholds, single surprise steps between patio levels, and the edge of a raised deck. It is the least glamorous idea on this list and quite possibly the most effective one per dollar — at my parents' house, the contrast strips on the two garden steps ended more near-misses than every other upgrade combined.
Suggested budget range: $10 – $50.

5. Let a Photocell Keep the Porch Light on Duty
The safest porch light is the one nobody has to remember. A photocell switches the fixture on at dusk and off at dawn, every single day, through every season, so the front entry is lit before anyone comes home — no dark doorstep, no keyhole hunting, no switch left off by accident. You can buy porch fixtures with the sensor built in, or retrofit the lights you already love with a screw-in photocell adapter that takes two minutes and zero wiring. That second option is the one I reach for most, because it keeps a beautiful existing lantern and just gives it a brain. Pair it with a warm LED bulb and the running cost is pennies a week. My walkthrough of adapters, built-in sensors and timer combinations is in my post on how to add a photocell or timer to a porch light. One tip from experience: mount the sensor where passing headlights and the fixture's own glow cannot fool it, or the light will flicker itself confused all night.
Suggested budget range: $12 – $60.

6. Swap Tiny Toggles for Big Rocker Switches
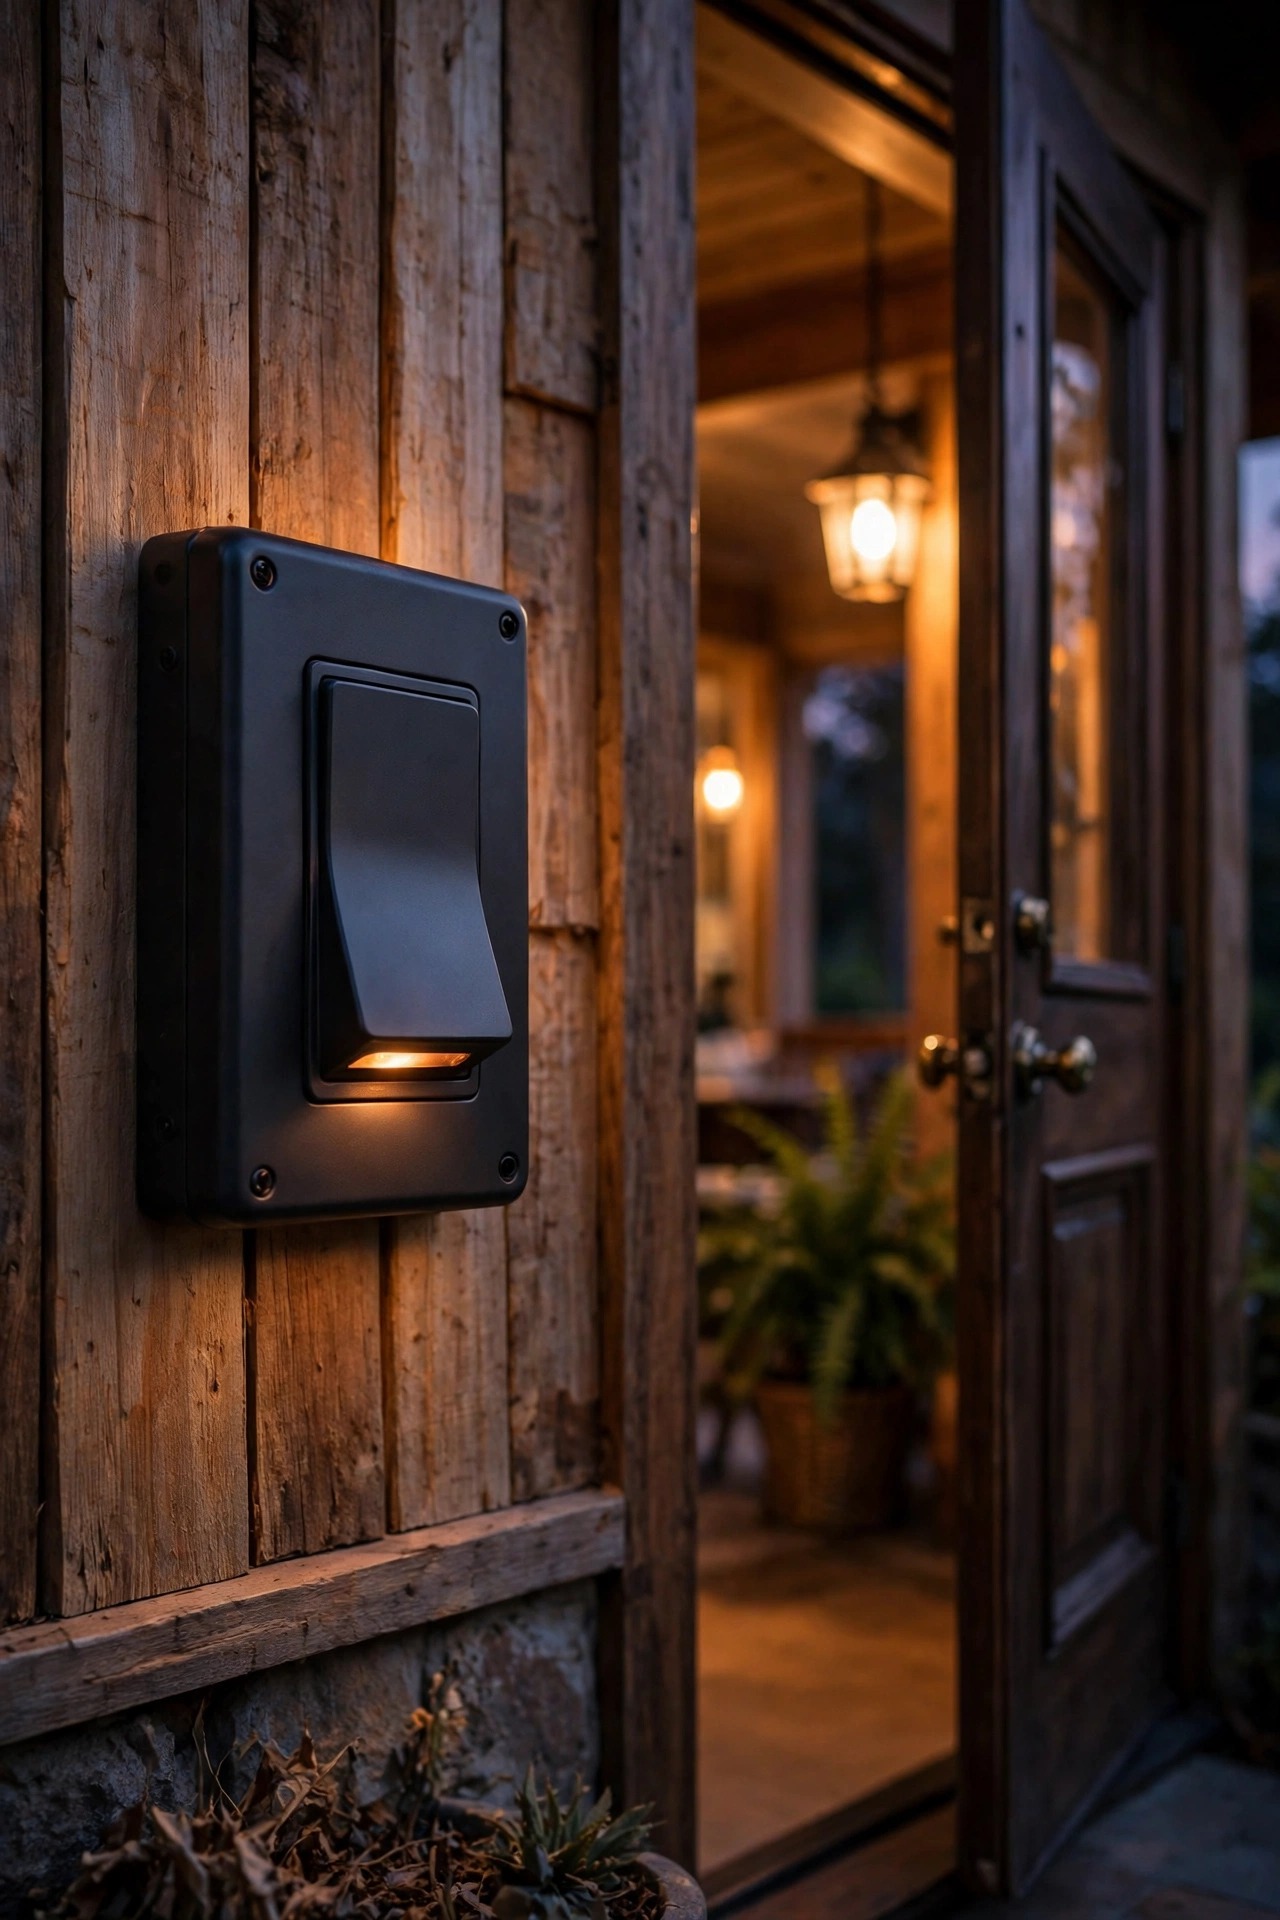
Somewhere along the way, light switches shrank into fiddly little toggles that demand a precise fingertip in the dark. Replace the ones that run your outdoor lights with wide rocker or paddle switches and the whole system gets friendlier overnight. A rocker can be worked by a knuckle, the side of a hand, or an elbow when your arms are full of shopping bags, and many come with a tiny built-in locator glow so the switch is easy to find at 2 a.m. Put one rocker just inside every exterior door, wired to that door's route lights — steps, path and porch together — so a single press lights the whole way out or in. Skip the app-dependent setups as the primary control; phones get left in other rooms, batteries die, and guests and house-sitters should never need a tutorial to turn on the porch light. Simple, physical, obvious. It is a twenty-minute electrician job per switch if the wiring is modern, and honestly it is the upgrade my parents mention most, because it removed a small daily annoyance they had stopped noticing they had.
Suggested budget range: $8 – $35.
7. Trip-Proof Every Path You Walk
Lighting hardware itself should never become the hazard. Walk each route with a critical eye: extension cords snaking across a walk, solar stakes leaning into the path where a toe or a cane tip can catch them, low fixtures sitting exactly at ankle height in the walking line. Replace stake lights near paths with flush-mounted paver lights or fixtures set well back into the planting beds, aiming across the walk instead of sitting in it. Bury low-voltage cable a few inches down or run it in slim conduit along edges, and retire every temporary cord in favor of a properly installed fixture — cords are the single most common trip source I see in otherwise lovely yards. Where a fixture must sit near the route, choose a sturdy bollard with a rounded profile over a spiky little stake. The test is simple: walk the path at night carrying a laundry basket at waist height, the way people actually move through their yards, and fix anything your shin or your peripheral vision complains about.
Suggested budget range: $20 – $150.

8. Overlap the Pools of Light Along Every Path
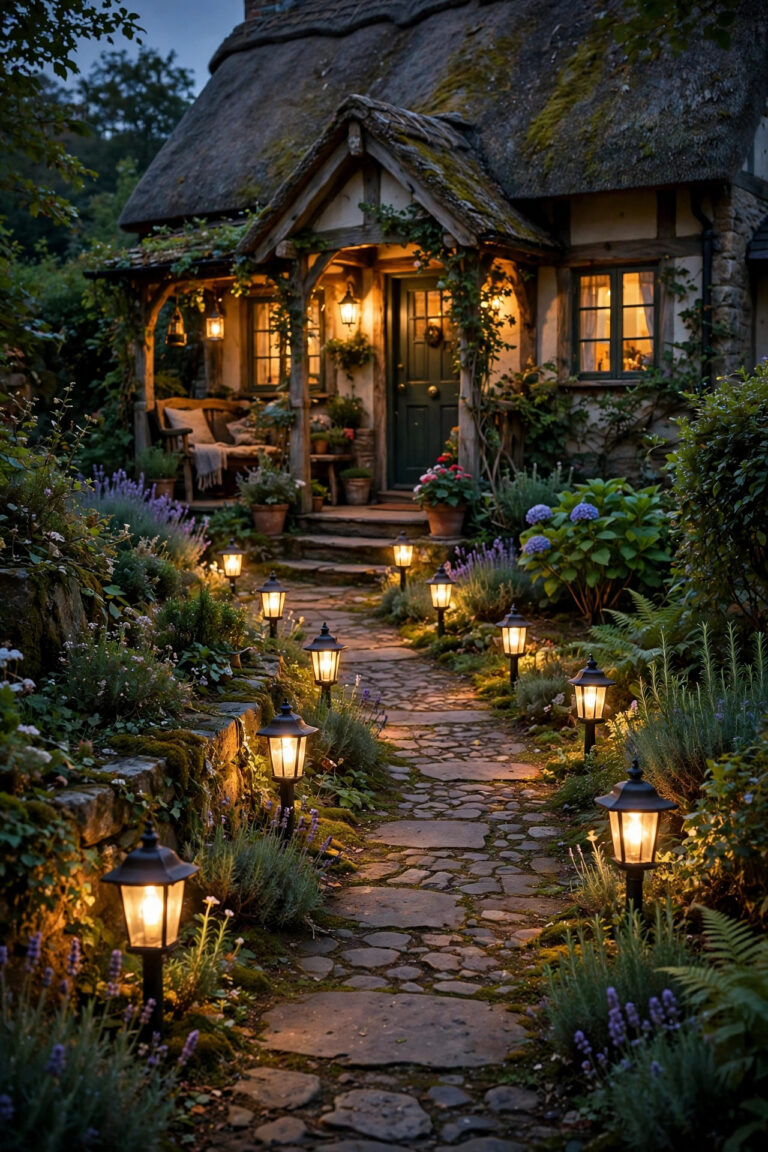
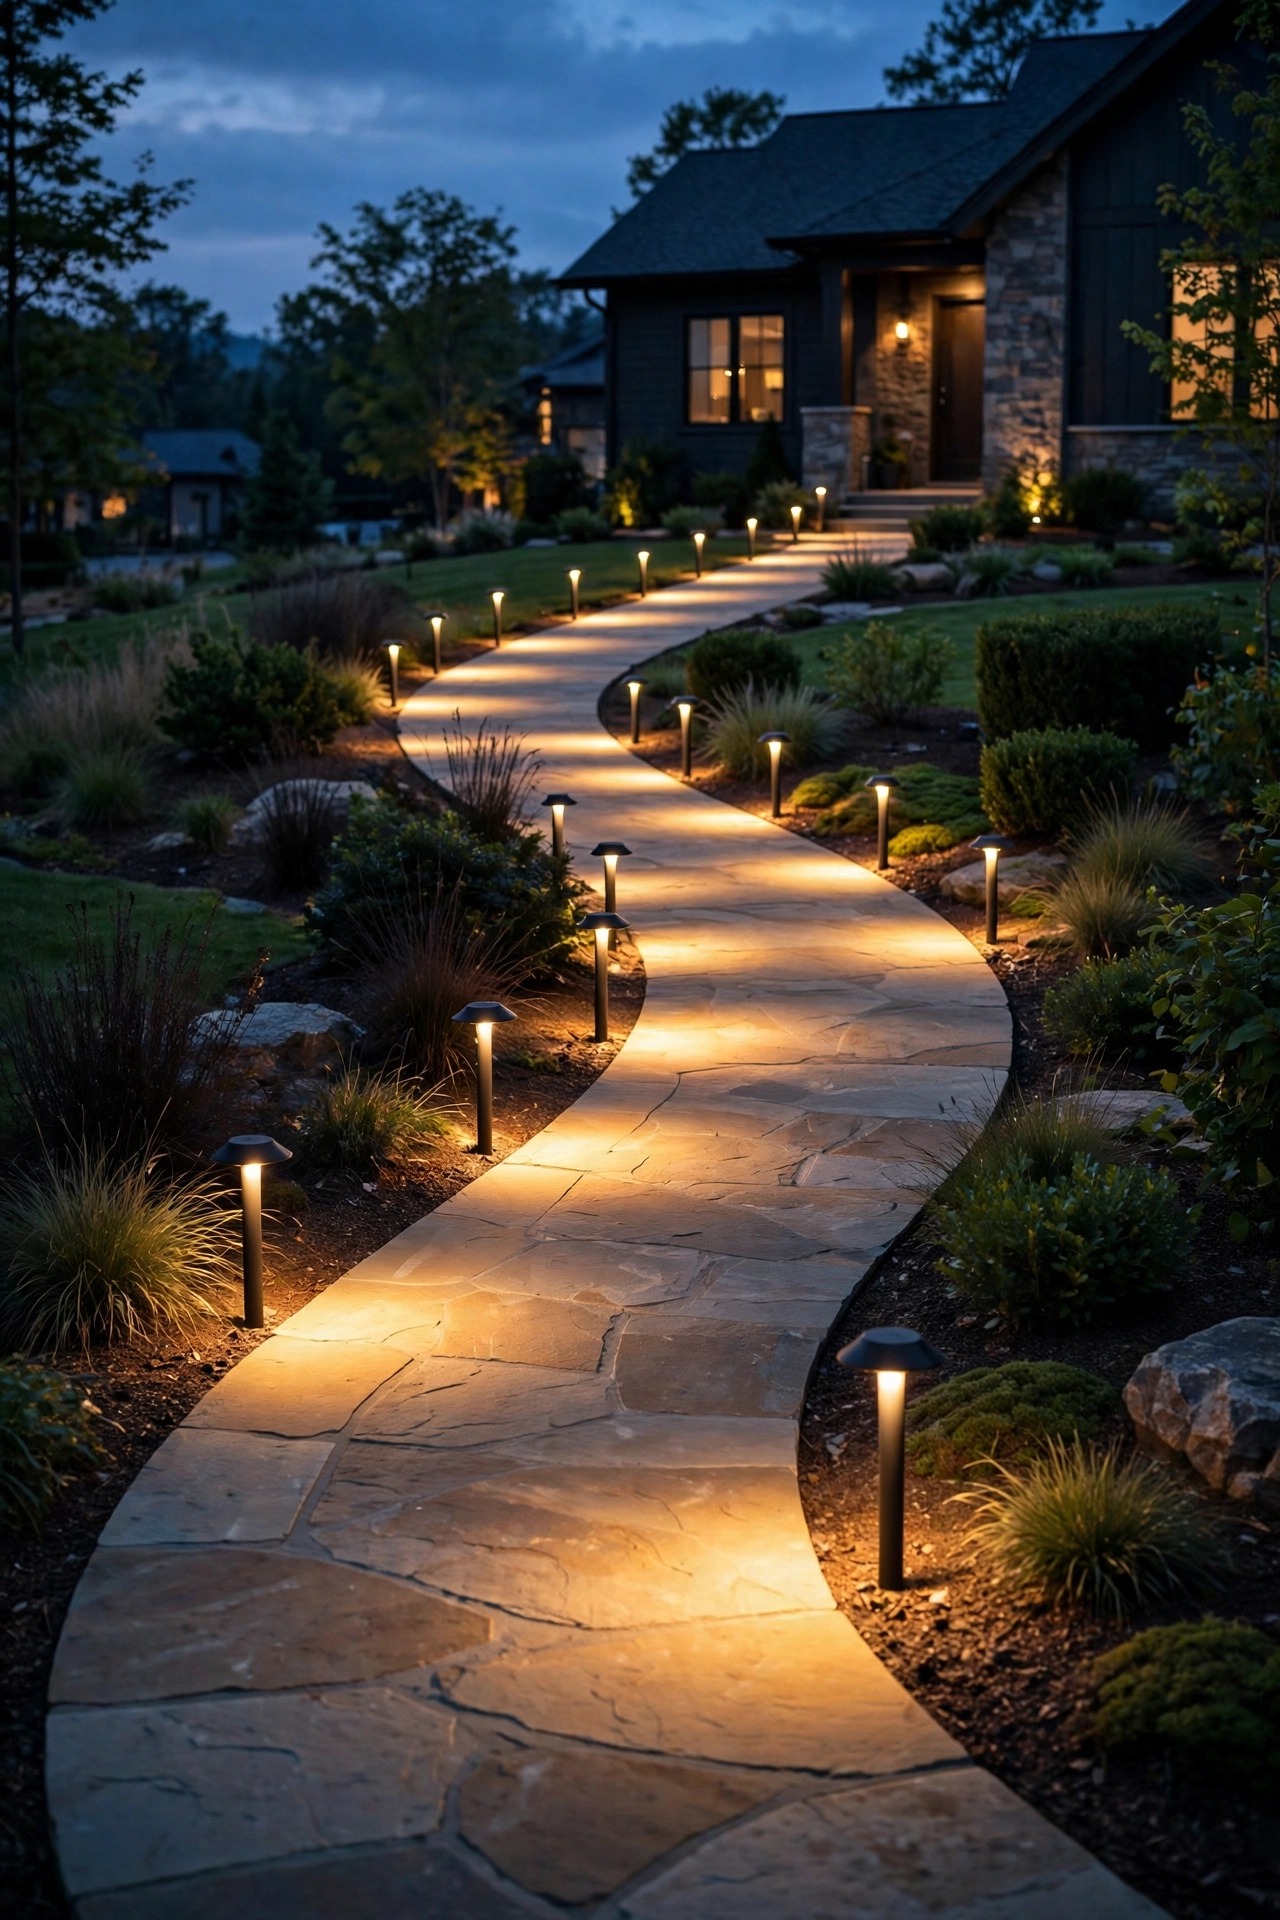
A row of path lights spaced too far apart creates the zebra effect — bright pool, dark gap, bright pool — and every dark gap is a place where a root, a sprinkler head or an uneven paver can hide. The fix is spacing, not brightness. Set low-voltage path lights six to eight feet apart, staggered on alternating sides of the walk, and choose fixtures with a wide, soft spread so the pools of light overlap by a foot or two. From above, the path should read as one continuous ribbon of gentle light, with the edges of the walk always visible. Taller fixtures with downward shades throw a wider pool than tiny mushroom caps, so you can often use fewer of them. Walk the route after dark and stand in any spot that feels dim; if your shadow pools black at your feet, the spacing is too wide there. This matters most on the routes used every day — front walk, the side path to the bins, the way to the garage — so light those first and light them evenly.
Suggested budget range: $60 – $240.
9. Choose Shielded Fixtures and Say Goodbye to Glare
Glare is the enemy nobody budgets for. A bare bulb or a clear-glass fixture throws light straight into the eyes, and eyes respond by clamping down — which makes everything outside the beam look darker and hides the very steps you lit. The comfortable fix is shielding: frosted or seeded glass, hooded shades, recessed bulbs, fixtures that wash a wall or pool light on the ground instead of spraying it outward. Stand at the street and at every doorway and check — if you can see the bright bulb itself, the fixture is glaring, and a shade, a frosted replacement globe, or a lower-wattage bulb will tame most of it. Warm 2700K to 3000K light also helps; it delivers the same visibility as harsh blue-white without the squint. At my parents' house we kept every pretty fixture they loved and simply swapped clear glass for frosted — the yard looked softer and more expensive, and the steps were, paradoxically, easier to see than they had been under brighter light.
Suggested budget range: $25 – $110.

10. Light the Whole Route From Car to Front Door
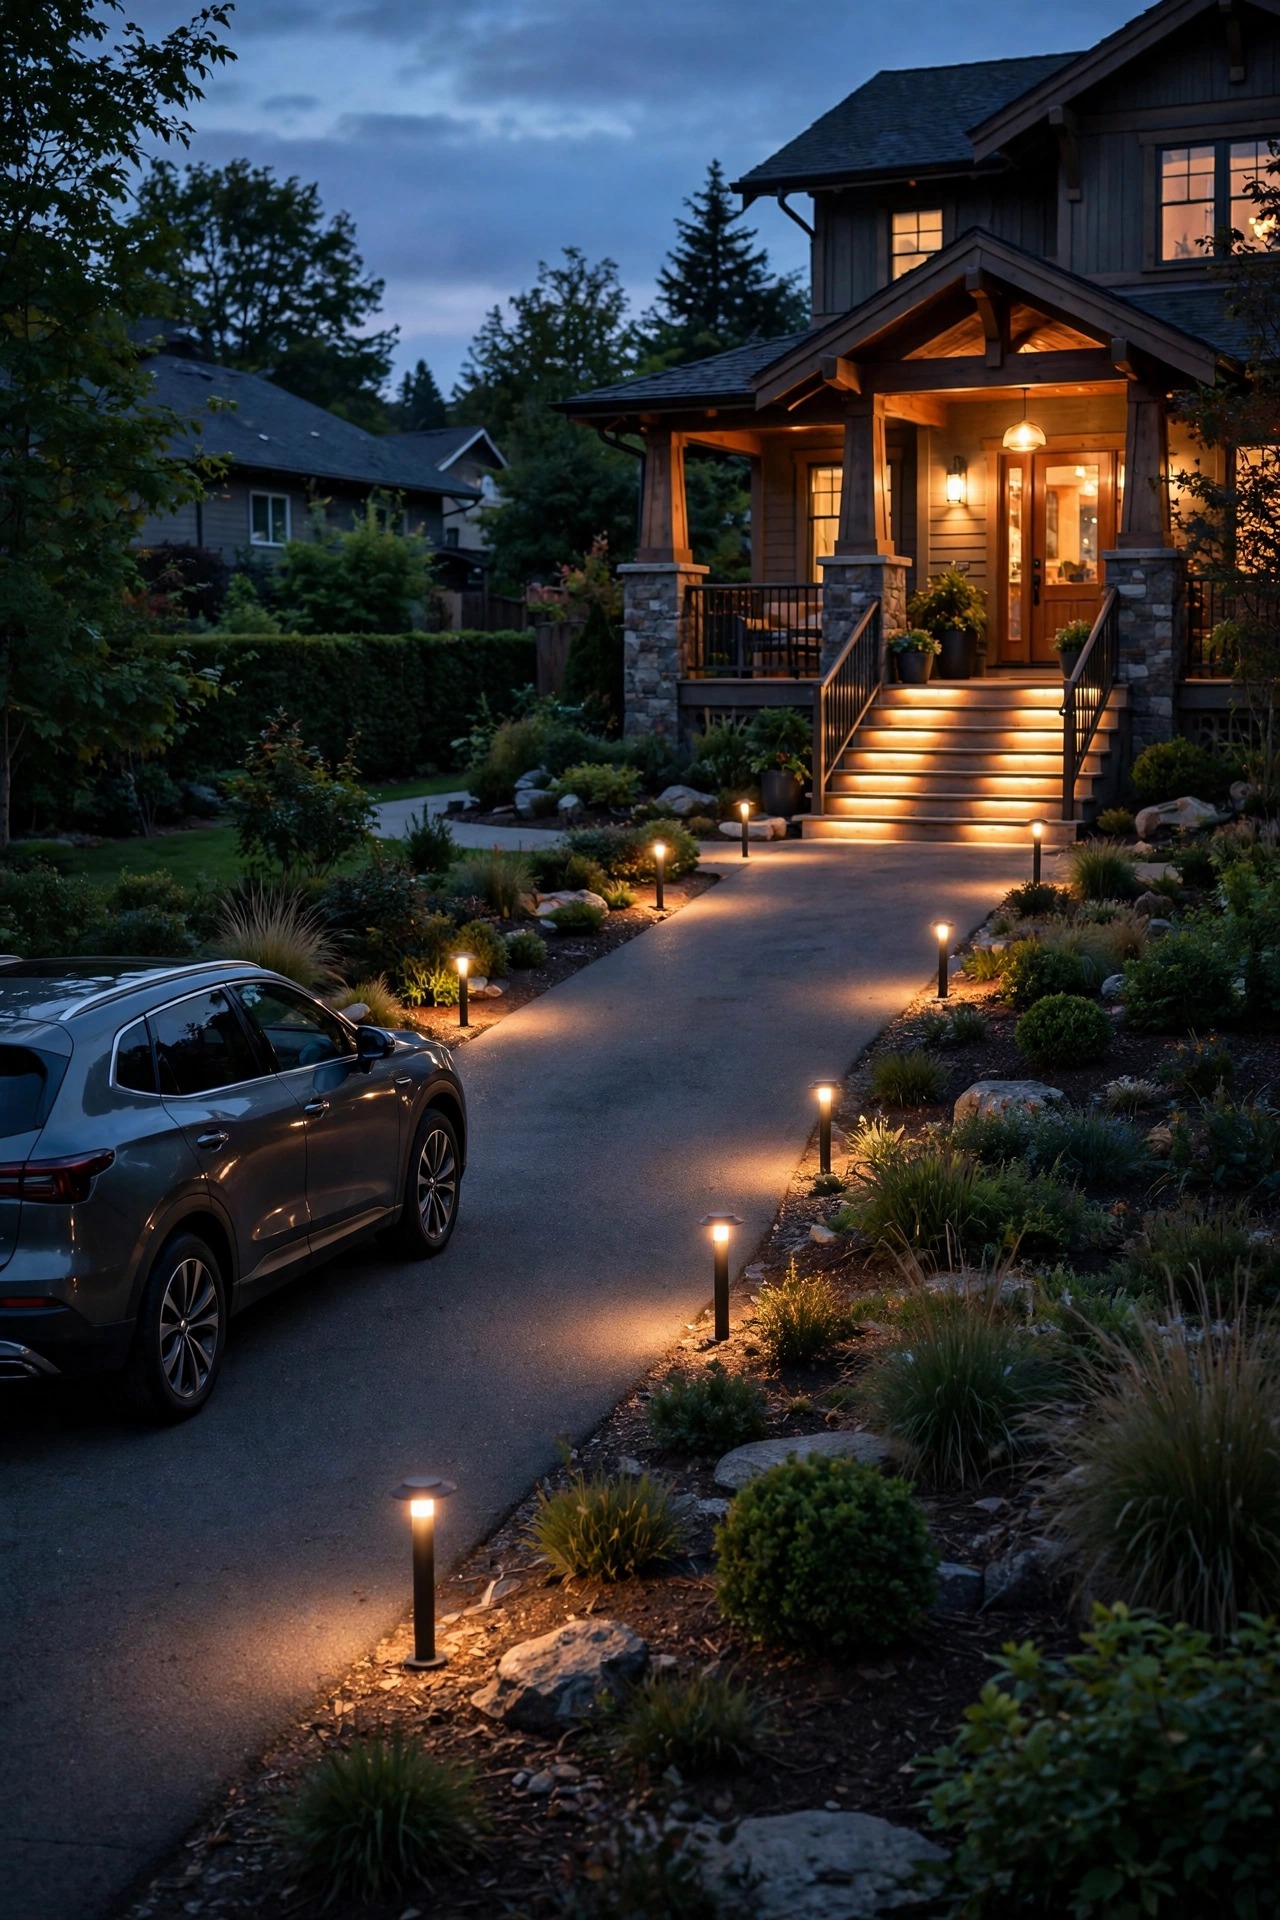
Most lighting plans stop at the porch, but the journey starts at the car. Map the real route — driveway or garage, the stretch of pavement, the gate if there is one, the steps, the door — and put light on every leg of it. A motion flood over the driveway handles the unloading zone, low markers or bollards carry the eye across the open stretch, and the porch layer takes over at the steps. The handoffs matter: nobody should cross a dark patch between two lit zones, because eyes adjust slowly and that patch is where the uneven paver lives. If the car lives in a garage, light the landing just inside the side door too, and put that fixture on the same friendly rocker switch by the door. At my parents' place this route got a name — the airport runway, which they love — and it turned winter grocery runs from a two-trip, flashlight-in-teeth production into a non-event. Unsexy, logistical, and absolutely life-improving.
Suggested budget range: $35 – $160.
11. Make the House Number Glow
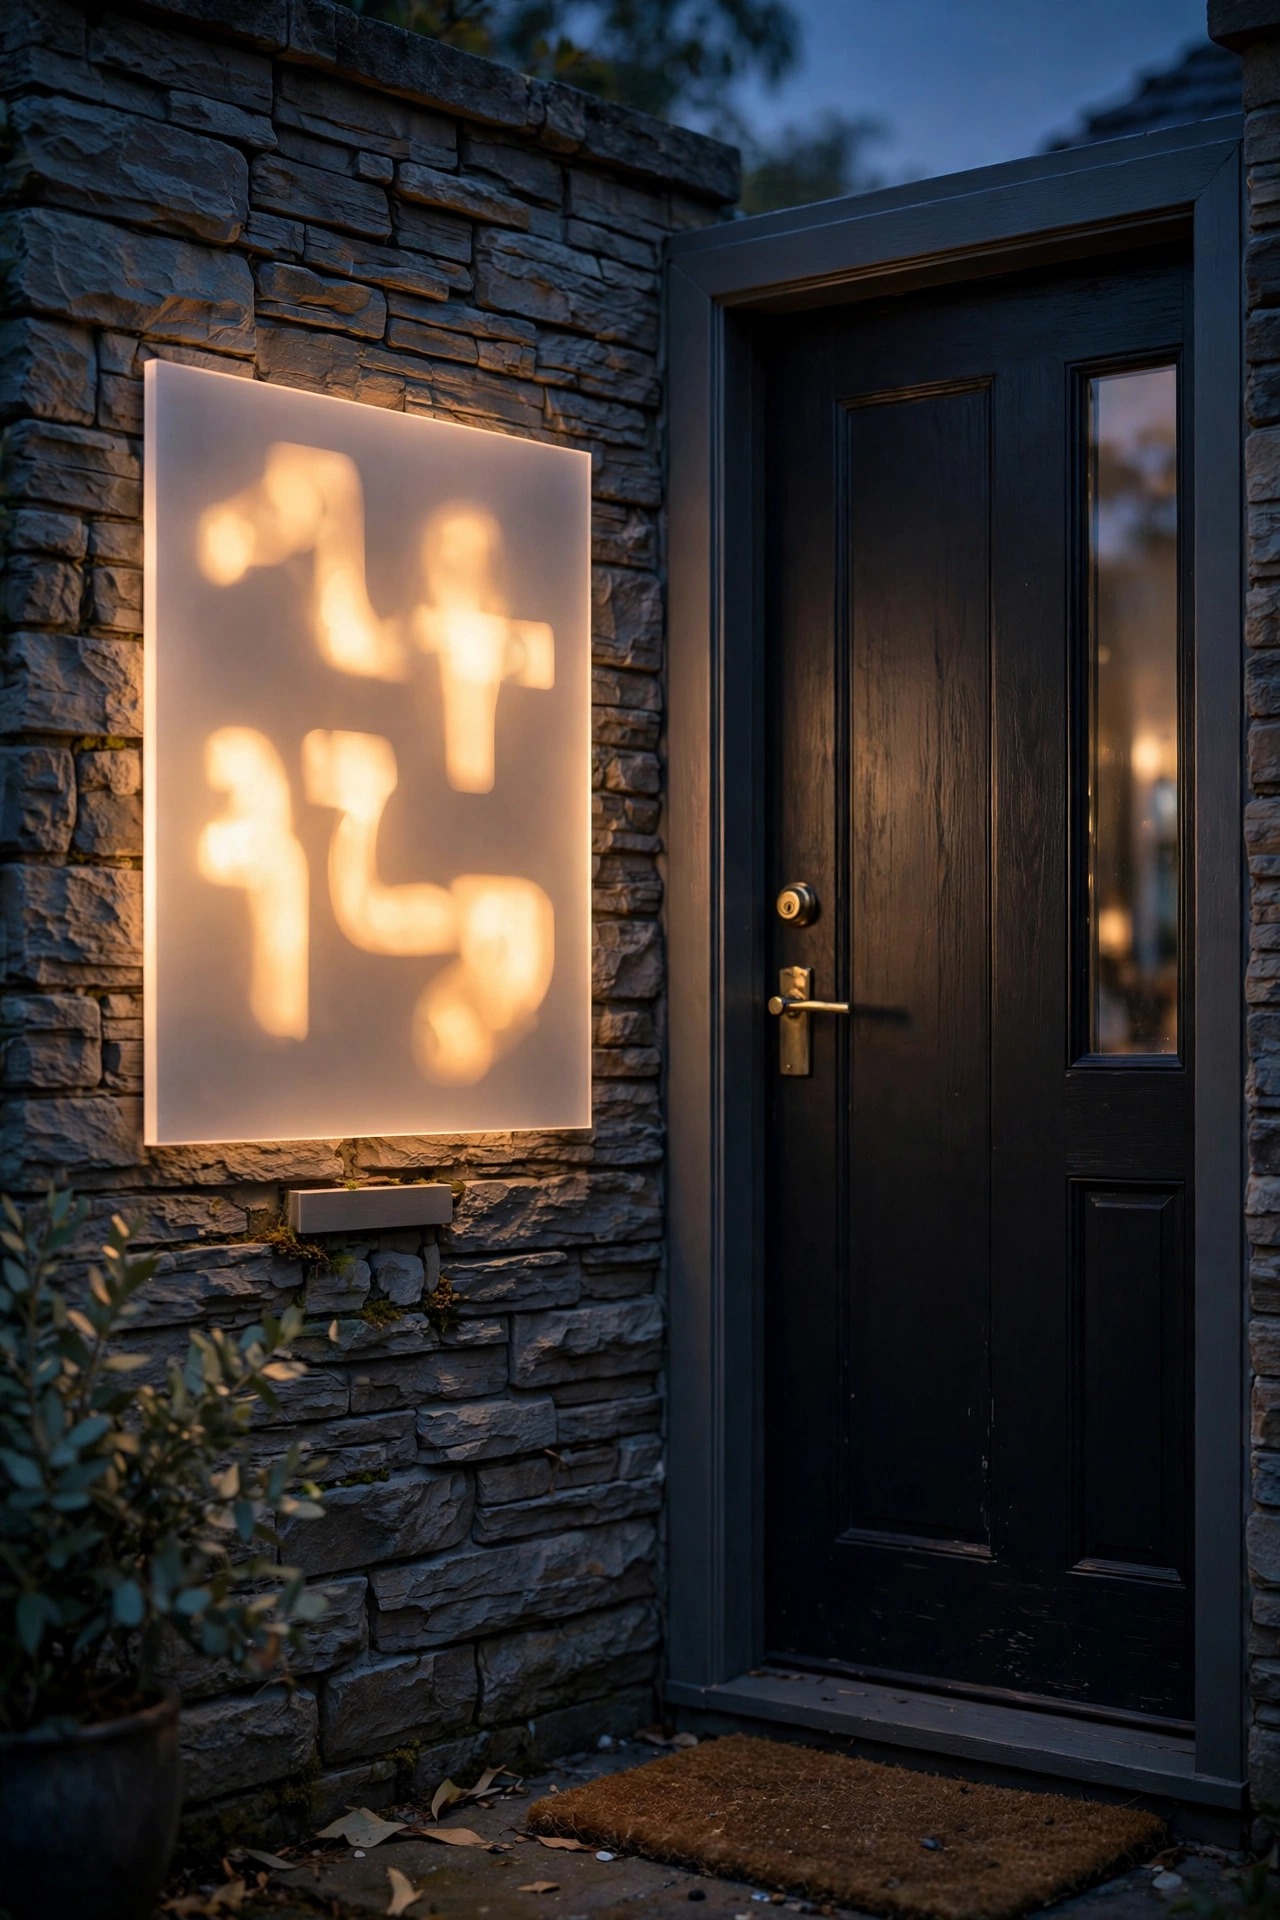
A lit address is a safety feature disguised as a pretty one. Backlit or edge-lit house numbers beside the front door — or on a plaque at the street for long driveways — mean guests find you without circling the block, deliveries land on the right porch, and if help is ever needed at night, the house identifies itself instantly from the road. Choose numbers at least four inches tall with strong contrast against their backing, and light them evenly rather than with a single hotspot that washes out half a digit. Solar plaques have gotten genuinely good and need no wiring at all; low-voltage wired versions are brighter and steadier through winter. Place the numbers where headlights and the porch light actually reach them, then do the drive-by test at night from both directions — you would be amazed how many handsome plaques go invisible from the left. It is a thirty-minute project with an outsized payoff, and it happens to be the detail that makes a whole entry look finished.
Suggested budget range: $20 – $90.
12. Give Ramps and Slopes Their Own Edge Light
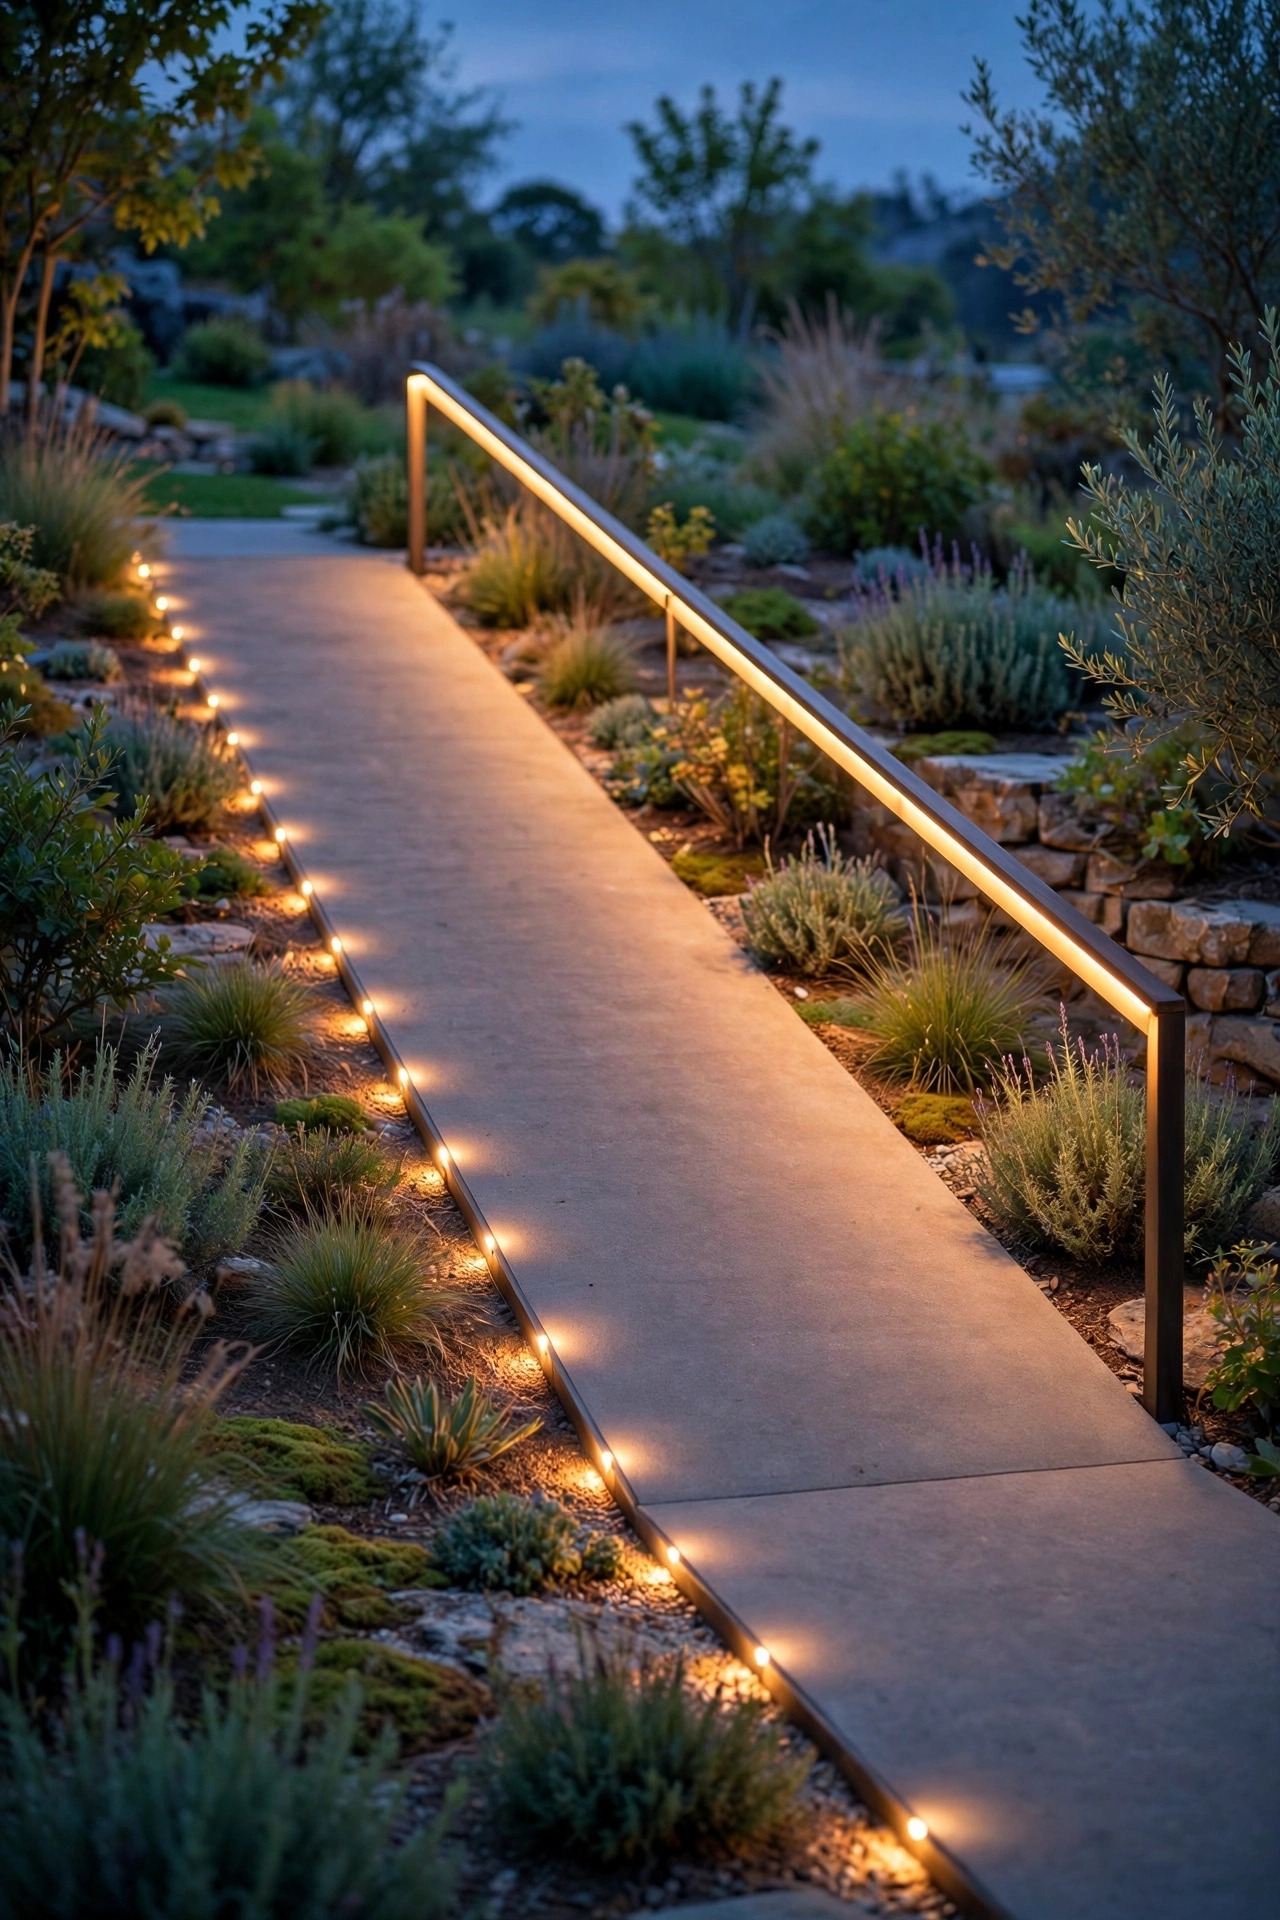
Steps get all the attention, but ramps, sloping walks and gentle grade changes cause their share of nighttime stumbles, partly because nobody thinks of them as hazards. Light the edges, not just the surface: a low strip light or a row of small fixtures along the low side of a ramp outlines exactly where the level changes, and handrail lighting from idea two works just as beautifully here. On a sloping path, place fixtures on the downhill edge so the light rakes across the surface and reveals its texture — raking light shows every ripple and lip that flat overhead light hides. Keep the slope lights frequent and low rather than bright and sparse, and give landings their own slightly brighter pool, since a landing is where feet reorganize. If a ramp is in the long-term plan for the house, build the lighting conduit in during construction; adding it later costs three times as much. Slopes lit this way read as elegant terraces at night, not adaptations.
Suggested budget range: $30 – $140.
13. Put the Whole System on Set-and-Forget Automation
The best control system is the one that asks for nothing. An astronomical timer learns the sunset for your exact location and shifts the schedule a minute at a time all year, so the route lights, porch and path come on at dusk in December at five and in June at nine without anyone reprogramming anything. Layer the photocells and motion sensors from the earlier ideas underneath that schedule and the yard simply handles itself: lights wake at dusk, hold a welcoming level through the evening, brighten when someone moves, and rest late at night. Resist systems that live entirely in a phone app; a wall-mounted timer with a big readable display, or a simple dial unit, can be checked and overridden by anyone in the house, including a visiting daughter or a neighbor feeding the cat. Set it once on a quiet afternoon, walk the yard twice after dark to confirm, and then — this is the entire point — stop thinking about your lights. They will be on duty every night you live there.
Suggested budget range: $25 – $80.

14. Keep a Backup Layer for Power Outages
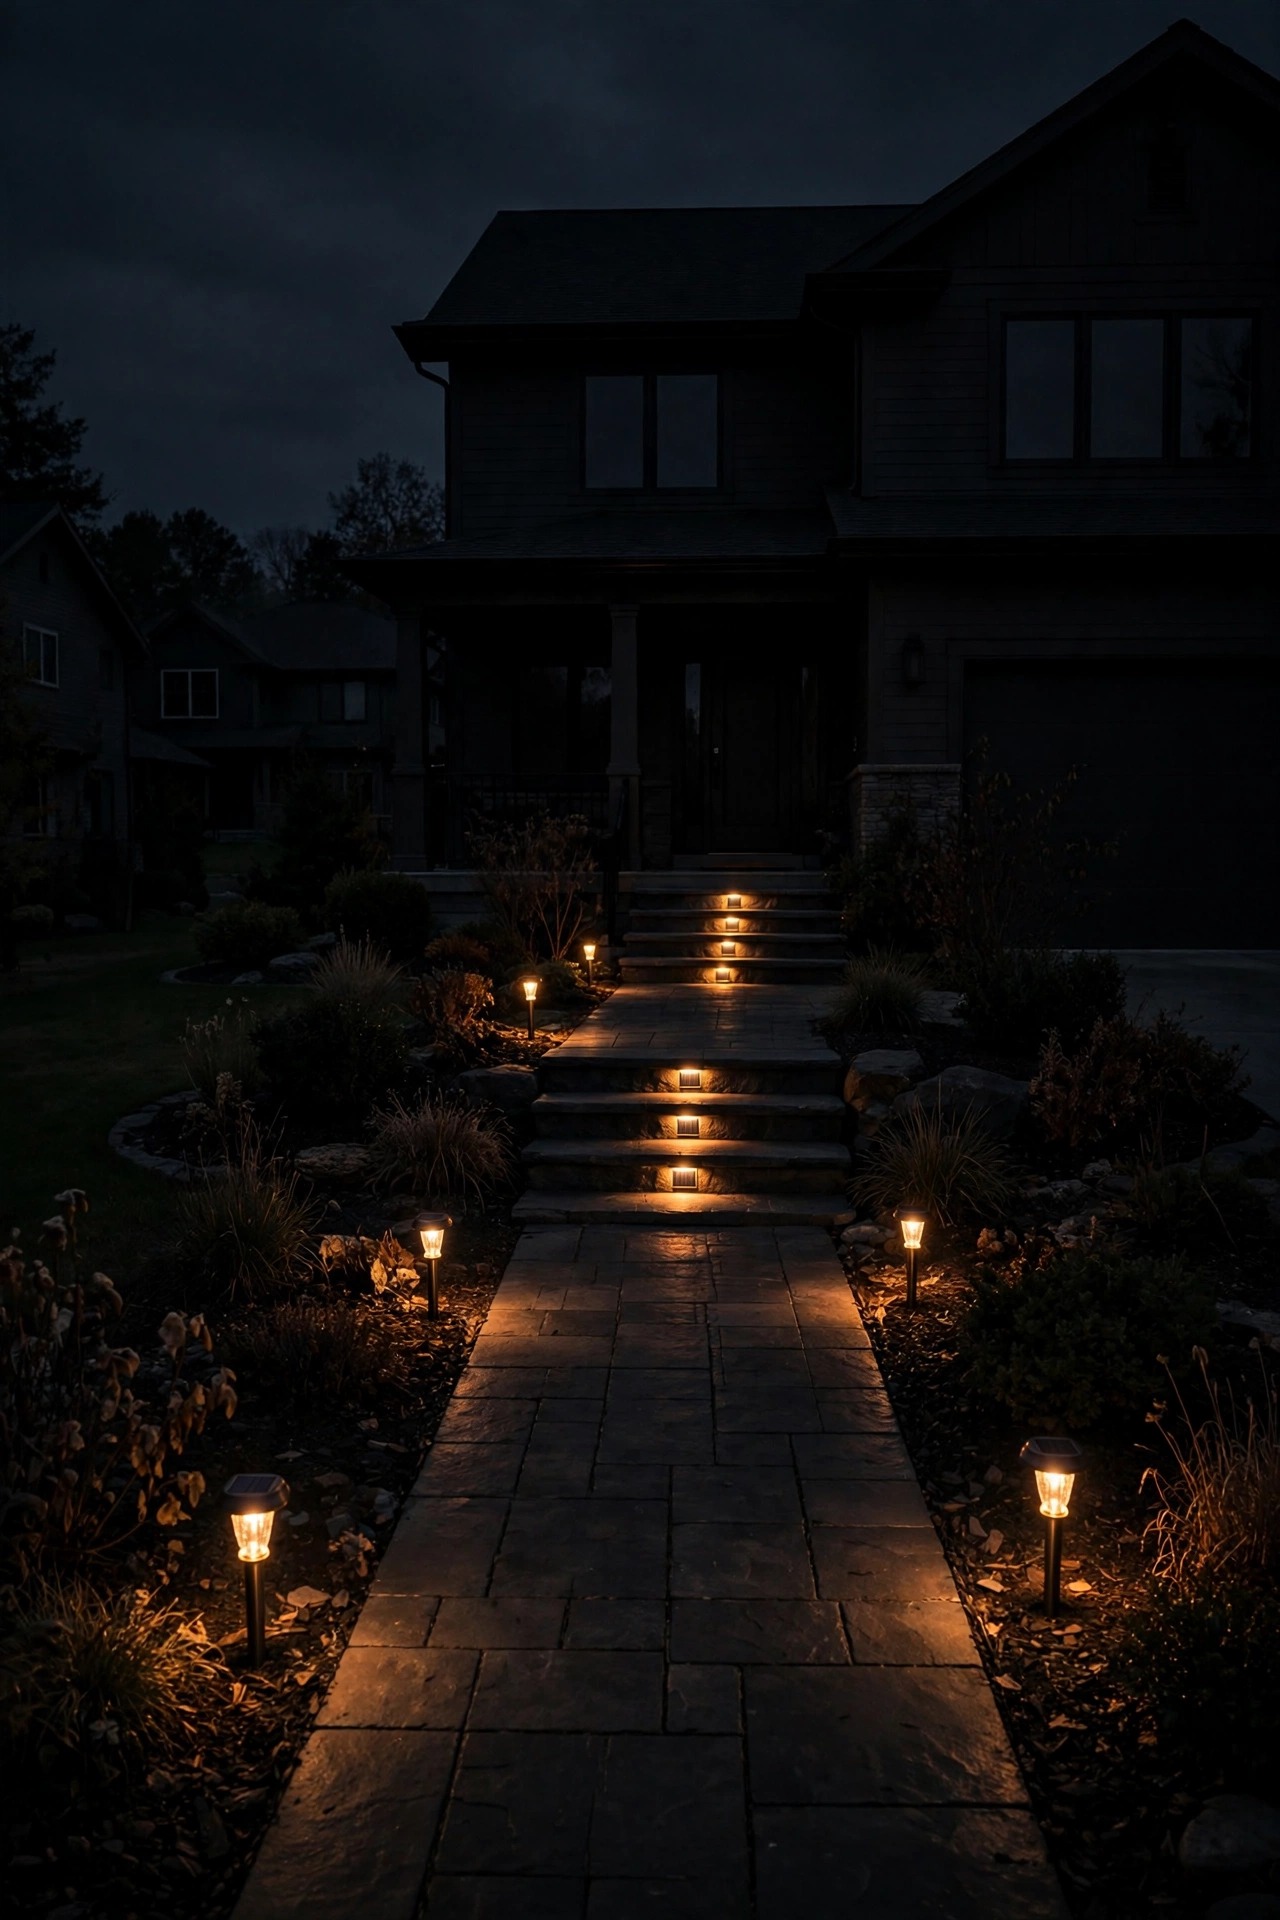
When the power goes out, a familiar house turns strange fast — and that is exactly when a little light matters most. Build a small backup layer now: quality solar step and path lights keep working through an outage because they were never on the grid, and battery-backup LED bulbs in the porch fixture stay lit for hours after the mains fail, then recharge themselves when power returns. A couple of solar motion lights at the back door and garage cover the routes the wired system cannot. Be honest about solar placement — a fixture under a dense tree or on a north-facing wall will not charge enough in winter, so give the backup layer your sunniest spots and save the shaded corners for wired lights. Test the whole arrangement once by flipping the breaker on a mild evening and walking your routes; it is a strangely satisfying rehearsal. Outages stop being an event and become a shrug, which is precisely the relationship a forever home should have with a storm.
Suggested budget range: $15 – $70.
15. Walk Every Route Twice a Year — Outdoor Lighting for Seniors Safety Is a Habit
Fixtures drift, bulbs dim, shrubs swallow path lights whole, and a walkway that was perfectly lit in April can have a dark, heaved paver by October. So twice a year — I do it at the clock changes, when I am thinking about the house anyway — walk every route after dark the way it is actually used: carrying something, coming home tired, heading out to the bins. Bring a notepad. Note the bulb that has gone yellow and dim, the step light buried under mulch, the sensor that now triggers late, the paver that has lifted a quarter inch and wants a handyman before it wants an ambulance. Most fixes take minutes: raise a fixture, trim a branch, swap an LED, re-aim a head. This little ritual is what keeps outdoor lighting for seniors safety from being a one-time project that slowly decays — it is the maintenance habit that makes all fourteen other ideas keep their promises. Fifteen minutes, twice a year, cup of tea afterward. That is the whole program.
Suggested budget range: $0 – $30.

Frequently Asked Questions
How bright should outdoor lights be for comfortable nighttime visibility?
Evenness matters more than raw brightness. Steps and paths read clearly at modest levels — roughly 50 to 100 lumens per step light and 100 to 300 per path light — as long as the light is continuous and glare-free. One very bright fixture actually hurts, because your eyes adapt to it and everything outside its beam goes black. Spread the lumens out.
Are solar lights reliable enough for safety lighting?
For markers, edges and the backup layer, yes — modern solar fixtures with a decent panel are genuinely dependable. For the primary light on a flight of steps, I still prefer low-voltage wired, which delivers the same brightness every night of the year regardless of weather or season. Many homes do best with both: wired for the critical routes, solar for accents and insurance.
What color temperature is easiest to see by at night?
Warm white, 2700K to 3000K, is the sweet spot for most people. It renders edges, faces and tread contrast honestly, feels residential rather than institutional, and produces far less squint-inducing glare than blue-white 5000K bulbs. Whatever you choose, keep every bulb on a route the same temperature so your eyes are not readjusting between fixtures.
Do I need an electrician for these upgrades?
Plenty of this list is DIY: low-voltage path and step kits, solar fixtures, screw-in photocell adapters and battery-backup bulbs need no wiring at all. Call a licensed electrician for anything involving new 120-volt circuits, switch replacements in older wiring, or fixtures near pools and spas. The consult is cheap insurance and usually quick.
Conclusion
None of this asks a home to look like anything other than what it is — a loved house, lit warmly and well. The real principle behind outdoor lighting for seniors safety is simply respect for how people actually move through their own yards at night: evenly lit steps, a rail that glows, light that arrives before you do, and controls too simple to get wrong. Start at the stairs, walk your routes twice a year, and the rest follows. If you are browsing for more ways to make the outside of your home work beautifully after dark, there are plenty more lighting ideas waiting for you here on the site.