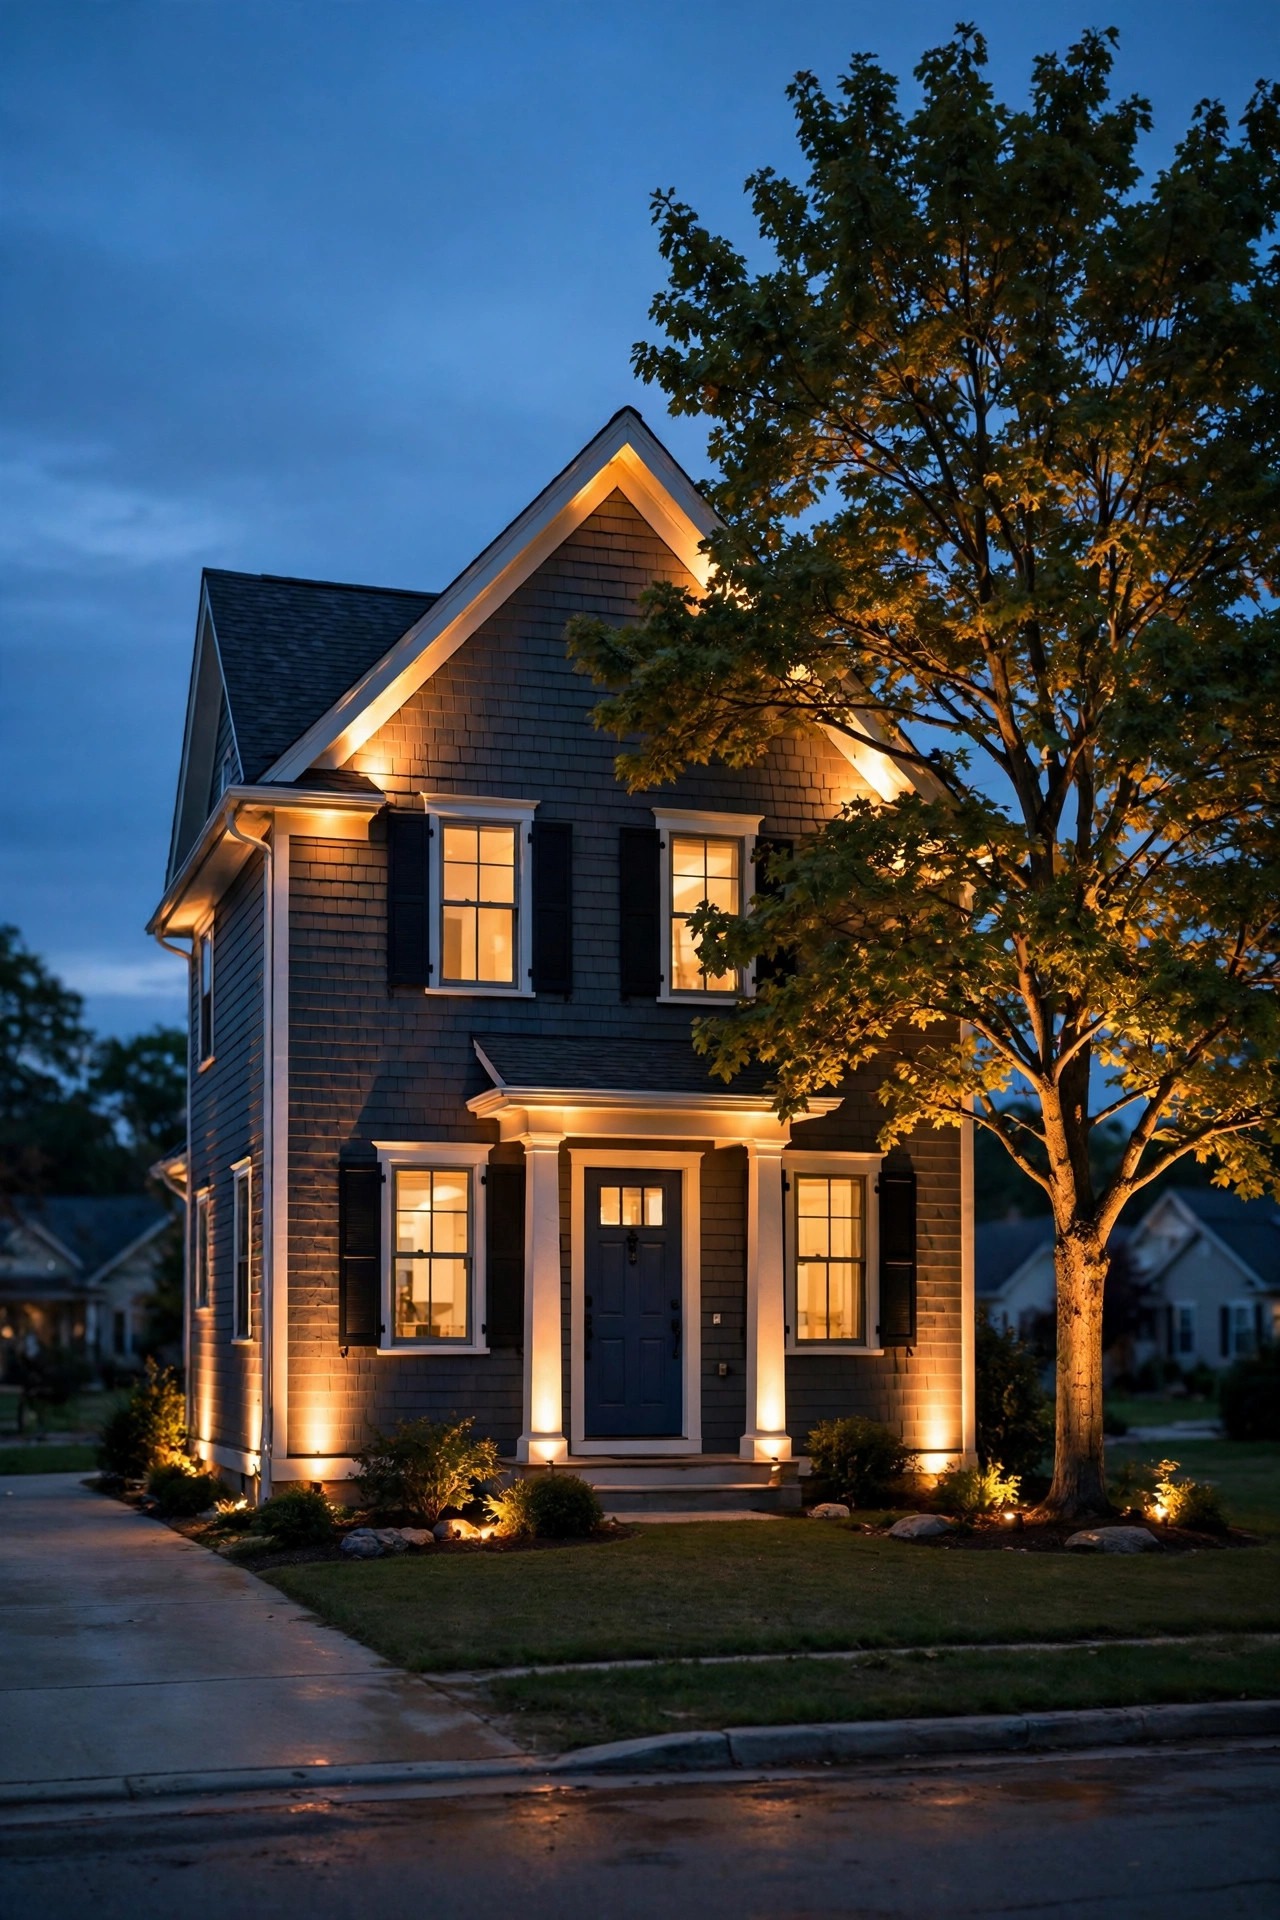
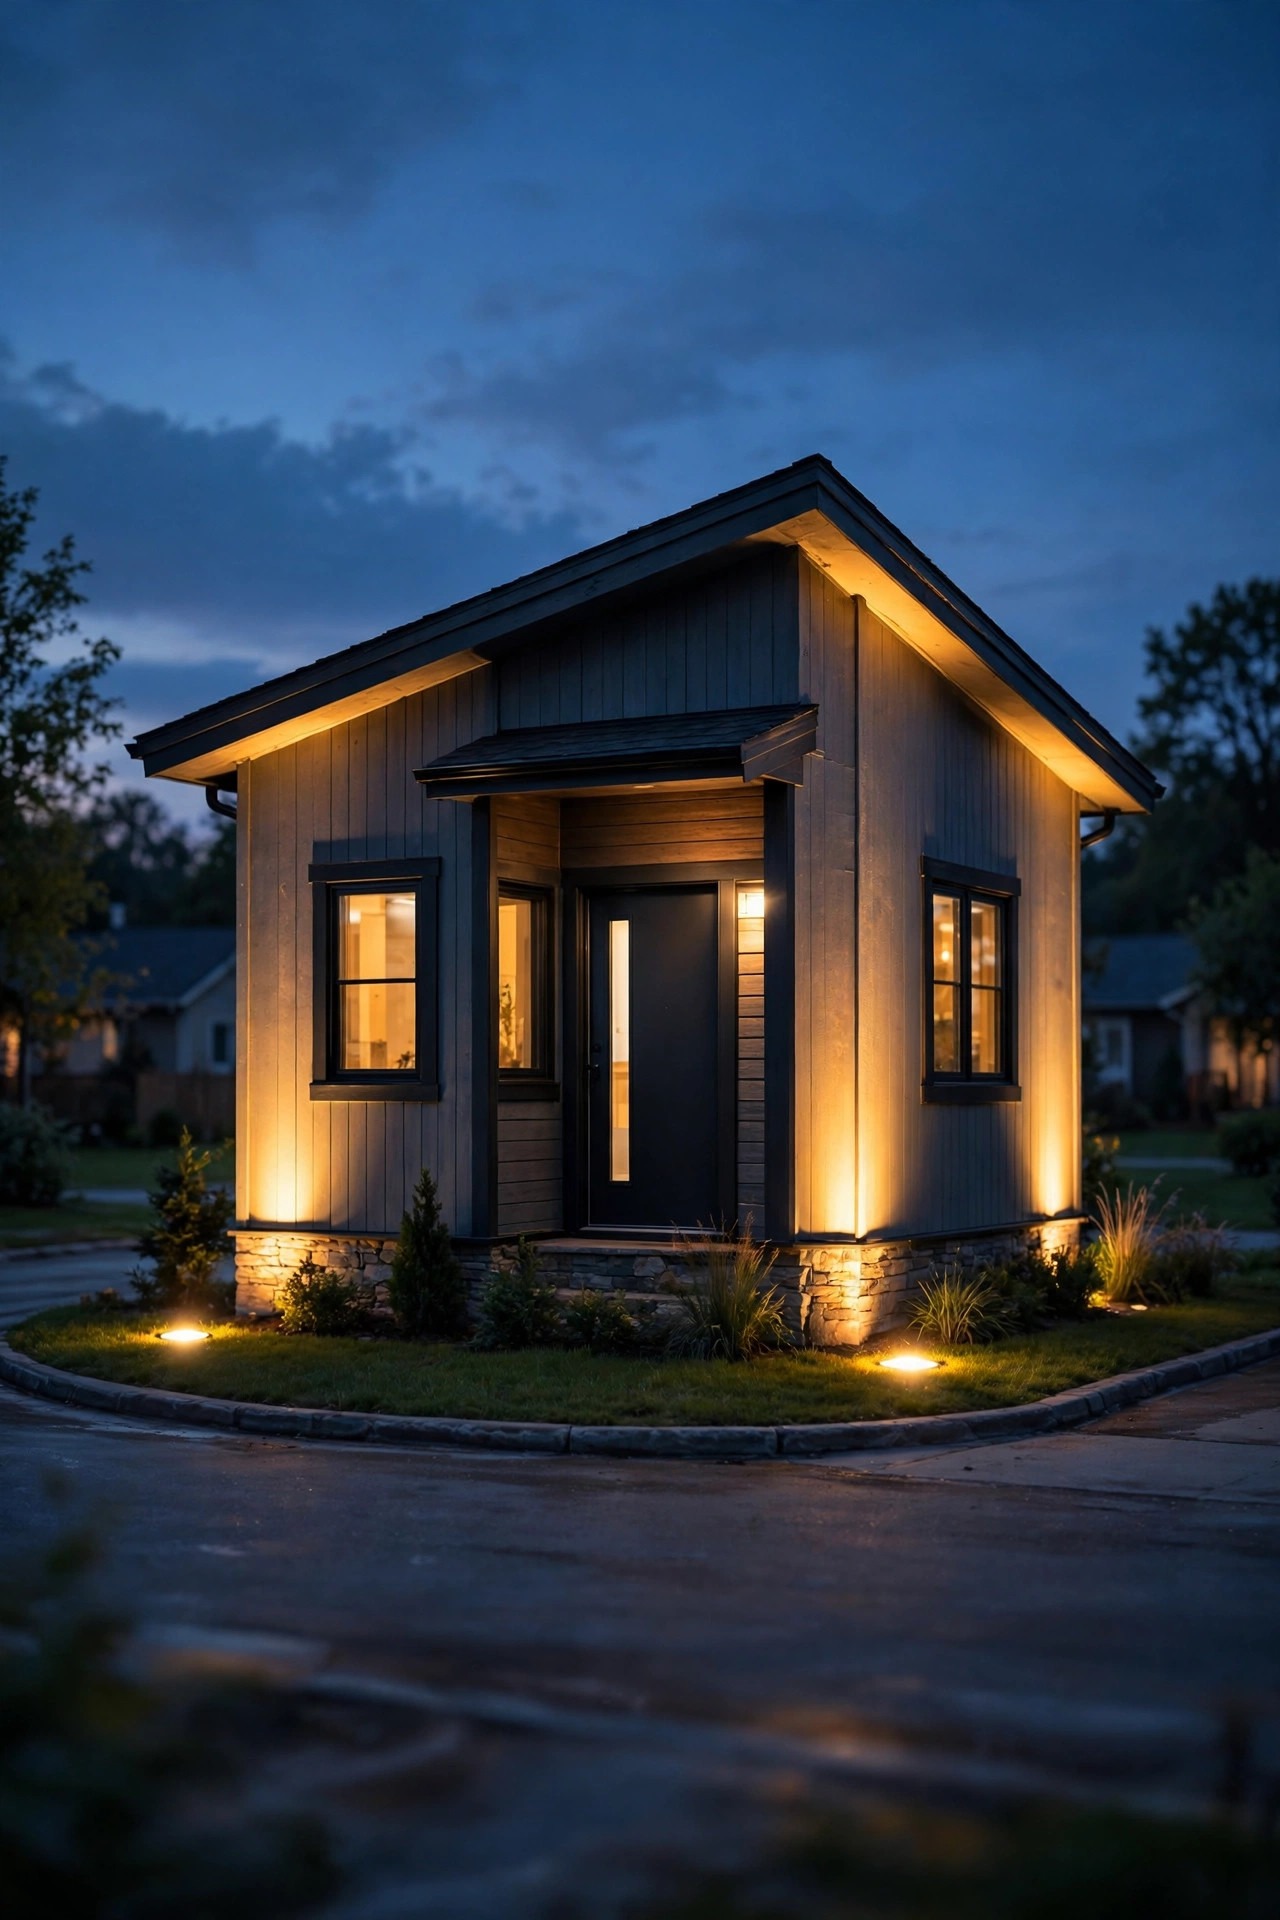
I'll never forget the first evening I drove past my own house after finishing the front lighting. From the street, our little 1,100-square-foot cottage honestly looked like a different home — taller, wider, and somehow grander, and all I had changed was the light. That's the real secret behind lighting to make a house look bigger: after dark, nobody sees your actual square footage. They see whatever the light describes. A dark corner reads as "the house ends here," while a softly lit edge tells the eye the home stretches on. In my experience, small homes benefit the most from this trick because every visual inch counts, and light is so much cheaper than an addition. The philosophy is the same layering I use everywhere: define the edges, wash the walls instead of spotting them, borrow height from trees and roofline, and give the eye lit destinations deep in the yard. Below are the 17 moves I reach for again and again, from five-minute solar tweaks to a proper low-voltage weekend project, each one chosen to make a modest house feel anything but.
1. Light Both Front Corners From the Ground Up
If you only do one thing on this list, do this one. The corners of your house are where the eye measures its width, and on most small homes those corners fall into total darkness at night — which means passersby unconsciously assume the house ends wherever the light stops. A single well light or a narrow-beam spot fixture tucked into the foundation planting at each front corner, aimed up and slightly inward, changes that completely. It draws a bright vertical line from ground to eave at the very edge of the structure, and suddenly the full width of the home registers. I use 20- to 35-degree beam spreads for this so the light climbs the wall instead of spilling into the yard, and I place the fixture 12 to 18 inches out from the foundation. On a two-story home, step up to a 10–15 watt LED equivalent so the beam still has presence at the eaves. Angle the two corners identically — mismatched heights make the house look lopsided rather than large. This is also the cheapest square footage you'll ever "add," because it's really just two fixtures doing all the measuring work for the eye.
Suggested budget range: $30 – $120.
2. Wall-Wash the Whole Facade — Classic Lighting to Make a House Look Bigger
Spotlights create bright islands with darkness between them, and darkness between reads as distance and separation — the opposite of what a small house needs. Wall washing does the reverse: it lays one broad, even sheet of light across the entire front of the home, so the facade reads as one continuous, generous surface. Place wide-beam fixtures (60 degrees or more) about 2 to 3 feet out from the wall, spaced evenly every 6 to 8 feet, and tilt them so the beams overlap slightly at the top. The result is a home that glows like a lantern rather than a flashlight exhibit. Honestly, this is the single technique pros use most, and my full wall washing guide walks through the spacing math if you want to get precise. Keep the brightness moderate — a wash should feel like moonlight-plus, not stadium glare, because blown-out white walls actually flatten and shrink. On pale siding, you can run the fixtures a touch dimmer than on dark brick, which drinks light. One continuous wash, edge to edge, is what convinces the street your home is wider than the tape measure says.
Suggested budget range: $80 – $300.

3. Aim Light at the Gable and Roofline
Small houses often look small because they look squat — all width, no height. The cure is to give the eye a reason to travel upward. A narrow spot aimed at the gable peak, a lit chimney, or a soft uplight washing the second-story wall pulls attention to the tallest points of the structure, and a home that reads tall reads big. I like a 15- to 25-degree beam on the gable so the light lands in a defined triangle rather than a vague blur, mounted in the garden bed below or on a short stake. If your home has a covered porch, a gentle uplight under the porch roof bouncing off the ceiling works beautifully too — it lifts the whole entry zone. What you're avoiding is the common one-story trap where only the bottom four feet of the house are lit and everything above the windows is a black void. That void is what makes a cottage look like it's crouching. Even one modest fixture reaching up to the peak breaks it. Pair this with the corner uplights from idea one and you've outlined the full silhouette — width and height both accounted for.
Suggested budget range: $25 – $110.

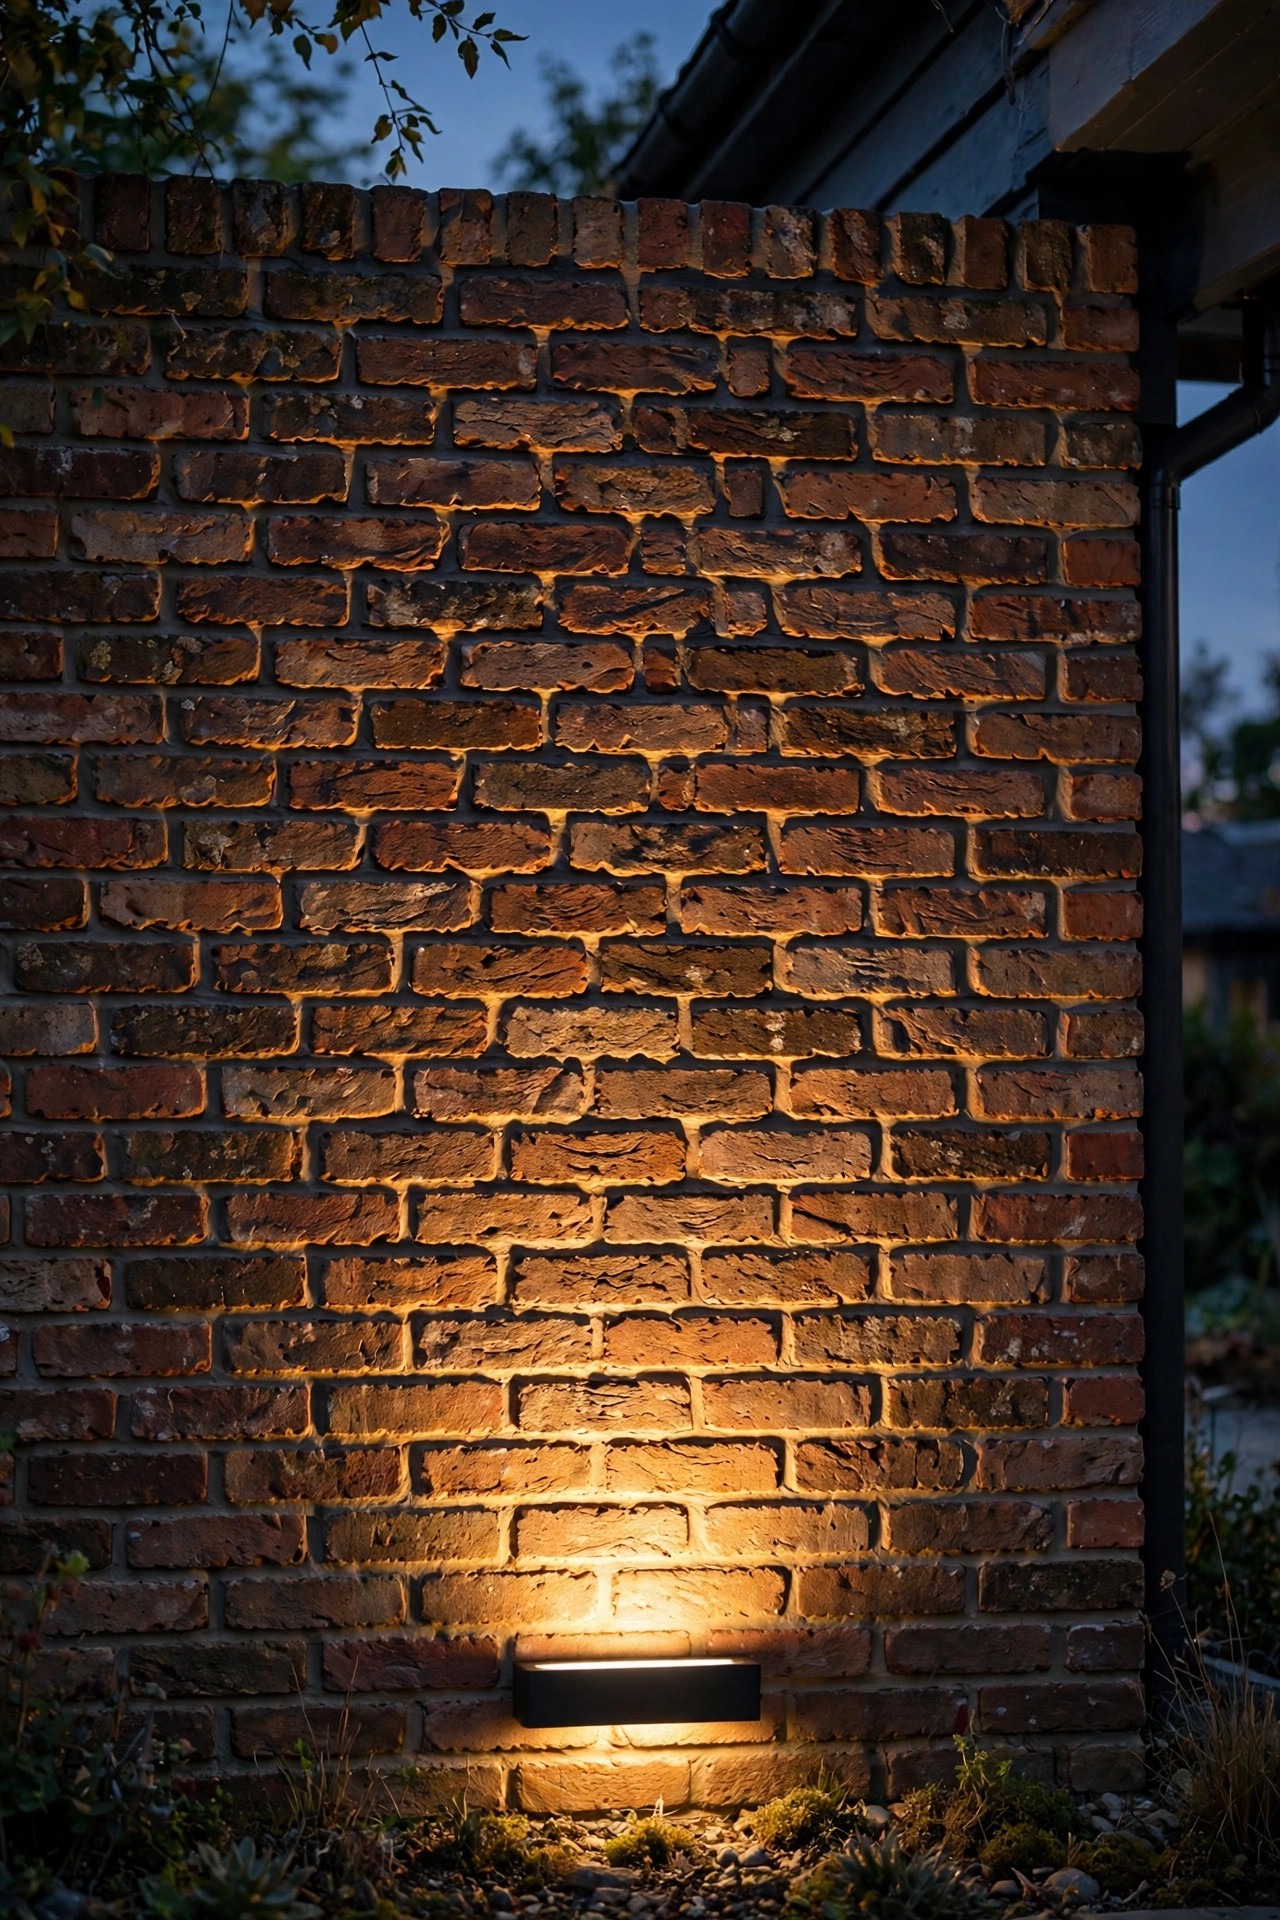
4. Graze Brick, Stone, and Texture to Add Depth
Flat light flattens; grazing light sculpts. When a fixture sits close to a textured wall — brick, stone veneer, board-and-batten, even rough stucco — and shines nearly parallel to it, every bump and mortar line throws a tiny shadow. The wall suddenly has depth, and depth is dimension, and dimension is size. To graze, pull your fixtures in close, 6 to 12 inches from the surface, and aim almost straight up so the beam rakes across the texture instead of hitting it head-on. This is the one place where a tighter beam actually helps a small house, because you're lighting a surface, not a silhouette. I always recommend testing with a flashlight first: hold it low against your brick one evening and watch the wall come alive, then decide your fixture spots. Smooth vinyl siding won't reward grazing the same way, so on smooth homes I lean harder on the even wash from idea two. But if you've got texture, grazing is nearly free presence. One caution: grazing exaggerates flaws too, so skip the cracked, patched section of wall and graze the pretty stretch instead.
Suggested budget range: $30 – $130.
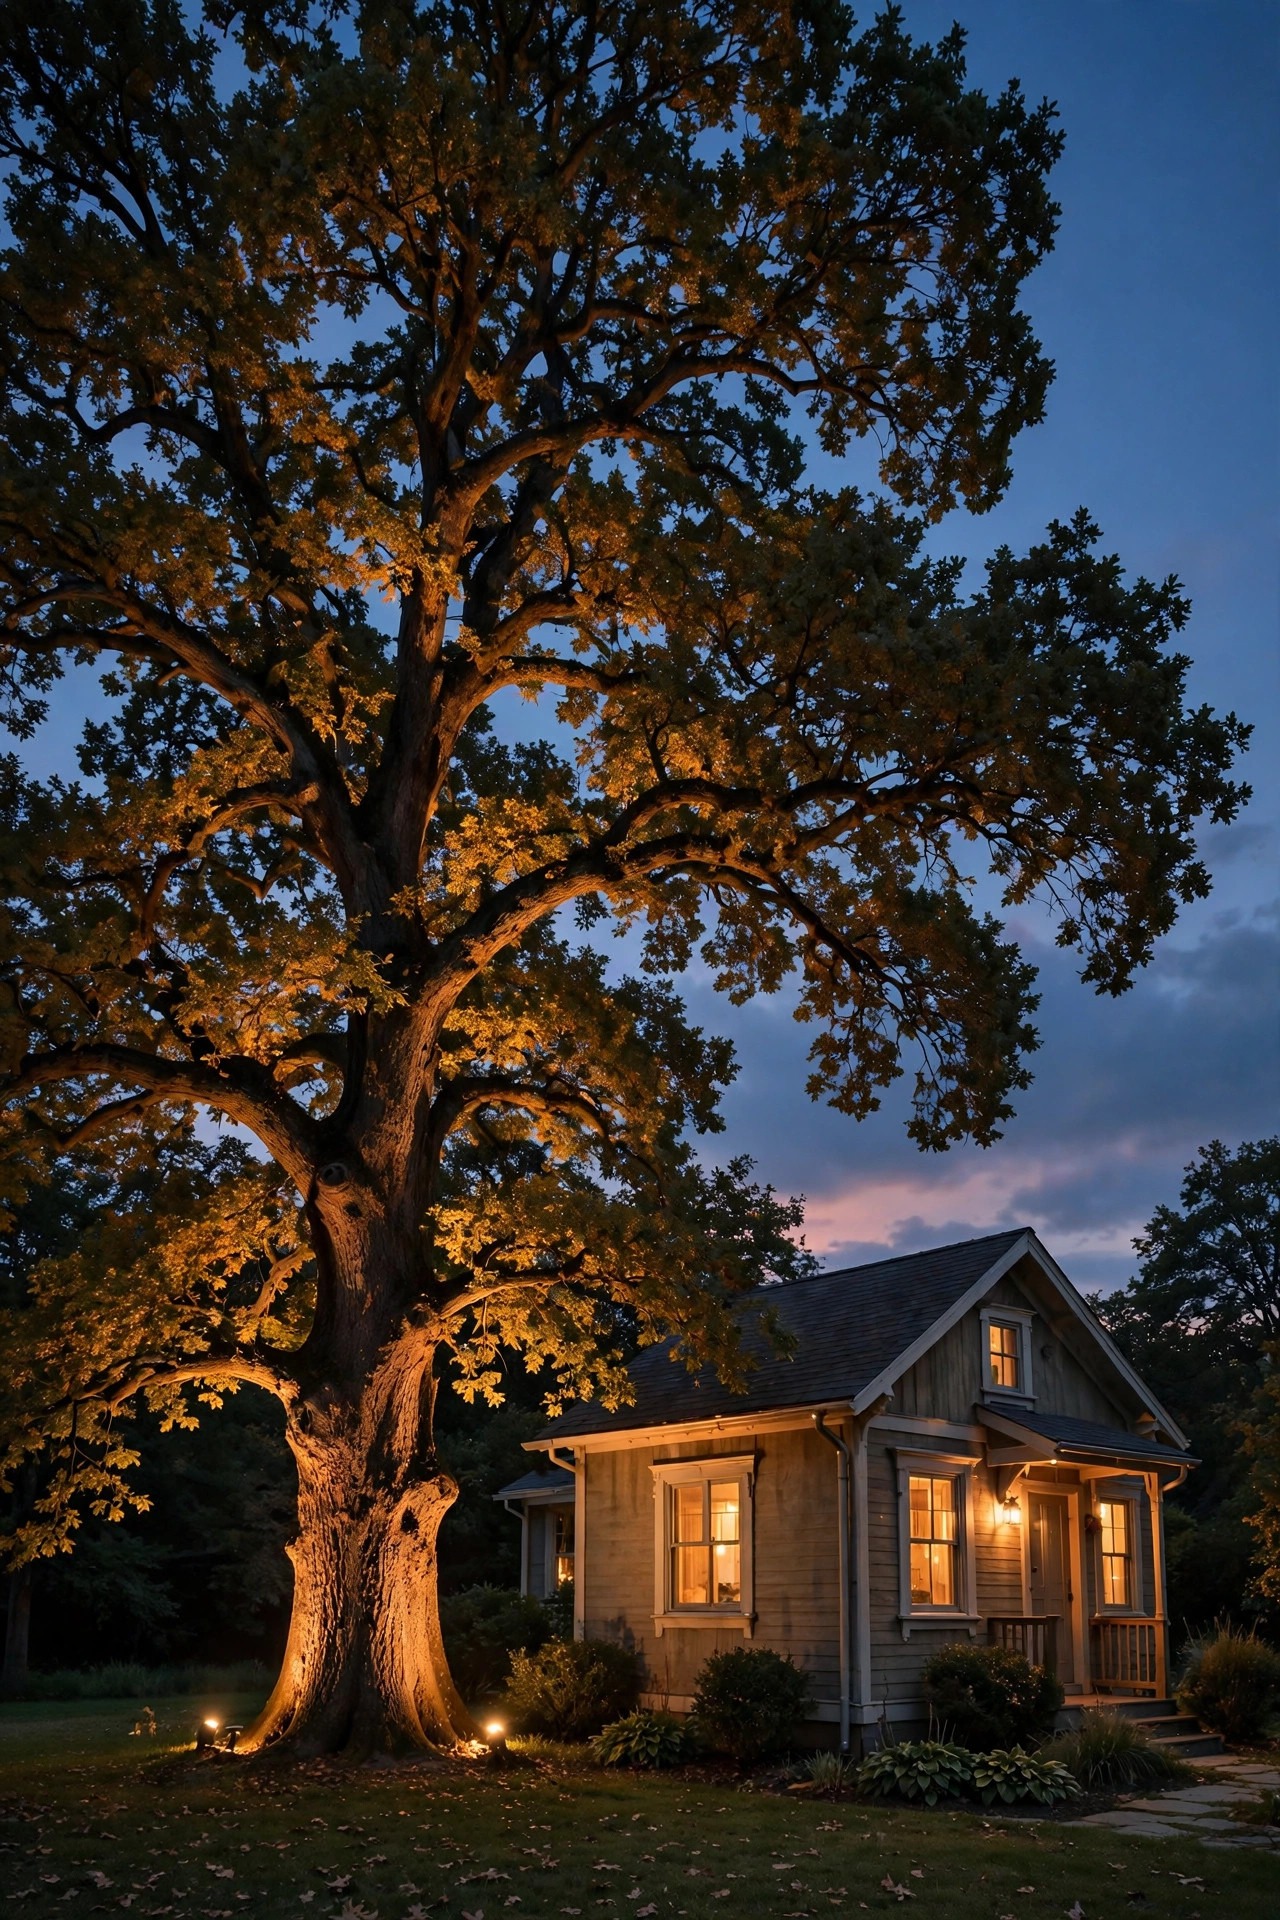
5. Uplight the Tallest Tree in the Front Yard
Your house doesn't have to supply all the height itself — it can borrow some. Uplighting the tallest front-yard tree connects the home to something big and vertical, and the eye blends the lit canopy into the property's overall presence. A cottage standing next to a glowing 30-foot oak reads as part of a substantial, established homestead rather than a small box on a lot. Use two or three spot fixtures around the trunk aimed into the canopy, or a single well light at the base for a simpler trunk-and-branch effect. Place fixtures 2 to 4 feet from the trunk so the beam catches the main limbs on its way up. Warm white is essential here; cool light turns foliage an unnatural blue-green that shrinks the mood instead of growing it. If your tree is still young, light it anyway — even a 12-foot ornamental gains presence, and the planting bed glow around its base adds a mid-yard layer. This is also a lovely excuse to keep a maturing tree pruned up so the light can travel into the canopy rather than dying in low branches.
Suggested budget range: $40 – $180.
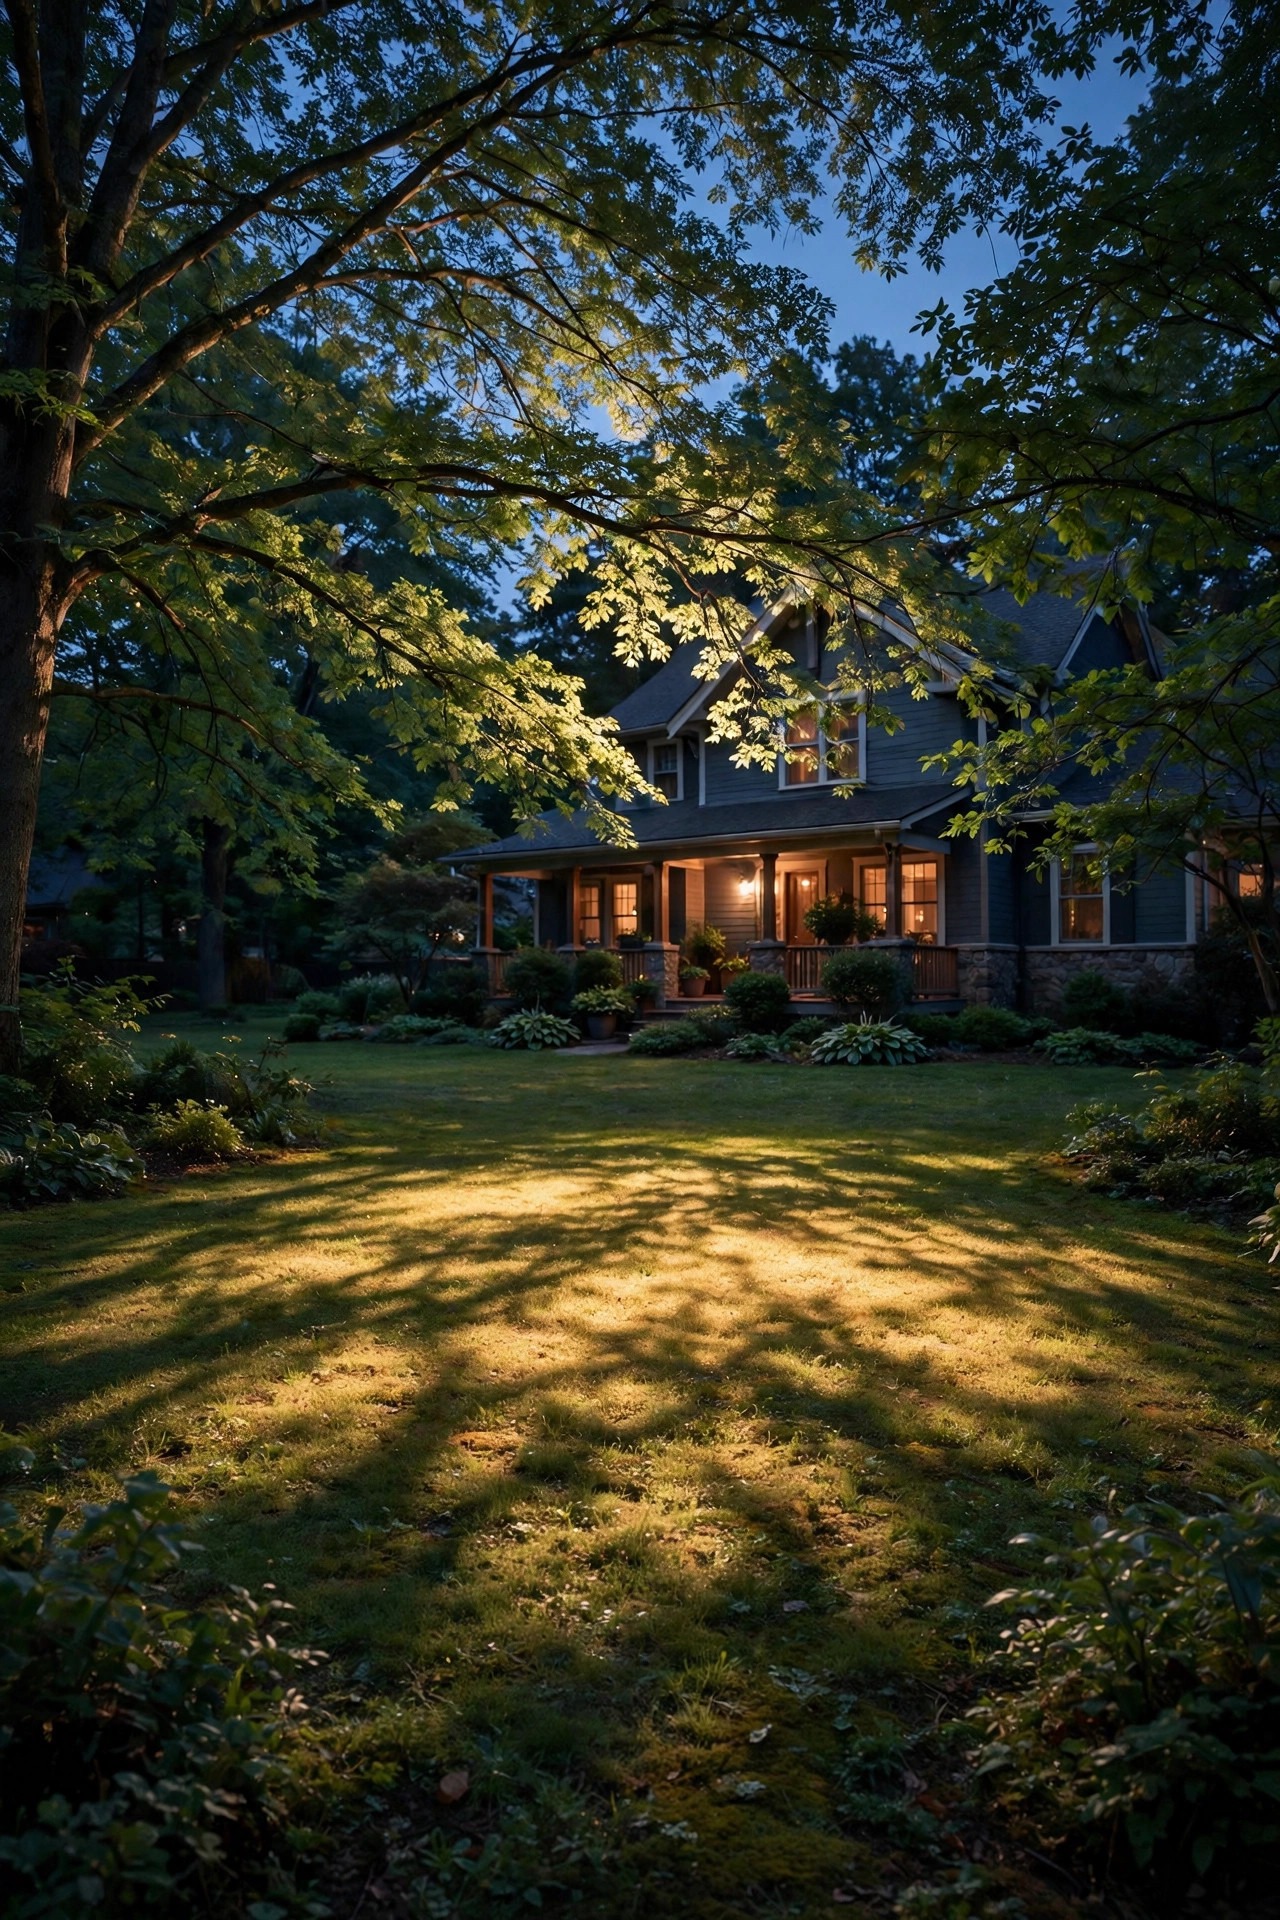
6. Moonlight Down From the Canopy for a Wider Pool of Light
Uplighting a tree makes it a monument; moonlighting makes it a chandelier. A fixture mounted 15 to 25 feet up in the canopy, shining down through the branches, throws a wide, dappled pool of light across the lawn and walkway — and a wide pool of light in front of a home reads as a wide property. The pattern of leaf shadows also breaks up the flat darkness that makes small yards feel like they end three steps from the porch. I always recommend having an arborist or a confident ladder-and-harness DIYer do the mounting, with the wire run discreetly down the back of the trunk. Aim for the feel of actual moonlight: soft, high, and everywhere at once, roughly 2700K so it stays warm rather than silvery. One fixture can cover a surprising amount of a small front yard, which makes this a high-impact, low-fixture-count move. Pair it with dark, unlit space beyond the pool's edge and the contrast makes the lit area feel even more expansive. It's the closest thing to repainting your yard with light.
Suggested budget range: $90 – $320.
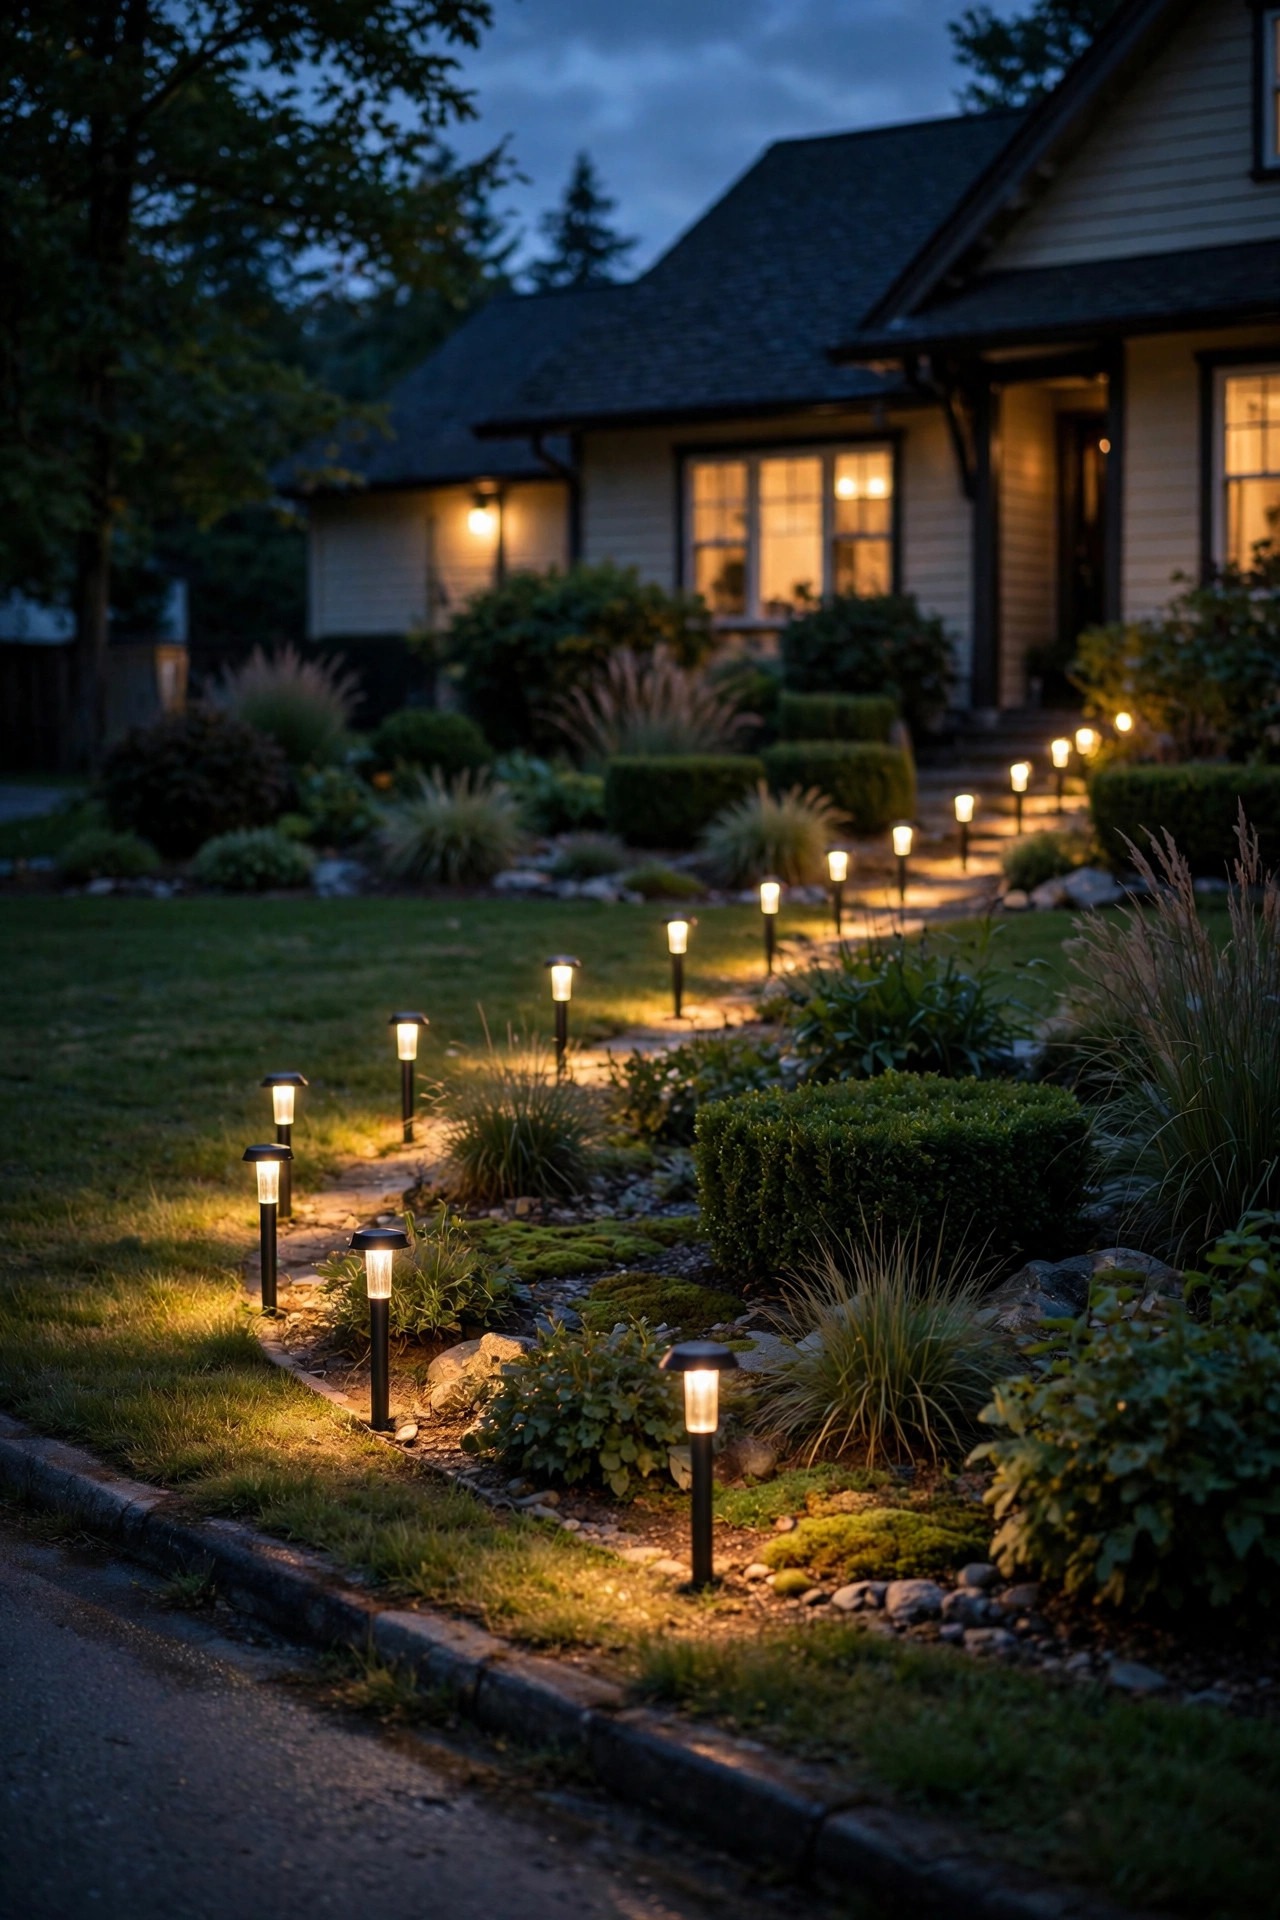
7. Run Path Lights in a Long Diagonal, Not a Straight Runway
A short, straight line of path lights marching to the front door measures your small yard like a ruler — and announces exactly how short the walk is. A gentle diagonal or a lazy S-curve does the opposite: it gives the eye a longer journey, and a longer journey reads as a bigger space. Stagger the lights on alternating sides of the walk, 6 to 8 feet apart, letting each pool of light overlap slightly with the next. From the street, the lit path becomes the longest visible line on your property, and our eyes judge a space largely by its longest line. Choose low, shielded fixtures so you see the light pool, not the bulb — visible glare points shrink a scene because they pull focus to the fixture instead of the space. This trick works especially well on corner lots and angled walks, but even a straight suburban walkway benefits from staggered placement and one light placed a little farther out near the street, stretching the composition toward the curb. Think of the path as a ribbon of light you're unrolling as generously as the yard allows.
Suggested budget range: $60 – $240.
8. Glow the Fence Line and the Far Edges of the Lot
Here's a question I ask every small-home client: where does your light stop? Because wherever it stops, that's where visitors assume your property stops too. If the glow ends at your foundation plantings, your home reads as a small lit box floating in blackness. Extend low, gentle light to the far edges — a fence line, the side property borders, the back corners of the front yard — and the whole lot joins the picture. Solar stake lights, low-voltage fence post caps, or a string of warm bulbs along a picket fence all work; the fixture matters less than the boundary being visible. Keep these edge lights dimmer than the house itself so the home stays the star and the edges read as context, like the frame around a painting. On side yards especially, one or two lights down the fence line stop the house from appearing to end abruptly at its corners. In my experience this is the single most dramatic "wait, your yard is that big?" change you can make, and it usually costs less than the foundation lighting did.
Suggested budget range: $35 – $190.
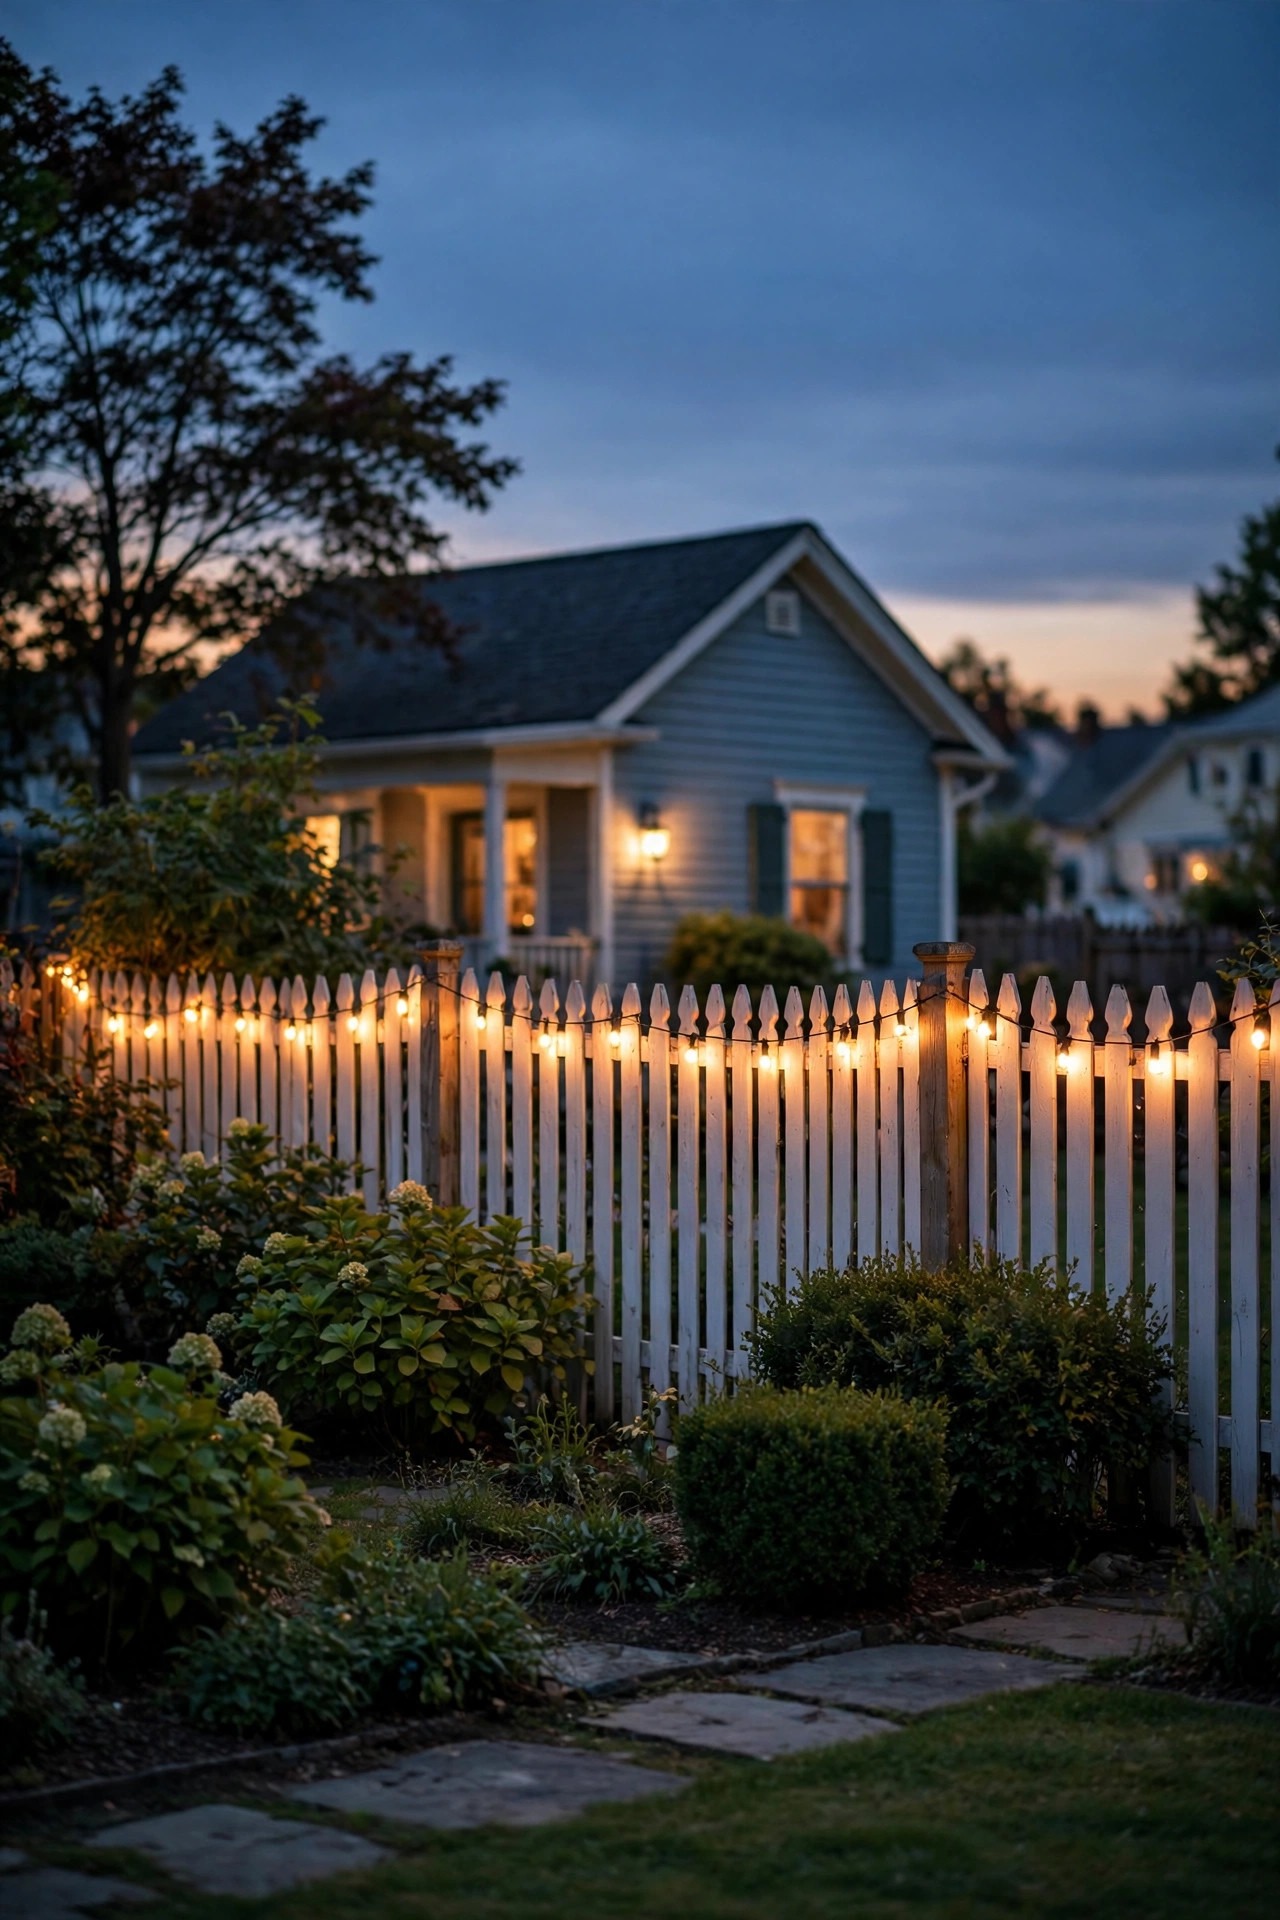
9. Build Three Layers of Light, From Street to Front Door
One layer of light makes a flat picture; three layers make a world. When I talk about layered landscape lighting, this is what I mean for a small home: a street layer (path edge lights or a lit mailbox), a middle layer (tree uplights, garden bed washes, a lit focal point), and the house layer (corner uplights, wall wash, porch). When all three glow at once, the eye travels through depth — near, middle, far — and depth is the raw material of "big." A small yard with three lit layers genuinely feels larger than a big yard with one porch bulb, because the big yard's darkness collapses it to a door floating in space. You don't need many fixtures per layer; two or three per zone is plenty at this scale. Keep the brightness graded, brightest at the house and softest at the street, so the composition pulls inward like a stage set. If budget forces you to build one layer per season, start with the house, add the middle next, and finish with the street edge — each addition multiplies the others.
Suggested budget range: $120 – $450.
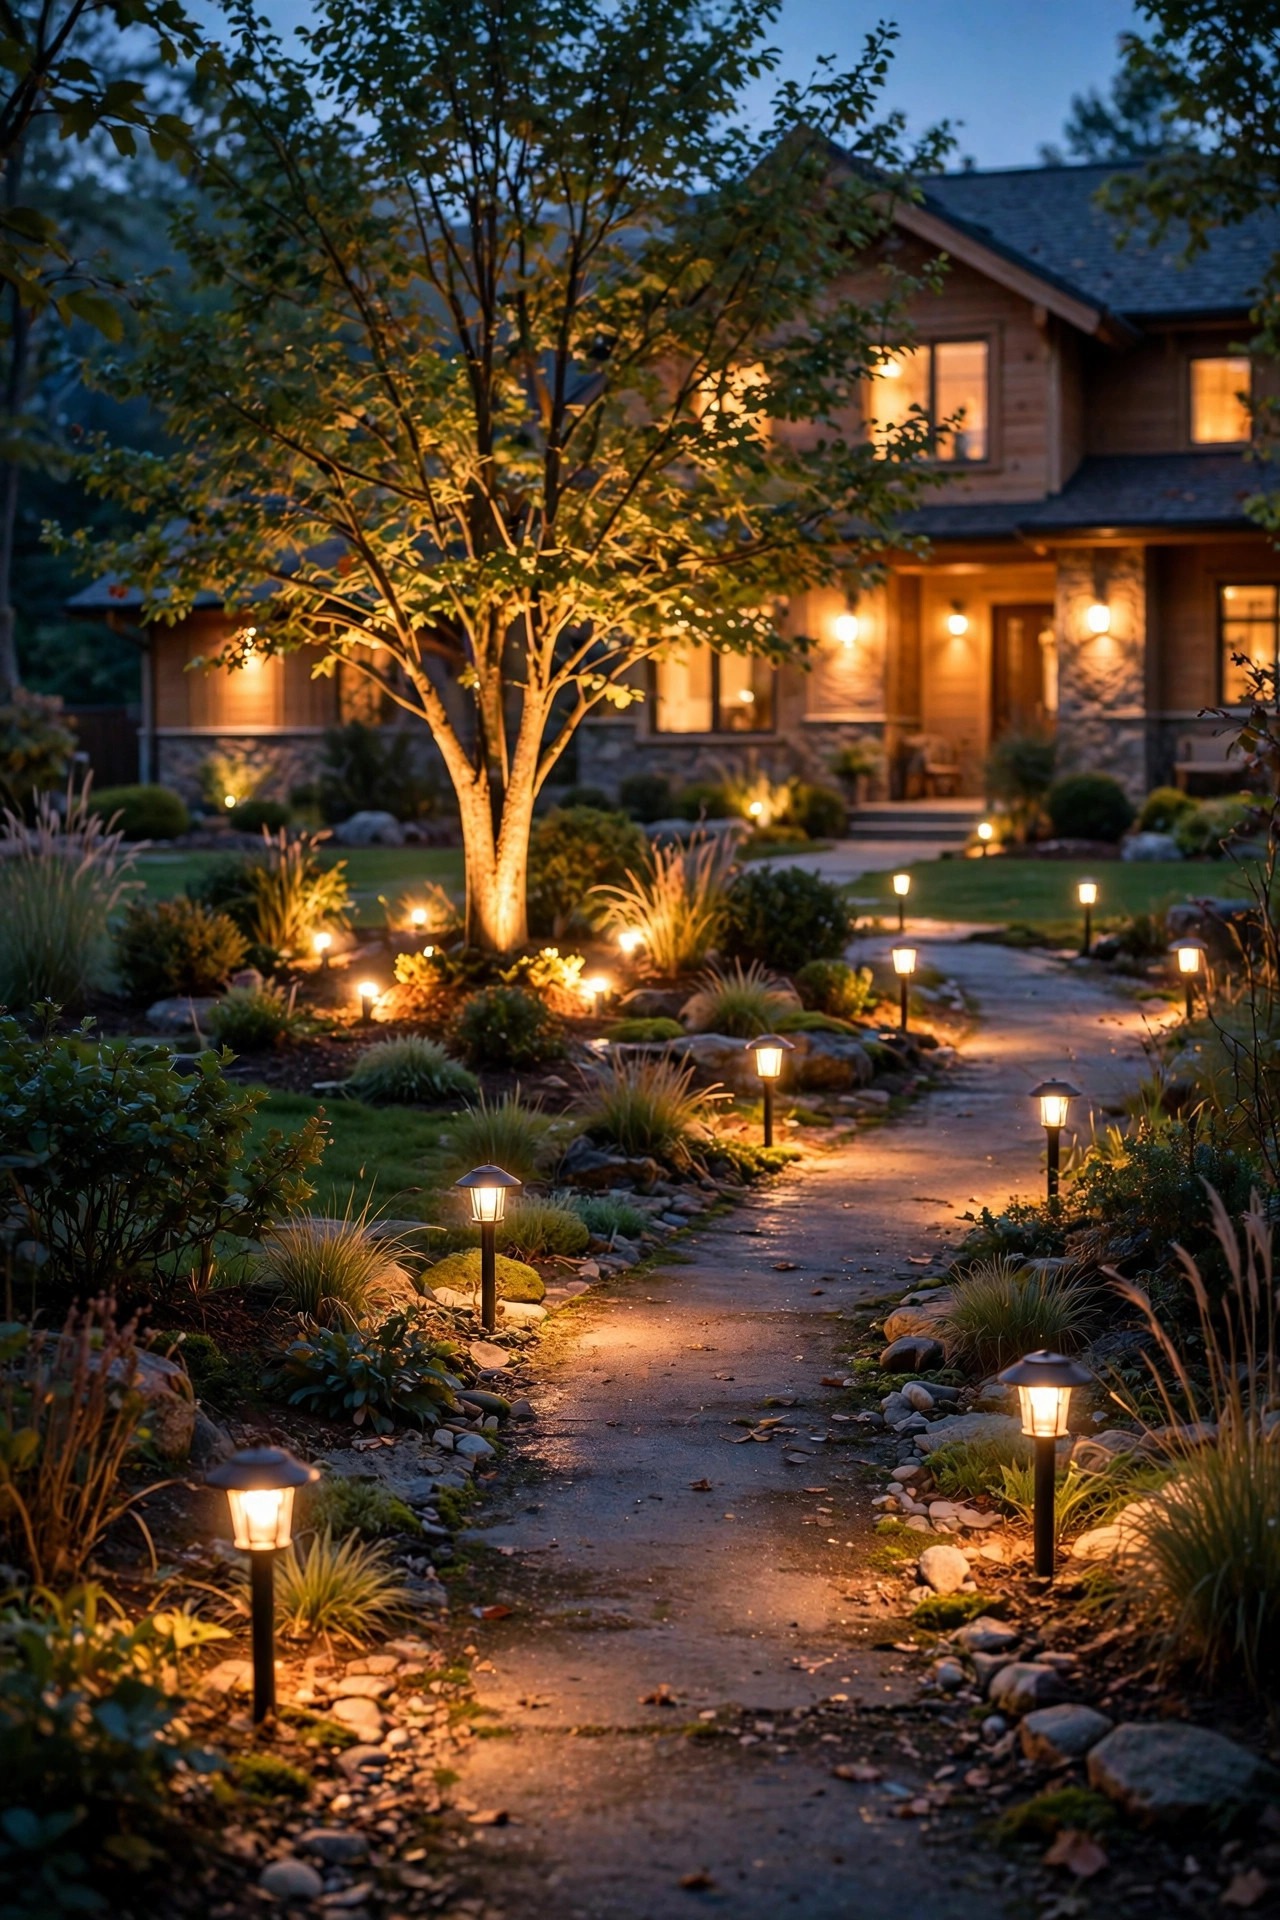
10. Frame the Front Door With Balanced, Bigger-Scale Sconces
Symmetry reads as formal, and formal reads as grand — it's why courthouses and mansions are always symmetrical. A pair of matching sconces flanking your front door gives a small entry that same composed, intentional presence. Here's the trick most people miss, though: go one size larger than feels safe. Dainty fixtures shrink a facade; generously scaled lanterns — say a 12- to 16-inch fixture on a standard door surround — make the whole entry read larger by association, the way oversized hardware elevates a small room. Mount the pair at eye level, roughly 60 to 66 inches from the porch floor to the fixture center, and keep the bulbs identical in brightness and color temperature. Add a lit house number or a wreath with a soft spotlight and the entry becomes a proper focal point that anchors the whole composition. If your door sits off-center, you can fake balance with a sconce on one side and a tall, uplit planter on the other — the eye reads matching visual weight, not matching objects. A well-framed door makes the street assume the home behind it is substantial.
Suggested budget range: $60 – $260.

11. Wake Up Dormers, Windows, and Second-Story Details
A dark upper story is a missing upper story. When the windows and dormers of a small two-story or Cape Cod go black at night, the house visually collapses to its ground floor — and a one-story house always reads smaller than a two. You don't need to light rooms from inside on a timer (though a lamp on a smart plug in an upstairs window genuinely helps, and it makes the home look lived-in and loved). From outside, a soft uplight catching a dormer's face, or a gentle wash across the second-story wall between windows, restores the full silhouette. Even the warm spill from a lit gable vent or a small accent on a chimney tells the street the house continues upward. Avoid blasting bedroom windows directly — aim for the architecture between and above them, and keep intensities lower up high so the effect is a suggestion, not a searchlight. I've seen Cape Cods gain what looks like a whole extra half-story just from one fixture on the dormer row. Height you already own should never be donated to the dark.
Suggested budget range: $30 – $150.
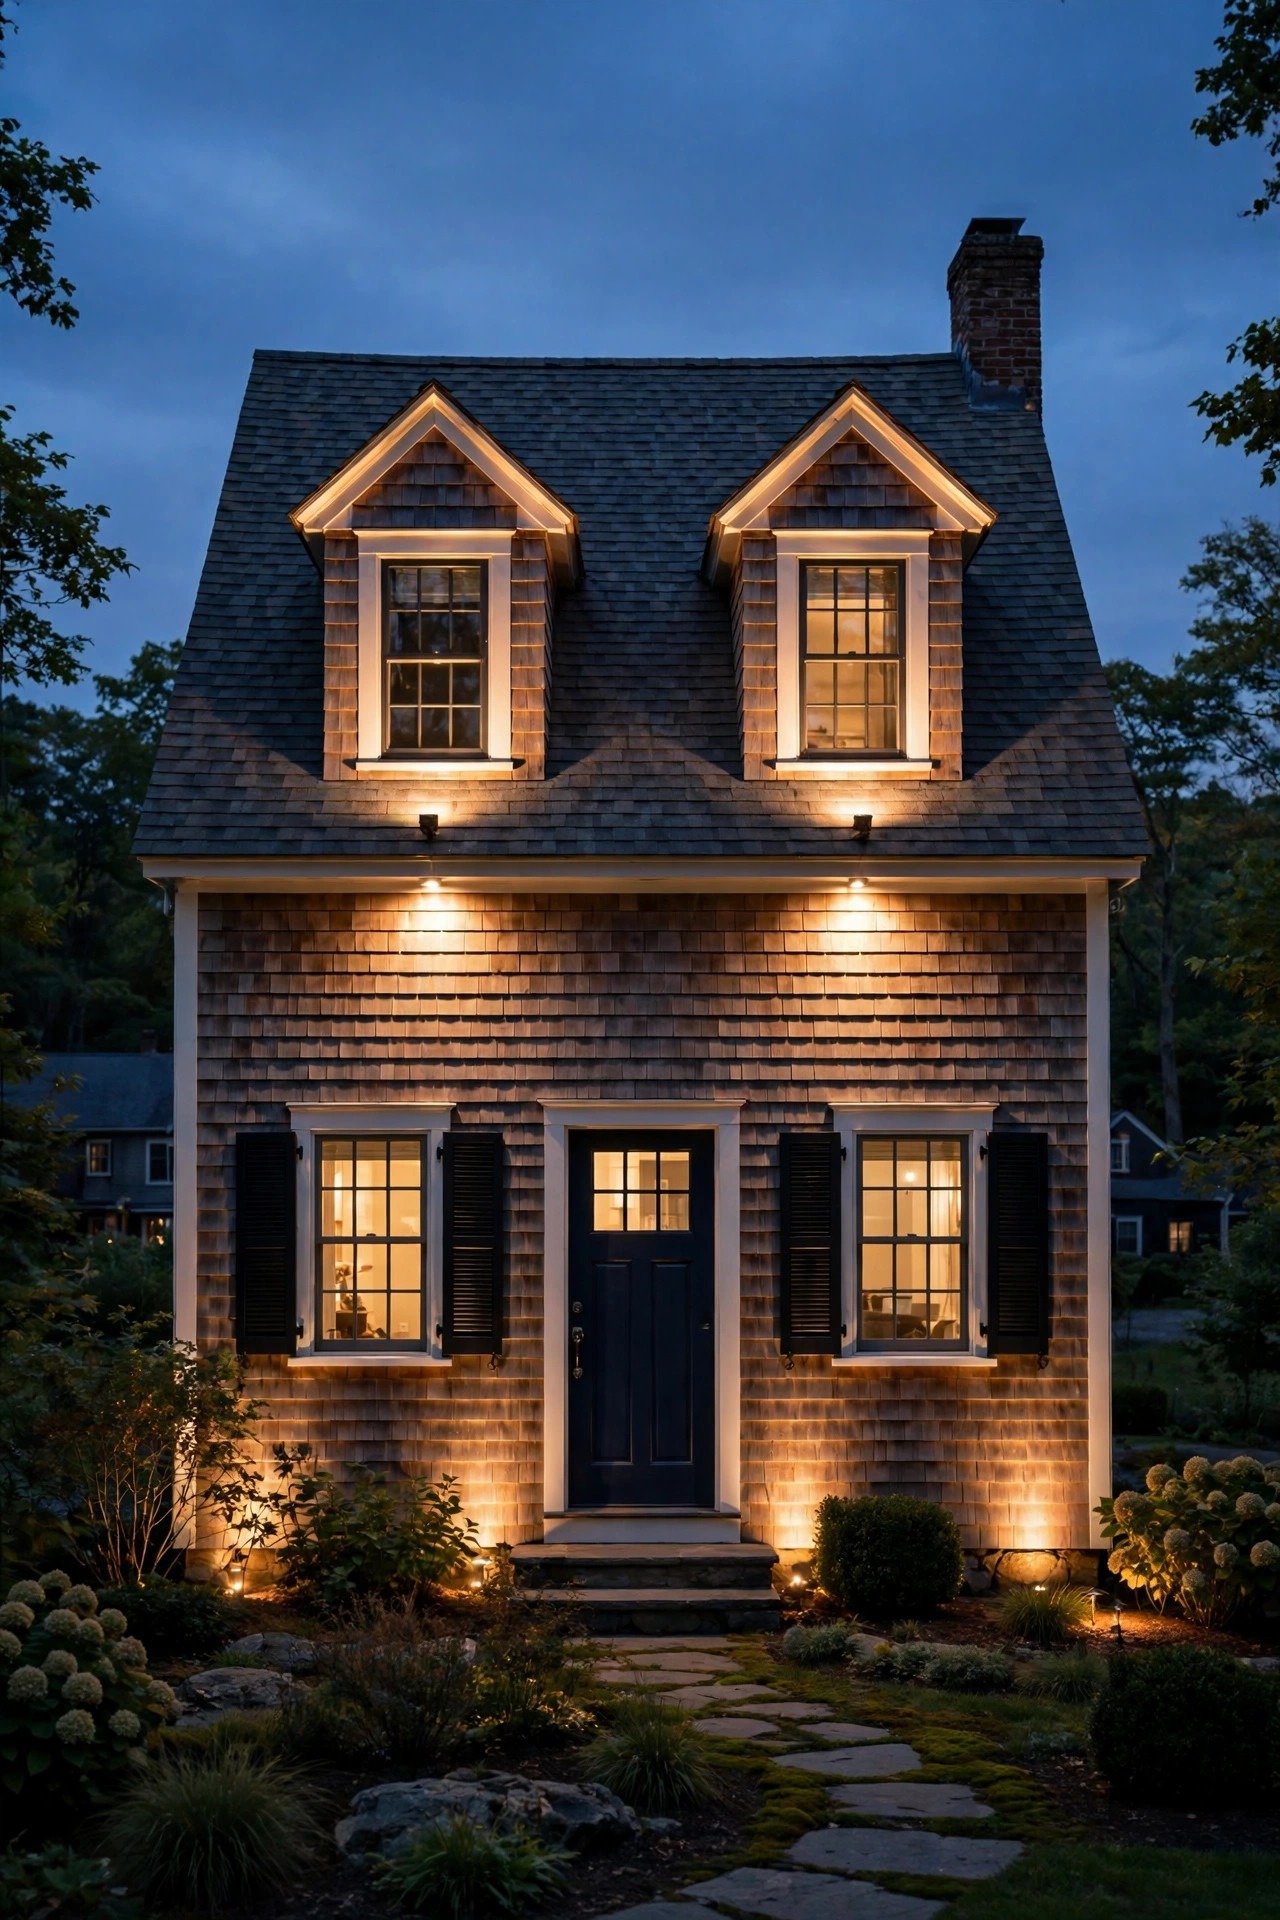
12. Uplight Foundation Shrubs So the Base of the House Fans Out
A house that emerges from a black hedge looks perched and narrow, like it's balancing on a dark lump. Uplighting the foundation plantings themselves — small spots tucked inside or in front of boxwoods, hydrangeas, and ornamental grasses — turns that lump into a glowing, generous base that the house rises out of. Lit greenery is wider than dark greenery, because the light catches the outer leaves and throws soft spill onto the lawn and wall behind. Space fixtures every 4 to 6 feet along the foundation, alternating aim between the shrub and the wall gap behind it, and you'll get a scalloped rhythm that stretches the frontage. This layer also does quiet double duty: it's the bridge between your wall wash up top and the yard layers out front, so the whole composition connects. Keep wattages low — shrubs need a whisper of light, 2 to 4 watts LED each, or they'll hotspot into glowing green blobs. In winter, when deciduous shrubs drop their leaves, the same fixtures graze the wall instead, so the effect survives the season change.
Suggested budget range: $50 – $200.

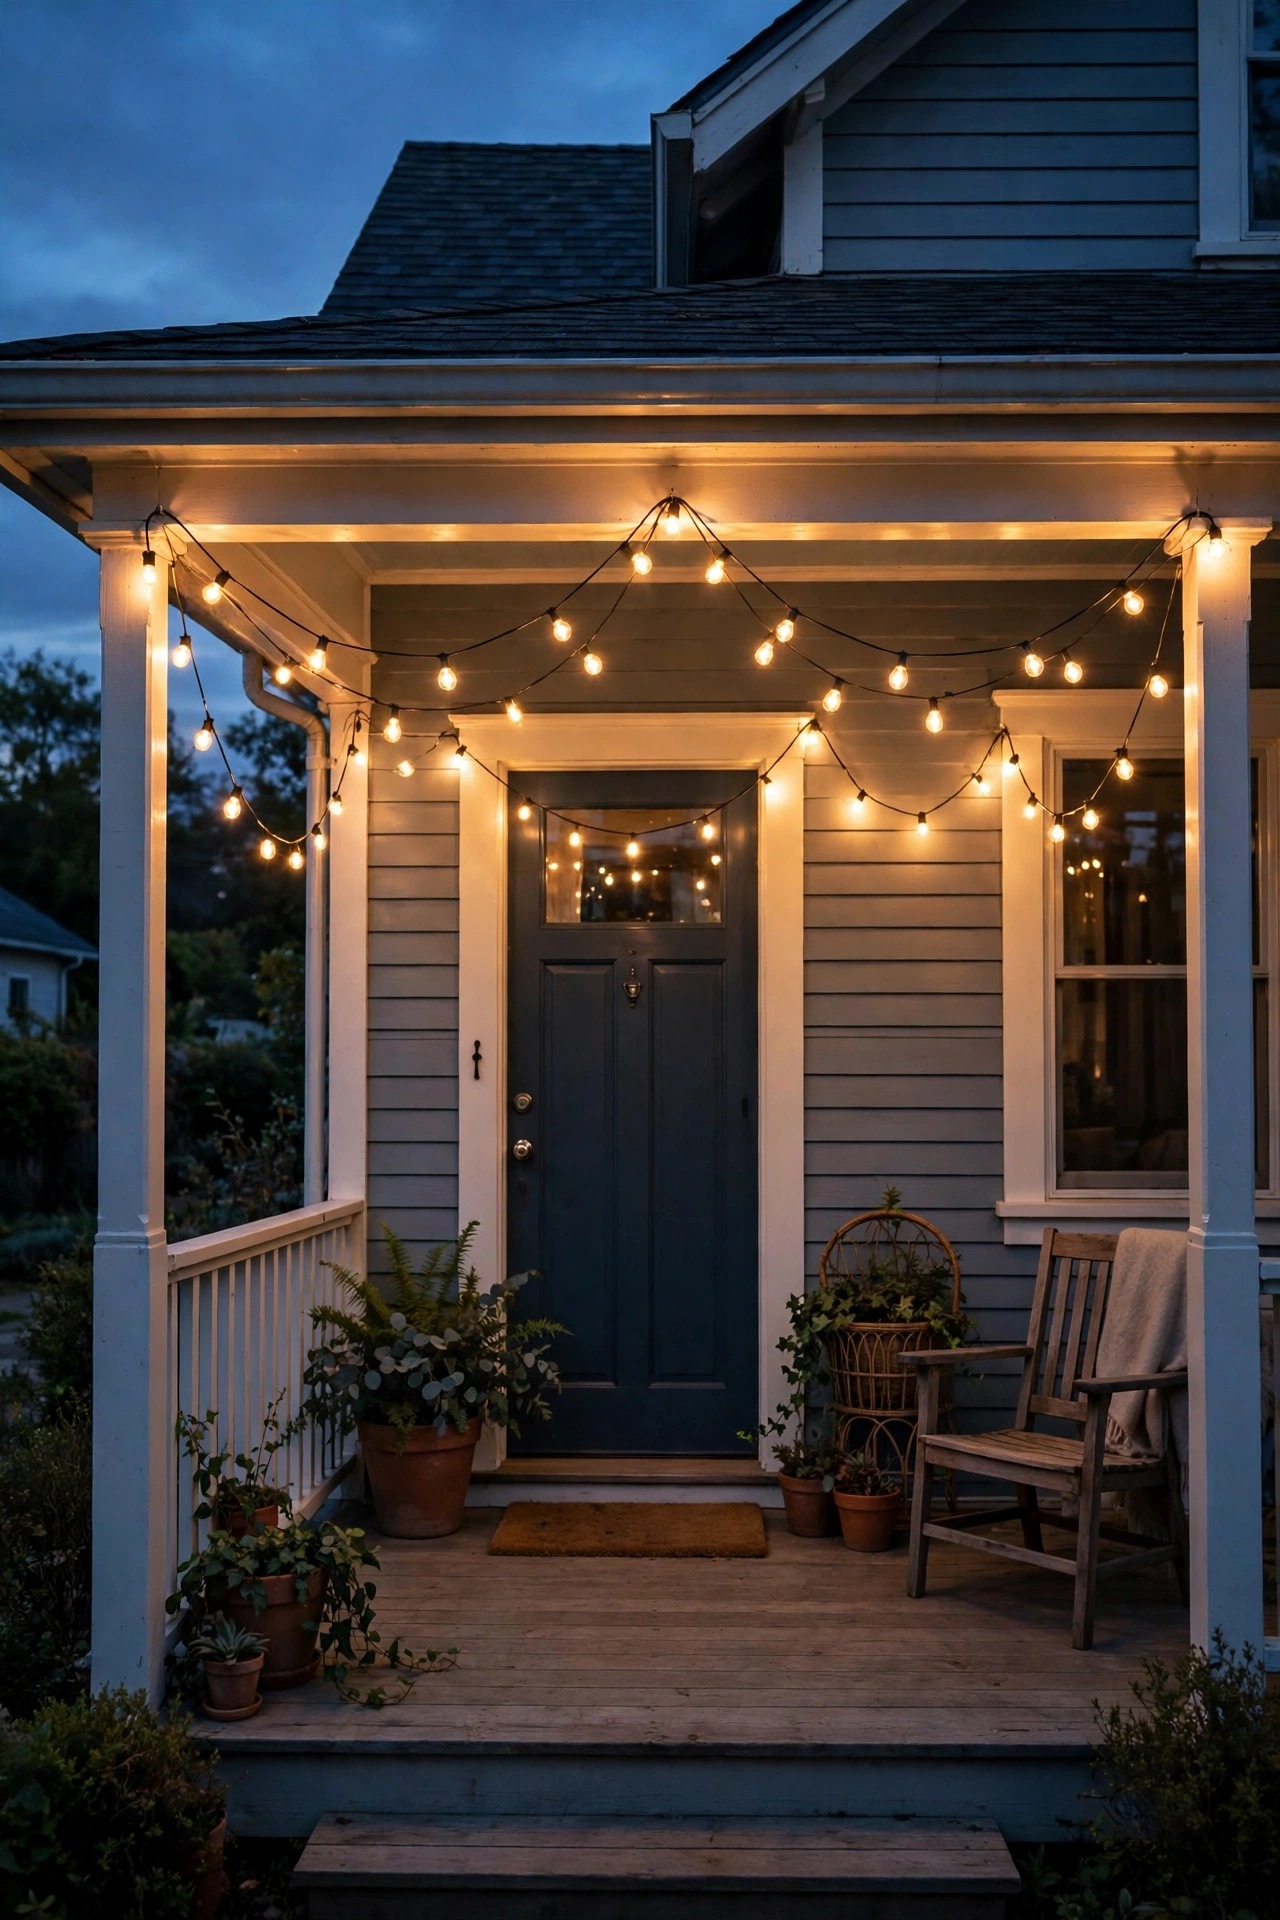
13. Stretch String Lights Across the Full Width of the Porch
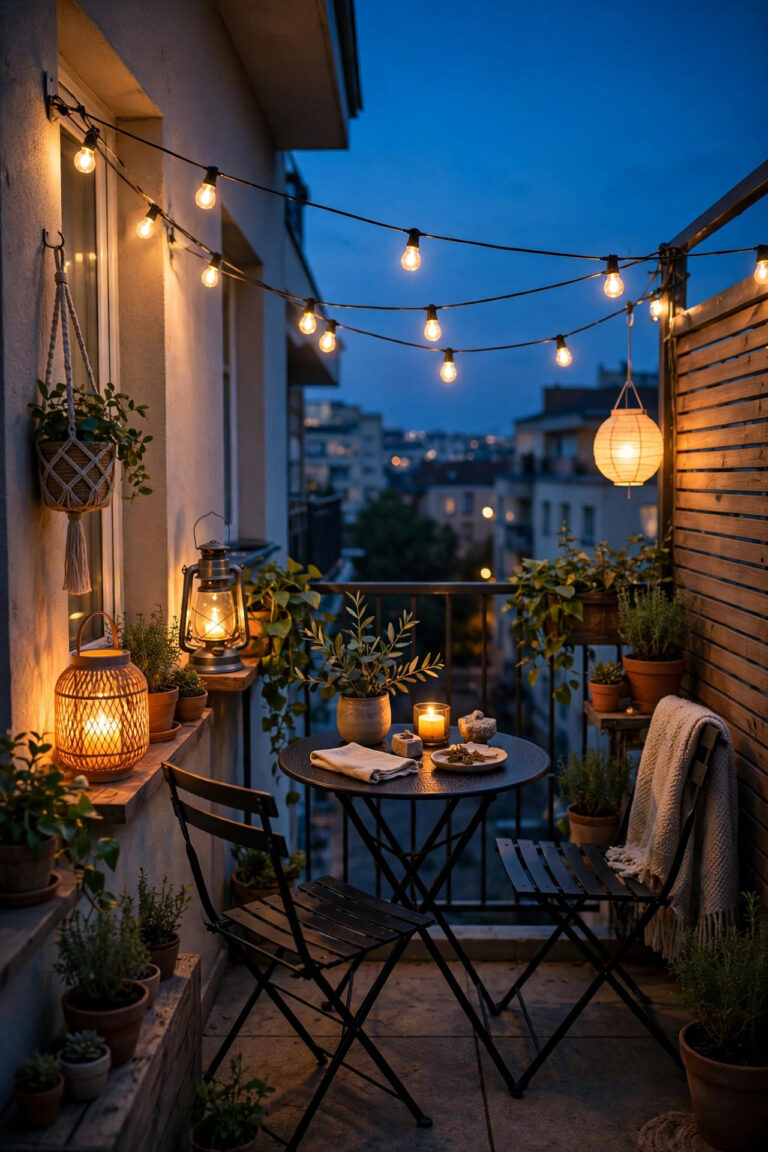
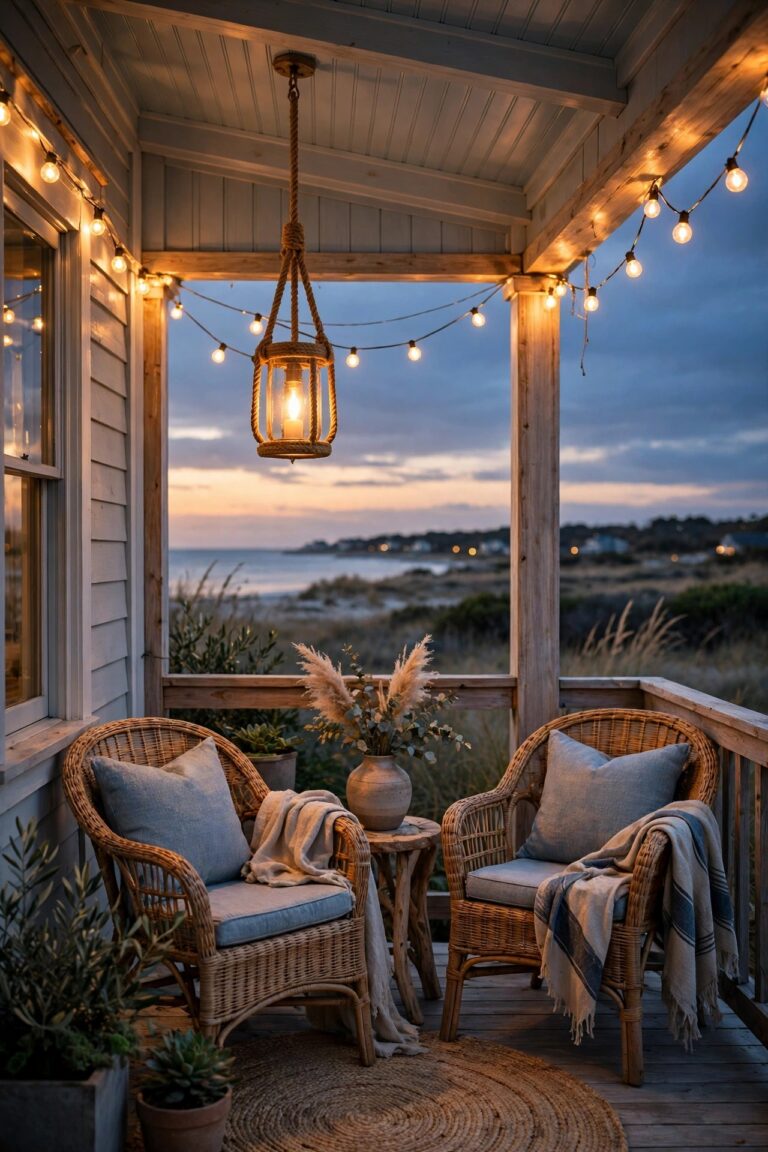
A porch is the widest horizontal feature most small homes have, and at night it usually collapses into a single bulb by the door. Run string lights along the entire porch ceiling edge, swagged gently from corner to corner, and you redraw that whole width in warm light — the porch becomes a room again, and a house with a glowing room across its front reads bigger. Use outdoor-rated LED string lights with shatterproof bulbs, and let the swags dip 6 to 12 inches for that relaxed, collected-over-time feel. The math is forgiving: measure the run, add about 10 percent for the dips, and secure with screw hooks every 4 to 5 feet. Two parallel runs — one at the ceiling edge, one lower along the railing — double the effect on deep porches. This pairs beautifully with the concepts in my favorite small yard lighting tricks, because the principle is identical: define the full extent of the space and the space feels full-sized. On a porch with no ceiling, run the strand between the corner posts instead.
Suggested budget range: $25 – $90.
14. Keep One Warm Color Temperature Everywhere
Nothing shrinks a small home's presence faster than a patchwork of light colors — a blue-white porch bulb, an amber path light, a daylight flood over the driveway, each one chopping the view into little mismatched pieces. The eye can't assemble fragments into one big picture. Pick one color temperature, ideally 2700K warm white, and hold it across every fixture, bulb, and solar stake on the property. When the porch, the path, the trees, and the facade all glow the same honeyed tone, they merge into a single continuous estate in the viewer's mind — and continuous is big. Solar lights are the usual offenders here, since cheap sets vary wildly; buy from one line, or simply accept them as a group and replace stragglers that burn noticeably bluer. When a bulb dies, replace it with the same Kelvin rating, not whatever's in the junk drawer. Honestly, this idea costs almost nothing if you're buying new, and it quietly multiplies every other idea on this list. Consistency is the cheapest form of grandeur there is.
Suggested budget range: $10 – $80.
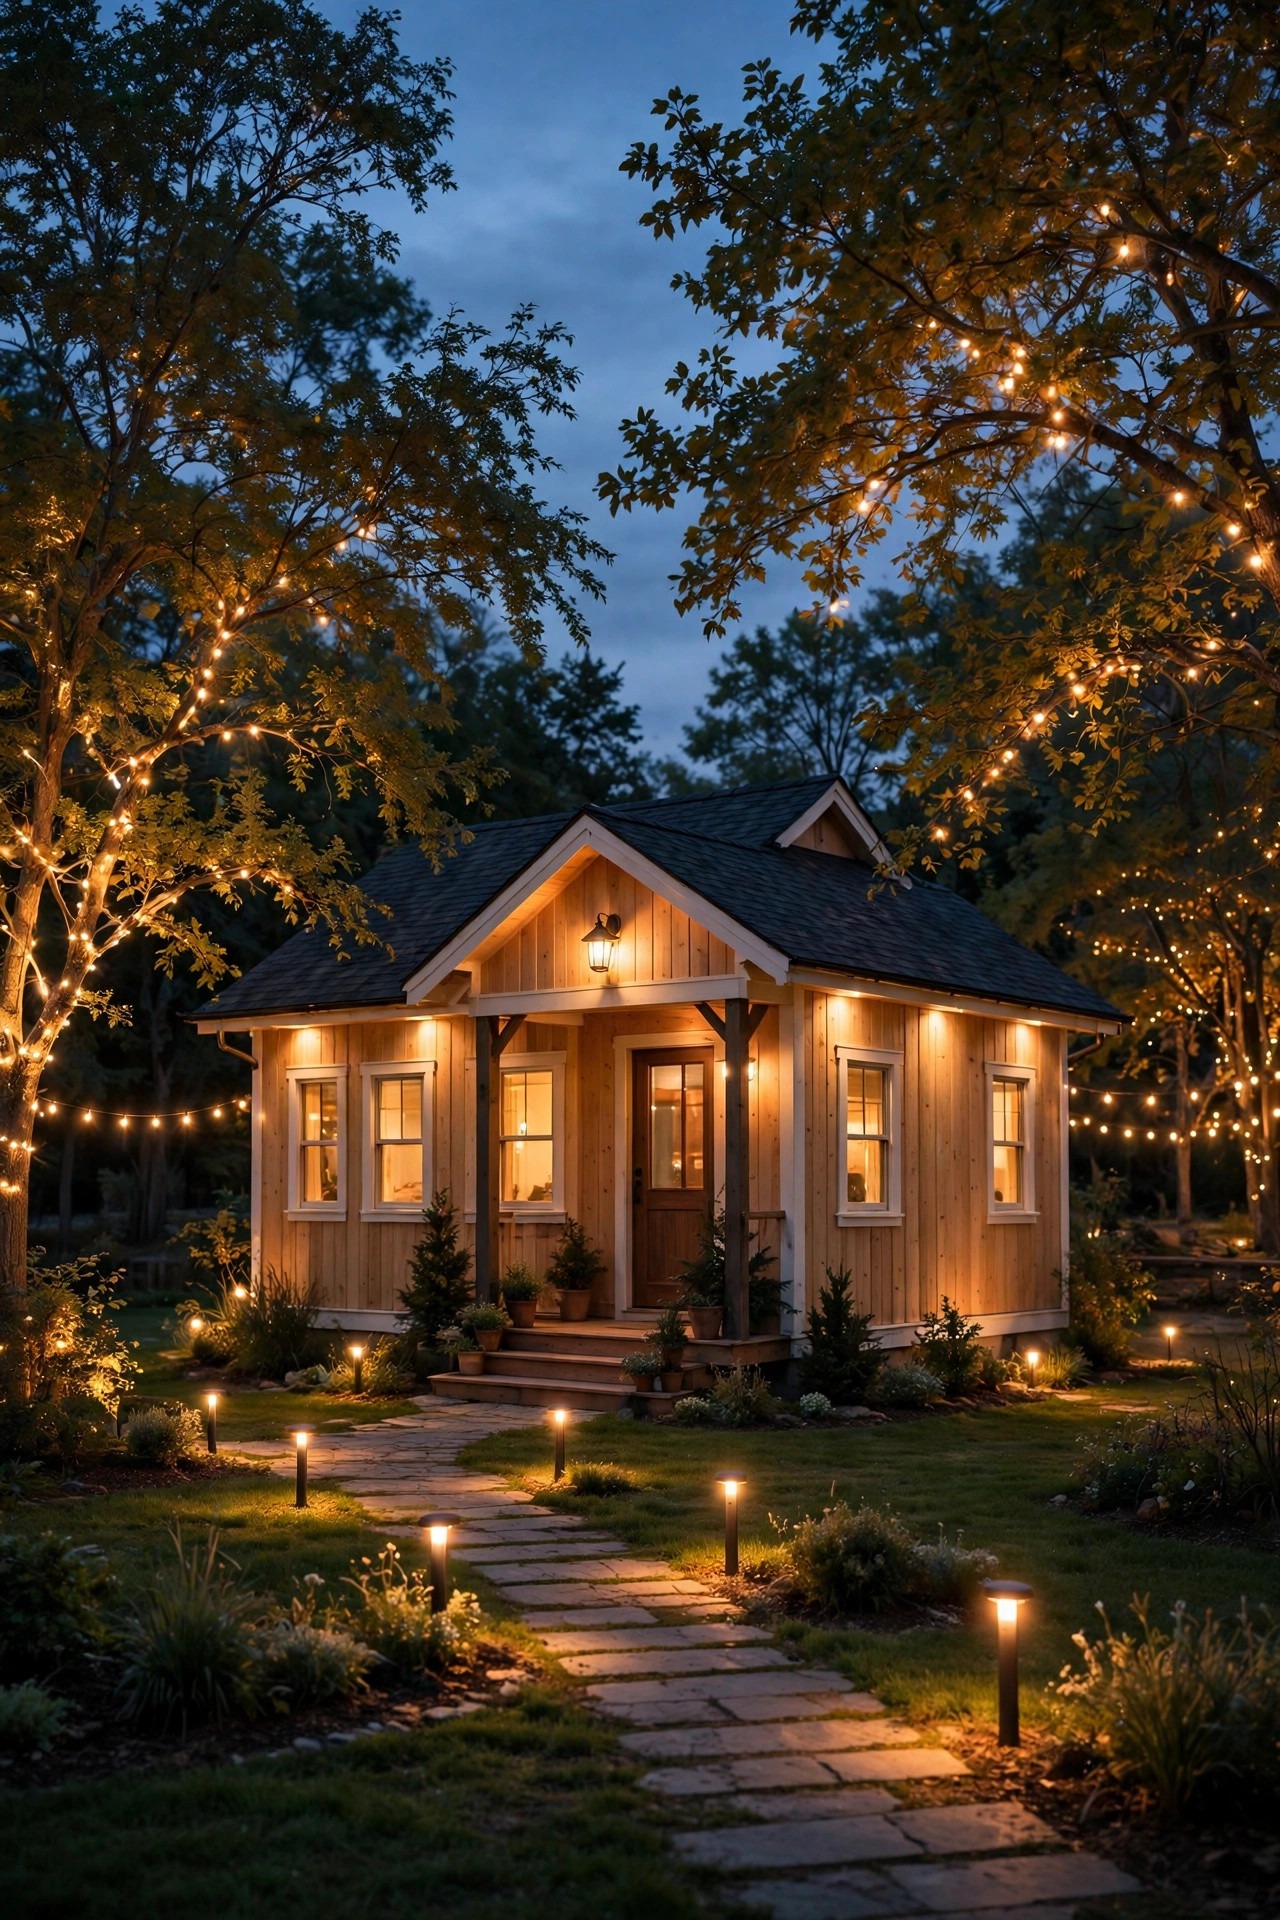
15. Place a Lit Focal Point Deep in the Yard
Interior designers stretch a small room by putting something interesting on the far wall; you can do exactly the same thing outdoors. A lit destination deep in the front or side yard — a birdbath with a soft spot on it, a small arbor, a bench under a tree, an ornamental grass clump glowing from within — gives the eye a reason to travel the full depth of your property, and traveled depth is perceived depth. Without it, the view stops at the house wall and the yard in front becomes invisible filler. With it, the space between street and door becomes a scene with a beginning, middle, and end. One modest fixture is all it takes; aim a narrow spot from behind a shrub so the source hides and only the object glows. Solar spotlights make this a ten-minute experiment before you commit to wiring. I rotate my own focal point seasonally — a pumpkin-lit corner in fall, the birdbath in summer — and the yard feels newly spacious each time, even though nothing about its dimensions changed at all.
Suggested budget range: $20 – $110.

16. Hide the Fixtures So Only the Light Shows
Bulky visible fixtures are scale clues — and they always testify against you. A chunky path light announces "this fixture is 14 inches tall," and the eye uses it to measure everything around it, shrinking the scene to match. Hide the sources instead: tuck spots behind shrubs, sink well lights flush with the soil, choose low-profile path fixtures, and shield every bulb so no bare glare point is visible from the street. When light appears to come from nowhere — walls glow, trees glow, the path glows — the scene has no ruler in it, and unmeasured space feels bigger. This is the entire secret behind why professionally lit homes look so expansive in photos: you never see a single fixture, only effects. It costs nothing extra, just placement discipline. Walk to the street at dusk after installing and play detective: any fixture you can spot, reposition, re-aim, or plant something in front of. Your landscaping gets to be both the curtain and the show. The mystery is the size.
Suggested budget range: $15 – $100.
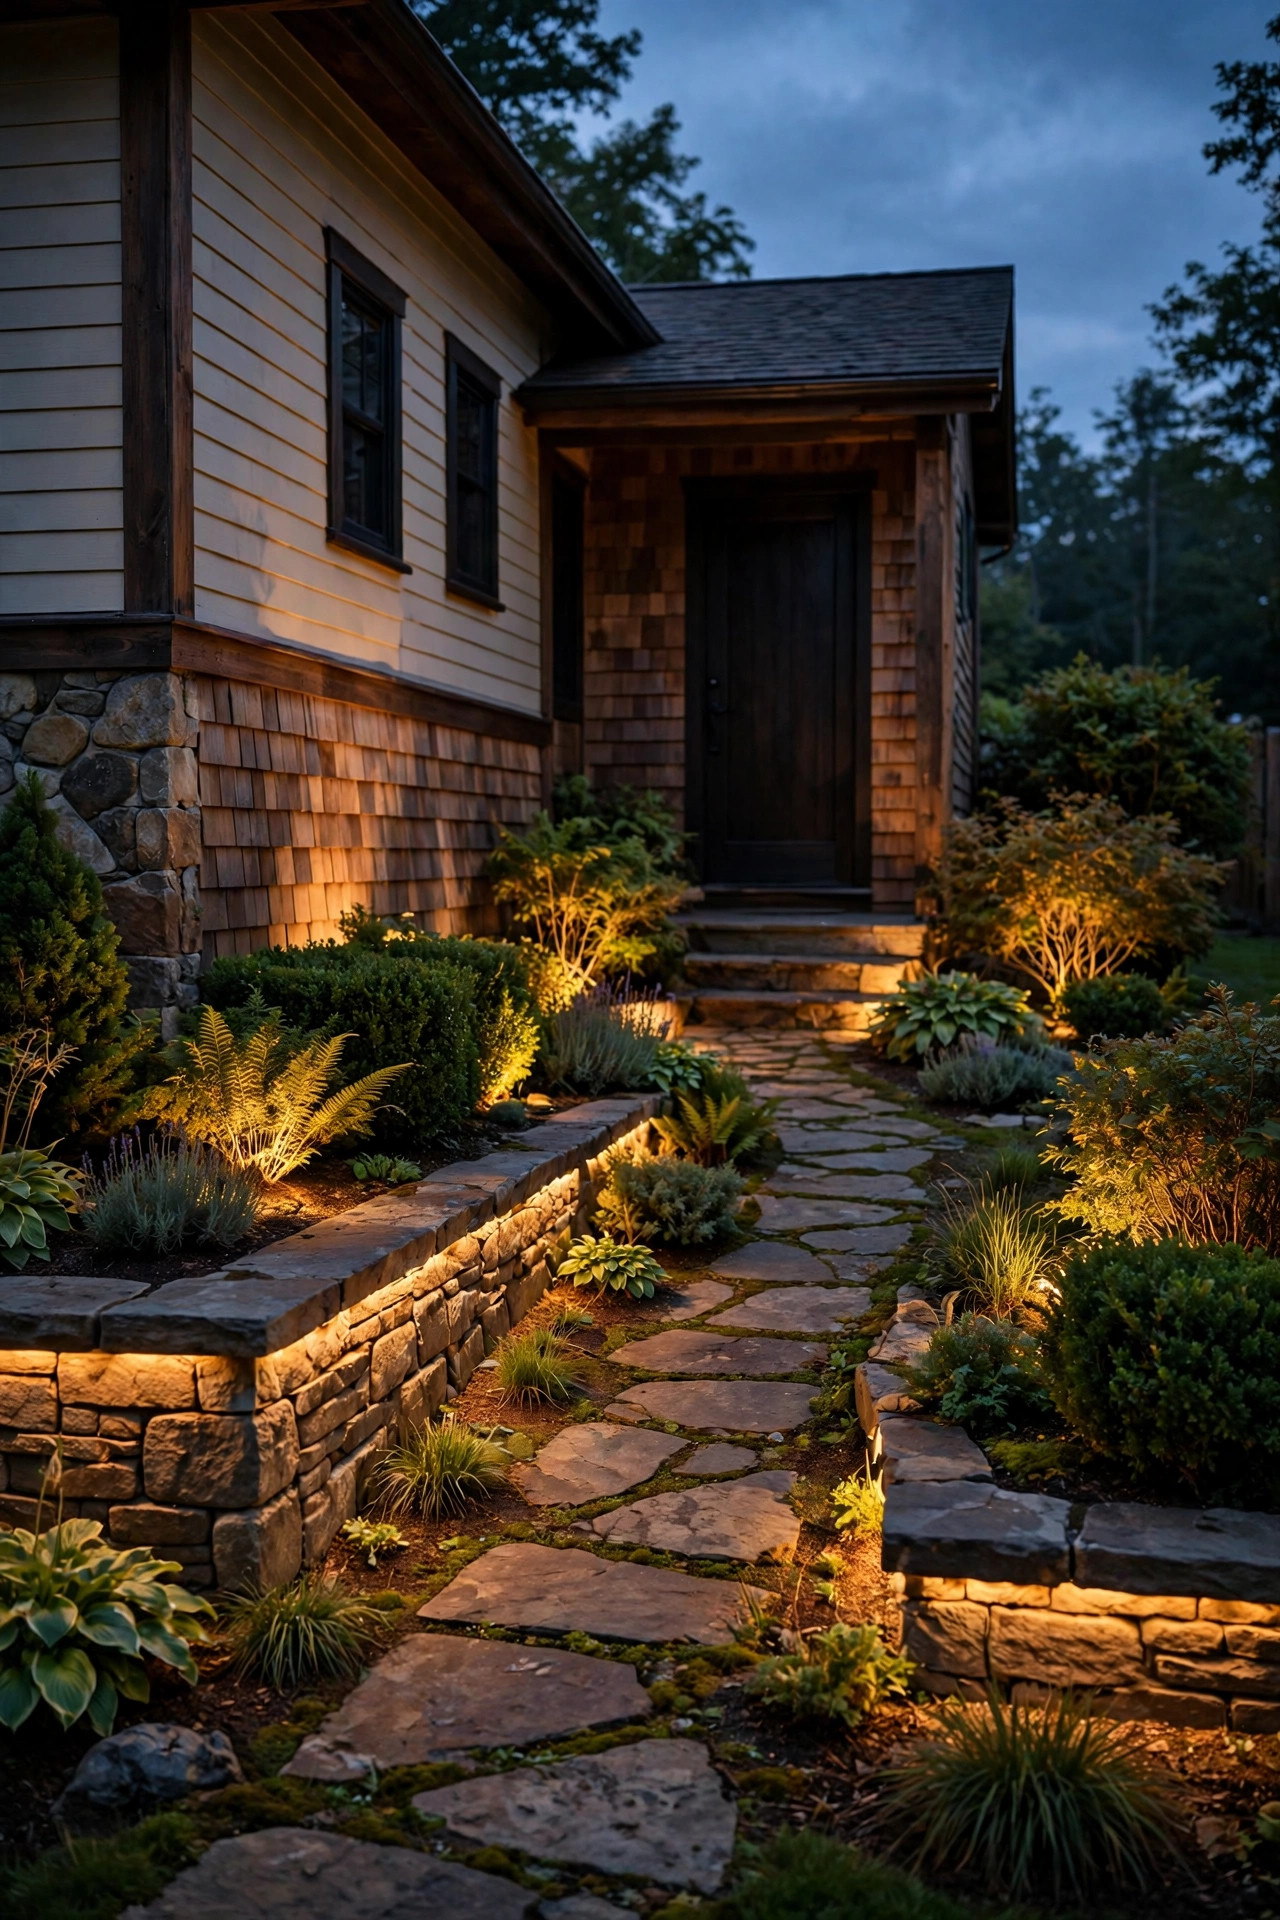
17. Line the Full Driveway So the Approach Feels Grand
The driveway is the longest straight line on most properties, and an unlit one simply vanishes after dark — taking a third of your home's street presence with it. Light its full length, from the street apron to the garage, and the approach becomes a processional: the eye travels the whole run and concludes this must be a substantial place. Low bollards, flush in-ground markers, or solar edge lights spaced 8 to 10 feet apart on both sides do the job; staggering them one side to the other feels more residential and less runway. Carry the lighting right up to the garage face and add a carriage light or two on the garage itself, because a lit ending makes the whole line worth traveling. If your driveway borders the front walk, a shared rhythm between the two ties the composition together. This is the final layer of lighting to make a house look bigger that I install, and it's the one guests comment on without knowing why — they just feel like they arrived somewhere. Which, honestly, is the entire point.
Suggested budget range: $45 – $220.
Frequently Asked Questions
What color light makes a house look bigger?
Warm white, around 2700K, used consistently across every fixture. A single warm tone lets the porch, path, trees, and facade merge into one continuous picture, which reads as larger. Mixing color temperatures — a cool porch bulb beside amber path lights — fragments the view and makes the property feel smaller and disjointed.
Is uplighting or downlighting better for making a home look larger?
You want both, doing different jobs. Uplighting on corners, gables, and trees adds height and width by outlining the full silhouette. Downlighting, like moonlighting from a tree canopy, spreads a wide pool of light that enlarges the yard. If you must choose one, start with uplighting the two front corners — it delivers the biggest perceived-size gain per dollar.
How many lights do I need to make a small house look bigger?
Fewer than you'd think. A starter set of six to eight fixtures — two corner uplights, two facade wash fixtures, two tree spots, and a pair of door sconces — covers the core moves. From there, layering matters more than quantity: add a street-edge layer and a deep focal point before adding more fixtures near the house.
Will solar lights work for this, or do I need wired low-voltage?
Solar works well for the lighter-duty layers: path edges, fence lines, driveway markers, and a focal-point spot. For the heavy lifting — wall washing, corner uplighting, tree canopies — wired low-voltage LED is noticeably brighter, more consistent in color, and reliable through winter. Many small homes look best with a hybrid: wired at the house, solar at the edges.
Conclusion
Here's what I hope you take away: after dark, your home is exactly as big as its light says it is. The most effective lighting to make a house look bigger isn't about brightness or spending — it's about defining edges, washing walls whole, borrowing height from gables and trees, and giving the eye lit places to travel, from the street edge all the way to a glowing focal point deep in the yard. Start with the corners and the color temperature, then add layers as seasons and budgets allow. If you're planning your layers, browse the rest of our outdoor lighting ideas here on the site for fixture-by-fixture guidance — your small house is about to have a much bigger evening presence.