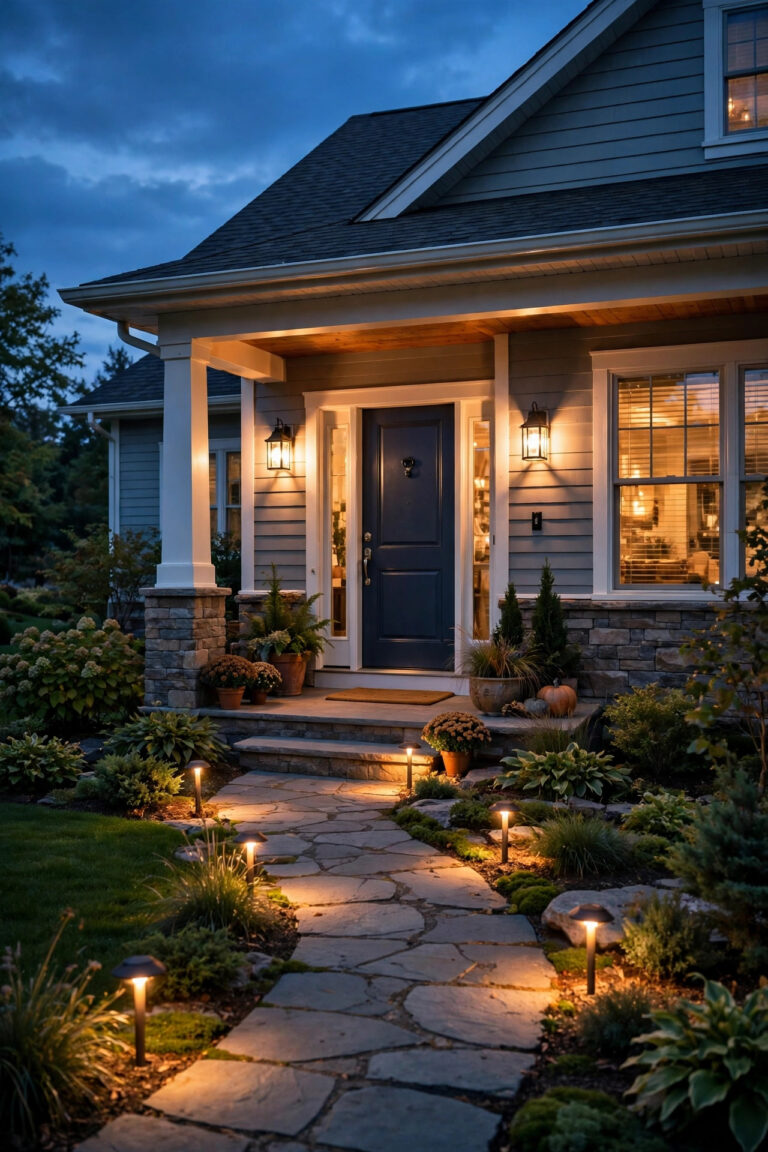
Here's a secret I learned after years of tweaking our front yard: expensive-looking driveways are almost never about expensive fixtures. They're about spacing, warmth, and restraint. When neighbors ask what we spent on our driveway glow, they never believe the answer — because the best budget driveway lighting ideas rely on the same layering philosophy designers use, just with friendlier price tags. A soft edge of light to guide the way, a warm wash where the driveway meets the garage, and one pretty focal point near the street. That's it. In this post, I'm sharing 17 ways to get that polished, high-end look for anywhere from the cost of a pizza to a nice dinner out. You'll find solar tricks, a little DIY, and the placement rules that make even the cheapest fixtures look intentional. Pick two or three ideas to start, keep every bulb the same warm color temperature, and watch your whole front yard level up after dark.

1. Space Solar Stake Lights Like a Designer Would
The lights themselves matter far less than how you place them, honestly. Cheap solar stakes look cheap when they're scattered randomly — but line them up with intention and they suddenly read like a professional install. I measure my driveway edges and place one stake every 6 to 8 feet, perfectly straight, on both sides. Use a tape measure and a string line if you need to; your eye catches crooked spacing instantly, even if you can't name what's wrong. Stick to one style and one finish for the whole run — mixing three "good deals" is what gives budget installs away. Choose warm-white solar stakes (look for 2700K–3000K on the box) with at least 10–15 lumens each so the light actually pools on the pavement instead of disappearing. Push them into soft soil or mulch beds rather than gravel, and wipe the little solar panels with a damp cloth every few weeks — dust quietly steals half their brightness. In my experience, a $25 eight-pack, spaced like you mean it, outperforms a $90 set sprinkled wherever.
Suggested budget range: $20 – $45.

2. Pick One Warm Color Temperature and Never Stray
If I could give you just one rule for a high-end look, this is it: every single bulb along your driveway must match. Mismatched light — one cool blue-white stake next to a warm amber lantern — screams "collected from the clearance bin," even if each piece was lovely on its own. High-end homes always glow one consistent, warm color, usually 2700K to 3000K, the color of candlelight and sunset. When you shop for budget driveway lights, flip the box over and check the Kelvin rating before anything else. Solar products that don't list a temperature are usually a harsh 6000K daylight blue, so be picky. If you already own a mismatched set, don't toss it — move the cool-white ones to the side yard or backyard where they won't sit next to warm fixtures, and replace the driveway run with one matching set. Warm light also flatters everything it touches: brick looks richer, concrete looks cleaner, and your landscaping turns golden instead of ghostly. Consistency is free, and it's the single biggest difference between "budget" and "boutique."
Suggested budget range: $0 – $35.

3. Start with a Low-Voltage Kit Instead of Single Fixtures
When you're ready to move beyond solar, a boxed low-voltage kit is the best money in driveway lighting, full stop. A typical kit bundles 6 to 10 LED path lights, a transformer, and a spool of cable for less than the cost of two fancy standalone fixtures — and because it's 12-volt, you can bury the cable in a shallow 3-inch slit trench with a flat spade, no electrician, no permits, no fear. I always recommend sketching your layout on paper first: transformer on an outdoor GFCI outlet near the garage, cable running down one side of the drive, fixtures every 8 to 10 feet. Leave a little slack loop of cable at each fixture so you can nudge positions later. The steady, wired brightness is what truly separates a kit from solar — no dimming by December, no cloudy-day disappointment. Not sure whether wired is right for your yard? I break down the honest trade-offs in my guide to solar vs wired landscape lighting, and it convinced me to go wired along our drive. Start with the kit, then add matching single fixtures as your budget allows.
Suggested budget range: $80 – $150.

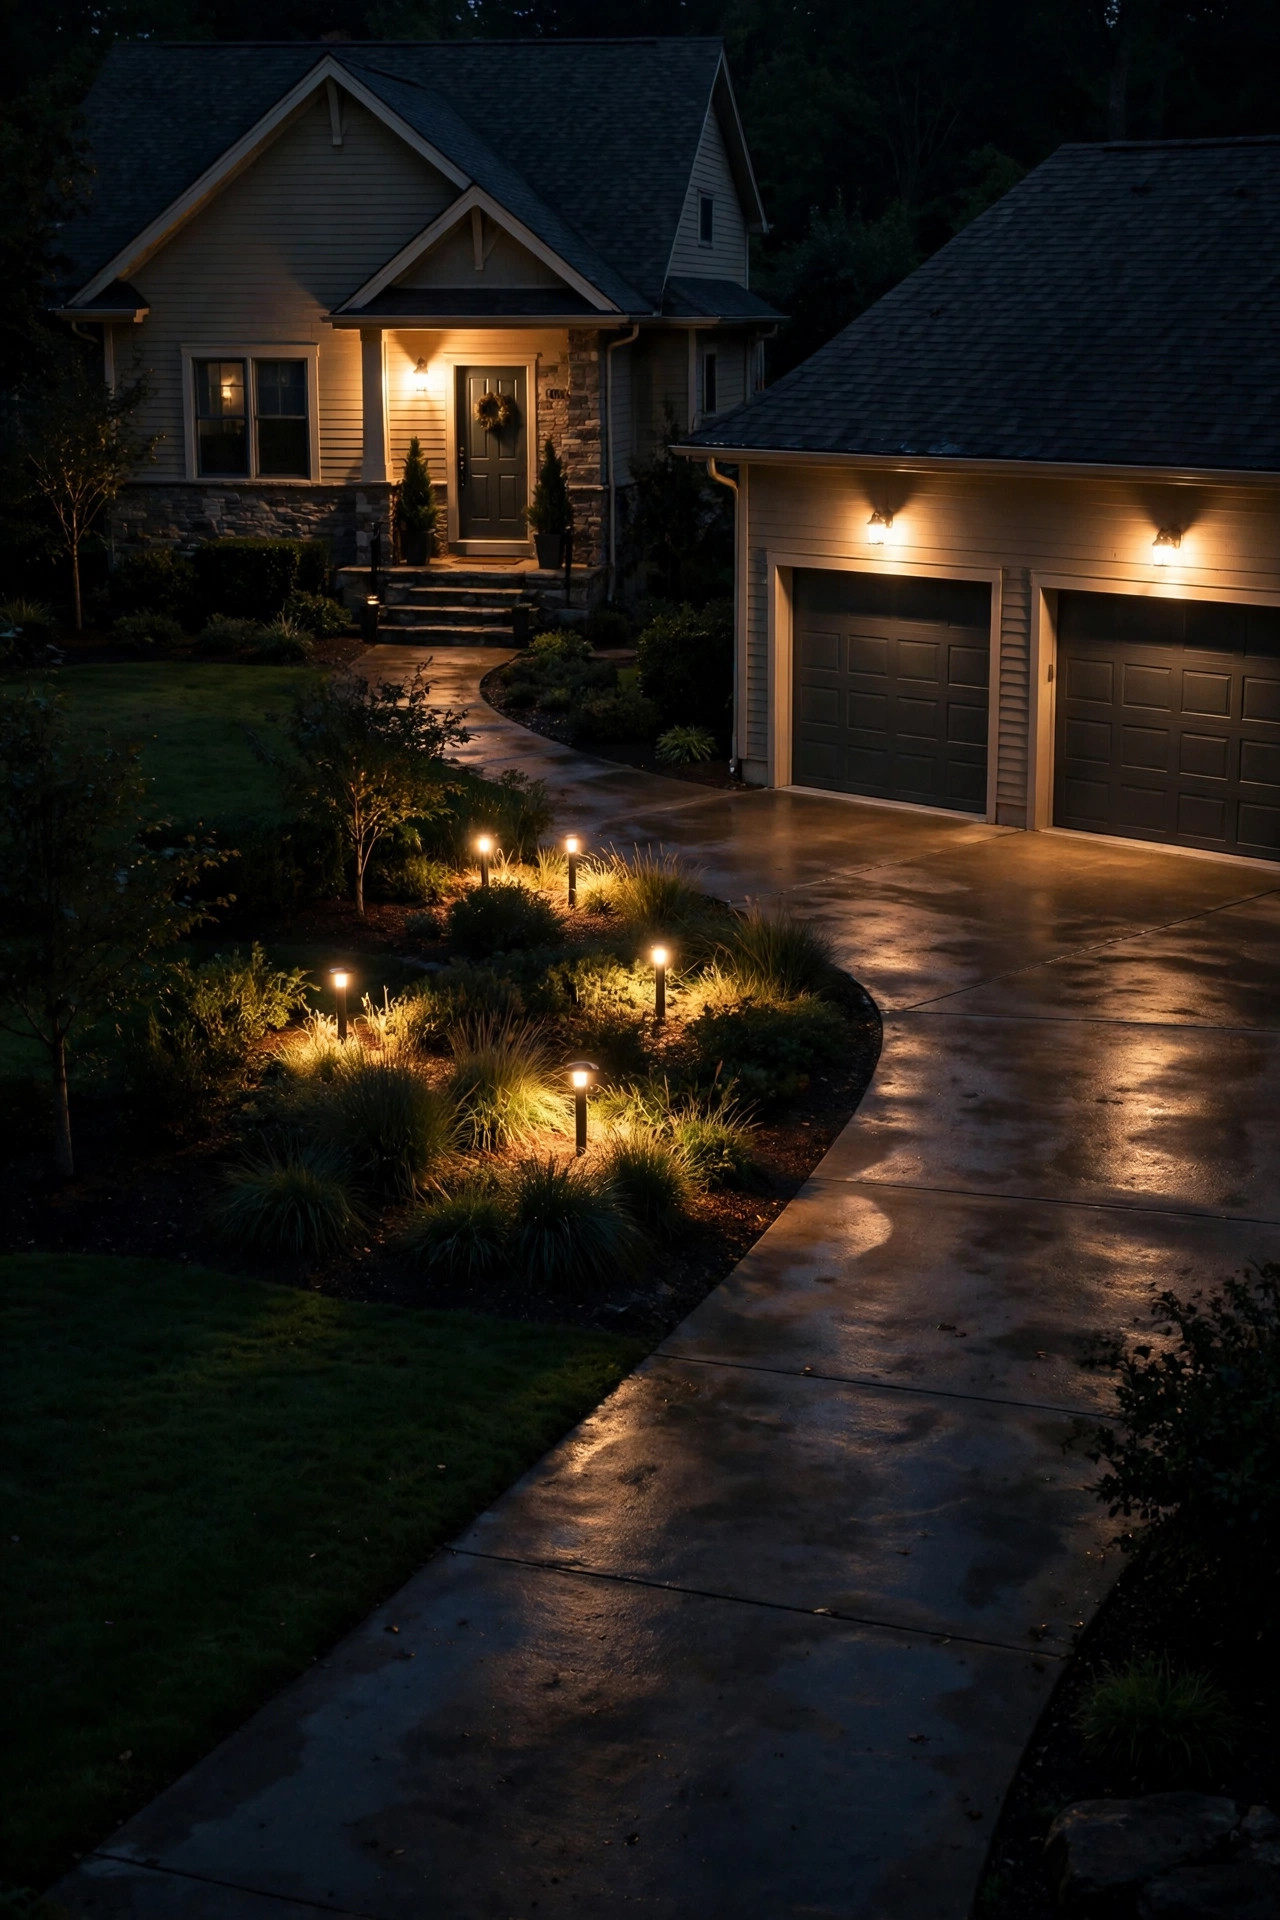
4. Hang Solar Lanterns in the Trees at the Driveway's Edge
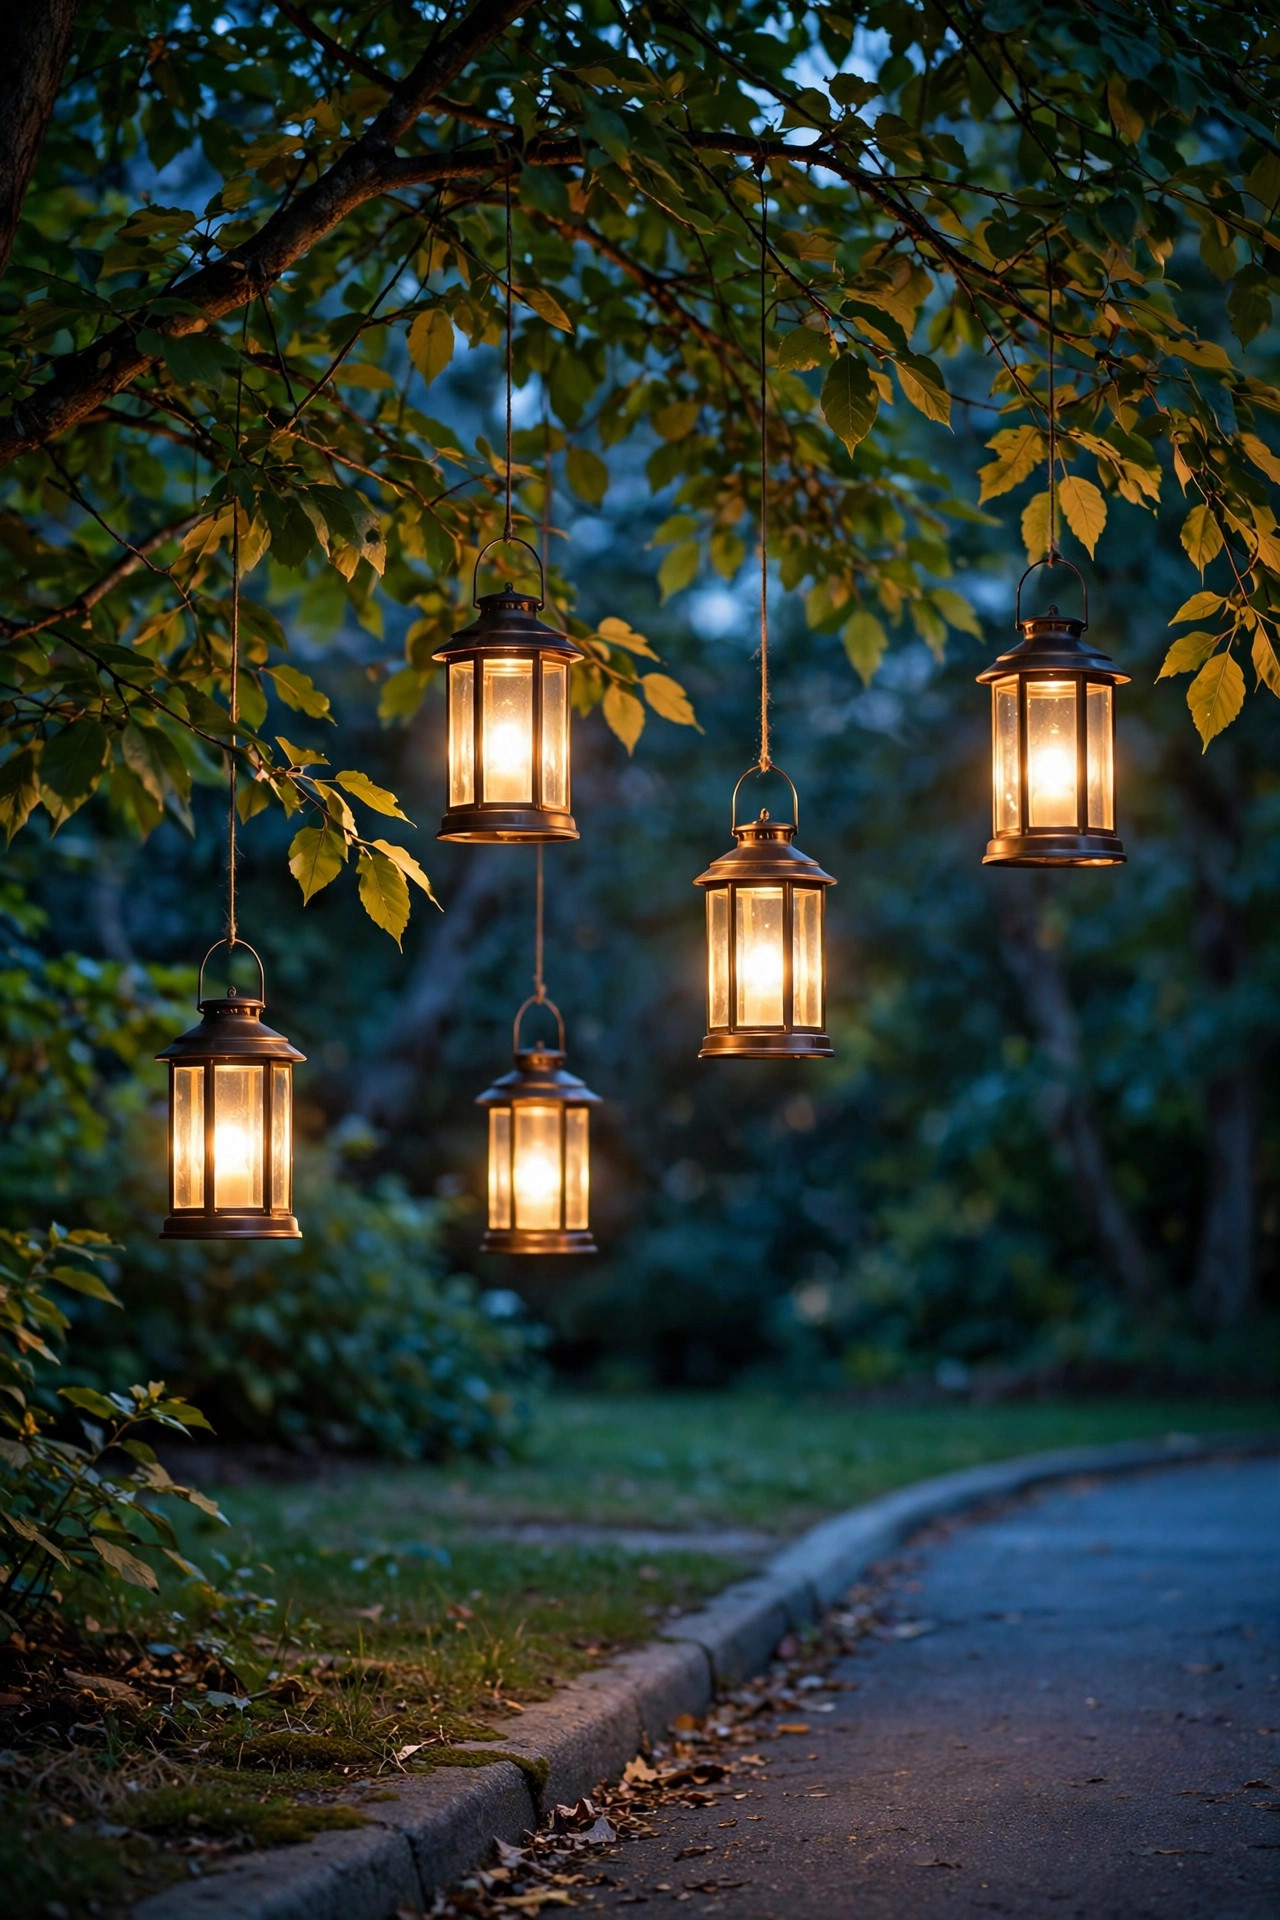
Every high-end driveway I've ever admired has light at more than one height, and the cheapest way to add that second layer is hanging lanterns. If you have a tree near the street or along the drive, hang three to five solar lanterns from sturdy lower branches at slightly varied heights — around 6 to 8 feet up — using weatherproof black hooks or simple twine. The gentle sway and dappled light through leaves looks like something out of a boutique hotel courtyard, and the whole project costs less than one hardwired fixture. Choose lanterns with warm-white LEDs and a solar panel on top; crackle-glass and matte-black metal styles both read far pricier than they are. Group them in odd numbers and cluster tighter than you think — a loose scatter looks accidental, a cluster looks curated. No tree? A shepherd's hook stake or two planted in the bed beside the driveway gives you the same overhead glow. Bring lanterns in during severe storms, and give the panels a quick wipe when you hang them each season. This is the idea guests ask me about most, and it takes about fifteen minutes.
Suggested budget range: $25 – $50.
5. Fake the Built-In Look with Flush Solar Paver Lights — a Budget Driveway Lighting Idea That Reads Custom
Recessed lights that sit flush with the pavement are the signature of five-figure driveway installs — and you can fake them beautifully for the price of a takeout lunch. Solar paver lights and flat deck-style discs are designed to sit level with brick, stone, or concrete edges, charging by day and glowing in a clean line by night. I run them along the border where our driveway meets the front walk, spaced about 4 feet apart, and the effect is pure architecture. They work best along an existing edge or border row rather than in the middle of traffic lanes; if your driveway is gravel, nestle them along the timber or stone edging instead. Because they're solar, there's no wiring to hide and no transformer to buy — just press them in, making sure the panels sit unshaded for most of the day. Choose warm-white versions with a metal or dark bronze rim, since bright silver plastic bezels are the one thing that can cheapen the look. On cloudy stretches they'll glow a little dimmer, which honestly just looks moody. Nothing else at this price changes a driveway's whole character so completely.
Suggested budget range: $30 – $60.

6. Spray-Paint Mismatched Fixtures One Matte Color
Before you replace a single fixture, try this: take every mismatched light you already own — the brass one, the greenish one, the shiny chrome solar stakes — and give them all the same coat of matte black or oil-rubbed bronze spray paint. Uniformity is the soul of high-end design, and a $7 can of paint delivers more of it than a $200 shopping trip. Remove or tape off the solar panels, LED lenses, and any glass before you spray, then apply two light coats outdoors on a calm day, letting each dry fully. I painted a whole drawer of garage-sale fixtures one Saturday, and by Sunday our driveway looked like it had been planned by one person with one vision — because now it had. Matte finishes are more forgiving than gloss and hide the little dings that plastic fixtures collect. This trick works beautifully on lantern hooks, stake lights, and the housings of wall lanterns by the garage. Skip painting anything that gets very hot, and use LED bulbs only in painted fixtures. It's the cheapest transformation on this entire list.
Suggested budget range: $7 – $15.

7. Build DIY Bollards from Wood Posts and Solar Caps
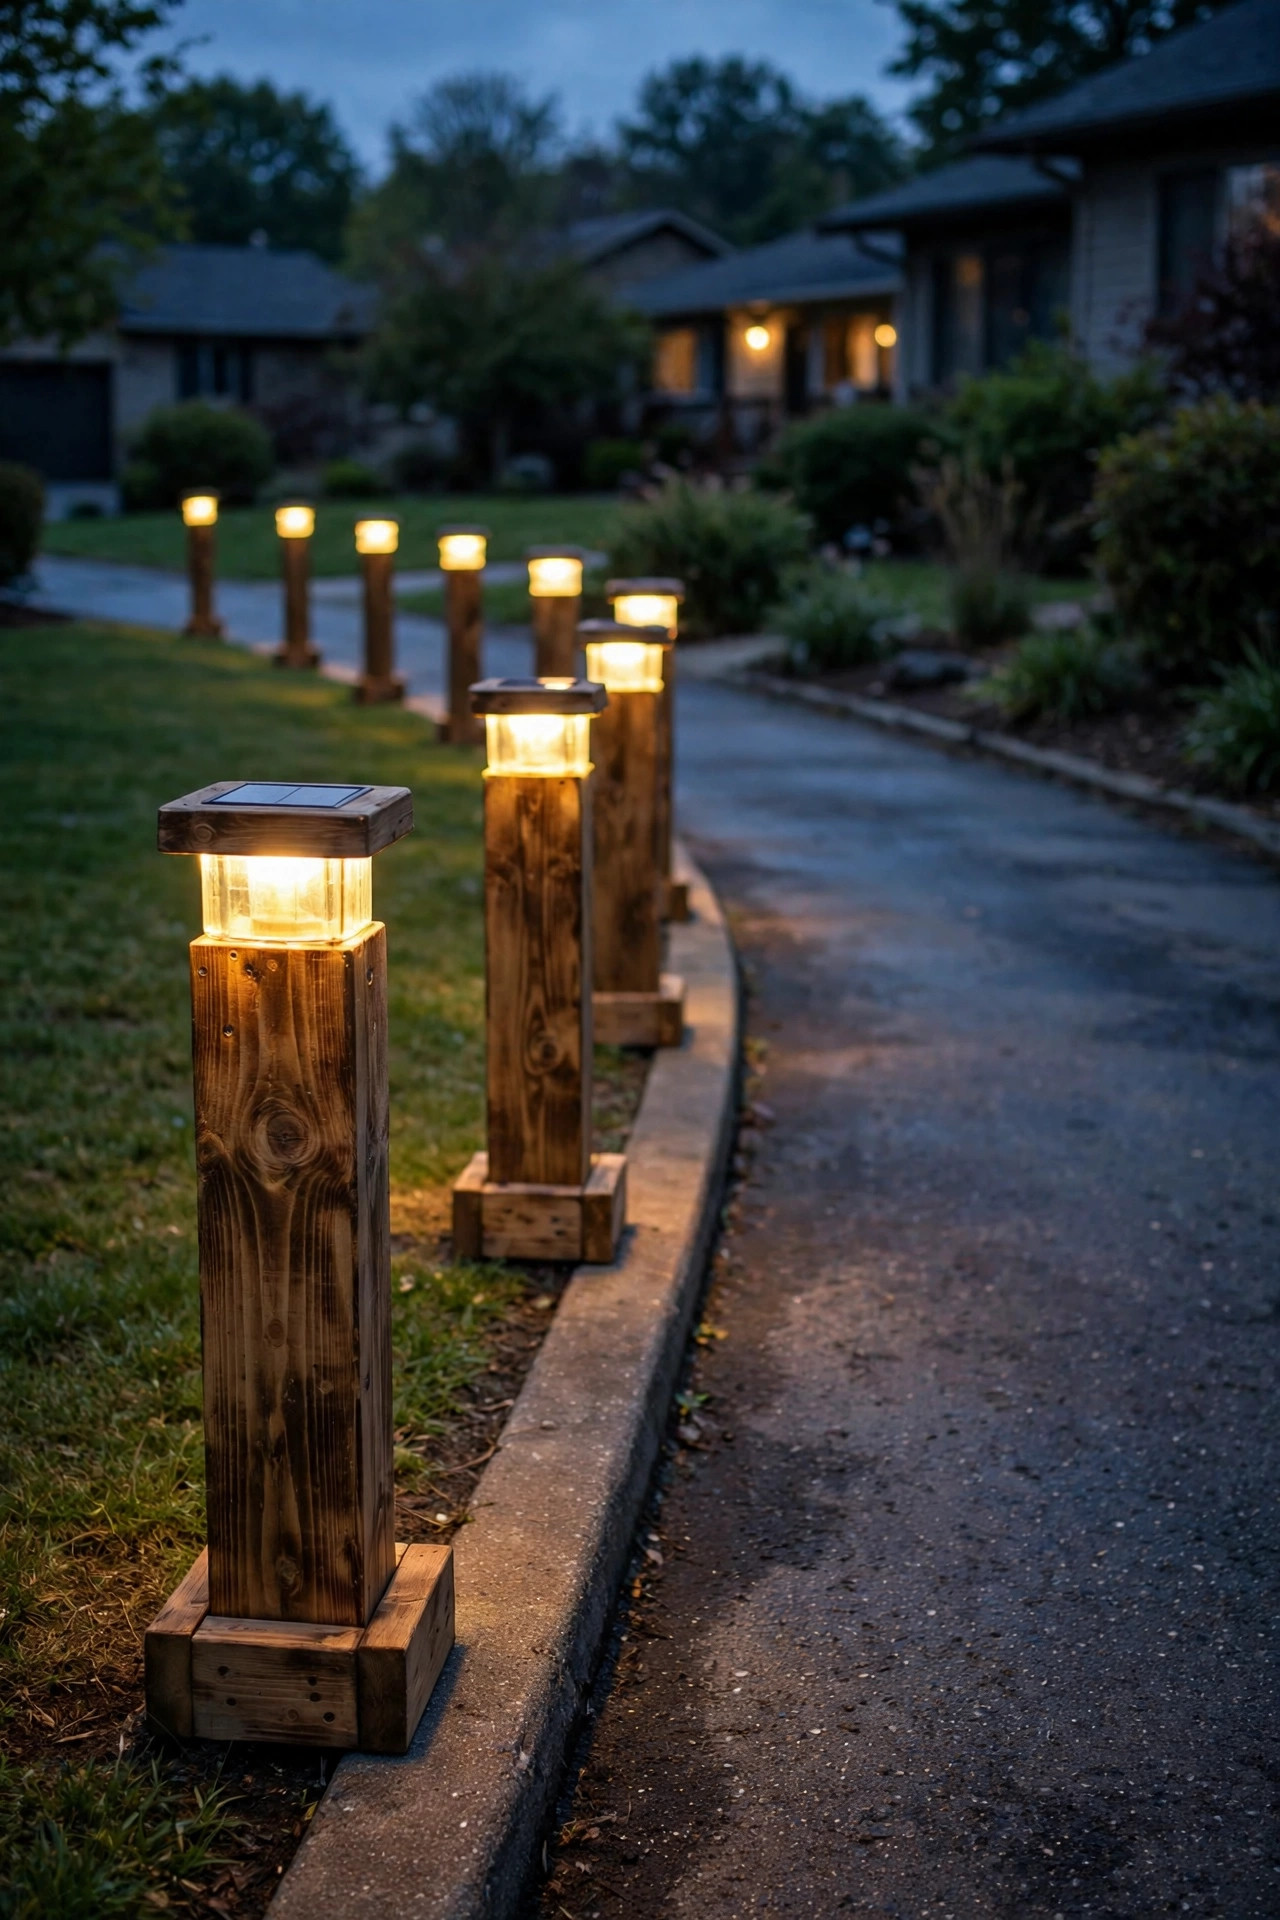
True bollard lights — those short, architectural posts along fancy drives — can cost $150 each, which is exactly why I make my own. A pressure-treated 4×4 post, cut to about 24 inches and sunk 8 inches into the ground, topped with a solar post-cap light, gives you the same silhouette for a fraction of the price. Stain the wood a rich walnut or paint it matte black, space three to five posts evenly along one side of the driveway, and you've built the kind of feature people photograph. Solar caps sized for 4×4 posts are inexpensive and widely available in warm white; look for ones with at least 20 lumens so they read as real lighting, not decoration. If you'd rather skip the DIY, my roundup of driveway bollard lights covers the ready-made styles worth copying. Set posts in gravel for drainage rather than concrete so you can adjust or replace them easily, and keep them a consistent 12 to 18 inches back from the pavement edge so car doors and snowplows forgive you. Ours have survived three winters and still look sharp.
Suggested budget range: $40 – $85.
8. Add Motion-Sensor Solar Lights at the Garage Apron
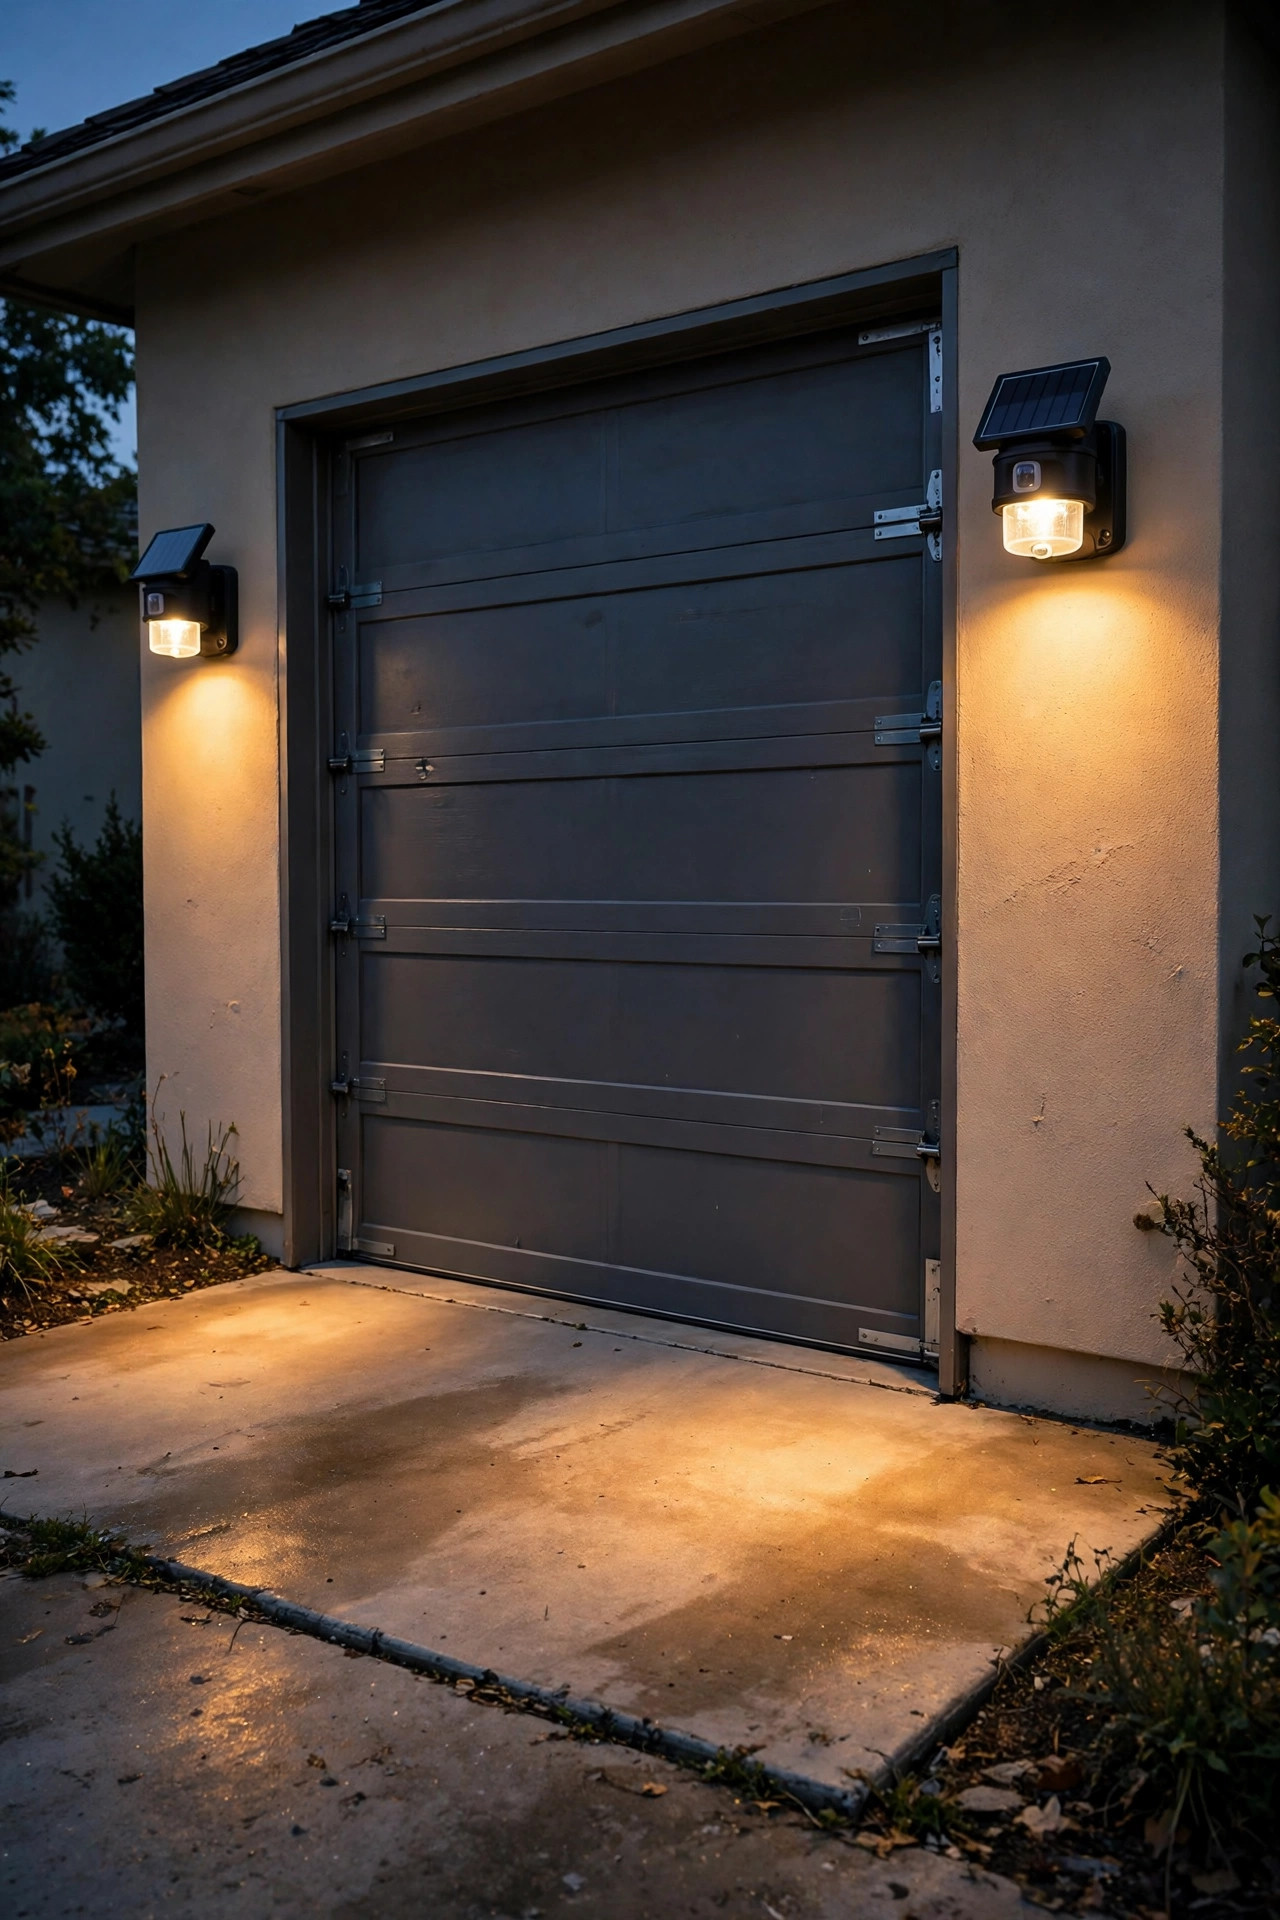
The stretch of concrete right in front of the garage — the apron — is where a welcoming pool of brighter light matters most, and solar motion-sensor lights handle it for almost nothing. Mount two warm-white solar sensor lights on the wall flanking the garage door, about 7 to 8 feet up, angled slightly downward. They idle at a soft dim glow (choose models with a dim standby mode for that always-on, designed look) and brighten the moment a car or a person approaches. That little brightening moment feels genuinely luxurious, like the house noticed you arrived. No wiring is involved — most mount with two screws, and the separate solar panel on many models lets you aim the panel at the sun while the light faces the drive. Stick to warm white here too; a cool security-light glare will fight with your softer edge lighting. This is also a real safety win for guests backing out at night and for anyone carrying groceries in after dark. One pair usually covers a standard two-car apron perfectly.
Suggested budget range: $25 – $50.
9. Edge the Drive with a Recessed LED Rope Light
For a modern, architectural look, almost nothing beats a single clean line of light running the length of the drive — and outdoor LED rope light or tape in a shallow channel is how budget installs fake that custom inlay. I tuck rope light along the inside edge of the driveway's border bed, slightly recessed into a 1-inch trench of mulch or gravel so you see the glow, not the tube. That hidden-source trick is the whole secret: visible bulbs look festive, hidden ones look expensive. Choose a waterproof, outdoor-rated rope in warm white (2700K–3000K), and plug it into a GFCI outlet — never run indoor-rated strips outside, and keep connections inside a weatherproof cover box. Rope light comes in long spools you cut to length at marked intervals, so one purchase often edges an entire standard driveway. The continuous line also does a practical job, tracing the drive's shape for guests parking after dark. Solar rope versions exist for spots far from an outlet, though their glow is gentler. Either way, the effect at dusk is quietly stunning.
Suggested budget range: $30 – $70.

10. Light Fewer Fixtures, but Group Them in Pools
Here's a designer habit that costs literally nothing: stop spreading your lights evenly like runway markers, and start grouping them into pools of light with gentle darkness between. Runway spacing is the number-one giveaway of an amateur install — it looks like a landing strip and wastes fixtures lighting empty concrete. Instead, cluster two or three lights where they matter: at the street entrance, midway where the walkway branches off, and at the garage apron. Between those pools, let the driveway fall softly dark. That rhythm of light and shadow is exactly how landscape architects design six-figure properties, and it means you need fewer fixtures to begin with — most standard driveways look complete with 8 to 10 well-placed lights total. If you've already bought a big multipack of solar stakes, use the extras in the backyard instead of crowding the drive. When I thinned our own lineup from sixteen stakes to nine grouped ones, the driveway instantly looked calmer, richer, and frankly more expensive. Restraint is the most underrated budget tool there is.
Suggested budget range: $0 – $40.
11. Dress Up the Entrance with Lanterns on the Gate Posts or Pillars
The first five feet of your driveway set the tone for the whole property, so spend a little of your budget exactly there. If you have entrance pillars, fence posts, or even two sturdy garden posts at the street, top each with a solar lantern in a classic carriage style — black metal frame, warm flickering or steady LED glow. A matched pair at the entrance reads like a gated estate, even on the humblest lot. No posts? Two tall planter urns flanking the driveway, each with a solar lantern nestled among the greenery, creates the same threshold moment for very little money. Keep the pair perfectly symmetrical; symmetry is another free luxury cue your eye registers immediately. Choose lanterns tall enough to hold their own — around 12 to 18 inches — since tiny ones disappear from the street. Solar versions keep this project wire-free, and models with a dusk-to-dawn sensor mean you never think about switches. I paired ours with the house numbers idea below, and our delivery drivers started complimenting the entry within the week.
Suggested budget range: $35 – $75.

12. Put a Soft Spotlight on the Mailbox and House Numbers
Few things say "considered home" like a clearly lit address at the end of the drive — guests find you, deliveries land right, and the whole street view looks finished. A single small solar spotlight, staked in the bed beside the mailbox and aimed up at the numbers, does the job for the price of a sandwich. Warm white, always, and choose an adjustable-head spot so you can angle the beam to wash the numbers without blasting the street or your neighbor's window. If your mailbox post is wooden, a solar cap light on top adds a second tiny glow that ties into the entrance lanterns beautifully. This is also genuinely practical: reflective numbers help, but lit numbers are readable in rain and fog when reflectivity fades. Keep the fixture itself tucked low among plantings so the light seems to come from nowhere — that hidden-source effect again. Wipe the panel monthly and check the aim after any storm nudges it. Small, thoughtful, and quietly high-end: exactly the kind of detail expensive installs are made of.
Suggested budget range: $15 – $35.

13. Swap Garage Sconce Bulbs for Dusk-to-Dawn LEDs
Sometimes the highest-impact upgrade is hiding inside fixtures you already own. If your garage has wall lanterns or sconces flanking the door, swap their bulbs for LED bulbs with a built-in dusk-to-dawn photocell. They switch themselves on at sunset and off at sunrise, cost a few dollars a year to run, and instantly give your driveway that "always perfectly lit" look of homes with smart systems. Choose warm-white 2700K filament-style LEDs — the visible filament reads vintage and upscale through lantern glass, far nicer than a bare utilitarian bulb. One warning from experience: photocell bulbs need to "see" the darkening sky, so they work best in open or clear-glass fixtures; inside a fully enclosed frosted lantern they can flicker or stay confused. Also skip the dimmer combos — pair them with a plain switch or the timer idea below, not both. While you're up on the step stool, wash the lantern glass inside and out; clean glass alone can make an old fixture throw noticeably more light. For under $20, the front of your garage goes from forgotten to finished.
Suggested budget range: $12 – $25.

14. String Festoon Lights Along One Side on Simple Poles
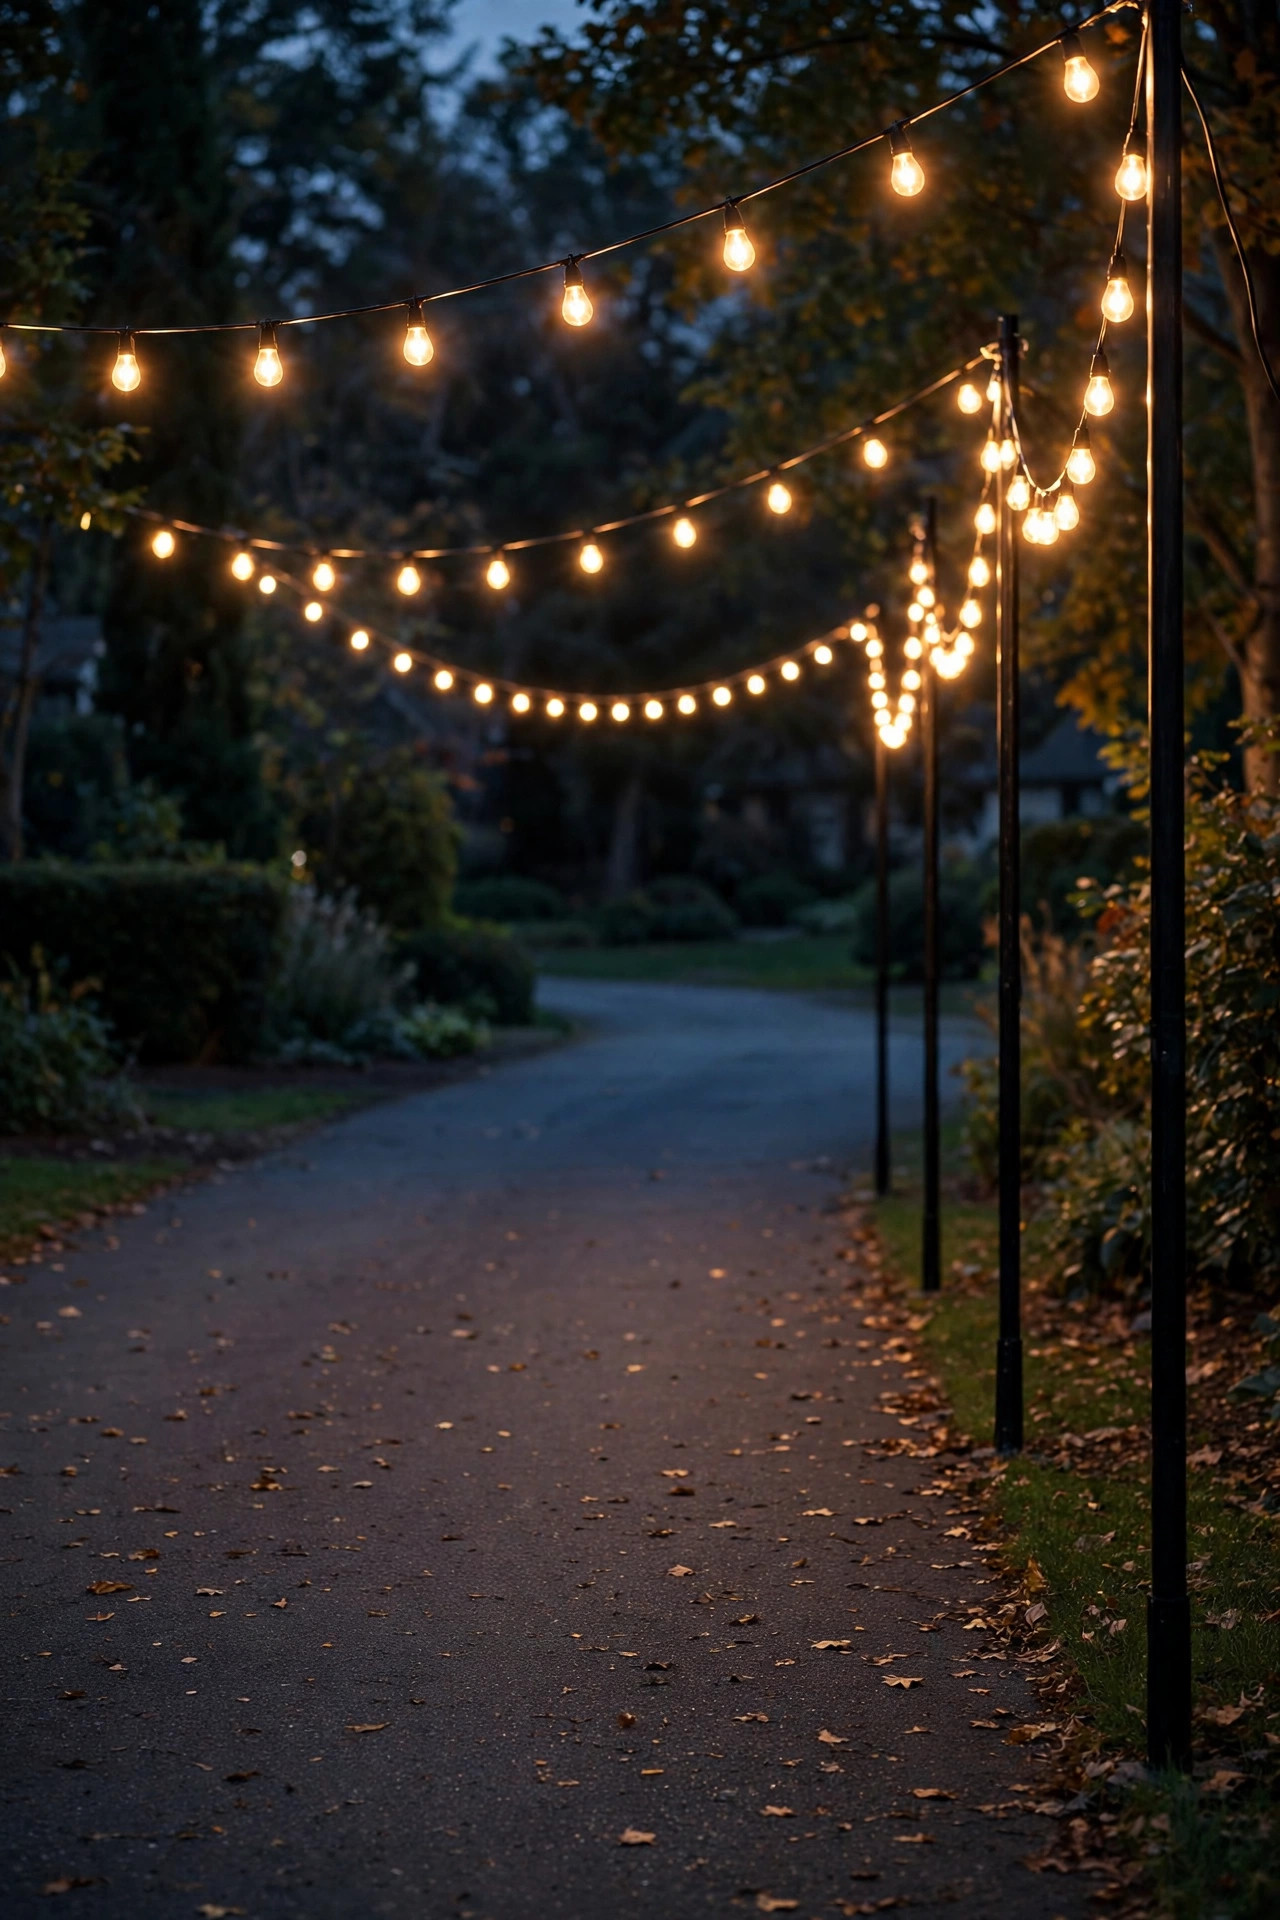
A single graceful swag of warm string lights along one side of the driveway brings instant celebration energy — but done right, it reads café-chic, not party leftover. The budget setup is simple: two or three black metal or wood poles (8 to 9 feet tall) planted in the border bed, with one strand of outdoor festoon lights swooping gently between them, ending at the garage wall or a porch post. Outdoor-rated strands with shatterproof LED bulbs in warm white are inexpensive now, and because they're LED, running them nightly costs pennies. Keep the swag shallow — a droop of about 12 to 18 inches between poles looks intentional; deep sagging looks tired. Use guide wires or zip ties at each pole so wind doesn't tangle your line, and plug into a GFCI outlet with the connection sheltered. I only light one side of the drive, never both — asymmetry keeps it elegant and halves the cost. On summer nights this is the backdrop for every photo taken at our house. Take strands down before ice storms and they'll last for seasons.
Suggested budget range: $45 – $90.
15. Refresh What You Own Before Buying Anything New
Honestly? The most high-end move on this list might be spending an hour on the lights already in your yard. Solar fixtures fade for embarrassingly simple reasons: cloudy panels, corroded battery contacts, and dead rechargeable batteries that cost a dollar apiece to replace. Work down your driveway with a bucket of soapy water and a microfiber cloth, scrubbing every solar panel and lens — I've revived "dead" stakes that just needed their panel cleaned. Pop open the battery compartments, swap in fresh rechargeable AA or AAA cells where fitted, and check that the little on/off switches survived last winter. Straighten every stake with a level eye, re-aim spotlights that storms have nudged, and trim back the shrubs swallowing two of your fixtures whole. Then stand at the street at dusk and look honestly: most driveways need editing and cleaning far more than they need new gear. Whatever still underperforms after a refresh is your true shopping list — usually two or three fixtures, not twenty. This zero-dollar reset is always my first step before any lighting project, big or small.
Suggested budget range: $0 – $20.

16. Put Everything on One Timer — Budget Driveway Lighting Ideas Look Expensive When They're Synchronized
Nothing says "professionally designed system" like every light clicking on at the same moment — and nothing says "assorted solar gadgets" like fixtures flickering to life at random times all evening. A single outdoor smart plug or mechanical timer, running your wired and plug-in lights, buys you that synchronized polish for the price of a pizza. Set the schedule for about 30 minutes before sunset until 11 p.m., then let motion sensors handle the late hours; you'll save electricity and the lights will feel like a curated scene rather than yard equipment. Smart plugs that follow local sunset automatically are my favorite — set them once and they adjust all year. Keep the plug itself inside a weatherproof cover on a GFCI outlet, and if your rope light, string lights, and garage floods share one circuit, check the total wattage stays modest — with LEDs it nearly always does. Solar fixtures can't join the timer, of course, but grouping them at the driveway's edges (where their softer timing matters less) keeps the main pools of light perfectly in step. Synchronization is the polish that pulls every other idea together.
Suggested budget range: $15 – $30.

17. Uplight One Beautiful Tree at the Driveway's Turn
Every designer I know finishes a driveway with a single moment of drama, and one uplight on your best tree is the cheapest drama there is. If a tree stands near the driveway — at its curve, beside the garage, at the street corner — one solar or low-voltage spotlight aimed up into the canopy turns it into a glowing sculpture that anchors the whole scene. The fixture itself disappears into the mulch; all anyone sees is golden light filtering through leaves. Solar spotlights with a separate panel are the budget pick here: stake the panel in sun, hide the light at the trunk's base, and angle the beam to graze the bark's texture up into the branches. Warm white, naturally. One tree, lit well, beats six fixtures scattered in the lawn — it's the focal point your grouped pools of light have been leading toward. On breezy nights the moving shadows are pure magic, and in winter the bare branches look like sculpture. If your only tree sits far from the drive, uplight a large shrub or an ornamental grass clump instead; the principle is identical.
Suggested budget range: $20 – $45.

Frequently Asked Questions
How can I light my driveway cheaply but still make it look expensive?
Spend on placement, not fixtures. Keep every light the same warm color temperature (2700K–3000K), space fixtures evenly or group them in pools, and hide light sources where you can. A $30 set of solar stakes, measured out with a string line and glowing one consistent warm color, will always look more high-end than pricey fixtures installed at random.
Are solar driveway lights bright enough to actually park by?
Yes, for guidance lighting — solar stakes and discs mark edges clearly so drivers can judge the driveway's shape, which is what parking at night really requires. For task brightness at the garage door, add a wired or motion-sensor light on the apron. Look for solar fixtures rated at least 10–15 lumens for stakes and 100+ lumens for solar spotlights, and keep their panels clean and unshaded.
What color temperature looks best for driveway lighting?
Warm white, between 2700K and 3000K, flatters brick, stone, and landscaping and matches the welcoming glow of porch lights. Cooler 4000K–6000K light tends to look harsh and institutional outdoors. Whatever you choose, use the same temperature everywhere — matching matters more than the exact number.
How many lights does a standard driveway need?
Fewer than you think. A typical two-car suburban driveway looks complete with 8 to 12 fixtures: a grouped cluster at the street entrance, one midway pool where the walkway branches off, apron lighting at the garage, and one focal uplight. Even spacing every 6 to 8 feet along both edges is the classic alternative — just pick one scheme and commit.
Conclusion
Beautiful budget driveway lighting ideas aren't really about the money — they're about warmth, consistency, and knowing where to stop. Match your color temperature, group your light into welcoming pools, synchronize what you can, and give the entrance and one lovely tree their moment. Start with the free wins (a good cleaning, smarter spacing, one can of matte spray paint), then add a single idea at a time as your budget allows; the layered result will look planned from day one. If you're dreaming up the rest of the yard too, browse my favorite budget outdoor lighting ideas for more warm inspiration. Then pour something cozy, step out to the street at dusk, and enjoy the glow — nobody will ever guess what it cost.