Your driveway entrance is the first hello your home gives — to guests pulling in after dark, to delivery drivers hunting for the right house, and honestly to you, every single evening you come home. When I started collecting driveway entrance lighting ideas for my own place, I realized the entrance needs its own plan, separate from the rest of the yard. It has to mark the turn-in clearly, frame the gate or pillars without blinding drivers, and still feel warm instead of commercial. My approach is the same layering I use everywhere: one statement layer at eye level, one low guiding layer near the ground, and one soft accent layer to give it depth. Below you'll find 17 ways to build that layered look around pillars, gates, and posts — wired and solar, grand and budget-friendly — each with the placement numbers I actually use and a realistic budget.
1. Classic Lantern Caps on Masonry Pillars
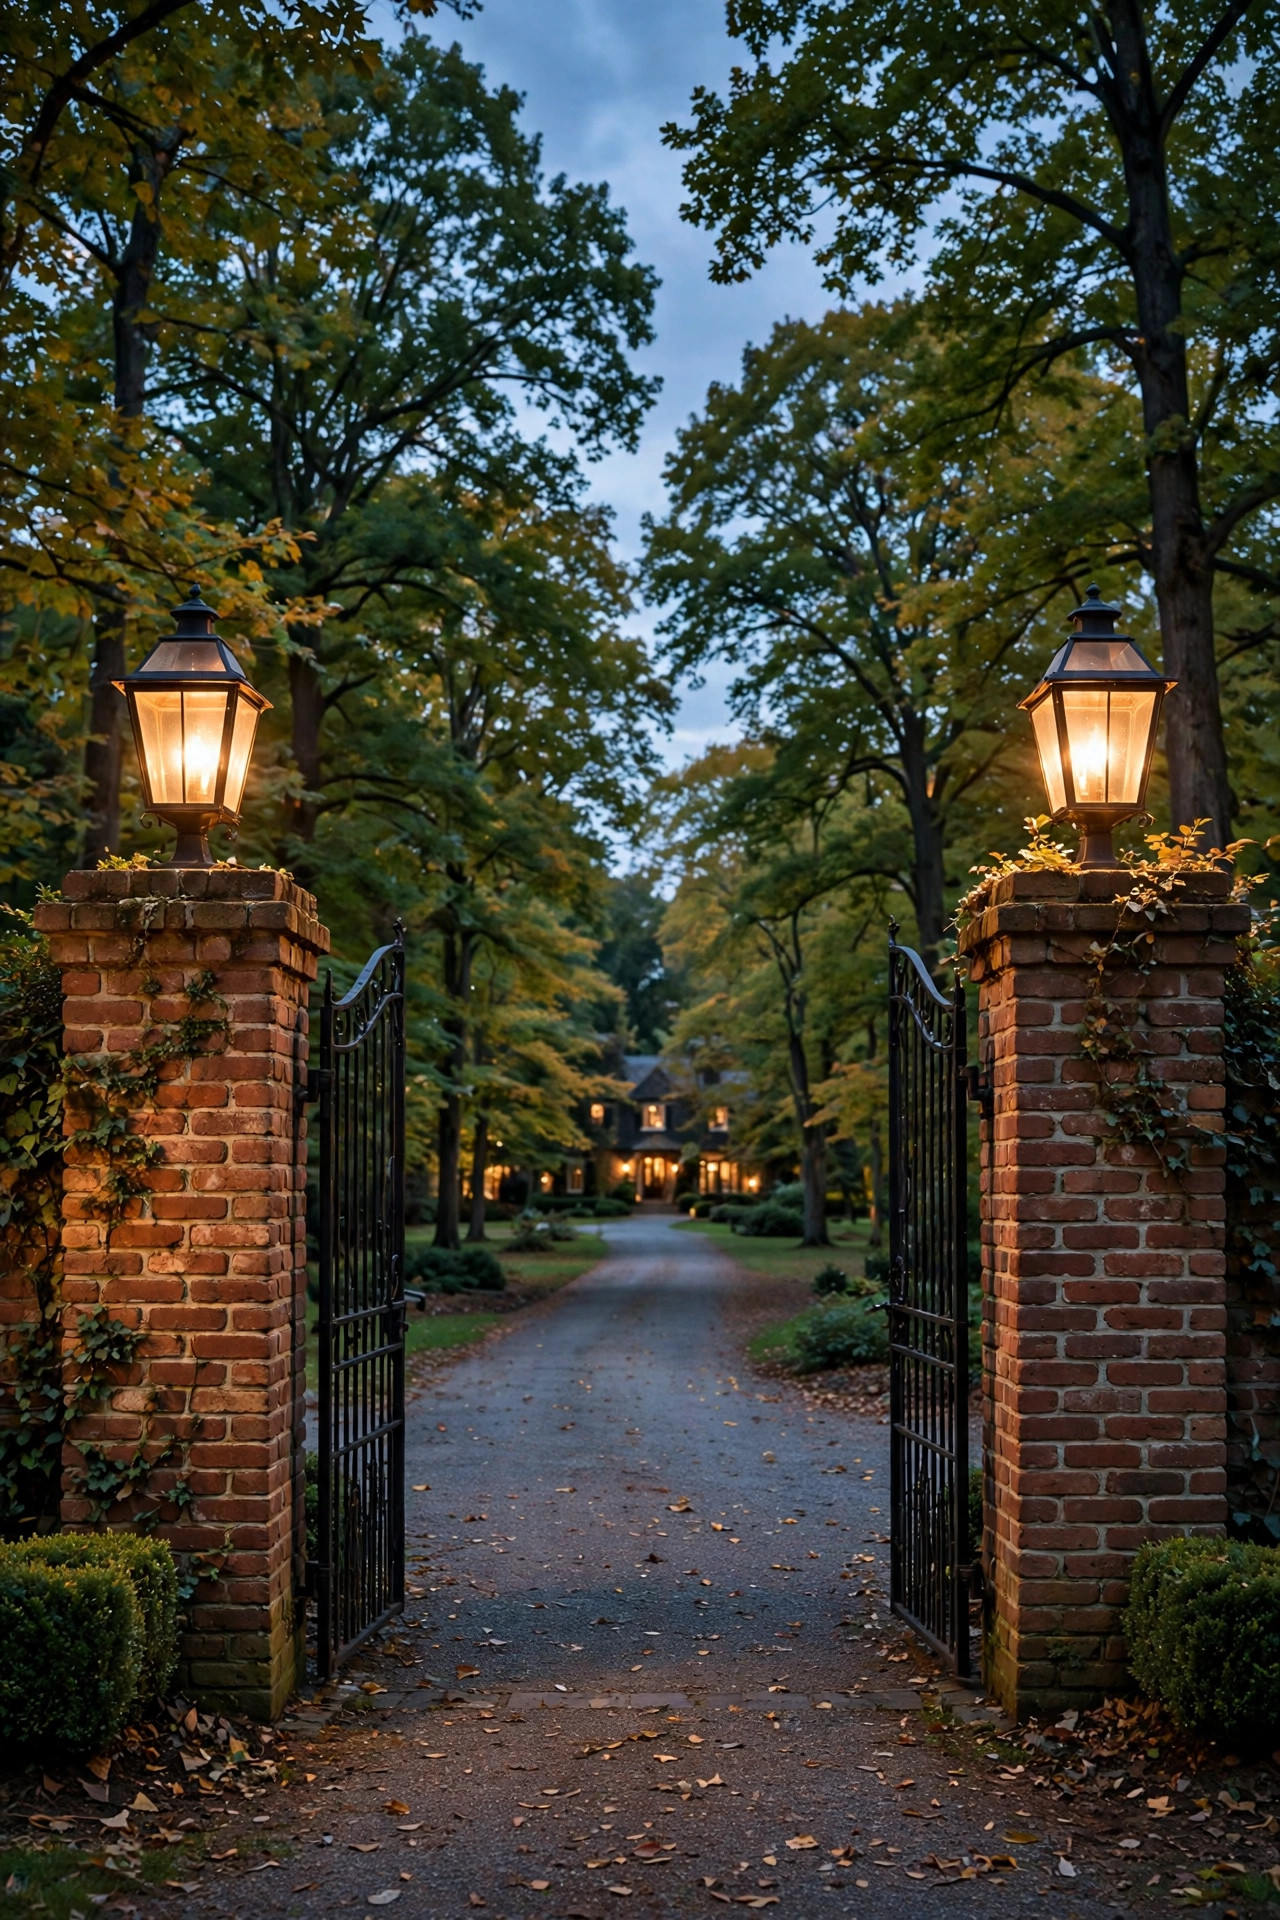
If your entrance already has brick or stone pillars, a lantern cap is the most timeless way to light them. I choose fixtures that sit on a flat capstone at least 2 inches wider than the lantern base on every side, which keeps rain from pooling against the mount. Proportions matter more than price here: for a pillar 18 to 24 inches wide, a lantern 12 to 16 inches tall looks right; anything smaller reads as an afterthought. Warm 2700K LED filament-style bulbs in the 450 to 800 lumen range give that candlelit glow without glare, and clear seeded glass throws prettier light than frosted. Hardwired low-voltage is my preference — run 12-gauge cable through conduit inside the pillar during construction, or surface-mount conduit neatly down the back face if the pillars already stand. Put both lanterns on one photocell or astronomical timer so they always switch together; mismatched timing ruins the symmetry. Seal the base with outdoor silicone each fall, and check that the capstone slopes slightly so water sheds instead of creeping into the fixture.
Suggested budget range: $450 – $1,200.

2. Solar Pillar Cap Lights for a No-Wire Entrance
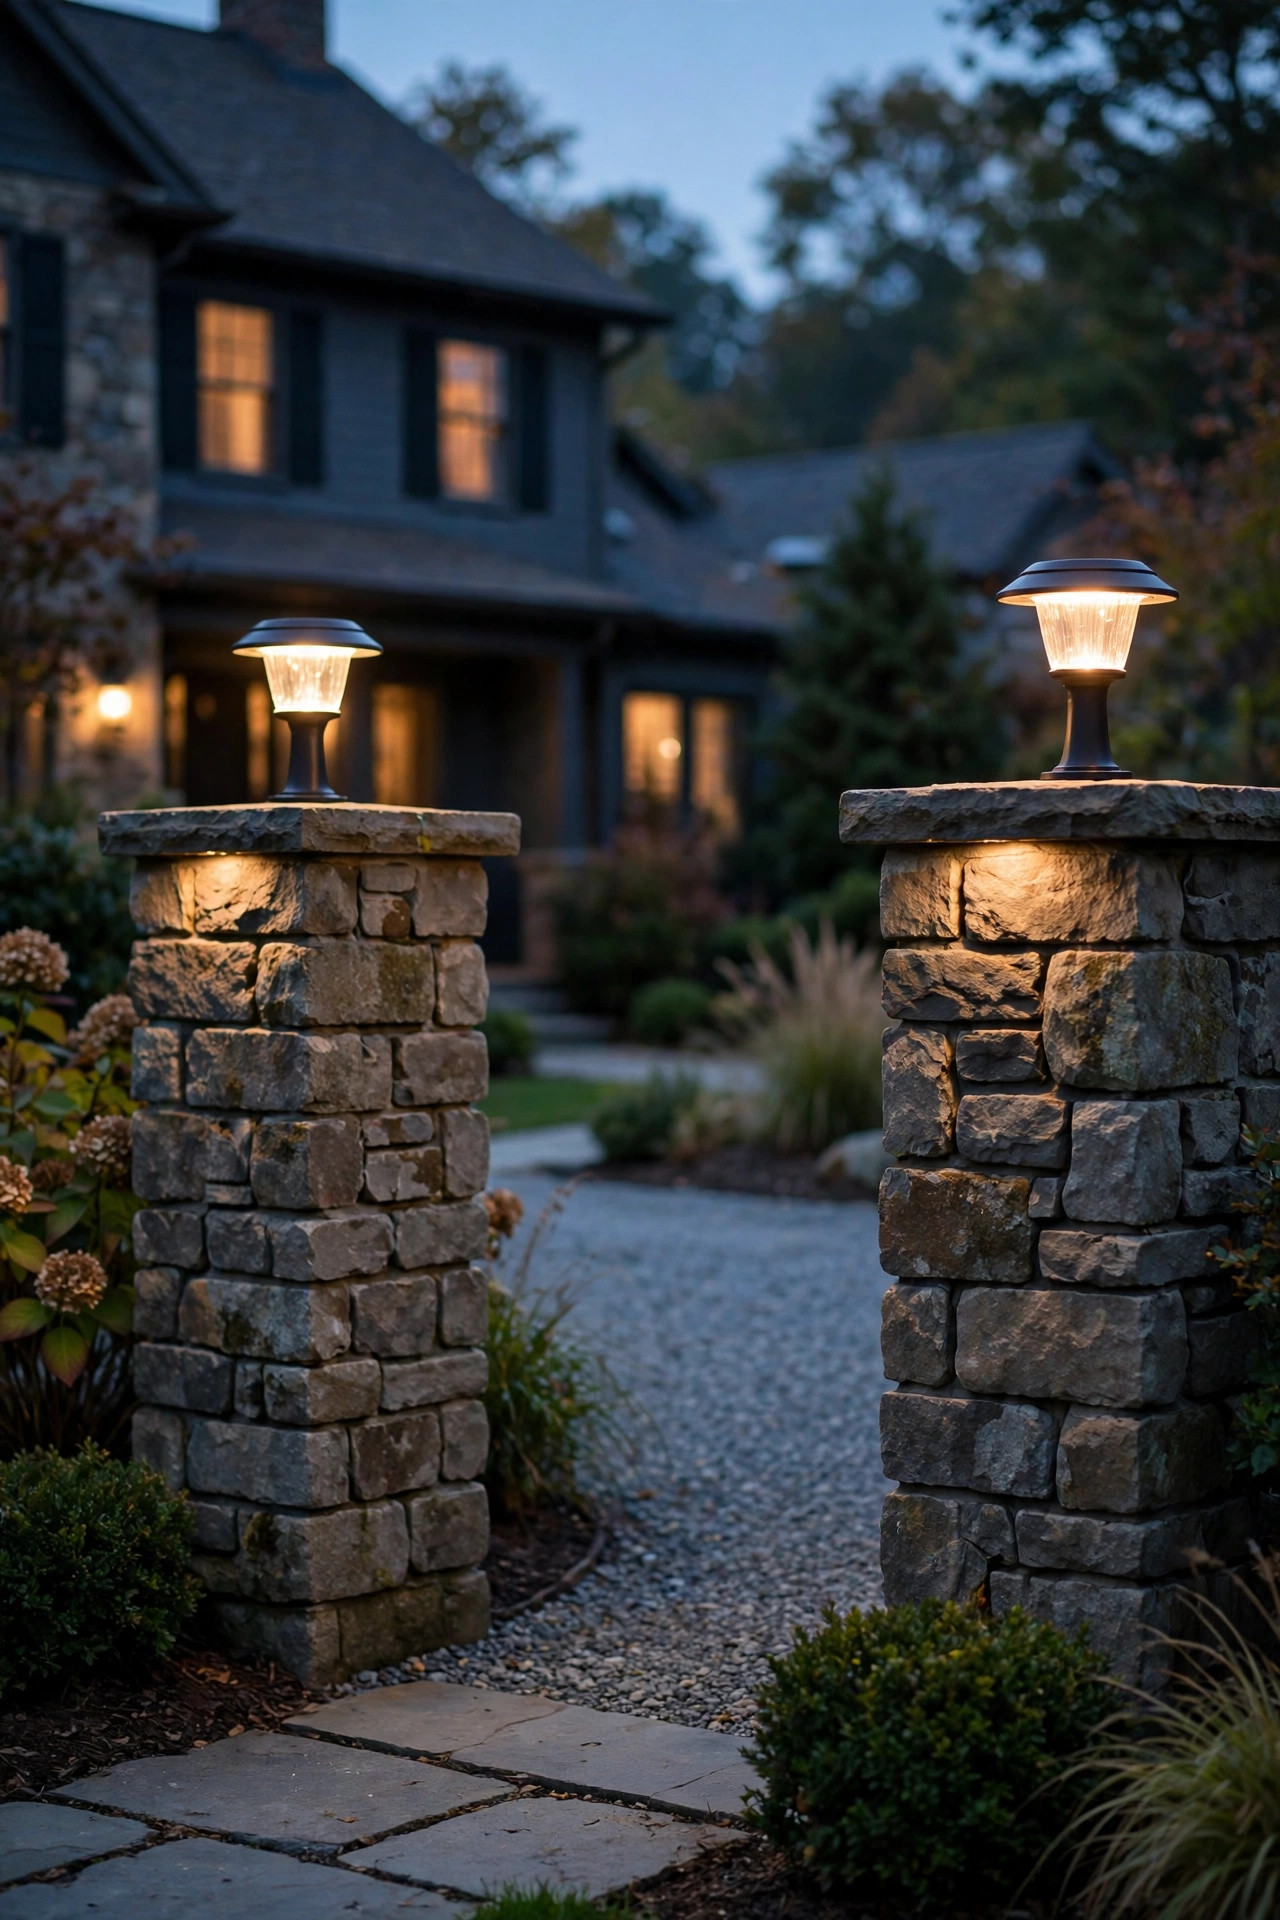
No trench, no electrician, no problem — solar cap lights are how I light entrances where running cable means crossing pavement. Modern solar caps are a real step up from the dim stakes of a decade ago: look for a panel of at least 2 watts, a replaceable battery, and output around 150 to 300 lumens, which is enough to read as a genuine beacon from the street. The non-negotiable is sun exposure. The panel needs roughly 6 hours of direct sun, so this idea fails under a dense oak canopy; on shaded lots I run a remote-panel model and mount the panel on the sunny side of the pillar. Screw the base into the capstone with the included anchors rather than relying on adhesive, because wind and curious raccoons both test them. Expect brightness to dip after several overcast winter days — that's normal, and swapping in fresh rechargeable batteries every 18 to 24 months brings most units back. Clean the panel monthly with a damp cloth; a dusty panel can cut charging by a third.
Suggested budget range: $60 – $180.
3. Solar Driveway Entrance Lighting With Remote Panels
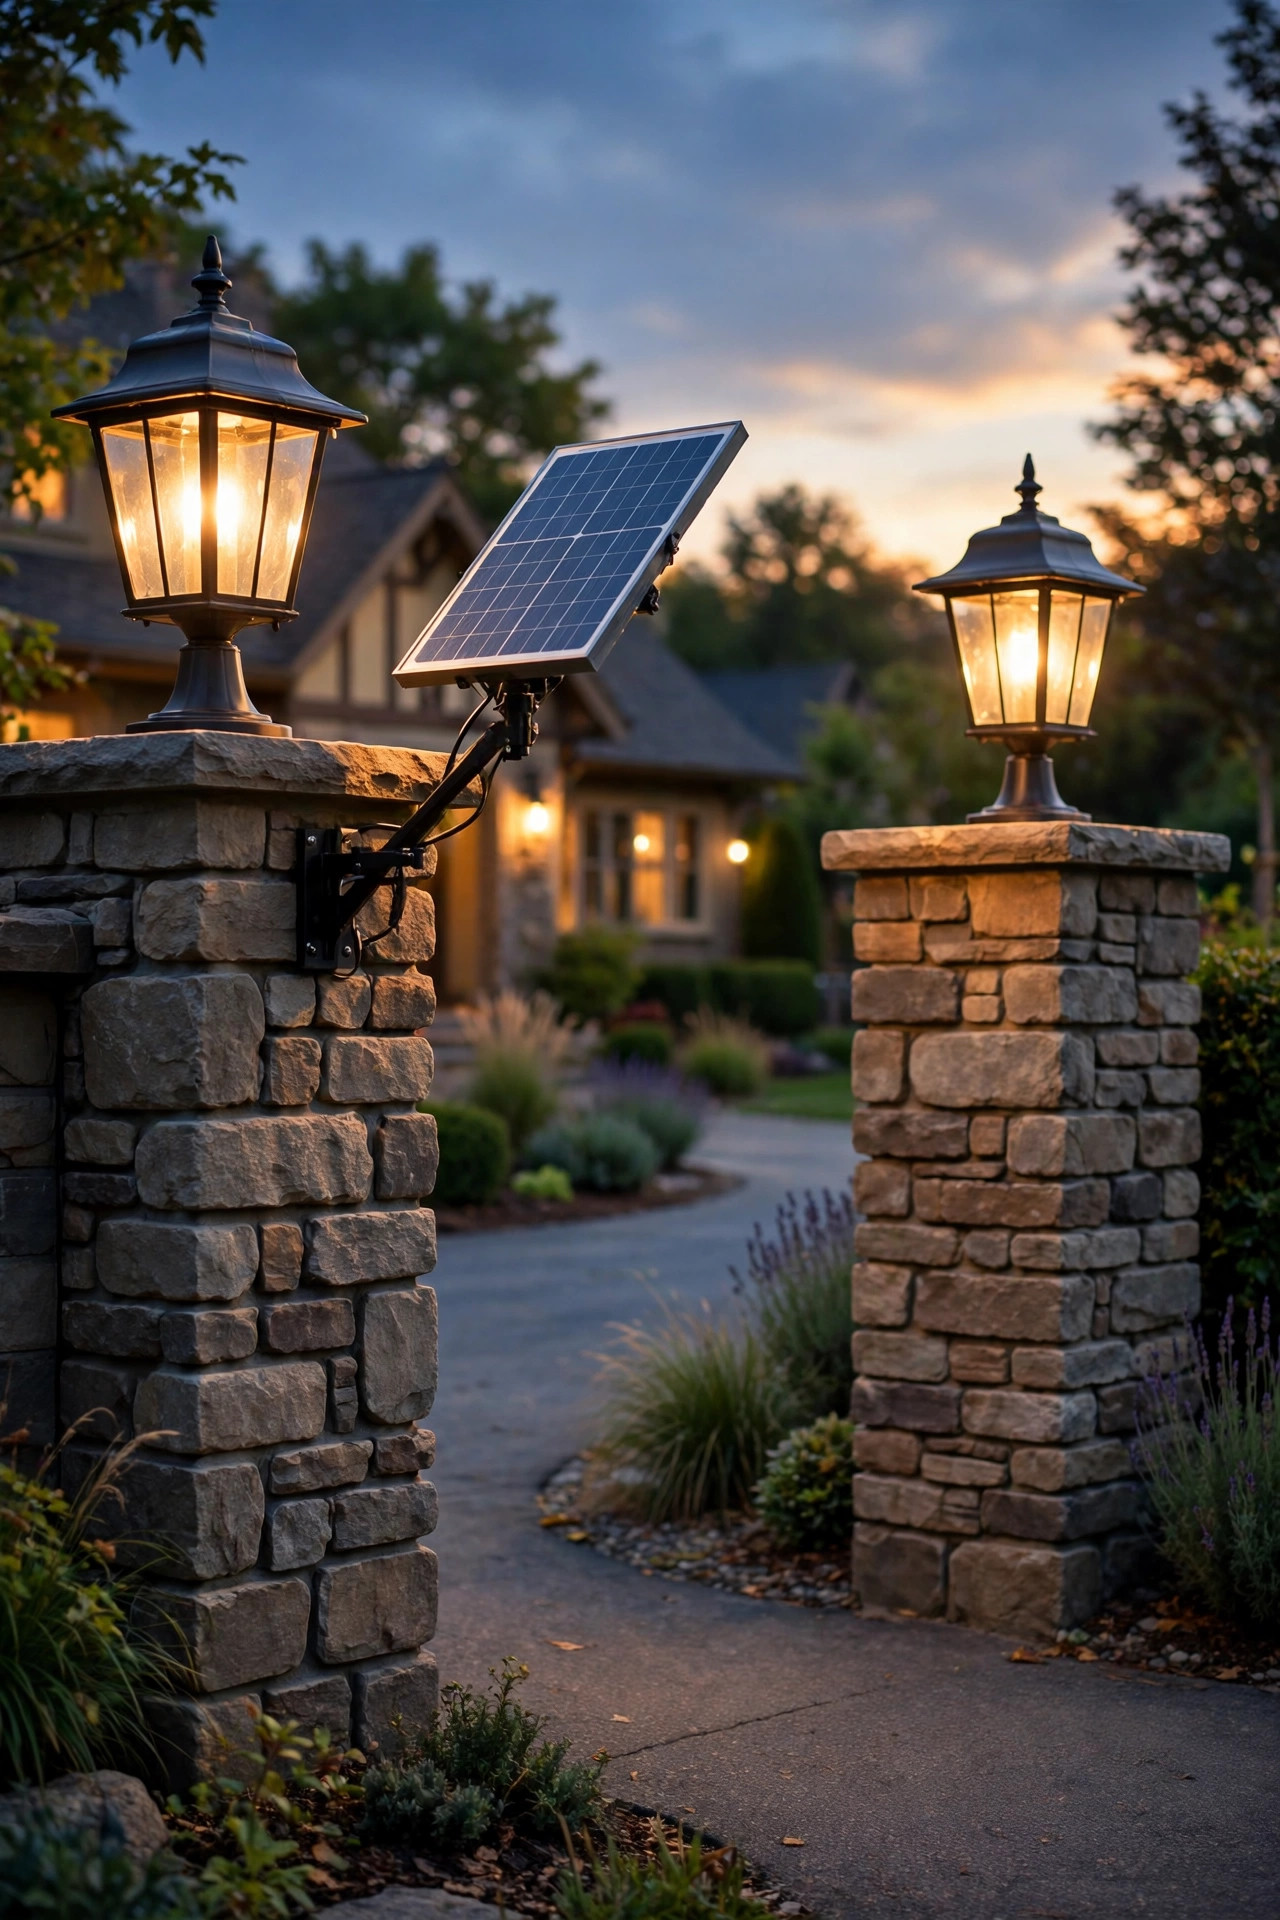
This is my middle path for shaded entrances: fixtures that look exactly like hardwired lanterns but run on solar, with the panel separated from the light itself. The lantern mounts on the pillar or post where you want the glow, and a small panel on a 9 to 15 foot cord hides on the sunny back side of the pillar, on a fence return, or atop a nearby post. That separation fixes the biggest weakness of all-in-one solar — placement. In my experience, brightness also holds up better because the panel can be angled true south and tilted for your latitude. Choose models with a dusk-to-dawn sensor plus a timer mode; I set mine to full brightness until 11 p.m., then dim to 30 percent for the rest of the night, which stretches winter runtime beautifully. Lithium batteries outperform the older nickel-based ones in cold weather, so check the spec sheet if your winters drop below freezing. Keep the cord protected inside split-loom tubing where it crosses soil so a string trimmer can't nick it.
Suggested budget range: $120 – $350.
4. Low Bollard Lights Flanking the Entrance
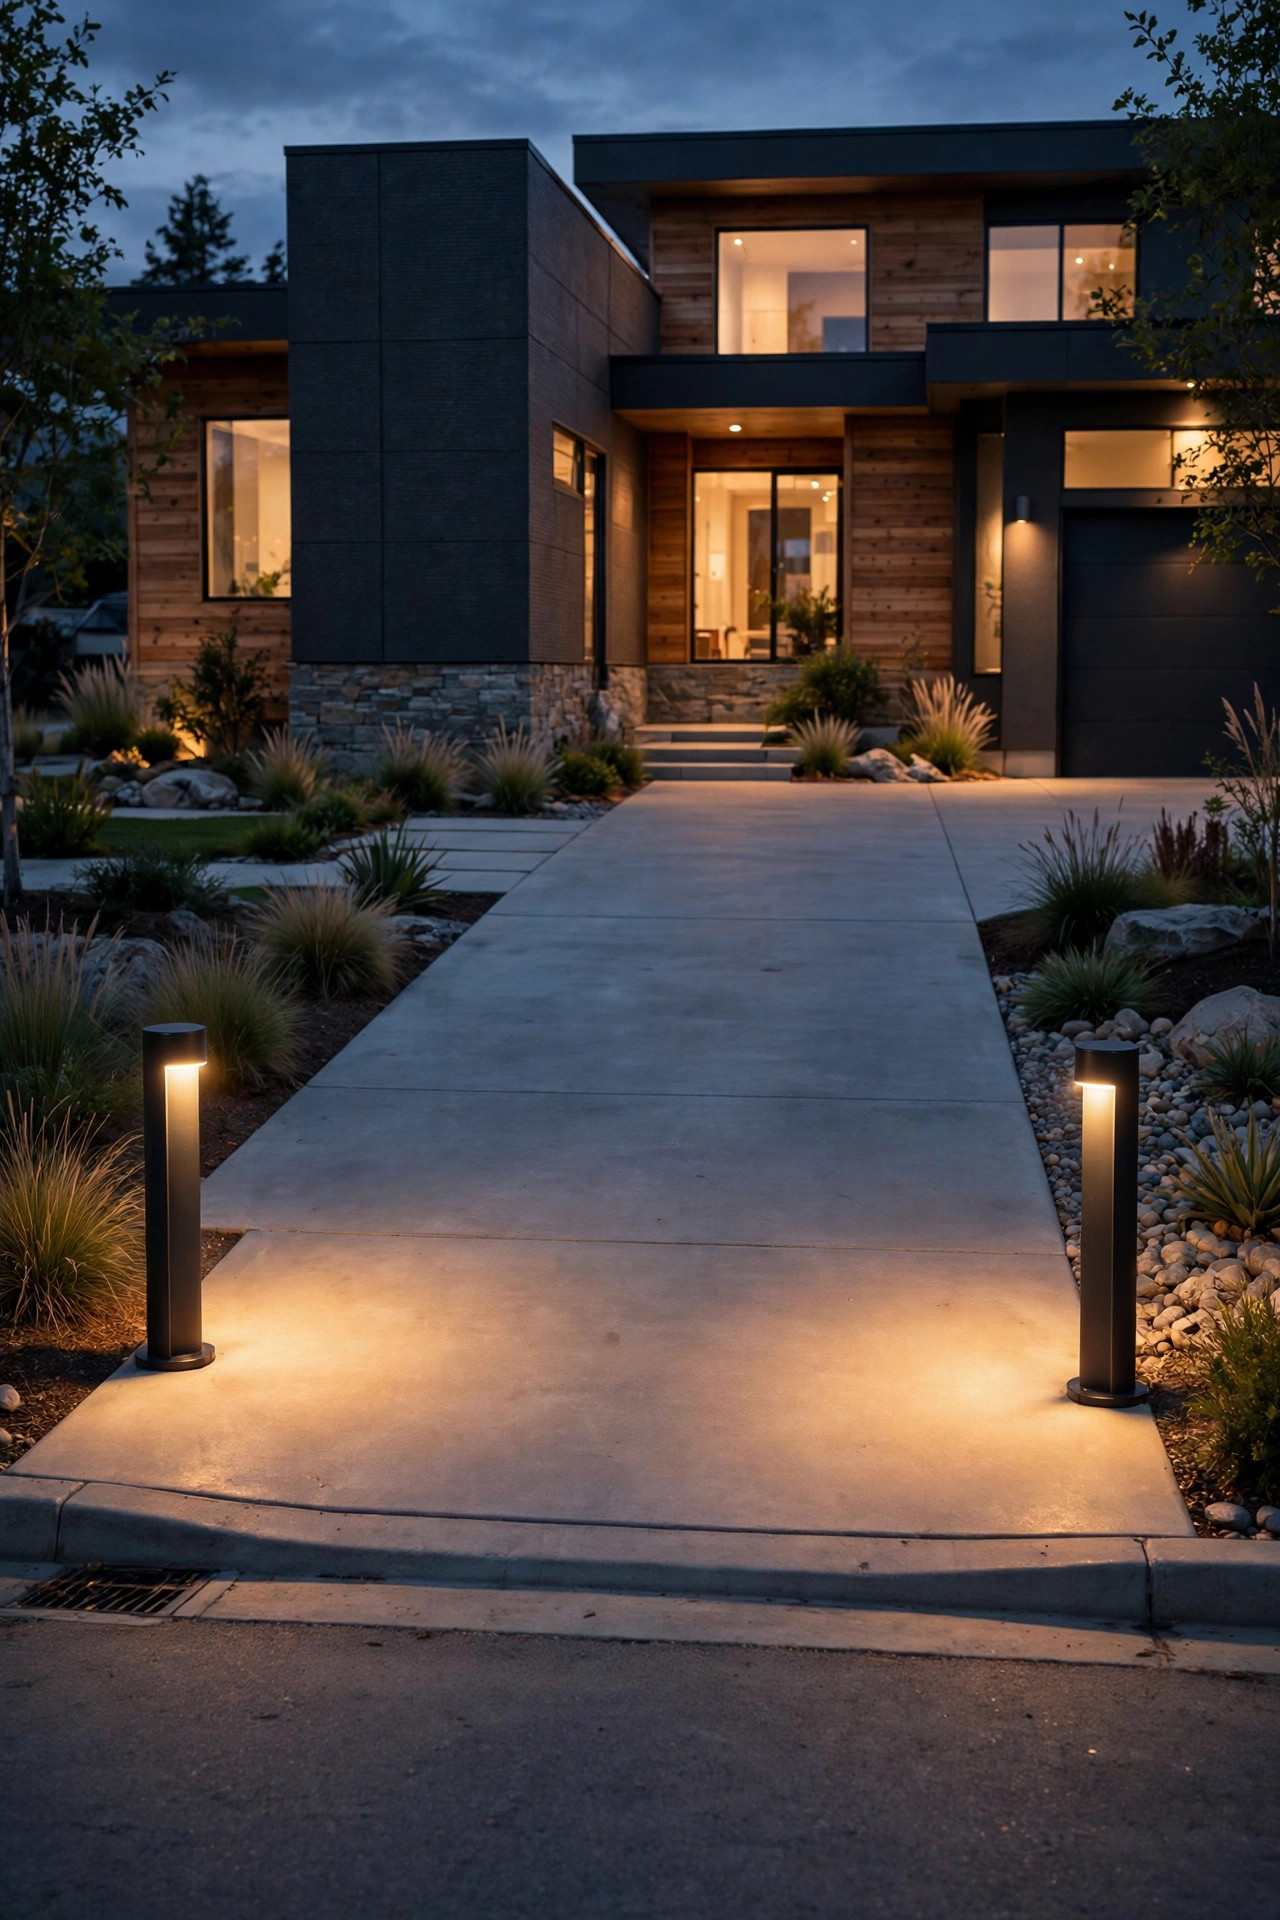
Bollards are the ushers of the entrance — they tell a driver exactly where the driveway begins without a word. I place a pair 12 to 18 inches inside the driveway edge, set back at least 2 feet from the road-side corner so snowplows and wide turns don't clip them. Height is the big decision: 18 to 24 inches keeps the light pool low and classy, while taller 30-inch bollards suit long rural entrances where you spot them from farther away. Look for fixtures that throw light downward and outward in a wide, shielded pattern — an unshielded bollard at driver eye level is just glare. Output of 200 to 400 lumens each is plenty. Powder-coated aluminum or composite bodies survive freeze-thaw and the occasional bumper tap better than thin stamped steel. My full breakdown of styles, spacing, and voltage options lives in my guide to driveway bollard lights, which is worth a read before you order. Stake-mount solar versions work for a trial run, but wired bollards on a concrete footing stay straight for years.
Suggested budget range: $140 – $480.
5. Post-Mount Lanterns on Wooden or Vinyl Posts
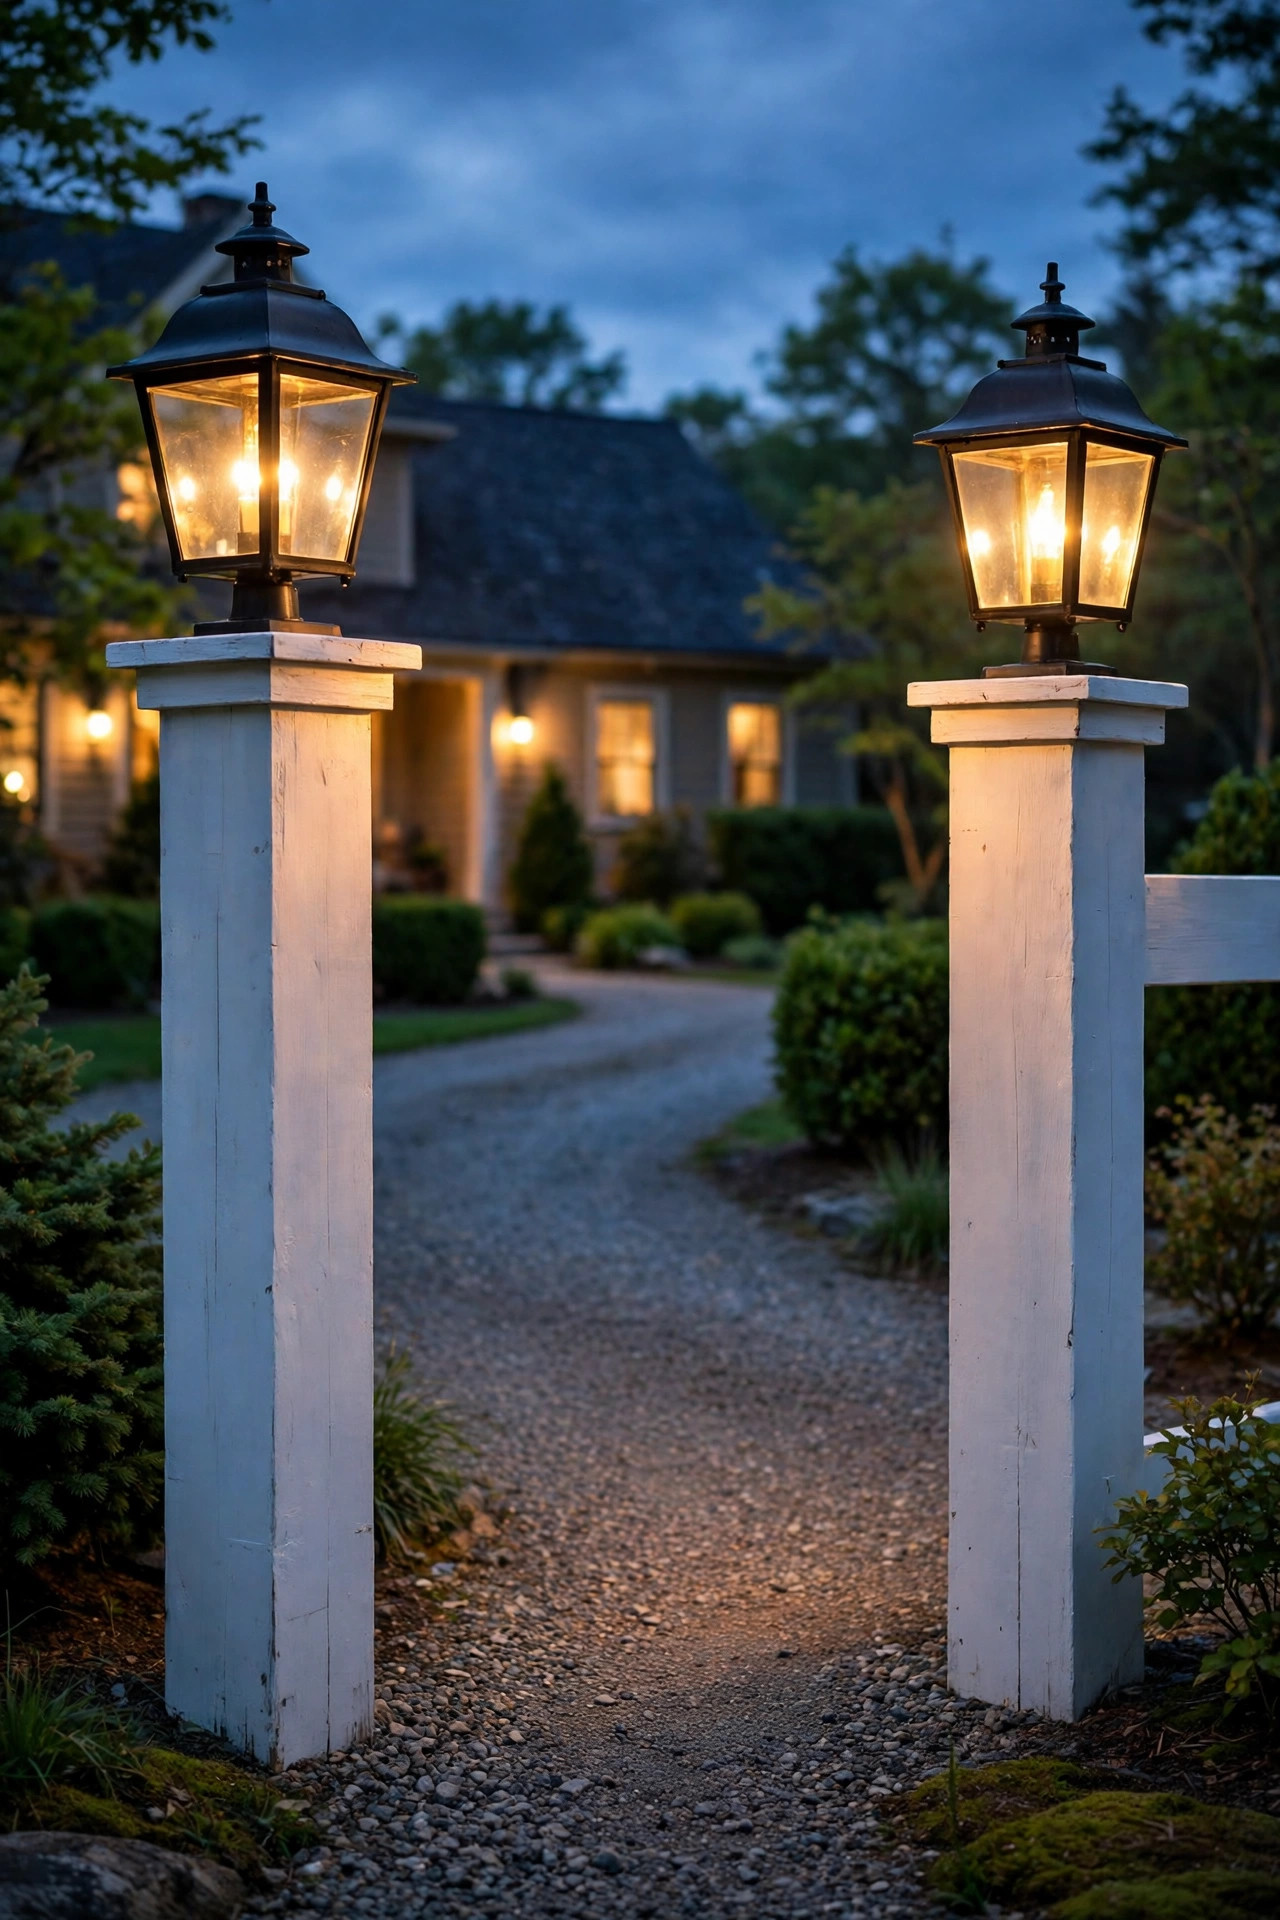
A pair of 4×4 or 6×6 posts with post-mount lanterns gives you the pillar look at a fraction of the masonry cost, and it suits farmhouse, cottage, and suburban entrances beautifully. I dig posts 30 to 36 inches deep — below the frost line in most of the country — and set them in gravel with a concrete collar so they don't heave or lean by spring. Finished height should land the lantern's bulb around 5-1/2 to 6-1/2 feet above grade, right at welcoming eye level without shining into a driver's windshield. Pier-mount adapters make swapping fixtures easy later. Cedar and pressure-treated pine take stain well; vinyl sleeves over treated posts give you a maintenance-free white-column look. Run low-voltage cable in conduit down the back of the post, entering the fixture through a drilled channel so nothing shows from the street. A finial cap or slightly oversized lantern keeps proportions handsome. If the posts flank a gate, offset them 6 inches outside the gate's swing path — a lesson learned from other people's dents, thankfully not mine.
Suggested budget range: $180 – $550.
6. Gate-Mounted Lantern Sconces
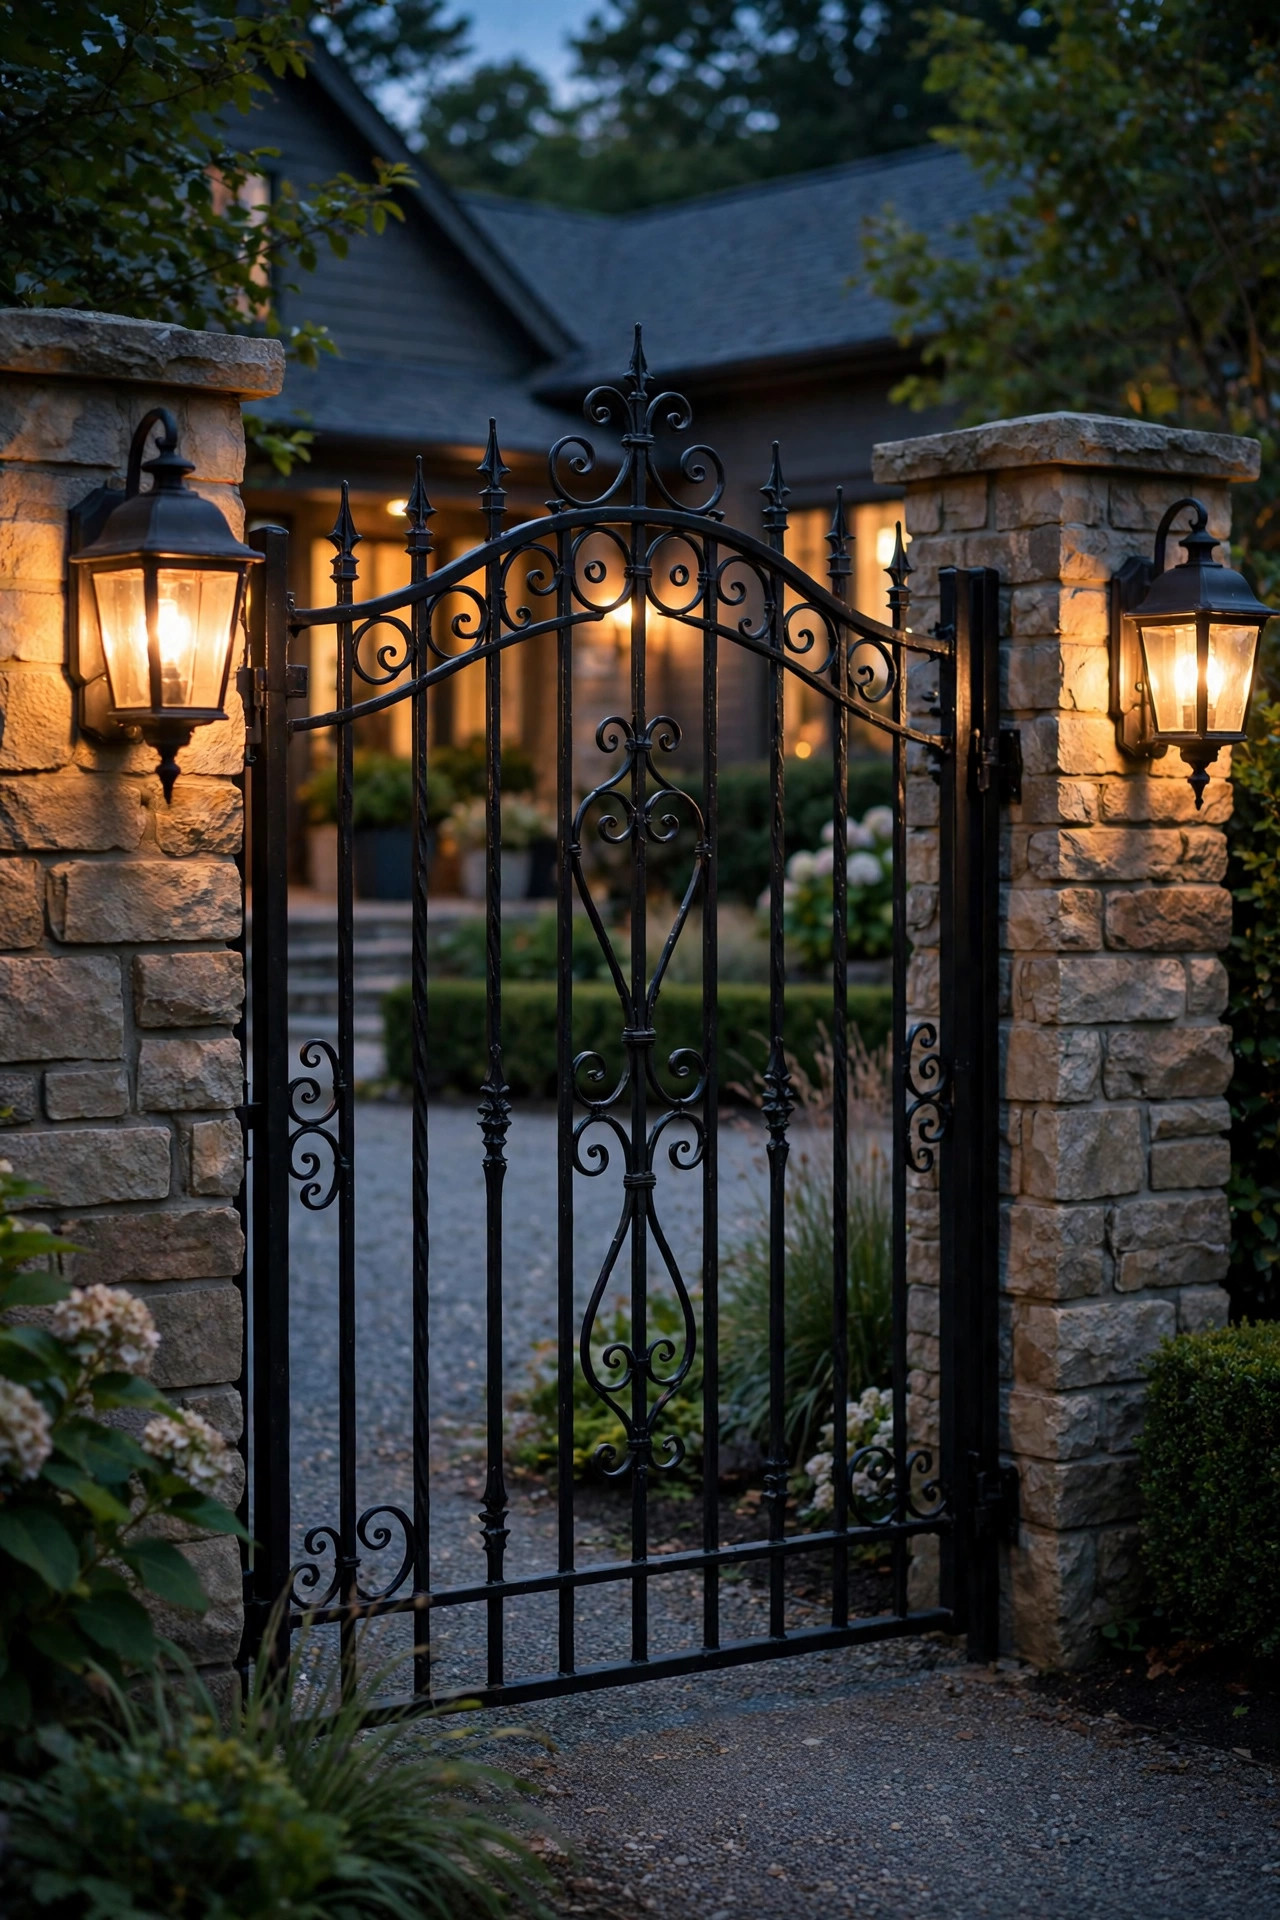
Mounting lanterns right on the gate posts — or on the gate frame itself — makes the light travel with the design instead of sitting beside it. For hinged gates, I prefer fixtures on the fixed posts flanking the opening rather than on the moving leaf; vibration loosens bulbs and connections over time. If you do mount on the gate, use low-voltage fixtures with flexible coiled leads at the hinge side and leave a service loop so the wiring flexes instead of fatiguing. Keep the fixture at least 4 inches clear of the latch hardware and any automatic opener arm. Battery-powered lantern sconces with remote controls are a surprisingly good renter-friendly option here, and the newest ones run a full season on a charge with photocell modes. Style-wise, a carriage lantern suits a wooden farm gate, while a slim rectangular sconce flatters black aluminum or steel. Whatever you choose, match the color temperature to your pillar lights exactly — a 2700K lantern beside a 3000K one looks like a mistake every single night.
Suggested budget range: $90 – $320.
7. In-Ground Well Lights Washing the Pillars
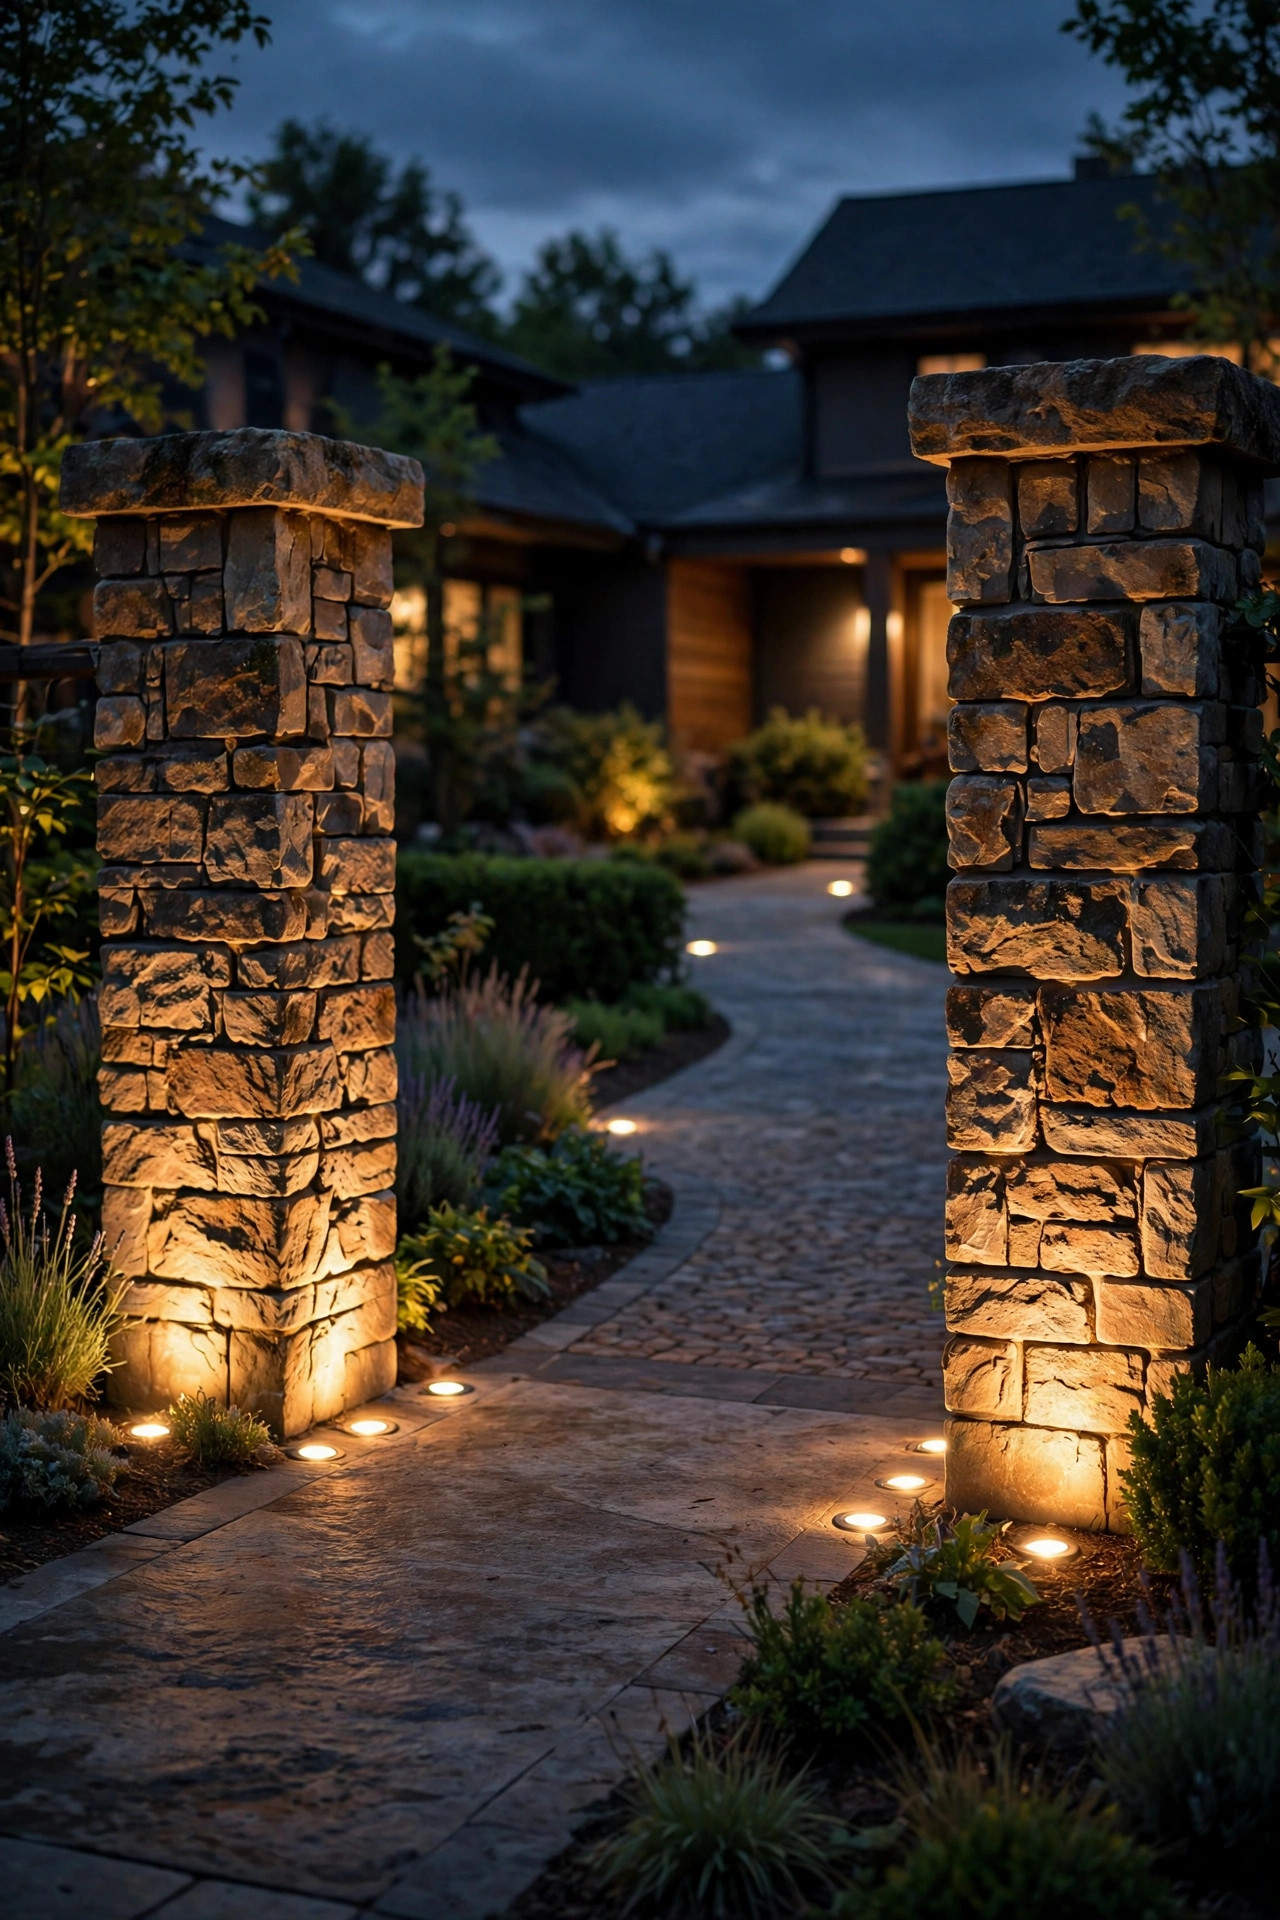
Sometimes the prettiest entrance light is one you barely see. In-ground well lights set 12 to 18 inches from the base of each pillar wash light upward, turning plain brick or stone into a textured, glowing backdrop for a simpler cap fixture — or replacing it entirely. Aim for fixtures with a 30 to 45 degree beam; narrower beams make hot streaks, wider ones spill onto the road. I insist on models with tempered glass rated for drive-over loads if any tire could ever cross them, and a honeycomb louver or glare shield so the source stays hidden from drivers. Drainage decides whether these last: set each fixture in a gravel bed at least 6 inches deep so water passes through instead of pooling in the housing. Low-voltage versions with replaceable LED modules are the sweet spot of cost and serviceability. On smooth painted pillars the effect is subtle; on rough stone or stacked brick it's honestly dramatic. Pair one well light per pillar and keep the cap fixture dimmer, so the layers read as glow rather than glare.
Suggested budget range: $160 – $520.
8. A Low-Voltage Path Light Run From Gate to Garage
An entrance feels unfinished if the light stops at the street. Continuing a low run of path lights from the pillars up one side of the driveway ties the entrance to the house and guides guests the whole way in. I keep these fixtures in the same family — same finish, same 2700K temperature — and space them 8 to 12 feet apart, staggered to the side guests walk on if there's a walkway branch. Keep every fixture at least 12 inches back from the driveway edge so car doors and tires clear them. This is also the practical moment to size your transformer for the whole entrance system: add up the fixture wattages, then buy a transformer rated at least 25 percent higher so future additions don't overload it. The cable run usually starts at the pillars, so plan the route before you set posts in concrete. For fixture-by-fixture picks and spacing diagrams, my roundup of low voltage path lights covers the models that have held up best in my own yard. Bury cable 6 inches deep and photograph the route before backfilling — future you, planting shrubs, will be grateful.
Suggested budget range: $220 – $700.
9. Illuminated House Numbers on the Pillar
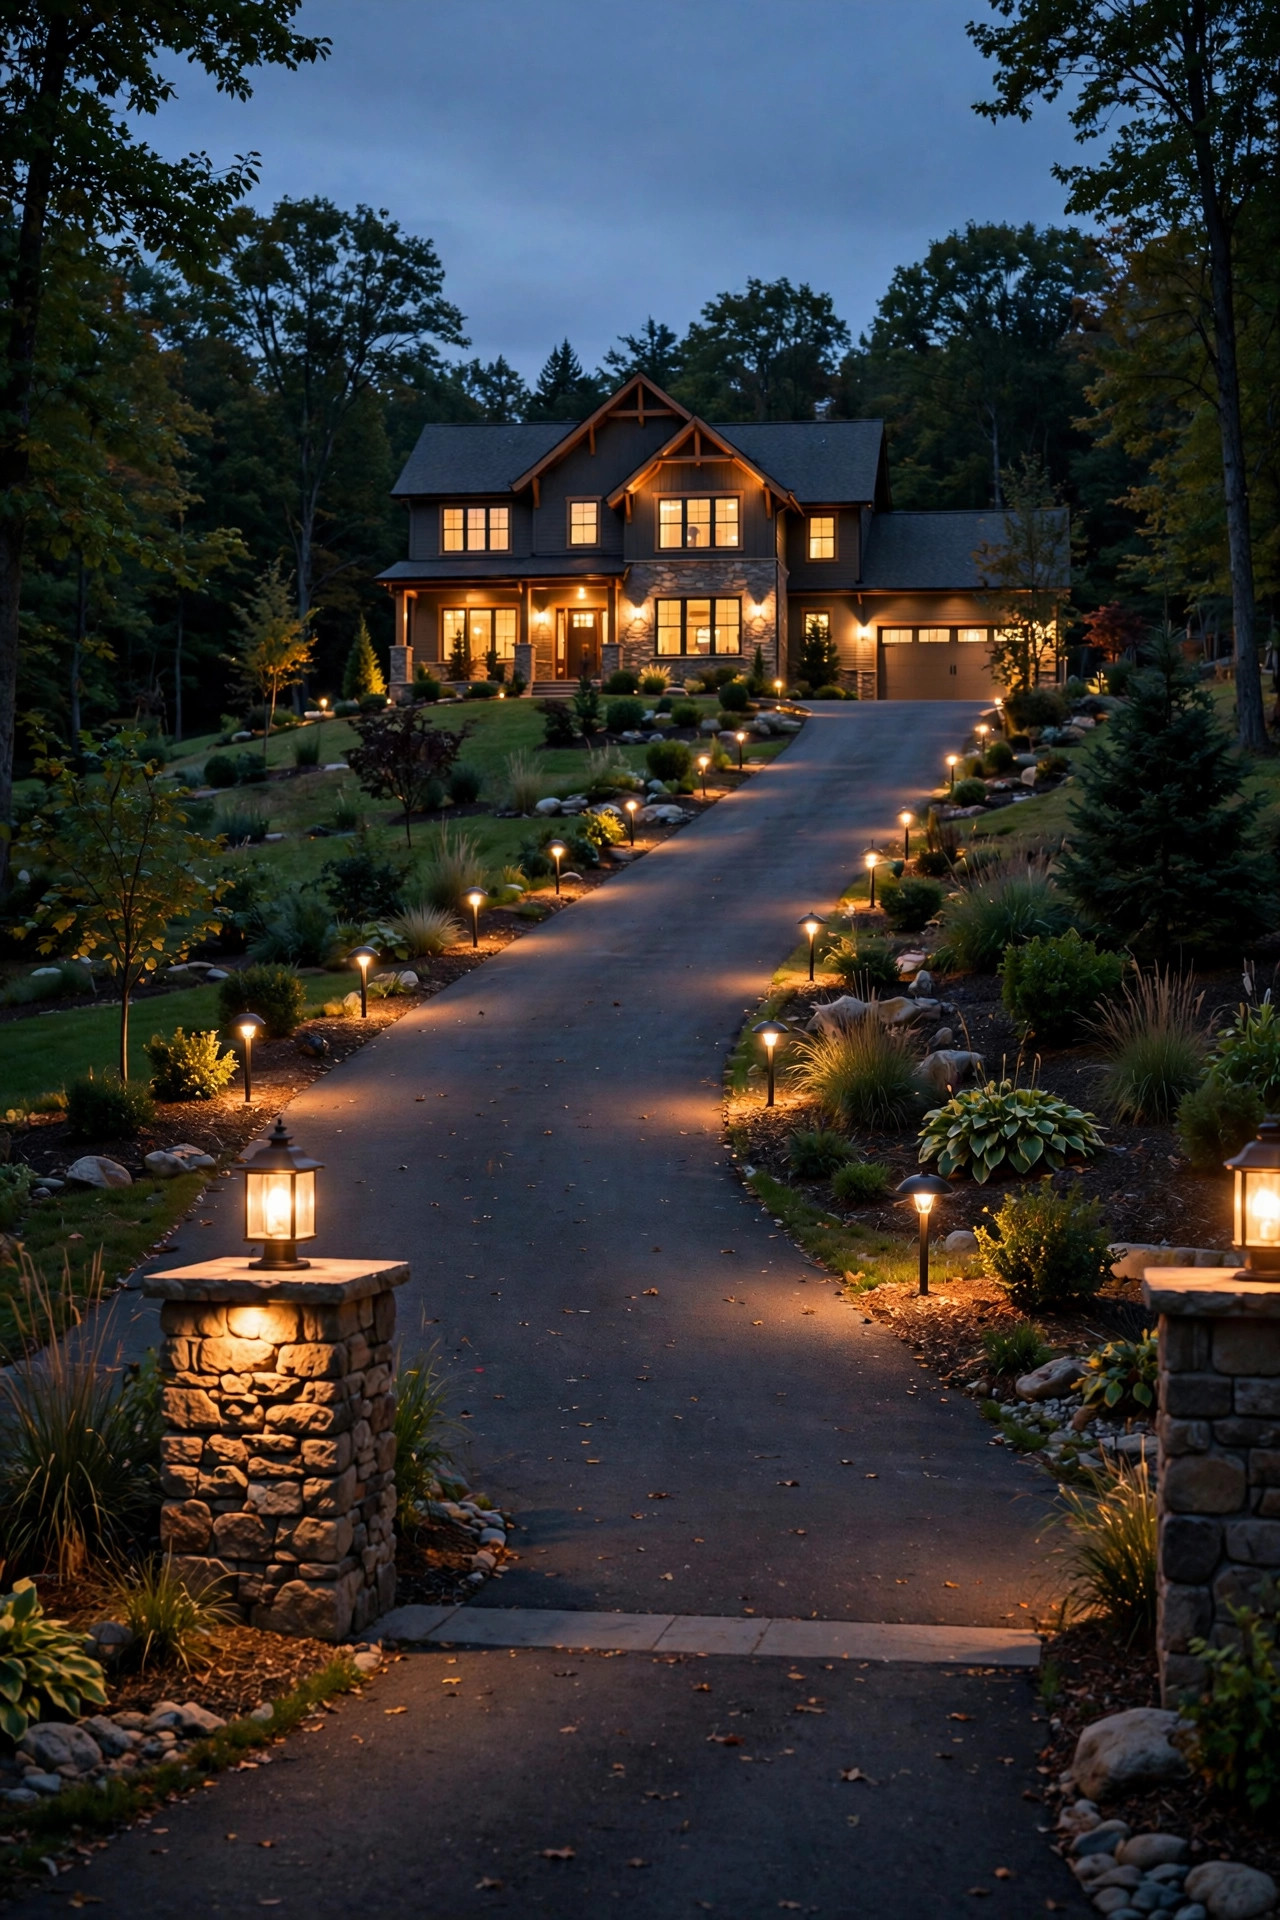
The most useful light at your entrance might be the one that tells people they've arrived. A backlit or edge-lit house number mounted on the street-facing pillar solves the nightly "I think this is it?" crawl for guests and delivery drivers. Numbers 4 to 6 inches tall are readable from a moving car at typical setback distances; go to 8 inches if your pillars sit more than 40 feet from the road. Warm white backlighting at 2700 to 3000K reads elegant, while cool blue-white looks like a gas station — I avoid it. Hardwired low-voltage versions tap into the same run as your pillar lanterns and share their timer, which is the cleanest setup. Solar number plaques work if the panel gets real sun, but output fades in December exactly when you host the most. Mount numbers at 48 to 60 inches above grade, centered on the pillar face, and check your local rules — some municipalities and fire codes actually require visible address numbers, and a lit one satisfies everyone. Floating numbers on standoffs cast a gorgeous halo shadow at night.
Suggested budget range: $70 – $260.
10. Recessed Apron Lights Set Into the Pavement Edge
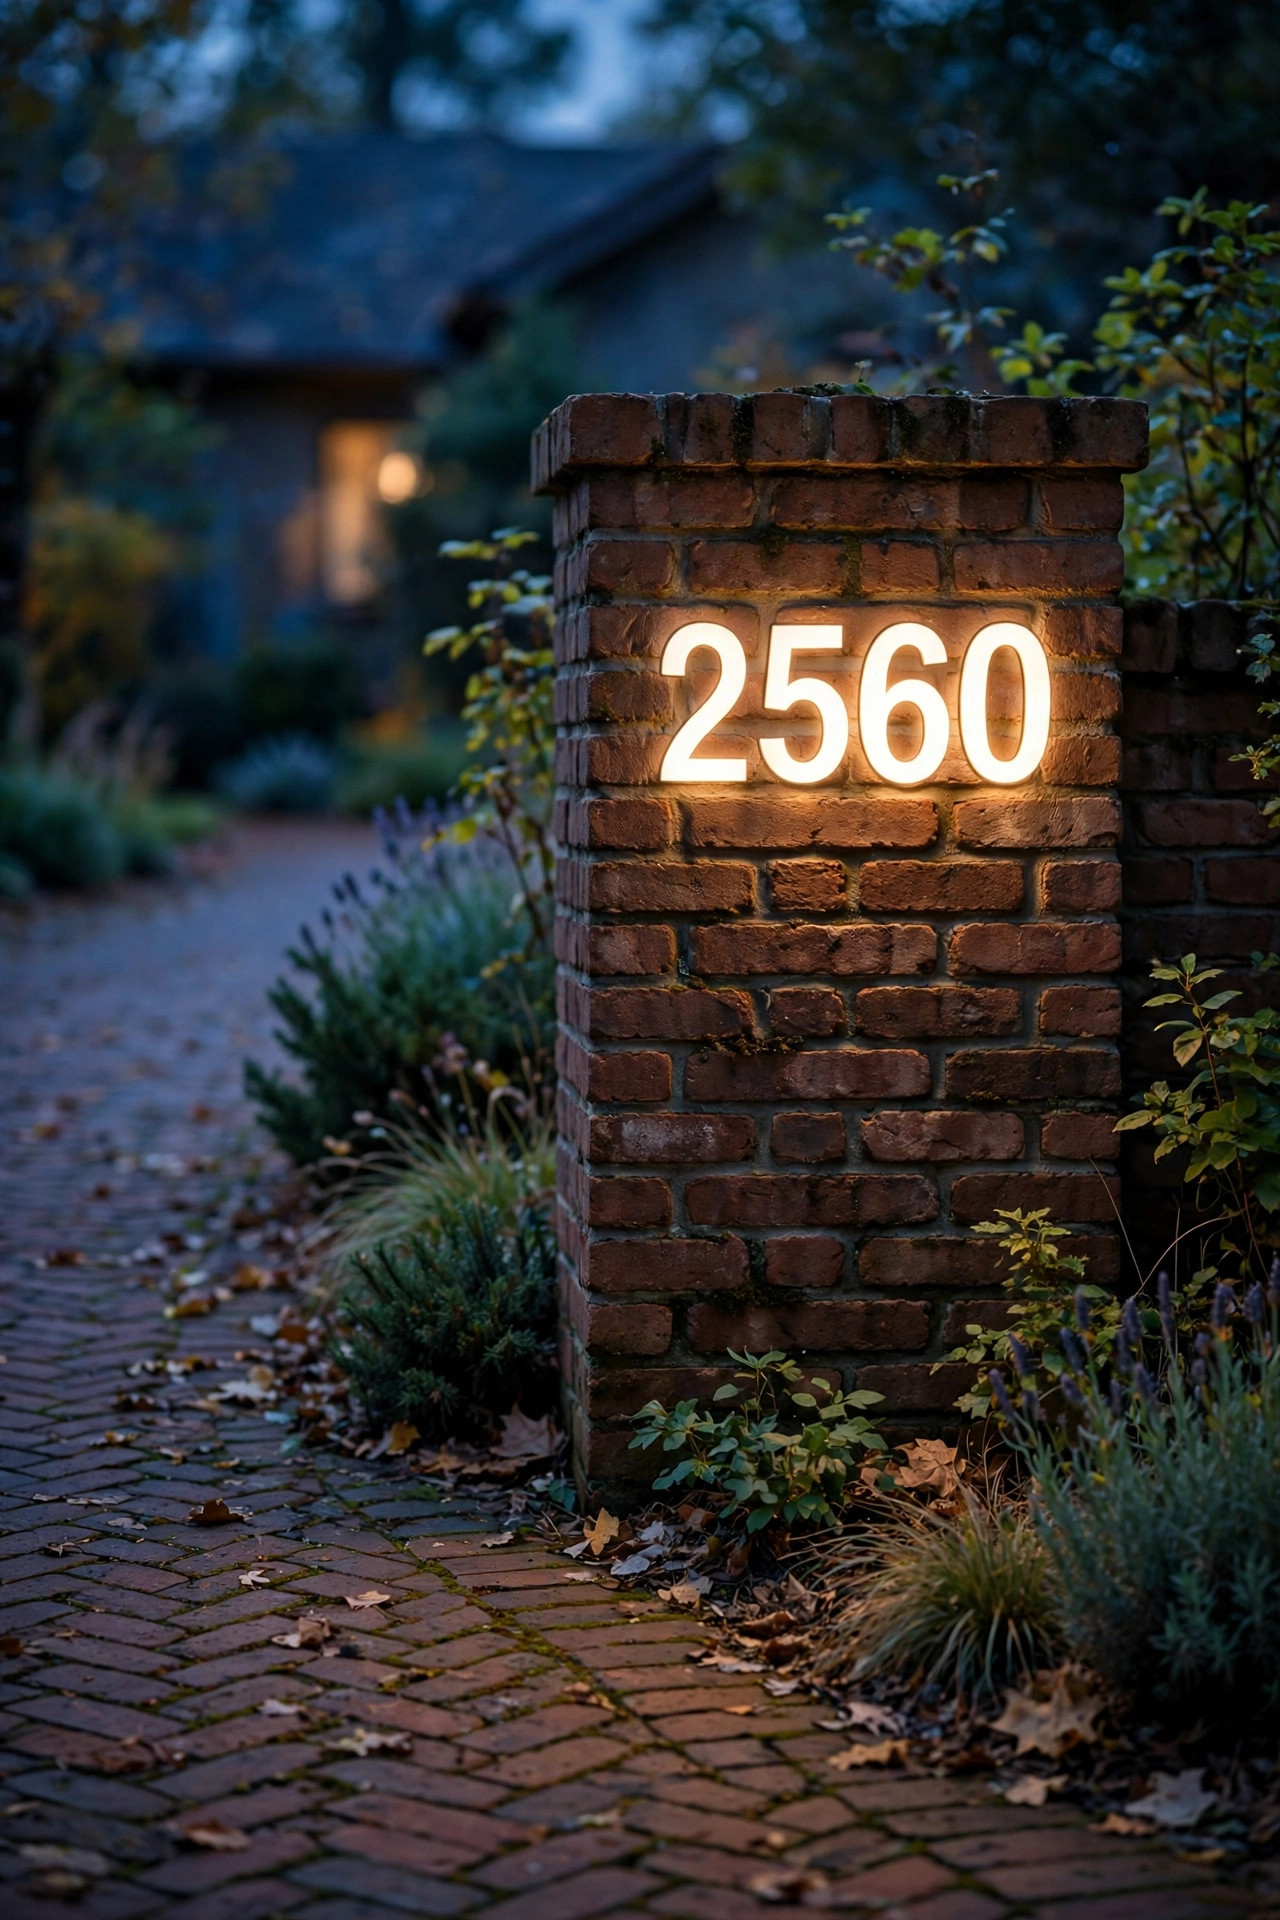
For a clean, modern entrance, recessed marker lights set into the driveway apron or a concrete collar at the entrance edge are hard to beat. They read as a subtle runway of light that defines the turn-in precisely — genuinely helpful on dark rural roads where the driveway mouth is easy to overshoot. Choose fixtures specifically rated for drive-over loads, with stainless or brass trim rings and IP67 or better sealing; standard path-light bodies will crack under a tire. I space them 4 to 6 feet apart across the apron or run a short line of three to five down each side. Amber or warm white both work; I lean warm white to match the rest of the entrance. These need planning during a pour or paver install — retrofitting into existing concrete means core drilling, which is doable but pricier. Keep the lens slightly domed or textured so it sheds water and stays visible. If your whole drive needs this treatment eventually, my broader driveway lighting ideas walk through full-length layouts and costs.
Suggested budget range: $250 – $900.
11. Motion-Sensor Spotlights for a Secure Entrance
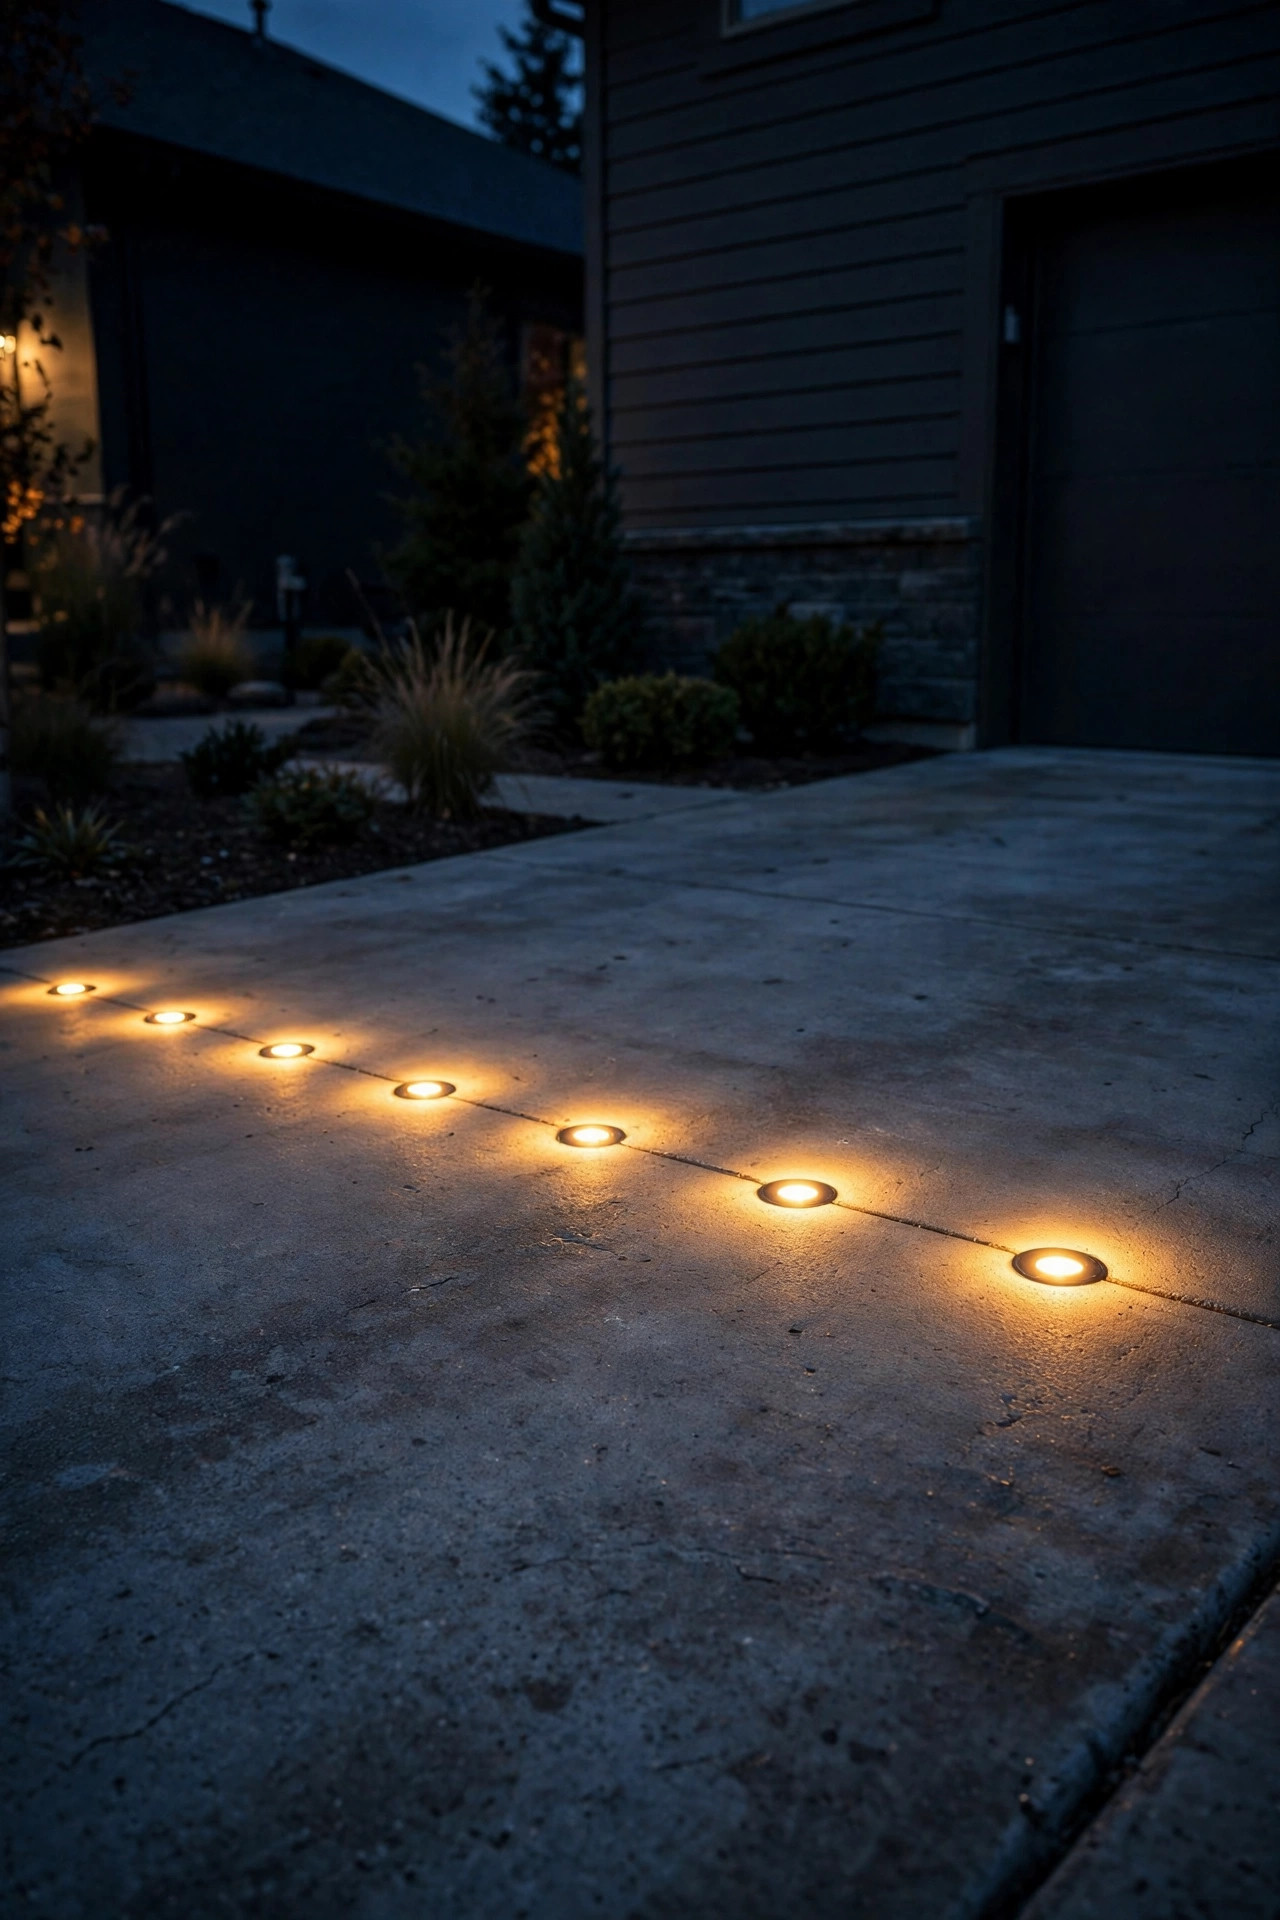
A gentle glow welcomes friends; a motion-triggered brightening welcomes nobody's surprises. I layer a dual-brightness spotlight or lantern at each pillar: it idles at 20 to 30 percent warmth all evening, then steps up to full brightness when a car or person approaches. That two-stage behavior gives you security lighting without the prison-yard feel of a floodlight snapping on. Aim sensors along the driveway rather than across the road, or every passing truck will trigger them — most units let you mask the sensor's view with the included shields. A range of 25 to 40 feet and a 180-degree field covers a typical entrance. Set the on-time to 1 to 3 minutes so it lights a guest's whole arrival, not just their bumper. Keep the bright mode around 1,200 to 2,000 lumens total, shielded and aimed down at the apron, never out at the street. Solar motion lights have improved enough for gates far from power, though wired still wins for reliability in deep winter.
Suggested budget range: $110 – $380.
12. Smart Driveway Entrance Lighting With Timers and Photocells
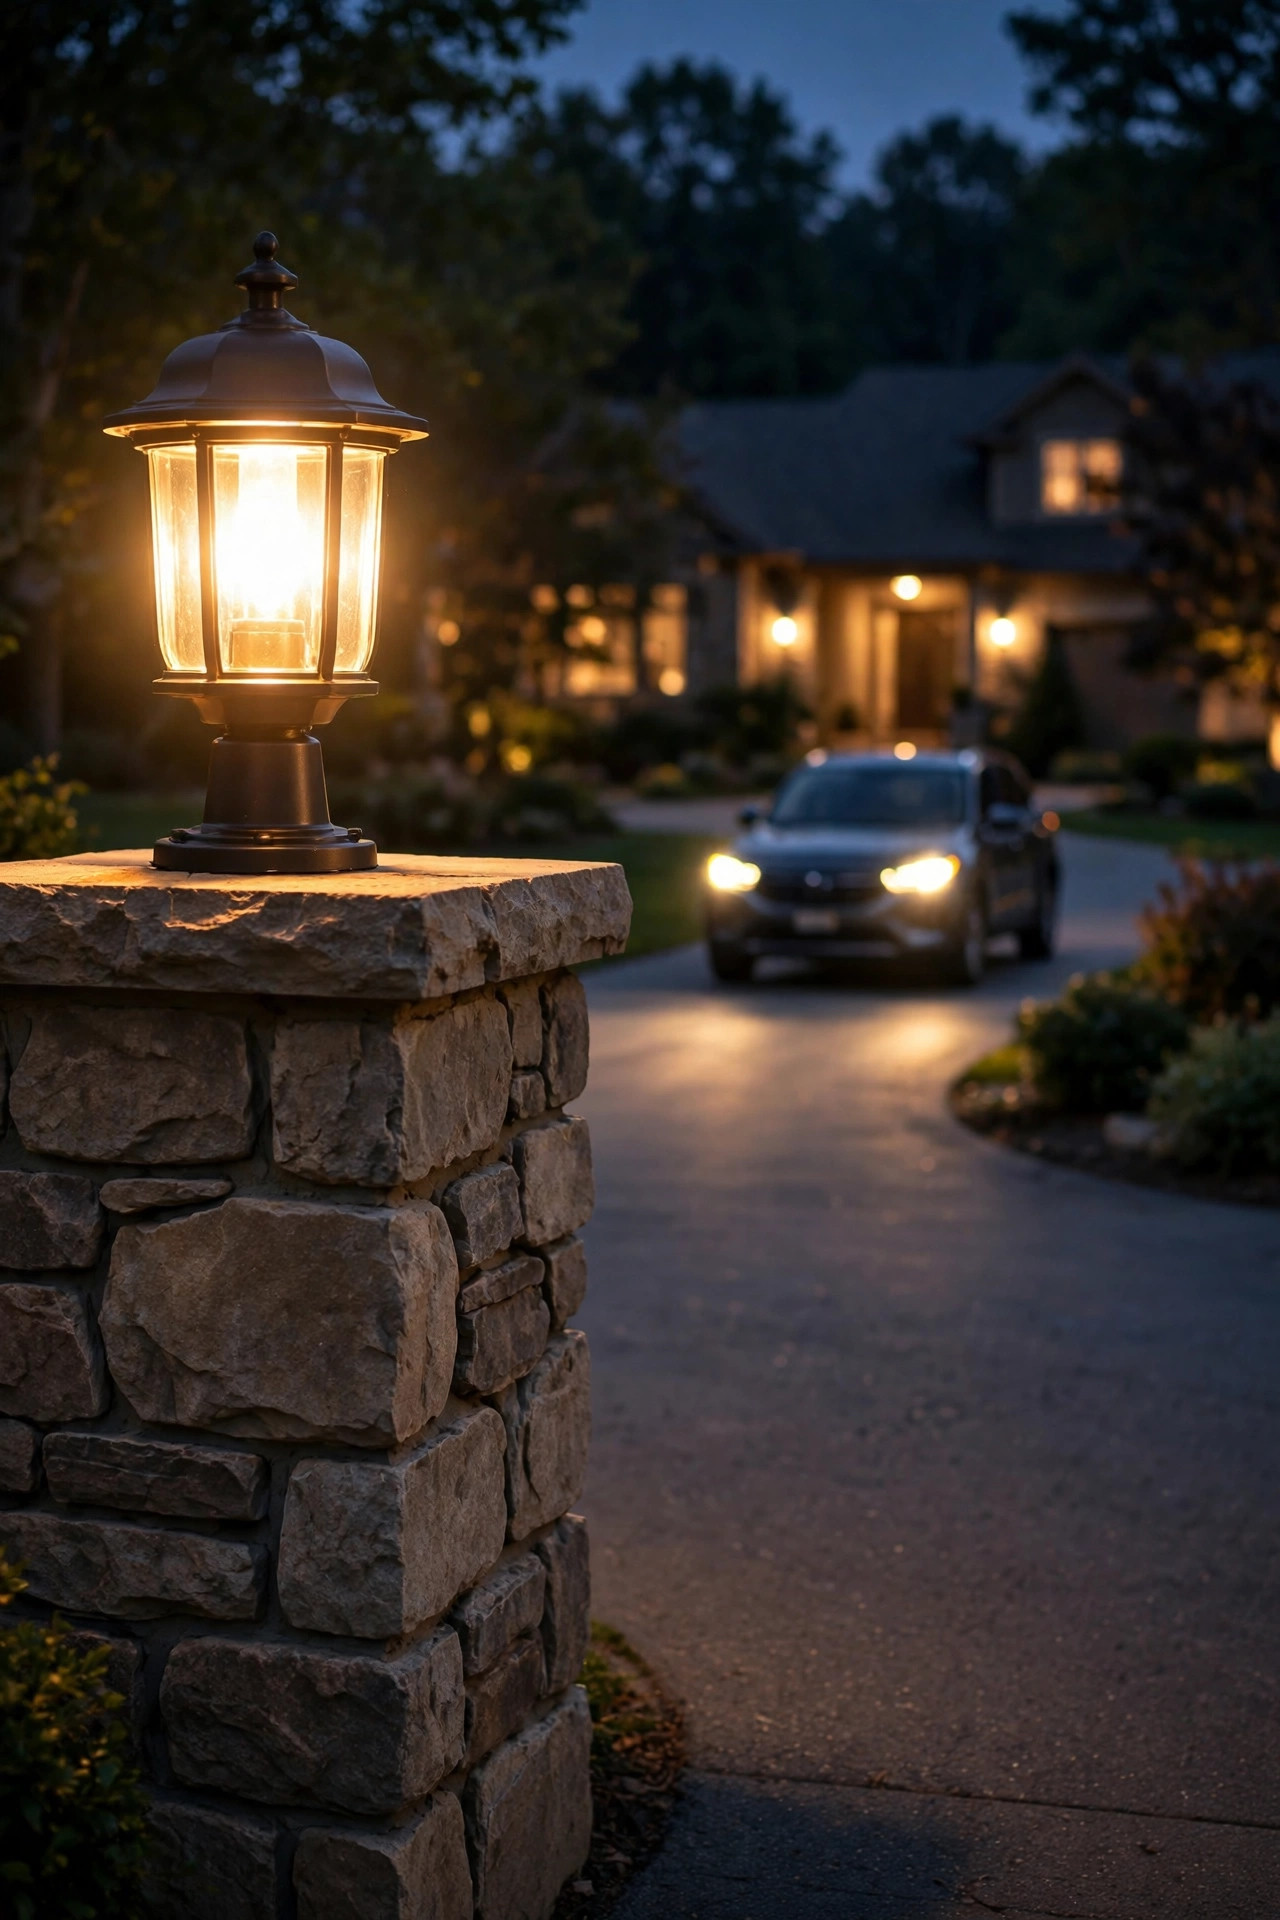
The entrance is where smart control earns its keep, because nobody wants to walk to the road to flip a switch. At minimum, put pillar and gate lights on an astronomical timer or photocell so they follow sunset year-round without adjustment. A step further — and my actual setup — is a smart low-voltage transformer or smart outdoor plug that lets you run schedules, dim the lanterns after 11 p.m., and flash the entrance lights when a guest texts "here." Group the entrance as its own zone, separate from porch and landscape zones, so movie-night dimming in the backyard never darkens your arrival lighting. If you use voice control, name the zone something guests can't accidentally trigger, like "Gate Lanterns." Photocell plus timer together is the belt-and-suspenders combo I recommend for rentals and second homes: lights come on at dusk even if a schedule glitches. Just remember smart plugs and transformers must be rated for outdoor use and plugged into a GFCI outlet with an in-use cover.
Suggested budget range: $130 – $450.
13. A Hanging Lantern on an Entrance Arch or Beam
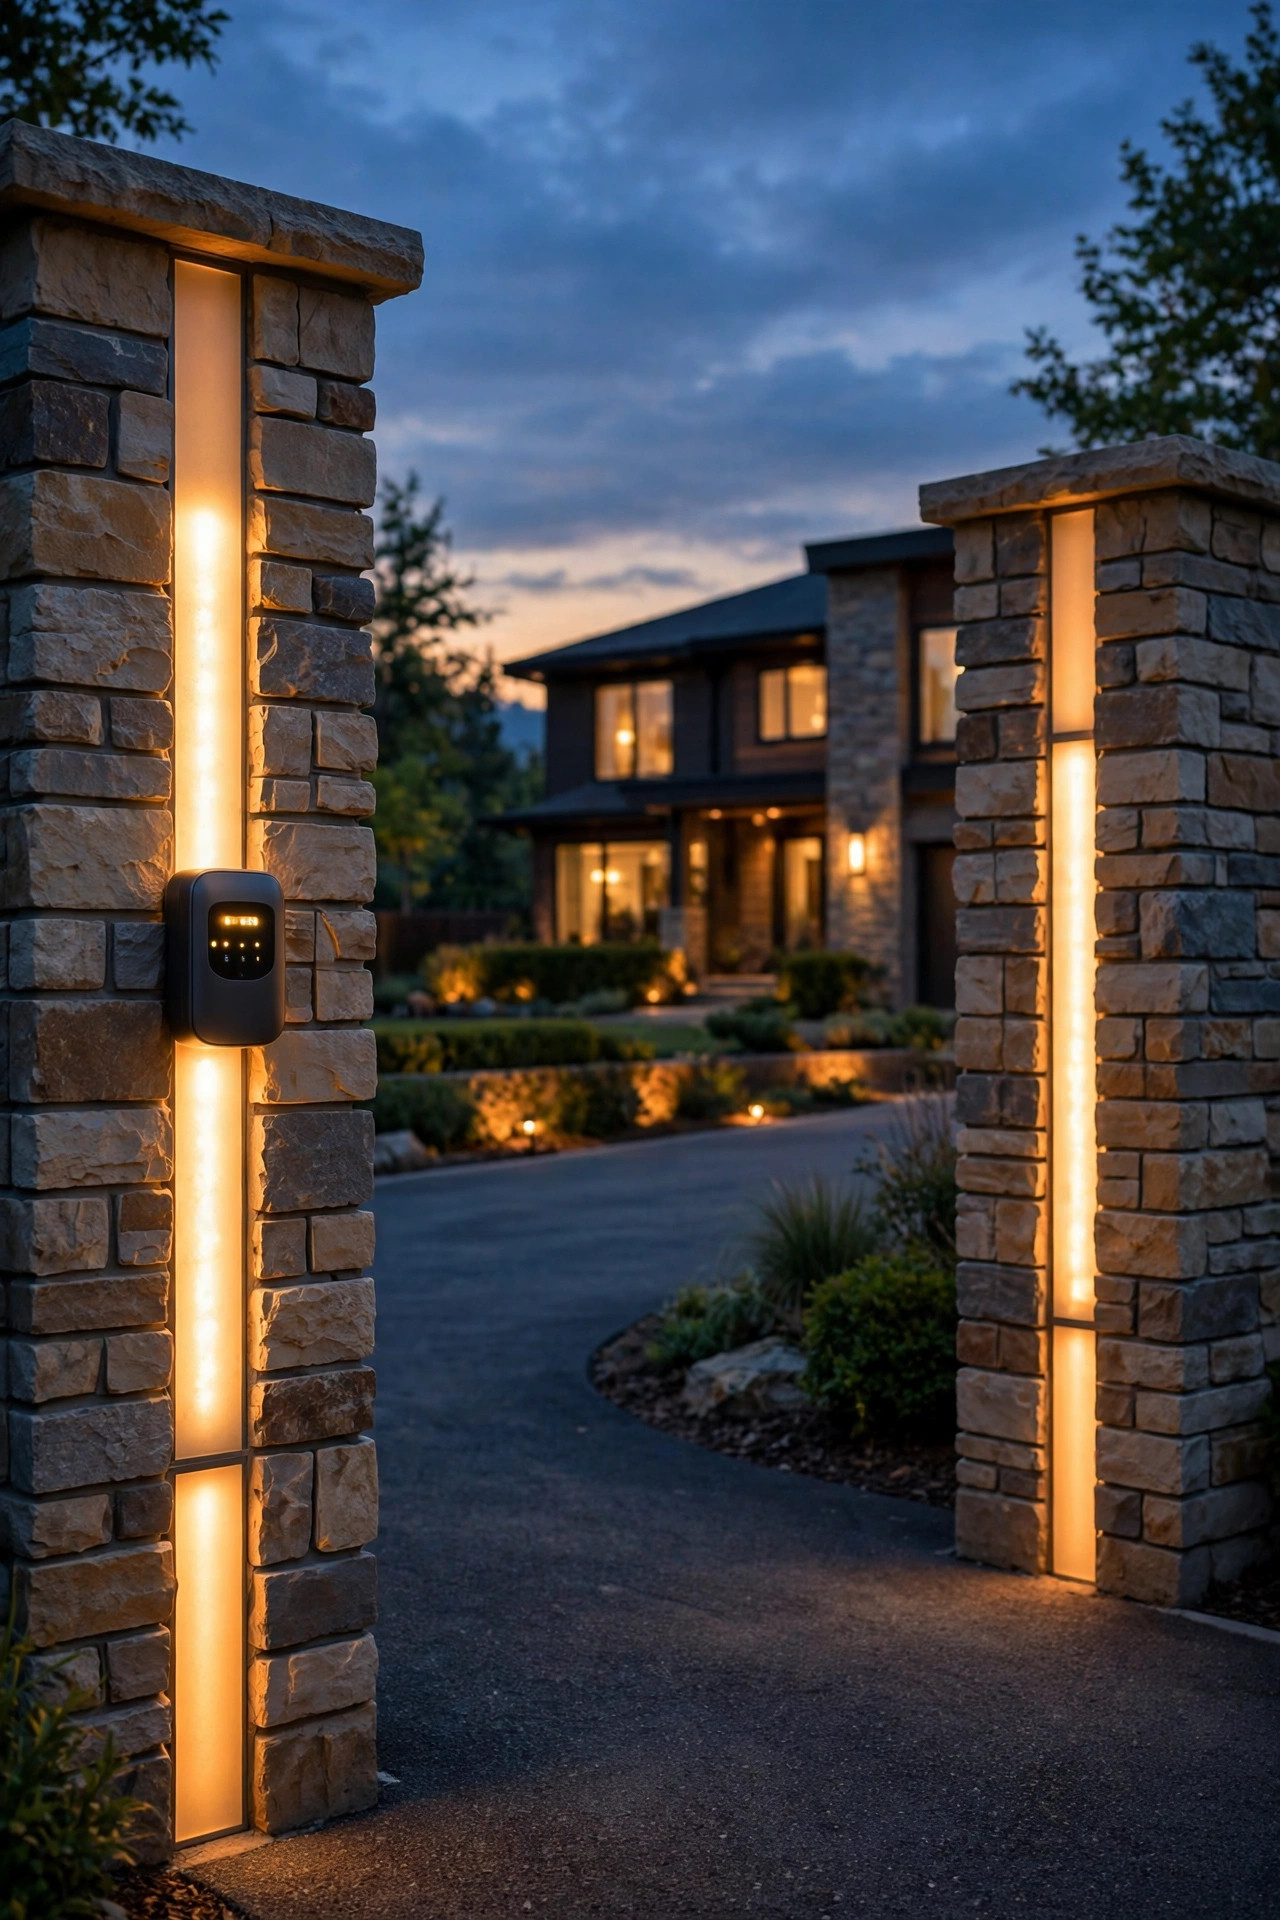
If your entrance has any overhead structure — a pergola beam, a gate arch, even a sturdy crossbar between two tall posts — a hanging lantern turns it into a true gateway. The fixture should hang so its bottom clears 7-1/2 to 8 feet above the drive surface, high enough for SUVs and delivery vans with room to spare, and it needs to be secured against swing; a short rigid stem beats a long chain anywhere wind funnels through the entrance. Damp-location rating is the minimum, but I buy wet-location rated for a fixture that exposed. One lantern centered over the drive reads formal; two smaller lanterns over a wide or split entrance reads estate-like. Keep the bulb warm and modest — 450 to 600 lumens — because a bare bulb at windshield height gets uncomfortable fast; seeded or lightly frosted glass softens it beautifully. This is the one entrance fixture I always put on its own switch or smart zone, since it's purely decorative, while the pillar lights handle the everyday work. Swapping in a seasonal wreath on the arch below it is my favorite five-minute holiday upgrade.
Suggested budget range: $200 – $650.
14. Wall-Wash Uplights on Entrance Walls and Fence Returns
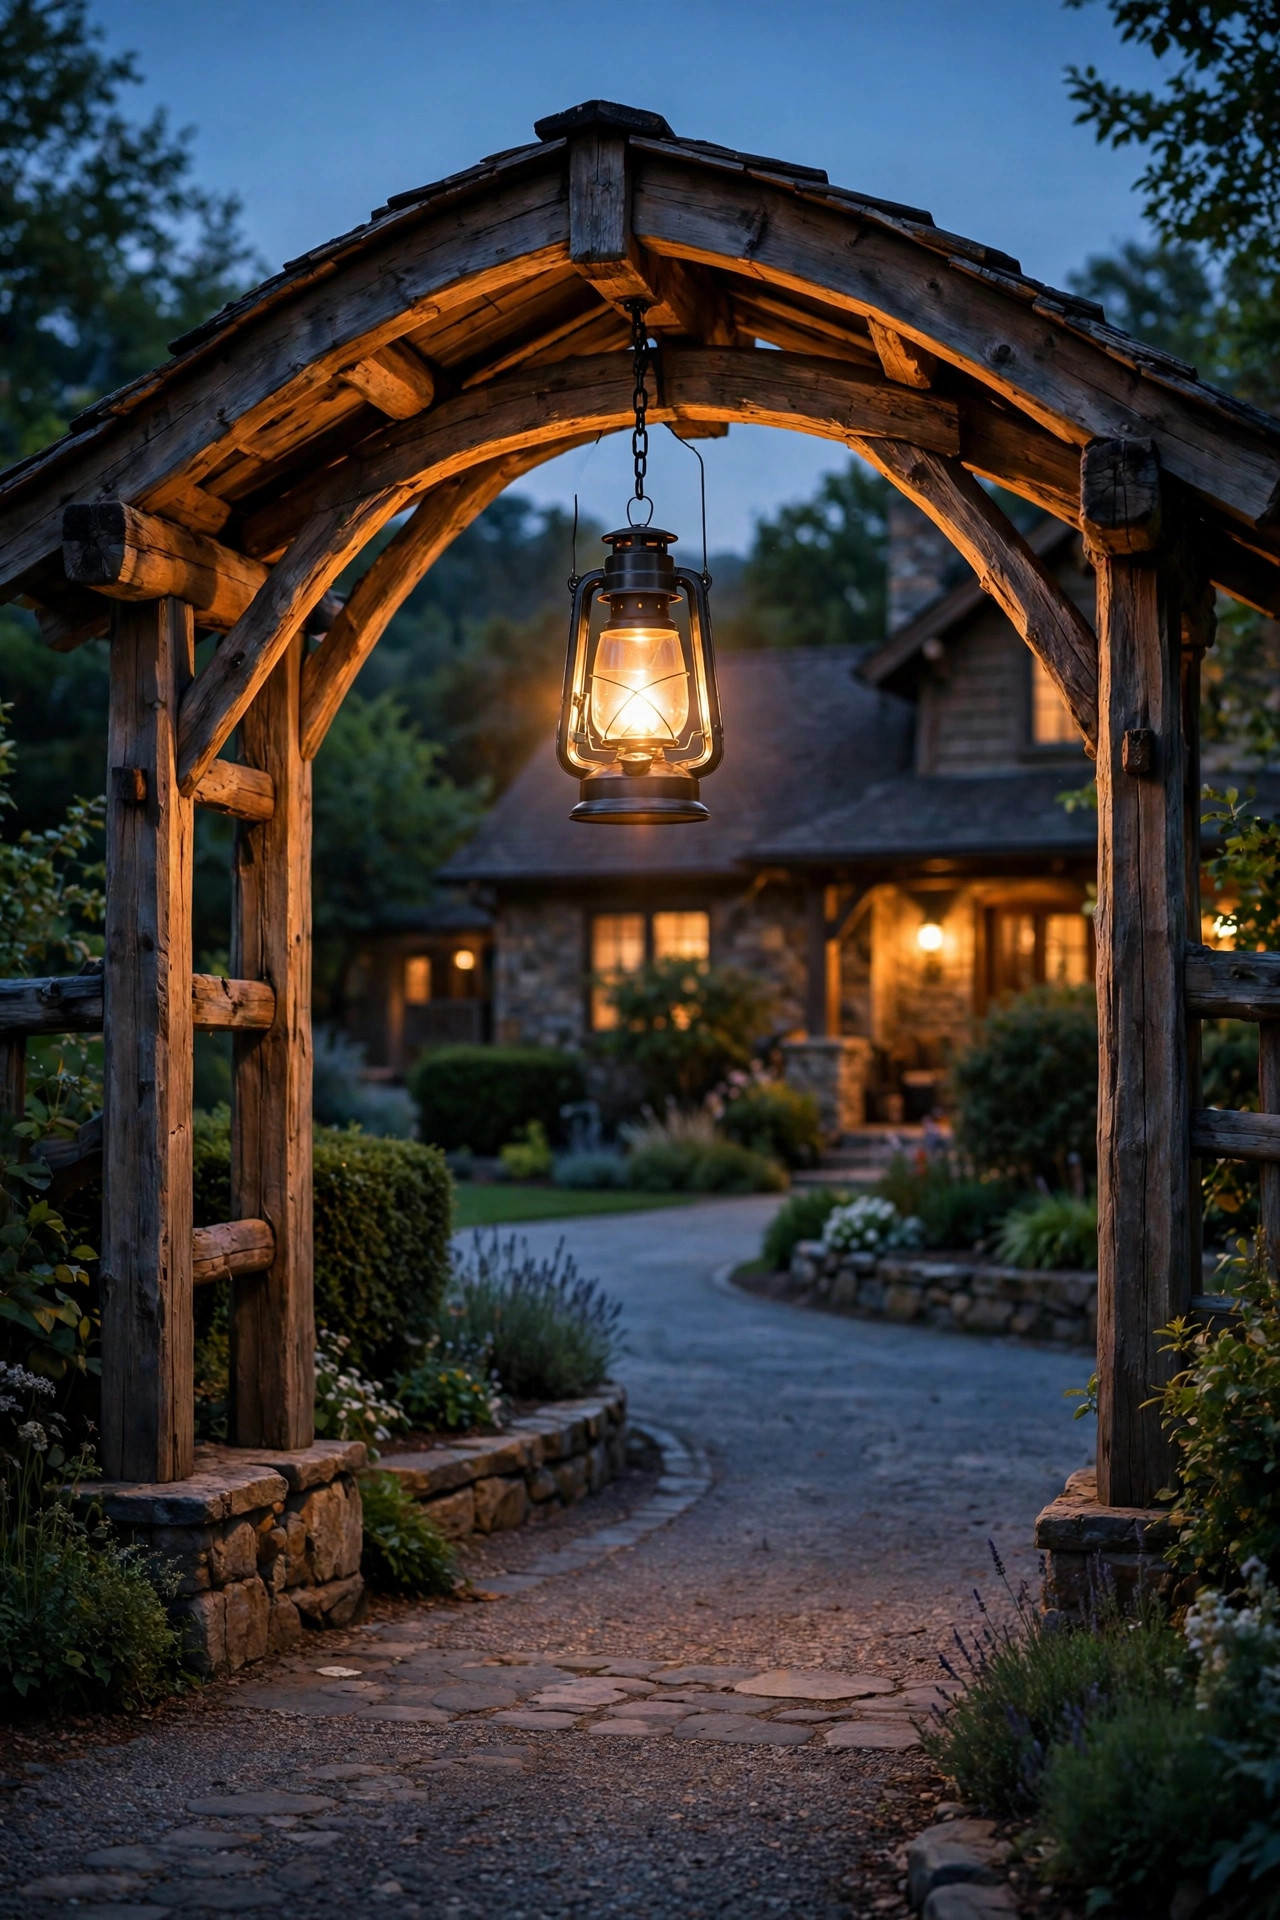
Many entrances have low wing walls, a fence return, or a hedge running beside the pillars, and a pair of small uplights turns that backdrop into part of the lighting design. Set spotlights 12 to 24 inches out from the wall face, aimed up at a shallow angle, and the light grazes across stone, brick, or stucco so the texture does the decorating. A 36 to 60 degree beam covers a generous patch without hard edges. On vinyl fencing the effect is flatter, so I angle one light across at 45 degrees for shadow play instead. These fixtures belong on the same circuit and timer as your pillar lights so the whole composition switches as one scene. Keep total brightness restrained — the wash should be dimmer than the lanterns, or the entrance reads backwards. Shield the sources from the road with the fixtures' visors; an uplight visible from a car is pure glare. This is also a kind trick for hiding a plain pressure-treated fence: at night, grazed warm light makes almost any material look intentional.
Suggested budget range: $120 – $400.
15. Seasonal Lantern Styling: Wreaths, Garlands, and Swaps
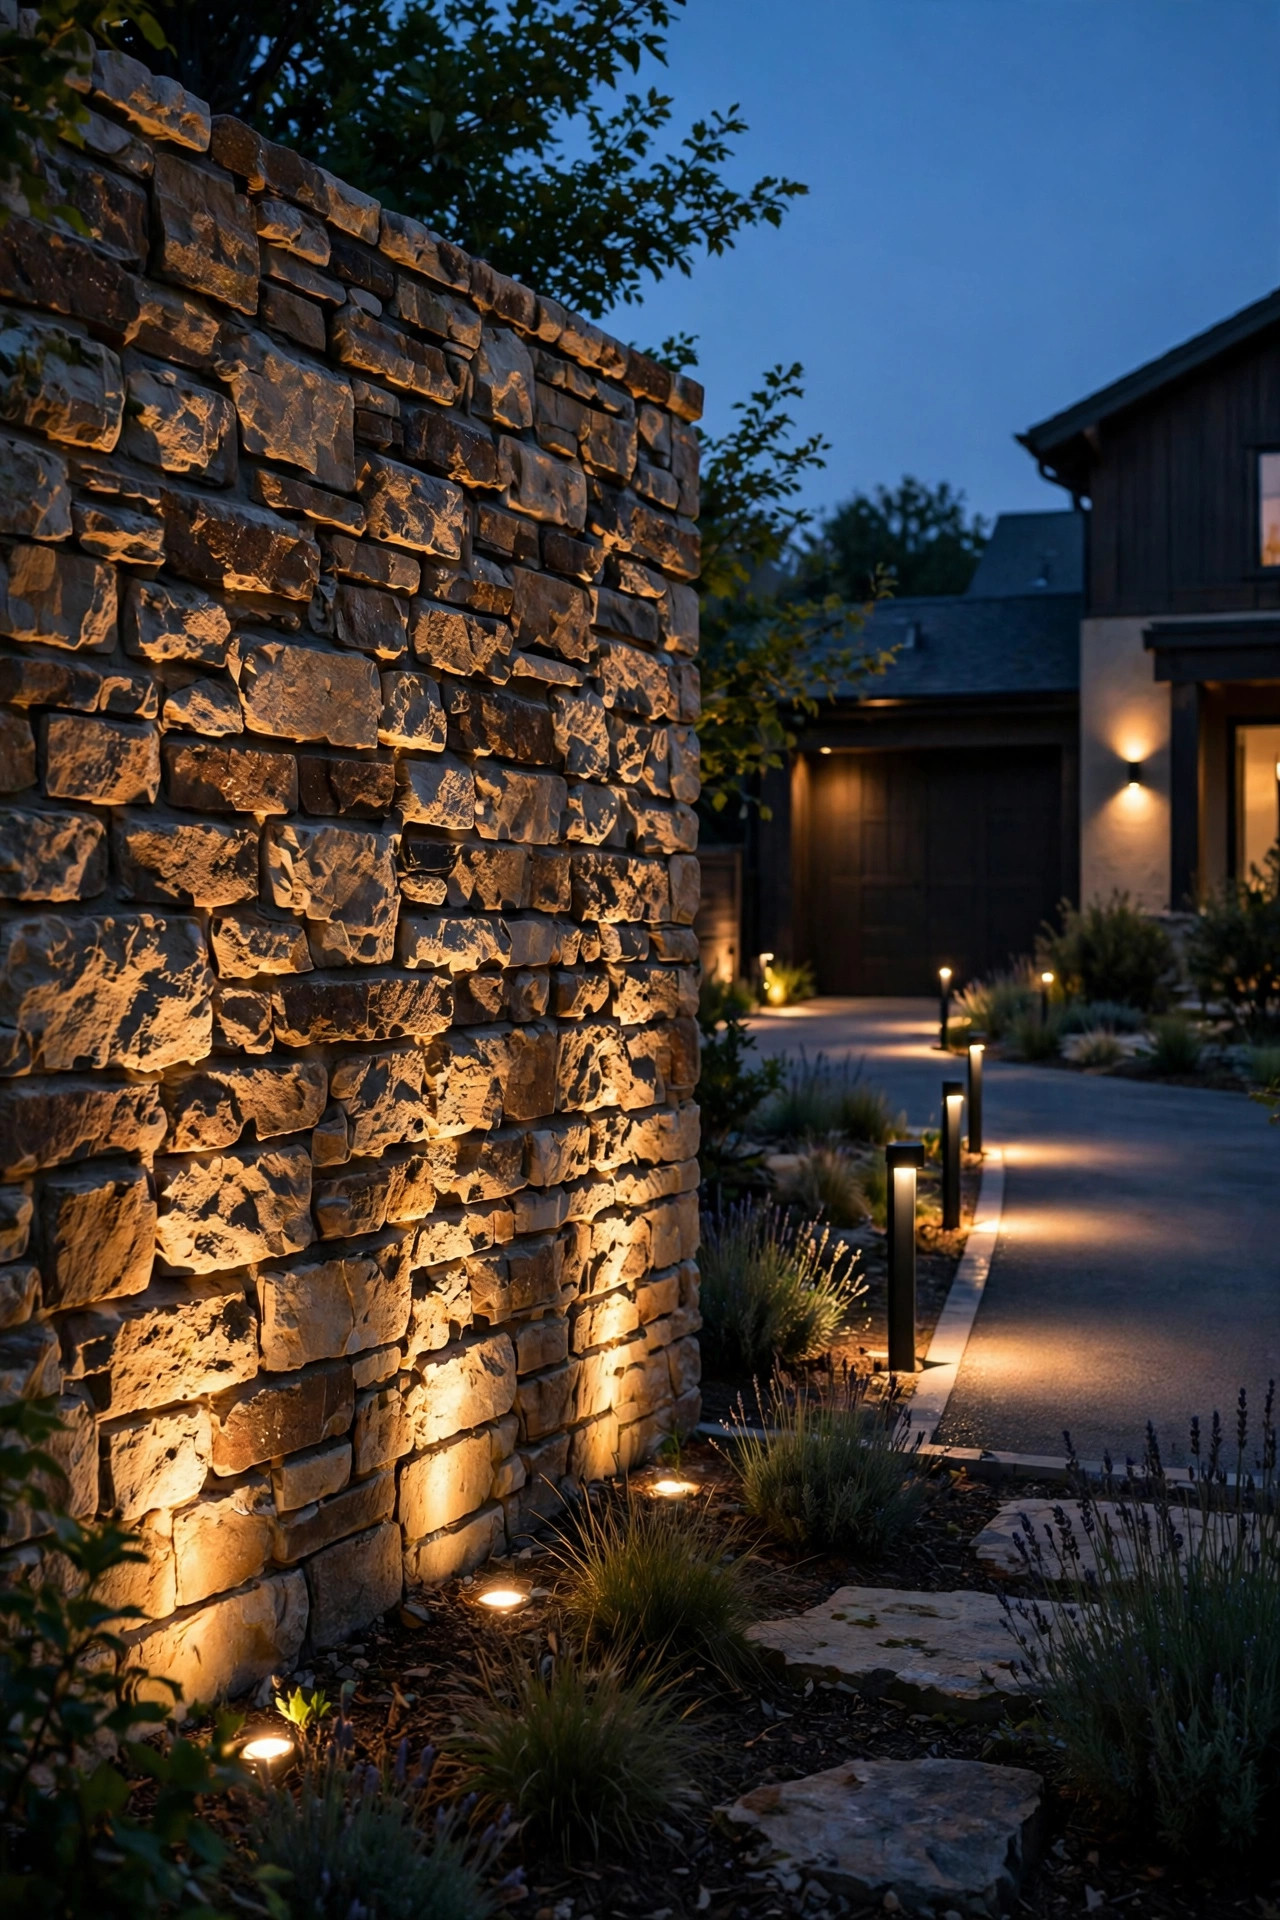
Here's the idea that keeps an entrance feeling loved instead of merely lit: treat your pillar lanterns as a base layer and restyle around them with the seasons. In fall, a pair of lantern-style candle pillars — flameless LED candles only, never real flame near mulch or dry garland — at the pillar bases doubles the glow. Winter takes a lit garland swagged between the pillars or along the gate top rail; I use outdoor-rated, warm white micro-lights woven through faux greenery so nothing dries out near the fixtures. Spring and summer, I swap to hanging baskets on post hooks and let the overflow soften the masonry. The rules that keep this safe and tasteful: keep all decor at least 6 inches from any bulb or fixture vent, use only outdoor-rated cords and timers, and never drape fabric or dry botanicals across a lantern. Because the permanent lighting stays constant, each seasonal layer costs little and takes under an hour. Honestly? The fall version with mums flanking the pillars gets more compliments than any fixture I own.
Suggested budget range: $50 – $220.
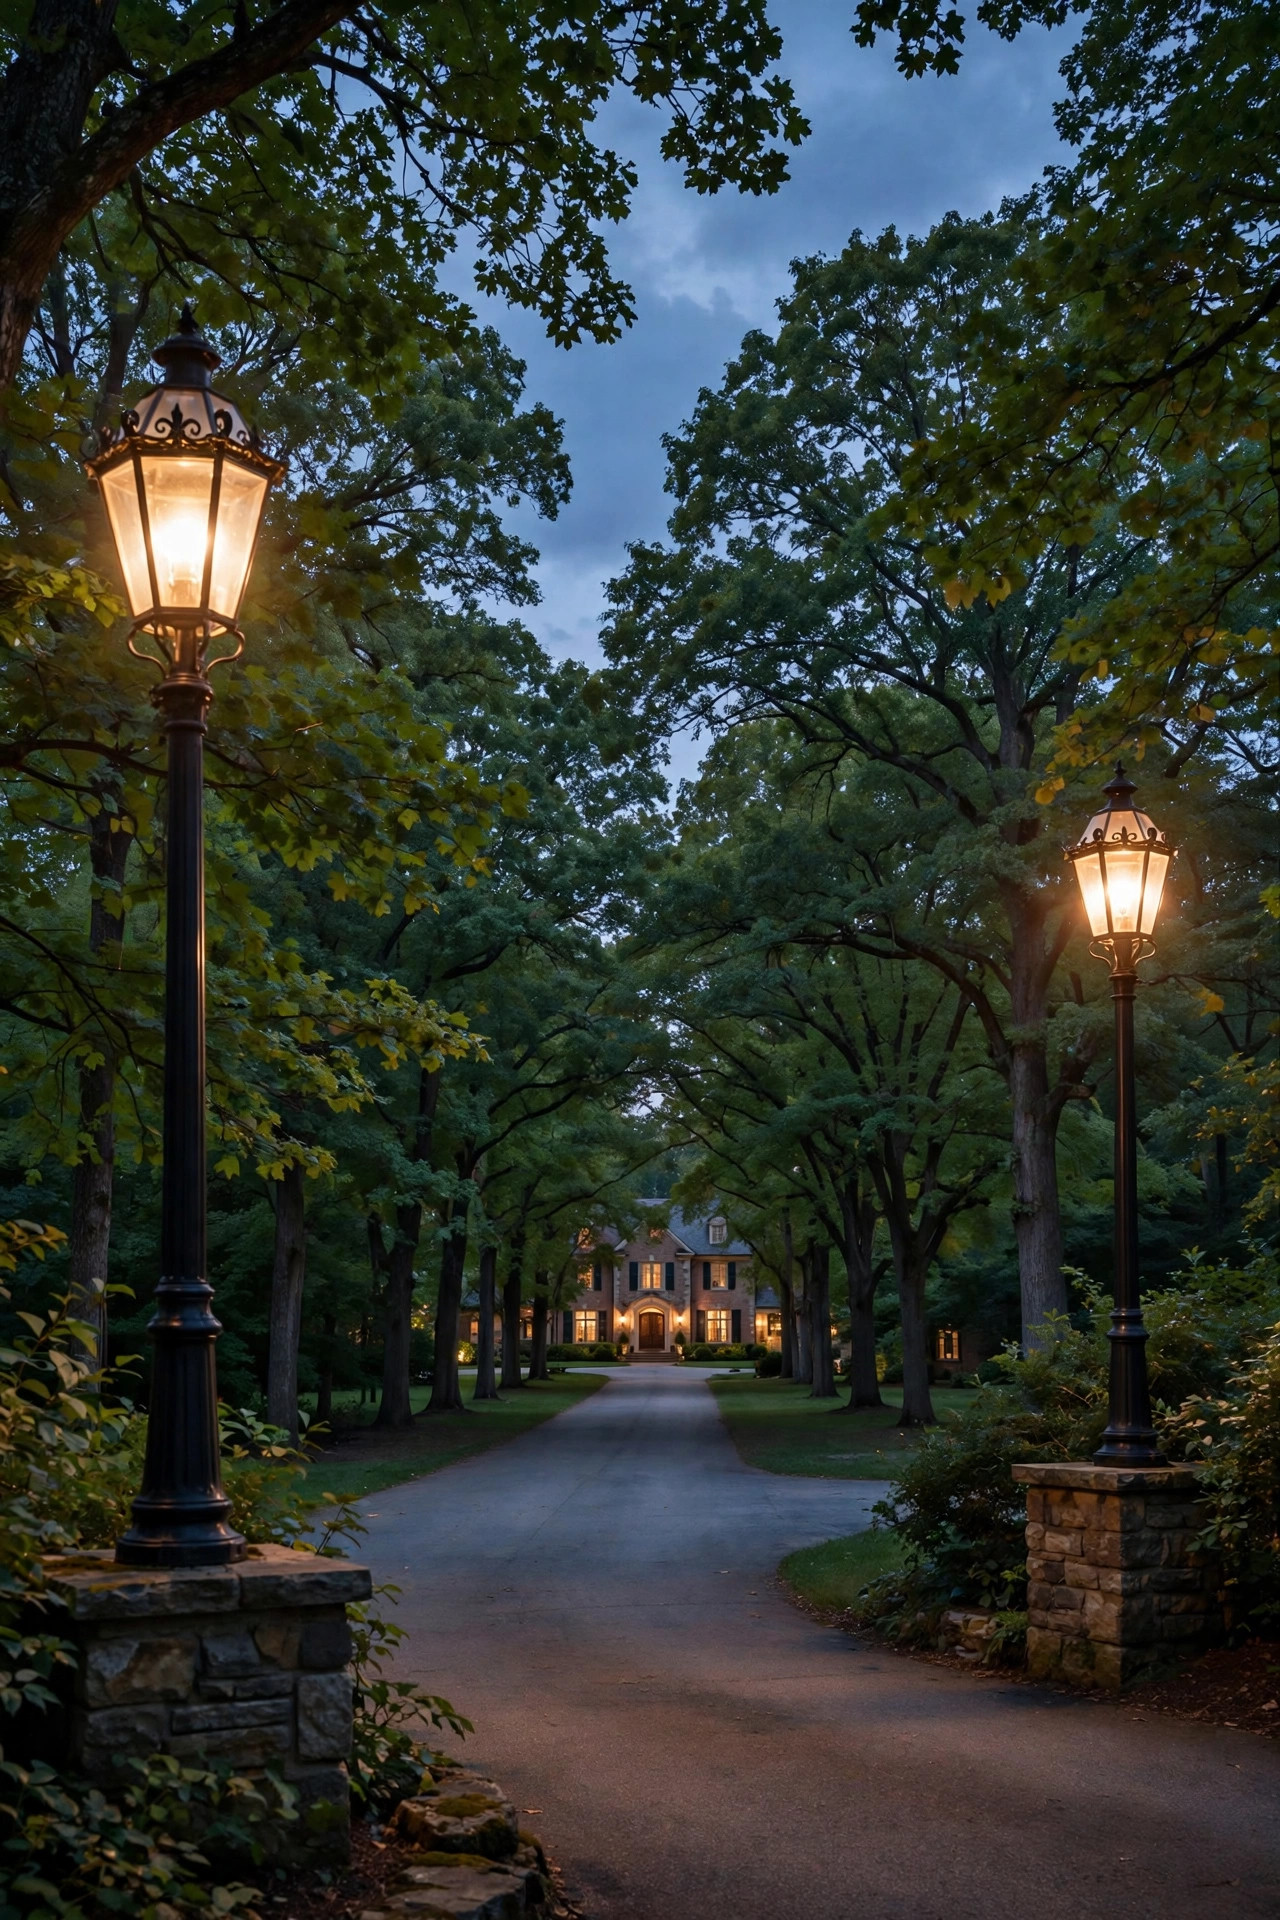
16. Tall Coach-Style Lamp Posts for Long Driveways
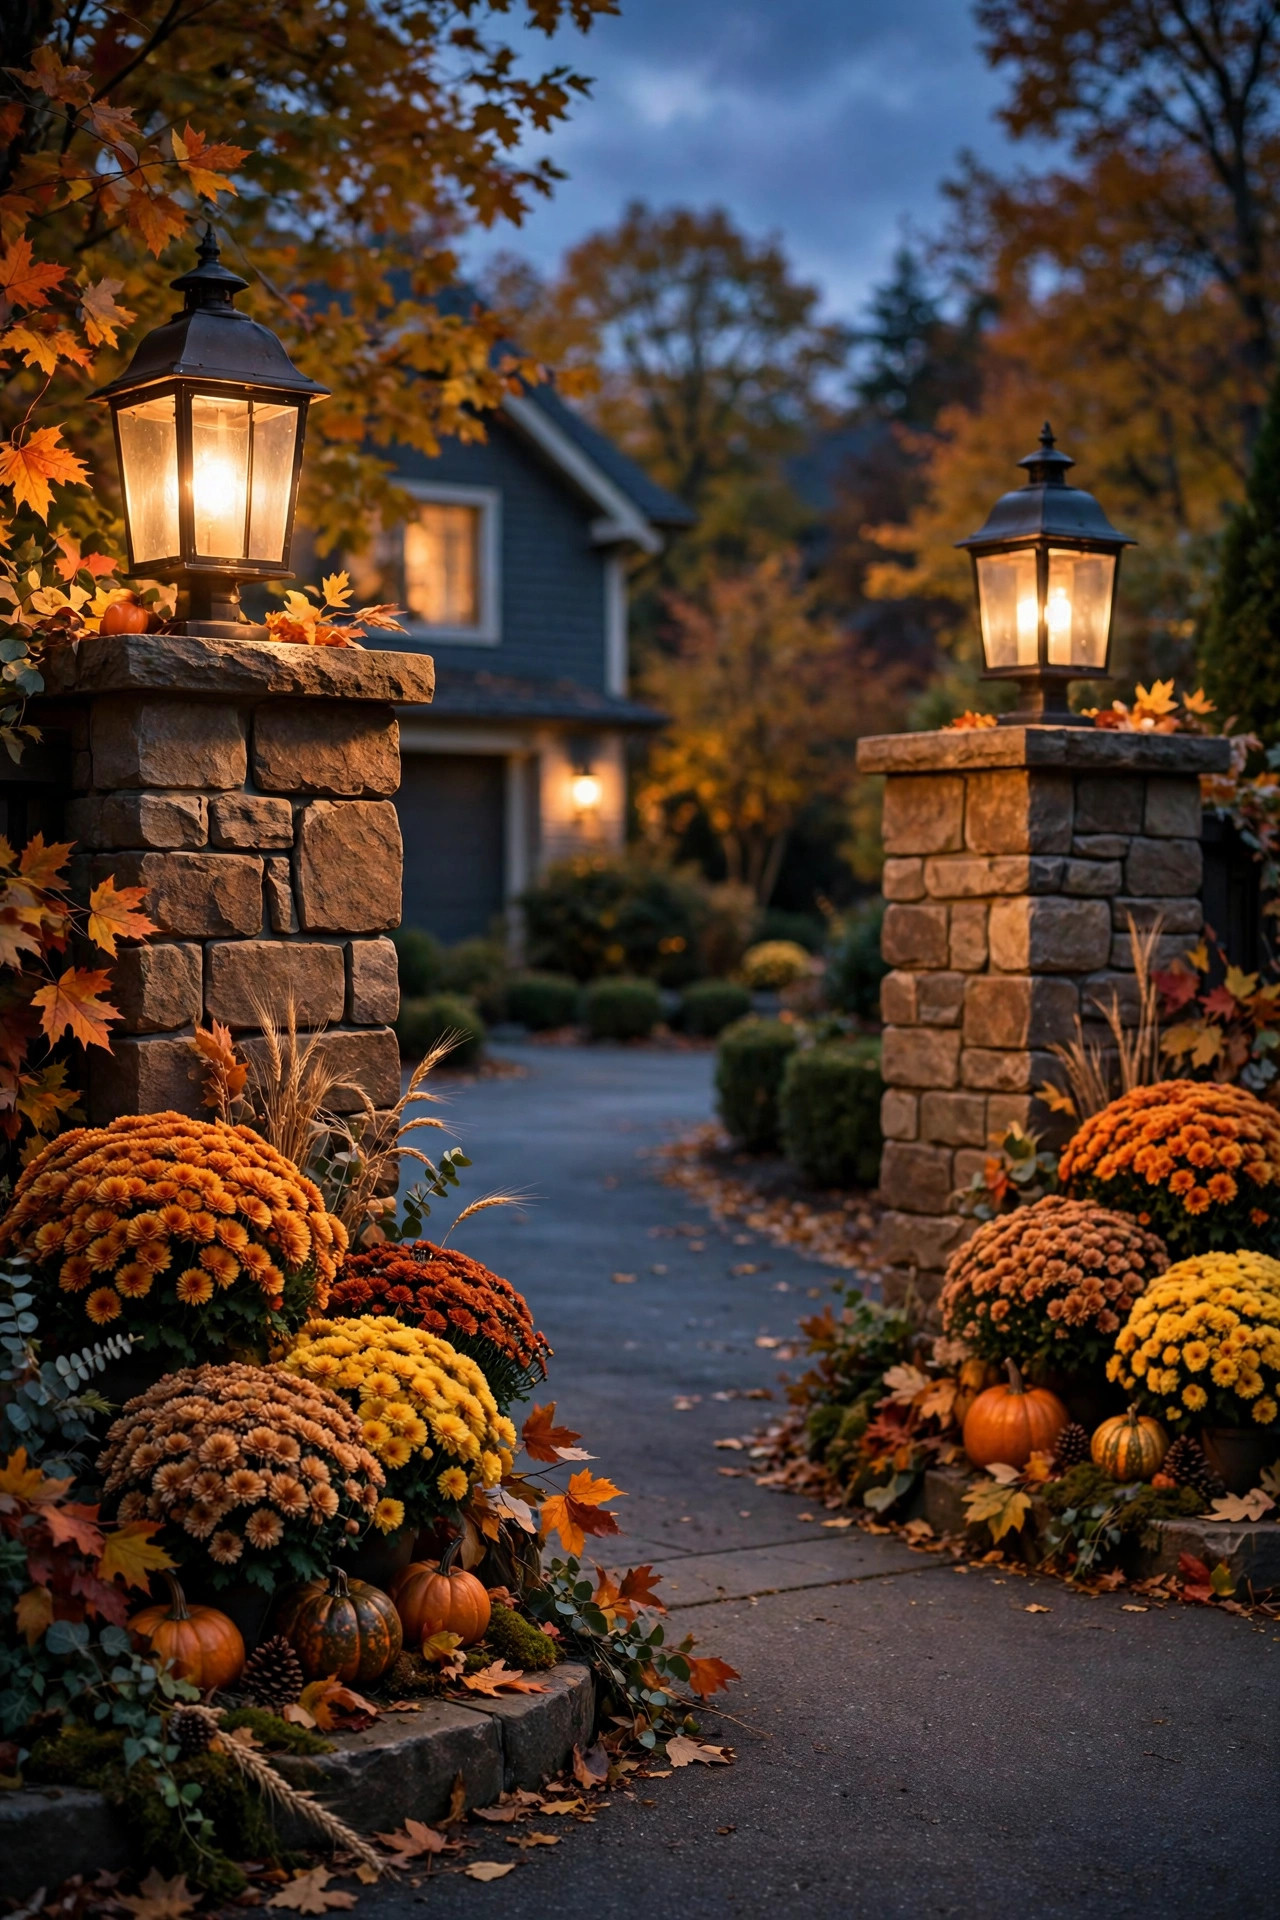
On a long or rural driveway, standard pillar lanterns can look lost. A pair of tall lamp posts — 7 to 9 feet overall, with the lantern head at the top — carries the entrance from a distance and suits properties where the turn-in happens at speed. These are the classic coach-light silhouettes: a fluted or tapered post, a ladder rest or crossbar detail, and a four- or six-sided lantern with clear glass. Line-voltage posts give the strongest, most reliable light and make sense when an electrician is already trenching for a gate opener; low-voltage and solar versions exist but read dimmer at that height, which can still be fine as pure markers. Anchor them properly — a concrete footing with a mounting base, not a spike — because a leaning 8-foot post looks worse than none. Place them just outside the pillars or in place of pillars entirely, set back 3 to 4 feet from the drive edge. Two posts marking the entrance, then nothing until the house, is a confident, uncluttered look I never get tired of.
Suggested budget range: $300 – $950.
17. Matching Finishes and a Cohesive Entrance Plan
My last idea isn't a fixture — it's the habit that makes the other sixteen work together. Before buying anything, pick one finish family (matte black, oil-rubbed bronze, or galvanized), one color temperature, and one design language, then hold every entrance purchase to it. Mixed metals at a small entrance don't look eclectic; they look accidental. I keep a simple rule: the lantern style at the entrance should rhyme with the porch fixture, since guests see them in one glance down the drive. Sketch the entrance from the street — pillars, gate, posts, apron — and mark each light's job: marking, guiding, welcoming, or securing. Any fixture without a job gets cut, which saves real money. Photograph your entrance at dusk before and after each addition; the camera shows glare and dark gaps your eyes forgive. Finally, put everything on one control scheme from day one, even if it's a single $15 photocell, so the entrance always performs as a set. Cohesion is what separates a lit driveway from a designed one.
Suggested budget range: $40 – $200.

Frequently Asked Questions
How high should driveway entrance lights be?
For pillar and post lanterns, aim to set the bulb around 5-1/2 to 6-1/2 feet above grade — roughly eye level, which feels welcoming and keeps light out of drivers' eyes. Hanging fixtures over the drive need their lowest point at 7-1/2 to 8 feet for vehicle clearance, and tall lamp posts run 7 to 9 feet overall. Whatever the height, shielded warm light aimed downward beats a brighter bare bulb every time.
Are solar lights bright enough for a driveway entrance?
For marking the entrance and creating a welcoming glow, yes — quality solar pillar caps and post lanterns now deliver 150 to 400 lumens, plenty to spot from the street. For real task or security lighting, wired low-voltage still wins, especially in winter when short, cloudy days cut solar runtime. A hybrid setup works well: solar for the decorative pillars, wired for motion-sensor security lights.
Do driveway entrance lights need to be on a GFCI?
Any line-voltage (120V) outdoor lighting should be protected by a GFCI outlet or breaker, housed in weatherproof, in-use covers — that's code in most places and basic common sense around wet ground. Low-voltage (12V) systems plugged into a GFCI-protected outlet are far more forgiving for DIY, which is one reason I recommend them for most entrances. When in doubt about line-voltage work, hire the electrician; it's the cheapest peace of mind in the whole project.
How many lights does a driveway entrance actually need?
Most entrances look complete with two layers: a matched pair at the pillars, gate, or posts, plus one low guiding layer such as bollards, apron markers, or a short path run. That's typically 4 to 8 fixtures total. Add a third accent layer — well lights or a wall wash — only if the entrance still feels flat at dusk. More than that usually reads busy and raises glare.
Conclusion
The entrances that stop me on evening walks all do the same thing: they layer a warm statement light at the pillars or posts, a low guide near the ground, and one quiet accent — and they do it with driveway entrance lighting ideas chosen as a set rather than a shopping spree. Start with the pair that frames your gate or pillars, keep everything at 2700 to 3000K, and put it all on one timer so it greets you home every night without a thought. Then browse more of my outdoor lighting ideas here on the site and plan your next layer — the driveway deserves the same love as the porch.