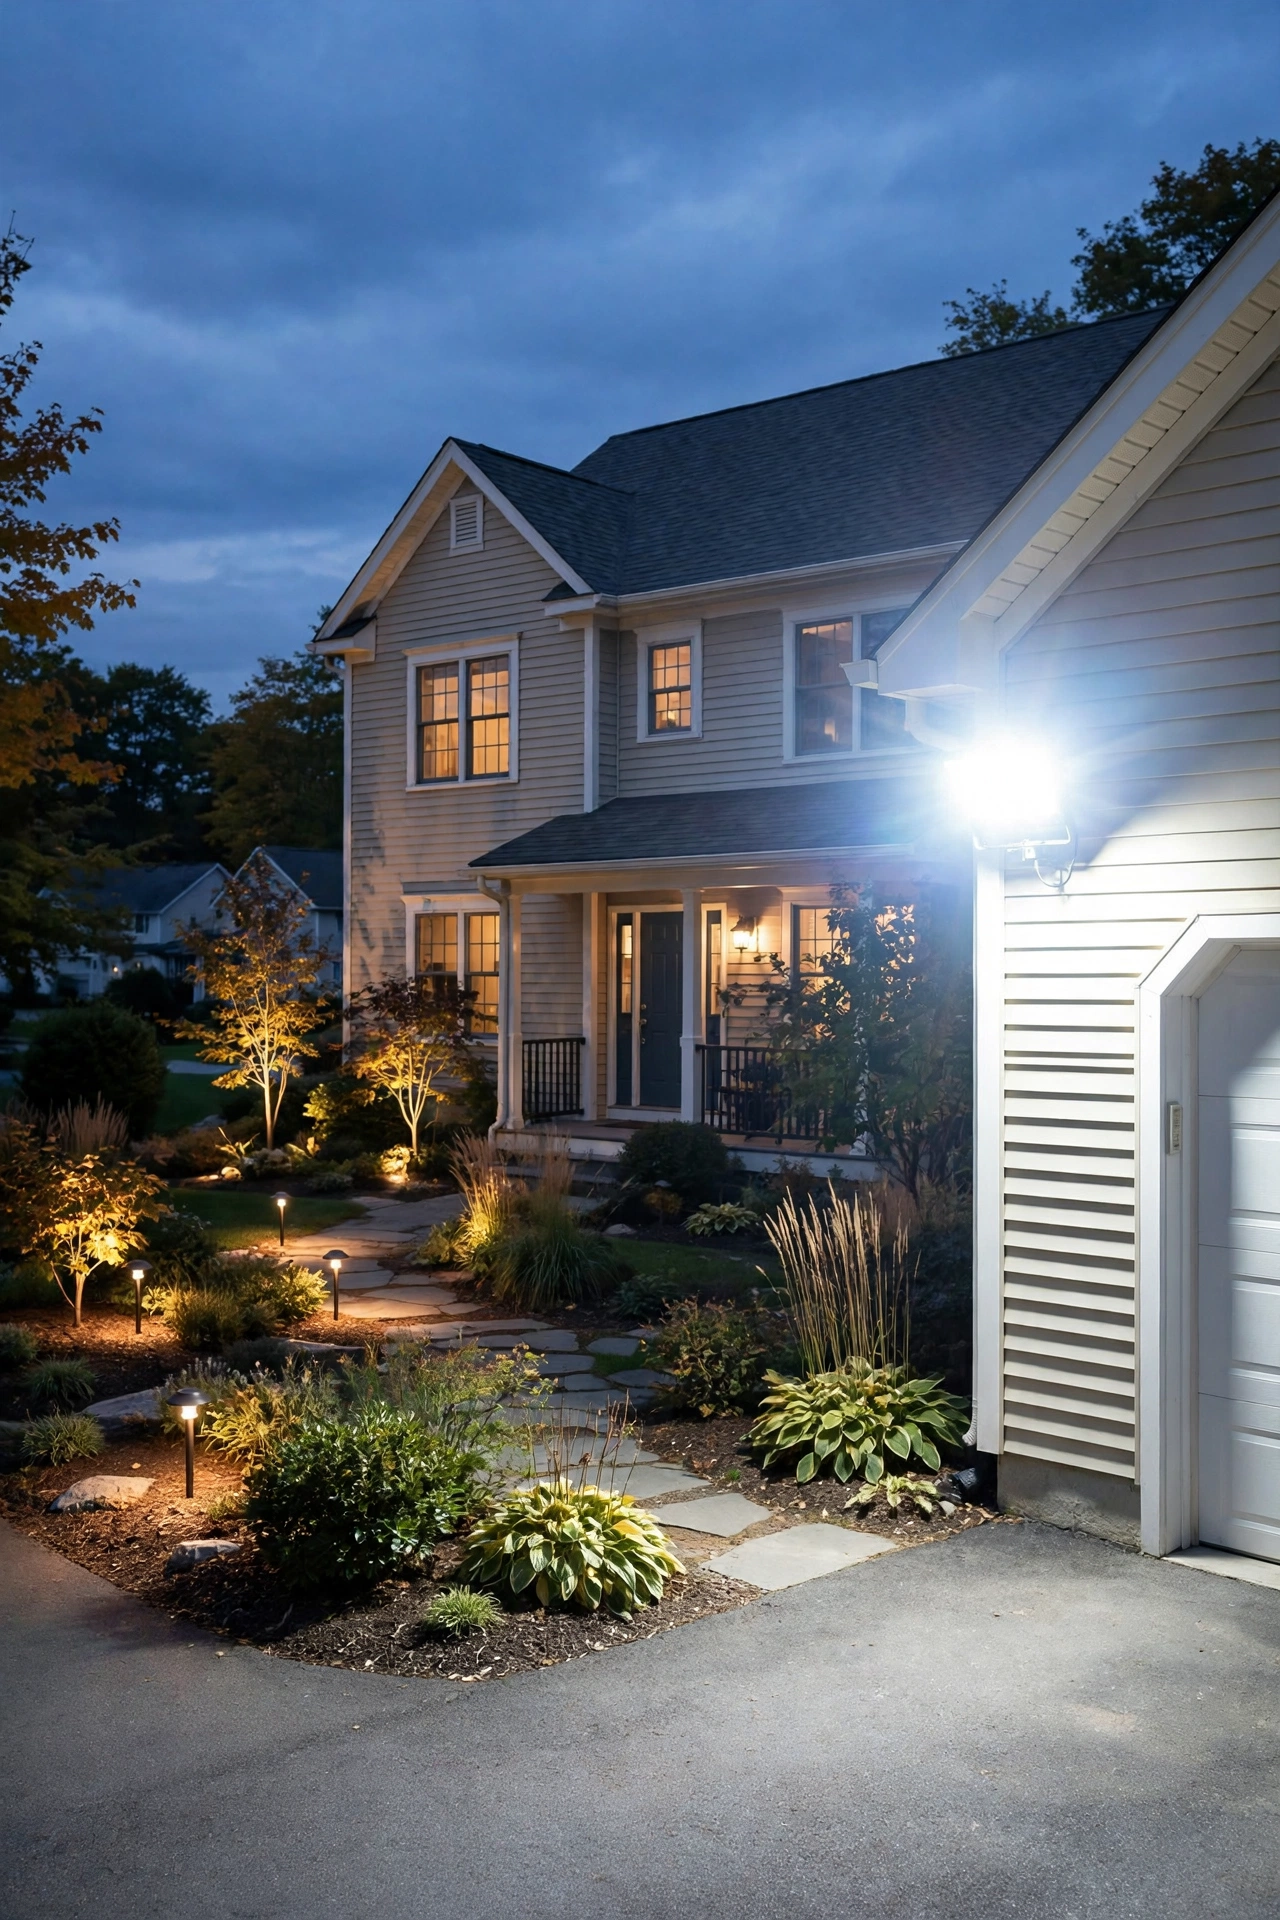
I've stood in my own front yard at 9 p.m. more times than I can count, head tilted, squinting at my house the way a stranger would see it from the street — and honestly? Some years it looked fantastic, and some years it looked like my home was trying to land airplanes. The outdoor lighting mistakes to avoid aren't usually about spending too little money or buying the wrong brand. They're the small, sneaky choices that add up: a bulb that's too bright here, a fixture aimed a few degrees too high there, a color temperature that makes your beautiful brick look like a hospital parking lot.
Here's the thing nobody tells you: outdoor lighting is the only part of your curb appeal that works while you're asleep. Landscaping, paint, shutters — they all clock out at sunset. Your lighting carries the entire show from dusk to dawn. And when it goes wrong, it goes wrong loudly. Glare, hot spots, dead zones, that harsh blue-white wash that screams "security compound" instead of "welcome home."
The good news is that nearly every one of these mistakes is cheap and easy to fix. Most of them don't require new fixtures at all — just a bulb swap, a five-minute re-aim, or a timer adjustment. By the end of this guide, you'll know exactly what to look for on your own house tonight, what to fix this weekend, and what to plan for if you're starting a landscape lighting project from scratch.
The Short Answer
The most common outdoor lighting mistakes to avoid are over-lighting with too-bright bulbs, relying on a single fixture instead of layering light, aiming fixtures so they create glare or shine into windows, mixing color temperatures, spacing path lights too closely, skipping weatherproof ratings, and leaving everything on all night with no timers. Under-lighting the front door and steps is just as damaging to curb appeal as over-lighting the facade. Most fixes cost under $50 and take minutes: swap to warmer, lower-lumen bulbs, re-aim fixtures downward and away from sightlines, add a photocell timer, and walk your property at night to check the result from the street.
11 Outdoor Lighting Mistakes to Avoid: Why Small Errors Cost You Big
Your eyes are wired to judge a house by its night face, and you only get one chance to make that impression. Real estate photographers talk about the "dusk shot" for a reason — a home photographed at twilight with warm, layered lighting can look 30 percent more inviting than the same house under a single glaring floodlight. In my experience, visitors decide how they feel about your home in the first ten seconds of pulling into the driveway, and at night, that entire judgment is made by your lighting.
There's a safety angle too. Poorly planned outdoor lighting doesn't just look bad — it can make your property less safe. A blinding fixture near the front walk actually creates deeper shadows around it, because your pupils contract against the glare and everything outside the beam disappears. Burglars love that. Even, modest light at the right heights and angles does more for security than one blazing floodlight ever will.
Then there's the money. Leaving high-wattage fixtures burning all night, replacing fixtures that corroded because they weren't rated for outdoor use, re-doing a landscape lighting install because the first pass created a runway effect down your walkway — these are all costs that land in the hundreds of dollars, when the fix up front would have been minutes of thought. Every mistake in this guide includes what it typically costs to fix, so you can decide what's worth tackling this weekend and what deserves a spot on the project list.
Mistake 1: Using Bulbs That Are Way Too Bright
This is the number one offender, and I see it on almost every street I walk. A homeowner buys a pair of 100-watt-equivalent floodlights for the front of the house, flips them on, and suddenly their cozy colonial looks like a car dealership. More lumens is not more beautiful. Your eyes adjust to darkness beautifully — you need far less light outdoors at night than your daytime brain thinks you do.
Here's my rule of thumb: path and accent lights should usually sit in the 100 to 300 lumen range. Porch lights and entry fixtures do their job well at 400 to 800 lumens. The only thing that ever needs true floodlight brightness (1,500 lumens and up) is a motion-activated security light over the driveway or back gate — and that one should only snap on when someone actually moves, not burn all evening.
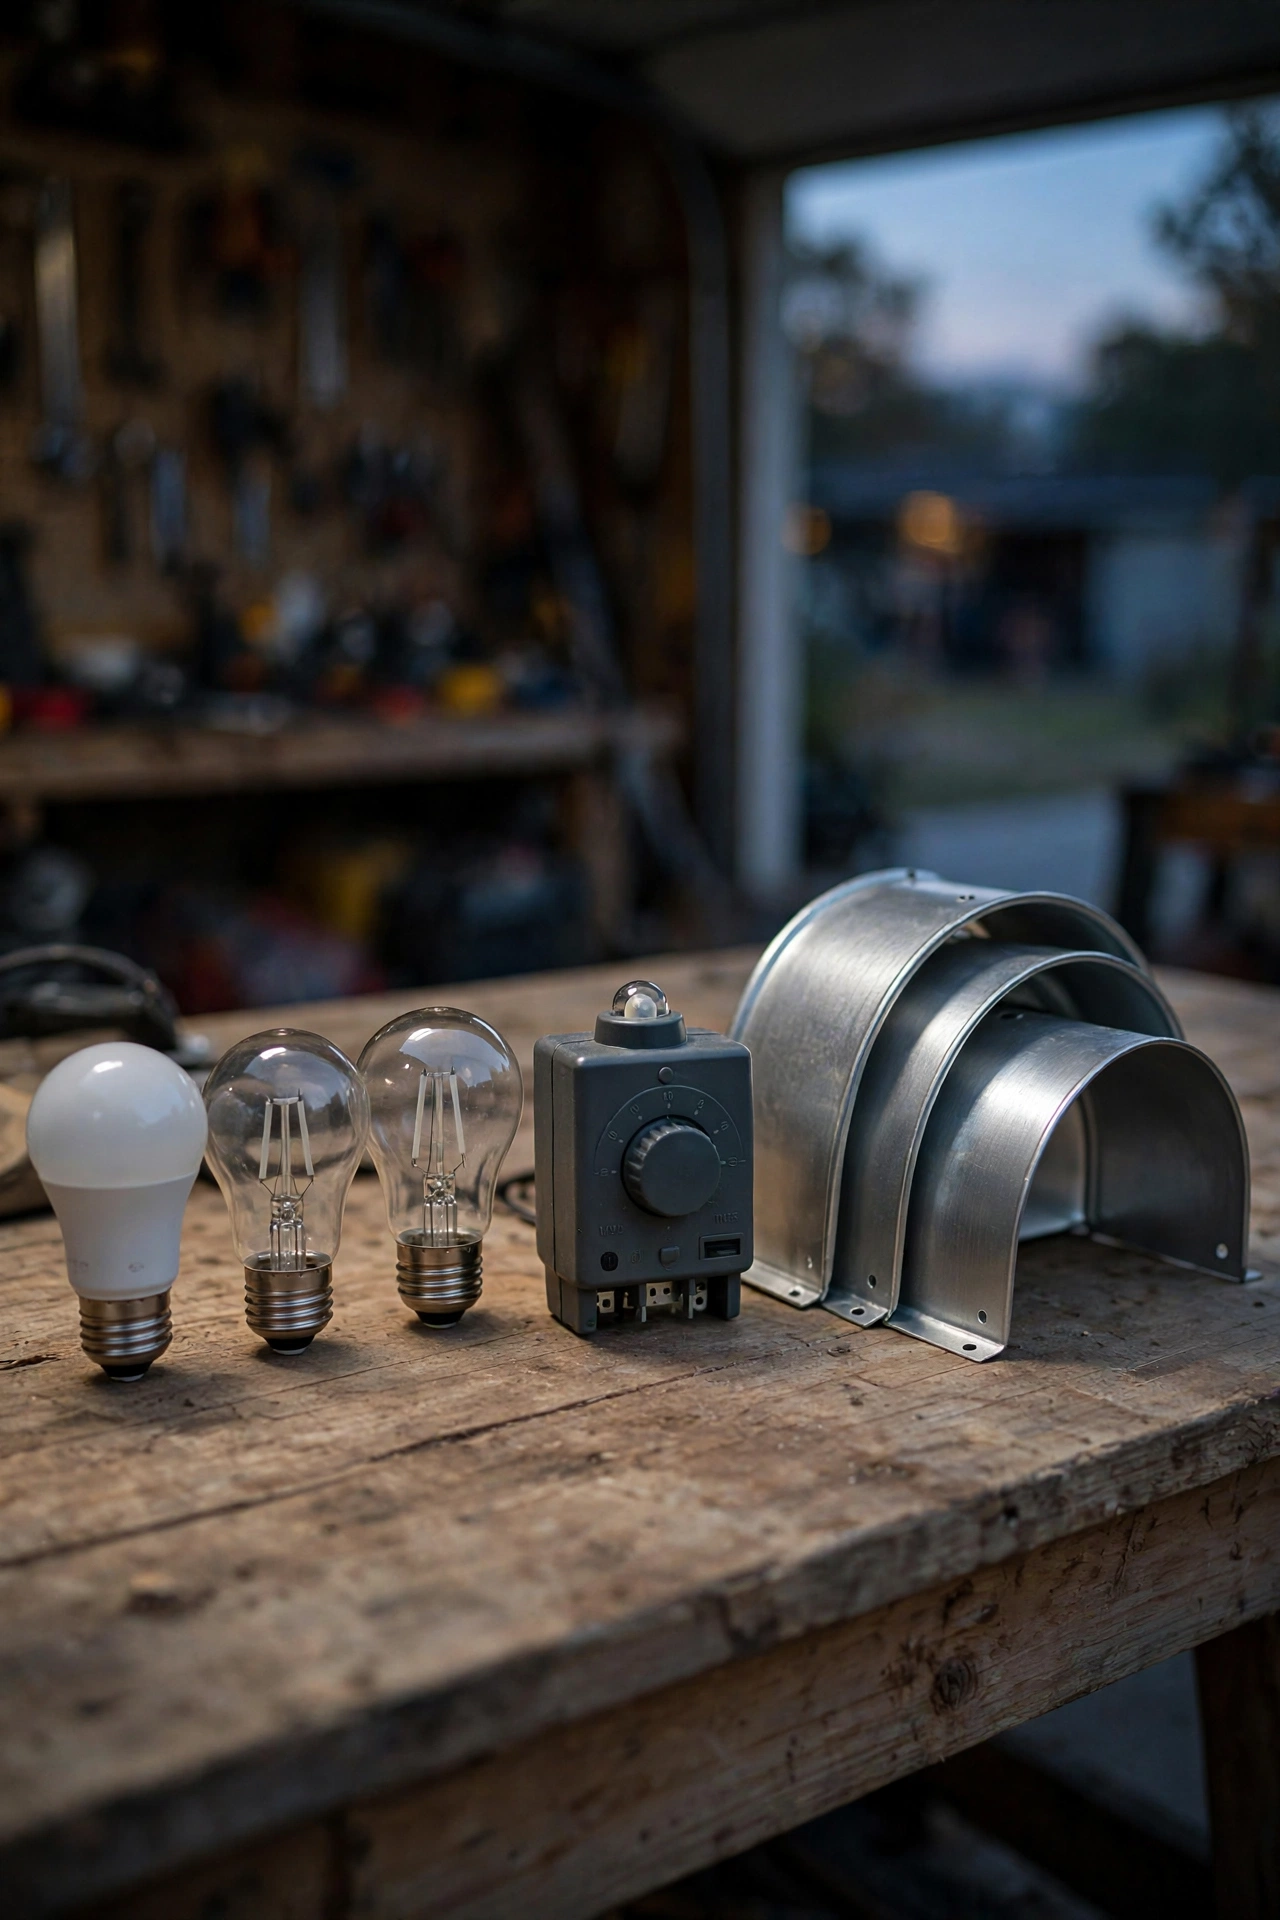
The tell-tale sign you've overdone it? You can see the bulb itself from the street. You should see the *effect* of the light — the warm pool on the walkway, the soft wash on the brick — not the source. If the fixture is the brightest thing in the scene, swap the bulb for something gentler. A 2700K, 450-lumen bulb in your porch sconce costs about $8 for a two-pack of LEDs and will instantly make your entry feel like a hug instead of an interrogation.
Mistake 2: Relying on One Fixture to Do All the Work
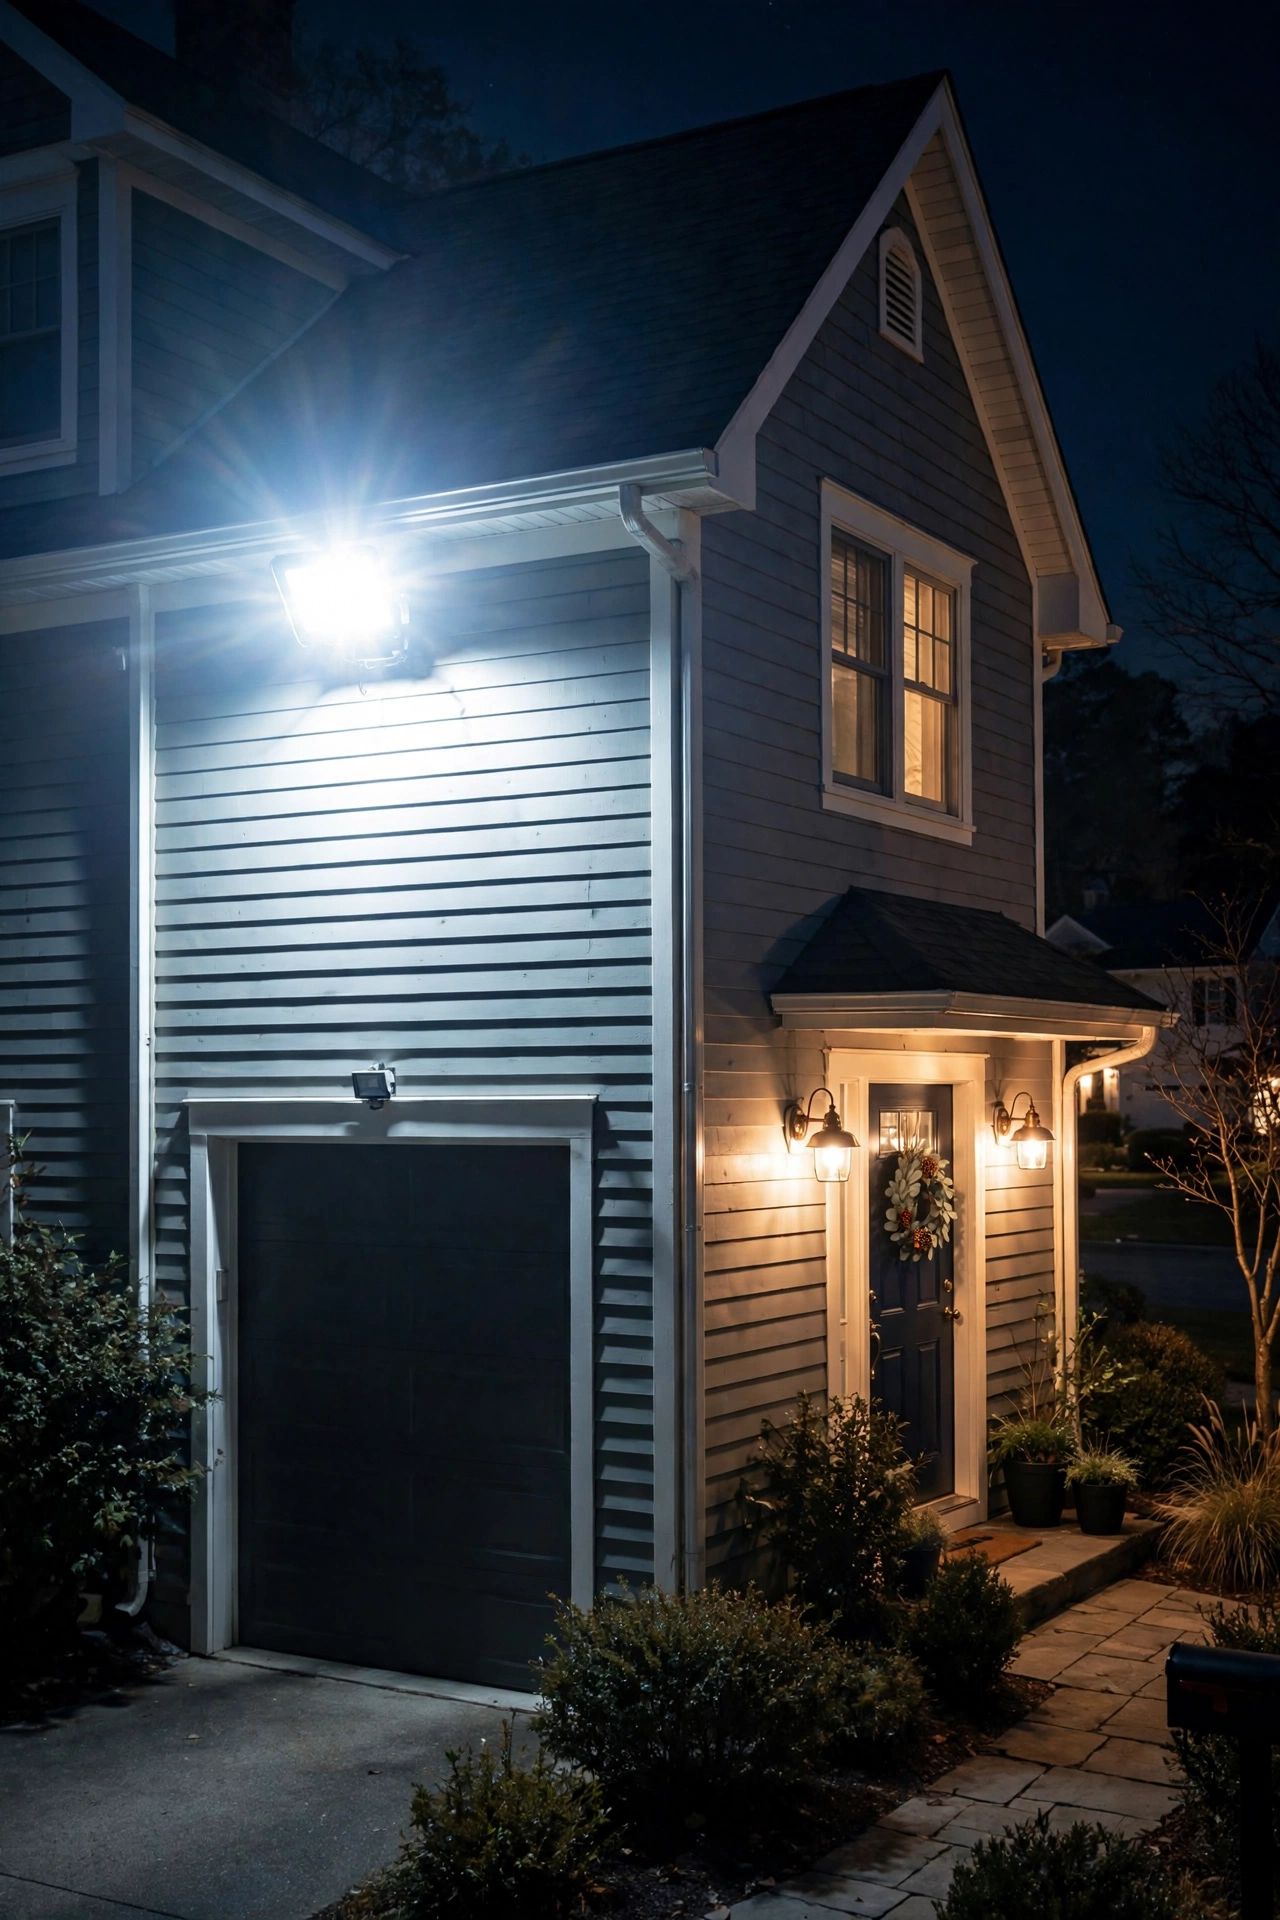
The classic setup I see everywhere: one lonely porch light by the front door, and the entire rest of the house goes pitch black. Or the opposite — a single floodlight blasting the whole facade from one corner. Both make your home look flat, lopsided, and honestly a little sad at night.
Great outdoor lighting is always layered, the same way indoor lighting is. You wouldn't light your living room with one bare bulb in the ceiling, right? Outside, you want three layers working together: ambient light (the general glow from porch sconces and string lights), task light (focused brightness where you need to see — steps, the door lock, the walkway), and accent light (the pretty stuff — uplights on trees, wash on the facade, glow in the planters).
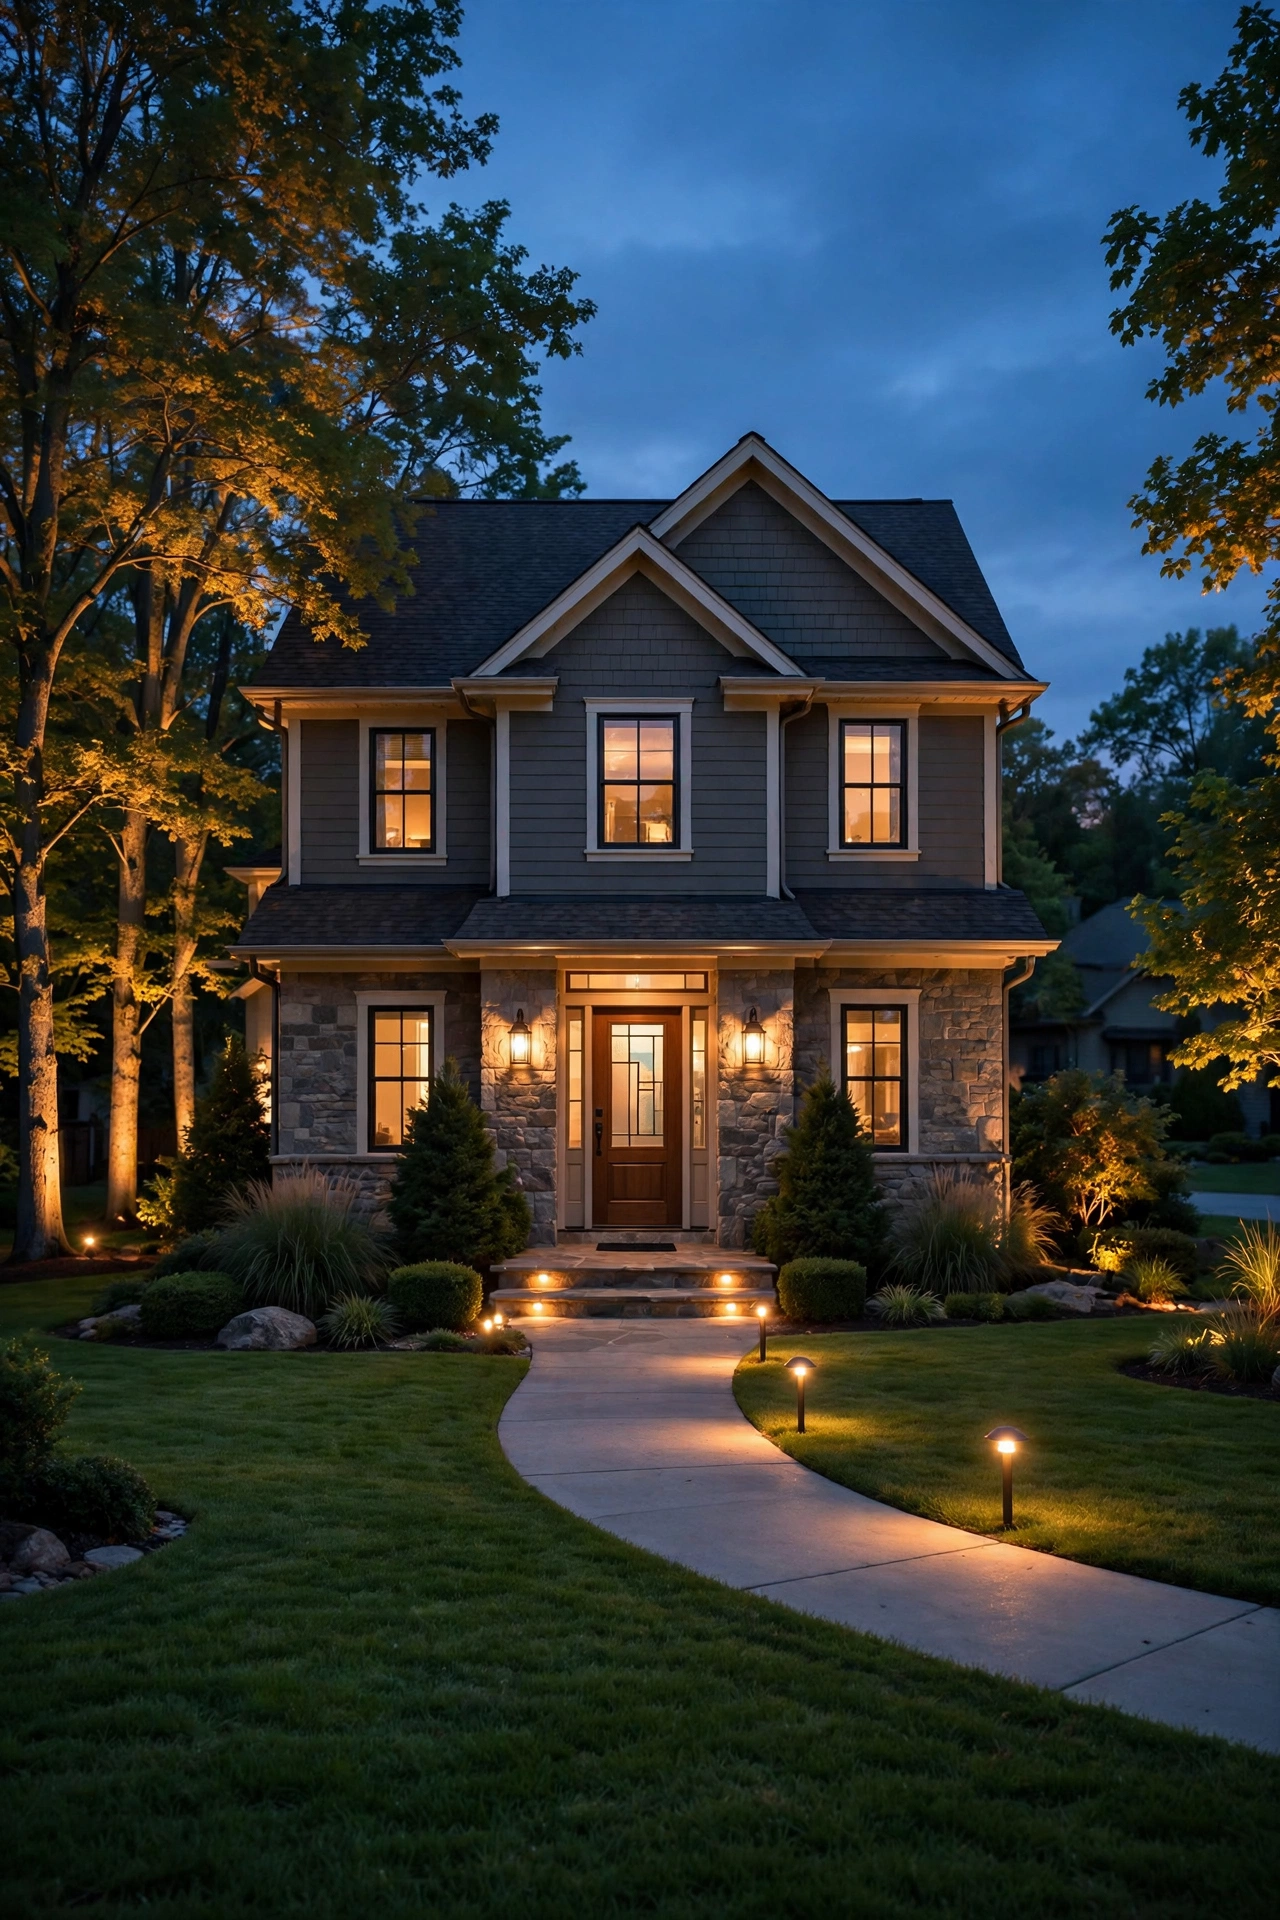
When I'm planning a front yard, I start at the door and work outward. Two flanking sconces at the entry for ambient welcome, a few low path lights guiding the eye up the walkway for task lighting, and two or three uplights on the best landscape features for accent. That's it — maybe six to eight fixtures total for a typical suburban front yard, and suddenly the house has depth, dimension, and that "I wonder what that place looks like inside" pull. Each layer can be modest on its own; it's the combination that creates the magic. The same layering principle transforms backyards too — my summer patio lighting ideas walk through ambient, task, and accent layers for patios and pergolas.
Mistake 3: Aiming Fixtures So They Blast Glare Into Eyes and Windows
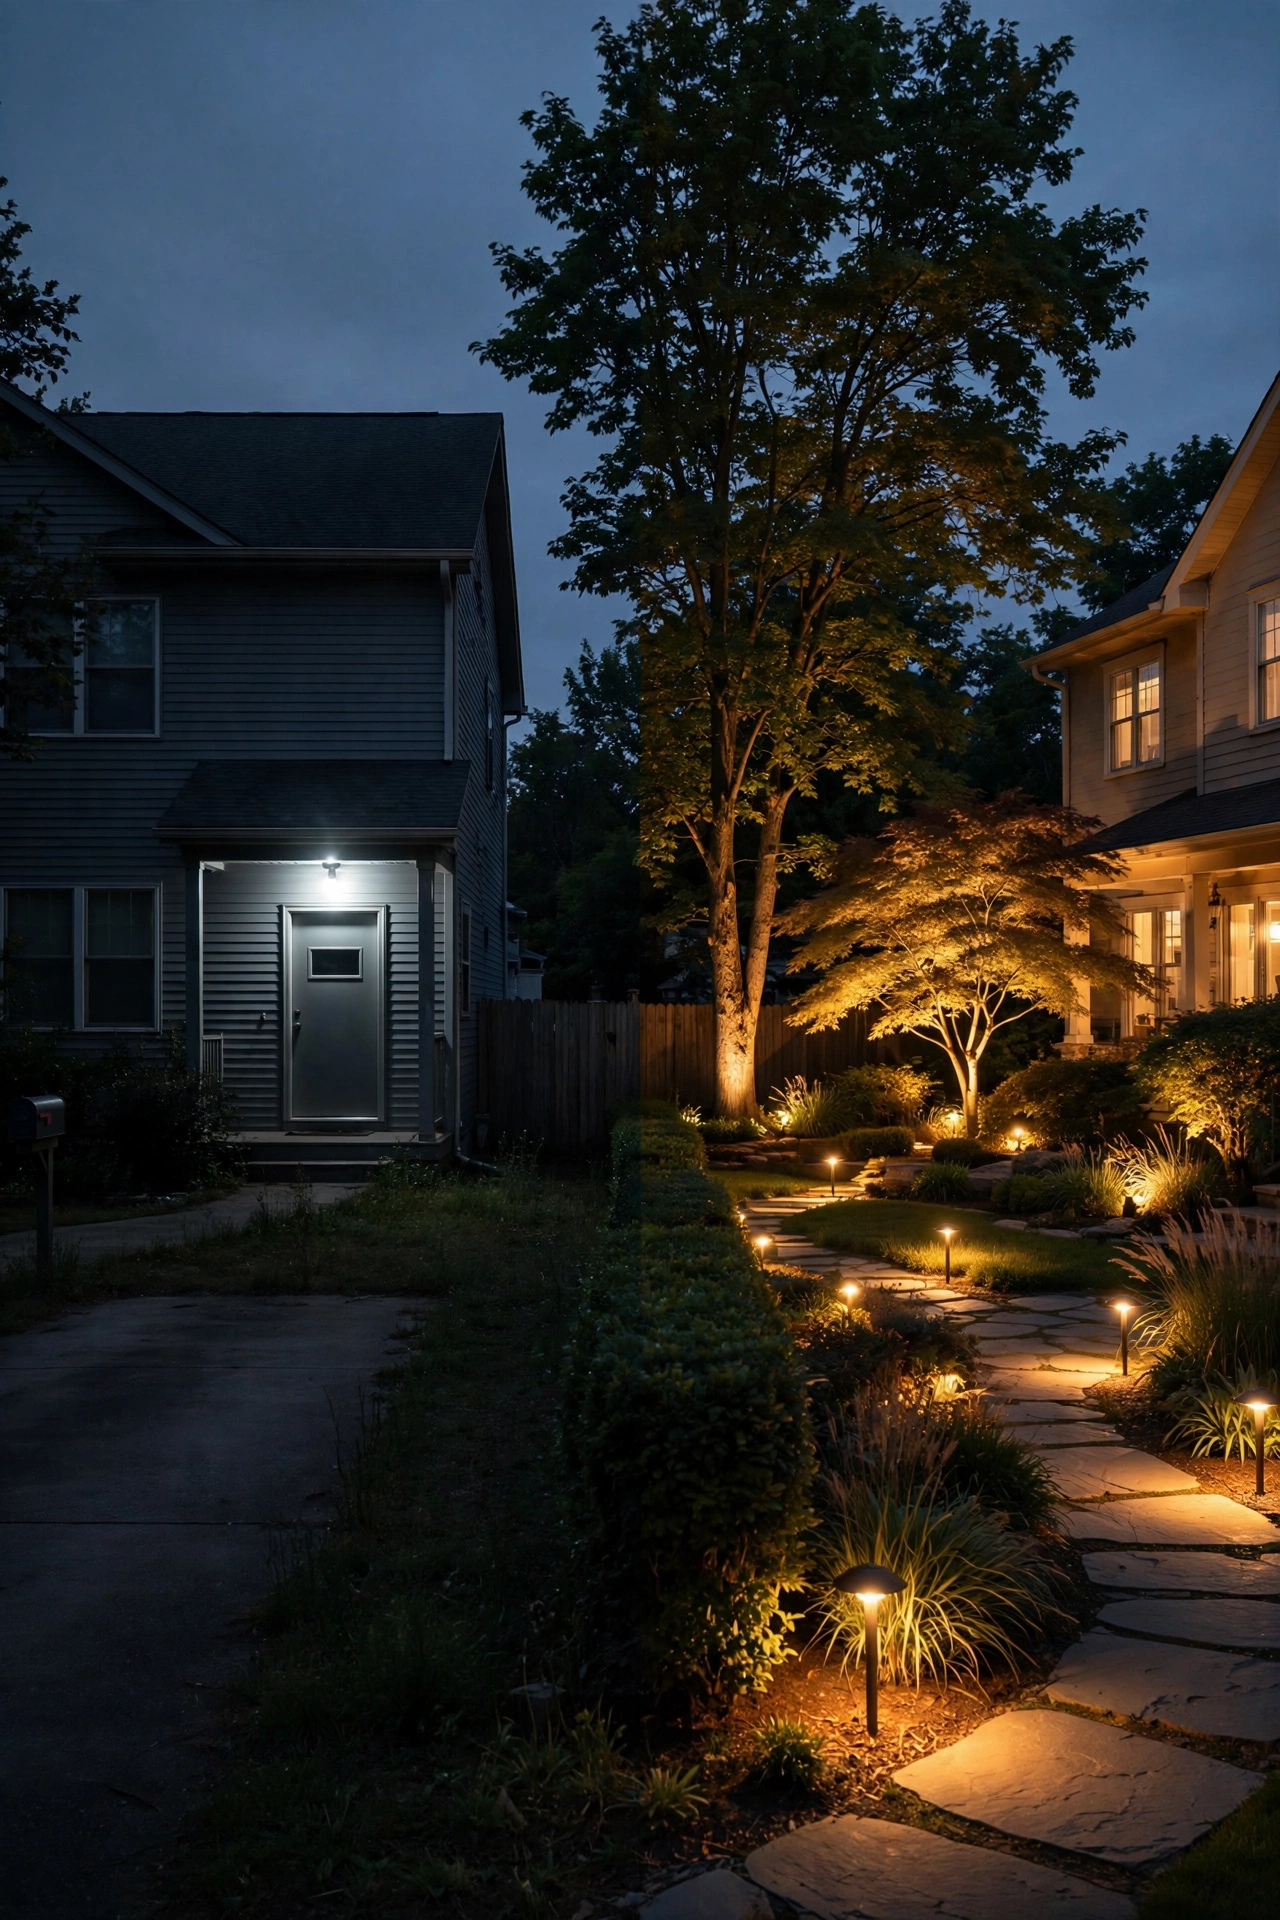
Glare is the enemy of curb appeal. It happens when a fixture is aimed too high, tilted outward instead of downward, or mounted where its bulb sits right in someone's sightline. The result is that starburst effect where visitors have to squint walking up your path — and your upstairs neighbors or the folks across the street get an unwanted light show in their bedroom windows.
Walk your property tonight and look for it. Stand on the sidewalk and look at your house: can you see any bare bulbs? Stand at your front door and look toward the street: does anything make you squint? Check from your neighbor's perspective too — light trespass onto neighboring properties is genuinely rude, and in many towns it's actually against local ordinances.
The fixes are almost always free. Tilt uplights so they graze the tree or wall, not the sky. Add simple shields or visors to fixtures that spill sideways — most landscape fixtures accept a $5 to $10 snap-on glare guard. For wall-mounted fixtures, make sure the bulb sits behind an opaque shade or frosted glass rather than exposed. And remember the golden rule of outdoor lighting design: you should see what the light touches, never the light itself. When I finally learned to aim everything slightly downward and shield the sources, my whole yard went from "bright" to "beautiful" overnight.
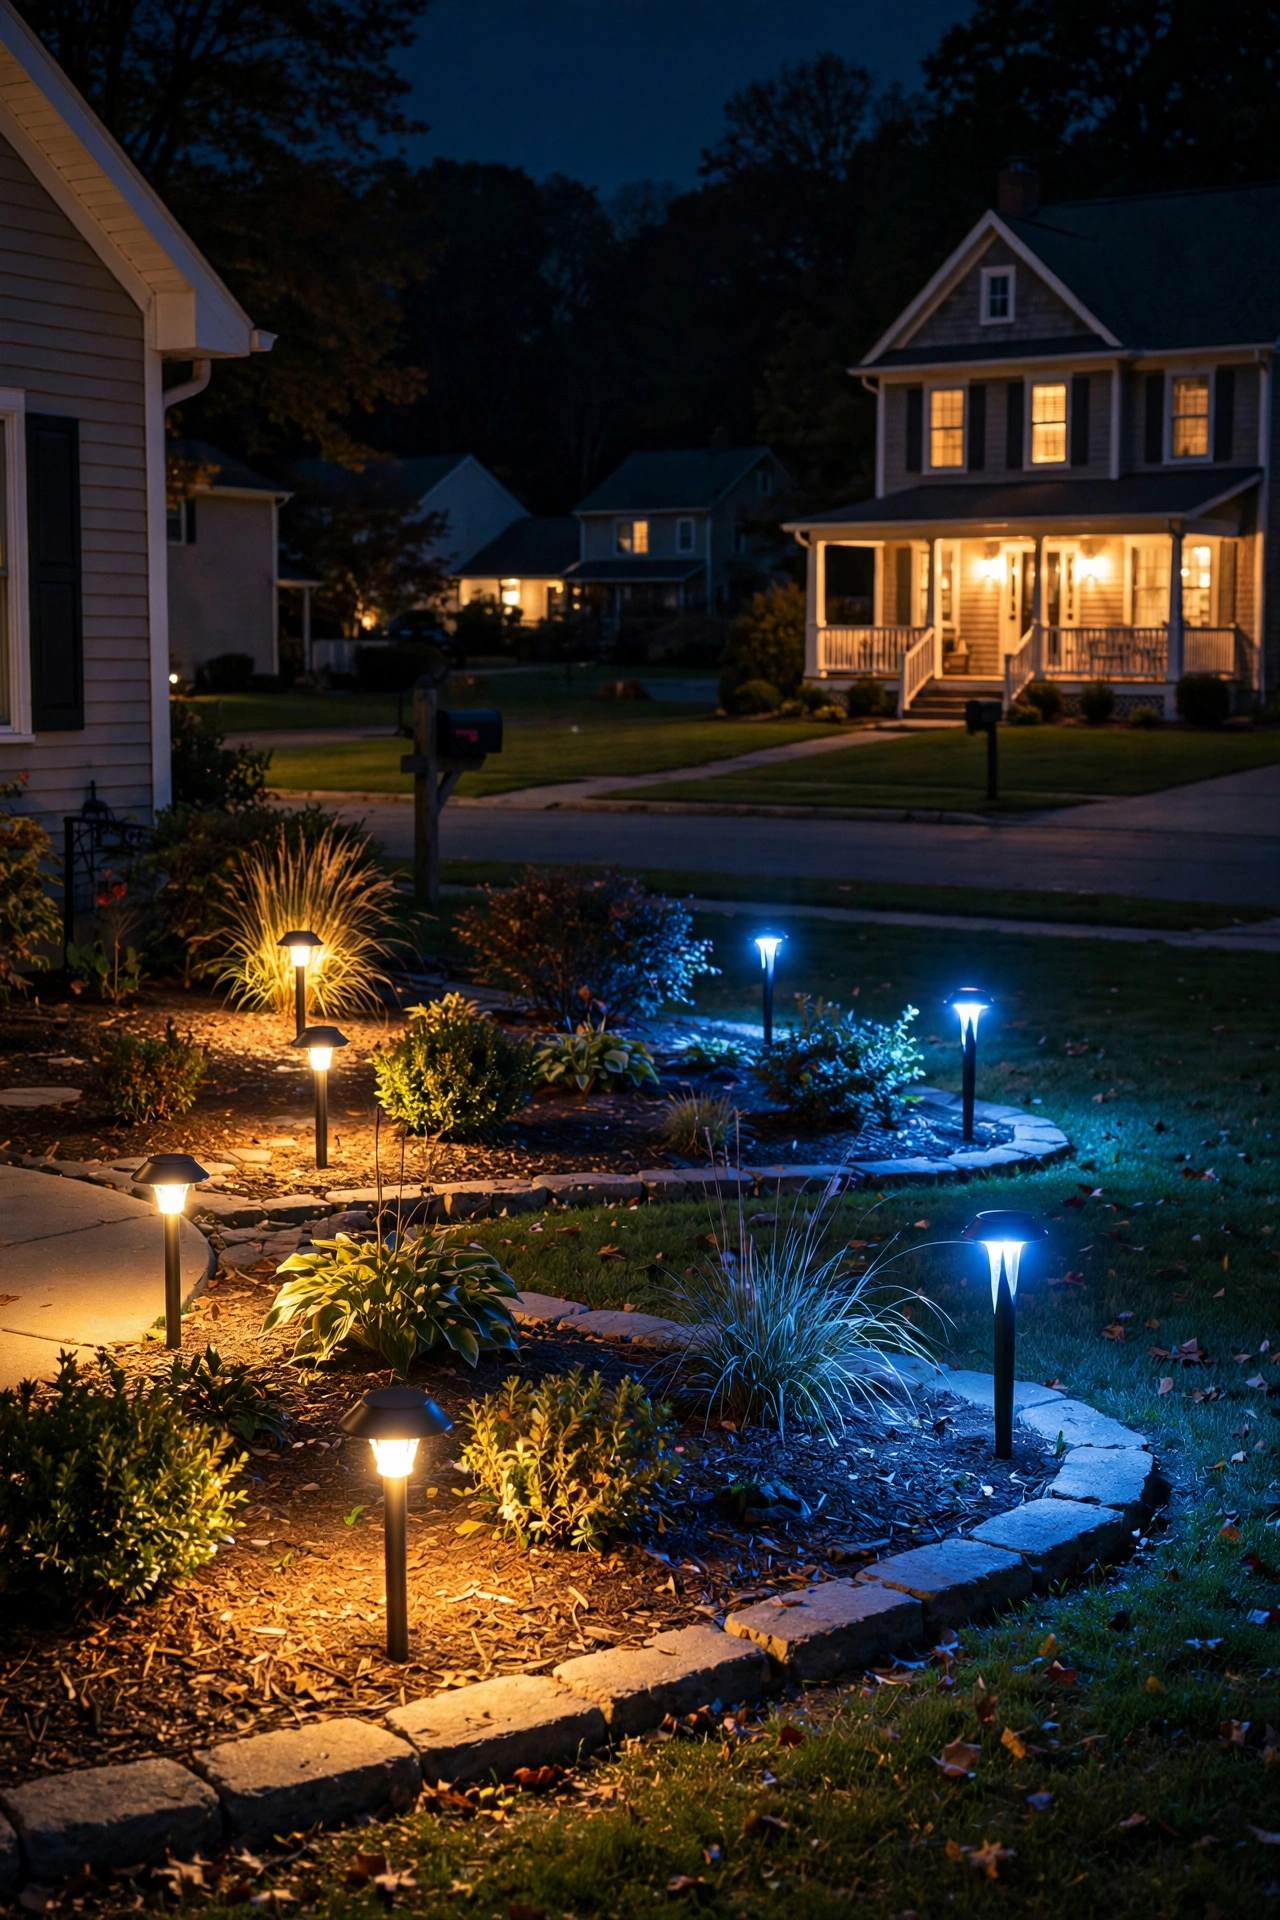
Mistake 4: Mixing Color Temperatures All Over the Yard
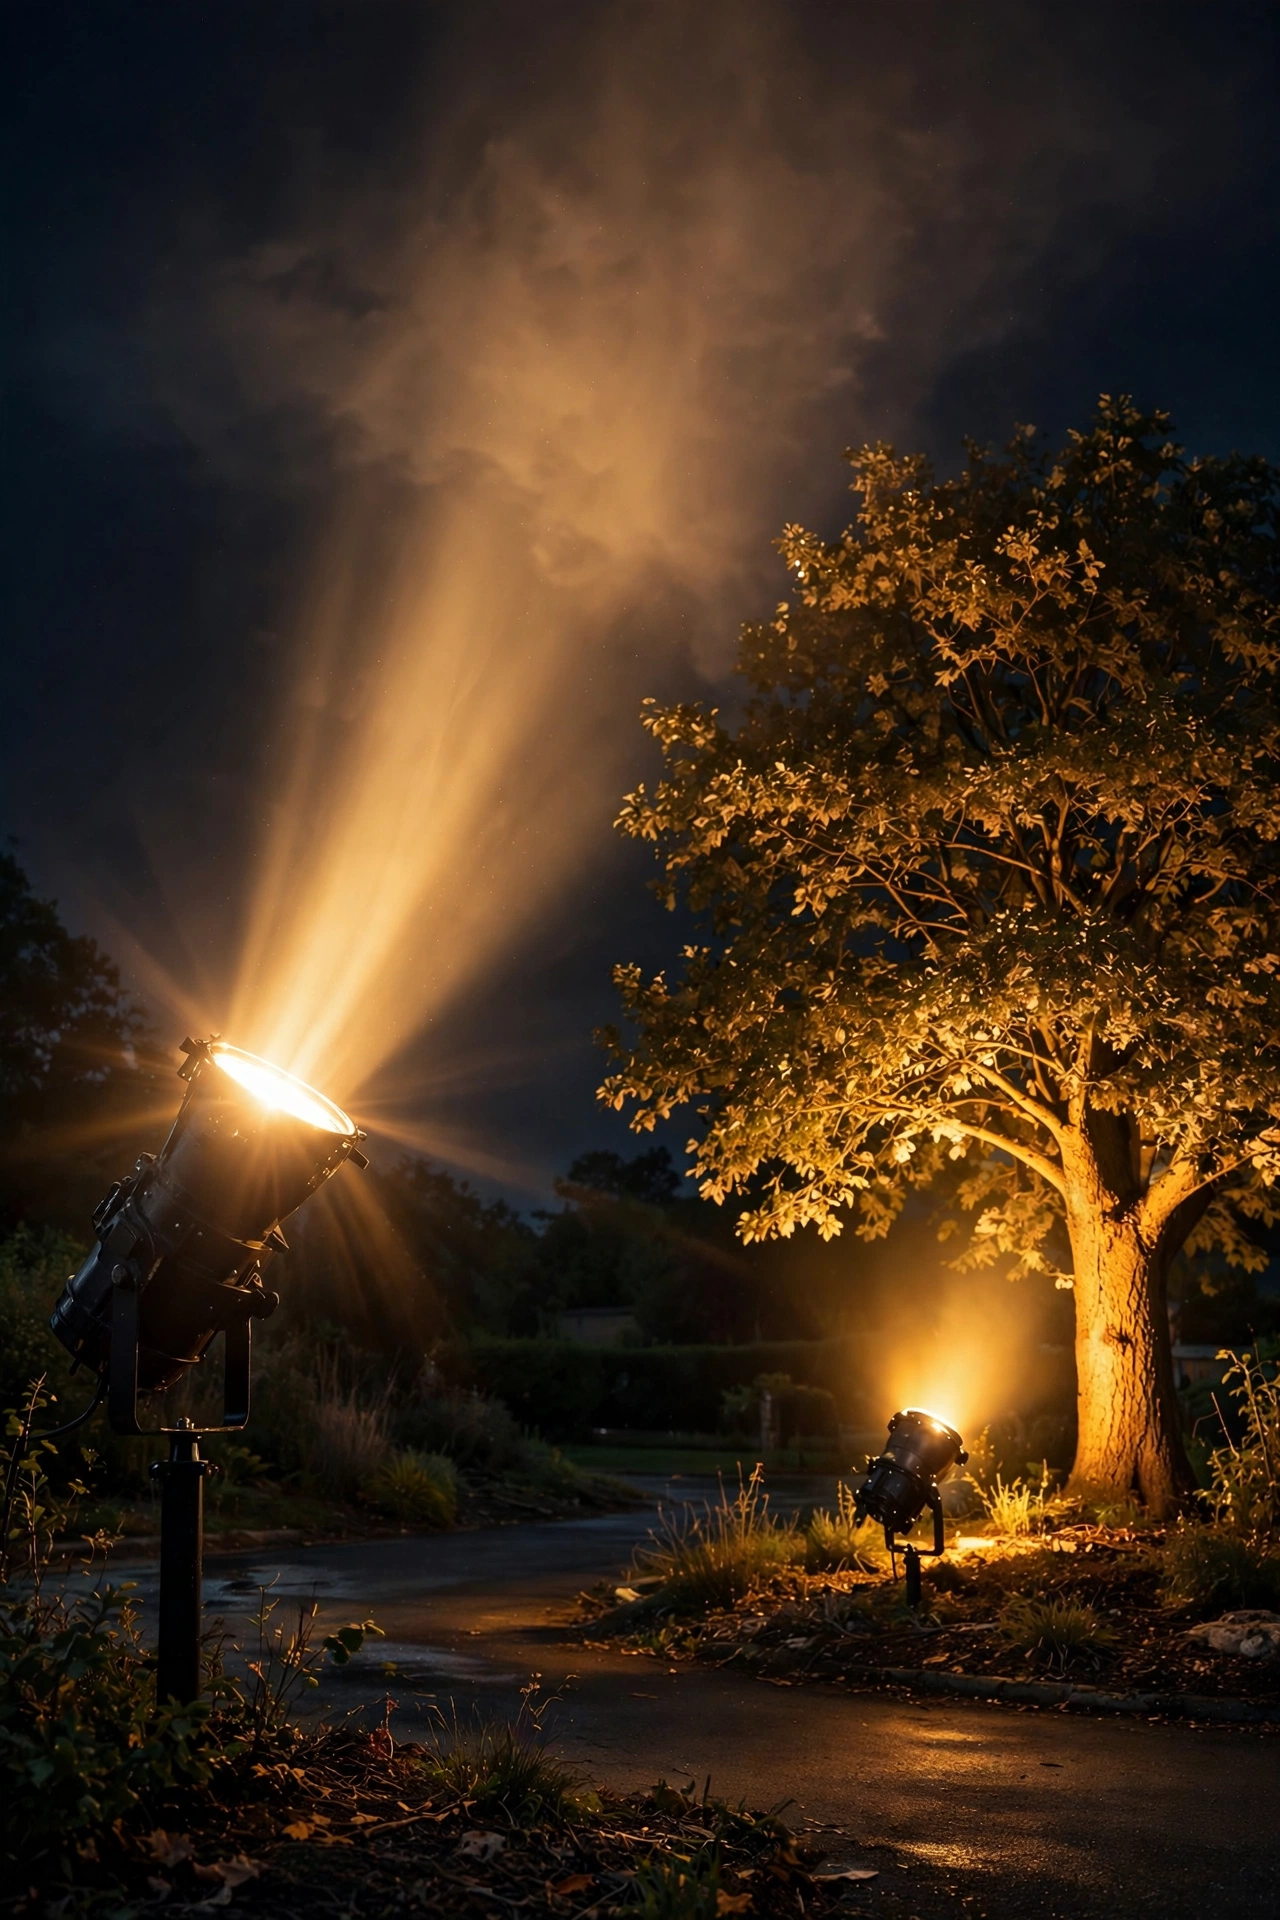
Walk past a house where the porch glows warm amber, the path lights burn icy blue-white, and the garage floodlight is somewhere in between — it looks accidental, because it is. Mixed color temperatures are one of the fastest ways to make expensive lighting look cheap. Your brain reads the inconsistency as clutter even if you can't name what's wrong.
Pick one color temperature for your entire property and commit to it. For nearly every home, that's 2700K to 3000K — warm white, the color of candlelight and old-fashioned porch bulbs. It flatters brick, siding, wood, and foliage alike. Cooler temperatures (4000K and up) have their place in modern commercial architecture, but on a traditional or craftsman home they read cold and institutional.
The sneaky part is that this mistake usually happens one bulb at a time. You replace a burned-out path light bulb with whatever was on sale, and suddenly one fixture glows blue among the amber. I always recommend buying a small stash of your chosen bulbs — same brand, same Kelvin rating, same lumen output — and keeping them in a labeled bin in the garage. When something burns out, the replacement matches automatically. Consistency is what separates "designed" from "accumulated," and it costs nothing extra once you make it a habit.
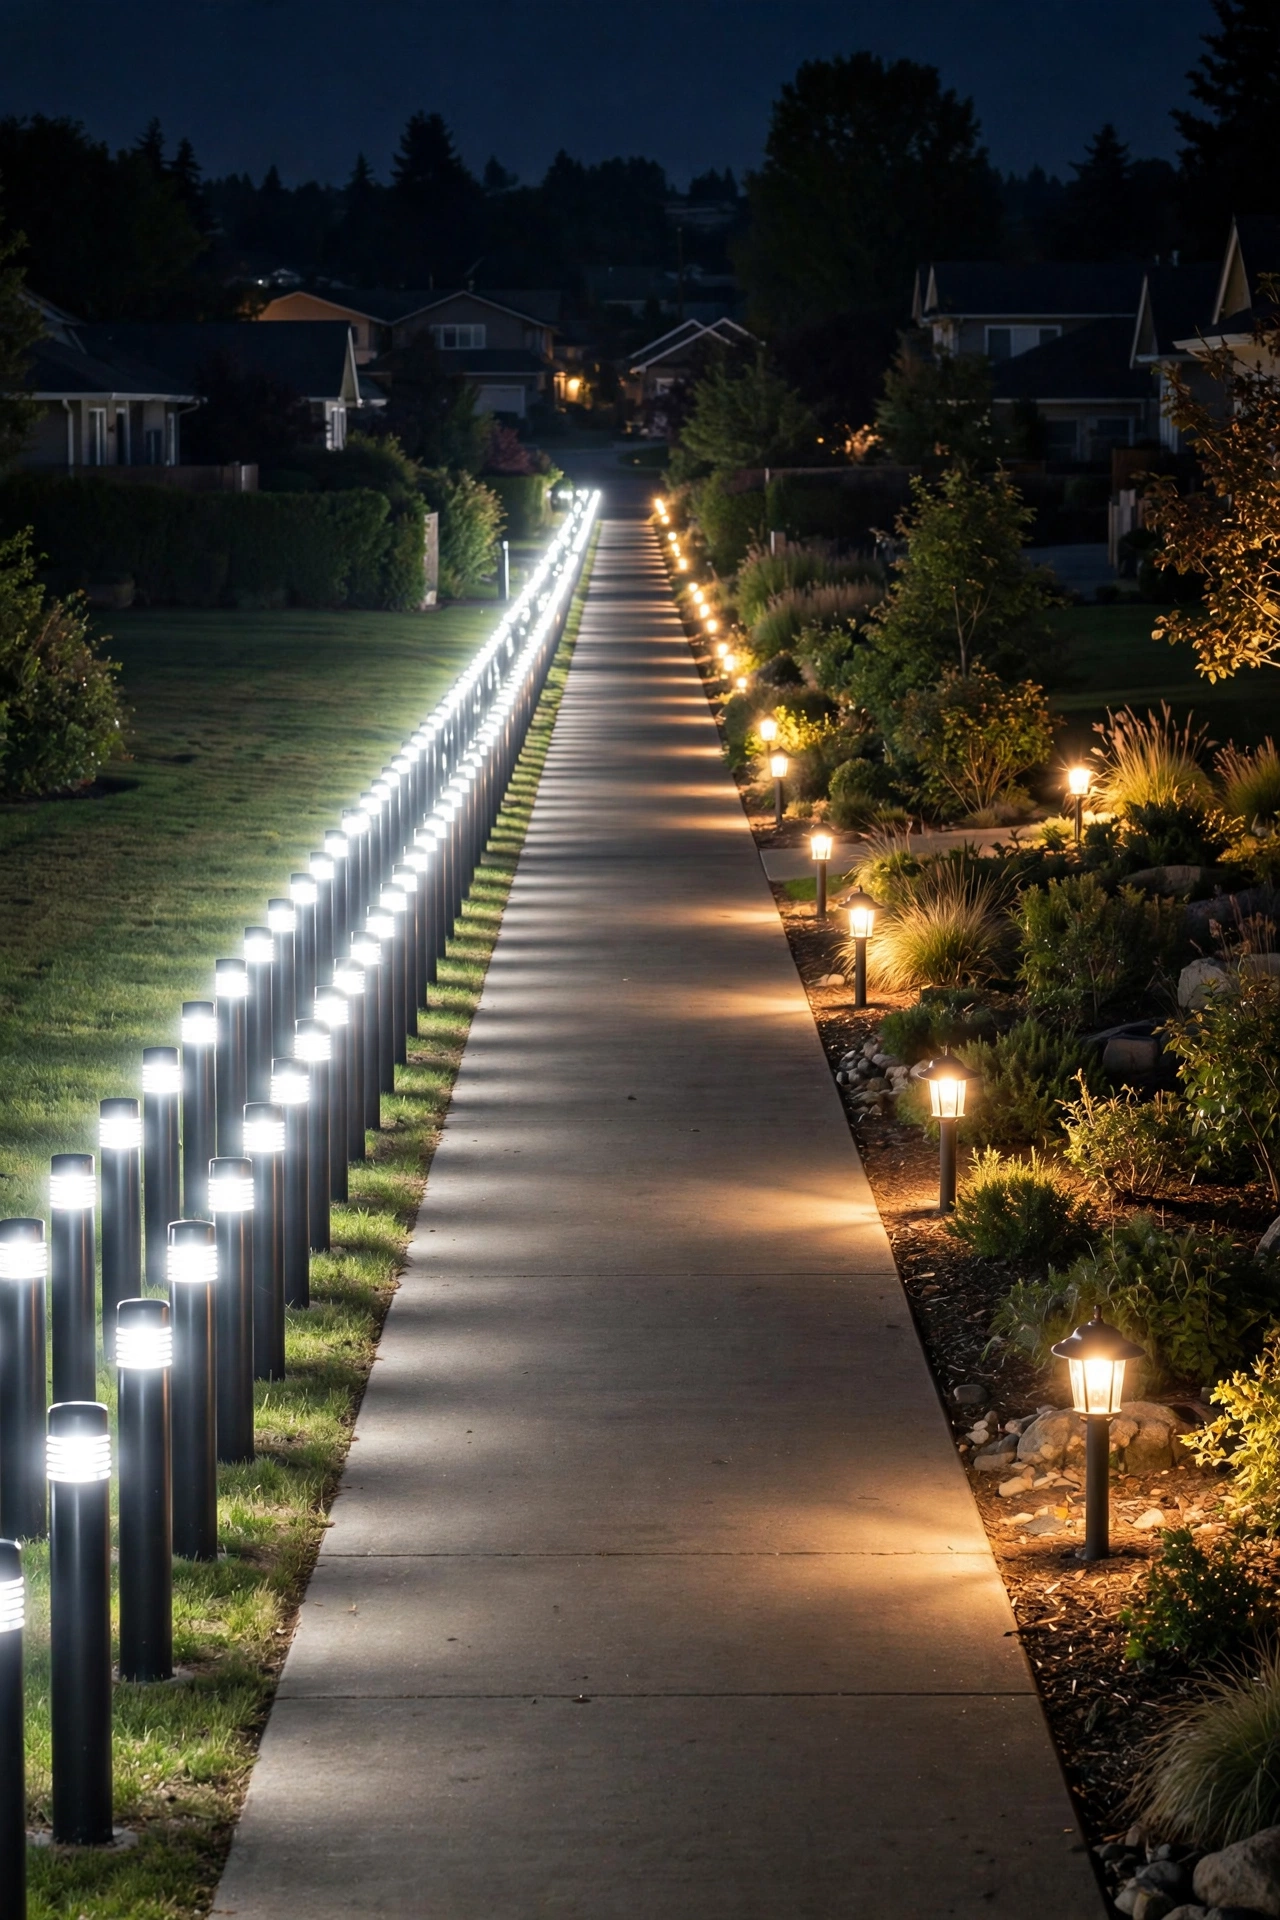
Mistake 5: Spacing Path Lights Like Runway Landing Strips
You know exactly what I mean — those walkways lined with a glowing stake light every three feet, marching in perfect formation down both sides of the path like an airport runway. It's the most common landscape lighting look in America, and honestly, it's almost never flattering. Too many fixtures too close together creates a dotted line of bright spots and dark gaps instead of a smooth wash of light, and it draws the eye to the fixtures instead of the garden.
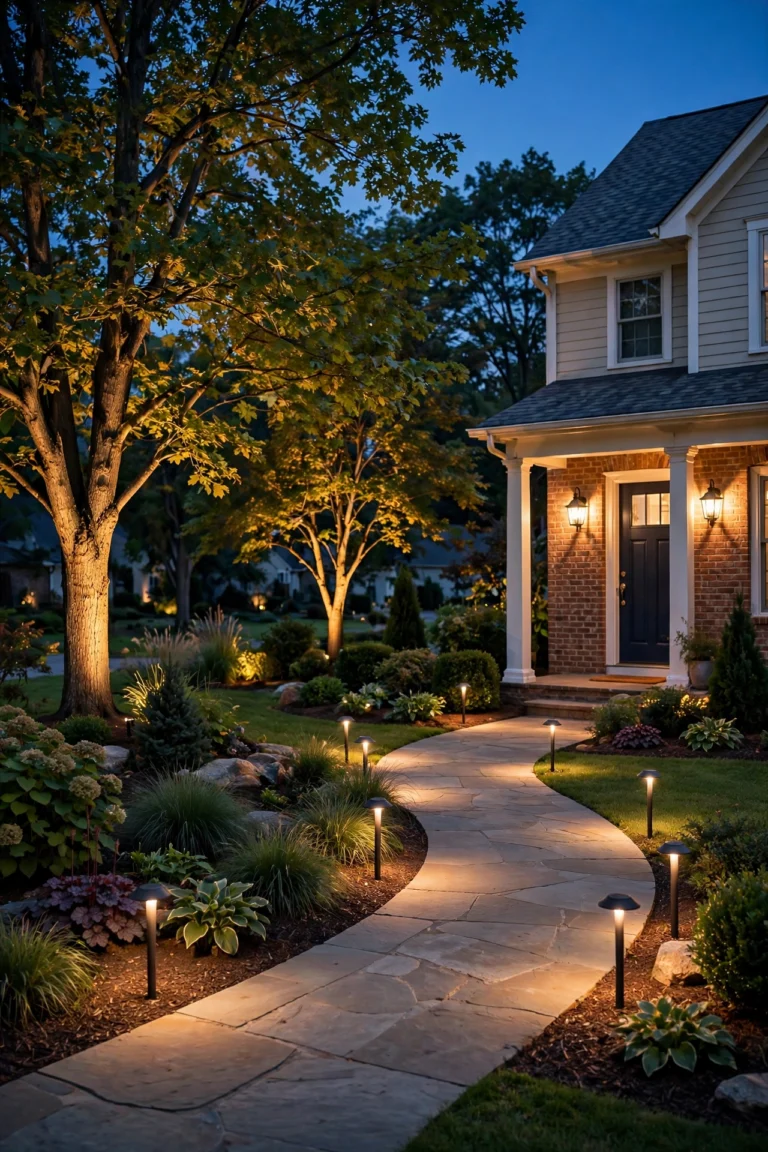
The professional rule is spacing path lights 6 to 8 feet apart, staggered on alternating sides of the walkway rather than paired directly across from each other. Staggering gives you continuous coverage with half the fixtures, and the offset pattern looks natural instead of regimented. Each light should cast a soft pool about 3 to 4 feet wide; where those pools just barely overlap, you've nailed it.
If your walkway already looks like a runway, you don't have to rip anything out. Try removing every other fixture first — you'd be amazed how often pulling half the lights out makes the whole thing look twice as good. Move the extras to dark corners of the beds or along the driveway edge. And keep the fixture height low: the cap of a path light should sit no more than 18 to 24 inches off the ground. Taller than that and you're lighting people's faces instead of their feet, which is both unflattering and glary. For a full walkthrough of fixture types and transformer sizing, my guide to low-voltage path lights covers the spacing math in detail.
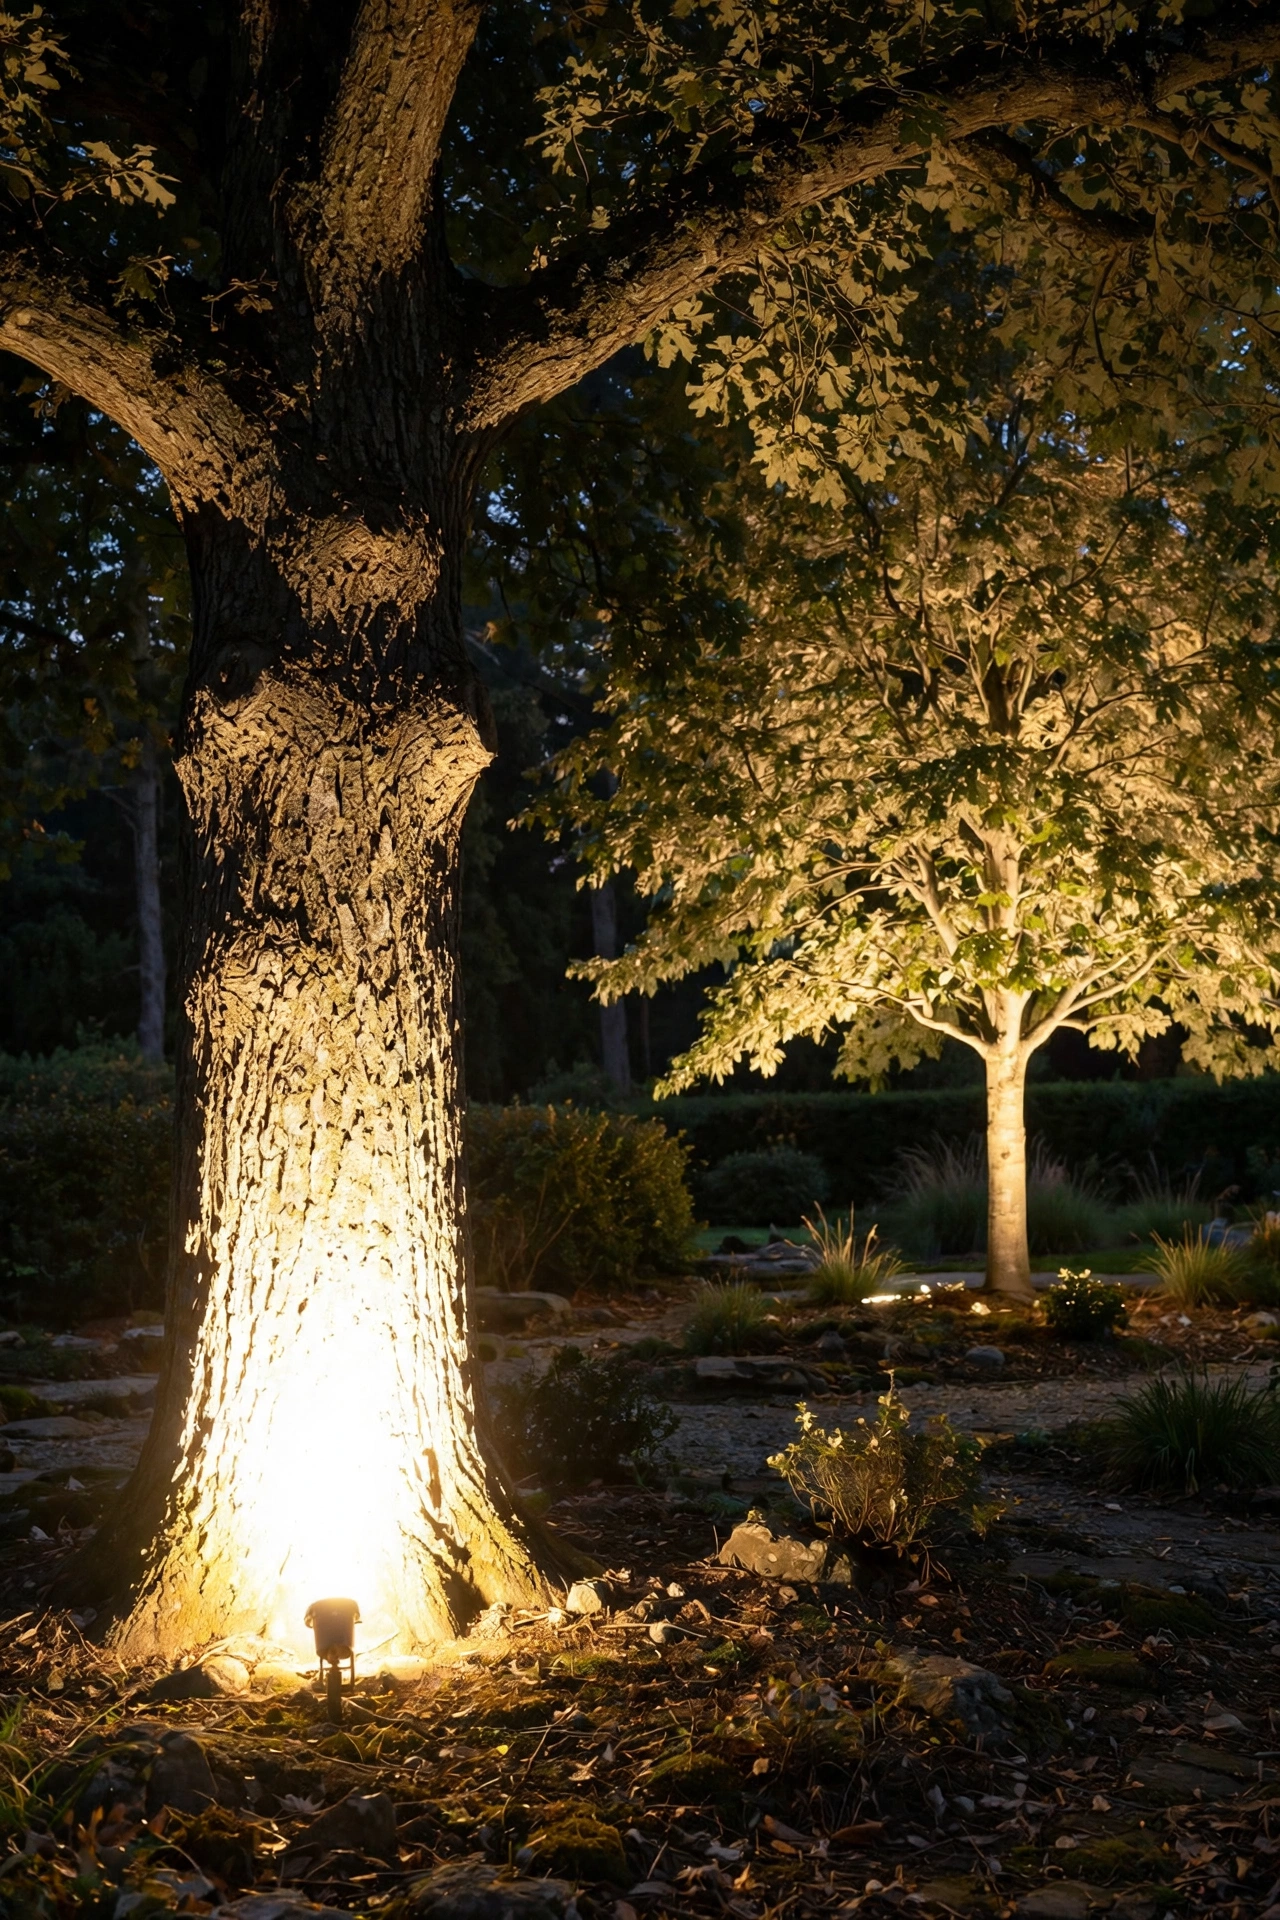
Mistake 6: Uplighting Everything and Creating Harsh Hot Spots
Uplights are wonderful — a well-placed spot washing up a Japanese maple at night is pure magic. The mistake is pointing a powerful uplight at every single tree, shrub, and wall surface in the yard until the whole property looks like it's on stage. When everything is a focal point, nothing is. You get harsh bright circles ("hot spots") at the base of each fixture and bleached-out patches where beams overlap.
Restraint is the whole game with accent lighting. Pick two or three hero features — the prettiest tree, the stone chimney, maybe a sculptural shrub near the entry — and light only those. Everything else can sit in soft shadow; darkness is a design element too. The contrast between lit focal points and dark background is literally what creates drama.
Placement matters as much as selection. Set the fixture back from the base of the tree — 12 to 18 inches for a small ornamental, up to 2 or 3 feet for a large shade tree — and aim for the canopy, not the trunk. A fixture jammed right against the bark creates a blazing hotspot at the bottom and leaves the crown dark, which is exactly backwards. If you can see a bright circle of light on the ground around the fixture, pull it back a few inches and tilt it up until the glow spreads evenly through the branches. One $40 well-placed uplight will outperform five badly placed ones every single time.
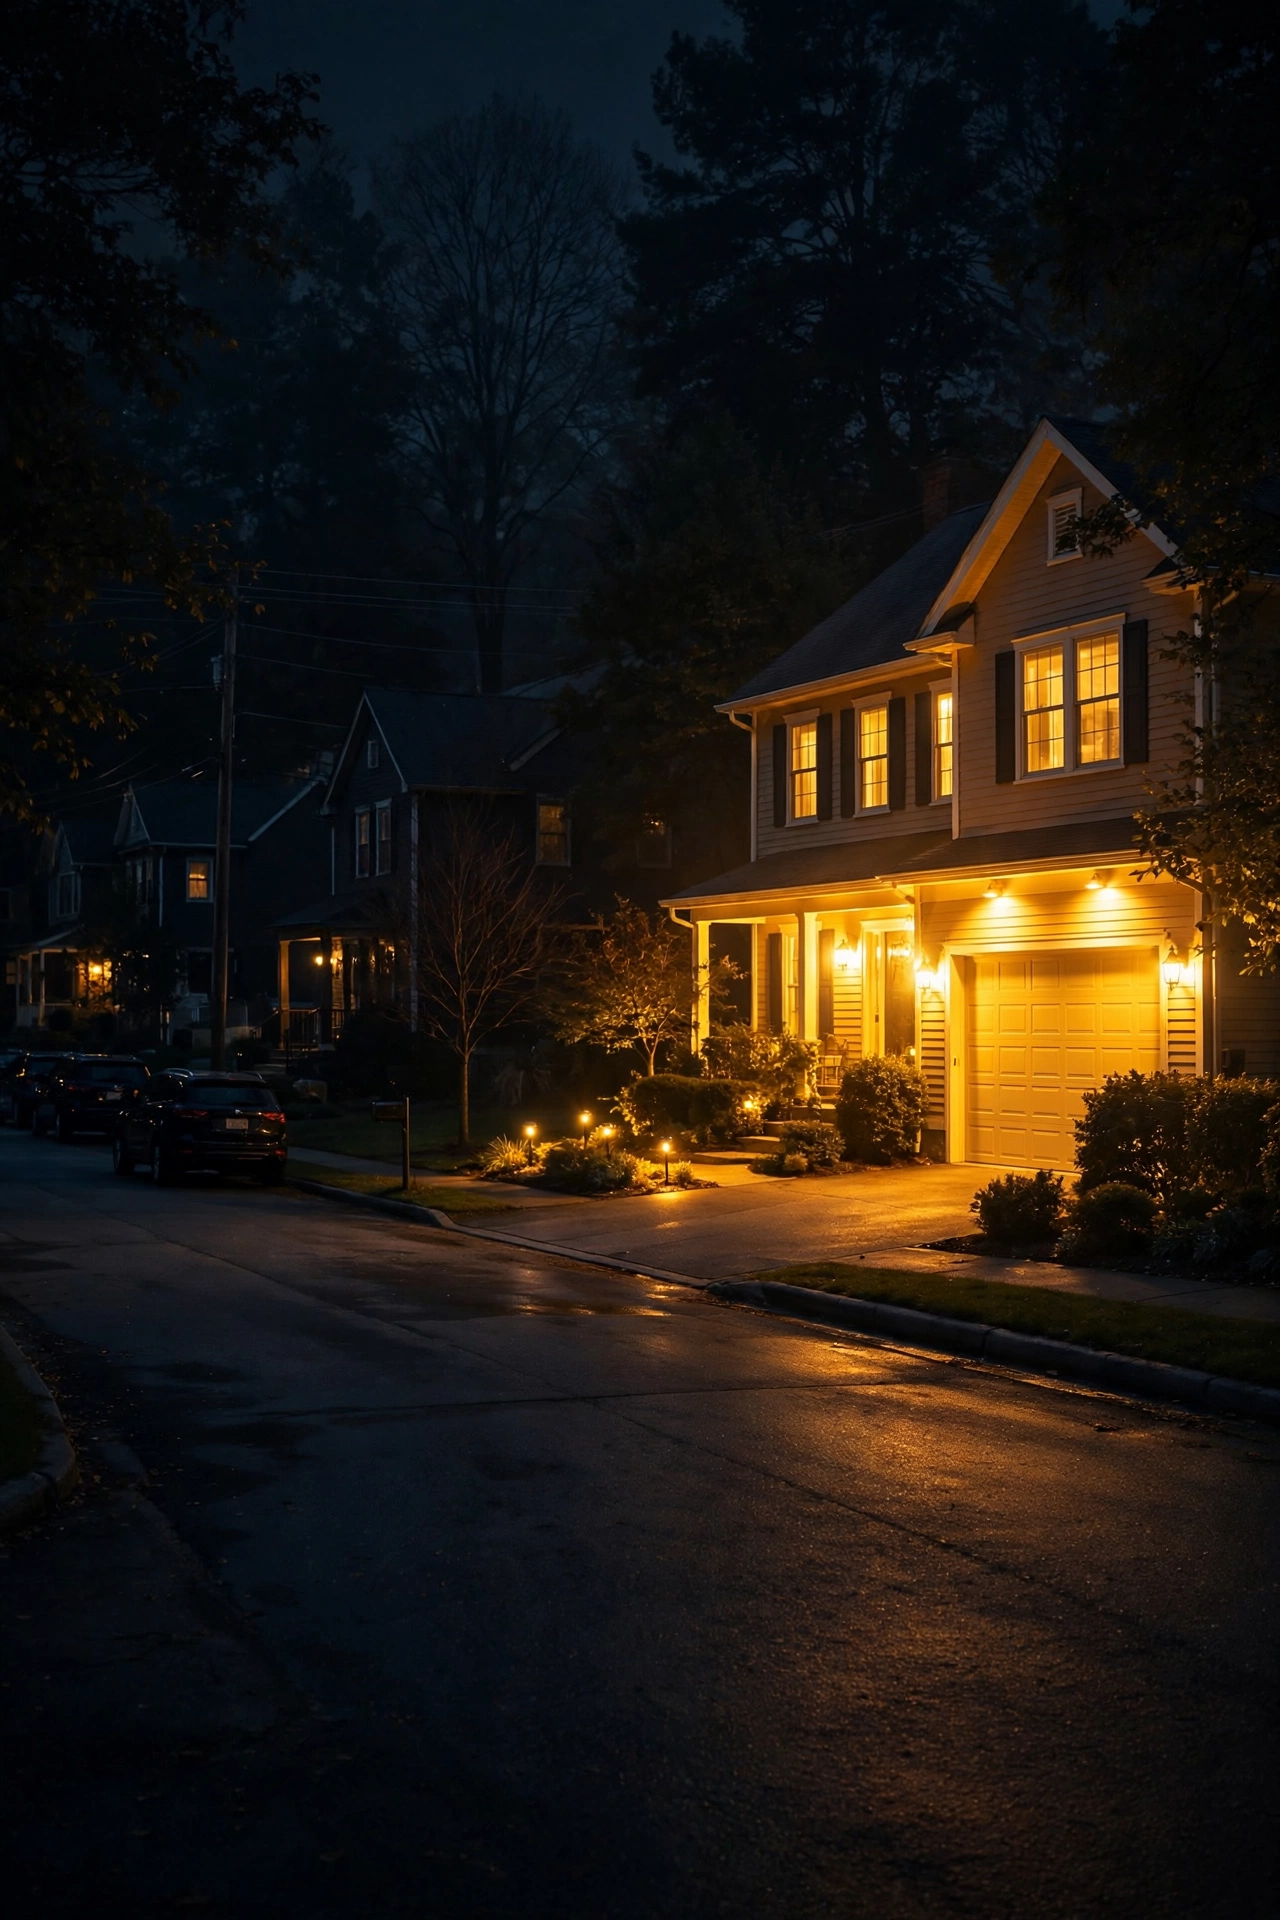
Mistake 7: Leaving Every Light Burning All Night Long
There's a special kind of sadness to a house glowing at full blast at 3 a.m. when everyone inside is asleep and the street is empty. Beyond the wasted electricity, all-night lighting flattens your home's appearance — the magic of landscape lighting comes from contrast and intention, and a yard that's lit identically at midnight and at 8 p.m. just looks… on. Like nobody's home but the lights forgot.
Timers and smart controls are the easiest upgrade in all of outdoor lighting. A simple photocell timer — the kind that turns lights on at dusk and off at a set time — costs $15 to $30 and pays for itself in a couple of months on a typical LED setup. I run my accent and landscape lighting from dusk until about 11 p.m., then everything except one small porch light and the motion-activated security light shuts down. The house still looks welcoming when guests arrive in the evening, and it sleeps when I do.
Motion sensors deserve their own mention here. A 2,000-lumen floodlight that snaps on when someone approaches the driveway is a genuine security feature. The same floodlight burning all night is a neighborhood nuisance that washes out your other lighting and annoys everyone on the block. Put the big guns on motion sensors, put the pretty stuff on timers, and let darkness have the late shift. Your electric bill — and your neighbors — will thank you.
Mistake 8: Using Indoor-Rated Fixtures Outside
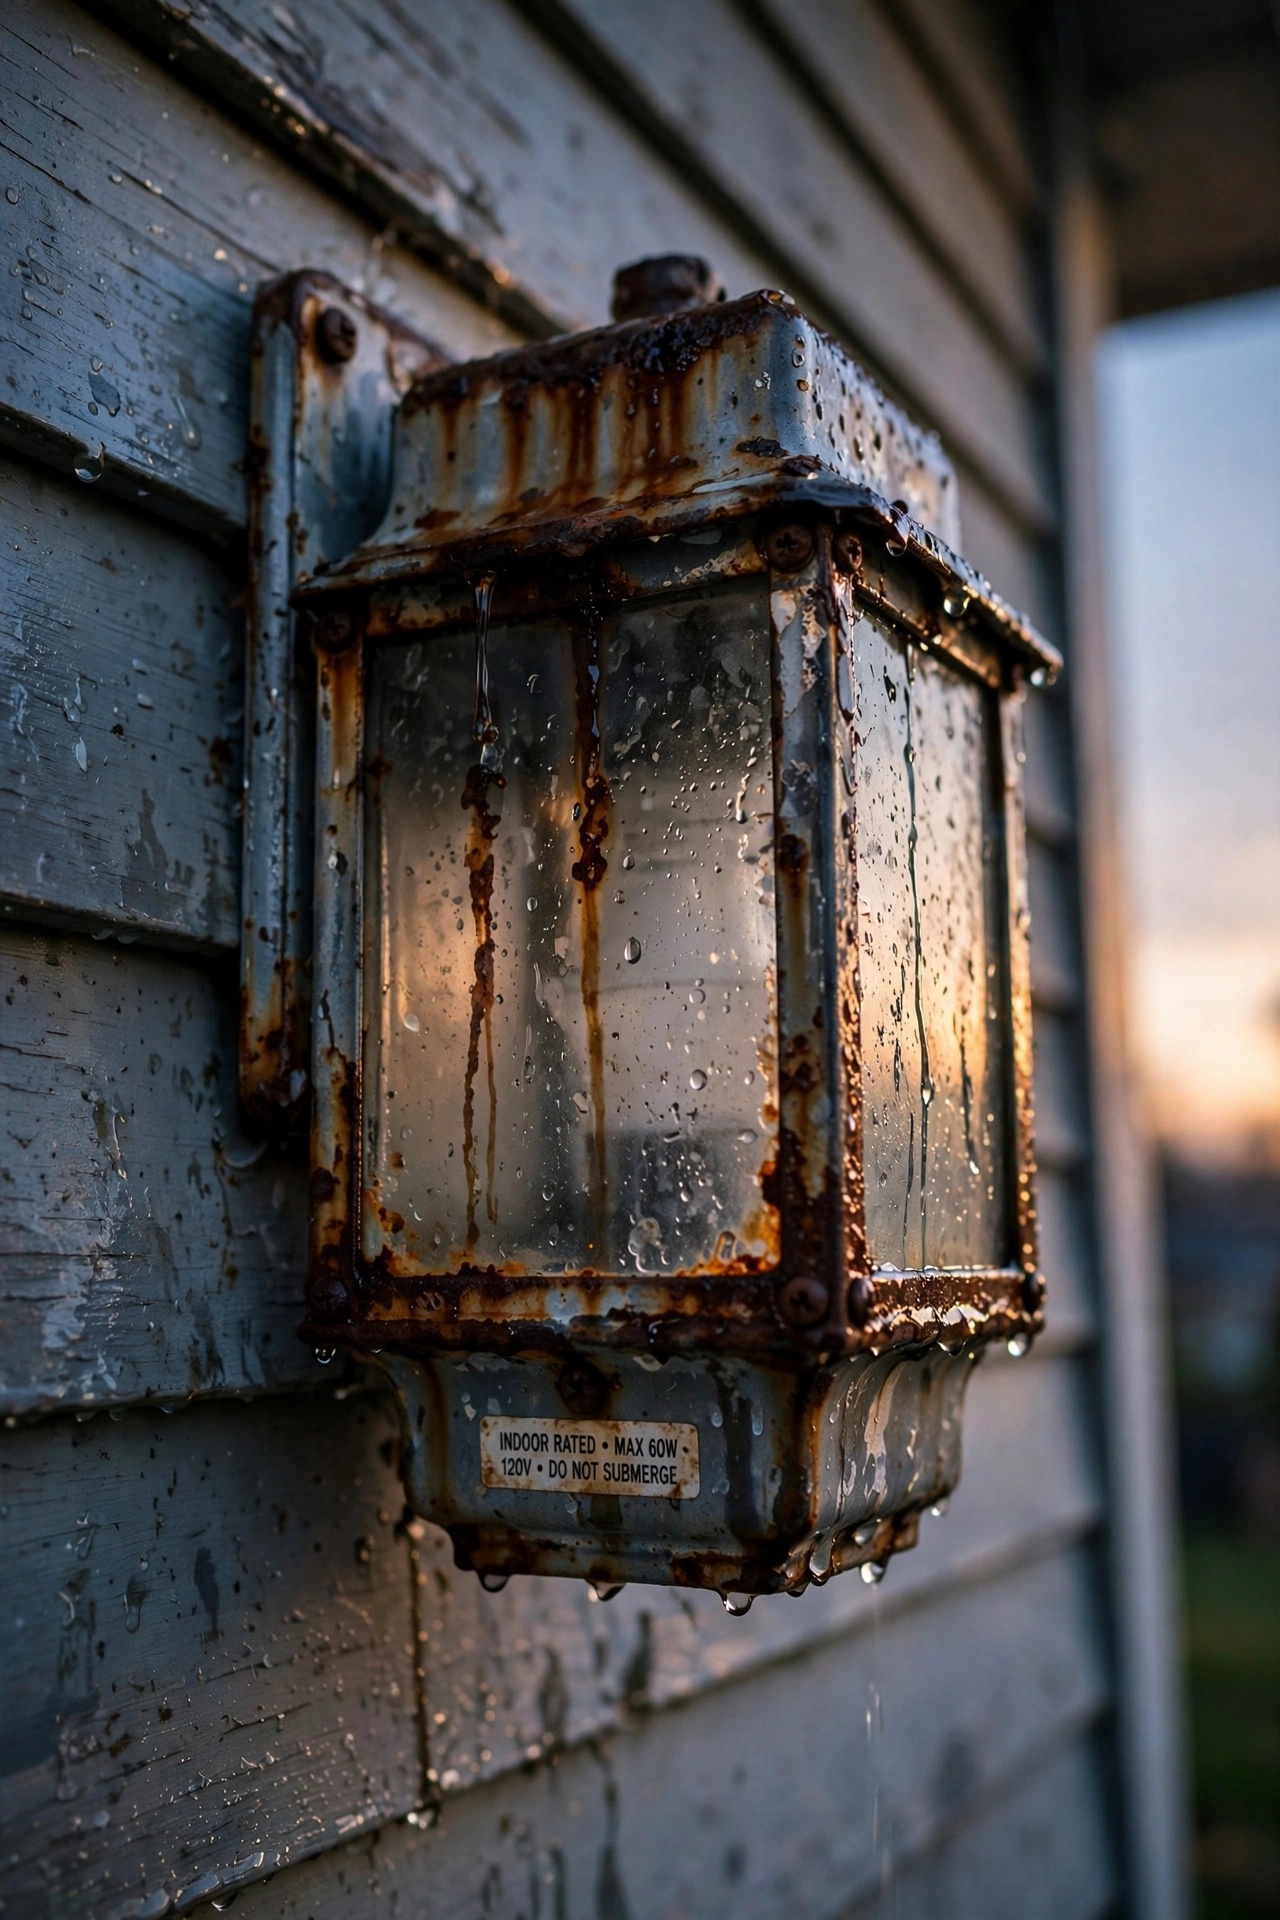
This one hides until it doesn't. An indoor sconce mounted on the porch, a cute table lamp dragged out to the patio for summer, string lights rated for the Christmas tree wrapped around the pergola — they all work fine for a while. Then the first real rainstorm hits, the socket corrodes, the GFCI starts tripping, and you're buying a replacement plus possibly calling an electrician.
Outdoor fixtures carry ratings for a reason. Look for "wet rated" or "damp rated" on anything going outside — wet rated for fixtures fully exposed to rain, damp rated for covered porches and eaves. For landscape lighting buried in mulch beds, you want sealed, watertight housings. The rating is usually stamped right on the fixture or printed on the box; if you can't find one, assume it's indoor-only.
Corrosion is the slow killer here. A $25 indoor-rated fixture might survive one season, but a properly rated outdoor fixture lasts 10 to 15 years. When I'm shopping, I check the gasket seals, look for powder-coated or marine-grade finishes, and give the fixture a little shake — anything that rattles or feels flimsy goes back on the shelf. Spending $60 once on a fixture that survives a decade beats spending $25 three times on fixtures that don't, and you'll never have to explain to an electrician why your porch light is full of rust.
Mistake 9: Leaving the Front Door in the Dark
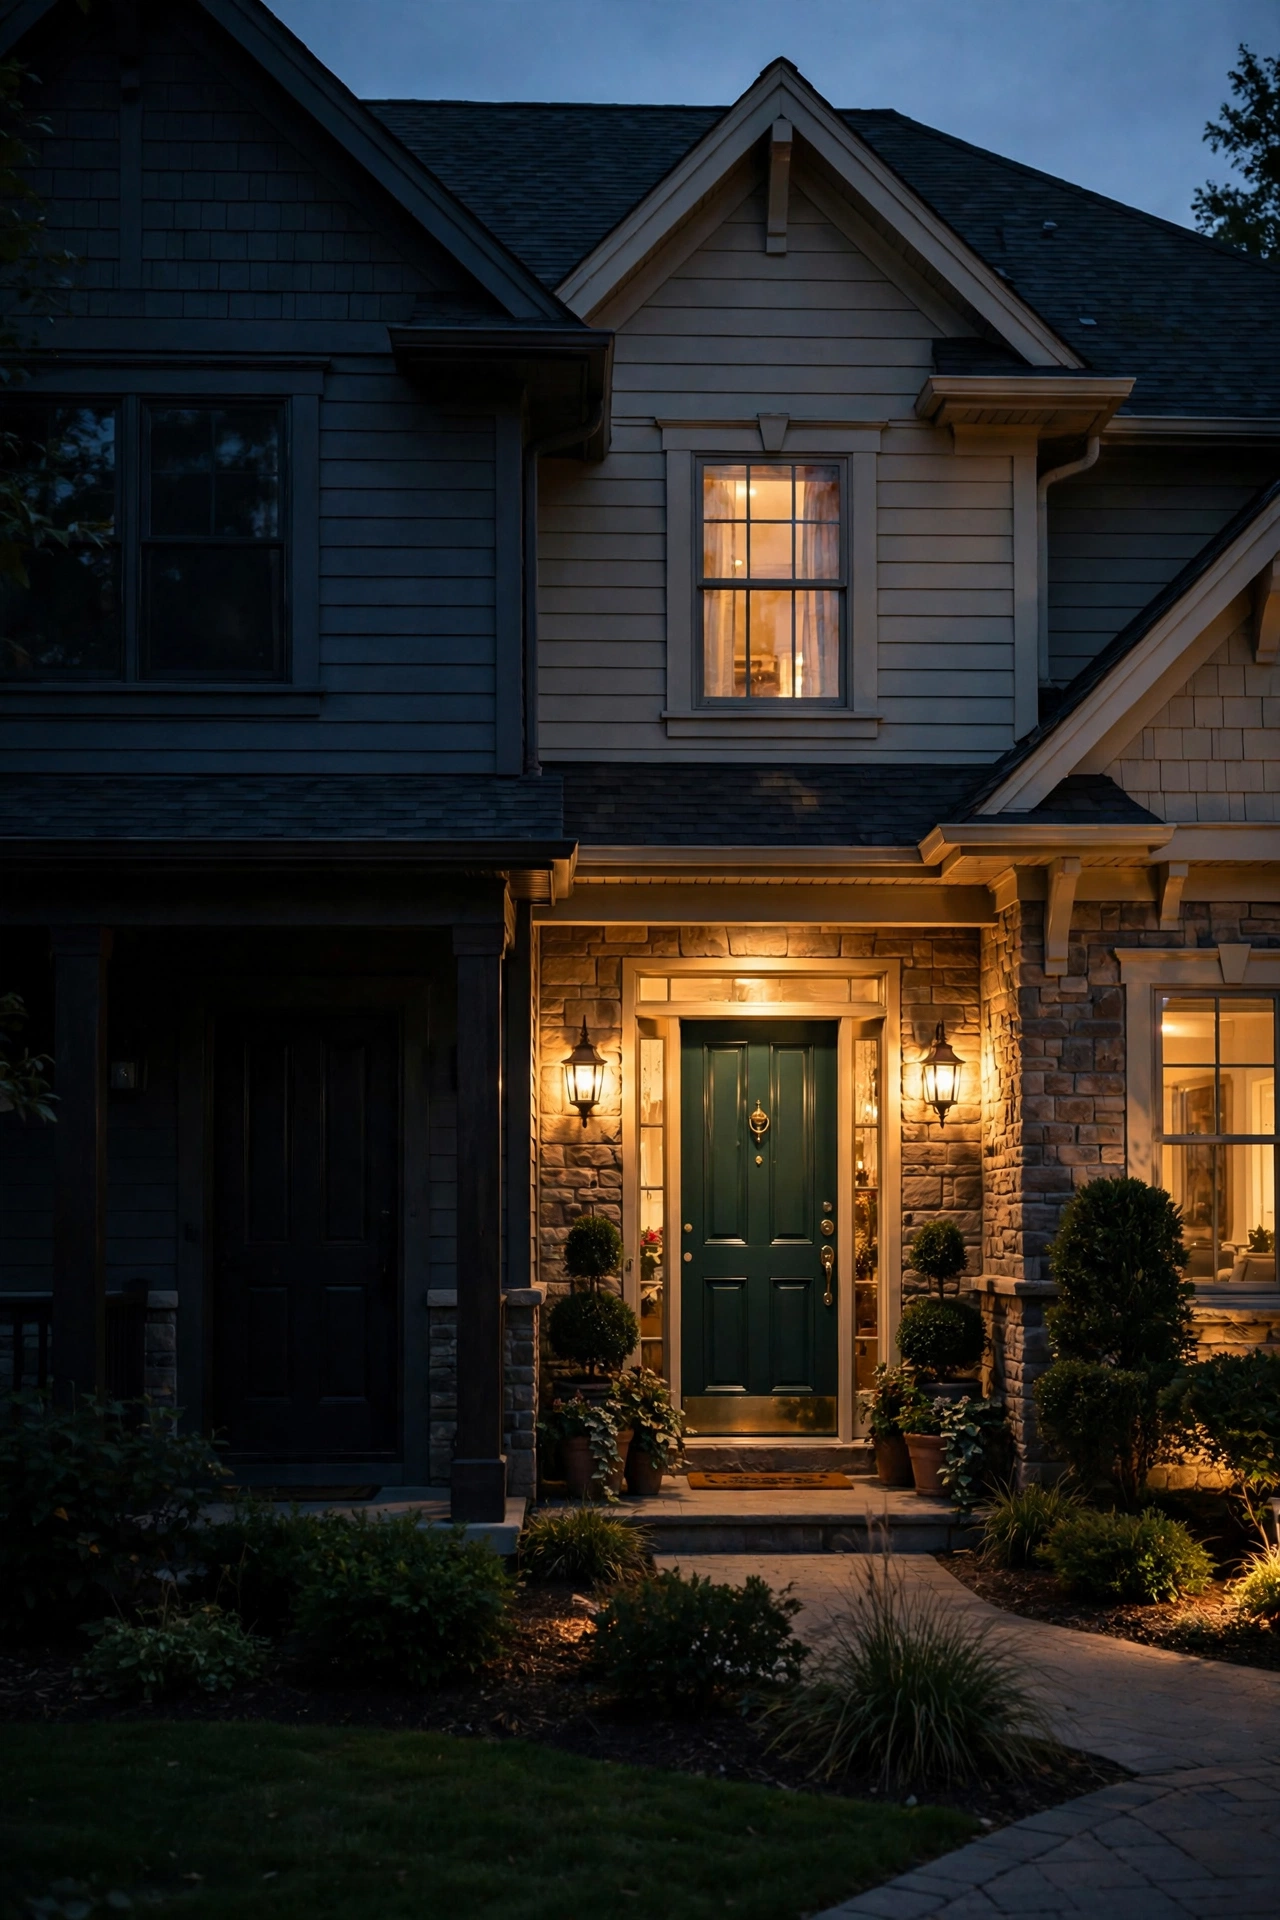
After all that talk of over-lighting, here's the flip side: the front door is the one spot that should never be under-lit, and it so often is. I can't tell you how many beautiful homes I've visited where the facade glows but the actual entry — the door, the handle, the house numbers, the steps — sits in shadow. Your front door is the focal point of your entire curb appeal. If a guest can't clearly see it from the street, the whole composition falls apart.
The classic fix is a pair of sconces flanking the door, mounted at about 66 inches off the ground — roughly eye level — so they wash the door evenly without casting harsh shadows on visitors' faces. No room for a pair? One generously sized lantern-style fixture centered above the door works beautifully, mounted high enough that the light spreads down across the entry. Either way, aim for 400 to 800 lumens of warm light here. This should be the brightest, warmest-feeling spot on the front of your house — welcoming, never glaring.
Don't forget the supporting cast. House numbers should be readable from the street at night, and a small dedicated wash light or a set of backlit numbers solves this for under $30. The doorbell, the lock, and at least the top step need to be clearly visible too. I always do the "pizza delivery test": stand at the curb after dark and ask whether a total stranger could find your door, read your numbers, and see the step up. If the answer is no, your entry lighting needs attention before anything else in the yard does.
Mistake 10: Forgetting to Light Steps, Slopes, and Trip Hazards
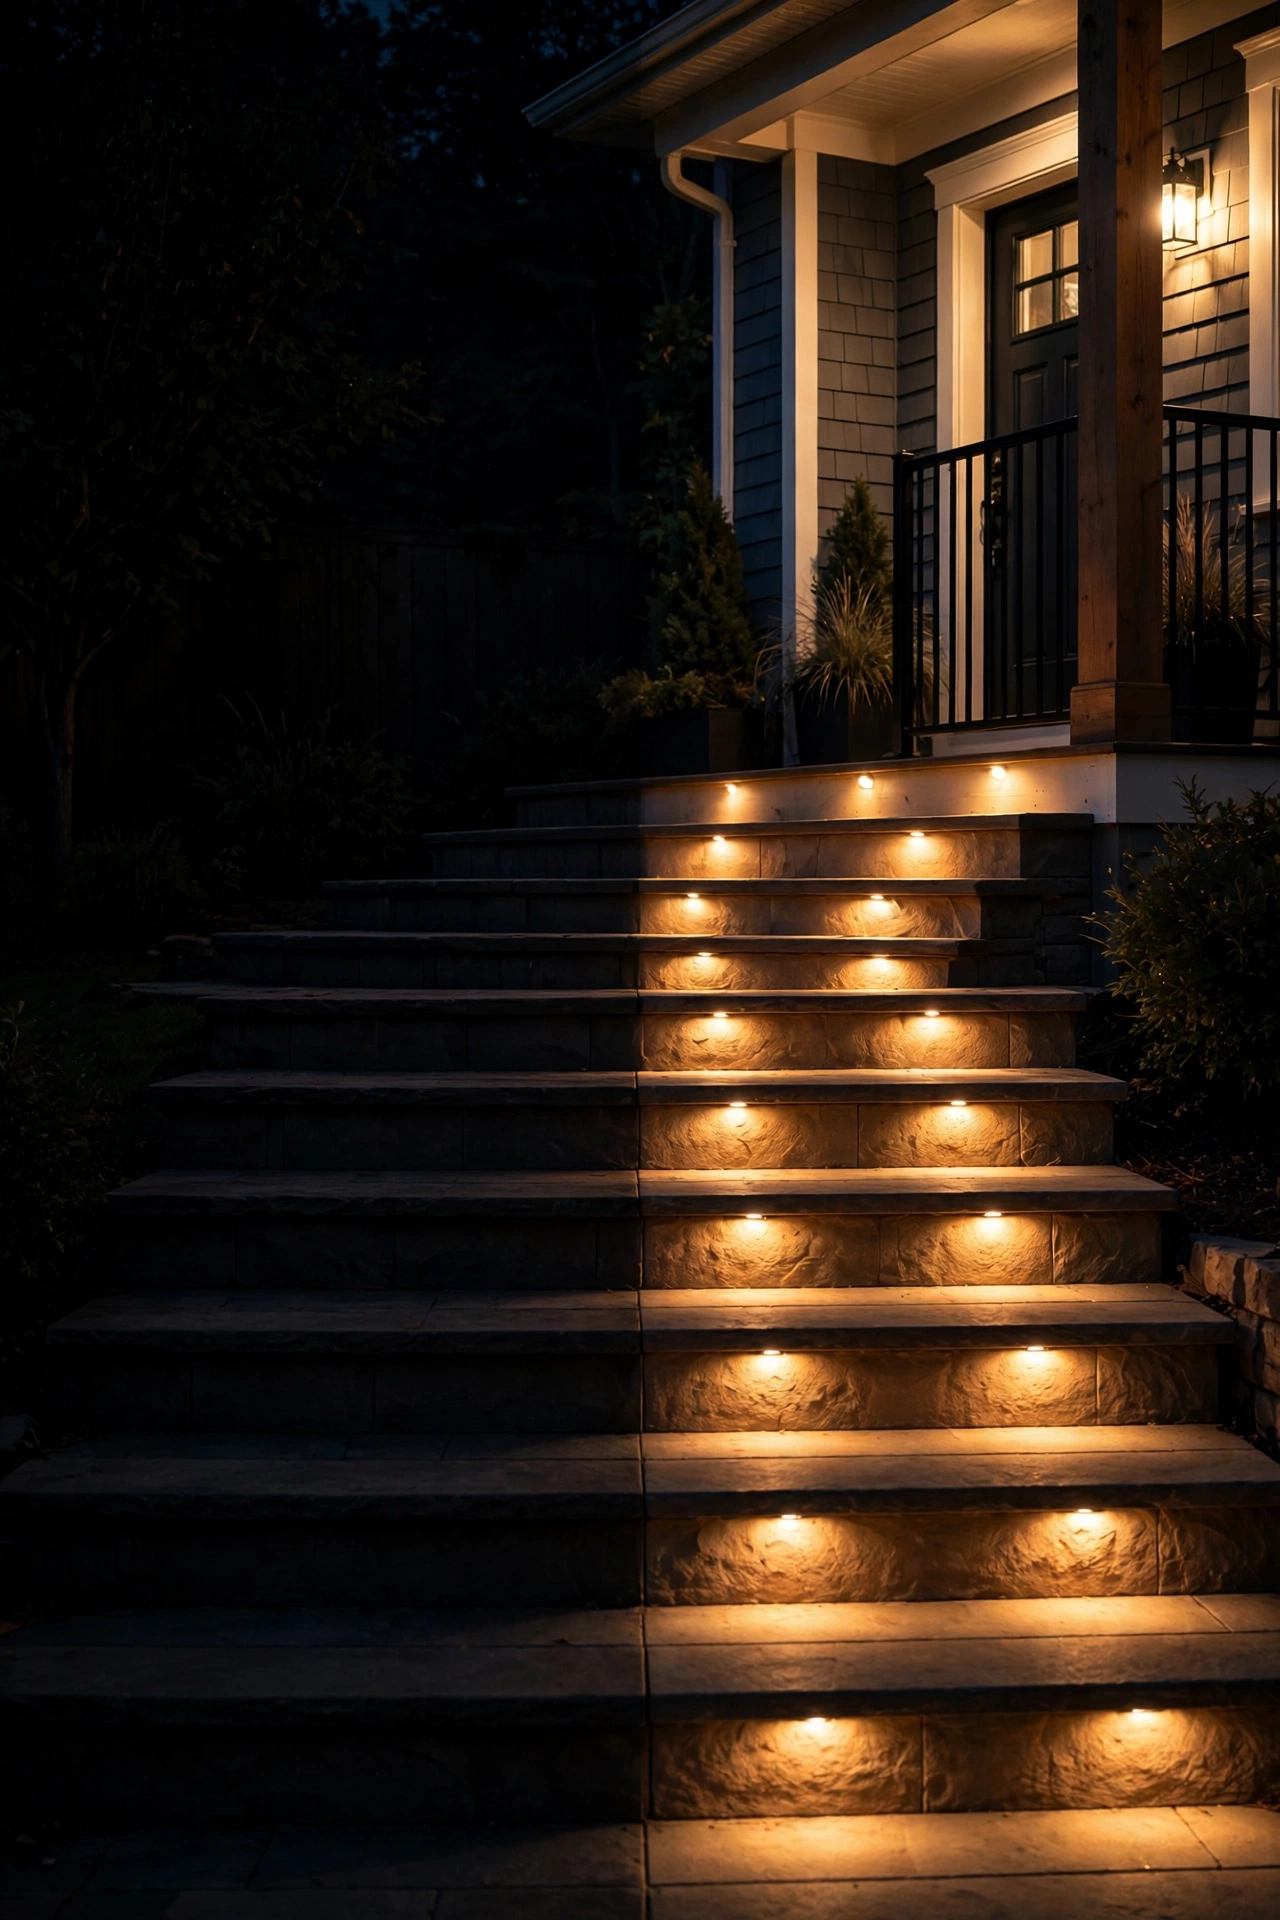
This is the mistake with real consequences. A gorgeous yard means nothing if your mother-in-law can't see the second step on the way up to your porch. Every change in elevation — porch steps, deck stairs, the curb-to-walkway transition, a sloped side path — needs deliberate light on the tread surface itself, not just the general glow spilling over from nearby fixtures.
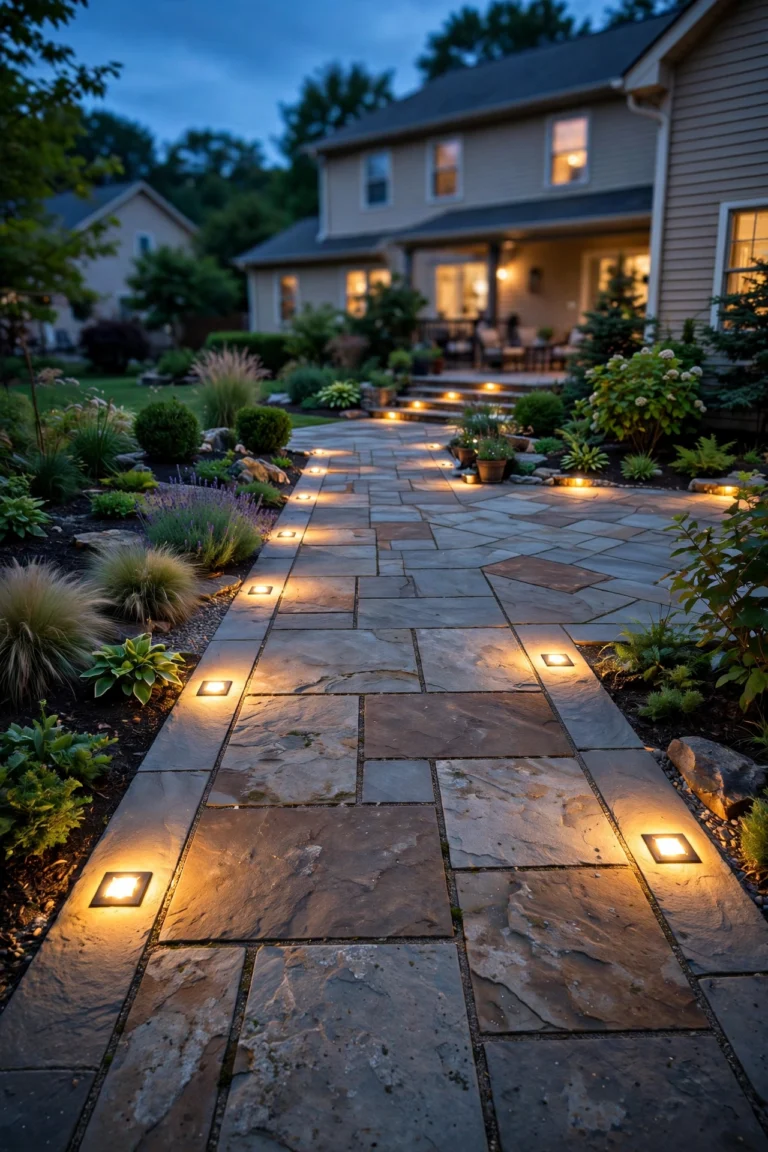
Step lights are the elegant answer. Small recessed or surface-mounted fixtures set into the riser, or tucked under the stair nosing, cast light directly onto each tread without throwing glare into anyone's eyes. For a typical set of four porch steps, two to four small step lights at 100 to 150 lumens each do the job, running $20 to $40 per fixture. They read as a design feature, not a safety afterthought — a staircase with glowing treads looks downright luxurious at night.
For paths and walkways, low bollard or stake lights placed to wash across the walking surface — not just decorate its edges — prevent the "bright dots, dark gaps" problem from Mistake 5. And here's a trick I use every fall: walk your property with a critical eye after the clocks change, when it gets dark an hour earlier and you suddenly notice all the hazards you'd been ignoring all summer. Five minutes with a notepad saves a twisted ankle. Safety lighting isn't the glamorous part of curb appeal, but it's the part your insurance company — and your guests — care about most. low bollard or stake lights placed to wash across the walking surface — not just decorate its edges — prevent the "bright dots, dark gaps" problem from Mistake 5. And here's a trick I use every fall: walk your property with a critical eye after the clocks change, when it gets dark an hour earlier and you suddenly notice all the hazards you'd been ignoring all summer. Five minutes with a notepad saves a twisted ankle. Safety lighting isn't the glamorous part of curb appeal, but it's the part your insurance company — and your guests — care about most.
Mistake 11: Installing It and Never Touching It Again
Outdoor lighting is not a crockpot — you can't set it and forget it. I learned this the embarrassing way when I realized one of my uplights had been slowly sinking into the mulch for two years, eventually aiming straight up into the sky like a tiny searchlight. Plants grow, fixtures shift, bulbs dim, timers drift with the seasons. A lighting design that's perfect in May can look tired and wrong by October.
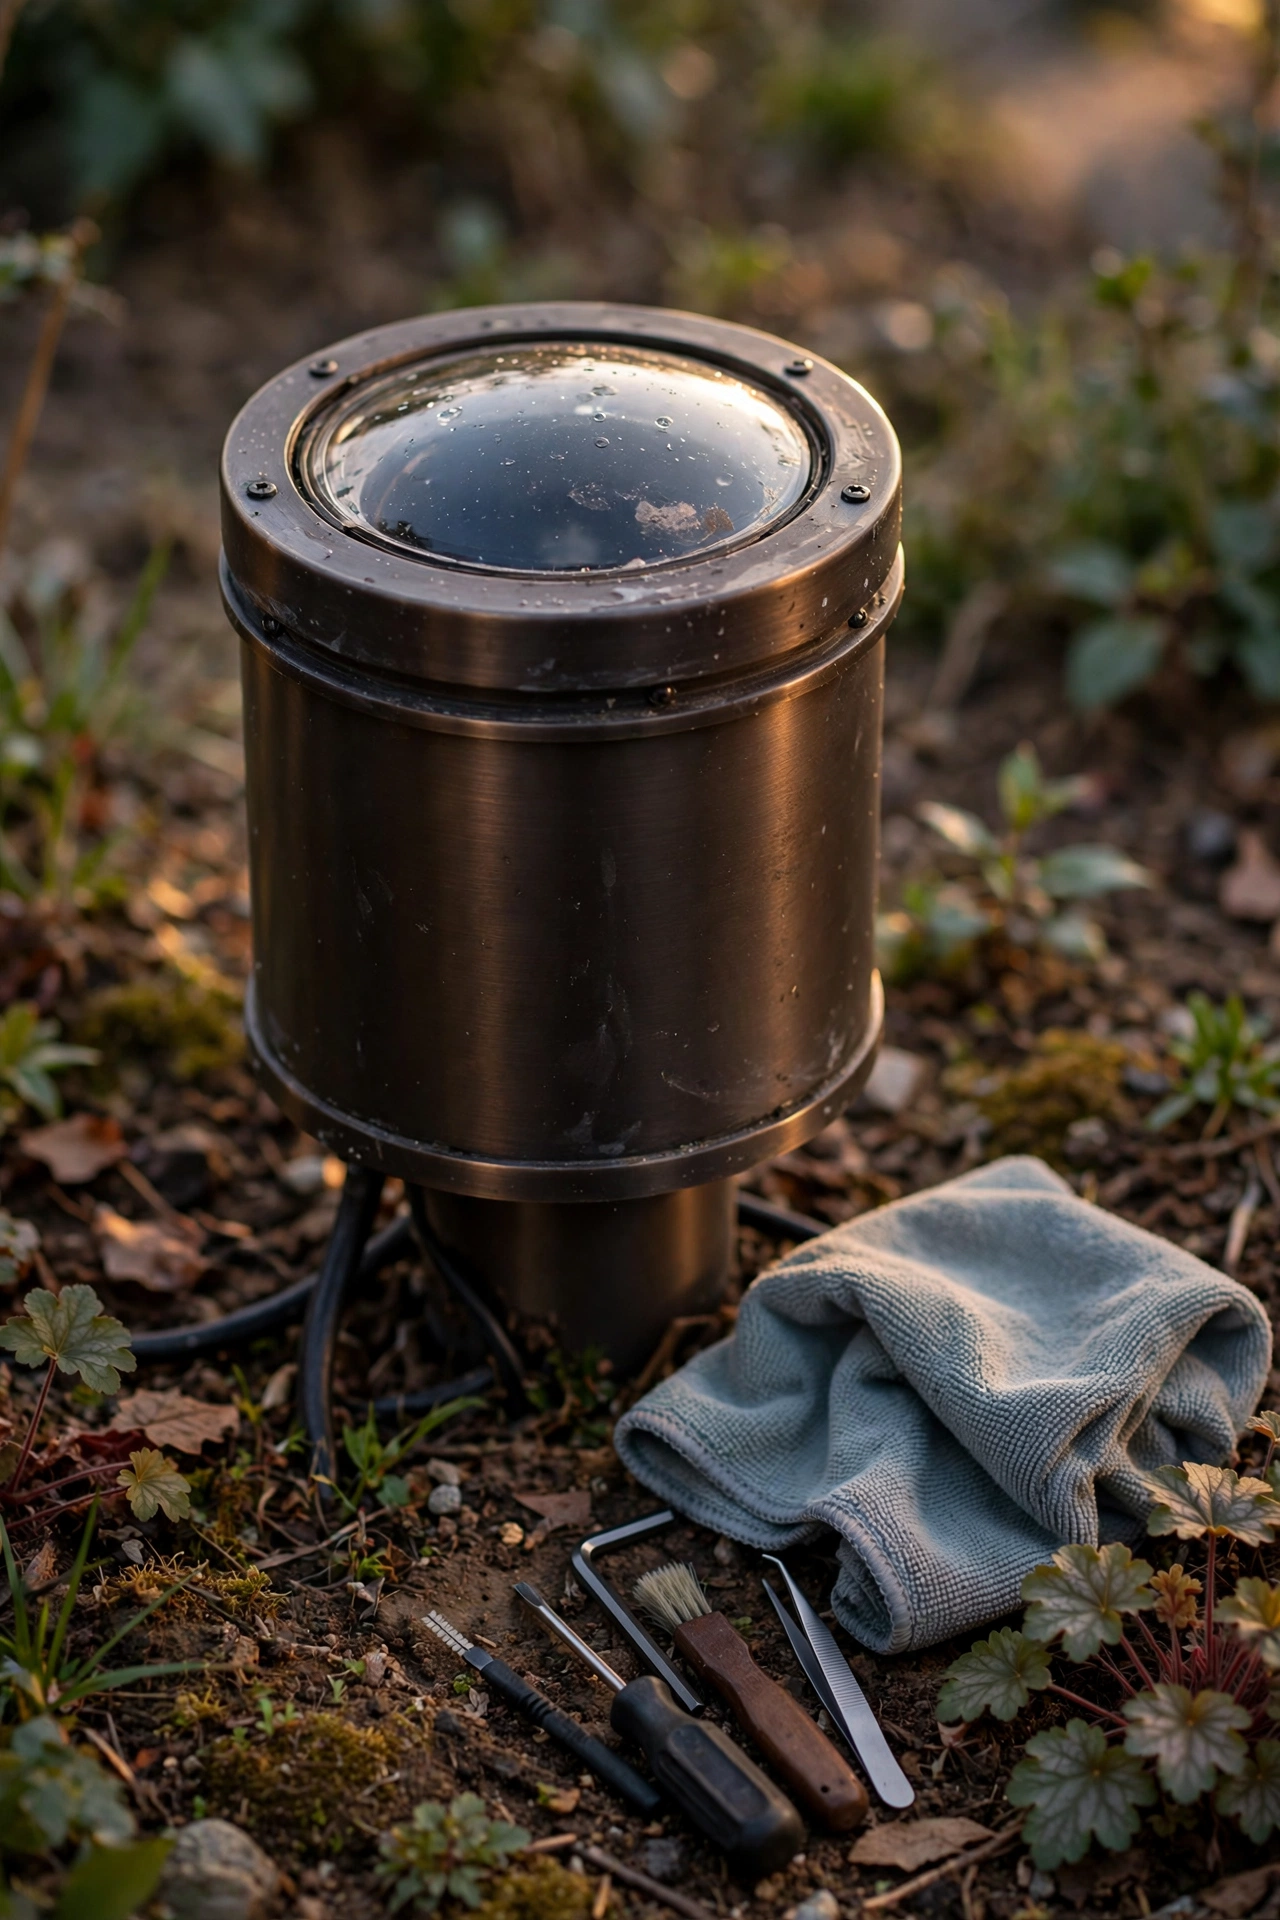
Put a 20-minute lighting walk on your calendar twice a year — once in spring, once in fall. Check every fixture: is it still aimed where you put it? Has mulch or foliage buried it? Are all the bulbs actually working? (Dead bulbs in a row of path lights are incredibly noticeable from the street.) Wipe the lenses — a season of dust and pollen can cut light output dramatically. Trim back any plant that's grown into a beam.
Seasonal timer adjustments matter too. If your lights click on at 8 p.m. year-round, they're useless in December when it's been dark since 5. A photocell that triggers at dusk handles this automatically, which is another reason I recommend them over fixed-time timers. And every couple of years, step back to the curb and re-evaluate the whole composition with fresh eyes. Tastes change, landscapes mature, and the lighting should grow up with the house. The best outdoor lighting always looks intentional — and intention requires the occasional tune-up.
Fixing These Outdoor Lighting Mistakes to Avoid: What It Costs in 2026
Here's the part I love: almost everything in this guide is cheap to fix. Most of these mistakes cost more in frustration than in dollars. Low-voltage landscape lighting is genuinely DIY-friendly — it's 12 volts, not 120, so there's no shock hazard comparable to household wiring — and the majority of fixes below are bulb swaps, re-aims, and timer installs you can do on a Saturday morning.
| Mistake | Typical DIY fix cost | If you hire a pro | Time |
|---|---|---|---|
| Bulbs too bright | $8–$20 (LED bulb multipack) | $75–$150 service call | 15 minutes |
| No layering / single fixture | $60–$200 (2–4 new fixtures) | $300–$800 installed | Half day |
| Glare and bad aiming | $0–$20 (glare guards) | Included in a tune-up | 30 minutes |
| Mixed color temperatures | $15–$40 (matching bulbs) | $75–$150 service call | 20 minutes |
| Path lights too close | $0 (remove every other one) | $150–$300 to re-space | 1 hour |
| Uplight hot spots | $0 (reposition fixtures) | Included in a tune-up | 30 minutes |
| No timers / all-night burning | $15–$30 (photocell timer) | $100–$200 installed | 20 minutes |
| Indoor-rated fixtures outdoors | $40–$80 per fixture | $150–$300 per fixture installed | 1 hour each |
| Dark front door | $30–$120 (sconce or lantern) | $200–$500 installed | 1–2 hours |
| Unlit steps and hazards | $20–$40 per step light | $150–$400 for a staircase | Half day |
| Never maintaining the system | $0–$15 (cleaning supplies) | $150–$300 seasonal tune-up | 20 minutes twice a year |
Call an electrician for anything involving 120-volt line wiring — new circuits, hardwired sconces where no box exists, or anything that trips breakers. But low-voltage landscape lighting, bulb swaps, timers, and fixture repositioning are all firmly in DIY territory. When in doubt, the rule is simple: if it plugs into an outdoor outlet or runs off a low-voltage transformer, you can handle it; if it needs to be wired into your home's electrical panel, call a pro.
Frequently Asked Questions
How much does it cost to fix bad outdoor lighting?
Most fixes cost under $50. Bulb swaps, re-aiming fixtures, and adding a photocell timer are the three highest-impact corrections, and together they run $30 to $60 in materials. Adding missing pieces — a pair of door sconces, a few step lights, or two or three uplights — typically lands between $150 and $400 DIY. A full professional landscape lighting tune-up, where a lighting designer re-aims everything and replaces failing components, usually runs $300 to $800 depending on the size of the system.
Can I fix outdoor lighting mistakes myself, or do I need an electrician?
You can handle most of it yourself. Anything on the low-voltage side — landscape lighting running off a transformer, bulb replacements, timers, motion sensors that plug in, and repositioning fixtures — is safe DIY work at 12 volts. Call a licensed electrician for 120-volt work: running new circuits, installing hardwired fixtures where no electrical box exists, or troubleshooting breakers that keep tripping. When in doubt, check the voltage before you touch the wiring.
What color temperature is best for outdoor lighting?
Stick with 2700K to 3000K — warm white — for your entire property. It flatters brick, wood, siding, and foliage, and it reads as welcoming rather than institutional. Use the exact same Kelvin rating on every fixture; mixing temperatures is one of the most common curb-appeal killers. The only common exception is a very modern home with lots of glass and steel, where 3500K can work — but even then, keep it consistent everywhere.
How do I stop my outdoor lights from glaring into my neighbor's windows?
Aim every fixture downward and away from property lines, and shield the bulb so it's never directly visible from the street or neighboring windows. Snap-on glare guards cost $5 to $10 per fixture and solve most spill problems. Keep uplights tilted at the landscape feature, not the sky, and put high-output floodlights on motion sensors so they only fire when needed. If a neighbor mentions it, take it seriously — many municipalities have light-trespass ordinances, and being a good neighbor is free curb appeal.
How long do outdoor LED bulbs and fixtures last?
Quality LED bulbs last 25,000 to 50,000 hours — at 5 hours a night, that's 13 to 25 years of evening use, though real-world outdoor conditions usually mean replacing them every 8 to 12 years as output gradually dims. Well-made outdoor fixtures last 10 to 15 years; cheap indoor-rated fixtures used outside can fail in a single season. The lenses need wiping once or twice a year, since dust and pollen noticeably cut light output long before the bulb itself dies.
Conclusion: Walk Your Yard Tonight
The outdoor lighting mistakes to avoid all share one trait: they're easy to miss from inside the house and obvious from the street. So the real fix comes down to one habit more than any other: looking at your home the way a stranger sees it. Tonight, after dark, walk to the curb and really look. Are any bulbs glaring straight at you? Is the front door the brightest, warmest, most welcoming thing you see — or is it hiding in shadow while the garage door steals the show? Do the colors match? Do the path lights guide you, or do they look like a runway?
Fix the free stuff first — the aiming, the spacing, the timer settings. Then spend the small money on matching warm bulbs and a photocell timer. Save the bigger projects, like layering in accent lights or properly lighting the steps, for a weekend when you can enjoy the process. In my experience, most homes need about $100 and one focused Saturday to go from "something looks off" to genuinely stunning after dark.
If you're ready to plan the whole front yard properly instead of just fixing mistakes, my spring front yard lighting guide walks through a complete layered design from the door outward — it's the perfect next step once you've cleaned up the errors. Your home works hard all day; it deserves to look beautiful all night too.