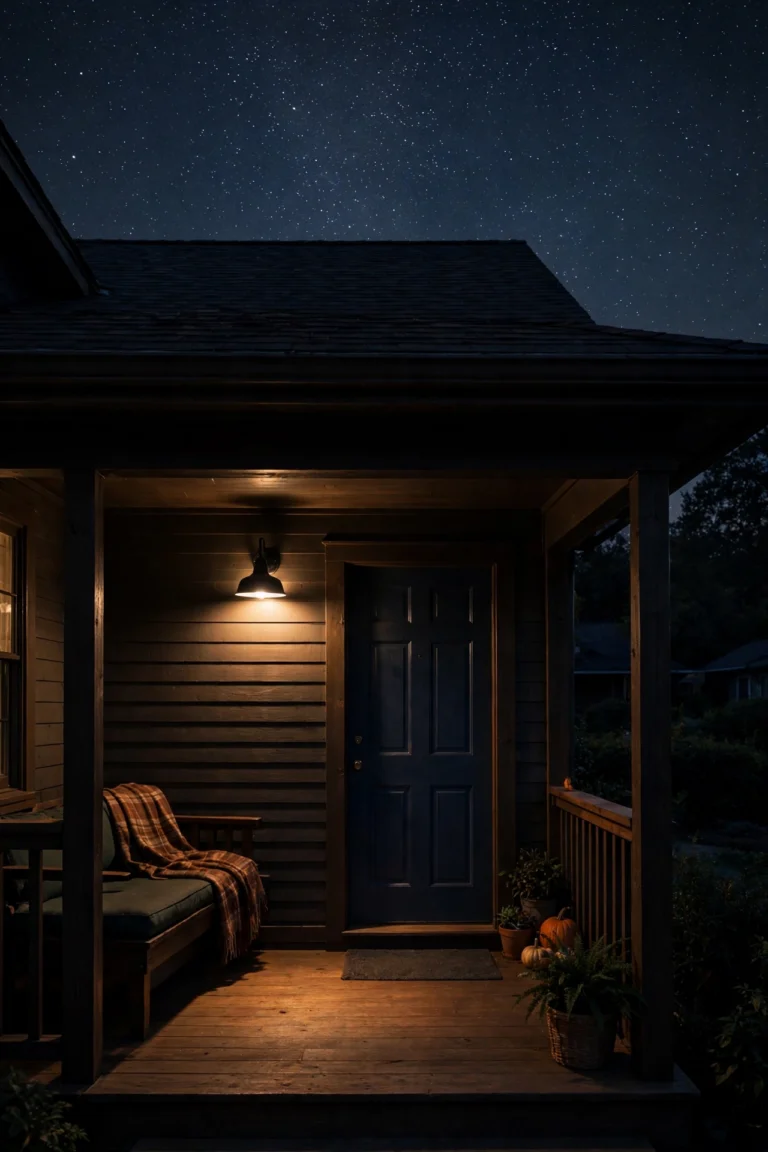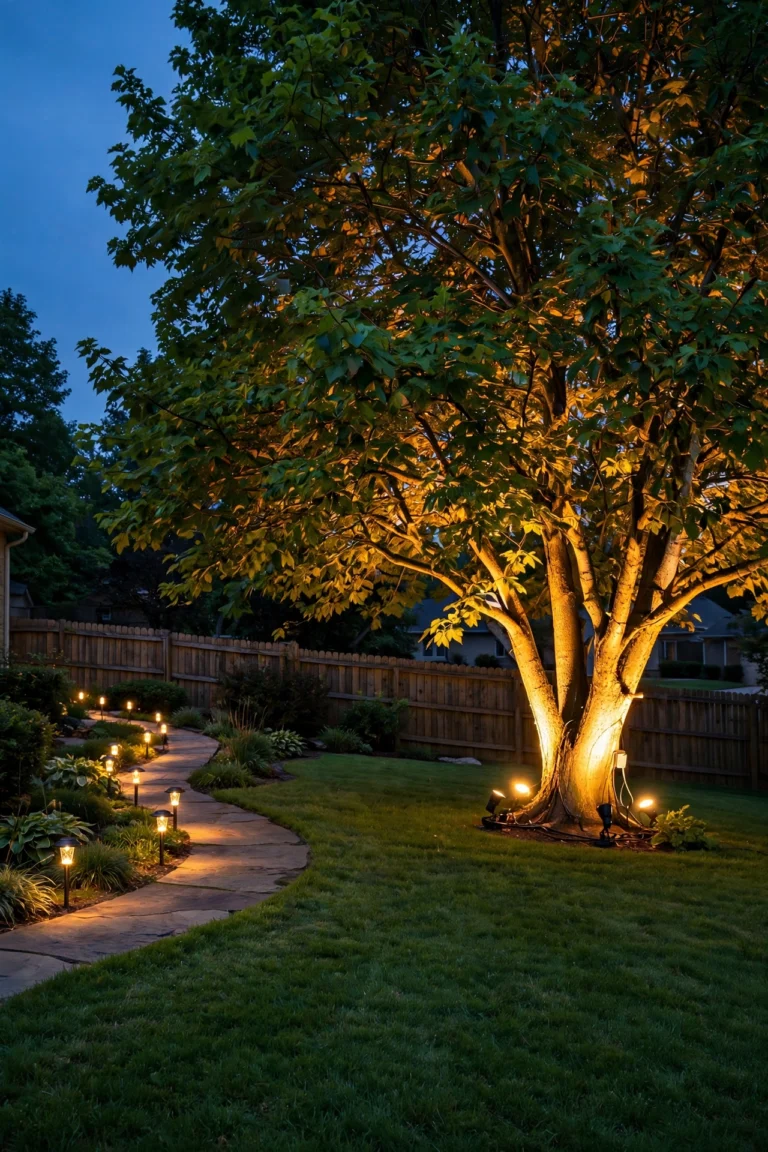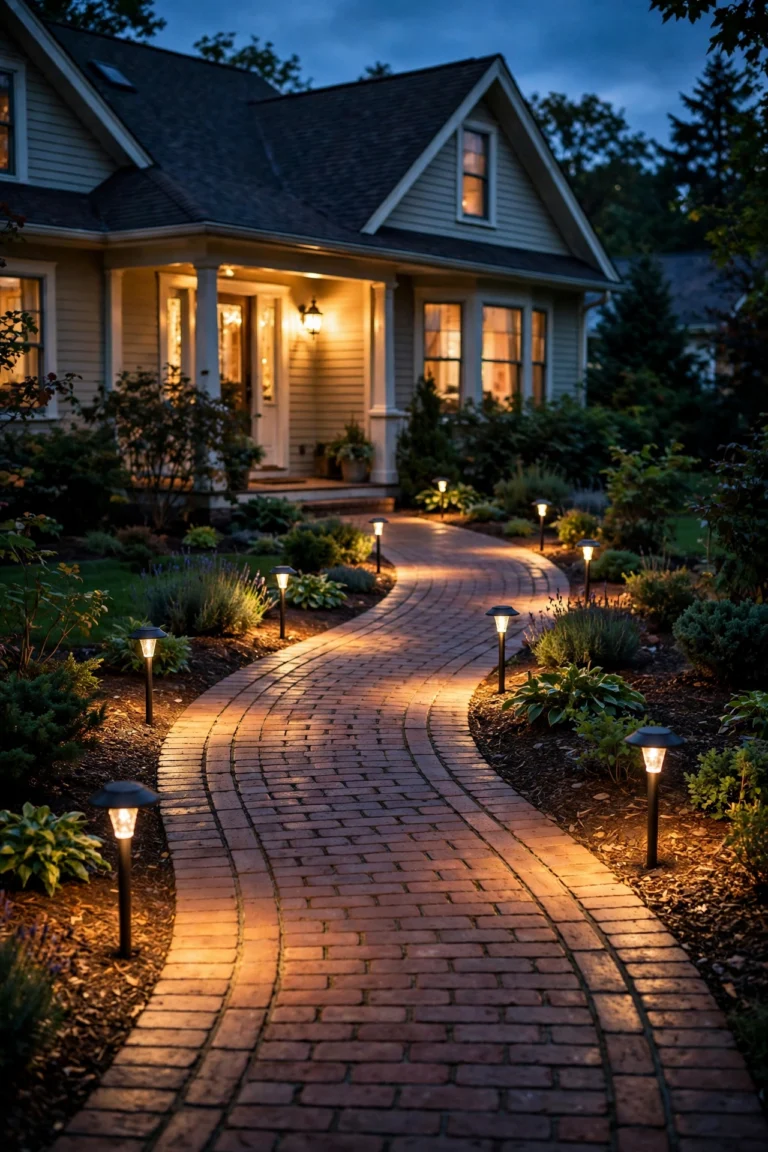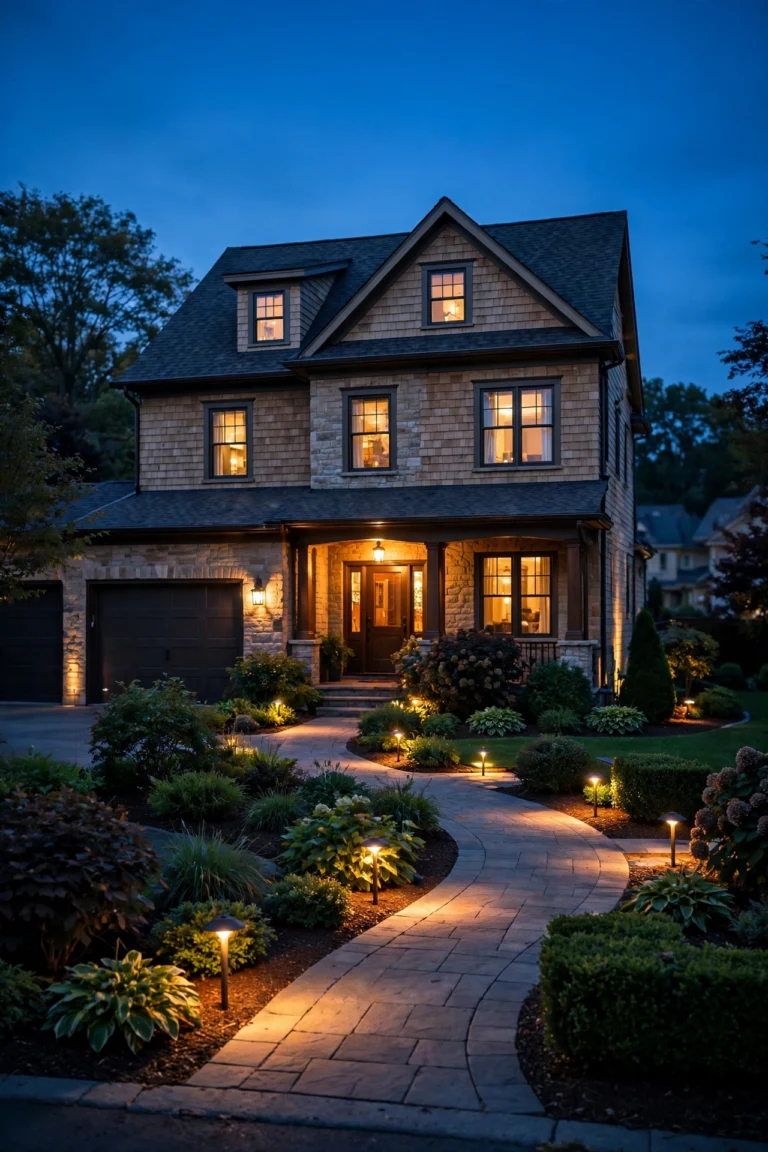
There is something about a backyard strung with fairy lights that stops people mid-conversation. I have watched guests pause at my gate, just for a second, when the lights come on at dusk — and honestly? That one moment is why I keep adding more strands every year. These little outdoor fairy lights ideas are the fastest, cheapest way I know to turn an ordinary yard into a place that feels genuinely enchanted.
My philosophy is layering. One strand of lights is decoration; three layers of light — overhead, mid-height, and ground level — is atmosphere. In my experience, the yards that look truly magical aren't the ones with the most lights. They're the ones where lights sit at different heights, wrap different textures (bark, metal, glass, foliage), and mix warm white with candle-level warmth. A single glow washes out; layers create depth.
In this post I'm sharing my 21 favorite ways to use fairy lights outside, from draped patio canopies to twinkling garden-bed "fireflies." Every idea includes the practical details I wish someone had told me before I started: which strands to buy, how far apart to space them, how to hang them safely, and how to keep them running without tripping over extension cords. Let's make your yard glow.
1. Drape a Patio Canopy — One of the Best Outdoor Fairy Lights Ideas for Dining Alfresco
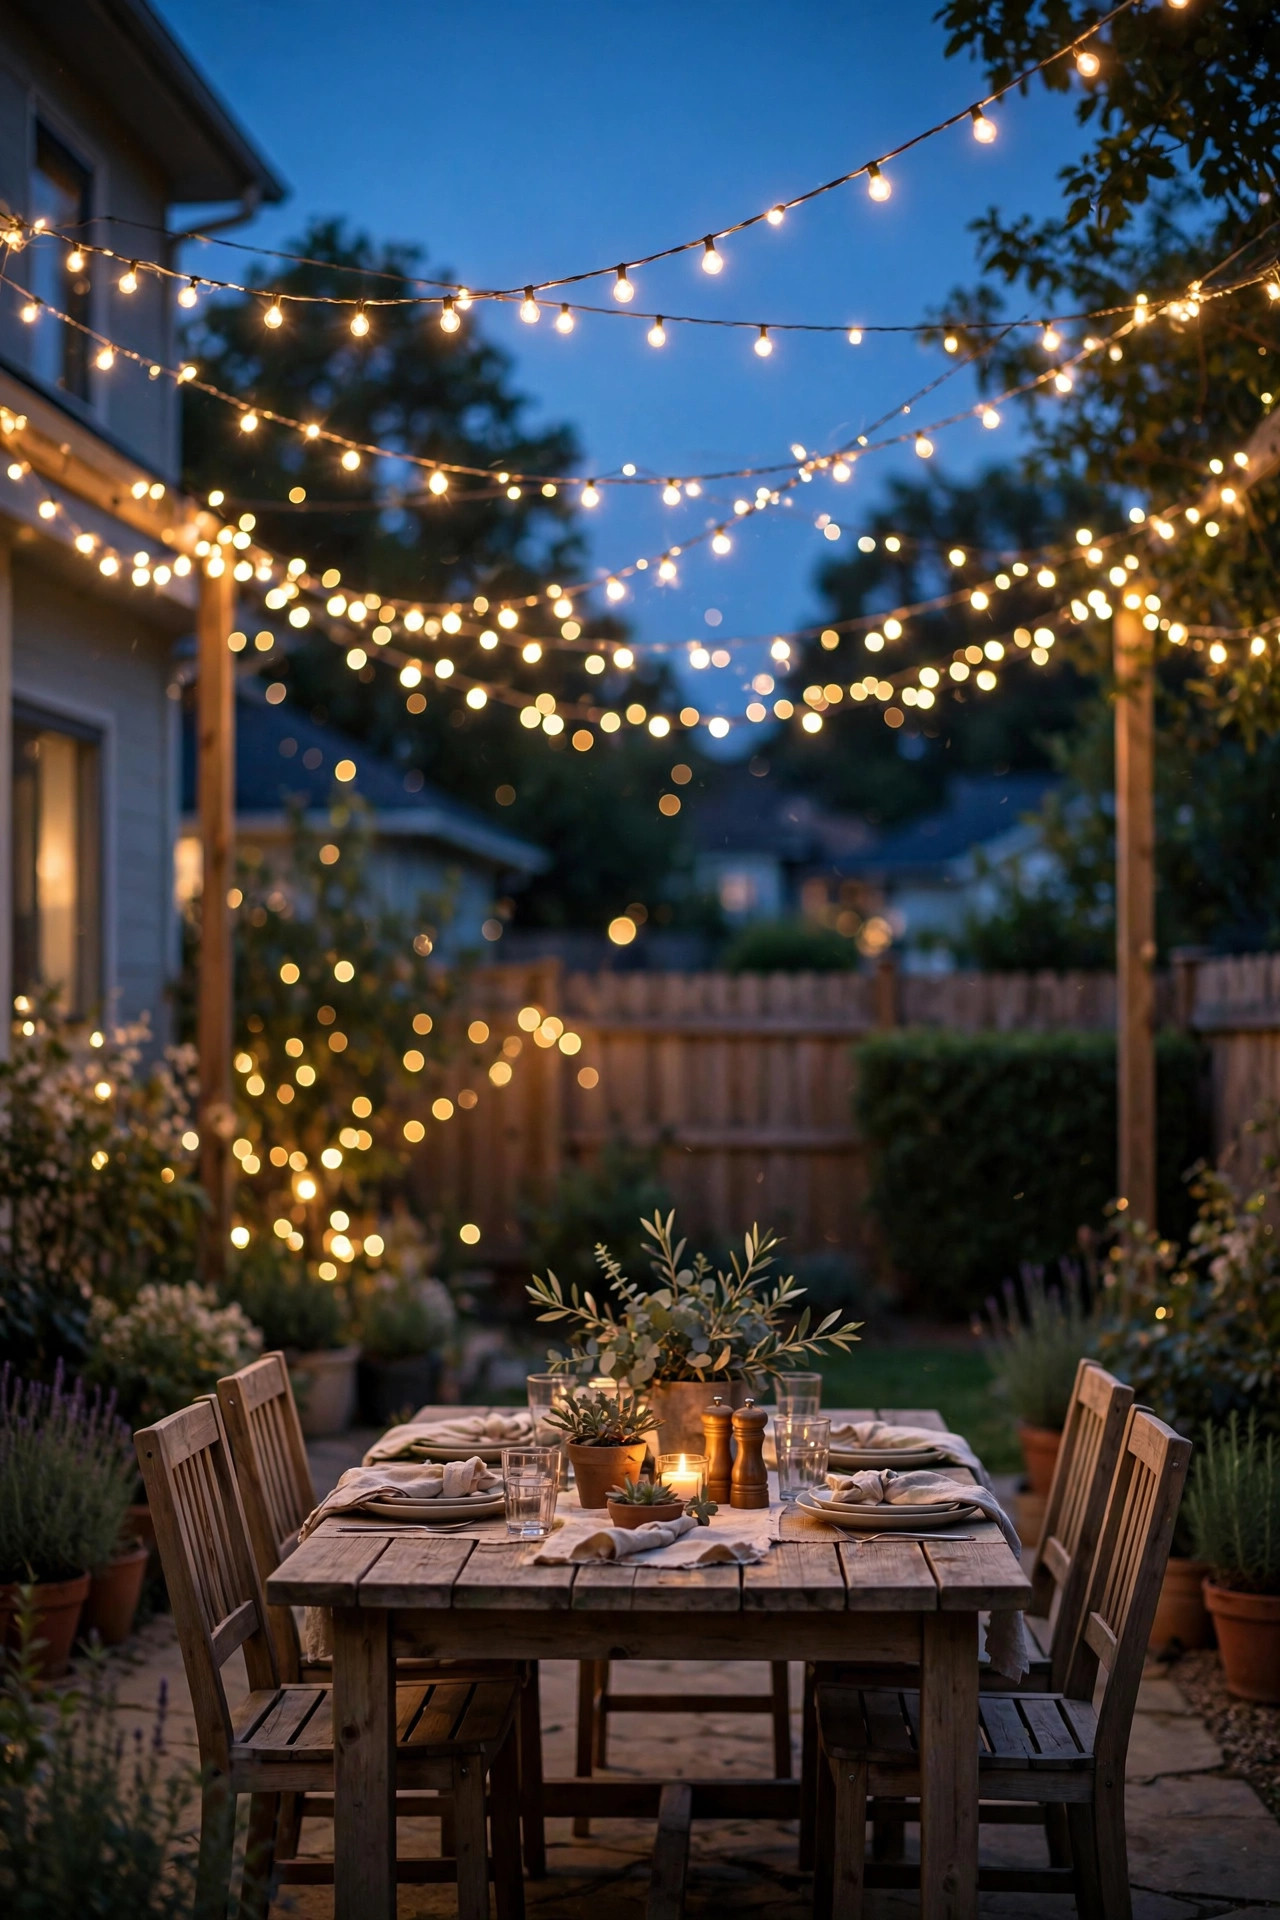
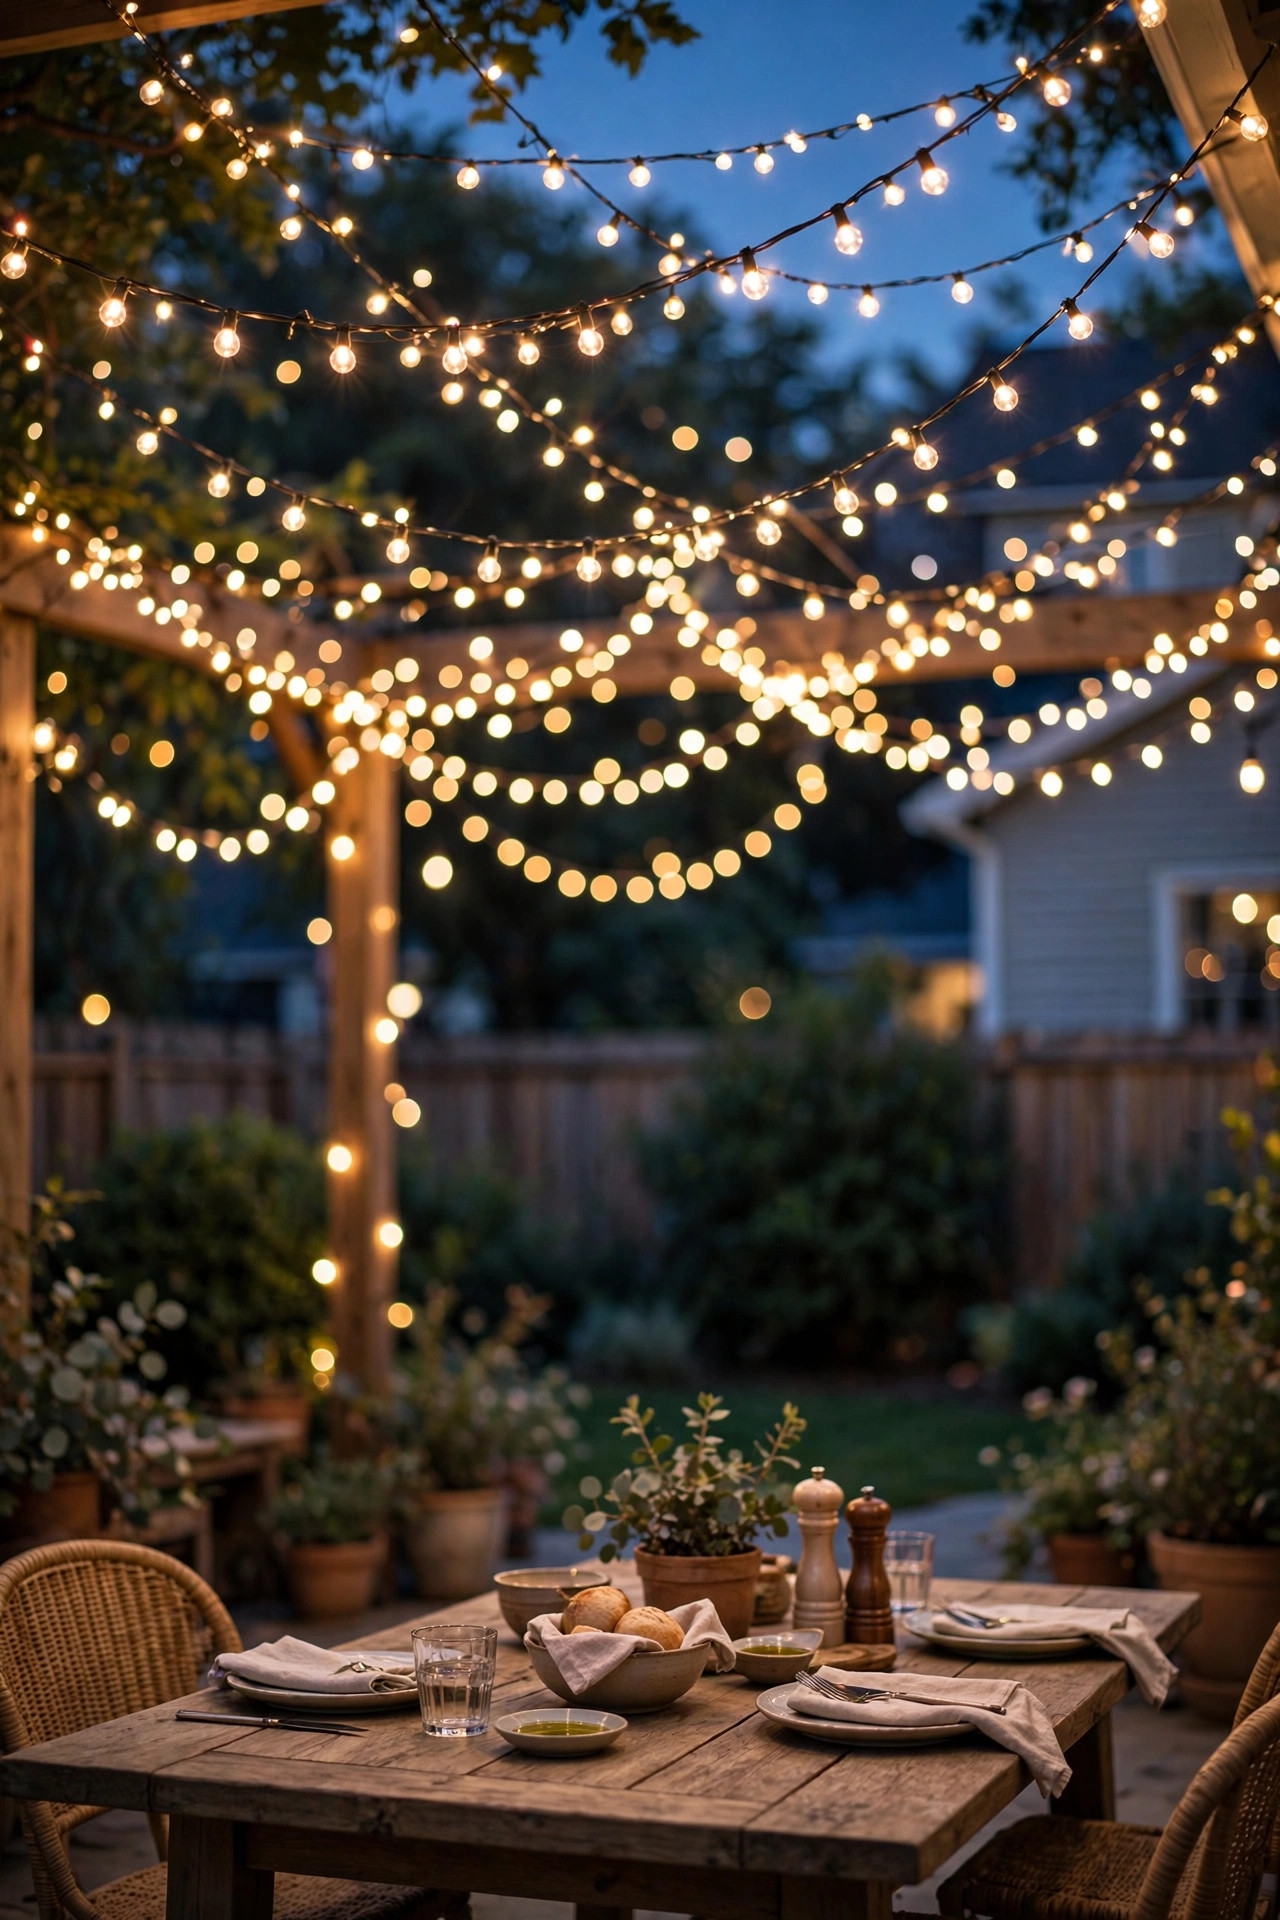
If you only do one project from this list, make it this one. An overhead canopy of fairy lights turns a plain patio table into the kind of spot where dinner stretches past midnight. In my experience, guests linger about an hour longer under a light canopy — it's simply too pretty to leave.
Start by mapping your space. For a 12-by-14-foot patio, plan for 6 to 8 strands, each 30 to 50 feet long, run in parallel swags from the house eave (or a pergola beam) out to a free-standing post or fence. Anchor each strand with screw hooks or outdoor adhesive hooks, leaving about 12 to 18 inches of swoop per swag so wind can't snap the wire taut. Space strands 12 to 18 inches apart for a full, lush ceiling of light.
Use copper-wire fairy lights with warm white micro LEDs (2700–3000K) for this one — the thin wire practically disappears, and the bulbs won't scorch leaves or fabric in a gust. For a permanent setup, choose outdoor-rated strands with an IP44 rating or better and plug everything into a GFCI outlet with an outdoor-rated timer so the canopy fades on at dusk automatically.
Safety note: never hang fairy lights directly over an open flame, and keep the strands at least 3 feet above any patio heater.
Suggested budget range: $60 – $120.
2. Wrap a Tree Trunk and Lower Branches
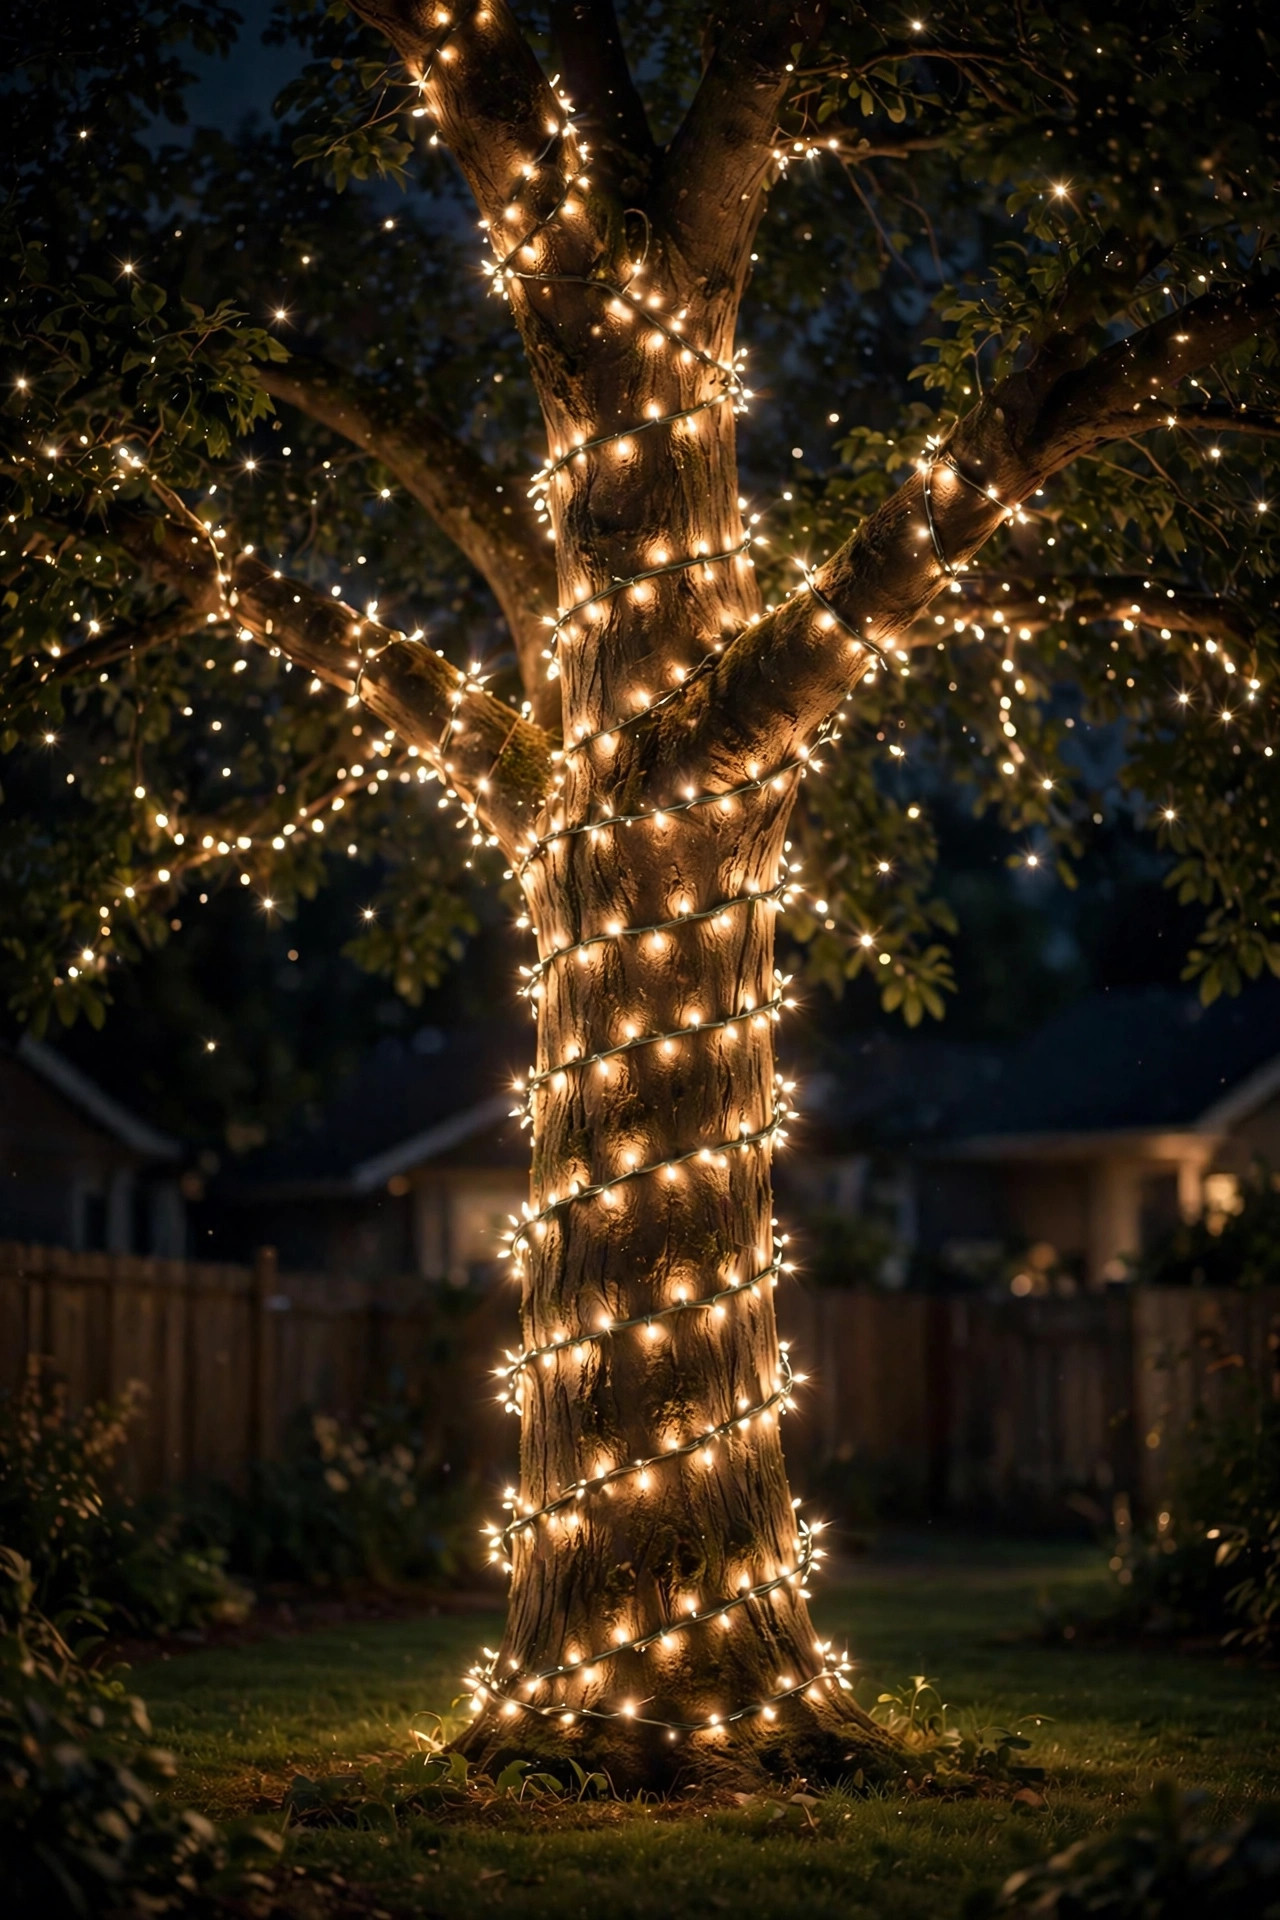
A bare tree is a missed opportunity. Wrapping fairy lights around a trunk and lower branches is one of the simplest outdoor fairy lights ideas, and it makes a tree look like it belongs in a storybook — all for the price of a pizza night.
Choose a tree with a trunk at least 8 inches thick; anything thinner and the lights overwhelm the tree. Measure the trunk circumference and the length of the branches you want to wrap, then buy 30 to 50 percent more strand length than you think you need — spiral wrapping eats up lights fast. Aim for roughly 100 lights per 2 feet of trunk height for an even twinkle.
Start at the base and spiral upward, holding each wrap with zip ties or garden wire every 18 inches so wind can't slide the lights down. Extend the wrap into the first 3 to 4 feet of the main branches, then cascade it down the outer twigs for a waterfall effect. Stick with warm white over cool white — cool white reads blue against brown bark and kills the magic.
Use outdoor-rated LED fairy lights only (LEDs run cool, so there's no fire risk against dry bark), and put the plug on a dusk-to-dawn sensor so you never have to think about it. One caution: check the tree after storms and avoid wrapping so tightly the wire pinches growing bark.
Suggested budget range: $25 – $50.
3. Fill Mason Jars with Fairy Light Clusters
Mason jar lanterns are my go-to for table centerpieces, porch steps, and anywhere I want light at hand height. They take ten minutes to make, they look incredible in groups, and they're completely portable — I rearrange mine constantly.
Take clean, dry quart-size mason jars and coil a 6-to-10-foot battery-operated copper-wire fairy light strand inside each one. Feed the battery pack into the bottom of the jar first, then loosely spiral the lights upward so they fill the whole jar rather than pooling at the base. A strip of double-sided foam tape on the inside of the lid holds the battery box neatly out of sight. Honestly? The frosted or "sea glass" style jars glow even prettier than clear ones, because the texture diffuses the light.
Cluster jars in odd numbers — threes and fives — on dining tables, steps, or along a low wall. For path edges, set jars 4 to 6 feet apart so each pool of light just touches the next. Solar-rechargeable fairy light strands exist for this too, with the tiny panel replacing the battery lid; they need 6 hours of direct sun to earn a full evening of glow, so I always recommend battery ones for shady spots.
Weatherproofing tip: bring jars inside during heavy rain — they're decorative glass, not storm gear. And use LED strands only; anything that heats up has no business inside a closed jar.
Suggested budget range: $15 – $35.

4. String Fairy Lights Along a Fence Line
A plain wooden fence becomes a glowing boundary wall with one evening of work. This is the fastest transformation on the list — perfect if you're hosting this weekend and your yard needs a personality upgrade.
Run your strands along the top rail of the fence, 2 to 3 inches below the cap so the wood itself catches the glow. Attach with weatherproof clips or staple-gun staples every 18 to 24 inches (never hammer nails through the wire — nicked insulation plus rain is a short circuit waiting to happen). For a 50-foot fence run, two 66-foot strands with lights spaced 4 inches apart give you lush coverage with slack for corners.
I always recommend the "double pass" trick: run one strand along the top rail and a second along the mid rail, offset so the lights stagger. From a distance it reads as a curtain of light rather than a single line. Space the bulbs 4 to 6 inches apart — closer spacing looks formal and dazzling, wider spacing looks relaxed and rustic.
For power, pick a strand with a plug every 66 feet and run one outdoor-rated extension cord along the base of the fence inside a cord cover so it isn't a trip hazard. Check that the strand is rated for outdoor use (look for IP44 or higher) and plug into a GFCI outlet. Timer on, timer off — you're done.
Suggested budget range: $30 – $60.
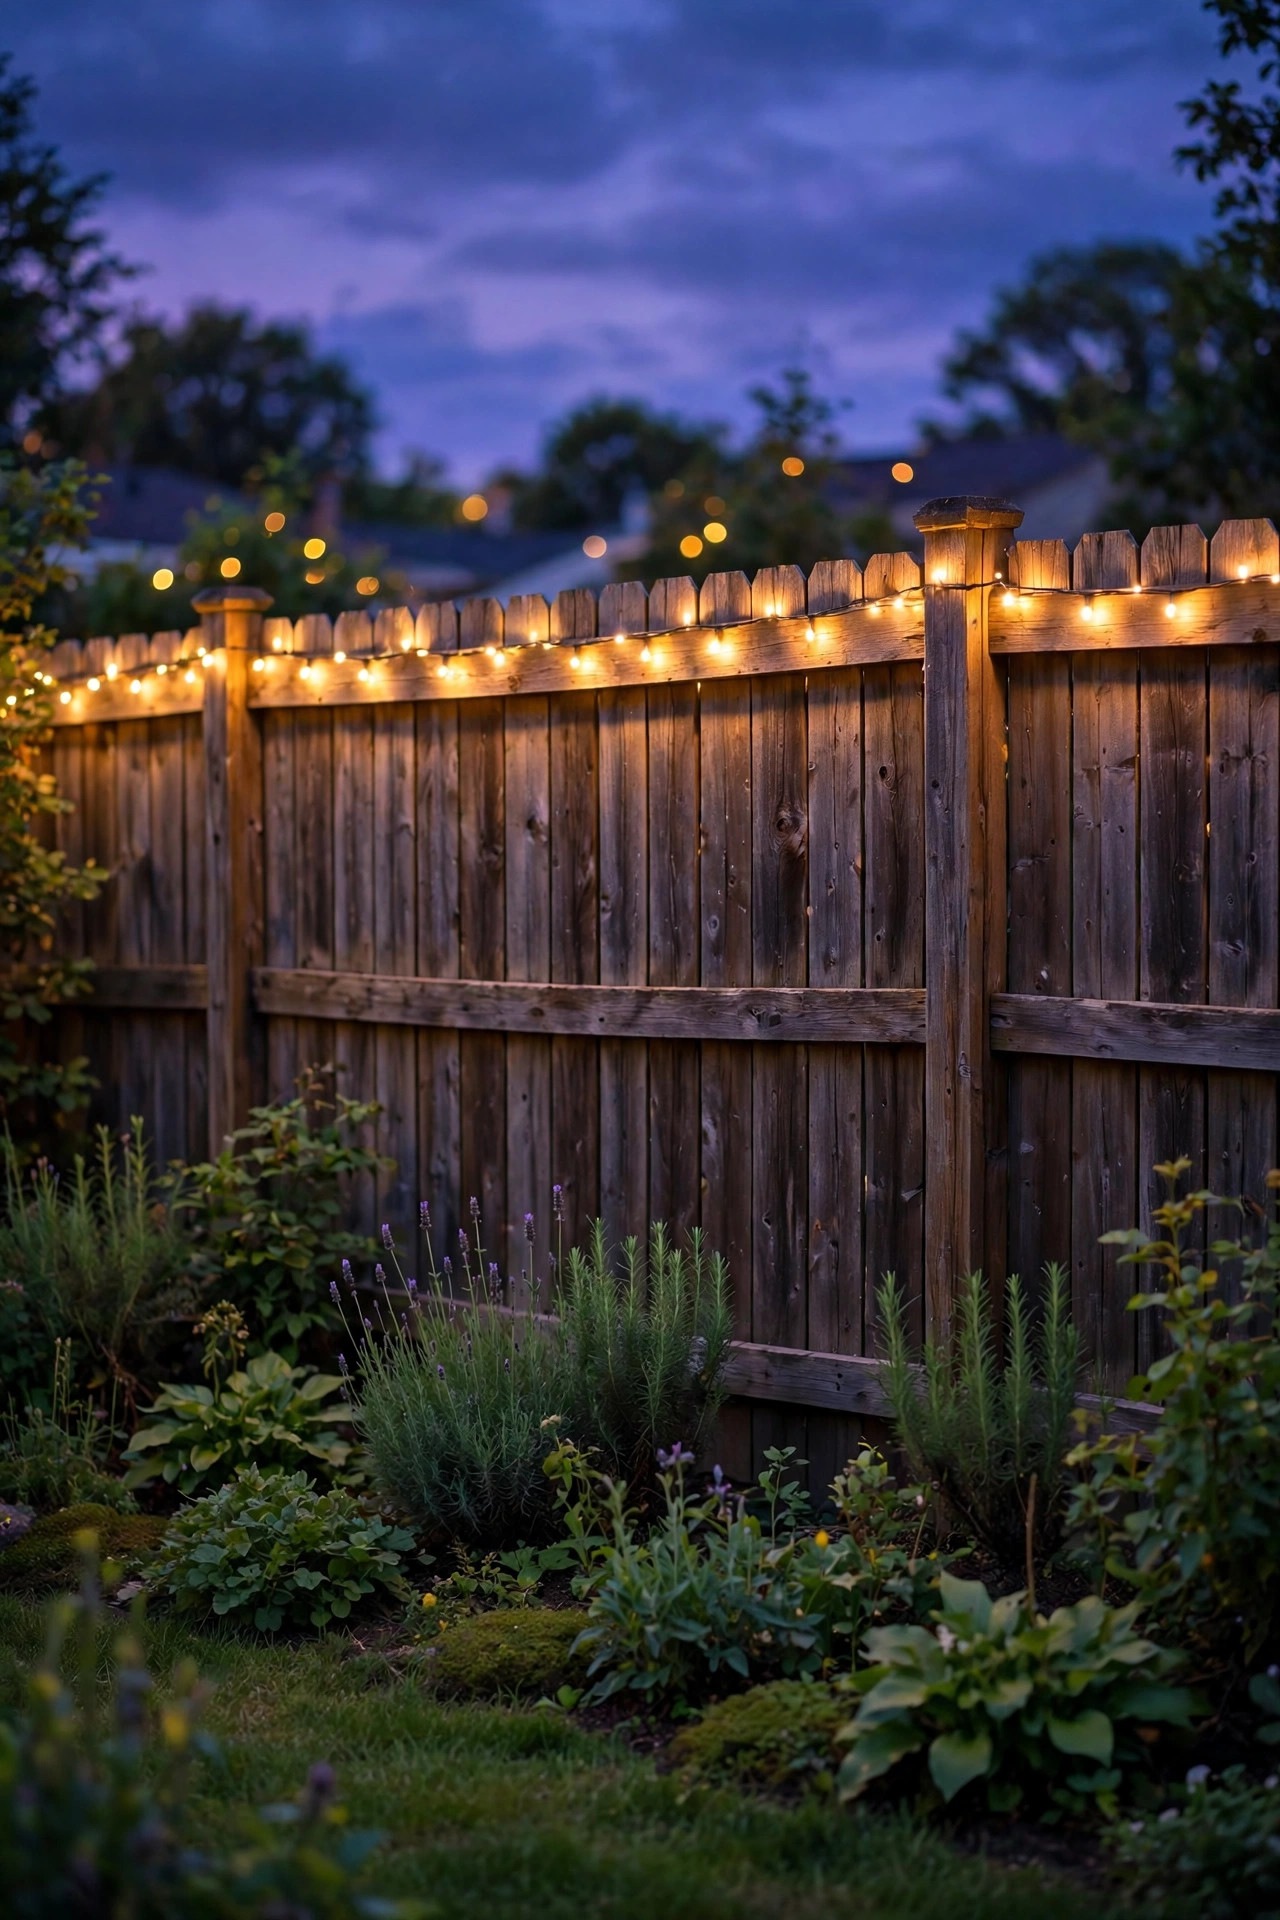
5. Criss-Cross a Pergola Roof with Fairy Lights
A pergola with bare rafters is practically begging for fairy lights. Criss-crossing strands across the open roof creates the woven-starlight look that high-end restaurants pay designers for — and you can do it in an afternoon with a ladder and a friend.
For a 10-by-12-foot pergola, plan on 8 to 10 strands of 40-foot lights run perpendicular to the rafters, spaced 12 to 15 inches apart. Secure each strand to the rafters with cup hooks every 24 inches — hooks beat clips here because they let the wire drape into a soft scalloped line, with 1 to 2 inches of give for wind sway.
Run the main layer in one direction, then add 2 to 3 diagonal crossing strands for the true "woven" effect — that second direction is what makes it look custom. Use 2700K warm white LEDs; wooden beams absorb cooler light and the whole thing goes flat and grey.
Power it with an outdoor-rated smart plug on the nearest post for scheduled on/off and dimming. Keep plugs and connections off the ground, sheltered under the post cap. Far from an outlet? Run low-voltage landscape wire from the house instead of chaining cords. For a bigger redo, pair this with other backyard lighting makeover ideas.
Suggested budget range: $70 – $140.
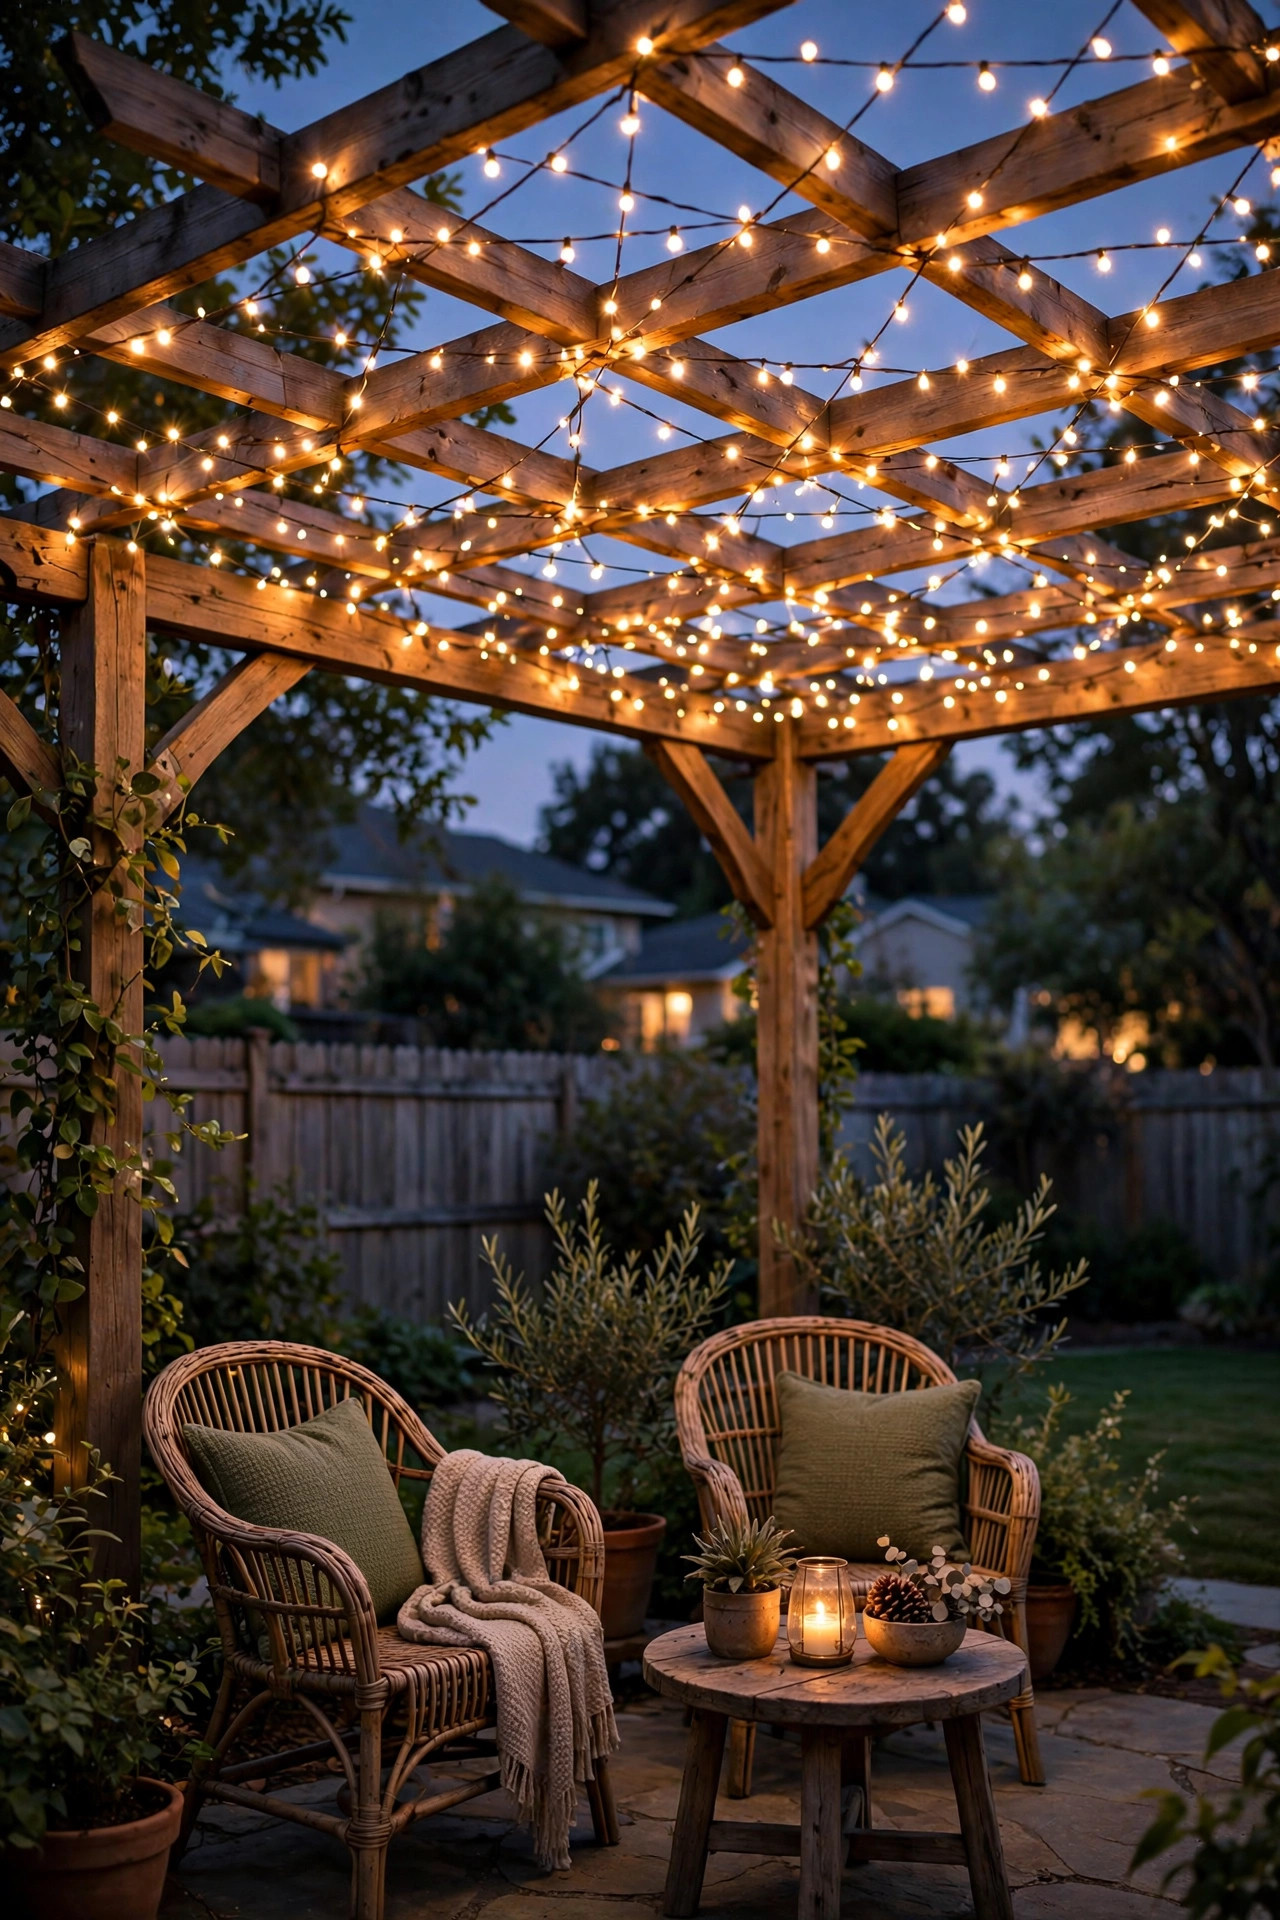
6. Hang a Fairy Light Curtain on a Wall or Fence
A fairy light curtain is exactly what it sounds like: strands hung vertically from a horizontal wire or rod, creating a glowing waterfall of light. It's my secret weapon for blank walls, the side of a shed, or any flat surface that feels too dark and too empty.
Mount a thin steel cable or a 1-inch curtain rod horizontally 7 to 8 feet up — on a fence, lag it into the posts; on a wall, use masonry anchors if needed. Hang 8-to-12-foot vertical strands from it with small carabiner clips, spacing them 6 to 8 inches apart for a full curtain — wider spacing looks sparse, honestly. For a 10-foot-wide section, that's roughly 16 to 20 strands of 66-bulb lights.
Vary the drop lengths: let some strands fall a full 8 feet and trim others to 5 or 6, so the bottom edge ripples instead of cutting a harsh straight line. I always recommend clear/silver wire over green — green wire reads as Christmas, and you want this to work year-round.
These strands are light, so wind is the main enemy: anchor the bottoms with fishing line to small ground stakes unless the wall is sheltered. Plug into a GFCI outlet on a dusk timer — LED-only here, since hot bulbs against siding are a no-go.
Suggested budget range: $40 – $80.
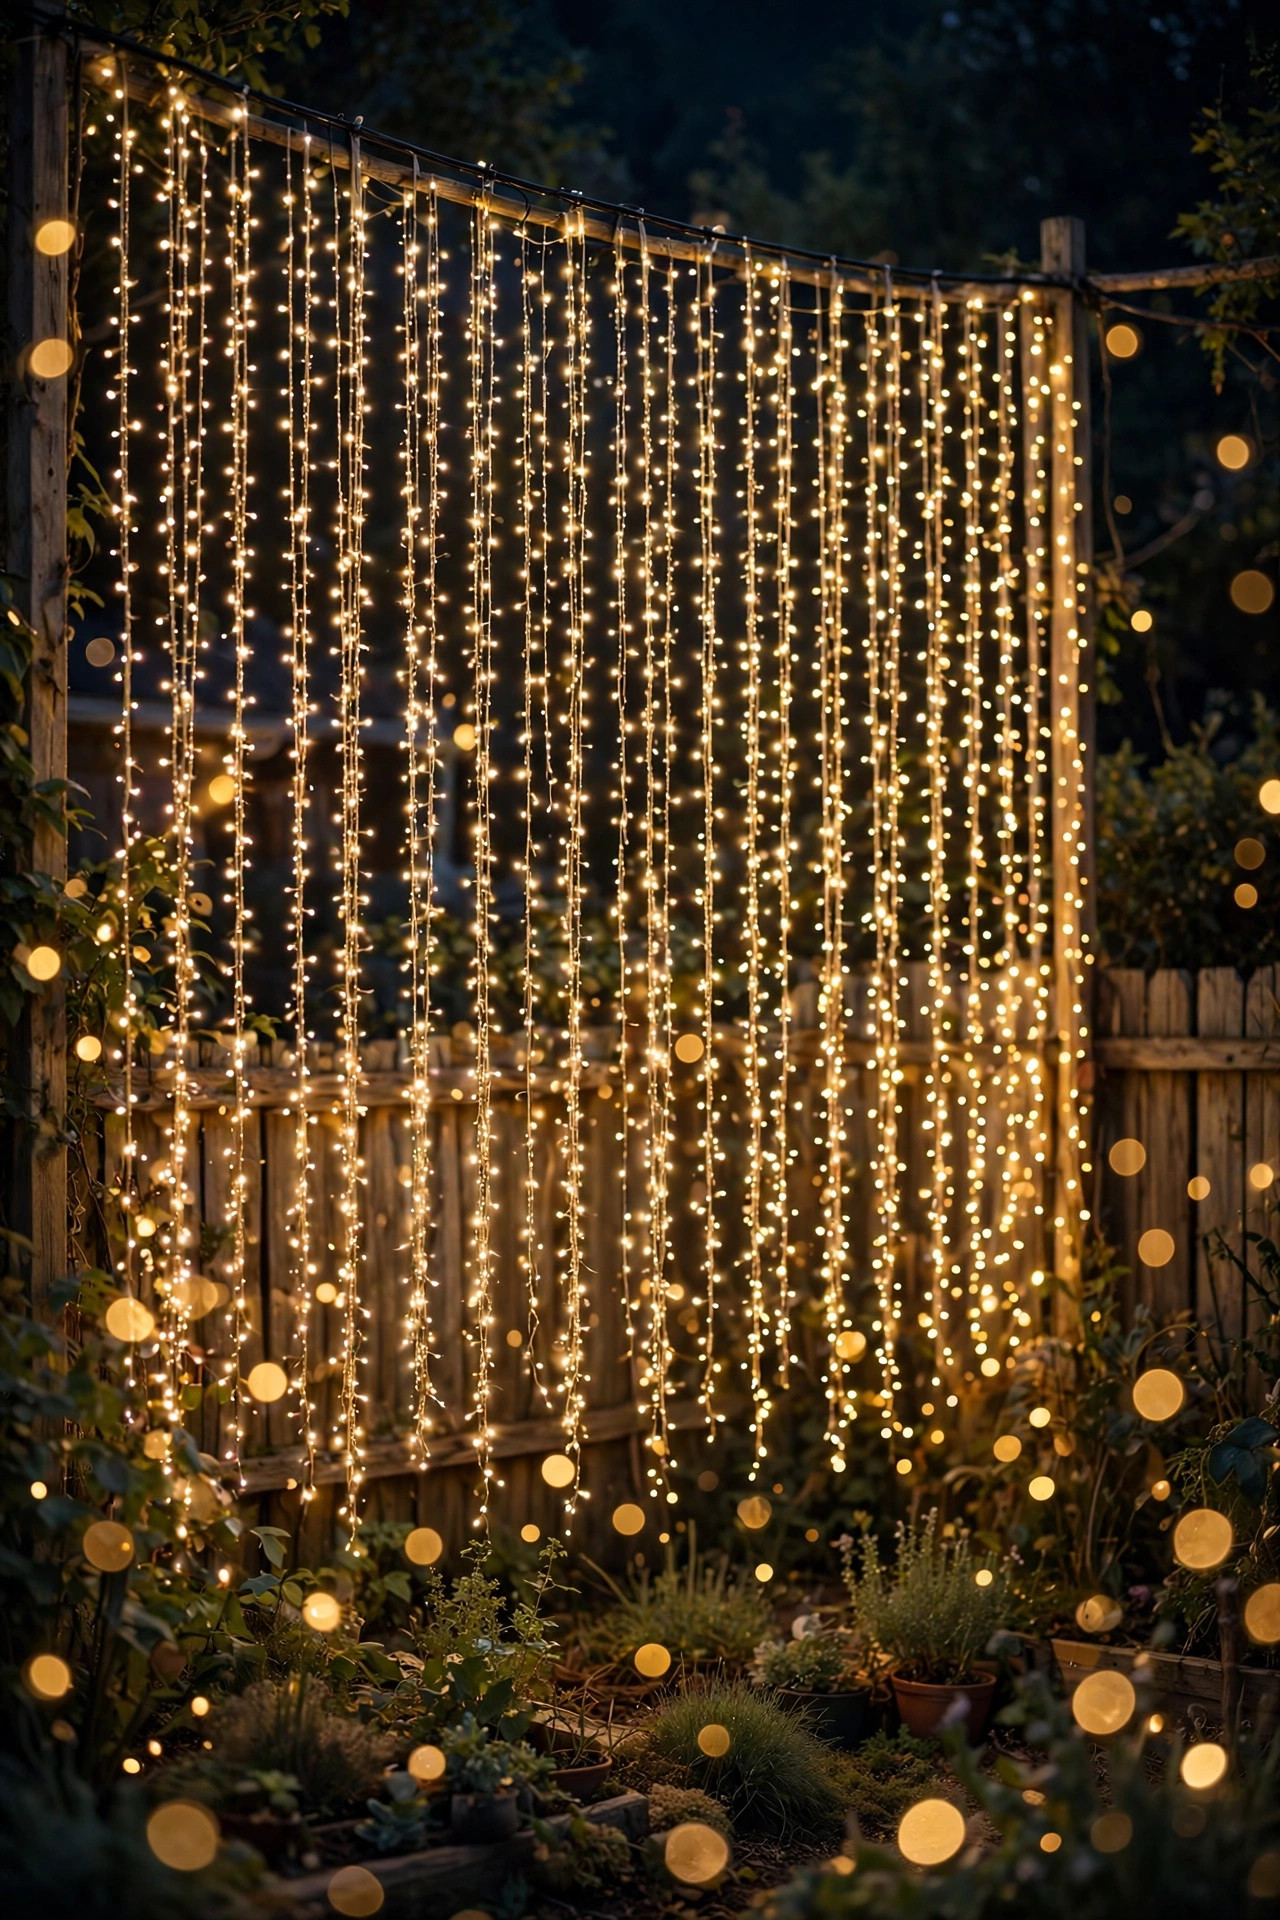
7. Edge a Garden Path with Fairy-Lit Bottles
If you have a collection of glass bottles — wine bottles, soda bottles, anything green or blue — you have free pathway lighting waiting to happen. Tucking fairy lights inside bottles and lining them along a path gives you a glowing, jewel-toned border that looks like it cost a fortune.
Use solar-charged cork lights for this: a tiny solar panel on a wine cork with a 3-to-6-foot LED strand attached. Feed the strand into a clean, dry bottle, push the cork in, and it charges by day and glows by night — no wiring, no batteries. I always recommend green and blue glass here; clear bottles show every bulb individually while tinted glass turns the whole bottle into a jewel.
Place bottles 5 to 7 feet apart on alternating sides of the path so the eye zig-zags naturally along the walk. Bury each bottle 2 inches into the soil or mulch so it stands firm, and on windy spots, stake them with a bamboo stick tucked inside.
One honest caveat: solar cork lights need 5 to 6 hours of direct sun to make it through a long evening. On a shaded path, swap to battery cork lights and change the cells monthly. And broken glass plus bare feet is a bad combo, so keep bottle edging on planted beds, not where kids cut across the lawn.
Suggested budget range: $20 – $45.

8. Ring a Fire Pit with Fairy Lights on Posts
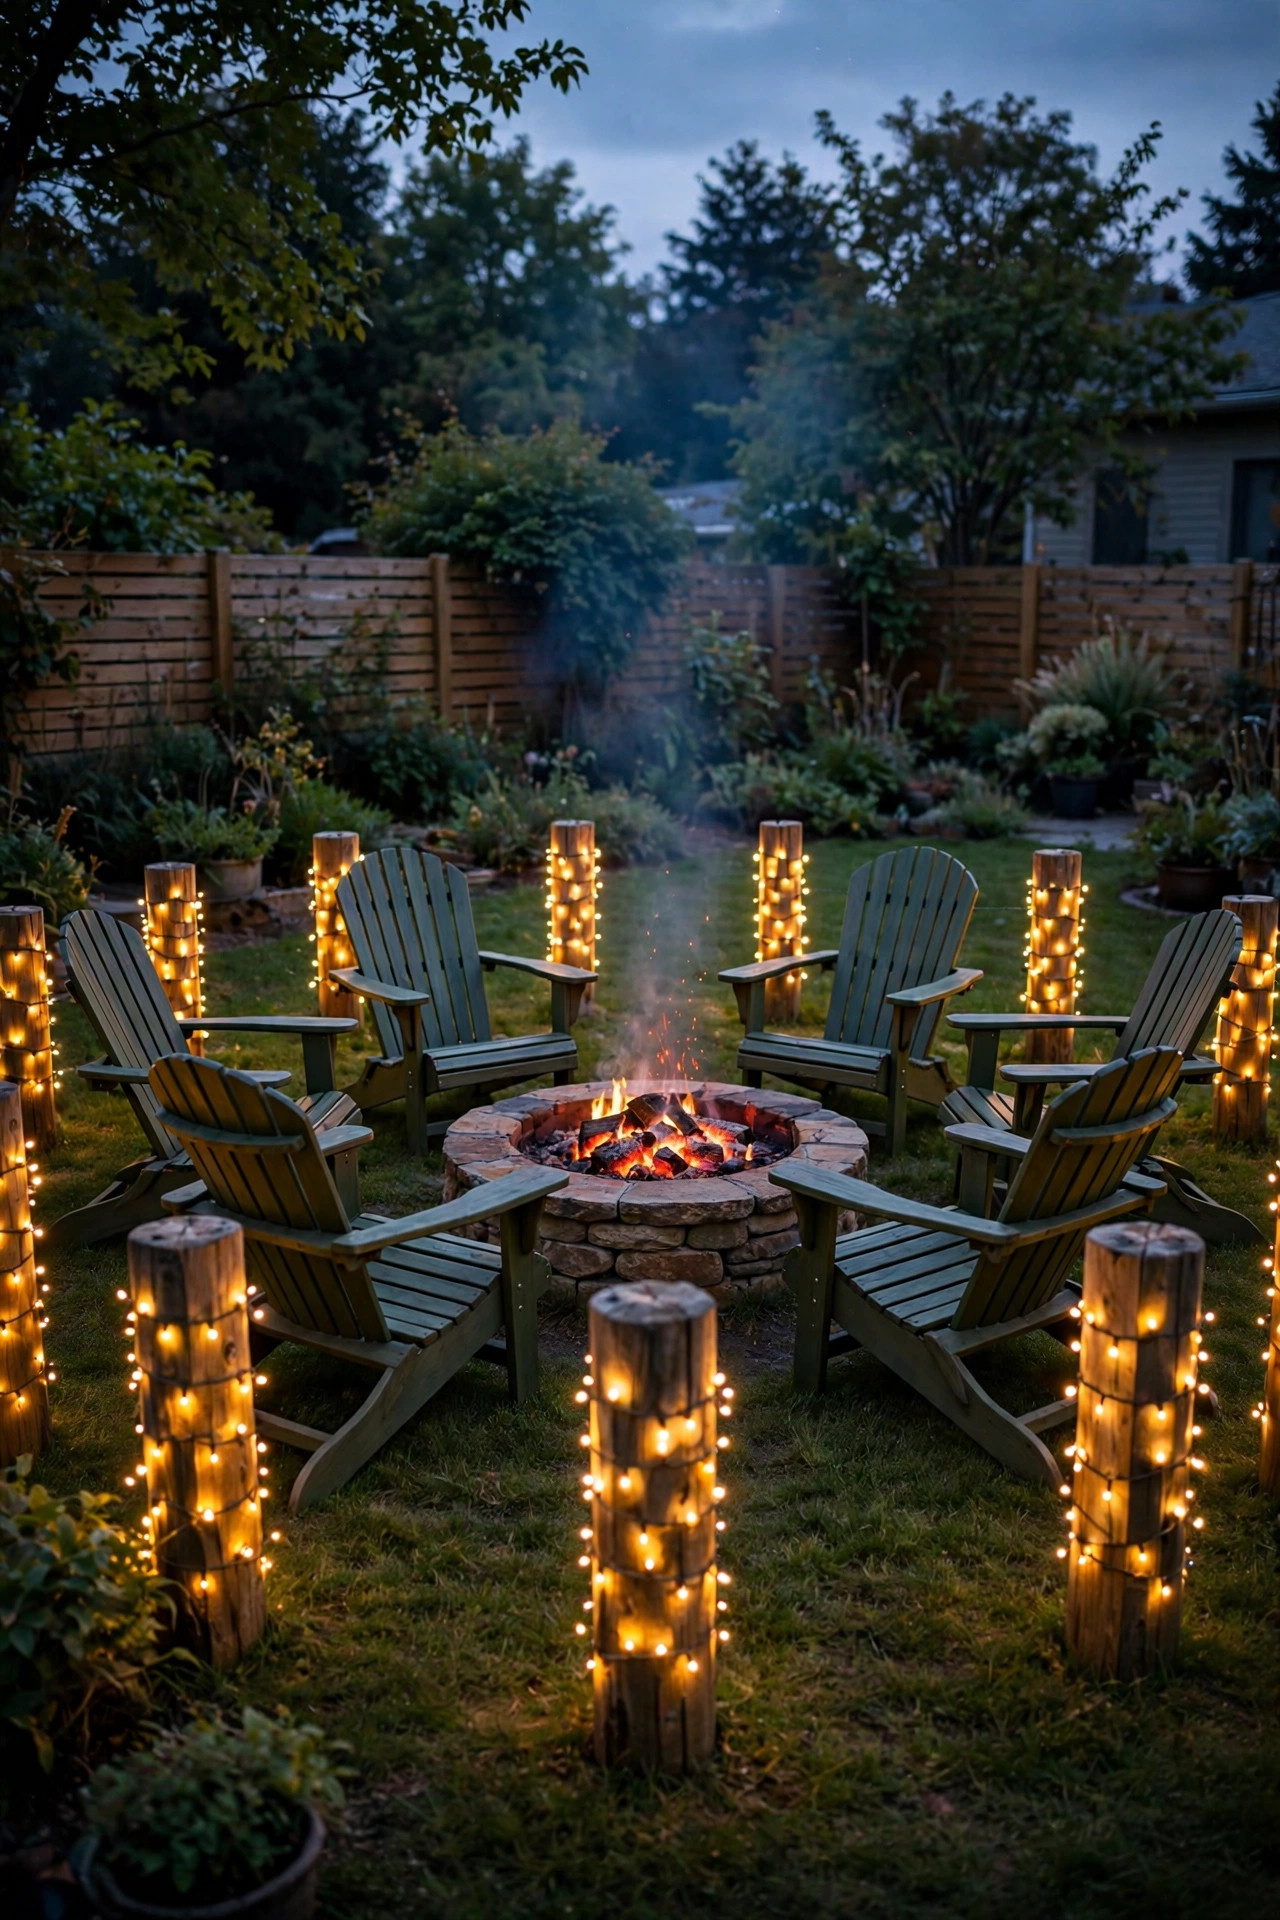
The fire pit is where everyone ends up, but the area around it is usually a dead zone of darkness past the flames. Short wooden posts wrapped in fairy lights define the seating circle and keep the magic going when the fire dies down.
Set 6 to 8 pressure-treated 4×4 posts (2 feet buried, 2 feet above ground) in a 10-to-12-foot ring around the fire pit. Spiral a 20-foot fairy light strand around each post top to bottom, 3 inches between wraps, securing with outdoor zip ties. Leave the post nearest the walkway bare so it reads as an entrance marker.
This is where layering really pays off: fire gives orange flicker, posts give steady warm white, and the whole circle feels deep and cinematic. Run a single outdoor-rated extension cord in a shallow trench (4 to 6 inches deep, inside conduit) from the house to one post, then daisy-chain the short strands post to post — low-draw LEDs mean one cord handles the whole ring.
Safety first with this one: keep all lights and cords at least 3 feet from the fire pit's edge, use LED strands only, and house every connection in a weatherproof box. Before the first marshmallow roast, double-check your setup against standard outdoor electrical safety tips — GFCI protection and outdoor ratings are non-negotiable around a fire feature.
Suggested budget range: $50 – $110.
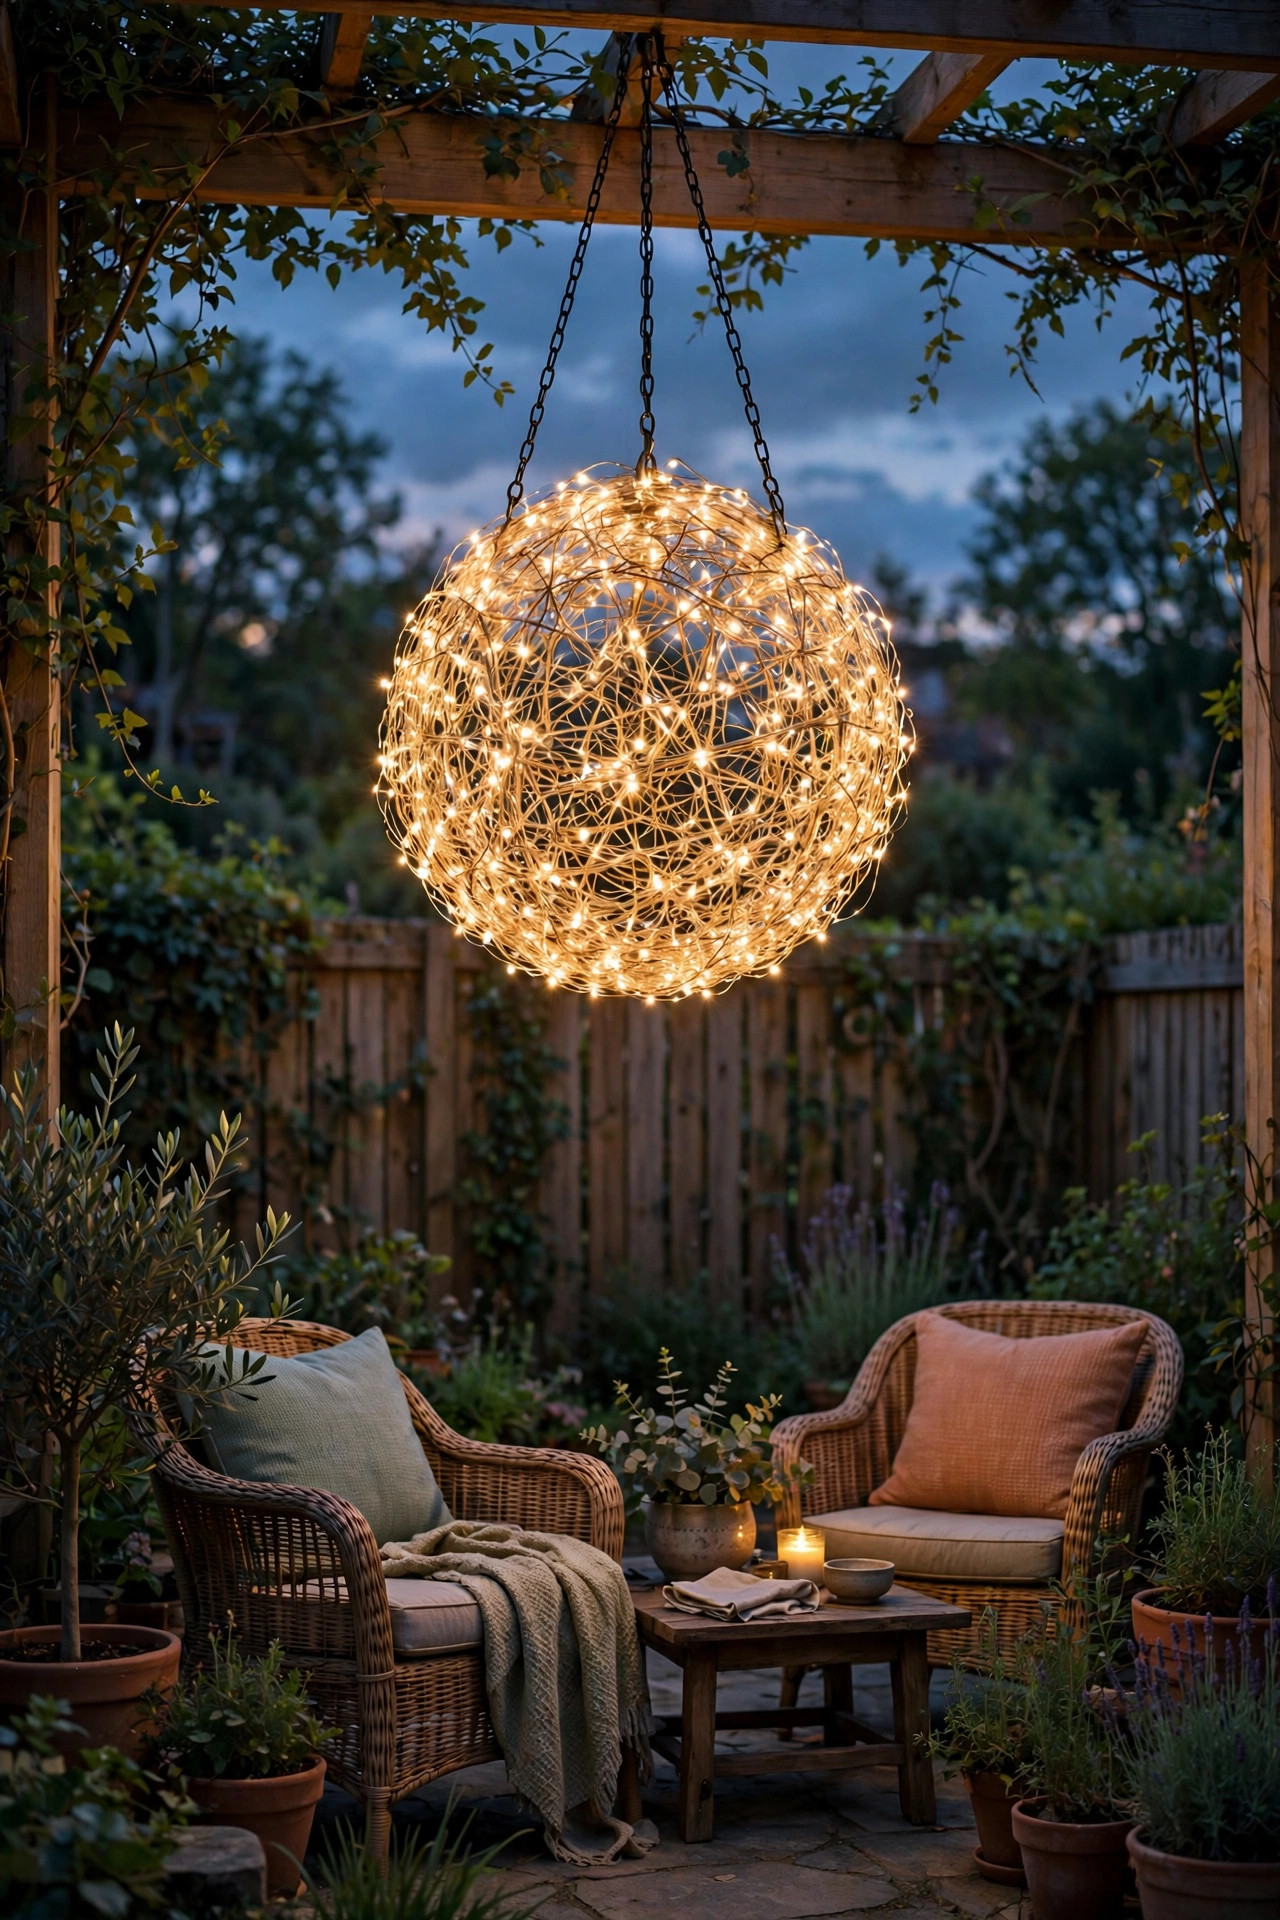
9. Hang a Fairy Light Chandelier — A Show-Stopping Outdoor Fairy Lights Idea for Seating Areas
A hanging "chandelier" of fairy lights over a seating area or dining table is the closest thing to installing a real fixture — without the electrician. It's the piece guests ask about, and it photographs like a dream.
Build it on a 24-to-36-inch metal or wicker hoop. Wrap 4 to 6 strands of 30-foot copper-wire fairy lights around the hoop, then let 12 to 18 more strands hang straight down at varying lengths — 18 inches on the outside ring, 24 to 30 inches toward the center — for the classic chandelier cascade. Cap the top with a drum shade ring for a true-fixture look, or leave it open and airy.
Hang the finished piece from a sturdy beam, pergola rafter, or tree limb with two or three lengths of chain, 7 to 8 feet above the ground so tall guests clear it. Use warm white 2200–2700K bulbs — that candle-warm color is what makes it feel luxe instead of twinkly.
Weatherproofing matters up here: the whole thing lives in the air, so choose outdoor-rated strands and shield the battery or plug connection in a small weatherproof box mounted on top of the hoop. Weight-test before the first party — LEDs are light, but wet strands plus wind add up, so your hanging point needs to hold 15 pounds comfortably.
Suggested budget range: $45 – $95.
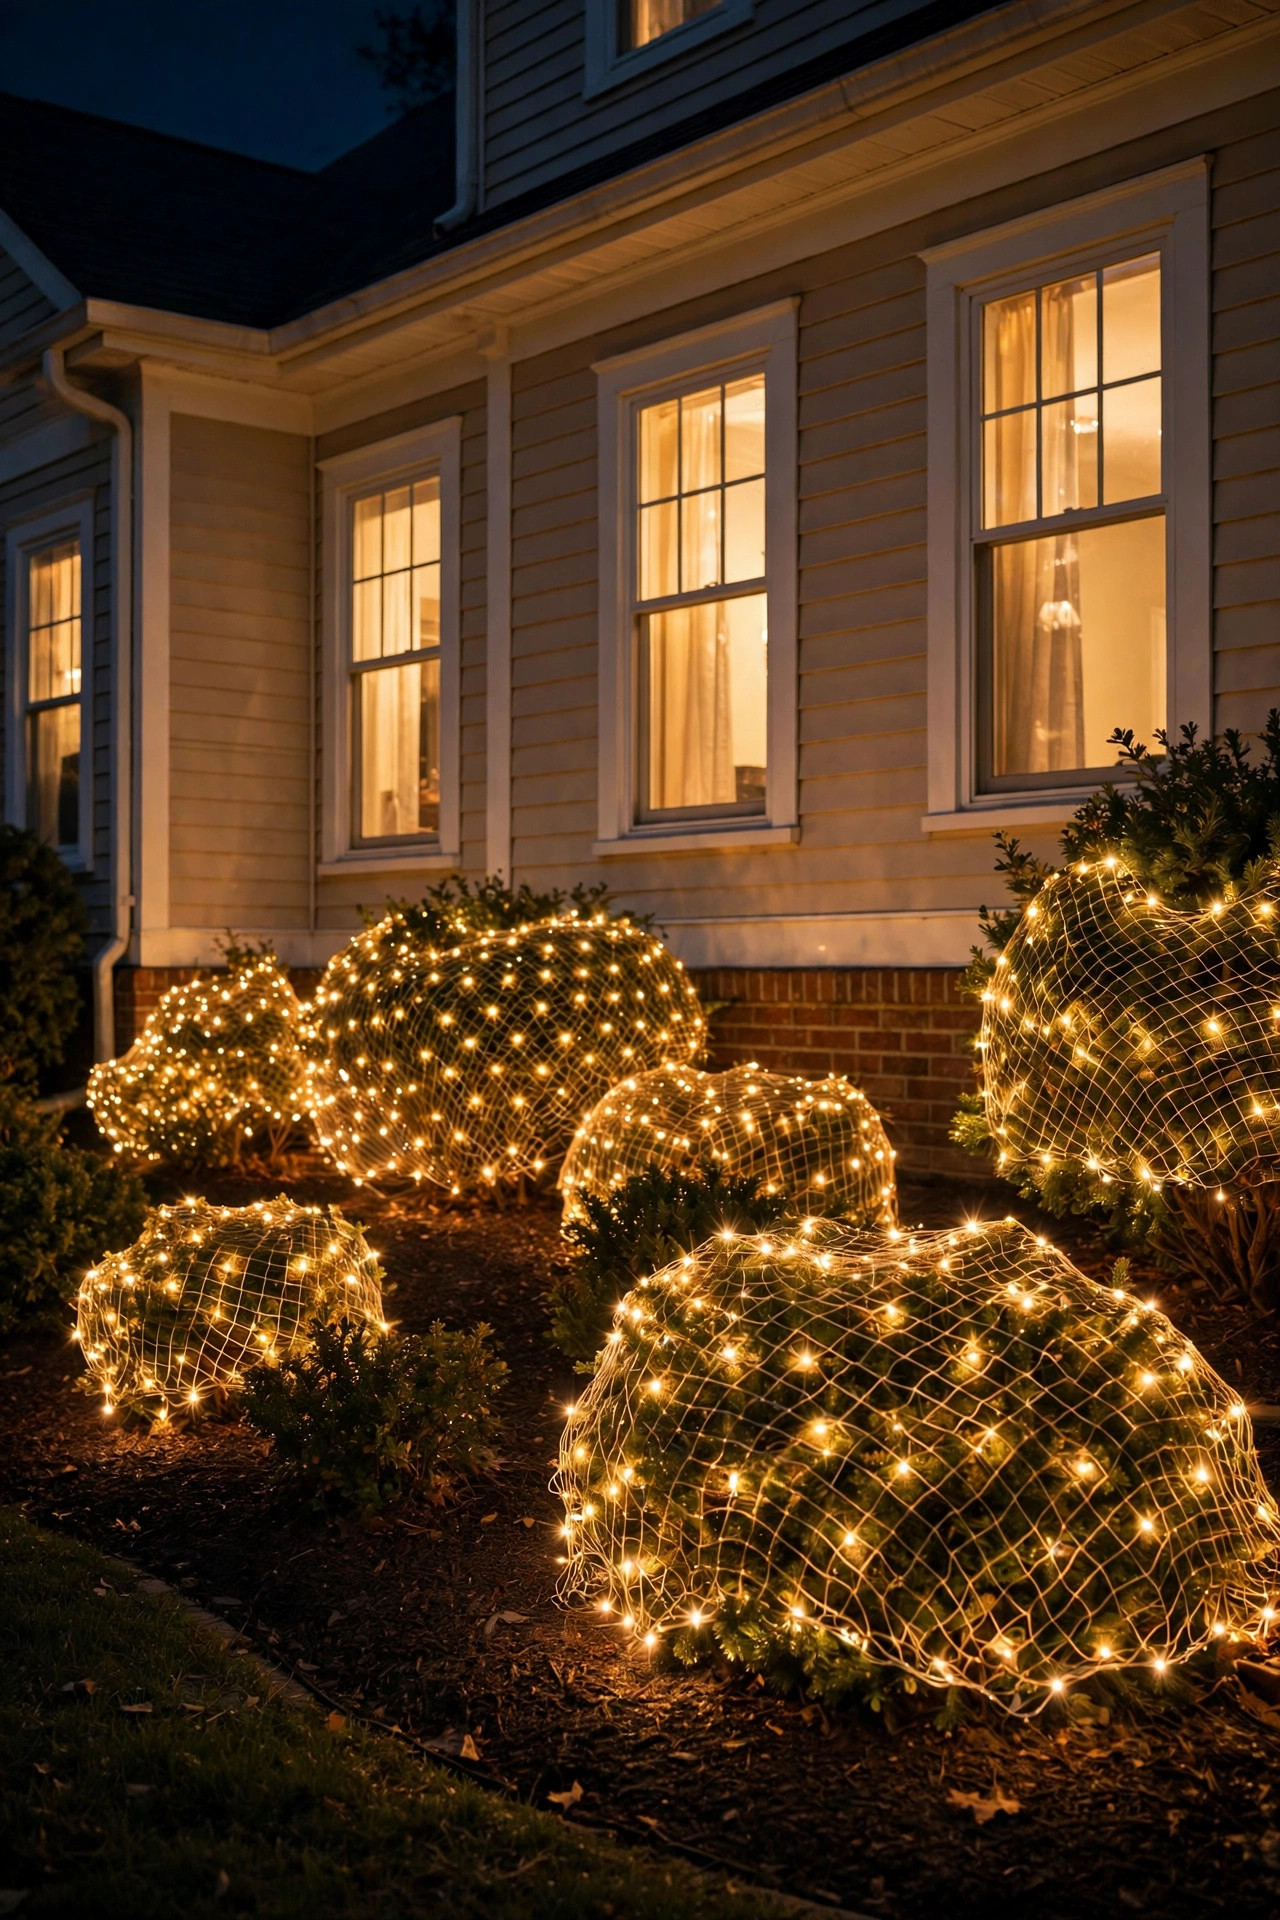
10. Drape Net Lights Over Shrubs and Bushes
Net lights are the lazy gardener's best friend: a grid of fairy lights you toss over a shrub and — poof — it's evenly covered in a minute. No spiral wrapping, no tangled ladders, no guesswork about spacing.
Standard net lights come in 4-by-6-foot and 6-by-8-foot grids with bulbs spaced 4 to 6 inches apart on the net. Measure your shrubs and buy nets slightly larger than the bush so the netting drapes over the top and 12 inches down the sides without stretching the mesh — stretched nets leave bald patches. Two 4-by-6 nets cover a typical 3-foot boxwood; a row of foundation plantings might take 4 to 6 nets depending on length.
My layering trick: put one net over the shrub, then add a second at a 45-degree rotation. The offset grids erase bald spots and double the twinkle density. Connect the nets end to end (most allow 3 to 5 linked sets), run one cord to the outlet, and put the chain on a dusk-to-dawn timer.
Stick with warm white for evergreens and boxwoods — green foliage eats cooler light. For flowering shrubs, I love mixing one warm white net with a small cluster of amber cork lights tucked near the base; it gives depth instead of a single flat glow. Outdoor-rated, LED-only, GFCI outlet — the usual rules, and take the nets off in spring so growing branches don't swallow the wiring.
Suggested budget range: $35 – $75.
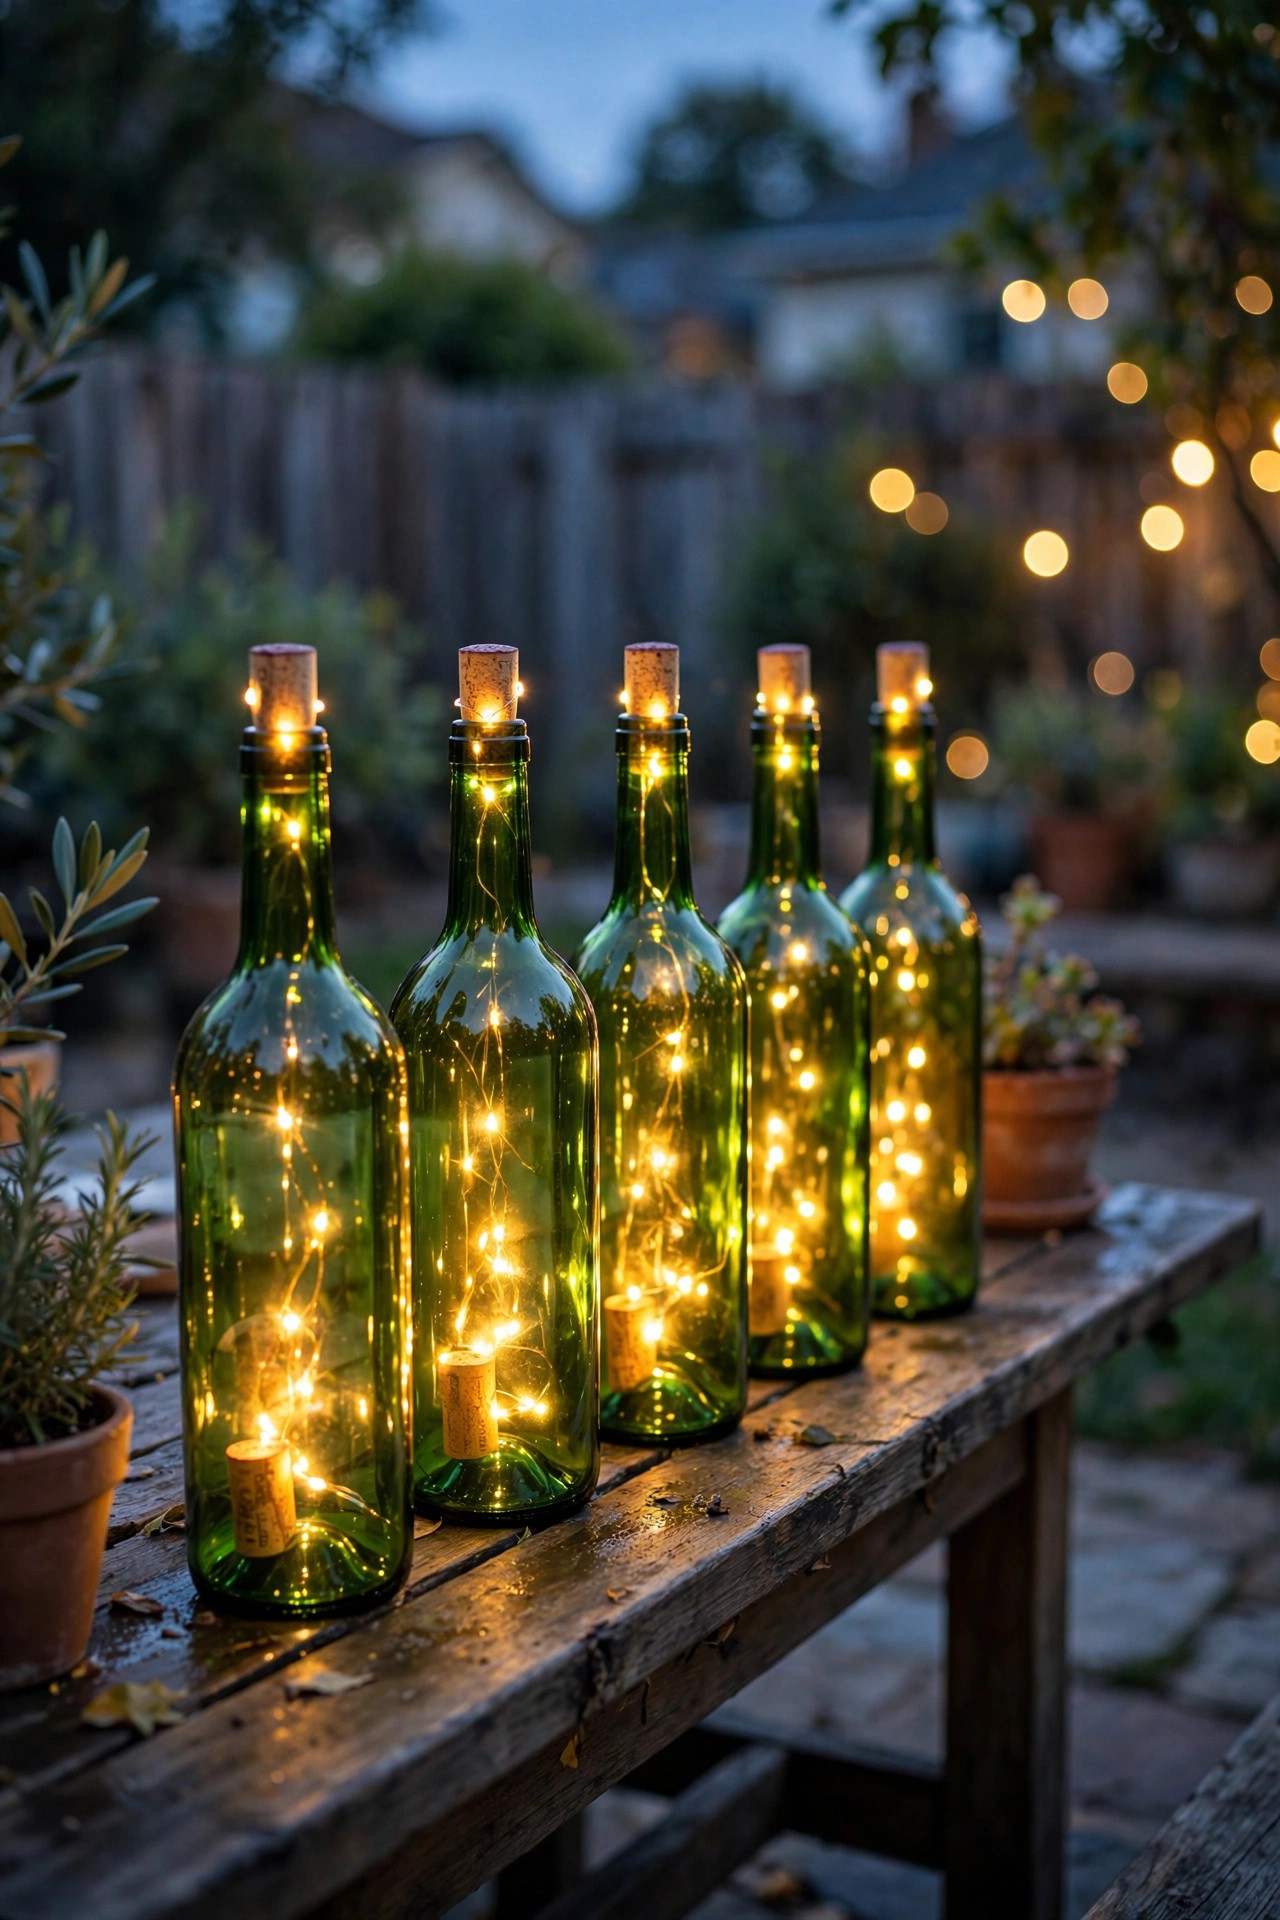
11. Turn Wine Bottles Into Fairy Light Torches
Standing wine bottles glowing along a patio edge or flanking a doorway are one of those ideas that looks designer and costs almost nothing. It's especially great if you entertain — guests always assume you bought them somewhere fancy.
Clean and dry tall green wine bottles, then feed a solar cork light (solar panel cork + attached LED strand) into each one — these are the same handy cork lights as idea #7, just used upright as torches instead of lying along a path. For a standing display, seat each bottle inside a small terracotta pot filled with gravel so it can't tip; the pot also gives you a place to hide the excess wire.
Line them 6 to 8 feet apart along a patio edge, flanking the front door in pairs, or ringing a dining area like tiny glowing sentries. Three different bottle heights — a tall Bordeaux, a medium, and a squat one — clustered together look far better than a row of identical soldiers, in my experience.
This is a dusk-only display — solar corks fade after 4 to 6 hours, perfect for a dinner party. On cloudy weeks, swap a few corks for battery versions so the row never goes fully dark. Keep bottles out of lawn-mower range and never place them where they'll be kicked; glass shards are the one real risk with this idea.
Suggested budget range: $18 – $40.
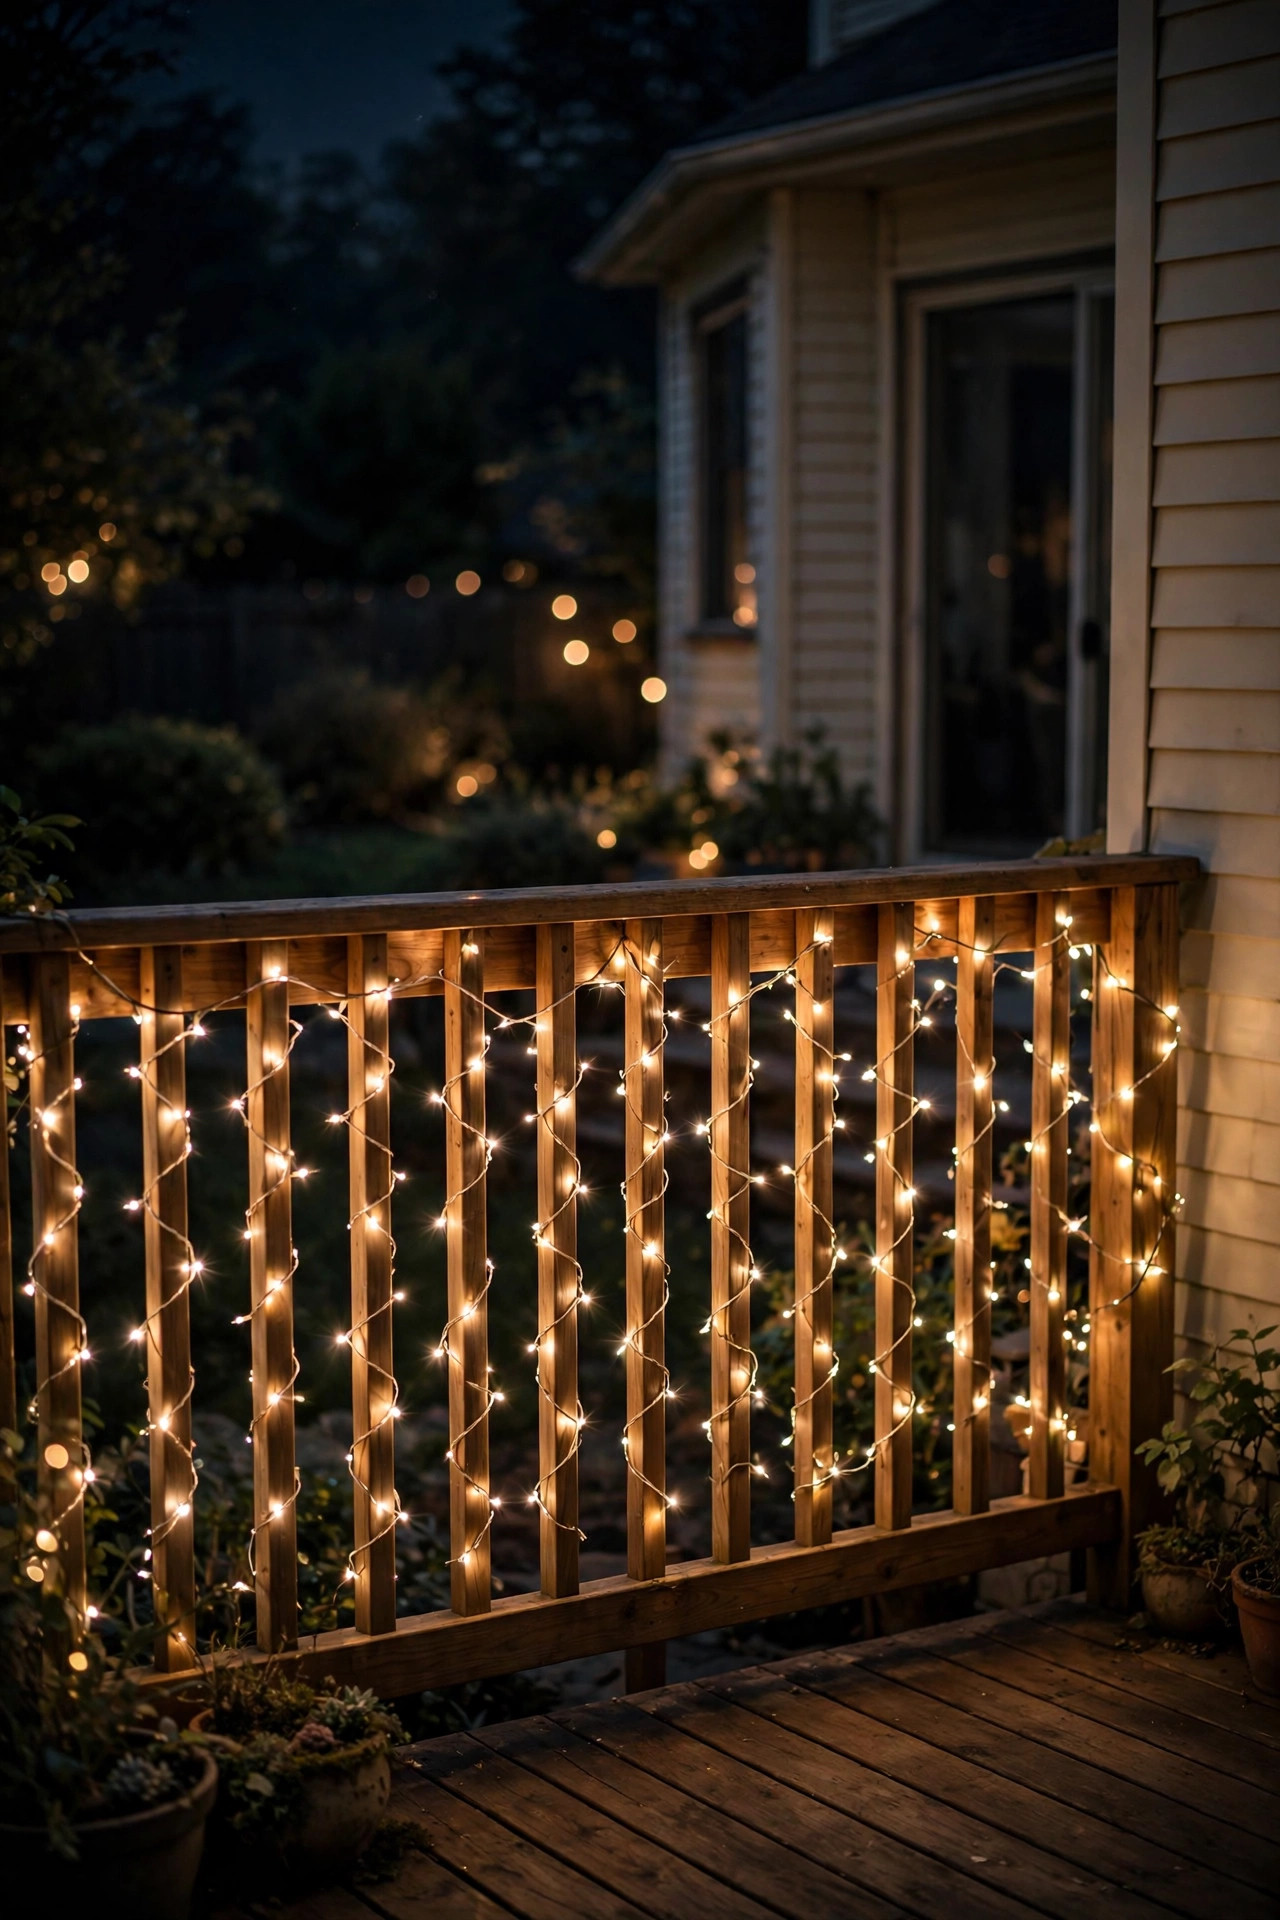
12. Weave Fairy Lights Through a Deck Railing
Your deck railing is a giant ready-made light frame — weaving fairy lights through the balusters turns the whole deck edge into a glowing border that makes the deck feel twice as big at night.
Start at one end of the railing and weave a 60-to-100-foot strand in a loose figure-eight between balusters, passing in front of one and behind the next. The weave holds the lights in place without a single clip — the friction of the balusters does the work. For a 12-foot railing section, one 100-foot strand with bulbs 4 inches apart gives you a full, rich weave with a little slack for the corners.
I always recommend a two-height approach here: weave one strand along the middle of the balusters and a second strand just under the top rail, offset so the lights alternate. The double line defines the deck edge beautifully and reads as a real lighting plan rather than a afterthought string. Warm white 2700K is the sweet spot — anything cooler makes wood railings look washed out.
Secure the ends with small zip ties where the strand meets a post, and run the plug end down the inside of a newel post to the nearest outlet. Since deck railings get touched constantly, double-check there are no pinched or exposed wires before the season starts, and use outdoor-rated, LED-only strands on a GFCI circuit with a timer.
Suggested budget range: $25 – $55.
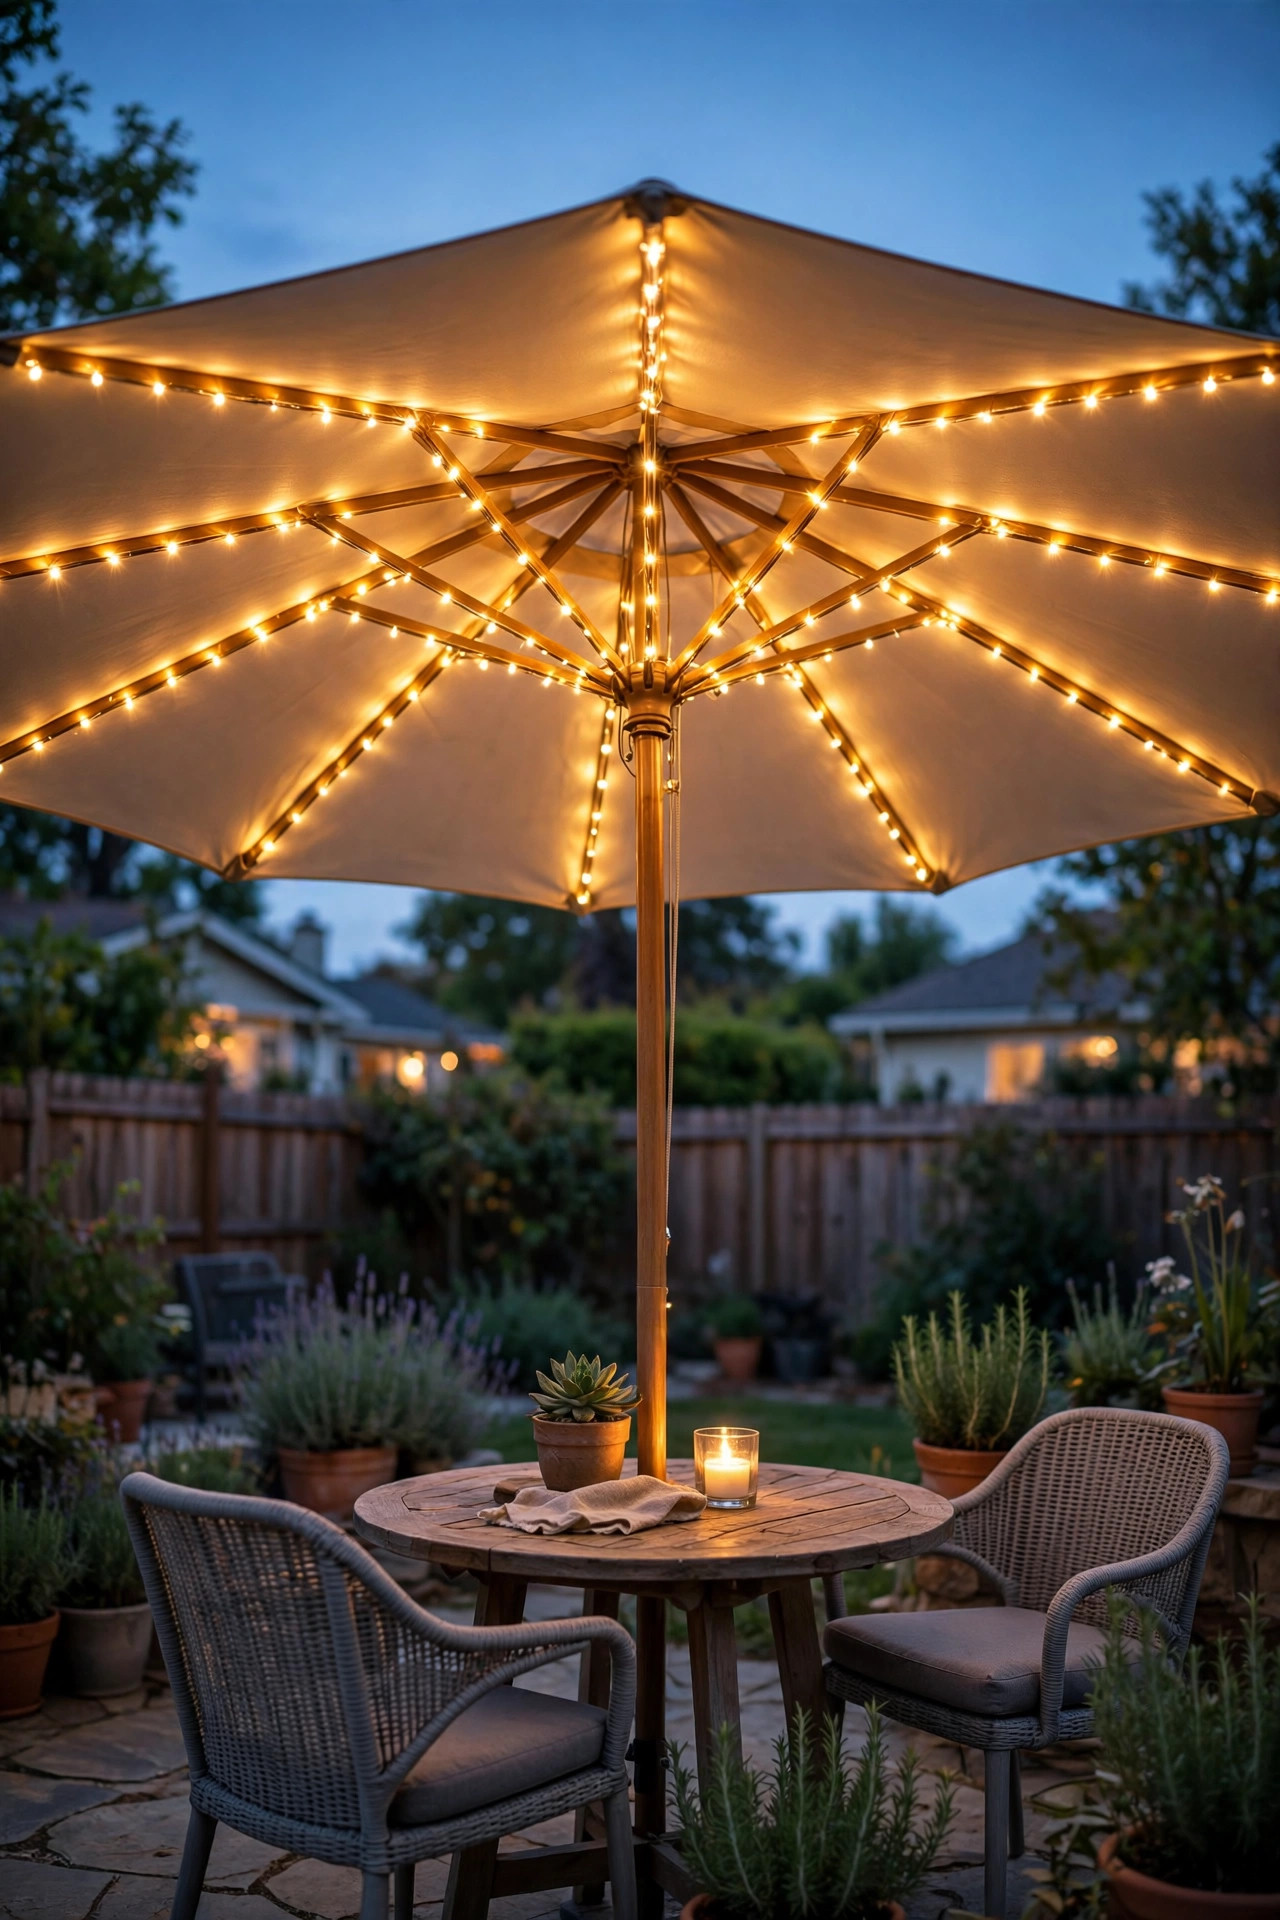
13. Wrap Fairy Lights Around a Patio Umbrella
A patio umbrella with fairy lights wrapped around its ribs is pure vacation energy — it turns an ordinary market umbrella into a glowing tiki-hut moment. This is one of my favorite five-minute upgrades because the structure is already there; you're just dressing it.
Open the umbrella and work strand by strand from the center pole outward: run a 20-to-30-foot fairy light strand along each rib, spiraling loosely down the rib from the hub to the edge, and secure each rib-wrap with a zip tie at the hub and tip. Six to eight ribs means six to eight strands, all meeting at the pole. Then coil one long strand around the pole itself, top to bottom, with 3-inch spacing between wraps.
I always recommend battery-operated micro fairy lights for umbrellas, with the battery packs tucked into a small pouch zip-tied to the underside of the hub — that way the umbrella still opens, closes, and tilts without fighting a cord. When you close the umbrella for a storm, the battery packs ride along inside and nothing gets pinched if you've kept the wire loose.
One important note: this is an LED-only idea, full stop. Traditional mini-lights generate heat and umbrella fabric is flammable — don't mix them. And always close the umbrella in high wind; lit or not, a sail in a storm is a liability.
Suggested budget range: $30 – $60.
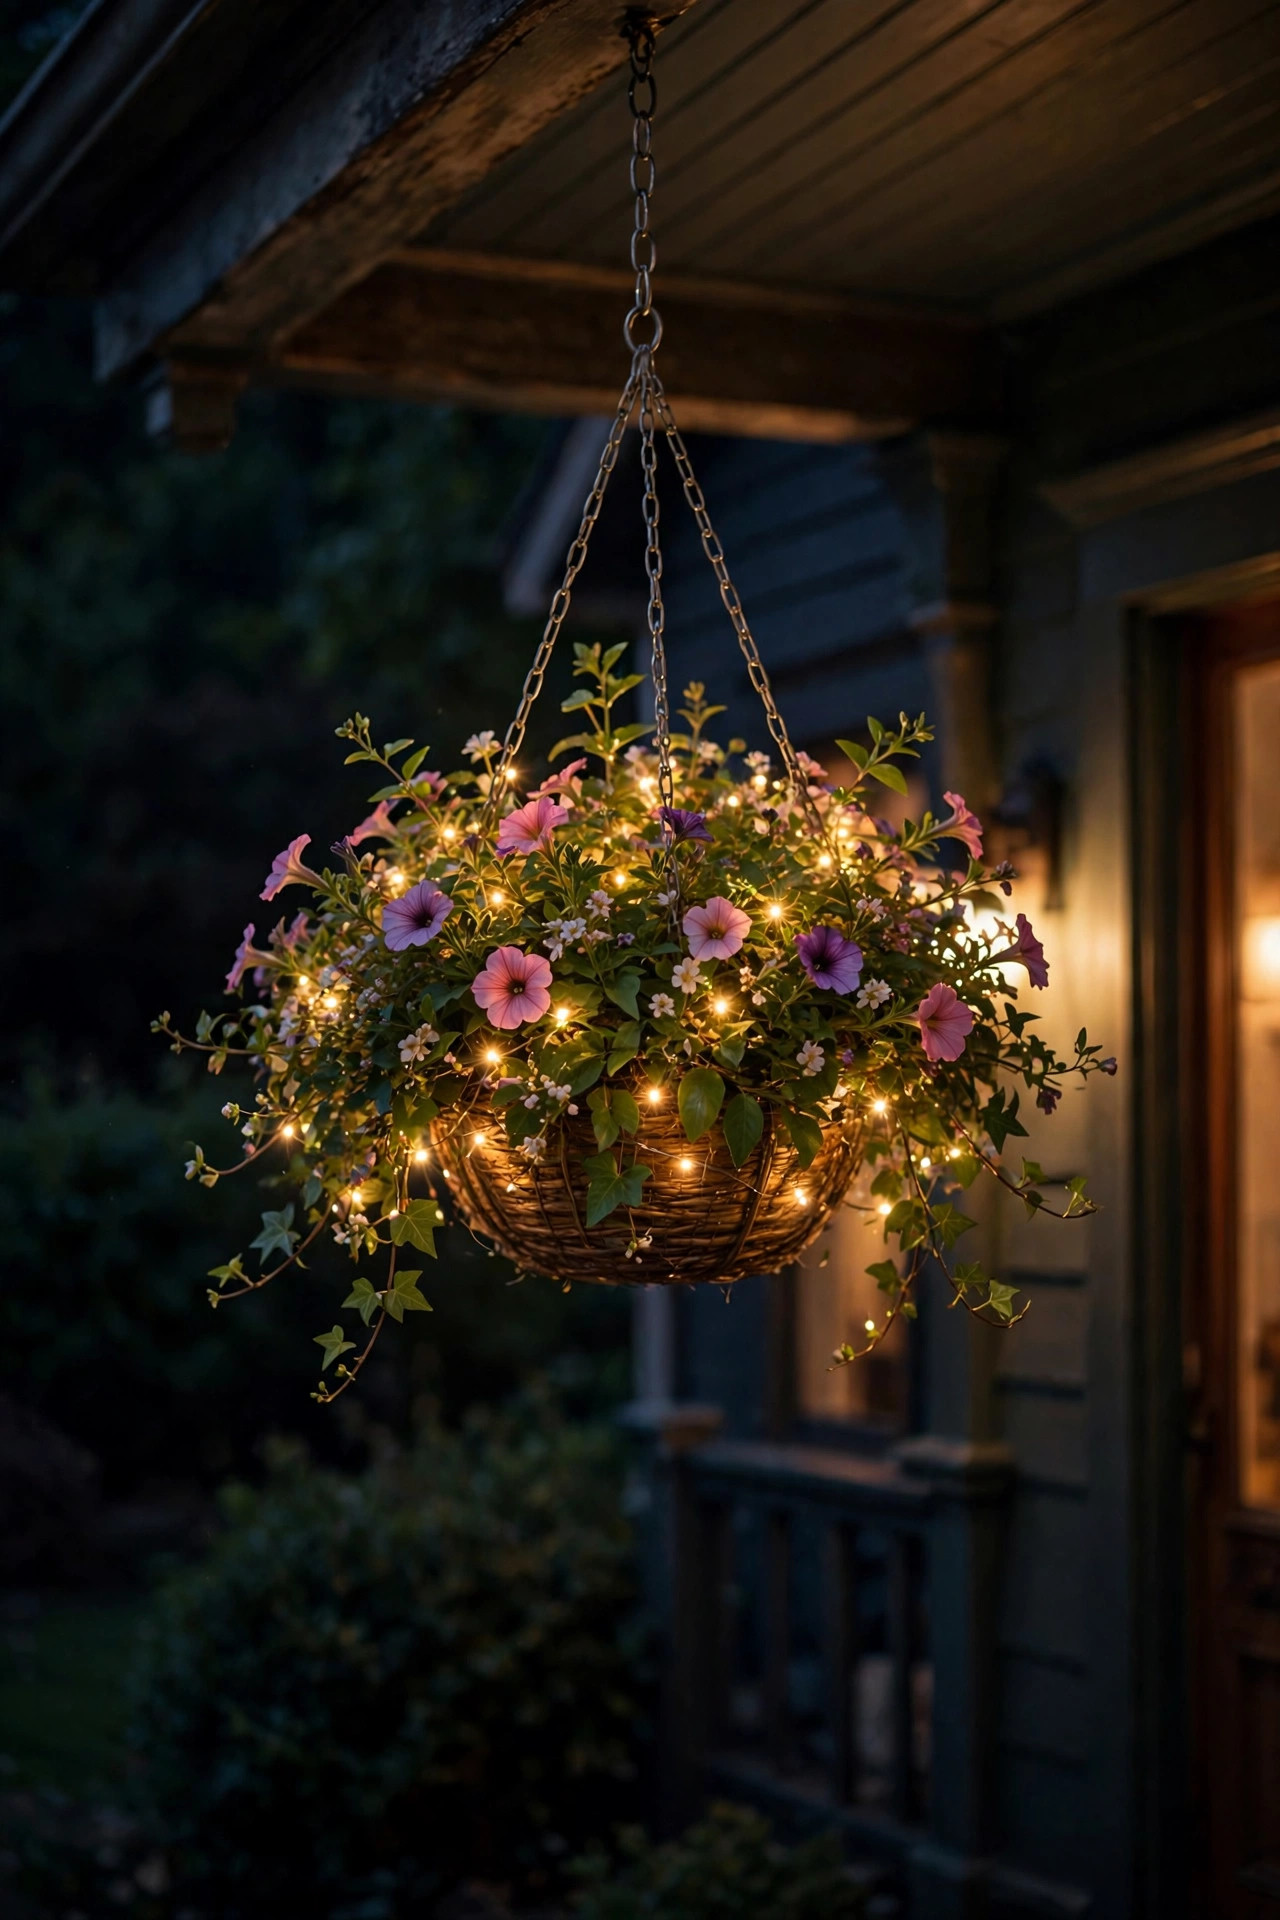
14. Thread Fairy Lights Through Hanging Baskets and Planters
Hanging flower baskets and patio planters glow beautifully when fairy lights are threaded through them — the leaves and petals break up the light into a dappled, firefly effect that's impossible to get any other way.
For hanging baskets, coil a 10-foot copper-wire fairy light strand through the foliage before you hang the basket: weave it in and out of the stems in a loose spiral so lights peek out between the leaves but never sit in a clump. Battery packs hide inside the coconut liner or behind the foliage. For big patio planters, spiral a 20-to-30-foot strand around the inside rim and let a few strands trail down through the "spiller" plants at the front — those trailing lit tendrils are the prettiest part.
In my experience, watering is the trickiest part of this idea: keep the battery packs in small zip bags (not sealed — moisture needs to escape) tucked where the watering can won't pour directly on them, and use outdoor-rated strands so daily watering doesn't shorten their life. Solar-rechargeable strands are lovely here if the planter gets full sun, but shady patio corners need battery ones.
Refresh the batteries monthly in summer — heat drains them faster — and replace the strands yearly if they live in a planter full-time; constant moisture is hard on even outdoor-rated wire. Use warm white LEDs so your flowers' colors stay true.
Suggested budget range: $15 – $35.
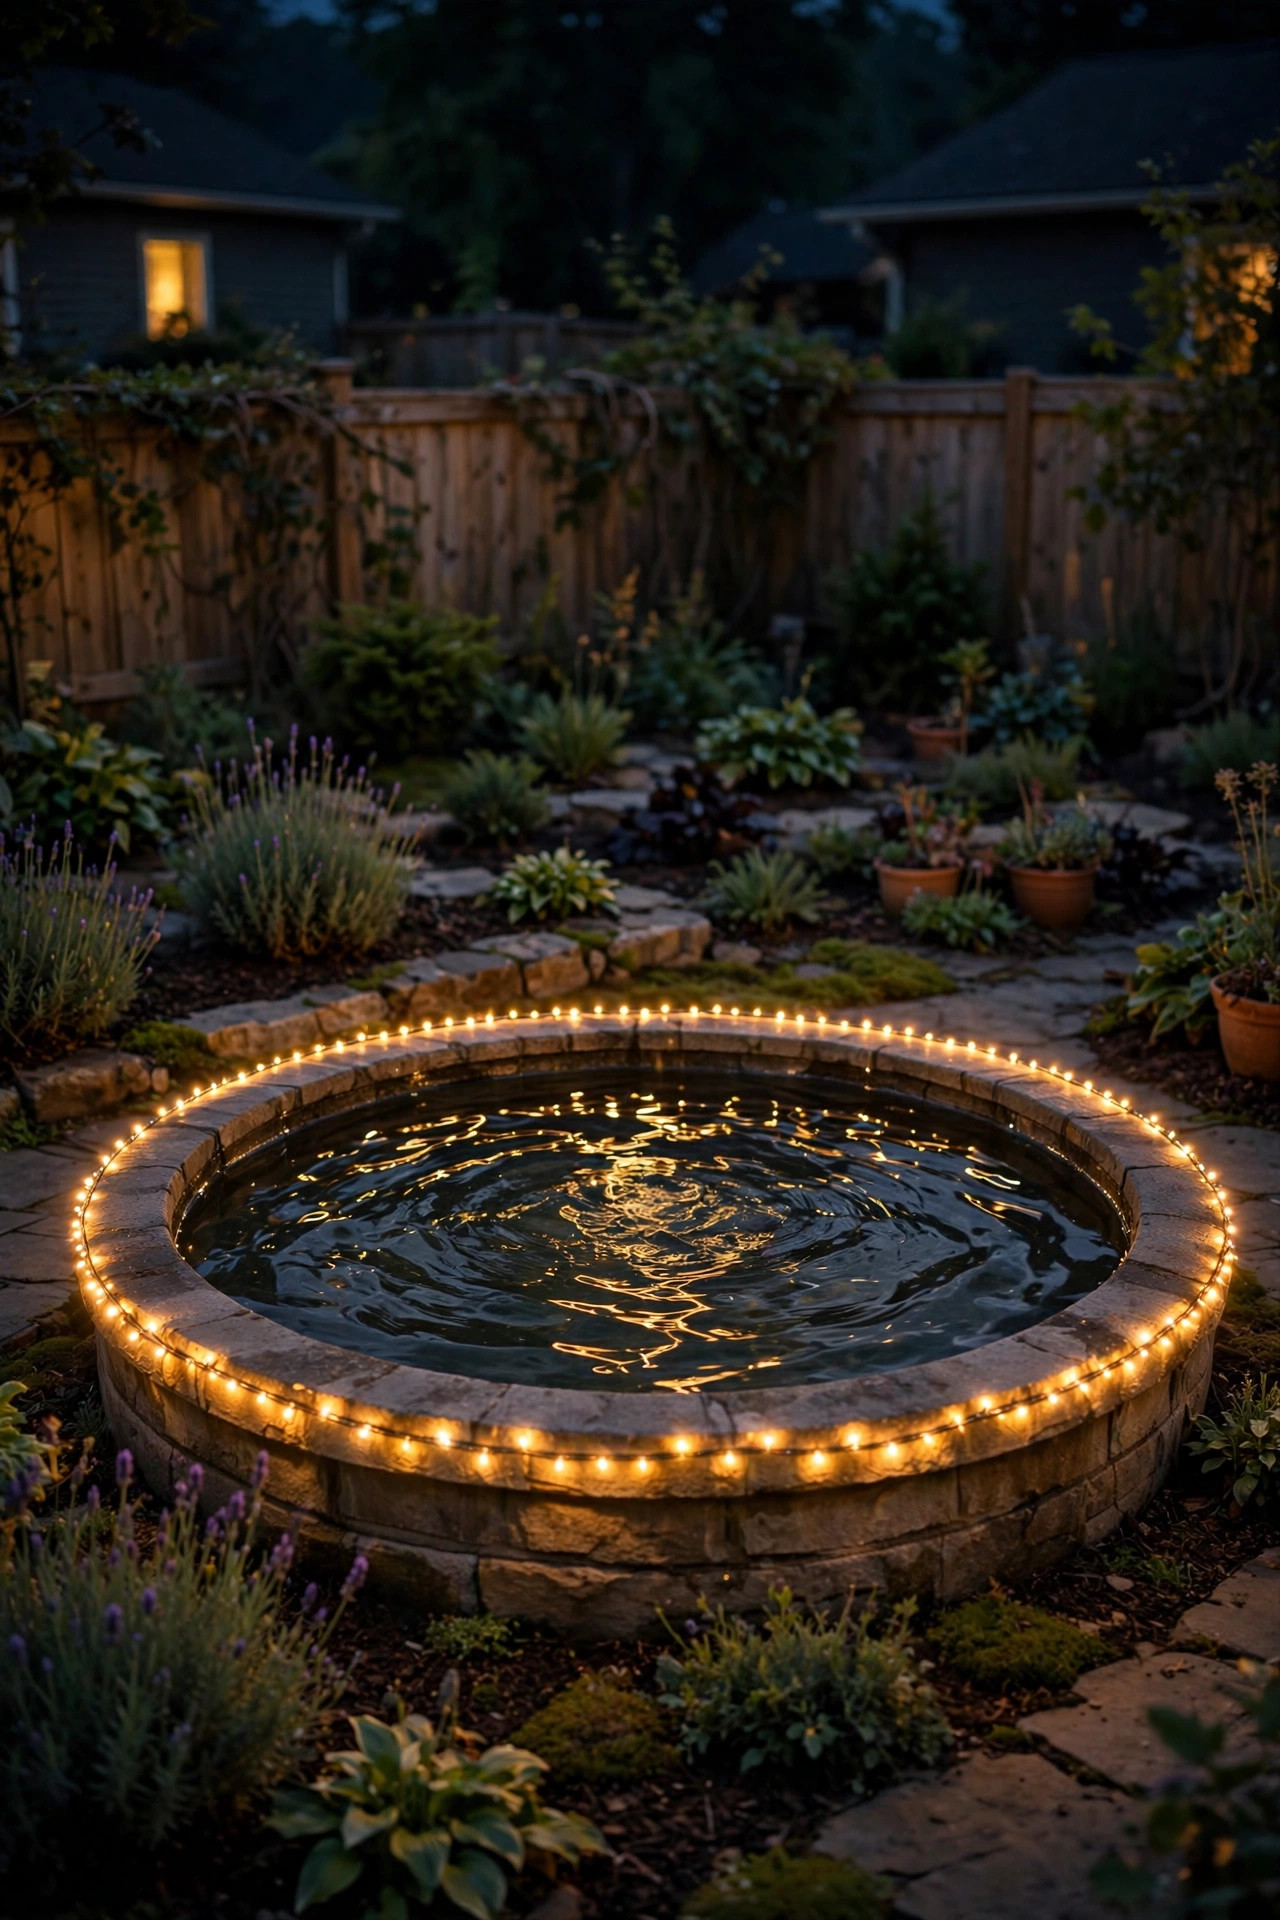
15. Add Fairy Lights Around a Fountain or Pond Edge
Water and fairy lights are a match made in heaven — every bulb gets a twin in the reflection, so you get twice the magic for the same electricity. A small fountain, pond edge, or even a birdbath becomes the glowing centerpiece of the yard.
For a fountain, wrap the basin rim or central column with an IP65-or-better waterproof strand, tucking the connection point up under the basin lip where water can't reach. For a pond, run fairy lights along the back edge tucked into the planting bed, 12 to 18 inches from the waterline, so the lights reflect in the dark water without dangling into it.
I always recommend low-voltage (12V) strands around water when you can find them, plus a GFCI outlet — this is the one spot in the yard where electrical caution isn't optional. Never let any strand, even a waterproof one, rest in standing water; reflections happen at the edge, and the edge is where lights belong. Solar strands are a great low-risk choice here since there's no house current involved at all.
Styling tip: warm white 2700K over dark water looks like candlelight on glass. Pair the fairy lights with one small spotlight aimed up through the fountain spray for a full water-light show. In winter, bring battery packs and solar panels inside and only leave the waterproof strands out.
Suggested budget range: $35 – $70.
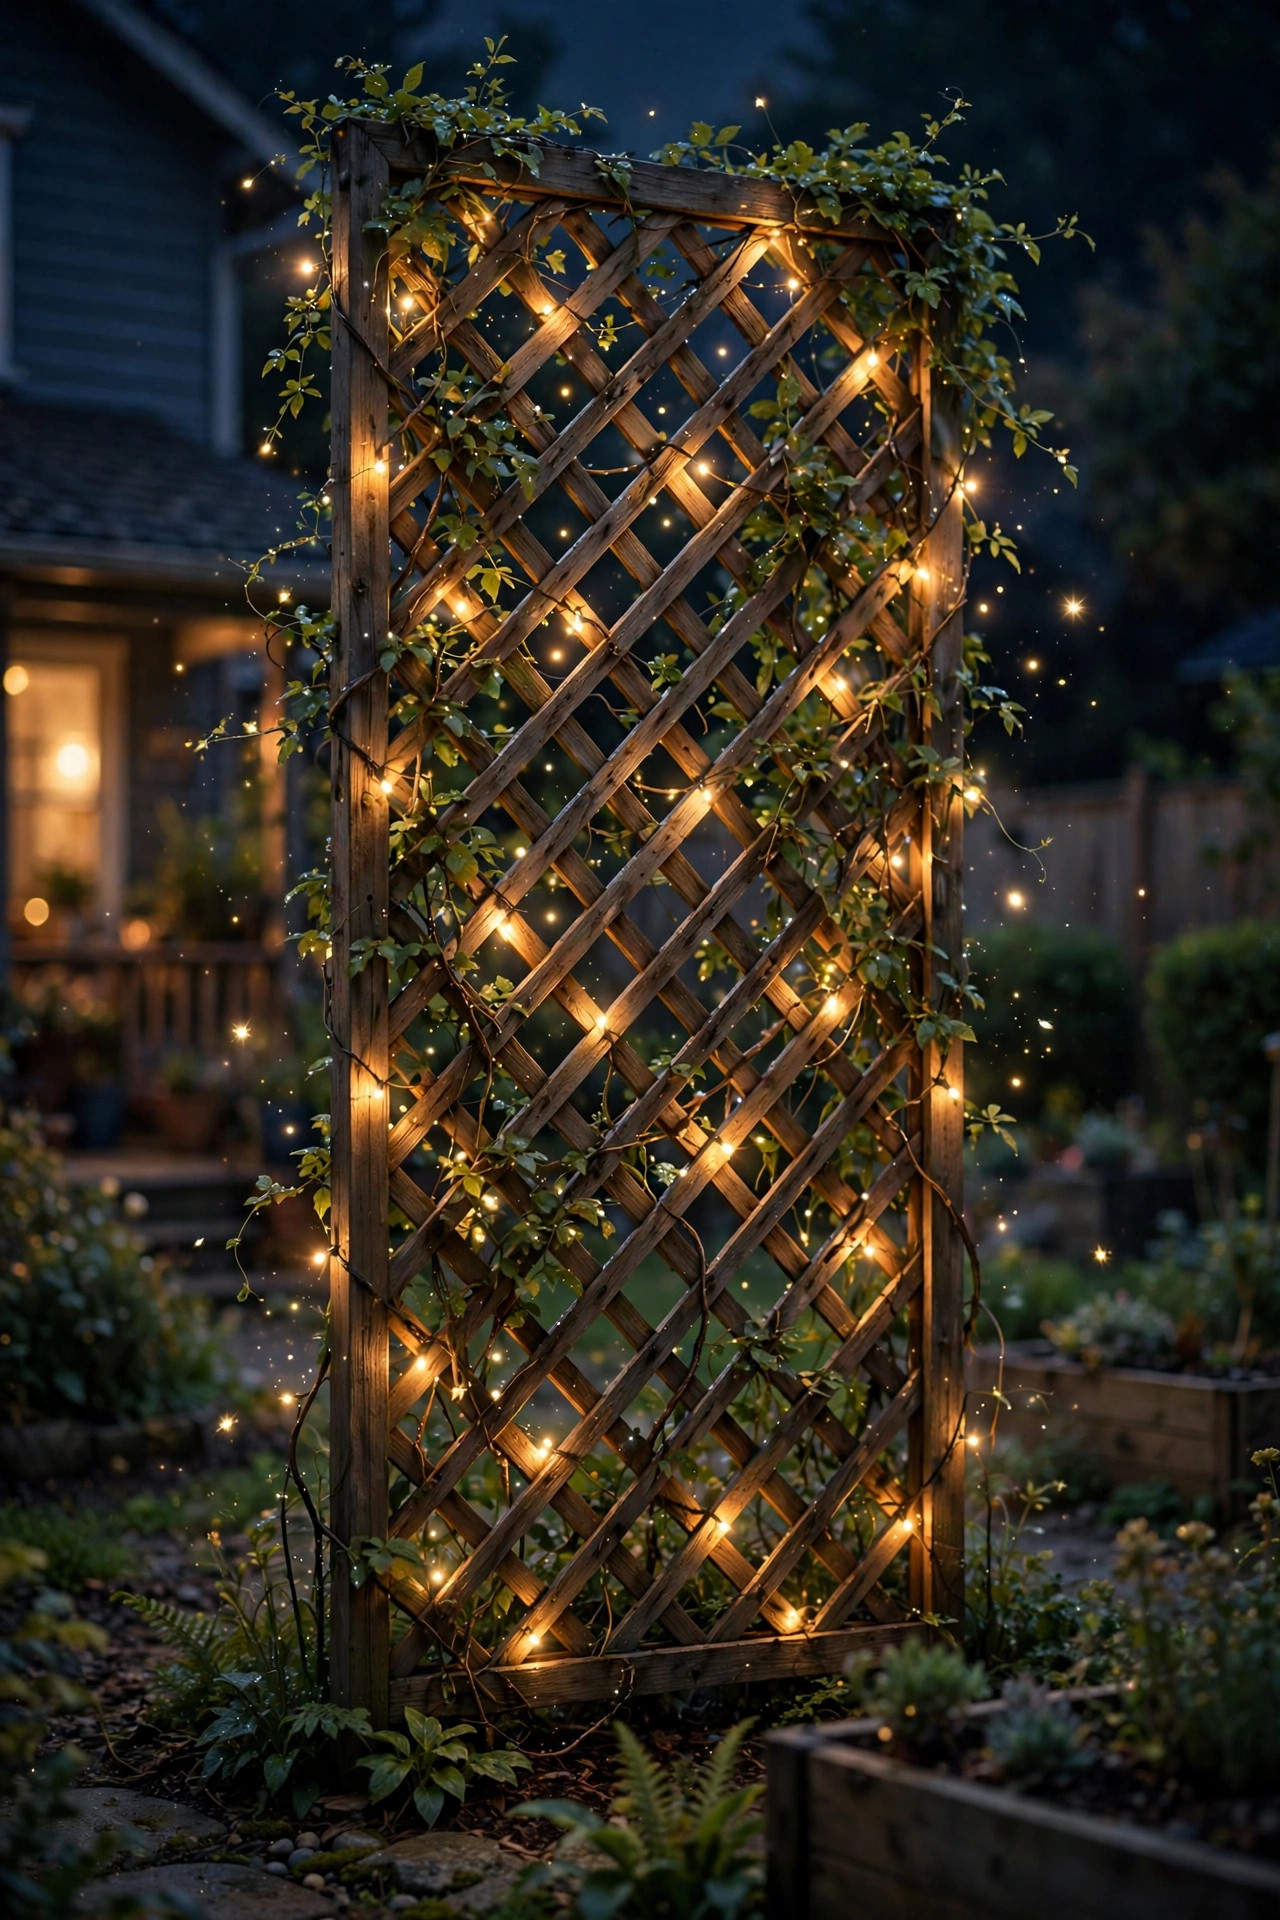
16. Build a Twinkle Wall on a Fence Lattice Panel
A lattice panel covered in fairy lights is my favorite answer to "the neighbor's yard is right there." It blocks the view, it glows, and it looks like a fairy grotto once the jasmine or clematis grows in around the lights.
Mount a 4-by-8-foot cedar or vinyl lattice panel to your fence posts (or free-standing posts 2 feet in the ground, 3 feet of panel above). Weave two or three 50-foot fairy light strands through the lattice openings in a loose zigzag, 4 to 6 inches between passes, securing every few feet with small zip ties. The lattice holes do the spacing work for you — the result is an even twinkle grid.
Then plant a fast-growing vine at the base — clematis, jasmine, or morning glory all work. The foliage will weave through the lattice around the lights over one growing season, and at night you'll see glow peeking through living leaves. In my experience, warm white against green foliage at night is one of the prettiest combinations in the whole yard.
Use outdoor-rated strands and keep all plugs and connections behind the panel in a weatherproof box. Prune the vine twice a season so it doesn't engulf the wiring — you want glow through leaves, not a light-eating hedge. LED-only here, since leaves and dry vines plus heat is a bad mix.
Suggested budget range: $45 – $90.
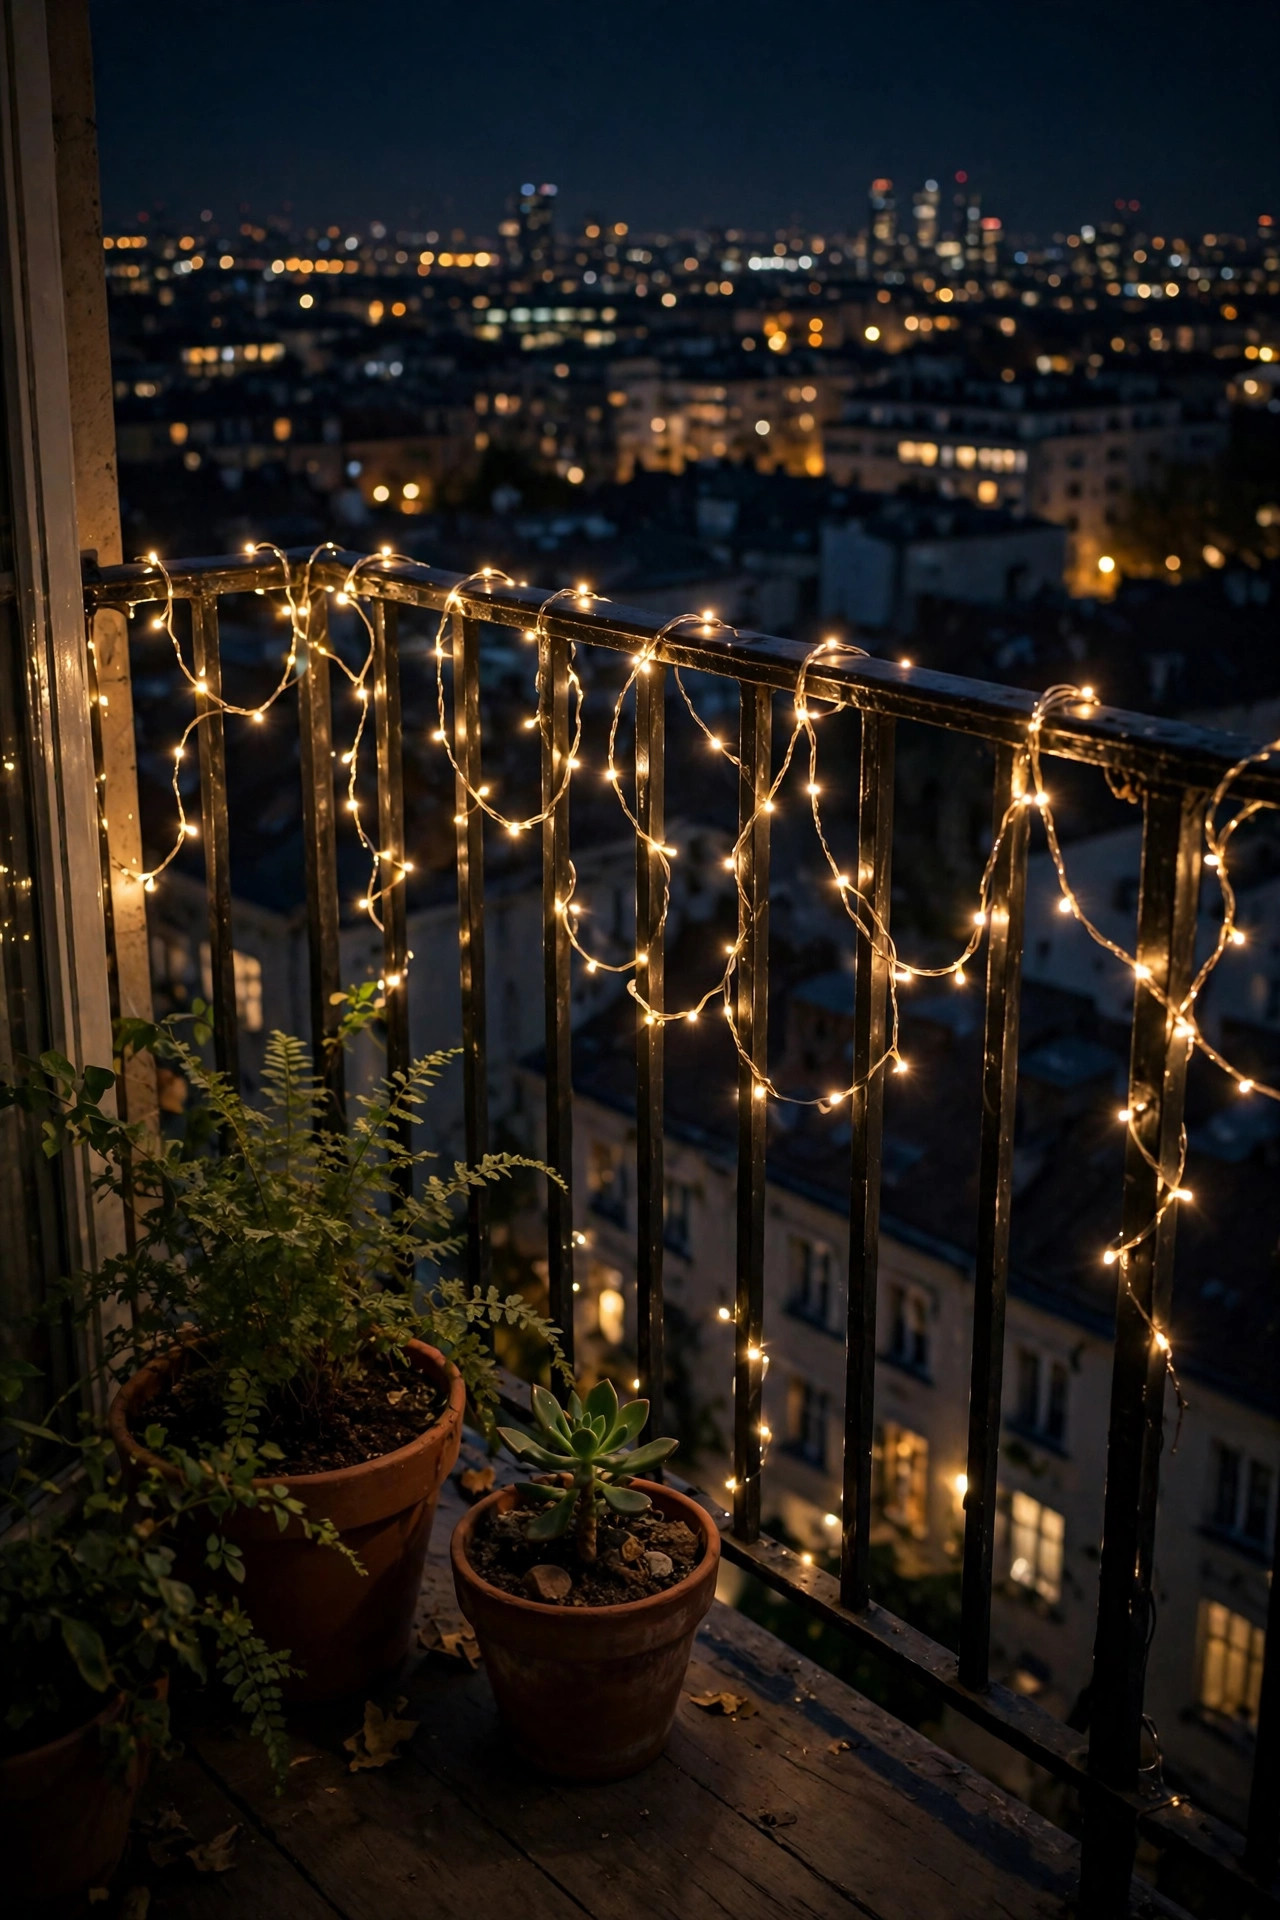
17. Line a Balcony or Apartment Railing with Mini Fairy Lights
Small-space dwellers, this one's for you. A balcony railing lined with mini fairy lights gives an apartment patio the same golden-hour-every-hour feeling as a suburban backyard — and the whole project fits in a tote bag.
Since you can't drill metal railings, use removable outdoor adhesive clips (they hold through rain and pop off cleanly in spring). Run one 33-to-66-foot strand along the inside of the top rail, 1 to 2 inches below the edge, clipping every 12 inches. A second strand woven through vertical balusters at mid-height adds the layered look without any extra hardware.
In my experience, battery-operated copper-wire strands are the balcony hero — no outlet hunting, no cords snaking through a sliding door. The ultra-thin copper wire practically vanishes against dark metal railings. Tuck the battery pack into a railing planter or a small pouch hung inside the railing where it stays dry. Set the strand's built-in timer (most have a 6-hours-on/18-off cycle) so it clicks on at dusk automatically.
If your balcony is windy — and most are, higher up — twist the strand once around each baluster instead of just clipping to the rail; the friction keeps everything put. Keep the lights on the inside of the railing so they glow for you rather than flashing into the neighbors' windows, and check your lease or HOA rules before mounting anything permanent.
Suggested budget range: $15 – $30.
18. Light Up a Garden Trellis or Archway
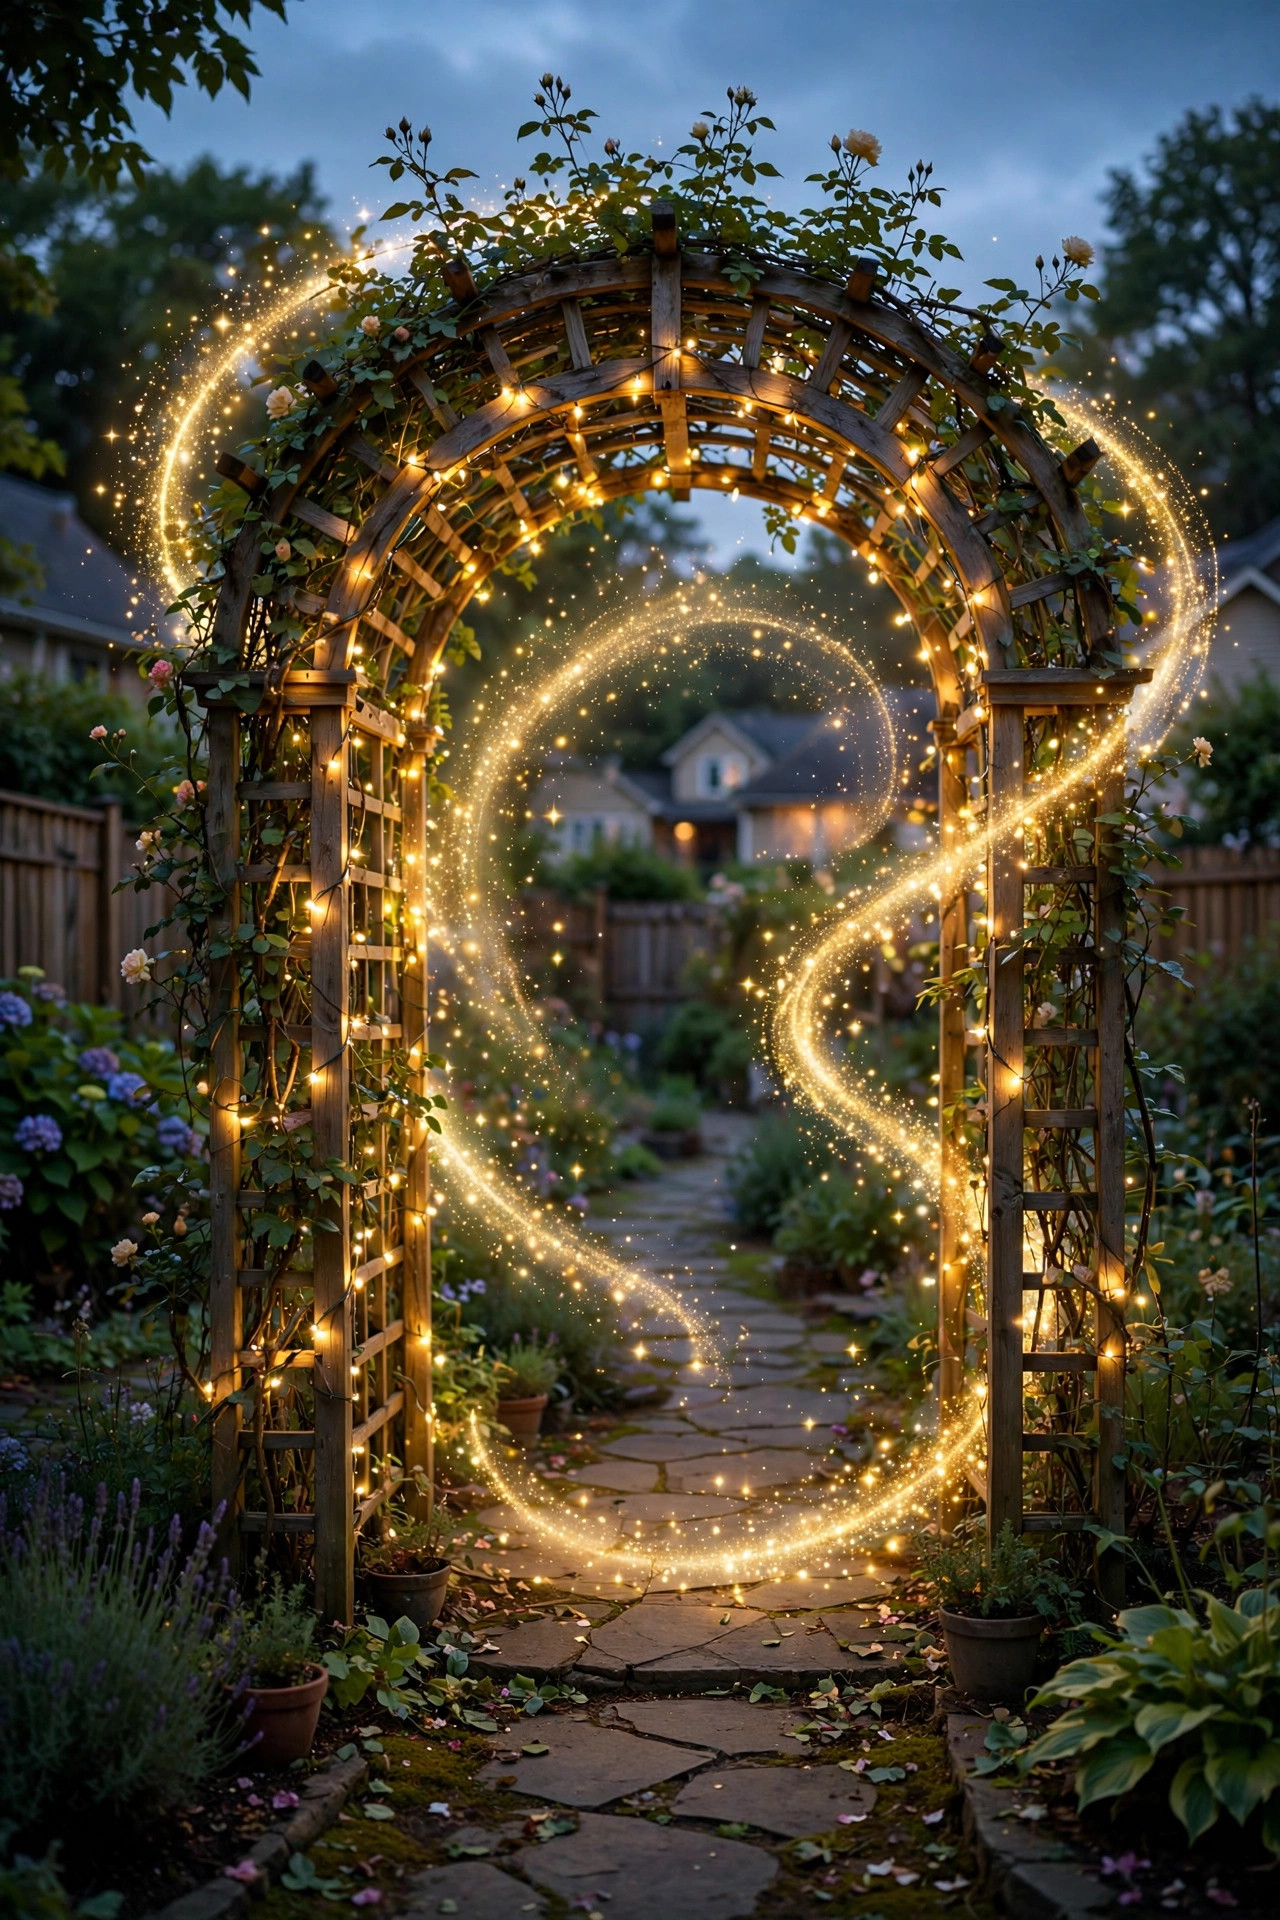
A trellis or garden arch strung with fairy lights becomes a glowing portal — especially magical at the entrance to a side garden, over a gate, or framing the path to the front door. Guests walk under it and audibly say "ooh." Every time.
Spiral one 40-to-60-foot strand up each leg of the arch, 3 inches between wraps, then run 2 to 3 strands across the top in loose swags with 10 to 14 inches of drop each. A standard 8-foot garden arch needs roughly 150 to 200 feet of lights total for full coverage — it sounds like a lot until you see how much wire an arch eats. Secure with zip ties every 18 inches, hidden on the back side of the wood or metal.
I always recommend mixing two strand types here: copper-wire micro lights for the delicate twinkle along the legs, and one strand of slightly larger "rice" lights across the top swags so the canopy of the arch has visible sparkle. Warm white throughout — two different whites in the same archway clash in a way you'll notice every night.
Plant the base with climbing roses, wisteria, or clematis for the full fairy-portal effect; the blooms catch the light and throw soft shadows on the path. Use outdoor-rated, LED-only strands on a dusk timer, and give woody climbers a yearly haircut so the vines don't swallow the wiring.
Suggested budget range: $40 – $85.
19. Stake "Fireflies" Through the Garden Beds
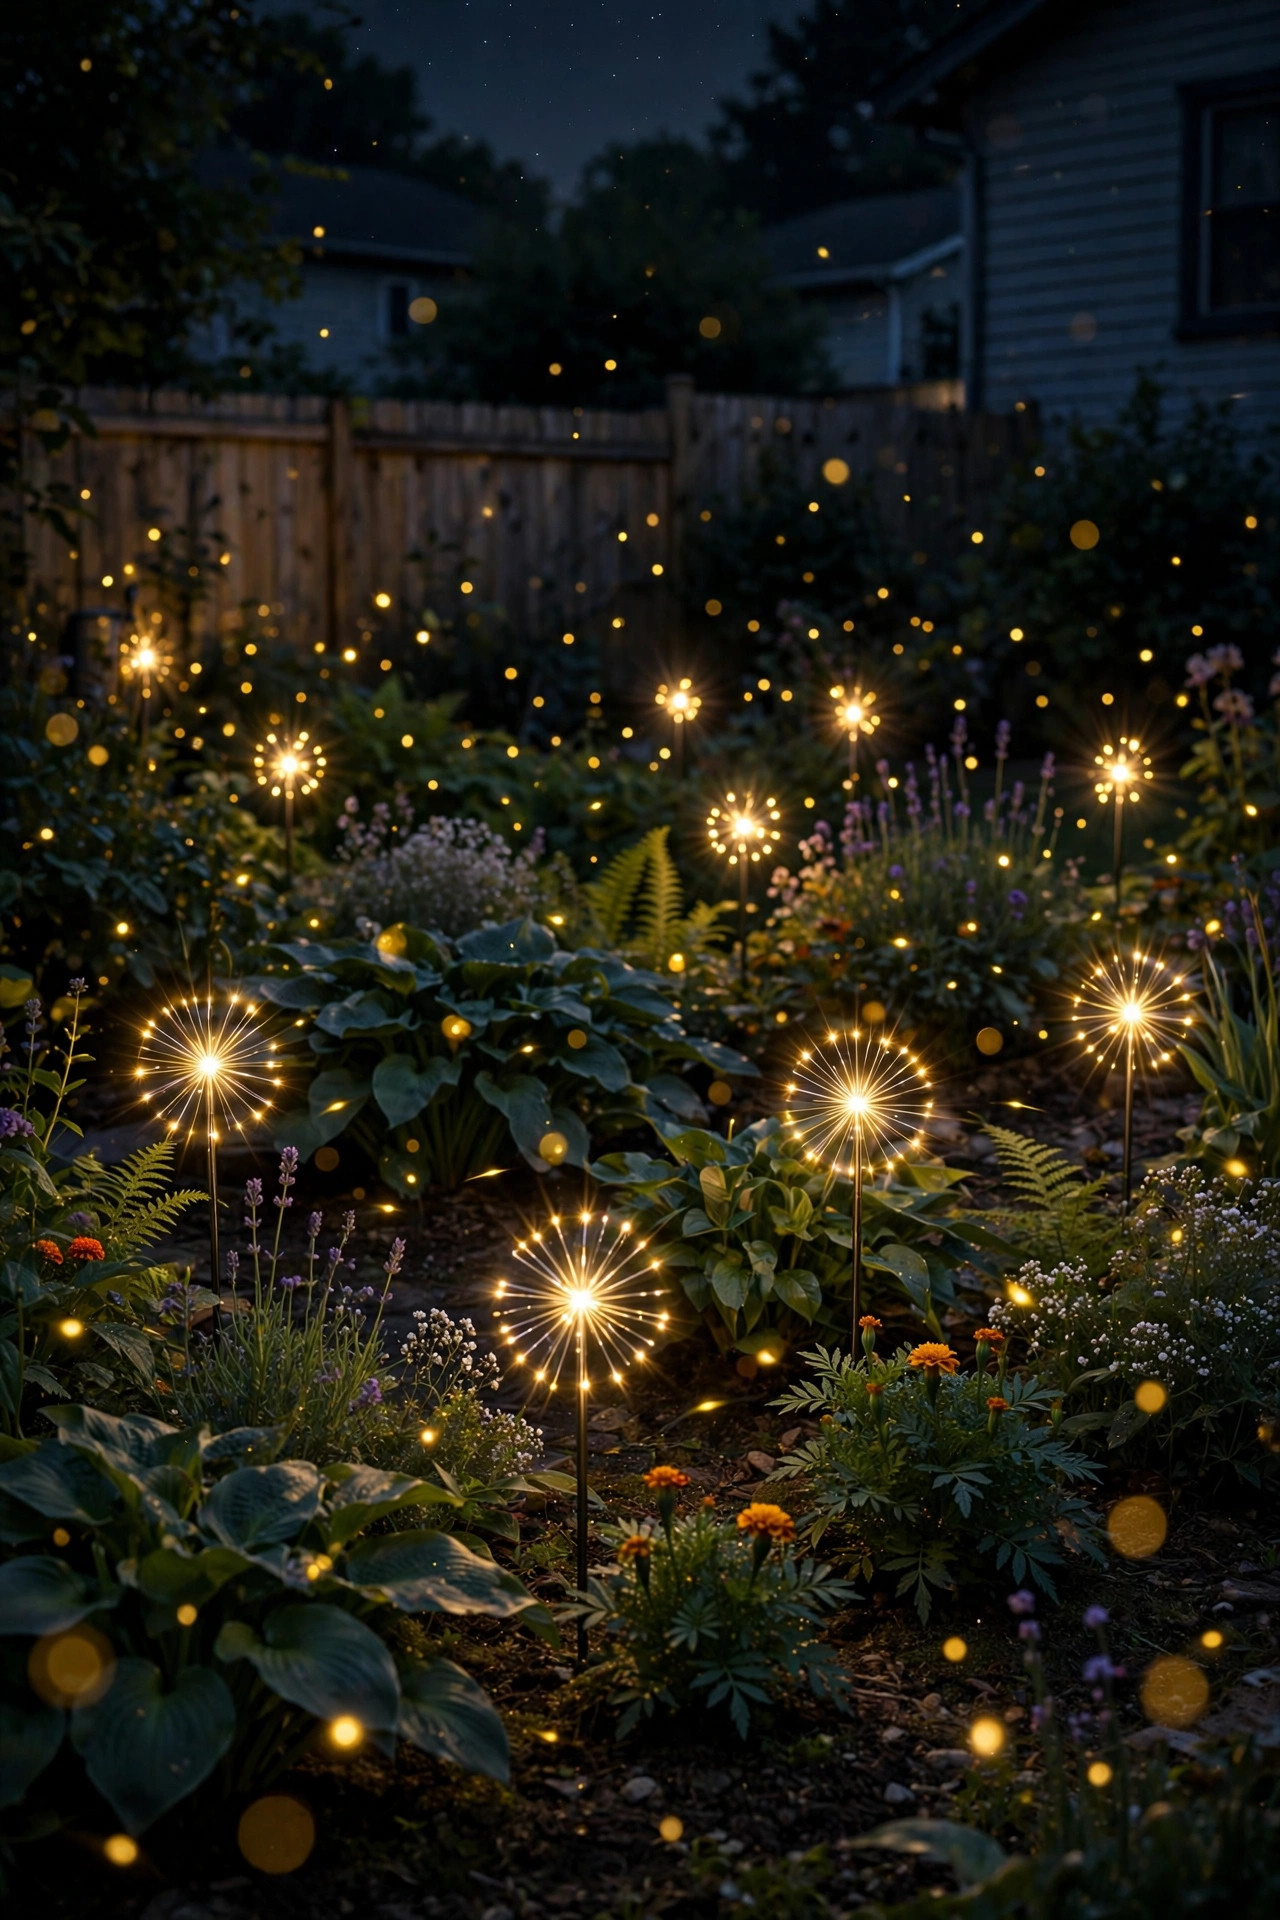
Twinkling stakes scattered through garden beds create the firefly effect — tiny points of light hovering over the mulch at knee height. It's whimsical, it's cheap, and it's the one idea my kids ask for by name every spring.
Push starburst or branching fairy light stakes — typically 20 to 30 inches tall with a spray of 10 to 20 micro LEDs — into the soil among the plants, spacing them 3 to 5 feet apart so each reads as its own little constellation. Ten to fifteen stakes fill a typical 20-foot bed; cluster them in odd groups of three or five, not a straight line, for a natural look.
Solar stakes are the easy pick since beds are rarely near outlets: the tiny panel sits at the top of the stake and charges by day. But honestly? The built-in panels on cheap stakes are the weak link — they fade by midnight on cloudy days. I always recommend mixing in a few battery stakes for the spots that matter most, or spending a few dollars more per stake on ones with larger panels.
Since stakes live in the soil, pull them before mulching day and re-seat them after — mulch volcanoes bury the panels. In winter, pull them entirely and store them in a dry bin; one freeze-thaw cycle in wet soil is how most stakes die. LED-only, always — these sit in dry mulch all summer.
Suggested budget range: $25 – $55.
20. String Fairy Lights Around a Hammock Zone
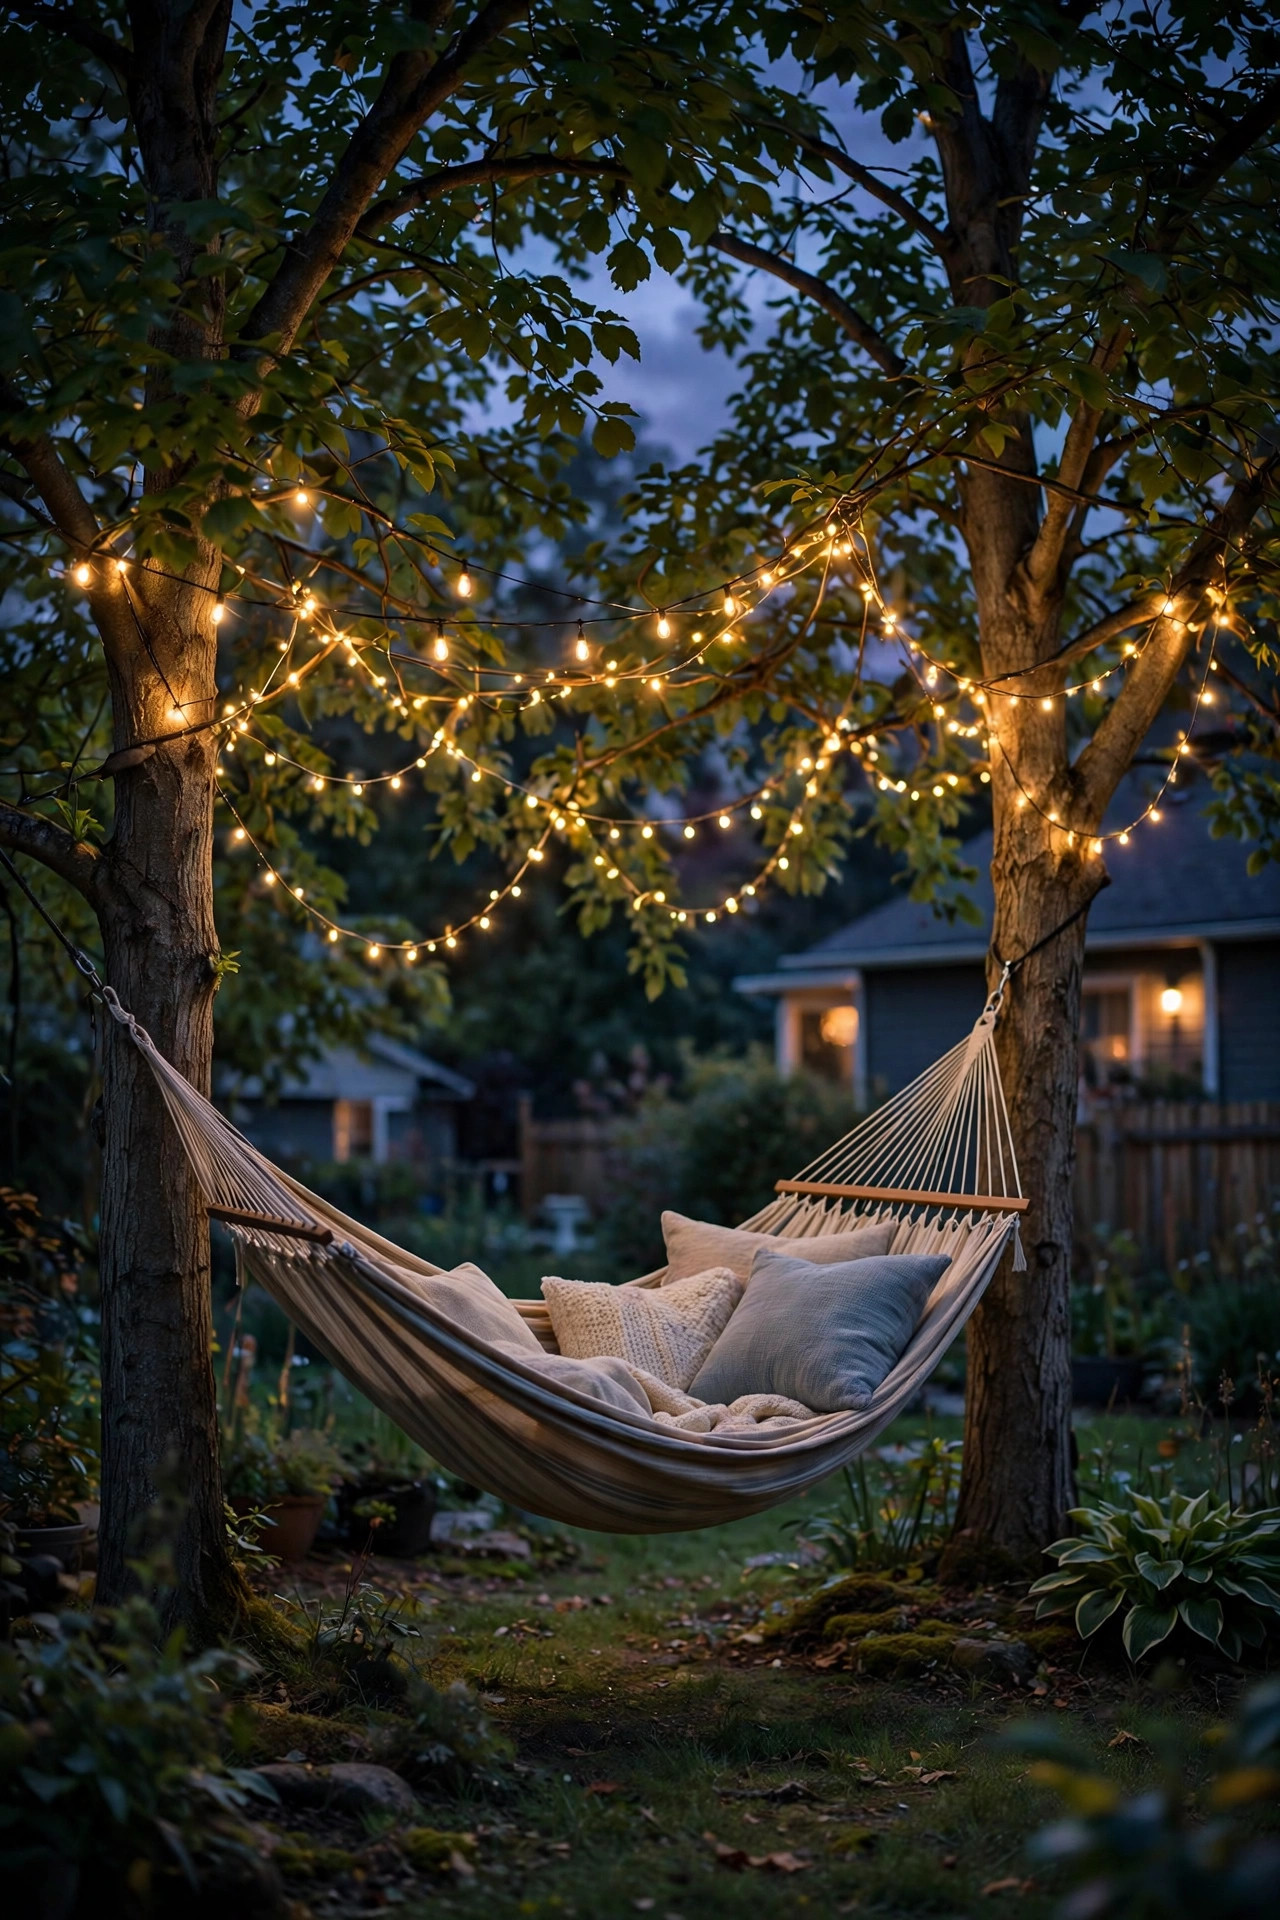
A hammock with fairy lights strung overhead is the backyard's official do-nothing headquarters. Two trees, one hammock, a few strands of lights — and you have the most fought-over seat in the house.
You need two sturdy points above and around the hammock: the trees the hammock hangs from, or posts set 12 to 15 feet apart flanking it. Run 2 to 3 strands in a loose zigzag between the two trees at 7 to 8 feet high, with 12 to 18 inches of sag per pass so the lights drape like a canopy rather than a tightrope. Add a second, lower layer at 5 to 6 feet on one side — in my experience that low strand is the one that makes you feel tucked in.
Leave plenty of clearance above the hammock's sway: when you're in it and swinging, the fabric rises and dips 12 to 18 inches, so keep the lowest light at least 2 feet above your head at the hammock's lowest point. Nothing ruins a nap like a faceful of fairy lights.
Battery-operated strands shine here (pun intended) because hammock spots are usually far from outlets. Tuck the battery packs into weatherproof pouches zip-tied to the tree trunks at chest height where you can reach them for battery swaps. And one non-negotiable: inspect the trees yearly — dead branches plus anything electrical is a risk, lights or not.
Suggested budget range: $20 – $45.
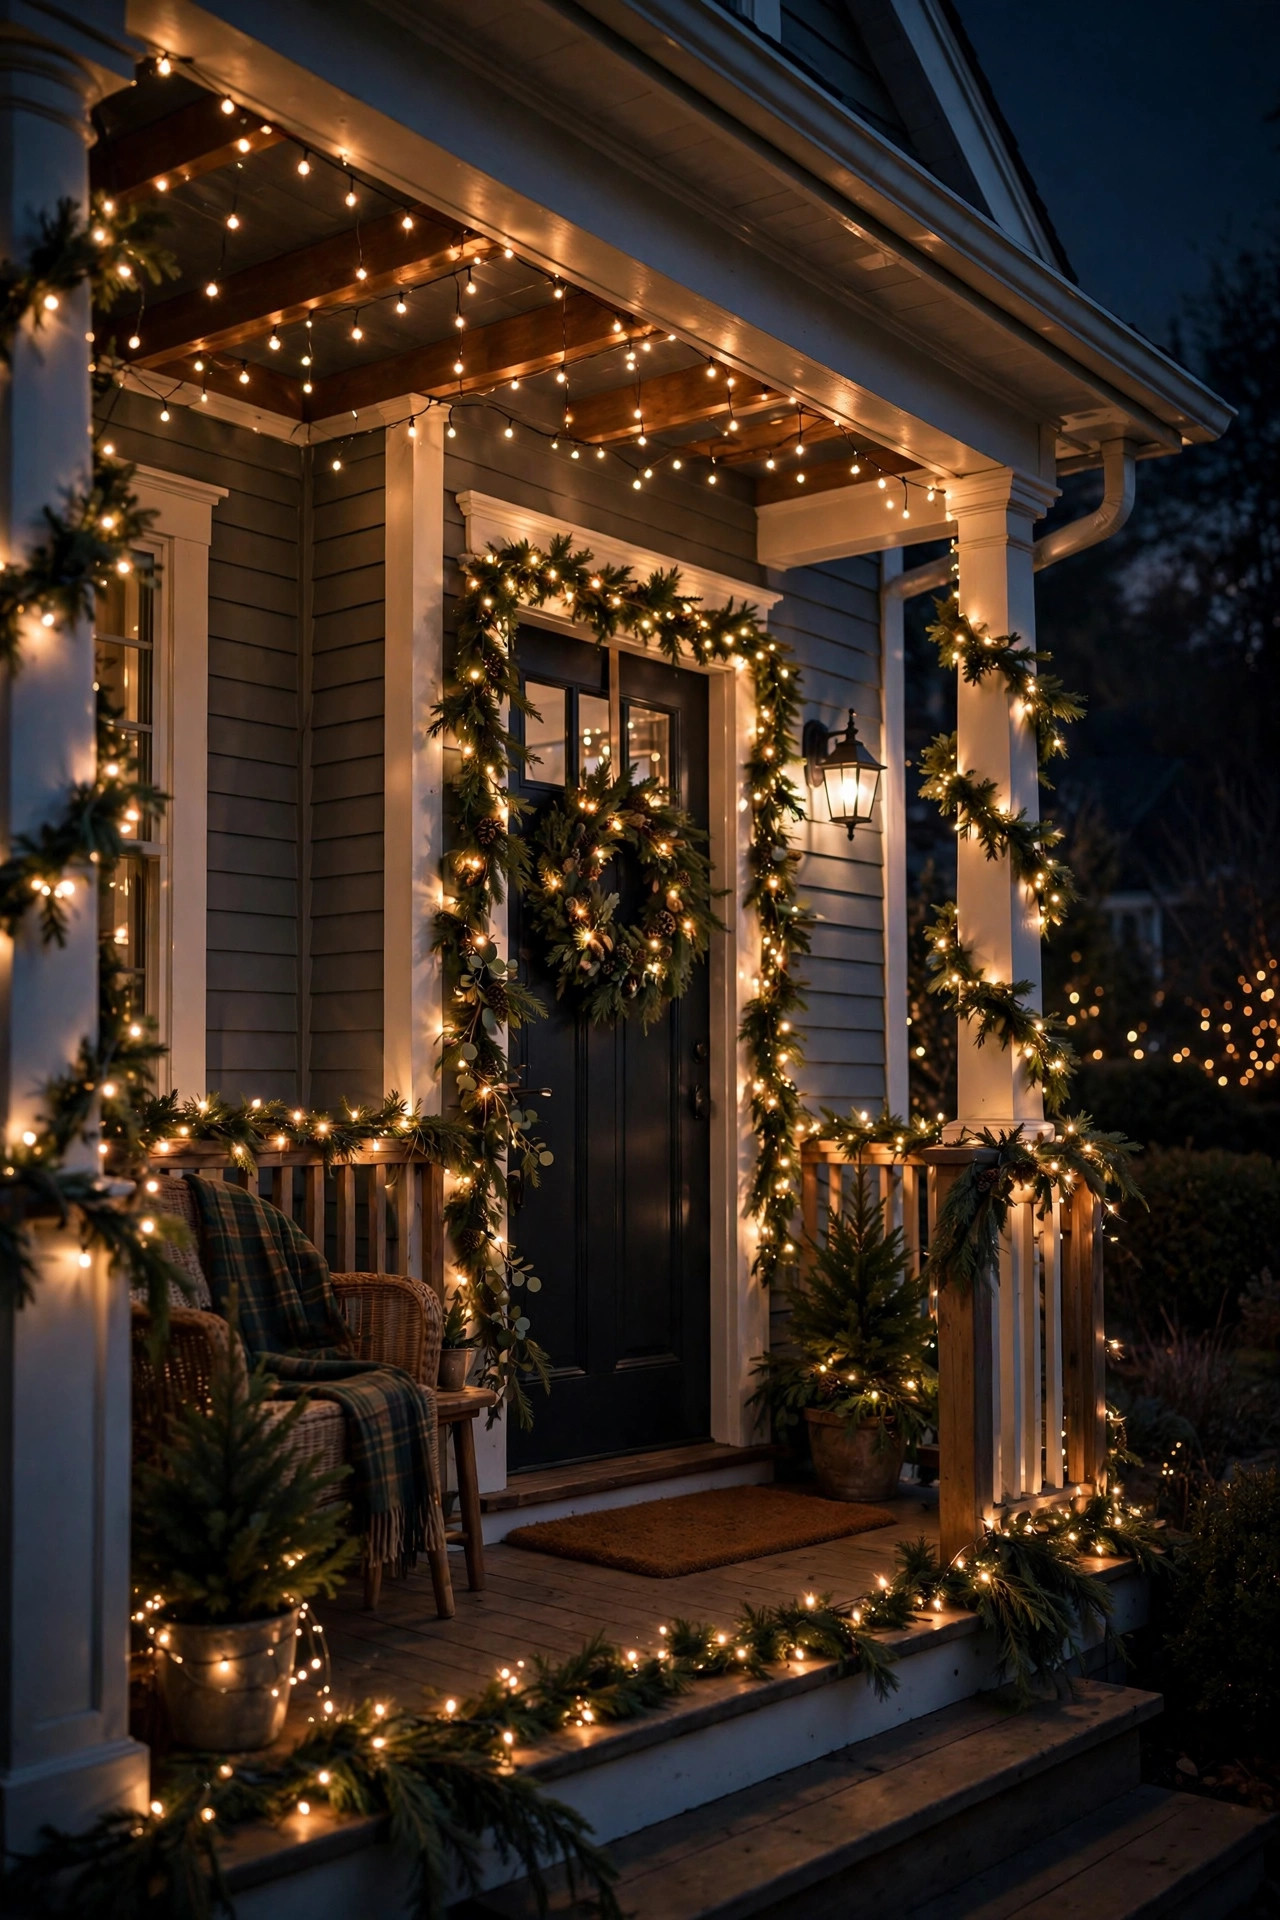
21. Go Full Holiday Magic — Festive Outdoor Fairy Lights Ideas for Every Season
Fairy lights are the one decoration that works for every holiday — you just change the color story around them. Keep your warm white strands up year-round and re-style the surroundings for Halloween oranges, Thanksgiving ambers, and Christmas reds and greens. It's the most budget-friendly holiday strategy I know.
For Christmas, add a second layer of cool white or multicolor lights over your warm white base — the warm-cool mix is what makes professional displays look so rich. Wrap porch columns, fill urns with lit branches, and outline the front door; 3 to 5 strands per focal point is the sweet spot. Cluster densely in a few spots rather than spreading 10 strands thin — it looks far more expensive.
Halloween is even easier: drape orange-tinted fairy lights through bare shrubs and hang them inside carved pumpkin displays (LED-only — real candles and foam pumpkins are a fire waiting to happen). For Thanksgiving, amber strands woven through fall garlands on the porch railing are perfect.
When you're ready to plan the full holiday display, our roundup of outdoor Christmas light ideas has dozens of ways to layer fairy lights with garlands, wreaths, and projectors. And since holiday season means more lights plugged in at once, never skip the basics: outdoor-rated strands, GFCI outlets, and no more than three strands daisy-chained together.
Suggested budget range: $35 – $80.
Frequently Asked Questions
What color temperature looks best for outdoor fairy lights?
Warm white between 2700K and 3000K is the sweet spot for almost every outdoor setting — it reads as candlelight and flatters wood, stone, and foliage. For an extra-cozy, almost-amber glow (especially over dining areas), 2200K strands look incredible. Cool white (4000K+) tends to look bluish and harsh against bark and brick, so I only use it for modern or winter-holiday displays. If you're buying online and the color temperature isn't listed, look for the words "warm white" and check reviews for photos — unfiltered seller photos at night tell you the truth.
Are fairy lights waterproof? Can they stay outside all year?
Most outdoor-rated fairy lights are water-resistant, not waterproof — look for an IP44 rating or higher, which means they handle rain and splashes. IP65 strands handle direct water exposure like fountain spray. Battery packs and solar panels are the weak links: they're usually only splash-resistant, so tuck them under cover or in weatherproof pouches. Even good outdoor strands last longer if you take them down for the worst winter months in harsh climates; in mild regions, quality LED strands happily live outside year-round for 2 to 3 seasons.
Solar vs. plug-in vs. battery fairy lights — which should I buy?
It depends on the spot. Plug-in strands are the brightest, run all night, and cost the least per foot — use them anywhere within reach of an outlet for permanent installations like canopies and fence lines. Solar strands are perfect for far corners of the yard with no power, but they need 5 to 6 hours of direct sun and fade on cloudy days. Battery strands are the portable middle ground: great for umbrellas, planters, and tables, but plan on swapping rechargeable cells monthly in heavy use. For most yards, a mix of all three is the honest answer.
How do I hang fairy lights without damaging my house or fence?
For wood and vinyl, screw-in cup hooks or outdoor-rated adhesive clips every 18 to 24 inches are the standard — cups hold the most weight and come out cleanly when unscrewed. On brick or stucco, use masonry anchors with hooks, or run a steel cable between two anchor points and drape the lights from it. Never staple or nail through the wire itself (nicked insulation plus rain causes shorts), and always leave a little slack so wind doesn't rip the anchors out. For rentals, removable adhesive clips rated for outdoor use hold surprisingly well and pop off without a trace.
Conclusion
Here's the thing I keep coming back to after years of lighting up my own yard: the best outdoor fairy lights ideas aren't about buying more strands — they're about layering the light you have. One layer overhead, one at hand height, one low in the garden beds, and suddenly an ordinary Tuesday evening feels like a celebration. Start with one project from this list (the patio canopy or the tree wrap are my top picks), live with it for a week, and then add your next layer.
Your yard is already waiting to glow — all it needs is a strand or two and an evening to enjoy them. And if you catch the lighting bug like I did, browse our other outdoor lighting ideas for your next project. Happy glowing!
*– Sarah*