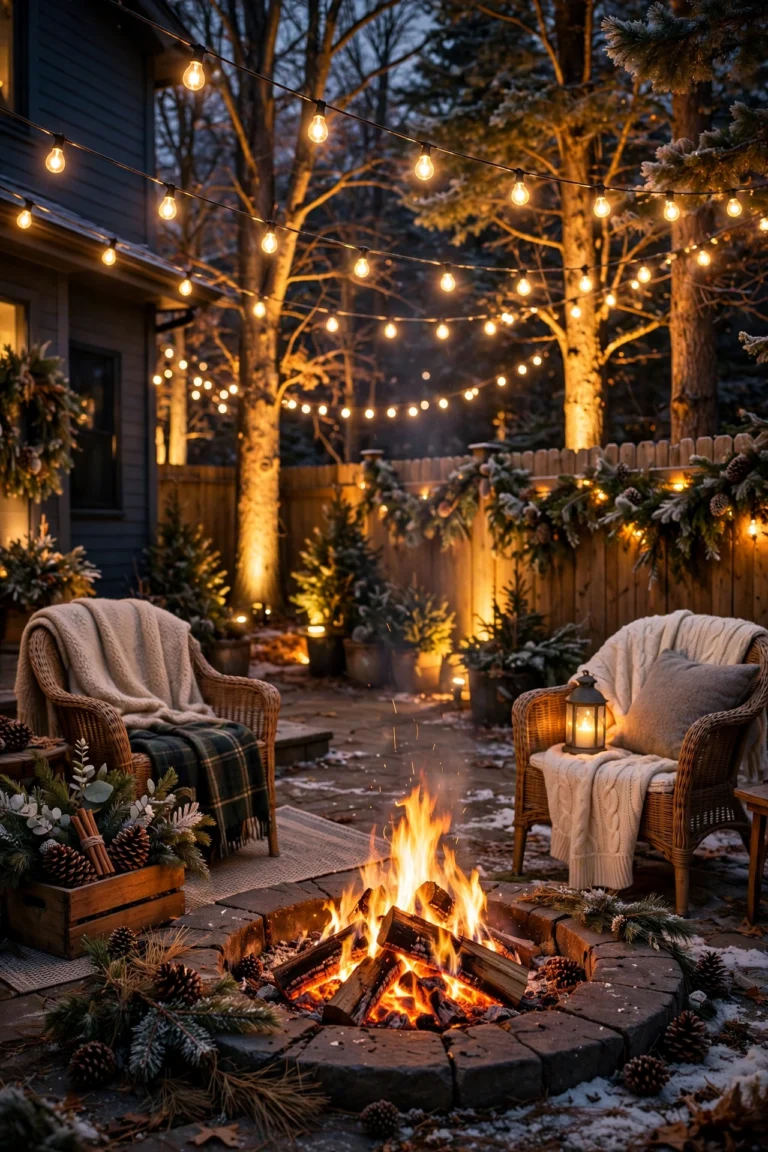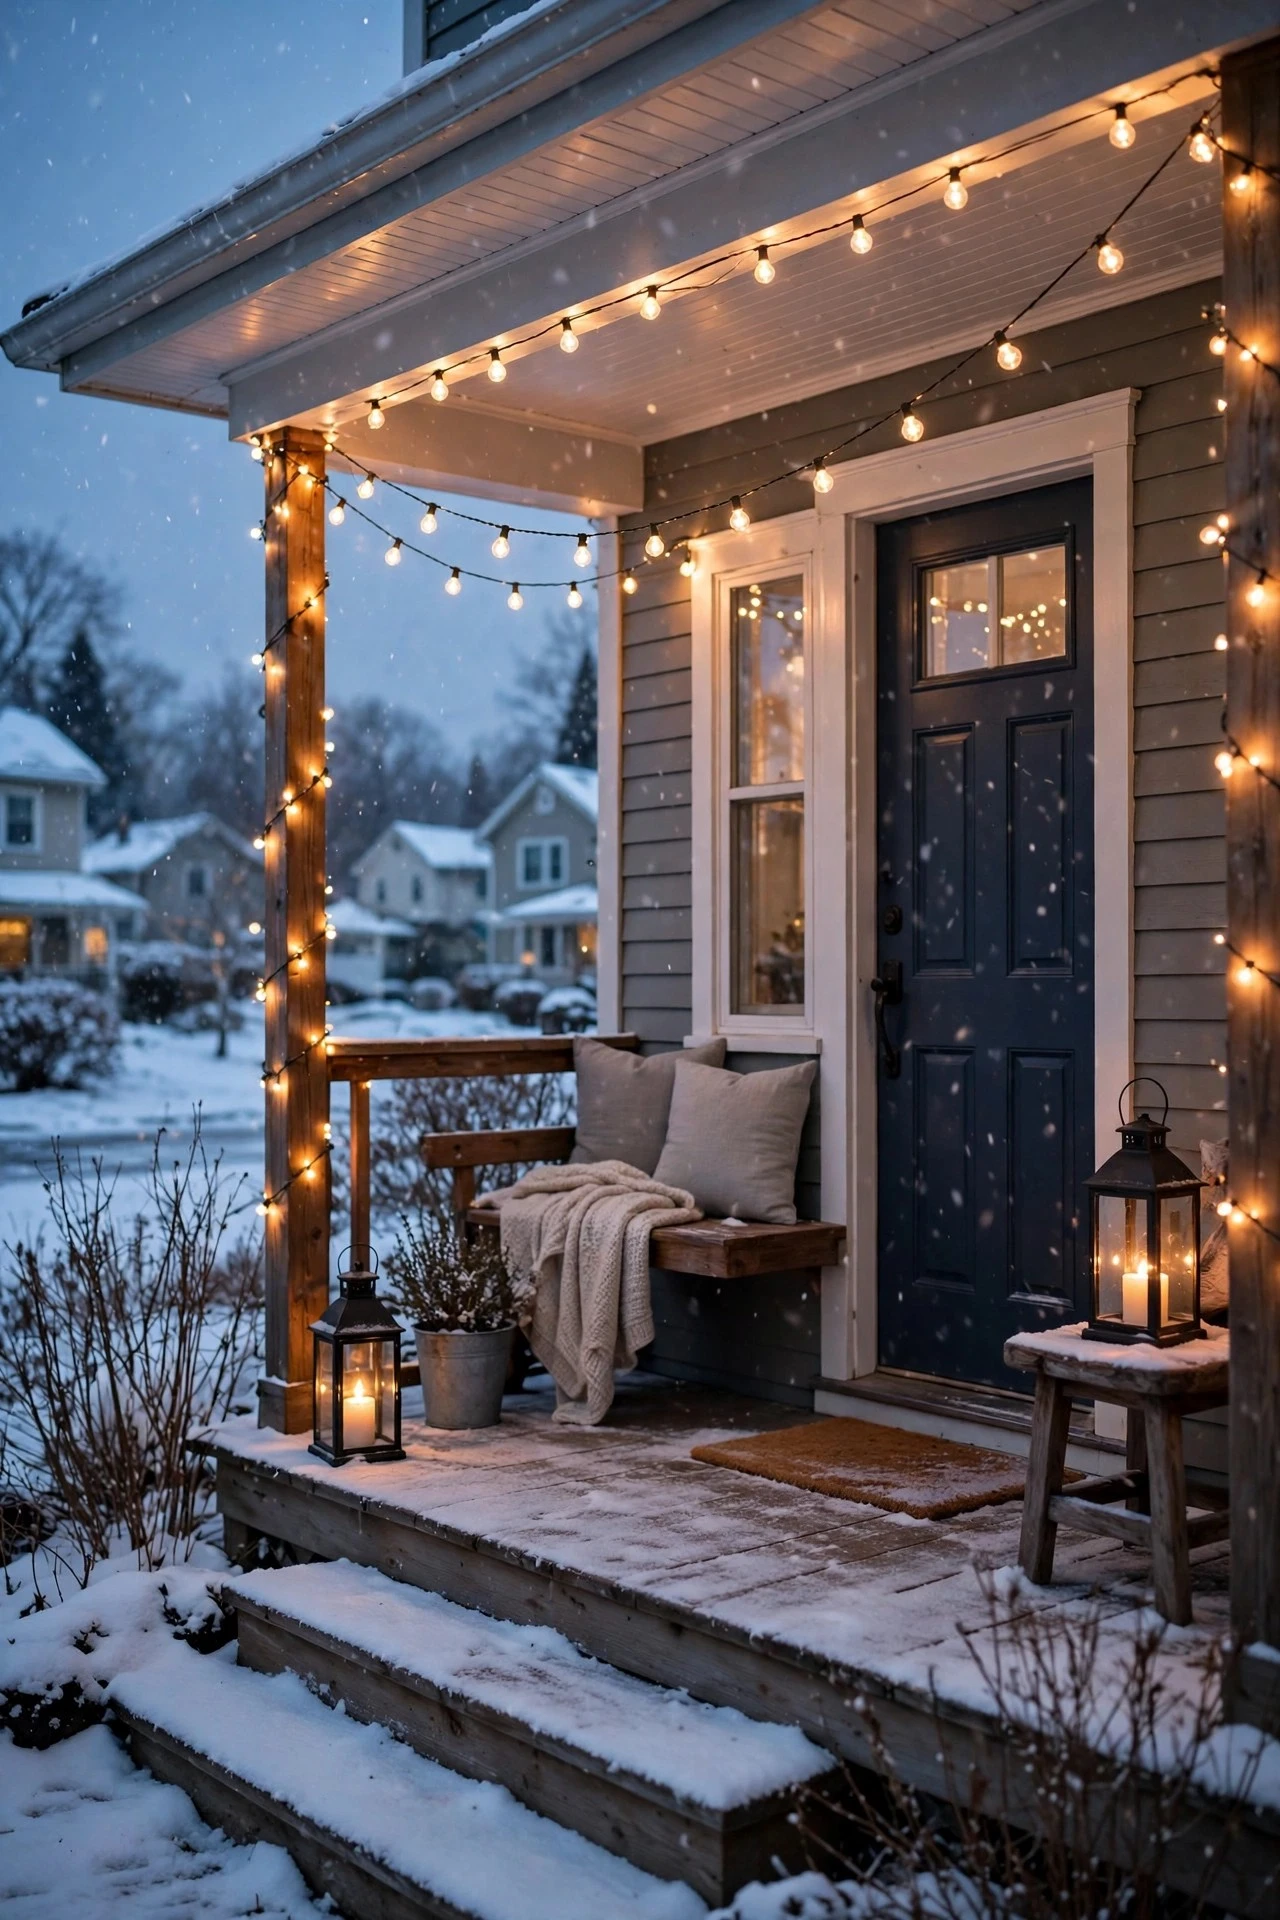
The tree is out on the curb, the ornaments are back in their boxes, and honestly? That first week of January the porch feels a little naked. But here's what I've learned after years of tweaking my entry: winter porch lighting ideas don't need red bows and tinsel to feel magical. In my experience, the post-holiday porch — dark by 5 pm, snow-dusted, quiet — is the perfect canvas for the warm, layered glow that makes coming home feel like a hug.
I always recommend the same layering philosophy I used for my fall porch lighting ideas: ambient light for overall warmth, accent light for the pretty details, and task light where you actually need to see your footing. In January and February, that practical layer matters most — icy steps are no joke. Below are 21 ideas that carry your porch from "Christmas is over" to a hygge-inspired winter welcome that lasts straight through Valentine's Day, all built around outdoor-rated fixtures, honest budgets, and cold-weather know-how.
1. Weave Warm-White Fairy Lights Through Bare Branches
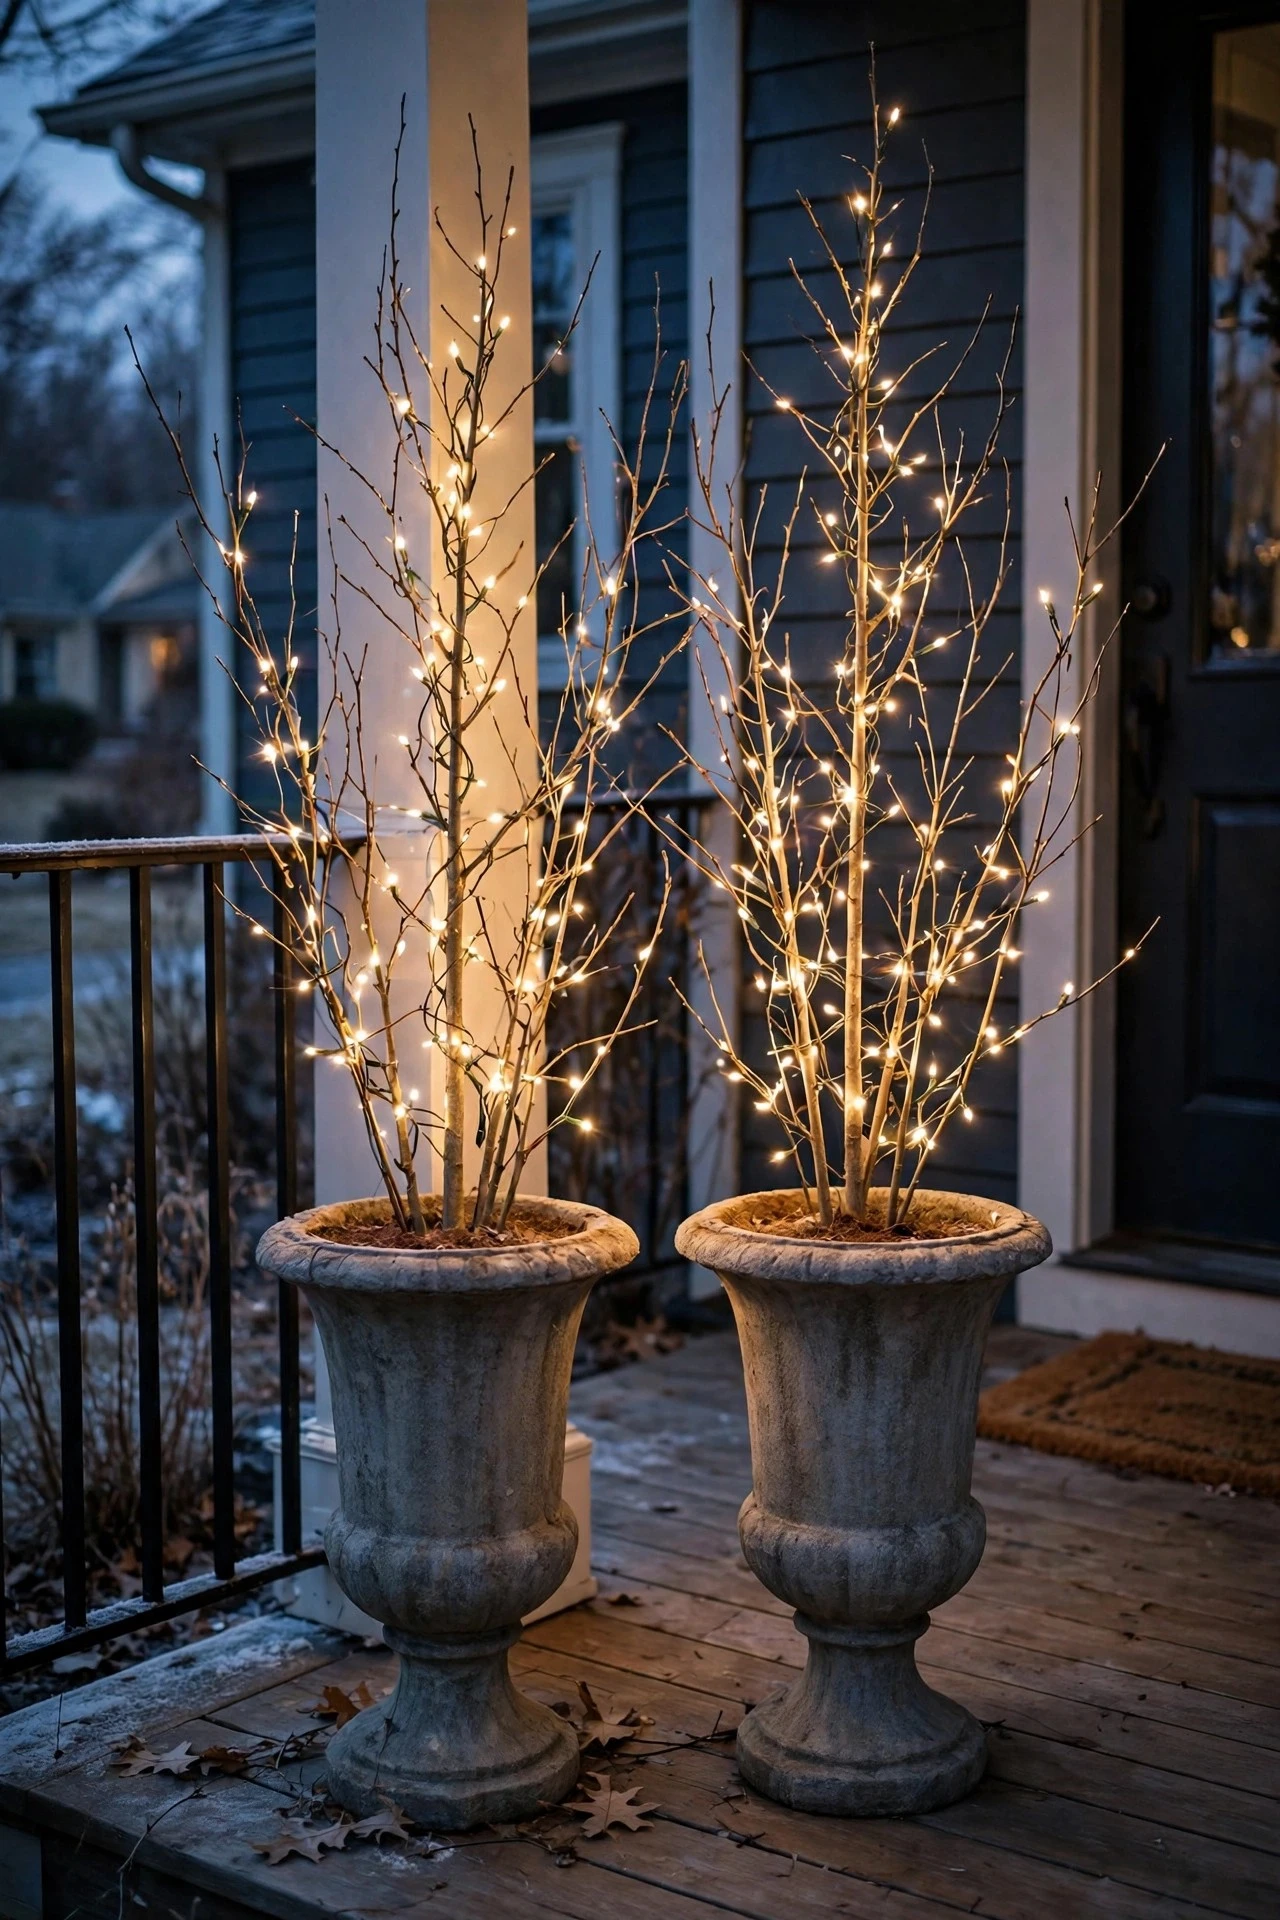
Those tall bare branches you see styled in January porch planters? They're the easiest winter win there is. I always recommend copper-wire fairy lights — a 33-foot strand with 100 warm-white micro LEDs — wound from the base of the branch bundle upward, spacing the wire every 3 to 4 inches as you spiral. Two strands will fill a pair of 24-inch-tall urn planters flanking your door.
For power, plug-in strands on an outdoor timer are the most reliable in freezing weather, but battery boxes work if you tuck the pack into a zip-top bag and nestle it under mulch or behind the branches — moisture is what kills them, not cold. Set the timer to run 4:30 to 10:30 pm so they're glowing at dusk without burning through the night. LED micro bulbs stay cool to the touch, which matters when they're tangled around dried wood; never use incandescent fairy lights on dry branches. If you love the restrained look, my minimalist outdoor Christmas decor roundup shares that same less-is-more spirit.
Suggested budget range: $20 – $45.
2. Flank the Front Door With Oversized Candle Lanterns
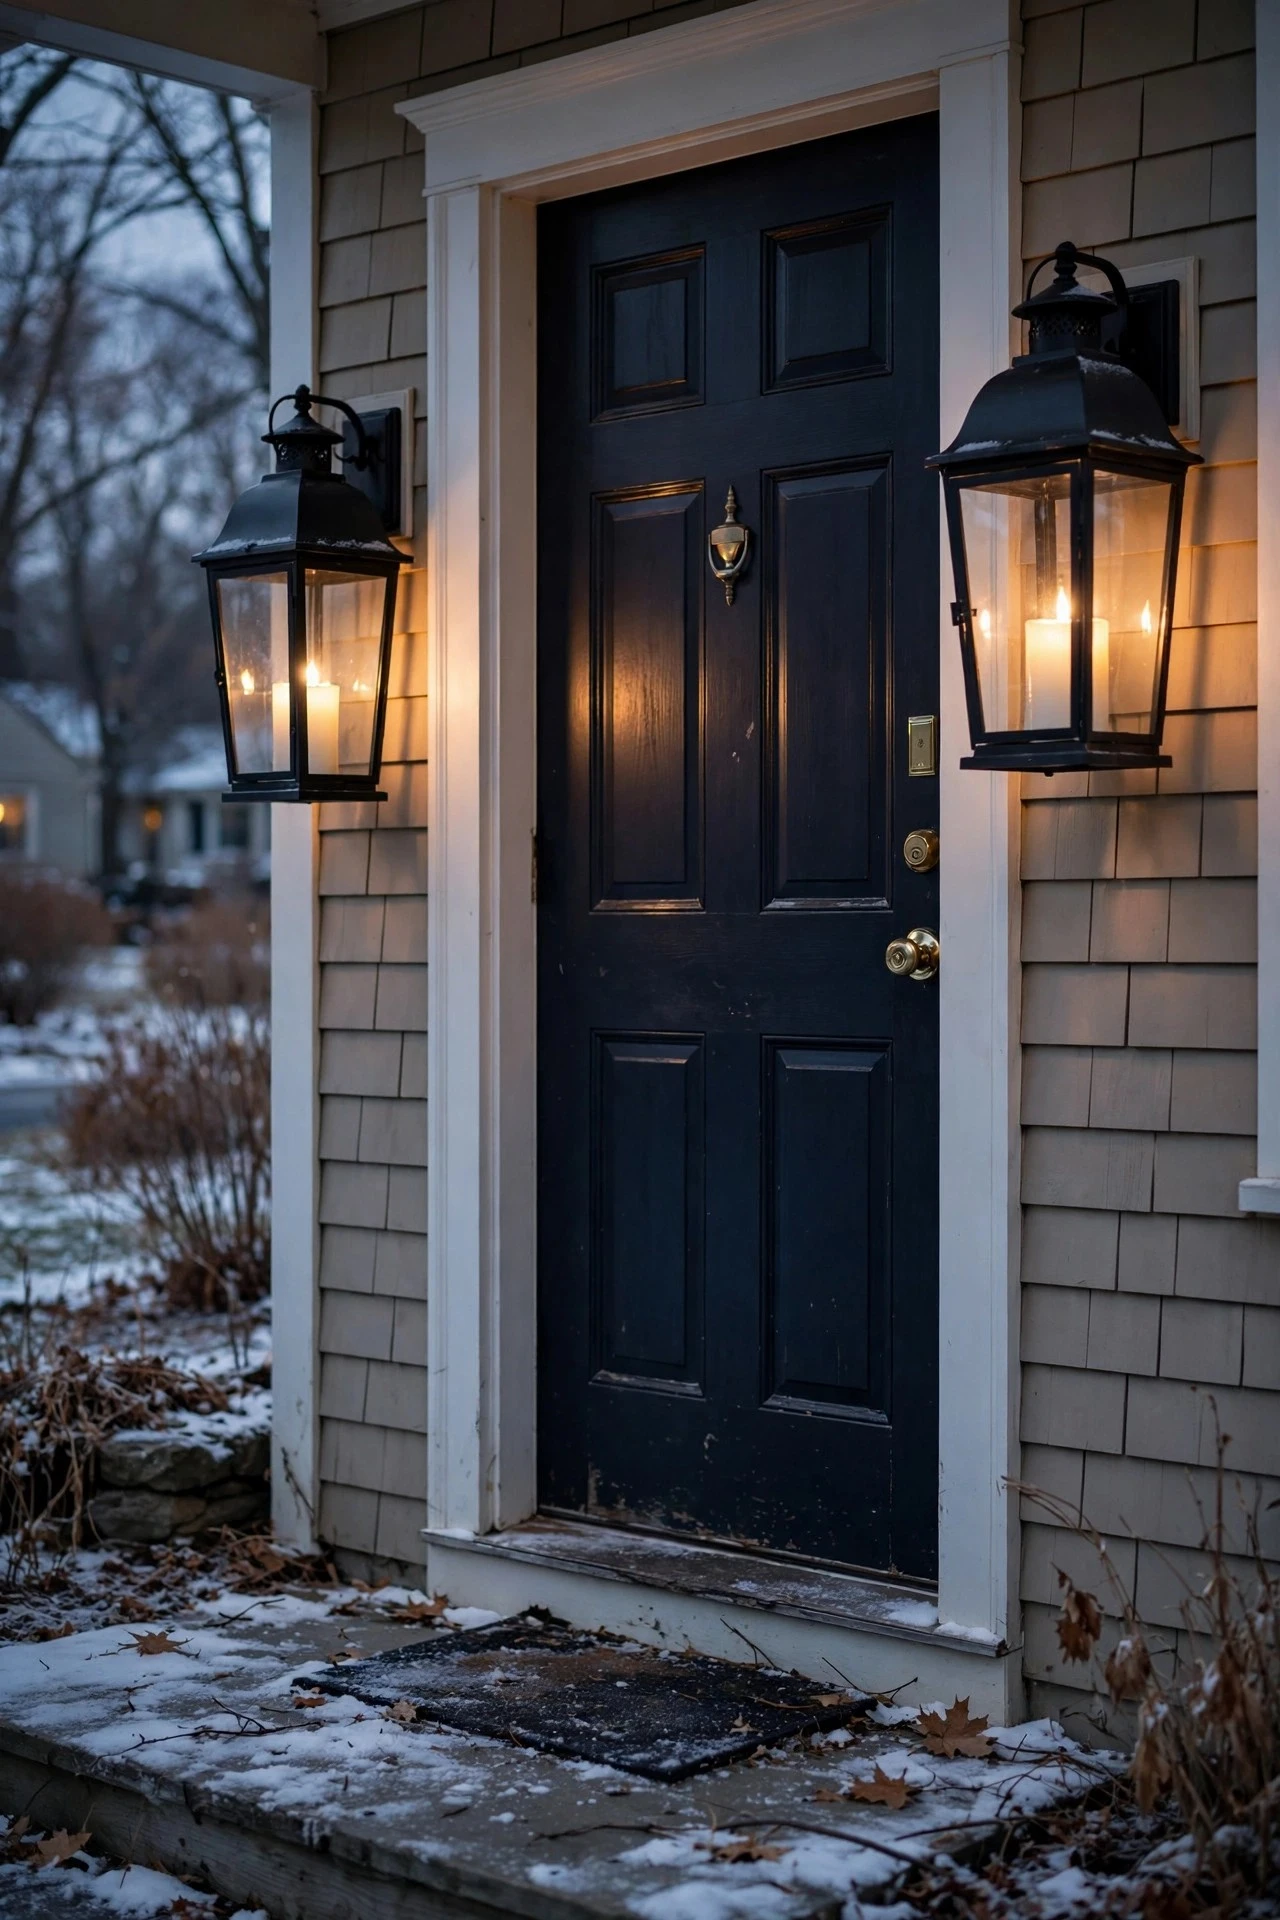
A pair of large lanterns — I'm talking 18 to 24 inches tall — turns your doorway into a storybook entry the moment the sun sets. Set one on each side of the door, about 12 to 18 inches out from the frame and pulled a few inches forward from the wall so the glow washes across the siding. Inside each, use a flameless LED pillar candle with a flicker effect; the taller the lantern, the taller the candle (a 6-inch pillar in a 24-inch lantern looks proportional).
Honestly? Real candles are a no-go outdoors in January — wind, ice, and dry winter air make them unreliable and risky. LED-only is the rule here. Choose lanterns with glass enclosures rather than open tops so snow and sleet can't reach the candle, and look for a battery candle with a built-in timer so they light themselves at 4 pm and click off by 10. Elevate the lanterns on a small crate or sturdy step stool for extra height if your porch ceiling is tall.
Suggested budget range: $35 – $90.
3. Build a Hygge Corner With Battery Lanterns on a Timer
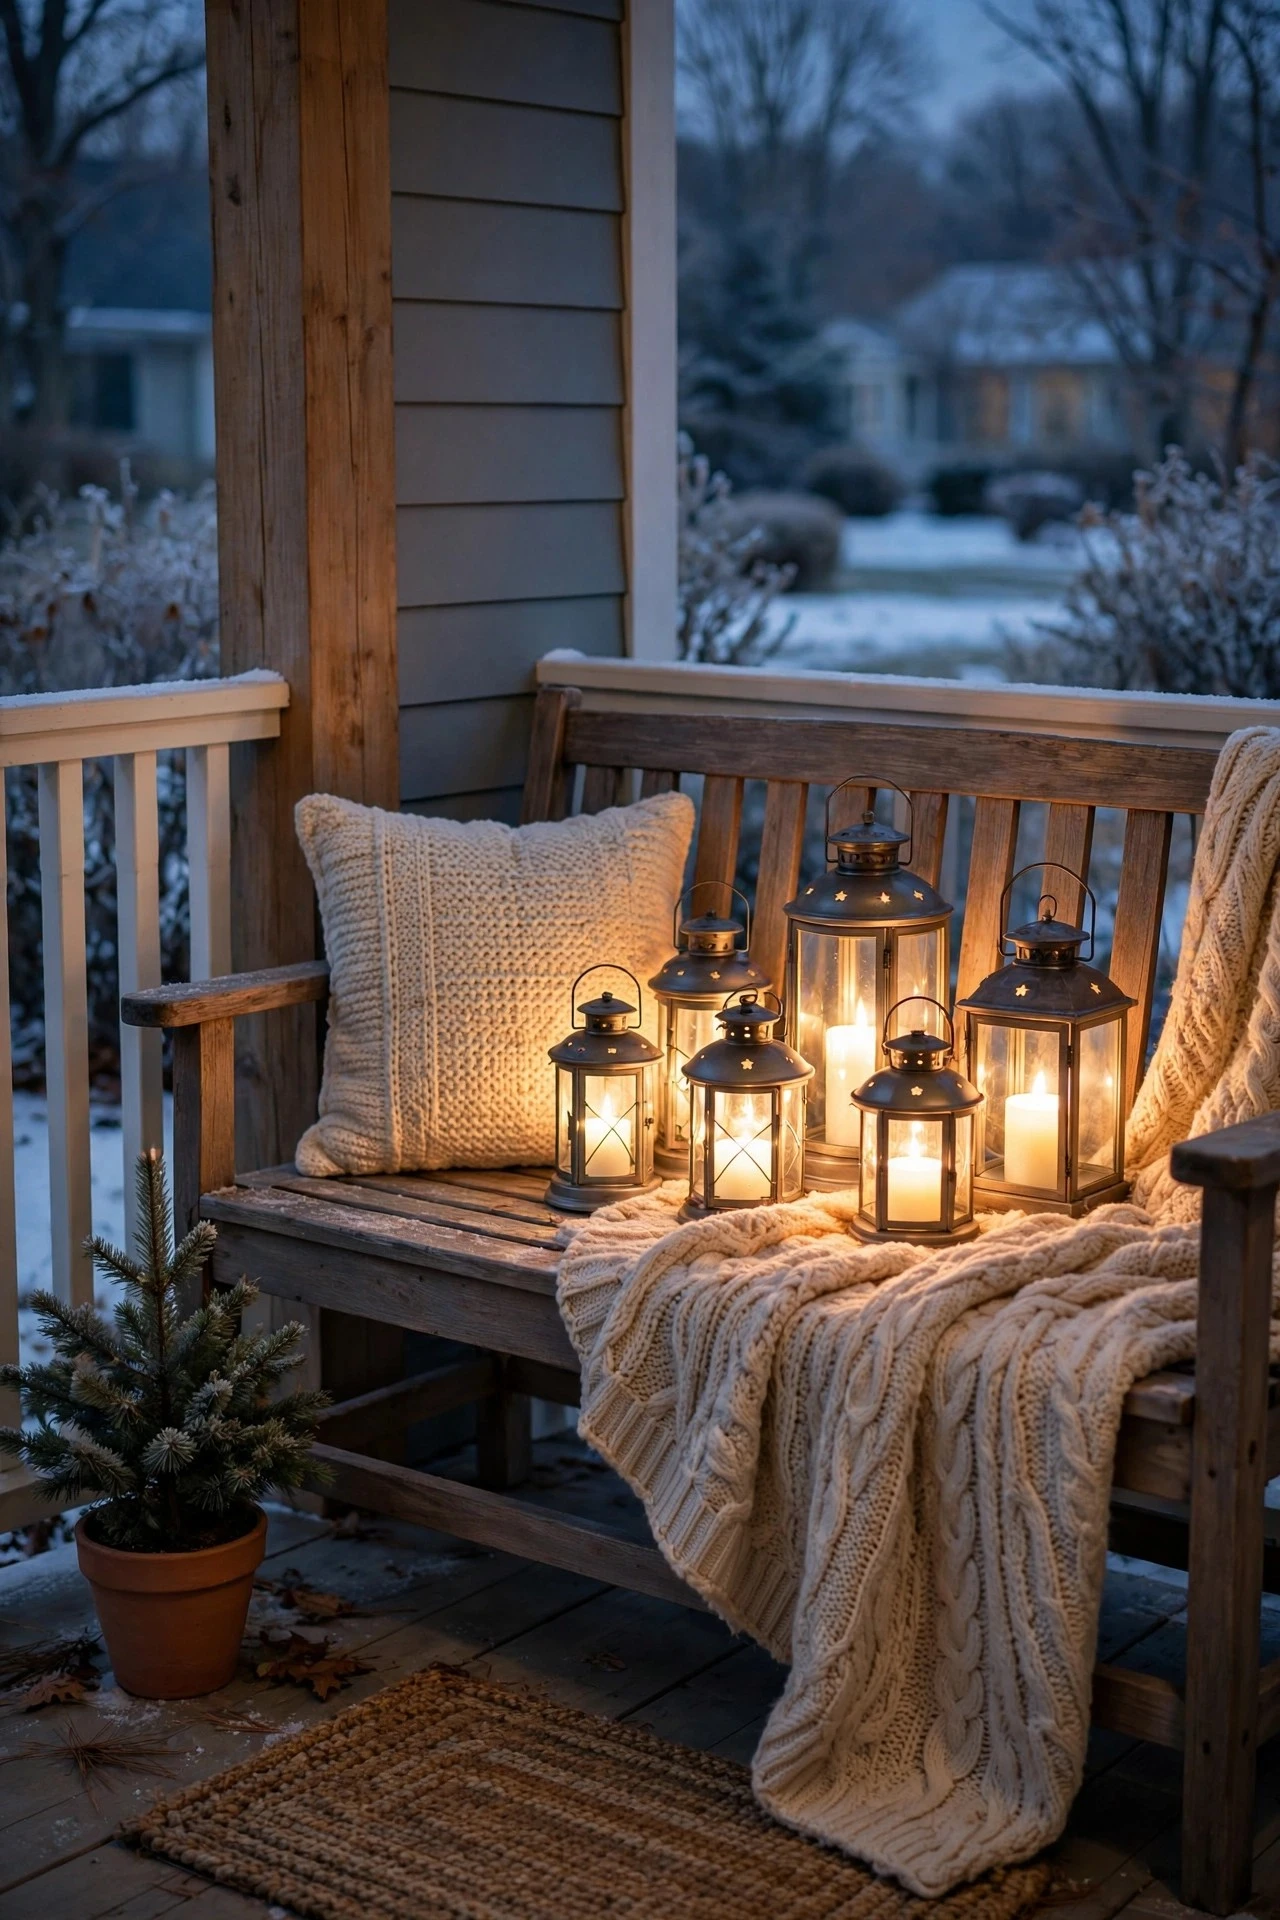
If your porch has a bench, rocking chair, or even a sturdy crate, you can build the coziest spot in the neighborhood — a little hygge corner that says "winter evenings are for slowing down." Group three to five battery-powered lanterns of varying heights (10, 14, and 18 inches reads beautifully) on the bench seat and one on the floor beside it, all warm white at 2700K or warmer.
Set every candle on the same timer schedule — I like 4:30 to 9:30 pm — so the whole corner glows as one. Toss a chunky throw blanket over the bench arm and add a cushion you can grab when you want to sit out with cocoa. Weatherproofing is simple: glass-enclosed lanterns handle snow fine, but bring the throw and cushion inside overnight so damp doesn't set in. Keep the lantern cluster at least 12 inches from any blanket or fabric — even LED candles get their best look with breathing room. In my experience, this corner becomes the spot guests photograph.
Suggested budget range: $40 – $120.
4. Uplight Snow-Dusted Evergreen Planters
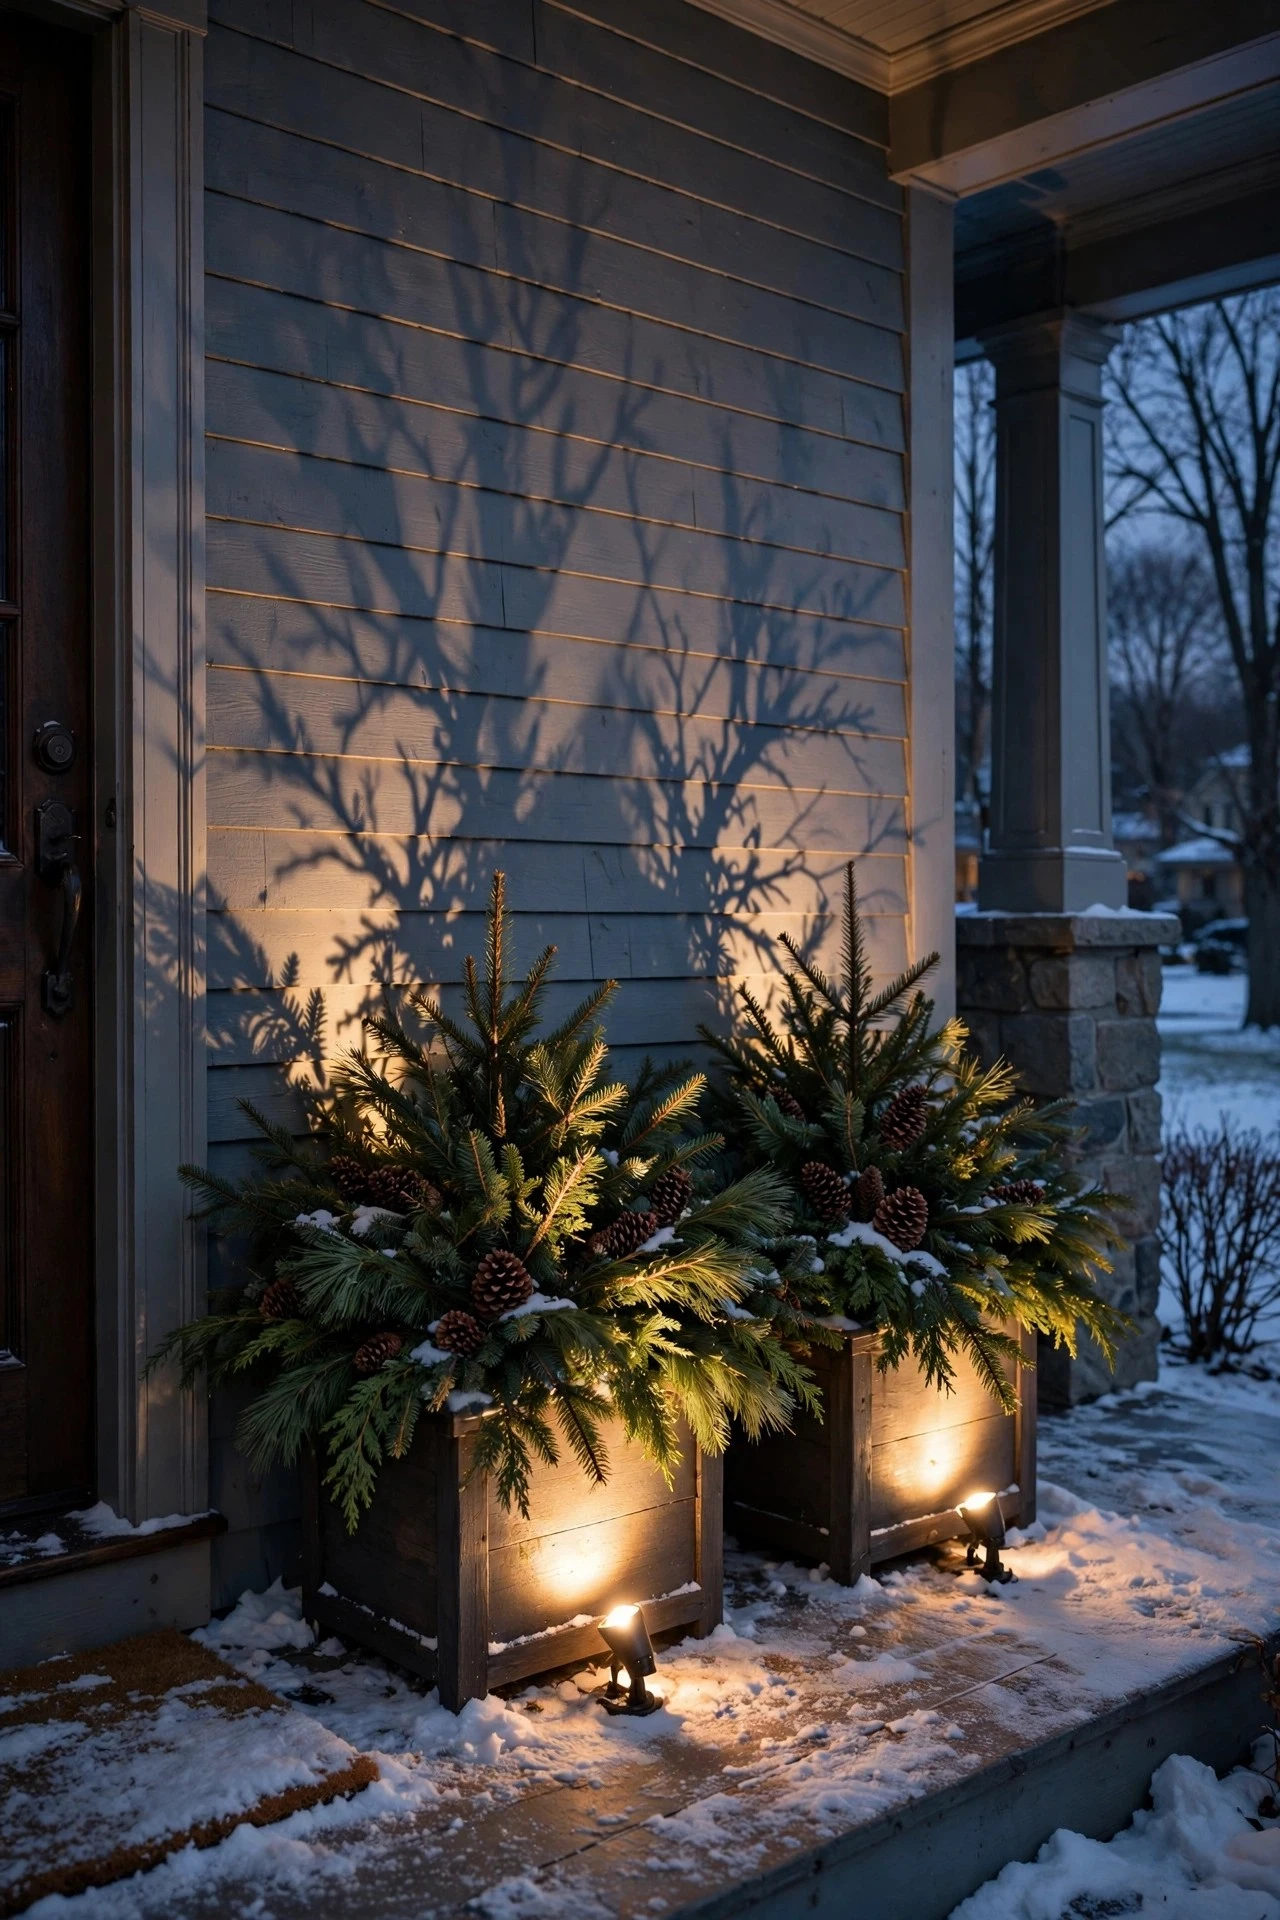
January planters don't have to be sad. Fill your porch pots with evergreen boughs, birch twigs, and a few pinecones, then uplight them — it's the single most dramatic trick for winter texture. Tuck a small IP65-rated LED spotlight 8 to 12 inches from the base of each planter, aimed upward at a 30- to 45-degree angle so the light rakes through the branches and throws long shadows onto the porch wall behind.
Warm white at 2700K makes snow sparkle without looking clinical; cool white can feel like a hospital parking lot, so skip it here. Plug the spots into an outdoor timer set for dusk to 10 pm, and use a stake or rock to angle the fixture — most come with an adjustable yoke. Snow management matters: brush heavy snow off the fixture lens after each storm so the beam stays bright, and run the power cord with a drip loop so meltwater can't track into the plug. Two planters, two spotlights, done.
Suggested budget range: $50 – $140.
5. Choose Your Winter Porch Lighting Color Palette: Warm White vs. Ice Blue
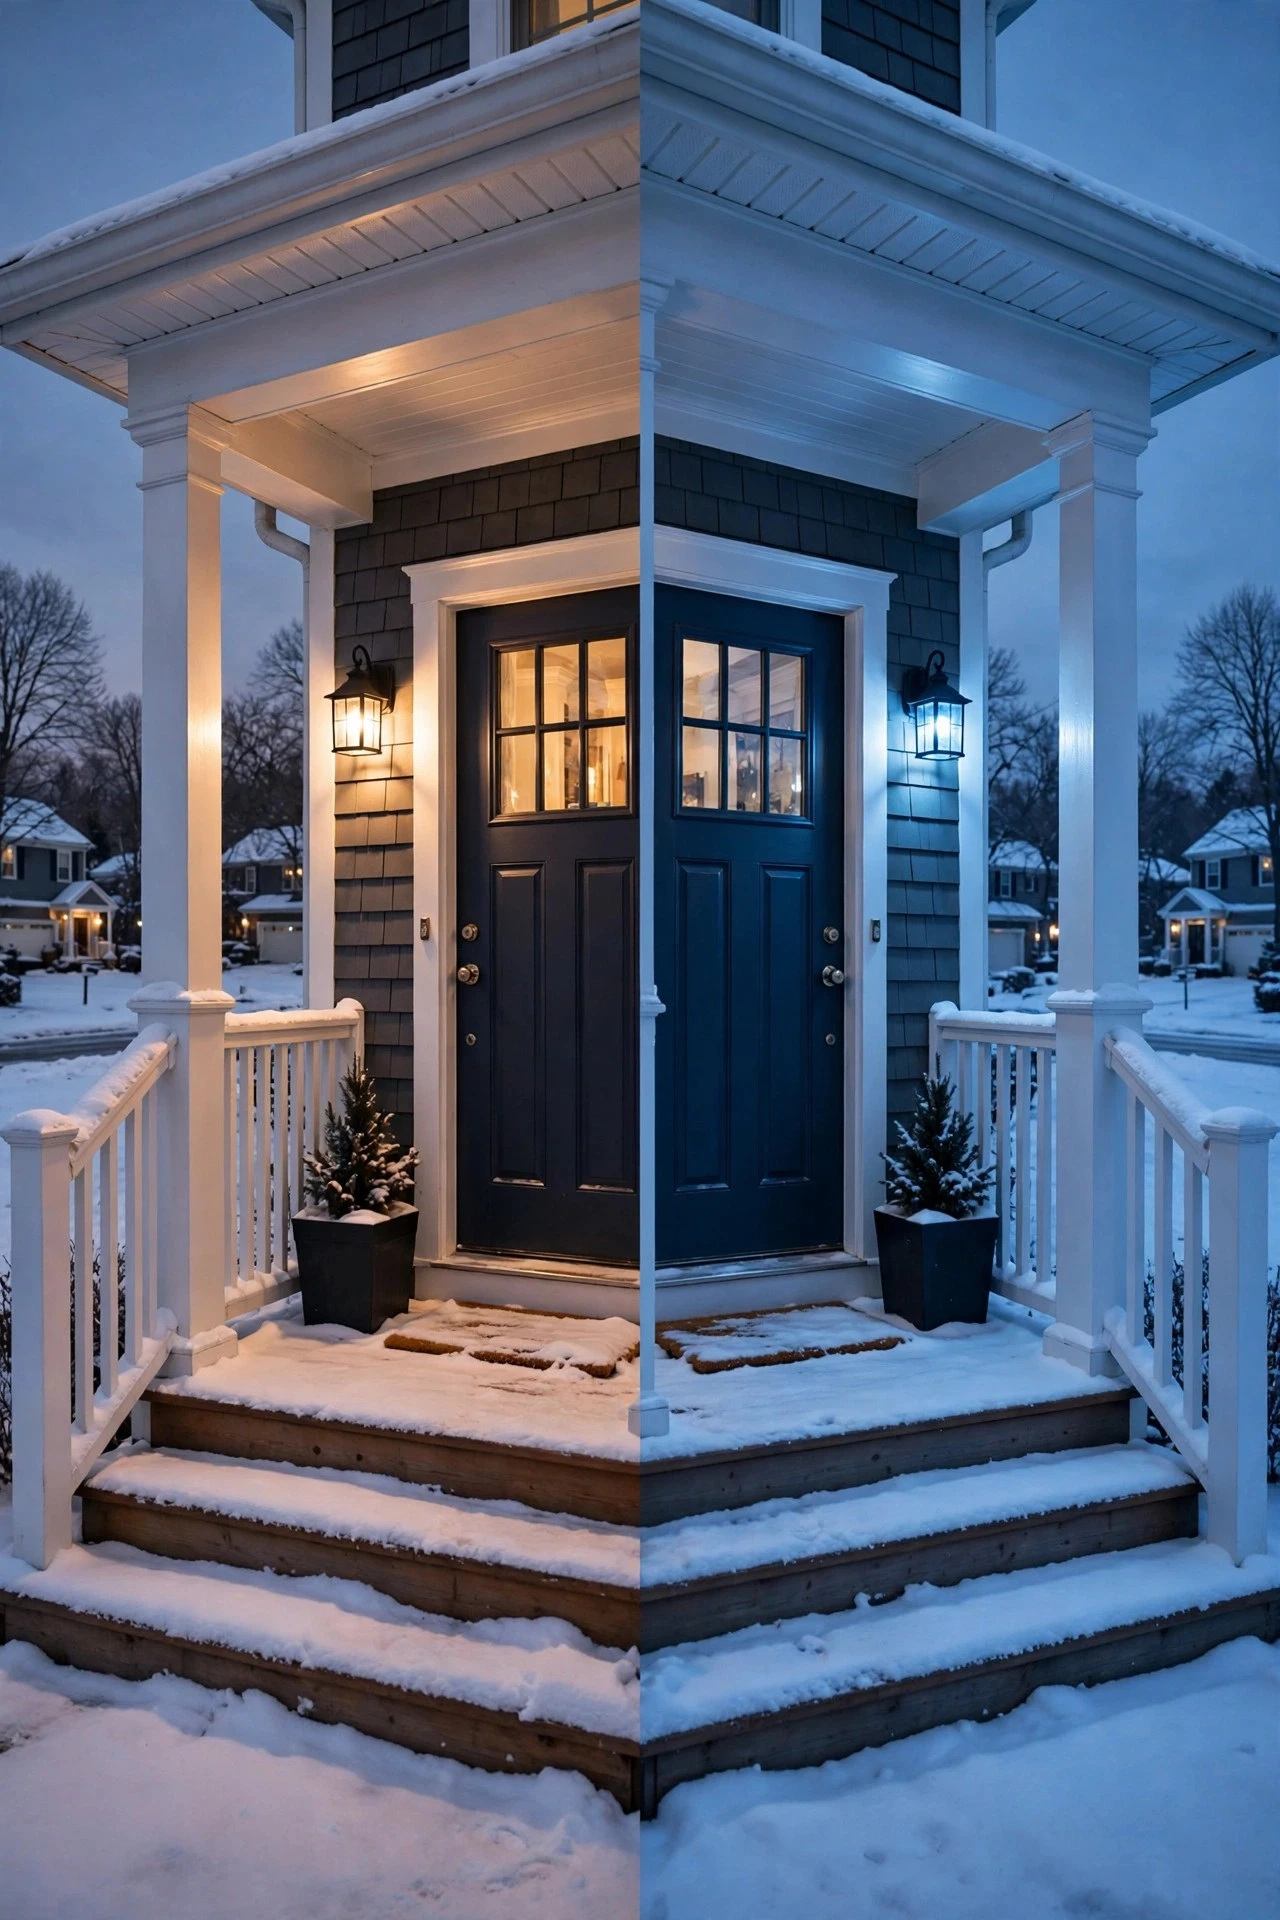
Here's the design decision that shapes everything else: warm or cool? For winter porch lighting that feels welcoming after the holidays, I almost always land on warm white — 2700K to 3000K. It's candlelight territory, it flatters wood and stone, and it reads "cozy" instead of "frozen." Ice blue and cool white (4000K–5000K) are gorgeous as accents — a blue-white strand behind a frosted window, uplights on a snow bank — but make them the whole porch and it starts to feel like a convenience store freezer aisle.
The trick is committing to one dominant temperature and letting the other play a supporting role, max one or two fixtures. Mixing looks intentional when it's deliberate — a warm-wreath glow against a single cool-white uplight — and chaotic when it's random. If your existing fixtures are mismatched from December, this is the week to audit: swap bulbs so everything leans warm, and keep one cool accent if you love the frosty contrast. Honestly, consistency matters more than any single bulb choice.
Suggested budget range: $0 – $30.
6. Swap Your Porch Sconce Bulbs to Amber for Deep-Winter Warmth
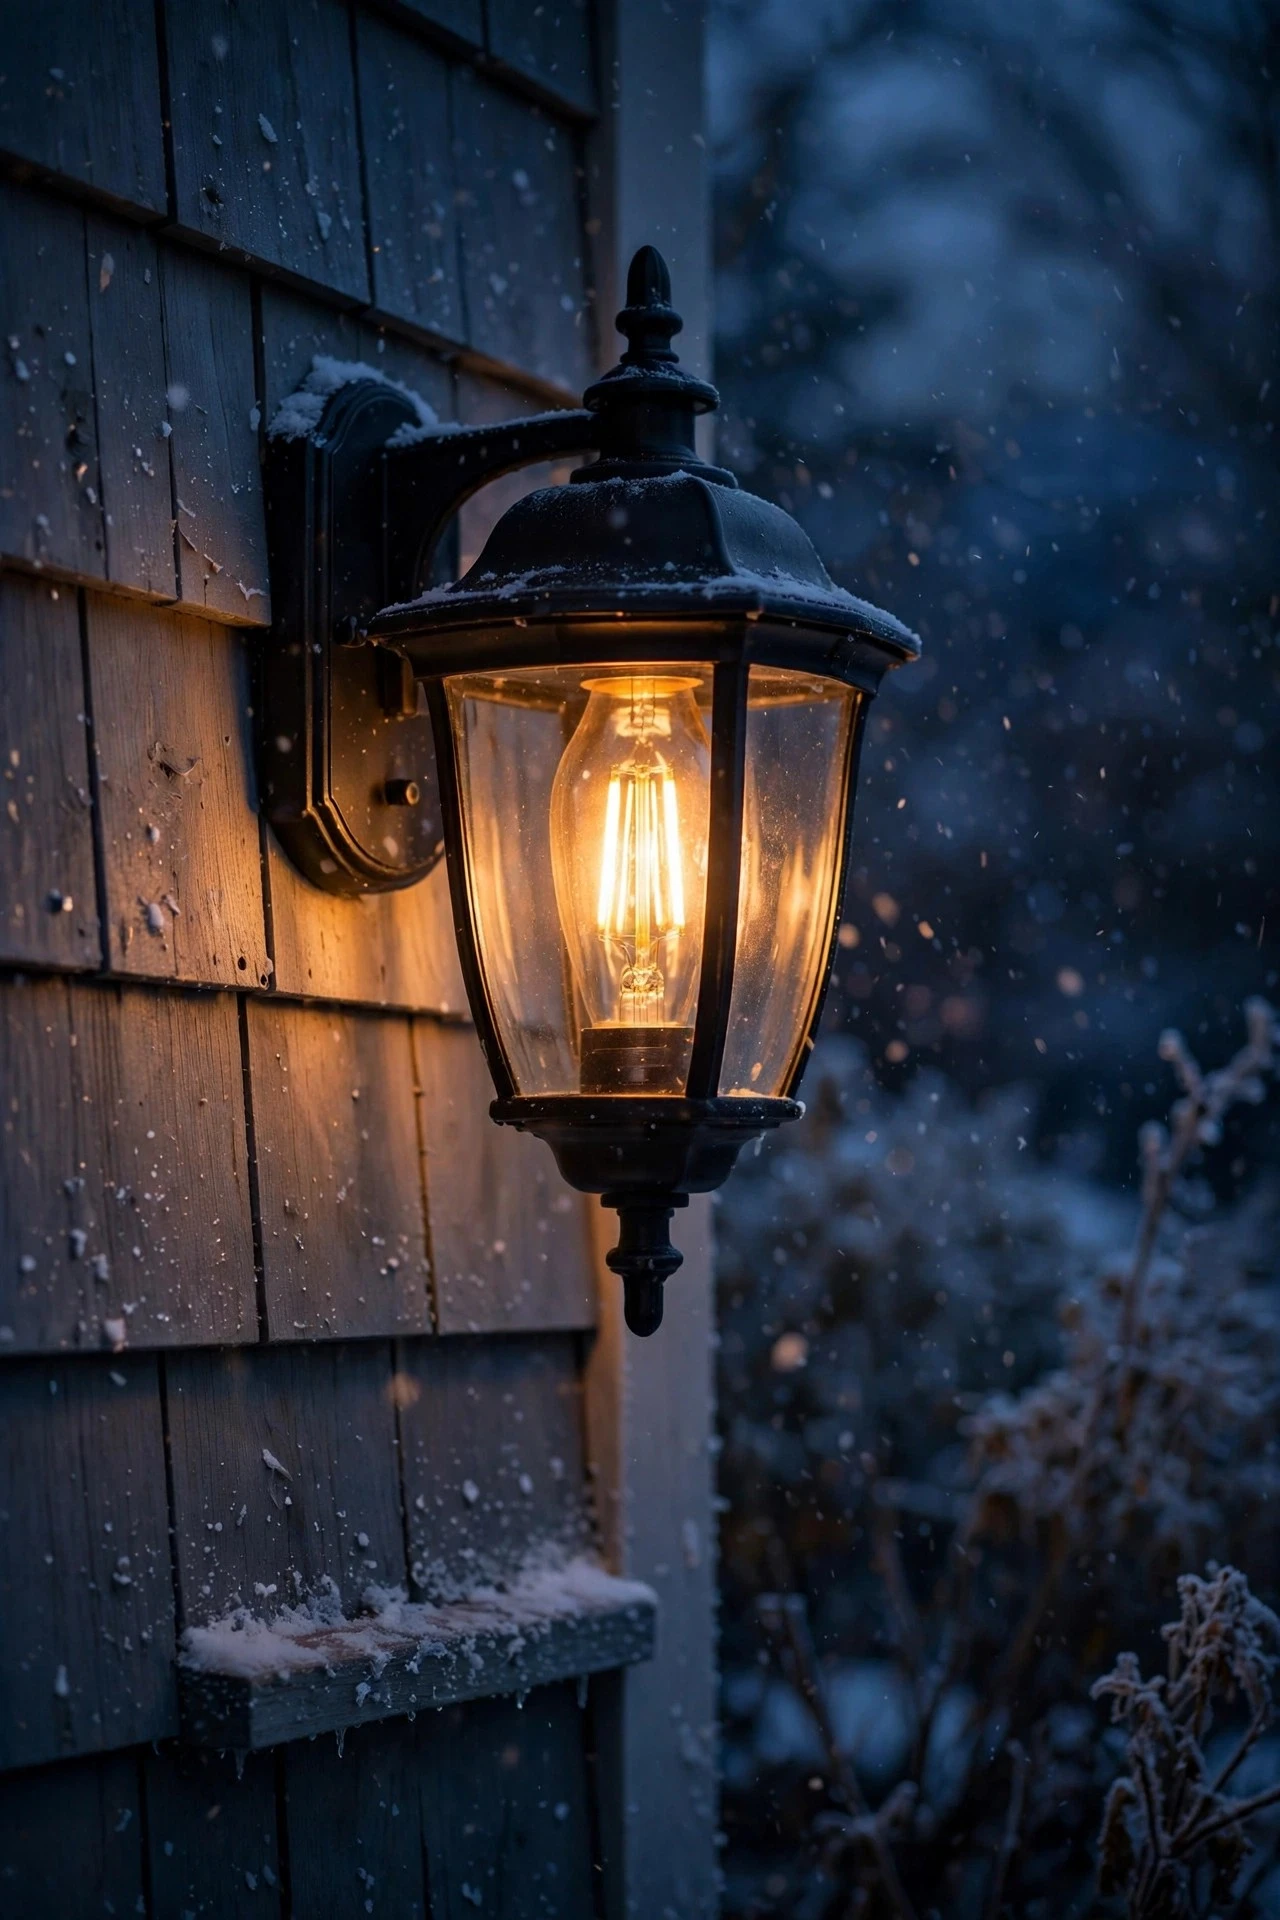
Your existing porch sconces are free real estate — a five-minute bulb swap transforms them for January. Pull out the standard 2700K bulbs and try 2200K amber filament-style LEDs instead. The extra-warm glow mimics candlelight and feels noticeably cozier against bare winter siding. Use a 40- to 60-watt equivalent so you're not dimming your security, and match the bulb shape to the fixture (candelabra bases are common in sconces).
Check the fixture's maximum wattage on the socket sticker — LEDs draw far less, so you're fine, but never exceed the rating. Make sure the replacement bulbs are rated for enclosed or damp locations if your sconces have sealed glass. Bonus I didn't expect: amber light attracts fewer insects than cool white, so your porch stays cleaner when the occasional warm snap wakes the bugs. It's a ten-dollar change that makes every other winter layer look better.
Suggested budget range: $12 – $30.
7. Add a Motion-Sensor Light Over Icy Steps
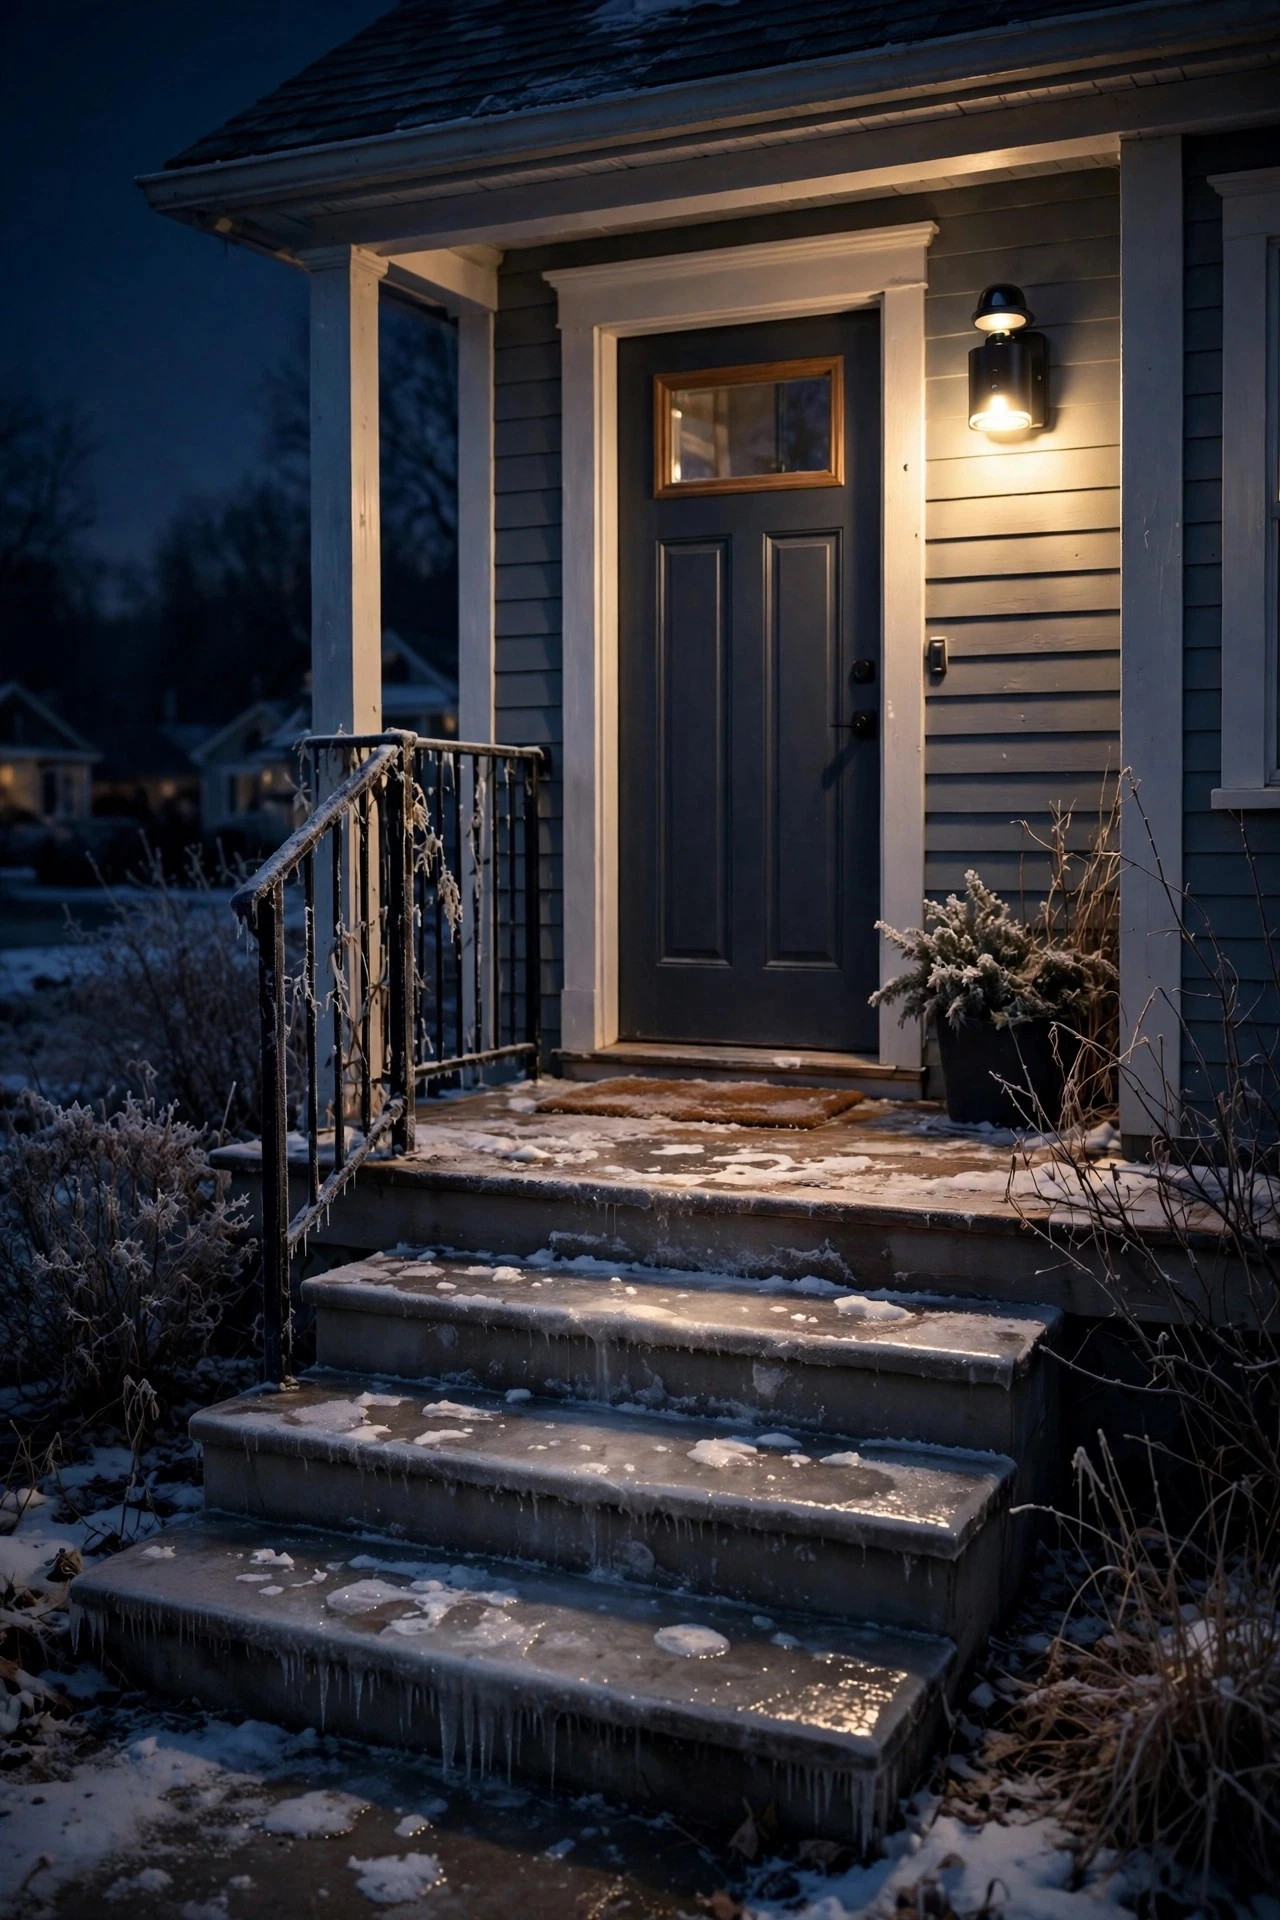
Pretty is important, but in January, practical wins. A motion-sensor light over the steps or front walk is the most useful winter upgrade you can make. Mount an LED motion-sensor fixture 8 to 10 feet high above the door or stair landing, angled down so the sensor's 180-degree field covers the walkway approach. LEDs are ideal here because they reach full brightness instantly in freezing temperatures — no warm-up lag like old fluorescents.
Set the shutoff timer to 5 to 10 minutes and the sensitivity to medium so passing cars don't trigger it all night. Aim for 700 to 1,000 lumens — enough to see ice clearly without blinding visitors. Electrical safety matters: hardwired installs belong on a GFCI-protected circuit, and if you're not comfortable with wiring, call an electrician for the 30-minute job. After snowstorms, wipe the sensor lens with a dry cloth so frost doesn't blind it.
Suggested budget range: $30 – $80.
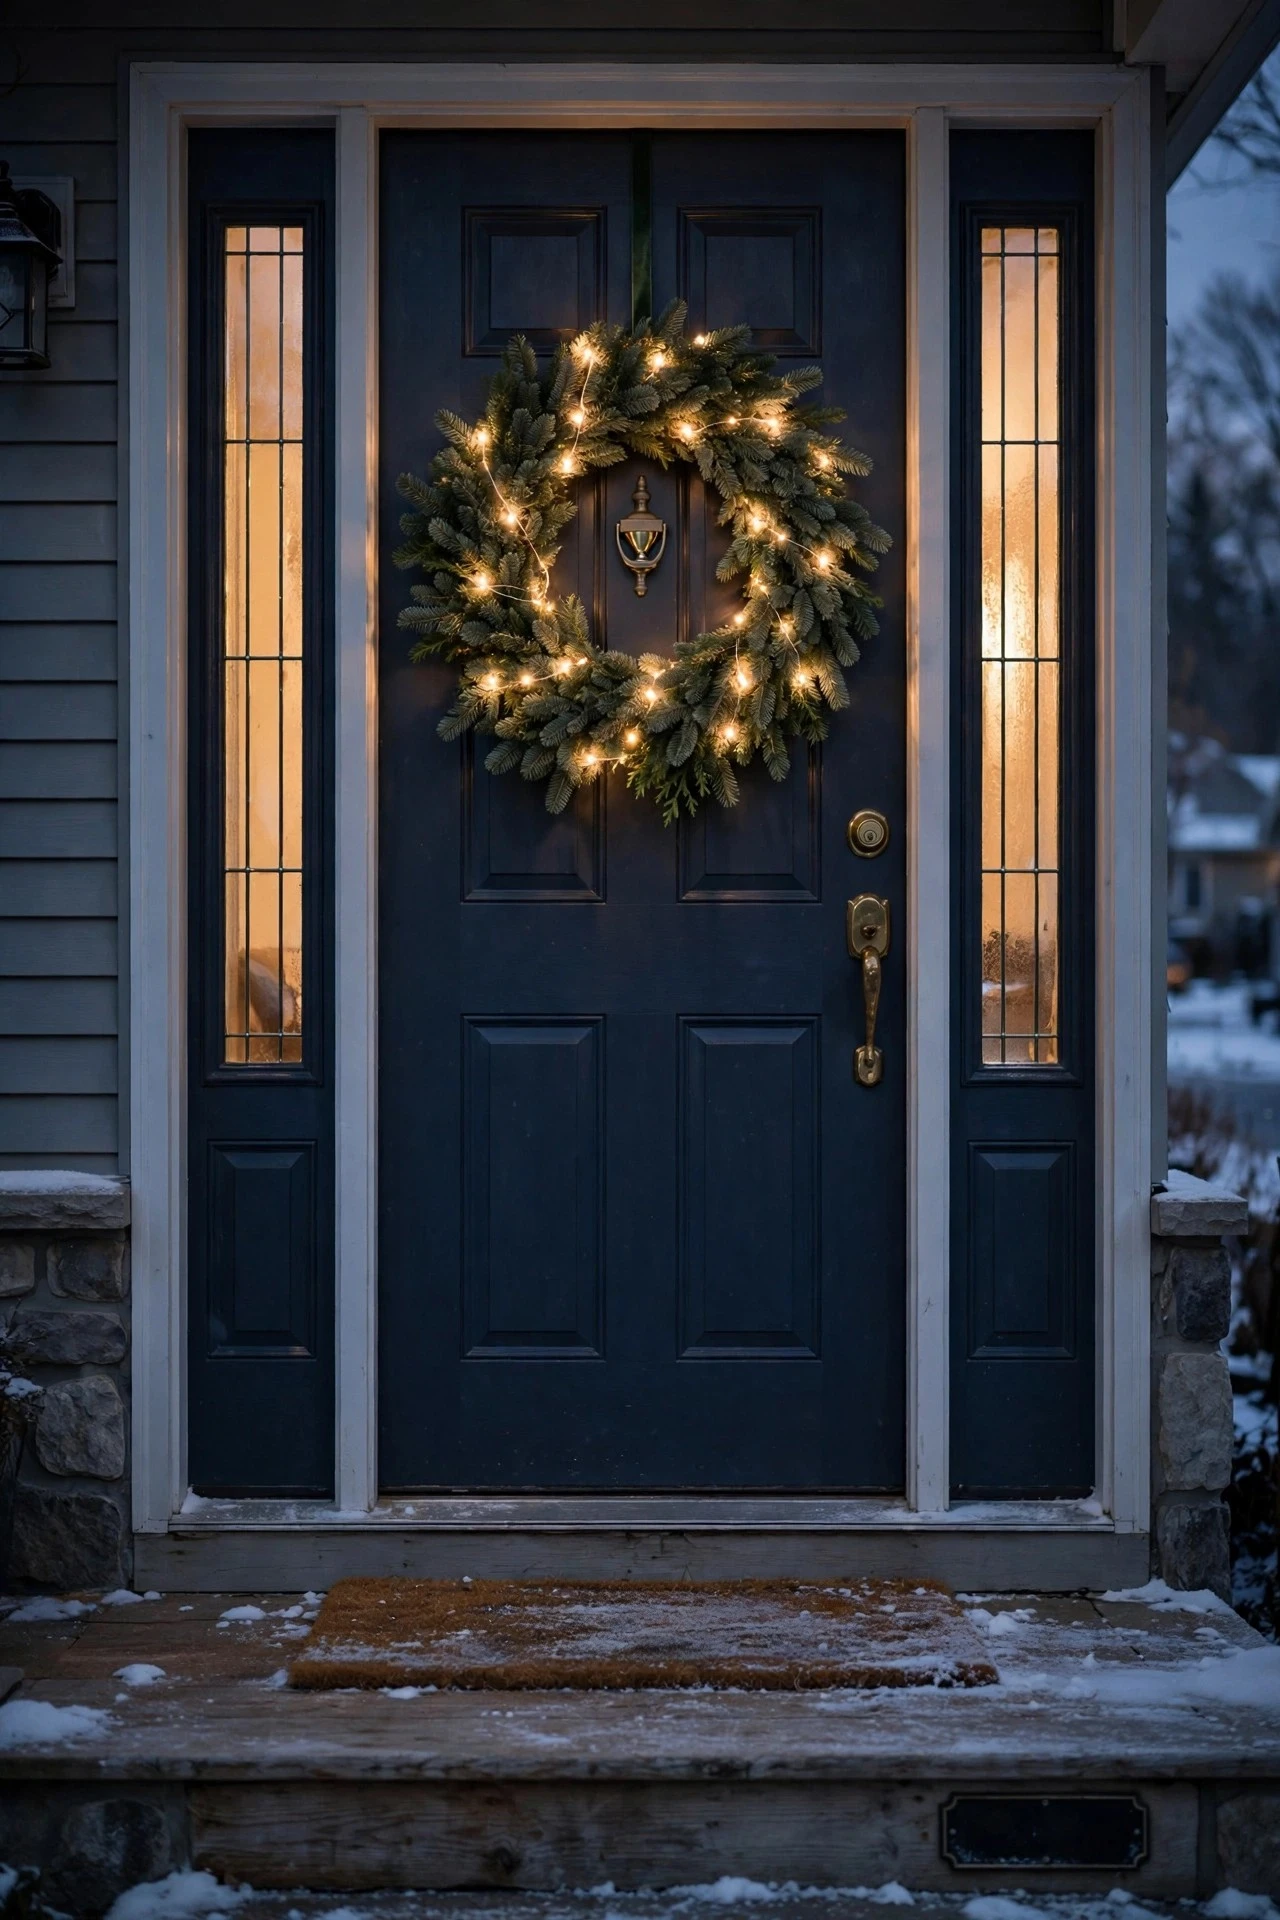
8. Hang a Plain Evergreen Wreath With Warm Microlights
January's wreath is not December's wreath — and that's the point. Take down the bows, ornaments, and anything with glitter, and hang a plain, undecorated evergreen wreath (24 inches is the sweet spot for a standard door). Wrap it with one 30-count strand of warm-white LED microlights, threading the wire through the back of the branches so the diodes peek out evenly.
Hang it at eye level using an over-door hook or wreath hanger, centered on the door about 60 inches from the porch floor. The battery timer box hides neatly behind the wreath itself — just tuck it into a small zip-top bag first for moisture protection. Set it to glow 4:30 to 10 pm. One safety rule I never bend: LED-only on dried winter greenery. Microlights run cool, but even so, take the wreath down once it turns brittle and brown. A fresh, unlit wreath swapped in February keeps the look alive.
Suggested budget range: $25 – $60.
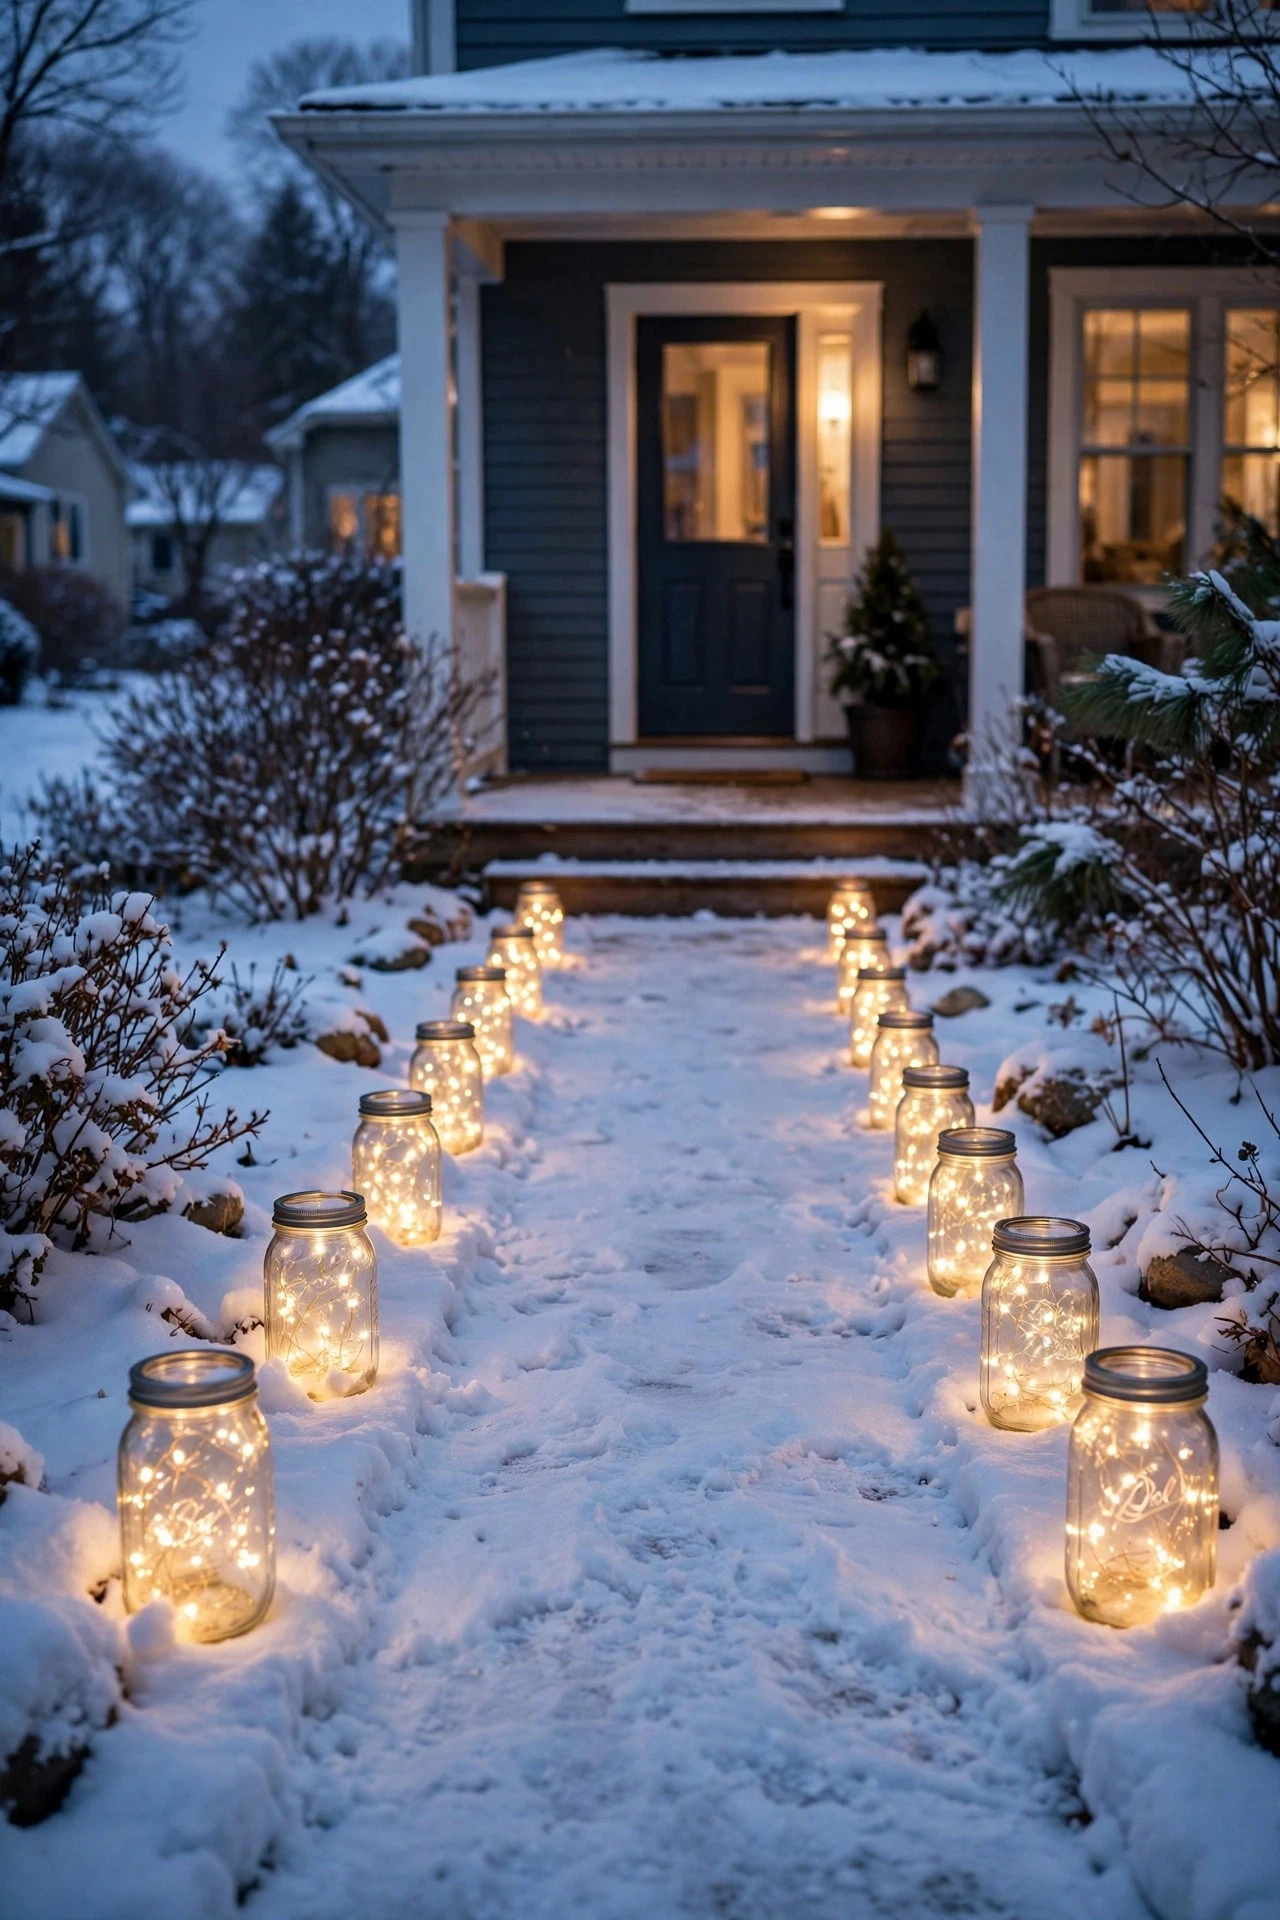
9. Turn Mason Jars Into Winter Path Markers
Mason jars are the sleeper hit of winter porch lighting. Fill a quart-size jar with a short strand of warm-white fairy lights (20 to 30 micro LEDs on copper wire is perfect), screw on the lid or leave it open under a porch overhang, and set jars along your walkway every 4 to 6 feet. For a fully outdoor path, swap in solar mason-jar lids — the panel sits in the lid ring and the fairy strand hangs inside the glass.
Height matters in snow country: rest each jar on a small stack of bricks or hang it from a 24-inch shepherd's hook so the glow sits above the snow line rather than buried in a drift. If you're using the solar version, tilt the panels south and brush snow off the lids after each storm — January sun is weak, and a snow-covered panel won't charge at all. Space the jars so their glow pools overlap slightly along the path edge; you're marking the walkway, not lighting a runway.
Suggested budget range: $20 – $50.
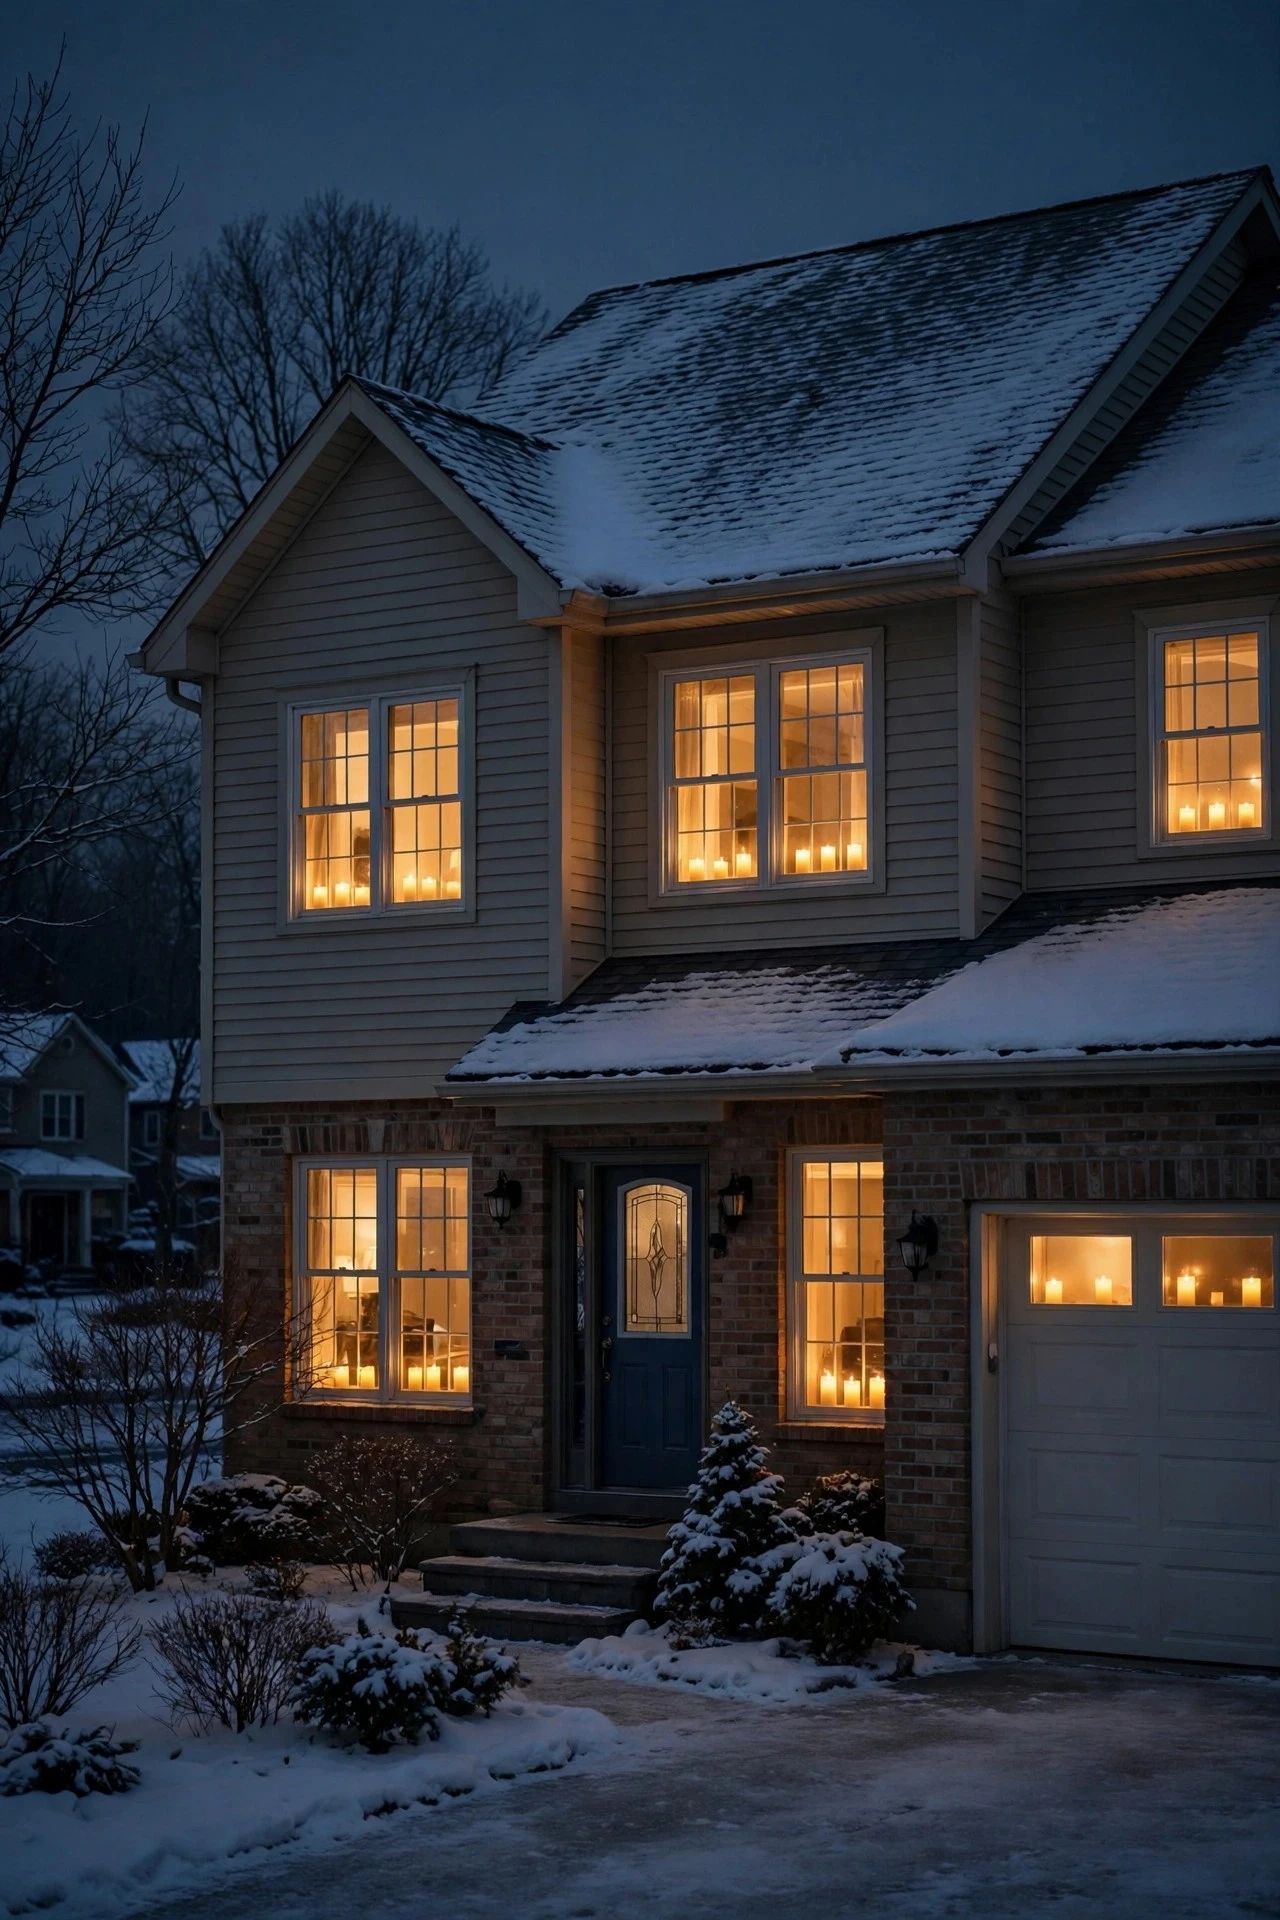
10. Put Window Candles on Dusk-to-Dawn Timers
The Scandinavian window-candle tradition is made for January: one soft glow in every front window, and suddenly the whole house looks alive from the street. Use flameless LED taper candles, 6 to 8 inches tall, centered on each front-facing windowsill. Warm white at 2700K is the classic; the flicker-effect versions read as real candlelight from 20 feet away.
The magic is in the timer — choose candles with a built-in dusk-to-dawn sensor or a 5-hour timer so they light themselves every evening. A set of AAA batteries typically lasts 30-plus days on a 5-hour cycle, so you can set them in early January and forget them until February. Keep candles at least 6 inches back from curtains or blinds (LEDs run cool, but good placement looks better and stays safer). For a two-story facade, put candles in the upstairs windows too — the symmetry from the curb is gorgeous.
Suggested budget range: $15 – $40.
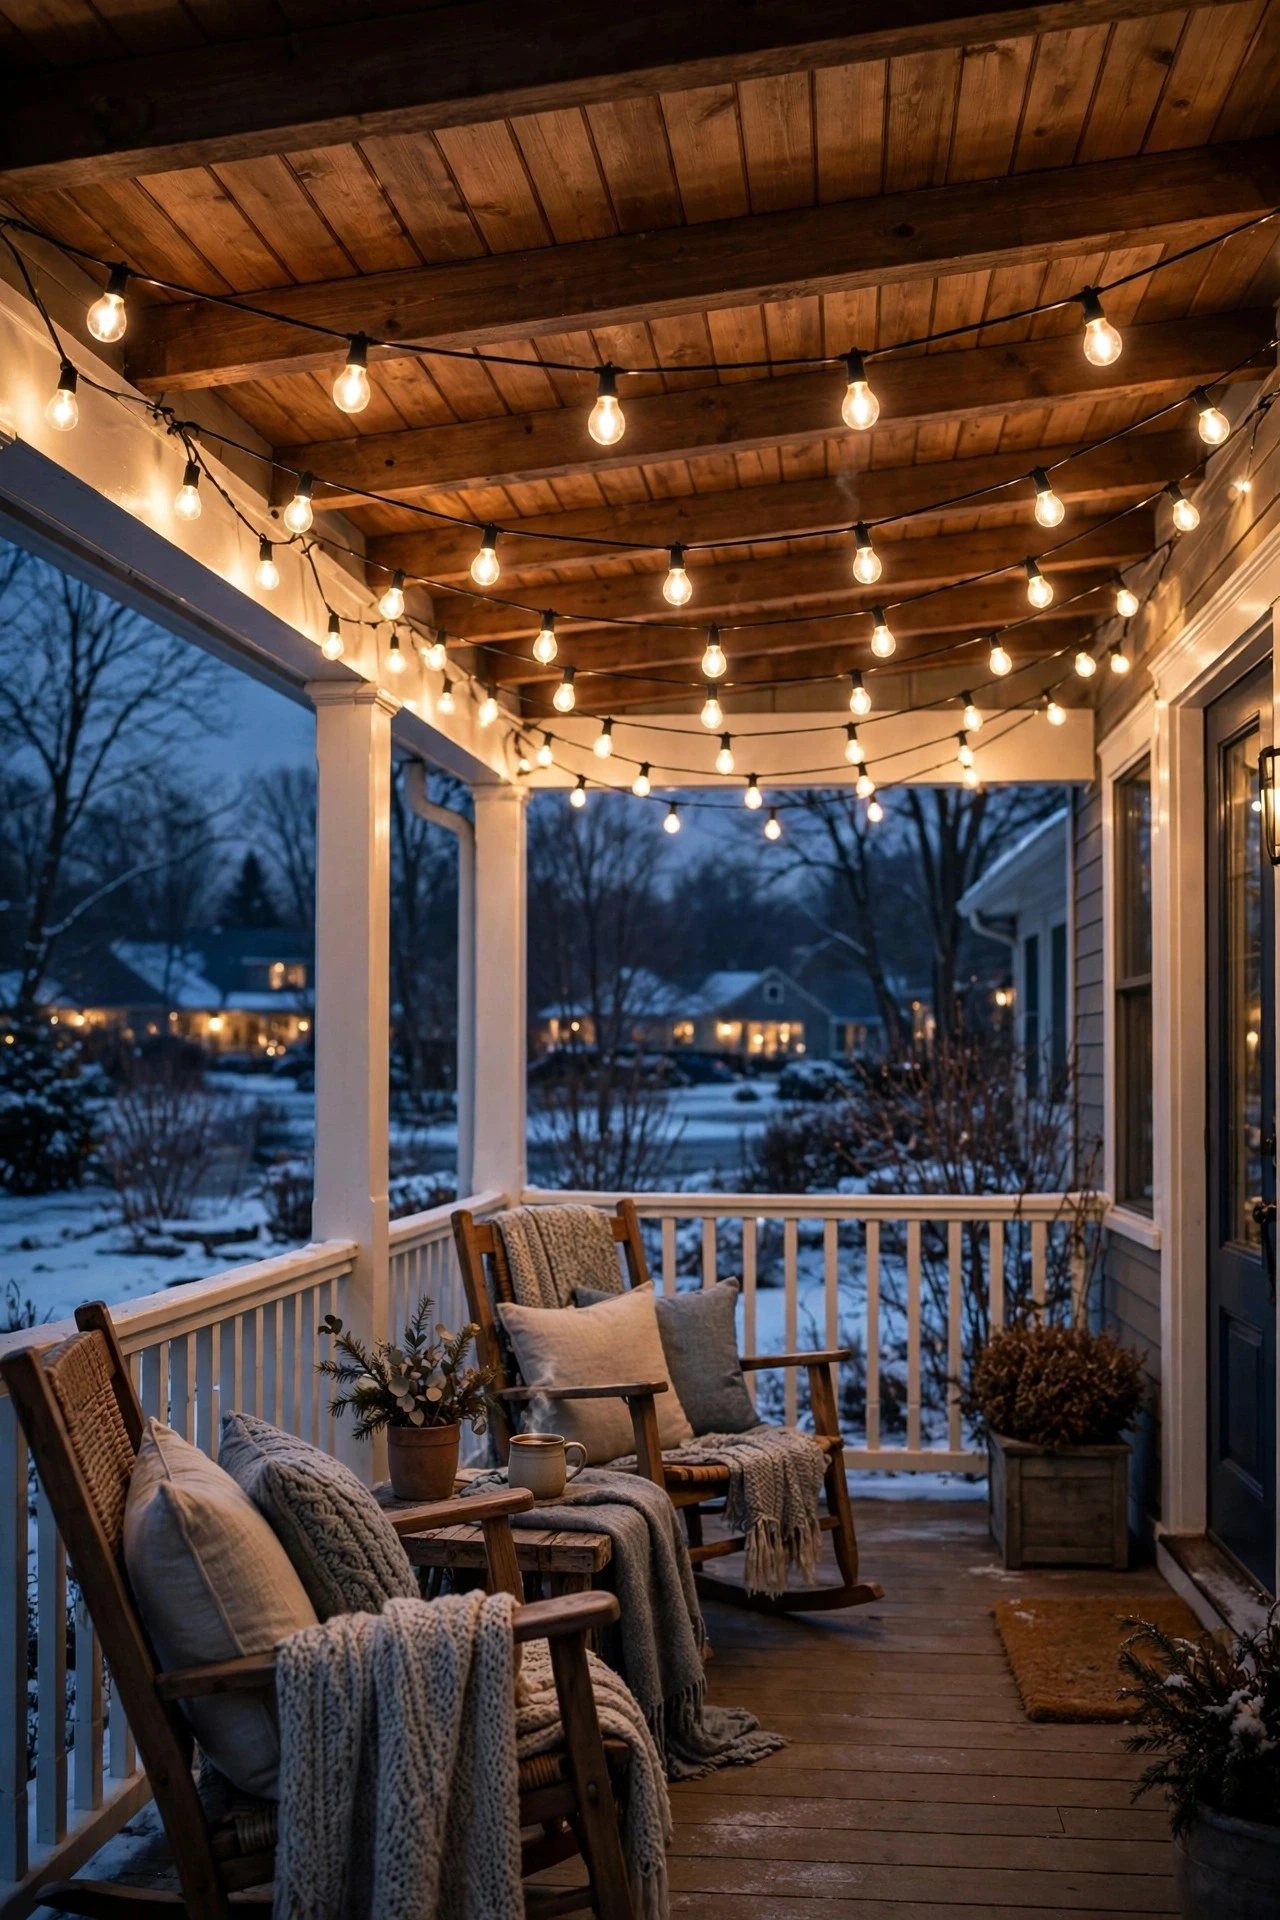
11. Hang an Edison Bulb Canopy Under the Porch Ceiling
If your porch has a ceiling or deep overhang, a canopy of Edison-style string lights is the warmest overhead move you can make. Run shatterproof LED Edison strands (plastic, not glass — ice and glass bulbs are a bad combination) in a gentle zigzag or swag pattern, hanging the swags 6 to 8 inches below the ceiling with the strands spaced 12 to 18 inches apart. Warm 2200K to 2700K dimmable bulbs give that amber tavern glow.
Anchor the strands with outdoor-rated cup hooks or screw-in cable supports every 24 to 36 inches so winter winds can't saw the wire against the trim. The whole canopy should plug into one outdoor-rated extension cord on a timer — dusk to 10:30 pm covers the evening hours. If your strands are dimmable, pair them with an outdoor dimmer and run them at 60 to 70 percent brightness; full blast overhead can feel harsh, while the dimmed glow feels like candlelight from above.
Suggested budget range: $40 – $100.
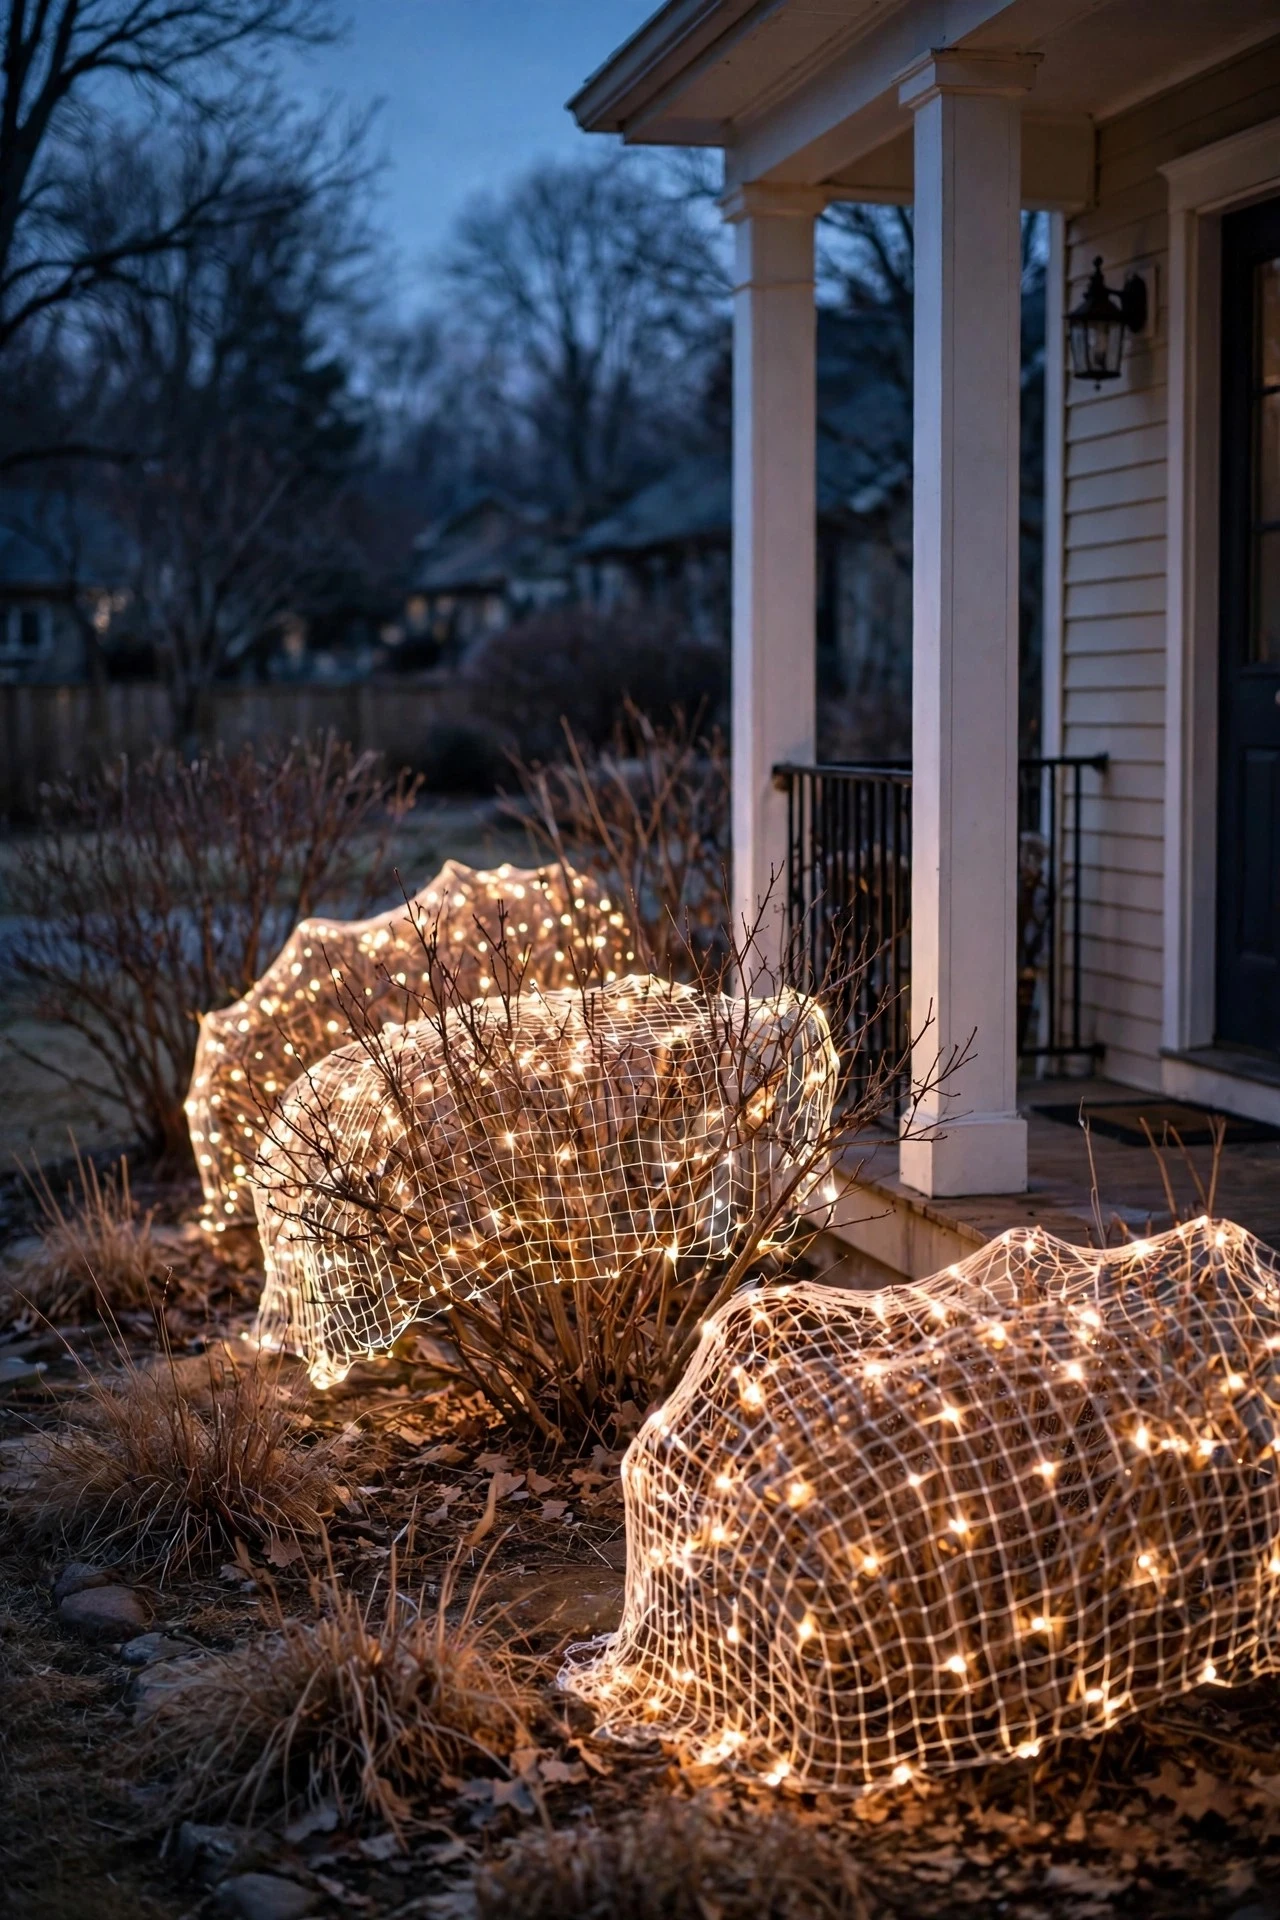
12. Drape Net Lights Over Bare Winter Shrubs
Don't stash the net lights with the Christmas boxes — draped over dormant shrubs, they create the softest wash of light on the whole porch. Lay a 4-by-6-foot net light over each foundation shrub, letting the edges fall naturally to the ground. A 100-LED warm-white net per shrub is plenty; you're after a gentle glow, not a lit billboard.
Pin the net edges to the soil with landscape staples so January winds don't lift them like a sail. Plug all the shrubs into a single outdoor timer via an outdoor-rated power strip or extension cord — one schedule (dusk to 10 pm) keeps everything unified. Check that your nets are LED, not incandescent; old incandescent nets run hot and can scorch dry branches, while LEDs stay cool. If a bush is buried in snow, the light bouncing off the white drift is actually prettier than the shrub itself — let the snow do the work.
Suggested budget range: $18 – $45.
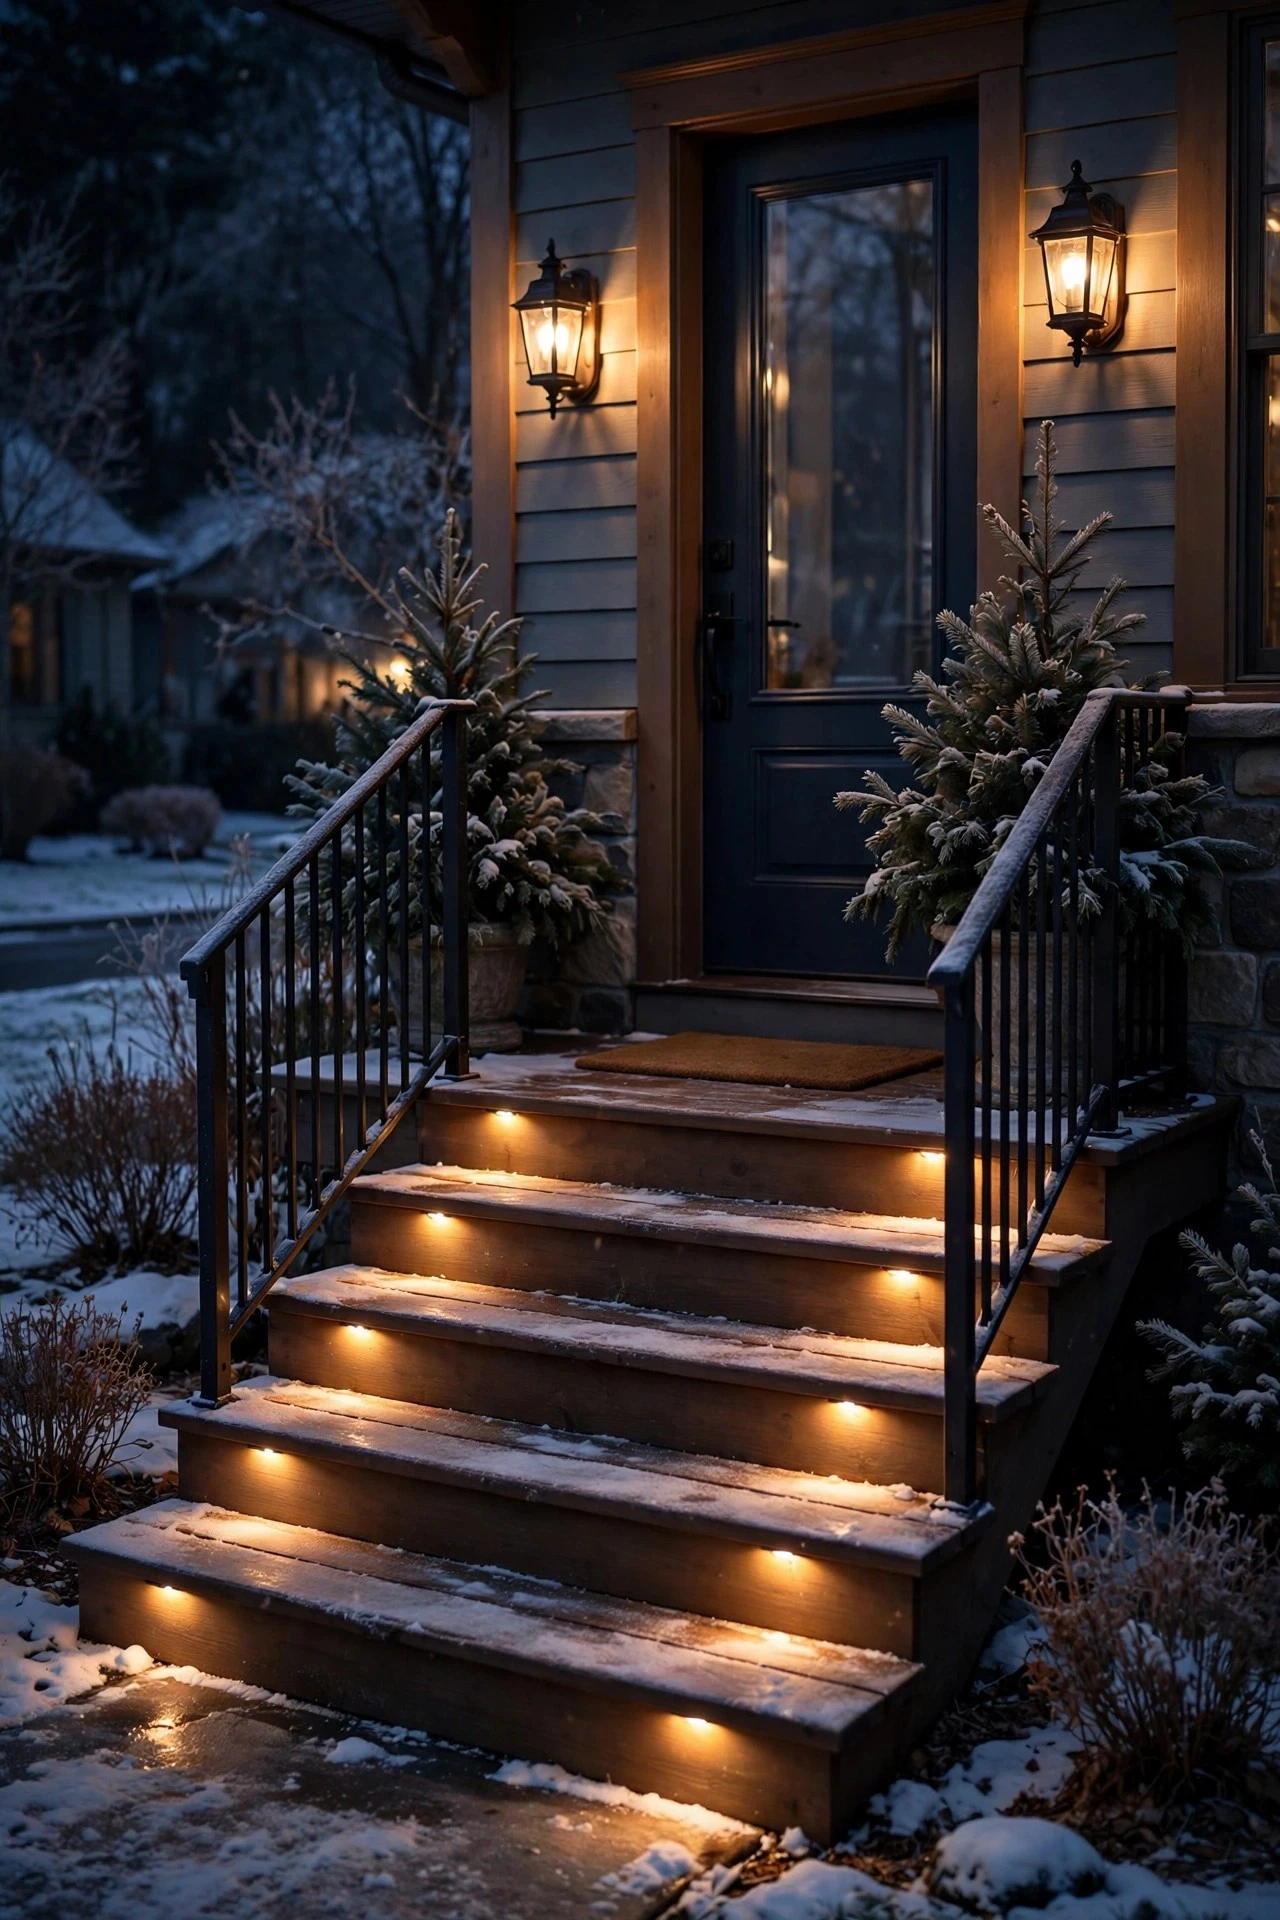
13. Light the Entry Like a Landing Strip: Sconces Plus Step Lights
The best winter entries borrow from good runway design — you always know exactly where to step. Pair dual wall sconces flanking the door with low step lights on each stair riser or along the porch edge. Keep everything 2700K warm white for cohesion, around 150 to 300 lumens per fixture; you're defining edges, not flooding the yard.
For the steps, surface-mount LED step lights on each riser, spaced 2 to 3 feet apart, or run a strip of low-voltage deck lights under the lip of each tread. Wire the sconces to a dusk-to-dawn timer and the step lights to a motion sensor — steps that brighten as you approach feel magical and save energy. Hardwiring is electrician territory: everything needs a GFCI-protected circuit and weatherproof junction boxes rated for the cold. Pair the lighting with textured anti-ice stair mats, and January mornings get dramatically less treacherous.
Suggested budget range: $120 – $350.
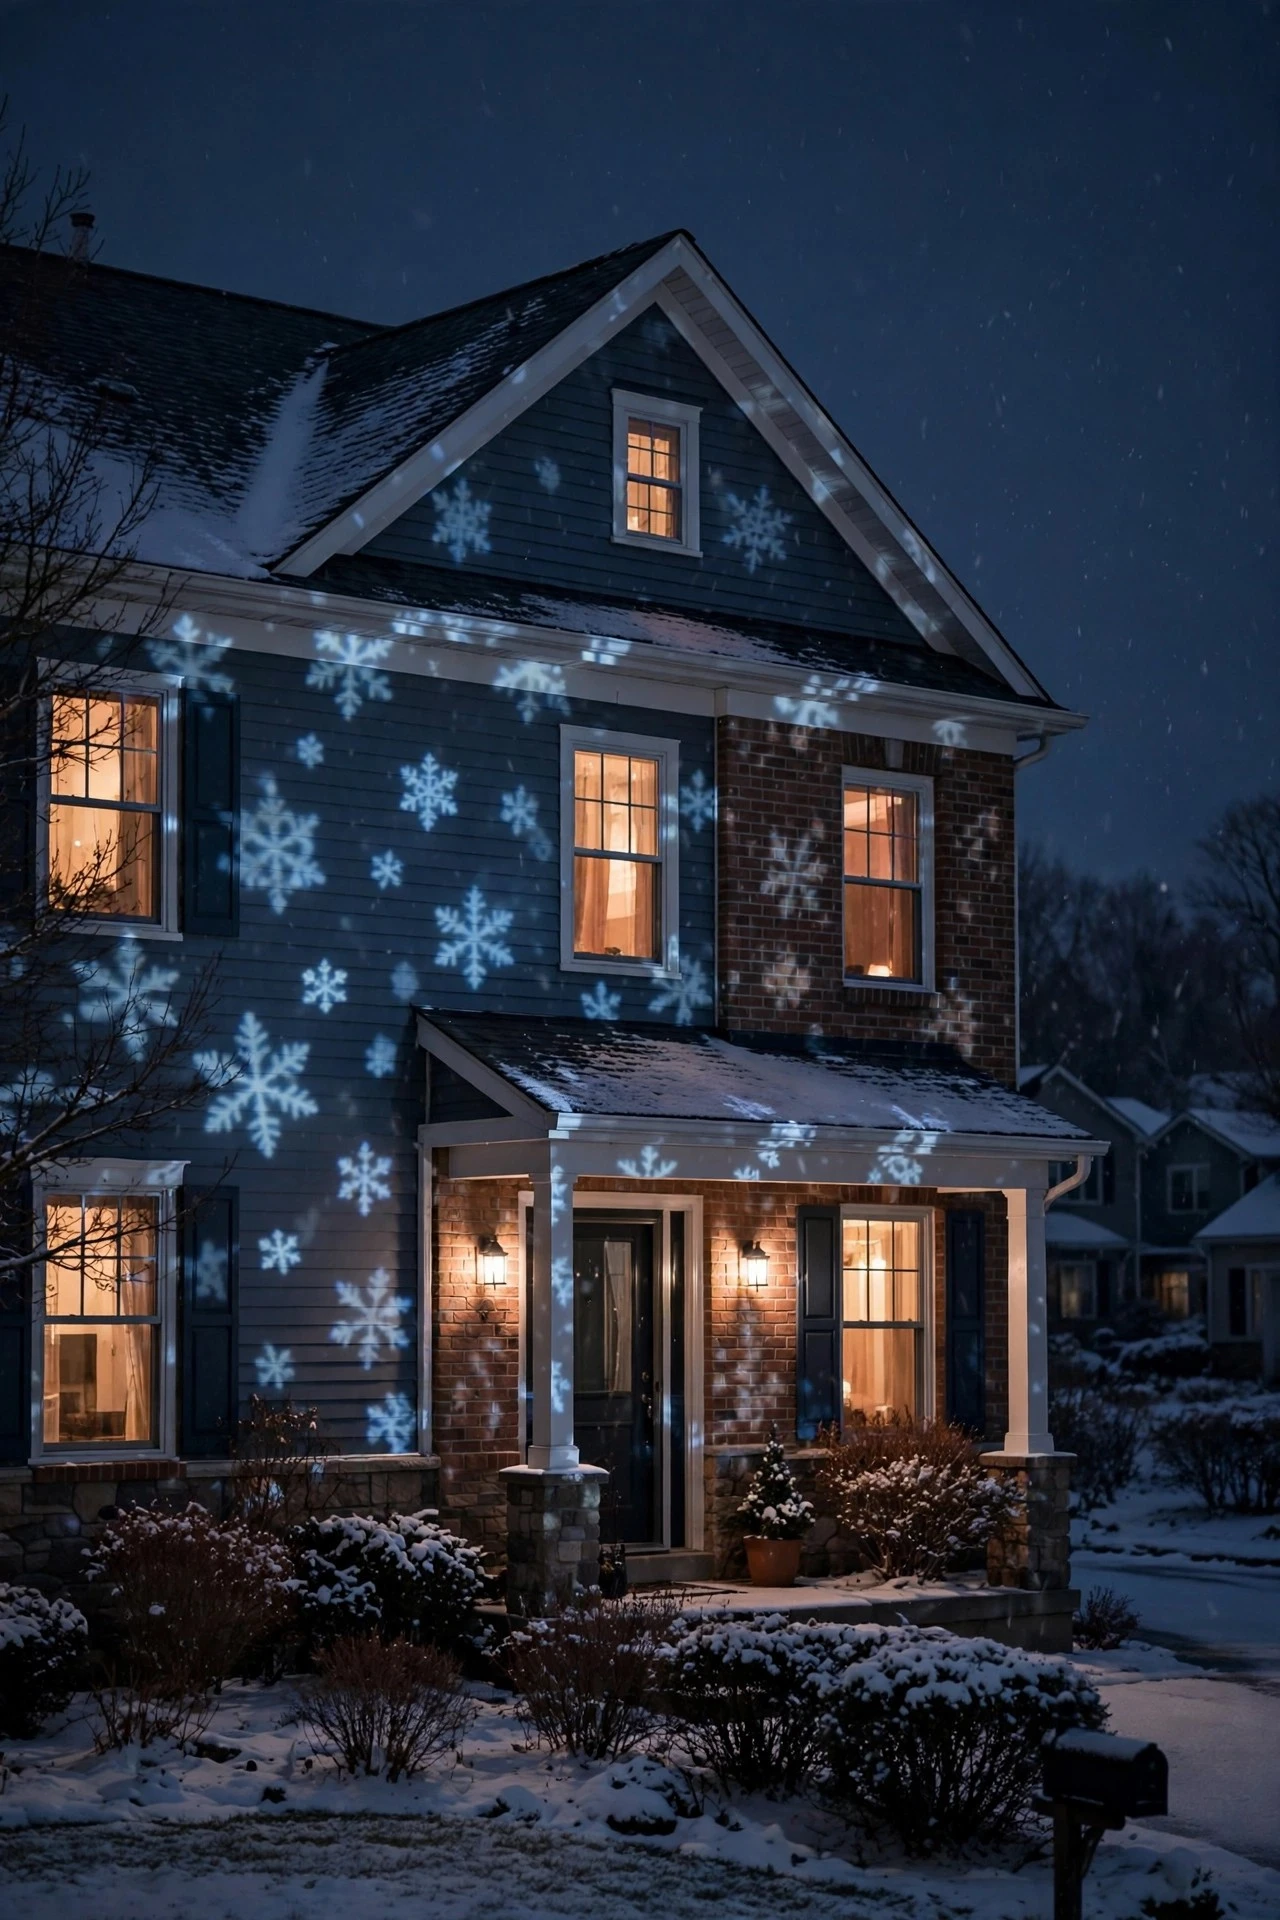
14. Run a Subtle Snowflake Projector — No Christmas Theme Required
A snowflake projector doesn't have to scream December. Choose an LED projector with a plain falling-snow gobo (skip the Santa scenes) and let it drift white snowflakes across your facade, a bare tree, or the garage door. It's motion and texture for twenty-five dollars — the highest atmosphere-per-dollar ratio on this list.
Stake the IP65-rated projector 15 to 25 feet back from the surface so the pattern spreads wide rather than bunching up. Angle it slightly upward and mask off windows with the included barn doors or a strip of electrical tape so the light doesn't land in your bedroom. Run it on an outdoor timer, dusk to 11 pm. Because it's fully enclosed and ground-staked, winter weather barely affects it — just knock ice off the lens after freezing rain so the projection stays crisp. Honestly, watching snow fall on your house while actual snow falls outside is pure January magic.
Suggested budget range: $25 – $70.
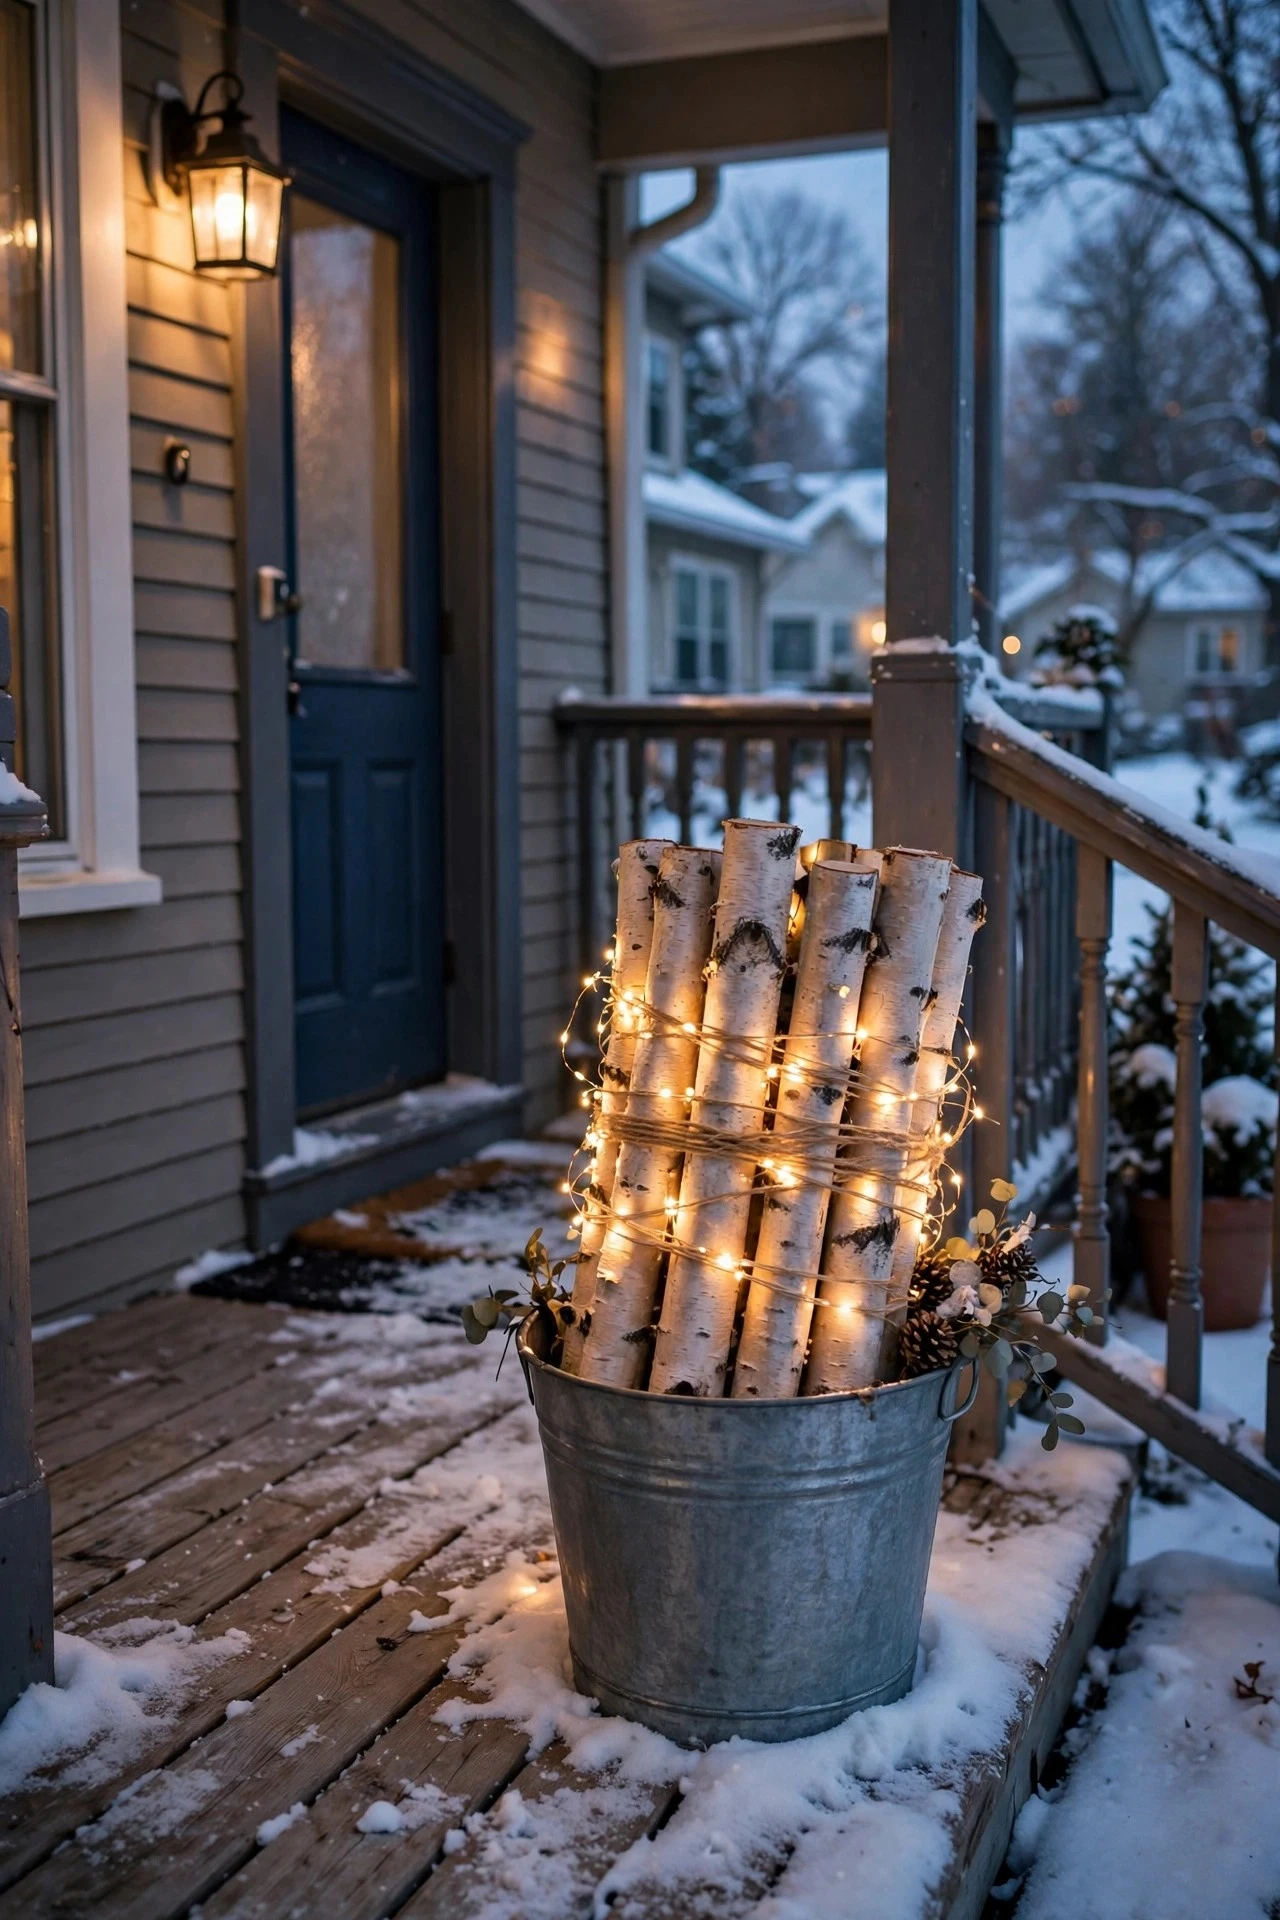
15. Style a Birch Log Bundle Wrapped in Lights
Birch logs are the January porch's best friend — pale, graphic, and gorgeous against snow. Bundle 5 to 7 birch branches (2 to 3 feet long) upright in a galvanized bucket, wooden crate, or tall crock, then wrap the bundle with one 50-count strand of warm-white fairy lights, spiraling from bottom to top. Set the arrangement beside your door or flanking the garage, wherever it reads from the street.
Keep the lights LED-only — dried wood and hot bulbs don't mix. The whole bundle handles weather beautifully since there's nothing electrical to protect beyond a standard outdoor-rated strand; just tuck the plug connection under the container's lip. Set it on the same 4:30-to-10-pm timer as the rest of your porch. If the bucket fills with meltwater, drill a small drainage hole in the bottom so the wood doesn't rot. When February arrives, this same bundle works with red or blush accents for Valentine's week.
Suggested budget range: $20 – $55.
16. Keep the Railing String Lights Up — Just Dress Them Down
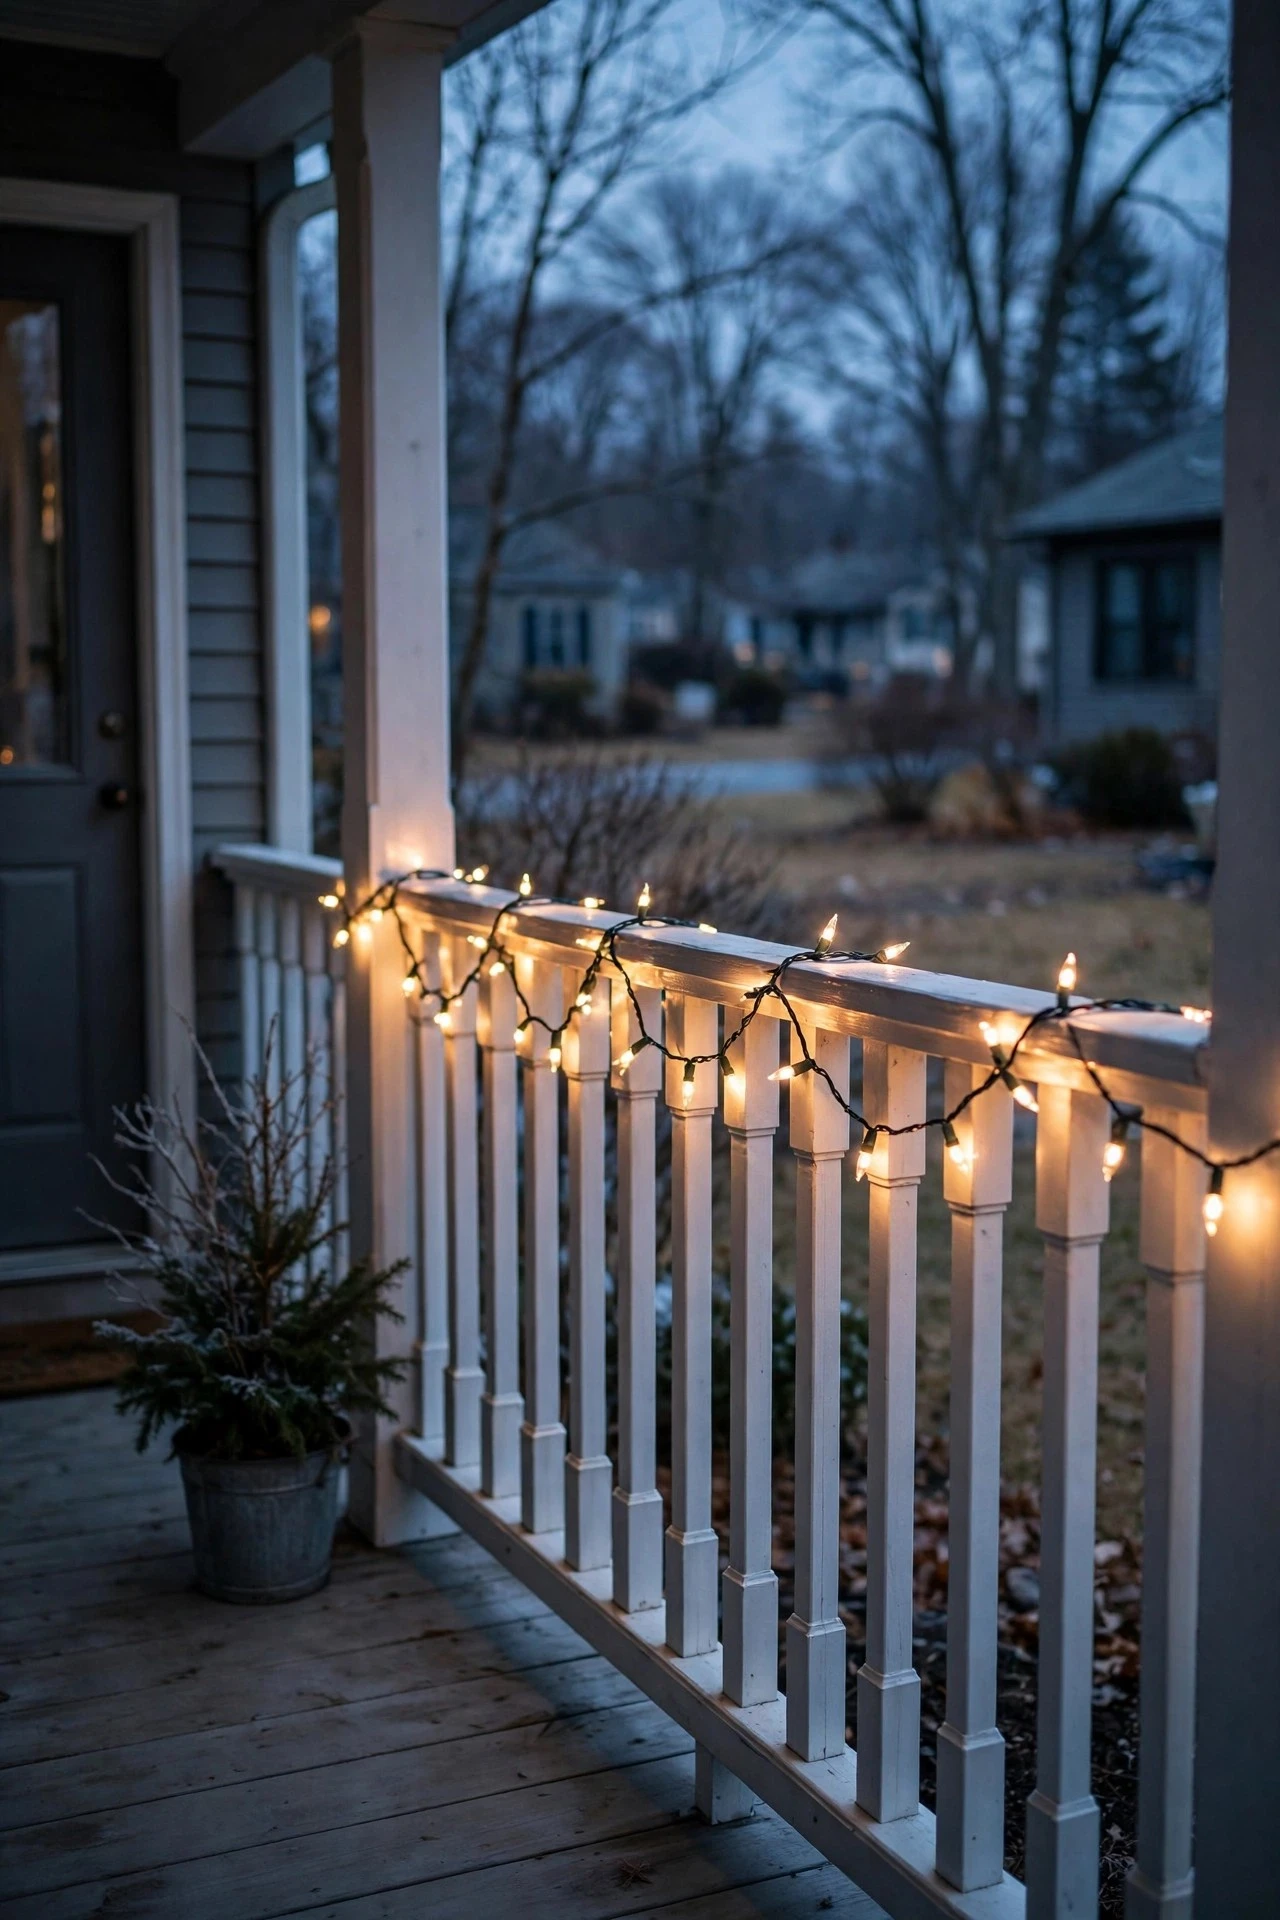
Here's my favorite lazy-genius January move: don't take the railing lights down at all. Strip off the bows, ornaments, and greenery, and what's left is a clean strand of lights that looks completely at home in deep winter. Drape the strand along the top porch rail, securing it with outdoor light clips every 12 inches so it sits straight and doesn't sag between posts.
If your December strands were multicolor, swap them for warm white — steady-on, not twinkle — for a calm January look. Run them on an outdoor timer from 4 pm to 10 pm. This is also the moment to check every strand for winter damage: look for cracked sockets and frayed wire where ice may have stressed the cord, and retire anything that looks compromised. Repurposing the strands from your outdoor Christmas light ideas display means January costs you nothing but ten minutes.
Suggested budget range: $0 – $25.
17. Transition to Valentine's With Blush and Red Accents
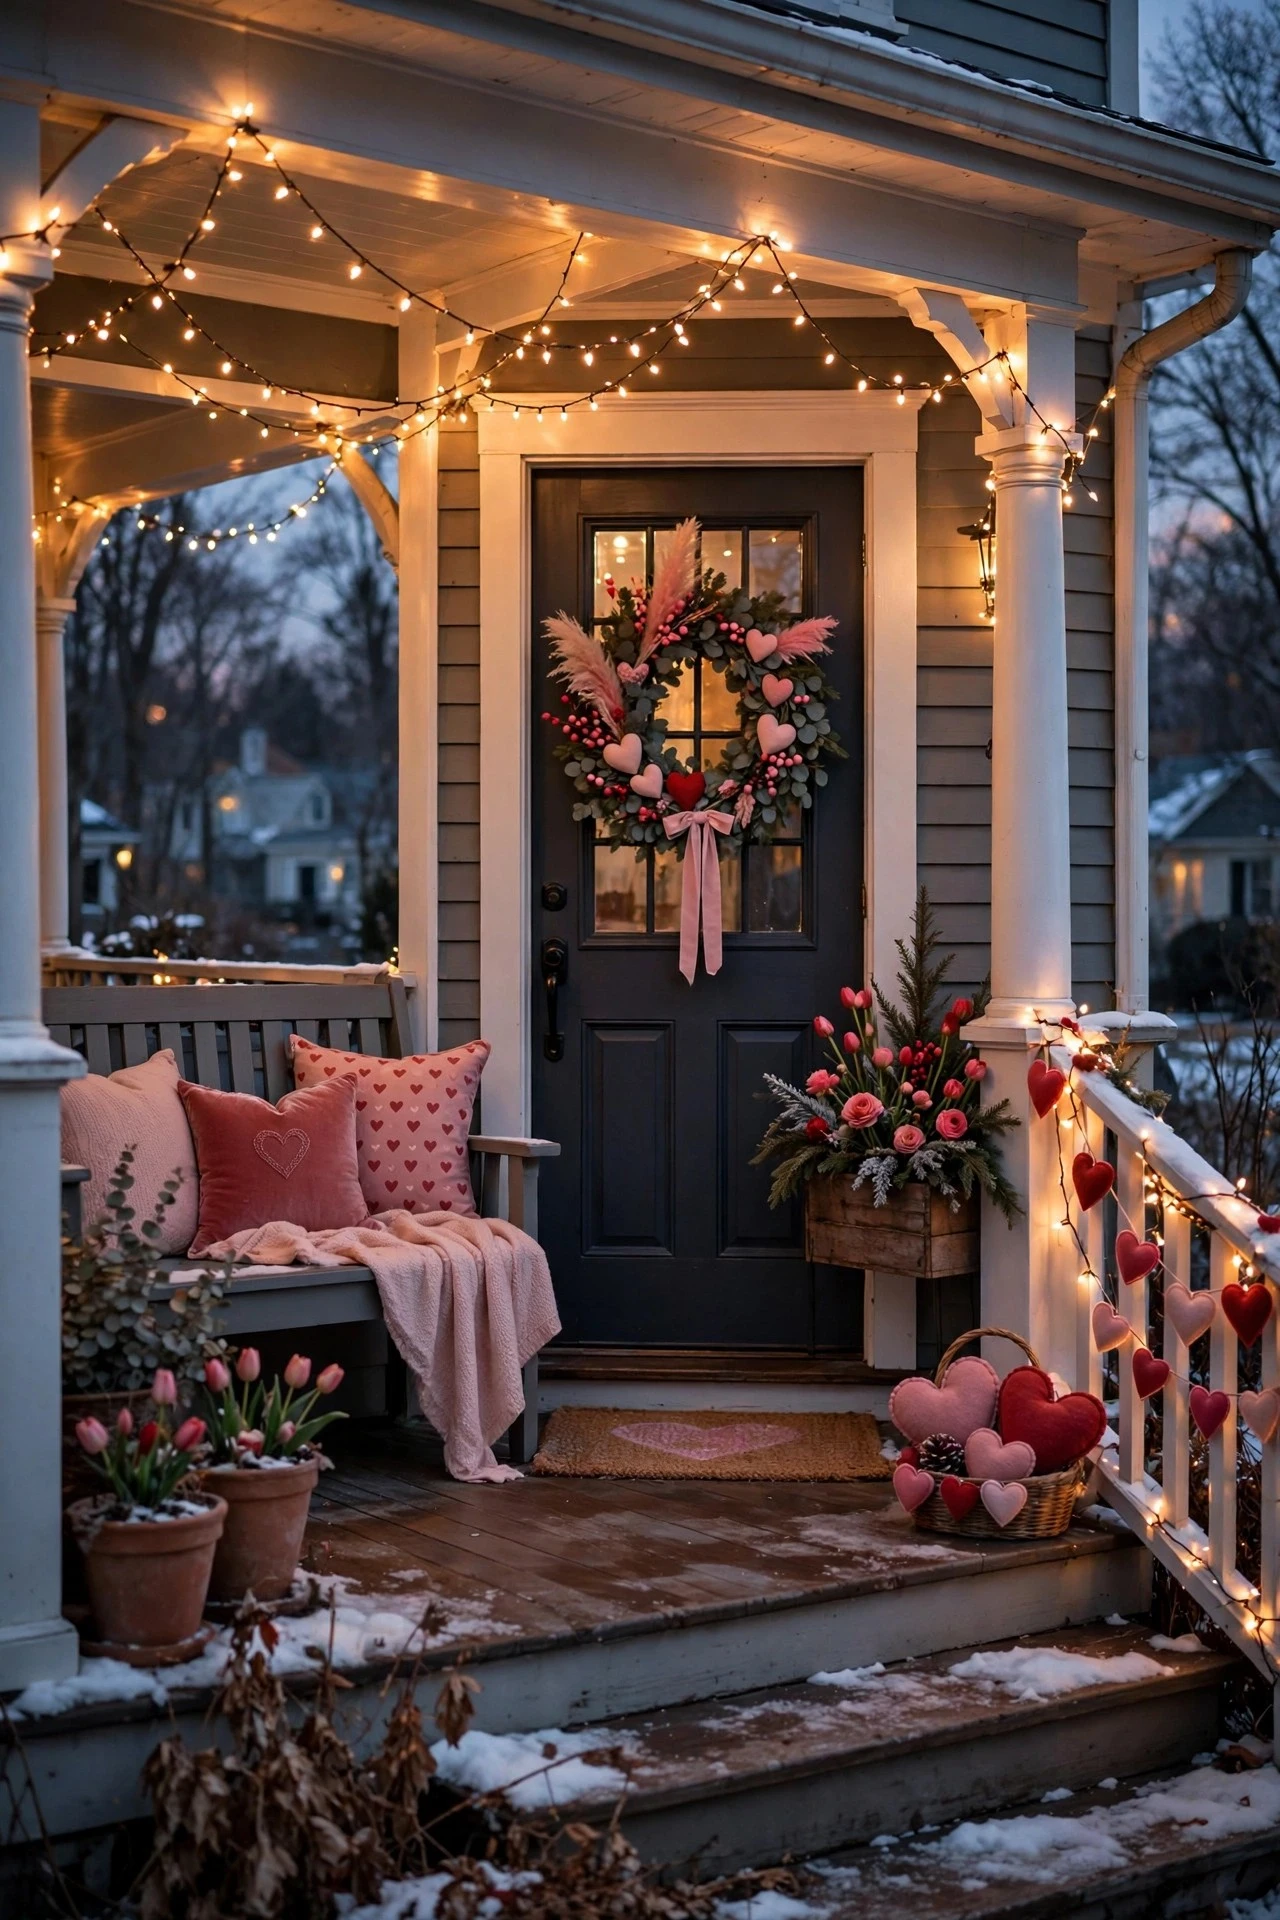
February's secret is that your winter lighting base barely needs to change — just swap the accents. In the first week of February, add blush pink or deep red touches over your existing warm-white layers: a heart-shaped grapevine wreath on the door, a couple of red lantern candles swapped into your hygge corner, or one strand of warm-red fairy lights woven through the railing garland.
Keep the base lighting identical so the transition takes fifteen minutes. A red bow on each porch lantern, heart-shaped window decals behind the window candles, and a blush throw replacing the winter one on the bench are all it takes. Timers stay the same — dusk to 10 pm — because February sunsets are still early. The rule of thumb: red as an accent, warm white as the foundation. Go full red everywhere and it reads like a sale display; a few touches and it reads like intention.
Suggested budget range: $10 – $40.
18. Stake Pathway Spikes to Mark the Walkway Edge
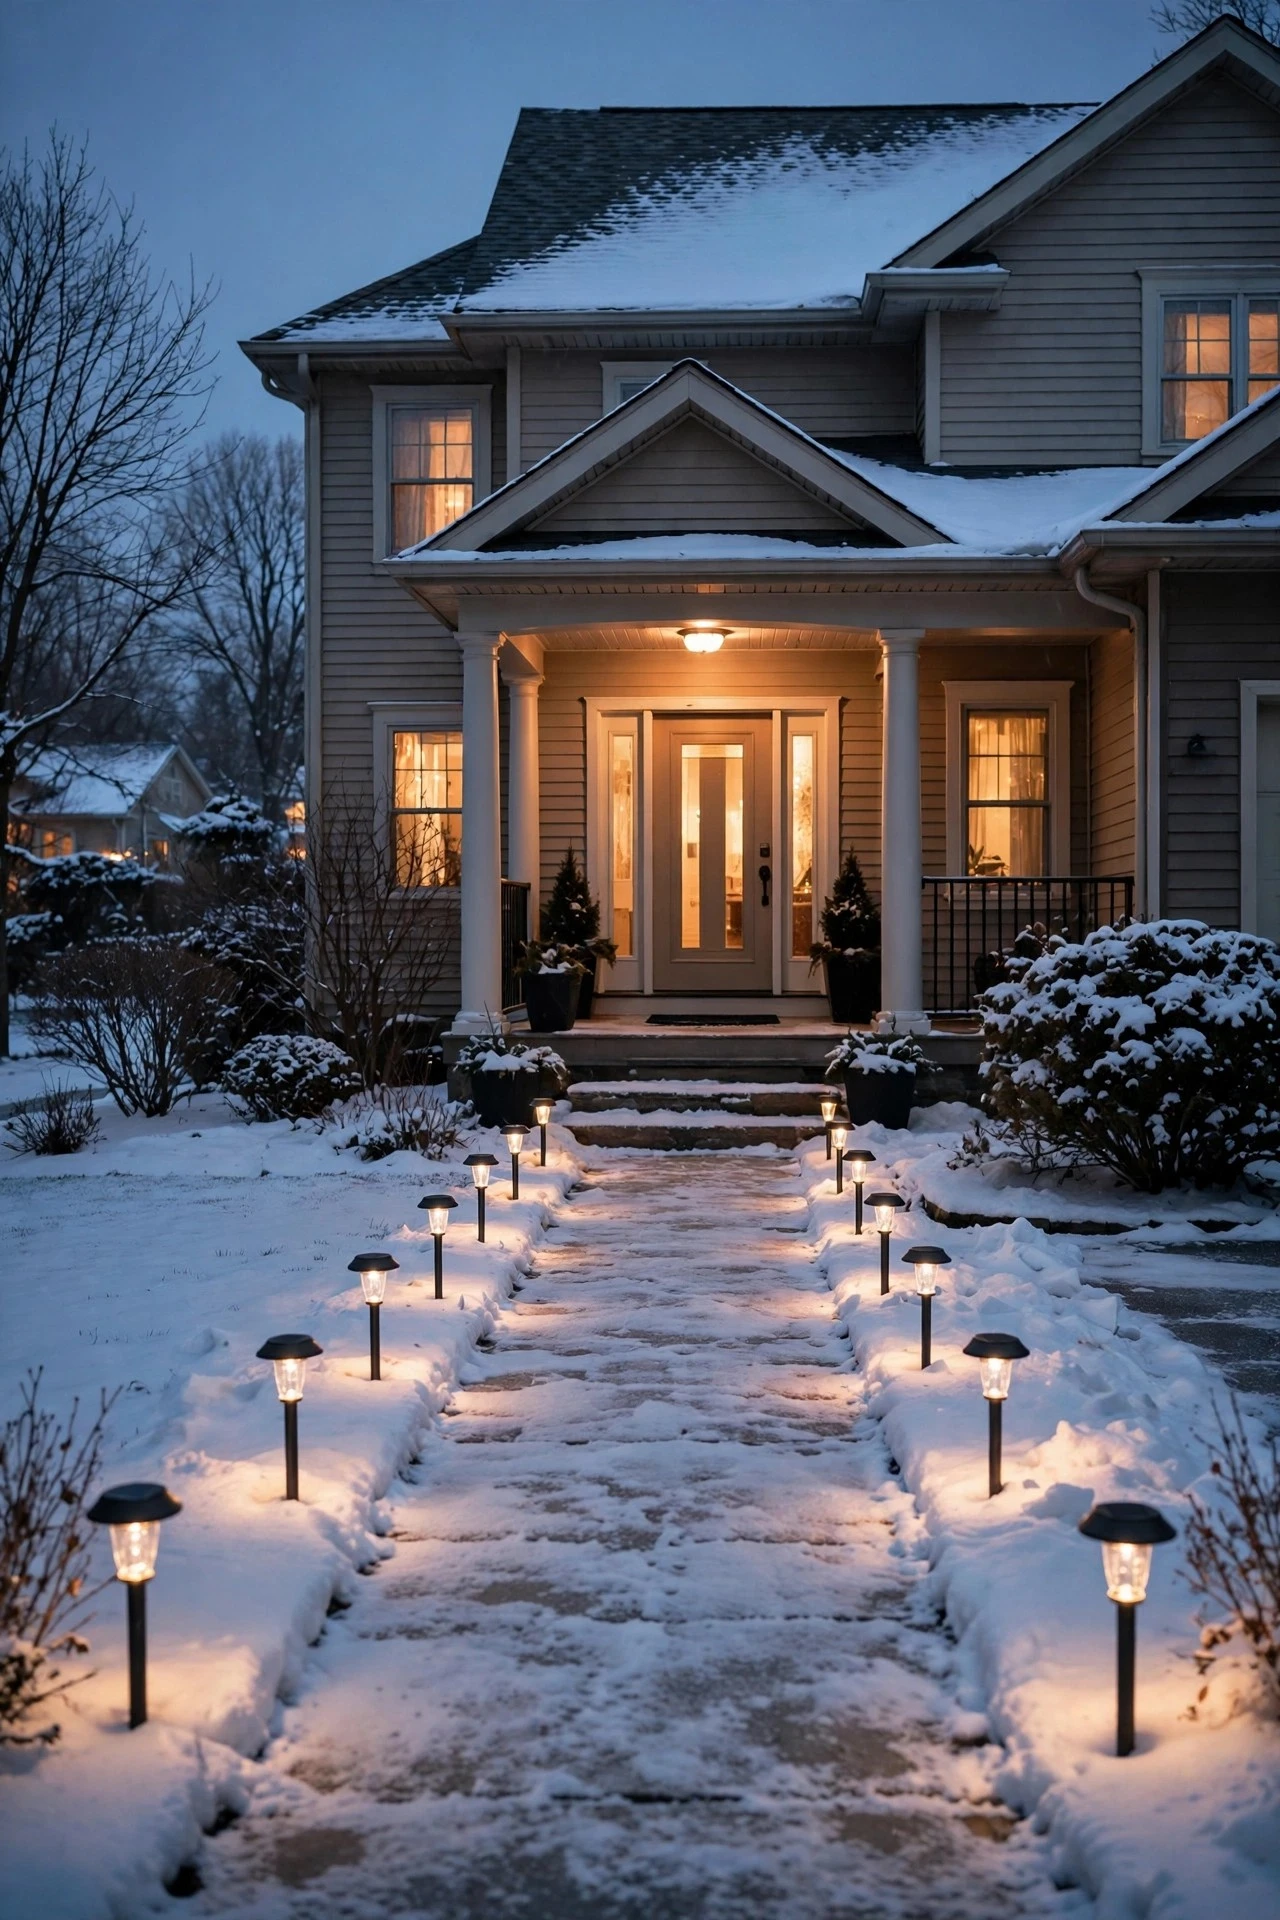
When snow reshapes your yard every week, guests can't always find the walkway — so light its edges. Stake low-voltage or solar path lights every 6 to 8 feet along both sides of the front walk, pushing the stakes deep so at least 15 inches of fixture stands above the average snow depth in your area. Angle each head slightly across the path so the pools of light overlap.
Warm white at 3000K looks welcoming; cool white looks more modern — either works as long as it matches the porch. Solar versions need their panels cleared after every snowfall and aimed at the southern sky, but honestly, in January's short days, wired low-voltage path lights are far more reliable. Safety note: once the lights mark your edges, shovel the path INSIDE the light line so the snowbanks sit behind the fixtures instead of burying them.
Suggested budget range: $30 – $90.
19. Run a Faux-Cedar Garland With Lights Along the Railing
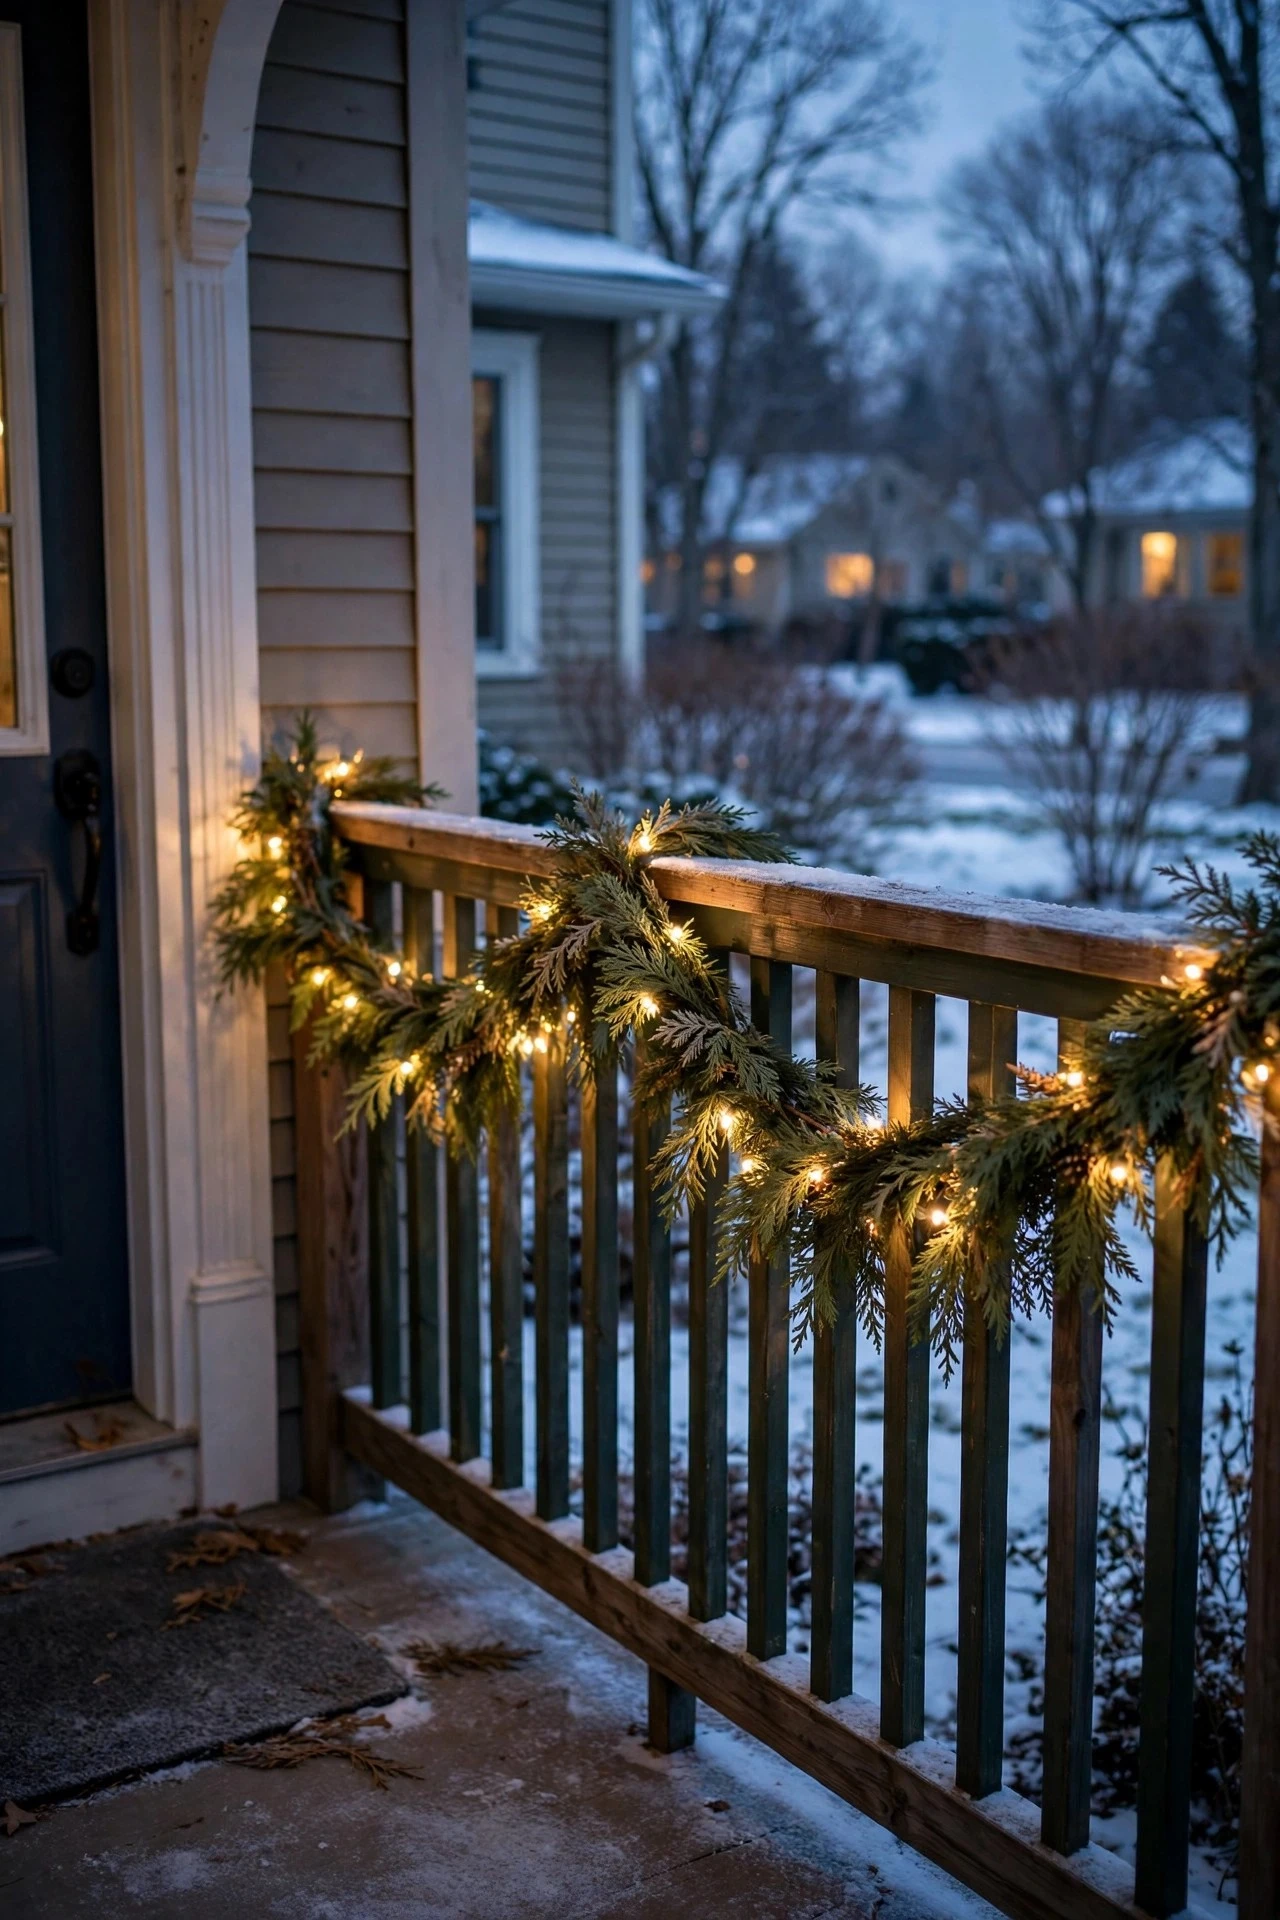
A plain faux-cedar garland — no berries, no ornaments, no bows — is the January answer to December's decorated swags. Lay a 9-foot garland along the porch railing or across the top of the door frame, and weave one 50- to 100-count strand of warm-white microlights through it, spacing the diodes every 2 to 3 inches. Zip-tie the garland to the railing every 18 inches so it can't slide in wind.
Hide the battery timer box at the end post inside a small weatherproof pouch, set to glow 4:30 to 10 pm. Faux garland shrugs off snow and ice that would wreck the real stuff, and because there's nothing fragile attached, you can brush snow off it with a broom without fear. In my experience, this single element makes a porch look finished from the street — it gives the eye a horizontal line of warmth to follow. LED-only here, since even faux garland prefers cool-running bulbs.
Suggested budget range: $35 – $85.
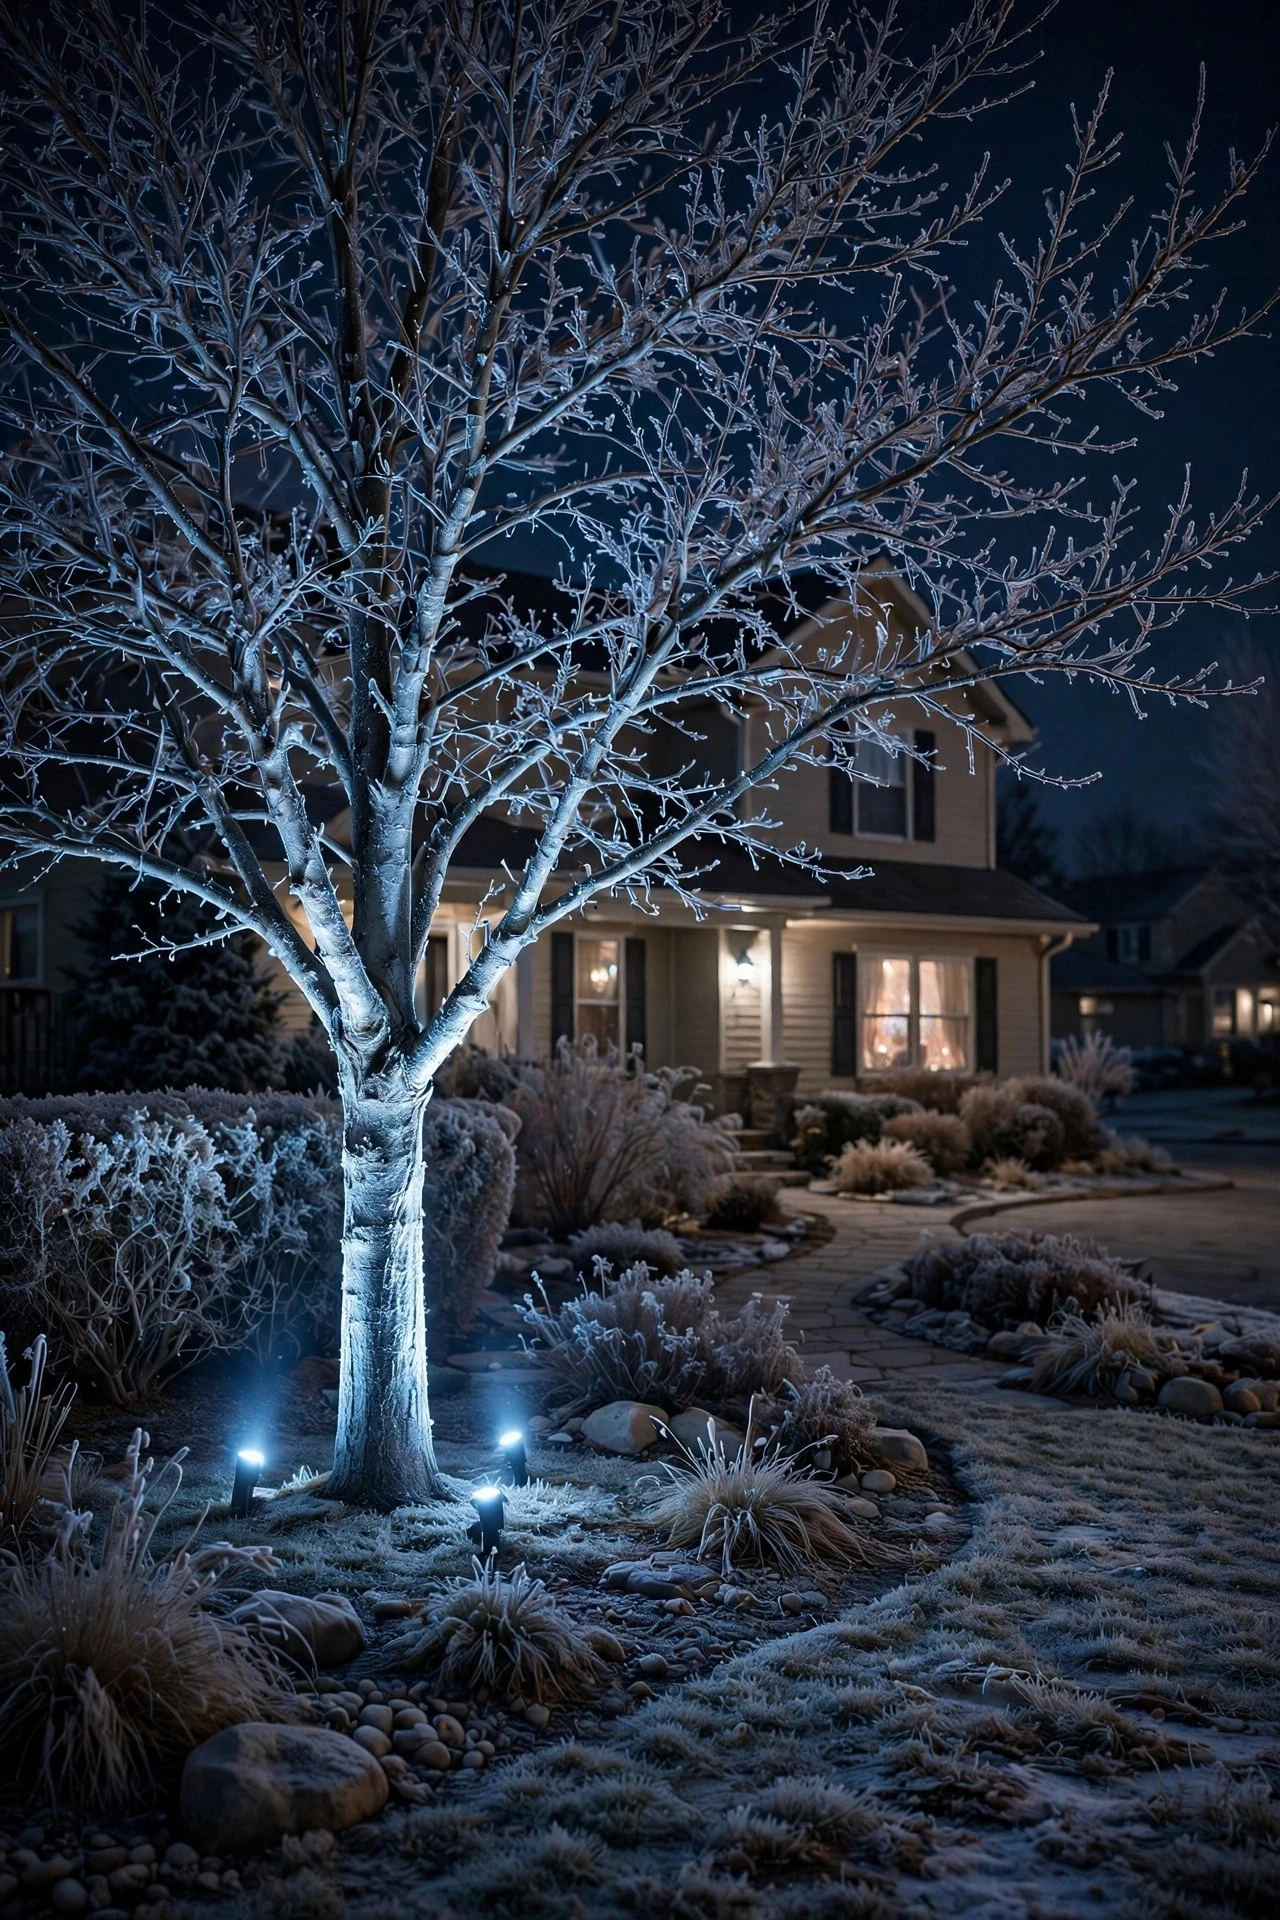
20. Uplight a Front-Yard Tree in Cool White for a Frost Effect
Here's where cool white earns its keep. Place two or three IP65 LED spotlights 12 to 18 inches from the trunk of a front-yard tree, aimed up into the branches at a steep 45- to 60-degree angle. In cool white (4000K–5000K) or even an icy blue-white, bare branches and frosty bark glow like a crystal chandelier — the frost effect is unreal on clear, cold nights.
Bury the low-voltage cables under mulch or along the foundation so snowblowers and shovels can't catch them. Set the spots on the same dusk-to-10-pm schedule as the porch so the yard and entry feel like one scene. One caution: keep uplights pointed into the tree canopy, not across the street — nobody wants headlights' worth of glare from a neighbor's yard. Two fixtures on a small ornamental tree, three on anything over 15 feet tall.
Suggested budget range: $40 – $120.
21. Your Complete Winter Porch Lighting Plan for January and February
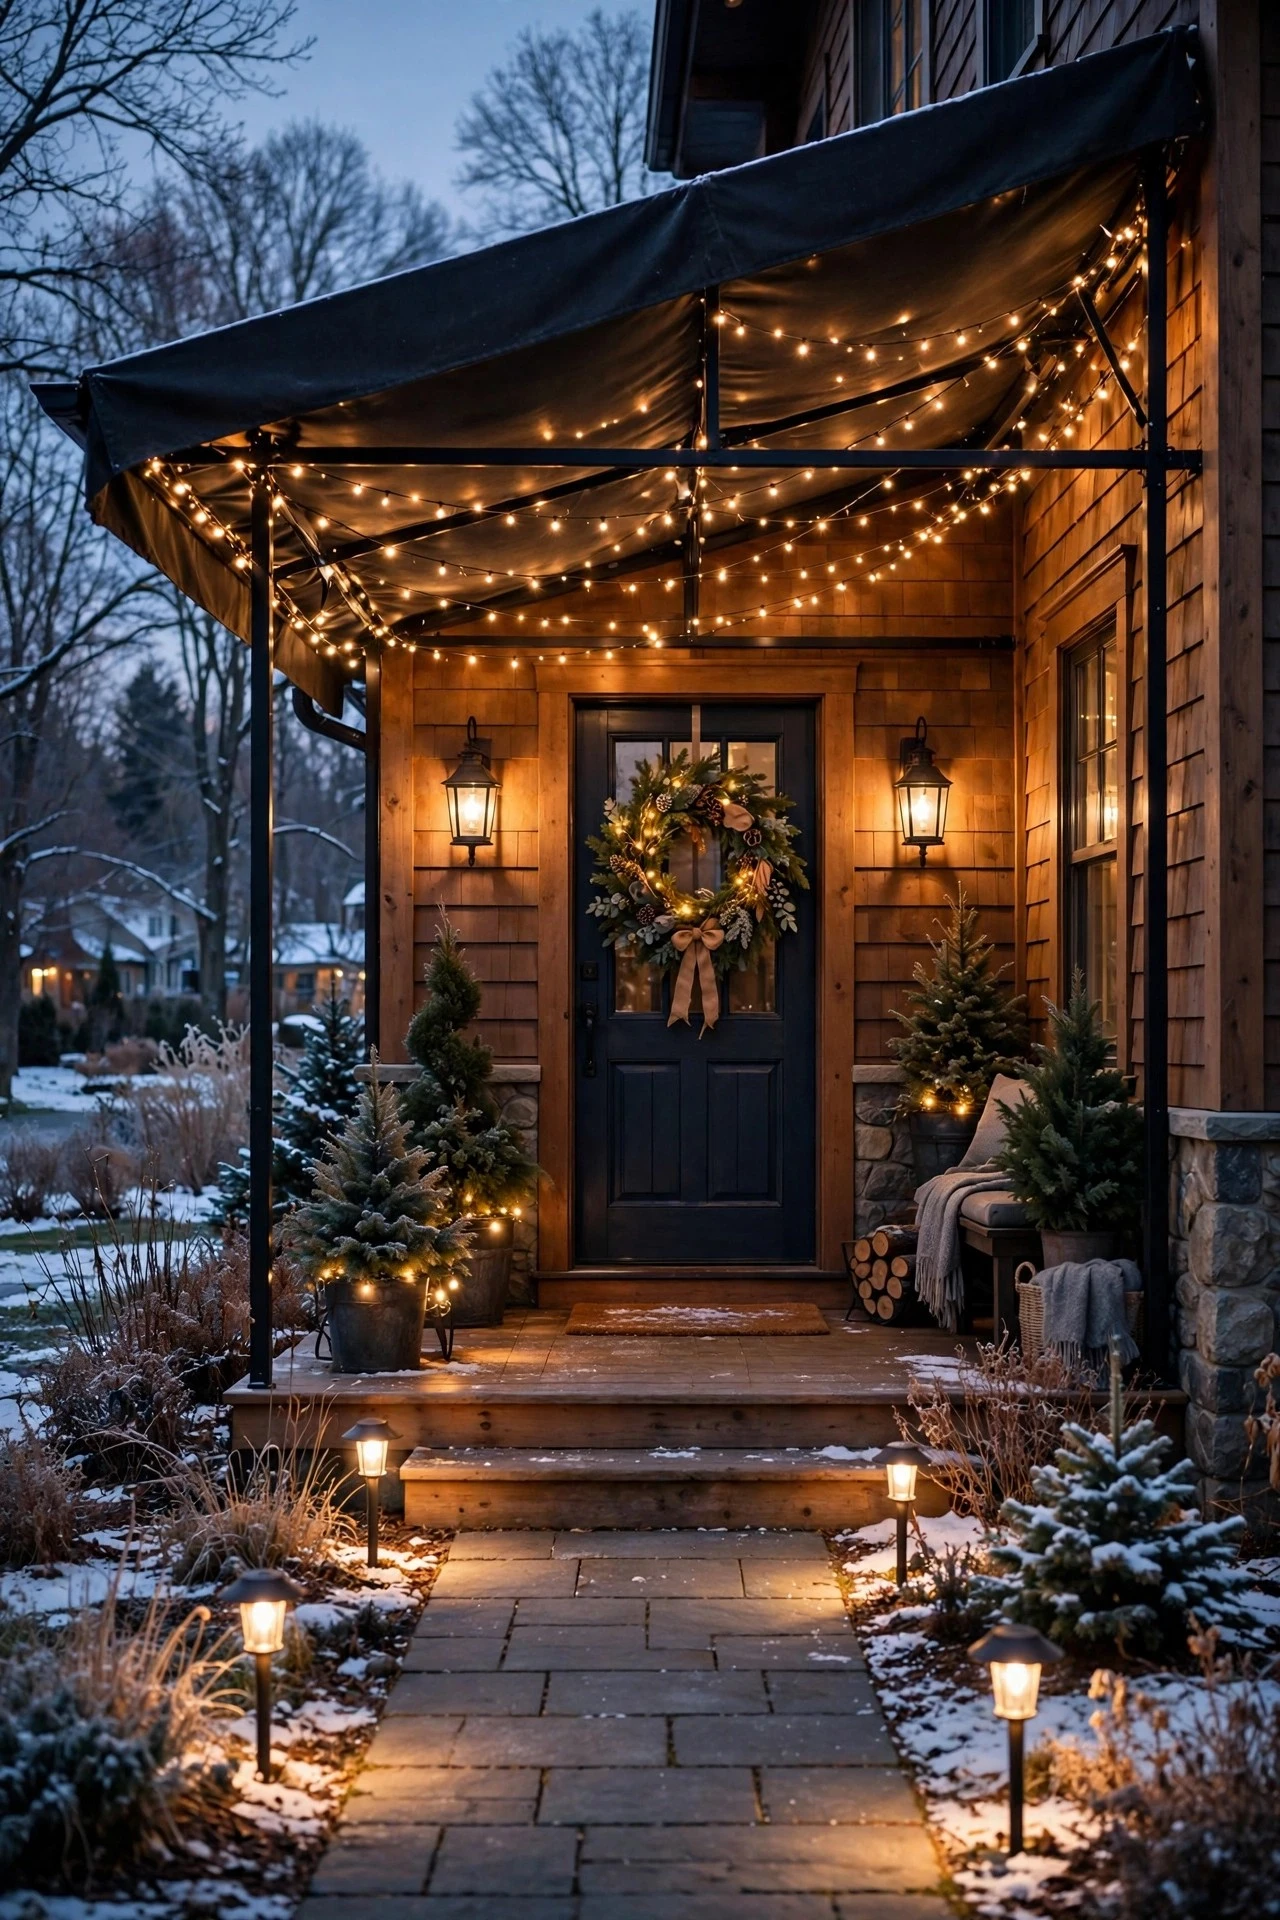
The twenty-one ideas above work best as a system, so here's how I'd assemble a complete winter porch lighting plan. Layer one is ambient: the Edison canopy or warm sconces giving the whole porch its base glow. Layer two is accent: the wreath, the bare branches, the uplit planters — the details that make it yours. Layer three is task: motion-sensor light over the steps, path spikes along the walk, window candles for the street view.
Tie it all together with one master routine. Put the ambient and accent lights on outdoor timers running 4:30 to 10:30 pm, the task lights on motion sensors or dusk-to-dawn, and the window candles on their own sensors. Once a week — Sunday works — do a five-minute winter check: brush snow off fixtures and solar panels, confirm timers are still synced after any power flicker, and check cords for ice damage. A porch that runs itself through February is the goal; you set the scene once, and the timers do the welcoming.
Suggested budget range: $75 – $200.
Frequently Asked Questions
What color temperature is best for winter porch lighting?
Warm white — 2700K to 3000K — is the safest bet for a cozy January and February porch. It flatters wood, stone, and snow alike and reads as inviting from the street. Go warmer (2200K amber) in sconces and lanterns for extra candlelight feel. Reserve cool white (4000K–5000K) or ice blue for one or two accents, like uplighting a tree for a frost effect — cool tones as the main event tend to feel stark rather than welcoming.
Can I leave my outdoor string lights up all winter after Christmas?
Yes, as long as they're outdoor-rated (look for IP44 or higher on the packaging) and you strip off the ornaments, bows, and greenery. Switch multicolor strands to warm white steady-on for a calm January look. Check the strands monthly for cracked sockets or frayed wire where ice may have stressed the cord, and make sure the plug connection stays dry — an outdoor outlet cover and a drip loop in the cord handle that.
How do I protect porch lights from snow and freezing temperatures?
Three habits cover most of it. First, buy outdoor-rated fixtures (IP65 for ground spots, IP44 minimum for strands) — the ratings are designed for exactly this weather. Second, give every cord a drip loop, a U-shaped sag below the plug, so meltwater drips off instead of tracking into the outlet. Third, clear snow off solar panels and fixture lenses after storms; heavy snow smothers light output and blocks charging. LEDs actually perform better in cold than old incandescents, so winter is the season they shine.
Are solar lights worth it on a porch in January and February?
Honestly? They're hit-or-miss in deep winter. Short days, low sun angle, and snow-covered panels mean solar lights often run for only a couple of hours — if they charge at all. They can still work if you place panels facing due south, brush snow off daily, and keep expectations modest. For reliable January and February glow, plug-in strands on timers or battery lights with timer boxes are the safer choice; save the solar for March.
Conclusion
The post-holiday porch doesn't need to go dark — it just needs a new mood. These winter porch lighting ideas all come back to one principle: layer warm, reliable light for atmosphere and bright, practical light where you step, then let timers do the work while you stay cozy inside. Start with one or two layers — the wreath, the railing lights you never took down — and build from there through February. And when you're ready for more inspiration, browse the rest of our outdoor lighting ideas to keep every season of your home glowing.