Every fall, right around the first evening I come home to a dark house at six, I pour a cup of coffee, grab a notepad and a flashlight, and walk my whole system. That walk is my annual outdoor lighting safety inspection, and honestly, it is the most useful hour I spend on my yard all year. Outdoor lighting lives a hard life out there. Rain finds its way into fixtures, mower blades nick buried cables, connectors quietly turn green with corrosion, and bulbs work themselves loose in their sockets, usually in the exact stretch of path my family walks in the dark. Almost none of it announces itself. You only find it by looking, on purpose, once a year, at dusk, when every fault shows. This checklist follows the exact route I walk: panel to transformer, cable to fixture, bulb to beam. By the end, you will know how to test your ground-fault protection, recognize the handful of findings that mean stop and call an electrician, fix the small stuff yourself the same weekend, and keep a simple record so next year takes half the time.

The Short Answer
Do it once a year, at dusk, in this order: test the GFCI and glance at the panel, inspect the transformer and its connections, walk every cable run looking for nicks and green corrosion, open every fixture to check for water, cracks and scorch marks, confirm each bulb matches its fixture rating, then stand back and judge the beams for dark steps and glare. Most findings are ten-minute fixes. A warm breaker, a GFCI that keeps tripping, melted plastic or a hot connector is not a fix-it-later item. That is electrician territory, today.
Start at the Source: Panel, Breakers and GFCI Protection
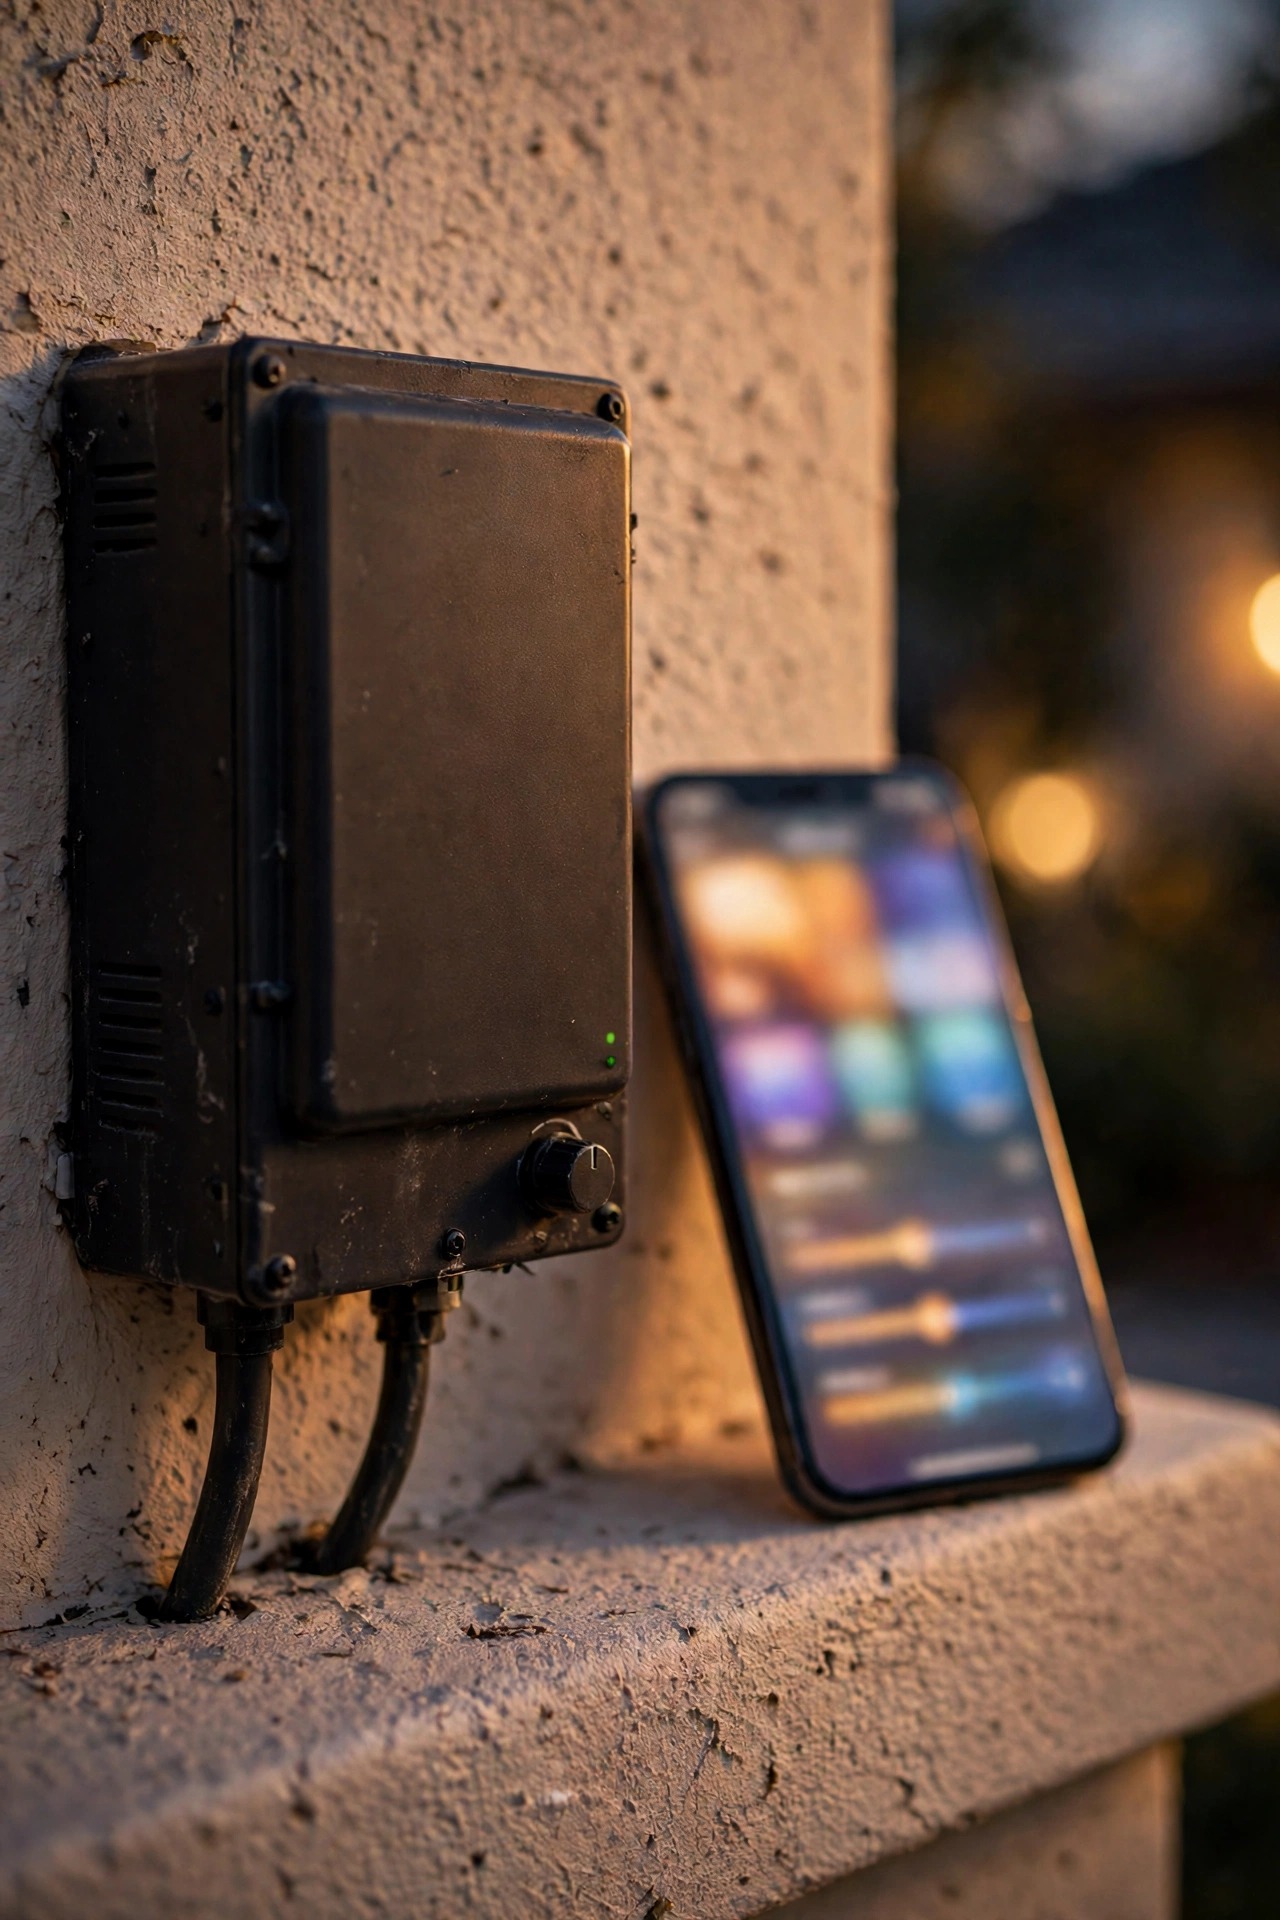
Every inspection starts indoors, before a single fixture gets touched. Open your electrical panel and run the back of your hand lightly across the breaker faces. They should all feel the same temperature. One noticeably warm breaker, a faint buzz, or a breaker that will not stay reset is a finding, not a quirk, and it goes on the call-a-professional list. While you are there, confirm the breaker feeding your outdoor circuits is labeled, so nobody has to guess during an emergency.
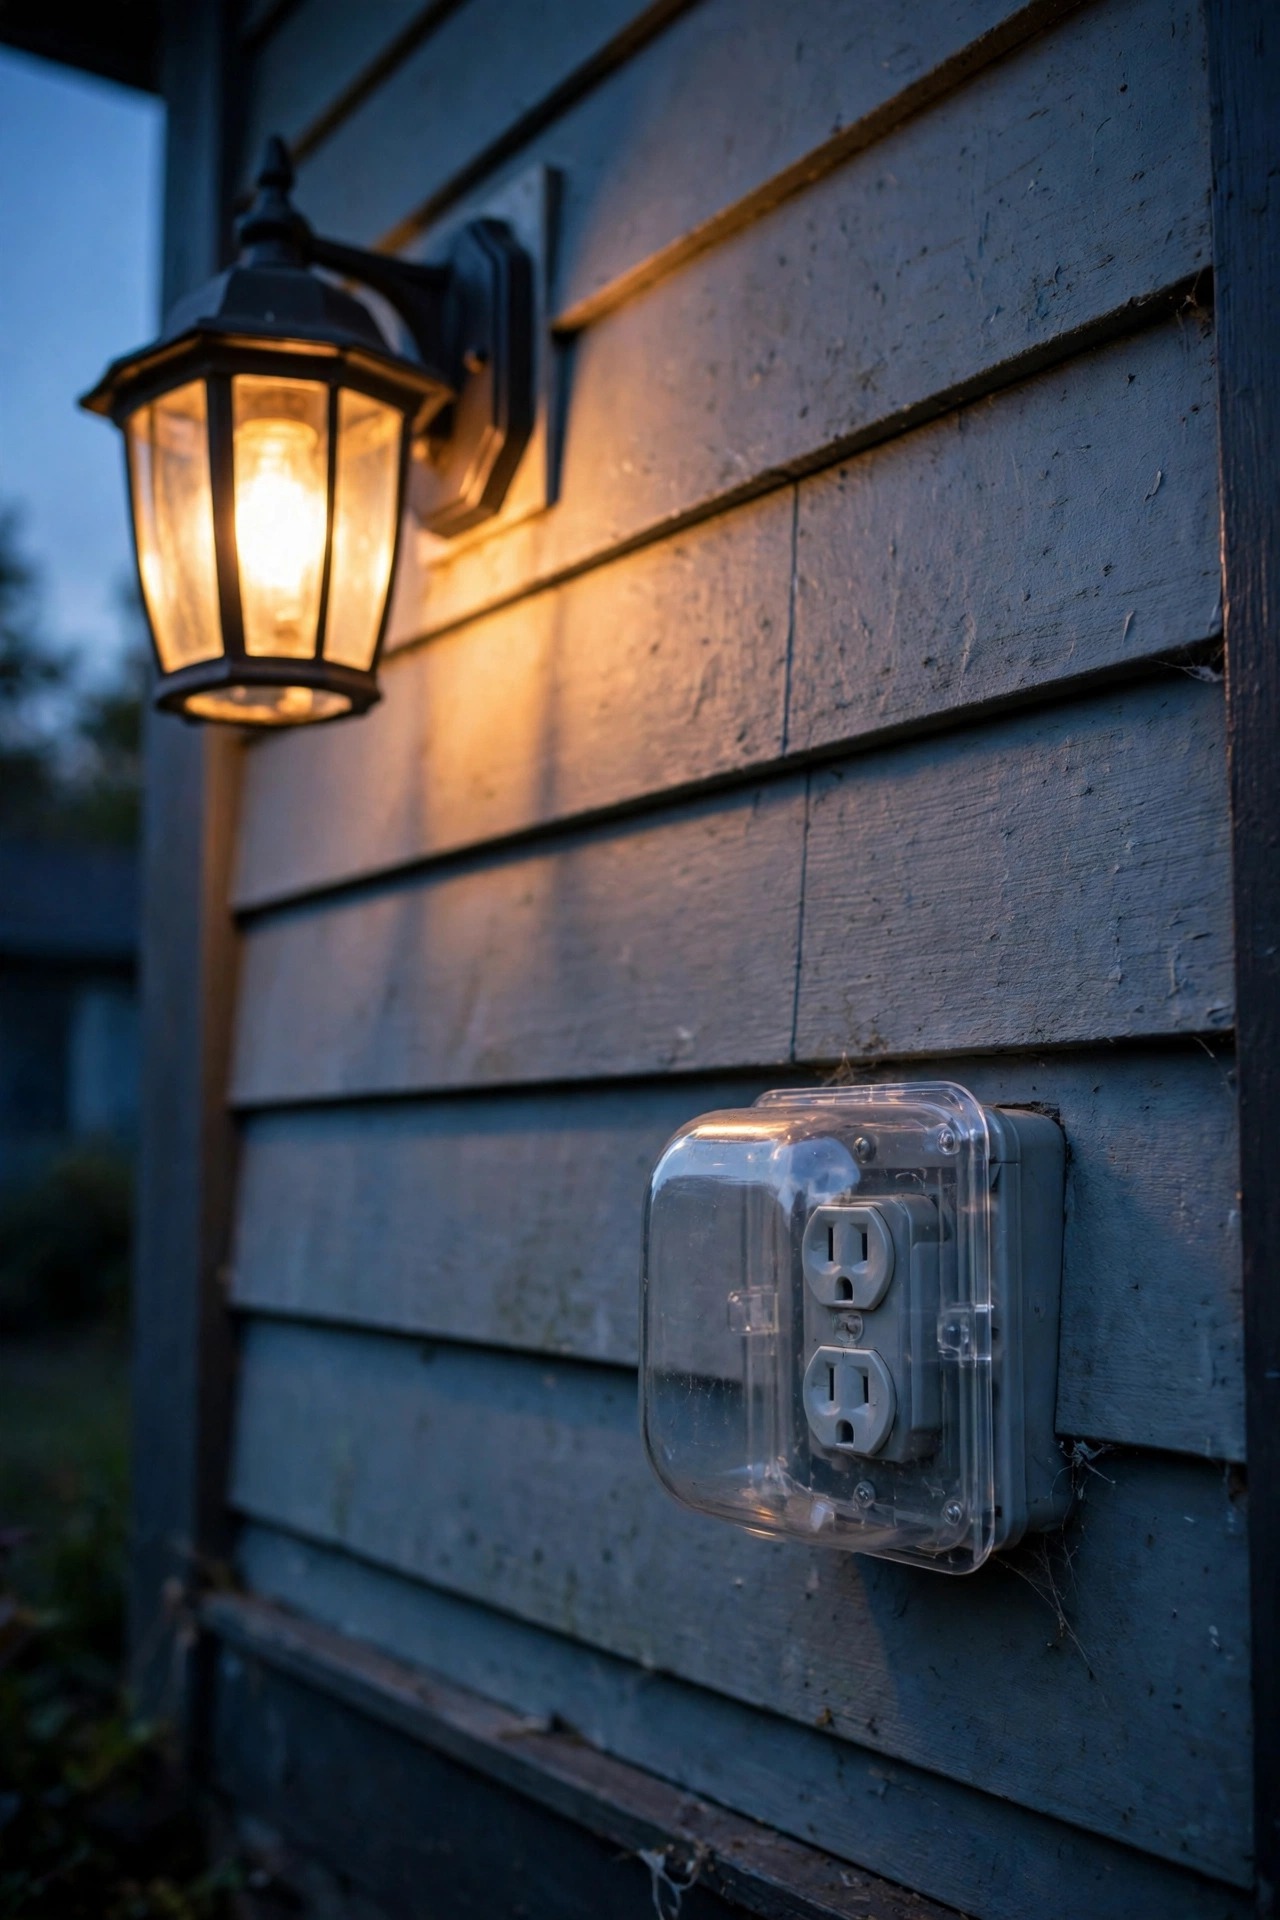
Outside, find every GFCI outlet your lighting plugs into and press the test button. The reset button should pop with a click and kill power; press reset and power returns. Test with a lamp or a plug-in tester rather than trusting the button alone. A GFCI that will not trip, will not reset, or trips the instant anything plugs in is telling you there is a ground fault somewhere downstream, usually moisture inside a fixture or a damaged cable. My full GFCI guide for outdoor lighting walks through testing, placement and in-use covers in detail. Check those covers too: the bubble cover should close fully over the plug with the cord running, because a transformer plugged into an open, rain-wet outlet has no real protection at all.
Give the Transformer a Full Once-Over
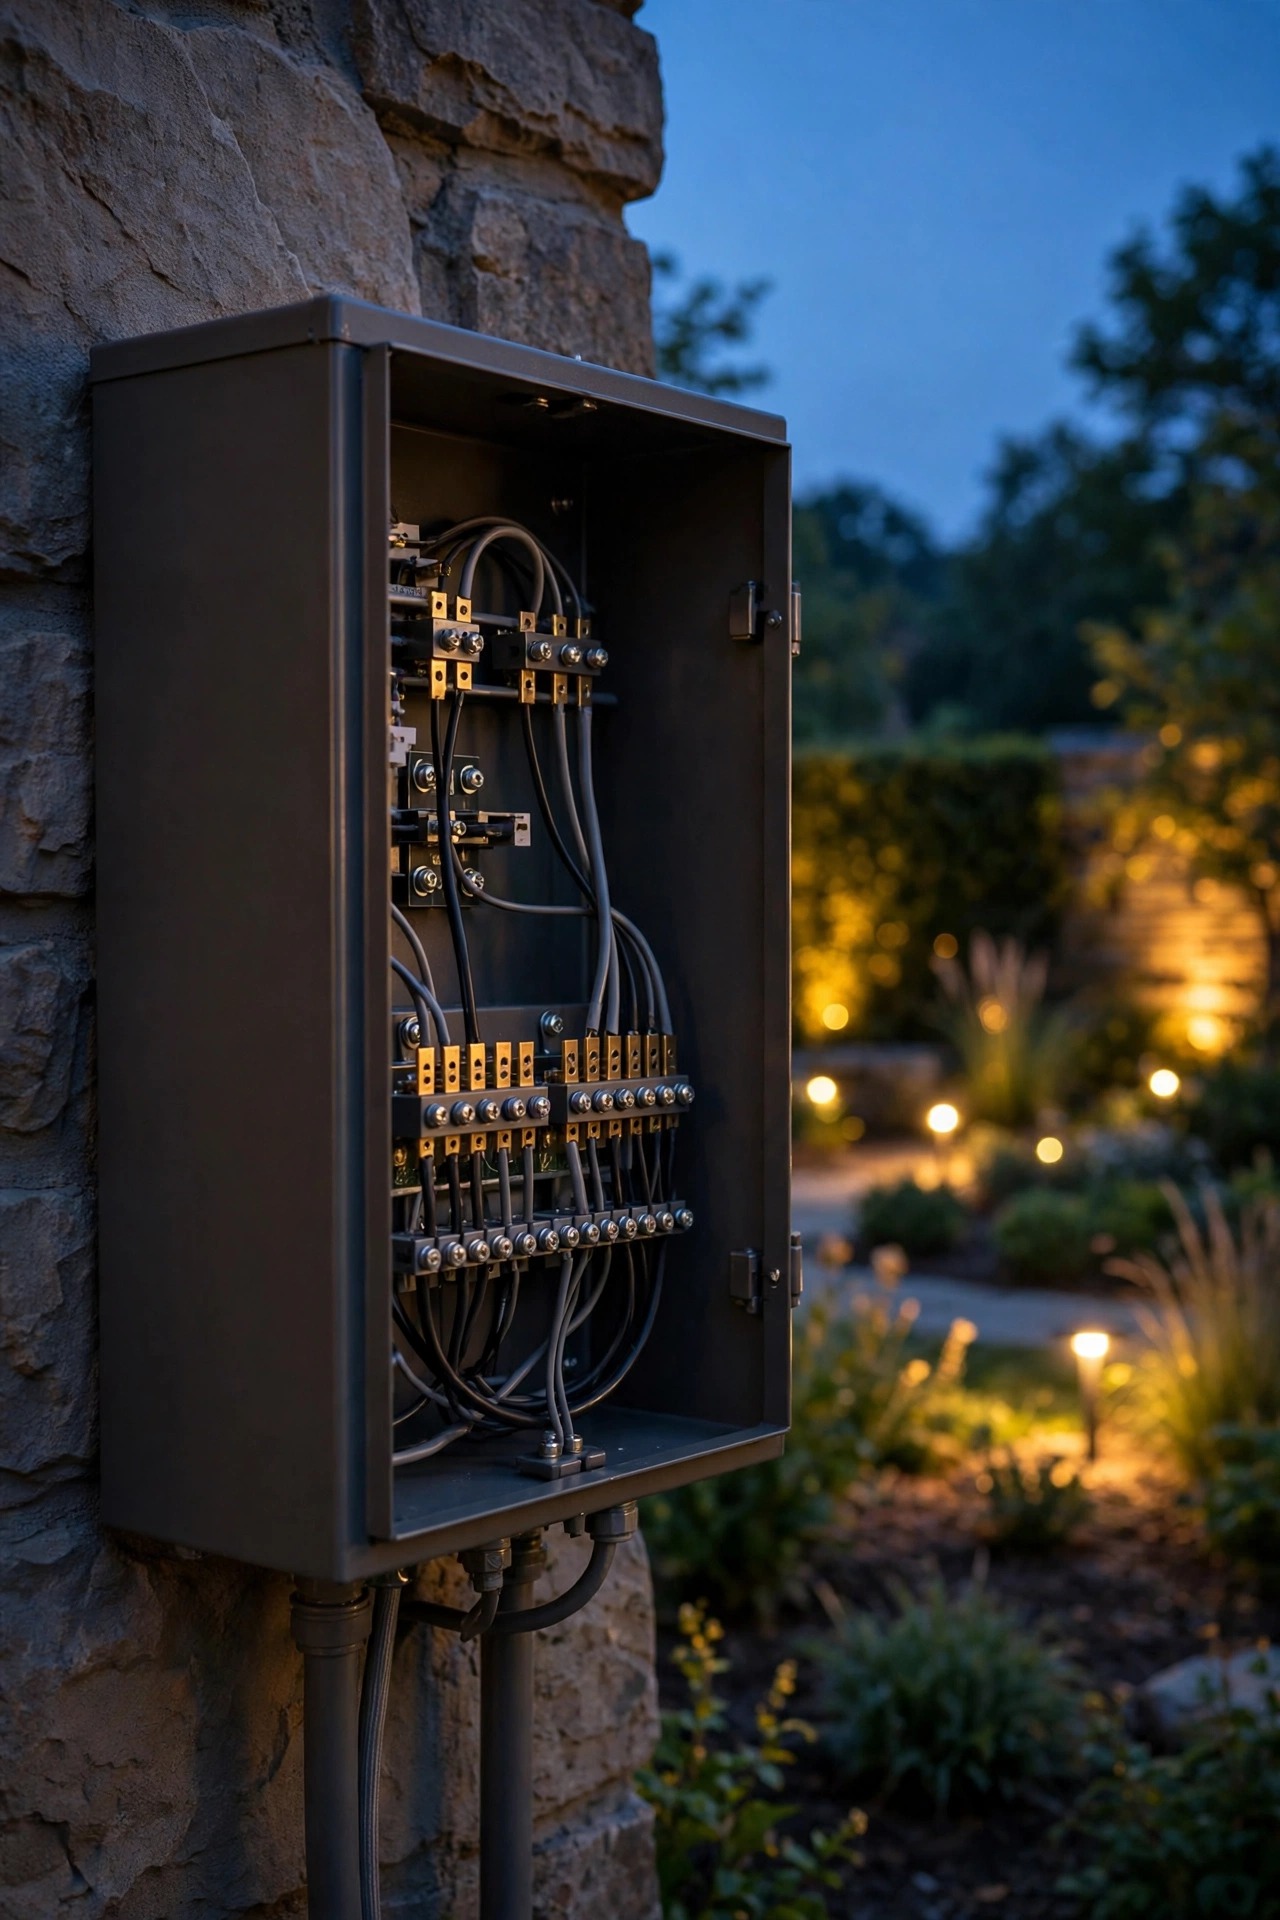
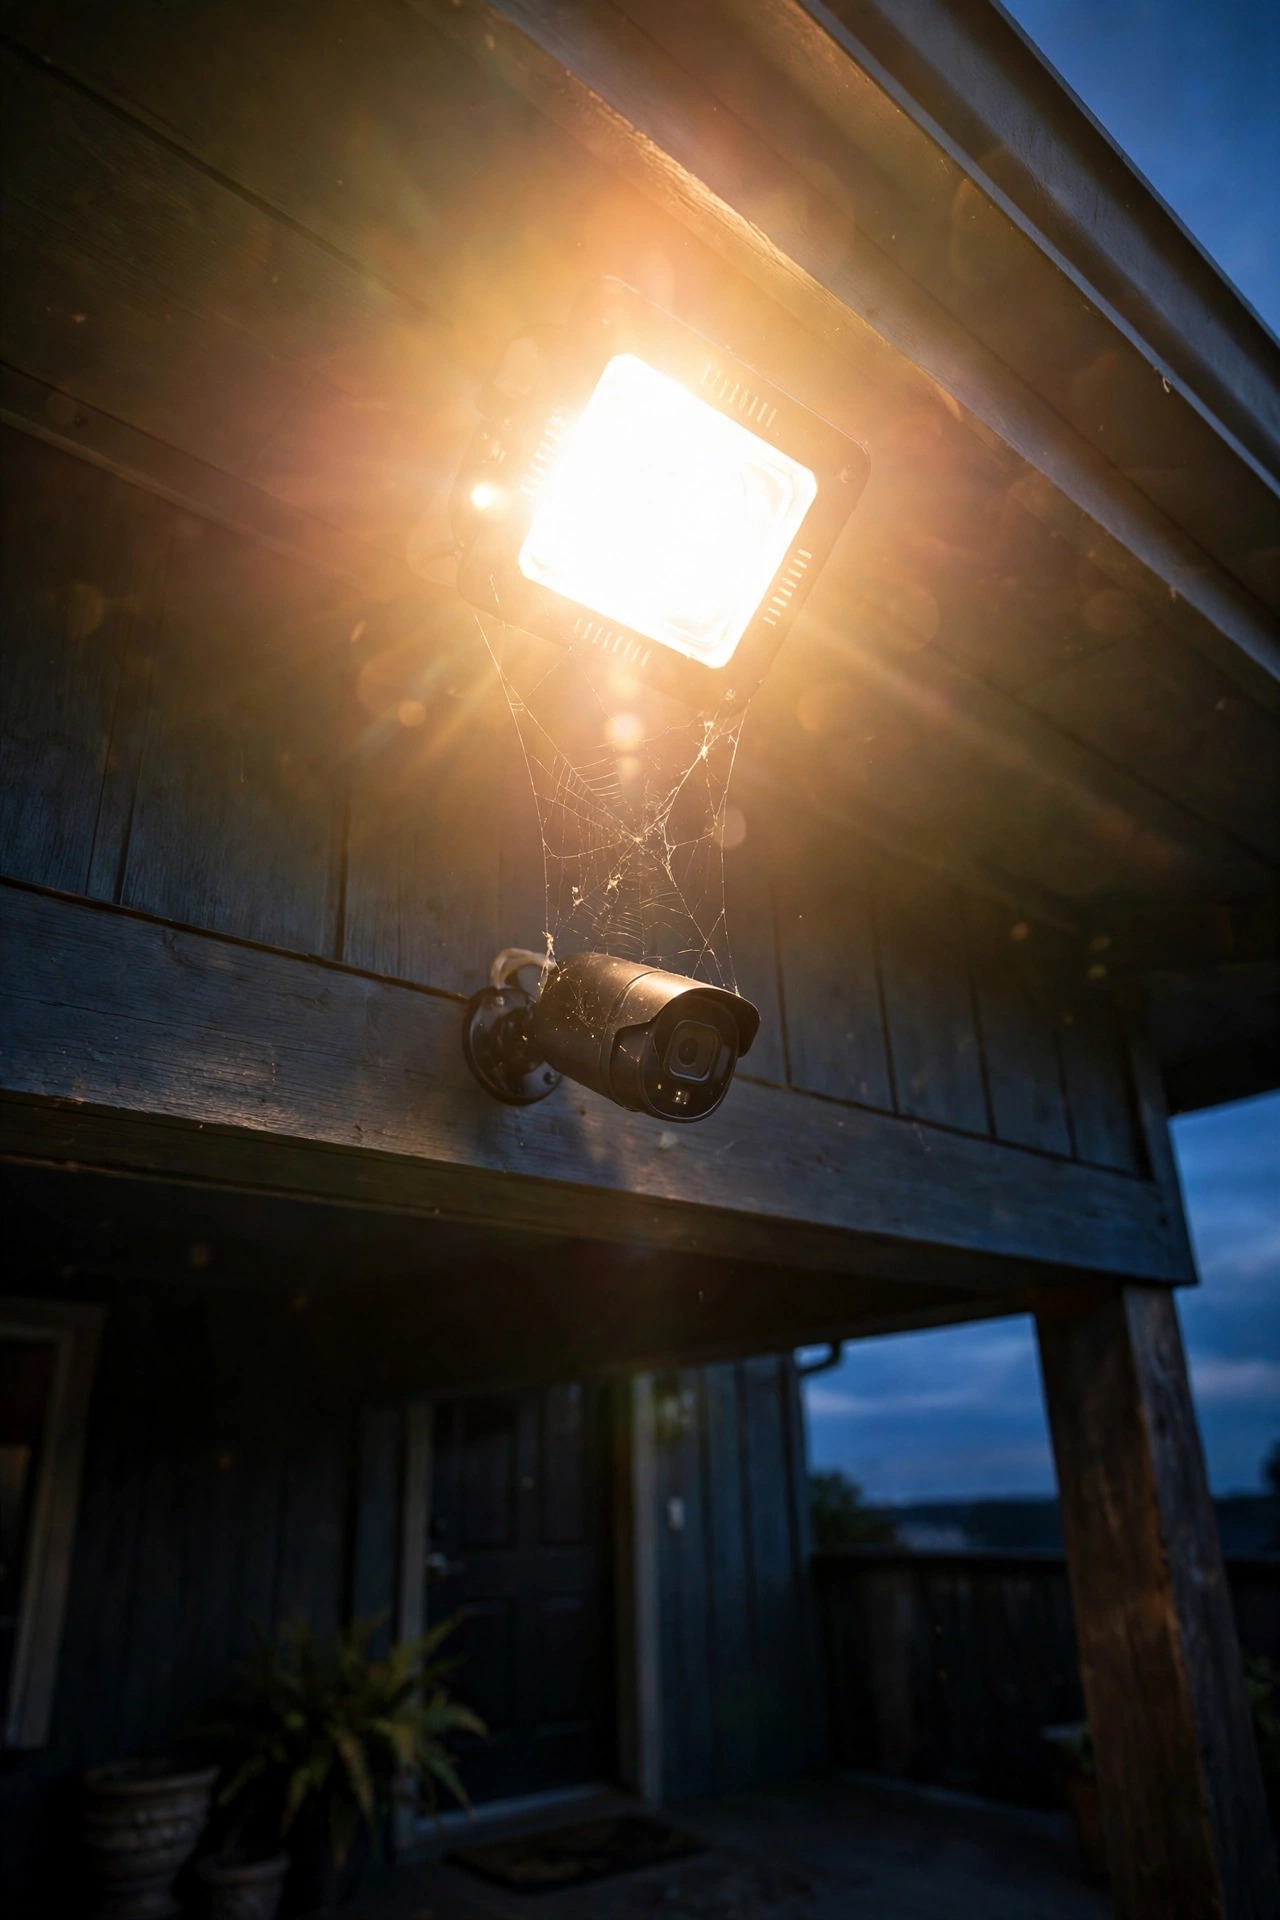
The transformer is the heart of a low-voltage system, and it collects a year of abuse quietly. Unplug it before you open anything. Vacuum or brush out the spider webs, dead insects and wasp nests that build up inside and around the vents, because a blocked vent means a hot transformer, and nesting material packed against warm terminals is nobody's idea of safe. Give it a sniff while you are close: a sharp, burnt odor means something has overheated, and that unit gets retired, not monitored.
Plug it back in and test the controls. Cover the photocell completely with a strip of dark tape or a gloved hand; the lights should come on within a minute or so. Check the timer settings too, because one power outage can leave a mechanical timer hours off from reality. Then look hard at the terminal taps where the cables land. Screws should be snug, with no stray wire strands poking out to touch a neighboring tap. Look for green or white crusty corrosion on the lugs, and after the system has run for an hour, touch each terminal: they should feel no warmer than the case. A warm terminal means resistance, and resistance means heat building at exactly the wrong spot. Clean and re-tighten it this week, or have it serviced.
Walk Every Foot of Cable
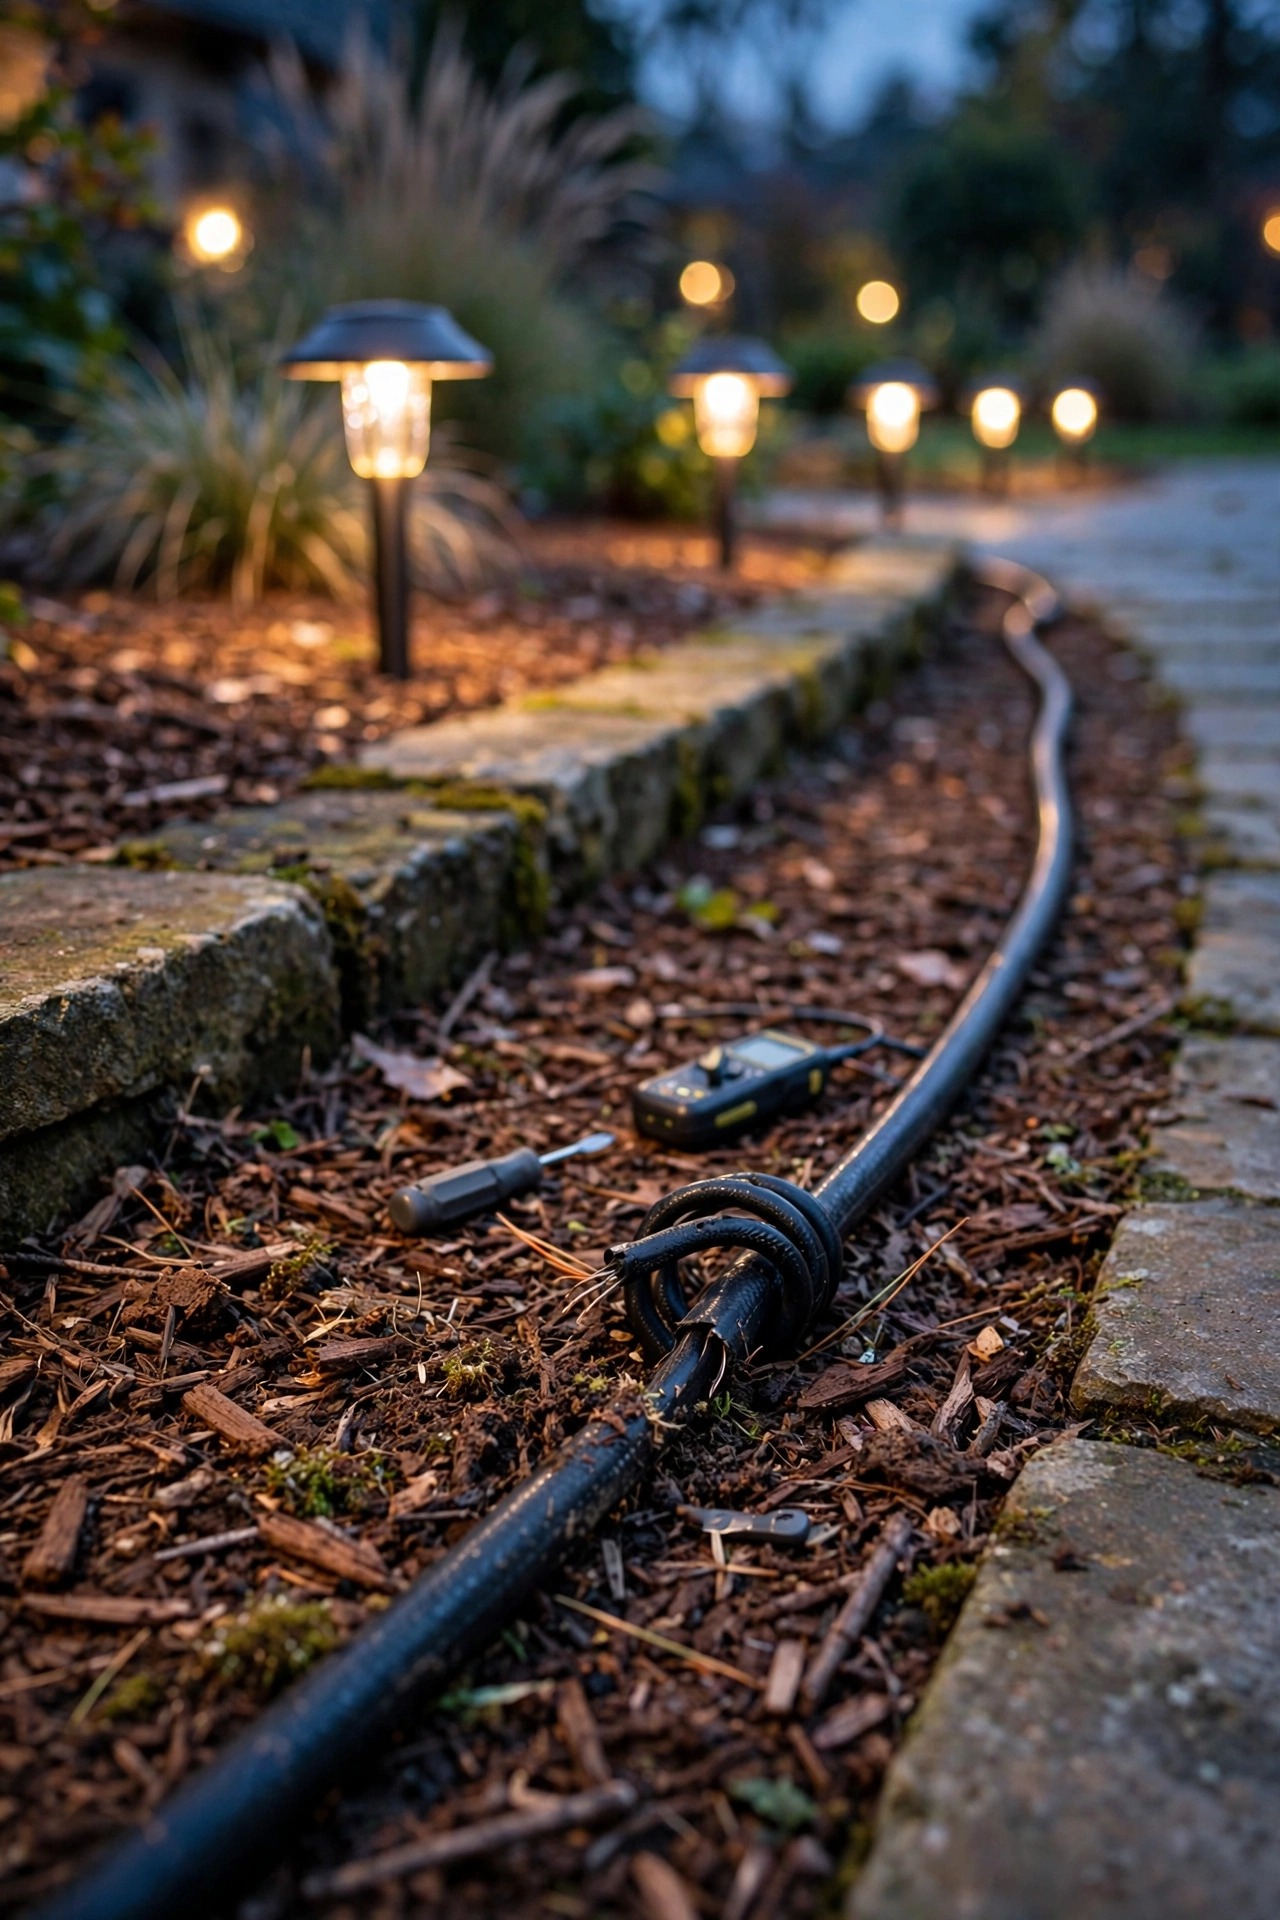
Now grab the flashlight and walk every run, slowly, in daylight if you can. Cable that was buried six inches deep in spring has a way of floating to the surface by fall, and surface cable is both a trip hazard and mower bait. Look for nicks from edgers and shovels, chewed spots where something small and determined has been at work, and jackets gone brittle and cracked from sun where a run crosses a bed edge or a driveway joint. Any spot where the copper shows through gets repaired, not taped and forgotten.
Pay the most attention to the connections, because that is where systems quietly fail. Pull apart each splice you can reach and look inside. Green or white crust, water beading inside the connector, or wires that pull free with a gentle tug all mean that joint gets cut out and redone with gel-filled waterproof connectors, the kind that seal the copper away from soil moisture for good. If you find a cable that has been cut clean through, my guide to repairing a cut landscape lighting cable shows the splice method that actually survives underground. Finish the walk by re-burying anything shallow to a honest six inches, deeper where a shovel or aerator regularly visits.
Inspect Every Fixture, One by One
This is the slow lap, and it matters most. Open or look into every single fixture. A cracked lens is an invitation for water, and water always accepts. If you find a fixture with water pooled inside, do not just tip it out and move on: find the entry point, which is usually a perished gasket, a cracked housing or a cable entry pointing uphill. Standing water inside a fixture corrodes the socket, shorts the lamp and stains the lens from within; my notes on water in an outdoor light fixture cover the drying and resealing steps in order.
Then look for the stop-everything findings: scorch marks, browned or melted plastic around the socket, a lamp holder that crumbles when touched, or insulation on the fixture leads gone soft and gummy. Any of those means the fixture comes off the system today, capped and disconnected, until it is replaced. It does not get one more season of watching. Finally, straighten what leans, re-stake what wobbles, tighten every mounting screw, and clear the mulch and leaf litter packed against the housings. A fixture buried in damp mulch runs hotter and rots faster than one that can breathe.
Check Bulbs, Wattage and Heat
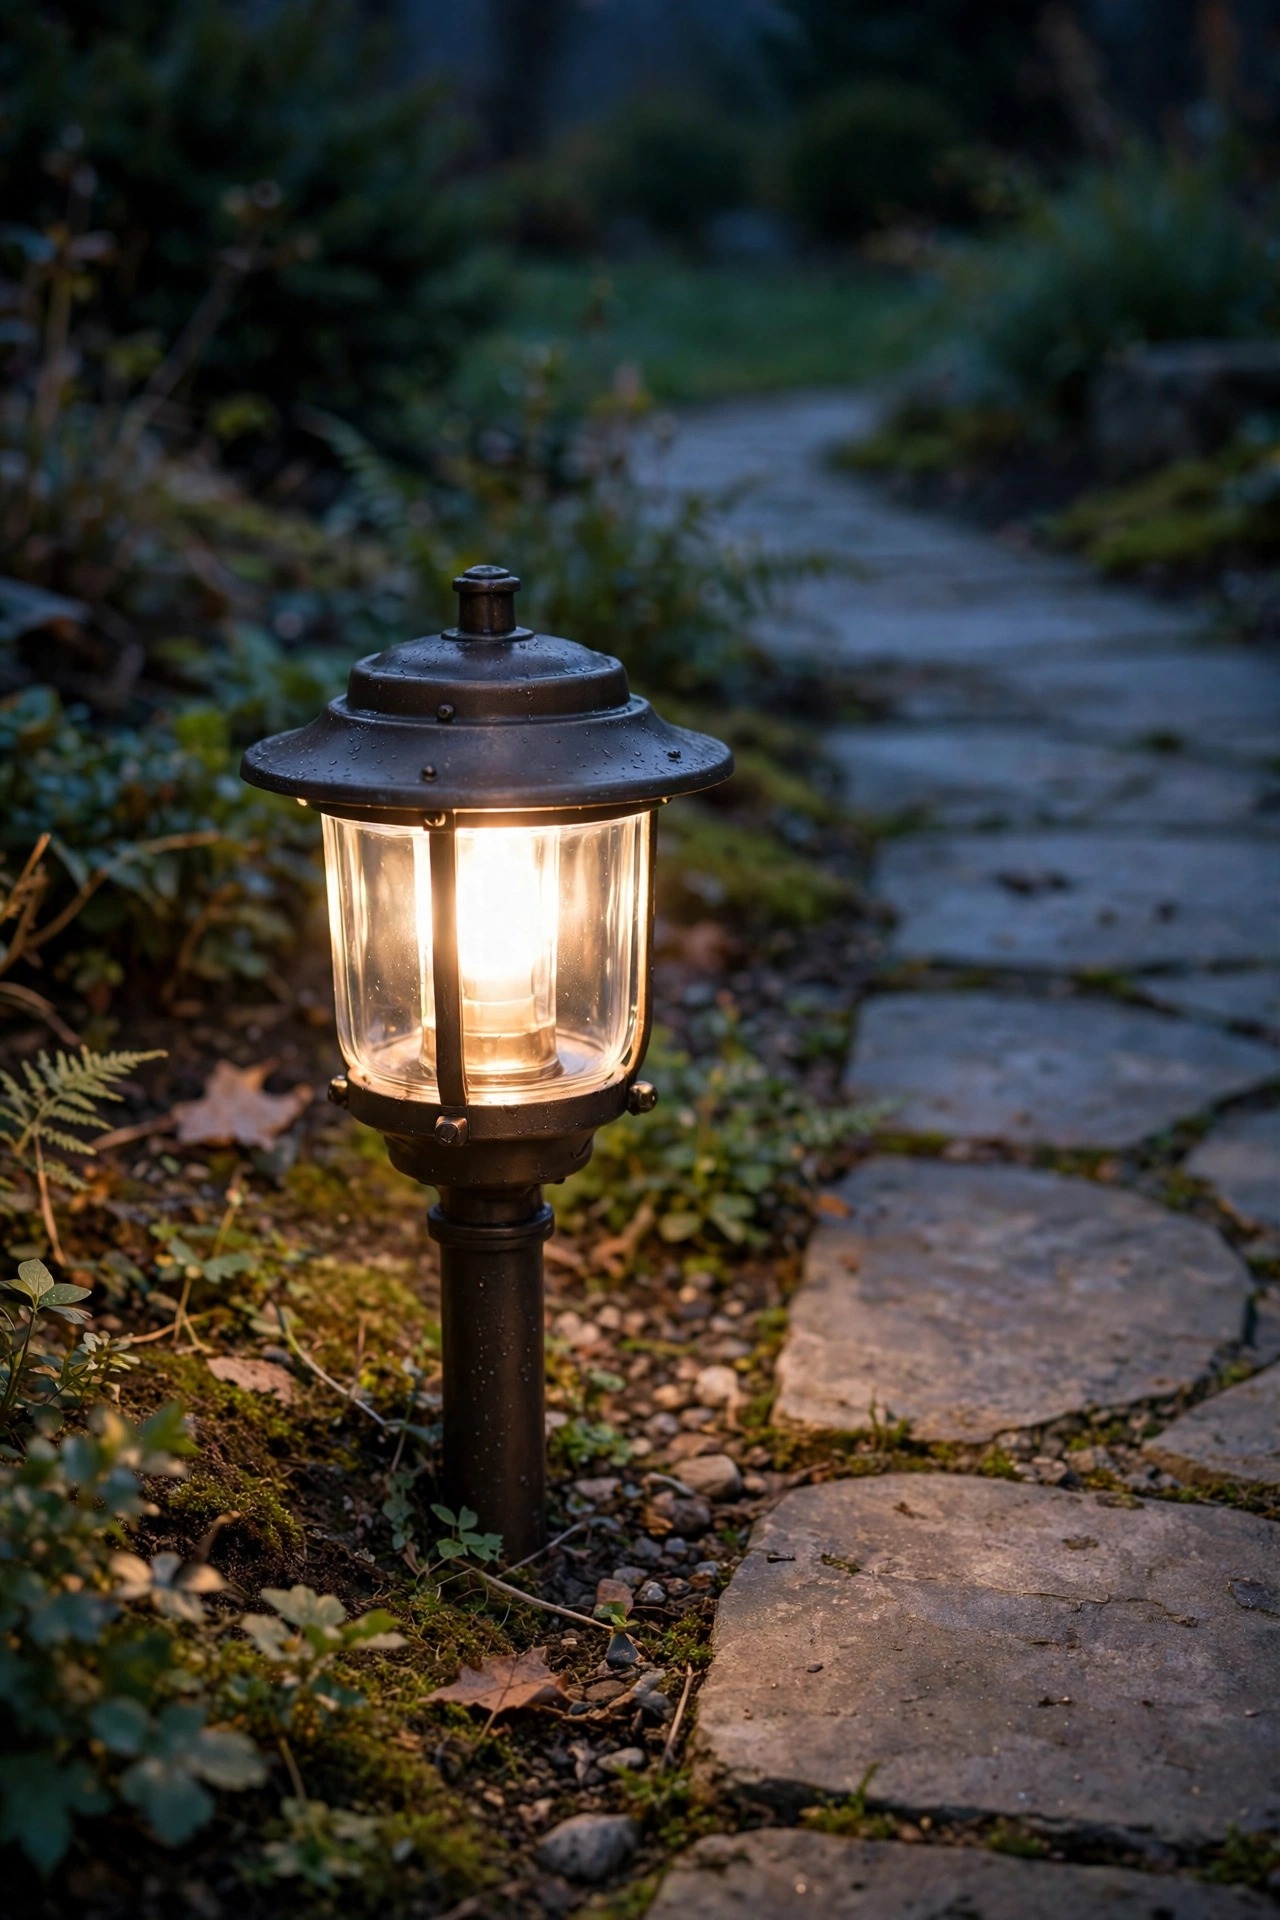
With the fixtures open, read the bulbs. Every lamp should match what the fixture is rated for, in type and in wattage. This sounds obvious until you find the bargain LED someone, possibly me, once dropped into a small sealed fixture where it has been slowly cooking itself. Many LED lamps are not rated for fully enclosed fixtures, and the fine print on the base says so; a heat-stressed lamp flickers, shifts color and dies young. If a fixture is sealed, its lamp needs to be rated for enclosed use.
Halogen holdouts deserve a hard look. They run genuinely hot, hot enough that dry leaves or mulch piled against the lens is a real concern in fall, and they are the first swap I recommend to anyone still running them. While you are changing lamps, keep the color temperature honest: one 4000K bulb in a run of warm 2700K lamps makes the whole path look patched. Check that every bulb is screwed or seated fully home, too. A lamp sitting loose in its socket flickers, arcs quietly and pits the contacts. And if the far end of a run looks dim with fresh bulbs in place, suspect voltage drop or a failing lamp rather than your eyes, and note it for the cable findings.

Trip and Glare Hazards Your Outdoor Lighting Safety Inspection Must Catch
Electrical health is only half the job; the other half is what the light is doing to the people using it. Do this lap at full dark, and walk the routes your household actually walks: street to door, door to trash cans, car to steps. Every step and level change should be visibly lit, with no single dark tread hiding in a row of bright ones. A step that disappears is the finding that sends somebody to urgent care, so it outranks every cosmetic issue on your list.
Check the fixtures themselves as obstacles. Path lights should stand beside the walk, never in it, where ankles, mower wheels and snow shovels will meet them. Well lights and uplights along a route should sit flush or well clear, not at tripping height. Then judge the glare honestly, from a driver's eye height at the street and from a child's height on the walk. A bare, unshielded source in your eyes hides the very step it was meant to reveal, and a beam aimed across the street blinds your neighbors and passing cars. Re-aim spots down, add shields where they exist, and soften floods. Finish by checking that your house numbers are lit and readable from the street, because the ambulance driver needs them more than anyone.

Trees, Shrubs and the Things That Grow Into Trouble
Plants do not hold still, and a system that was perfectly aimed in April can be strangled by October. Start with cable attached to or resting against tree trunks. A tree adds girth every year, and cable stapled tight or zip-tied hard will slowly cut into bark and eventually get swallowed or severed. Any tree-mounted run needs slack loops that let the trunk grow, so loosen, re-dress and leave room. Tree-mounted fixtures themselves should be re-aimed as the canopy fills in, because last year's perfect beam is this year's leaf-filtered murk.
Work through the beds next. Shrubs swallow fixtures whole: a well light inside a happy azalea does nothing but light leaves from inside and trap heat doing it. Prune a clear window around every fixture or move the fixture out to the bed edge where it can work. Check mulch volcanoes too; mulch mounded over a fixture base holds moisture against the housing and cooks the cable entry. Roots heave shallow cable runs upward over time, which connects right back to your cable findings. None of this is dramatic, and that is the point. Growth is slow, predictable and completely manageable, as long as somebody walks the system once a year and actually looks.

What It Costs in 2026
The inspection itself is free; it is the findings that carry price tags, and most of them are small. A plug-in GFCI and circuit tester runs $10 to $20 and lasts for years. A pack of gel-filled waterproof connectors costs $12 to $20 and handles a whole season of splice repairs. Replacement LED lamps run $6 to $15 each depending on type, and a perished gasket or lens for a common fixture is usually $5 to $15 when the maker sells parts at all.
Bigger findings scale up gently. A replacement path or spot fixture of decent quality runs $25 to $60. A failing low-voltage transformer costs $120 to $300 depending on wattage and controls. Anything on the line-voltage side belongs to an electrician: expect a $150 to $300 service call before parts, with labor commonly $75 to $150 an hour after that, and a GFCI outlet replacement often landing between $150 and $250 installed. A professional lighting maintenance visit, where a crew does this entire walk for you, typically runs $150 to $400 a year. Against all of that, the running cost of a healthy LED system is pennies a night, which is exactly why the annual hour of looking is the best money in the whole setup: it protects the investment you already made.

Outdoor Lighting Safety Inspection Mistakes That Leave Hazards Hiding
The most common mistake I see is inspecting at noon. Half of what you are looking for simply does not exist at noon: flicker, glare, the dark tread on the steps, the end-of-run dimness. Connections can be checked in daylight, but the verdict lap has to happen at dusk, or you have inspected a system nobody actually uses.
The second mistake is resetting a tripping GFCI over and over and calling it fixed. That device is a messenger. It trips because current is leaking somewhere it should not, most often through moisture in a fixture or damaged insulation. Resetting it five times does not dry anything out; it just teaches you to ignore the one alarm your system has. Find the cause, or pay someone who will.
The third is the saddest because it is the smallest: feeling one warm connector and deciding to keep an eye on it. Warm means resistance, resistance means heat, and heat at a connection grows worse, never better. The scorched housings in the fixture lap almost always started as a warm connector somebody noticed and forgave. Finally, keep notes. Two lines per fixture and a phone photo of anything odd will make next year's walk faster and turn vague worries into tracked, fixable facts.
Fix It Yourself or Call an Electrician Today
Here is the dividing line I use, and it has never let me down: everything on the low-voltage side of the transformer is weekend work, and everything on the wall side of the plug belongs to a license. Cleaning lenses, resealing gaskets, re-aiming and re-staking fixtures, swapping lamps, redoing a low-voltage splice with gel-filled connectors, resetting a timer, pruning shrubs back off a hot fixture: all of that is squarely yours, and this checklist exists so you can do it with confidence.
Call an electrician today, not this month, for any of these: a breaker that feels warm, hums or will not hold; a GFCI that trips instantly with everything unplugged; any scorch or melt marks on line-voltage equipment like porch fixtures, outlets or junction boxes; water found inside a junction box or hardwired fixture; damaged house wiring of any kind; and any job that means adding a circuit, an outlet or a hardwired fixture. Line-voltage work is also permit and code territory in most towns, quite apart from the obvious safety stakes. There is no savings in guessing at 120 volts. Pay for the visit, sleep well, and go back to enjoying the parts of the system that only ask for a Saturday and a screwdriver.

Frequently Asked Questions
How often should outdoor lighting be inspected?
One full inspection a year is the rhythm that works, ideally in fall before the long dark evenings and holiday loads arrive. Add a two-minute glance each season: after storms, after any digging in the beds, and whenever a light behaves oddly. The annual walk catches the slow problems, and the quick glances catch the sudden ones.
My GFCI keeps tripping after rain. Is that dangerous?
The GFCI itself is doing exactly its job, which is cutting power the moment current leaks toward ground, often through water inside a fixture or a damaged cable. Unplug the system, let things dry, then inspect fixtures and connections for the entry point. If it trips instantly on a dry day with everything disconnected, stop resetting it and call an electrician.
Can I inspect a low-voltage landscape system myself?
Yes, comfortably. The 12-volt side of the transformer is designed for homeowner handling, so checking cables, connections, fixtures and lamps is normal maintenance, not electrical work. Keep your hands on the low-voltage side, unplug before opening the transformer, and leave the panel, outlets and anything hardwired to a licensed electrician.
What is the most common problem an annual inspection finds?
Corroded connections, by a wide margin, followed closely by water inside fixtures. Both start small and silent: a splice slowly greening in damp soil, a gasket quietly perishing. Both are cheap to fix the year you catch them and expensive the year you do not, which is the whole argument for the annual walk.
Conclusion
A lighting system rarely fails all at once. It fades, corrodes, leans and loosens one small fault at a time, and an annual outdoor lighting safety inspection is how you meet each of those faults while it is still small, cheap and safe to fix. Walk it at dusk, in order, with notes in hand, and be honest about the line between a Saturday fix and a professional call. Your steps stay lit, your cables stay buried, and your system stays the welcoming glow you installed it to be. For more walk-throughs like this one, browse the guides here on the site and give your yard the hour it has earned.