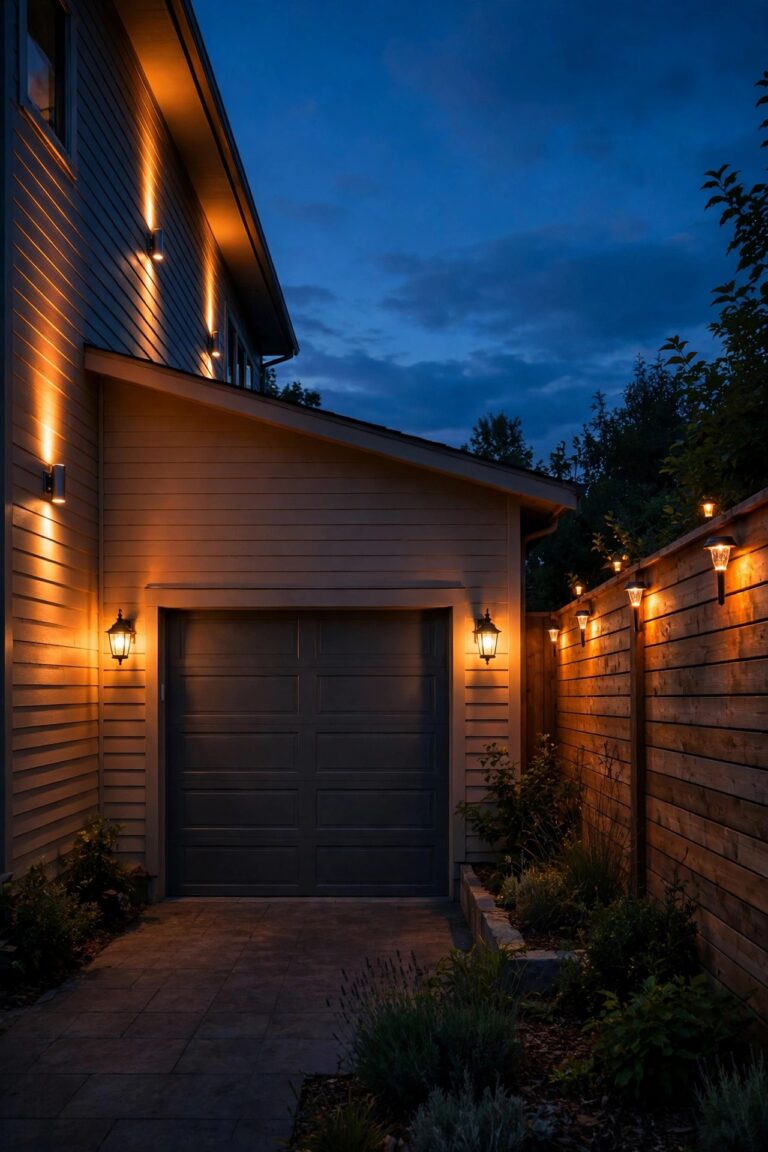
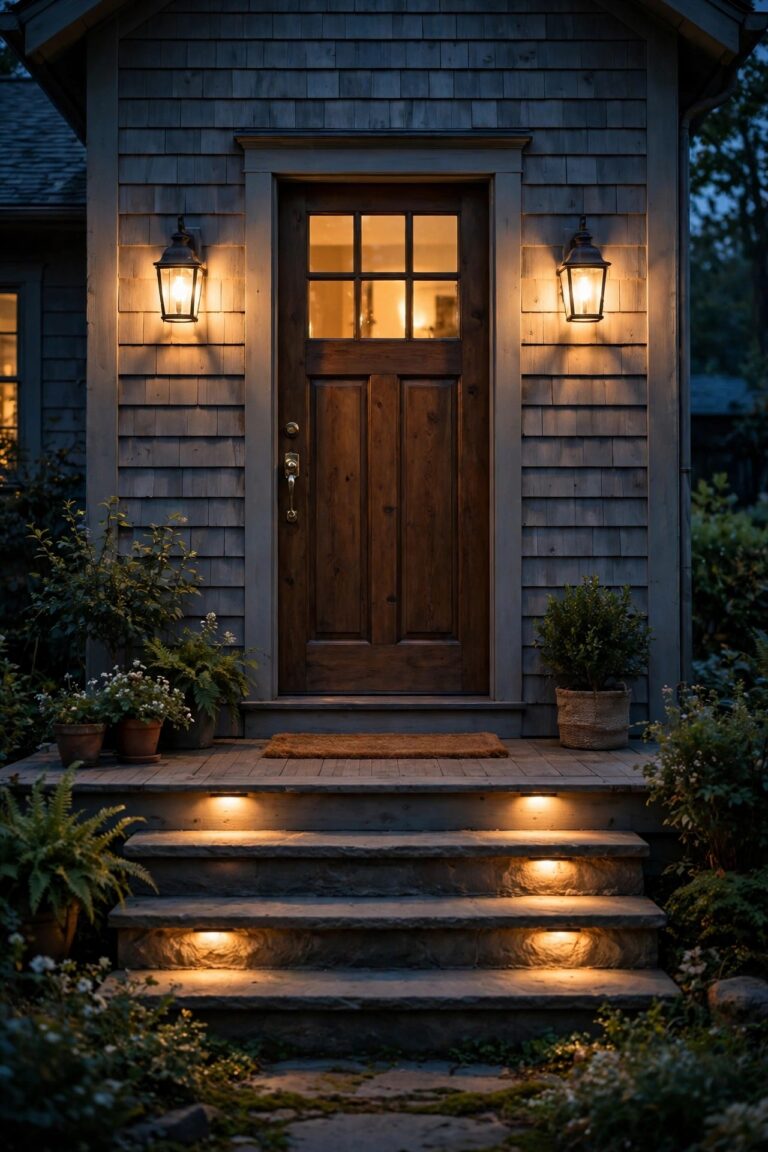
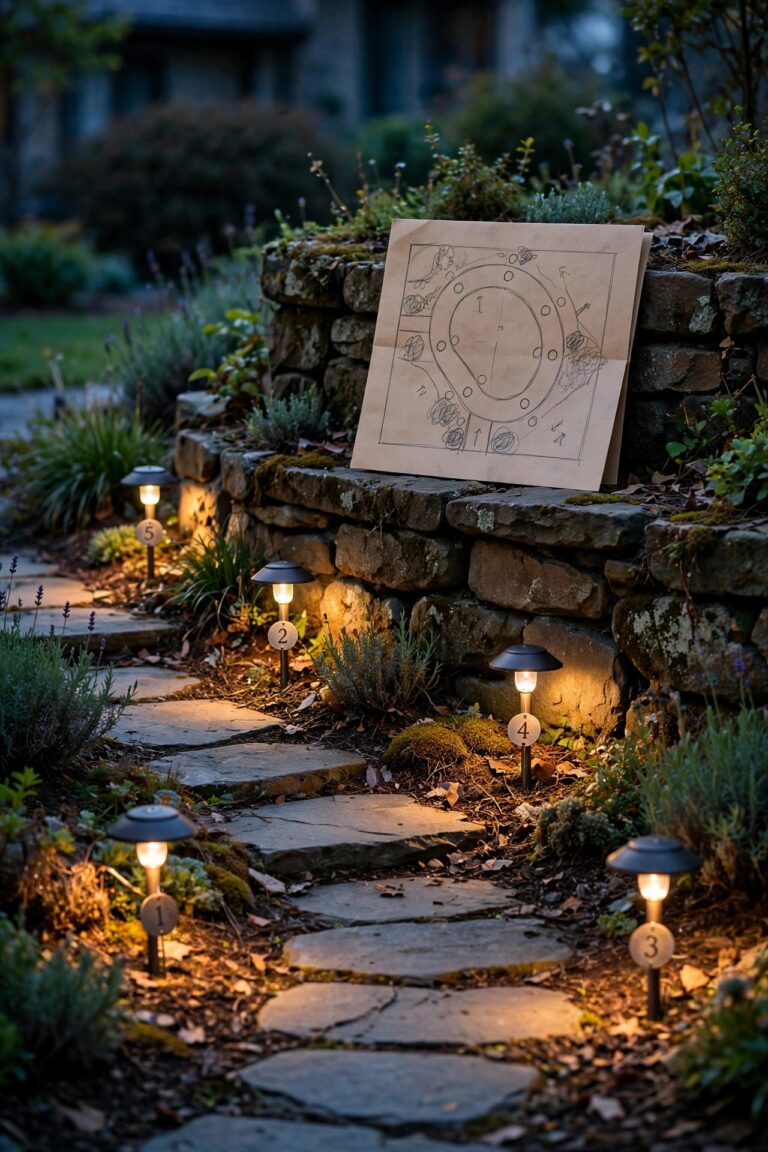
When we moved into our current house, the yard went completely dark at sunset. One porch bulb worked, the path lights were a mystery, and a switch by the back door controlled nothing anyone could identify. If that sounds familiar, this new homeowner outdoor lighting checklist is the exact order I wish someone had handed me on move-in weekend. You do not need a full redesign or a big budget to make a new-to-you yard feel safe and welcoming at night. You need a sequence: fix what is genuinely dangerous first, figure out what the previous owner left you, grab the free fixes hiding in plain sight, and only then spend money, one zone at a time. Think of lighting in layers, the way you would layer a room: safe footing first, a welcoming entry second, pretty accents last. By the end of this guide you will know how to triage the safety stuff in a single evening, inventory the system you inherited, revive tired fixtures for free, add a few cheap wins, and pick a first real project you can actually finish. Pour a coffee, wait for dusk, and let us walk your yard together.
The Short Answer
Start with safety, not style. Light the front steps, the door lock, and the walk from your car before you touch anything decorative. Then play detective: find the transformer, learn the timer, and test every fixture at dusk so you know what you actually own. Most inherited systems revive with cleaning, straightening, fresh matched warm bulbs, and a timer reset, all free. Add a few solar stakes and a photocell bulb next, live with the layout for a full month before redesigning anything, and save your first real money for finishing one zone completely.
Week One Safety Triage: The Heart of Your New Homeowner Outdoor Lighting Checklist
Your first outdoor lighting job is not pretty, it is safe. On your first clear evening, wait until full dark and walk the routes you actually use: from the car to the door, up the front steps, and out to the trash bins. Carry your phone if you like, but keep the flashlight off, because you want to see the yard the way a guest carrying grocery bags will see it.
Three spots matter most. First, the front steps. An unlit step edge is the single most common reason someone trips at a new house, and a lantern that lights the door but not the treads below it is only doing half its job. Second, the lock. You should be able to see the keyhole and the door handle without juggling your phone. Third, the walk from where you park. If that route crosses lawn, a hose bib, or an uneven edge in the dark, it needs light before anything decorative gets a moment of your attention.
Just as important, learn to separate dangerous from merely ugly. Dangerous means cracked fixtures with exposed wire, splices wrapped in tape sitting in mulch, a transformer that hums and feels hot, or a GFCI outlet that trips every time the lights come on. Those go on the call-an-electrician list, not the weekend list. Ugly means tilted stakes, one cold blue bulb among warm ones, and a lantern full of moths. Ugly can wait a month. Dangerous cannot. Write both lists down, because that little piece of paper is what keeps week one focused.

Figure Out What You Inherited Before You Change Anything
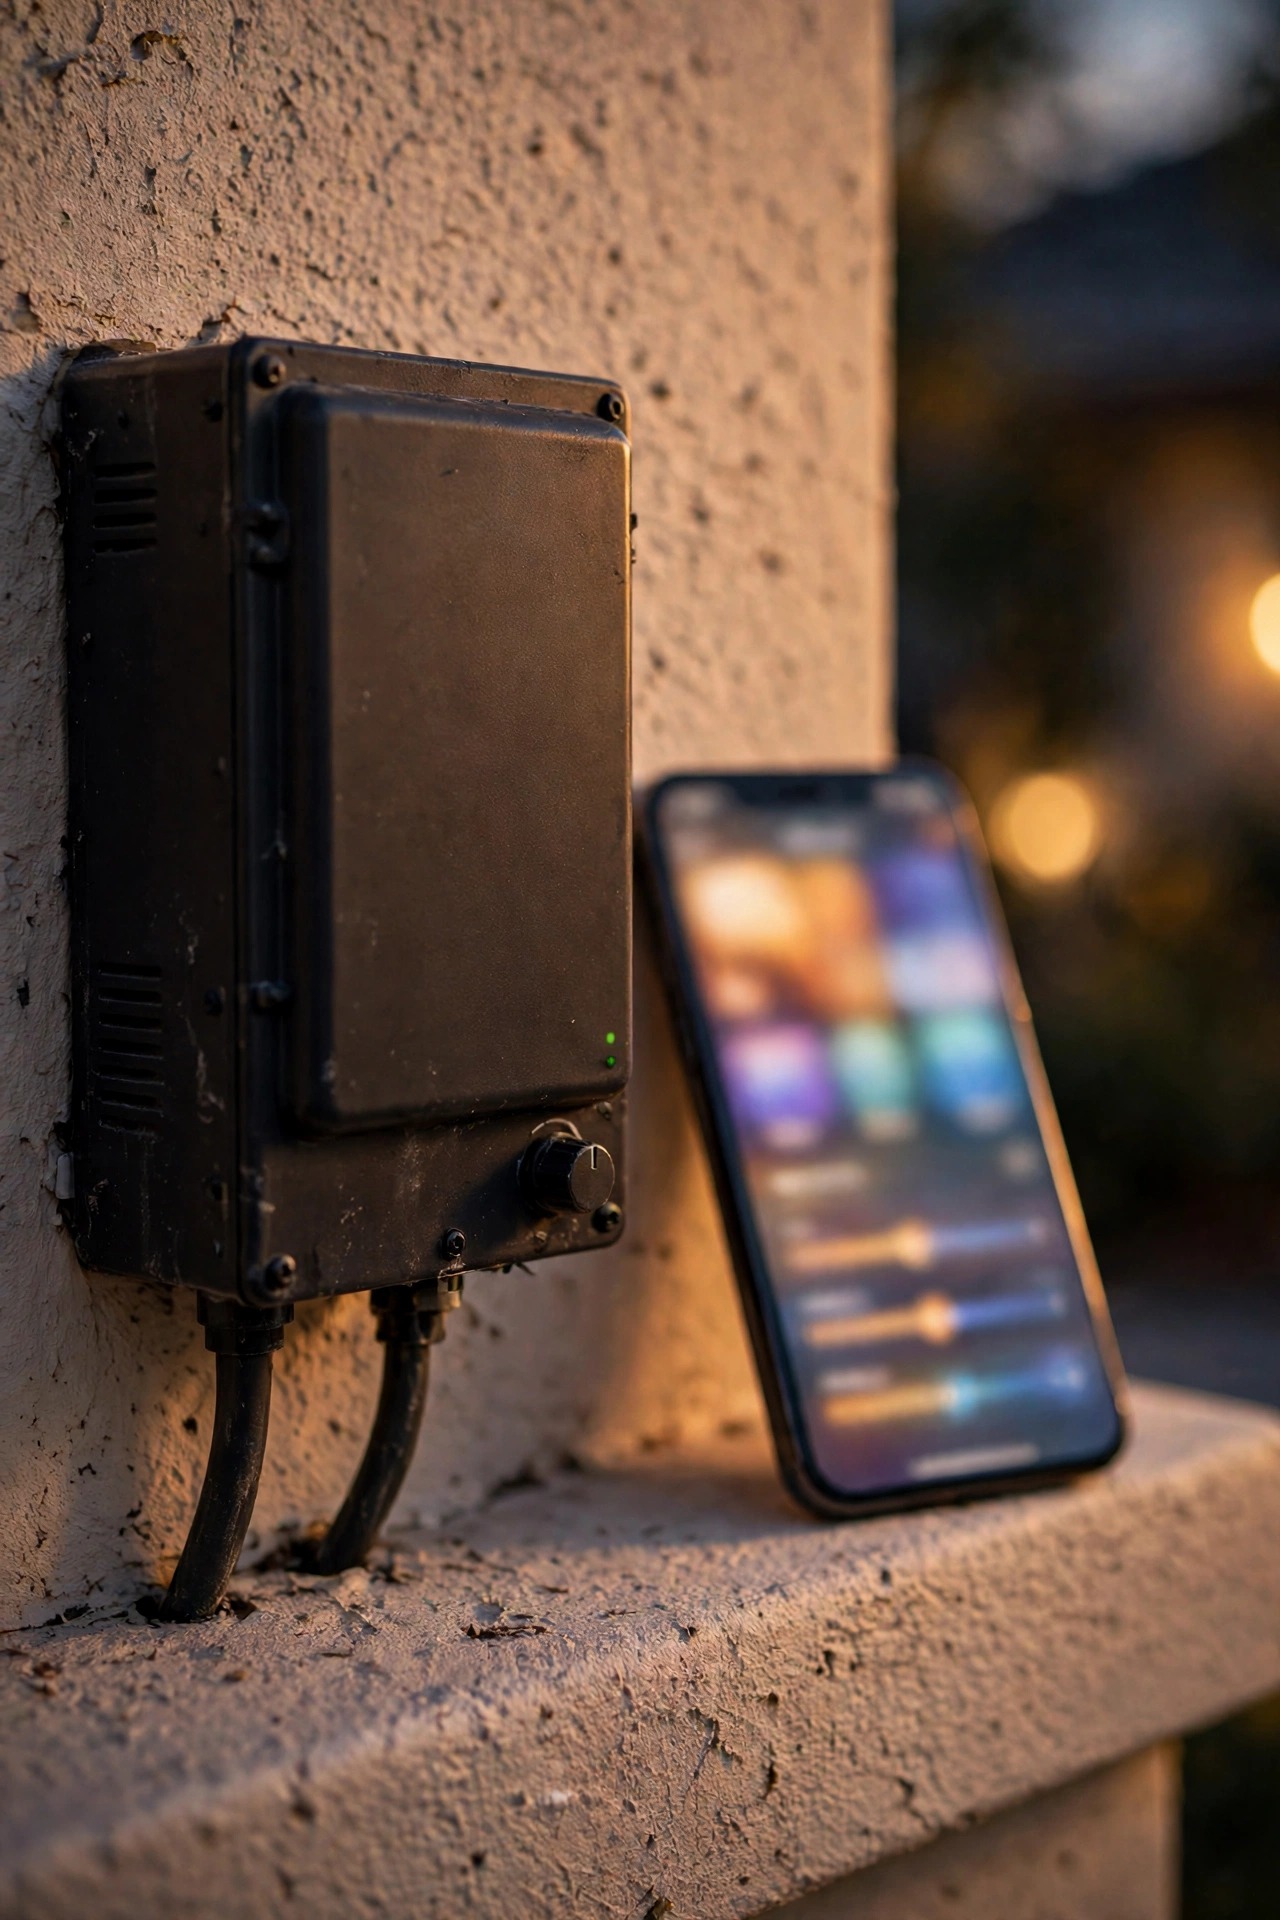
Before you buy a single bulb, spend one evening figuring out what the previous owner actually installed. Most inherited systems make sense once you find their brain: the transformer. Look on the garage wall near an outlet, in the basement below the yard, or mounted on the house wall behind the shrubs closest to where the path lights begin. Note its wattage and whether the lights plug into one run or several. My guide to transformer placement shows the usual hiding spots and what the dials and taps mean, and it saves a lot of head-scratching.
Next, find how the system decides when to turn on. It might be a mechanical timer with little plastic pins, a digital timer with a battery backup, a photocell that reads the dark, or nothing at all beyond a switch someone flipped manually. Those mystery switches by the door? Test them at dusk with a partner. One of you flips, the other walks the yard and reports what changes, and sticky notes label everything you identify. You will feel slightly ridiculous. Do it anyway.
Finally, do a full dusk census. Carry a notepad and write down every fixture: working, dead, dim, or flickering. Photograph each one, too. Dead fixtures are often just dead bulbs, and a flicker usually means a loose connection rather than a dying system. Check the solar lights separately; a panel filmed with dirt reads as a dark yard to the little sensor and quits early. By the end of the hour you will have a map of what you own, and that map is worth more than any shopping trip.

The Free Fixes Hiding in Plain Sight
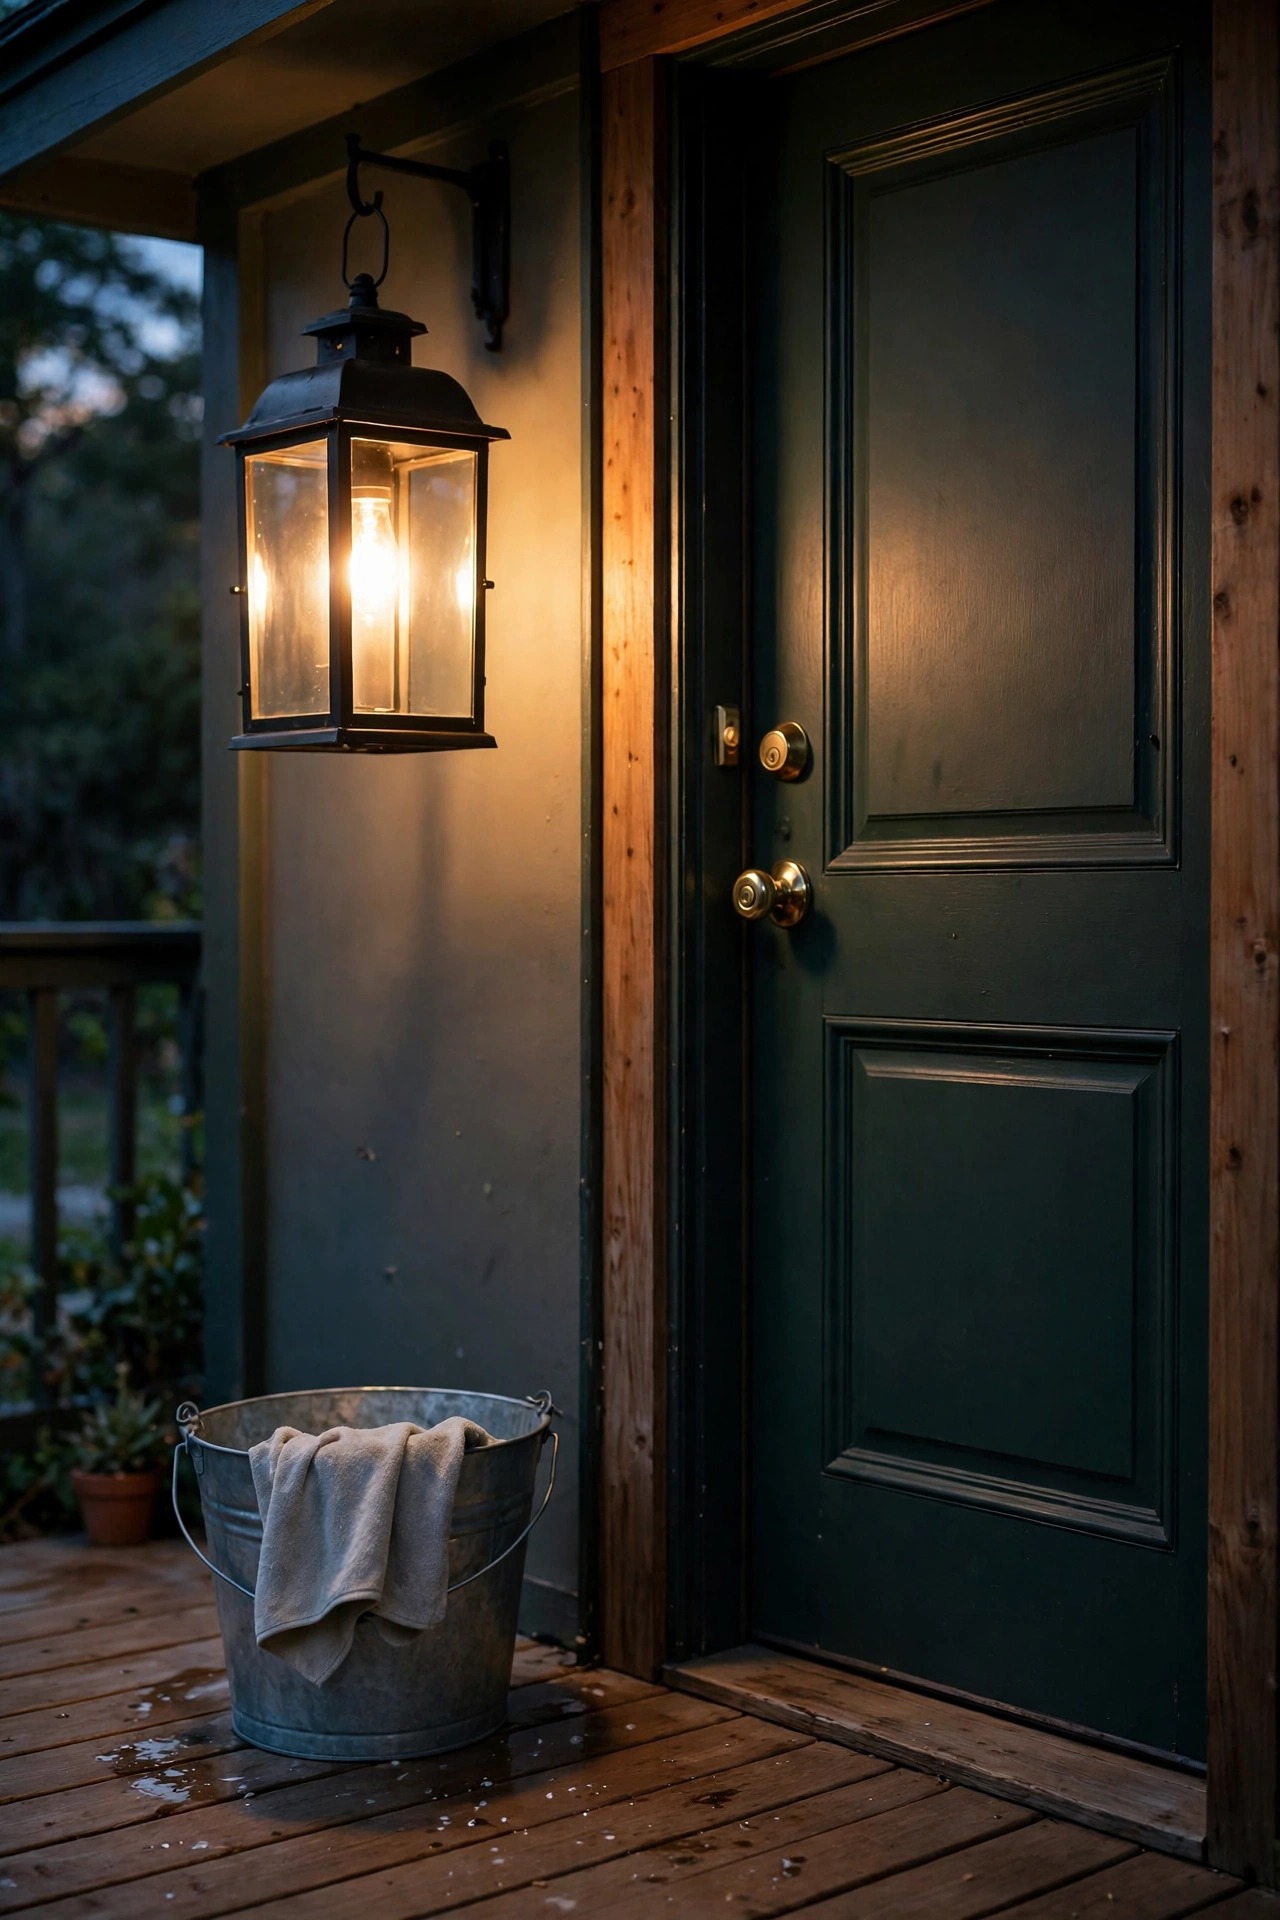
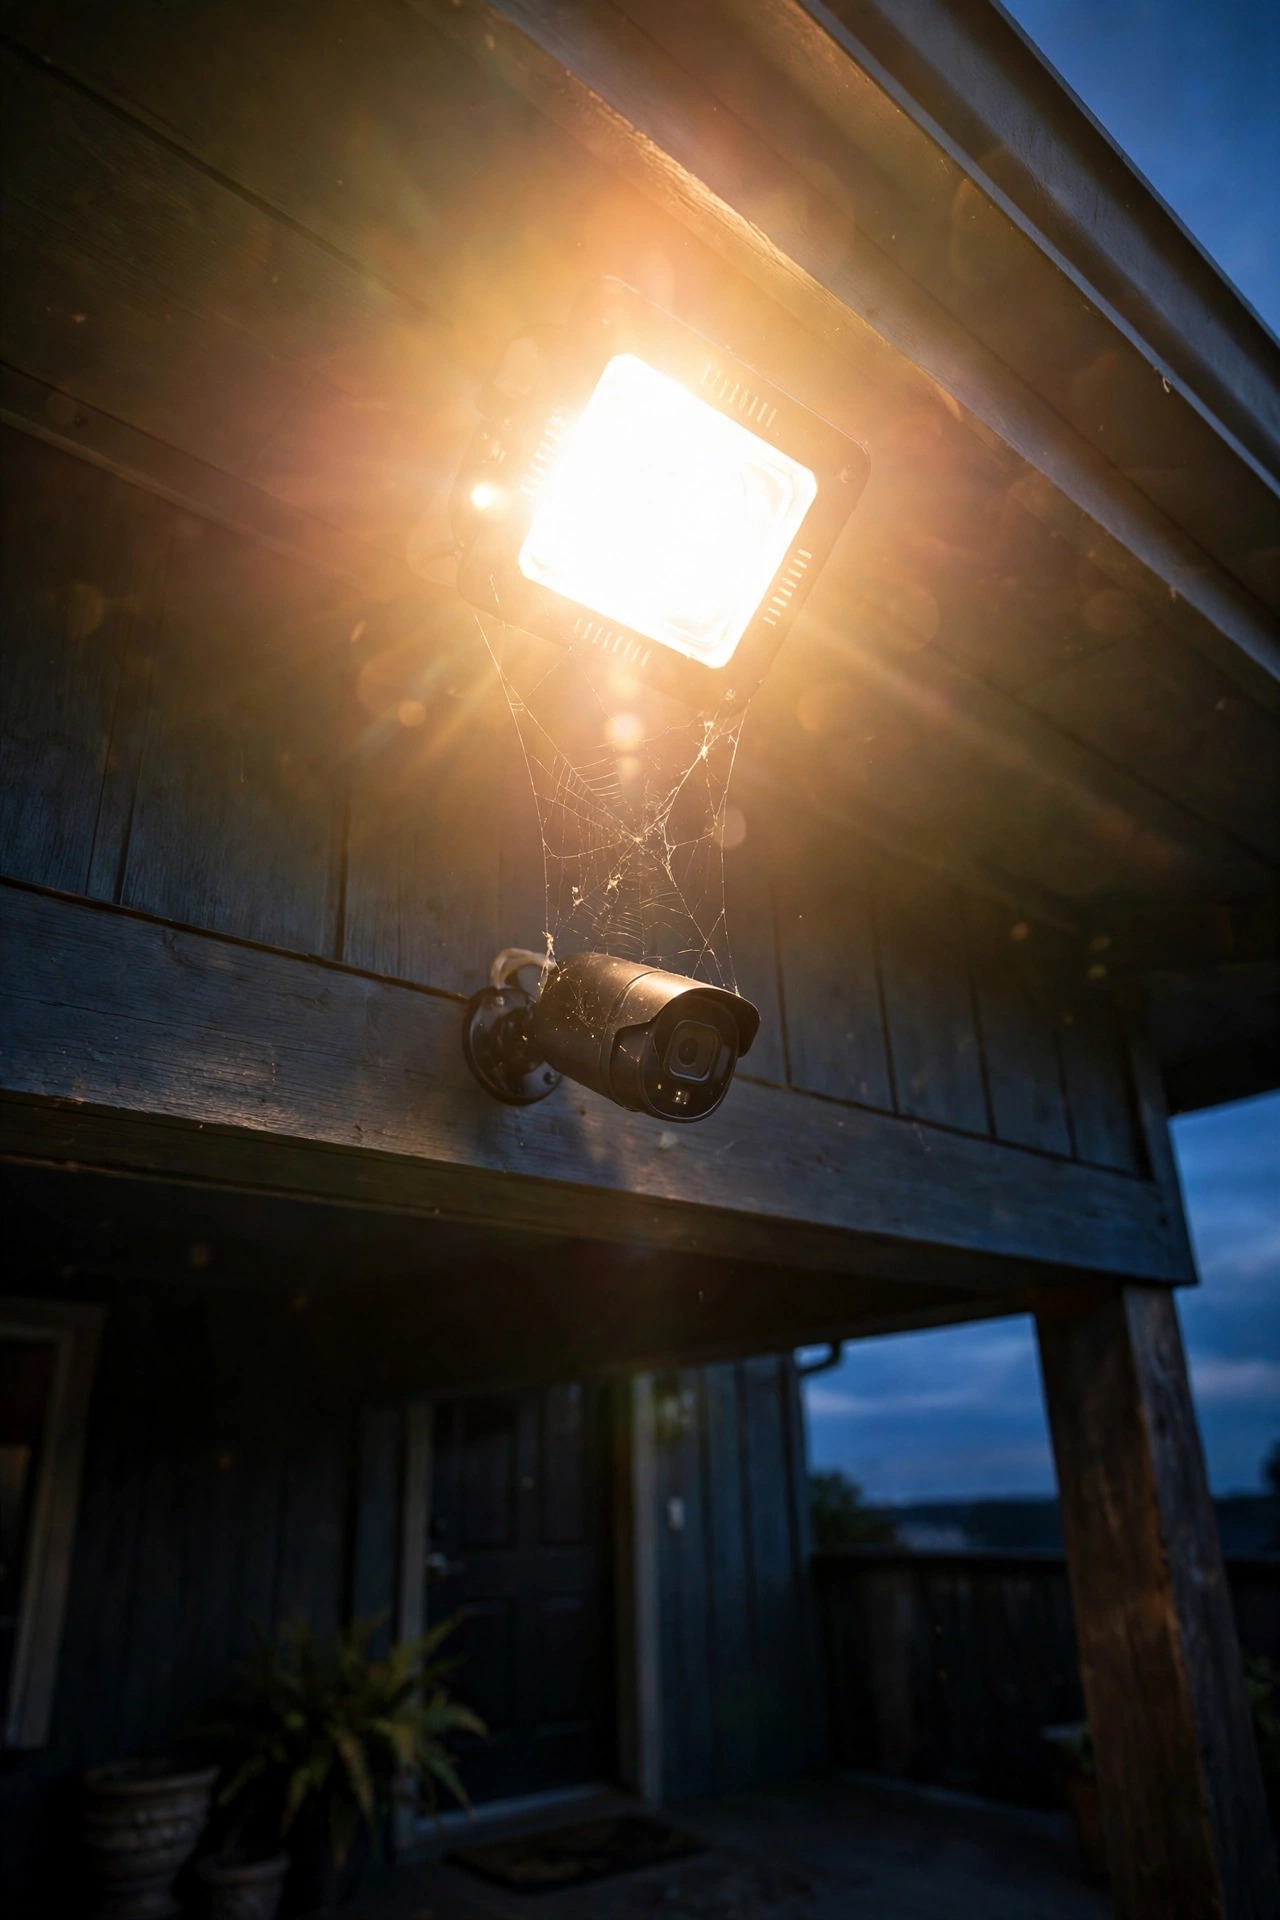
Here is my favorite part of inheriting outdoor lights: a surprising amount of the improvement is free. Start with a bucket of warm soapy water and a soft cloth. Lenses collect a film of pollen, hard-water spots, and spiderwebs, and cleaning a grimy cover can make the same bulb look dramatically brighter by tonight. While you are in there, evict the moths.
Next, straighten and re-aim. Stakes lean after a winter of frost and a summer of mower bumps, and a spotlight that has slipped now lights your neighbor's bedroom instead of your oak. Push stakes firmly back to vertical, point beams at the tree, the stonework, or the garden gate, and keep light out of the street and out of windows. Dig path lights out from under mulch and the hostas that swallowed them in June; in my experience, half the dead lights in a new yard are simply buried.
Then handle the bulbs. Replace any dead bulb with a warm white LED in the 2700 to 3000K range, and if a working bulb is a harsh blue-white, move it to the side yard and bring a warm one to the entry so the fixtures guests see all match. Finally, reprogram the timer. The previous owner may have set it for December sunsets or a vacation schedule. Reset it to switch on at dusk and off when you go to bed, and your inherited system will suddenly feel designed instead of random.
Cheap Wins Worth Buying in Your First Month
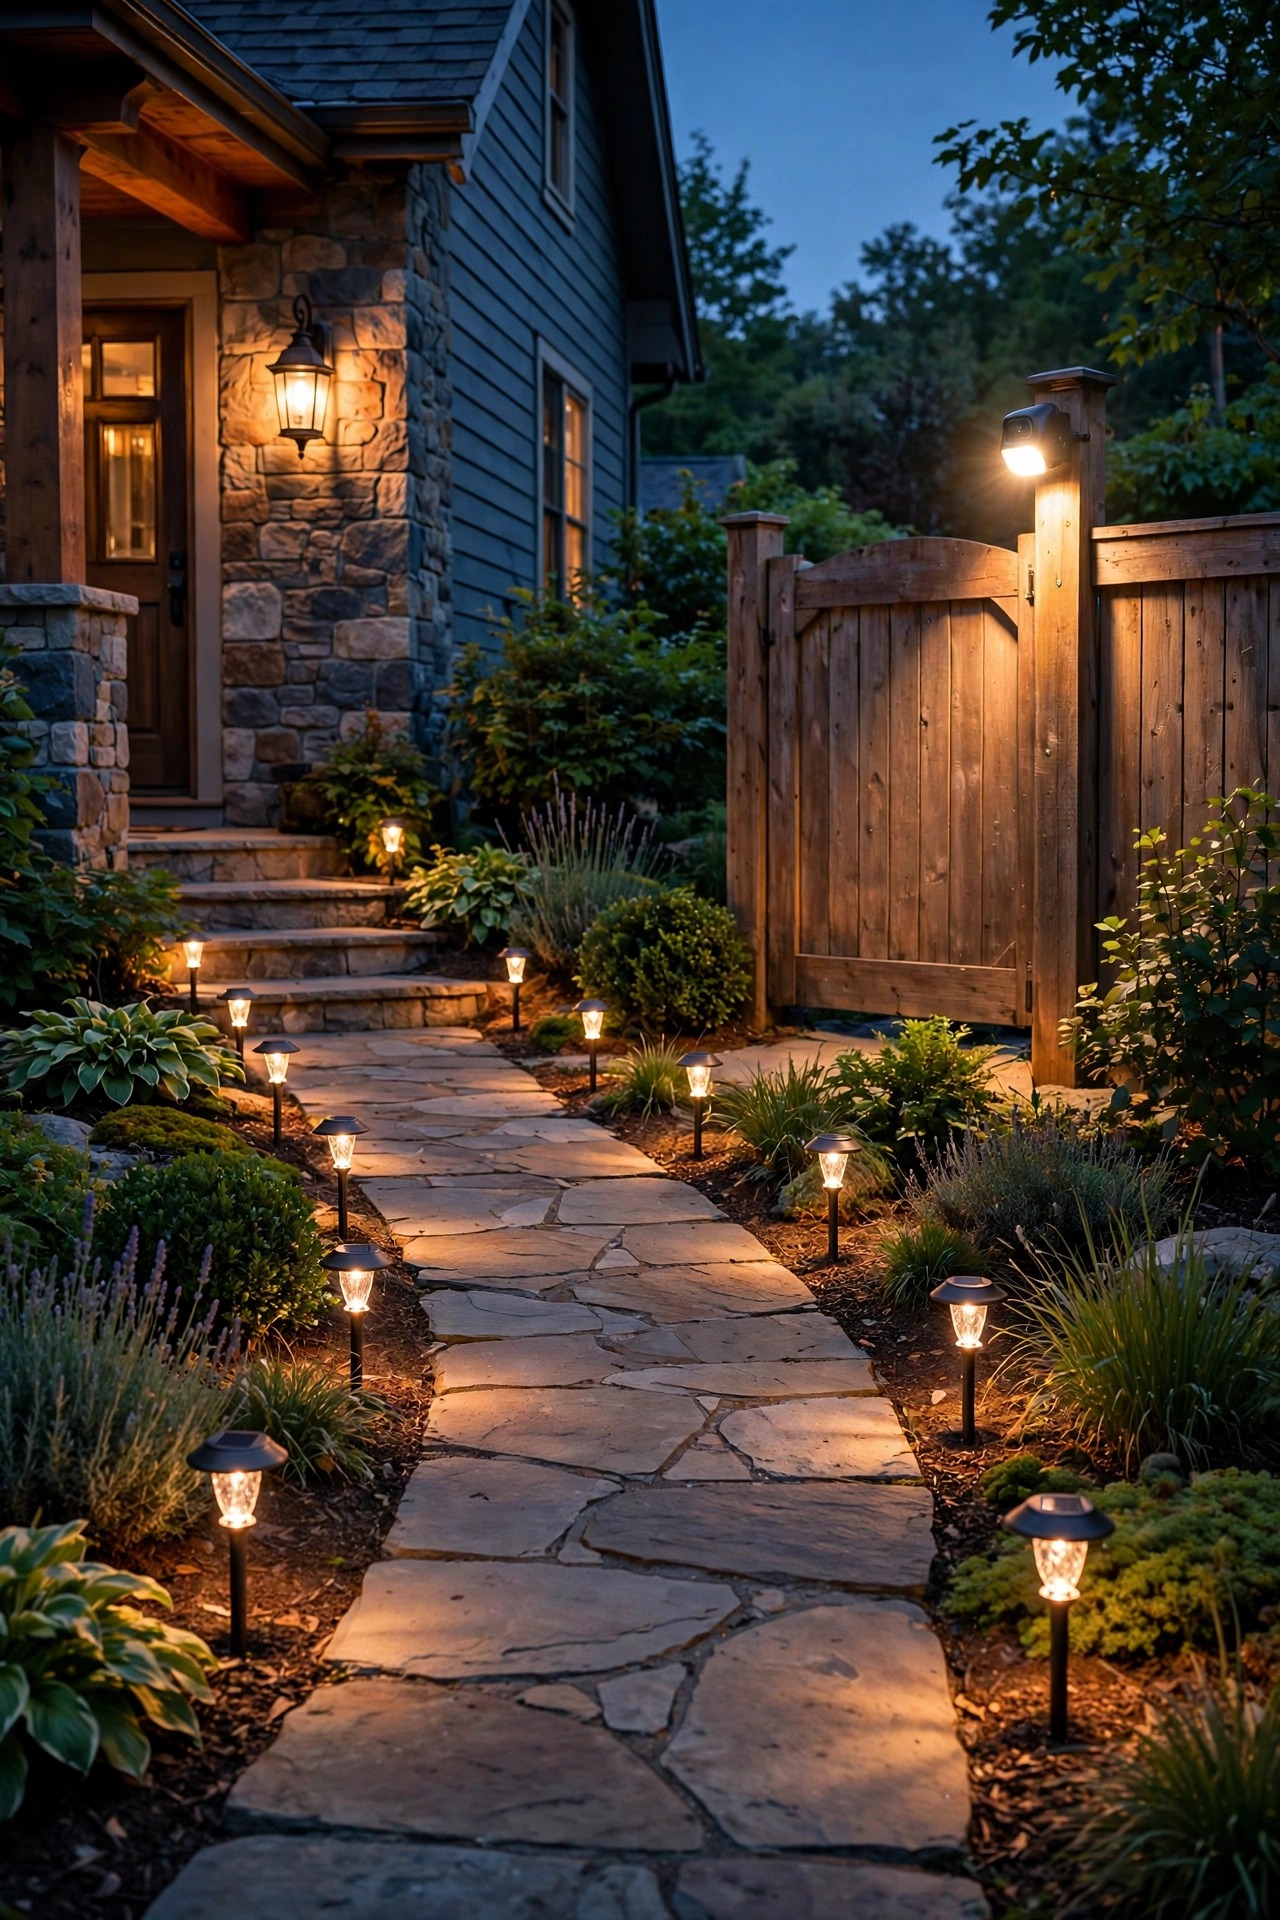
Once the free fixes are done, a handful of small purchases delivers most of the remaining glow, and none of them requires an electrician or a trench. Start where your feet go. A row of solar stake lights along the front walk defines the path instantly, charges itself, and can move the day you change your mind about the layout, which, trust me, you will.
At the door, swap the porch bulb for a photocell bulb that turns itself on at dusk and off at dawn. It is the simplest automation you will ever own, and I walk through the options in my guide to adding a photocell or timer to a porch light. If your porch light is on a switch, that same guide covers the timer switches that do the remembering for you.
The side gate, the trash run, and the dark corner by the garage are motion light territory. A solar or battery motion light needs no wiring at all, and a hardwired swap is a beginner-friendly project too; my step-by-step for installing a motion sensor light covers both approaches. Round things out with solar step lights on any deck or porch stairs your triage flagged, and keep every new bulb in that same warm 2700 to 3000K family so the new pieces blend with the revived ones.
Buy these few things, install them the same weekend, and then stop. The goal of month one is a yard that works, not a yard that is finished.
What Not to Rip Out Yet (Seriously, Wait a Month)
I know the urge. The fixtures are not your taste, the layout feels random, and a clean slate sounds so satisfying. Resist it for one month. Live in the house first. Your actual routines will teach you things no weekend walkthrough can: which door you really use after dark, where guests naturally park and wander, where the dog demands to go at midnight, and which corner stays black because a tree blocks the streetlight. A layout that looks wrong may be answering problems the previous owner solved years ago.
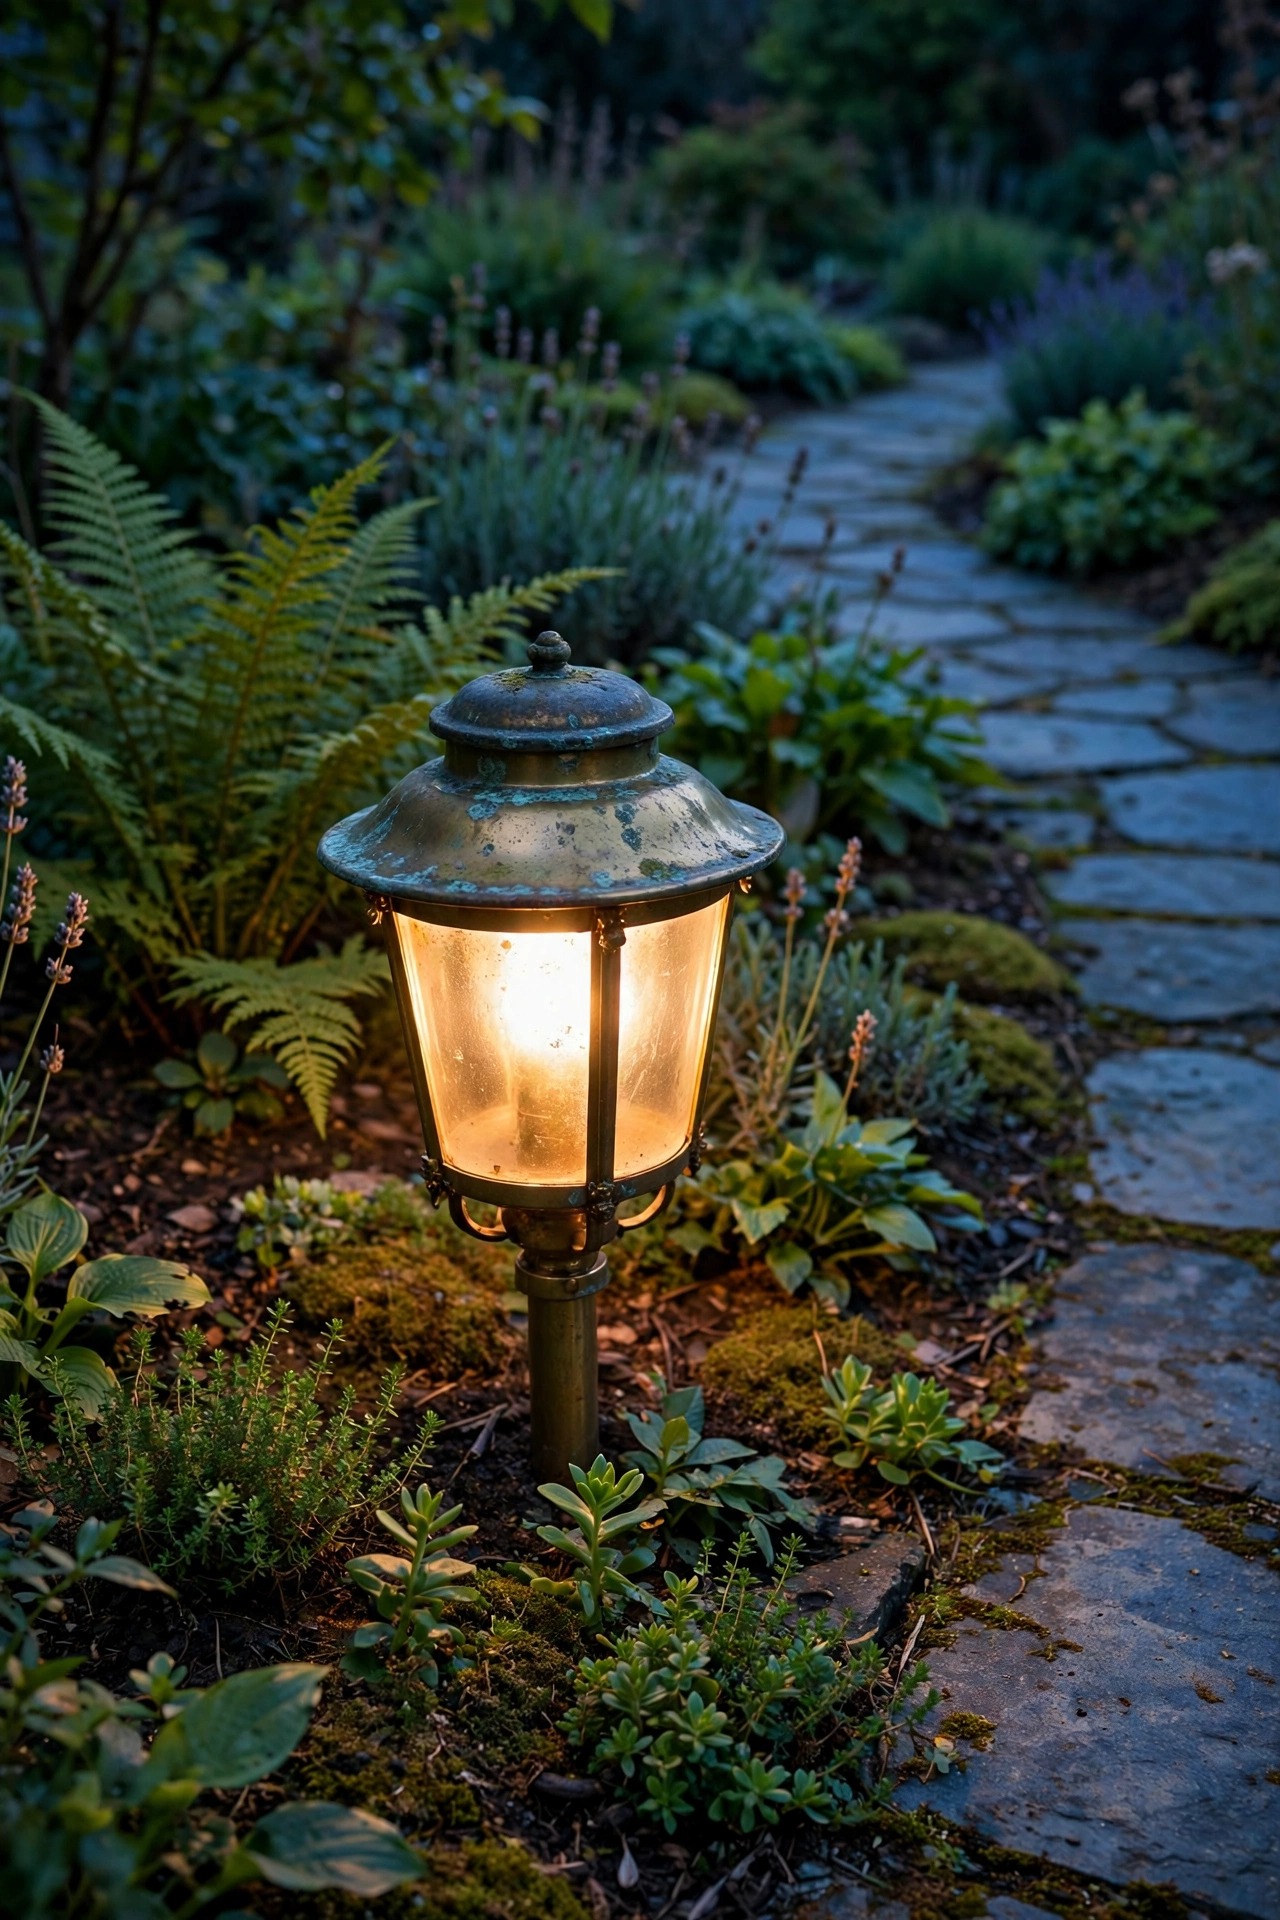
Pay special attention to heavy fixtures. If you inherited solid brass or copper path lights and spotlights, you inherited the good stuff. Brass does not rust out; it develops a patina, and a wire brush, a lens cleaning, and fresh warm bulbs can make an old fixture look like the most expensive thing on the street. Replacing it with a lightweight bargain fixture is usually a downgrade wearing a new outfit.
The same goes for buried cable that still works. A functioning low-voltage run is money already in the ground, and your future plans can almost always build on it. Park the big redesign ideas in a notes file, let a month of evenings accumulate, and then plan with evidence instead of guesses.
Your First Real Project: Finish One Zone Completely
When the month is up, pick one zone and finish it completely. For most new homeowners that zone is the front entry, because you and every guest use it daily and it sets the tone for the whole house. Finishing beats sprinkling every time: one fully layered entry looks intentional, while the same money scattered across six zones looks like six unfinished thoughts.
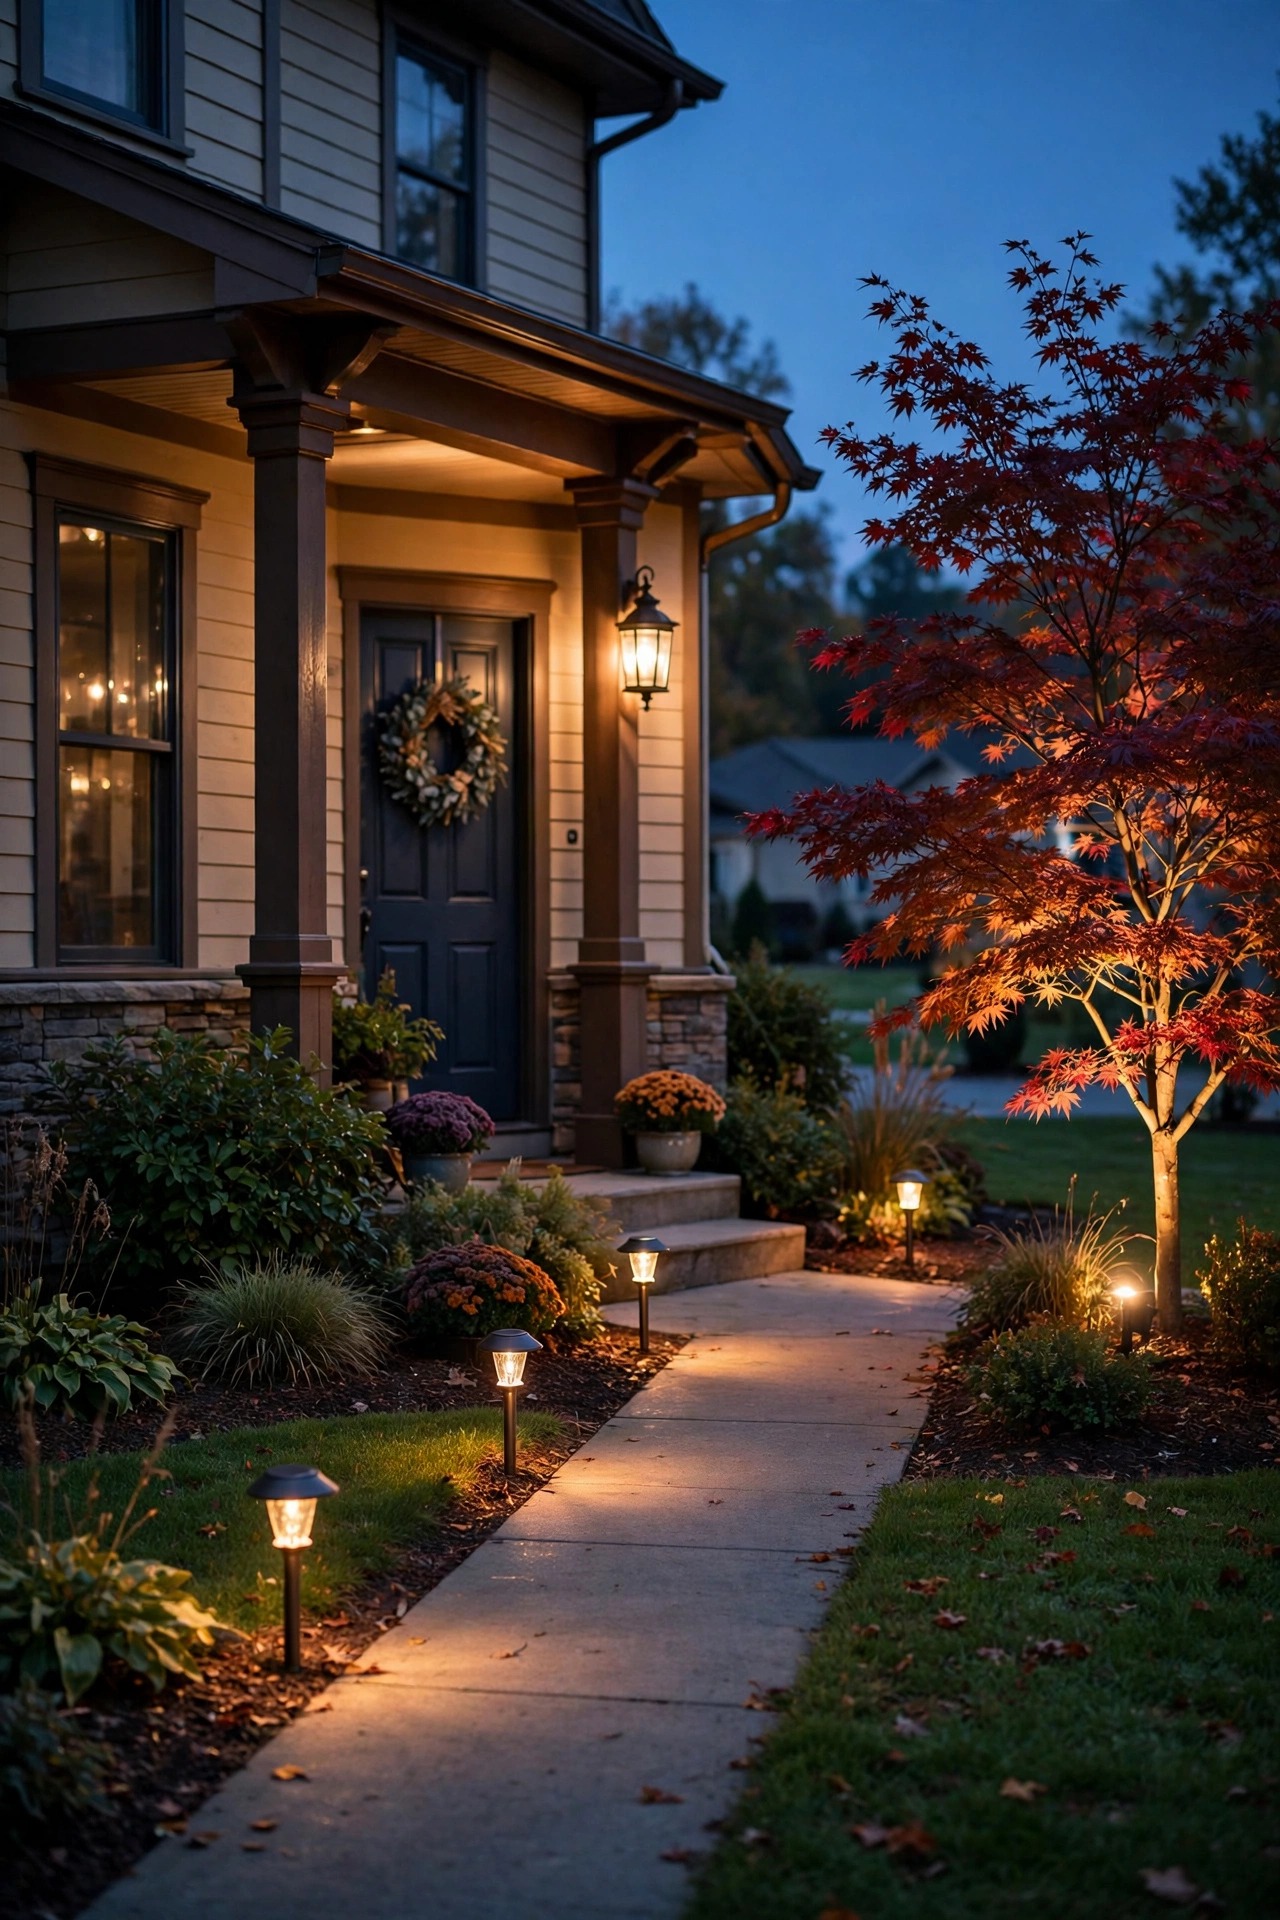
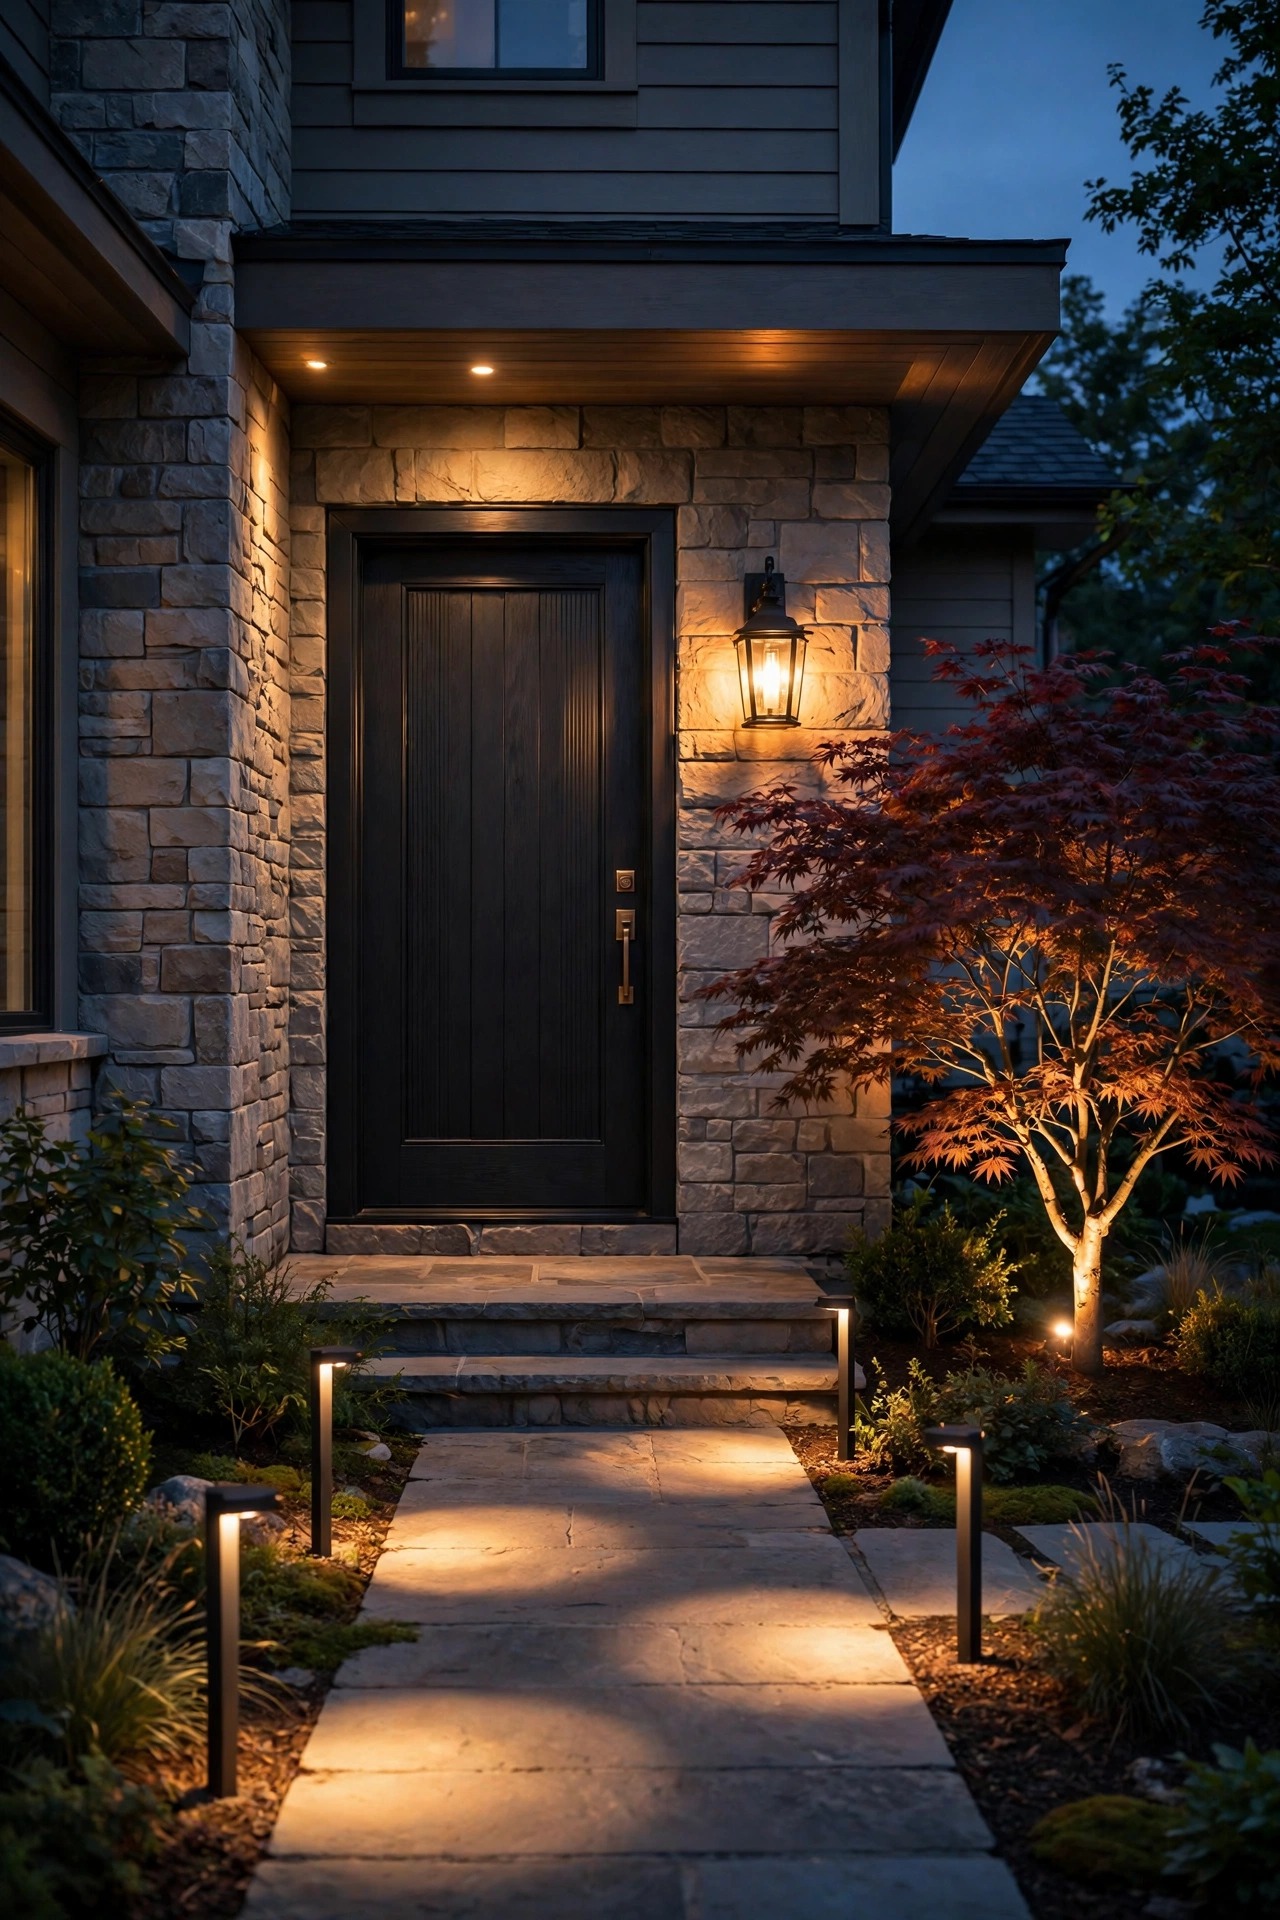
Work in layers. Start with the entry fixture itself, cleaned or replaced, with a warm bulb bright enough to read the lock and welcome a face. Add the path layer, with stakes or low fixtures spaced so the pools of light overlap along the walk and the step edges are unmistakable. Then add one accent: a soft uplight on the small tree, the stonework, or the planting by the door, aimed to graze texture rather than blast it. If the zone needs wiring, do it once and do it neatly, with cable buried properly and connections you can find again later.
Set the timer, stand at the curb at dusk, and take the after photo. Compare it with the photo from your first census and enjoy that moment, because it is the moment the house starts feeling like yours. Only then move on to zone two, armed with a proven little system and a realistic sense of what these projects actually take.
What It Costs in 2026
Honest numbers help, so here is what this sequence typically runs when you do the work yourself. The free fixes cost nothing but an hour. The cheap-wins round usually lands between $60 and $115 total: a photocell bulb runs $8 to $15, a set of six to eight solar path stakes runs $25 to $45, a solar or battery motion light runs $20 to $40, and a pair of matched warm LED bulbs runs $8 to $15.
Your first finished zone depends on its size. Replacing an entry fixture costs $60 to $180, adding a short run of low-voltage path lights costs $40 to $120 in fixtures, and a new transformer, only needed if yours is truly dead, runs $90 to $200. Cable, waterproof connectors, and spare stakes for a modest zone add $30 to $60.
Professional help is the budget wildcard. An electrician typically charges $150 to $300 for a visit, so batch your line-voltage questions and fixes into one call instead of three. All told, most new homeowners I talk to spend $200 to $600 across their first season following this order and end with a yard that looks planned, compared with the $1,500 or more a full tear-out and redesign can reach. The savings come from the sequence, not from buying the cheapest version of everything.

Paperwork, Bulb Notes, and a Spares Bin
It is not glamorous, but twenty minutes of paperwork now will save you hours later. Start a lighting folder, paper or digital, and drop in every manual the previous owner left, plus photos of the transformer label, the timer, and one close-up of each fixture type in your yard. When a fixture gives up in year three, you will know exactly what it is and what it takes.
On one card or note, write down the essentials: the bulb type and color temperature each fixture uses, the transformer wattage and which runs it feeds, the timer settings you chose, and where the GFCI reset for the outdoor circuit lives. Tape the card inside the kitchen cabinet nearest the back door, right where future-you will look while holding a dead bulb.
Then build a small spares bin for a shelf in the garage: two spare bulbs of each type you use, one spare stake light, a handful of waterproof wire connectors, electrical tape, and spare batteries for the motion light. Label the breaker that feeds the outdoor outlets while you are at it. Every time you add or change a fixture, jot the date on a scrap of painter's tape stuck inside the fixture or on the bin. It feels fussy for exactly one season, and then it feels like genius.

5 Mistakes to Avoid With Your New Homeowner Outdoor Lighting Checklist
Mistake one is the bonfire: ripping out everything in week one because it is not your style. You will throw away working brass, good cable, and a layout that made sense, and then you will pay to replace all three. Mistake two is bulb chaos. Inherited fixtures often hold a rainbow of leftovers, and dropping a bright blue-white bulb beside a warm one makes the whole entry look like a gas station. Pick one warm color temperature and convert fixture by fixture as bulbs die.
Mistake three is the shovel surprise. Low-voltage cable usually lies just a few inches under the mulch along bed edges and paths, exactly where you will dig your first garden bed. Assume a cable runs along every lit edge, dig gently there, and call 811 before any deep digging so the buried utilities get marked first. Mistake four is living on the previous owner's timer, with lights blazing at four in the afternoon in June and a dark yard by the time your guests arrive. Reset it in week one.
Mistake five is skipping the census and shopping from vibes. Without the dusk walk and the notepad, you will buy duplicate stakes for a walk that only needed its buried lights dug out, and you will miss the one dead fixture that actually mattered. The checklist order exists because each step makes the next one cheaper and smarter.
Frequently Asked Questions
Should I replace all the outdoor lights as soon as I move in?
Almost never. Most inherited systems are a few fixes away from working well, and some include solid brass fixtures and buried cable that would cost real money to replace. Triage the safety issues, clean and re-aim what you have, and live with the layout for a month. Replace pieces only when they are broken, dangerous, or still wrong after you understand how you use the yard at night.
How do I find the transformer for my landscape lighting?
Check the garage wall near an outlet first, then the basement wall below the yard, then the exterior house wall behind shrubs near where the path lights start. Follow any low-voltage cable you find in the beds; it leads home. If the house has path or spot lights that work on a timer, a transformer exists somewhere, even if it is hiding behind the water heater.
What color temperature should my outdoor bulbs be?
Warm white, in the 2700 to 3000K range, for nearly everything residential. It flatters brick, stone, wood, and faces, and it matches the cozy glow most people picture. The harsh blue-white bulbs sold as daylight, around 5000K and up, are the fastest way to make a pretty yard look like a parking lot. Whatever you choose, use the same temperature everywhere guests can see at once.
When should I call an electrician instead of doing it myself?
Call one for anything involving line voltage problems: a GFCI that keeps tripping, scorched or cracked fixtures, damaged wiring, a new circuit, or hardwired fixtures you want moved. Low-voltage landscape lighting, solar lights, bulb swaps, and timer programming are all comfortable do-it-yourself territory. When in doubt, take photos of the problem area and batch every question into a single visit.
Conclusion
Here is the truth I learned the dark way: a new yard rarely needs new lights nearly as much as it needs attention in the right order. Work this new homeowner outdoor lighting checklist from the top, safety first, detective work second, free fixes third, and your inherited system will start feeling less like someone else's project and more like the warm welcome home you pictured at the closing table. Keep the folder, keep the spares bin, and when you are ready for more, browse the rest of my lighting ideas here and pick your next zone.