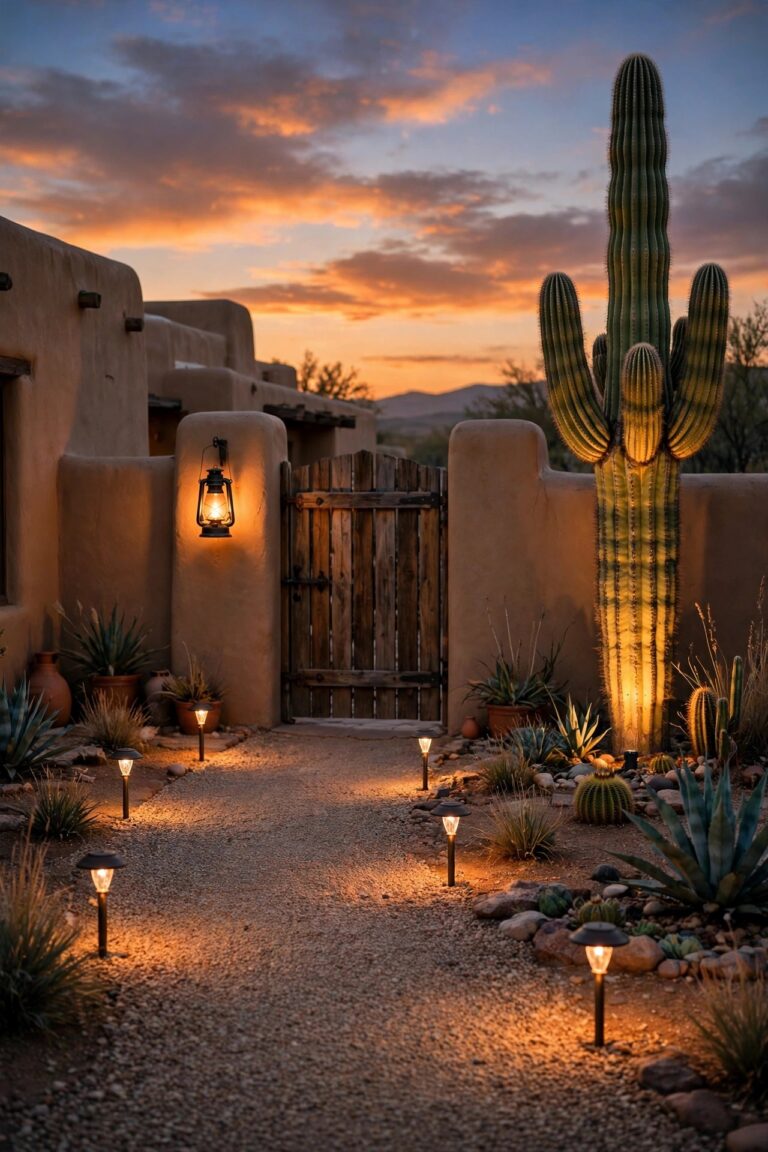
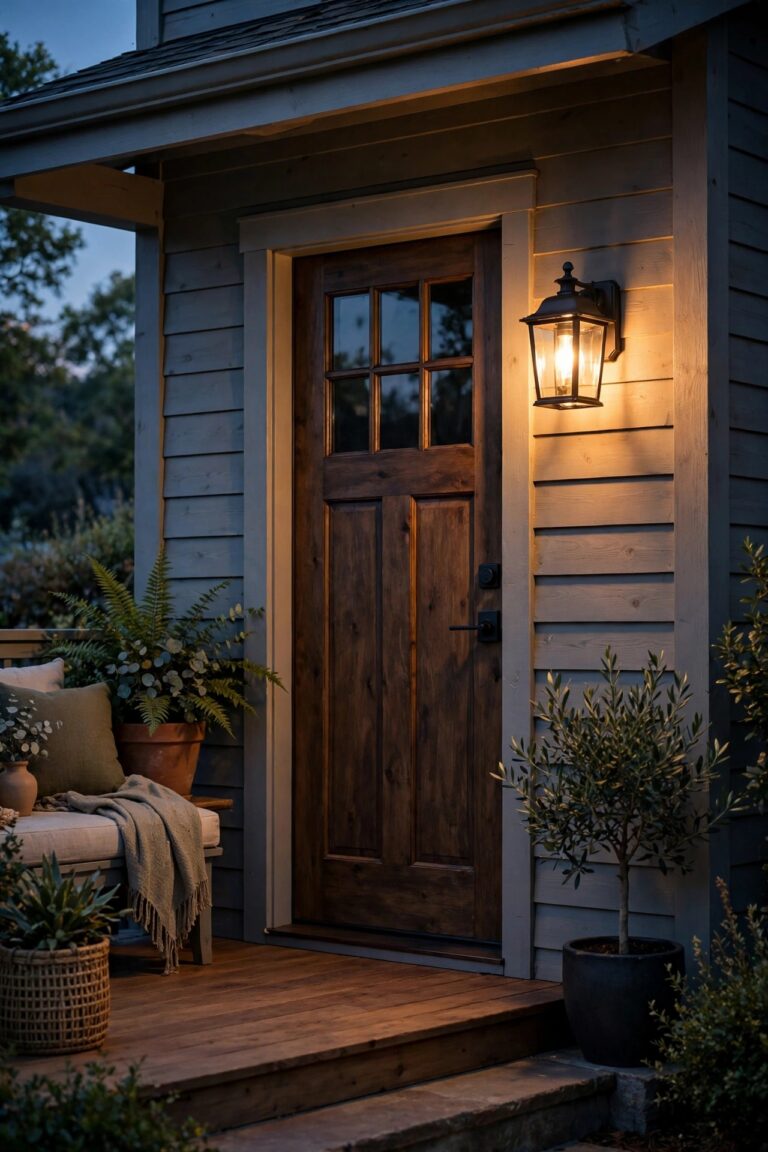
There is a special kind of magic in walking up your own front path at night and having the lights ripple on ahead of you, one by one, like the house is genuinely glad you are home. No fumbling for switches, no dark stretch between the driveway and the door, no fixtures left blazing until sunrise because somebody forgot. That is exactly what the best smart path lighting ideas deliver: a walkway that senses, schedules, and adjusts itself. In my experience, the secret is the same layering I use everywhere outdoors — guidance light low along the path, a welcome glow at the door, and a little accent light for the garden beds — except now each layer can think for itself. Below I have gathered 15 ways to build that self-running path, from motion-sensor stakes and smart transformers to solar fixtures you fine-tune from your phone. Mix two or three and your path basically manages itself.
1. Start With a Plan: Layer Your Smart Path Lighting Ideas by Zone
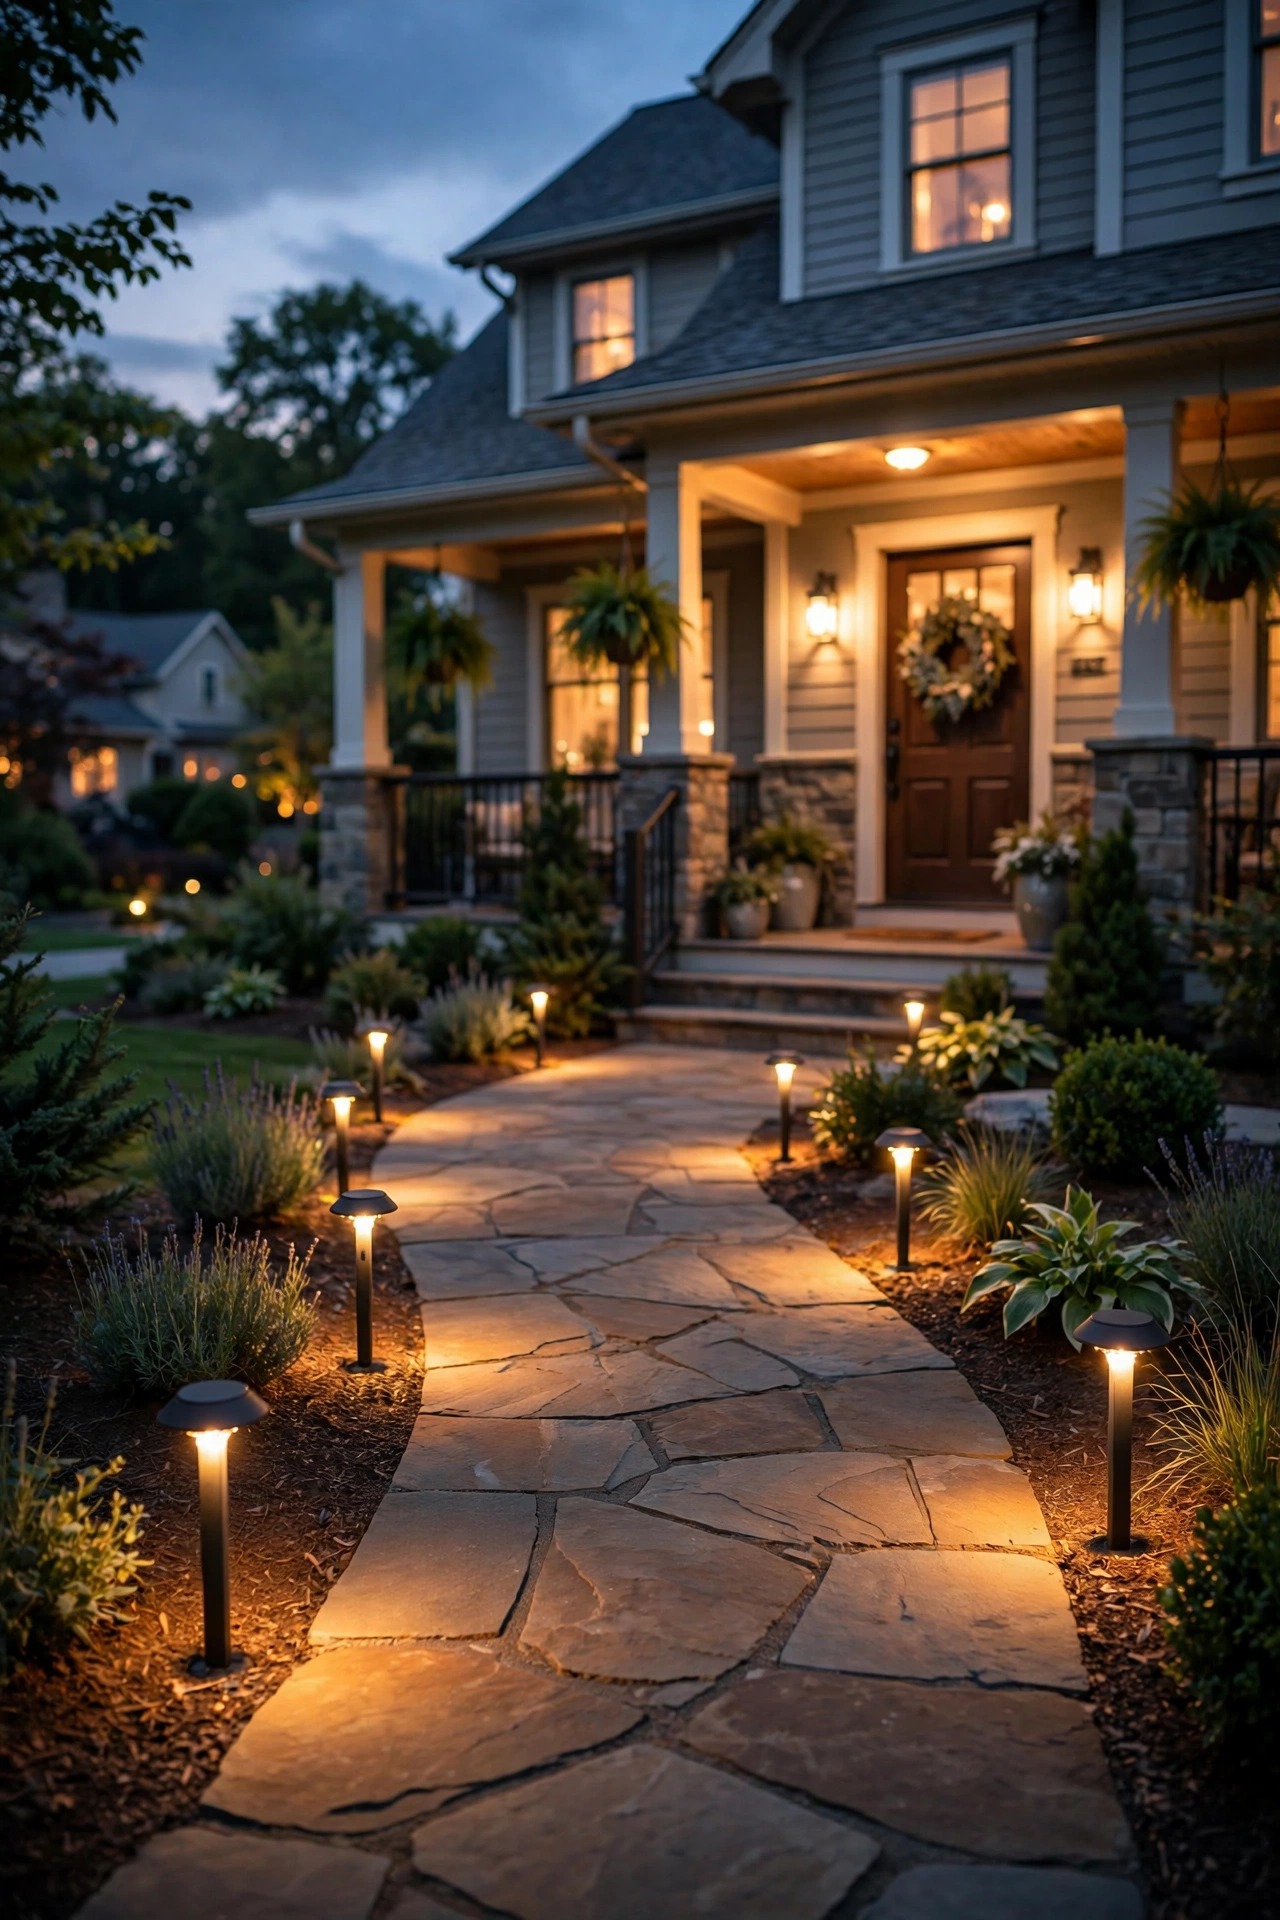
Before you buy a single fixture, sketch your path and divide it into zones: the front walk, the garden path, the steps, maybe the side gate run. Smart fixtures earn their keep when each zone can be scheduled, dimmed, and triggered separately, because the front walk needs to greet guests at 7 p.m. while the side path only needs to wake up when someone actually walks it. Keep my usual three layers in mind as you plan — low guidance light along the walking surface, a welcome glow near the door, and a soft accent for the beds beside the path. Fixtures 12 to 18 inches tall, spaced 6 to 8 feet apart and staggered rather than lined up like a runway, give you pools of light without glare. If you want the bigger picture on hubs, bulbs, and switches before you commit, my smart outdoor lighting guide walks through the whole ecosystem. Honestly, twenty minutes with a tape measure and a phone note saves you from the classic mistake: a path that is smart, expensive, and still lit in the wrong places.
Suggested budget range: $200 – $700.

2. Motion-Sensor Path Lights That Wake Up as You Walk
This is the idea that sells everyone on smart paths. A motion sensor at knee height spots you 10 to 25 feet out, fades the nearest fixtures up, and — if your fixtures are grouped — lights the next ones in sequence so the path unrolls ahead of you. Look for adjustable sensitivity and an on-time you can set between 30 seconds and 5 minutes; too short and the lights quit mid-walk, too sensitive and every passing car on the street triggers a light show. Angle sensors slightly down and across the path, never straight toward the road. In my experience, solar motion stakes are the easiest first step, but wired or battery fixtures hold their brightness better in winter. My motion sensor outdoor lights guide goes deeper on placement and false triggers if you want the full playbook. One safety note: motion fixtures near steps should come on fast and stay on while someone is on the stairs, so set those to the longest on-time in the group.
Suggested budget range: $60 – $250.
3. Dusk-to-Dawn Photocell Stakes That Run Themselves
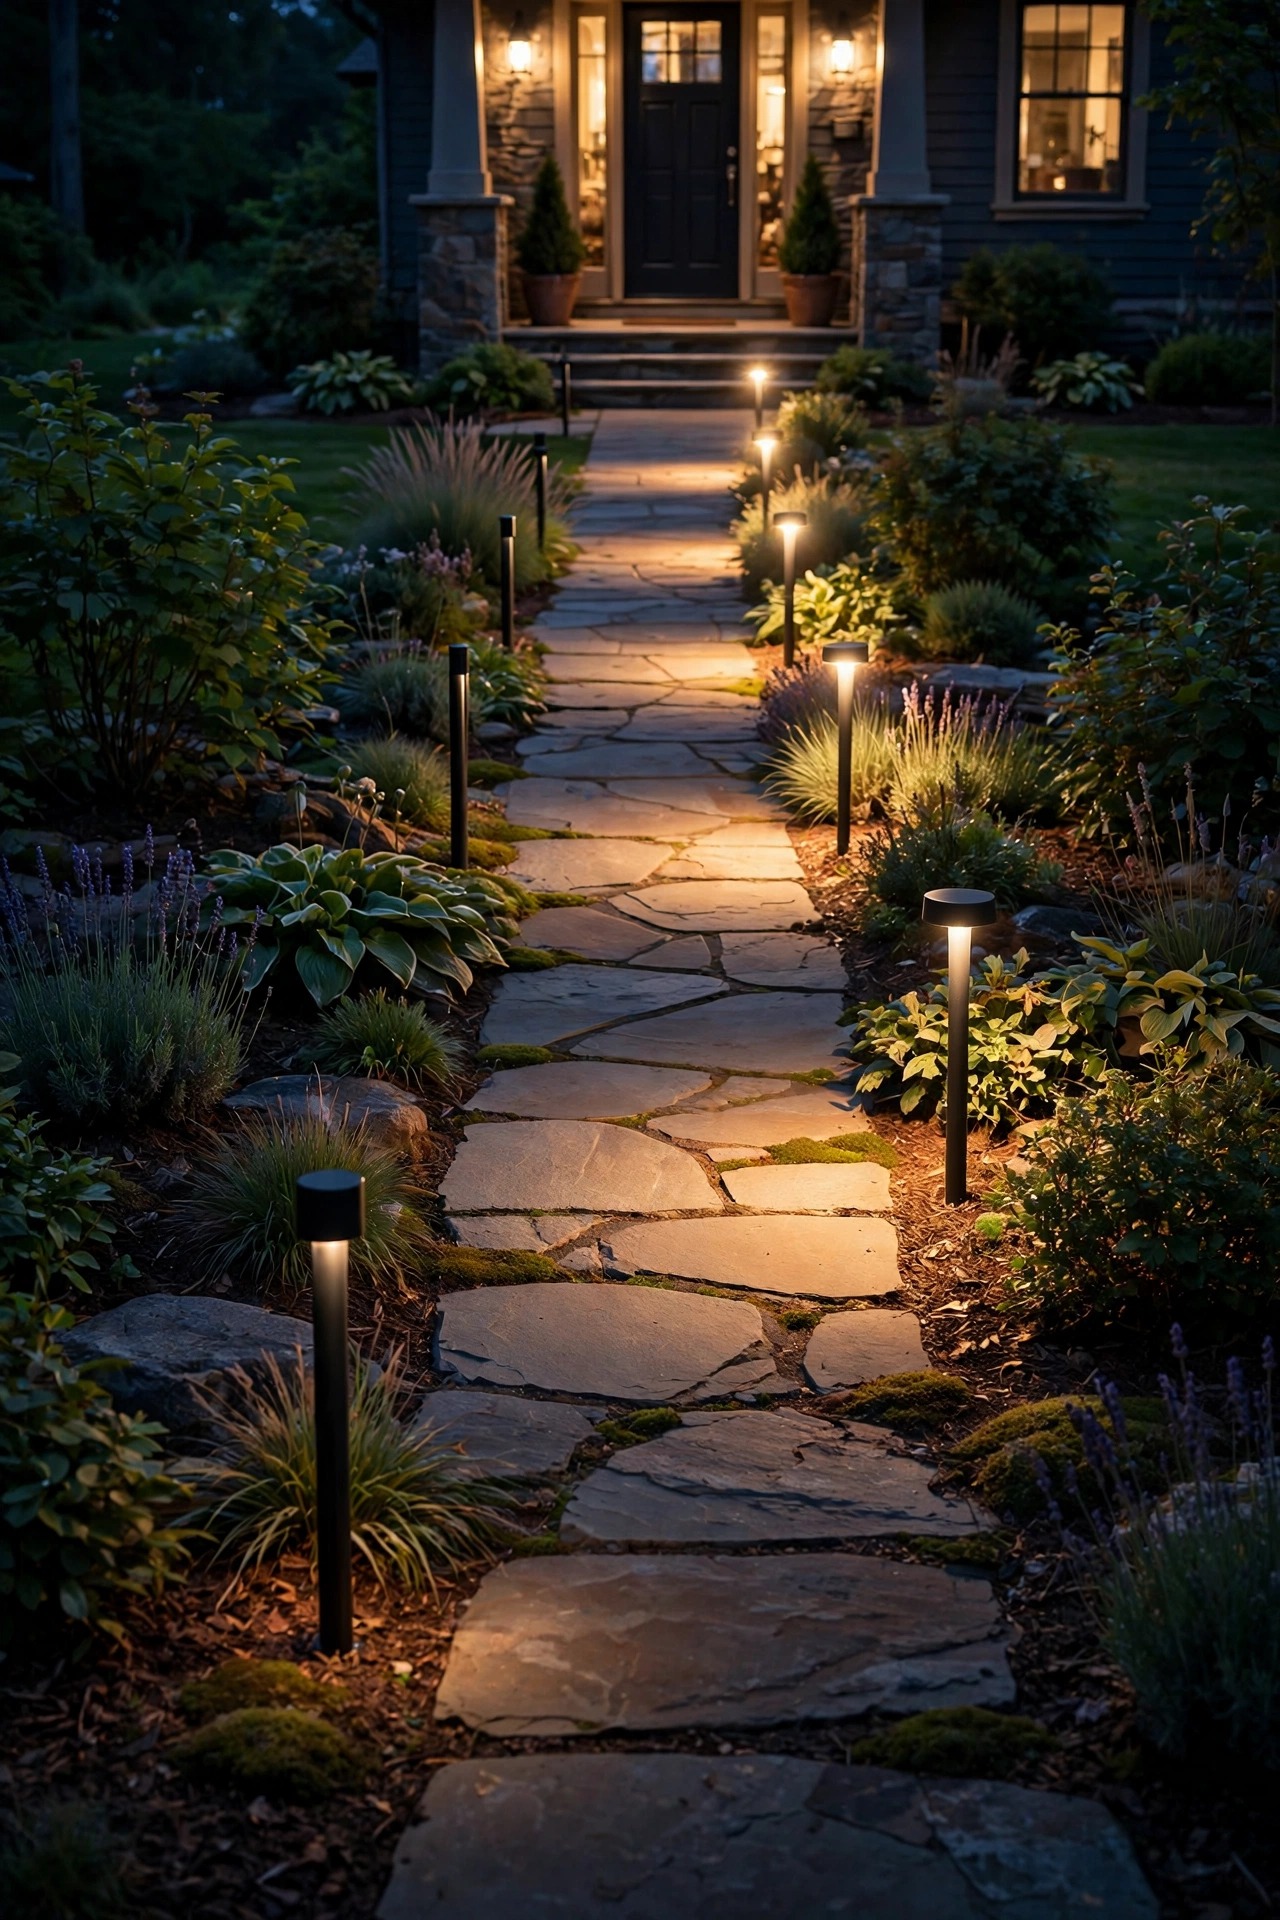
The humble photocell is the original automatic light: a tiny eye that reads the sky and switches the fixture on at dusk and off at dawn, no programming, no app, no hub. For a set-and-forget path, photocell stakes are hard to beat, especially along a side path you rarely think about. Placement is the whole trick. Keep the sensor out of the beam of your porch light and away from streetlights, or the fixture will read that glow as daylight and switch itself off in a confusing little loop. South-facing spots charge solar versions best, with at least 6 hours of direct sun. Wired photocell fixtures cost more upfront but hold a steady brightness all night, which matters on long winter evenings. I like pairing photocells on the always-on layer — a dim, steady 2700K glow — and letting motion fixtures handle the bright welcome layer on top. It is simple, it is cheap to run at pennies a night, and honestly it is the automation most of my paths actually rely on.
Suggested budget range: $40 – $180.

4. Low-Voltage Path Lights on a Smart Transformer
If you are wiring a path properly, a 12-volt low-voltage system is still the gold standard — safe to bury, easy to extend, and gentle on the electric bill. The smart upgrade happens at the transformer: choose one with app control built in, or plug a standard transformer into an outdoor smart plug, and suddenly every fixture on the run follows schedules, scenes, and voice commands together. Size the transformer so your total fixture wattage lands at 70 to 80 percent of its rating, and run separate cable legs for separate zones so the front walk and garden path can behave differently. Bury cable about 6 inches deep along the path edge, and leave a little slack loop at each fixture so you can nudge positions later. My overview of low-voltage path lights compares fixture styles if you are choosing hardware. This is the setup I recommend for long paths and anyone who wants one system to last a decade.
Suggested budget range: $250 – $800.
5. Solar Smart Stakes You Can Fine-Tune From Your Phone
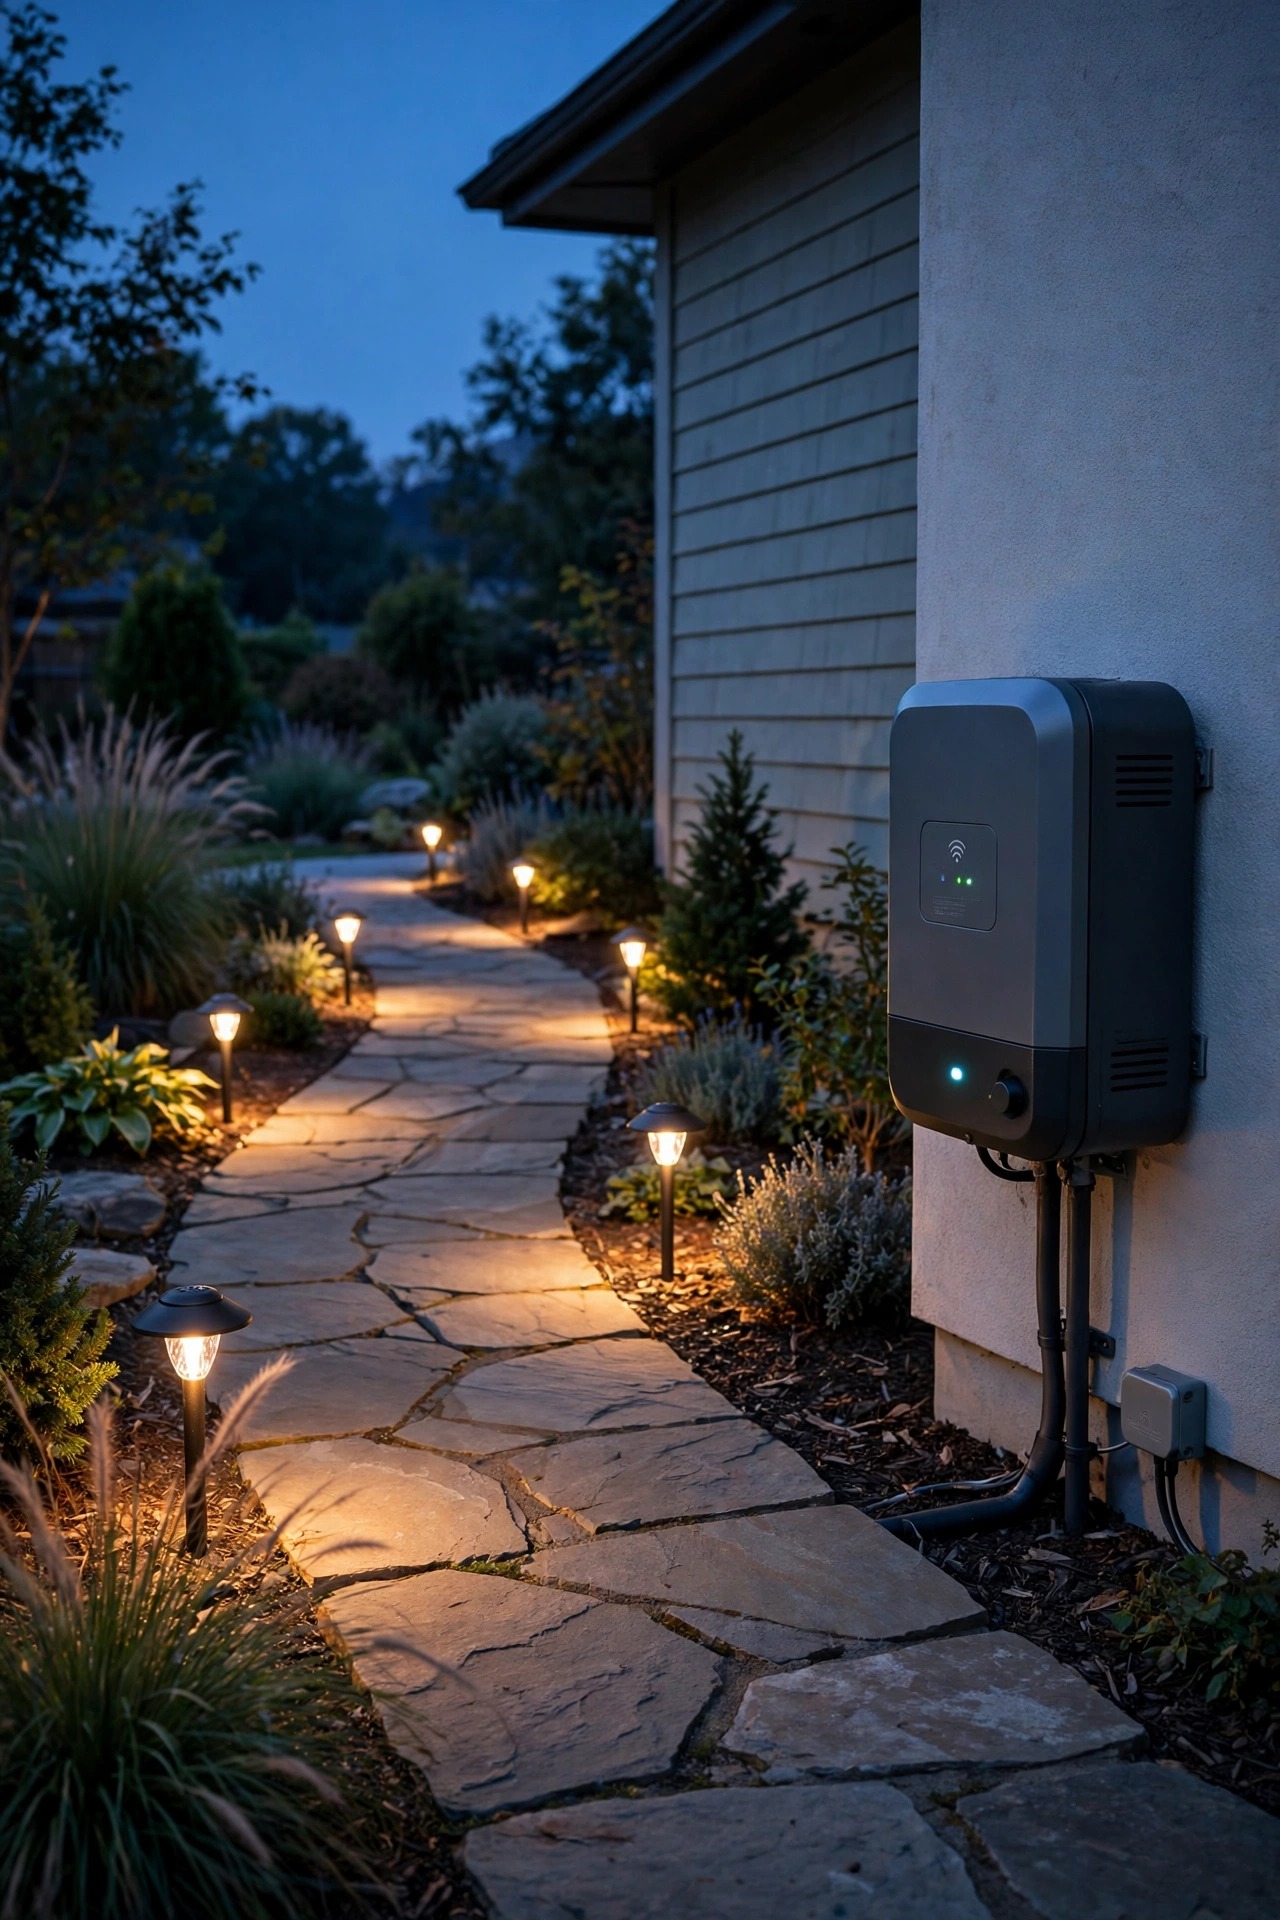
Solar path stakes have grown up. The better ones now connect to a phone app in small groups, so you can set brightness, pick a warm 2700K or 3000K tone, schedule off-times, and check battery levels from the porch instead of crouching by every stake. The physics has not changed, though: a panel needs roughly 6 hours of direct sun to give you a full night of light, and shaded north-side paths will always underperform in December. Look for replaceable rechargeable batteries and a separate, tilt-able panel on the premium models — being able to angle the panel toward the sun while the fixture sits in the flower bed is a genuinely useful trick. Keep expectations honest: solar stakes give guidance light, not task light, and that soft pool every 6 to 8 feet is exactly what a garden path wants. I group mine in the app by bed so the whole run dims to a low ember after midnight and saves its charge for the pre-dawn dog walk.
Suggested budget range: $50 – $200.

6. Smart Bulb Swaps for the Path Fixtures You Already Own
If your path already has lantern-style fixtures or bollards you love, do not rip them out — unscrew the old bulbs and drop in smart bulbs instead. You keep the look, and you gain scheduling, dimming, and grouping for the price of a pizza night. Two checks before you buy: the bulb must be rated for enclosed fixtures if your lantern has a sealed top, and the fixture switch has to stay on, because a smart bulb with no power is just a bulb. A small label on the switch plate saves a week of confusion for family and guests. Group the bulbs by zone in the app, set a sunset-to-11 p.m. schedule, and add a motion routine if you have a sensor nearby. This is honestly the fastest weekend win on this whole list — about ten minutes per fixture, no wiring, no digging. Just keep one ordinary bulb in the junk drawer as a spare, and photograph your app settings before any update resets your scenes.
Suggested budget range: $30 – $120.
7. Voice-Controlled Path Lighting for Hands-Free Arrivals
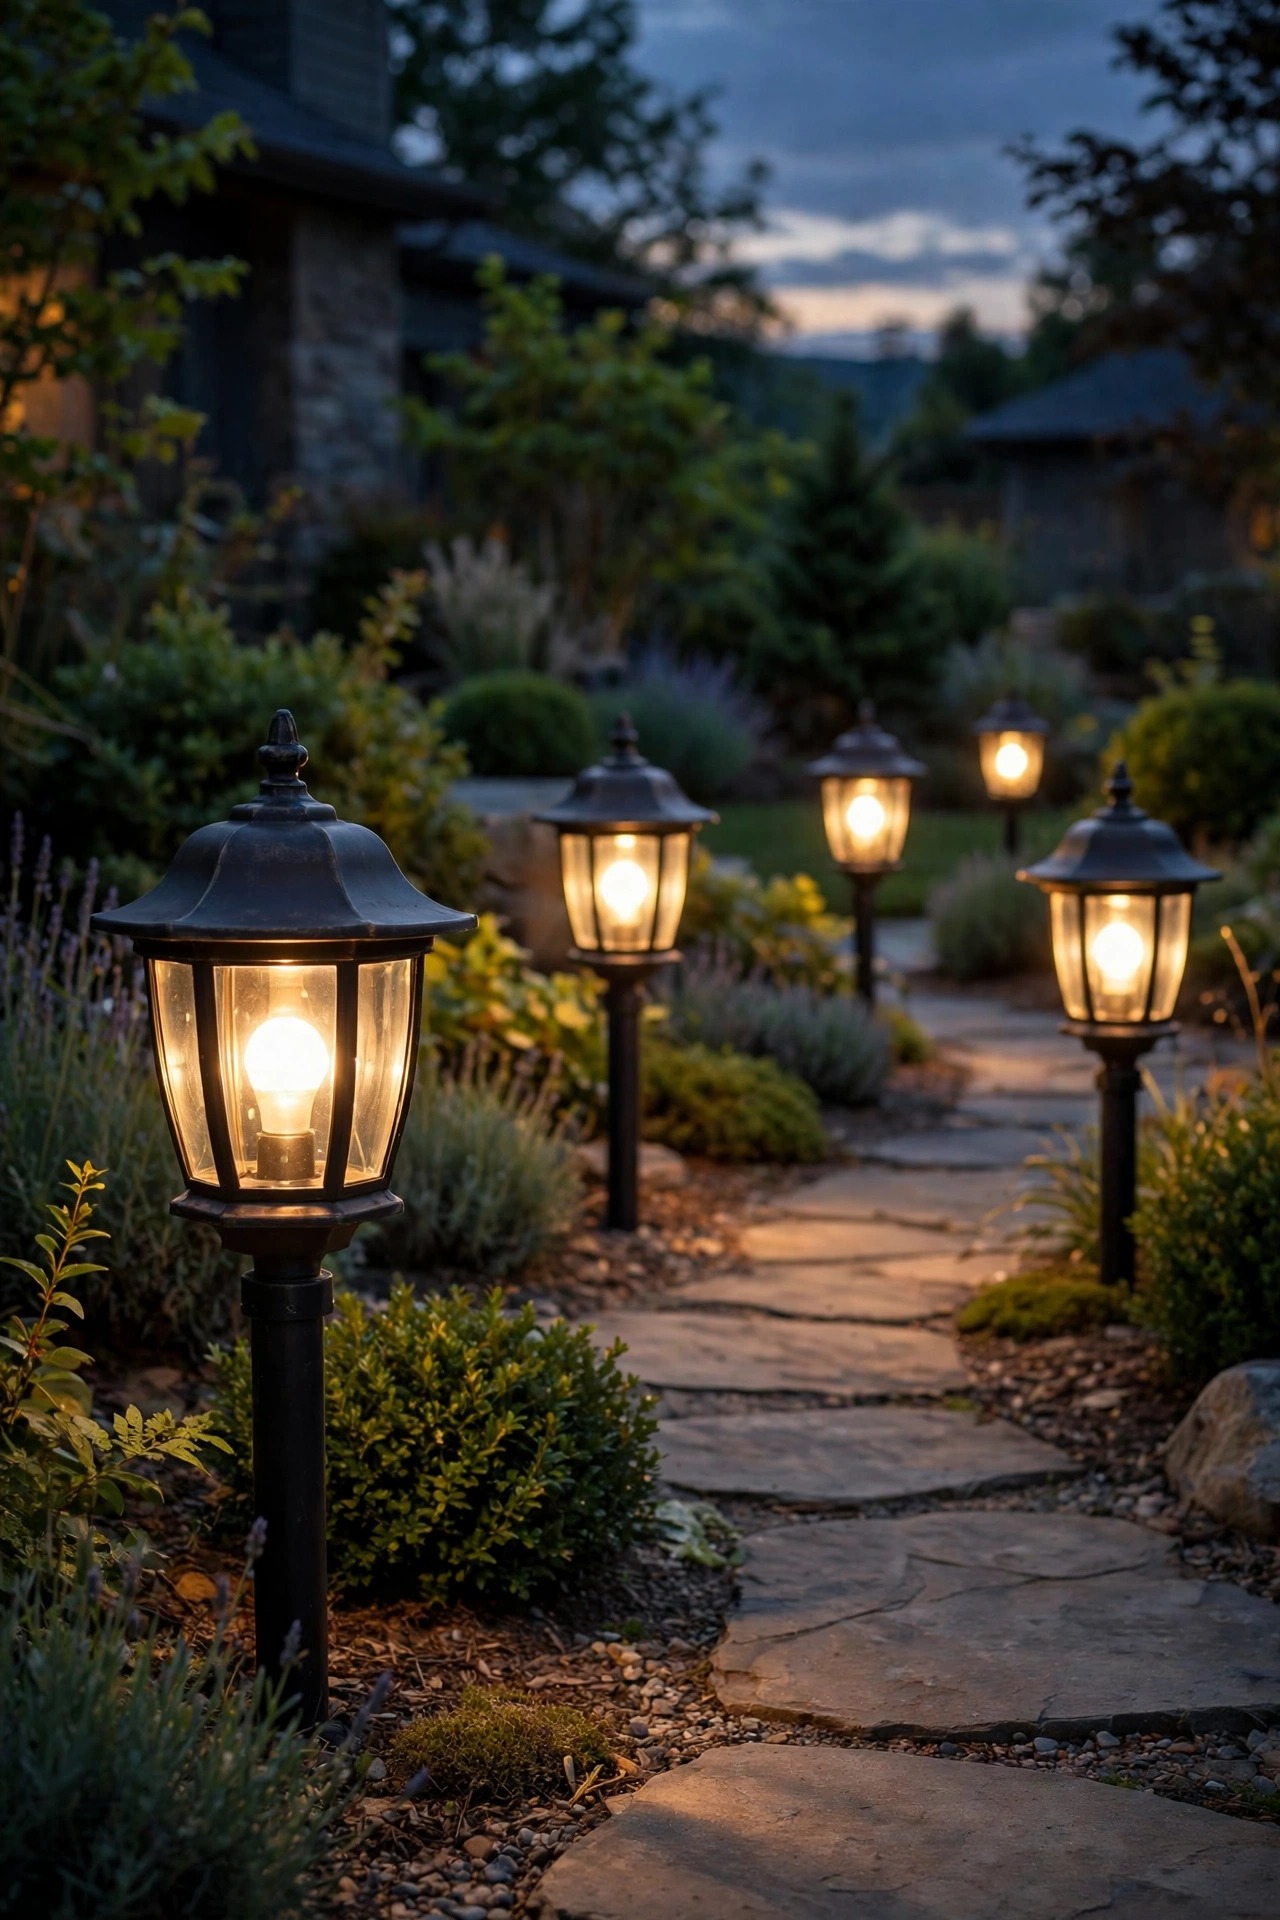
Picture it: arms full of groceries, rain starting, and you say one sentence to your voice assistant and the whole path, porch, and step lights bloom at once. Voice control sounds like a party trick until the first night it saves you a dark, juggling walk to the door. Keep zone names painfully simple — front path, garden path, steps — because the assistant can only trigger what it can understand, and guests will borrow these commands too. Build one or two spoken routines: an arrival routine that runs the path and porch for 10 minutes, and a goodnight routine that drops everything to a dim 20 percent. A word of caution from experience: never let voice be the only way to control a safety light. Keep the physical switch working, keep the app schedule running underneath, and treat voice as the delightful layer on top, not the foundation. Set up this way, it is the feature visitors ask about most — and the one that makes the house feel quietly futuristic.
Suggested budget range: $40 – $200.

8. Color-Changing Path Lights, Warm White Most Nights
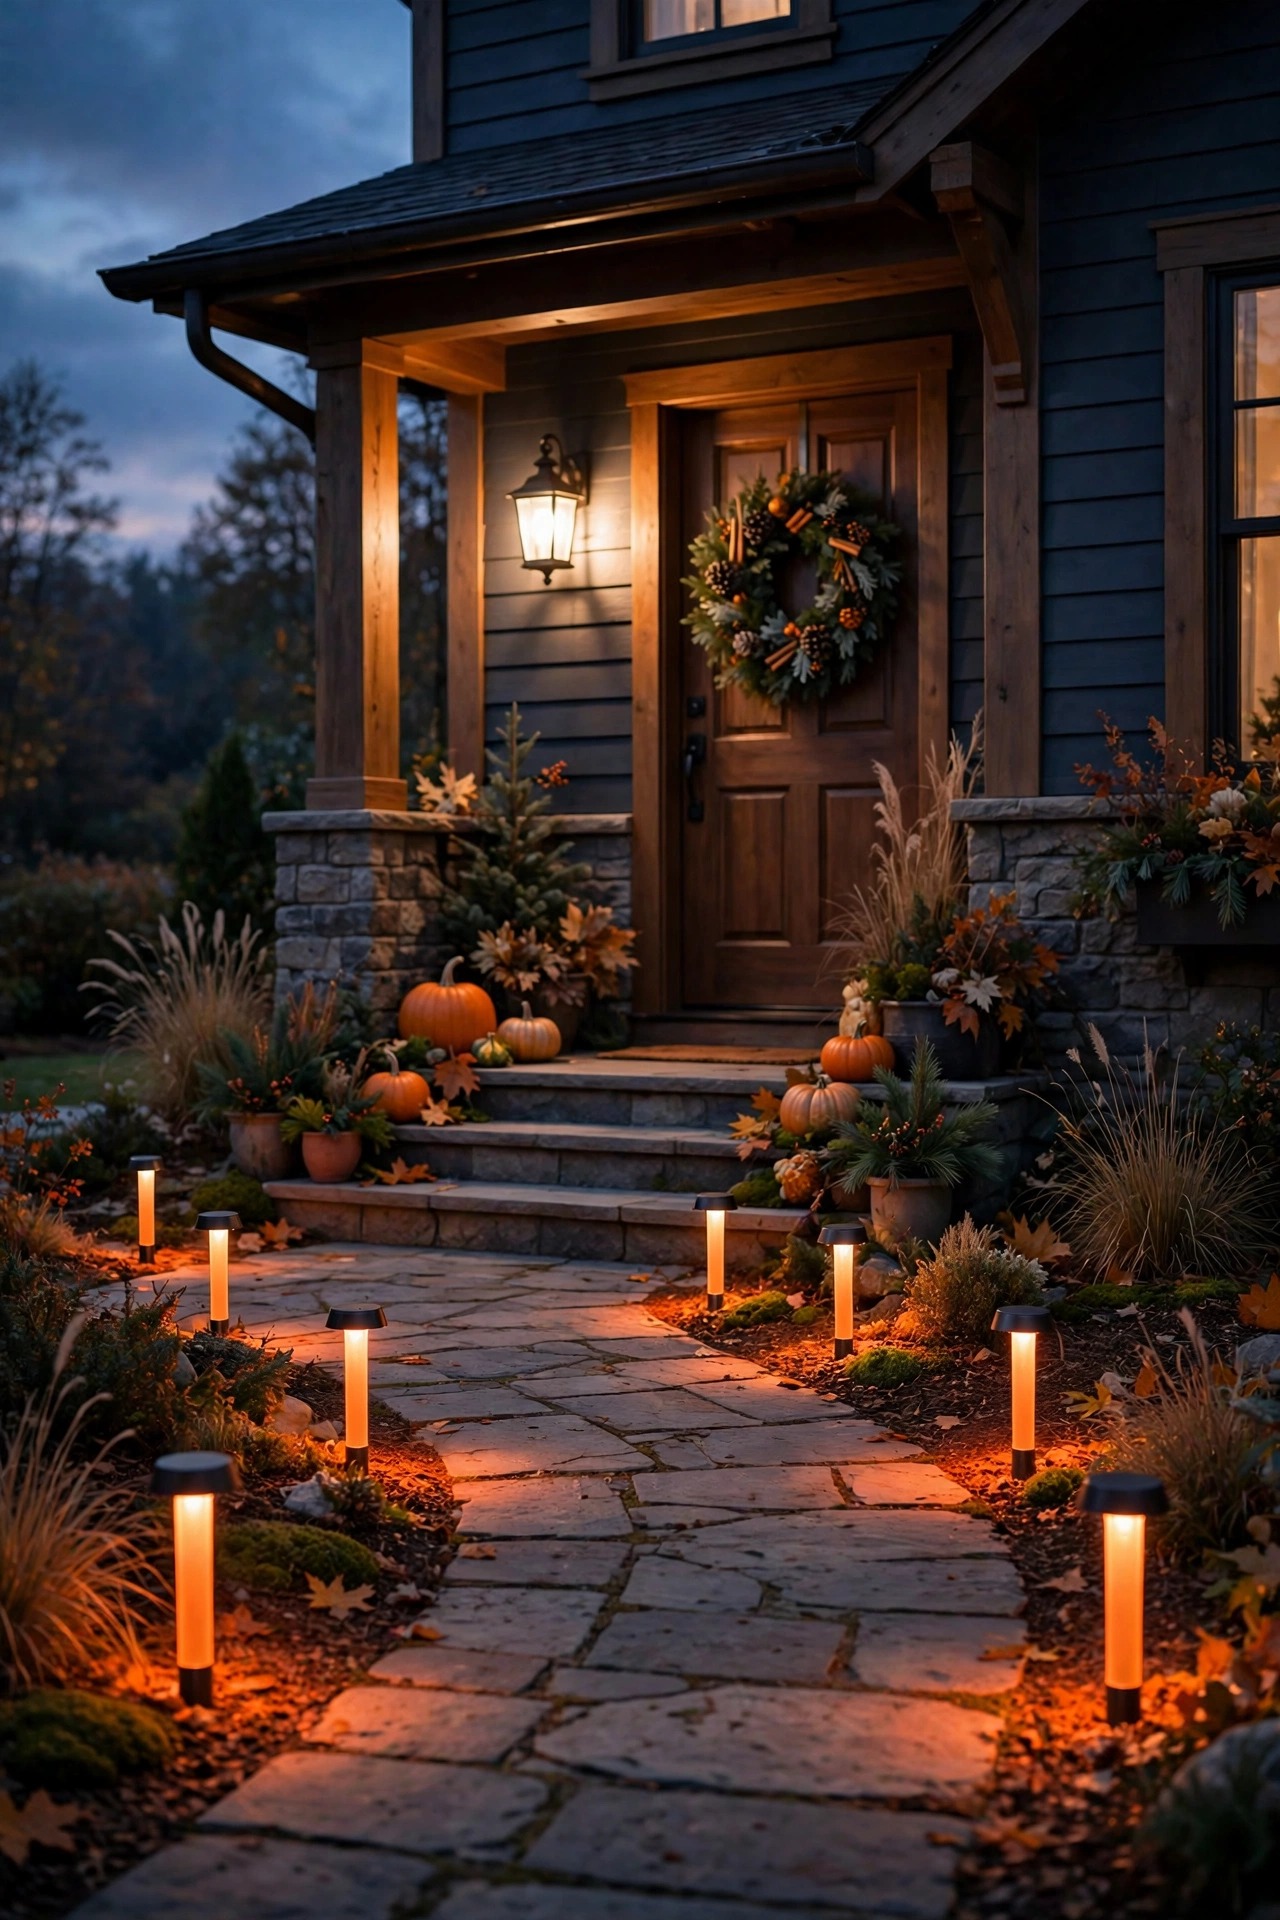
Color-changing path fixtures get dismissed as gimmicks, and honestly, set to a permanent rainbow, they are. The smart way to use them: warm white at 2700K for the 350 ordinary nights of the year, then let the app repaint the path for the fun ones — orange for Halloween, red and green in December, your team colors on game day, soft pastels for a spring party. Because it is software, the same fixtures do both jobs, and the path never looks themed when you do not want it to. Choose fixtures where the color and the everyday white come from the same app scene list, so switching back takes one tap. Keep colors off the walking surface itself if you can — tinted beds and borders read as festive, while a bright blue walking surface just reads as hard to see. One courtesy note: check the glow from the street after you set a holiday scene, and set an automatic return-to-warm-white timer so the neighborhood is not celebrating with you until February.
Suggested budget range: $70 – $300.
9. Sunset Schedules and Scenes That Run the Whole Evening
Fixed clock times are the enemy of good path lighting — a 7 p.m. start is perfect in June and an hour late in November. Sunset-based scheduling fixes that: your app or transformer reads the local sunset and shifts the start time automatically all year. On top of that foundation, build three scenes. Welcome Home runs path and porch at full brightness for the commute window. Evening Glow drops the path to a soft 40 percent so the garden looks lit rather than illuminated. Goodnight leaves one dim guidance layer and the steps until dawn. Add a vacation mode that randomizes the pattern slightly and the house never looks empty. Setting this up takes one sitting with your phone and a cup of coffee, and after that the path simply keeps your hours better than you do. My one warning: write down the schedule you chose somewhere, because six months from now you will wonder why the lights dim at 9:47 and nobody will remember it was intentional.
Suggested budget range: $20 – $150.

10. In-Ground Well Lights That Wash the Path Edge
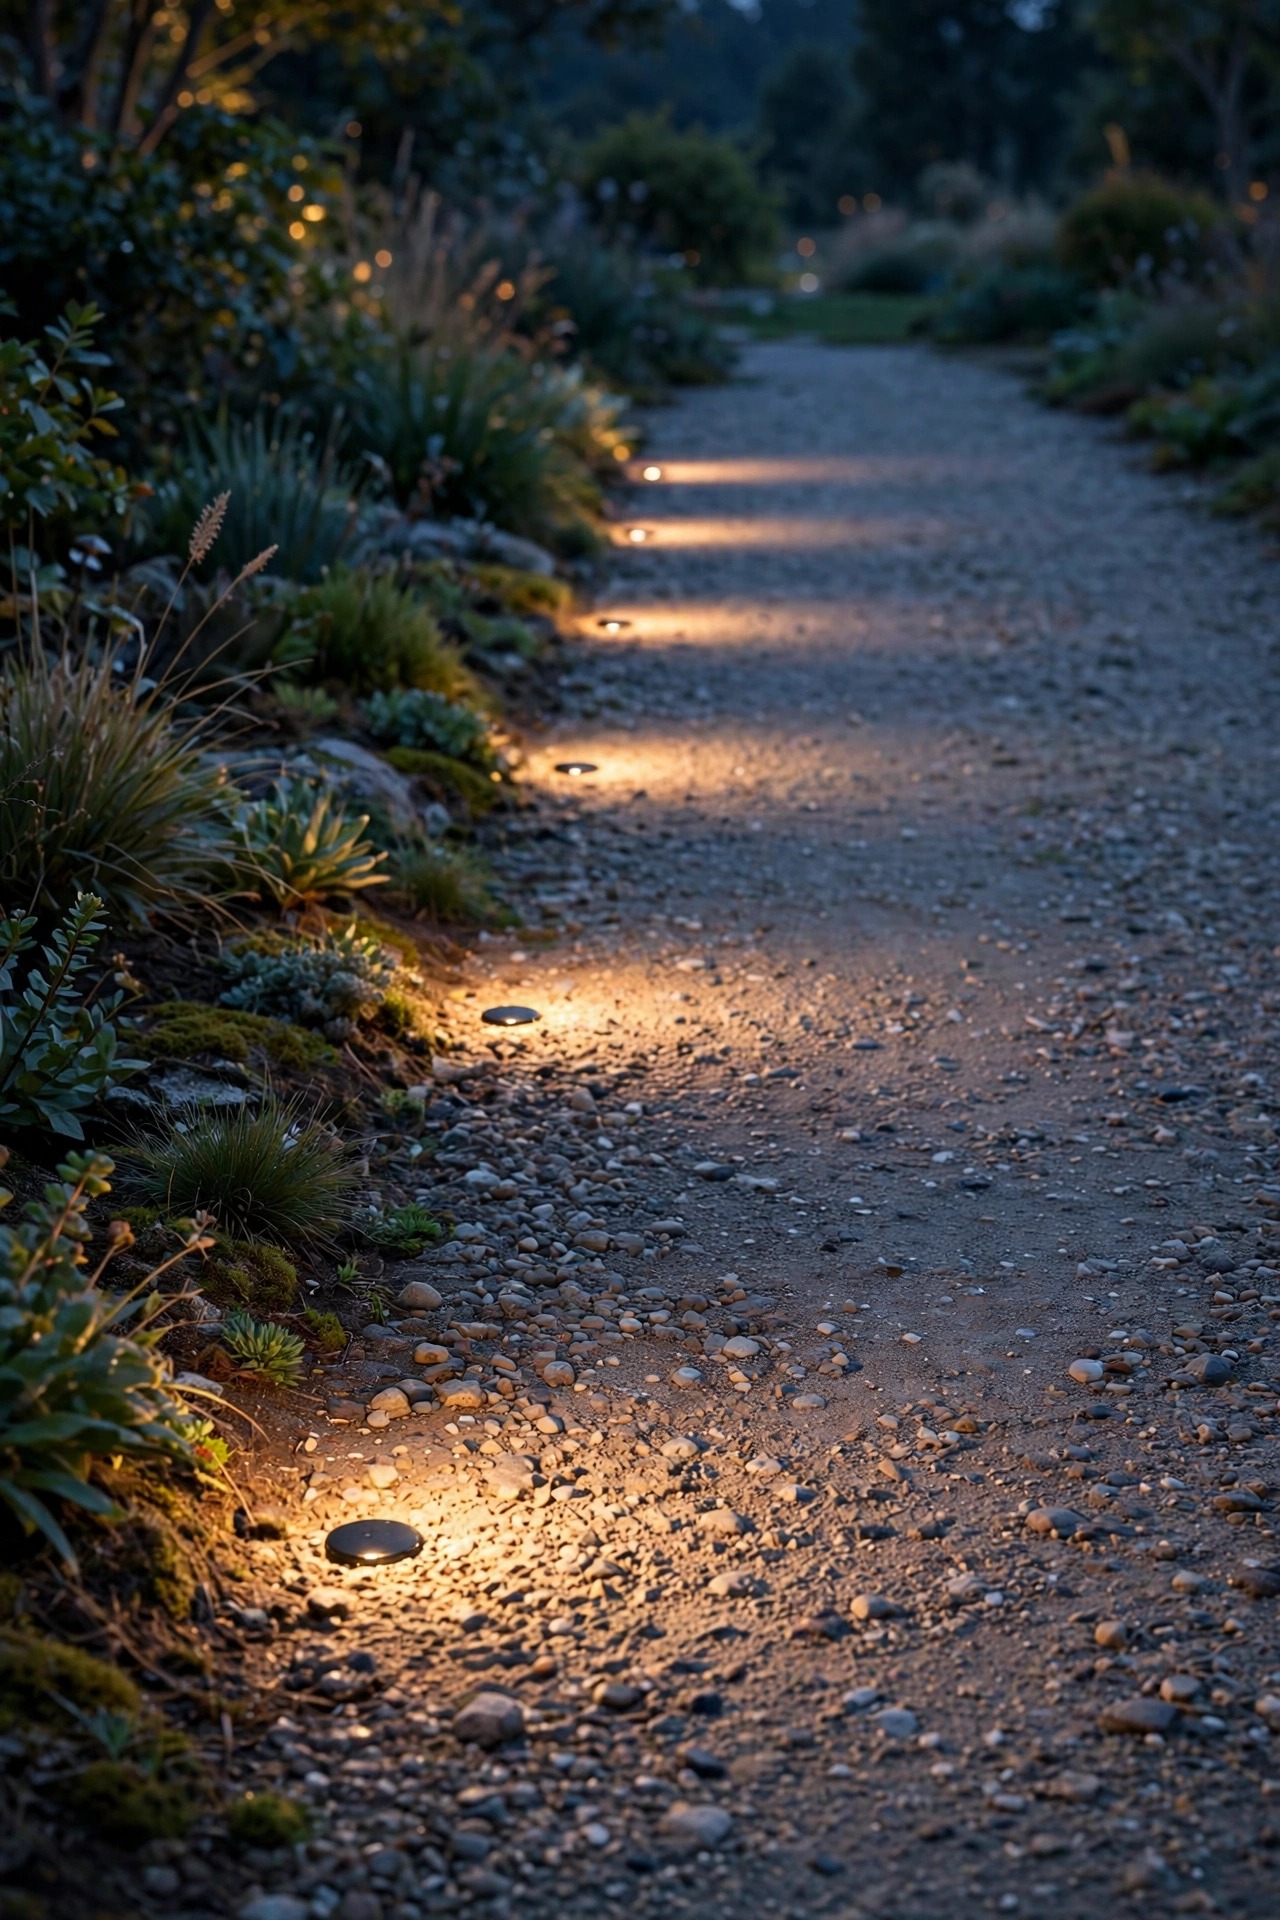
For a clean, modern look, sink low-profile well lights flush into the soil or gravel right at the path edge, aimed across the walking surface so the light grazes texture instead of glaring up into eyes. Smart versions join your zones and scenes like any other fixture, and because they sit at ground level, they are nearly invisible by day — the path simply glows at night. Near a driveway apron, choose fixtures rated to be driven over; in garden soil, standard IP65-or-better landscape ratings are plenty. Drainage matters more than electronics here: set each fixture in a shallow gravel pocket so water moves away instead of pooling in the housing. Space them 4 to 6 feet apart on alternating sides for a gentle scalloped edge. This is the one idea on the list where I suggest a pro or at least a very confident DIY weekend, because the digging and leveling take patience. The payoff is the most architectural look a path can have — light with no visible source.
Suggested budget range: $120 – $450.
11. String Lights on Shepherd Hooks Along the Path
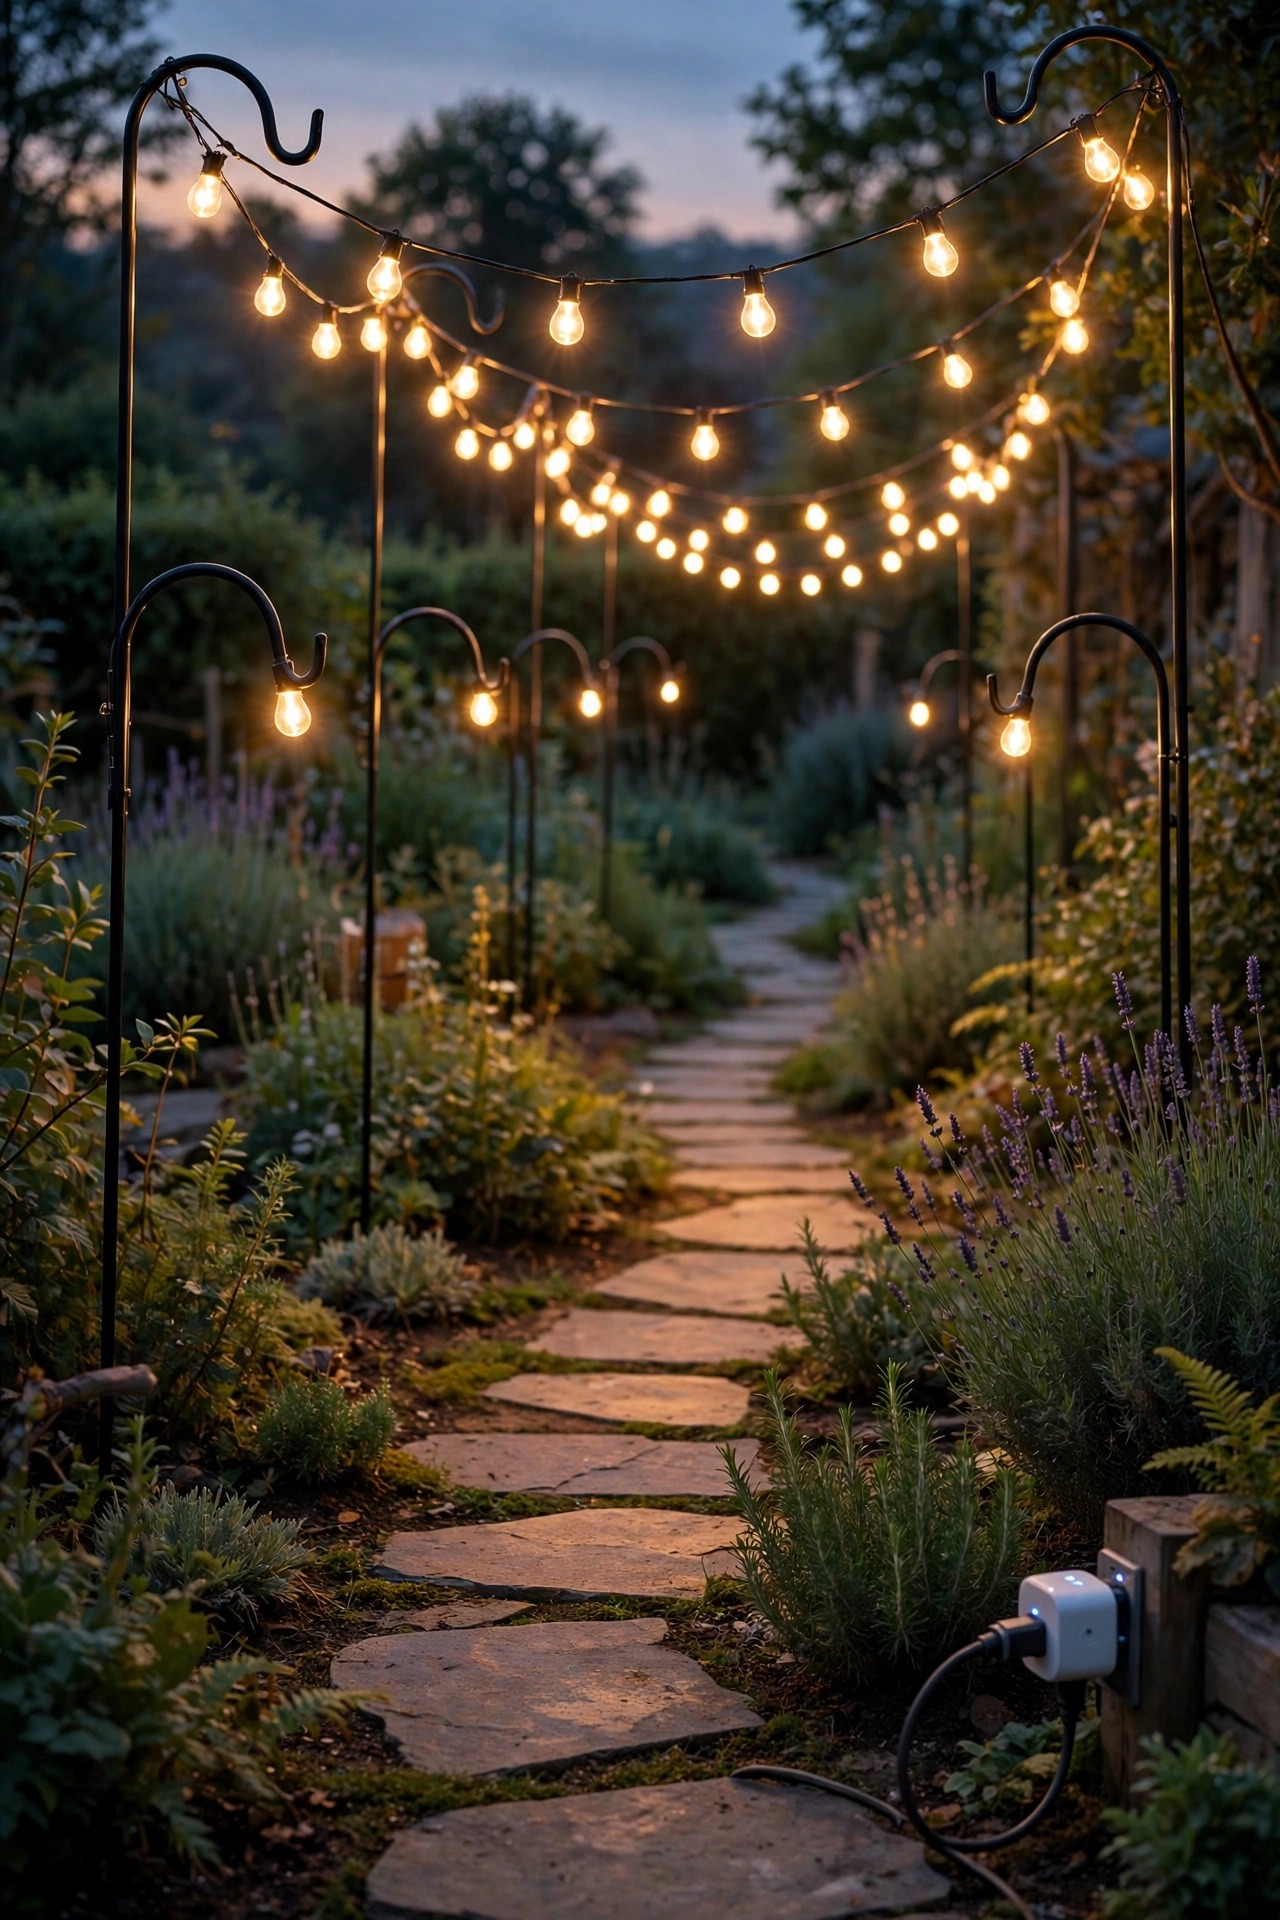
A garden path lined with swagged string lights feels like a little festival every single night, and a smart plug makes it automatic. Run commercial-grade LED string lights along one side of the path on shepherd hooks or short posts, with swags low enough to feel intimate but the lowest point still a good 7 feet above the walking surface so nobody brushes them. Plug the strand into an outdoor-rated smart plug and it joins your sunset schedule and scenes; dimmable strands let the goodnight scene drop them to a candle-like flicker level. Use LED bulbs only — they sip power and stay cool against leaves and fabric — and keep connections off the ground in drip loops so rain runs away from sockets. In my garden the hooks sit about 6 feet apart, which gives a relaxed drape without the strand sagging into the lavender. Take the strands down before serious winter storms, coil them loosely, and they will last for years of automatic evenings.
Suggested budget range: $60 – $220.
12. Step Lights That Sync With the Path
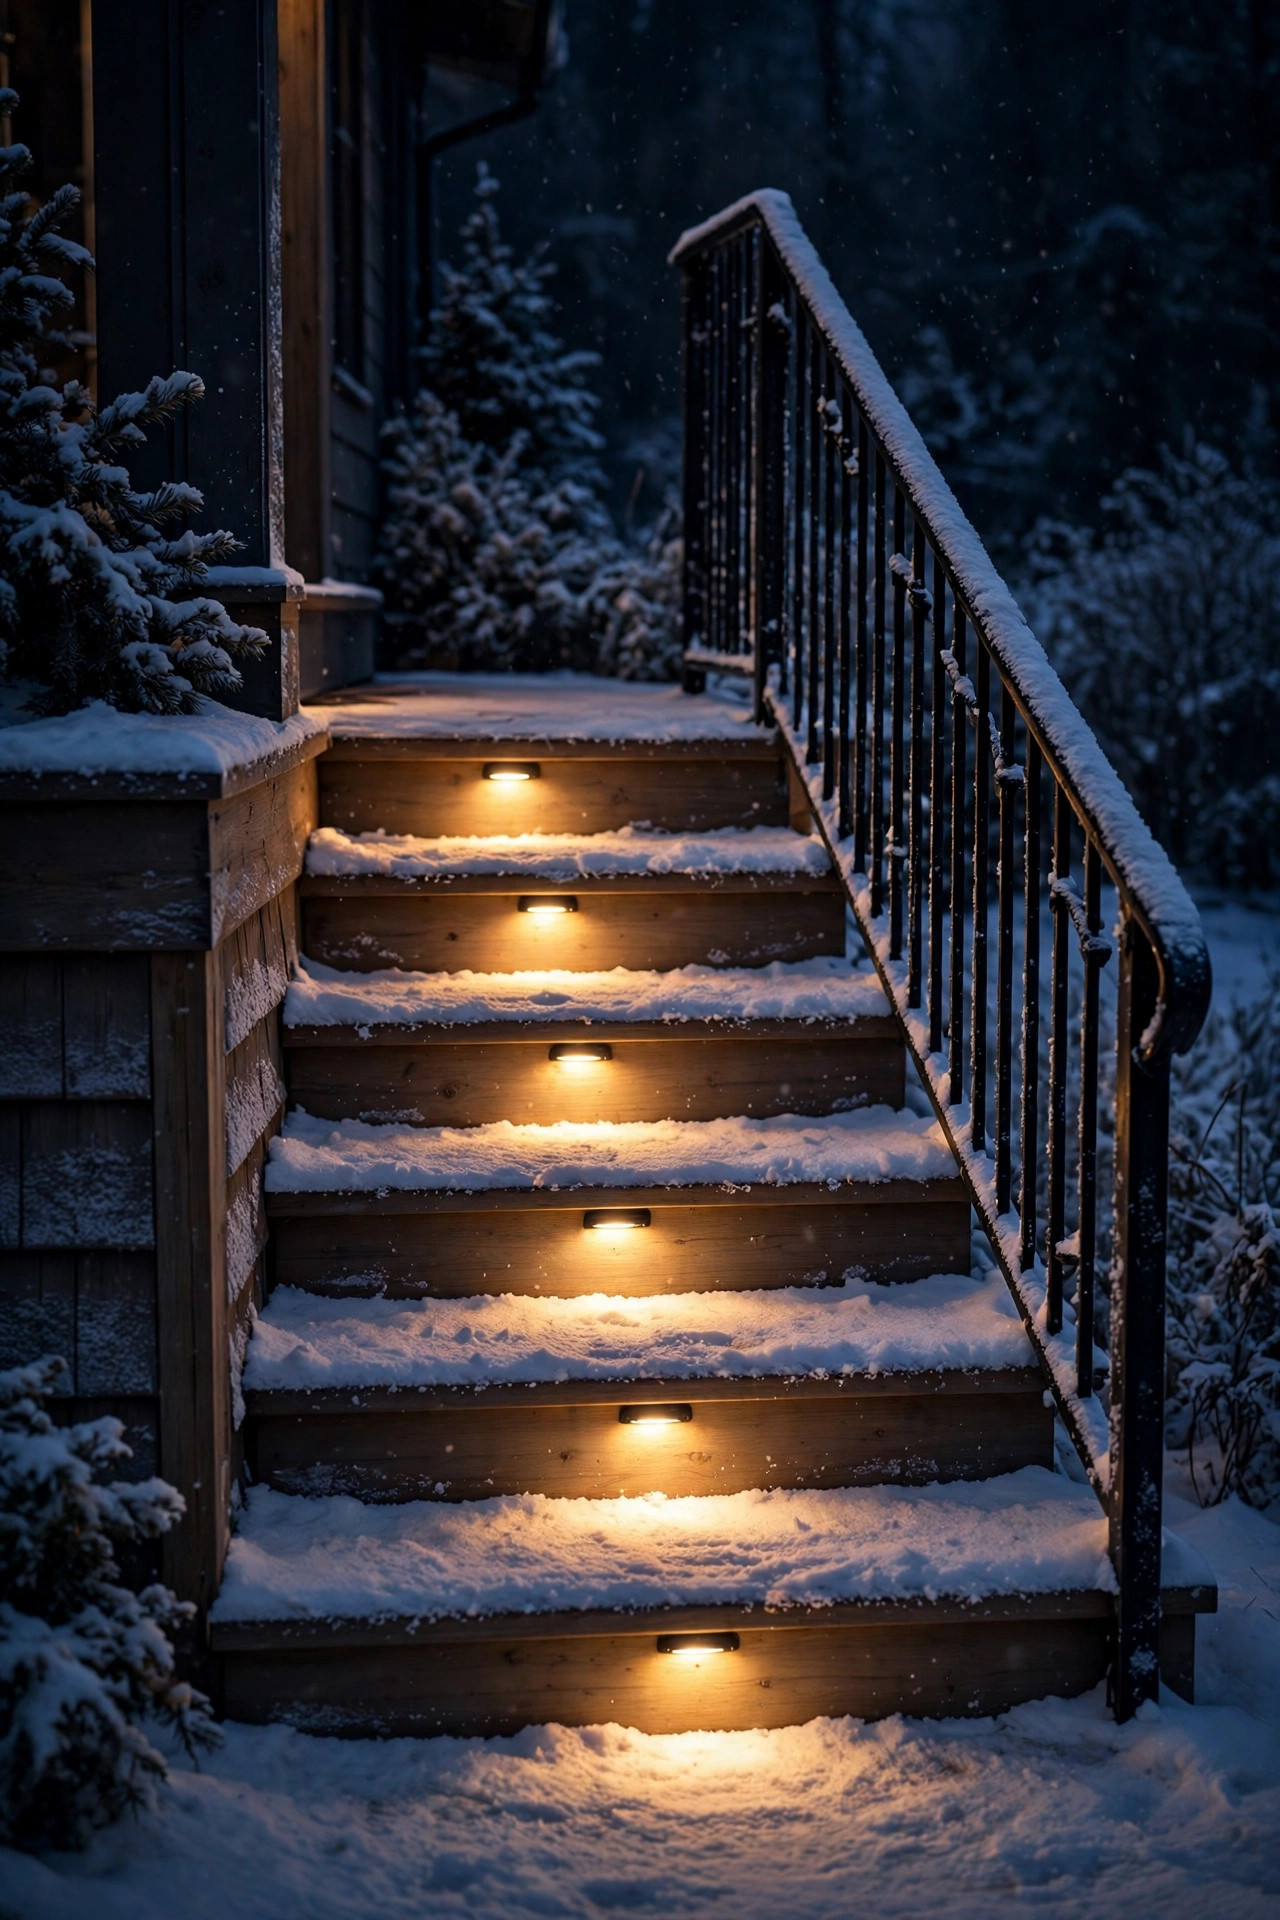
Steps are where path lighting stops being decoration and starts being safety, and they should never be on their own schedule. Put recessed or surface-mounted step lights in the same zone and scenes as the path so the whole route wakes, dims, and sleeps together — your eyes adjust once, instead of squinting at a bright step after a dim path. One fixture per step, or per two steps on wide stairs, mounted in the riser or the wall beside it, aimed down at the tread. Match color temperature exactly to the path fixtures; a 2700K path leading to 4000K steps looks like two different houses collided. Motion routines deserve care here: steps should trigger from both directions and hold the longest on-time in the system, because nobody should ever be mid-staircase when the lights decide the show is over. LED step lights use so little power that leaving the guidance layer on all night costs pennies, and honestly, for a household with kids, grandparents, or a dog, that is money very well spent.
Suggested budget range: $80 – $350.
13. Portable Battery Lanterns for Paths That Change
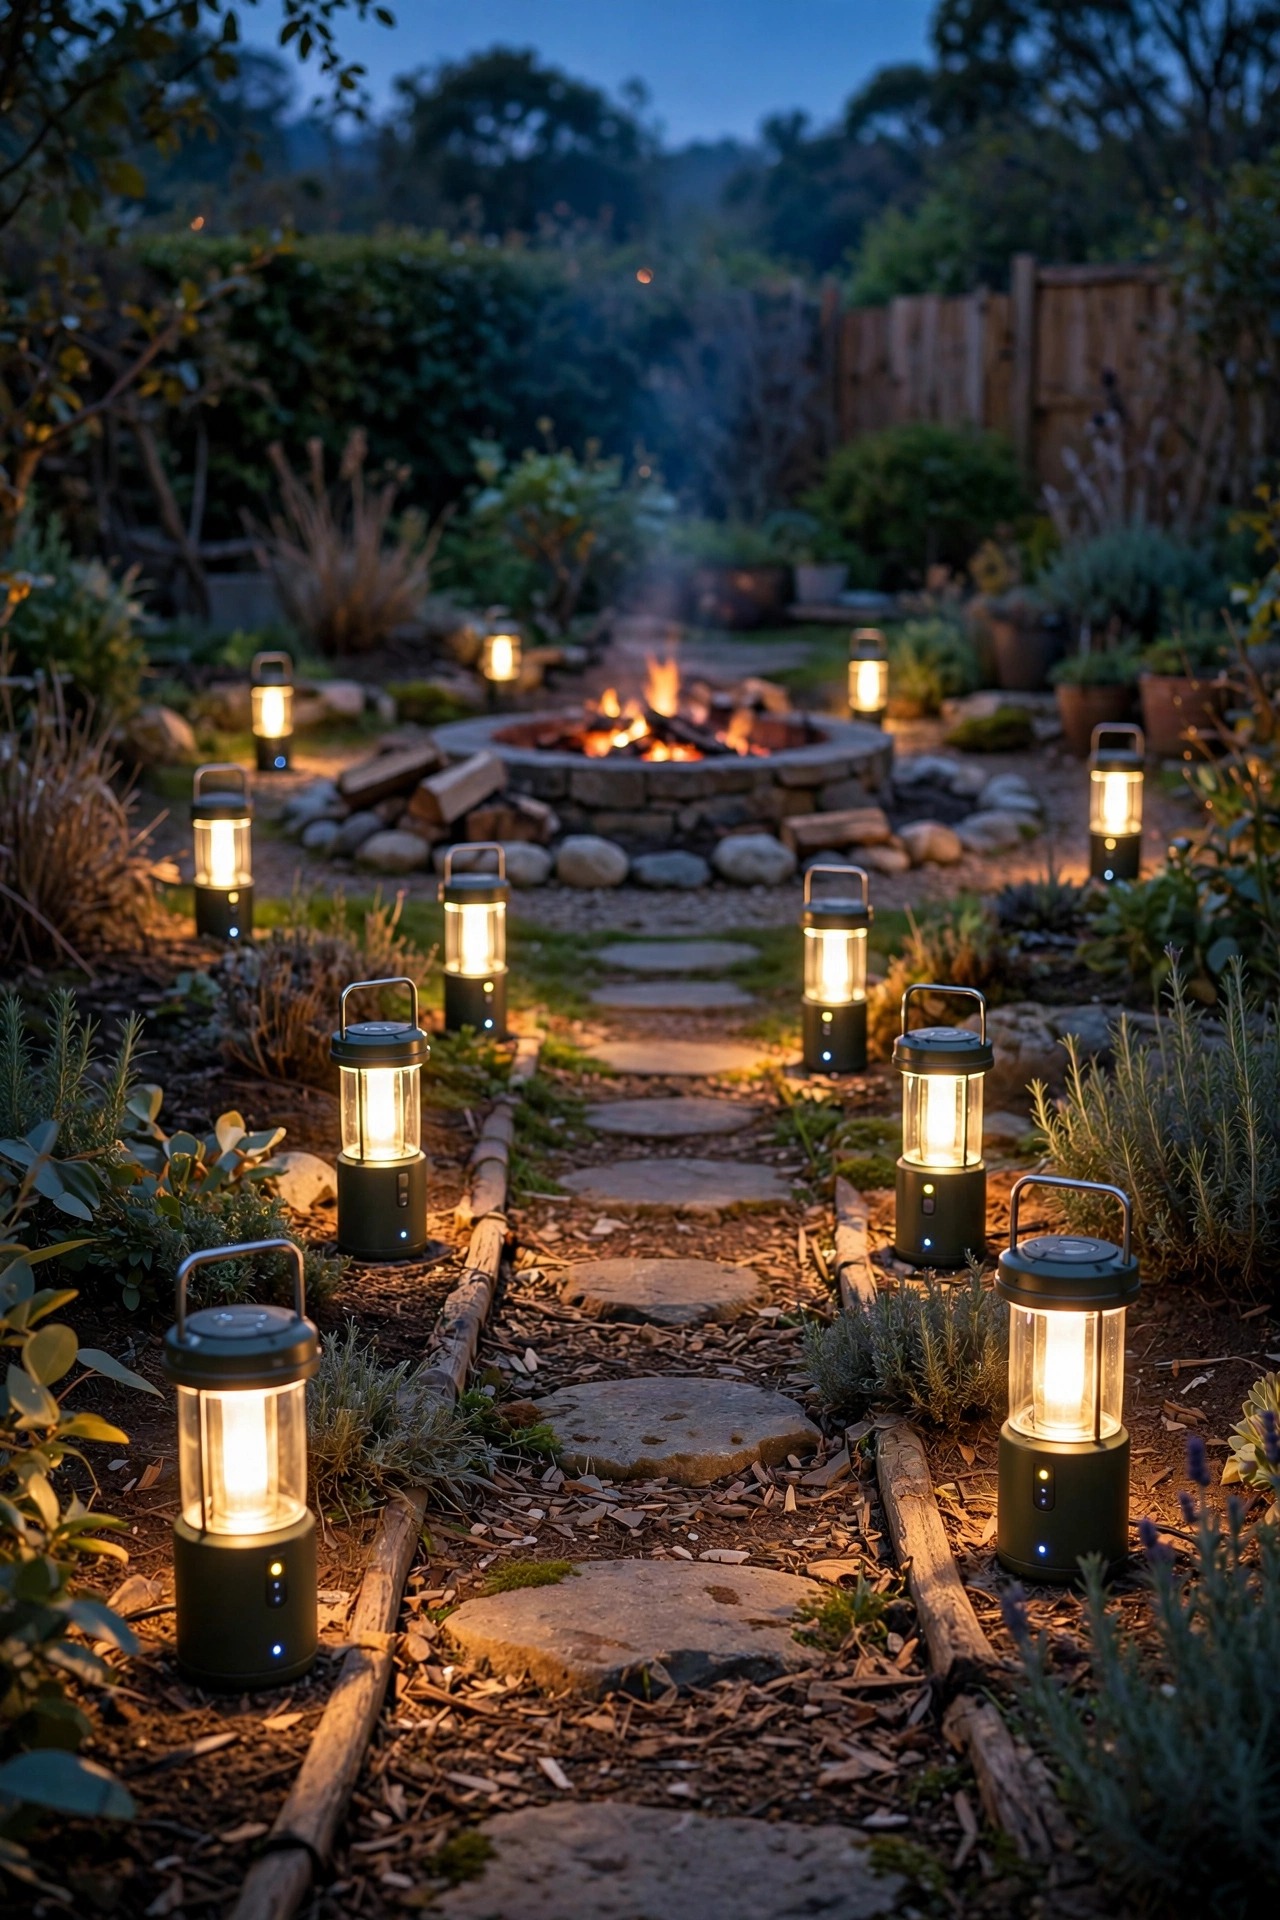
Some paths refuse to be permanent — the route to the fire pit shifts, the garden gets replanted, the party spills onto the lawn. Rechargeable smart lanterns solve it: carry them out, drop them along tonight's route, and group them in the app or with a small remote so they still behave like one system. Look for at least 8 to 10 hours of runtime at medium brightness, a warm 2700K setting, and a housing rated for rain, because the night you forget them outside is the night it pours. I keep four charged on a mudroom shelf from spring through fall; two mark the path, one lives by the gate latch, one rides along to the compost bin on the late run. Set them to a low ember for the walk out and tap them bright for the walk back. They are also the friendliest loaner lighting for neighbors and the first thing I pack for a rental cabin — instant automatic-feeling path, zero installation.
Suggested budget range: $45 – $180.
14. Adaptive Brightness: Full Glow Early, Ember Late
Leaving path lights at full brightness until dawn wastes power, annoys light-sleeping neighbors, and washes out the stars — so teach the path some manners. Most smart systems can step brightness down through the evening: full glow for arrivals and dog walks, half after 10 p.m., and a low 15 to 20 percent ember after midnight that still marks the route for anyone who needs it. Motion becomes the exception handler: if someone actually walks the path at 1 a.m., the nearest fixtures rise to full brightness, then settle back down. This is also the most wildlife-friendly way to run a path, since long dim hours disturb garden creatures far less than a sudden all-night blaze. In the app it is usually one extra schedule entry per zone, and the savings show up quietly on the electric bill all year. Honestly, this gentle dimming curve is what makes a smart path feel intelligent rather than merely switched — the light matches the hour like a good host.
Suggested budget range: $50 – $250.

15. The Dusk Walk-Through: Fine-Tune Your Smart Path Lighting Ideas
Every smart path deserves one honest test before you call it done, and it has to happen at dusk, phone in hand. Walk the route slowly in both directions, the way guests and family actually use it. Trigger every motion sensor from each approach and watch for dead angles; stand at the street and check for glare in your eyes; look for the dark gap that always hides between fixture six and fixture seven. Open the app as you go and nudge brightness per zone — paths almost always need less light than the defaults, and beds usually want one accent turned up. Test each scene out loud with your voice assistant, rename anything it misunderstands, and run the goodnight scene from the bedroom to be sure it sticks. Repeat this walk when the seasons change, because summer foliage eats light that winter branches let through. Fifteen minutes, twice a year, is the entire maintenance contract for smart path lighting ideas that keep feeling brand new — and it ends, as all good lighting work should, with you standing in your own garden at dusk, pleased.
Suggested budget range: $10 – $75.
Frequently Asked Questions
What color temperature is best for smart path lights?
Warm white, 2700K to 3000K, wins for almost every home path. It flatters stone, brick, and planting, feels welcoming instead of clinical, and keeps the smart fixtures matching your porch light. Save cooler temperatures for purely functional spots like a work yard, and set every fixture in a scene to the same temperature so the route reads as one design.
Do smart path lights need Wi-Fi to keep working?
Mostly no, with a small caveat. Schedules and scenes are usually stored on the transformer, plug, or hub itself, so the path keeps running its routine even if your internet drops. Wi-Fi is what lets you change settings from your phone or use voice control from inside. Photocell and motion features are fully local and work with no connection at all.
Are smart path lights weatherproof enough to leave out all year?
Yes, if you buy for it. Look for an IP65 rating or better on fixtures, outdoor-rated smart plugs with the connection pointed down, and transformers mounted at least a foot off the ground. Bring portable lanterns and string lights in ahead of serious storms, check seals each spring, and your system will shrug off ordinary rain, sprinklers, and frost for years.
How much does it cost to make a whole path smart?
A simple retrofit — smart bulbs in existing fixtures plus one smart plug — can land between $60 and $150. A mid-range setup with a smart transformer and a dozen low-voltage fixtures usually runs $400 to $900 installed by you. Full designer systems with in-ground fixtures and pro installation can pass $2,000, but most of the automatic magic lives happily in the middle range.
Conclusion
A path that lights itself is not really about gadgets — it is about coming home to a house that seems to have been expecting you. Start with one or two of these smart path lighting ideas, the motion stakes or the smart transformer, live with them for a week of evenings, and then add scenes and zones as you learn your own routes. Keep the light warm, keep it layered, and let the automation stay invisible until the moment it delights you. If you are ready to keep going, browse the rest of my lighting ideas here and plan the porch, steps, and garden beds to match — one glowing zone at a time.