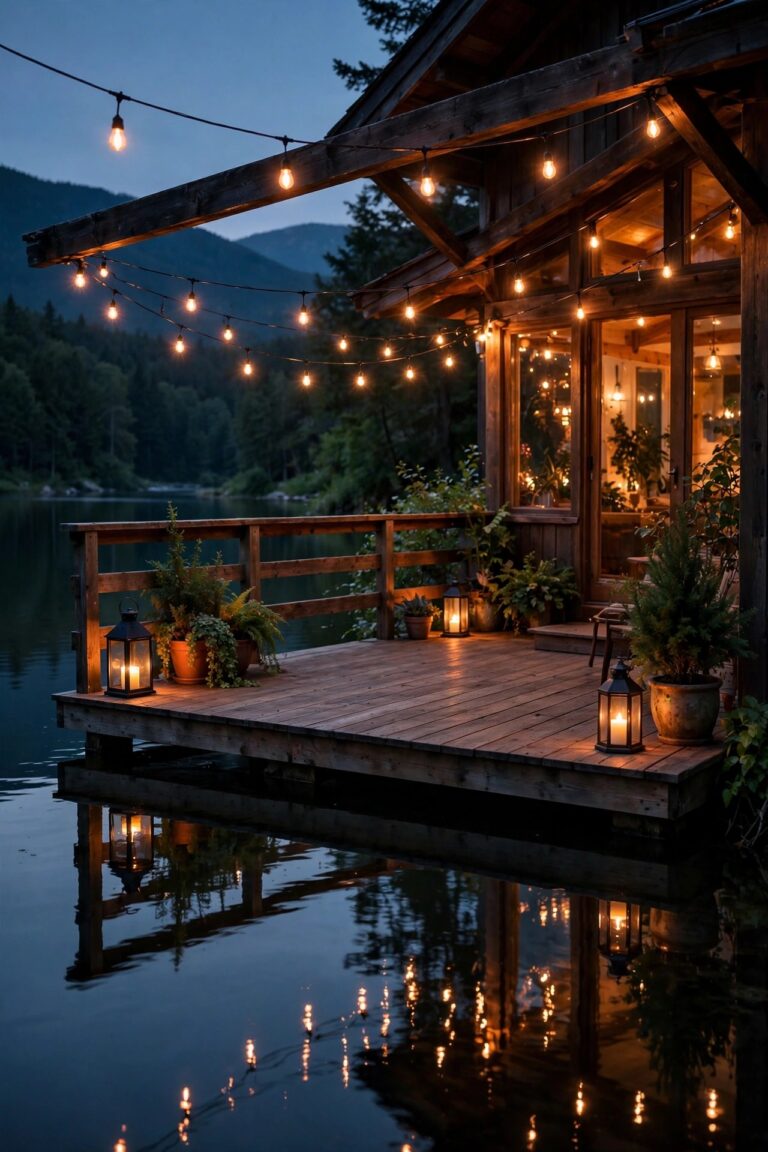
When we moved into our townhome, the backyard measured just 18 feet wide by 30 feet deep, and my first thought was: there is no room to make this pretty. I was wrong. The right townhome backyard lighting ideas do not just work in a small yard, they actually work better, because every fixture sits close enough to matter and the fences give you built-in walls to bounce light off. The secret is the same layering philosophy I use everywhere: a soft overhead layer for glow, a middle layer at eye level for faces and conversation, and a low layer that outlines paths, steps, and beds so the whole space reads as one finished room. In a footprint this small, three layers can cost less than one big fixture and look ten times more intentional. Below are the 17 ideas I reach for again and again in narrow townhome yards, from five-minute solar upgrades to a full weekend plan. Every one respects close neighbors, shared fences, and the HOA rules most of us live with, and every one is measured to the foot so you can adapt it to your own slice of yard.
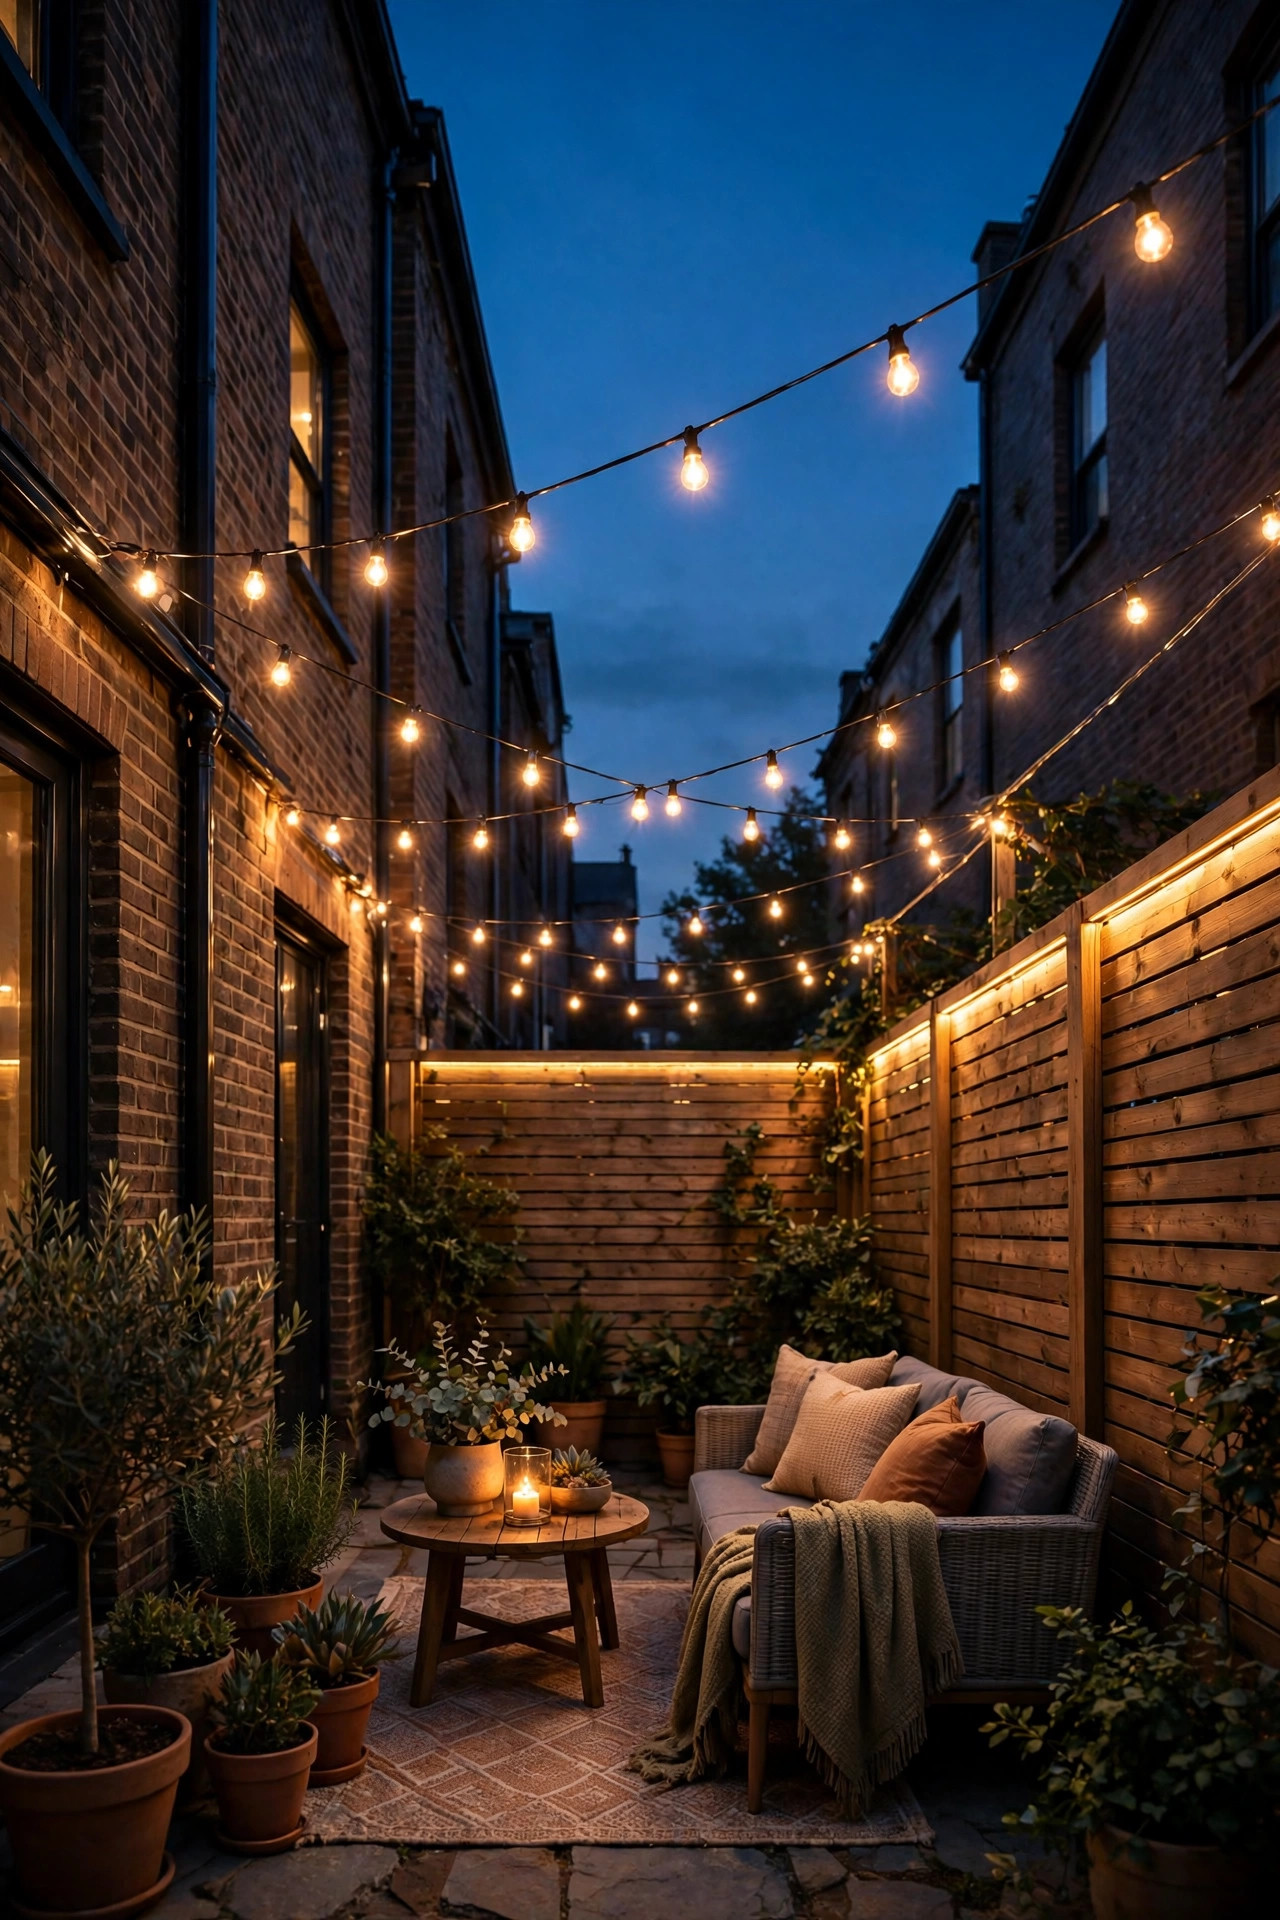
1. Plan Your Townhome Backyard Lighting Ideas in Three Layers
Before I buy a single fixture, I sketch the yard on paper and mark three layers: overhead, eye level, and ground level. In a townhome yard that might be only 15 to 25 feet wide, this little map stops you from buying six of one thing and nothing of another. Overhead light like string lights gives the general glow, eye-level light from lanterns and sconces is what makes faces look good at the table, and ground light from path lights, stakes, and step lights outlines where to walk. Next, find your one outdoor outlet and check that it is GFCI protected; almost every idea on this list can run from that single outlet plus solar. If you plan low-voltage lighting, size the transformer with about 20 percent headroom over your total fixture wattage. Measure the fence lines and the walkway now, because spacing numbers appear in nearly every idea below. I lean on the same small yard lighting tricks in the back that I use out front: fewer fixtures, warmer light, and every bulb aimed with intention. Ten minutes of planning genuinely saves a hundred dollars of returns.
Suggested budget range: $0 – $25.
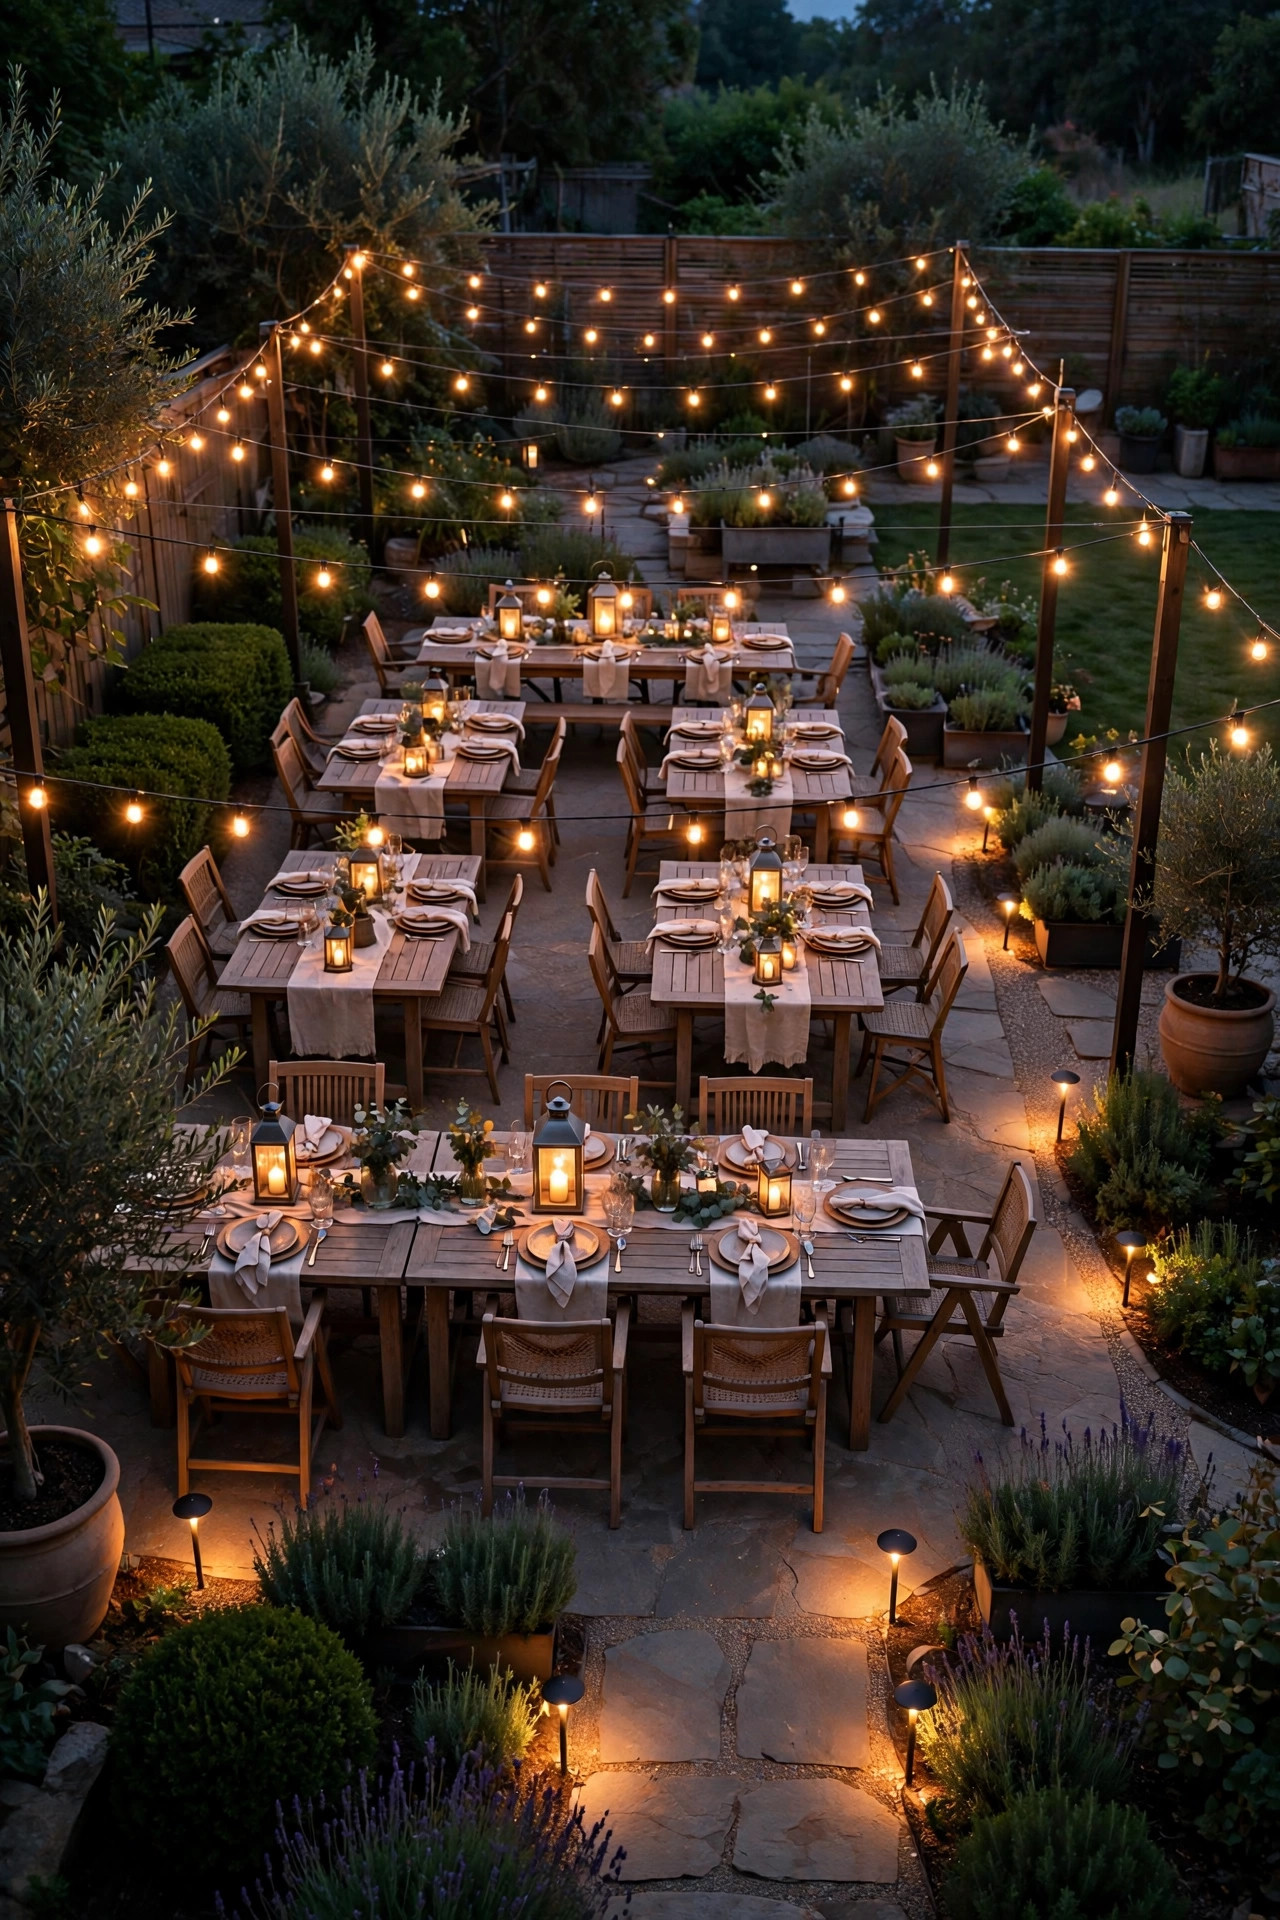
2. Zigzag String Lights Across the Yard
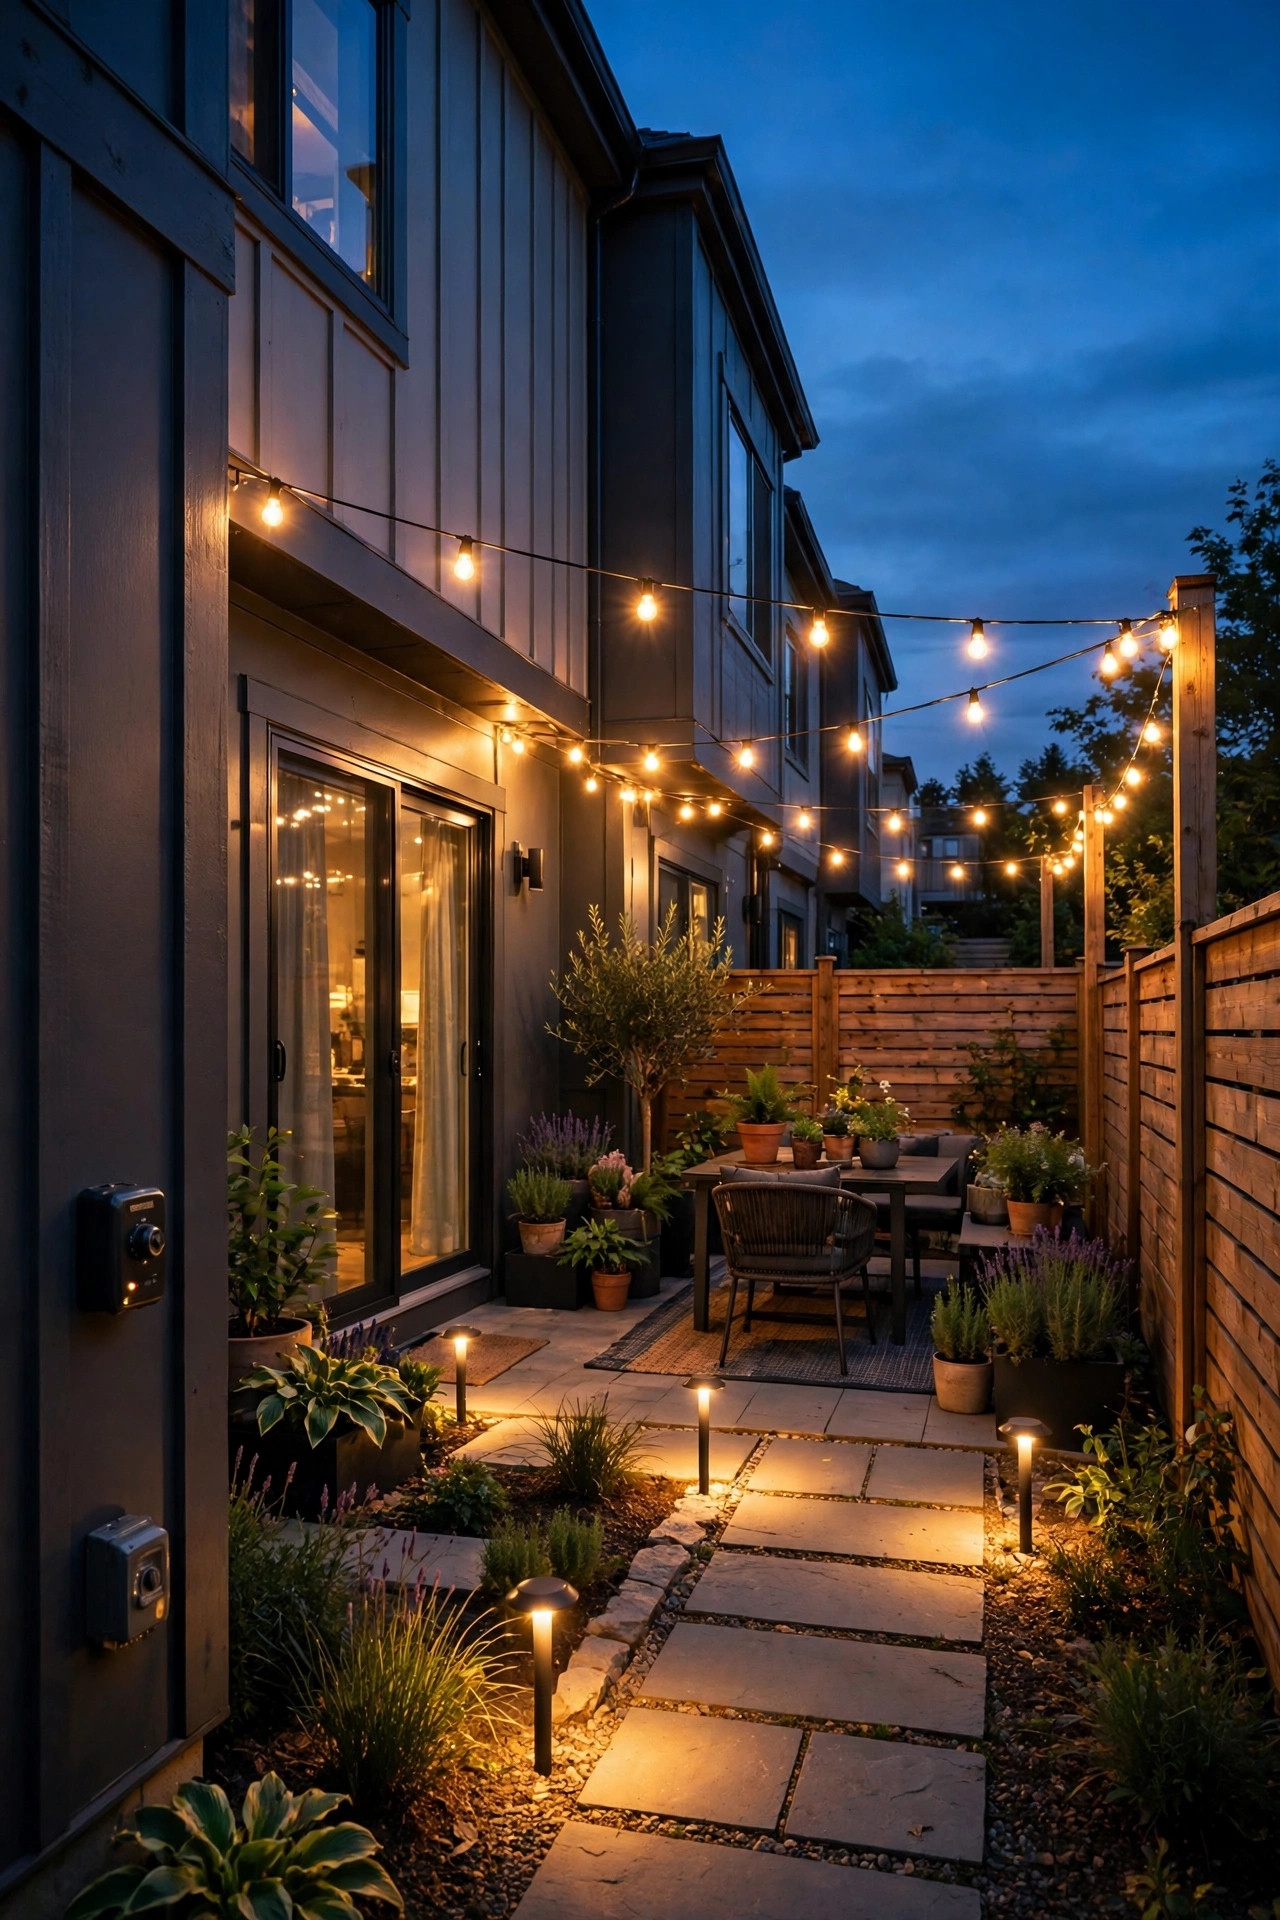
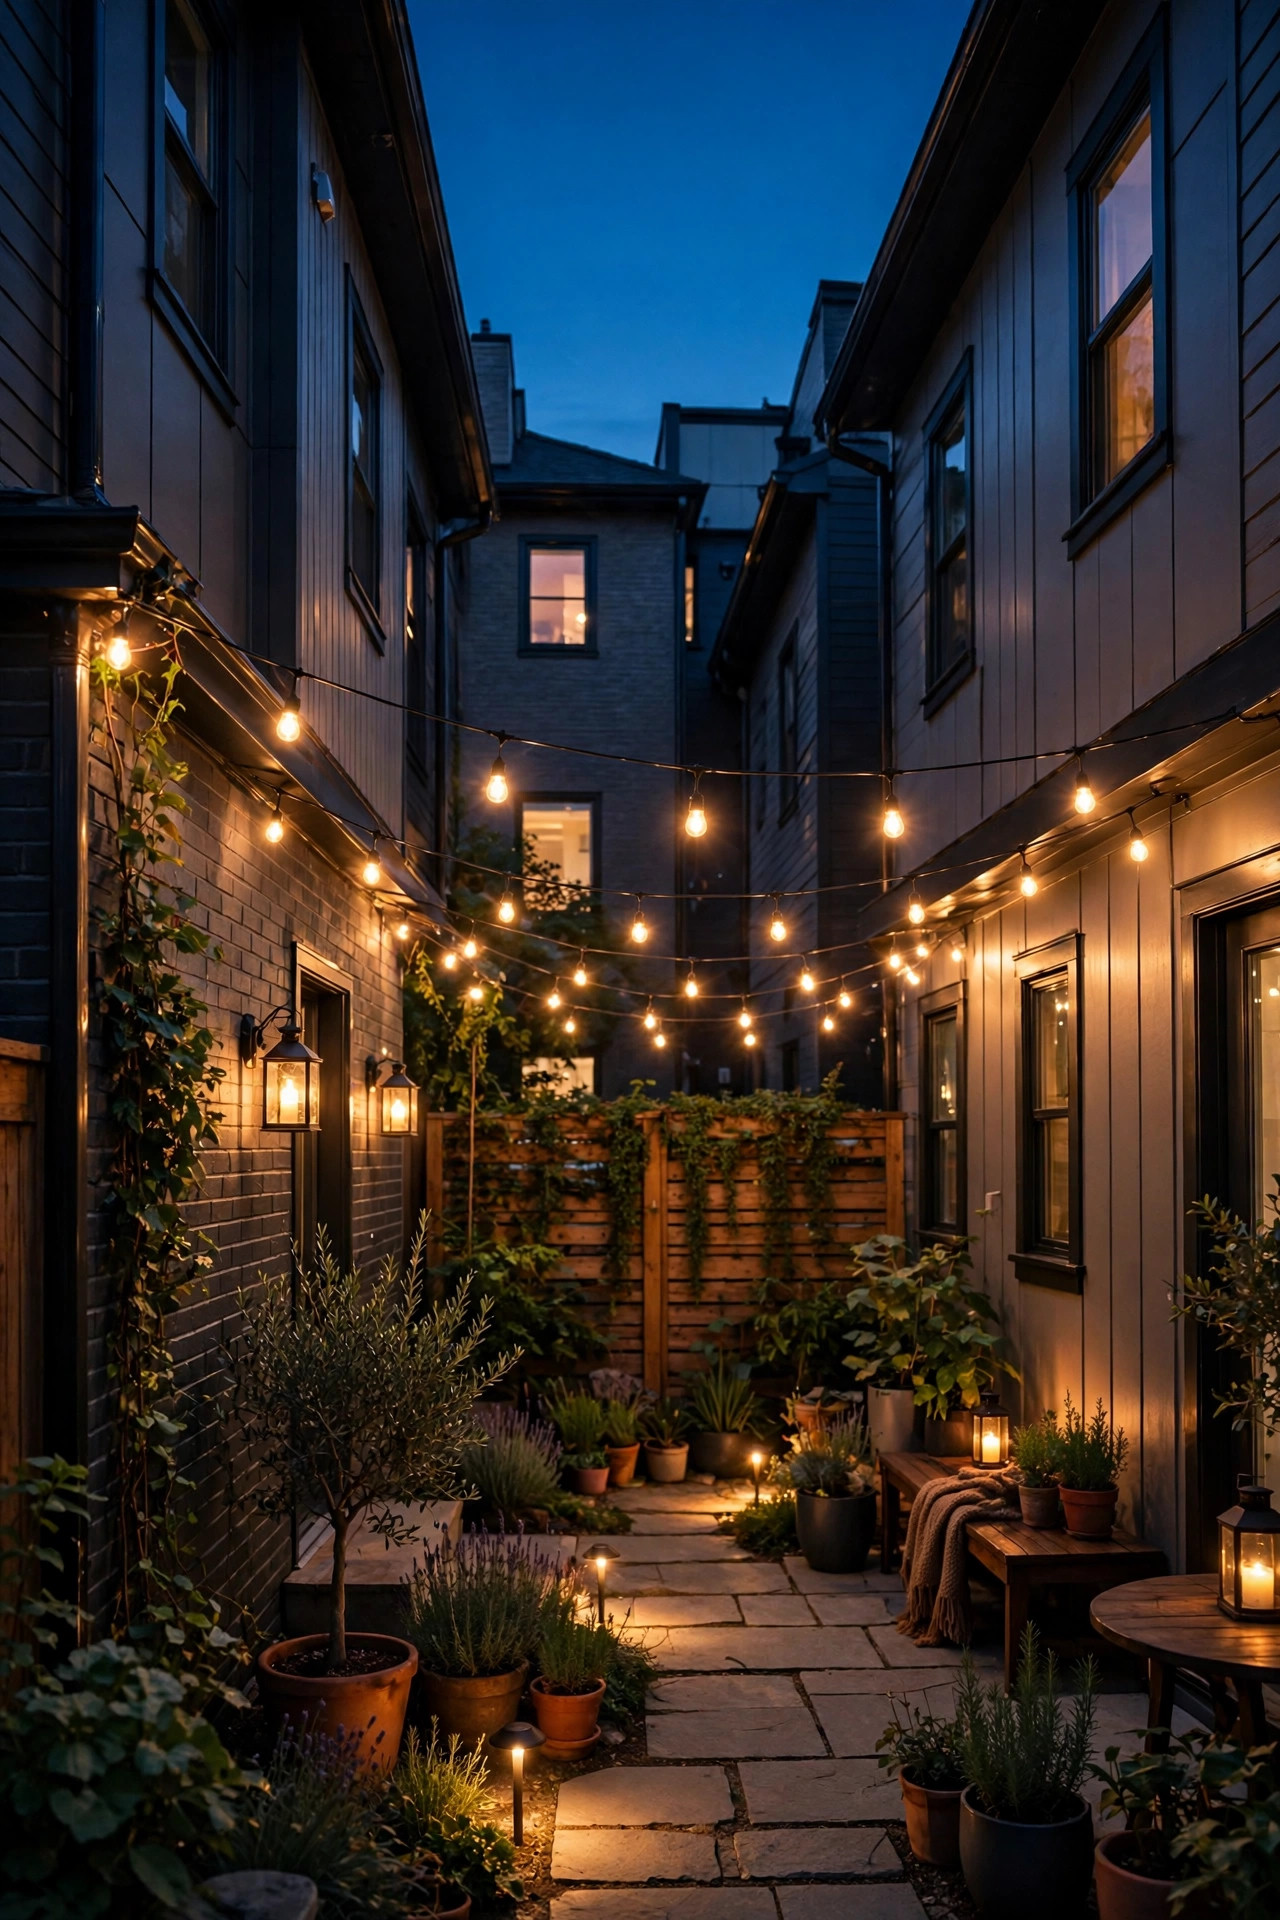
A single straight run of string lights can make a narrow yard feel like a hallway, so I zigzag instead. Three or four angled passes from the house wall to the fence posts visually widen the space and put light over the seating and dining zones instead of one strip down the middle. Use commercial-grade LED filament strands with shatterproof bulbs; the sockets hang on short drops below the wire, which softens the look. Spans up to about 15 feet can hang from the strand itself with a gentle sag, but for longer runs I clip the strand to a guide wire so the weight never pulls on the sockets. Anchor into the house siding or a fence post with screw hooks rated for outdoor use, and if your fence posts feel wobbly, set two poles in heavy planters instead. Keep the lowest point of each swag at least 7 feet above the patio so nobody brushes a bulb standing up. On a dimmer, these become the hardest-working layer in the whole yard: full brightness for dinner prep, then down to 40 percent for conversation.
Suggested budget range: $30 – $90.
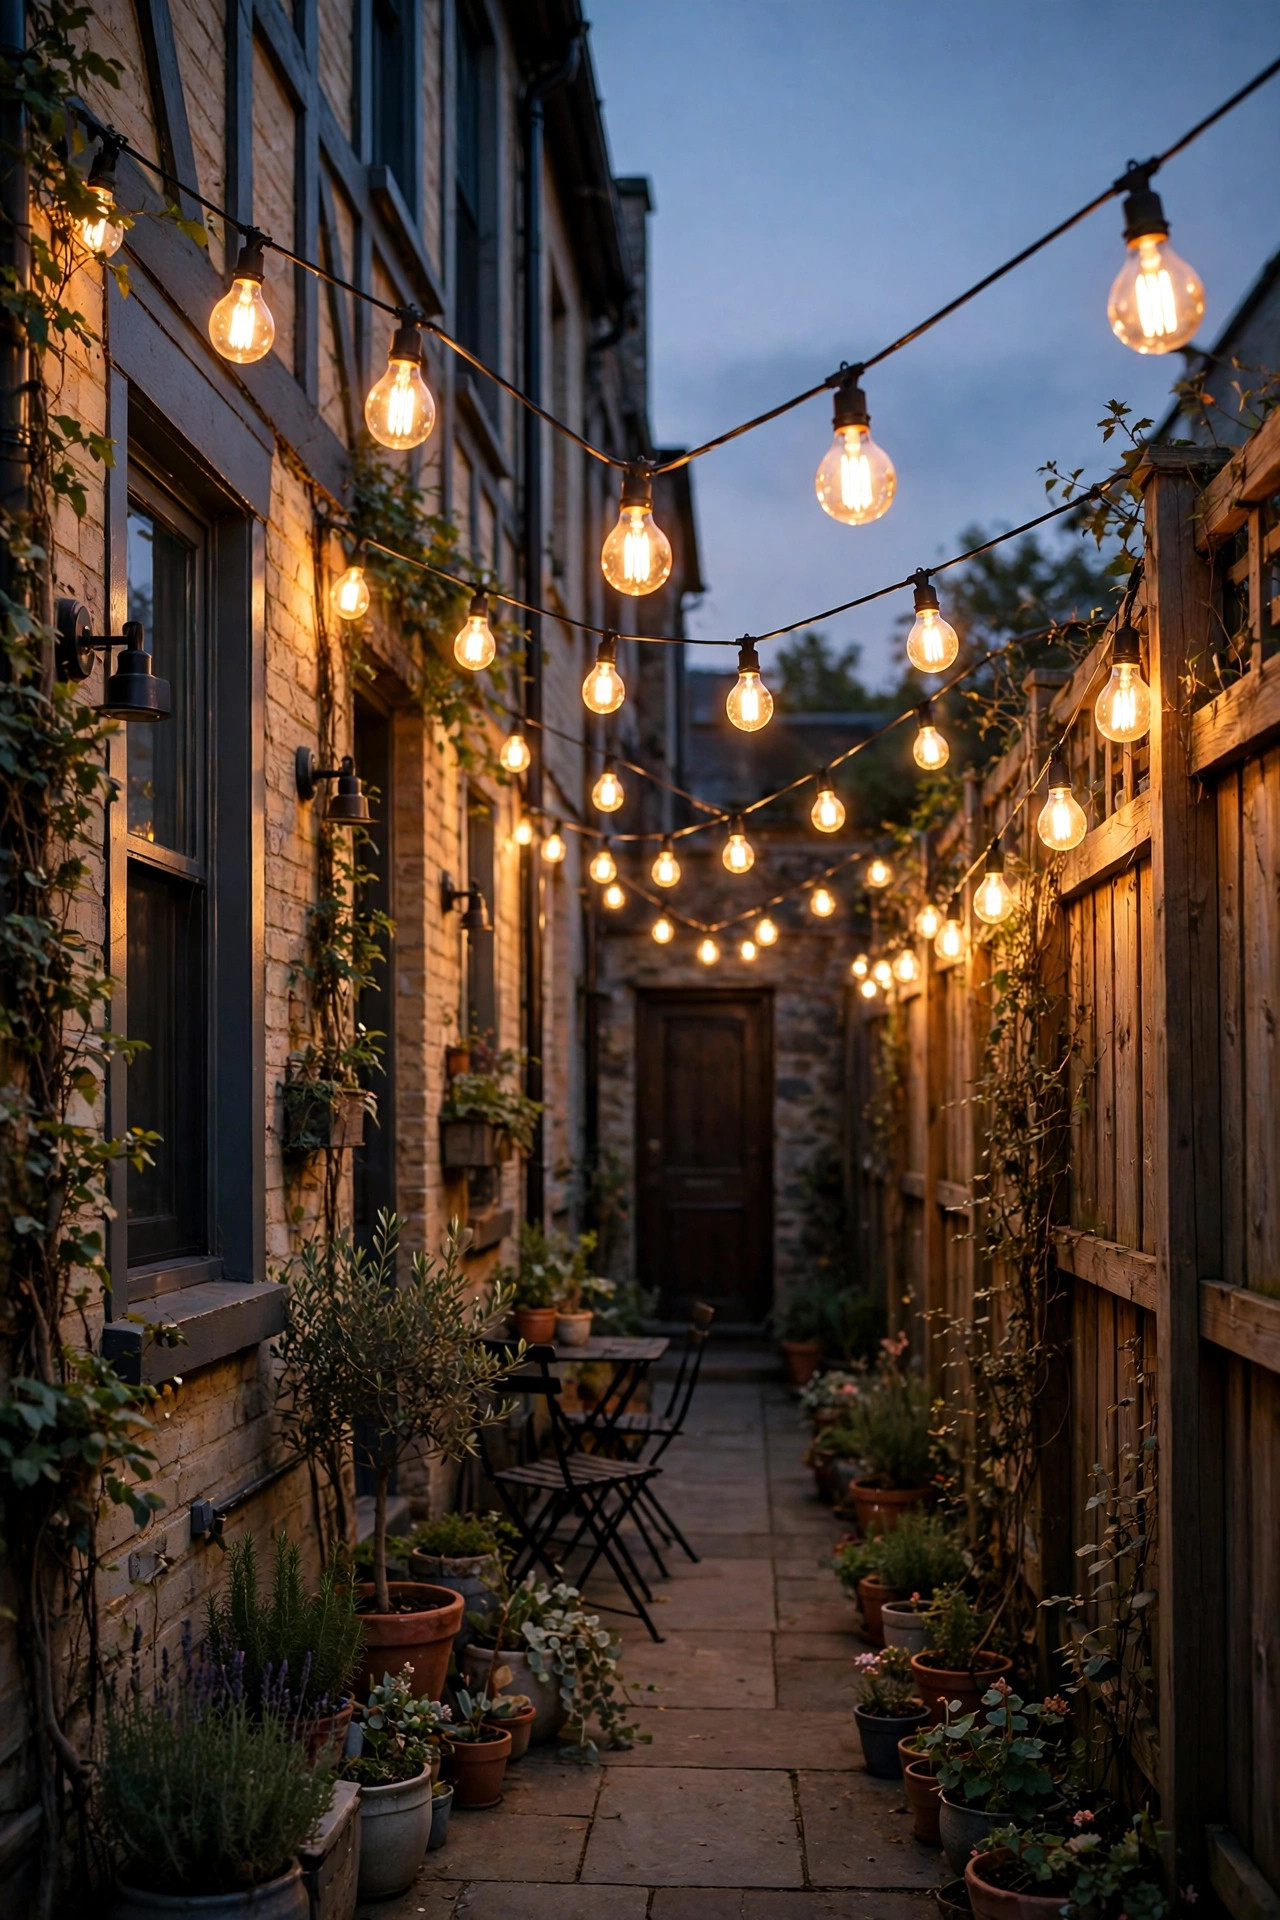
3. Cap Both Fences With Solar Post Lights
Townhome fences are usually 4×4 or 6×6 posts, and every one of them is a free fixture mount. Solar post cap lights slide or screw onto the cap, charge all day, and switch on at dusk with no wiring at all, which matters when the fence belongs to the HOA or is shared with a neighbor. Look for caps rated 2700K to 3000K so the light reads warm rather than blue, and choose downward-shining designs that pool light in your yard instead of spilling into the one next door. In my experience, one cap per post looks busy in a small yard; every other post gives a calmer rhythm and cuts the cost nearly in half. Expect about 15 to 40 lumens per cap: that is accent light, not task light, but strung along both fence lines it outlines the whole room and makes the yard feel finished. Clean the little solar panels with a damp cloth every month or two, because pollen film is the main reason these fade by midsummer. Models with replaceable batteries are worth the small premium, so a tired battery does not mean buying a whole new light.
Suggested budget range: $25 – $70.

4. Wash the Fences With Gentle Downlights
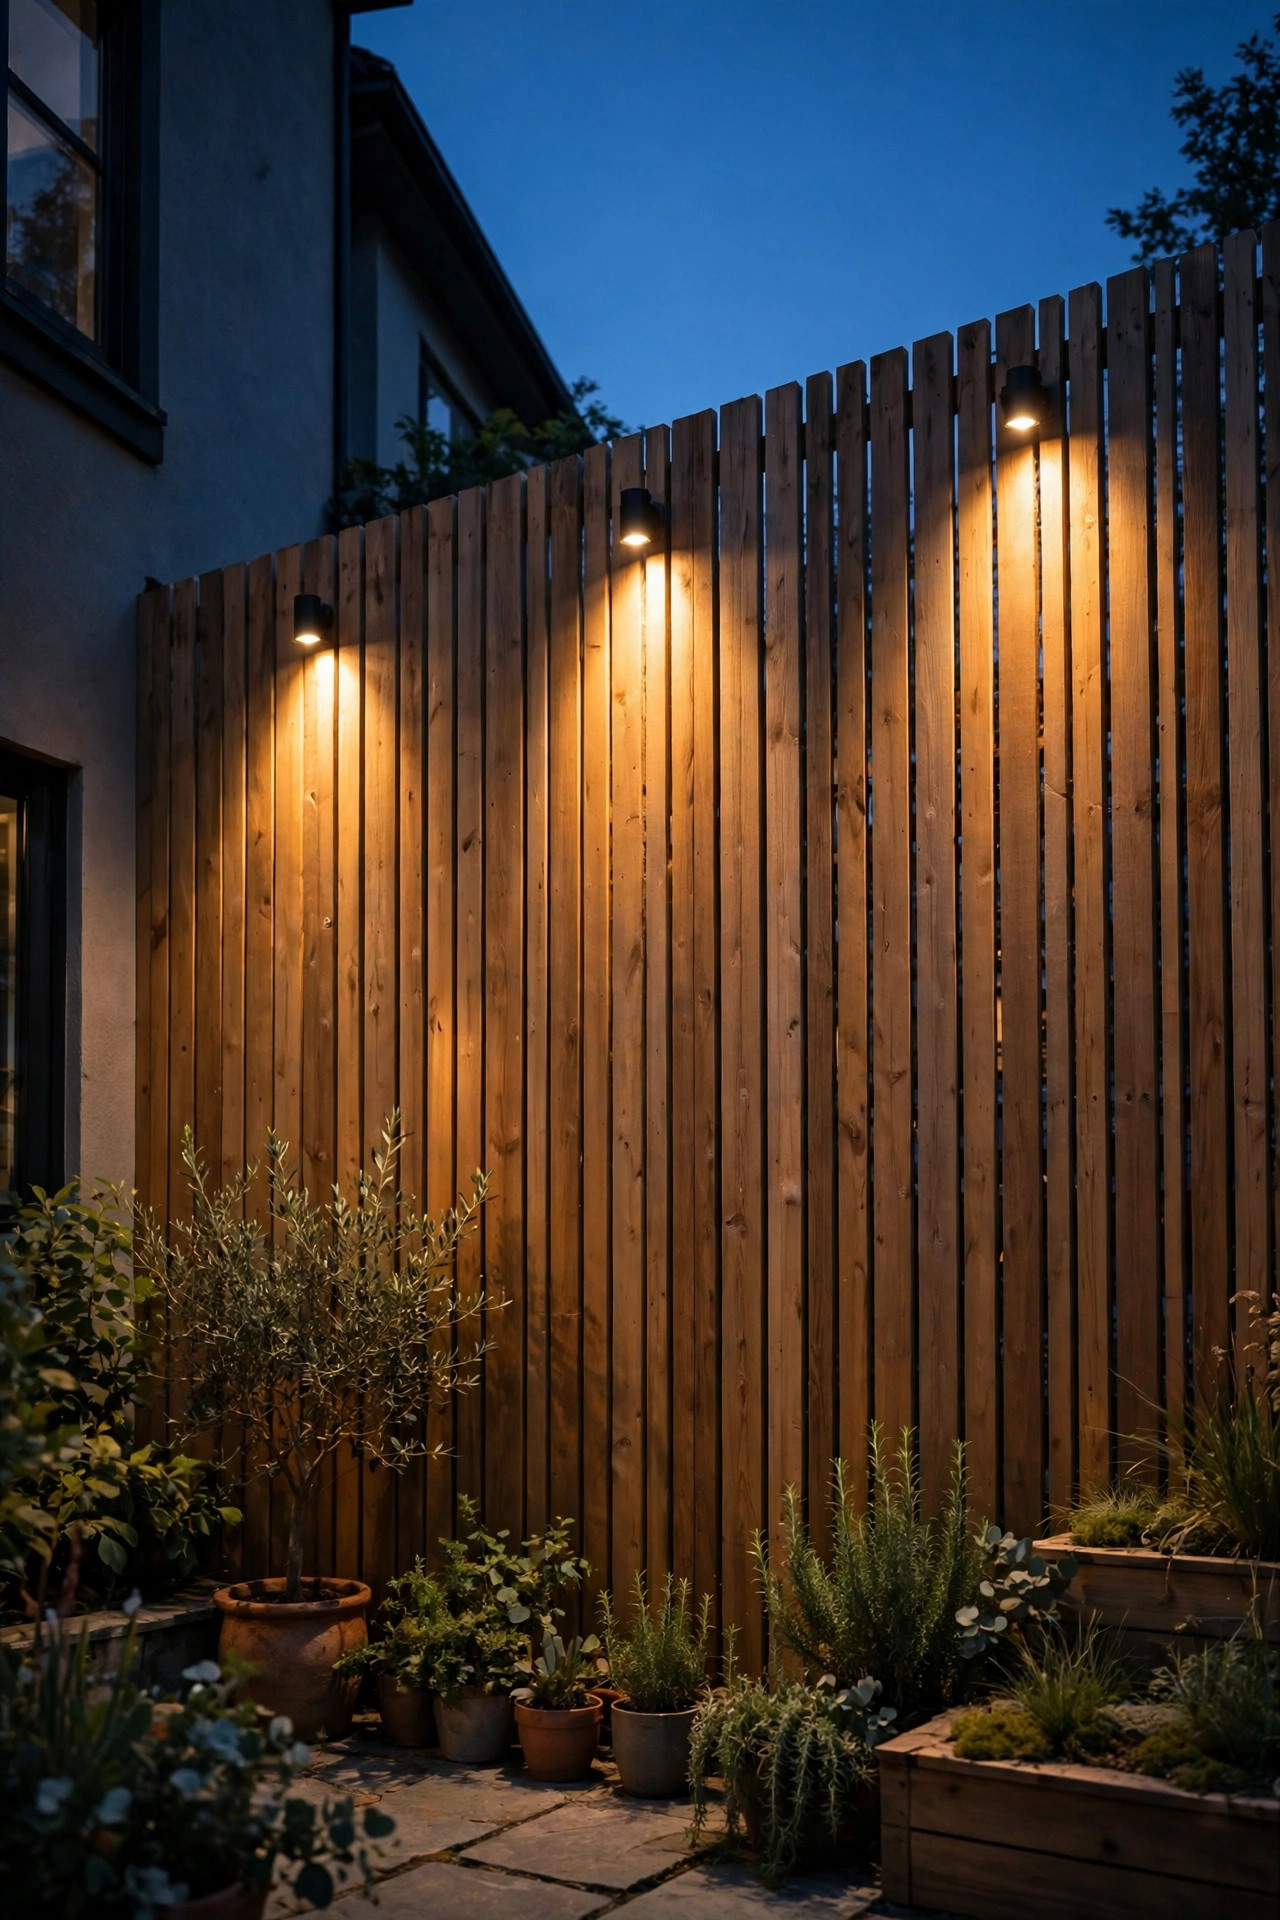
If your fence is the tall privacy kind, treat it like a wall in a living room and light it on purpose. Small downlights mounted just under the top rail, or low-profile sconces on the posts, wash the boards with a soft curtain of light that shows off the wood grain and makes the boundary feel designed instead of dark. Aim everything downward and keep fixtures below the top of the fence; that one rule keeps light out of your neighbors' windows and bedrooms, which is the fastest way to stay popular on a townhome row. Space sconces 6 to 8 feet apart and keep them at 100 to 200 lumens each, because grazing light should be a whisper, not a floodlight. I have a whole set of privacy fence lighting ideas if you want more variations, from puck lights under the rail to uplights at the base. Solar versions work here because the fence top usually gets decent sun, but wired low-voltage gives you dimming, and dimming is what turns this layer from security lighting into atmosphere. Pick one fence treatment as the star and let the other play backup.
Suggested budget range: $40 – $120.
5. Line the Narrow Walkway With Low-Voltage Path Lights
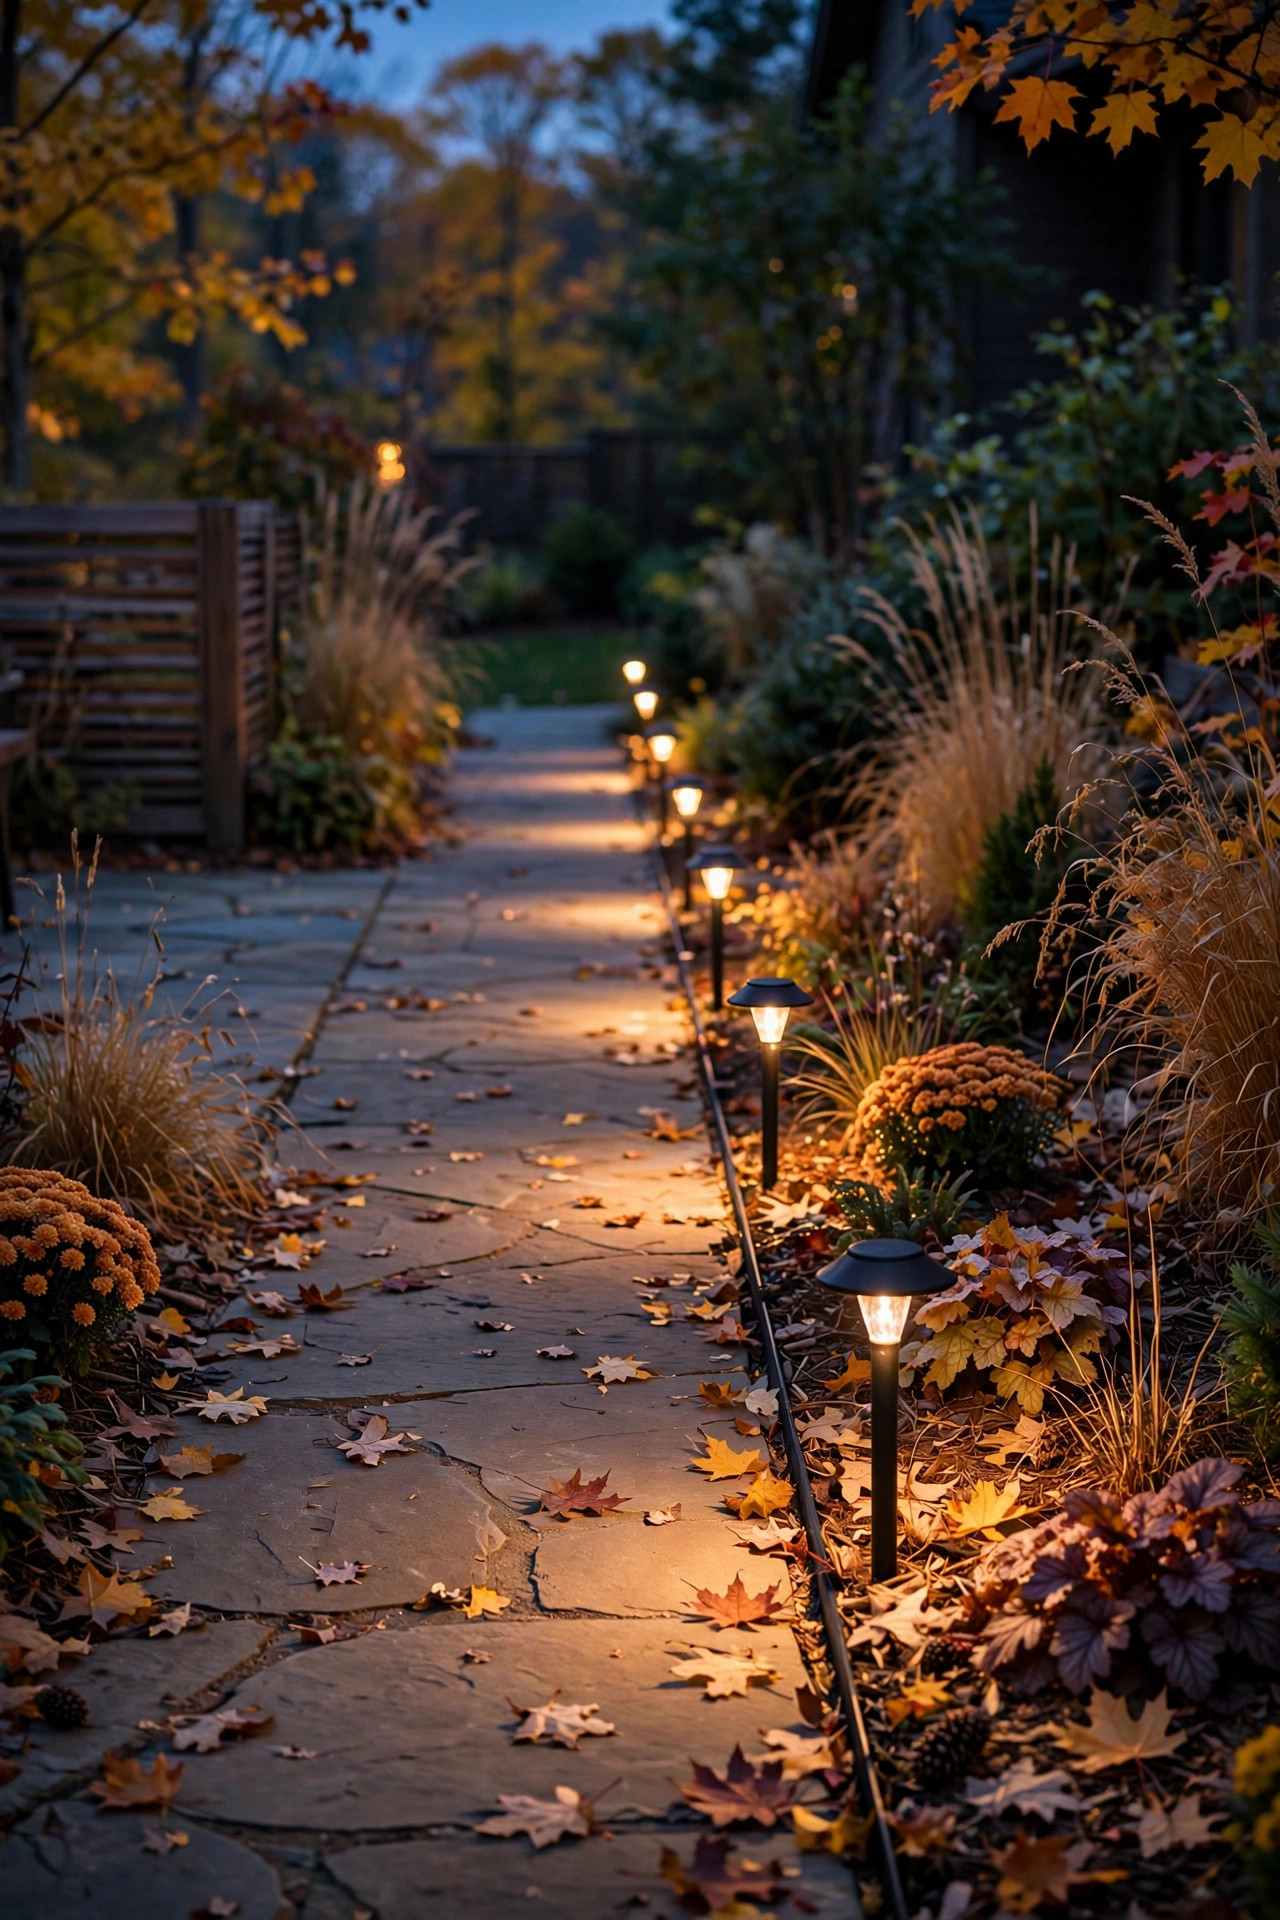
Most townhome yards have one short path, from the back door or patio to the gate, and it deserves real light because it is also the dog run, the trash route, and the midnight walkway. Low-voltage path lights beat solar here: they stay bright all night, all winter, and the whole path runs off one small transformer. In a narrow yard, stagger the fixtures on alternating sides every 4 to 6 feet instead of lining both edges like an airport runway; the gentle zigzag reads as garden design and uses a third fewer fixtures. Choose hats or shields that throw light down and out, about 100 to 200 lumens each, so you see the pavers without glare in your eyes. Bury the cable 6 inches deep along the bed edge, or tuck it under mulch where it crosses plantings. If your path is a concrete strip, edge-mounted strip lighting under a raised bed border does the same job with an even sleeker profile. Either way, walk the route at night before you backfill anything; moving a stake six inches is free now and annoying later.
Suggested budget range: $50 – $140.
6. Uplight One Small Tree or Tall Shrub
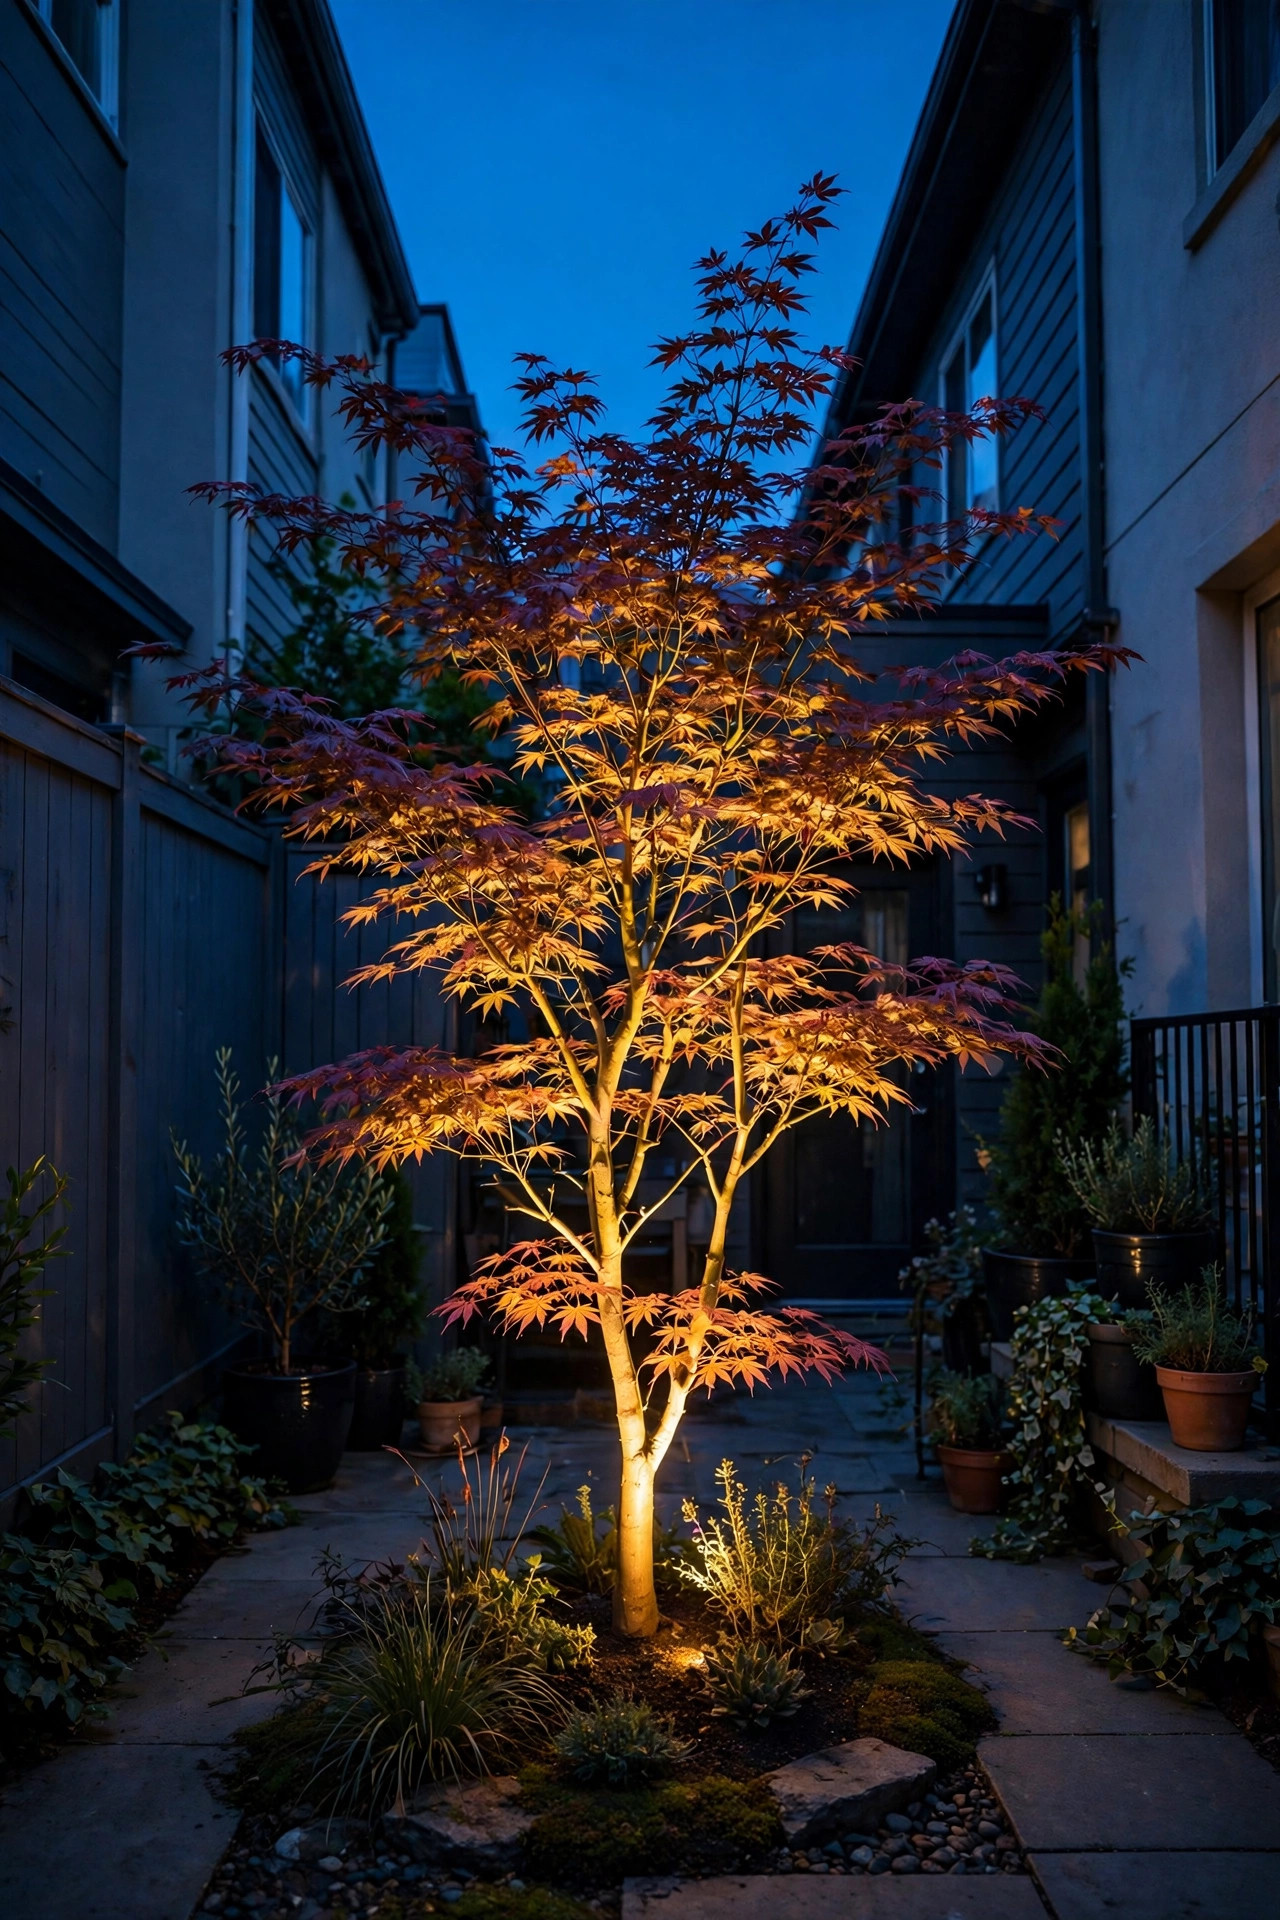
A small yard needs one tall moment, and uplighting a single ornamental tree gives you height that no string light can. One bullet uplight at the base of a Japanese maple, a small crape myrtle, or even a tall potted olive throws the canopy into relief, and suddenly the eye travels up instead of stopping at the fence. Place the fixture 12 to 18 inches from the trunk, aim it up through the widest part of the canopy, and use a 2700K bulb around 200 to 400 lumens; a narrow 30-degree beam suits a columnar tree, while a wider 60-degree flood suits a spreading one. Add a glare shield or honeycomb louver if the light sits where you can see the source from a chair. Solar uplights exist and I do use them to test placement for a week, but canopy shade usually starves the panel, so wired low-voltage is the reliable long-term pick. Renters and the commitment-shy can uplight a tall planter instead: same vertical drama, zero digging, and it moves with you.
Suggested budget range: $20 – $60.
7. Hide LED Strips Under Benches, Steps, and Planter Lips
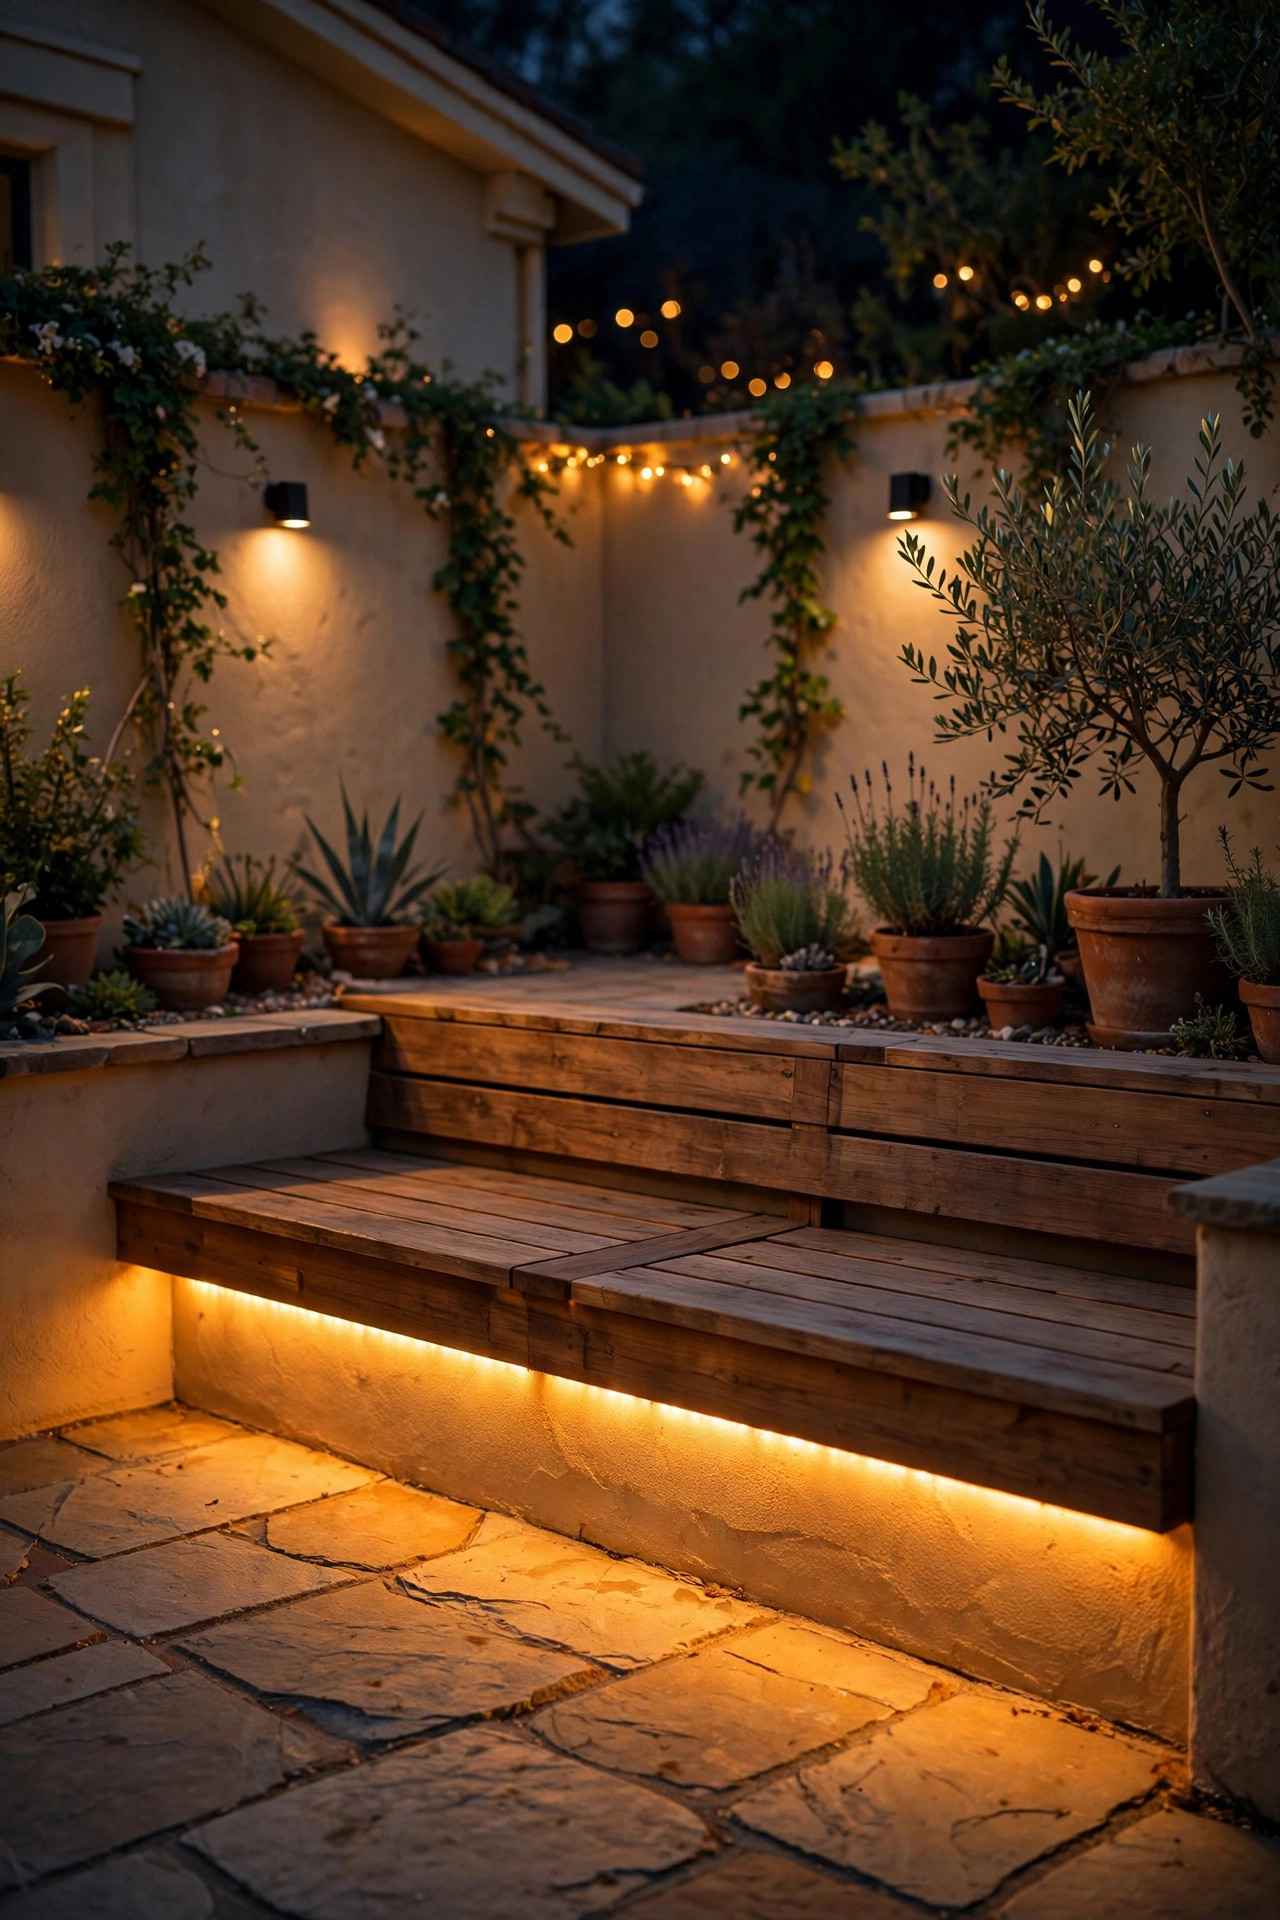
The most expensive-looking trick in a small yard costs about twenty dollars: waterproof LED strip lights hidden under edges. Run a warm-white strip rated IP65 or IP67 under the lip of a raised planter, along the underside of a bench seat, or beneath the cap of a low retaining wall, and the whole structure appears to float on a ribbon of light. Because the source is invisible, there is no glare at all, just glow, which is exactly what a small space needs. Strips come in 12-volt low-voltage versions that tie into the same transformer as your path lights, plus solar and battery versions for spots far from power. Stick them up with the adhesive backing first to test, then add mounting clips every 12 inches so summer heat does not sag them loose by August. Cut only at the marked cut lines and seal every cut end with the caps in the kit. Keep the color temperature matched to everything else at 2700K. I especially love this under a built-in bench along the fence: it defines the seating zone, lights everyone's feet, and takes up literally zero floor space, the scarcest resource in a townhome yard.
Suggested budget range: $15 – $45.
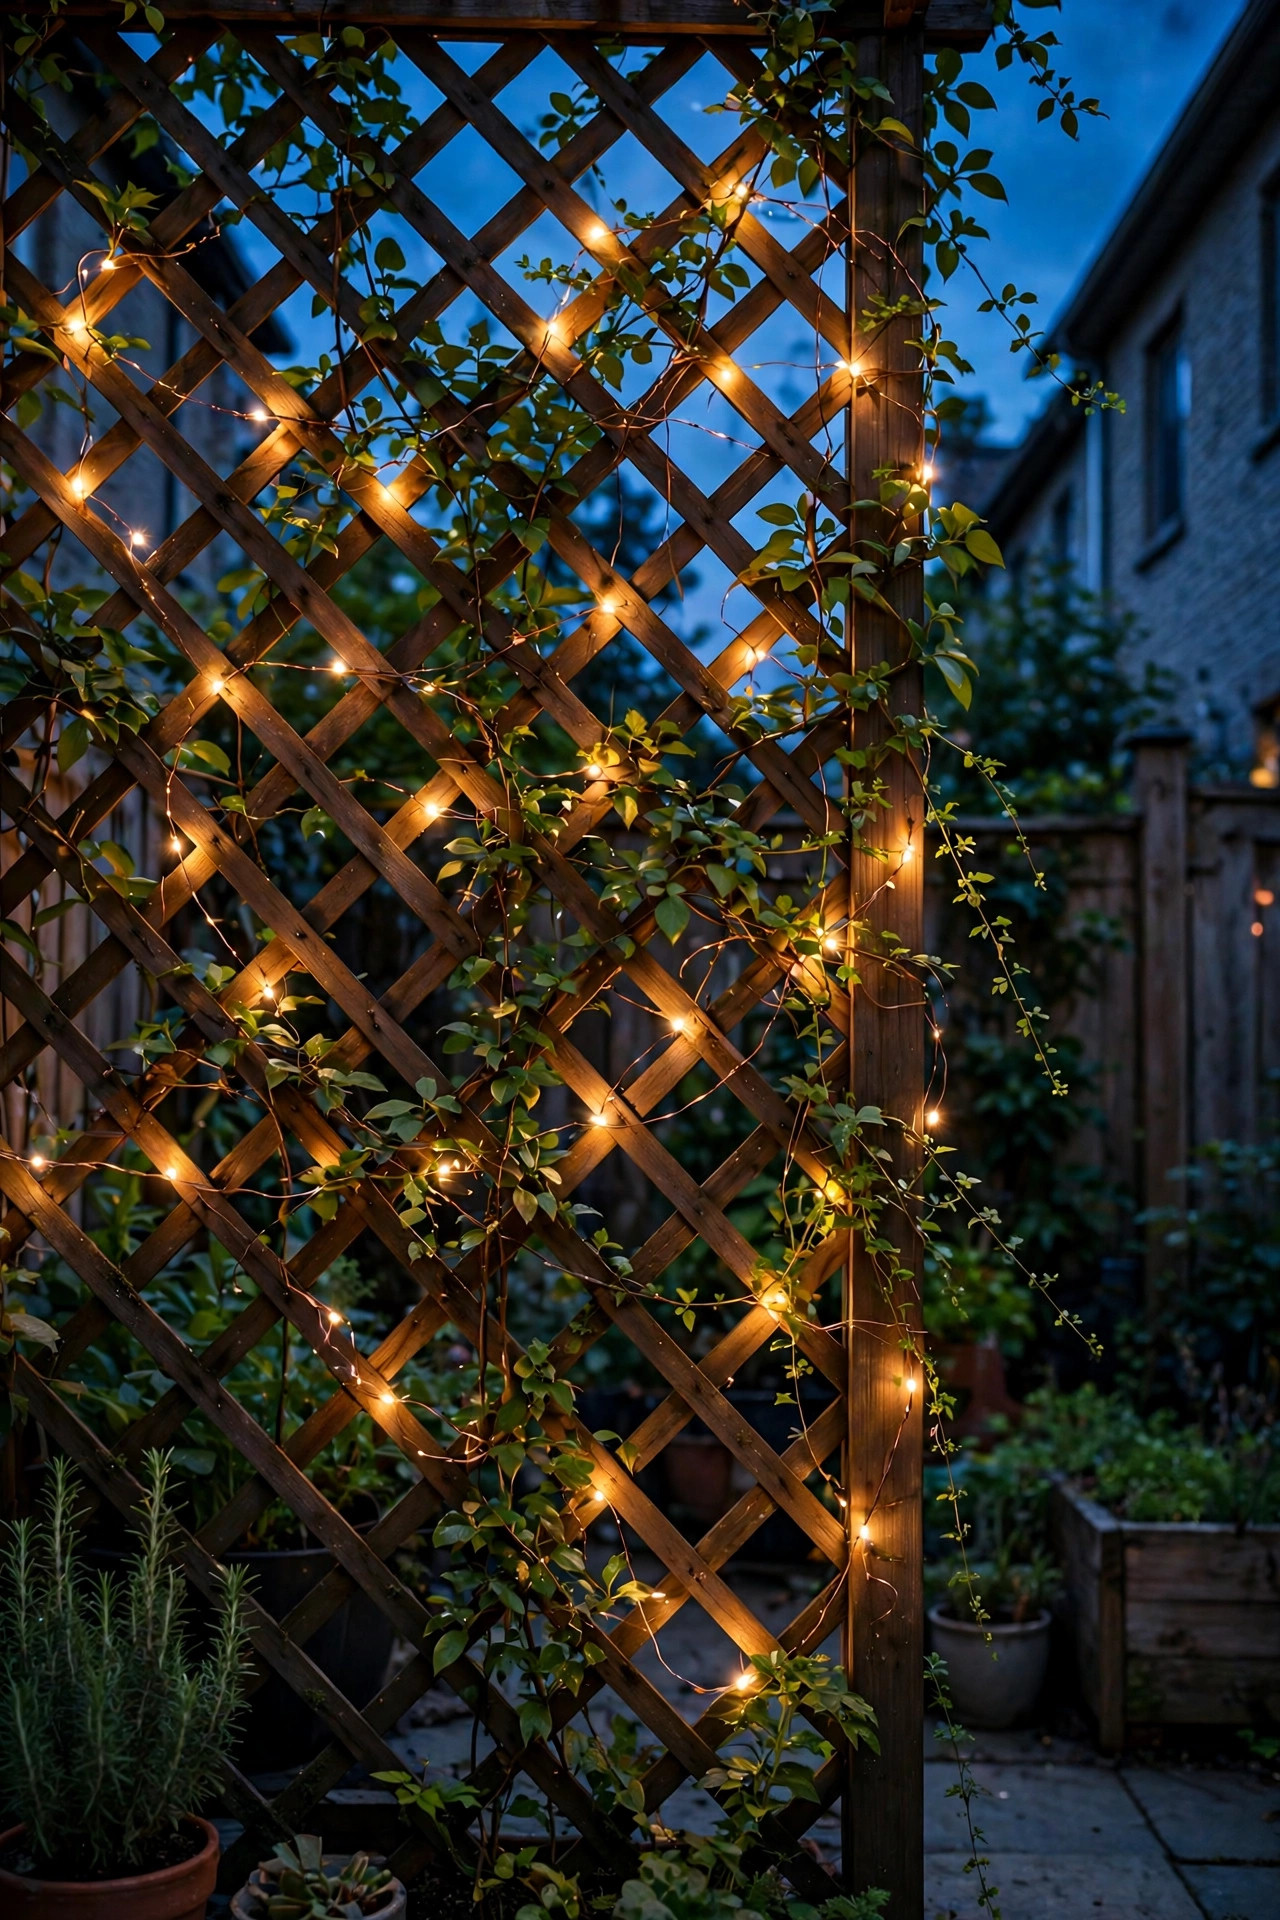
8. Weave Fairy Lights Through a Privacy Trellis
A privacy trellis earns its keep twice in a townhome yard: it blocks the direct sightline from a neighbor's second-story window, and it is the prettiest light fixture you will ever hang. Weave copper-wire fairy lights through the slats in loose S-curves, roughly one 33-foot strand per 4-foot panel. Up close the wires disappear; from your chair you just see a wall of tiny warm stars. Solar strands with the panel staked in a sunny corner are the renter-friendly route, and remote-control versions let you pick a steady glow over twinkle, because twinkle at dinner gets old fast. Keep the density gentle, since this is a backdrop and not a billboard, and position it behind the seating so it rims conversation in sparkle. Jasmine or a climbing rose growing through the same trellis softens the grid within a season or two, and lights tucked among leaves look honestly magical. One caution: confirm the strand carries an outdoor rating, because the cheapest indoor strands fade and crack outdoors within a year. LED-only is the rule anywhere near fabric, cushions, and dry leaves.
Suggested budget range: $15 – $40.
9. Tuck Solar Stakes Into the Fence-Line Beds
The planting beds along a townhome fence are usually only 18 to 24 inches deep, which makes them perfect for solar stake lights: no cable to bury in a narrow bed, no transformer math, just push and go. The trick is grouping. Single stakes spaced evenly read as runway dots, while clusters of three at varied heights near a shrub, a birdbath, or the corner of the patio read as design. Aim for stakes in the 30 to 80 lumen range with warm 2700K to 3000K color, and mix two styles at most so the yard stays cohesive. Push them 6 to 8 inches back from the front edge of the bed so the glow lands on the mulch and plant bases rather than glaring off the fence. One honest warning: townhome yards often have a whole side in shade all day, and solar there will disappoint by 9 p.m. Move those clusters to the sunny side and cover the shady side with a wired fixture or a battery lantern instead. Wipe the panels when you water, and pull the stakes before spring mulching so they do not vanish under three inches of bark.
Suggested budget range: $20 – $50.

10. Cluster Lanterns Over the Dining Corner
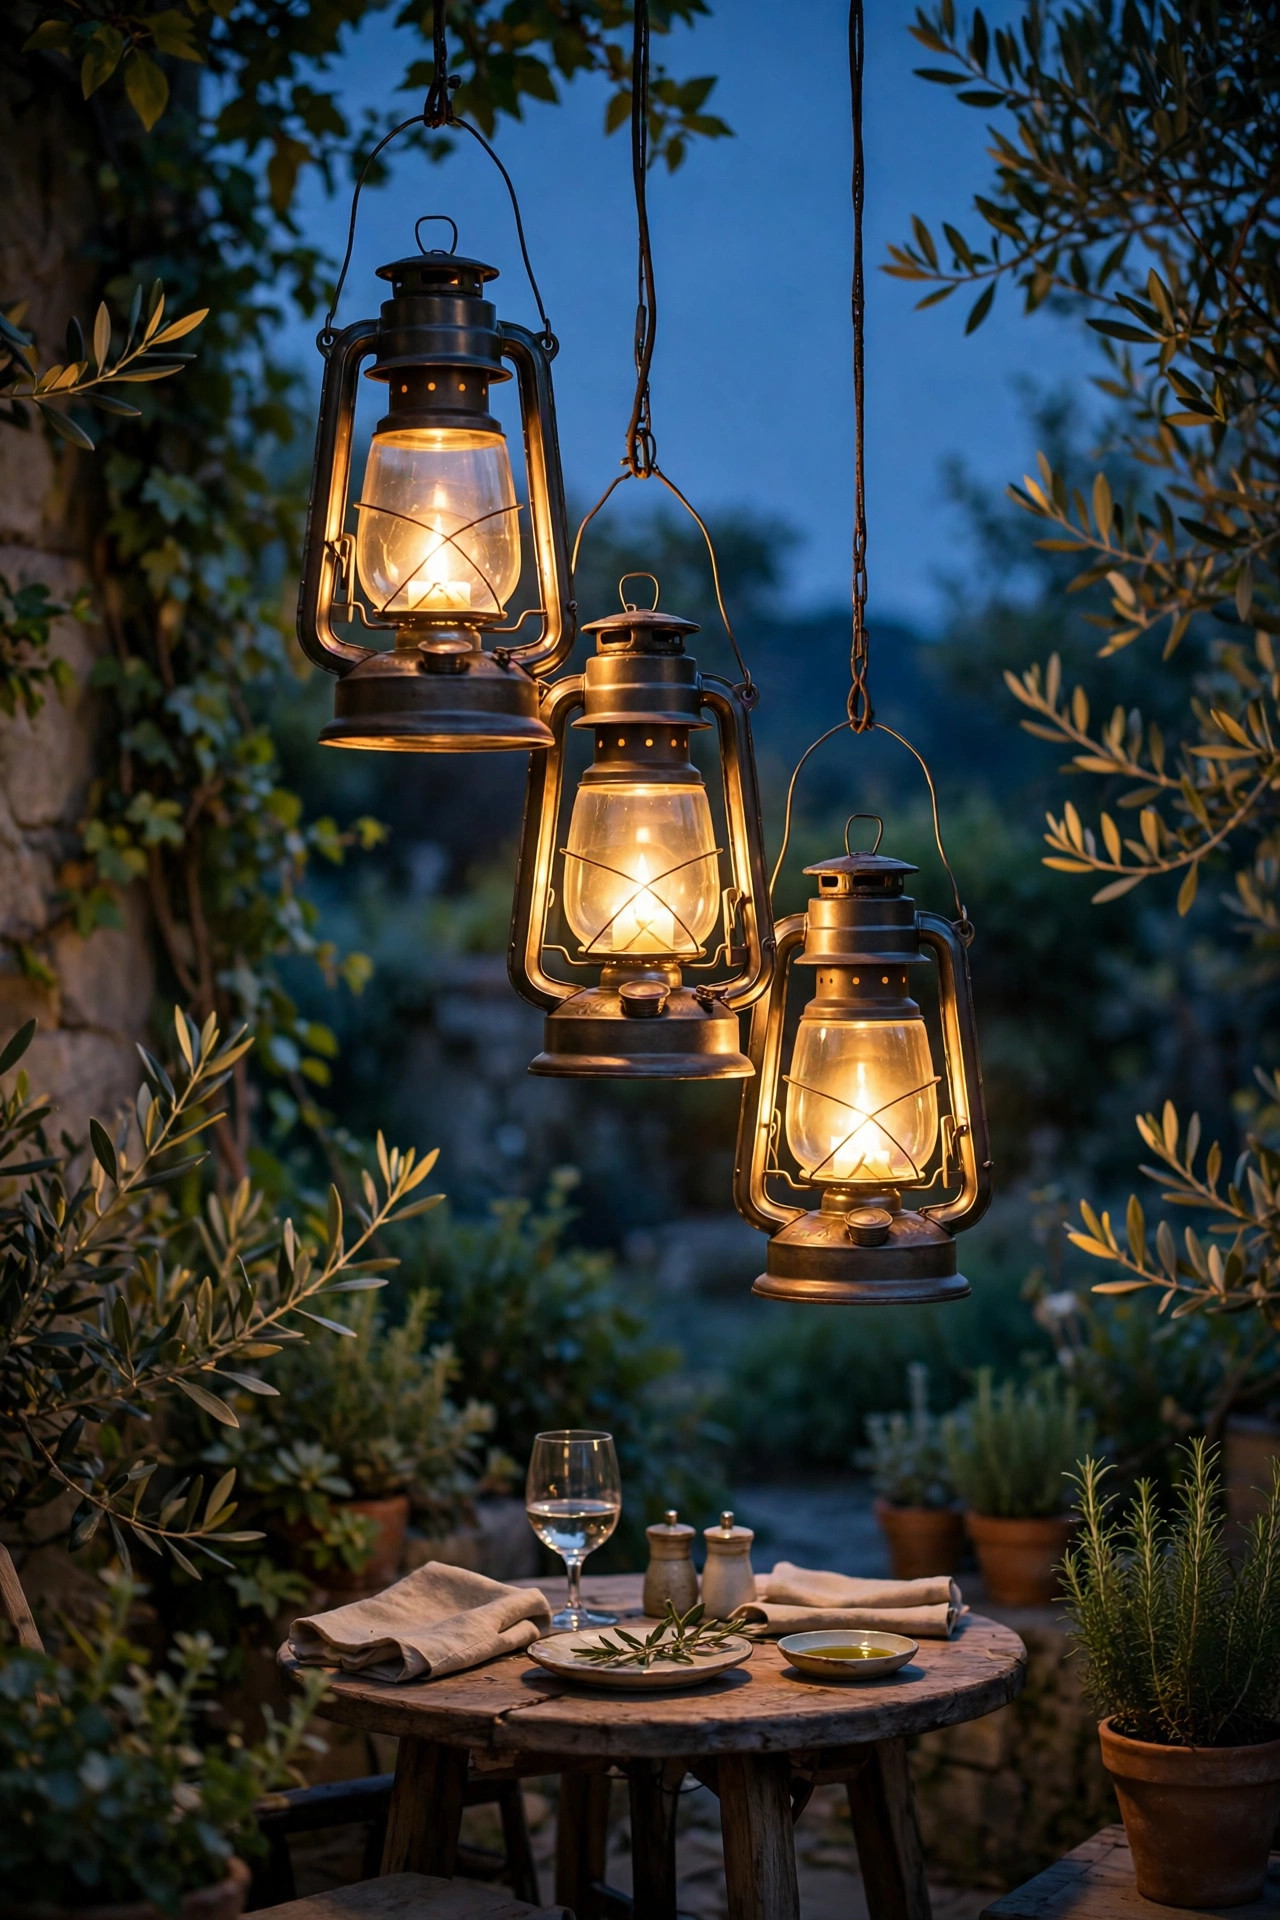
Every townhome yard I light ends up with one dining corner, and it deserves a ceiling moment of its own. Three lanterns hung at staggered heights from a wall bracket, a pergola corner, or a sturdy shepherd's hook create a little chandelier that tells everyone exactly where dinner happens. Vary the lantern sizes, keep the grouping odd-numbered, and hang the lowest one about 30 inches above the table surface so the light pools on plates without blocking faces across the table. Flameless candles on timers are my default inside them: real flame in glass lanterns is lovely too, but flameless means you can hang them and forget them, and the timer models switch on at dusk like they read your mind. Battery lanterns with a warm 2700K glow and a dimmer remote are the upgrade pick for renters. If you would rather plug in, a single outdoor pendant on a long cord swagged from the house wall gives the cleanest look and the best task light for actually finding the grill tongs. Either way, keep this cluster on its own switch or remote so the dining zone can glow while the rest of the yard rests.
Suggested budget range: $35 – $100.
11. Mark Every Step and Level Change
Townhome patios love a level change: two steps down from the back door, a raised slab, a single step onto a small deck. Those edges disappear after dark, and a guest carrying a full plate is exactly who finds them. Recessed step lights set into the riser are the polished fix: small, shielded, and they wash each tread in its own pool of light. Solar stick-on step lights and battery puck lights do the same job without an electrician, and they are the version I recommend when the steps are concrete and drilling feels like a commitment. One fixture per step, centered or offset toward the handrail side, is plenty; you are marking an edge, not lighting a stadium. Under-tread LED strip, the same trick as the bench idea, gives a floating-stair effect on deck steps and hides the source completely. Whatever you choose, keep the light warm and low, then walk the route at night with your hands full of imaginary dishes. If you hesitate anywhere, that spot gets a fixture. Safety light is the layer nobody compliments and everybody silently appreciates.
Suggested budget range: $25 – $80.

12. Bounce Light Off the Back Wall of the House
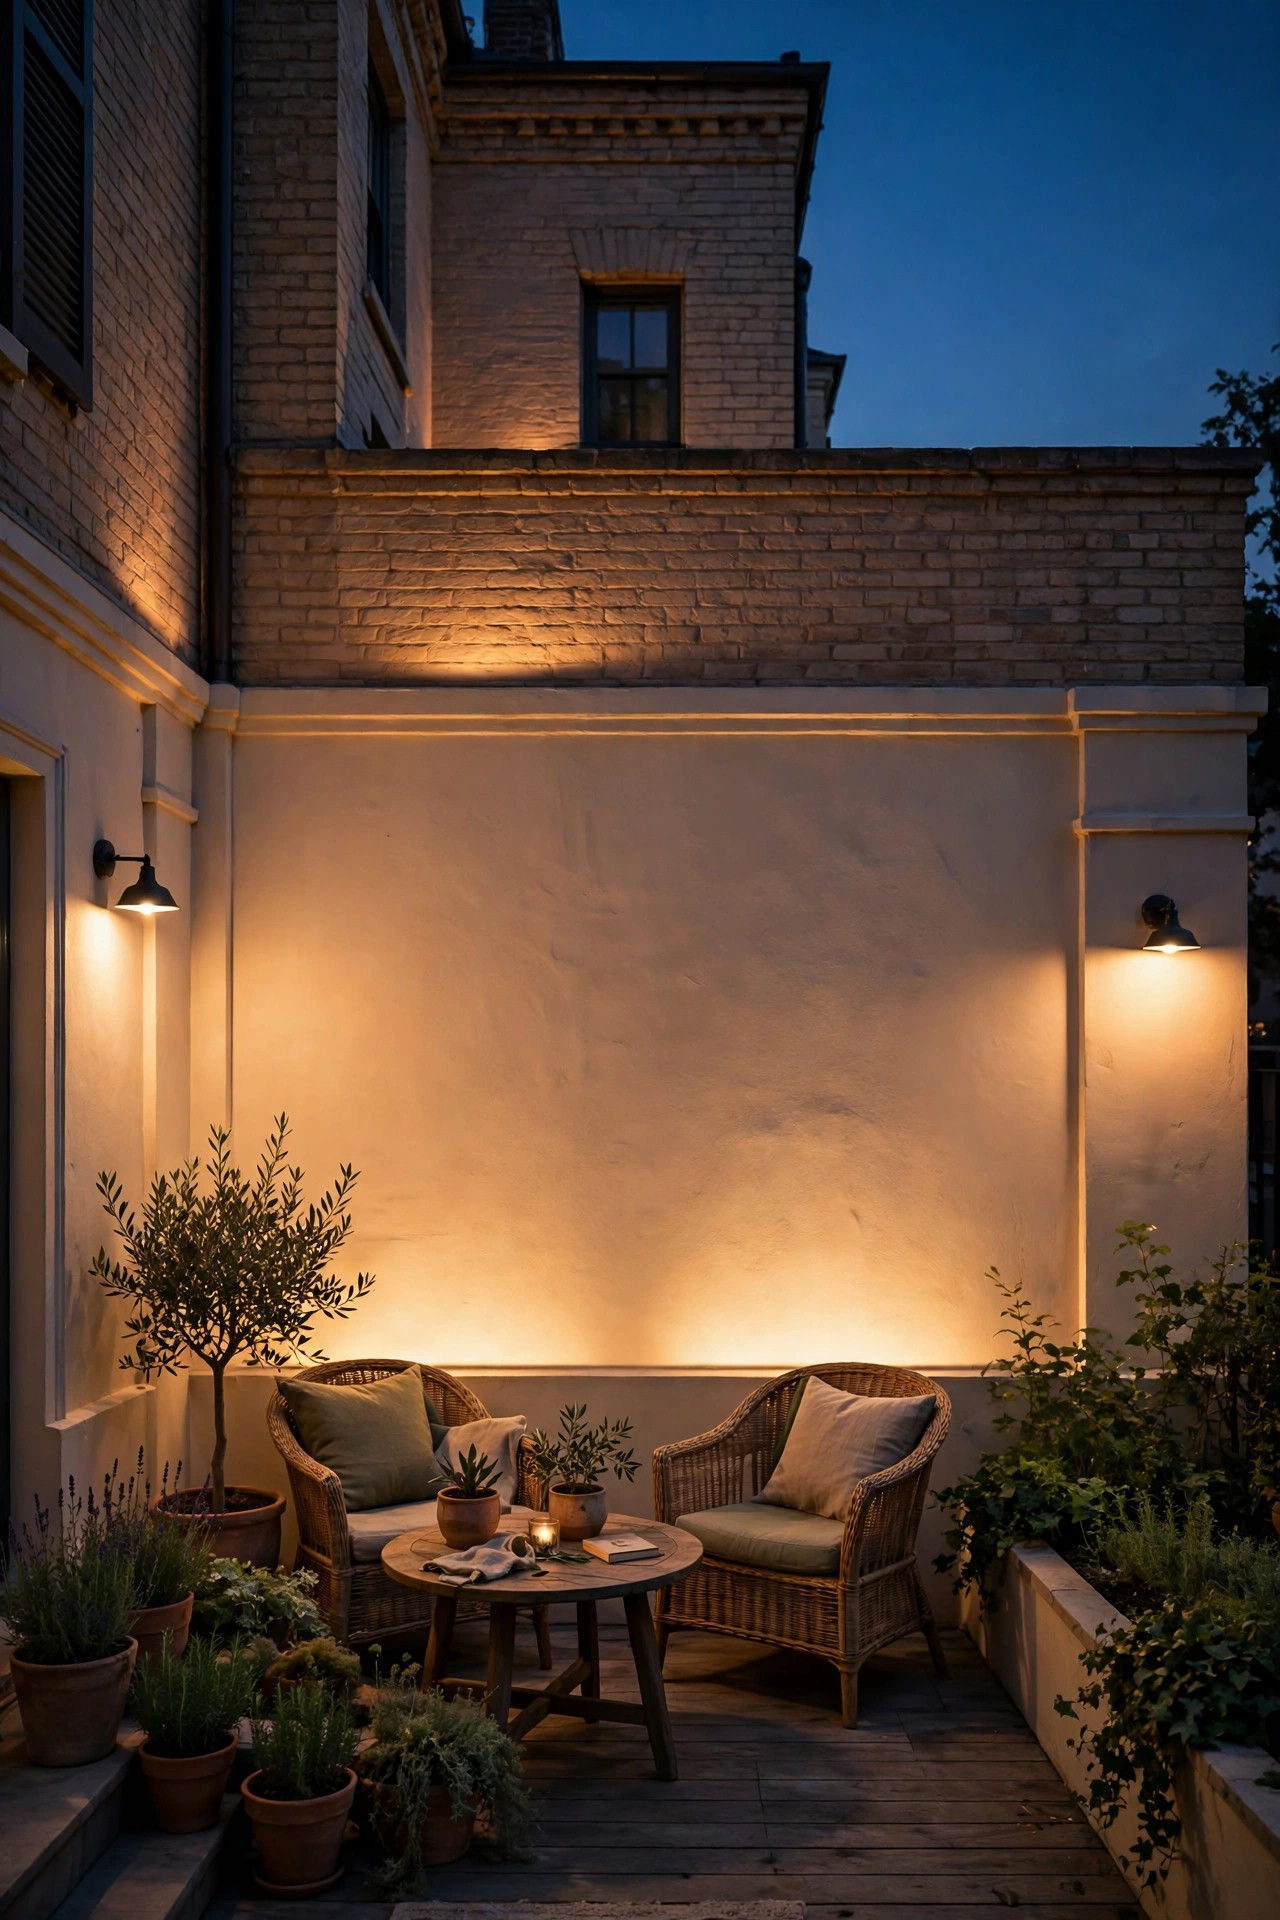
Here is the small-yard cheat I use constantly: light the walls, and the space between them feels bigger. Two small wash lights aimed up the back wall of the house, set low in the far bed and angled back at the siding, spread a broad, indirect glow that your eyes read as depth. Because the wall surface diffuses the light, it flatters everything and glares at no one, which makes it perfect behind a seating area where people face the house. Keep fixtures 12 to 24 inches out from the wall and angle them steeply so the beam climbs instead of pooling at the base. On light-colored siding, 150 to 250 lumens per washer is honestly enough; dark brick drinks more light, so step up to around 300 lumens or add a third fixture. This is also the friendliest layer for neighbors, since nearly all the light lands on your own house. Pair it with the fence wash on the opposite side and the yard sits inside a soft box of light, an effect that feels twice as expensive as the two modest fixtures that create it.
Suggested budget range: $30 – $90.
13. Keep a Basket of Flameless Lanterns for Flexible Zones
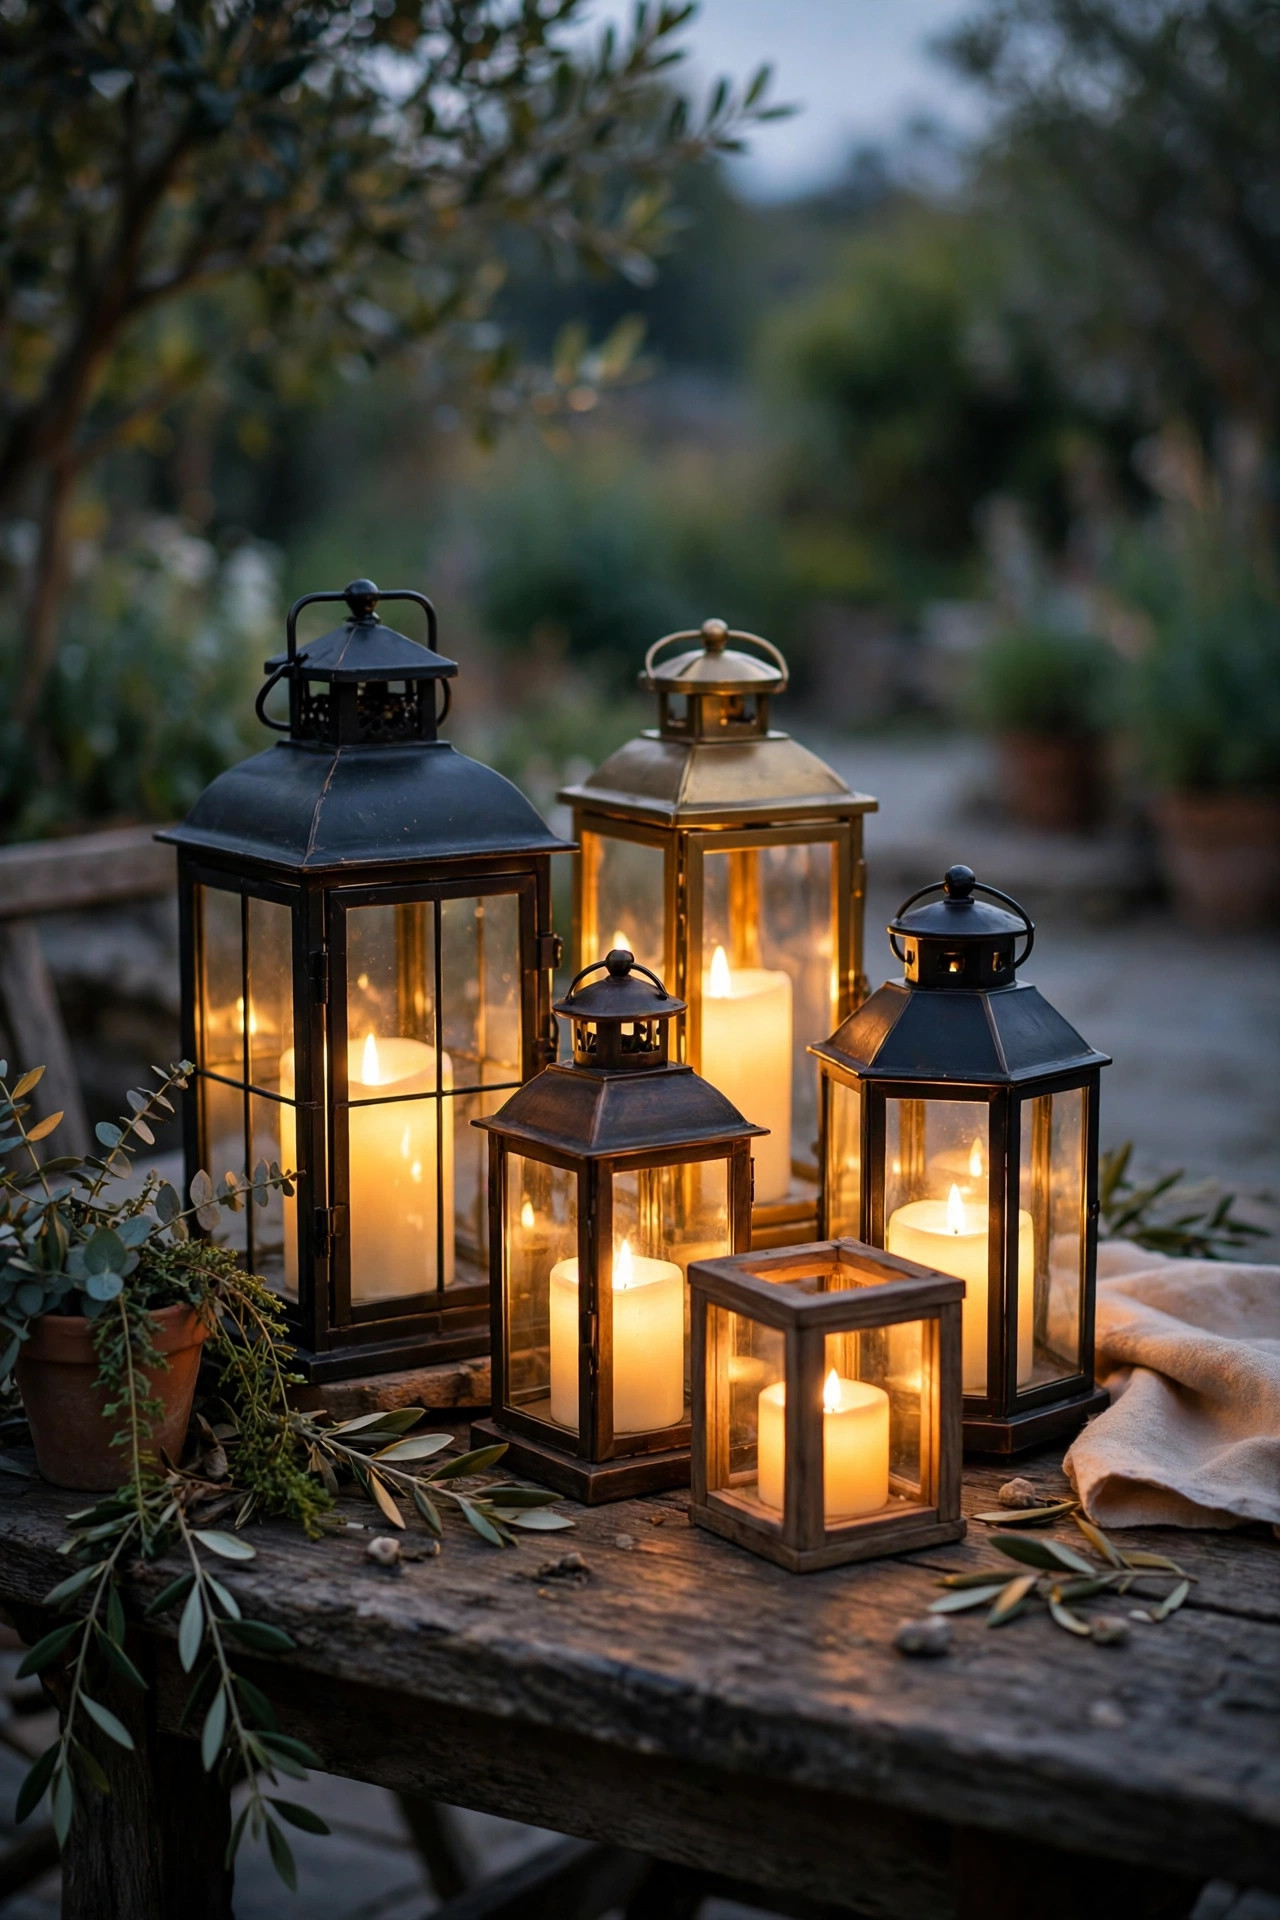
Not every zone in a townhome yard deserves a permanent fixture, because small spaces change jobs constantly: the reading chair moves, the herb pots rotate, the kids claim the corner. A basket of two or three portable lanterns by the back door is my flexible layer. Rechargeable LED lanterns with warm dimming are the modern answer: no cords, no fuel, no hot glass, and the good ones run 20-plus hours per charge. Set one on the side table, hang one from a fence hook, carry one to the grill. Flameless pillar candles in weatherproof resin are the budget cousin and shrug off rain that would kill a paper shade. I keep brightness modest, around 100 to 200 lumens, because portables sit close to faces. This is also the safest lighting on the whole list for homes with toddlers and curious dogs: cool to the touch, tip-resistant, and nothing to trip over. When guests come, portables stretch the lit yard to wherever the extra chairs landed. When the evening ends, they come inside to charge. Fixed lighting gives a small yard structure; portable lighting gives it a life.
Suggested budget range: $20 – $60.
14. Add a Motion-Sensor Light at the Back Gate
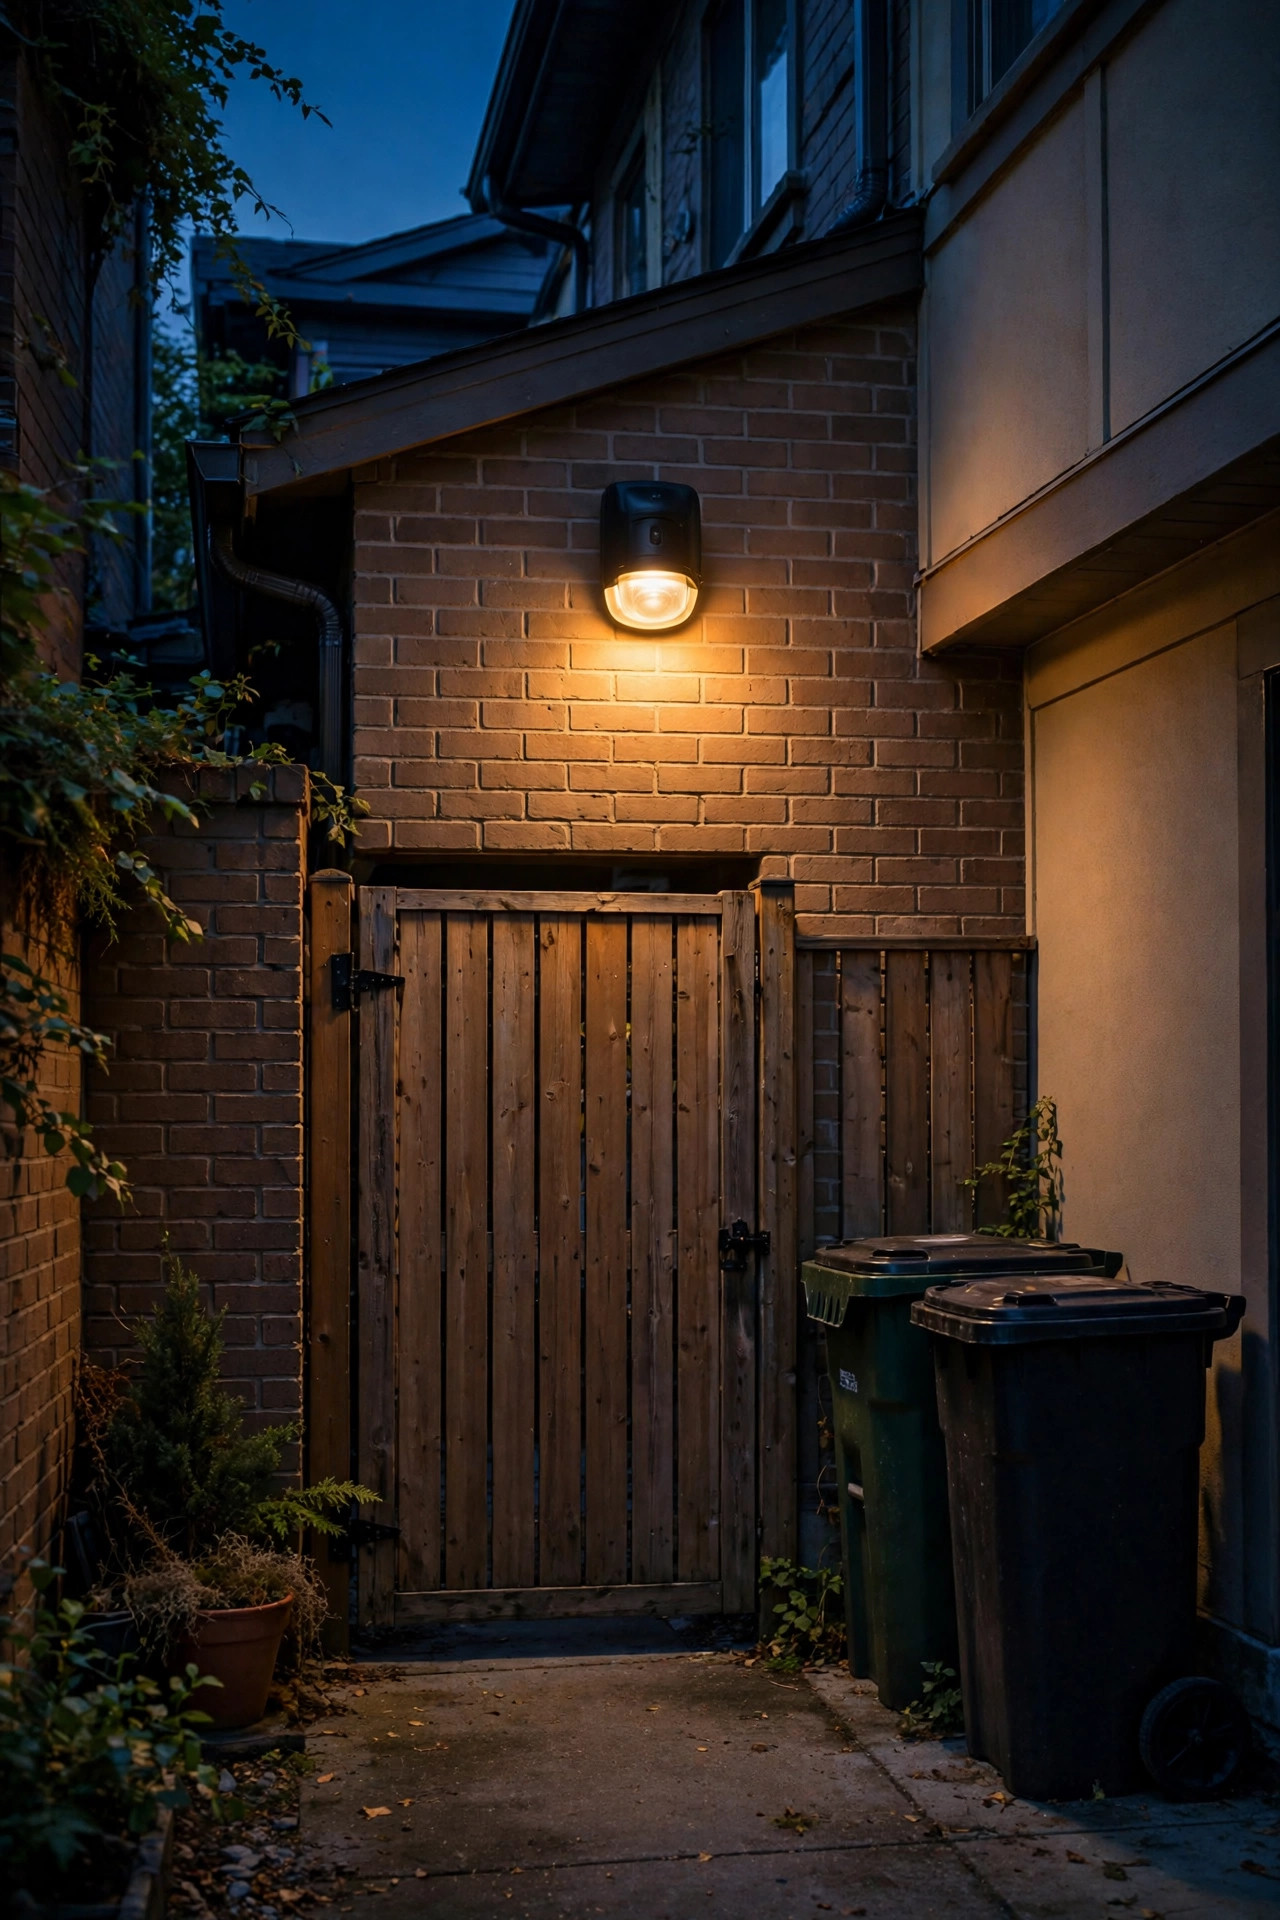
The back gate of a townhome usually opens to an alley or a shared drive, and it is the one spot where I specify function over mood. A shielded motion-sensor light above the gate or back door lights your arrival and the dog's last trip out, flags anyone who should not be there, and then switches itself off so it never becomes the neighborhood nuisance light. Choose warm white around 2700K to 3000K, because the old blue-white security floods are why people hate these fixtures, and set the range so it triggers at 10 to 15 feet rather than every time a neighbor's cat tours the alley. Aim the head down at your own slab and the gate swing; a properly aimed sensor light is nearly invisible to the houses behind you. Solar motion lights have gotten genuinely good and avoid the outlet hunt entirely, though wired models win if your gate sits in all-day shade. Keep the on-time short, one to two minutes. Security and ambience are not enemies; they just need different fixtures.
Suggested budget range: $25 – $70.
15. Make One Tall Planter the Focal Point
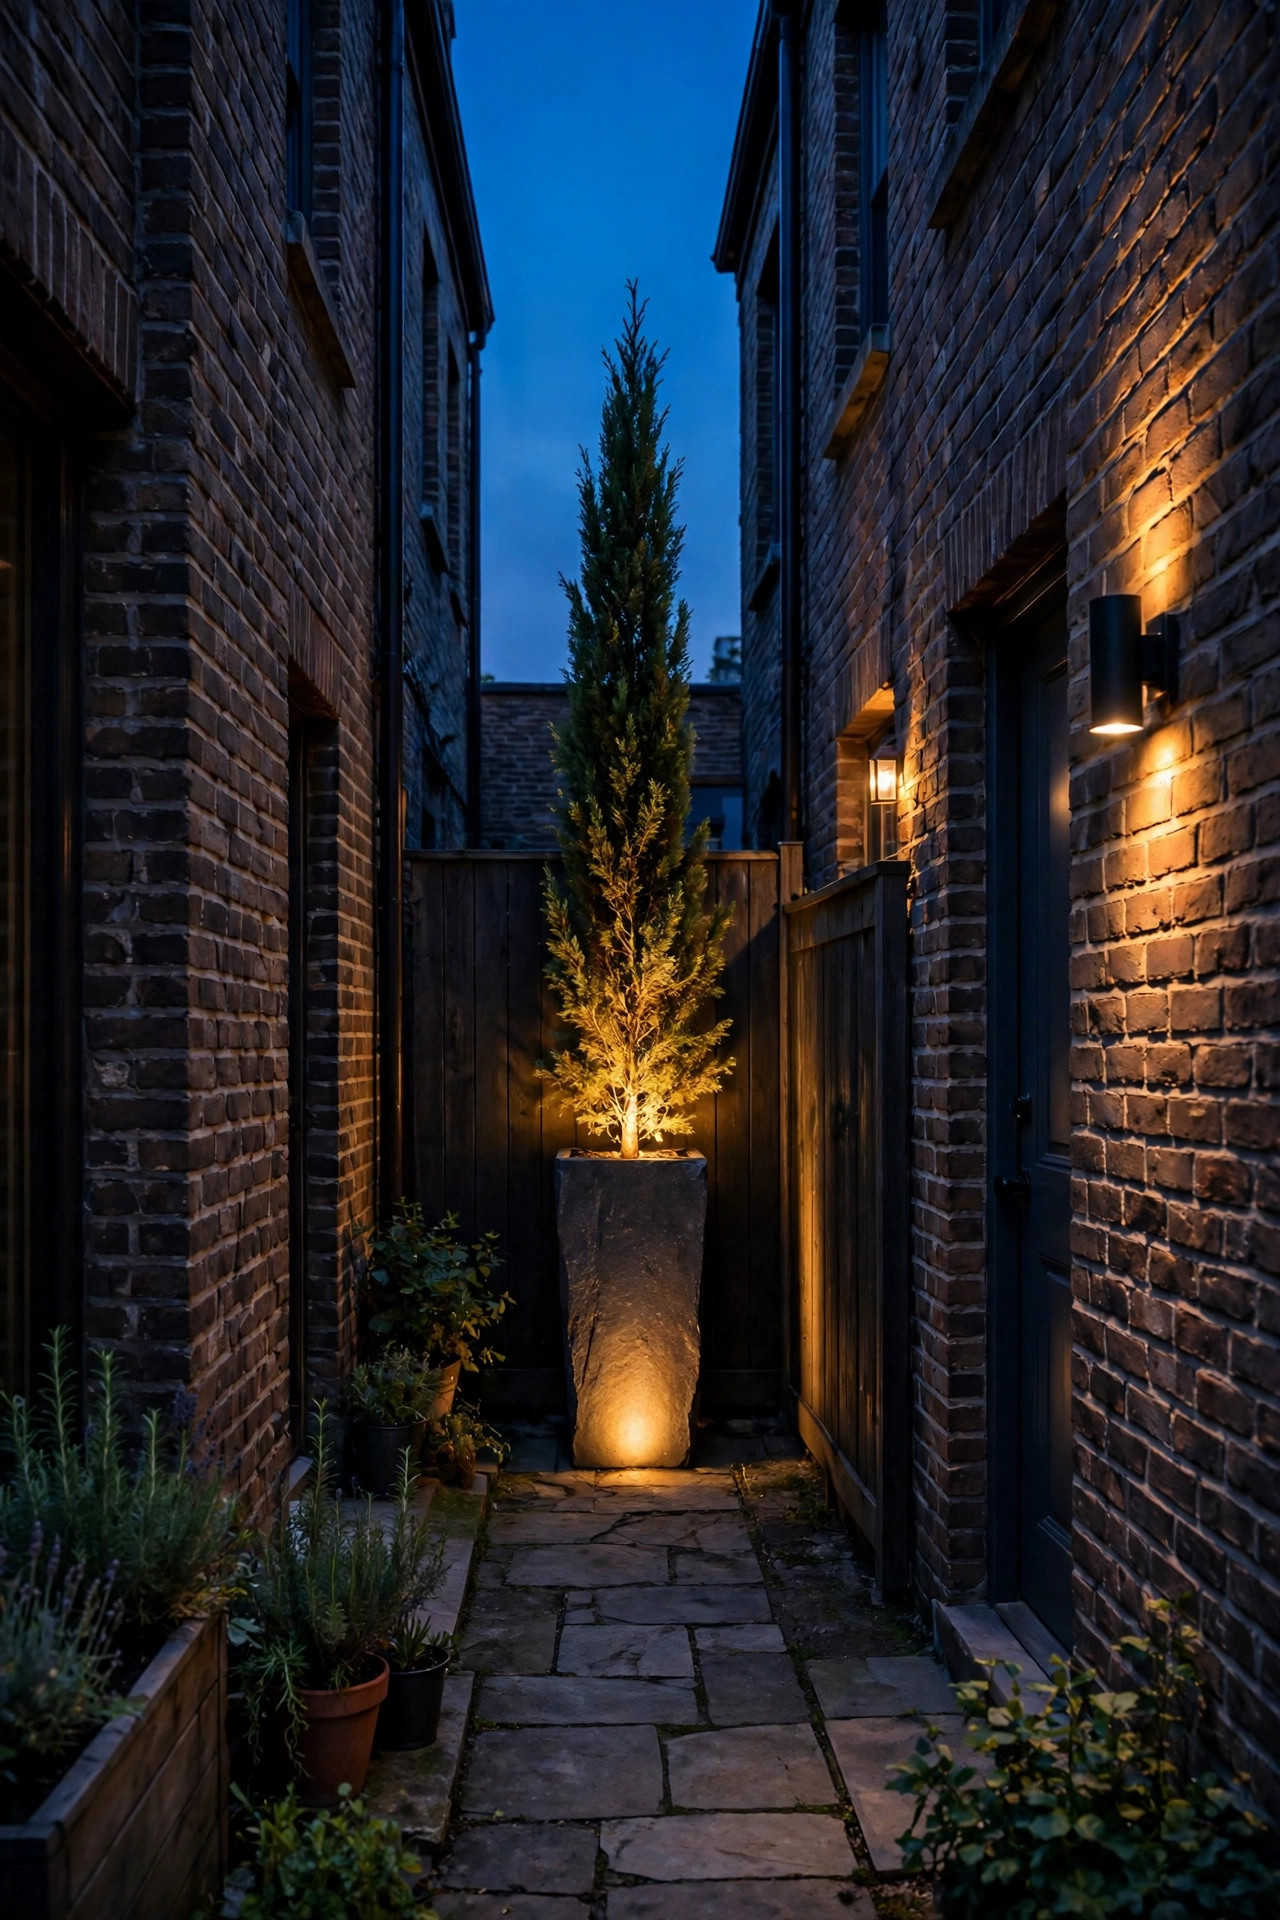
Stand at your back door and look at the far end of the yard. Whatever your eye lands on is your focal point whether you chose it or not, so choose it: one tall planter, an obelisk, or a columnar shrub at the far fence, lit deliberately. A single uplight, or a strand of fairy lights worked through the planting, pulls the eye the full depth of the lot, and a yard your eye travels feels longer than a yard your eye stops in. This is the oldest trick in landscape design, and it works at 25 feet just as well as at 250. Keep the focal light slightly brighter than its surroundings, maybe one and a half times the ambient level, but not so bright that it becomes an interrogation lamp against the fence. Warm 2700K aimed up through the foliage, with the neighboring few feet falling into shadow, gives you the contrast that makes it read. In winter, swap the planter to an evergreen or a bundle of lit branches so the focal point survives the season. Everything else in the yard can be modest; one considered moment at the end of the view makes the whole composition feel planned.
Suggested budget range: $30 – $85.
16. Put Everything on Timers With a Neighbor-Friendly Shutoff
Close neighbors change the etiquette of light: your glow is also their glow. Putting the whole yard on timers is the courteous finish and, honestly, the convenience that makes people actually use their lighting. An astronomical timer on the low-voltage transformer learns the sunset all year, so the yard wakes up at dusk without you touching anything in June or January. A smart plug on the string lights adds app control and an easy dimming schedule from the sofa. Then set the important part: a firm off-time, 10 or 11 p.m. on weeknights and a little later on weekends. Your neighbors get their dark bedrooms back, your bulbs last longer, and the yard keeps a sense of occasion instead of becoming all-night infrastructure. Solar fixtures handle themselves, and battery pieces with a timer mode can join the same curfew. I also like a vacation setting that runs only the path and gate lights. One hub, one schedule, no nightly round of the yard flipping switches in your slippers. Automation is the layer that turns seventeen nice ideas into one effortless habit.
Suggested budget range: $15 – $50.
17. Keep Your Townhome Backyard Lighting Ideas Cohesive With One Temperature
The last idea is the glue: pick one color temperature, 2700K, and let nothing else in the yard. Mixed temperatures, one blue-white solar stake beside one amber string bulb beside one daylight sconce, make a small space look like a clearance bin, because in a small space you see every fixture at once. At 2700K everything reads candlelight-warm, skin tones look good, and the yard photographs beautifully, which is not nothing in the era of the evening photo share. When you shop, treat the kelvin number like a paint color and check it on every box, including the solar stakes whose packaging hides it in fine print. If a fixture you love only comes in 3000K, group it in its own zone rather than sprinkling it between 2700K pieces. Replace bulbs in pairs so aging sets still match. Then do the dusk test: stand at the door at blue hour, look for any light that reads white or blue against the rest, and swap that one bulb. Cohesion is invisible when it works, which is exactly the point. Seventeen ideas, one warm glow, and a yard that finally feels bigger than its measurements.
Suggested budget range: $20 – $60.
Frequently Asked Questions
What color temperature is best for a townhome backyard?
Warm white at 2700K is my default for every layer. It flatters faces, brick, and wood fences, and it reads as candlelight rather than office light. You can stretch to 3000K in one separate zone, but keep the whole yard in the same family; mixed temperatures are the number one reason small yards look patchy after dark.
Are solar lights bright enough for a small townhome backyard?
For accents, fence caps, stakes, and bed markers, absolutely, and a compact yard needs fewer of them. For your main evening glow, layer in at least one plug-in or low-voltage source, usually the string lights or path lights, because solar output dips after cloudy days and in deep shade. That hybrid gives you solar convenience with wired reliability.
How do I light my yard without bothering the neighbors?
Aim everything down, keep fixtures below the top of the fence, choose shielded designs, and stay warm at 2700K instead of blue-white. Put the bright layers on timers that shut off by 10 or 11 p.m. In my experience, neighbors almost never mind warm, downward light that goes to bed at a reasonable hour.
How much does it cost to light a townhome backyard?
A starter setup of string lights, solar caps, and a few stakes runs about $100 to $250. A full layered yard with low-voltage path lighting, a transformer, and dimming usually lands between $400 and $900 as a DIY weekend project. Small footprints are the budget's friend here: every run of cable and every zone is short.
Conclusion
A townhome yard is not a shrunken version of a big yard; lit well, it is a room, and rooms reward layers. Start overhead, warm the eye level, outline the ground, and let one tall moment and one far focal point do the stretching. The best townhome backyard lighting ideas are honestly just that rhythm, repeated with warm 2700K light and a neighbor-friendly curfew. When you are ready to give the front the same treatment, my townhome front yard lighting ideas use the same three layers in miniature, and the rest of the lighting ideas here on the site will keep your list growing all season.