Standing in your yard at dusk, squinting at a dark walkway and a front door your guests can never quite find, it is easy to assume beautiful landscape lighting belongs to people with big budgets and an electrician on speed dial. It doesn't. A beginner landscape lighting project — a real one, with a transformer, proper cable, and fixtures that will still be glowing in ten years — can start with just five lights and a single free afternoon. That is the plan I am walking you through here: three path lights to make your walkway safe and welcoming, two spotlights to give your home that warm, layered glow, and nothing you can't undo, move, or expand later. You'll learn how low-voltage lighting actually works, exactly where each of the five fixtures goes, what to buy, what it should cost in 2026, and the handful of beginner mistakes that make a first project look, well, like a first project. No trenching crew, no permits, no scary 120-volt wiring — just a small, smart starter system that teaches you everything you need for the bigger design you'll inevitably start dreaming about by dessert.

The Short Answer
If you only read one section, read this one. A beginner landscape lighting project needs exactly five things: a small low-voltage transformer (45–60 watts is plenty), about 50 feet of 14-gauge direct-burial cable, three LED path lights, two LED spotlights, and a handful of waterproof connectors. Mount the transformer beside an outdoor GFCI outlet, run the cable along the walkway and into the garden bed, space the path lights 6–8 feet apart on alternating sides, aim one spot at a tree and one at your facade, and test everything after dark before you bury a single inch of cable. Total cost in 2026: roughly $180–$320 and one unhurried afternoon.
Why Five Lights Is the Perfect First Project
Every gorgeous lit yard you've ever admired started smaller than you think. Pros design in layers — path light for safety, accent light for beauty, ambient light for mood — and five fixtures is the smallest number that lets you practice all three ideas at once. Three path lights teach you spacing and rhythm. Two spotlights teach you aiming and drama. Together they cover the front walk, the entry, and one beautiful focal point, which is honestly 80 percent of what makes a home look "done" after dark.
Five lights is also a forgiving classroom. Your total power draw will be tiny — around 20 watts — so voltage drop, the dimming that plagues long cable runs, simply isn't a problem yet. Every mistake is cheap: a path light in the wrong spot moves in two minutes, a spotlight aimed badly gets re-aimed with one hand. And because the system is small, you'll finish in one afternoon, which matters more than people admit. A finished small project teaches you more — and glows every single night — than an ambitious half-buried one.
Most importantly, five lights is a foundation, not a compromise. The transformer and cable you install now can carry fifteen or twenty fixtures later. You're not buying a toy you'll throw away; you're building the backbone of your whole future design, one confident step at a time.

What a Beginner Landscape Lighting Project Actually Needs
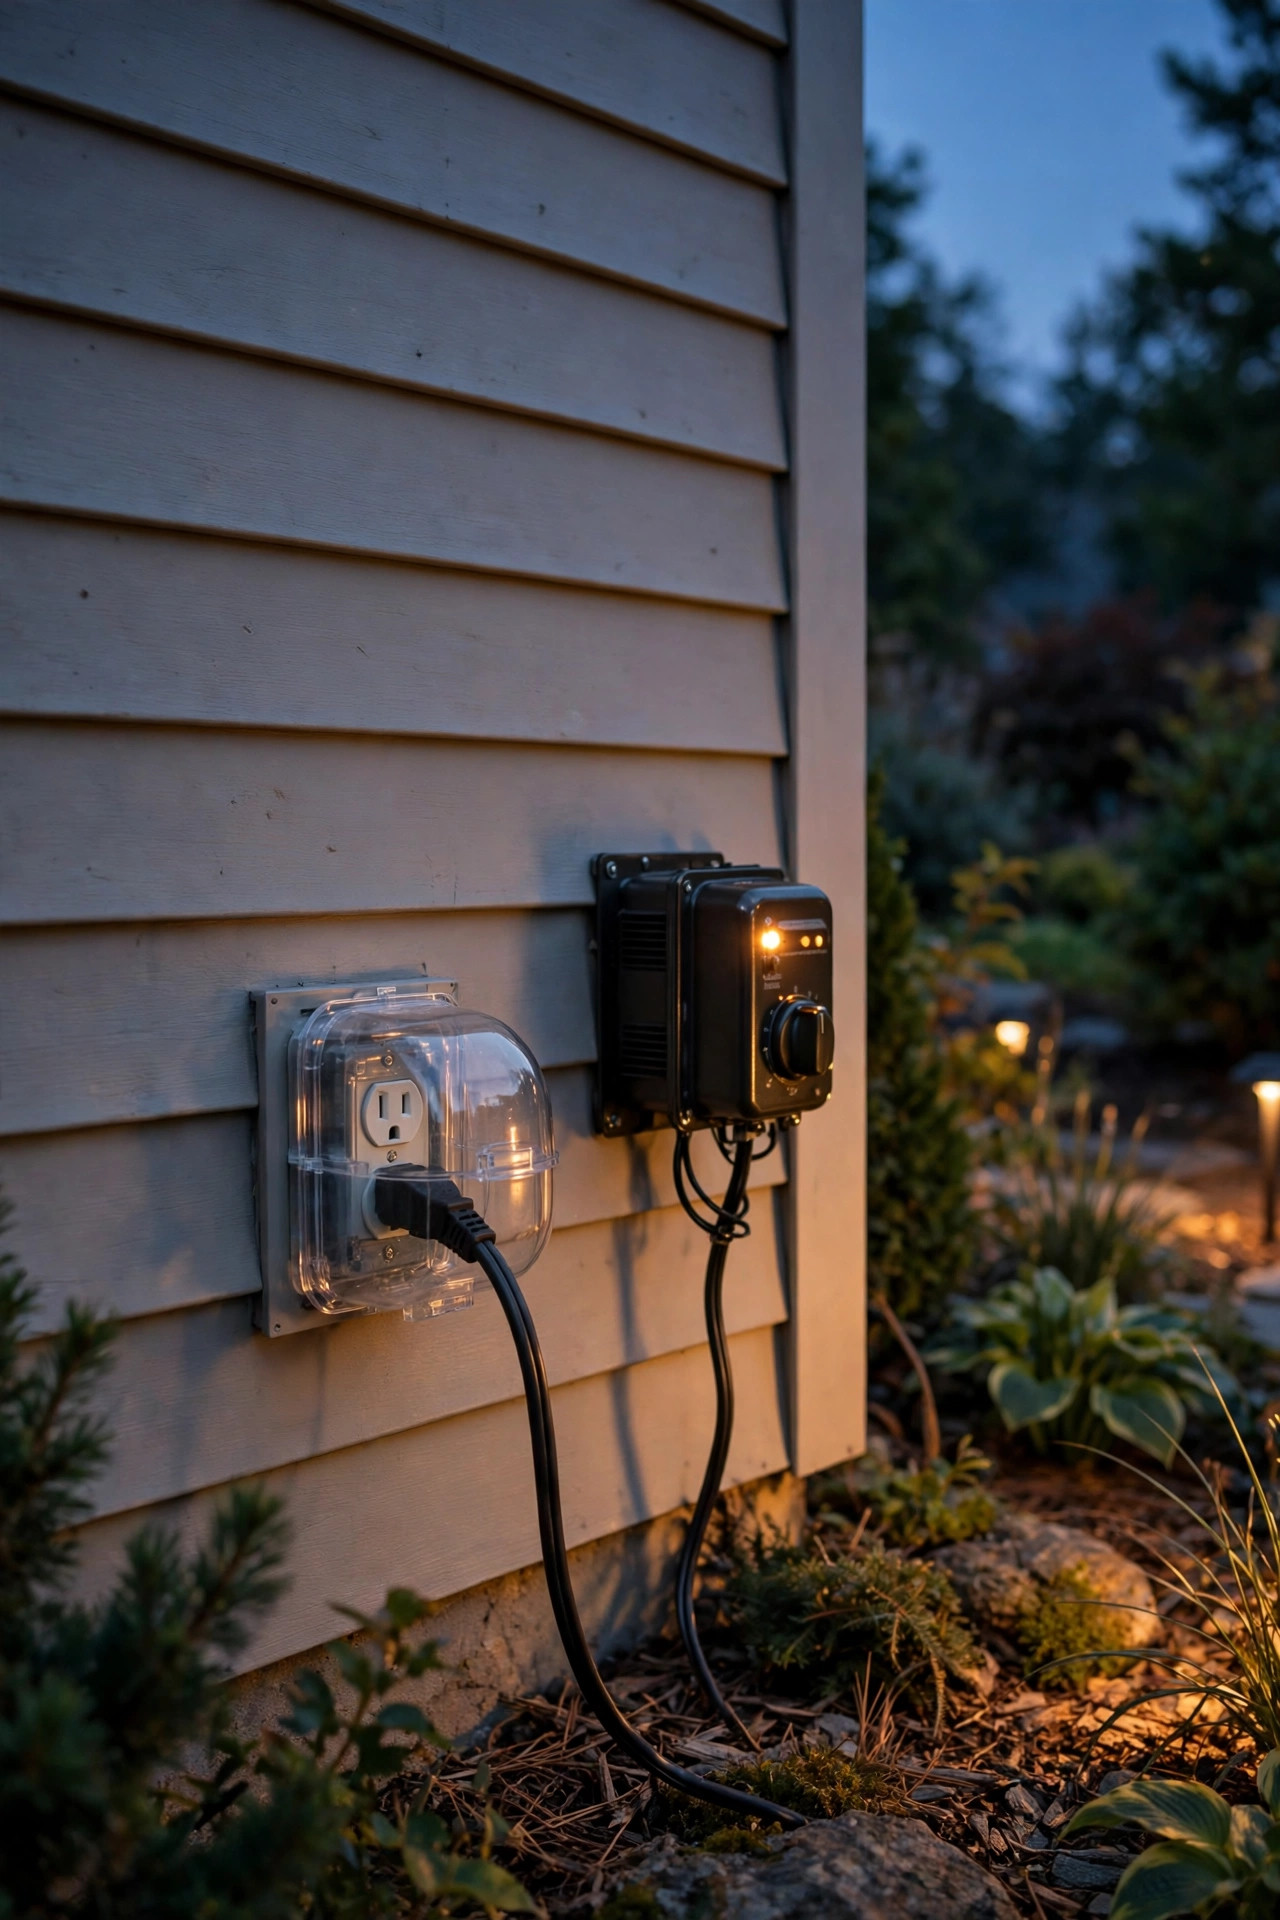
Let's demystify the system in plain English, because it is genuinely simple. Your house runs on 120-volt power — the kind that can hurt you. Landscape lighting runs on 12 volts, about what a car battery delivers, which is why you can safely handle it yourself. The translator between the two is the transformer: a small weatherproof box that plugs into an outdoor outlet and steps 120 volts down to a gentle 12.
From the transformer, one low-voltage cable carries power out into the yard. Each fixture taps into that cable with a connector and sips a few watts. That's the whole machine: outlet, transformer, cable, connectors, fixtures. There are no circuits to calculate, no panel work, and in most US towns no permit for a plug-in low-voltage system (always worth a quick check of local rules, but it's rarely an issue).
For this starter plan, choose LED fixtures, full stop. A 3–5 watt LED path light replaces the old 10–20 watt halogen, runs cool, and lasts for years without a bulb change. Pick a warm color temperature — 2700K to 3000K — because that golden tone is what makes a house look expensive and welcoming instead of blue and institutional. Integrated LED fixtures (where the light source is built in) are fine for spotlights; for path lights, I like fixtures with replaceable LED bulbs, so one failure never means replacing the whole fixture.

The 5-Light Starter Plan: Meet Your Five Fixtures
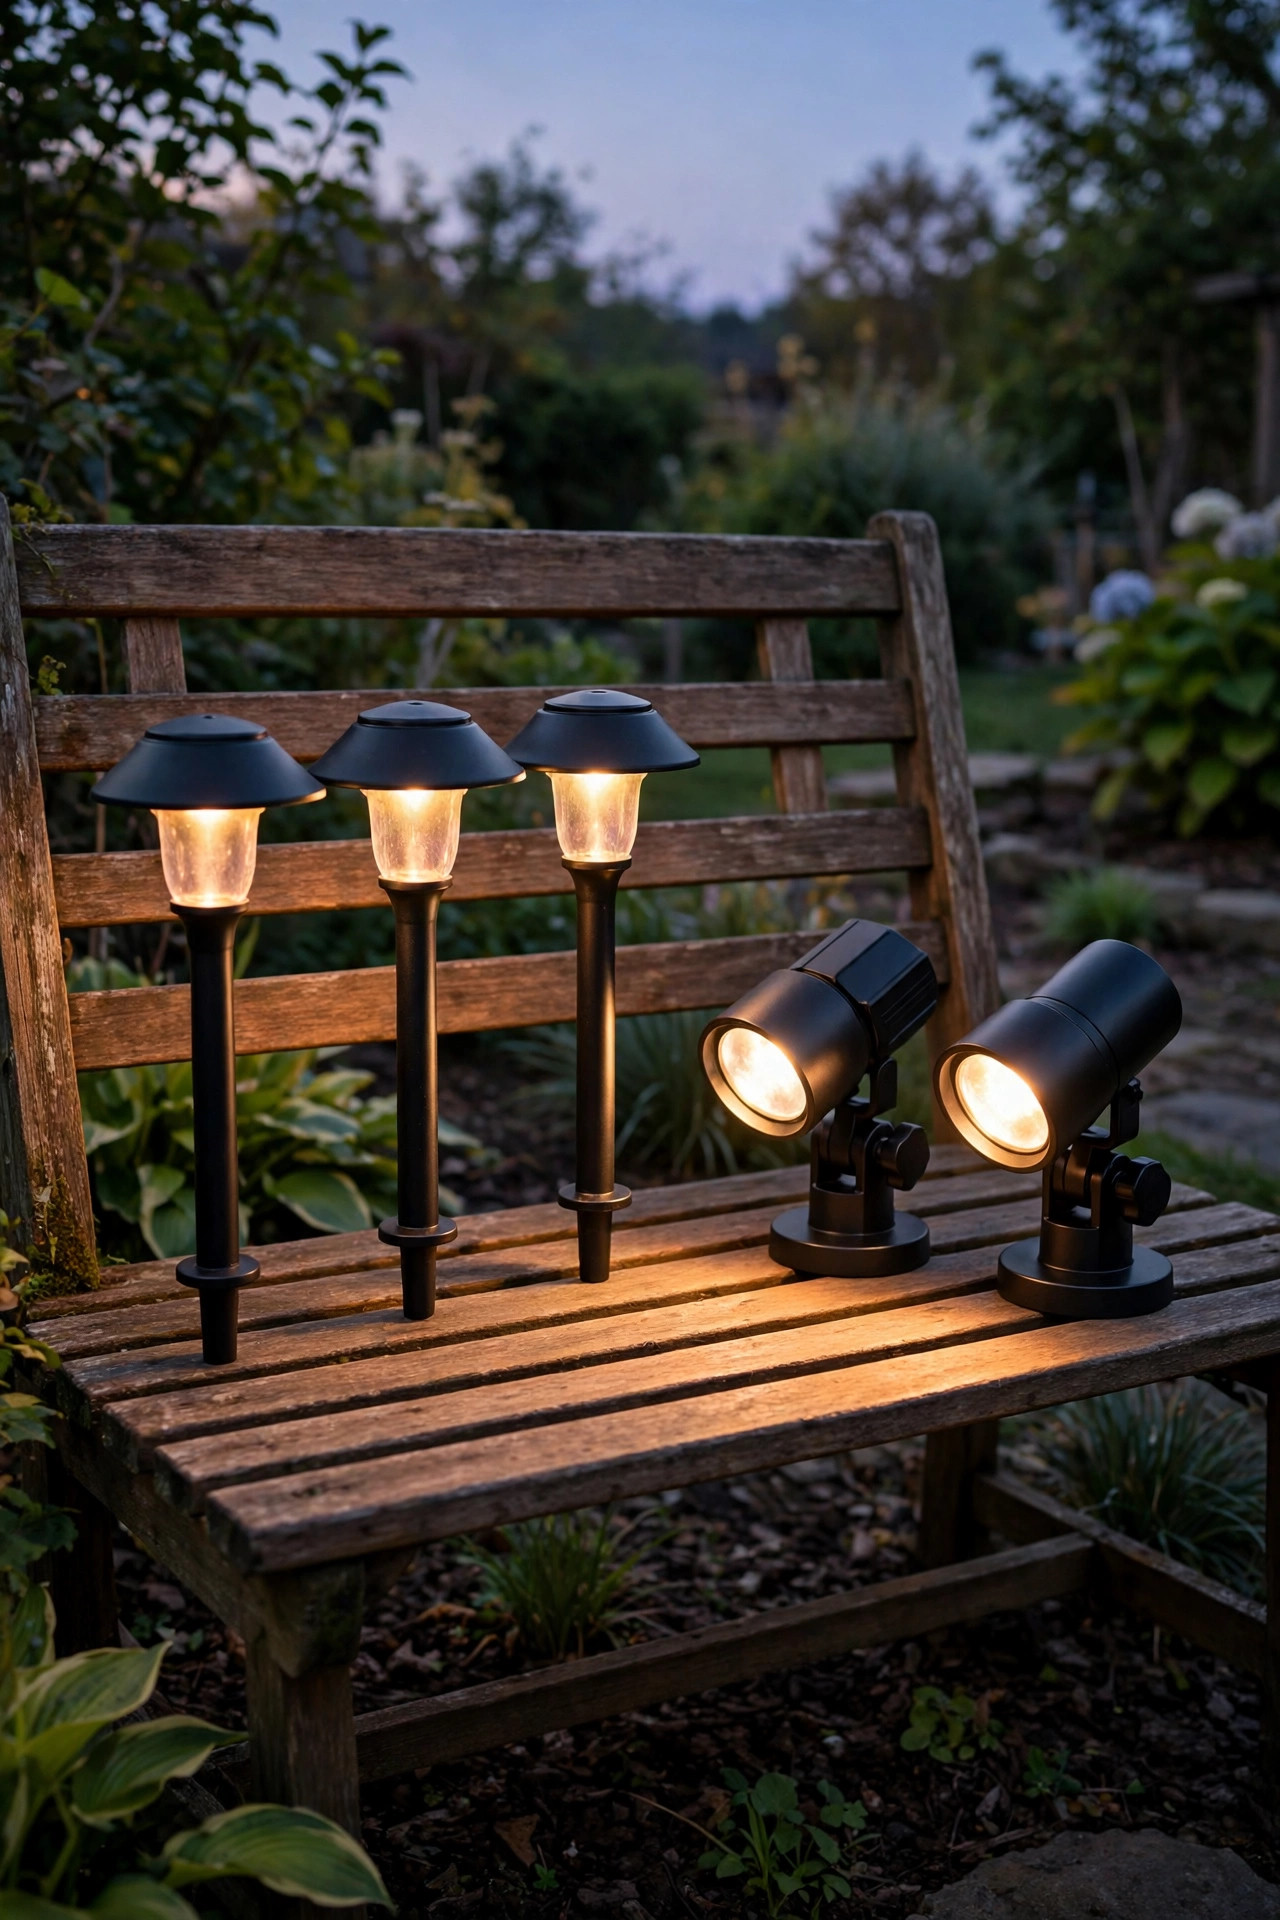
Here's your cast of five, and the job each one does.
| Fixture | Qty | Job in the design | What to look for |
|---|---|---|---|
| Path light | 3 | Safe, welcoming walkway; the "rhythm" of the yard | 12–18 inches tall, 100–200 lumens, shielded top so light falls down, not into eyes |
| Spotlight | 2 | Drama and depth: one for a tree or focal point, one for the facade | 300–500 lumens, adjustable head, 35–60 degree beam |
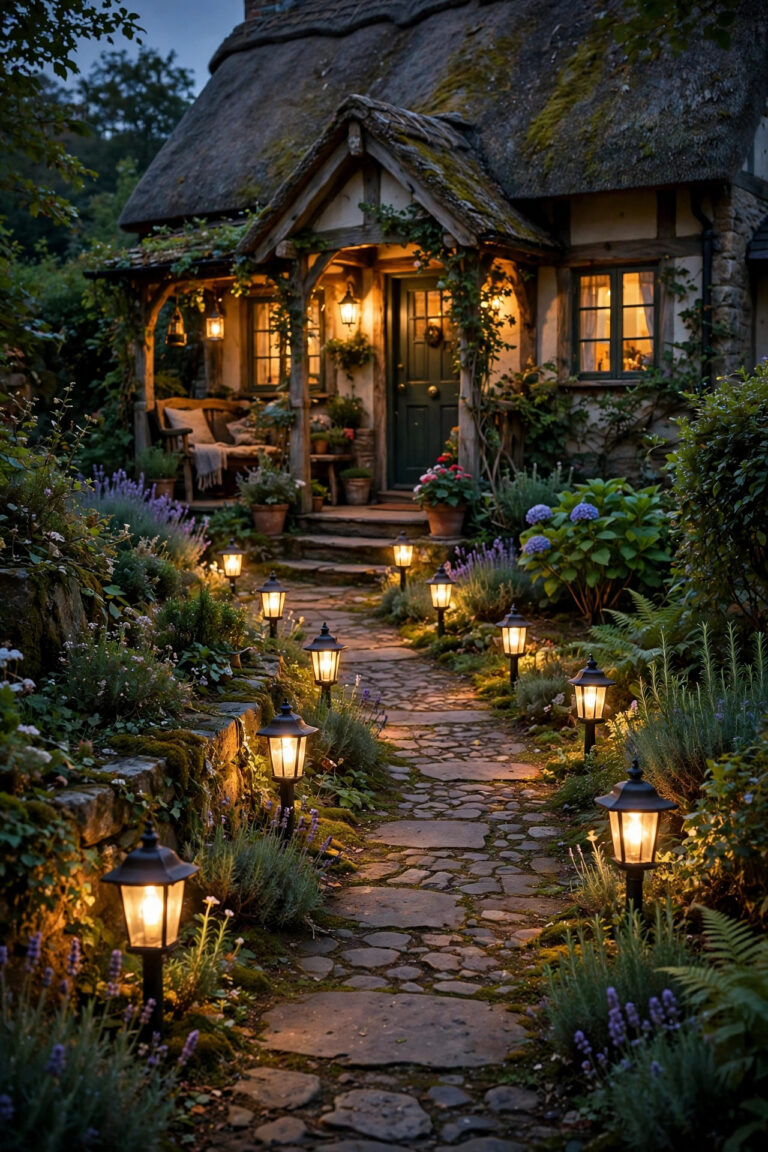
The three path lights are your workhorses. Their job is not to light up the whole yard — it's to pool soft circles of light on the walking surface so feet feel confident. Shielded designs, where you see the glow but not the bare bulb, look twice as expensive as exposed-bulb fixtures at the same price.
The two spotlights are where the magic lives. One uplights a tree, a sculptural shrub, or even a pretty corner of stonework. The other grazes your home's facade beside the front door, giving the entry depth and making the house itself part of the lighting design. Between them, they create the layered look — bright focal points against soft shadow — that separates "lit" from "landscaped."
Buy all five in the same finish and color temperature. Mismatched fixtures are the fastest way to make a thoughtful plan look accidental.
Choosing Your Transformer and Cable
The transformer is the one component I never cheap out on, because everything else depends on it. For five LED fixtures totaling roughly 20 watts, a 45- or 60-watt transformer is the sweet spot: big enough that you're using less than half its capacity (the golden rule is to stay under 80 percent), small enough that you're not paying for power you'll never use. Look for a built-in timer or dusk-to-dawn photocell so the system runs itself, and a weatherproof metal or heavy-duty housing. If you want the full math for later expansion, my guide to how many lights one transformer can handle walks through it step by step.
Cable matters more than beginners expect. For a short starter run, 14-gauge direct-burial cable is plenty and easy to work with; if you already dream of a 100-foot backyard run someday, buy 12-gauge now — it's thicker, loses less voltage over distance, and costs only a little more. Fifty feet covers most front yards with slack to spare.
Finally, connectors. Skip the flimsy pierce-point connectors that come free in many kits; they corrode and cause most beginner flicker complaints. A small box of gel-filled or heat-shrink waterproof connectors costs a few dollars more and makes connections that outlast the fixtures.

Where the Five Lights Go: Placement Rules That Never Fail
Placement is where a beginner landscape lighting project quietly succeeds or fails, and the rules are refreshingly simple.
For the three path lights, walk your walkway and mark spots 6–8 feet apart, alternating sides in a gentle zigzag. The zigzag matters: lights in a straight row look like a runway, while staggered pools of light feel natural and guide the eye. Keep each fixture 12–18 inches back from the path's edge so mower wheels and snow shovels miss them, and angle them so the light lands on the walking surface, not the lawn.
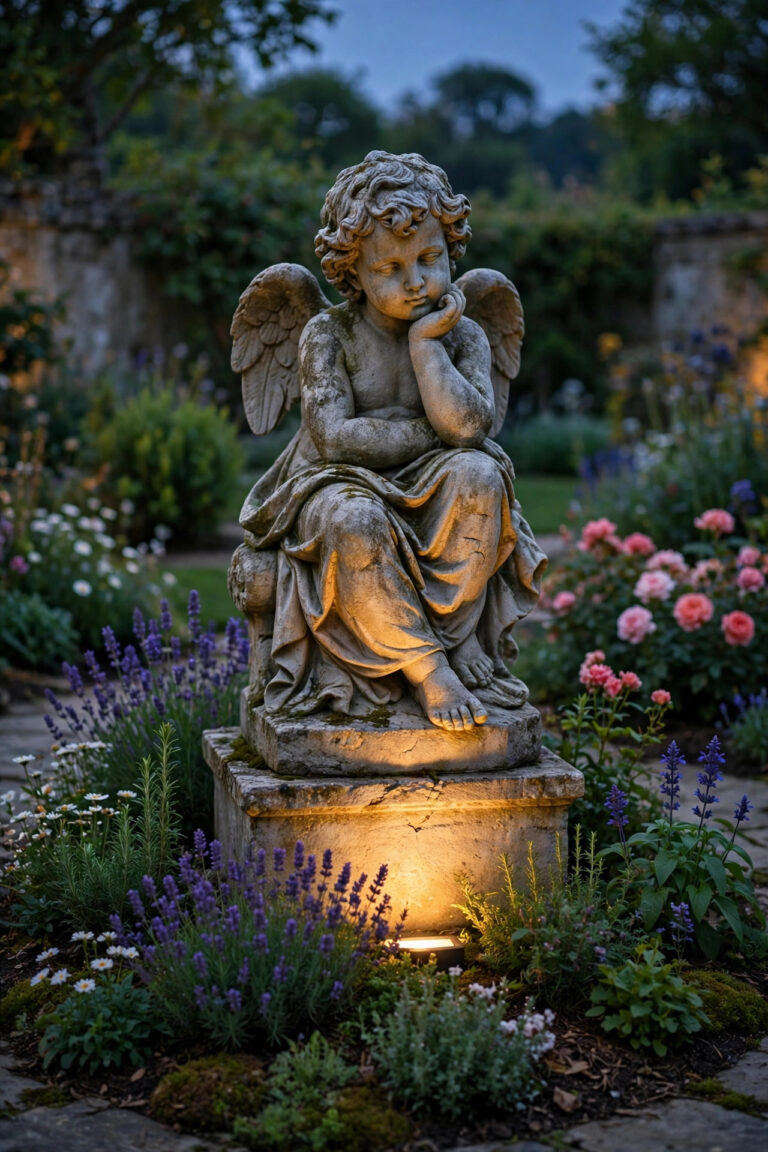
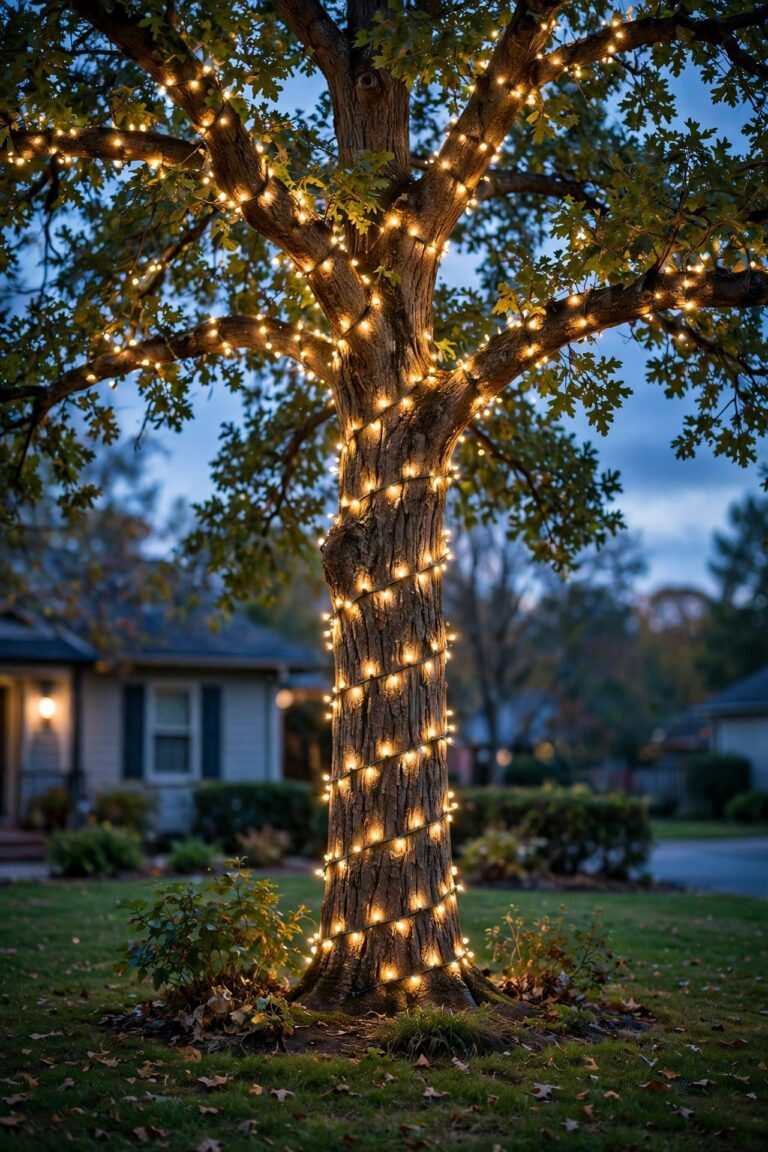
For spotlight one, pick your best tree or tallest shrub within cable reach. Set the fixture 12–24 inches from the trunk, aimed up into the canopy at roughly a 30-degree angle. The goal is a glowing crown, not a searchlight beam, so start dimmer and wider than you think.
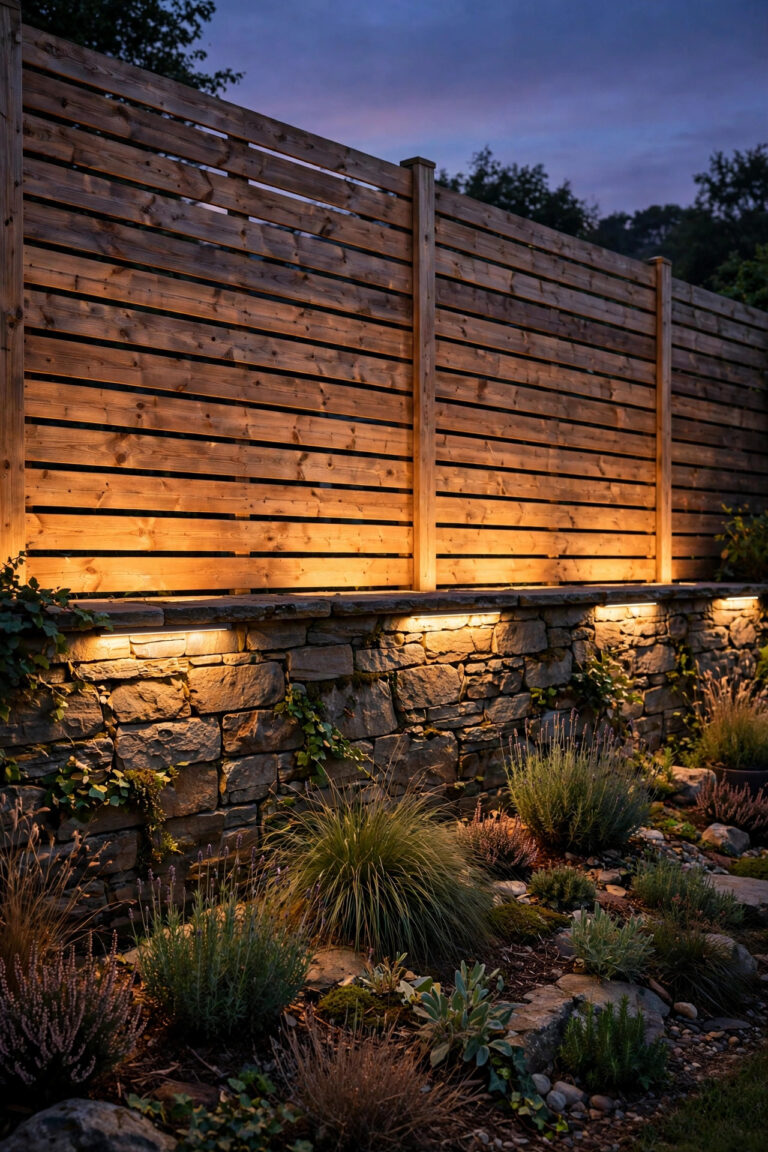
Spotlight two washes the facade. Place it in the planting bed 2–4 feet from the wall, angled up at the prettiest stretch of siding, brick, or stone near your entry — ideally where it can catch a window trim or a corner for texture. Keep it off the front door itself and out of windows; light on the house should feel like moonlight, not an interrogation.
Test every position at night with the fixtures simply staked or even held in place before you commit. Your eyes at 9 p.m. are a better designer than your imagination at noon.

Your Shopping List, All in One Place
One trip, no specialty store required. Here's everything:
– 45–60 watt low-voltage transformer with timer or photocell
– 50 feet of 14-gauge (or 12-gauge) direct-burial landscape cable
– 3 LED path lights, 2700K, shielded style
– 2 LED spotlights, 2700K, adjustable heads
– 1 pack of gel-filled waterproof wire connectors (you'll use 5–7)
– A flat spade or garden edger for slit-trenching the cable
– A small level and a headlamp for the nighttime test
A word on kits: all-in-one starter kits can be genuinely good value and guarantee everything matches. Just check three things before buying — that the transformer is at least 45 watts with room to grow, that the fixtures are metal rather than flimsy plastic, and that the color temperature is listed as 2700K or 3000K. If a kit hides any of those specs, buy the pieces separately. Either route lands in the same happy place; the plan works with components or a quality kit.
Two small additions save a second trip: grab a few extra connectors beyond the five you need (a dropped one in mulch is gone forever), and toss a $5 hand trowel in the cart if you don't own one — it's the perfect tool for tucking cable under mulch.

Step-by-Step: Installing Your Beginner Landscape Lighting Project in One Afternoon
Here's the whole install, in the order I'd do it on a Saturday:
1. Mount the transformer. Screw it to the wall or a sturdy post within reach of an outdoor GFCI outlet, at least 12 inches above the ground. Plug it in, but leave it off.
2. Lay out the cable. Unroll it along your planned route — down the walkway bed, across to the tree, over to the facade spot — leaving gentle curves and a little slack at each fixture spot. Don't cut anything yet.
3. Set the fixtures. Push the path light stakes in at your marked spots and set the spotlights in place. Everything stays loose for now.
4. Make the connections. At each fixture, connect its leads to the main cable with your gel-filled connectors. This is the only fiddly step; snug, sealed connections now prevent 90 percent of future problems.
5. Power up and wait for dark. Turn the transformer on. If a light is out, it's almost always a connector — reseat it and try again.
6. Do the nighttime test. Walk the path, stand at the street, and adjust: re-aim spots, nudge path lights, soften anything glaring.
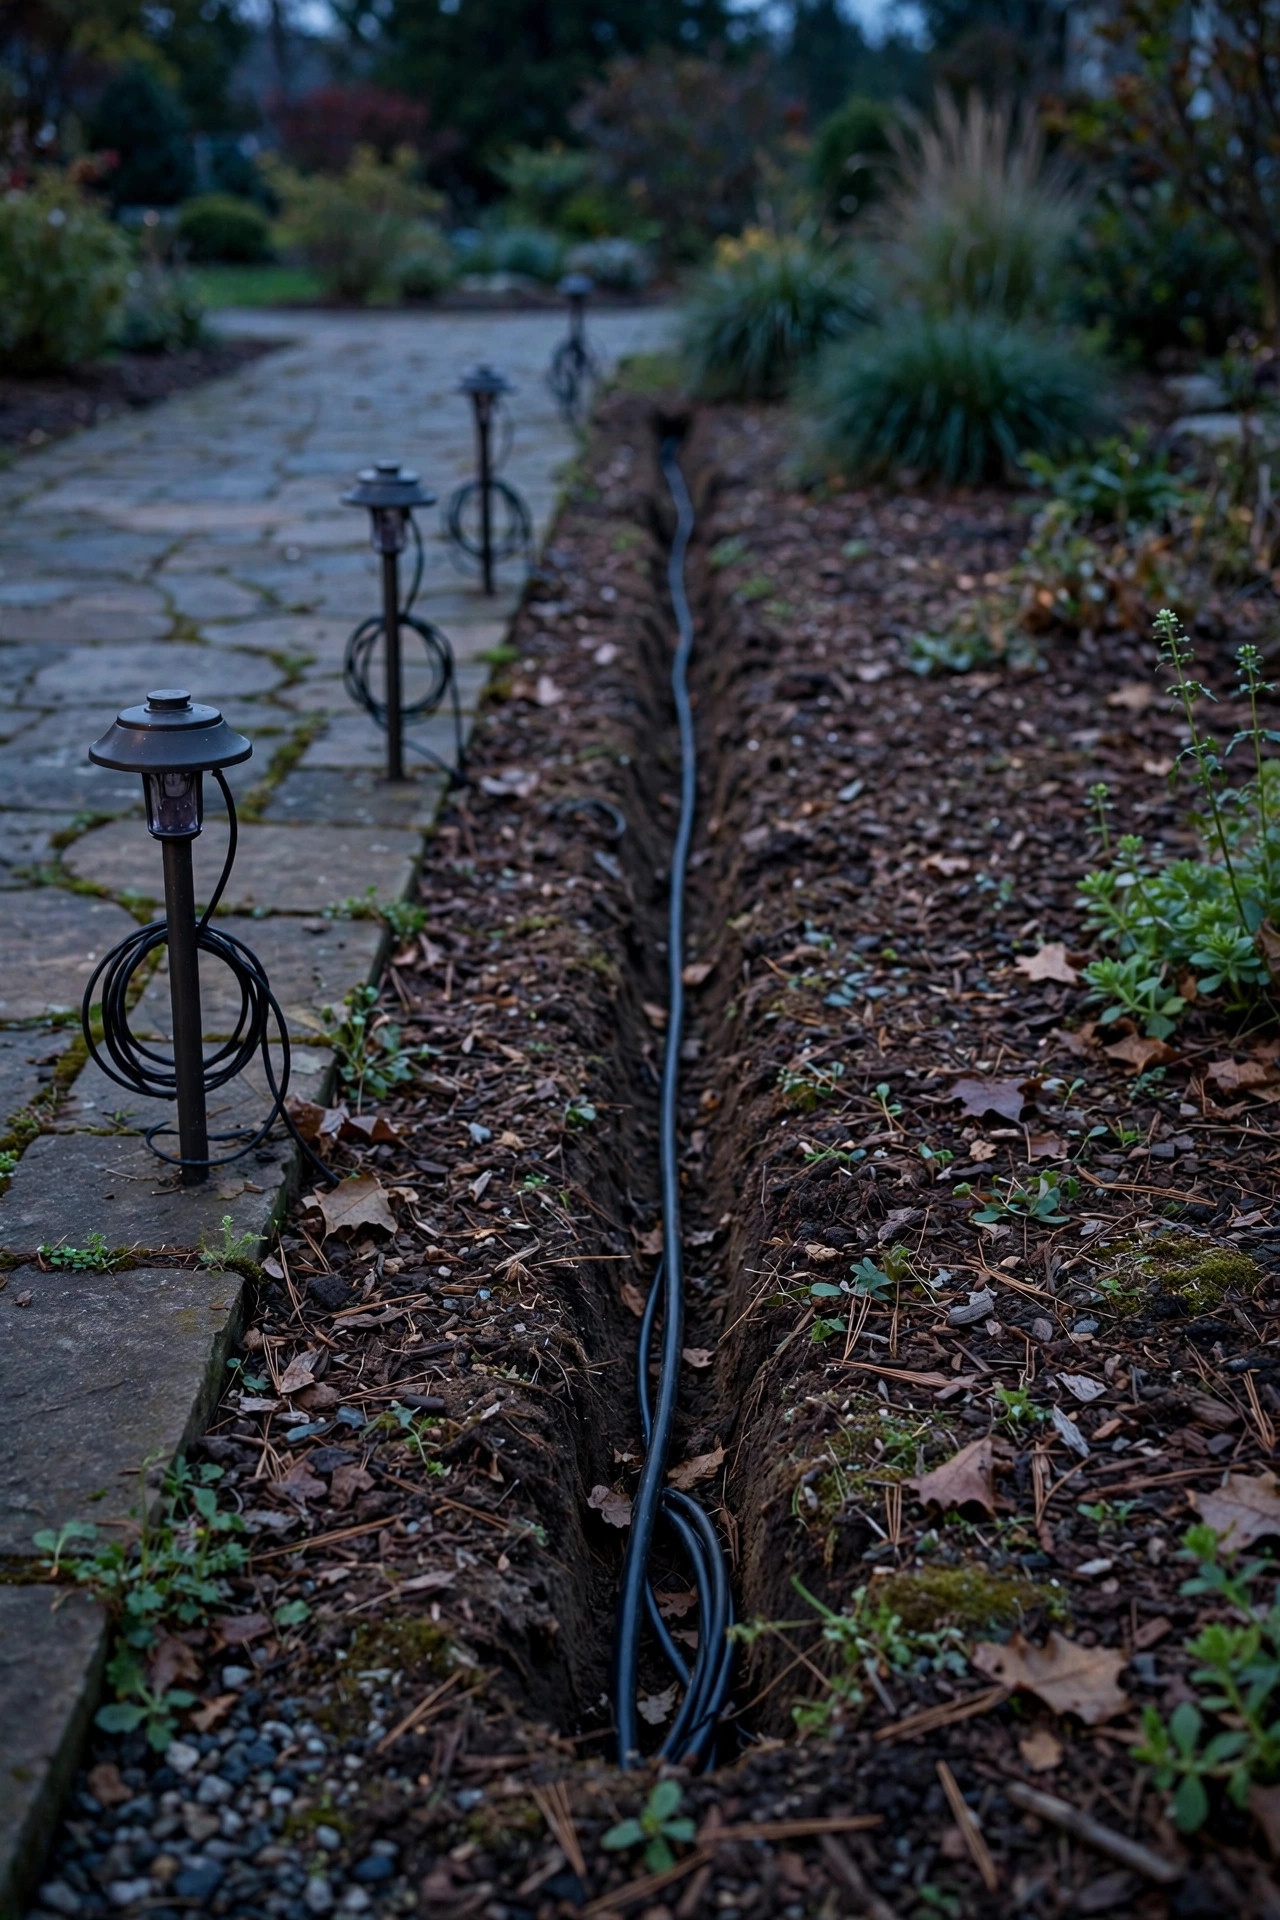
7. Bury the cable. Once you love the layout, slit-trench the cable 3–6 inches deep with a flat spade, tuck it in, and press the soil closed. In beds, a layer of mulch hides it entirely.
For a deeper walkthrough of any step, the full low-voltage landscape lighting installation guide covers bigger systems the same way. Honestly, the starter version usually takes two to three hours, including the coffee break.
The Nighttime Test: Aim, Adjust, Admire
Do not skip this step, and do not do it at twilight — wait until it's properly dark, at least 30 minutes after sunset. Landscape lighting designed in daylight is landscape lighting designed blind.
Start at the street, where your guests and your curb appeal actually live. Does the house read as warm and layered, or is one spotlight blasting a hot circle on the siding? Walk the path next: you want overlapping pools of light on the stones, with no fixture shining directly into your eyes. Squat down to a child's height and a driver's height too — glare hides at angles you don't expect.
Then fine-tune. A spotlight on a tree usually looks best pulled back a few inches and tilted slightly steeper than your first guess. The facade spot should graze, not flood: if you can see the fixture's beam hitting a window, shift it sideways until it kisses the wall instead. Path lights that lean even slightly look drunk; straighten them now while the soil is soft.
Give yourself one full evening of living with it before burying the cable. In my experience, the second night is when you stop seeing fixtures and start seeing the yard — that's when you know it's right.

What It Costs in 2026
Let's talk honest money. Bought as separate components, a quality 5-light starter system in 2026 runs about $180–$320: $60–$110 for a 45–60 watt transformer with a timer, $35–$55 for 50 feet of 14-gauge cable and connectors, $25–$45 each for metal path lights, and $20–$40 each for solid spotlights. A good all-in-one kit covering the same ground lands around $150–$280 — just verify the specs I listed in the shopping section.
Running costs are almost a rounding error. Five LEDs drawing about 20 watts total, on for five hours a night, use roughly 3 kilowatt-hours a month — about 50 cents at average US electricity rates. Compare that to a pro-installed full-yard design, which typically starts around $2,500 and climbs past $6,000 with labor, and you see why I send every beginner here first. (The broader breakdown lives in my landscape lighting cost guide if you're pricing the someday version.)
Budget a small cushion — call it $20 — for the inevitable extra connectors or a longer cable than you measured. And if you're hiring anything out, don't: the only pro task some beginners pay for is adding a new outlet, which runs $250–$450 and is entirely optional. The most expensive version of this project is the one where you buy cheap plastic fixtures twice; metal fixtures that last a decade are the actual bargain.
Safety and Electrical Basics
The beauty of a 12-volt system is that the yard side of the transformer is genuinely low-risk — you can handle the cable and connectors with the power on while testing, and a nicked wire is a nuisance, not an emergency. Still, a few basics keep everything code-friendly and safe.
The transformer must plug into a GFCI-protected outdoor outlet with an in-use weatherproof cover — that's the one non-negotiable. Never run the transformer's 120-volt cord through a wall or bury any part of the high-voltage side. Keep the transformer itself at least 12 inches off the ground and away from standing water, and if your outlet is near a pool or spa, follow the stricter local setback rules.
On the low-voltage side: bury cable 3–6 inches deep (enough to dodge aerators and edging tools), keep connections in sealed gel-filled connectors rather than electrical tape, and call 811 before digging anything deeper than a shallow slit trench, just to be safe. LED fixtures stay cool to the touch, so there's no burn risk near mulch or dry leaves — one more reason LEDs are the only sensible beginner choice. If a winter storm ever knocks a fixture over or a connector works loose, simply unplug the transformer before you go poking around in wet soil; it's a ten-second habit that keeps the whole system worry-free.
5 Mistakes That Ruin the Effect
1. The runway. Path lights in a straight, evenly spaced line down both sides of the walk. Stagger them instead — zigzag is the whole trick.
2. Too bright, too blue. High-lumen fixtures in 4000K or 5000K daylight color make a home look like a parking lot. Warm 2700K and modest lumens win every time. If a fixture's brightness makes you squint from the street, it's not "safer" — it's just glare, and glare actually hides the steps you're trying to reveal.
3. Burying the cable first. The single most common beginner error. Test at night, live with it, *then* bury. Cable dug up twice is cable that gets nicked.
4. Aiming spots from the fixture's point of view. Stand where people will actually look — the street, the porch, the living-room window — and aim from there.
5. Buying the cheapest kit on the shelf. Plastic stakes snap, mystery transformers die in year two, and unlisted color temperatures clash. Spend on the transformer and metal fixtures; save elsewhere.
I'd add a sixth, honorary mistake: lighting only the front door and calling it done. The tree spotlight is what makes neighbors slow down — don't skip the one fixture that's pure beauty.
Notice that none of these mistakes are about skill. They're about patience and one warm evening of looking. That's encouraging, because it means your first project can genuinely look like your third.
Growing Your Beginner Landscape Lighting Project Into a Full Design
Here's the secret nobody tells beginners: you now own the infrastructure of a full lighting design. That 45–60 watt transformer, running 20 watts of lights, has room for roughly 25–30 more watts — six to ten more LED fixtures — before you even think about an upgrade. And the cable run you buried is the spine every future light will branch from.
Natural next steps, in the order I'd take them: a second pair of path lights to finish the walkway or light the driveway edge ($60–$90), a third spotlight for the backyard tree you keep admiring from the kitchen window, then step lights or a soft wash for the back patio when you're ready to entertain. Each addition is the same fifteen-minute routine you already know: connect, test at night, bury.
When you eventually outgrow the transformer, keep this one — a small backup transformer dedicated to a side yard or garden corner is a luxury you'll be glad to have, and a spare on the shelf means a dead unit never leaves your whole yard dark on the one weekend guests are coming. Most of my favorite yards, honestly, grew exactly this way: five lights, then a season of looking, then the next five. Slow is not a flaw in landscape lighting. Slow is the method.

Maintenance: The 15-Minute Seasonal Routine
A starter system asks for almost nothing, but "almost" isn't "nothing." Twice a year — I do it when I swap the porch decor in spring and fall — give it fifteen minutes.
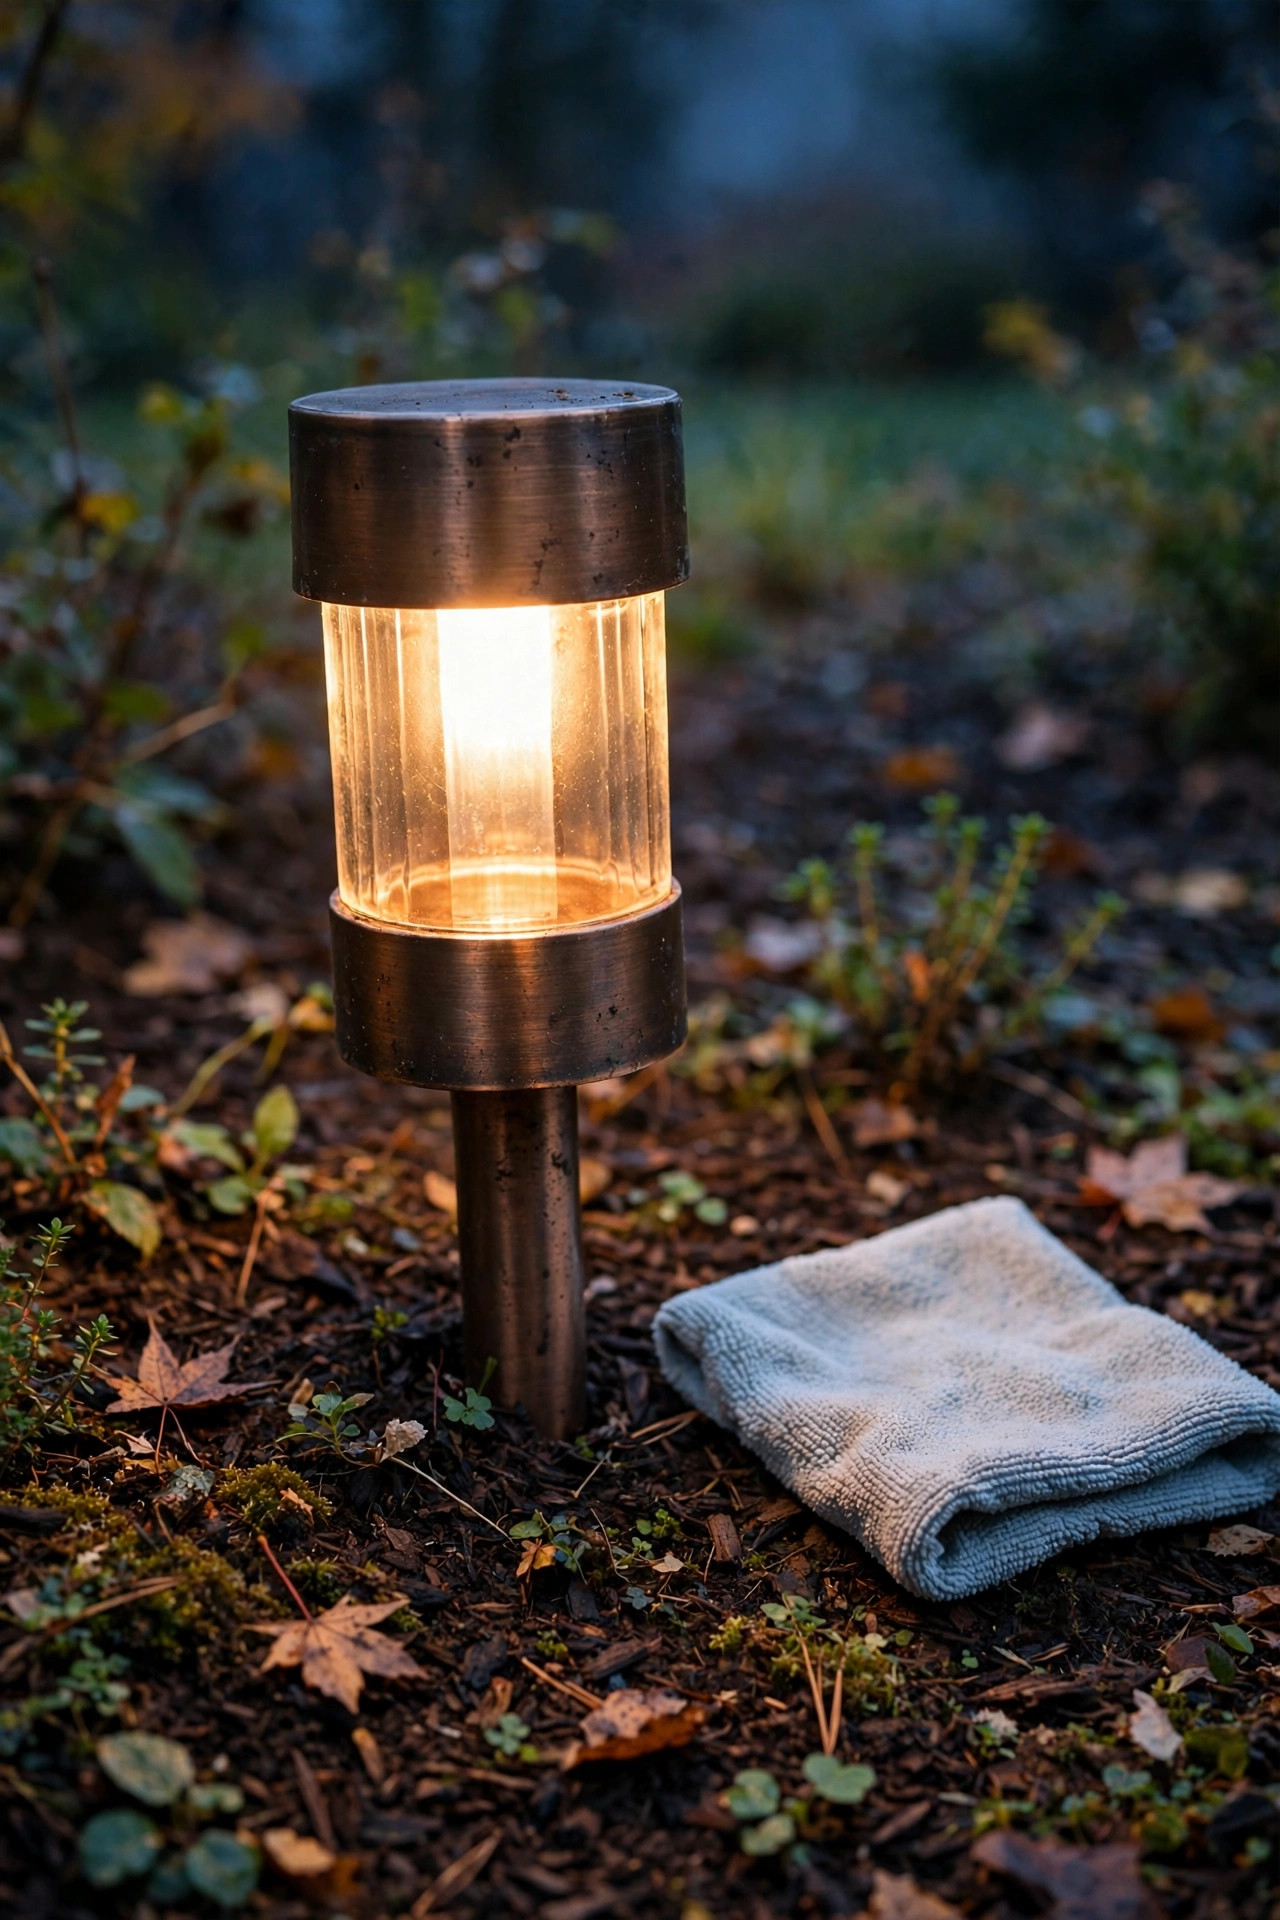
Wipe each fixture's lens with a soft cloth; a film of pollen and hard-water spots can steal a surprising amount of brightness. Check that path lights still stand straight (frost and bumped mower wheels tilt them), trim back any plant that's grown over a spotlight, and glance at the transformer to confirm the timer still matches your schedule after daylight-saving changes. Once a year, tug-test your connectors while the lights are on at dusk; any flicker tells you exactly which connection wants reseating before it becomes a weekend project.
Integrated LEDs should glow for a decade or more, and replaceable-bulb fixtures need a new bulb only every several years. One last habit: snap a phone photo of your yard on a good night each spring. Comparing year to year shows you exactly which tree has outgrown its spotlight and which bed needs one more light — the photo is the kindest design critic you'll ever hire.
That's the whole routine — which is rather the point of starting small.
Frequently Asked Questions
Do I need an electrician for a beginner landscape lighting project?
No. A plug-in low-voltage system is designed for homeowners: the transformer plugs into an existing outdoor GFCI outlet, and everything after the transformer is 12-volt and safe to handle. You'd only need an electrician if you want a brand-new outlet installed where none exists.
Can I use solar lights instead for my first project?
You can, and solar stakes are a fine zero-commitment experiment. But they can't match a wired system's brightness, consistency, or lifespan, and they fade on cloudy weeks. Most people I know who started with solar ended up buying the wired starter system within a year anyway — so if you can plug in a transformer, start there.
How long will a 5-light starter system last?
Metal fixtures with sealed connectors typically serve 10–15 years; integrated LED light sources are commonly rated 25,000–50,000 hours, which at five hours a night is well over a decade. The transformer is the usual first replacement, often around year 8–12.
What if there's no outdoor outlet near my walkway?
You have three options: mount the transformer at the nearest existing GFCI outlet and run a longer cable (12-gauge handles 75–100 foot runs happily), have an electrician add an outlet ($250–$450 in most areas), or use a weatherproof extension setup only as a very temporary test — never as the permanent plan.
Conclusion
That's the whole secret, laid out plain: five lights, one transformer, one coil of cable, and one honest evening of aiming. A beginner landscape lighting project isn't a watered-down version of the real thing — it *is* the real thing, at the scale where learning is fun instead of expensive. Start this weekend, and by Sunday night your walkway will be safer, your home will glow like you meant it, and you'll already be sketching phase two. Browse the site's other lighting ideas when you're ready — I'll be here, coffee in hand, cheering on your next five lights.