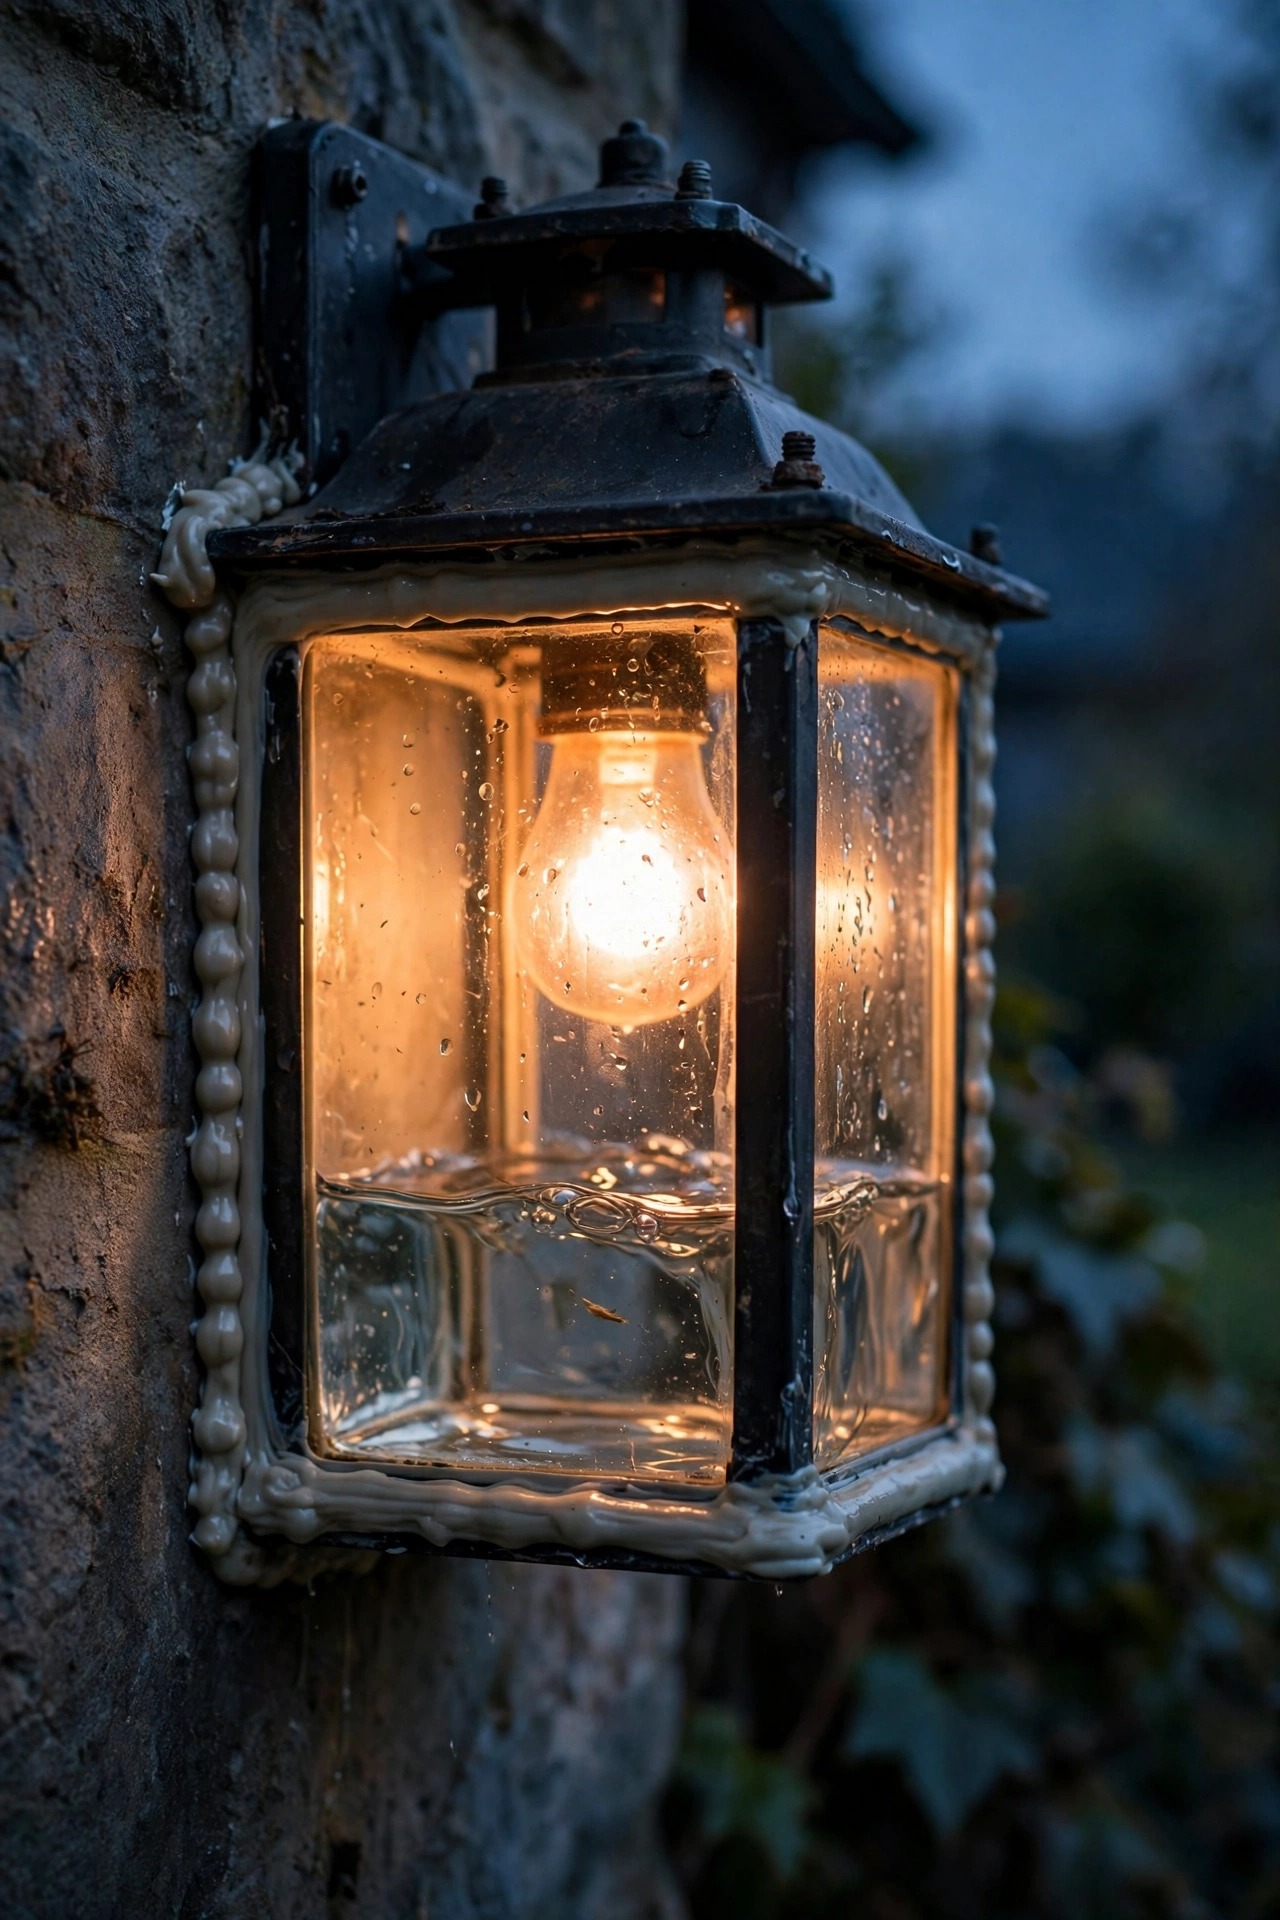
Last spring, my porch light started flickering every time it rained. When I finally climbed up to change the bulb, I found the real problem: nearly an inch of water pooled in the bottom of the fixture, with the socket sitting in a rust ring. Finding water in outdoor light fixture housings is far more common than most homeowners realize. Since then, I have spotted that same telltale fog, drip line, or rusty streak in neighbors' porch lanterns, garden path lights, and even a lamp post down the street. The good news? A wet fixture is rarely a death sentence. Most of the time, the fix is one afternoon of drying, cleaning, and resealing with about ten dollars' worth of supplies. In this guide, I will walk you through exactly how I handle it: how to tell harmless condensation from a real leak, how to dry and reseal a fixture safely, what the repair costs in 2026, and the simple habits that keep the water out for good — so your lights stay bright, safe, and rust-free season after season.
The Short Answer
If you found water in your fixture, start here: turn the power off at the breaker, open the fixture up, pour out any standing water, and let every part air-dry completely — a full day indoors is ideal. Wipe away corrosion, replace the tired gasket, and reseal the top and sides of the mounting plate with outdoor silicone, leaving the bottom edge unsealed so trapped moisture can escape. Most wet fixtures recover fully with that simple treatment. If the socket is deeply corroded, the GFCI keeps tripping, or water returns after resealing, replacement is the safer long-term answer.
When Water in Outdoor Light Fixture Housings Becomes Dangerous
A little moisture and a genuine hazard are two different things, so let me be honest about where the line sits. On a standard 120-volt porch or wall fixture, water that reaches the socket contacts or wire connections can create a shock risk and a short circuit. That is why the warning signs matter more than the water itself. If your breaker or GFCI outlet trips when the light comes on, if you hear buzzing or crackling from the fixture, or if you see blackened, scorched marks around the socket, stop using that light until it is fully dried and inspected. Water sitting inside the junction box behind the fixture is also a job where I recommend an electrician, because the wiring insulation itself may be compromised. Low-voltage landscape lights running on 12 volts are a different story: the shock risk is minimal, but water still corrodes sockets, clouds lenses, and kills bulbs early. The one rule that applies to every fixture is simple: never switch a wet fixture on "just to test it." Dry first, every time. In my own house, the rule has no exceptions: if a fixture has standing water in it, it stays off until it has been opened, fully dried, and resealed — not even "just for one evening" while guests are coming. Water and electricity are a combination I never negotiate with, and neither should you.

How the Water Gets In: The Four Usual Culprits
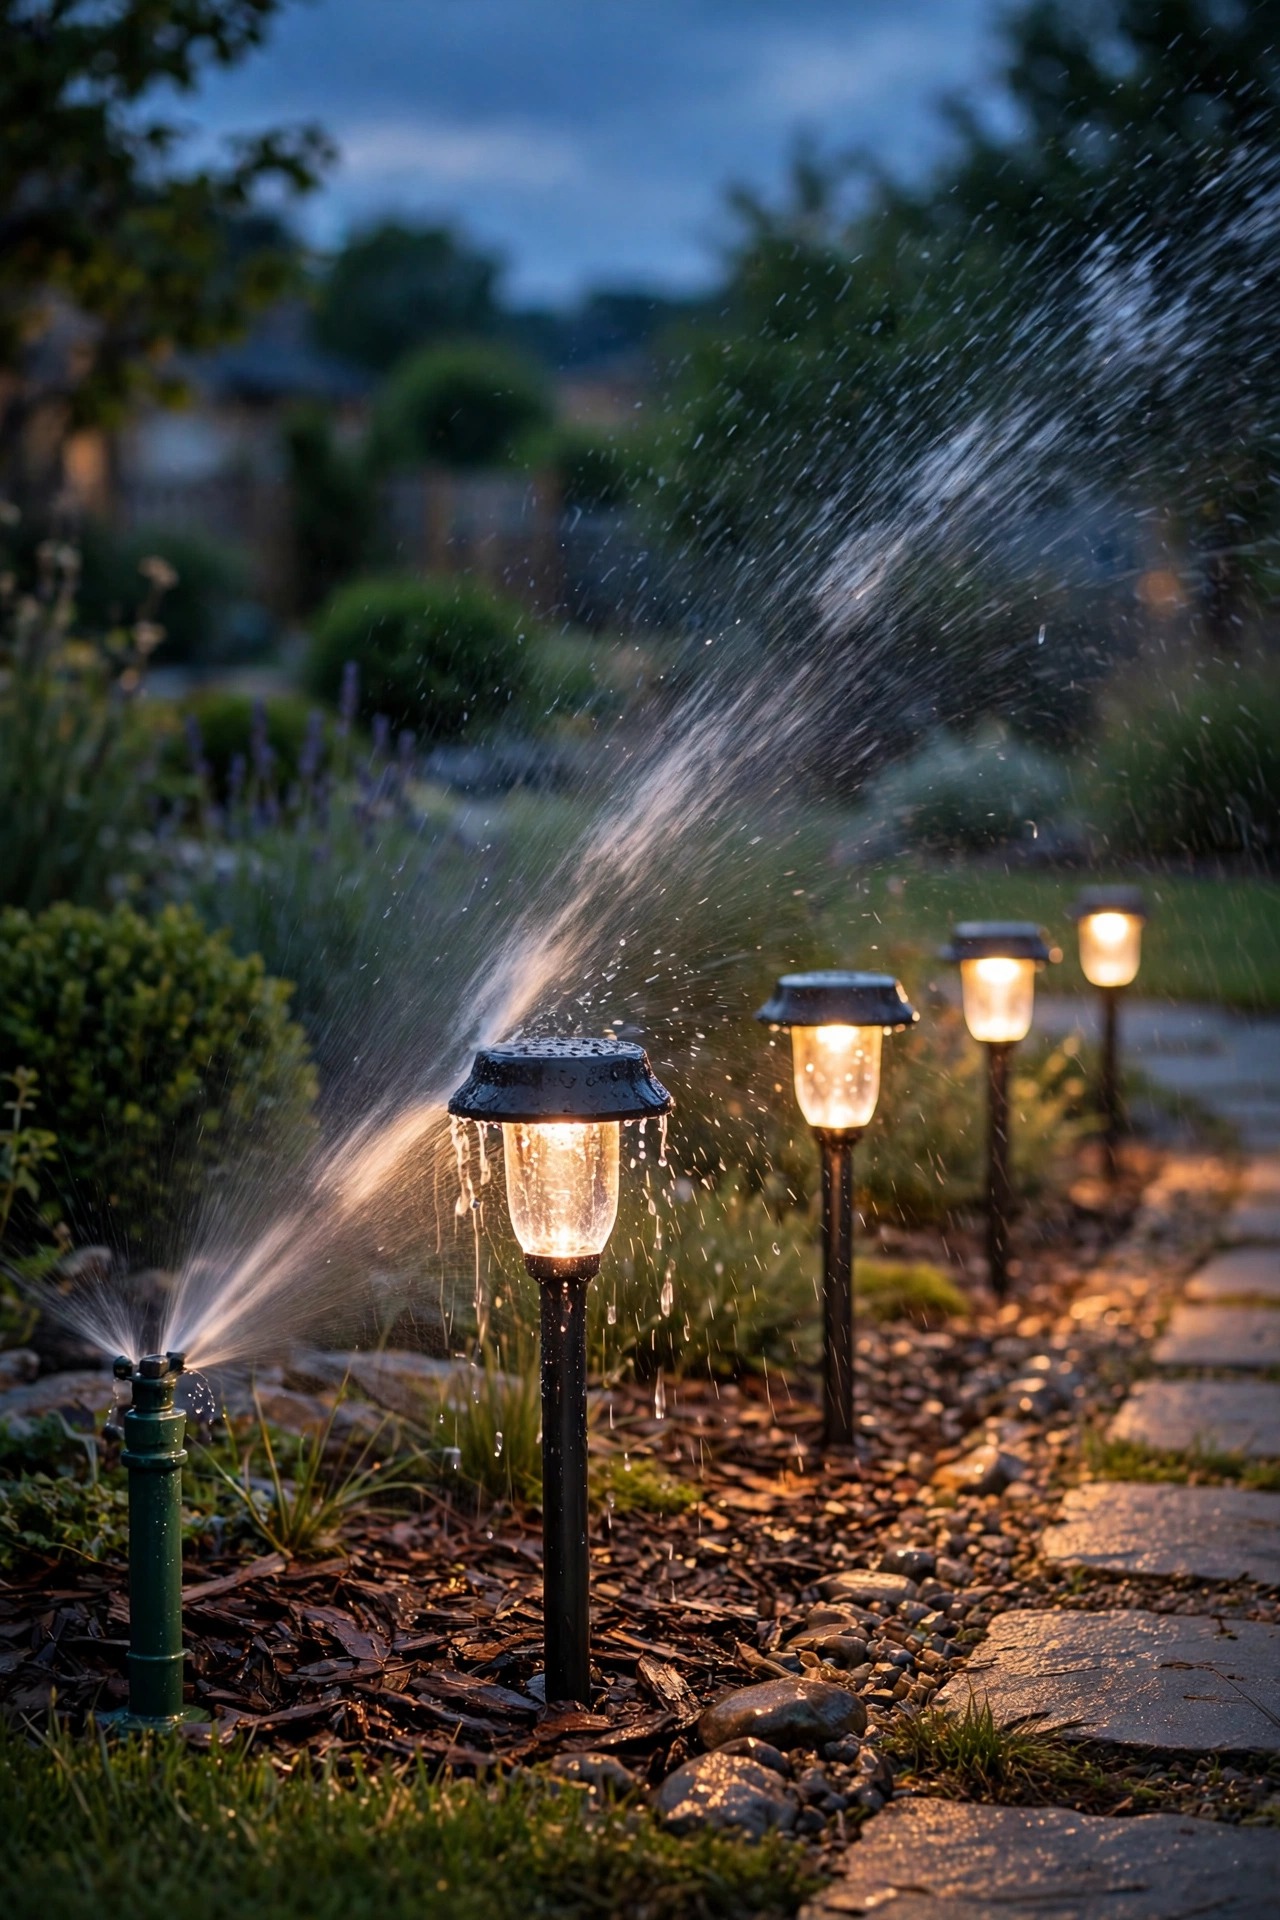
After opening up a few dozen soggy fixtures over the years, I can tell you the water almost always arrives one of four ways. First, the gasket dies. That thin foam or rubber seal between the fixture and the wall, or around the glass, hardens and cracks after a few summers of heat, and rain finds the gap. Second, water runs down the siding and slips behind the mounting plate, especially on fixtures installed with no caulk along the top edge. Third, the housing itself fails: a hairline crack in the glass, a rusted pinhole in a metal canopy, or a warped cover that no longer sits flat. Fourth — and this one surprises people — condensation. Fixtures "breathe" as they heat up at night and cool down at dawn, pulling in humid air that condenses on the coldest surface, usually the inside of the glass. Sprinklers deserve an honorable mention, too: a mis-aimed sprinkler head can blast a path light or porch fixture with more water in ten minutes than a week of rain delivers. With path lights, I also check the stem seam where the head meets the post; that little joint loosens as the ground freezes and thaws, and once it gaps, it becomes an open door for rain. And on a lamp post, take a look at the access panel on the base — its tiny screws back out a fraction over the years, which is all the invitation water needs.

Condensation or a Real Leak? How to Tell the Difference
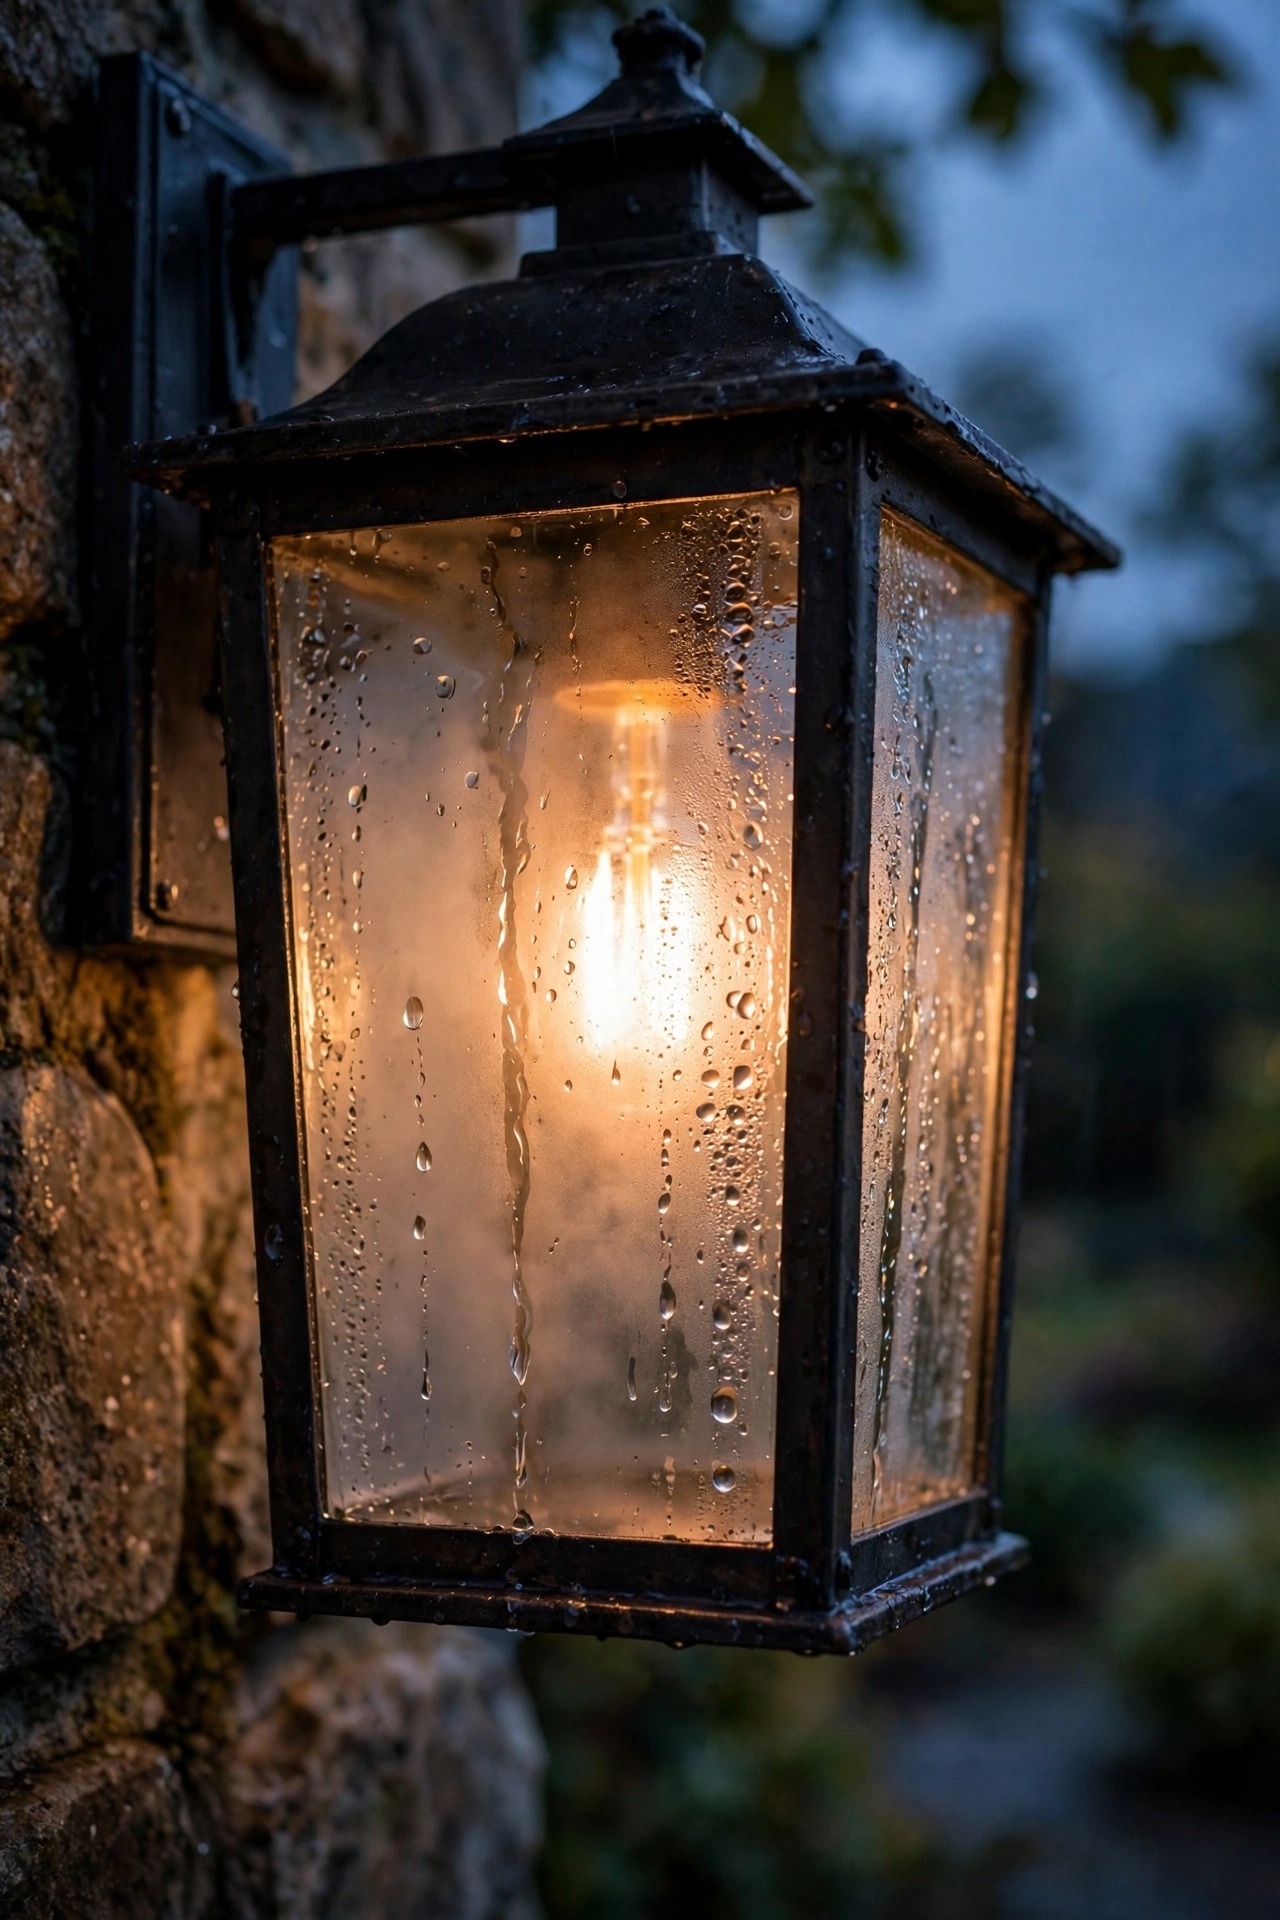
Before you reach for the caulk gun, it pays to know which problem you actually have, because the fixes are different. Condensation looks like a fine fog or a mist of tiny droplets spread evenly across the inside of the glass. It shows up after big temperature swings — a humid evening followed by a cool night — and it usually clears on its own by midday. A leak looks heavier: large droplets, visible drips, standing water pooled in the bottom of the fixture, or rust-colored streaks running down from a seam. Leaks follow rain, not temperature. Here is my simple test: dry the fixture completely, reassemble it, then spray it gently with a garden hose in sections — top first, then the sides, then the glass — checking inside after each pass. The moment water appears, you have found your entry point. If the glass only fogs on cool mornings and never pools, you are dealing with condensation, and your fix is ventilation and sealing warm air out, not hunting for a hole. One more clue lives on the outside of the fixture: if the droplets are only on the exterior surface of the glass, that is plain dew, and your fixture is perfectly fine. The problem is only ever moisture trapped on the inside. If you are still unsure, keep notes for a week — jot down whether the water appeared after rain or after a cool, humid night. Patterns never lie, and a week of notes beats an afternoon of guessing.

Step-by-Step: Drying the Fixture Out Safely
Drying sounds trivial, but rushing it is how people end up with corroded sockets a month later. Here is the order I follow:
1. Switch the fixture off at the wall, then turn off the breaker for that circuit. Verify the power is dead with a non-contact voltage tester before touching anything.
2. Remove the bulb and set it aside. If the bulb's metal base shows green or white corrosion, plan to replace it.
3. Open the fixture or remove it from the wall, working over a towel so small screws do not vanish into the garden.
4. Pour out all standing water, and note exactly where it was sitting — that tells you which seal failed.
5. Wipe every surface with a dry microfiber cloth, including inside the socket with a twisted corner of the cloth.
6. Let the fixture air-dry for a full 24 hours in a garage or covered porch. A small fan speeds things up; if you use a hair dryer, keep it on the lowest, coolest setting and hold it at a distance.
7. While it dries, peek at the junction box and wire connections. Damp wire nuts get replaced, not reused.
8. Do not reassemble or restore power until every part is completely dry to the touch.
Cleaning Up: Corrosion, Rust Stains and Cloudy Glass
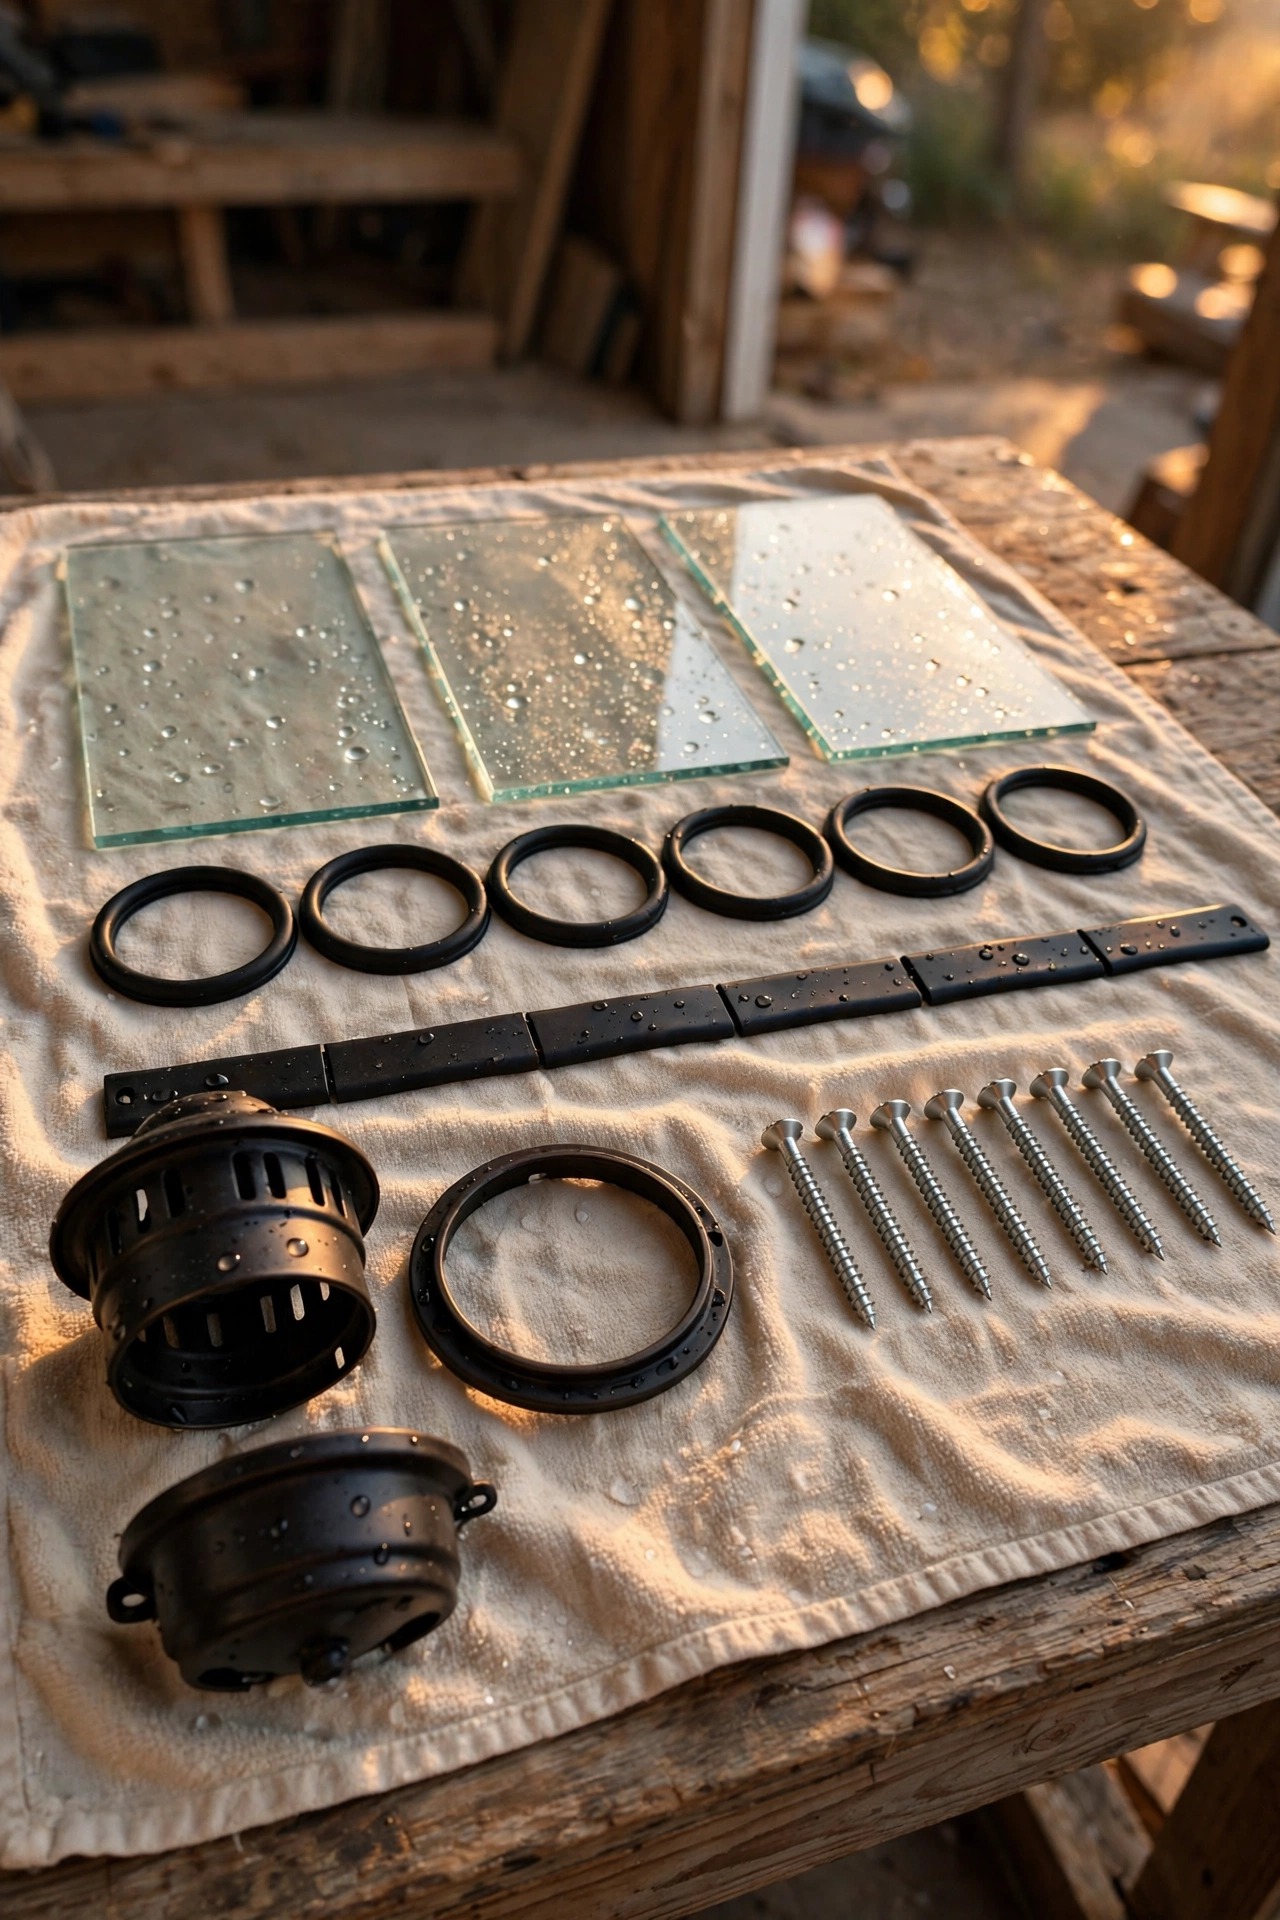
Once everything is dry, deal with the damage the water left behind, because corrosion keeps spreading even after the fixture dries out. On socket contacts, I dab a cotton swab in white vinegar, hold it against the green or white crust for a minute, then scrub gently with an old toothbrush until the metal looks bright again. A pencil eraser works surprisingly well on light tarnish. Rust streaks on the housing usually wipe off with a baking soda paste and a soft cloth — avoid steel wool on painted or powder-coated finishes, since the scratches invite more rust later. Cloudy glass is normally just mineral deposits from evaporated water: soak a cloth in equal parts vinegar and water, lay it on the pane for ten minutes, and the haze lifts right off. For wire connections inside the fixture, any connector that looks green, swollen, or crumbly gets cut out and replaced. This is the same discipline I use for underground splices in my landscape runs — if you want the full method, my walkthrough on how to splice landscape lighting wire with gel-filled waterproof connectors covers it step by step. Finish every cleaned metal contact with the tiniest smear of dielectric grease before reassembly.

Step-by-Step: Resealing the Fixture So It Stays Dry
Resealing is where most DIY fixes quietly fail, because the instinct is to seal everything, everywhere. Resist it. A fixture needs one escape route for moisture, and that route is the bottom.
1. Replace the gasket. Peel off the old foam or rubber seal and press on a fresh one; self-adhesive foam weatherstrip tape, trimmed to size, works beautifully as a substitute.
2. Remount the fixture snugly against the wall, tightening screws evenly in a cross pattern so the gasket compresses uniformly instead of warping.
3. Run a thin bead of clear outdoor silicone caulk along the top and both sides of the mounting plate or canopy, where it meets the wall.
4. Leave the bottom edge completely unsealed. This is the weep path — any moisture that sneaks in can drain and evaporate out instead of pooling.
5. Add a dab of dielectric grease to the bulb's base threads before screwing it in; it seals the socket contact against damp air.
6. If the wire connections sit in a damp spot, remake them inside gel-filled waterproof connectors so the splice itself is sealed against the weather.
7. Wait a full day for the caulk to cure before the hose test — then spray the top of the fixture and confirm the inside stays dry.

Keeping Water in Outdoor Light Fixture Housings Dry for Good
Drying and resealing fixes today's problem; a few small habits stop the sequel. Once a year, run your finger along the caulk bead at the top of every wall fixture — if it feels cracked or pulls away from the siding, scrape and redo it, a five-minute job. Inside the fixture, make sure the wires have a slight downward "drip loop" before they enter the housing, so rainwater traveling down a wire drips off instead of flowing in. Check your sprinkler aim each spring, too; heads drift, and a fixture taking a direct blast ages three times faster than one that only sees rain. For path and landscape lights, keep mulch and soil pulled an inch below the cap seam, because mulch piled against the stem wicks moisture straight into the housing. After any big storm, a ten-second glance at each fixture for fog or a waterline tells you whether a seal is starting to fail while the fix is still cheap. And protect that bottom weep opening fiercely — well-meaning caulk along the bottom edge is the single most common reason a "sealed" fixture fills up again. I also favor fixture designs with a sloped or domed top whenever I am choosing new ones, because water that cannot sit on a surface cannot sneak through it either. Gravity is the cheapest waterproofing there is, so let it work for you instead of against you.
When It's Time to Replace: Choosing Fixtures That Seal Better
Sometimes the honest answer is a new fixture. Replace rather than repair when the socket is corroded through, the housing is cracked or rusted out, the glass is broken, or water returns within a season of a careful reseal. When you shop, the label that matters is "wet location" — a "damp location" fixture is only rated for covered, sheltered spots and will keep drinking water on an exposed wall. An IP65 rating or higher means the fixture is sealed against water jets from any direction, which is what you want for rain-exposed walls and in-ground landscape lights. Sealed designs help enormously, too: my comparison of integrated LED vs bulb fixtures explains why a sealed, integrated unit — with no bulb opening for humid air to wander through — shrugs off weather that defeats a traditional socketed lantern. Whatever style you choose, check that the gasket is real rubber rather than thin foam, that cover screws are stainless, and that the design sheds water off the top instead of pooling it on a flat canopy. Also look at what is in the box before you buy: a proper wall-plate seal and clear instructions about which edges to caulk tell you the manufacturer actually thought about weather. It is worth paying a little more for that thoughtfulness, because the cheapest fixture on the shelf is rarely cheap once you have replaced it twice.

What It Costs in 2026
The drying-and-resealing route is one of the cheapest repairs in the whole yard. A roll of foam weatherstrip tape or a replacement gasket runs $4 to $8, a tube of clear outdoor silicone is $6 to $10, and a small tube of dielectric grease is $5 to $9 — and each of those supplies will service every fixture you own, not just one. Replacement glass panels, when a lens is cracked, typically cost $10 to $25. If the fixture itself is done, a solid wet-location porch or wall fixture runs $35 to $120, and a quality landscape path light is $15 to $45 each. Doing the whole job yourself, most homeowners spend under $20 total per fixture. An electrician visit — worth it when the junction box is wet, the wiring looks damaged, or a GFCI keeps tripping — generally runs $150 to $300 for the trip and first hour. Compare that with ignoring the problem: a corroded fixture, a dead circuit, and a full replacement later will cost far more than a tube of caulk today. The running costs do not change after a repair, either — an LED porch bulb still sips only a dollar or two of electricity a year — but a fixture you save is a fixture you do not have to buy, mount, wire, and aim all over again. Around my house, that math always wins.

5 Mistakes That Make a Wet Fixture Worse
1. Caulking all the way around. Sealing the bottom edge traps every drop inside. The bottom is the drain — leave it open. I learned this one the hard way on a garage lantern that a previous owner had sealed beautifully on all four sides; it filled up twice in one season before I figured out why.
2. Turning the power on while it is still damp. One impatient test can short the socket, trip the breaker, or leave scorch marks that become permanent damage. Electricity will happily follow the path the water made, and the damage happens in a second.
3. Ignoring a tripping GFCI. That trip is a warning, not a nuisance. Resetting it repeatedly while water sits in the fixture defeats the protection entirely. And if it keeps tripping after the fixture is fully dried and resealed, the fault is real — that is the moment to call an electrician, not the reset button.
4. Replacing it with a damp-rated fixture. An indoor or damp-location light on an exposed wall will be full of water again by the next rainy season. The rating is printed right on the box and on the fixture's own label, so check it before you buy, not after the first storm.
5. Cranking the cover screws down hard. Overtightening cracks glass and warps gaskets, opening exactly the gaps you were trying to close. Snug and even wins — finger-tight plus a quarter turn is plenty for most cover screws.
A 10-Minute Seasonal Check That Catches It Early
Twice a year — I do it when I swap my porch decor for spring and again before the fall rains — walk the house with a flashlight and give every outdoor fixture ten seconds of attention. Look for fog that has not cleared by midday, a waterline stain inside the glass, rust freckles on screws, or a caulk bead that has cracked away from the siding. Open any fixture that looks suspicious while it is still a five-minute reseal rather than a full replacement. While you are out there, snug any cover screw that has worked loose, wipe each lens clean so the light you saved actually shines at full brightness, and pull leaves and mulch away from the bases of path lights so the stems stay dry. If one fixture has needed resealing twice in a single year, put it on a watch list — it is quietly telling you its housing is nearing the end, and next season's budget should include its replacement. I keep this little ritual on the same list as my gutter and hose-bib checks, and it sits right alongside the other tasks in my outdoor lighting maintenance checklist, which walks through the whole system — transformers, timers, lenses, and all — in one pass. Ten minutes in April has genuinely saved me hundreds of dollars in fixtures over the years.

Frequently Asked Questions
Is a little condensation inside an outdoor light fixture normal?
A light fog that appears on a humid evening and clears by midday is fairly normal — it is just humid air condensing on cold glass. What is not normal is pooling water, dripping, or fog that never clears. Those mean liquid water is getting in faster than it can evaporate, and the fixture needs the dry-and-reseal treatment before corrosion sets in.
Can water in a light fixture cause a fire or a shock?
It can, which is why I take tripping breakers and GFCI outlets seriously. On a 120-volt fixture, water across the socket or connections can short the circuit and create a shock hazard. The risk is low when the fixture is on a working GFCI-protected circuit and you keep the power off while it is wet, but a fixture that repeatedly trips protection should stay off until it is dried, resealed, or replaced.
How long should I let a wet fixture dry before turning it back on?
A full 24 hours of air-drying is my rule, and longer if the housing is large or the weather is humid. Everything — socket, connections, the inside of the glass — should be completely dry to the touch. Powering up early to "check" is the most common way a recoverable fixture gets permanently damaged.
Should I drill a small drain hole in the bottom of my fixture?
Please don't. Many fixtures already have a designed weep path, and drilling your own hole near live connections invites trouble — it can void the fixture's weather rating and let insects in. The right fix is to stop water at the top and sides with a fresh gasket and caulk, and leave the factory bottom gap open so the fixture can breathe and drain as designed.
Conclusion
Finding water in outdoor light fixture glass feels alarming, but in my experience it is one of the most fixable problems in the whole yard. Dry the fixture completely, clean off the corrosion, renew the gasket, seal the top and sides, and leave the bottom open to breathe — then give your fixtures a ten-second glance twice a year. Do that, and a soggy lantern becomes a twenty-dollar Saturday fix instead of a replacement. If you are in the mood to keep improving your home's evening glow, browse the rest of my lighting guides here for more ideas worth stealing.