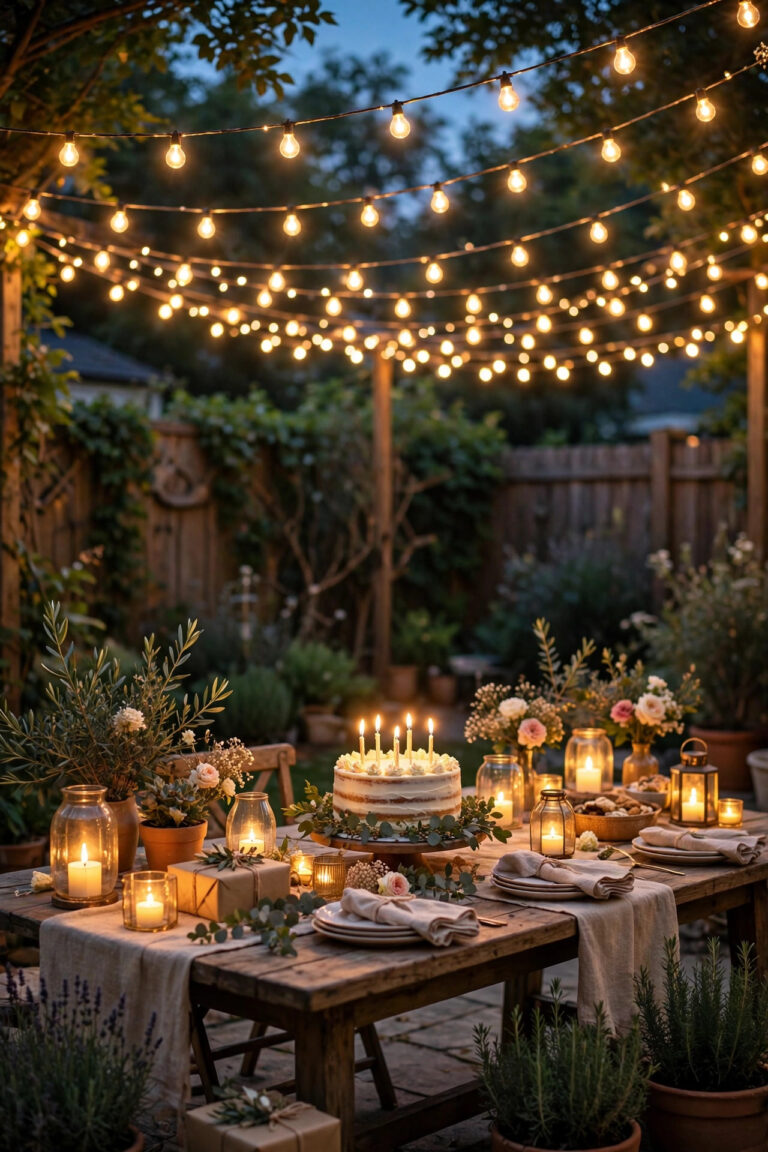
Our first winter in this house, I stood at the kitchen window watching the backyard disappear into darkness about six feet past the patio. The little solar stakes I'd lined up along the fence weren't cutting it, and even the low-voltage kit I added later ran out of steam before it reached the big oak at the back. That's the moment most homeowners start asking about line voltage outdoor lighting — the full-power, hardwired kind your porch light and garage sconces already use. It's brighter, it travels farther, and honestly? It plays by stricter rules. So when is it genuinely worth it? In this guide I'll walk you through exactly how 120V and 12V systems differ, the jobs each one does best, what the electrical code actually requires, what everything costs in 2026, and the hybrid setup most homes — mine included — end up happiest with. By the end, you'll know which voltage belongs where in your yard, and which projects you can safely tackle yourself.

The Short Answer
Line voltage (120V) wins when you need serious brightness, long distances, or fixtures that behave like indoor lights: security floods, lamp posts, porch and garage fixtures, anything on a wall switch or dimmer. Low voltage (12V) wins for accent lighting you install yourself — path lights, spotlights, garden beds. Hardwired 120V costs more to put in, usually needs a permit and often an electrician, and its cable must be buried 18 to 24 inches deep. The 12V side is safer, cheaper, and endlessly rearrangeable. Most yards look their best with both: hardwired workhorses for the big jobs, low-voltage accents for the pretty ones.
What Line Voltage Outdoor Lighting Actually Is
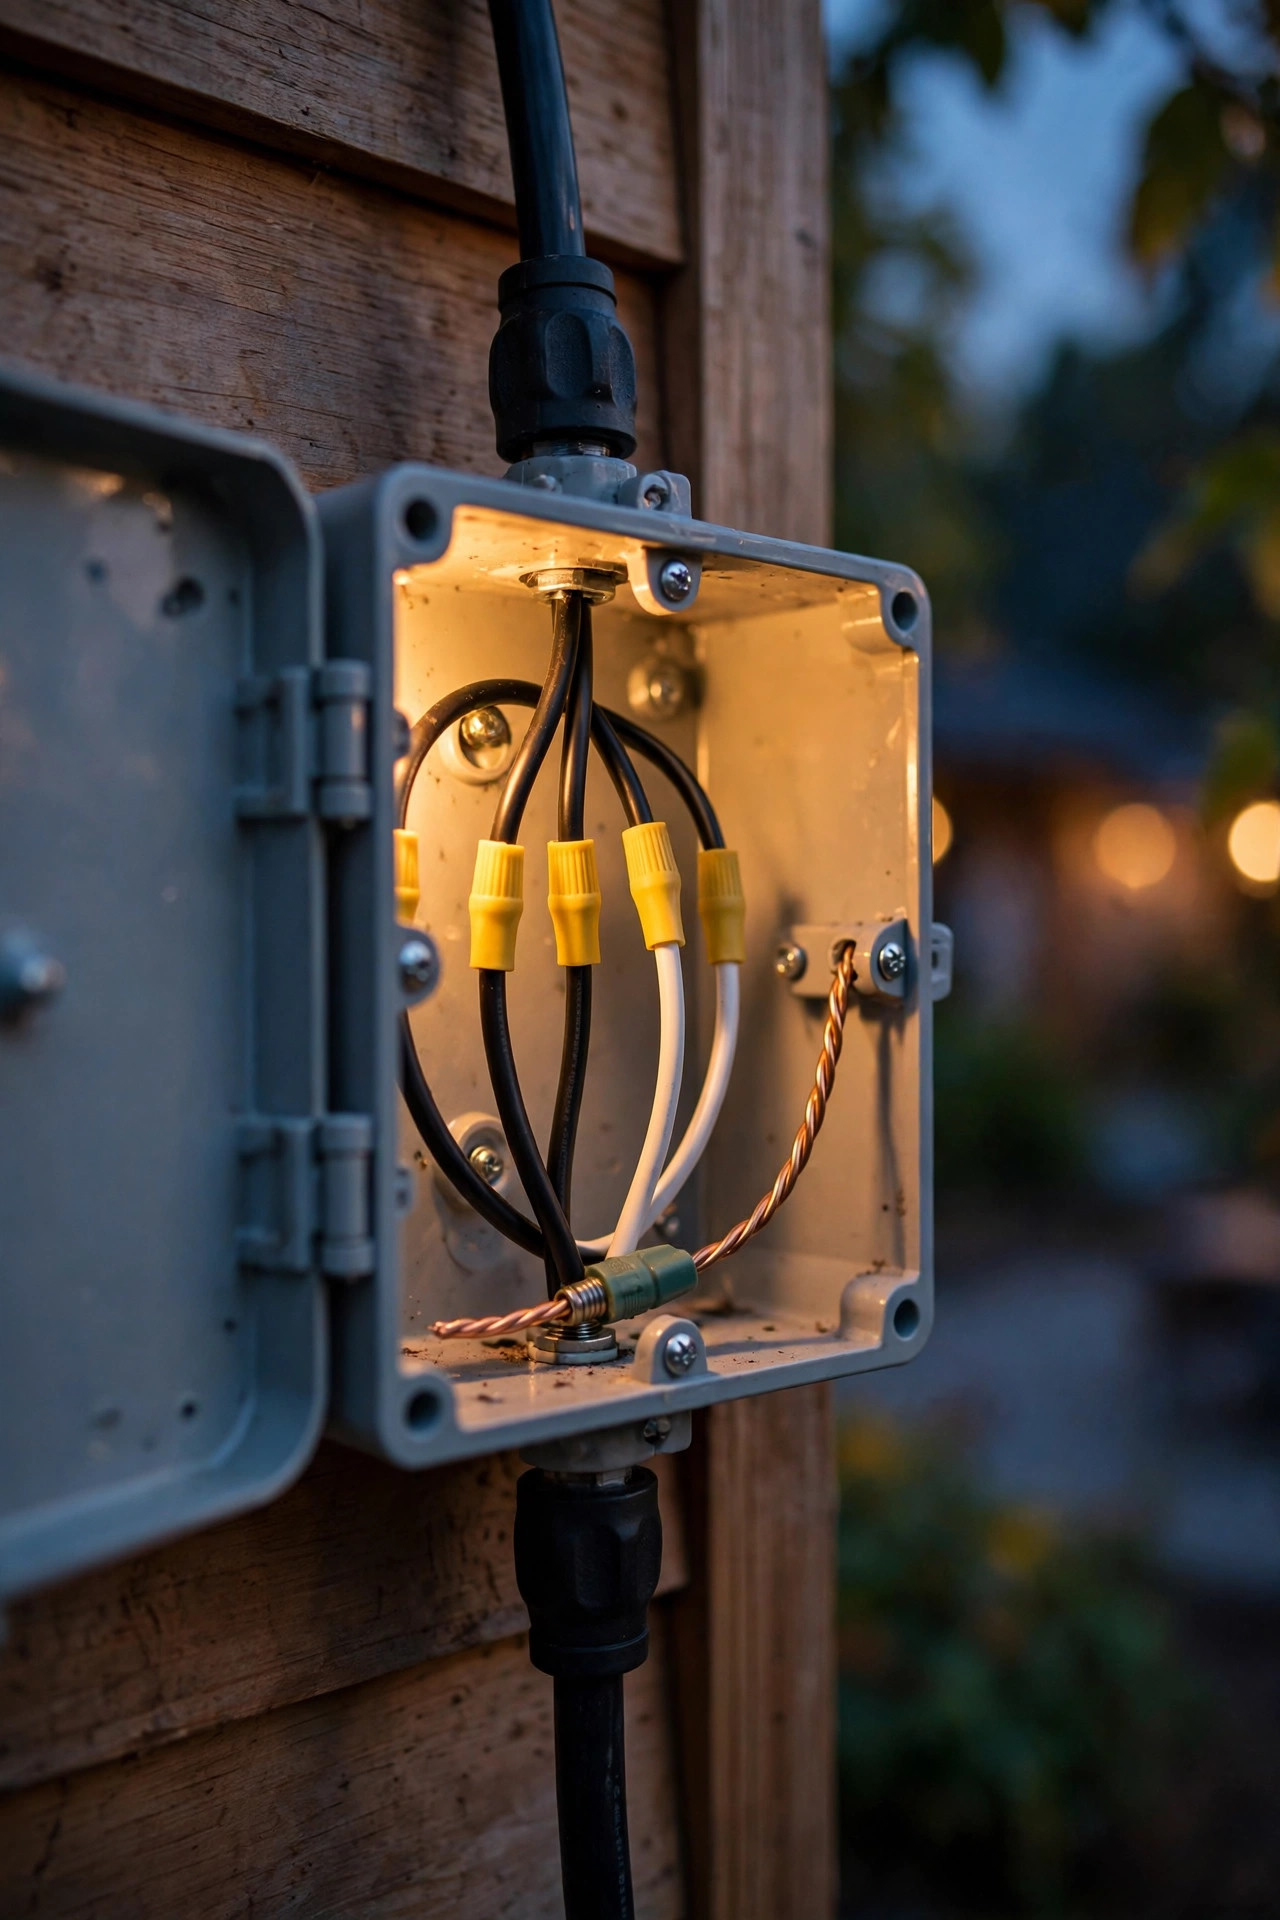
In plain English, line voltage simply means full household power: 120 volts of alternating current delivered straight from your home's electrical panel, exactly the same power that runs your kitchen outlets and ceiling lights. There's no transformer shrinking the power down. Each fixture wires directly into the circuit through an outdoor junction box, with connections made using wire nuts inside that box, and the cable running underground is either UF (underground feeder) cable rated for direct burial or standard wire pulled through PVC conduit.
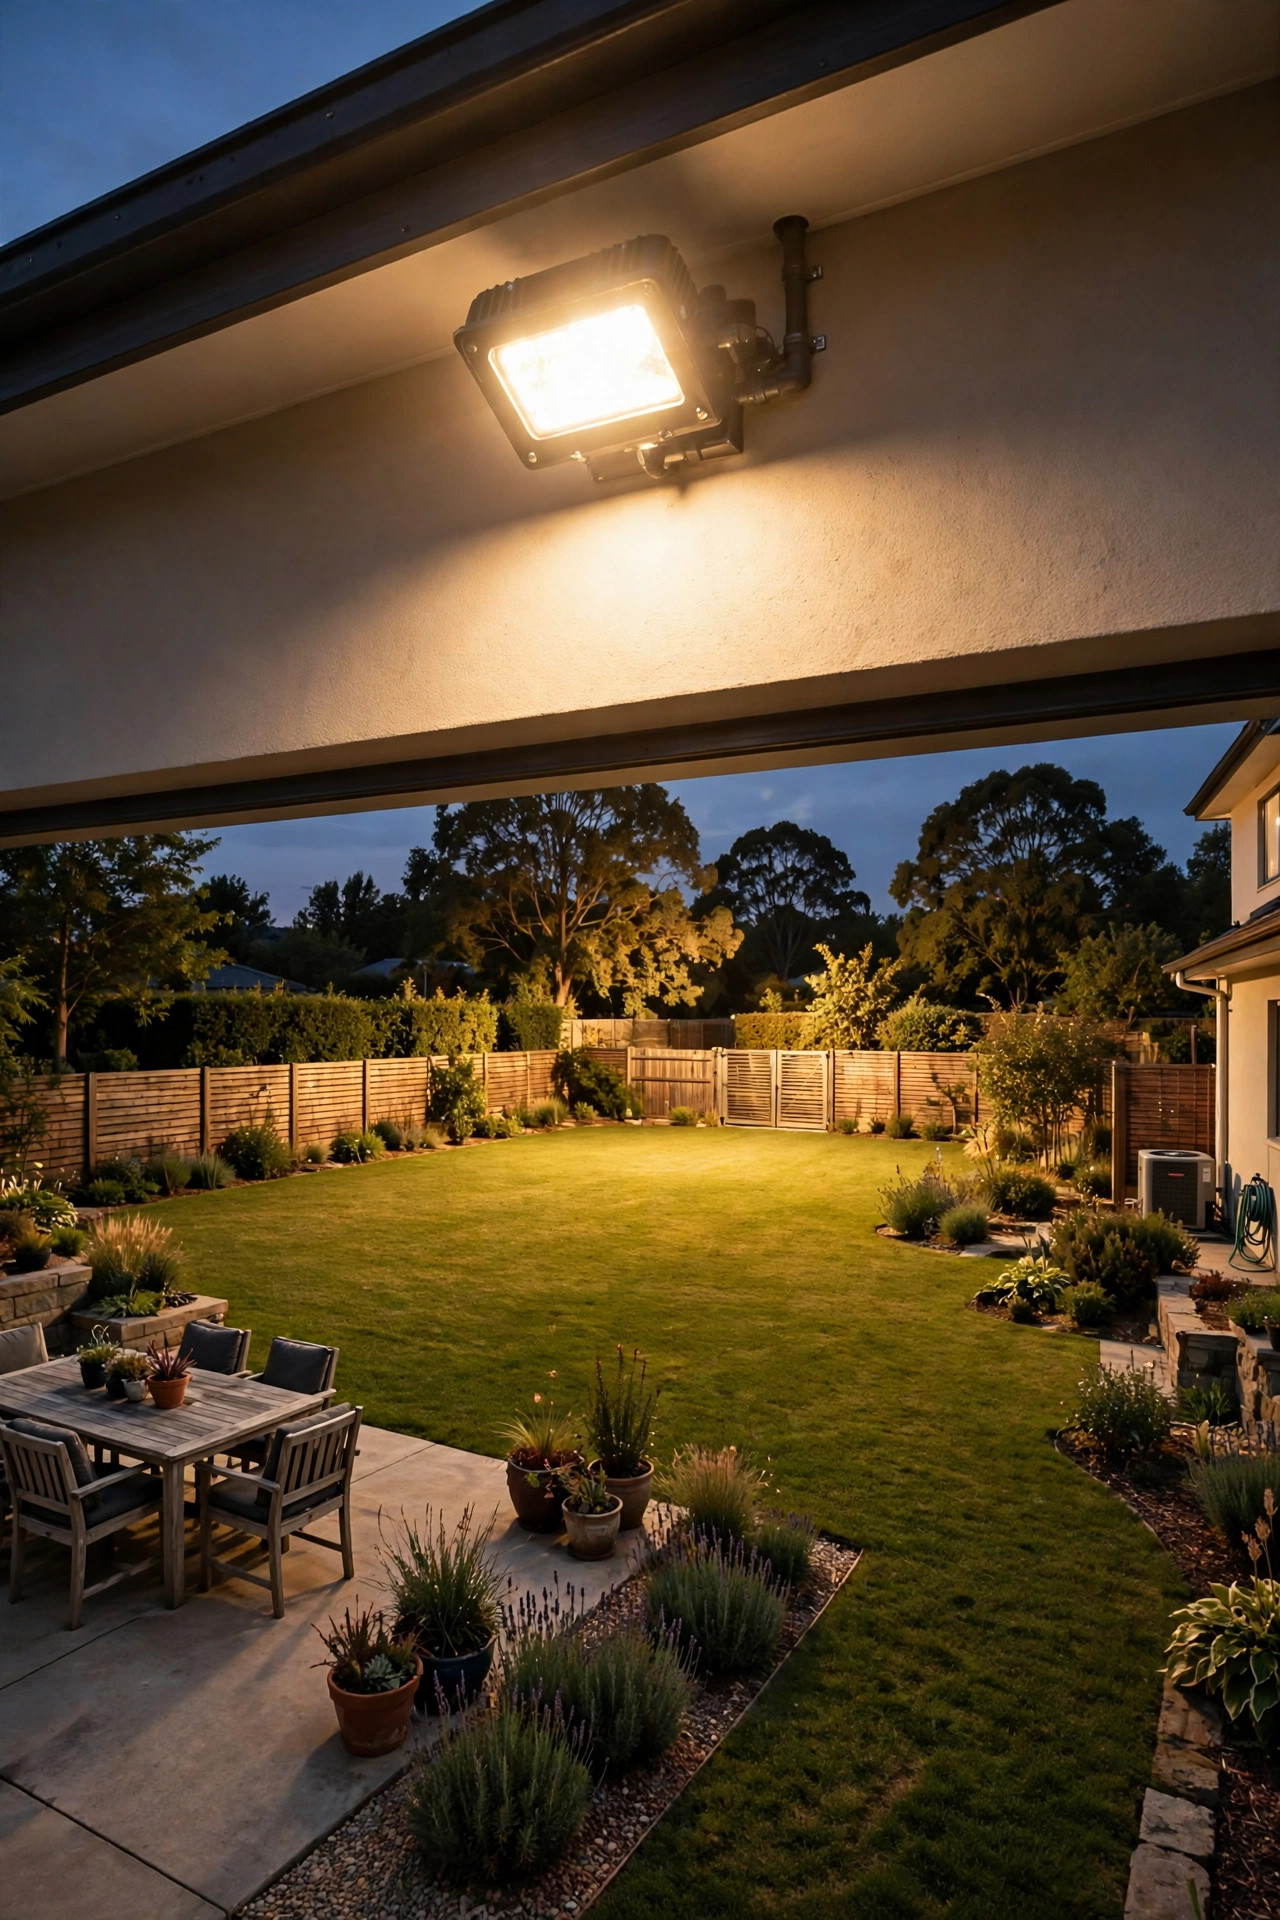
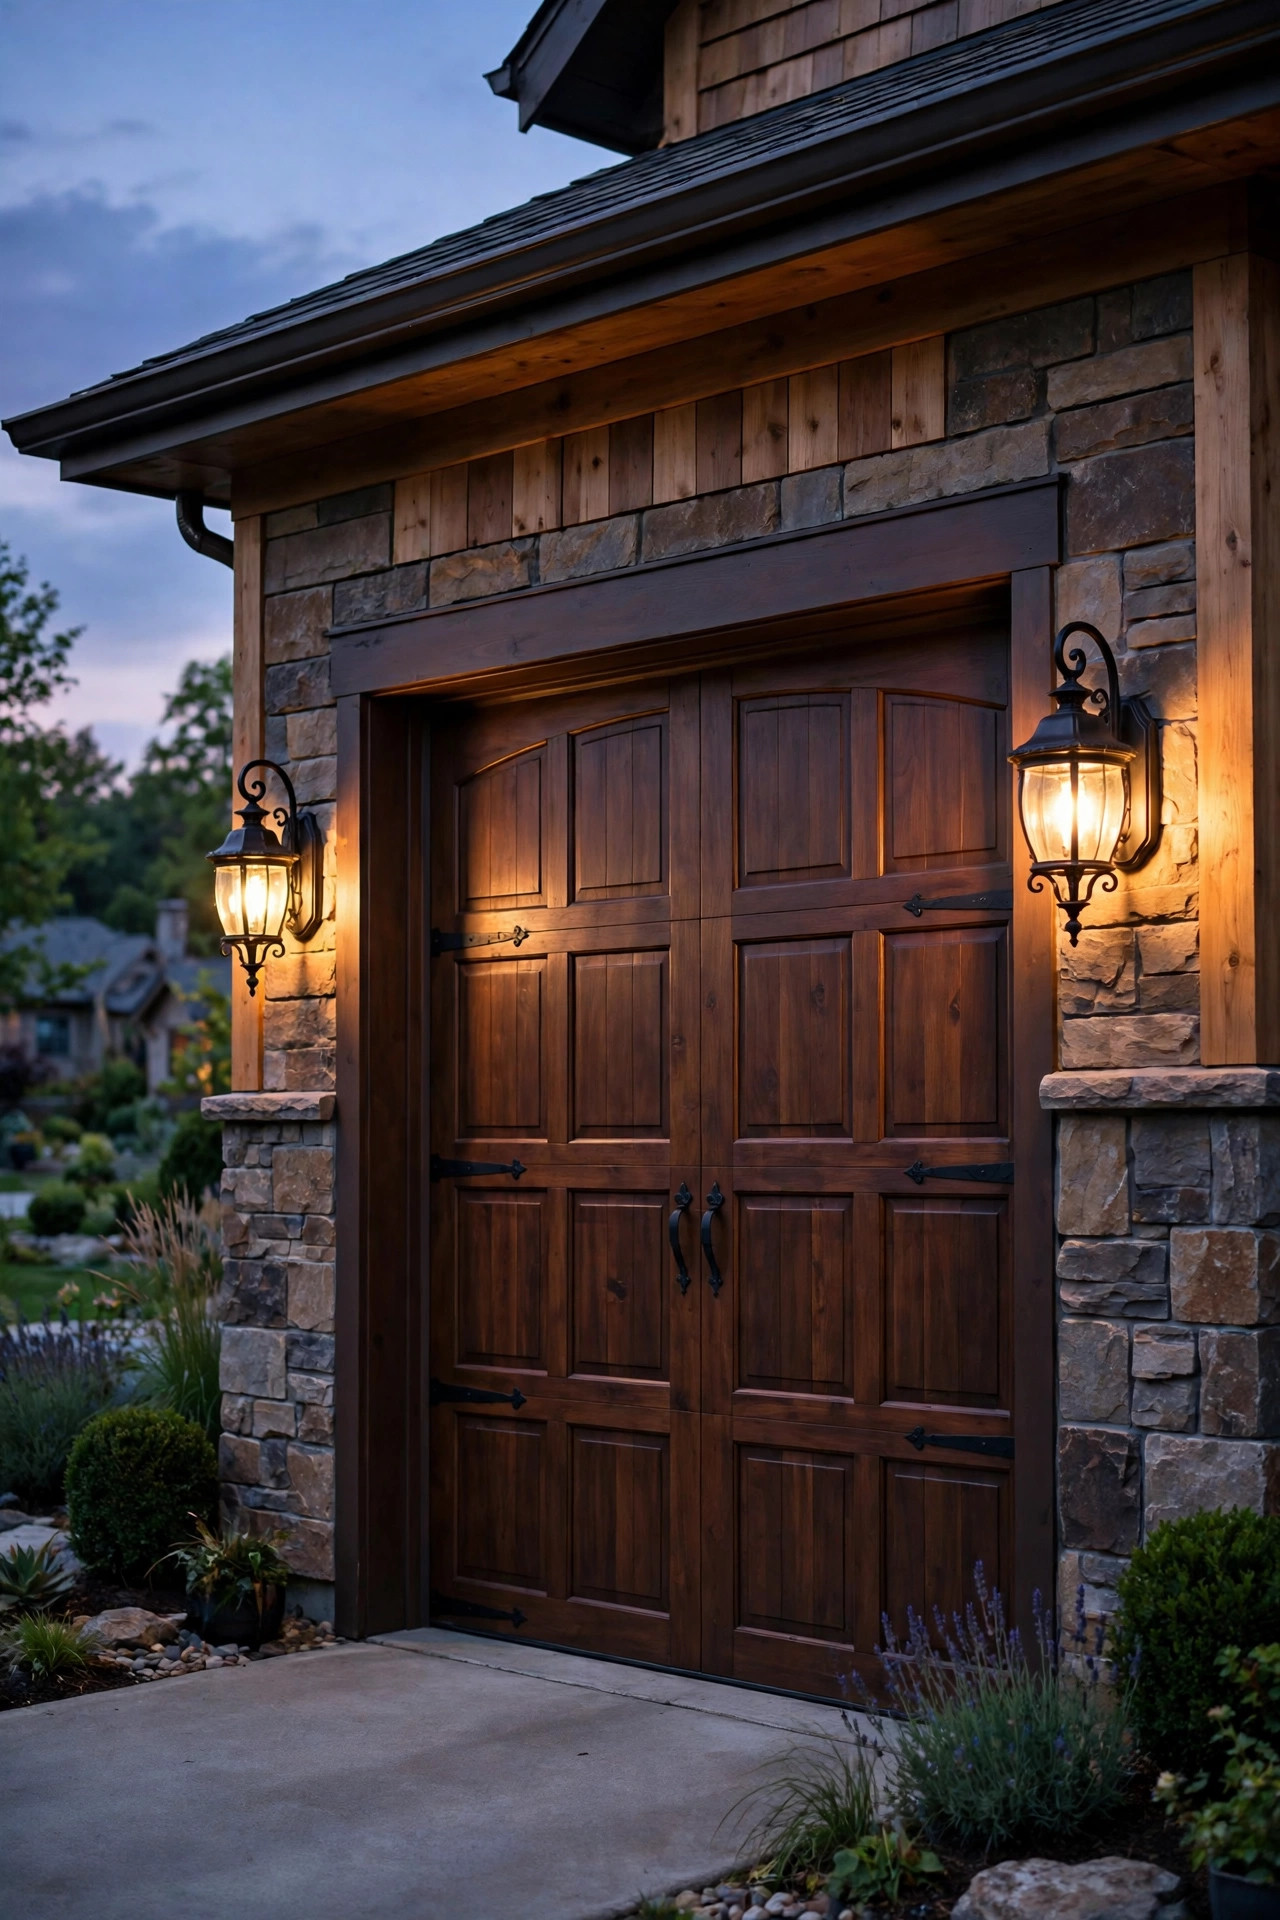
Here's the part that surprises people: you almost certainly own line voltage outdoor lighting already. The porch light by your front door, the sconces flanking your garage, the motion-sensor flood over the driveway — in most homes those are hardwired 120V fixtures on a wall switch. Builders install them because they're permanent, weatherproof, and bright enough for safety. When I talk about "going line voltage" for a project, I really mean extending that same kind of circuit — or adding a new one — to places the builder never wired: a lamp post at the driveway entrance, real floodlights for a big backyard, or a fixture on a detached garage. Because it ties into your home's wiring, it also inherits all the good stuff: standard dimmers, smart switches, and bulbs you can buy anywhere.

How Low-Voltage Lighting Works, for Comparison
Low-voltage landscape lighting takes that same household power and shrinks it before it ever reaches your yard. A transformer — a metal box that plugs into an exterior GFCI outlet, usually mounted near the house — steps 120 volts down to 12 volts. From there, a single low-voltage cable loops through your beds and along your paths, buried just 4 to 6 inches deep, and fixtures connect with pierce-point or squeeze connectors you snap on by hand. No junction boxes, no wire nuts, no conduit in most cases.
That low power is exactly why homeowners love it. Twelve volts won't give you a dangerous shock, so the whole system is genuinely DIY-friendly: you can trench it with a flat spade on a Saturday, move a fixture when a shrub outgrows its spotlight, and add lights whenever you like. Most transformers also include a built-in timer or photocell, so the whole system switches itself on at dusk and off at bedtime without you thinking about it. If you're curious how a full install comes together, my weekend walkthrough on how to install low-voltage landscape lighting covers it step by step. The trade-offs are capacity and distance: the transformer can only supply so many watts, and 12V power fades noticeably on long cable runs — which is where line voltage starts looking very attractive.

Line Voltage vs Low Voltage: The Honest Head-to-Head
Neither system is "better" in the abstract — they're built for different jobs, and in my experience most confusion comes from asking one to do the other's work. Here's how they compare on the things that actually matter when you're planning:
| Line voltage (120V) | Low voltage (12V) | |
|---|---|---|
| Power source | Home's electrical panel | Transformer at an outlet |
| Brightness reach | Full brightness 200+ feet out | Fades on runs past ~100 feet |
| Burial depth | 18–24 inches (code) | 4–6 inches |
| DIY-friendly | Limited; often needs an electrician | Yes, very |
| Permit | Usually required for new circuits | Rarely |
| Installed cost per fixture | $250–$600 | $50–$150 DIY |
| Best for | Security, entries, lamp posts, big areas | Paths, beds, accents, trees |
The pattern I see again and again: line voltage is infrastructure, low voltage is decoration — and I mean that as a compliment to both. You want your security lighting and your front-door fixtures to be as permanent and dependable as the wiring inside your walls. You want your garden accents to be flexible, because gardens change every single season. Pick per job, not per yard, and both systems suddenly make sense. One more row that wouldn't fit neatly in the table: lifespan. Both systems now run on LEDs rated for years of nightly use, so longevity is a genuine tie — the difference between them is how the power gets to the fixture, not how long the light itself lasts.
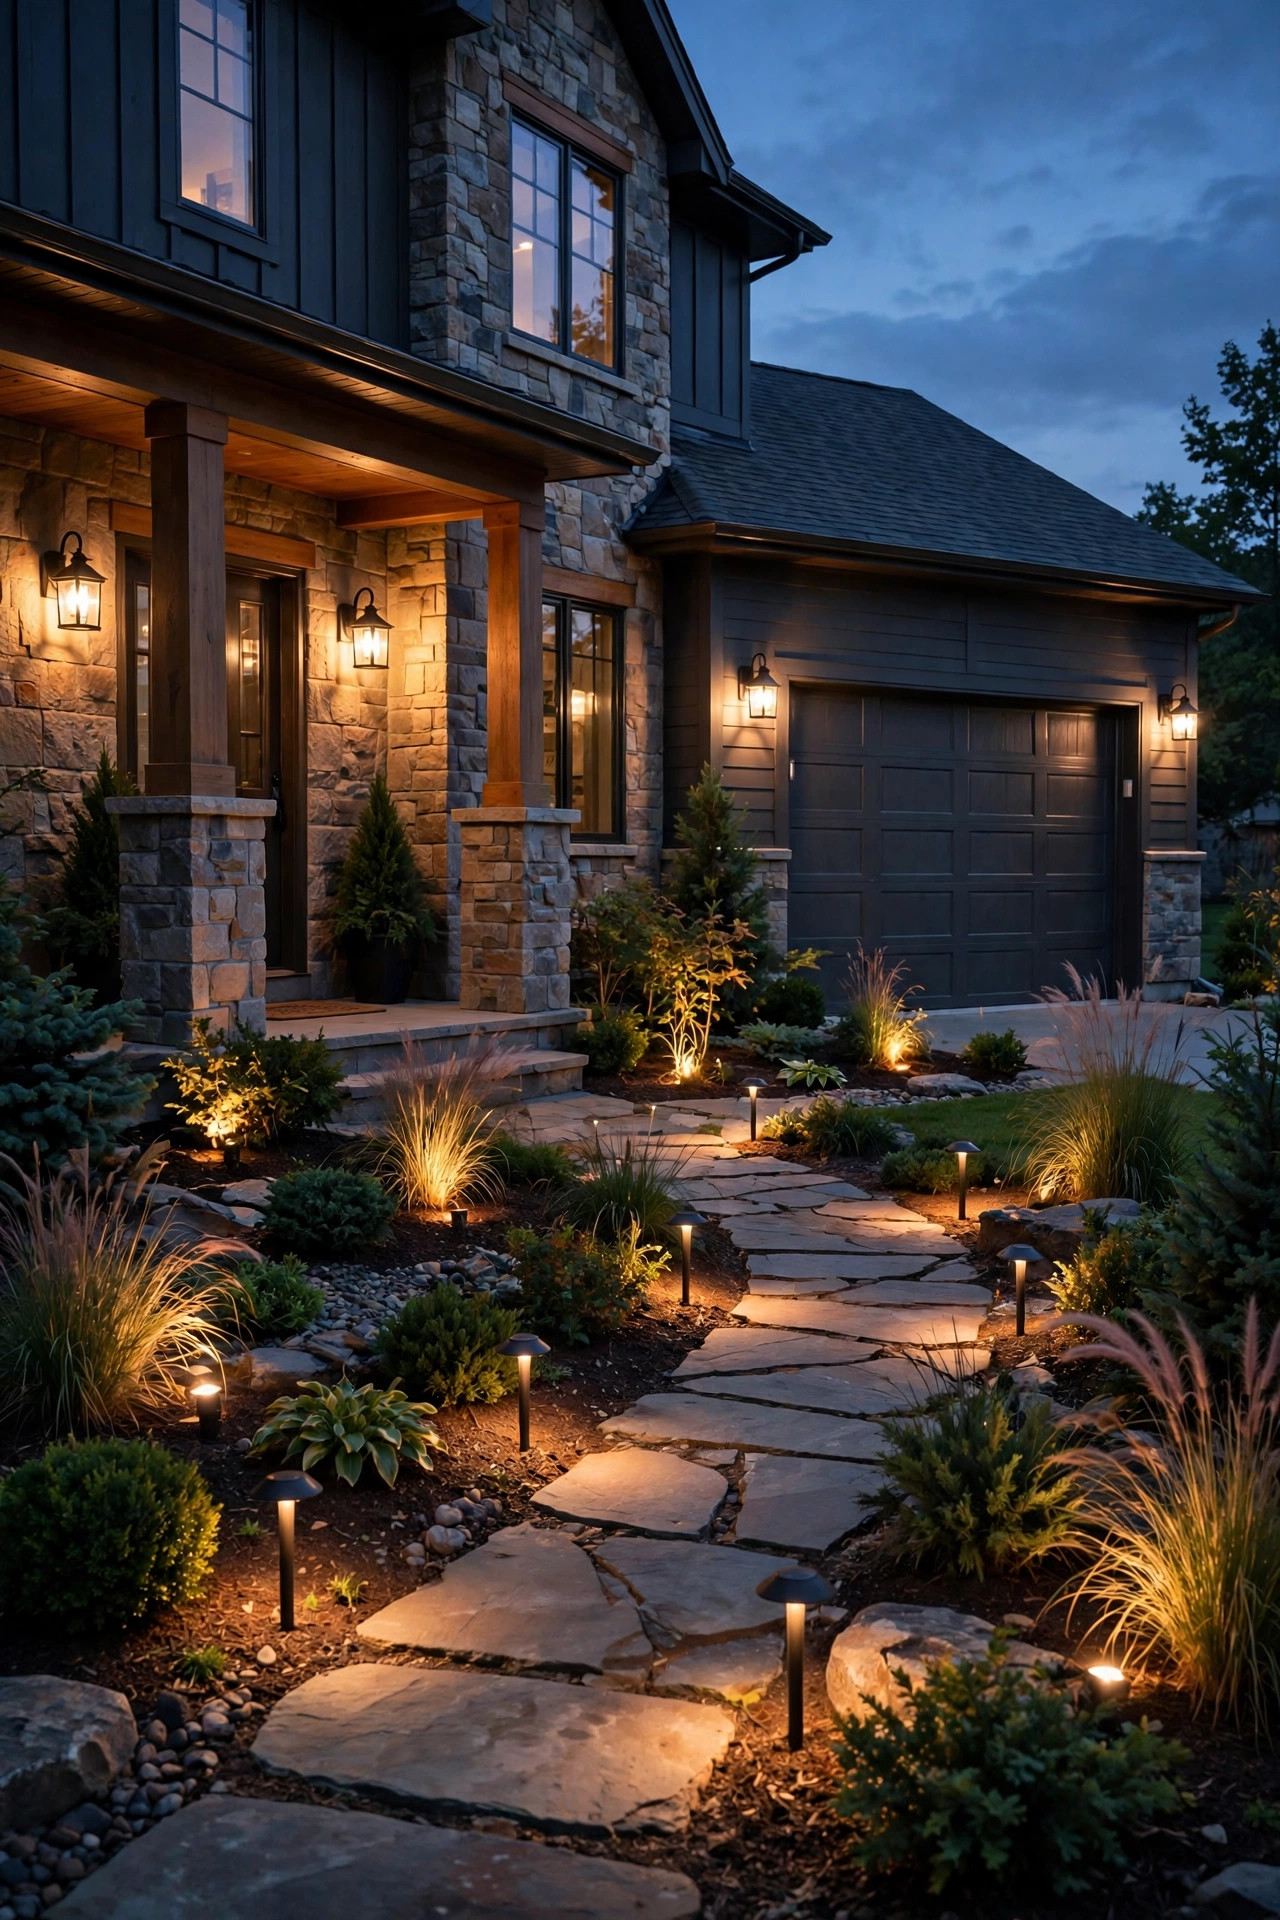
When Line Voltage Outdoor Lighting Wins
There are four situations where I don't even debate it anymore — hardwired 120V is simply the right tool. First, real brightness. A security flood or a pair of floods over a big backyard needs serious lumens, delivered night after night without dimming at the far fixture, and line voltage delivers full power to every fixture on the circuit. Second, distance. If the light you need sits 150 or 200 feet from the house — a lamp post at the end of a long driveway, a fixture on a detached garage or barn — 120V shrugs off that distance, while a 12V run would arrive noticeably weaker.
Third, anything tall or architectural: lamp posts, carriage lights on gate pillars, big statement sconces. These fixtures are built for standard bulbs and household wiring, and the selection is enormous compared with the low-voltage versions. Fourth, control. Because hardwired fixtures live on regular circuits, they work with ordinary wall switches, dimmers, photocells, and smart switches — the same stuff you use indoors — with no transformer quirks. If the spot is already wired, like a porch ceiling or garage wall, choosing line voltage is almost free: the junction box is sitting right there waiting for a prettier fixture.
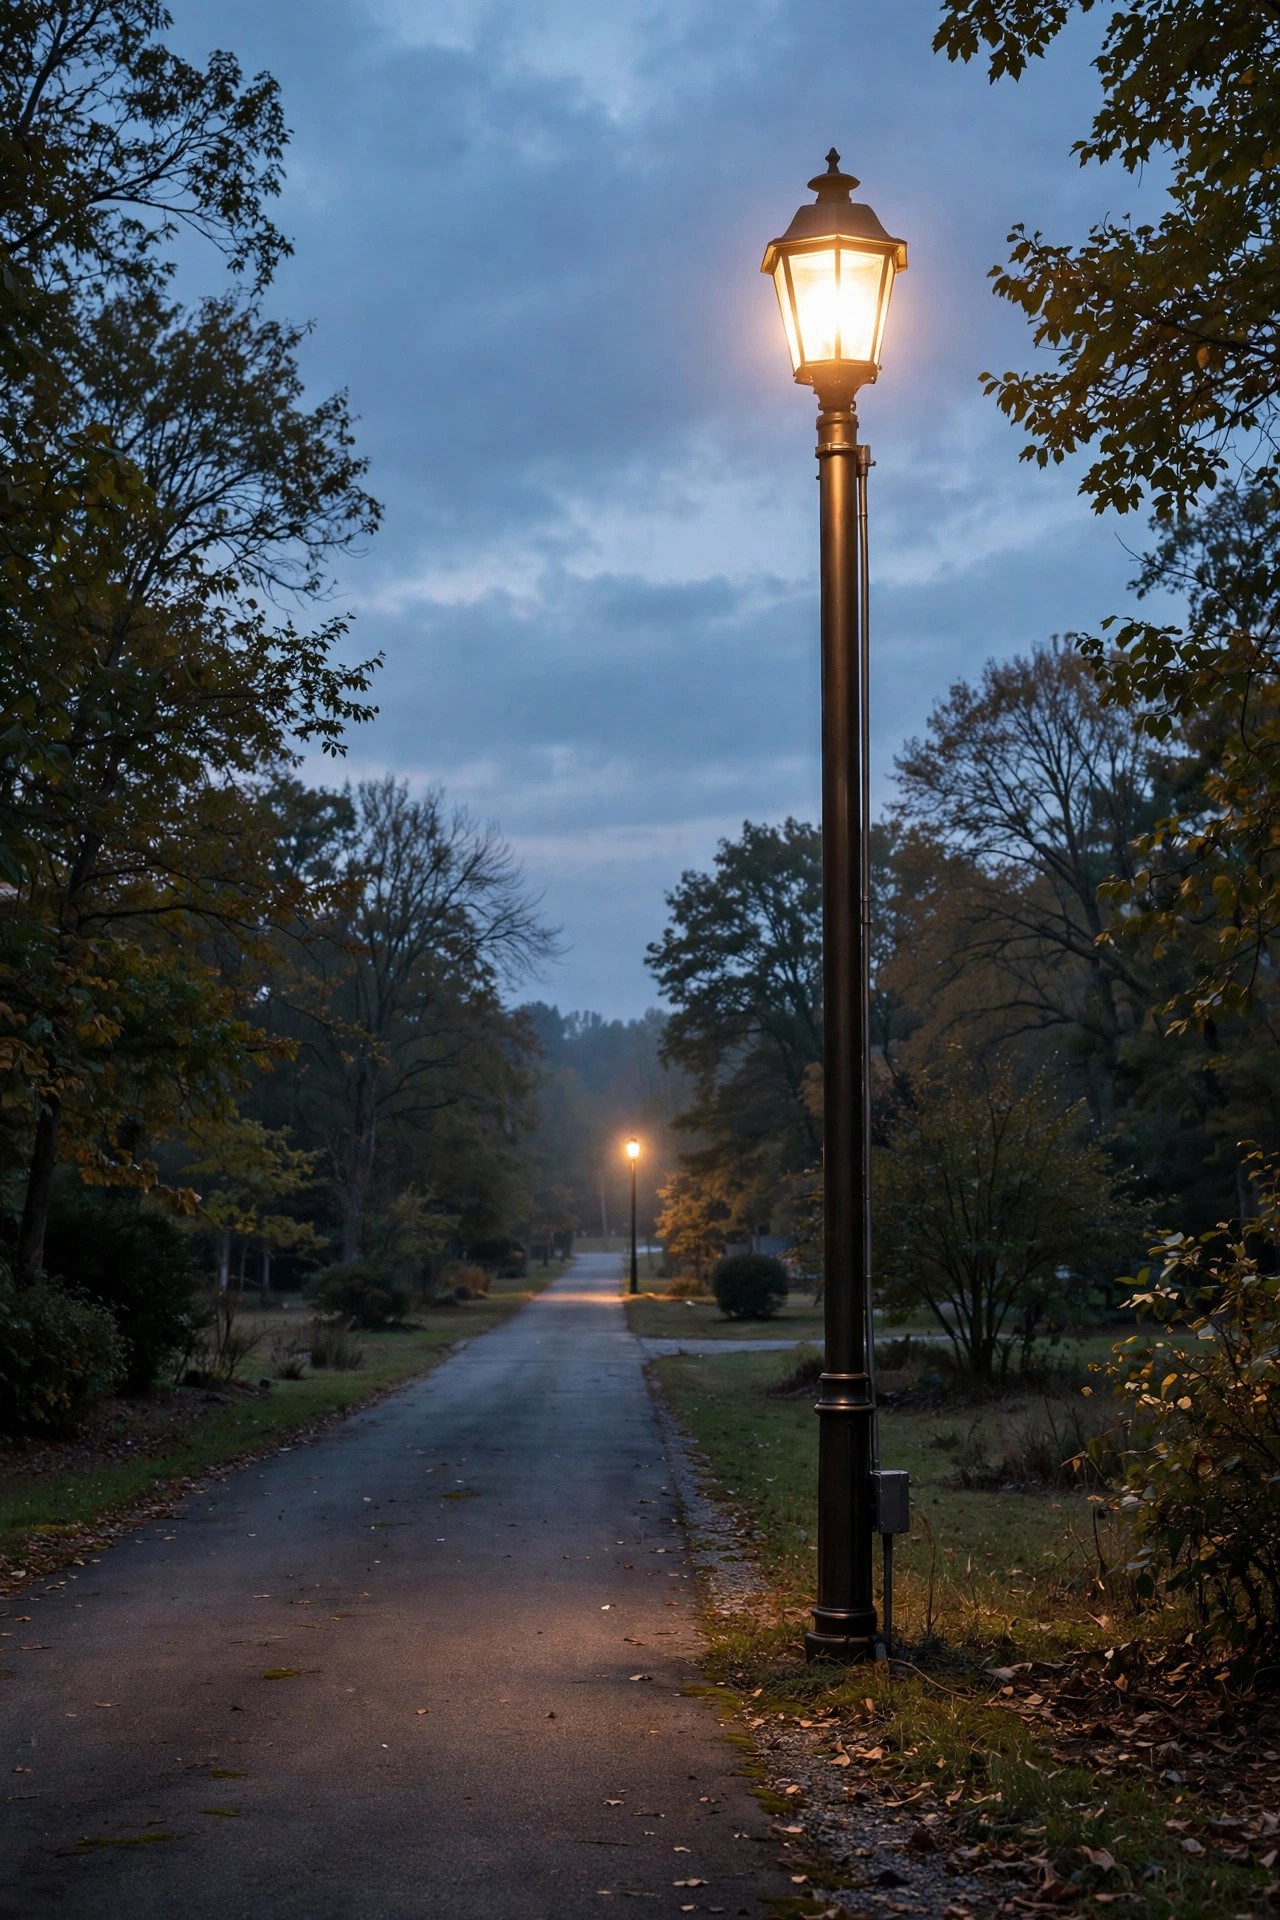
When Low-Voltage Is the Smarter Call
For everything woven through the garden itself, I reach for 12V almost every time. Path lights, bed accents, uplights for trees, little washes of light across a stone wall — these fixtures sit low, get rearranged as plantings grow, and never need to be blindingly bright. Low voltage wins here on three counts. Safety: you can dig around it, nick it with a shovel (ask me how I know), and let the dog "help" without anyone getting hurt. Flexibility: when the hydrangea swallows a spotlight, you pull the stake and move it six feet over in two minutes; a hardwired fixture is where it is forever. And cost: a whole 12V accent setup — transformer, cable, six to eight fixtures — often costs less than a single professionally installed hardwired fixture.
It's also the only sane choice for renters, for anyone who isn't comfortable touching house wiring, and for testing ideas. I always tell friends to live with low-voltage versions of a lighting plan for a season before committing to trenches and permits. If a spot still begs for more power after that trial run, that's your signal it deserves the full 120V treatment. And because nothing buried in a 12V system can hurt anyone, it's the setup I hand to first-time DIYers without a single worry.
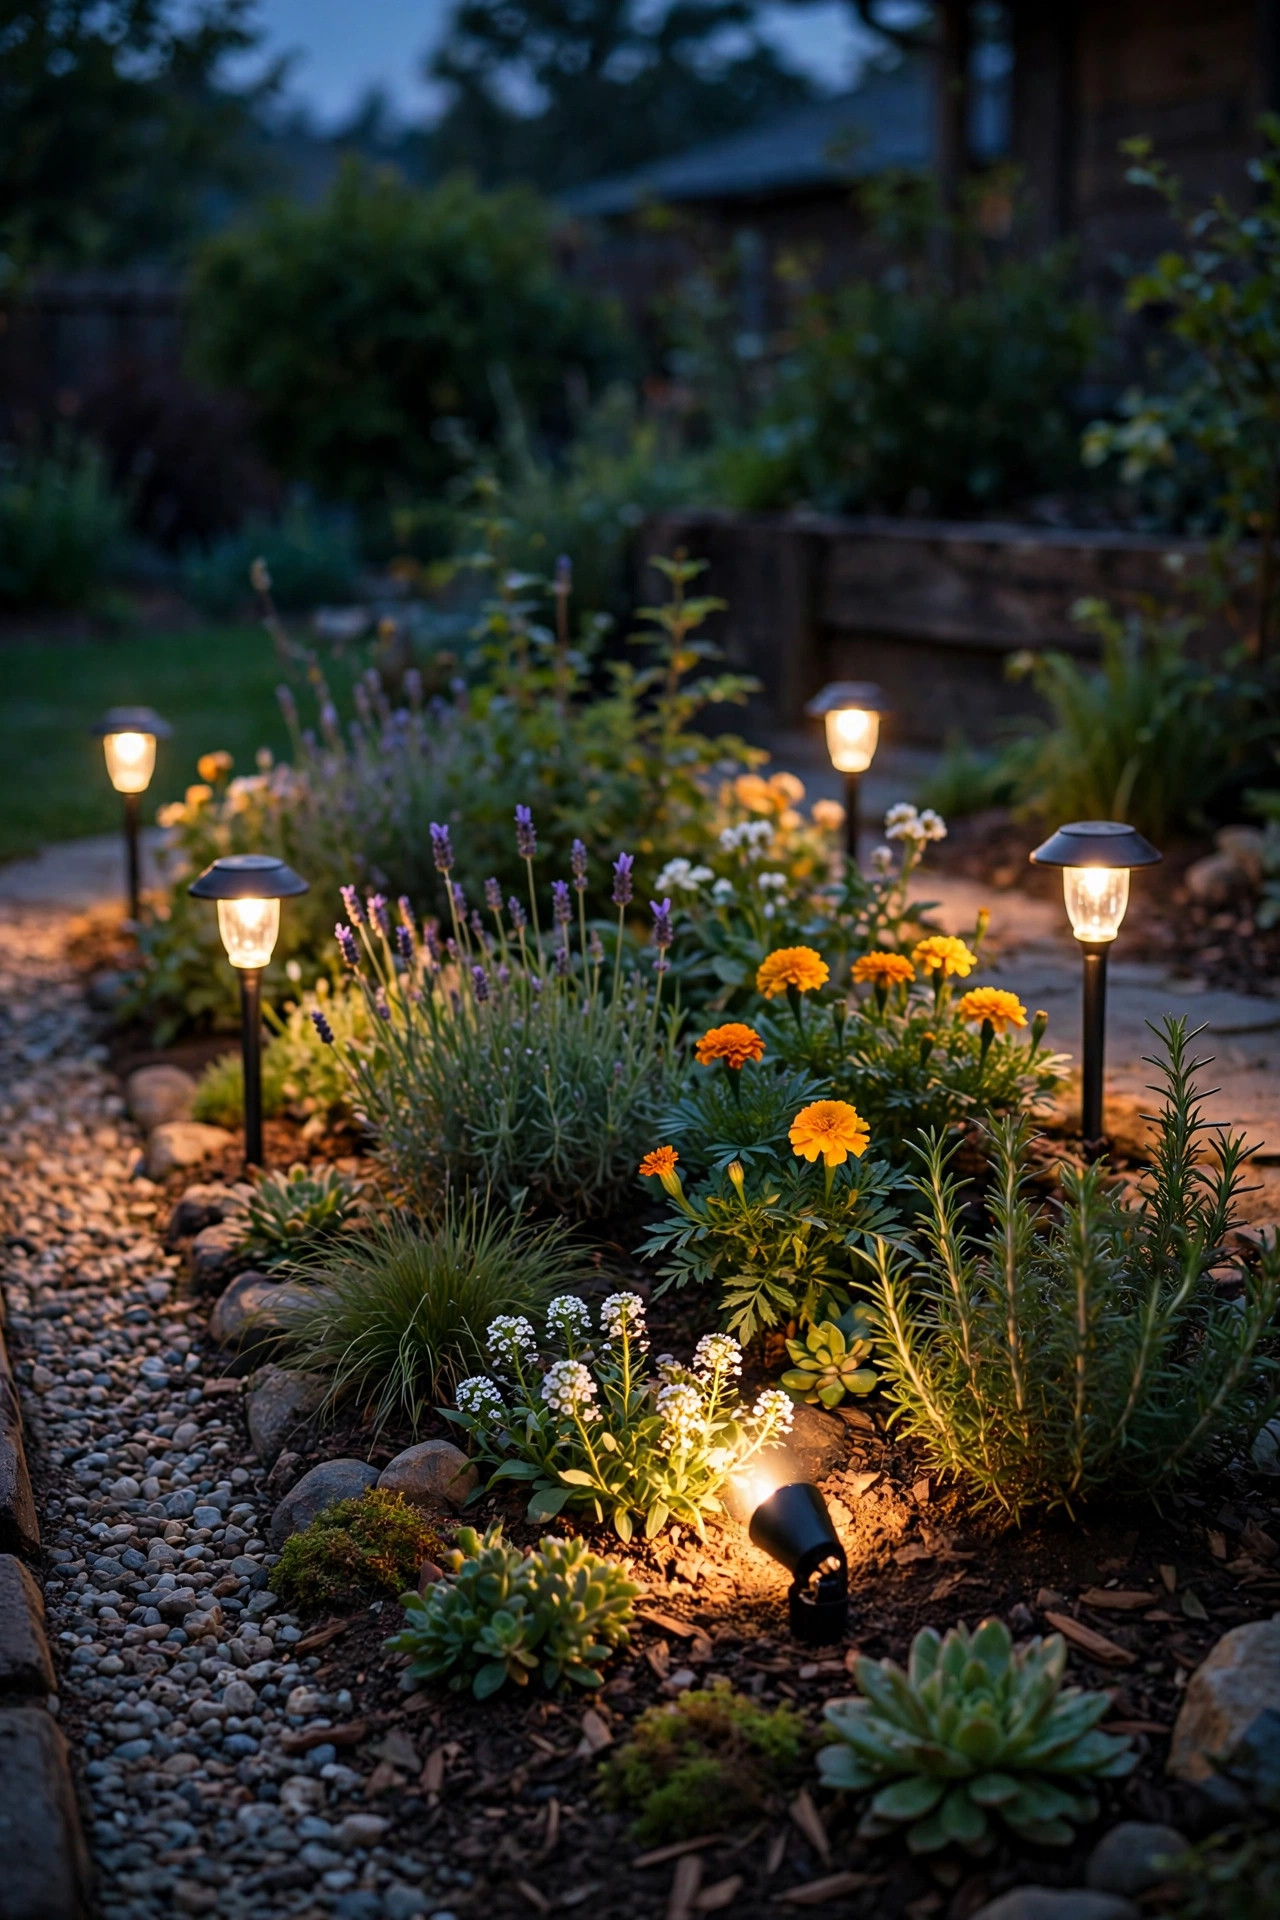
Brightness and Power: The Difference That Actually Matters
People assume 120V lights are brighter because the number is bigger, but that's not quite the story. Brightness comes from watts and lumens, and a modern LED is efficient at either voltage — a 12V LED spotlight can absolutely throw a beautiful beam up a tree. The real difference is delivery. On a low-voltage run, every foot of cable and every fixture along the way nibbles at the power, so the last light on a long, loaded run can glow visibly dimmer and warmer than the first. It's called voltage drop, and it's the single most common complaint I hear about 12V systems.
Line voltage barely notices distance at residential scales. A fixture 180 feet from the panel gets essentially the same power as one 18 feet away, which is why hardwired systems stay evenly bright across a whole property. The other practical difference: no ceiling. A low-voltage system tops out at whatever your transformer can supply — go over and you start tripping or dimming. A 120V circuit, properly sized by an electrician, can carry a whole collection of fixtures. So think of it this way: low voltage is plenty bright per fixture, but line voltage is bright per yard, over any distance, without the math.
Burial Depth, Conduit and Code: Where 120V Plays by Stricter Rules
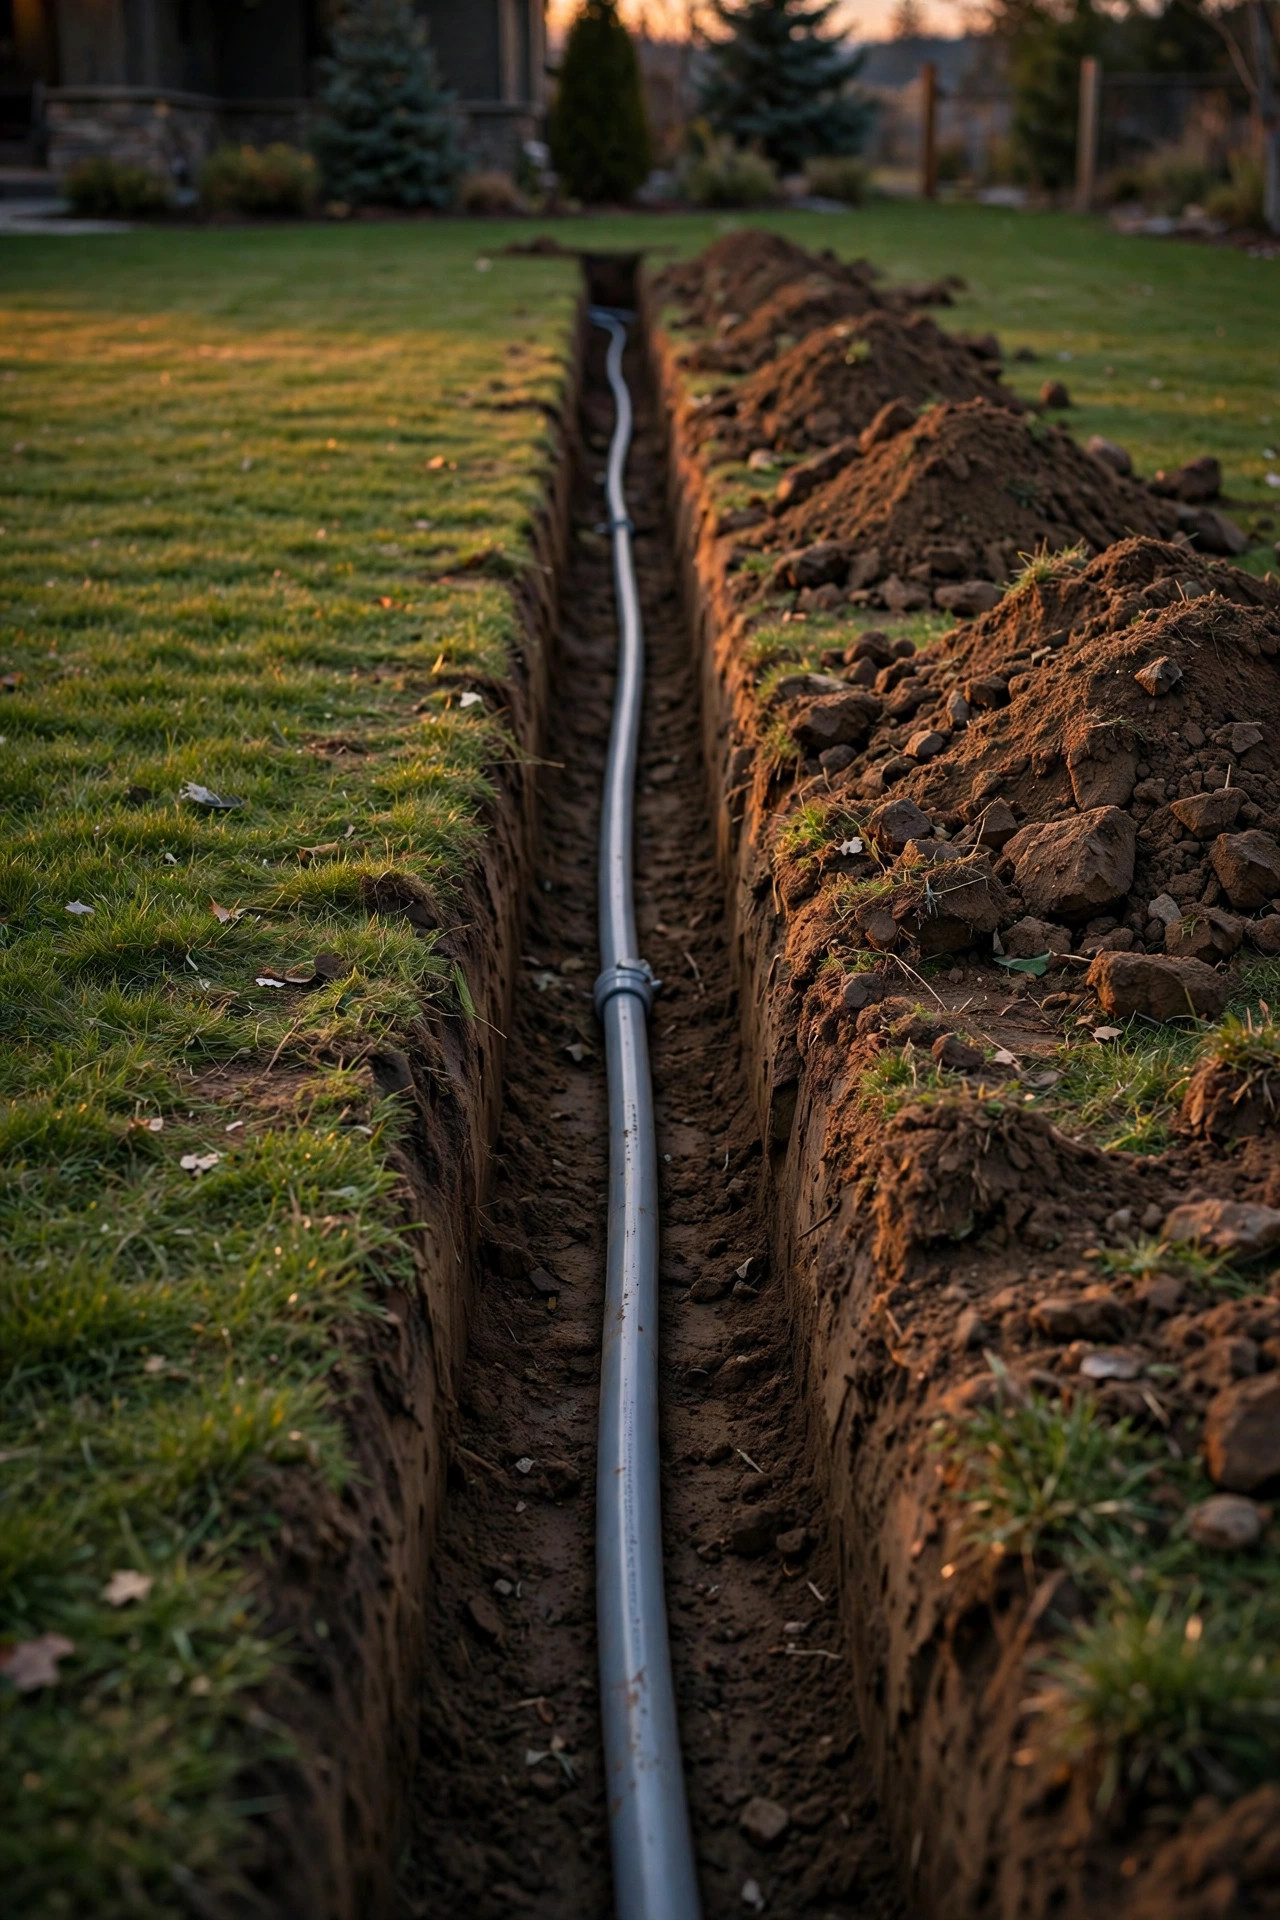
This is the section that decides most projects, so let's be precise. Because 120V can hurt someone, the National Electrical Code treats buried outdoor wiring seriously. UF cable rated for direct burial must sit 24 inches deep. Run the wire inside PVC conduit and the requirement relaxes to 18 inches. There's also a common allowance for a GFCI-protected residential branch circuit (20 amps or less) at 12 inches — but local rules vary, which is why the permit office gets the final word. Compare that with low-voltage cable at 4 to 6 inches, scratched in with a spade, and you see the real cost of line voltage: digging. A 24-inch trench across a finished lawn is a project all by itself.
Two more rules matter. Every splice and connection must live inside an approved junction box — no burying wire nuts or taped joints, ever — and outdoor circuits need GFCI protection, so a fault trips the power instead of energizing a wet fixture. Many cities also require a permit and inspection for new 120V runs, even when a homeowner does the work. My deeper walkthrough on how to bury landscape lighting cable covers depths, tools, and 811 locates in detail — and yes, call 811 before any trench, whichever voltage you choose.
Step-by-Step: How a Hardwired Fixture Gets Installed
So you can picture what you're hiring out — or honestly assess a DIY run where your town allows it — here's the shape of a typical line-voltage install:
1. Plan the circuit. Decide where fixtures go, and whether they'll ride an existing outdoor circuit or need a new one from the panel.
2. Pull the permit if your city requires one, and call 811 to have underground utilities marked.
3. Kill the power at the breaker and verify it's off with a non-contact tester. Then check again. This is not the step to rush.
4. Trench to depth — 24 inches for direct-burial UF, 18 for conduit — from the power source to each fixture location.
5. Lay cable or conduit and set weatherproof junction boxes at each fixture.
6. Mount and wire the fixtures, connections inside the boxes, grounds connected, gaskets seated.
7. Add GFCI protection for the circuit and restore power.
8. Test everything at dusk, adjust aim, then schedule the inspection if one is required.
The judgment call is steps 3 and 7. Plenty of handy homeowners can trench, lay conduit, and hang fixtures; panel work and final connections are where most people — me included — happily hand over to a licensed electrician. My comparison of DIY vs professional landscape lighting breaks down exactly where that line usually falls.
What Line Voltage Outdoor Lighting Costs in 2026
Let's talk real numbers, because this is where line voltage loses a lot of beauty contests. The fixtures themselves are reasonable: a quality hardwired sconce, lamp post, or LED flood runs $40 to $250, right in line with good low-voltage fixtures. The installation is the sticker shock. An electrician typically charges $75 to $150 per hour, and a single new hardwired fixture — circuit tapped, trench dug, box set, fixture hung — commonly lands at $250 to $600 installed. Need a brand-new dedicated circuit from the panel? Budget $500 to $1,500 depending on distance and trench difficulty. Rocky soil and concrete crossings push everything upward.
Doing your own trenching and conduit where code and permits allow can trim that considerably; materials for one run (UF cable at roughly $0.60 to $1.20 per foot, conduit, boxes) might total $100 to $250. Once installed, running costs are a non-issue: a 30-watt LED flood burning five hours a night costs about $9 a year at average electricity rates — the same as a 30-watt low-voltage light, because the bill follows watts, not volts. The honest summary: line voltage has the highest install cost and the lowest hassle afterward. You're paying upfront for permanence.
5 Mistakes That Make Hardwired Lighting a Headache
1. Burying cable too shallow. Six inches is fine for 12V and a code violation for 120V. Shallow line-voltage cable is one shovel strike away from a very bad day, and it won't pass inspection either — so you'll be digging it up and doing the whole trench twice.
2. Hiding splices underground. Every connection belongs in a junction box. A taped or nutted joint buried in soil will corrode, fail, and be nearly impossible to find later.
3. Skipping GFCI protection. Outdoor circuits and water are constant companions. The GFCI is what turns a fault into a tripped breaker instead of a shock.
4. Piggybacking without checking the load. Tapping a random existing circuit because it's nearby can overload it. Someone — ideally your electrician — should do the math first.
5. Using indoor-rated anything outdoors. Damp-location is for covered porches; exposed fixtures and boxes need true wet-location ratings, or the first season of rain gets inside.
Every one of these comes from treating 120V like it's the forgiving 12V system. It isn't — but respected, it's wonderfully dependable. The encouraging part is that all five mistakes are completely free to avoid: they cost attention, not money, and one careful planning pass before the trench opens prevents every single one of them.
Safety and Electrical Basics You Can't Skip
A short list I wish were printed on every fixture box. Power off means verified off: flip the breaker, then touch a non-contact tester to the wires before your fingers go anywhere near them. GFCI protection is non-negotiable outdoors — test it monthly with the little button, because a GFCI that died silently last spring protects nothing. Match the rating to the exposure: damp-location fixtures belong under covered porches, while anything rained on directly needs a wet-location rating, boxes and connectors included. Keep LED bulbs in enclosed outdoor fixtures — they're the only ones that should be anywhere near mulch, dried leaves, or holiday greenery — and check that the fixture's maximum wattage matches your bulb.
And know your stop point. Aluminum branch wiring, a full panel, a circuit you can't identify, water inside a box you didn't expect — any of those means the project pauses and a licensed electrician takes over. There's no porch light in the world worth guessing about, and pros genuinely do not mind being called for the last, critical ten percent of a job. I keep an inexpensive non-contact tester in the same toolbox as my wire nuts — it's the cheapest insurance in this entire guide.
The Hybrid Setup Most Homes Actually End Up With
After a few seasons of experimenting, my yard settled into the same pattern I now recommend to everyone: hardwired where light is a job, low-voltage where light is a mood. The porch, garage, and driveway security lights are line voltage — bright, switched from inside, and utterly reliable. The lamp post at the driveway entrance is hardwired too, because no 12V run was going to reach it happily. Everything in the beds, along the paths, and up into the trees is 12V, and I move those fixtures around like furniture as the garden changes. A couple of solar accents fill in one far corner where neither system reaches without a fight.
This hybrid is why I'd push back on anyone framing the choice as either/or. The two systems share a yard beautifully because they were never competing for the same work. If you're starting from scratch, wire the permanent stuff during any renovation or build, when trenches and open walls make it cheap, and layer the low-voltage charm in afterward at your own pace. You'll end up brighter, safer, and far less tempted to over-light the garden just because the fixtures happened to be powerful. Friends who copy this layout tell me the same thing every time: the yard feels professionally lit, yet only half of it ever needed a professional to install.

Maintenance: What Changes Over the Years
Hardwired fixtures are low-maintenance, not no-maintenance. Once or twice a year, walk the system after dark: confirm every fixture still lights, look for lenses fogged with moisture (a dying gasket, usually a cheap fix if you catch it early), and check that floods and spots haven't been knocked off aim by weather or wildlife. Test the GFCI a few times a season, especially after big storms — a tripped or failed GFCI is the number one reason an entire outdoor circuit mysteriously goes dark. While you're out there, wipe the lenses too: a season of pollen, dust, and sprinkler spots can quietly steal a surprising amount of brightness, and it takes thirty seconds per fixture to win it back.
The biggest favor you can do your future self: keep a simple map. Sketch where each buried run travels, note the depth and the circuit it rides, and file it with your house paperwork. The next time anyone digs — you, a fence crew, a tree planter — that scrap of paper is the difference between confidence and a very expensive clunk. Low-voltage runs deserve a spot on the same map. Do that, swap bulbs as they eventually fade years from now, and a line-voltage system will quietly outlast most of the garden around it.
Frequently Asked Questions
Can I install line-voltage outdoor lighting myself?
It depends on where you live. Many jurisdictions let homeowners do their own electrical work with a permit and inspection; some require a licensed electrician for new circuits. Even where DIY is legal, panel connections and final hookups are where I recommend hiring out. Trenching, conduit, and fixture-hanging are the homeowner-friendly parts.
Does 120V lighting cost more to run than 12V?
No — your electric bill follows watts, not volts. A 30-watt LED uses the same electricity whether it's fed 120V directly or 12V through a transformer, and a transformer actually wastes a tiny bit of power itself. Choose voltage for brightness, distance, and installation — not for running costs.
How deep does 120V outdoor cable have to be buried?
Under the National Electrical Code, direct-burial UF cable goes 24 inches deep, wire in PVC conduit goes 18 inches deep, and a GFCI-protected residential circuit of 20 amps or less may qualify for 12 inches. Local amendments vary, so confirm with your permit office before you dig.
Can line-voltage and low-voltage lights share one yard?
Absolutely — that's the setup I recommend most. They're completely separate systems: hardwired fixtures on your home's circuits for entries, security, and long runs, and a transformer-fed 12V system for paths and garden accents. They don't connect to each other, and each does the job it's best at.
Conclusion
Line voltage outdoor lighting is the right call when the job is serious: real security brightness, a fixture 200 feet from the house, a lamp post that has to perform like a streetlight, or anything you want on a dimmer by the door. Low voltage keeps the crown for everything flexible, decorative, and DIY. Respect the code, bury it deep, protect it with a GFCI — or hire the person who will — and hardwired light will serve your home for decades. Browse the rest of the lighting guides here for help planning the low-voltage layers, fixture styles, and layouts to go with it.