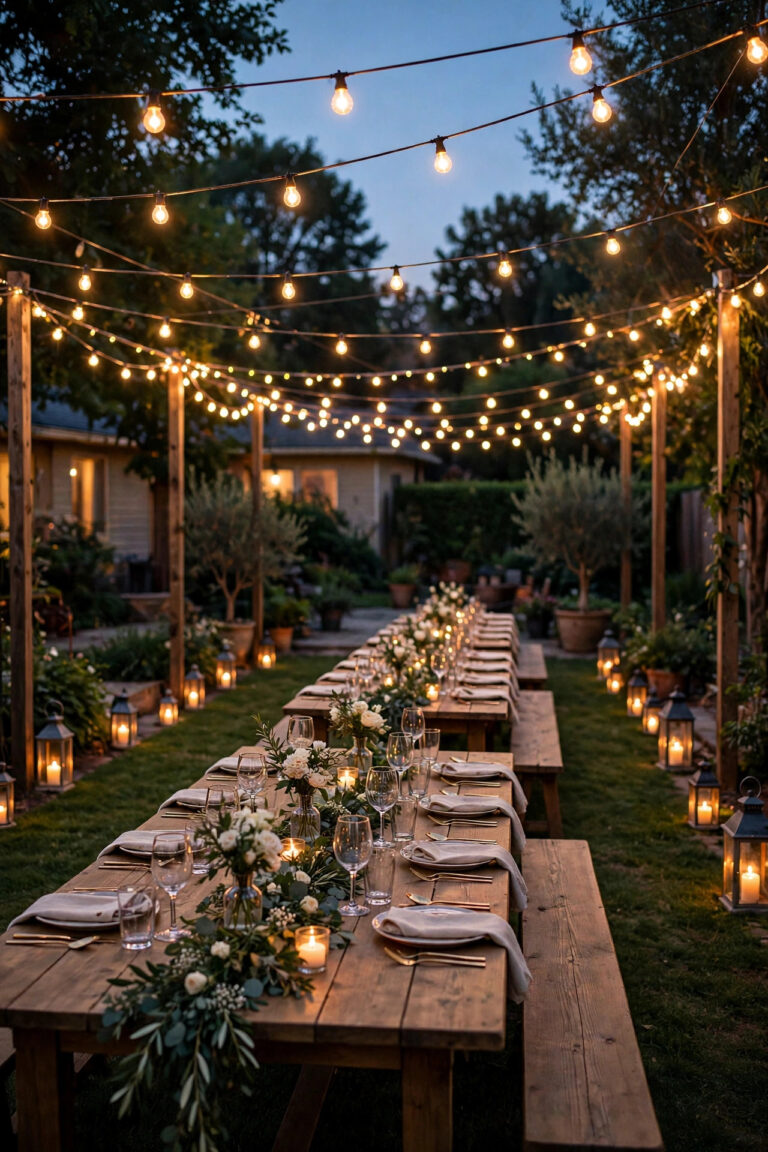
Here's something I wish someone had told me years ago: your house already has a beautiful nighttime face — it just needs the right light to reveal it. Good facade spotlight lighting isn't about flooding the whole front with brightness. It's about choosing the two or three architectural features you love most — a stone chimney, a proud gable, a pair of porch columns — and letting warm light model them so shadows do half the decorating. That's the layering philosophy I use in every yard: path lights guide, porch lights welcome, and spotlights make the house itself the star. In this post I'm sharing 19 ways to aim spotlights at your facade, from grazing brick so every mortar line pops to washing a broad wall in an even glow. I'll cover beam angles, distances from the wall, color temperature by material, and honest costs, so you can start with one fixture this weekend and build from there.
1. Start With One Spotlight on Your Strongest Feature
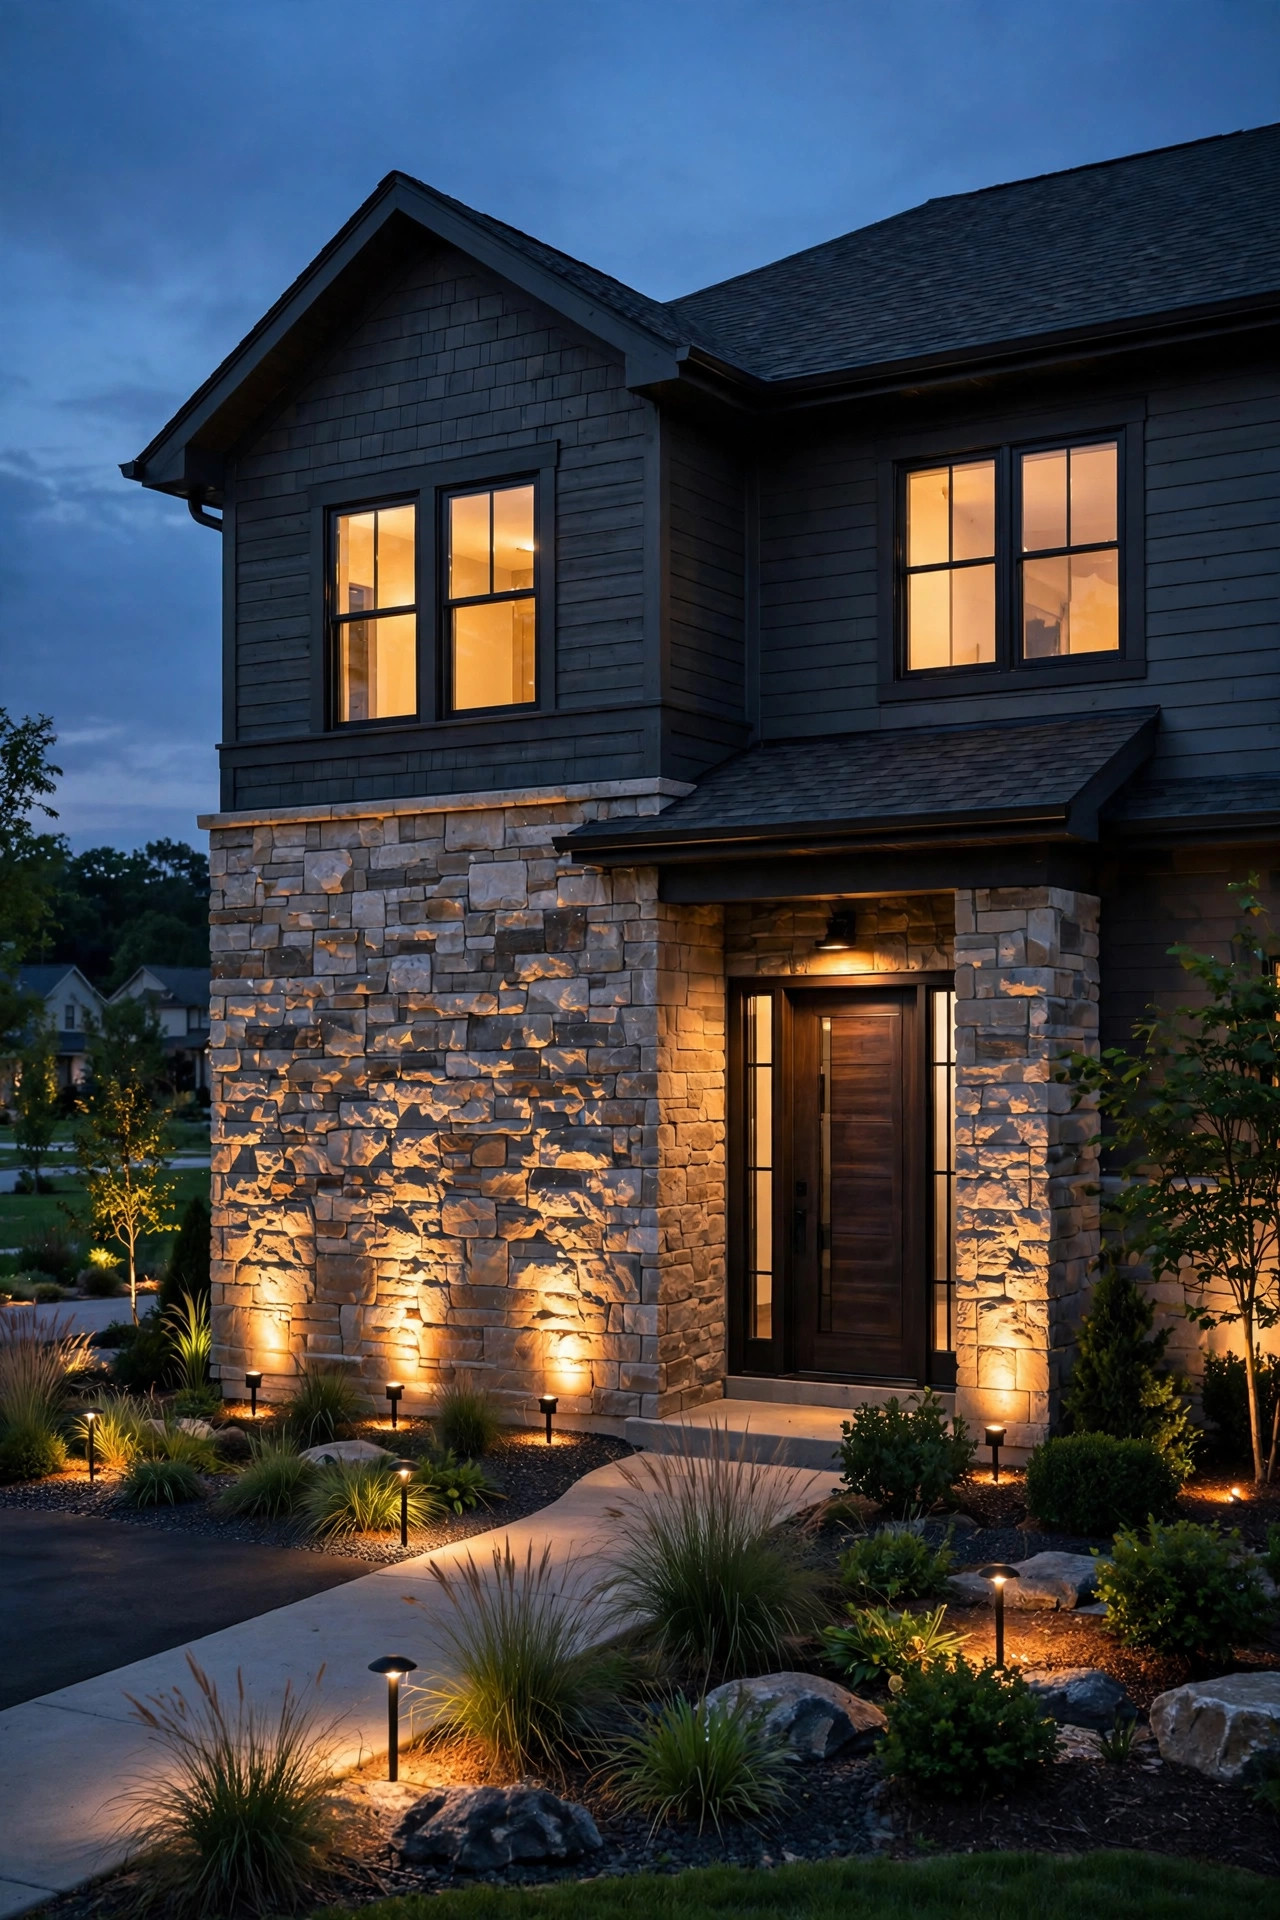
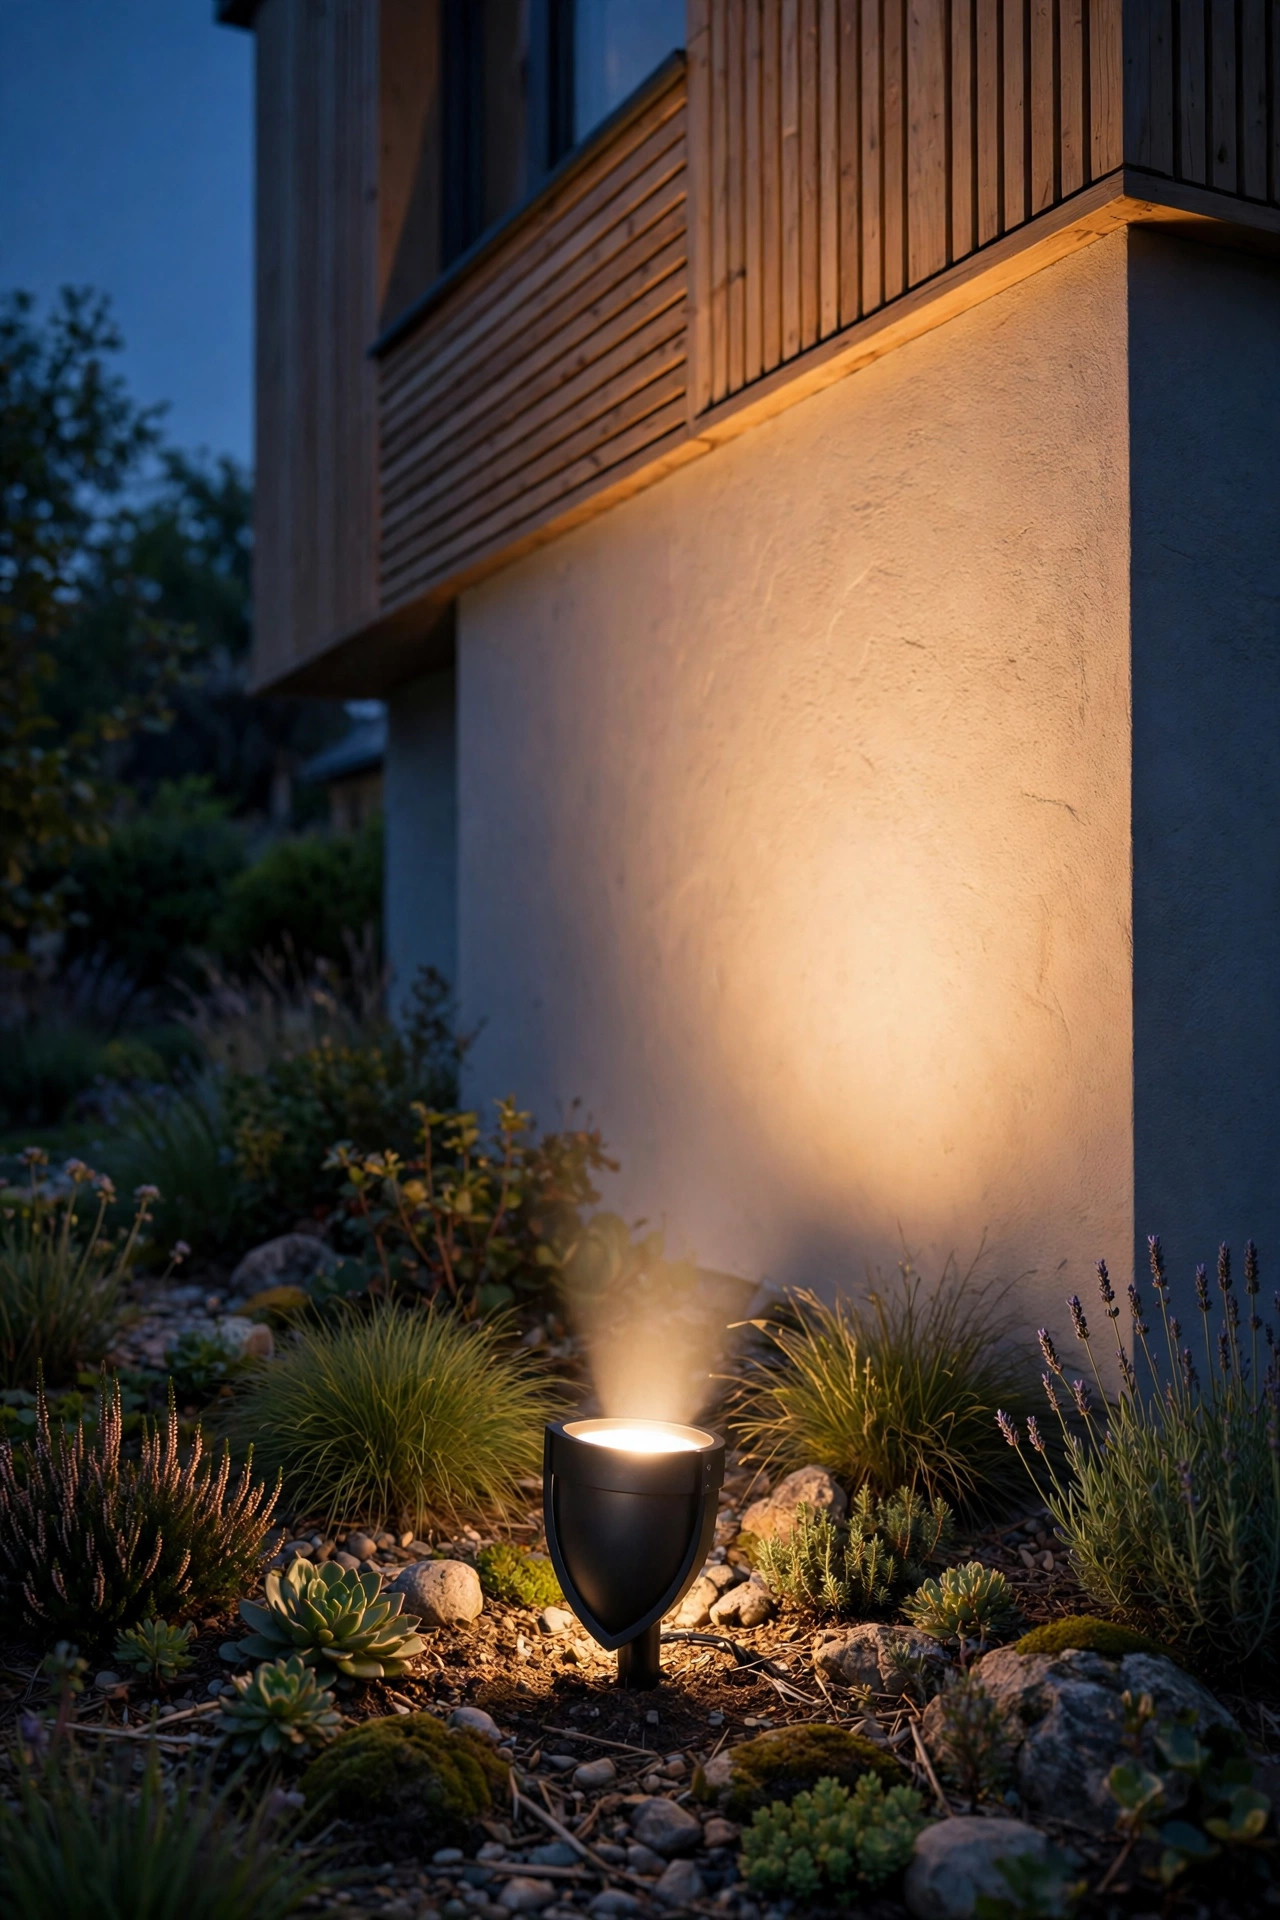
Every facade has a hero — a stone chimney, a tall gable, a beautiful arched window — and the smartest first move is lighting just that, beautifully. Choose a ground-stake or surface-mount LED spotlight in the 300–500 lumen range with an adjustable head, and place it 2 to 4 feet out from the wall, angled up at roughly 30 degrees. Stand at the street and adjust until the beam centers on the feature without spilling a harsh oval onto the siding beside it. In my experience, one well-aimed light reads as intentional and expensive, while five random lights read as a parking lot. Living with a single spotlight for a week or two also teaches you what your house actually wants: you'll notice which corner still feels flat and which shadow you love. Warm white, 2700–3000K, flatters almost every material at night. If the fixture is low-voltage, the whole project is a Saturday-morning job — transformer, cable, one connector — and completely reversible while you experiment.
Suggested budget range: $25 – $60.
2. Graze Stone or Brick so the Texture Does the Talking
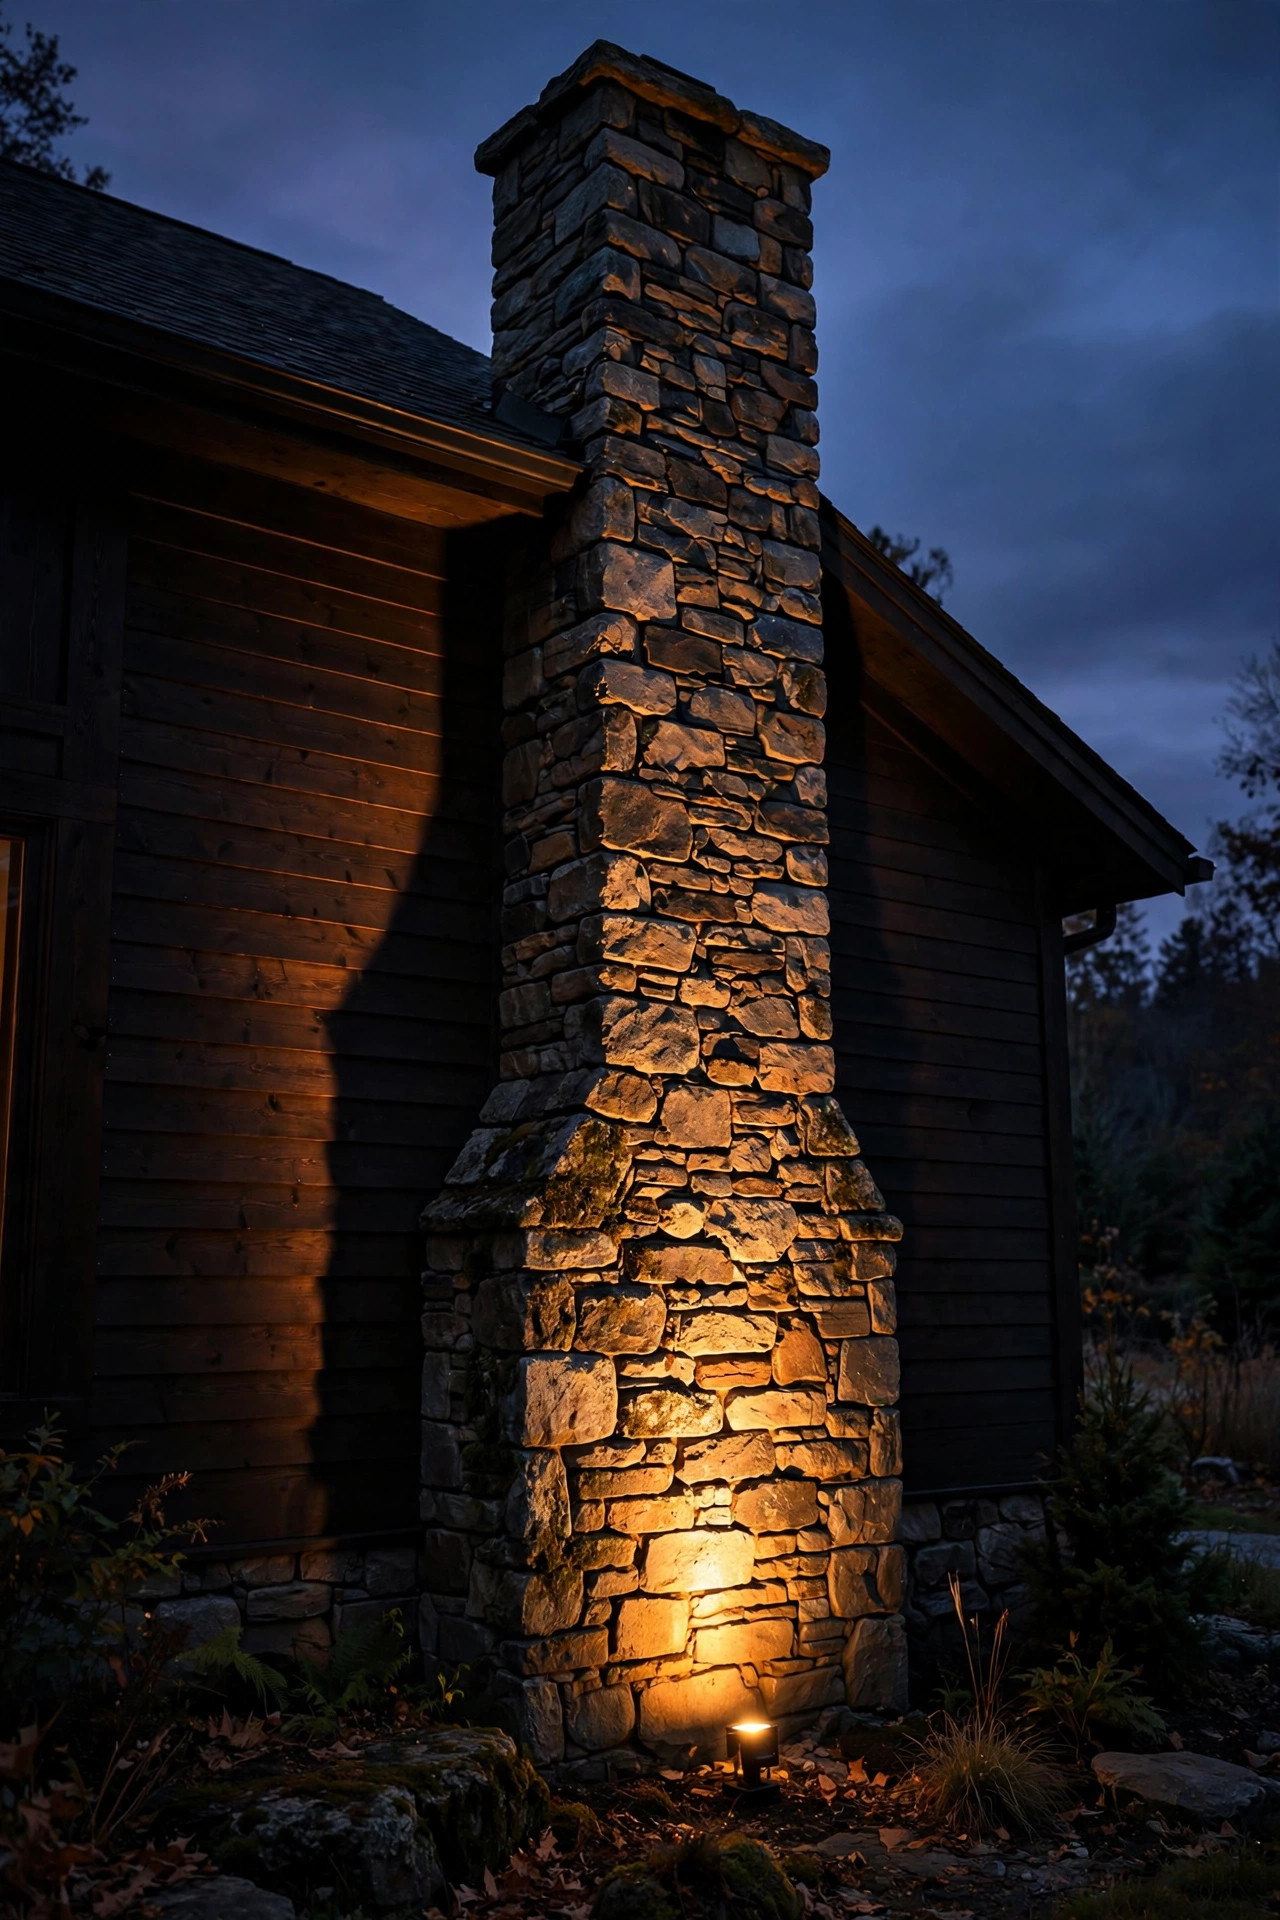
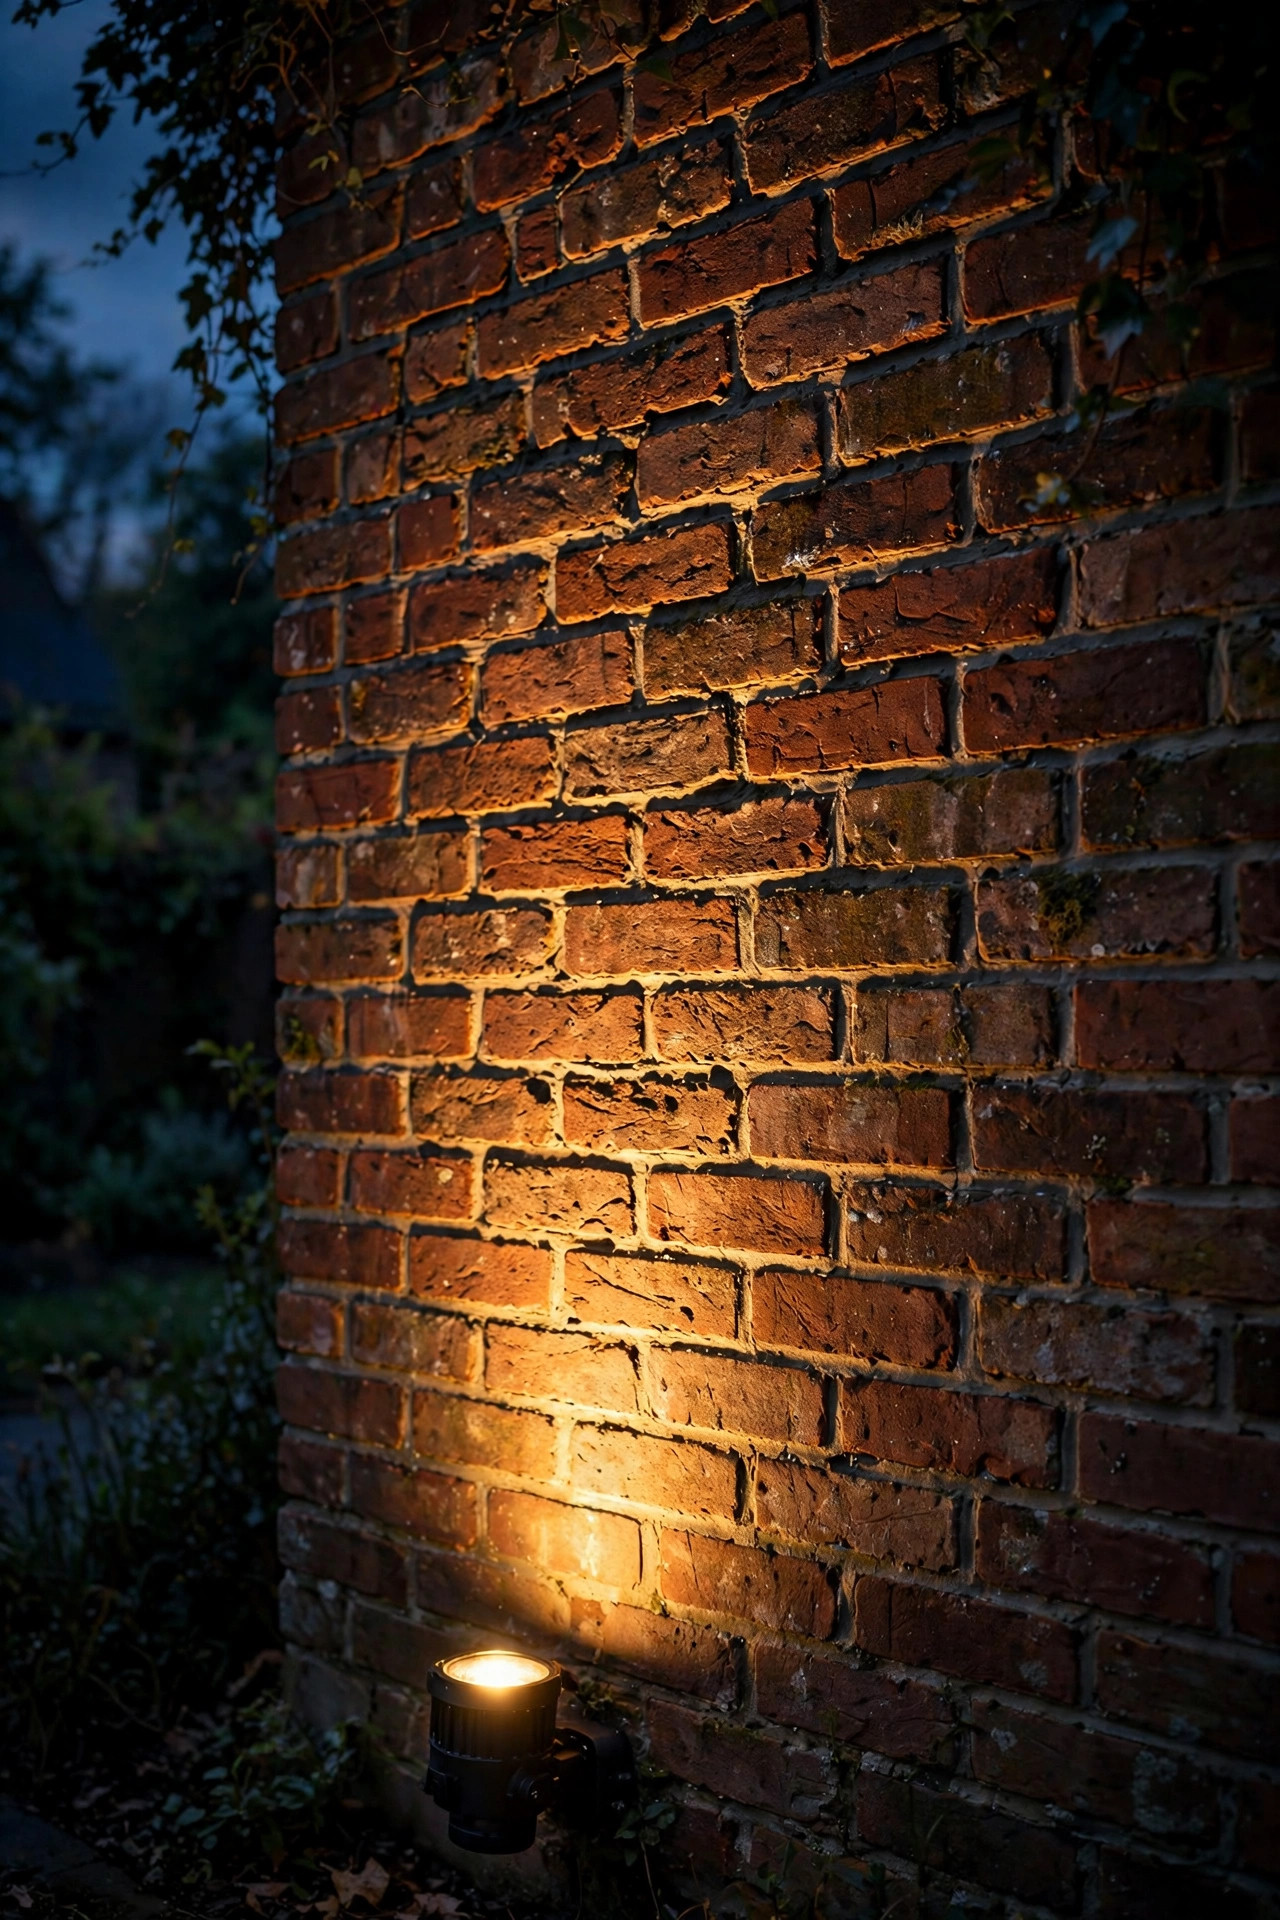
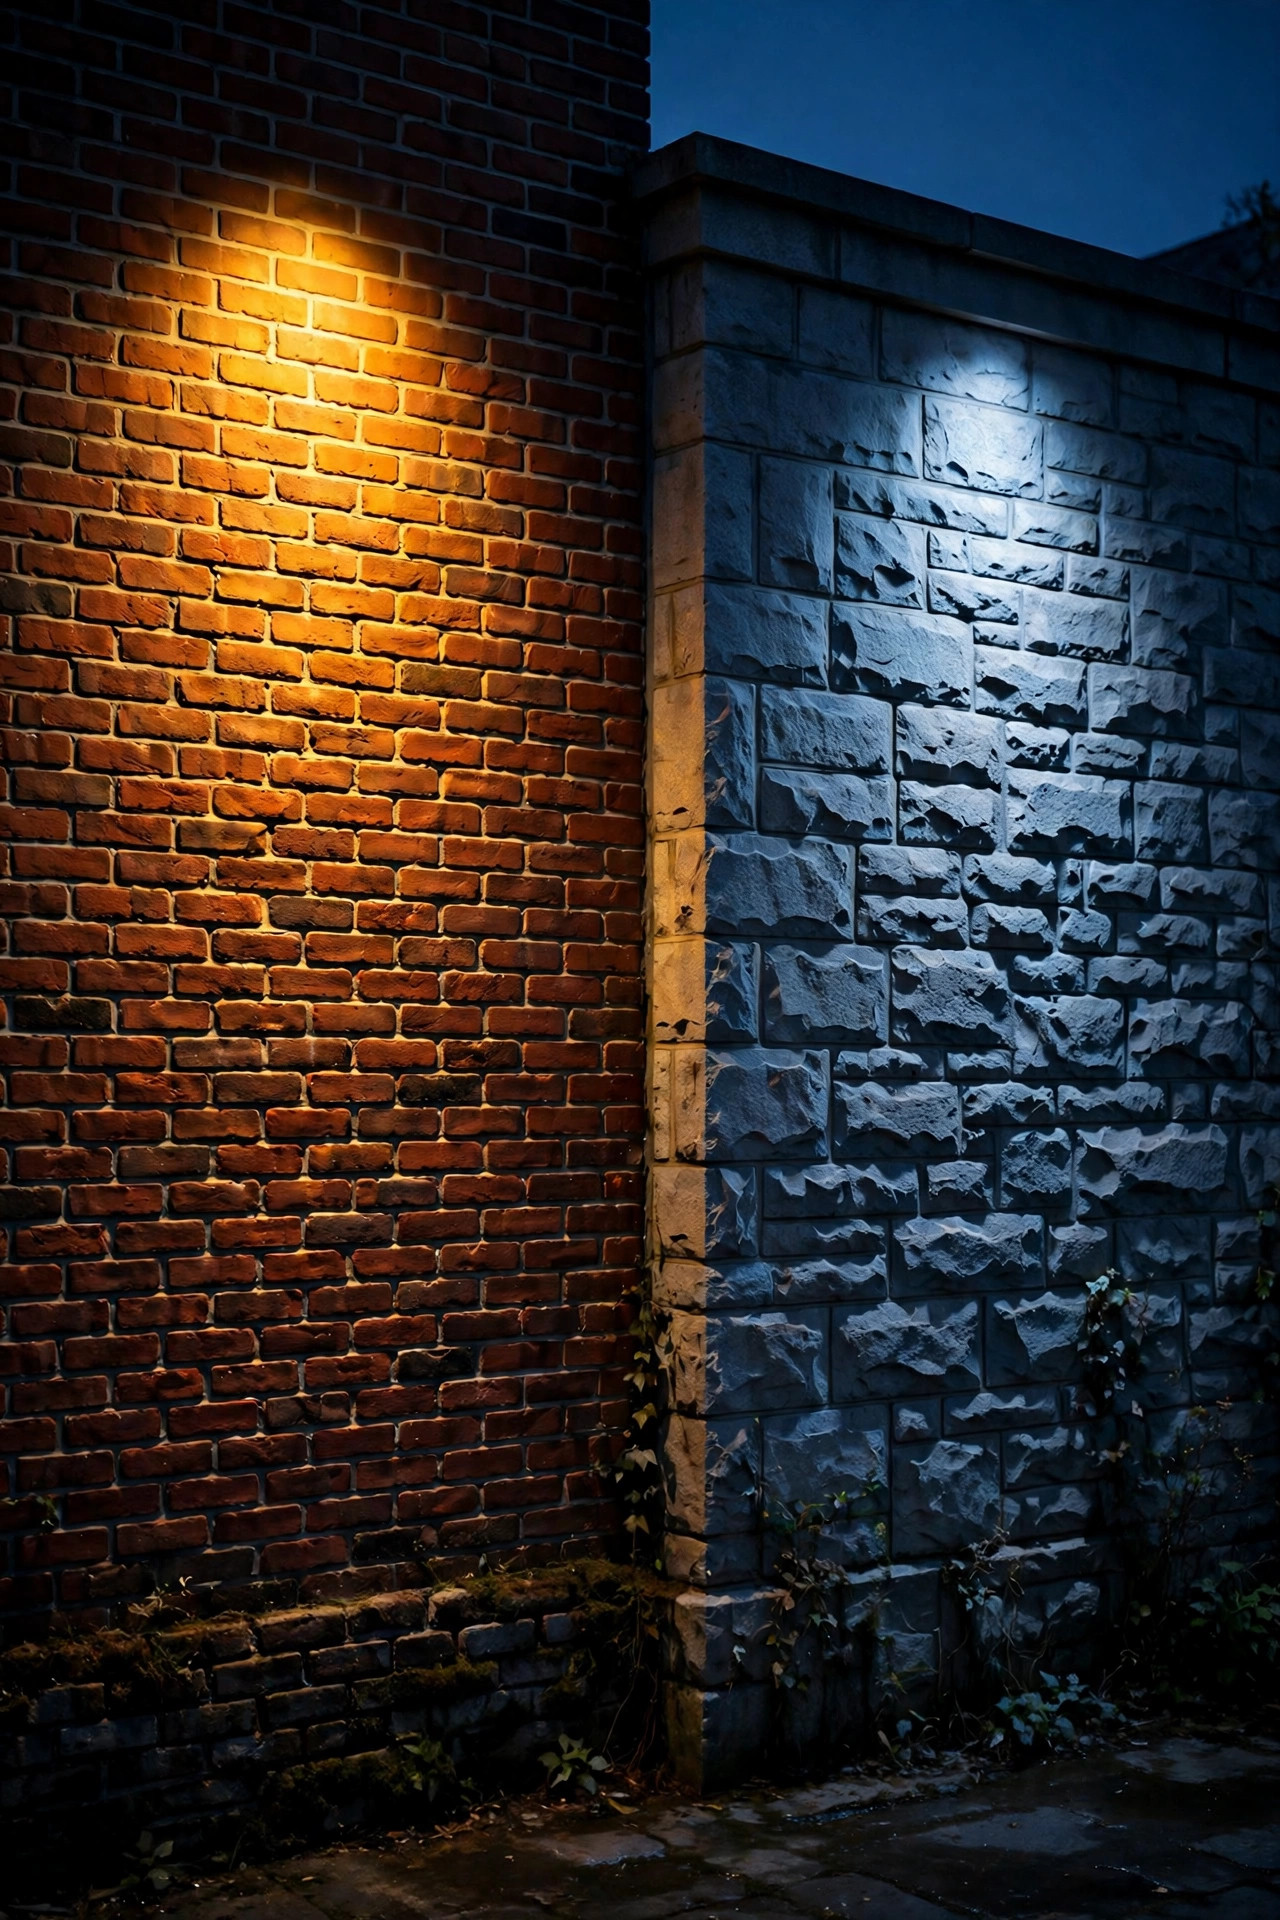
Grazing is the technique designers reach for when a facade has texture worth bragging about. Place the spotlight very close to the wall — 6 to 12 inches out — and aim it almost straight up, so the beam rakes across the surface at a shallow angle. Every stone edge, brick course, and mortar line throws a tiny shadow, and the wall suddenly looks three-dimensional and handcrafted instead of flat. This is exactly the wrong setup for smooth siding, by the way: grazing exaggerates every ripple and nail pop on vinyl or stucco, so save it for masonry, stacked stone, and rough cedar. A narrow-to-medium beam, around 24–36 degrees, keeps the light hugging the wall instead of ballooning outward. Run a test before you commit: prop the fixture in place at dusk, wet the wall with a hose if you want to preview the richer tones rain brings out, and check from the street that you're seeing texture and not a blinding stripe. Two grazers flanking a stone entry create the coziest welcome I know.
Suggested budget range: $30 – $75.
3. Wash a Broad, Smooth Wall in an Even Glow
Where grazing celebrates texture, washing erases it — and for smooth stucco, painted siding, or a big blank gable end, an even wash is far more flattering. Move the fixture farther out, 3 to 5 feet from the wall, and choose a wide beam of 60 degrees or more, or a dedicated wash light with a spread lens. The goal is a soft, uniform veil of light with no hot spot in the middle and no scalloped edges. Aim slightly above center of the wall area you want covered; light naturally falls off toward the edges, so a little overlap between neighboring fixtures — about 20 percent — keeps the wash seamless. My full walkthrough of distances and lens choices lives in my wall washing exterior guide, and it's the perfect companion if you have a two-story wall to cover. Washing also makes a forgiving base layer: add one narrow spotlight on a feature in front of the wash and you have instant depth.
Suggested budget range: $35 – $90.

4. Cross-Light the Facade to Kill Flat Shadows
A single spotlight aimed straight at a wall leaves a strange effect: the feature glows, but it looks pasted on, with hard shadows hiding half its detail. Cross-lighting fixes that. Place two spotlights at roughly 45-degree angles to the target — say, one at 10 o'clock and one at 2 o'clock relative to a bay window or chimney — so each beam fills the shadows the other creates. The overlap models curves and corners beautifully and makes brick piers and bay windows read as solid, sculptural forms. Keep the two fixtures matched in output and color temperature, and aim them slightly past each other so the brightest pools land on the feature's edges rather than dead center. This is my go-to for stone chimneys and projecting bays, and it works just as well on a pair of garage doors. If one side still looks hot, pull that fixture back a foot rather than dimming — distance is the gentlest dimmer you own. Always do your final aiming after full dark; twilight lies to you about contrast.
Suggested budget range: $60 – $130.
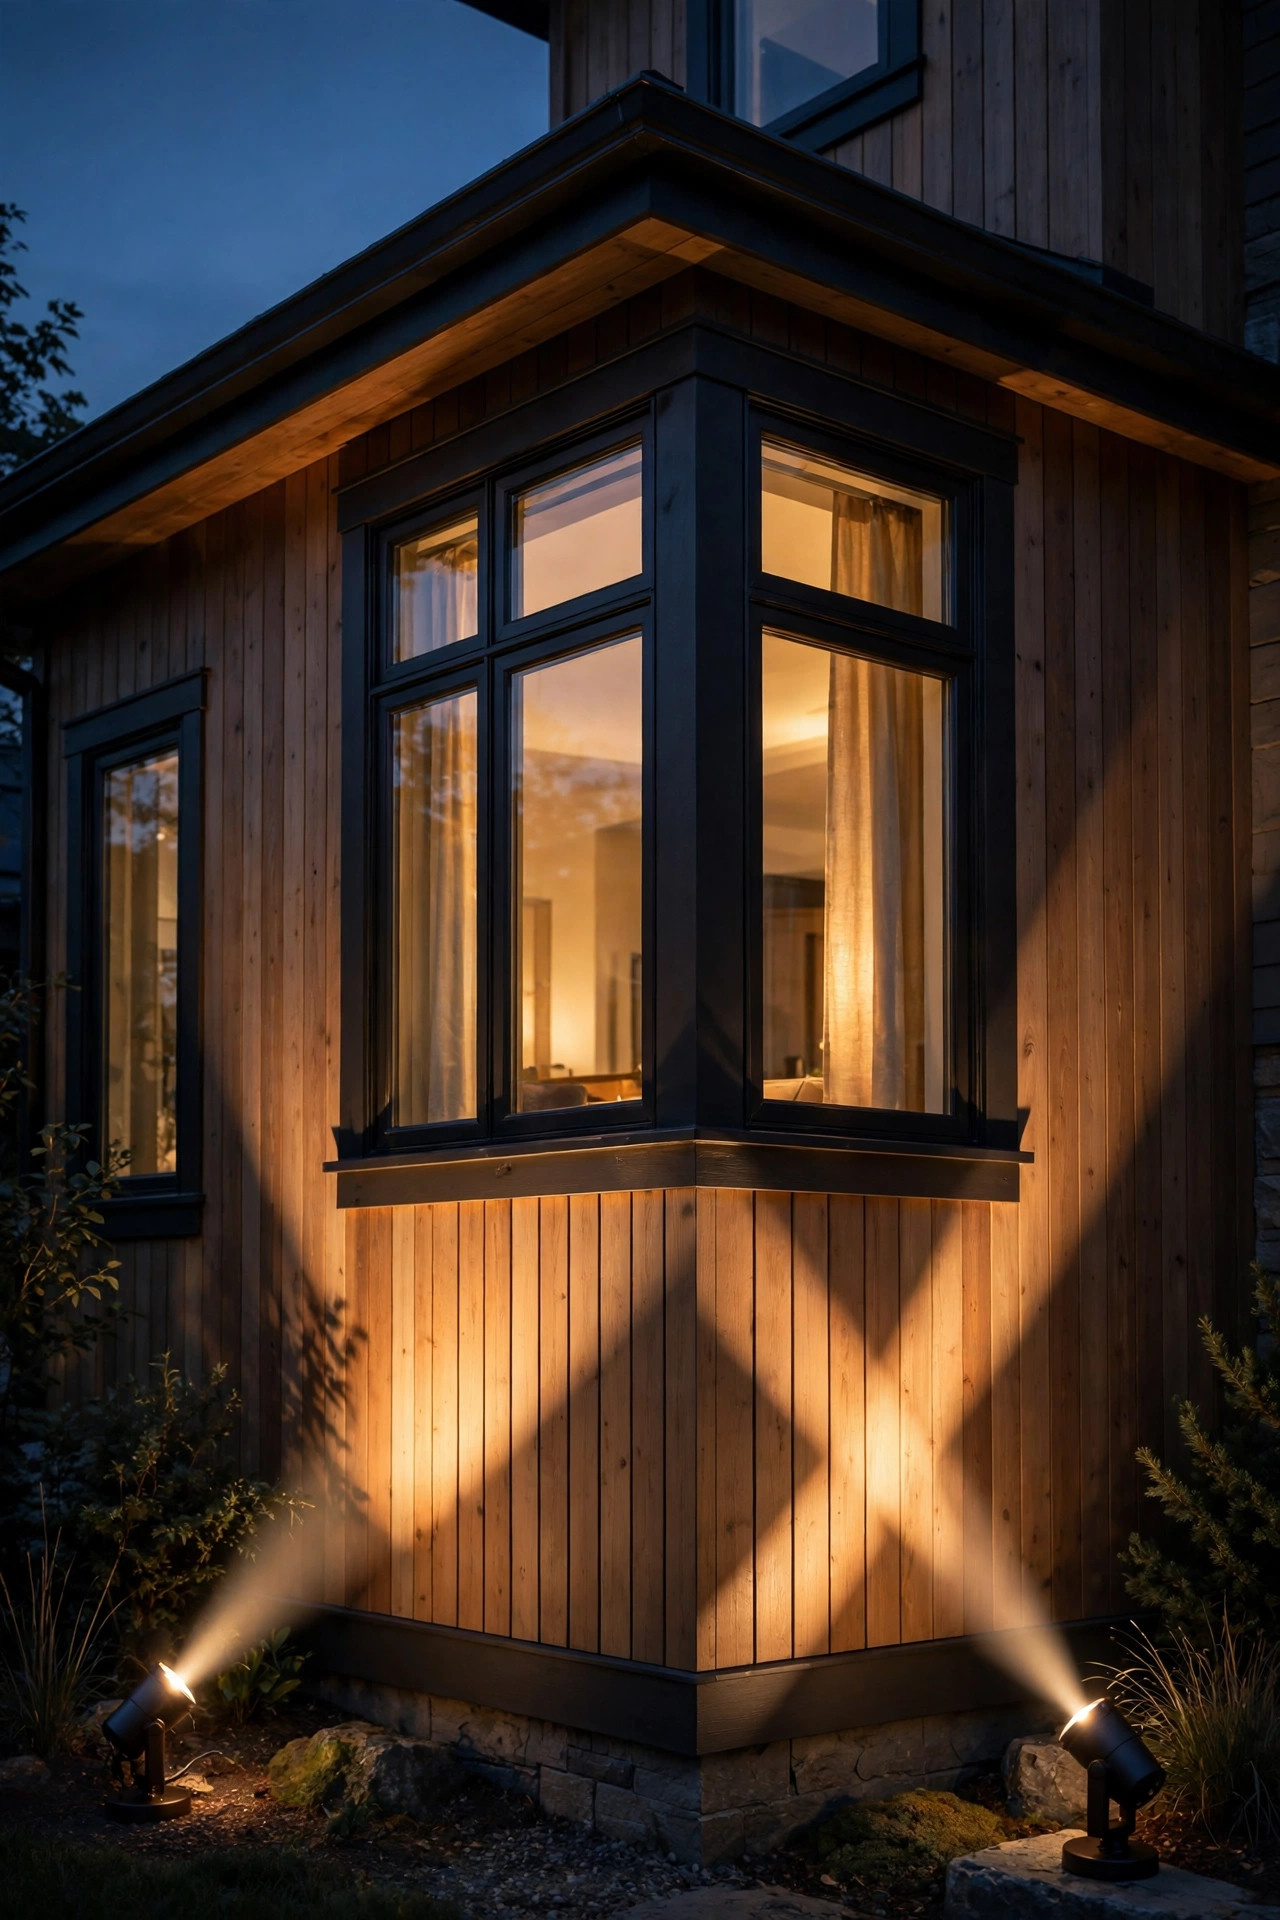
5. Turn Porch Columns Into Glowing Pillars
Columns are architecture's exclamation points, and a small spotlight at the base of each one makes an entry look like a boutique hotel. Use a compact fixture — 200 to 350 lumens is plenty for a 8- to 10-foot column — tucked into the planting bed or mounted discreetly on the porch floor at the column's base. Aim straight up the shaft so the light climbs and fades naturally before the capital; that gradient is what makes it look elegant instead of floodlit. Round columns love a narrow 15–24 degree beam, while square Craftsman piers look better with a slightly wider spread that catches two faces. Light every column on the porch, not just the pair by the door, or the rhythm breaks. If your columns are white or light-painted, expect them to glow brightly and consider one step dimmer than you think you need. Honestly, this is the single change neighbors ask me about most, and it takes under an hour with low-voltage fixtures.
Suggested budget range: $40 – $110.
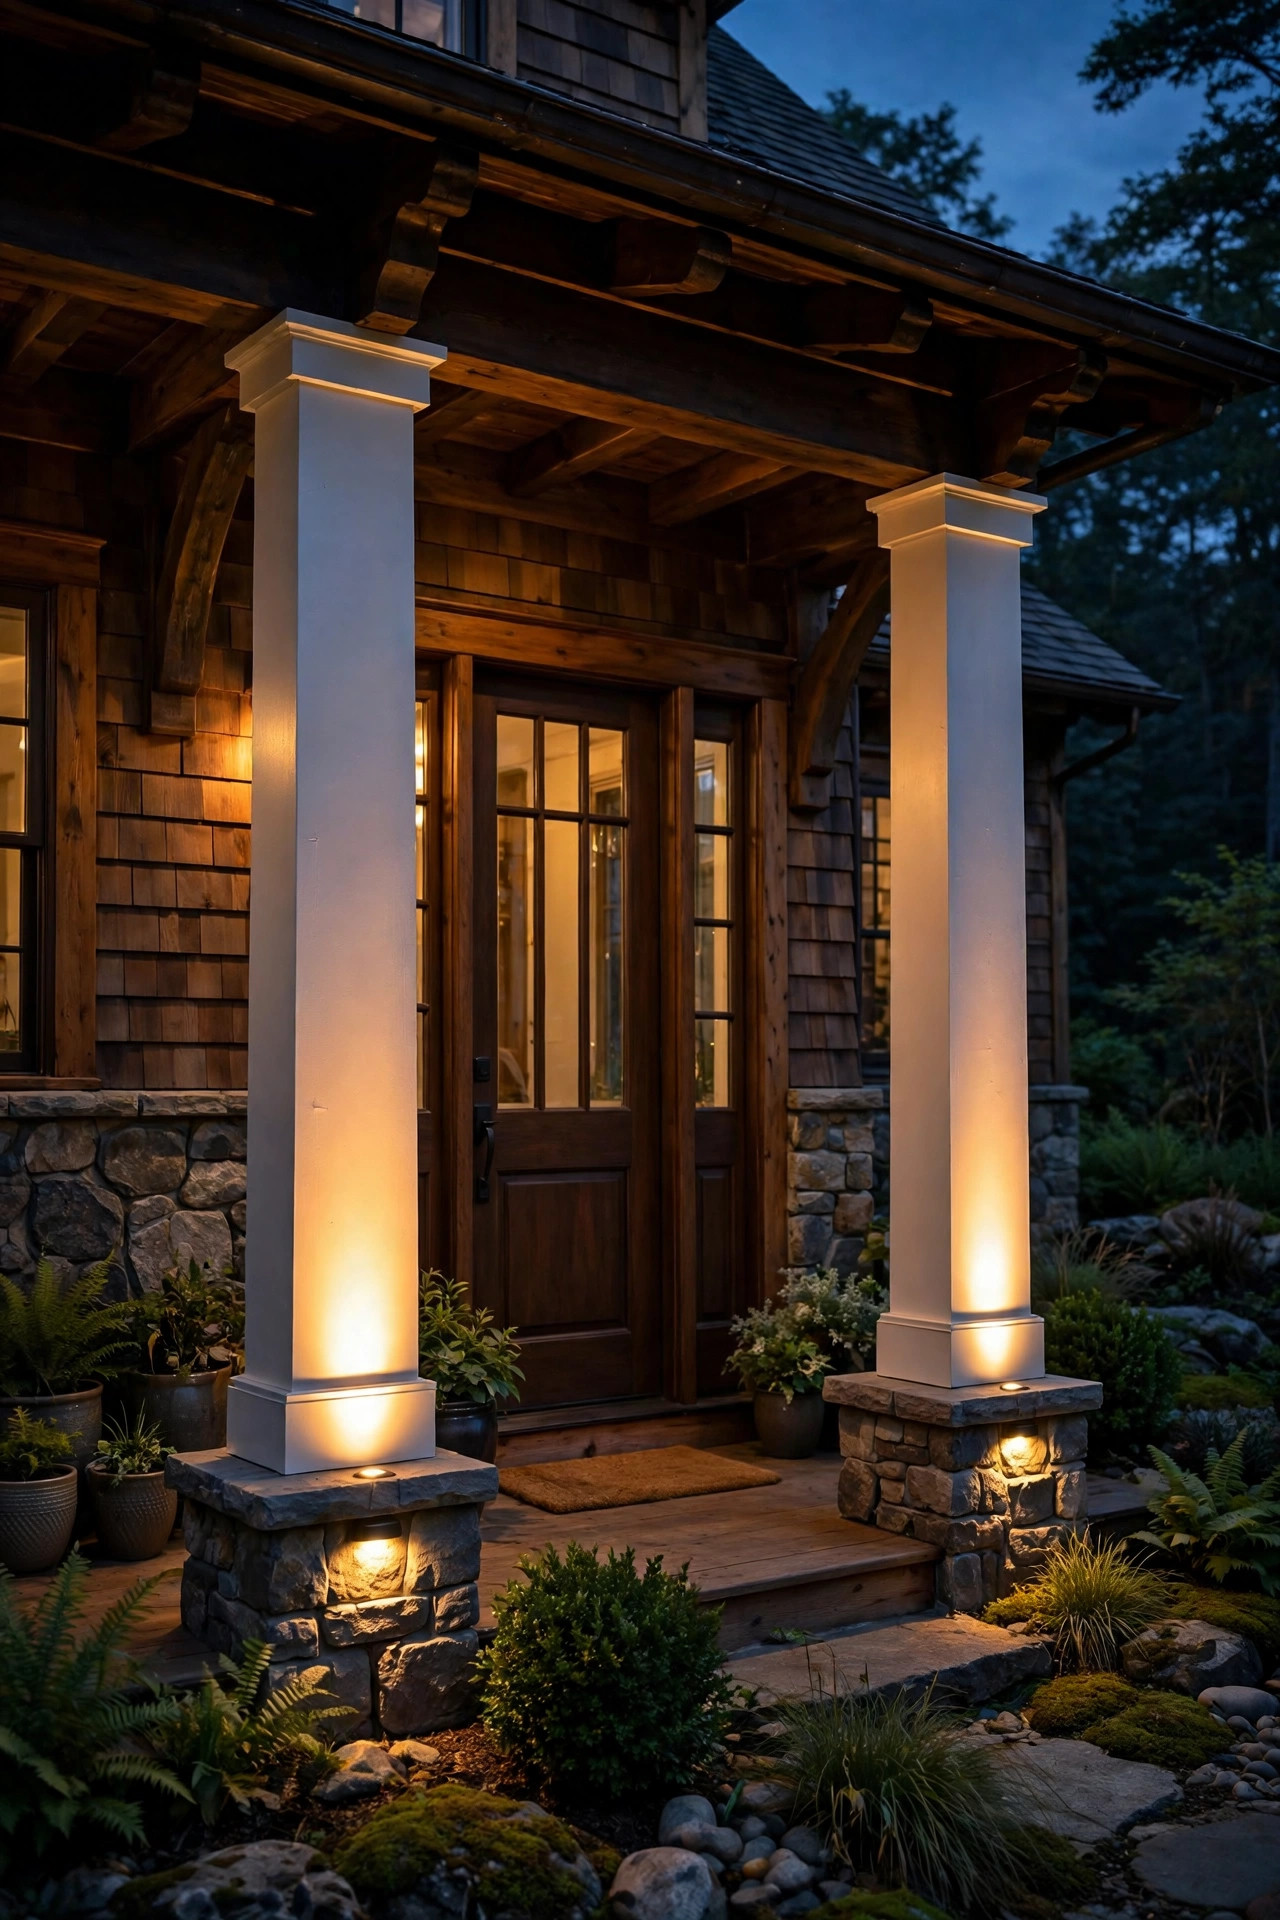
6. Facade Spotlight Lighting for Gables and Dormers
The upper story is where most homes go dark at night, and a spotlight aimed at a gable peak or dormer instantly completes the picture. You have two mounting choices: a ground spotlight with a tight 15-degree beam thrown 20-plus feet up, or a small fixture mounted on the roof edge, gutter line, or a lower roof section aimed at the peak. Ground mounting is simpler and renter-safe, but the beam widens as it climbs, so choose a higher-output fixture — 500 to 800 lumens — to keep the gable glowing rather than misty. Dormers respond beautifully to one small spotlight each, placed on the roof valley or the ground below, which makes a row of dormers twinkle like a storybook inn. Watch your aim carefully here: overshoot lights up the sky and annoys neighbors, so use fixtures with glare shields and tilt them in small increments from the street view. A photocell timer keeps the whole composition switching on at dusk without you thinking about it.
Suggested budget range: $50 – $150.
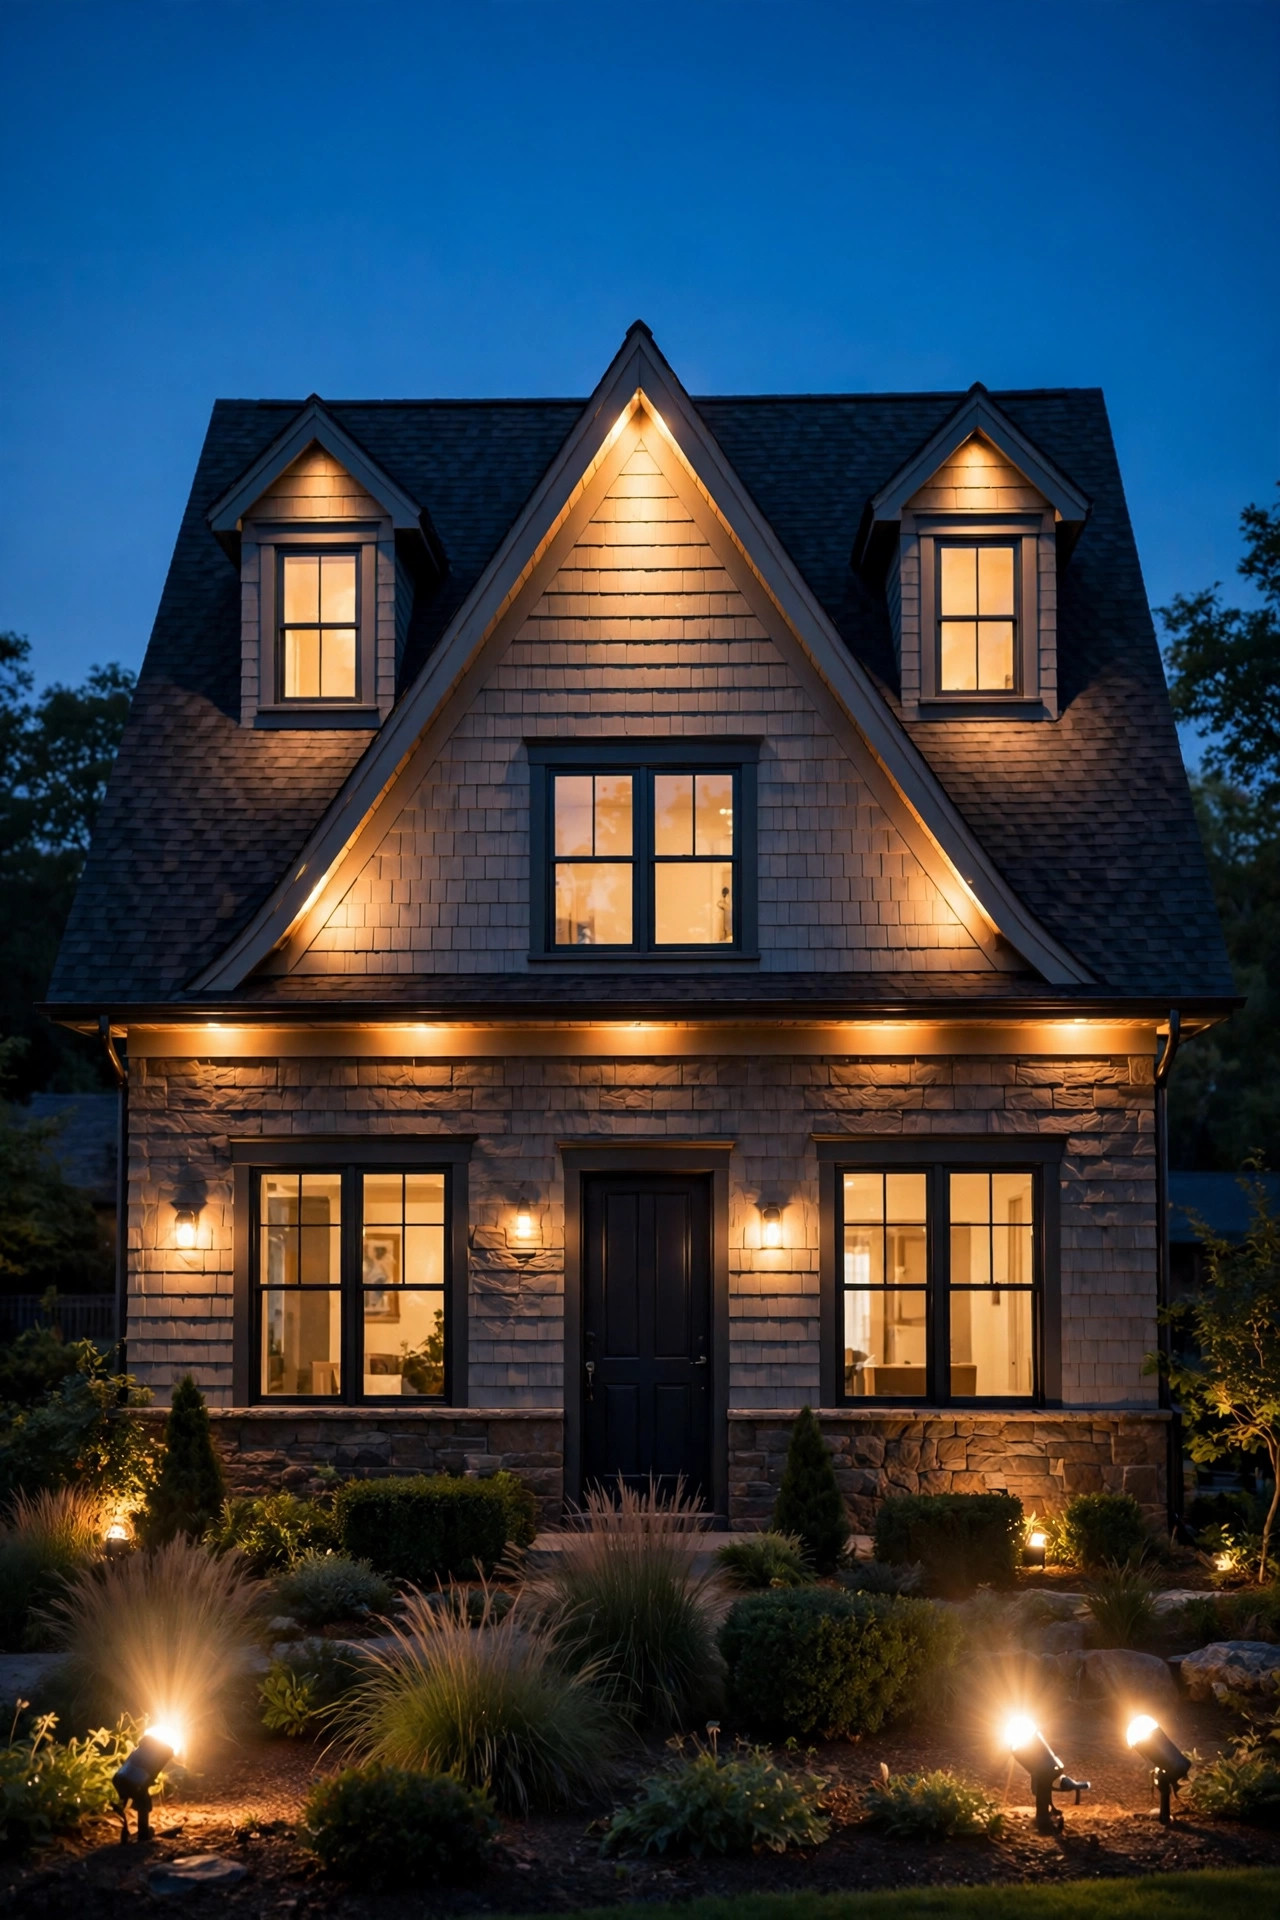
7. Silhouette a Tree Against the Lit Facade
Once a wall is softly lit, it becomes a movie screen — and a small ornamental tree or sculptural shrub planted a few feet in front of it becomes the star. Place a Japanese maple, a twisted olive, or even a large hydrangea between the spotlight and the facade, and its branches throw gorgeous, enlarged shadows across the lit surface. The trick is restraint: keep the wall wash behind it gentle, around 200–300 lumens, so the silhouette reads clearly instead of competing with a bright backdrop. Position the plant 2 to 4 feet off the wall; closer makes the shadow small and sharp, farther makes it big and dreamy. I move the pot around for a few nights before planting anything permanently, because an arm's length changes the whole composition. For more ways to pair trees with accent light, my tree uplighting guide covers canopies and trunks in depth. On breezy nights the shadows sway gently — it is, honestly, the most alive-looking lighting effect in my whole yard.
Suggested budget range: $45 – $120.
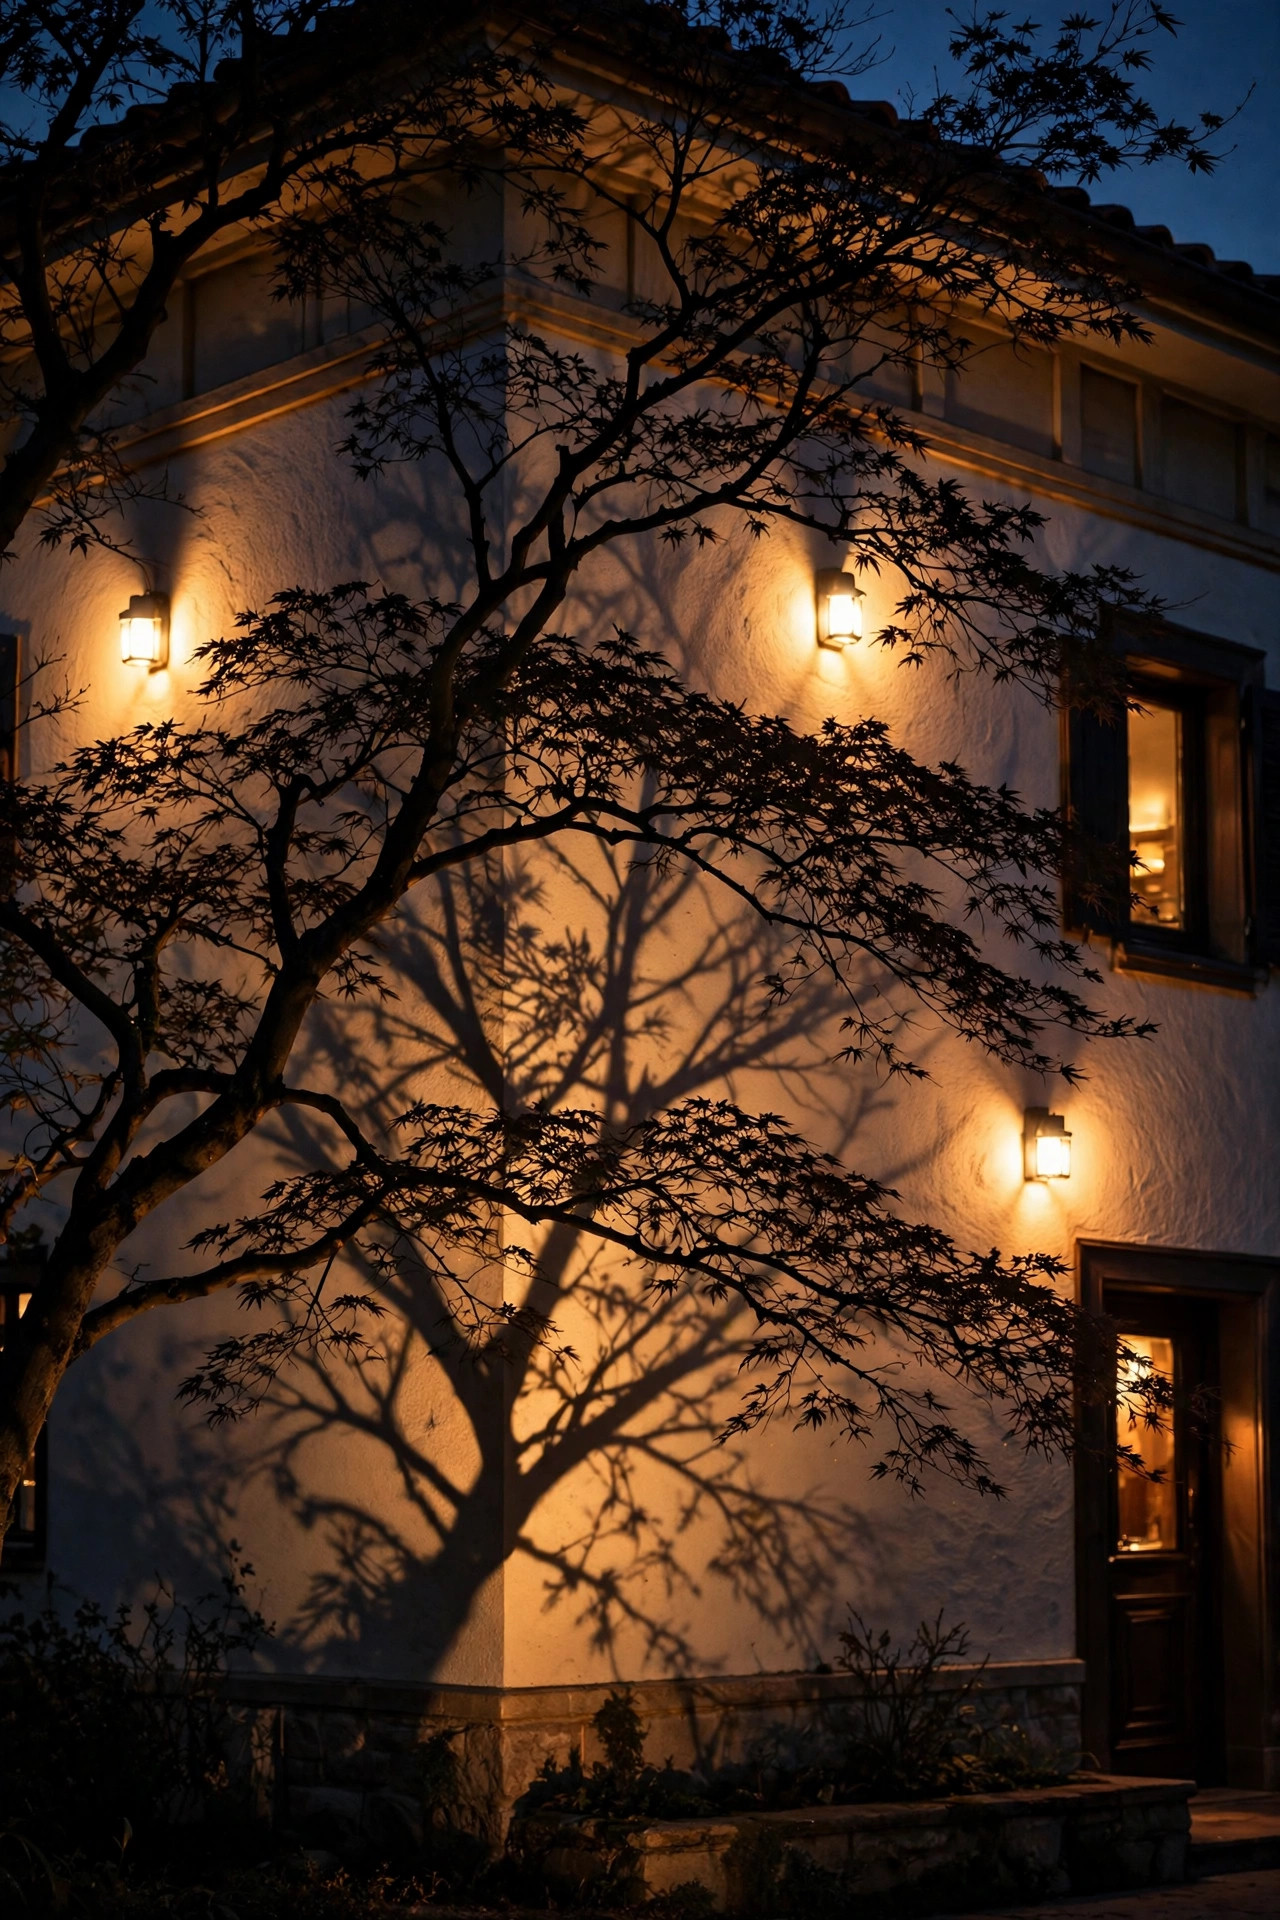
8. Frame Windows With Narrow Beams From Below
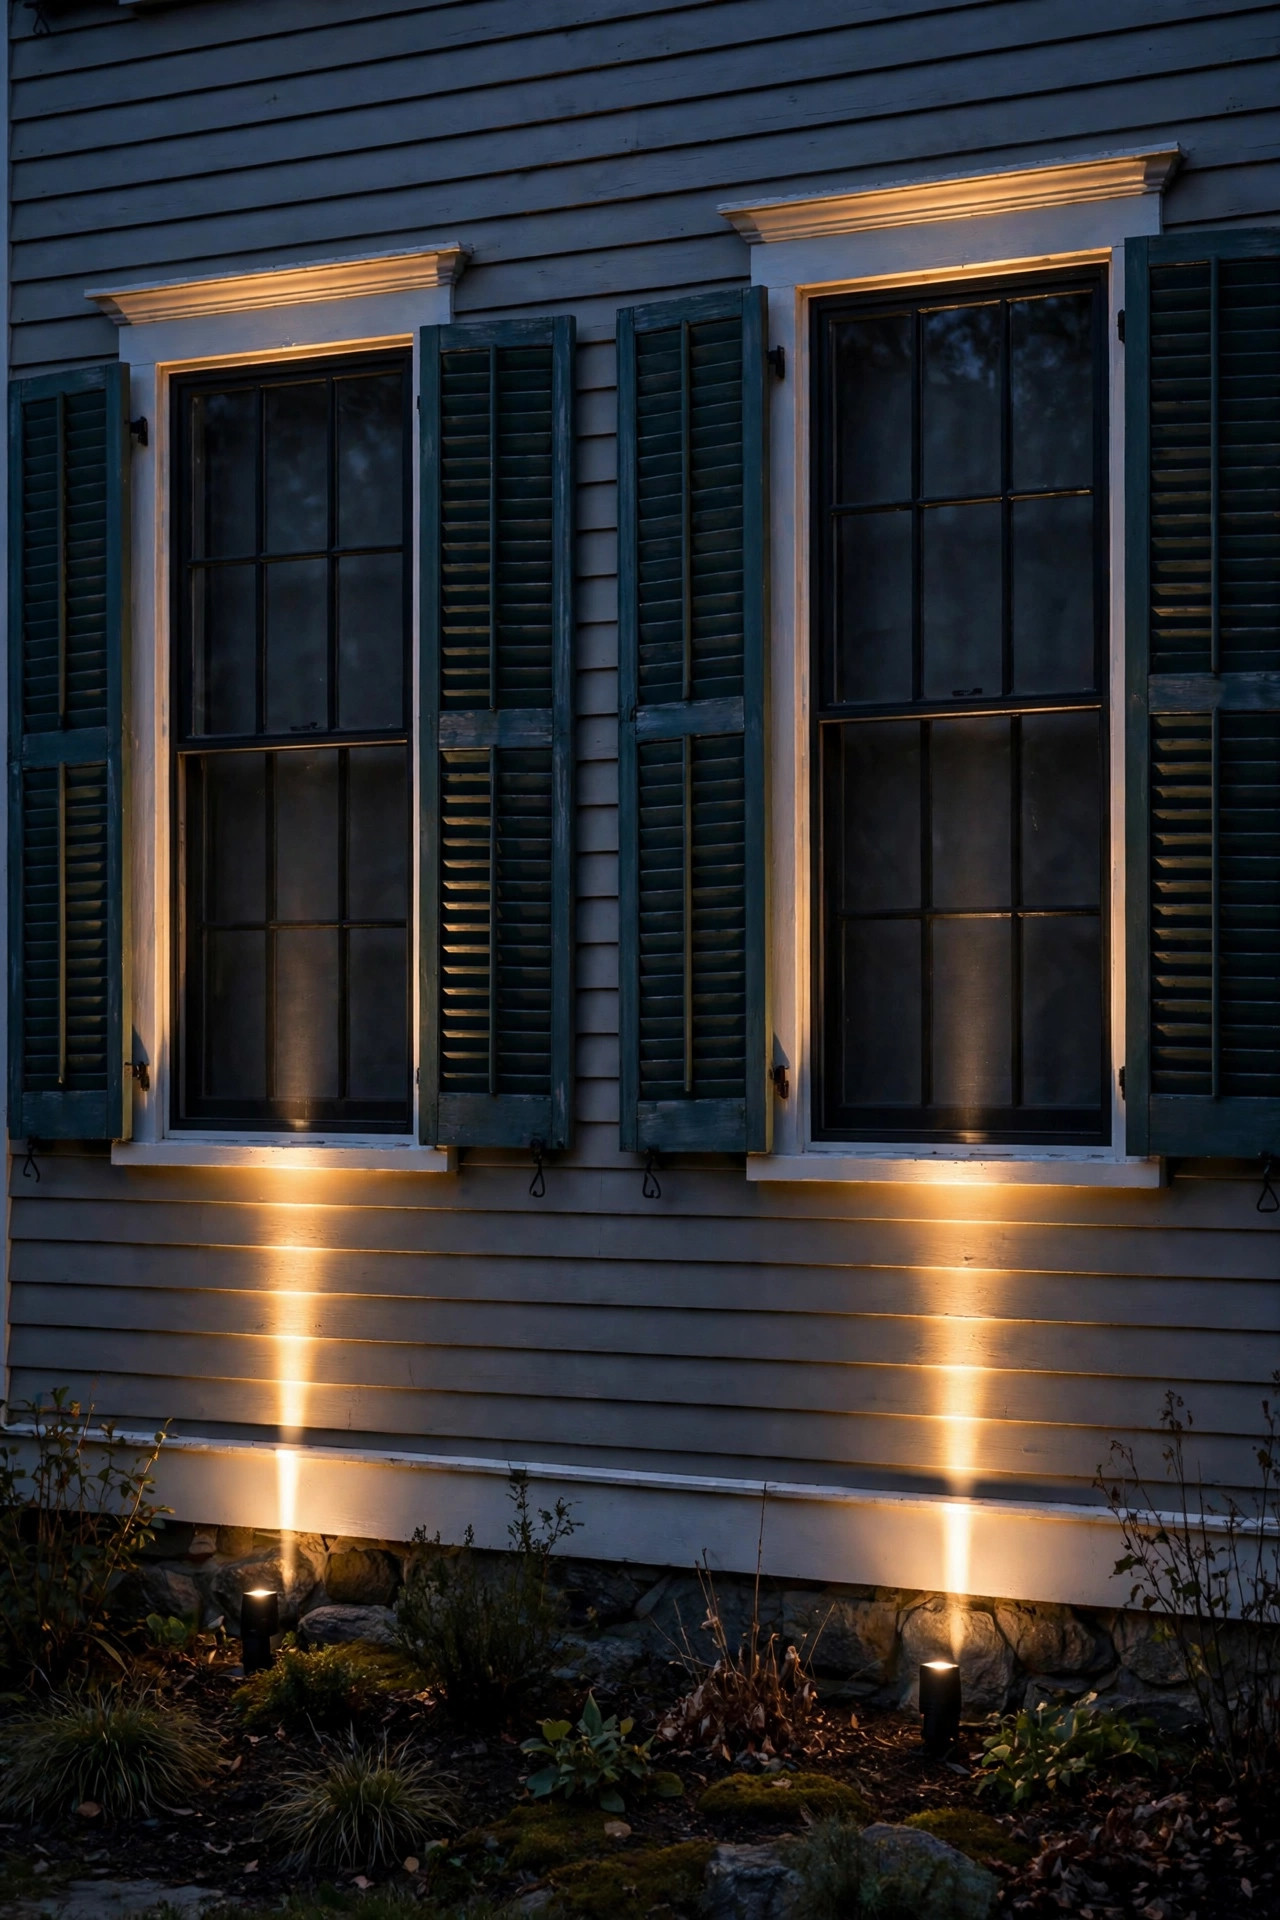
Windows are the facade's eyes, and a narrow spotlight beneath each one makes the whole house look awake and welcoming. Use a tight beam, 10–15 degrees, set into the bed directly below the window and aimed up so a slim ribbon of light climbs the trim and grazes the shutters. The effect outlines the window without pouring light into the room — which matters, because nobody wants a spotlight shining across their living-room sofa. Keep fixtures at least a foot below the sill line and tilt them outward a few degrees so the beam hugs the wall. Matching the rhythm is everything: if the facade has three front windows, light all three or just the center one, because lighting two of three looks like a bulb burned out. Black or bronze fixtures disappear into mulch beds by day. This is a subtle, architectural look that pairs beautifully with a lit doorway, and it's one of the cheapest ways to make a plain ranch facade look deliberately designed.
Suggested budget range: $35 – $95.
9. Give Arches, Niches, and Alcoves Their Own Glow
Architectural details that disappear into shadow after dark — a recessed entry arch, a shallow niche, an alcove beside the garage — come alive with one small, dedicated spotlight. Because the space is enclosed, you need far less power than you'd guess: 100 to 200 lumens bounced around a niche feels rich and warm. Aim the fixture across the recess rather than straight into it, so one side glows and the other falls into soft shadow; that contrast is what gives the detail depth. For arched entries, a fixture tucked at the base of one jamb, aimed up and across the curve, traces the arch like a pencil line. Watch for hot spots on pale stucco — pull the fixture back or add a frosted lens if the center blows out white. These little moments are what separate a lit house from a designed one, and they cost almost nothing to add once your transformer is in place. Guests notice them without knowing why the entry feels so inviting.
Suggested budget range: $25 – $70.

10. Choose In-Ground Well Lights for a Clean Daytime Look
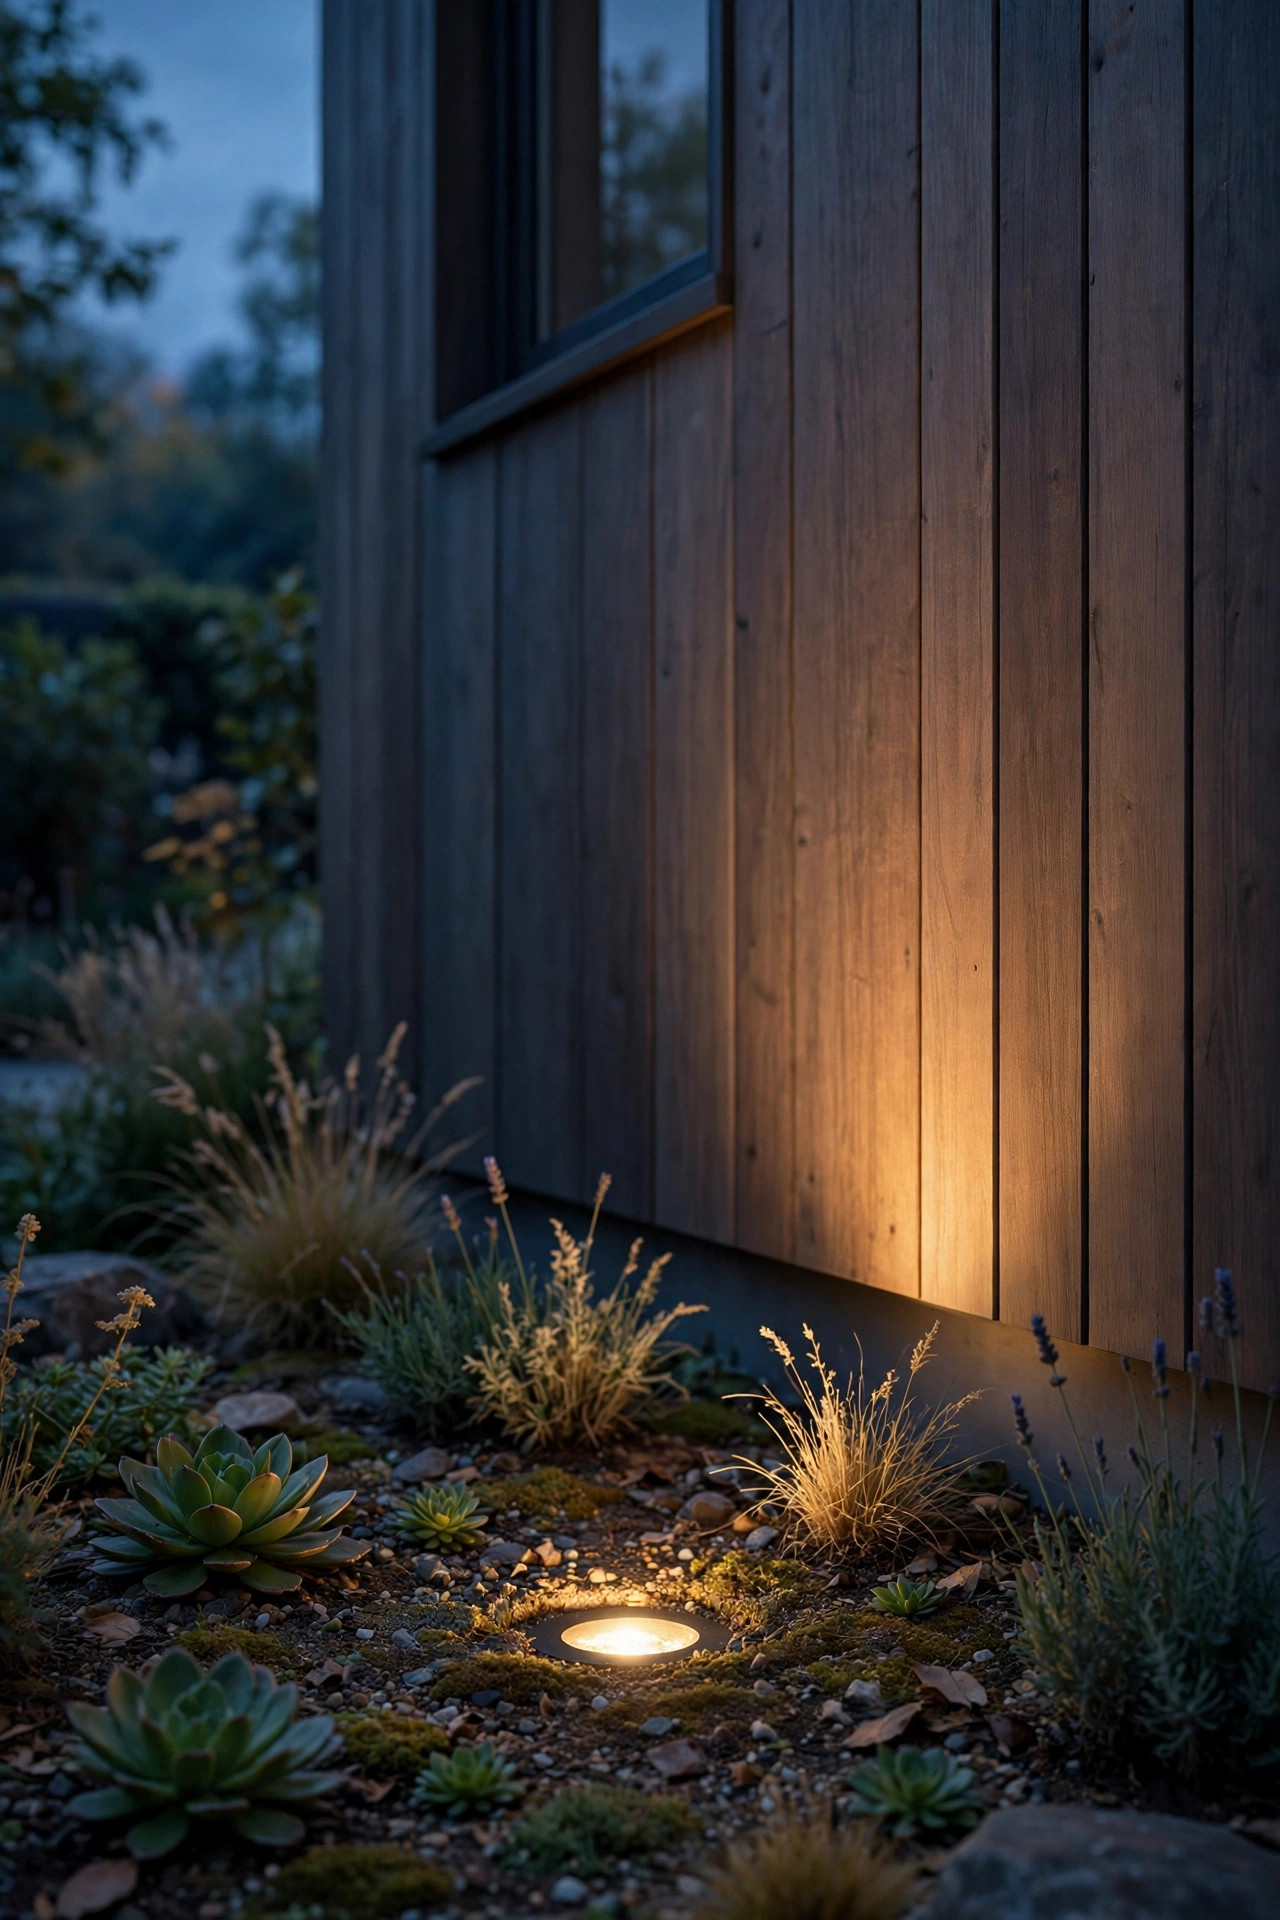
If you love the nighttime effect but hate seeing fixtures in your flower beds by day, in-ground well lights are your answer. These fixtures sit in a sleeve buried flush with the soil or lawn, so all you see after dark is light appearing from nowhere. They're ideal in front of facades where beds are shallow or where a mower passes close — just choose models with a grate or rock guard where feet and wheels travel. Installation takes a little more care: dig the sleeve hole a few inches deeper than the fixture, add a gravel bed underneath for drainage, and never let mulch creep over the lens, because buried LEDs still need to shed heat. Output runs 300–600 lumens on good models, with interchangeable beam lenses on the better ones. I use them along our front walk where stake lights kept getting knocked sideways by the edger. One honest caution: in heavy clay soil that holds water, well lights need that drainage bed or they'll fog — do the gravel step and they'll run for years.
Suggested budget range: $45 – $120.
11. Add Soffit Downlights for a Soft Top-Down Wash
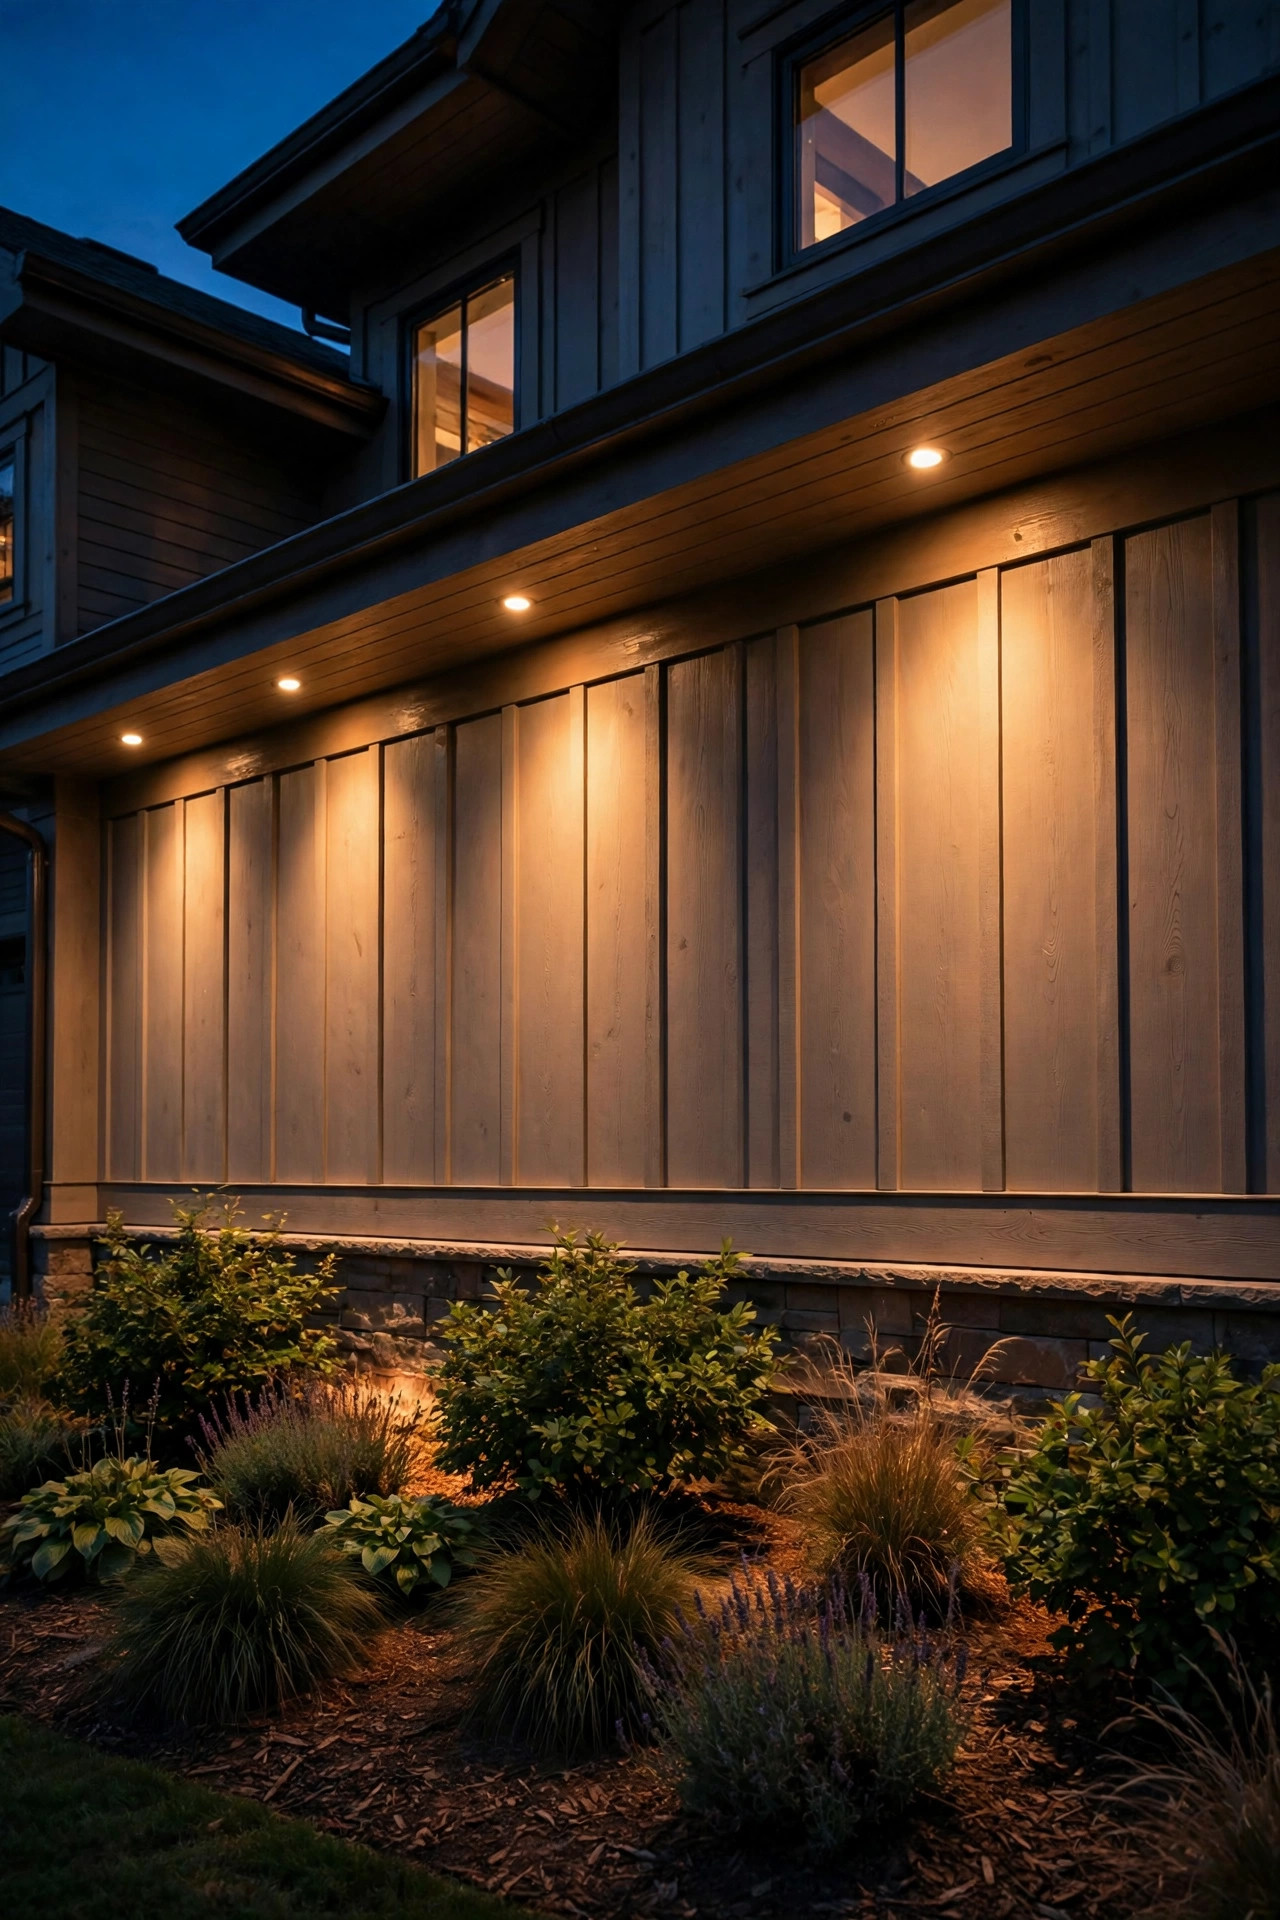
Not every facade light should point up. Small recessed or surface-mount downlights tucked under the eaves wash the wall from above, and the effect is completely different — softer, more even, and remarkably like moonlight. Because the fixtures hide in the soffit, the facade simply glows with no visible source, which suits modern and minimalist homes beautifully. Space them 4 to 6 feet apart along the eave, centered over windows or piers rather than blank wall, and choose 2700K to keep the wash warm. Downlighting also lights the planting bed at the wall's base as a bonus, so shrubs get gentle modeling from above instead of the horror-movie uplight look. This is the one project on the list where I recommend an electrician if the soffits aren't already wired — working in eaves with line voltage isn't a DIY adventure. But if you're building or re-siding, adding soffit lights then costs a fraction of retrofitting, and the nighttime payoff is enormous.
Suggested budget range: $150 – $400.
12. Bookend the House With Corner Spotlights
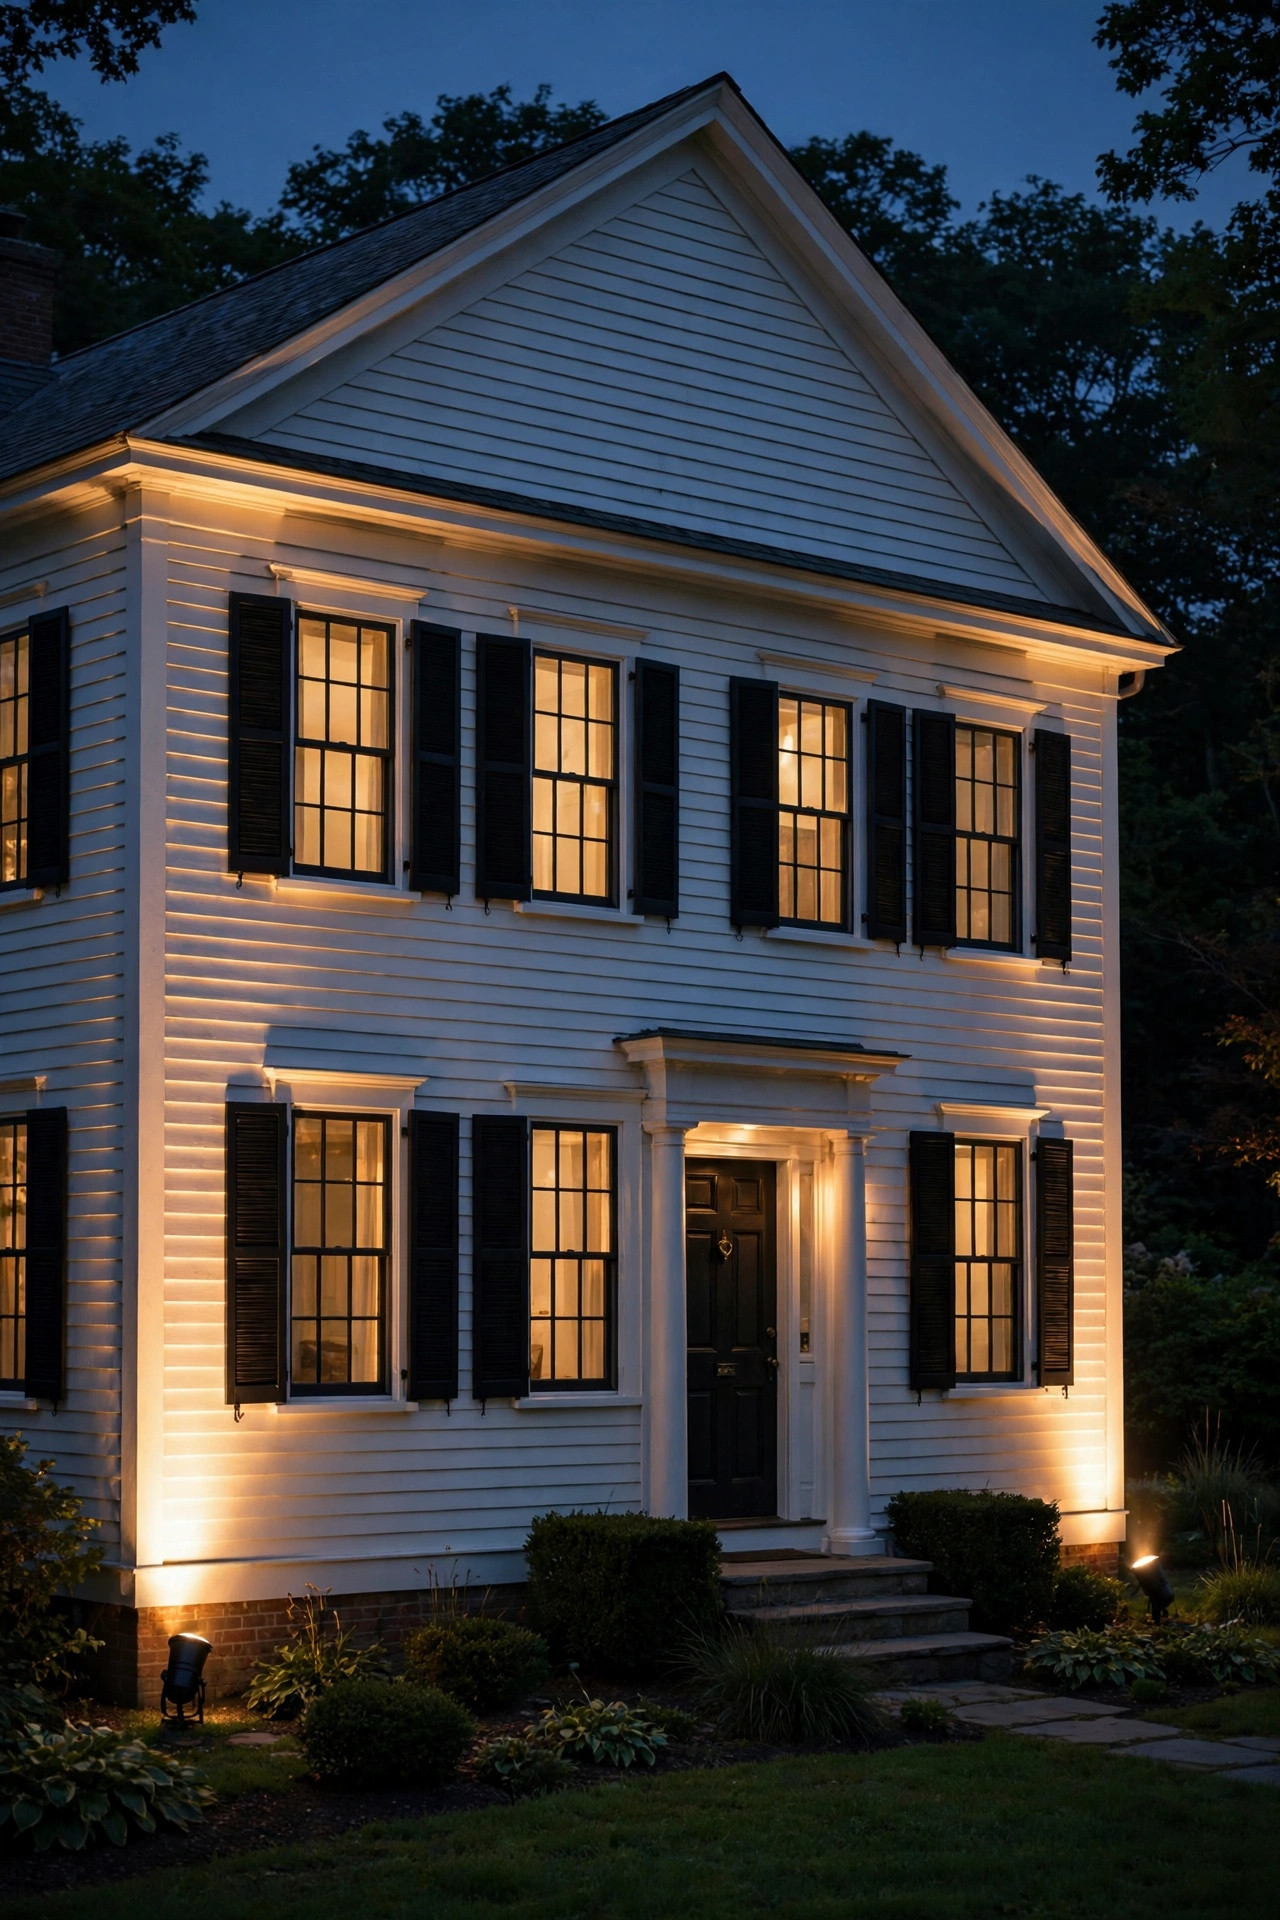
A facade composition needs edges, and spotlights at the two front corners of the house give the whole picture a frame. Place one fixture at each corner, angled diagonally up the corner board or quoins, so the light defines where the house ends and the night begins. This trick is especially powerful on wide ranch and colonial homes that can look like they're floating in a black field after dark. Keep the corner lights a touch dimmer than your hero feature — they're the picture frame, not the painting. If your lot is a corner lot with two street-facing sides, this becomes almost essential: light the corners of both visible facades and the house reads as intentional from every approach. Corner fixtures also do quiet security work, eliminating the dark pockets where side yards meet the front. Match fixtures and color temperature across both corners exactly; asymmetry in brightness is the first thing the eye catches, even if visitors can't say why something feels off.
Suggested budget range: $50 – $120.
13. Match Color Temperature to Your Siding Material
The same spotlight can make one house look golden and another look like a gas station — the difference is color temperature meeting material. Warm 2700K is my default for red brick, warm stone, cedar, and cream siding; it deepens those tones and feels like candlelight at architectural scale. Neutral 3000K suits gray stone, white siding, and cooler color palettes, keeping whites crisp without going blue. I avoid anything above 4000K on a home entirely — that icy blue-white belongs to warehouses. Here's a test worth doing: buy one fixture in each temperature, clamp them up on the same evening, and photograph both from the street; the right answer for your material will be obvious in the photos. Whatever you choose, commit to it across every fixture on the facade, because mixed temperatures on one wall look like a mistake even when each light is lovely alone. Bulbs and integrated LEDs both come in these temperatures now, so there's no excuse for a mismatch.
Suggested budget range: $30 – $90.
14. Layer Facade Spotlight Lighting With Path and Porch Lights
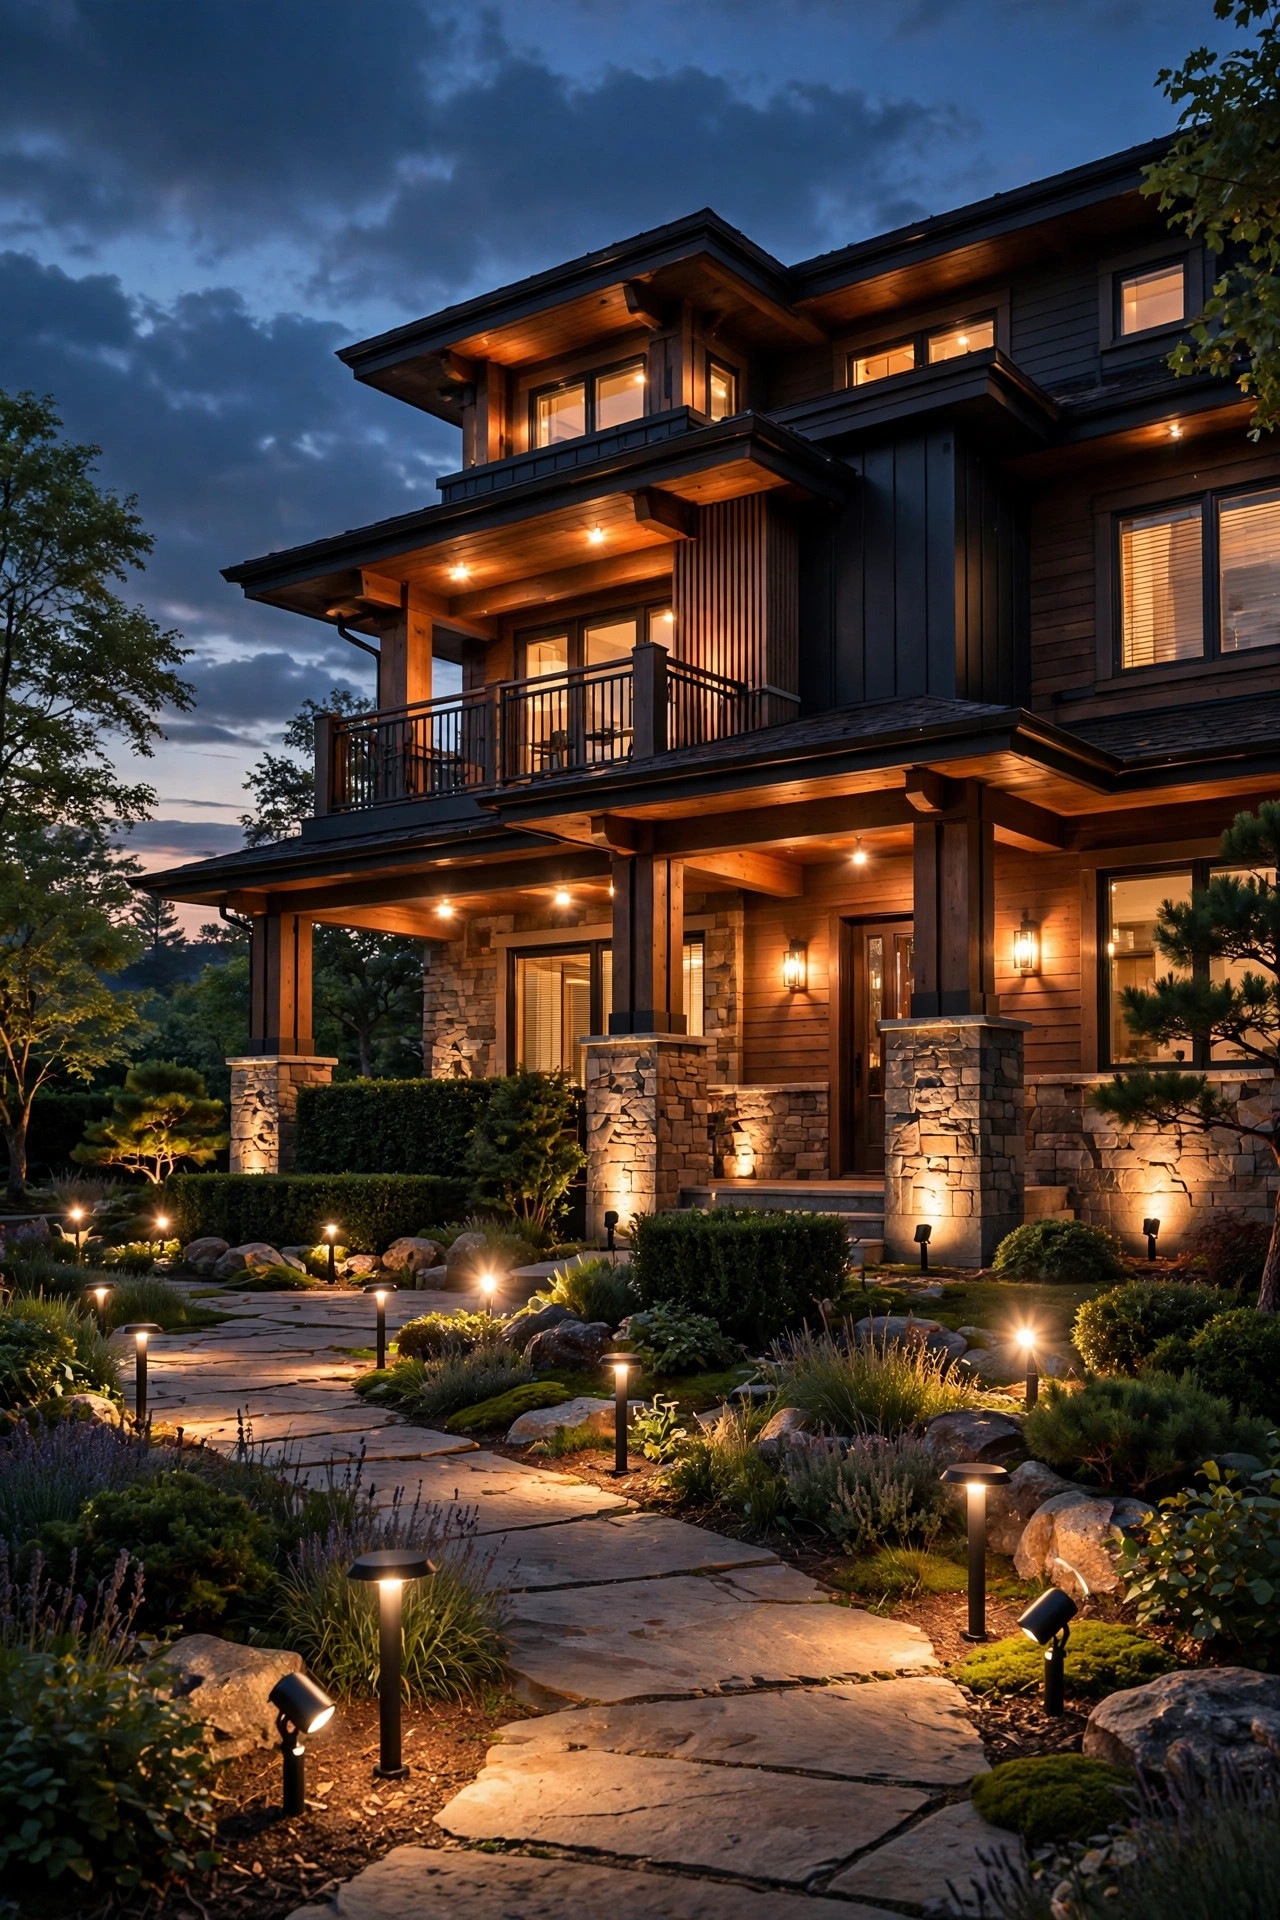
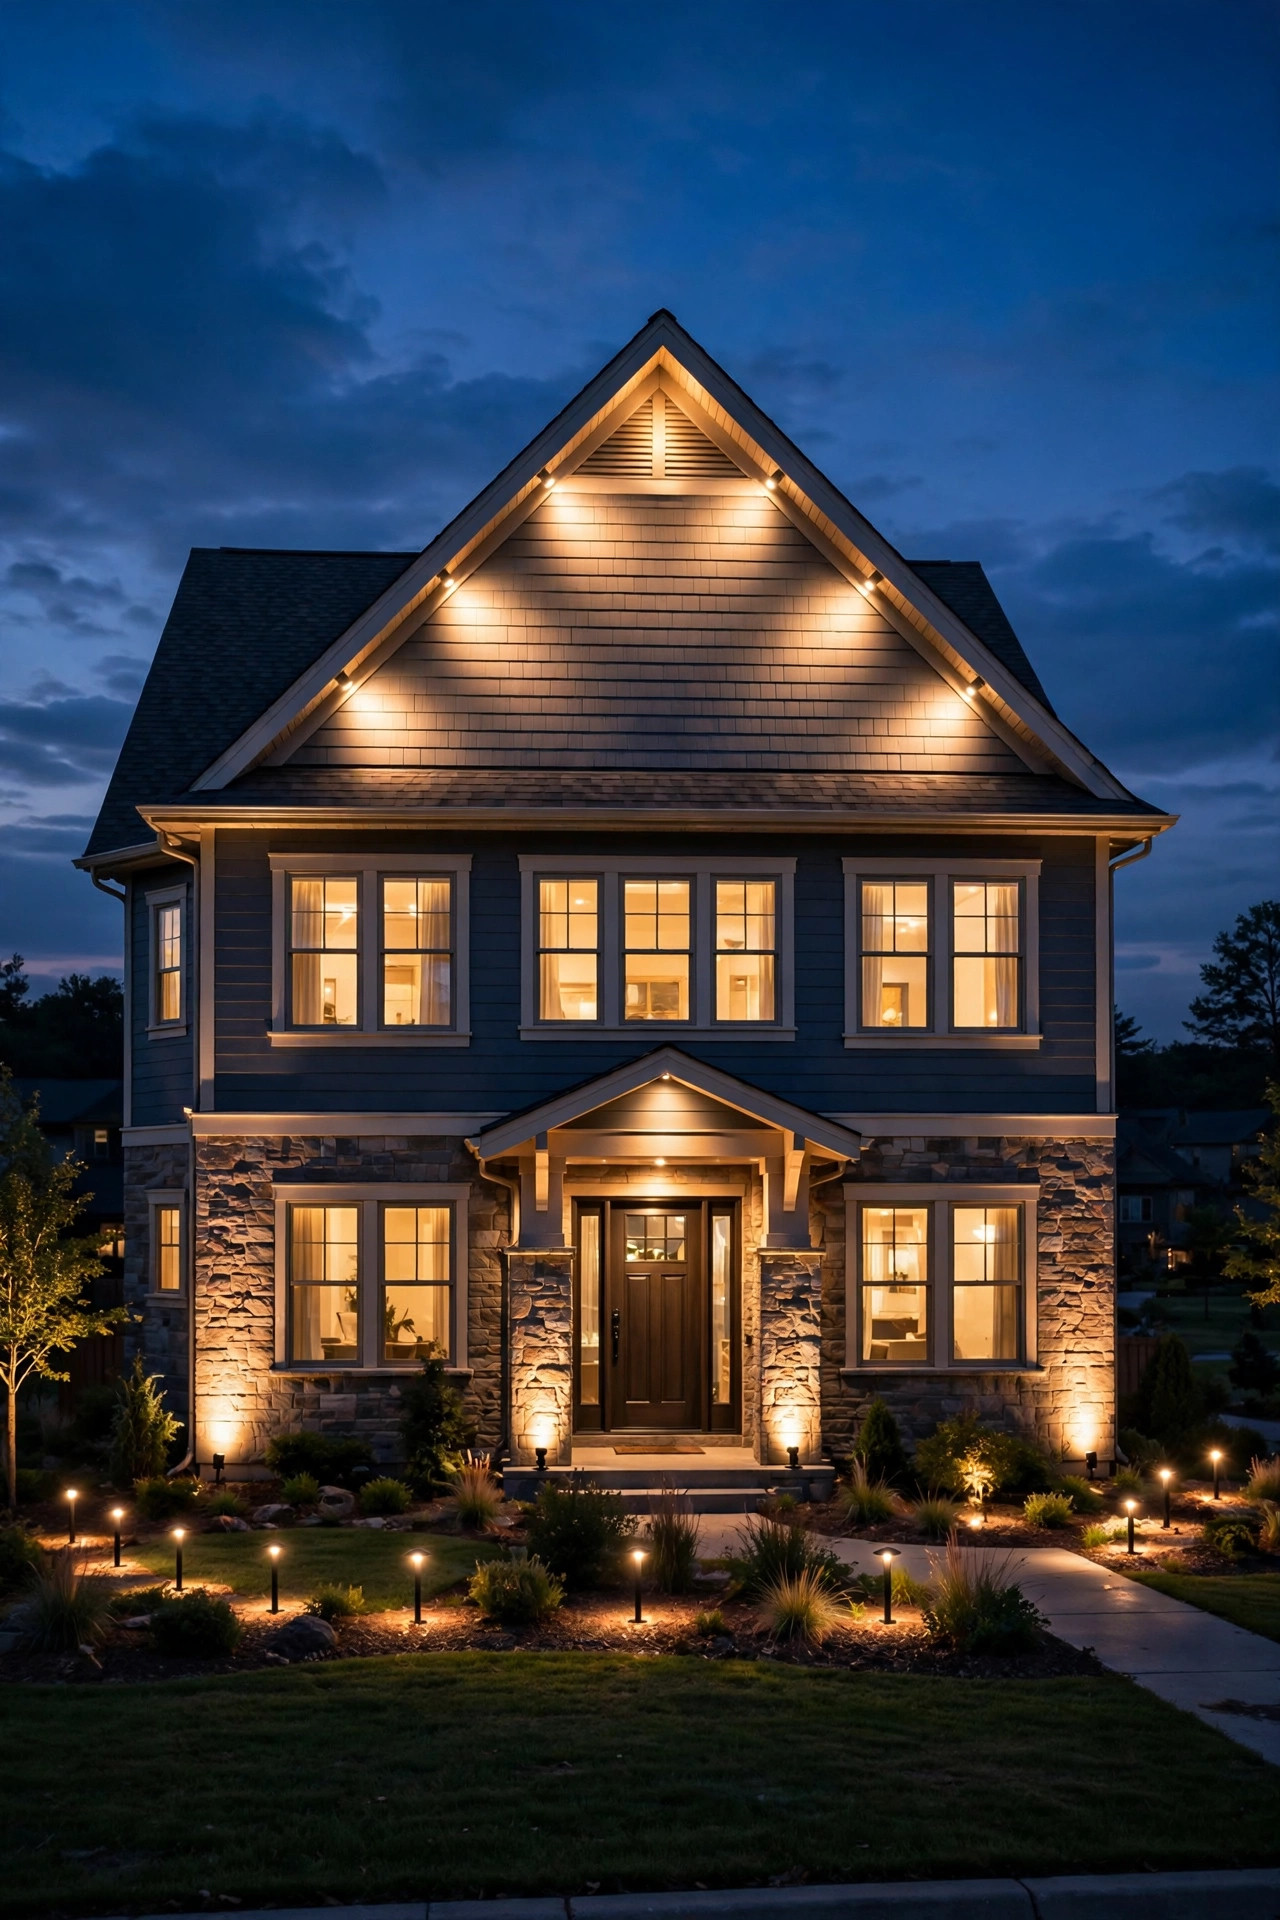
A facade lit in isolation can look like a stage set dropped into darkness — beautiful, but disconnected. The fix is layering: let path lights lead the eye from the street, porch lights warm the entry, and facade spotlights crown the composition. The rule I follow is a brightness ladder. Path lights stay lowest and dimmest, just pools of guidance; the porch and entry sit one step brighter; and the hero architectural feature gets the strongest accent. When every layer runs at the same brightness, they fight, and the house looks flat and overlit. Timers make layering effortless — set all of it on one photocell-controlled transformer or smart plug and the whole scene rises at dusk like theater lights. Step back to the sidewalk for the final judgment, because layering is judged from the street, not the porch. If your eye travels street → path → porch → facade without snagging on one glare bomb, you've nailed it. This layered approach is the real secret behind every magazine-cover house you've ever admired at night.
Suggested budget range: $100 – $300.
15. Go Solar When the Facade Gets All-Day Sun
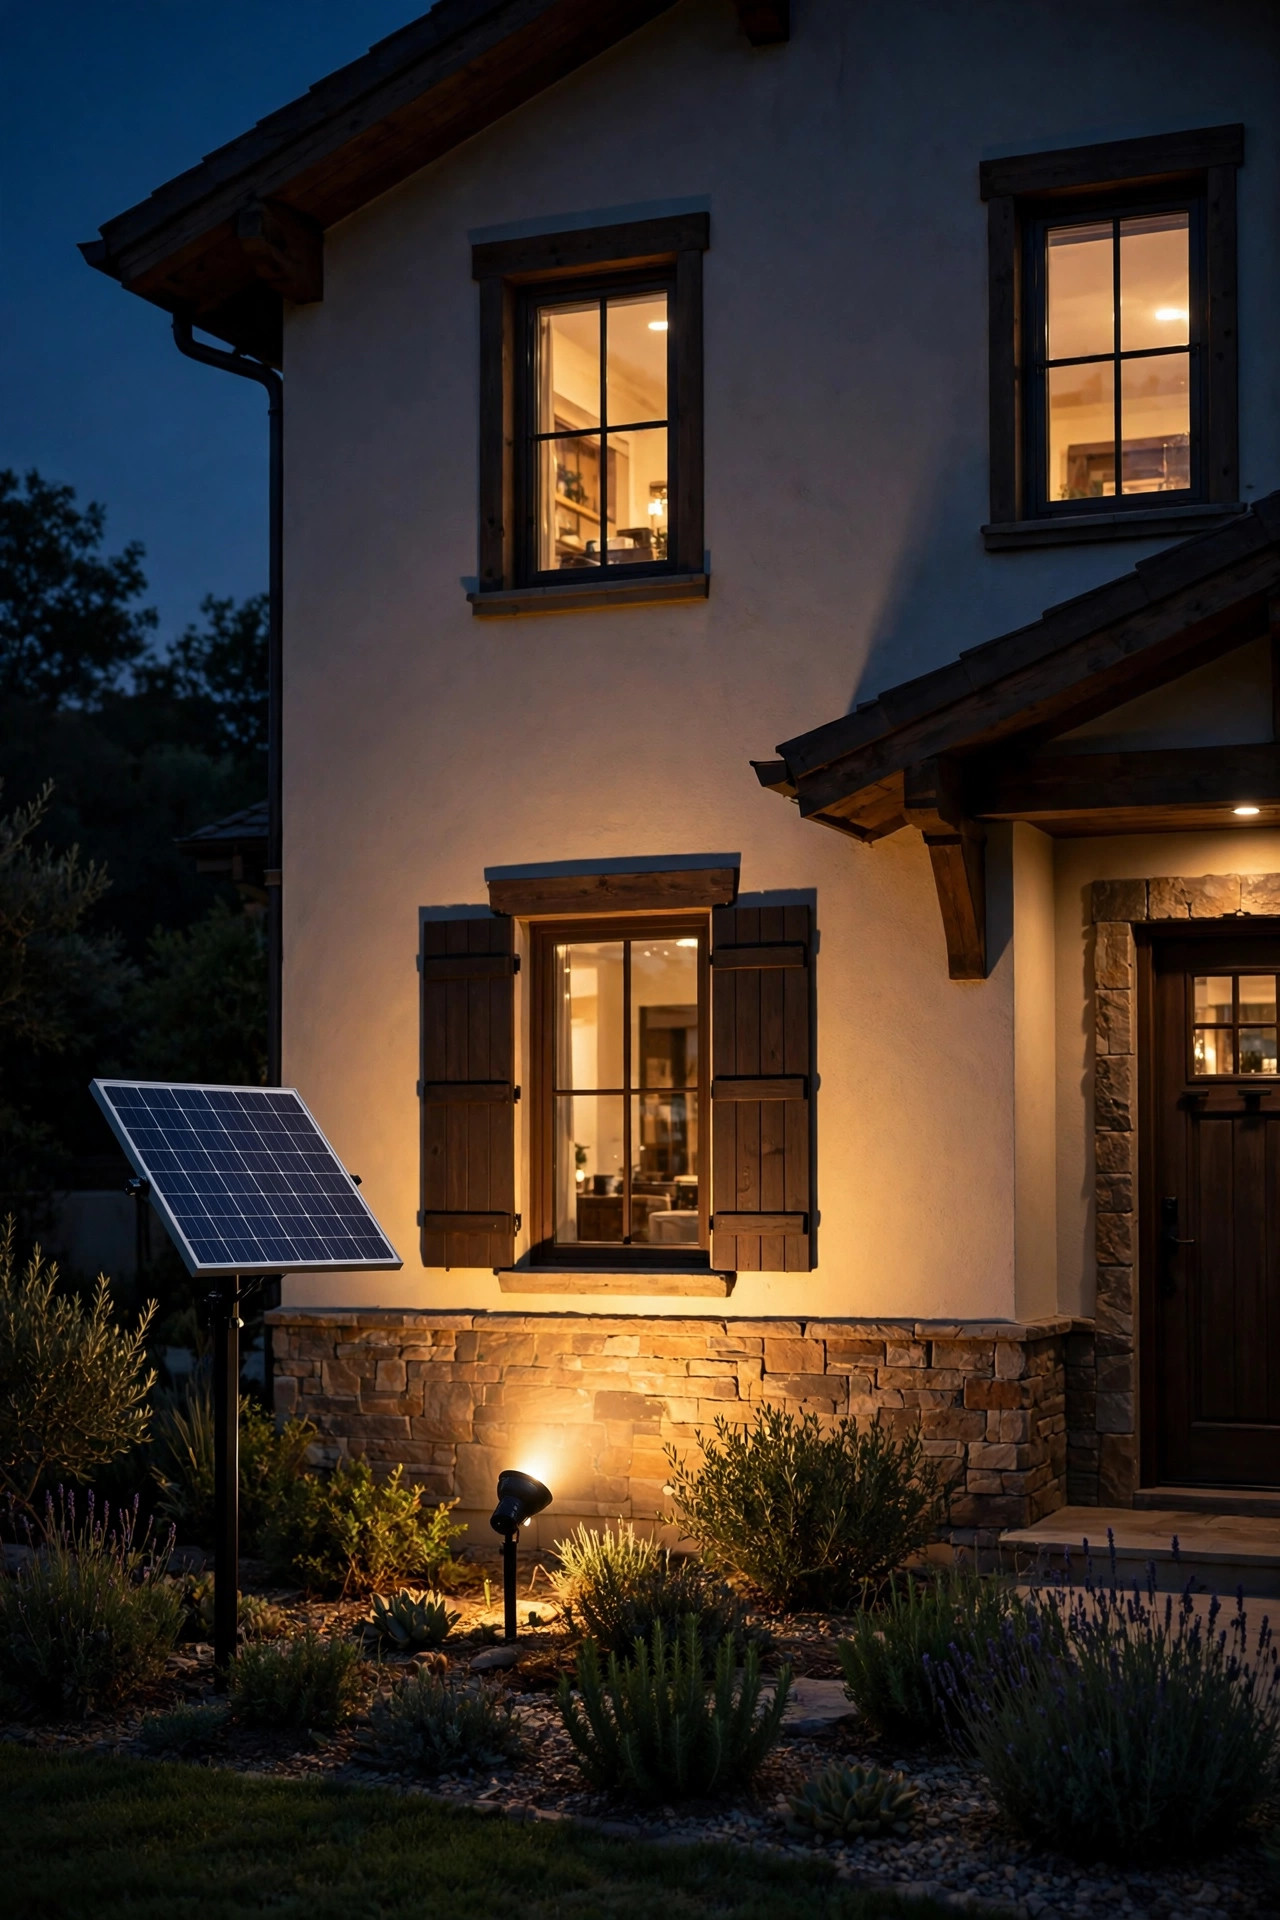
South- and west-facing facades are perfect candidates for solar spotlights: the same wall you want to light all night bakes in sun all day. Modern solar spotlights with separate or generous panels genuinely work now, delivering 200–400 lumens for 8–10 hours on a full charge. The separate-panel models are the ones I recommend — stake the light in the bed where it belongs, then run the slim cable to a panel positioned in the sunniest spot, even around the corner. Integrated panel-and-light units are tidier but force a compromise: beds at the wall's base often sit in the house's own shadow by afternoon. Set expectations honestly for winter, when short days and low sun can cut runtime in half; a hybrid plan — solar on the sunny side, low-voltage on the shady side — covers the whole facade without trenching everywhere. Keep panels wiped clean monthly, because pollen film quietly steals the charge your lights need by December.
Suggested budget range: $20 – $55.
16. Put Facade Scenes on Timers and Smart Controls
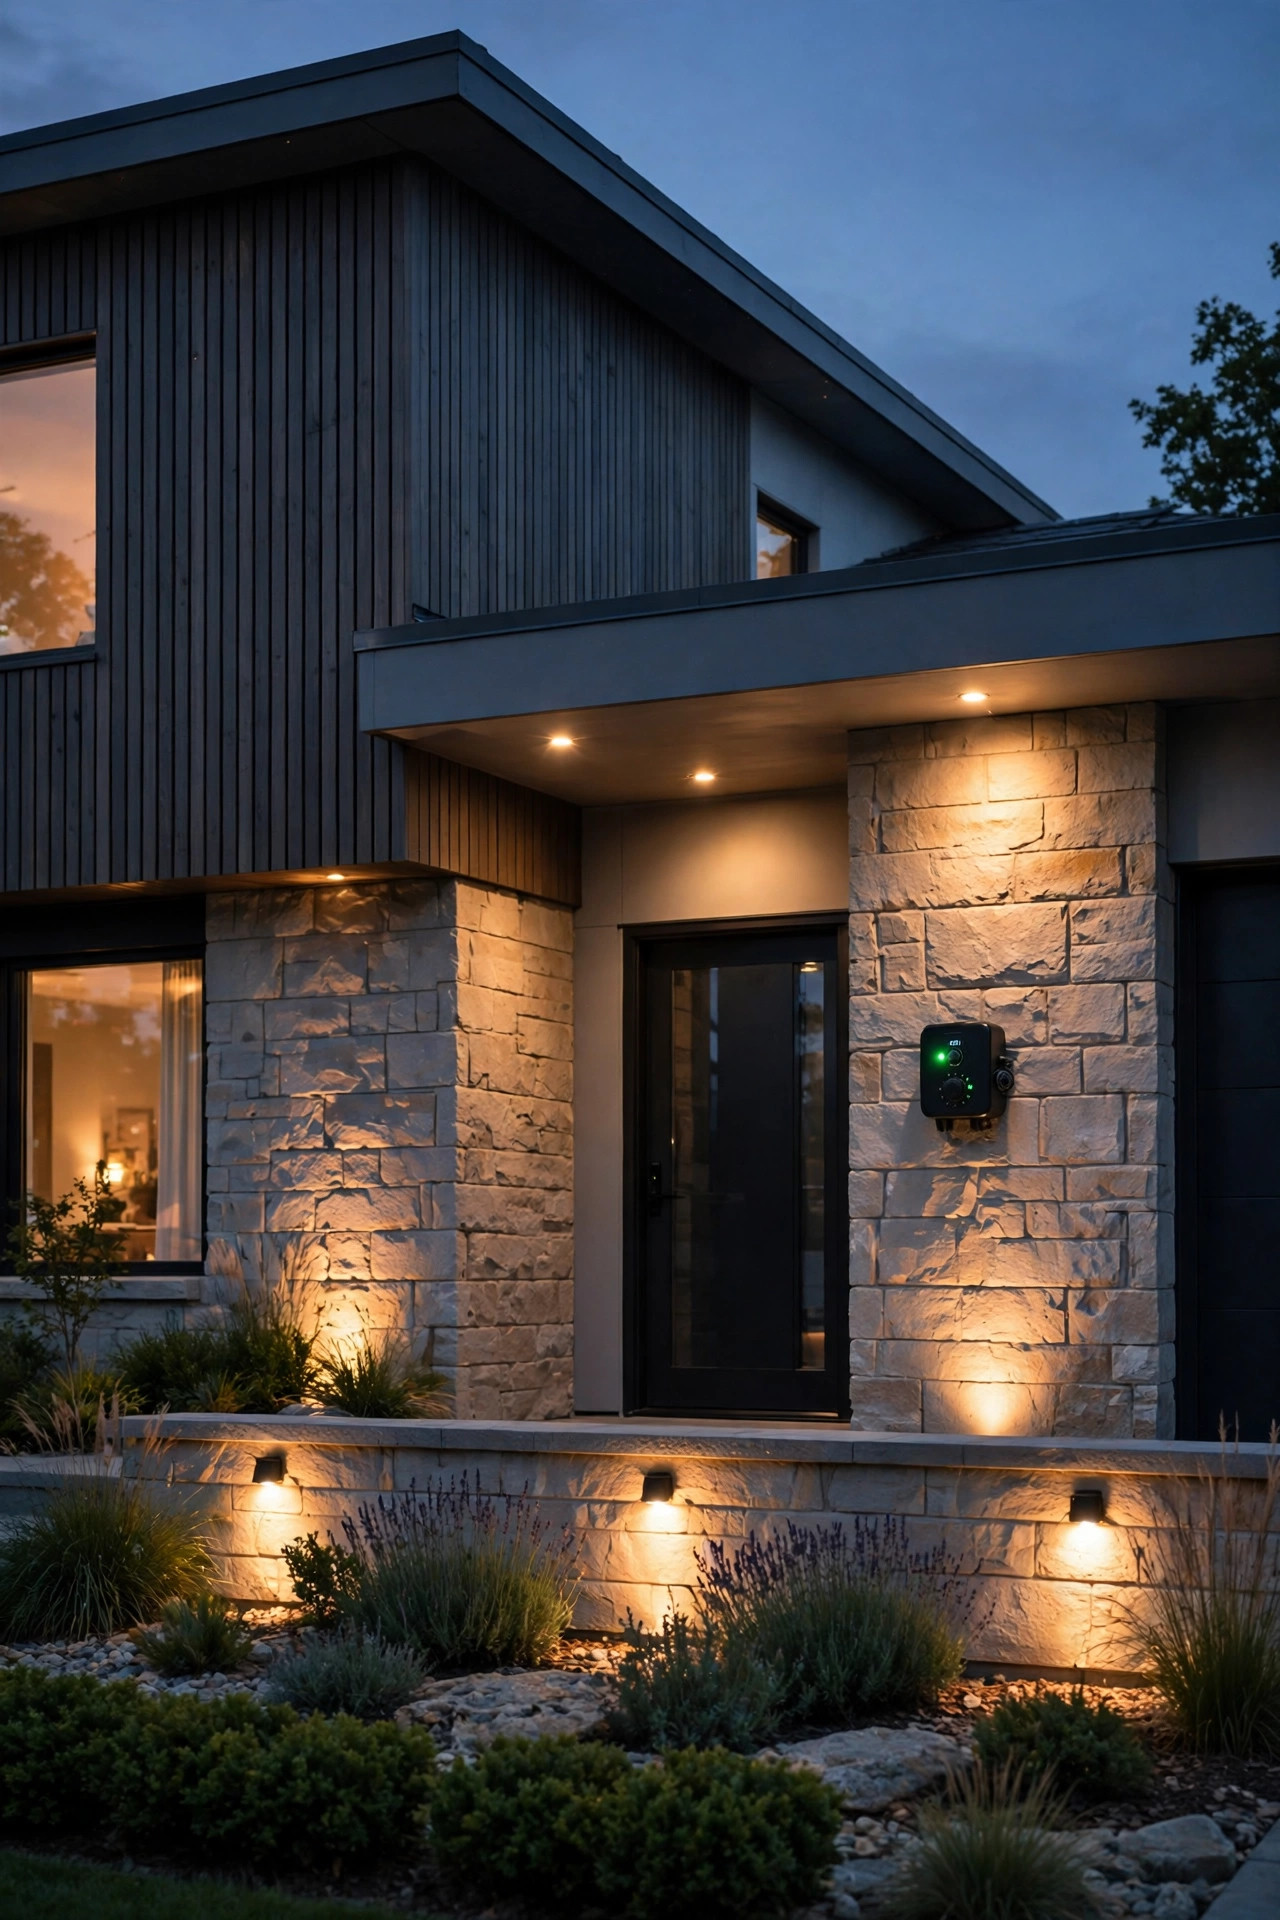
Facade spotlights earn their keep every single night, which makes automation less a luxury than a sanity saver. The simplest setup is a photocell timer on the transformer: on at dusk, off six hours later or at dawn, adjusted automatically as seasons shift. Smart transformers and outdoor smart plugs add the fun part — scenes. I run a warm "every night" scene at 80 percent, a full-brightness "guests arriving" scene, and a gentle late-night dim after 11 p.m. that keeps the architecture visible without blazing into bedrooms. If your fixtures are individually smart, resist the urge to make every light a different trick; the facade should still read as one composition. Automation also protects your investment: lights that reliably turn off aren't burning out their LEDs by noon, and a house that lights itself looks occupied when you travel, which is a quiet security benefit. Set it once, then enjoy being the person whose house simply glows when the sun goes down.
Suggested budget range: $25 – $120.
17. Balance the Composition by Lighting the Garage Facade
Here's the imbalance I see on almost every street: the entry facade gets all the love while the garage — often a third of the home's frontage — sits in total darkness, making the house look lopsided. One or two spotlights change that completely. A single wide wash over the garage doors, kept deliberately dimmer than the entry, is usually enough; you're balancing the picture, not promoting the garage to hero. Fixtures tucked in the driveway-edge beds work well, but aim carefully so headlights and drivers aren't staring into them, and never aim a spotlight where it blasts across the street into a neighbor's windows. If your garage has a gable, carriage-style doors, or stone veneer, it deserves a graze or cross-light like any other feature. When entry and garage both glow in the same warm temperature, the whole frontage reads as one designed composition from the street. It's the finishing touch that makes people say a house has "great curb appeal" without knowing why.
Suggested budget range: $40 – $110.

18. Shield Every Beam to Keep Glare Out of Eyes
The difference between elegant facade lighting and a neighborhood nuisance is glare control. A spotlight aimed up a wall will spill past the roofline or into a pedestrian's eyes if it's placed or tilted carelessly, so choose fixtures with built-in glare shields, hoods, or honeycomb louvers — and use them. Walk your own sidewalk and driveway at night from every direction a guest or neighbor would, and any fixture you can see directly is a fixture that needs adjusting: tilt it toward the wall, lower the output, or add the shield. Keep beams contained on your own property; light that stops at the roofline and property line is both polite and, in many towns, the actual ordinance. Shielded, well-aimed lights also look better, because the eye sees the glowing architecture instead of the glowing bulb. Your night sky thanks you too — responsible facade lighting and dark skies coexist happily when every beam has a target and a stopping point. This is the detail that keeps beautiful lighting from becoming the street's complaint.
Suggested budget range: $35 – $85.
19. Build the Whole-House Plan in Phases
Nineteen ideas is a menu, not a mandate — the homes that look best at night were almost never lit all at once. Here's the phasing order I recommend. Phase one: your hero feature and the entry, because that pairing delivers 80 percent of the impact for a fraction of the total cost. Phase two: balance — corner bookends, the garage facade, and the upper gable, so the composition completes. Phase three: the refinements — silhouettes, niches, window frames, and automation. Budget-wise, low-voltage LED systems grow gracefully: buy a transformer with at least 50 percent spare capacity up front, run your cable with a little slack at each future fixture location, and adding a light later becomes a ten-minute job instead of a new project. Photograph your facade from the street after each phase; the pictures show you exactly what the next phase should be. For what this patience buys you, my breakdown of outdoor lighting curb appeal value shows how nighttime presentation pays back at resale. Start this weekend with one spotlight — honestly, that's how every great facade on my street began.
Suggested budget range: $75 – $250.
Frequently Asked Questions
How many lumens do facade spotlights need?
For most accent work, 300–500 lumens per fixture is the sweet spot: enough to model a feature from 15–20 feet without blowing it out. Small details like niches and house numbers need only 100–200 lumens, while two-story gables thrown from the ground may want 500–800. When in doubt, choose a dimmable or mid-range fixture and adjust after dark — you can always add a second light, but an overpowered single fixture just creates glare.
How far from the wall should I place facade spotlights?
It depends on the effect. For grazing textured masonry, place fixtures 6–12 inches out and aim nearly straight up. For general uplighting of features, 2–4 feet out at about a 30-degree angle works well. For an even wall wash, stand 3–5 feet back with a wide beam. Always test at full dark before burying cable — a foot of distance changes the look more than any other adjustment.
What color temperature looks best on a house facade?
Warm white wins for homes: 2700K flatters red brick, warm stone, cedar, and cream siding, while 3000K keeps white siding and gray stone crisp without turning blue. Avoid 4000K and above outdoors on a residence — it reads commercial and washes out warm materials. Whatever you pick, use the same temperature across every fixture on the facade so the composition looks deliberate.
Can I install facade spotlight lighting myself?
Yes, if you choose a low-voltage (12V) system: the transformer plugs into an outdoor GFCI outlet, cables bury a few inches deep with no conduit, and the low voltage is safe to handle while you experiment with placement. Solar spotlights are even simpler. Reserve line-voltage (120V) work — like new soffit downlights — for a licensed electrician, and always call 811 before digging fixture sleeves or cable runs deeper than a few inches.
Conclusion
Your home's architecture doesn't clock out at sunset, and with facade spotlight lighting, it doesn't have to disappear either. One hero feature, a balanced frame, and warm light in layers — that's the whole recipe, whether you stop at three fixtures or build the full nineteen. Start with the feature you love most, aim carefully after dark, and let the shadows do the decorating. When you're ready for the next layer, browse the rest of my outdoor lighting ideas here on the site — your facade's best season is just one spotlight away.