Every yard I work on eventually hits the same fork in the road: flood light vs spotlight. The two sit side by side on the store shelf, the boxes brag about similar lumen counts, and it is tempting to grab whichever one is on sale and call it done. Honestly, that is how most flat, washed-out yards are born. The real difference between these fixtures is not brightness. It is beam shape, and beam shape decides whether your home looks layered and quietly dramatic after dark or lit up like a parking lot. A flood light spreads its glow wide, like a bucket of water tipped across the lawn. A spotlight concentrates it, like a flashlight aimed at one beautiful thing. Neither is the better fixture. They simply do different jobs, and most yards need both, each in the right zone. In this guide I will walk you through what each beam actually does, where each one wins, how to aim them without blinding the neighbors, what they cost, and the exact mix I recommend zone by zone.

The Short Answer
Choose by beam, not by brightness. Reach for a flood when the job is coverage: a driveway, a side yard, a patio where people cook and move around, anywhere you simply need to see. Reach for a spot when the job is focus: a tree canopy, a statue, a stretch of stone or brick worth showing off. Floods throw a wide wash of roughly 60 to 120 degrees. Spots hold a tight beam of about 15 to 45 degrees that makes one thing glow against the dark. Most yards look their best with a soft flood base for safety and a few spotlights layered on top for drama.
Flood Light vs Spotlight: The Beam Is the Whole Difference
Think of the two beams the way you think of a garden hose nozzle. A flood light is the shower setting: water, or light, fans out in a broad cone and covers everything inside it evenly. Outdoors, that cone usually runs 60 to 120 degrees wide, so one fixture washes a whole driveway apron or a generous slice of lawn. A spotlight is the jet setting: the same flow squeezed into a narrow, deliberate stream. Spot beams run about 15 to 45 degrees, with true pin spots down near 10 degrees, and they carry their punch much farther before it fades.
That one difference cascades into everything else. Because a flood spreads its output across a wide area, the light arriving at any single point is gentle and even, with soft shadows. Because a spot concentrates the identical output into a fraction of the space, its pool of light is intense, with crisp edges and deep contrast beside it. Beam angle also decides throw: a narrow beam aimed up a trunk can paint a canopy 25 feet overhead, while a wide beam from the same fixture would dribble most of its light onto the mulch. Once you start seeing beams instead of fixtures, choosing between them gets easy.
Brightness, Honestly: Same Lumens, Different Punch
Lumens measure total light output, and they are the number printed biggest on the box, which is exactly why they mislead so many people. Lumens say nothing about where the light lands. Put 800 lumens through a wide flood lens and they spread thin, so the ground gets a mild, even glow. Put the same 800 lumens through a narrow spot lens and they land in a small circle that looks dramatically brighter. Same fixture output, completely different result, and neither box is lying to you.
Distance plays the other big trick. Light weakens fast as it travels: double the distance from the fixture and the brightness on the surface drops to about a quarter. That is why spotlights, with their concentrated beams, are the only honest choice for tall trees and gables, and why a flood that feels powerful from the patio steps looks tired by the mailbox. As a working guide, small accents and garden art usually glow nicely at 100 to 300 lumens, a mid-size tree wants 300 to 750 aimed well, and genuine security or work light starts around 700 and climbs from there. Color temperature matters just as much: 2700K to 3000K keeps brick, wood, and foliage warm and true on both beam types.

Where Flood Lights Win: Security, Work Zones and Open Ground
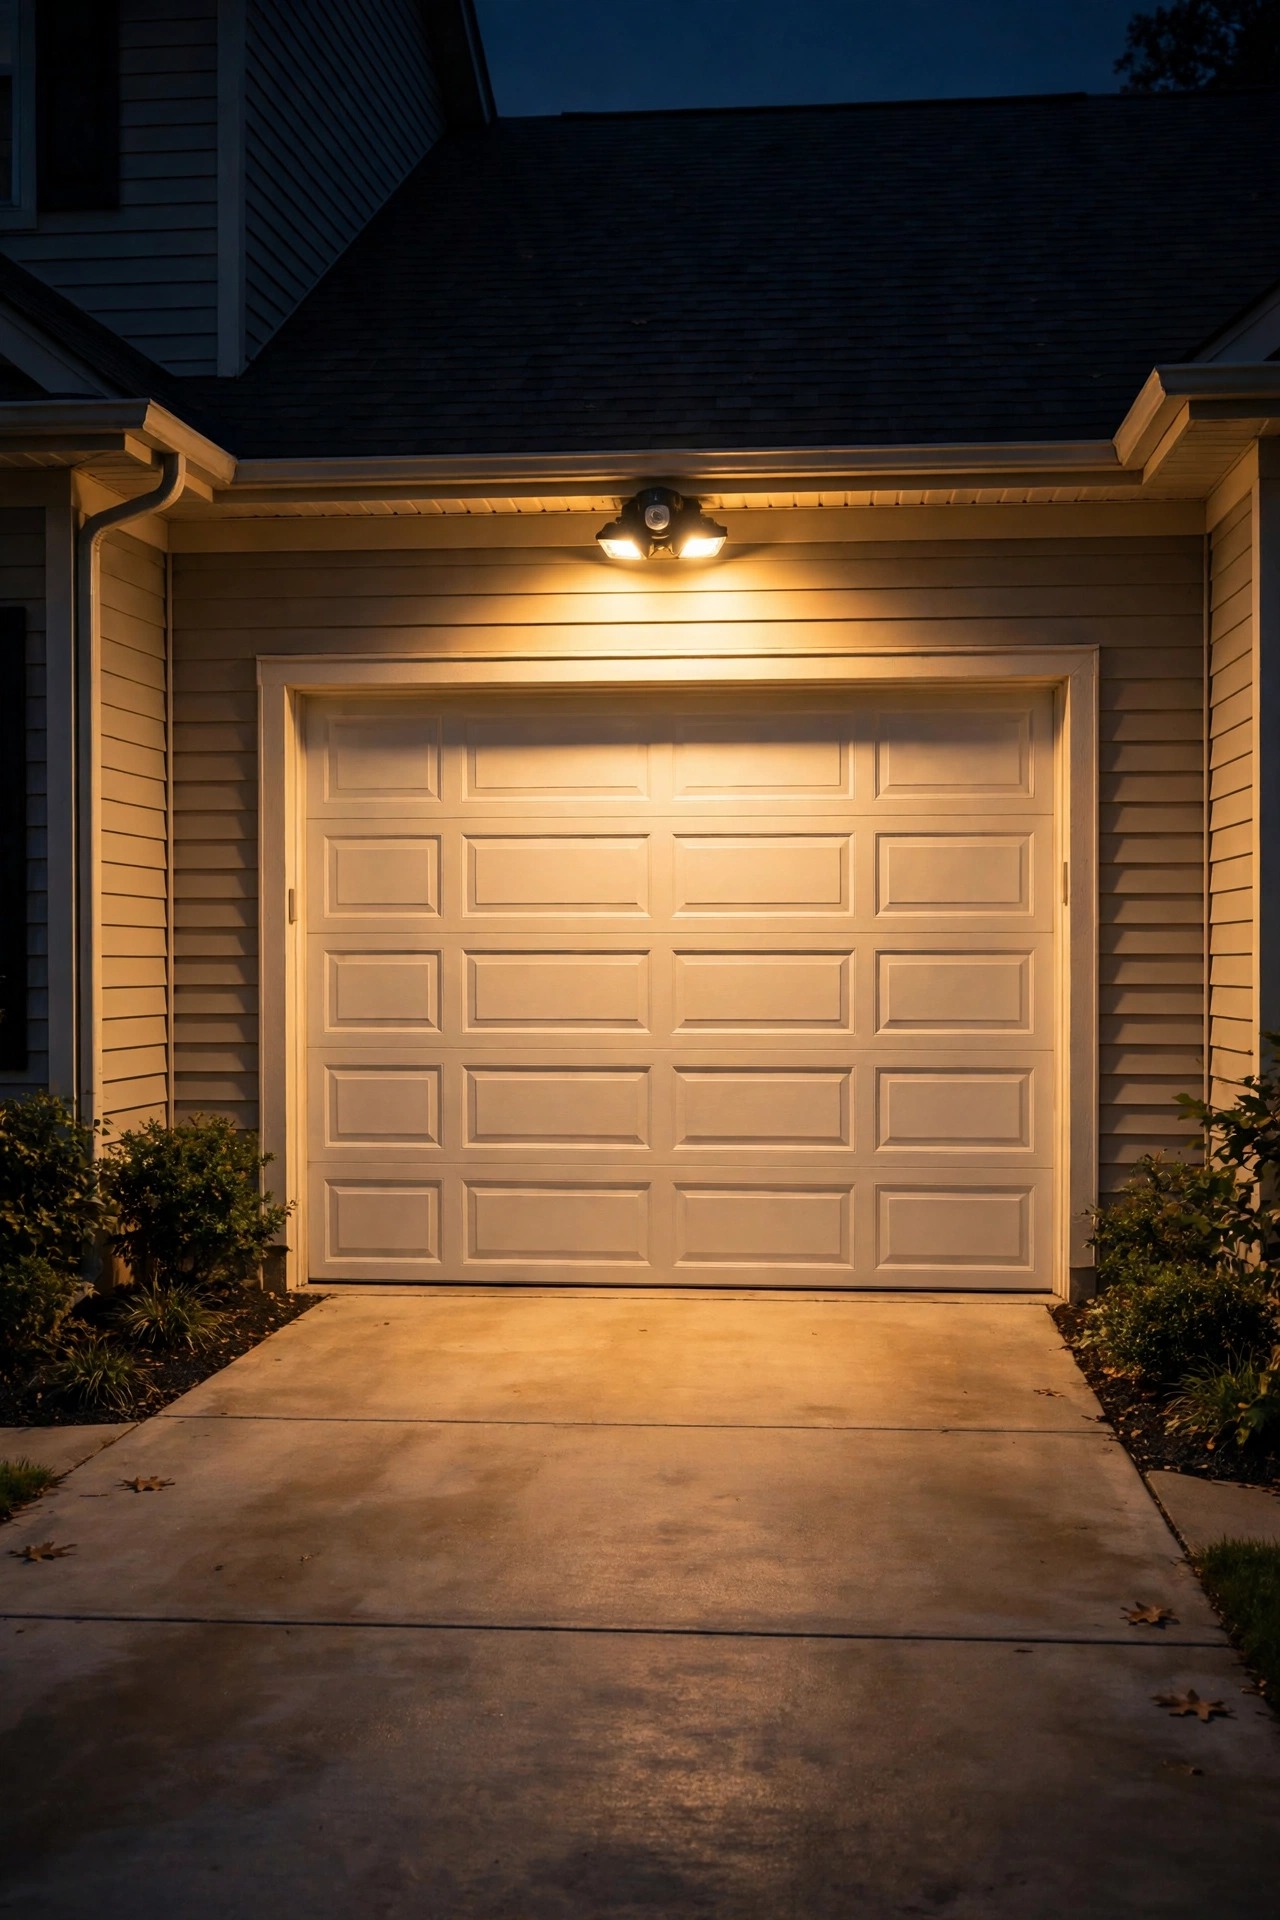
Whenever the job is simply to see, the flood wins and it is not close. Driveways and parking aprons need even, shadowless coverage so you can spot the recycling bin, the bike left out, and the edge of the concrete in one glance. Side yards, dog runs, trash-can alleys, and the path to a detached garage all belong to floods for the same reason: nobody trips over what they can see, and nothing hides in an even wash. Pair a flood with a motion sensor over the driveway or back door and you get honest security light that also behaves politely, staying dark until it is needed.
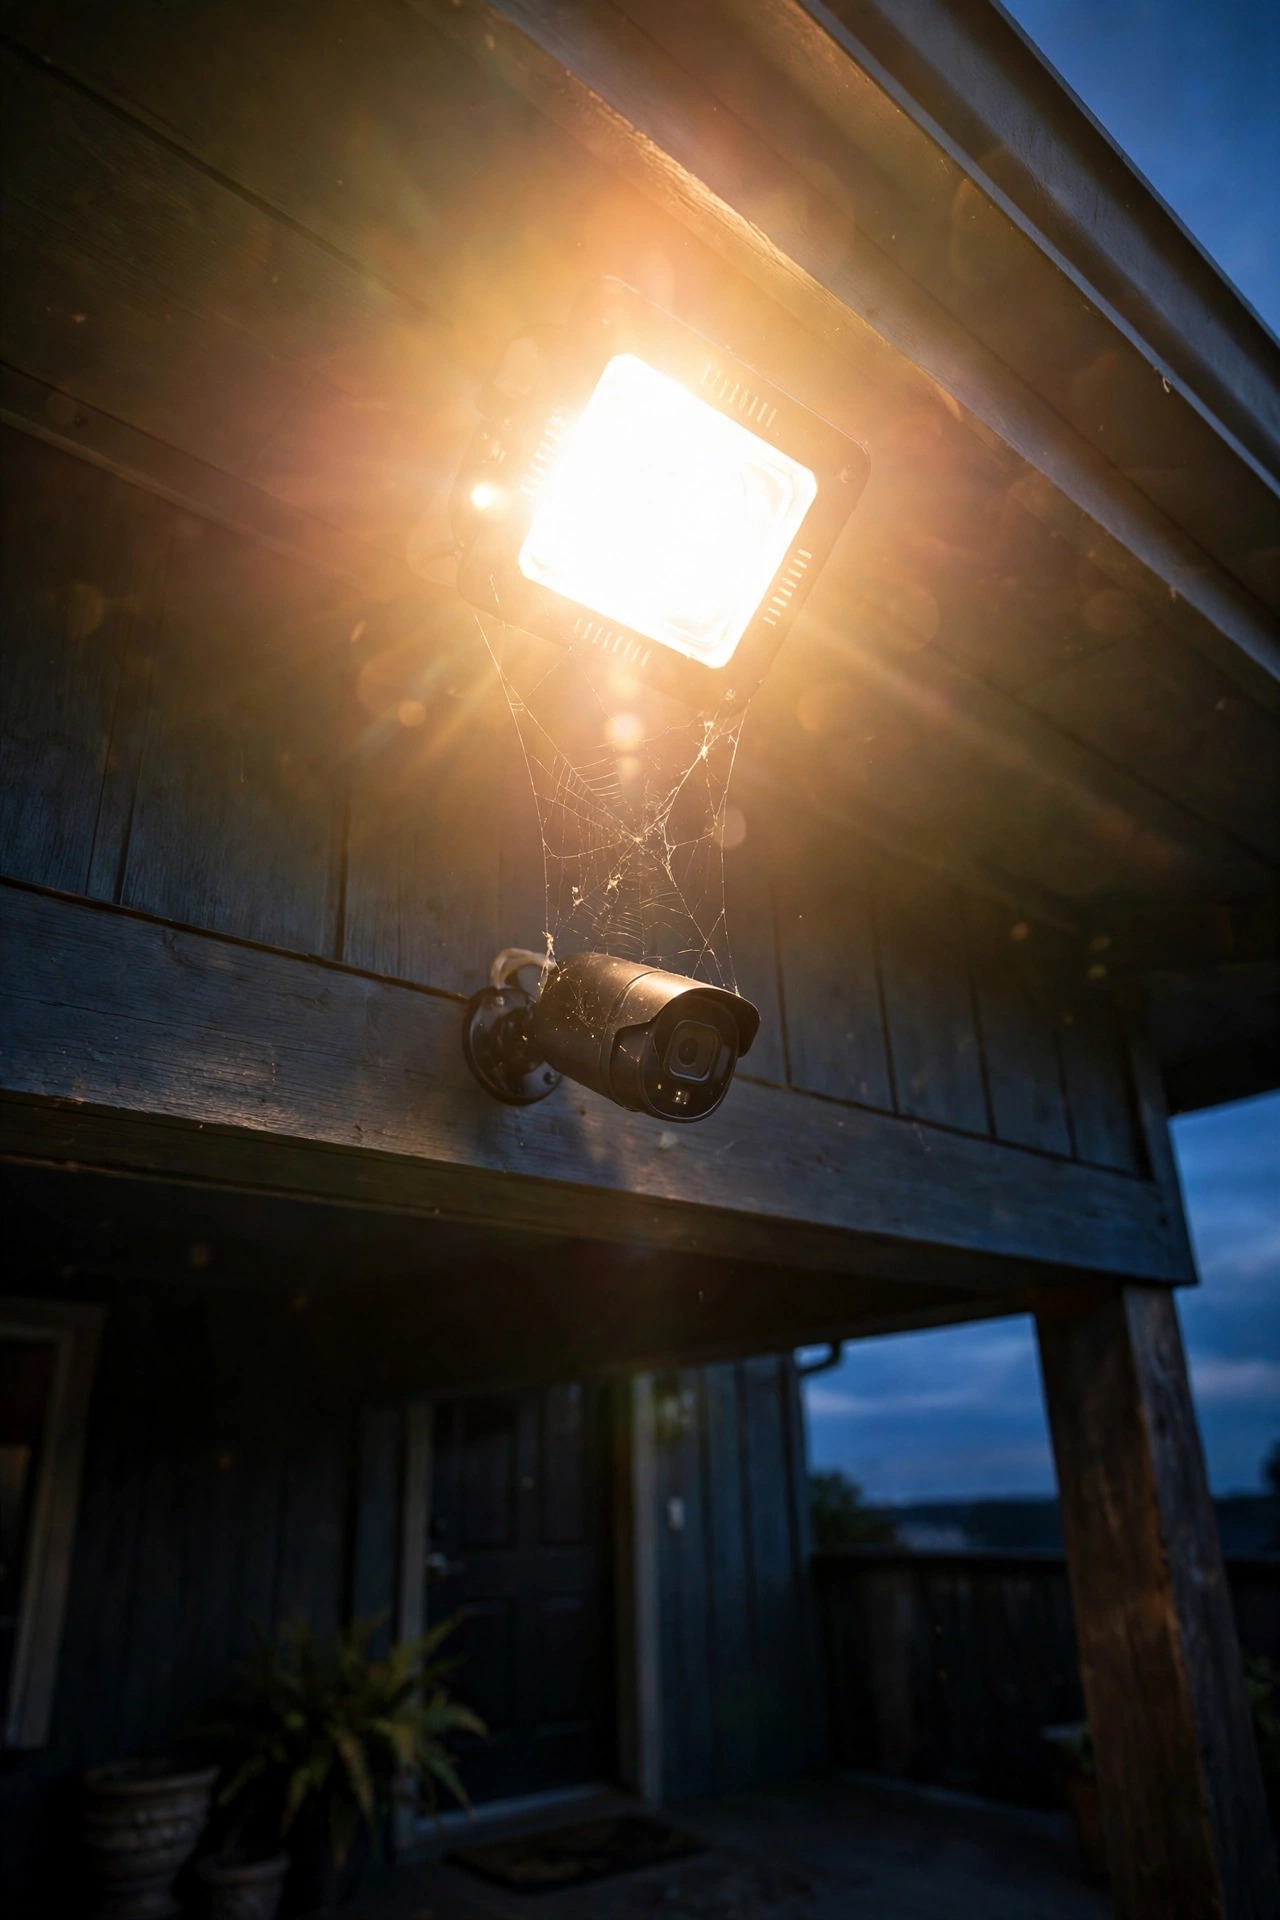
Floods are also the working light of the yard. Grilling stations, potting benches, firewood stacks, a backyard basketball hoop, the court lines for cornhole night: tasks want broad, forgiving light that does not throw hard shadows across your hands. Security cameras agree, by the way. A camera fed by an even flood records a usable picture, while a hot spotlight pool in frame blows out to white and everything around it goes black. For placement rules that keep all this light on your property and out of the street, my guide to outdoor flood light placement covers mounting heights and angles in detail.
Where Spotlights Win: Trees, Art and Architecture
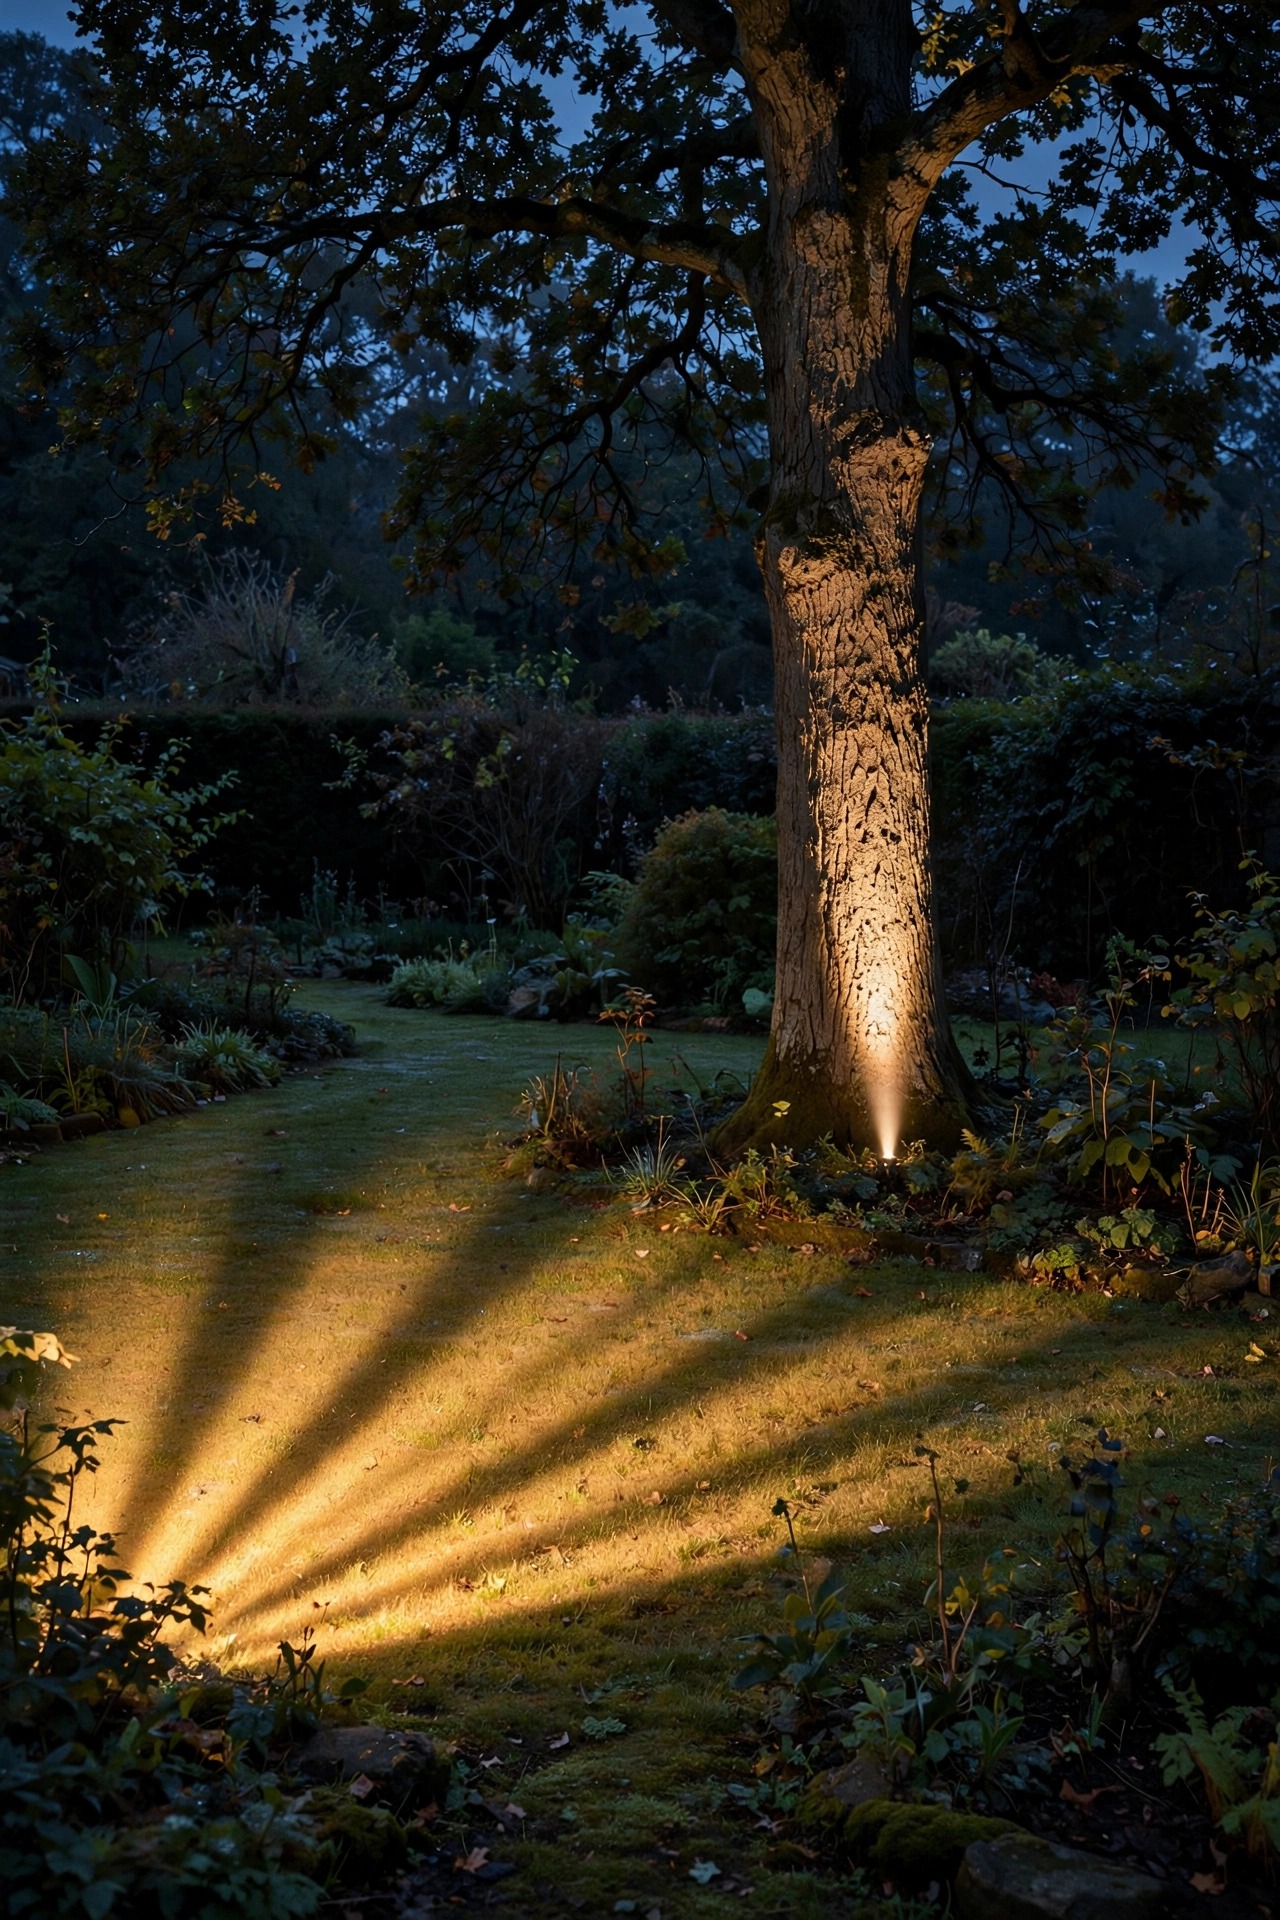
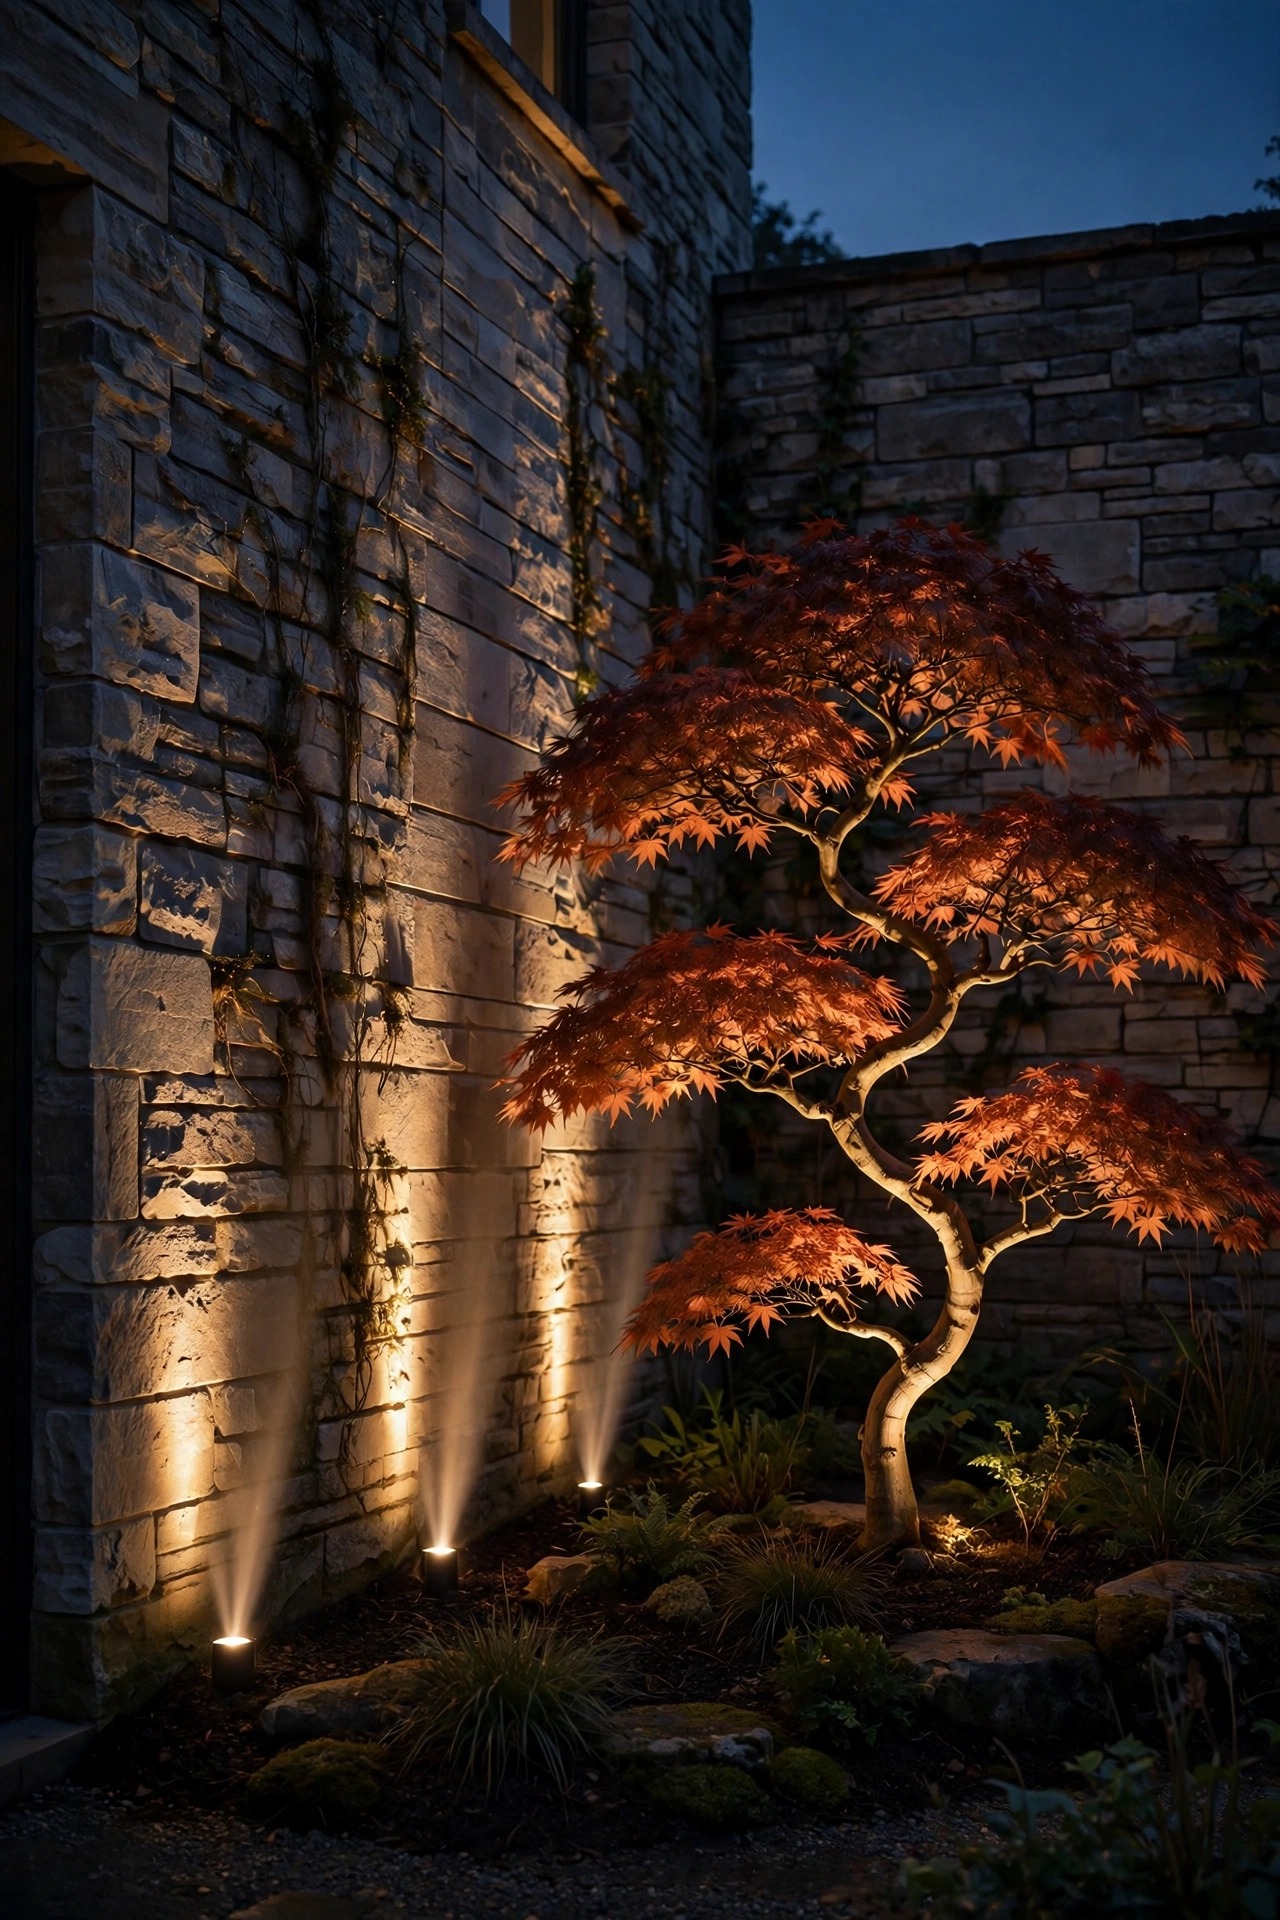
The moment the job changes from seeing to showing, hand it to a spot. Uplighting is the spotlight's home turf: a narrow beam tucked into the mulch at the base of an oak or a Japanese maple climbs the trunk and opens into the canopy, and the whole tree becomes sculpture. My tree uplighting guide walks through fixture distance and tilt if you want to get that effect exactly right. Garden statues, a favorite boulder, a fountain, a piece of driftwood you hauled home from the lake: one focused beam each, and they hold the eye the way a gallery intends.
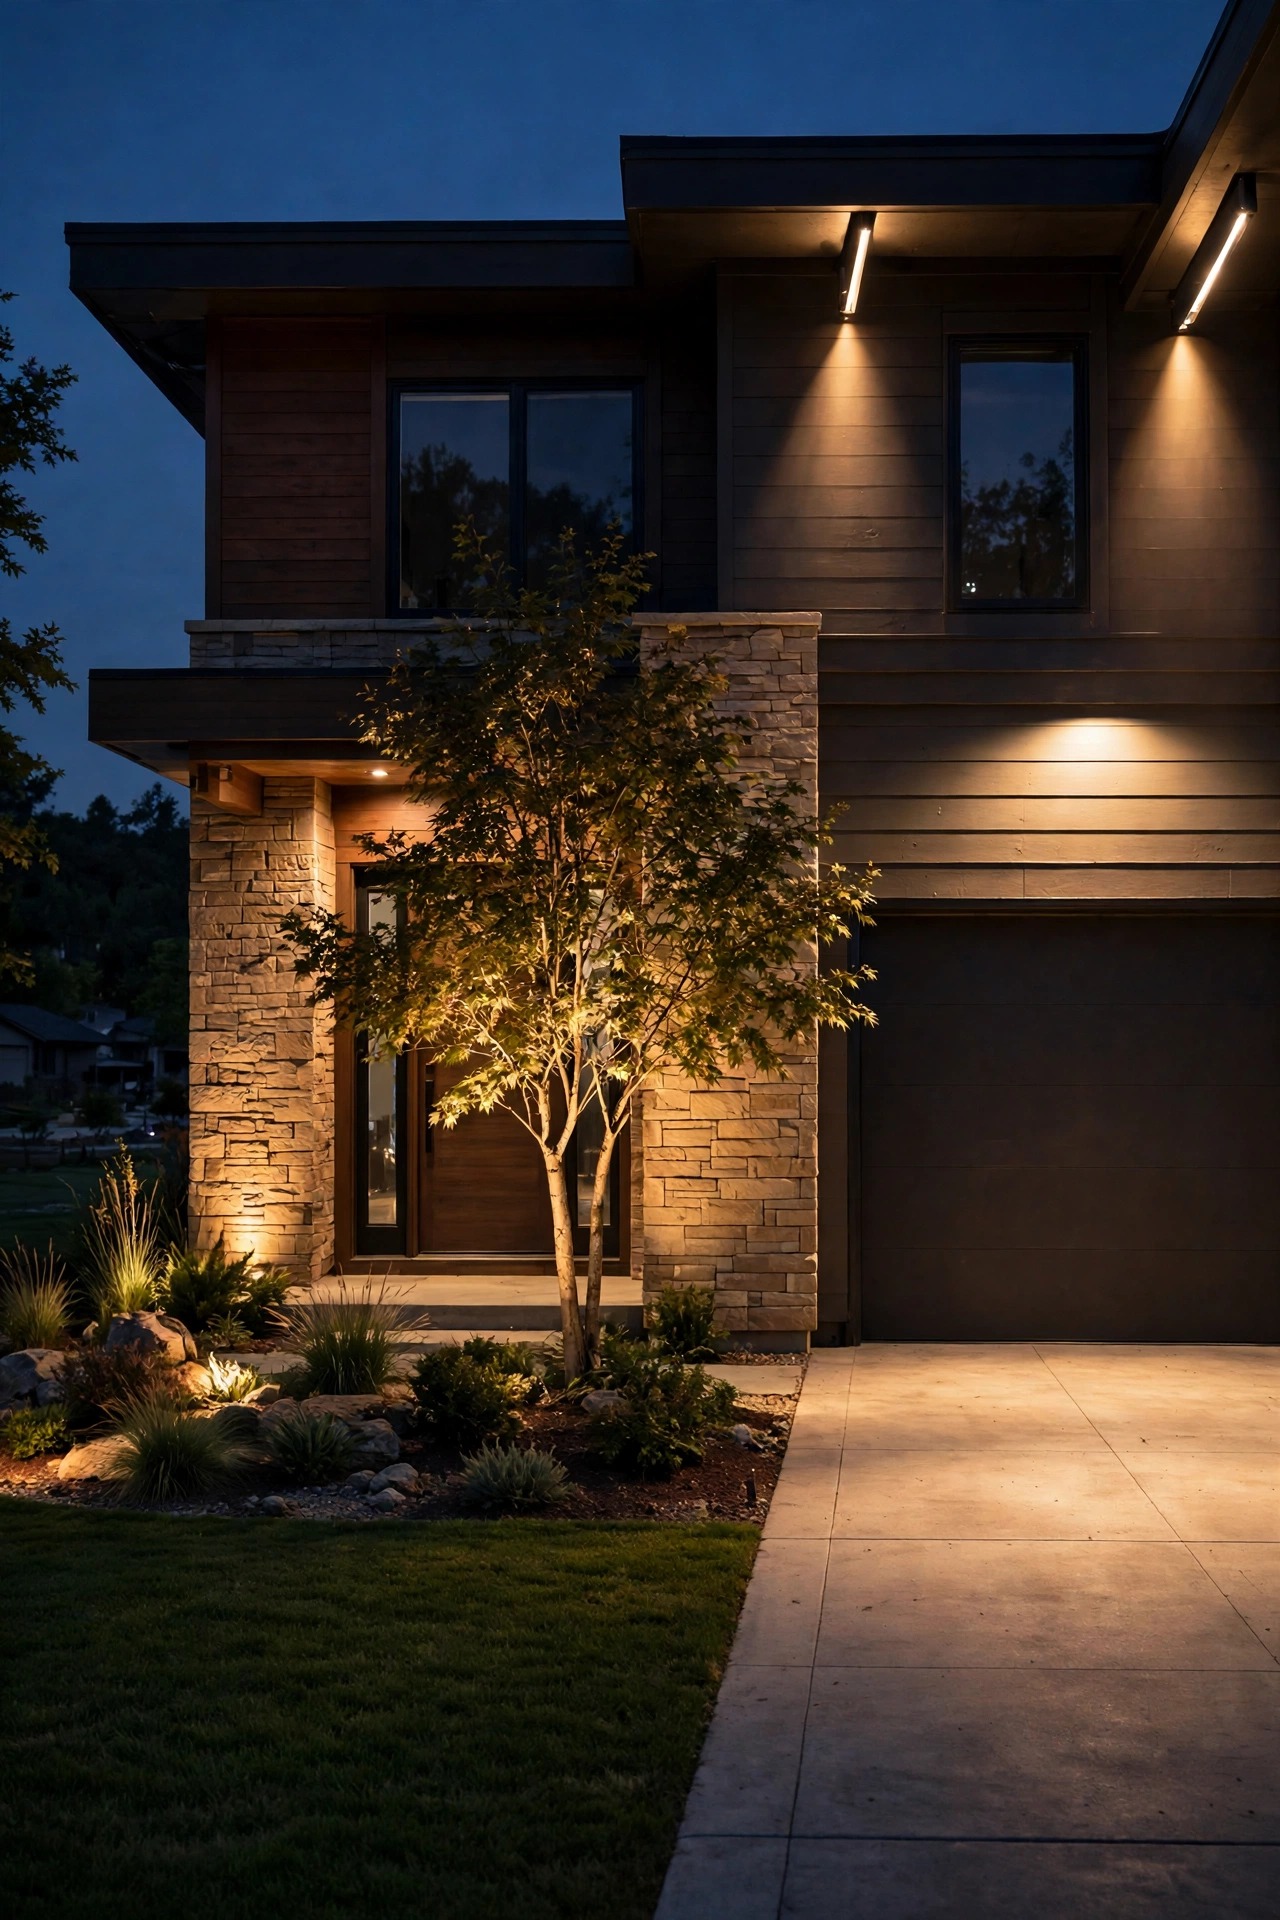
Architecture loves a spot for the same reason. A tight beam grazed along brick or stone pulls every bit of texture into relief, raking across the surface instead of flattening it. Columns, gables, dormers, and a beautiful chimney all read as deliberate design elements when a spot picks them out against a darker facade. Spots also behave beautifully in small doses. Because each one is an exclamation point, two or three across a facade is plenty; the darkness between them is doing half the design work. Flood the same house flat and every one of those details vanishes into a uniform, slightly tired glow.
Aiming and Glare: Pass the Neighbor Test
Both beams fail the same way when they are aimed carelessly, and the failure has a name: glare. A flood mounted too low or tilted too level stops washing your driveway and starts washing the eyes of everyone driving past. A spot aimed a few degrees off a trunk paints the bedroom window behind it. The fix starts with a simple habit I never skip: after dark, walk to the property line, turn around, and look at your own house. If any fixture is visible as a bright dot, or any beam crosses the line, it needs re-aiming, shielding, or both.
The working rules are straightforward. Mount floods high, usually 8 to 10 feet, and tilt them down so the top edge of the beam stays on your side of the fence. Keep spots tight to their target, close to the base of a tree or wall, aimed steeply so the beam spends itself on bark and stone instead of sky. Glare shields and louvered covers earn their keep on any fixture near a seating area or a property line. And dim where you can: most glare complaints are really brightness complaints, and a fixture at 70 percent output still does its job while looking twice as classy.

Layering: Floods Lay the Base, Spots Add the Punctuation
If you take one idea from this guide, take this one: the two beams are not rivals, they are layers. I plan almost every yard in three passes. First comes a low, even base of flood light anywhere people walk, cook, park, or play, just bright enough for safe footing and friendly faces. Think of it as the ambient layer, the room tone of the yard. Then the spotlights go in as punctuation: the maple by the porch, the stone wall, the fountain. Because the base is already there, the spots can stay modest and still read as drama.
Proportion is what separates a designed yard from a bright one. In most of my projects the floods are fewer and dimmer than people expect, and the spots do the memorable work. A useful starting rhythm is one accent spot per major feature, floods only at true activity zones, and nothing at all in the beds and borders in between. Dark space is a layer too; an unlit bed between two lit features makes both of them look intentional instead of accidental. If you are curious how this plays against the other big directional choice, my comparison of uplighting vs downlighting covers the moonlighting style that pairs beautifully with both. Layer first, then argue about fixtures.

Fixture Forms: What Each Beam Comes In
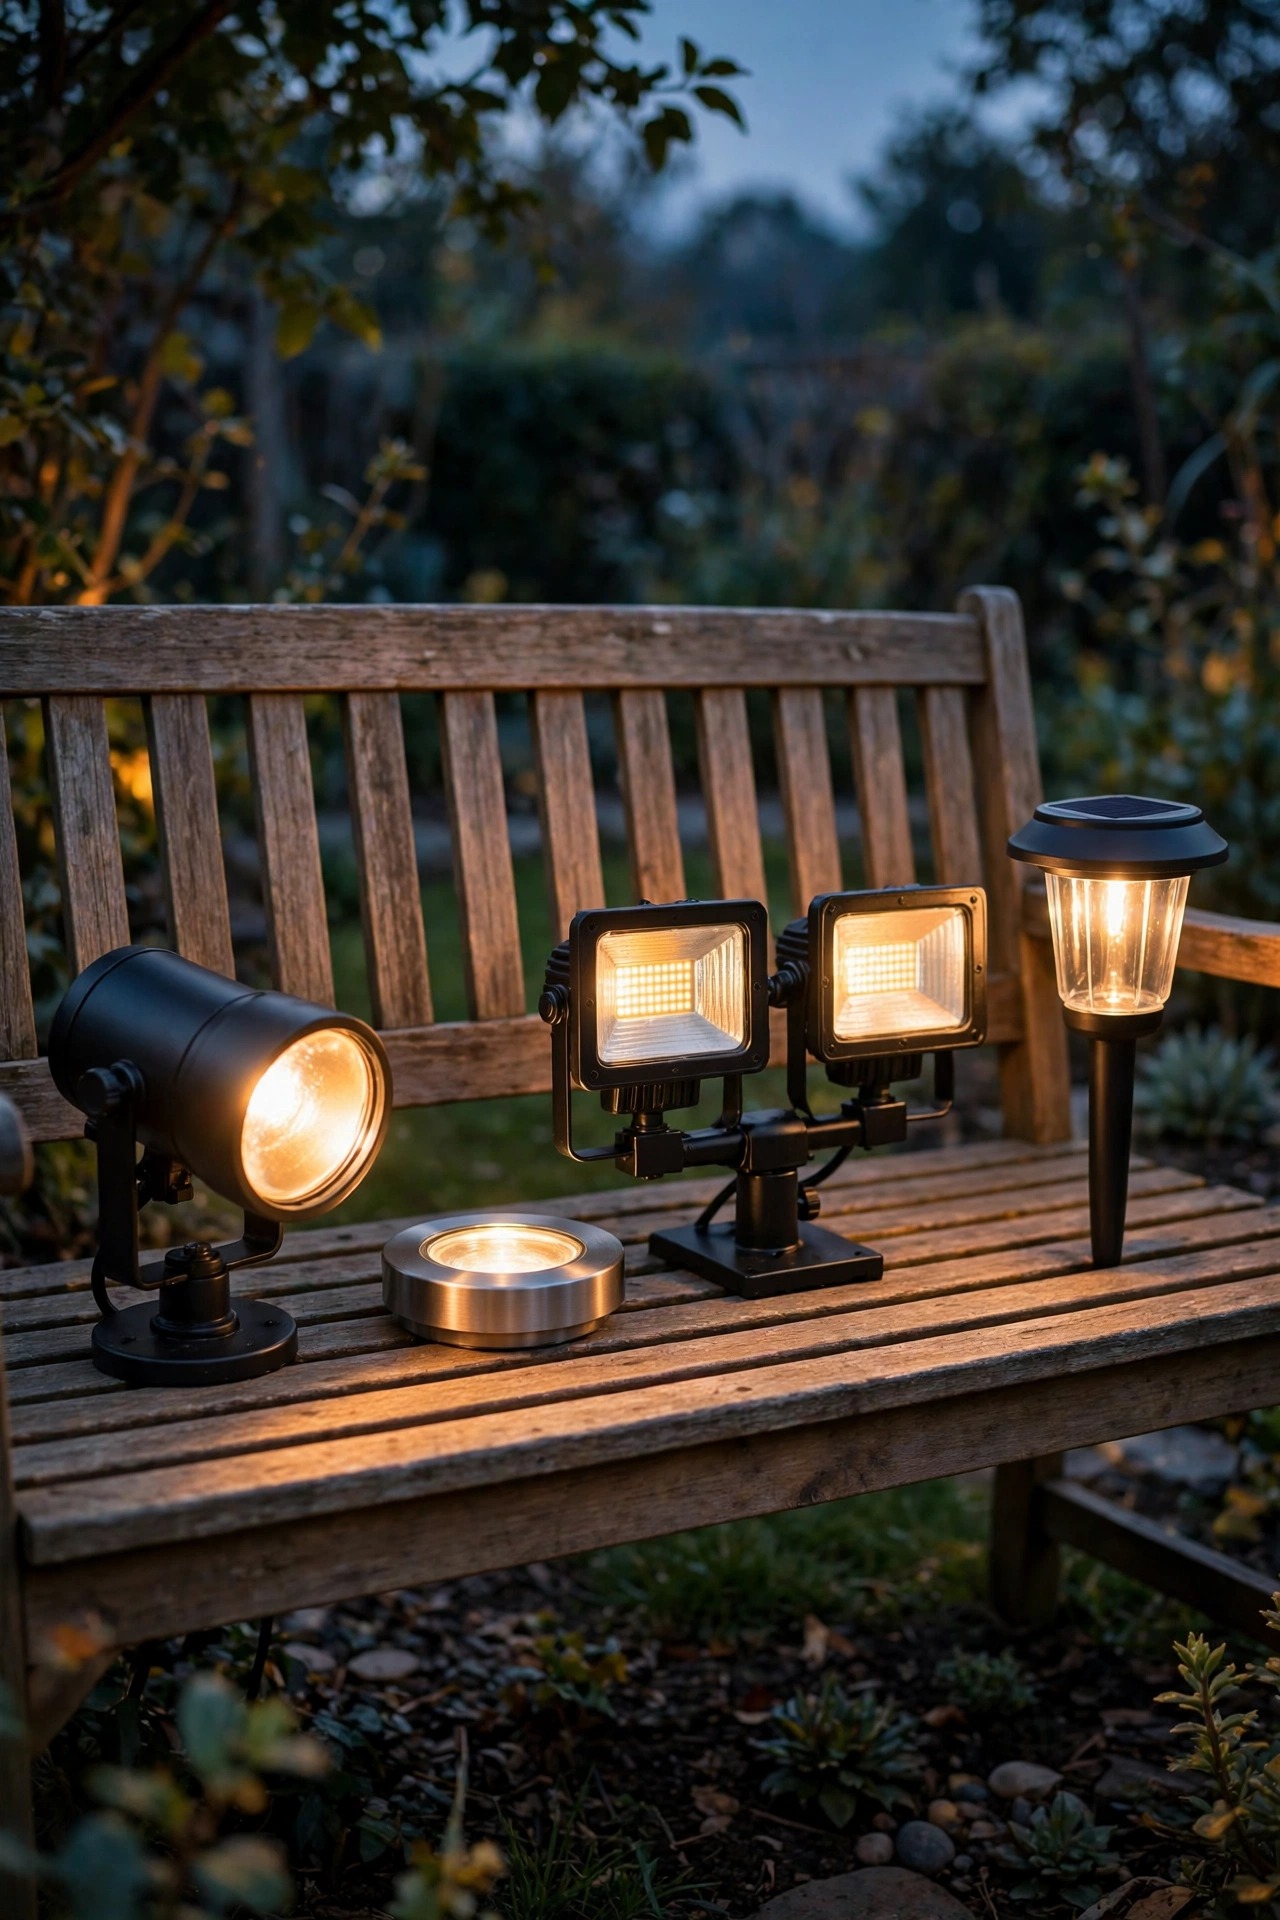
Beam and body are separate decisions, and knowing the common forms keeps you from buying the wrong one twice. The classic spotlight body is the bullet: a small cylinder on an adjustable knuckle, staked in a bed or mounted under an eave, swiveling to wherever its narrow beam needs to go. Well lights bury flush in the ground and throw a spot straight up, perfect under trees and along walls where a visible fixture would clutter the view. Floods most often arrive as stake-mounted heads with wide lenses for beds and borders, or as wall packs and twin-head fixtures over garages and back doors, many with motion sensors built in.
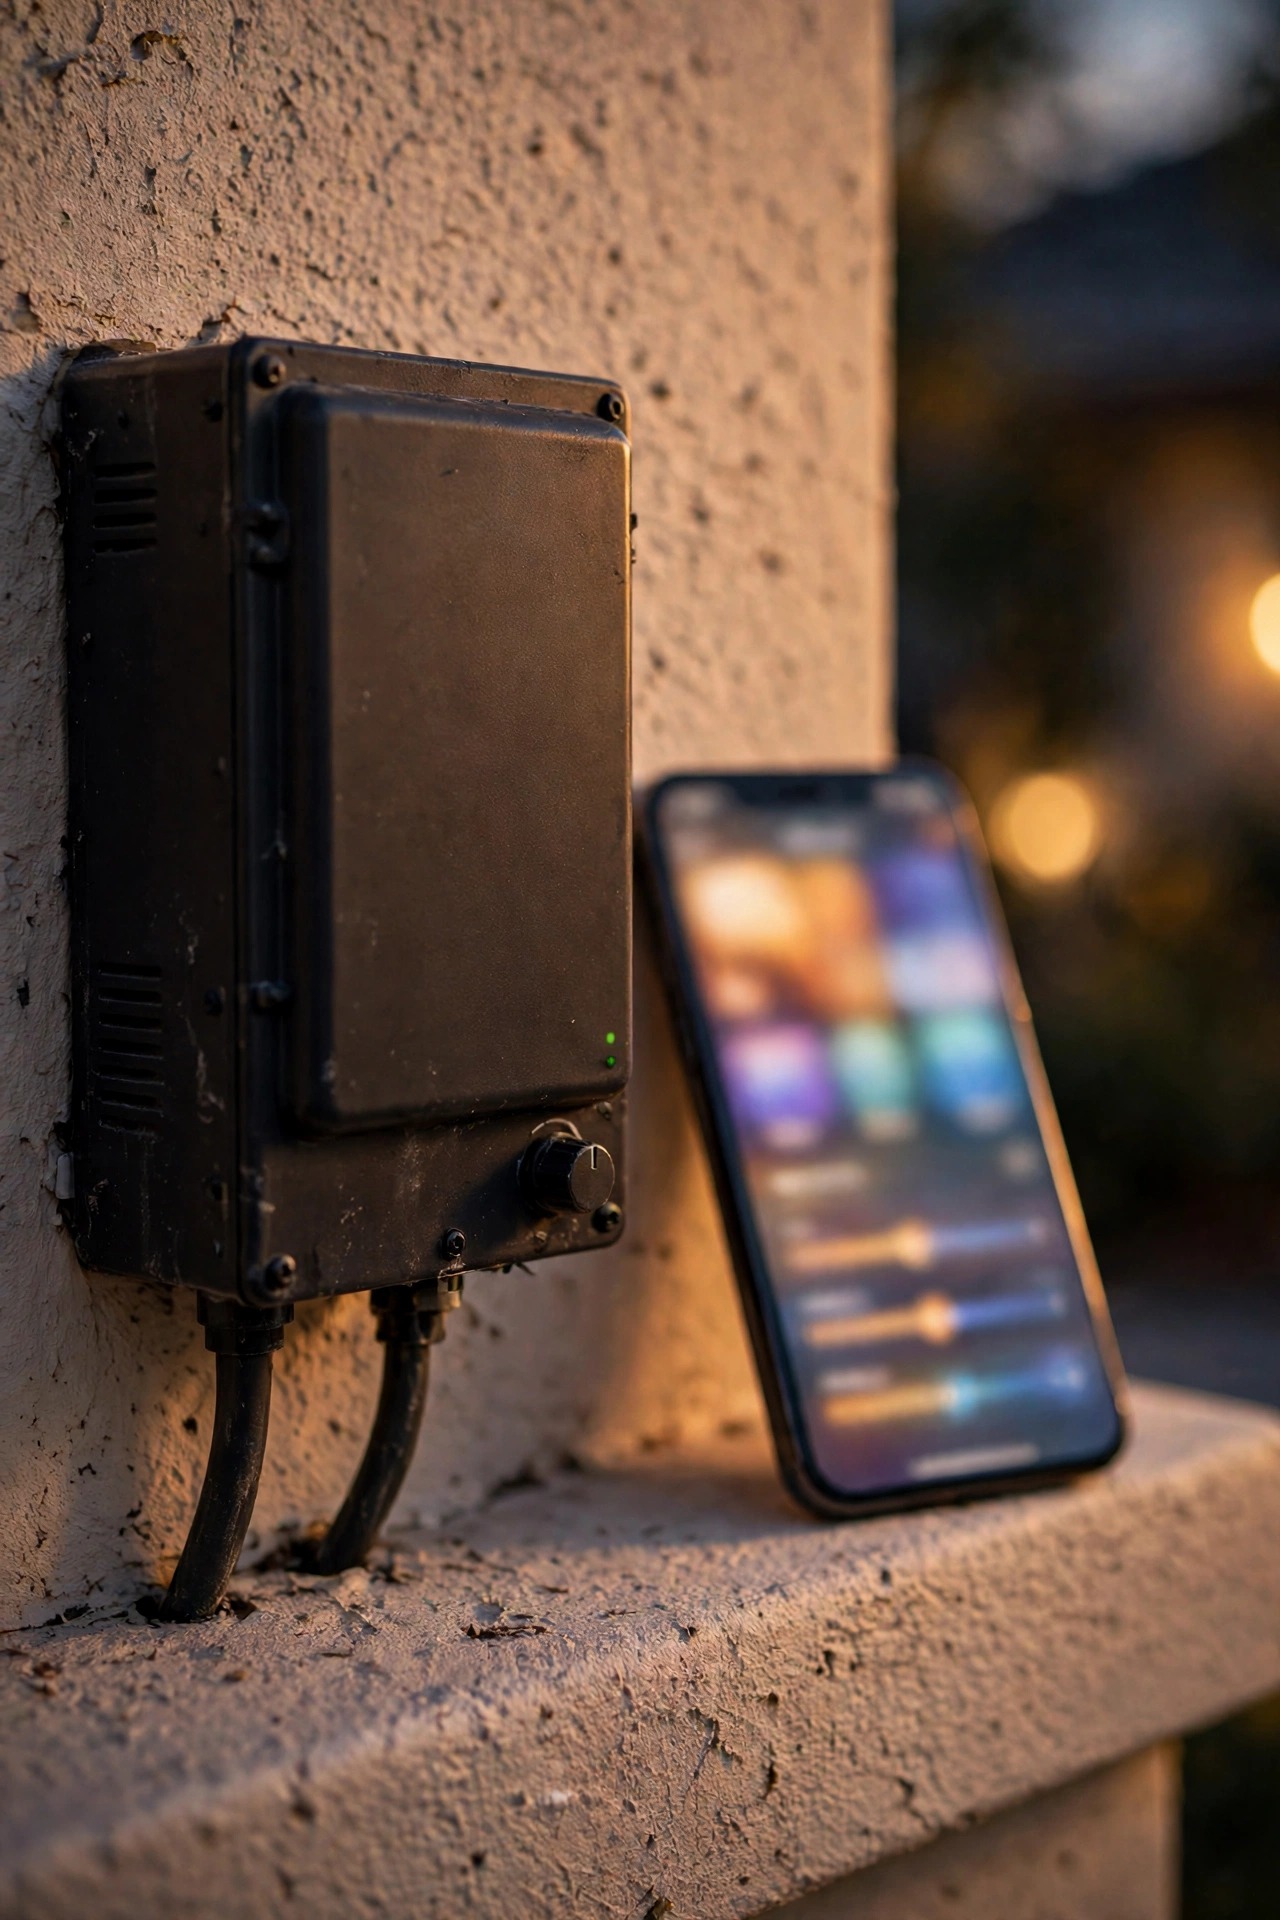
Power source cuts across both beams. Low-voltage wired fixtures, spots and floods alike, deliver the steadiest output and let you mix beam types on one transformer. Integrated LED versions seal the light source inside, which shrugs off weather but means replacing the whole fixture when it eventually fades. Replaceable-bulb fixtures cost a little fuss and buy you decades of service. Solar spots and floods exist for both jobs and keep getting better, but treat them as accent-level light: a solar spot can flatter a small tree, a solar flood can mark a gate, and neither should be your only security light.
What It Costs in 2026
Beam type barely moves the price; build quality and power source do. A basic cast-aluminum low-voltage spot or flood, the kind sold in big-box multipacks, runs $25 to $60 per fixture. Solid brass versions with replaceable bulbs sit at $70 to $150 each and are the ones still serving in fifteen years. Solar spots and floods run $20 to $50 apiece with no wiring at all, priced honestly against their shorter working life. Wall-mounted twin-head floods for a garage or back door cost $40 to $120, plus $150 to $300 if an electrician adds a new junction box to feed one.
The shared infrastructure is where wired budgets actually live. A transformer sized for a typical yard runs $90 to $250, landscape cable and connectors add $60 to $150, and timers or a smart controller add $30 to $100. A do-it-yourself package of six accent spots plus two floods, transformer included, usually lands between $350 and $800 all in. Hiring a designer-installer for the same layered scheme typically runs $1,500 to $3,500 depending on fixture count and trenching. Running costs are nearly a rounding error: a 7-watt LED running five hours a night uses about 13 kilowatt-hours a year, roughly $2 annually at average US rates, so leaving the pretty lights on is not the splurge it feels like.

5 Mistakes That Ruin the Effect
Mistake one is spotlighting the entire yard one tree at a time. A dozen identical hot dots with blackness between them reads as an airport runway, not a garden; accents need a calm base and plenty of rest between them. Mistake two is flooding a facade flat. A wide wash straight at the front of the house erases every shadow that gives brick and stone their texture, and the place ends up looking like a very clean gas station. Graze architecture with spots, and save floods for the ground plane.
Mistake three is letting beams escape: into the street, into a neighbor's window, straight up into the sky from a badly tilted uplight. One careless beam is what people remember about your lighting, not the nine careful ones. Mistake four is mixing color temperatures, a warm 2700K spot under the maple beside a blue-white 5000K flood over the drive, which makes both look like errors. Pick one temperature and hold it across every fixture. Mistake five is buying by lumens alone and ignoring the beam angle printed on the box. Two fixtures with identical lumens and different beams are different tools, and no amount of brightness compensates for the wrong shape of light.
Flood Light vs Spotlight, Zone by Zone: The Verdict
Front facade and entry: spots win. Graze the stone, pick out the gable, uplight the porch-side tree, and let one modest flood near the door handle safe footing. Driveway and garage: flood, ideally on a motion sensor, mounted high and tilted down. Back patio and deck: a gentle flood base so dinner and conversation happen in even light, with one or two spots on the tree or wall behind the seating for depth. Trees, statues, and water features: spots, always, sized to the subject and kept tight.
Garden beds and borders: small spots on the specimen plants, darkness for the rest; a flood here just flattens everything into lit mulch. Side yards, gates, and work areas: floods, no debate, because visibility is the entire job. Pool surrounds: soft floods aimed away from the water surface so swimmers are not staring into glare, with a spot or two on the landscaping beyond. The pattern underneath every zone is the same. Where people move and work, flood it. Where the eye should land and linger, spot it. Most yards need roughly twice the flood coverage for safety and half the spotlight count their owners first imagine, because restraint is what makes the accents sing.
Frequently Asked Questions
Can one fixture work as both a flood light and a spotlight?
Some can. Fixtures with interchangeable lenses or adjustable beam dials let you swap a narrow spot lens for a wide flood lens, and a few premium bullets change focus by twisting the head. They cost more than fixed-beam fixtures, but for a tree that will grow or a bed you rearrange seasonally, that flexibility is genuinely useful. For most fixed features, two dedicated fixtures still beat one compromise.
Which beam is better for security cameras?
Flood light, and it matters more than most people expect. Cameras struggle with contrast: a bright spotlight pool in the frame forces the camera to expose for the hot spot, and faces at the edge of the yard disappear into black. An even, moderate flood gives the sensor a balanced scene, so recordings stay usable across the whole area the camera watches.
How many lumens does a tree actually need?
It scales with size and bark color. A small ornamental tree glows nicely at 100 to 300 lumens from a well-aimed spot. A mid-size shade tree wants 300 to 750. A large oak with a broad, dark canopy can take 750 to 1,200 across two fixtures and still look tasteful. Pale bark and light stone reflect more, so start low, test after dark, and add rather than blast.
Can floods and spotlights share one low-voltage transformer?
Yes, and most layered yards do exactly that. Add up the wattage of every fixture, keep the total under about 80 percent of the transformer rating, and give the transformer a little headroom for the fixture you will inevitably add next spring. Keep color temperatures matched across both beam types so the layers blend, and put the two groups on separate zones or timers if you want accents to run later than the safety floods.
Conclusion
By now the flood light vs spotlight question usually answers itself, because it was never really about the fixture. It is about the job. Name the job first: coverage or focus, seeing or showing, the ground people cross or the feature they should admire. Floods give you the calm, even base that makes a yard feel safe and welcoming. Spots give you the contrast and drama that make it feel designed. Choose the beam that matches the job, layer the two with a little restraint, match your color temperature, and aim everything like you have to live across the street from it. Do that, and your yard will look intentional from every angle, all evening long.