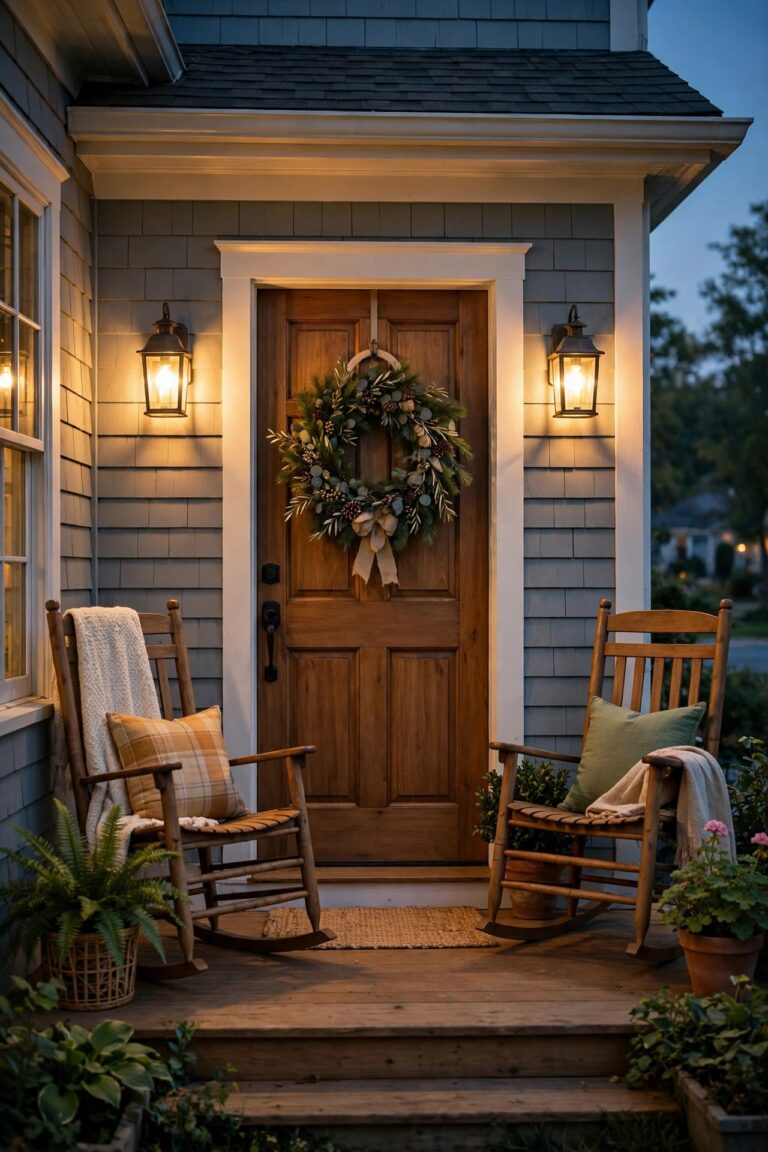
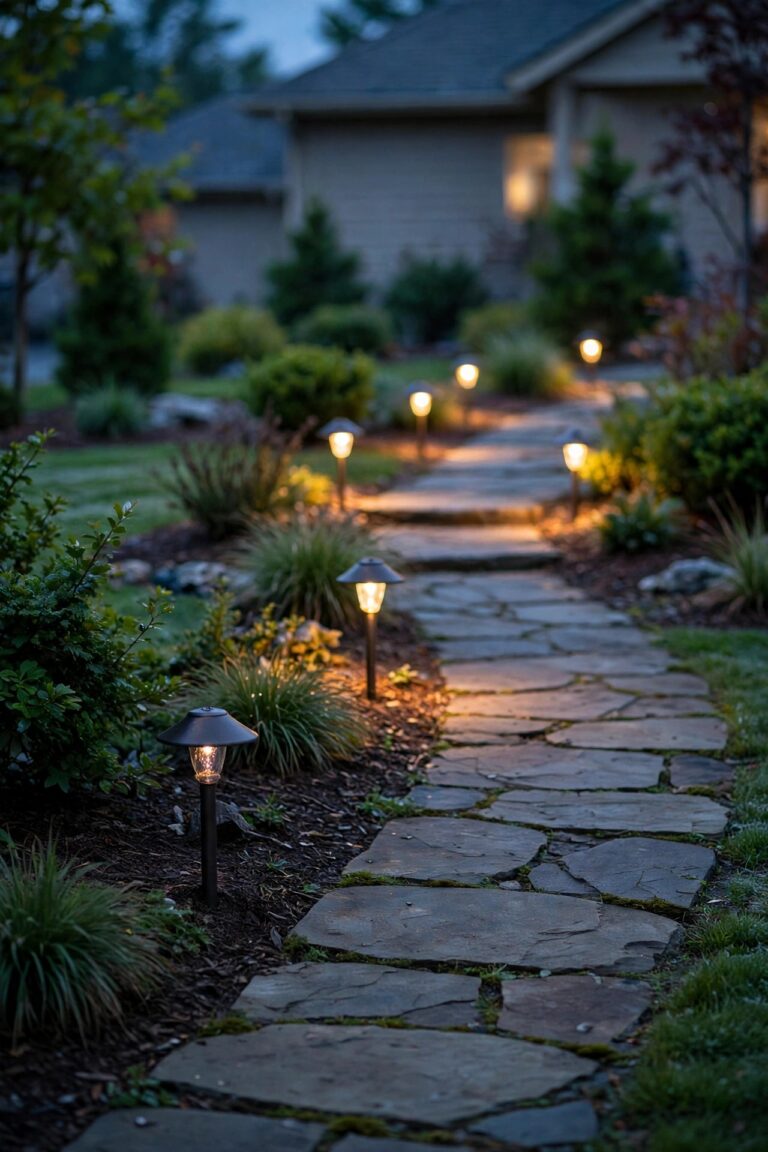
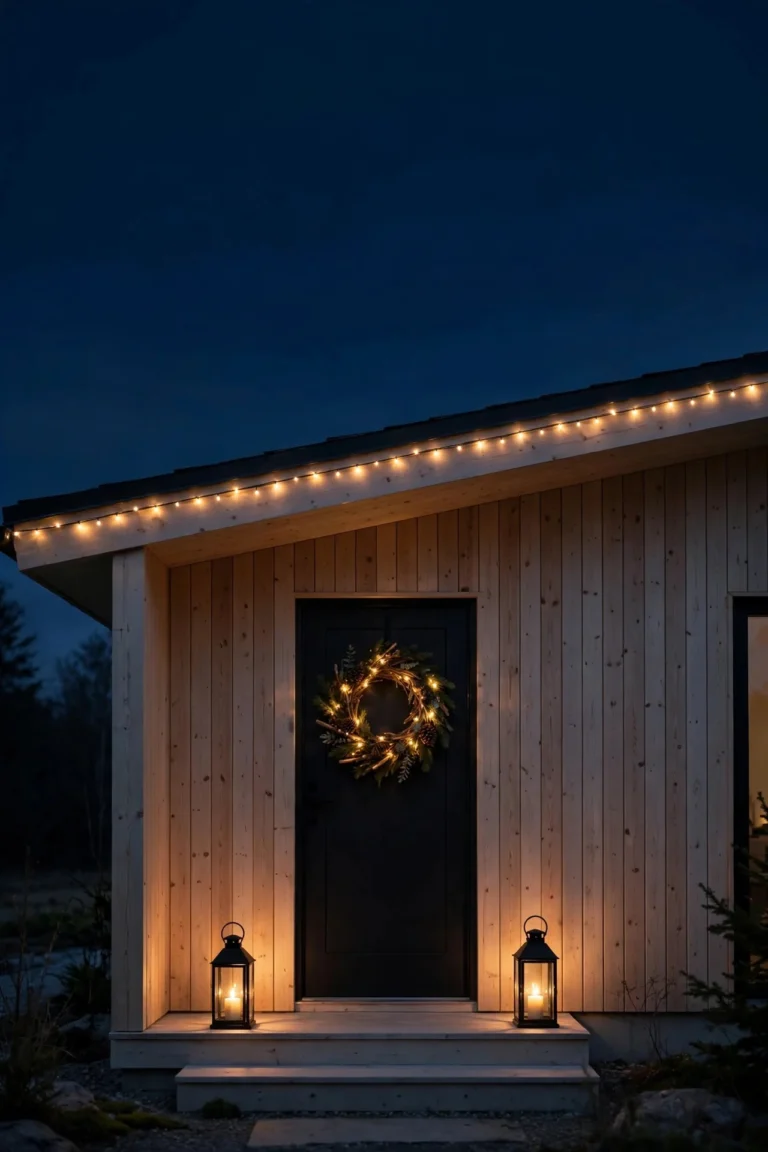
Our courtyard is just a plain rectangle of pavers between the house and the garage, but the first evening we strung lights overhead, it stopped feeling like a pass-through and started feeling like a room with the ceiling missing. That's the magic I'm chasing with these courtyard string light ideas: walls on some sides, open sky above, and a canopy of warm light floating right where a ceiling would be. In my experience, a courtyard is the easiest outdoor space to light this way, because you already have structures to anchor to — house walls, fences, garage siding, a sturdy tree. The philosophy is the same layering I use everywhere: a canopy layer overhead for the glow, a middle layer on the walls for depth, and a low layer along the ground so nobody trips. Below are 19 ways to build that overhead layer, from a simple zigzag you can hang in an afternoon to a full layered canopy. If you want the wall and ground layers too, my roundup of courtyard lighting ideas covers the whole room.
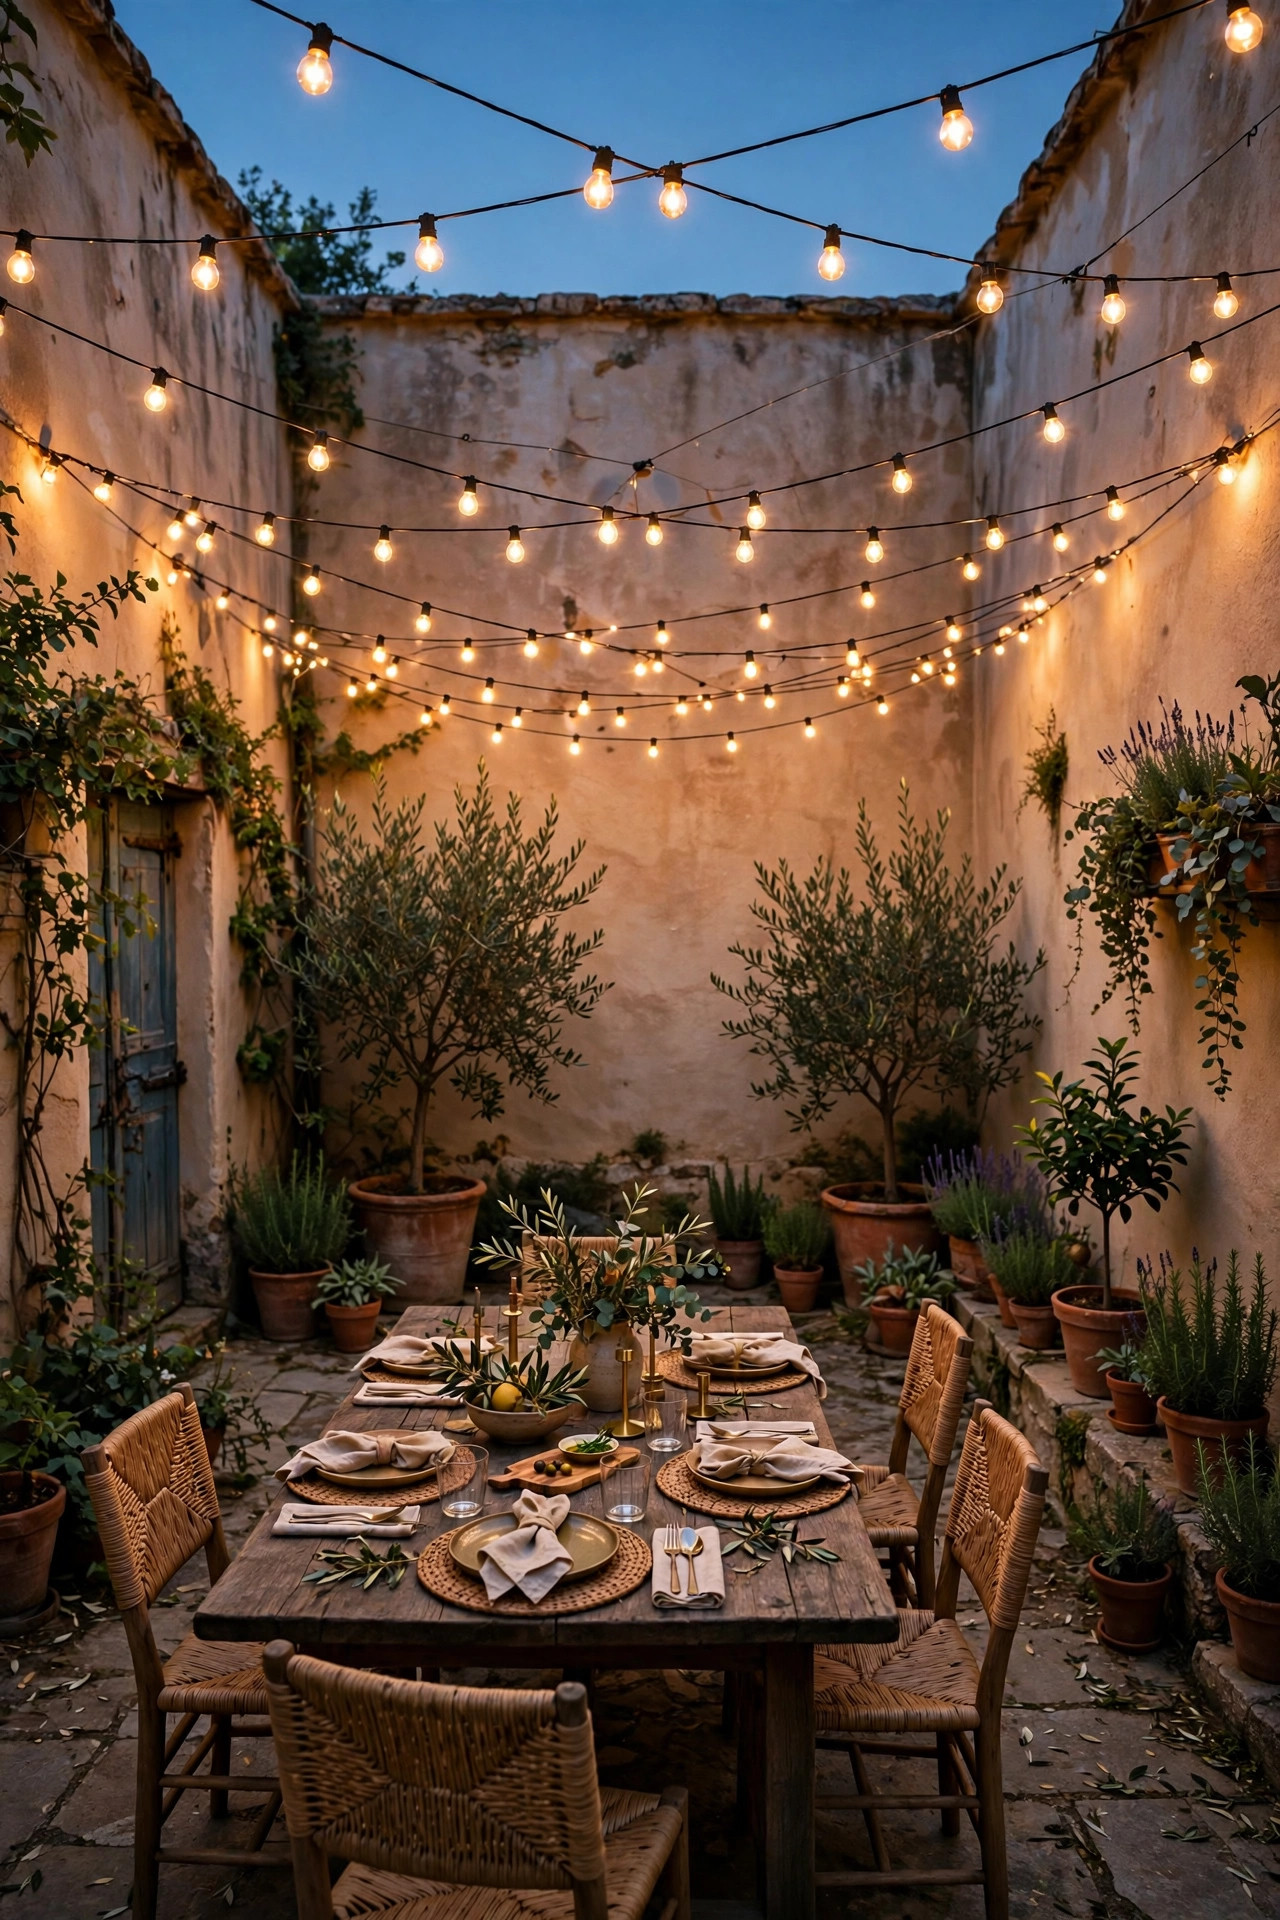
1. Courtyard String Light Ideas: The Classic Zigzag Canopy
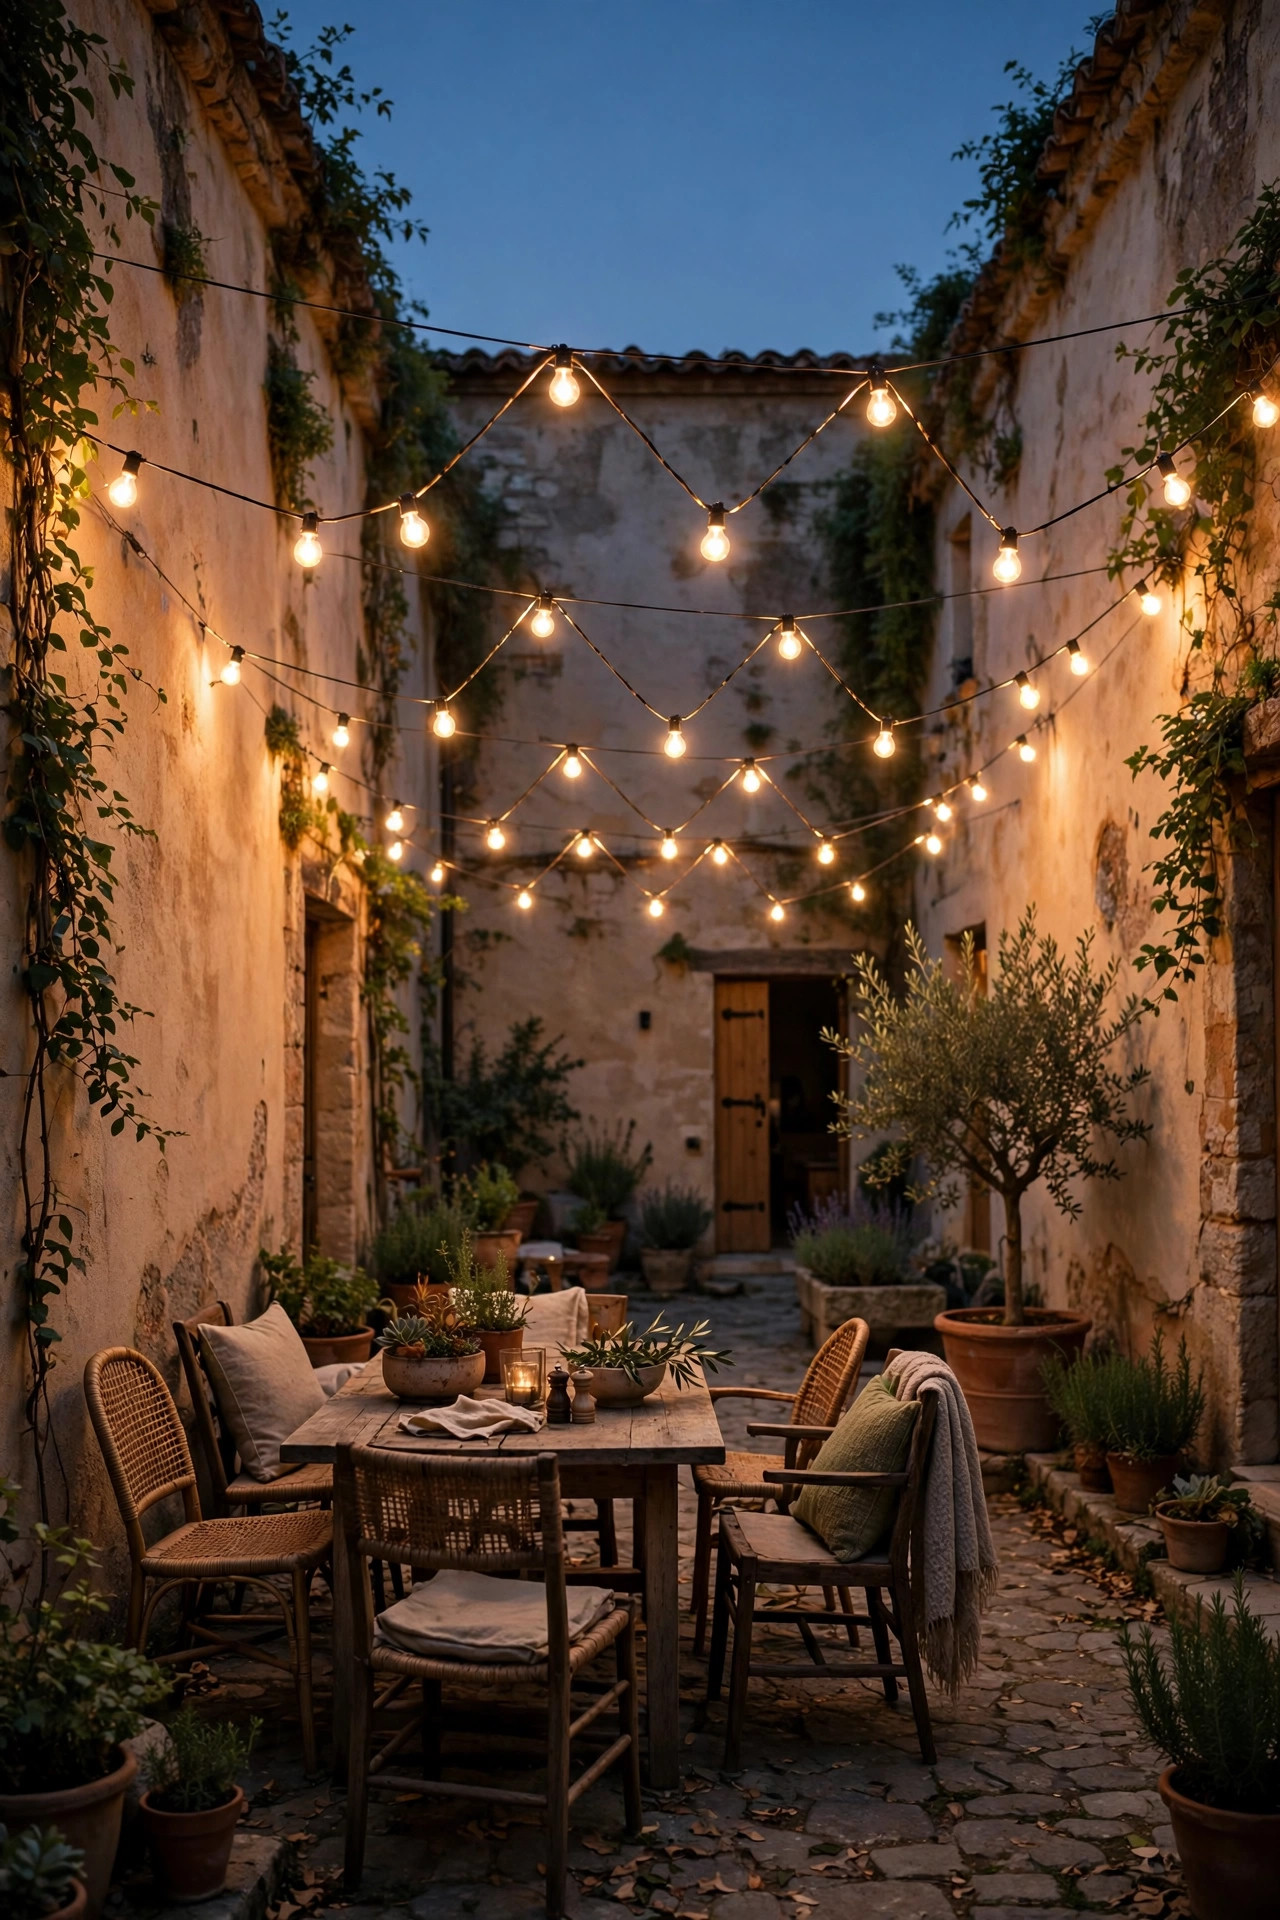
If you only ever try one layout, make it this one. The zigzag — strands running back and forth across the courtyard in a W or Z pattern — is the most forgiving canopy there is, because it doesn't depend on your walls being parallel or your measurements being perfect. Anchor the first run between two opposite walls using screw-in eye bolts; on brick or stucco, drill into a mortar joint and use a masonry anchor so the bolt holds real weight. Each pass should span the courtyard and angle back, points about 8 to 10 feet apart along each wall. Leave a gentle sag — roughly a foot of dip for every 10 feet of span — because a drum-tight strand strains its sockets and looks harsh, while a soft curve looks like a café in the best way. Commercial-grade strands with suspended sockets handle these spans best; the lightweight retail ones stretch and droop by midsummer. I always recommend running a thin steel guide wire along the first pass and clipping the strand to it with small carabiner-style clips if your span is over 20 feet. Finish one full zigzag before adding anything else — nine times out of ten, this alone is the whole transformation.
Suggested budget range: $60 – $150.
2. Perimeter Frame With Gentle Swags
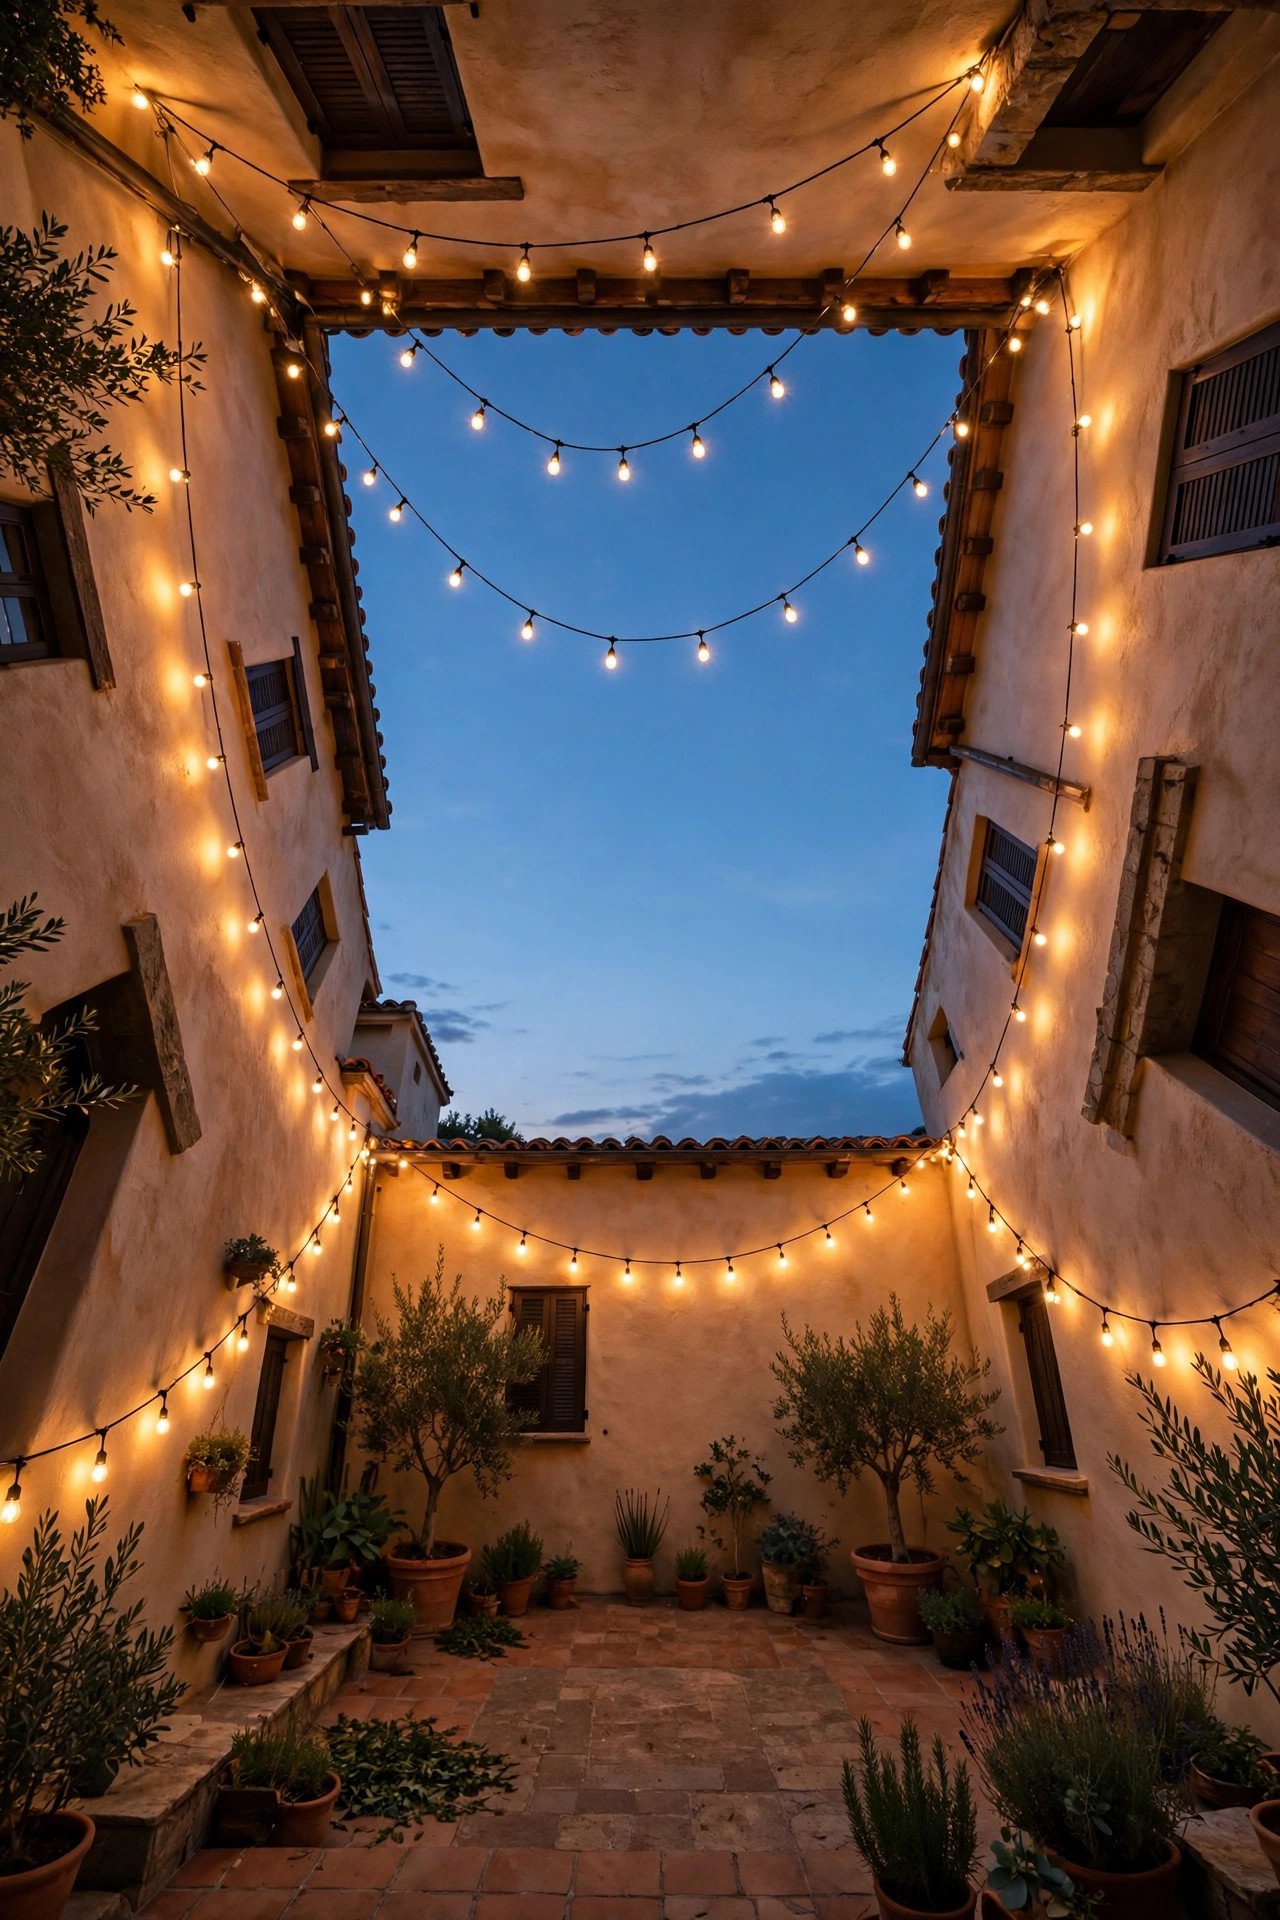
This is the layout I suggest when the middle of the courtyard needs to stay open — say you host standing-around gatherings, or there's a fountain or fire pit in the center that shouldn't compete with anything overhead. The strands run around the perimeter only, wall to wall along each side, each run dipping into a soft swag between anchor points spaced 6 to 8 feet apart. The effect is a picture frame of light: the edges glow, faces around the border are lit, and the center stays open to the sky. It reads more formal than a zigzag, almost like a ballroom ceiling border, and it suits brick and stone courtyards beautifully. To keep the swags even, mark every anchor point with painter's tape and eyeball the whole frame from the doorway before you drill anything permanent. Use the same bulb style all the way around — mixing globe sizes on a perimeter looks like a mistake, not a layer. One honest tip: perimeter-only lighting leaves tabletops in the middle dim, so pair it with lanterns or candles at table height, which you'd want anyway for that low layer.
Suggested budget range: $50 – $130.
3. Radial Sunburst From a Center Pole
For a square courtyard, a sunburst is pure drama: one tall center pole, and strands radiating out to every wall and corner like spokes. A 10- to 12-foot pole set in a heavy umbrella base or a planter full of concrete gives you the hub; screw a circle of eye bolts near the top, or use a single large eye bolt and clip every strand to it. Eight to twelve strands is the sweet spot — fewer looks sparse, more turns the hub into a tangled knot. The spokes naturally hang higher at the center and lower at the walls, which creates a tent-like ceiling that makes the whole space feel gathered around the middle, perfect over a round table or fire bowl. Keep the wall anchors at a consistent height, around 8 to 9 feet, so the tent slope is even. The trade-off is real: the pole lives in the middle of your courtyard all season, so choose a slim black one that disappears at night, and in the daytime it honestly reads as part of the architecture. This is the layout guests photograph.
Suggested budget range: $90 – $220.

4. Parallel Rows for Long, Narrow Courtyards
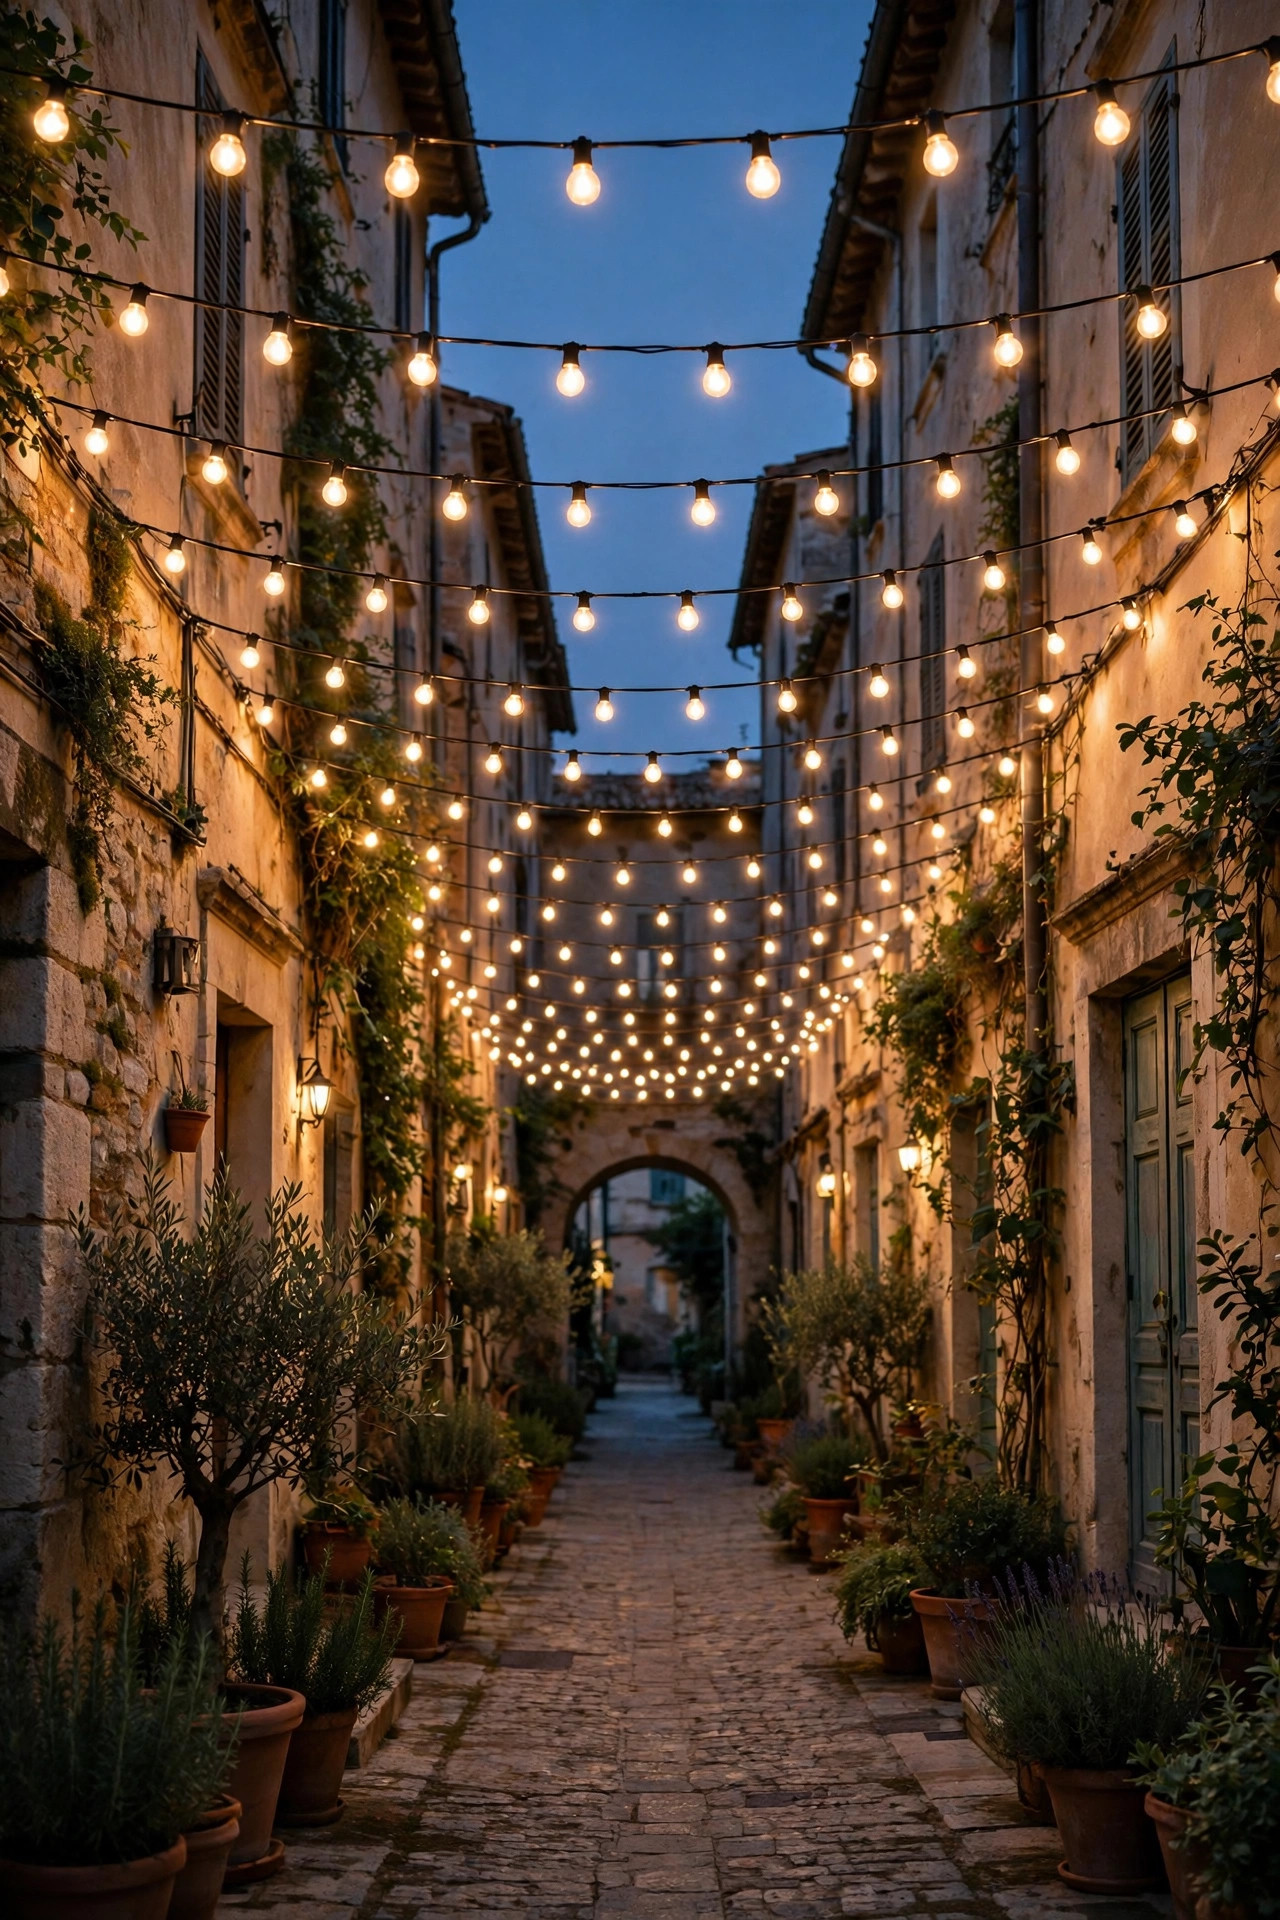
Side courtyards and those long strips between a house and a fence — sometimes barely 8 feet wide and 30 long — are where parallel rows shine. Run three to five straight strands lengthwise, side by side, spaced 2 to 3 feet apart across the width. Instead of reading as separate lines, at night they merge into one continuous glowing ceiling, and the length of the space turns into a feature: a lit corridor that pulls you toward a bench, a gate, or a little bistro set at the far end. Straight runs sag less dramatically than long cross-spans, but each row still needs support past about 25 feet, so add one midpoint anchor to the fence or a slim pole if your rows run long. Because the space is narrow, keep bulbs on the smaller side — globe bulbs around 2 inches — so the canopy feels airy rather than crowded. This is also the cheapest canopy per square foot, since every strand does double duty and there's no waste in the pattern. Honestly, the before-and-after on a forgotten side yard is the most dramatic of any layout here.
Suggested budget range: $45 – $120.
5. The Crosshatch Grid for a True Ceiling Effect
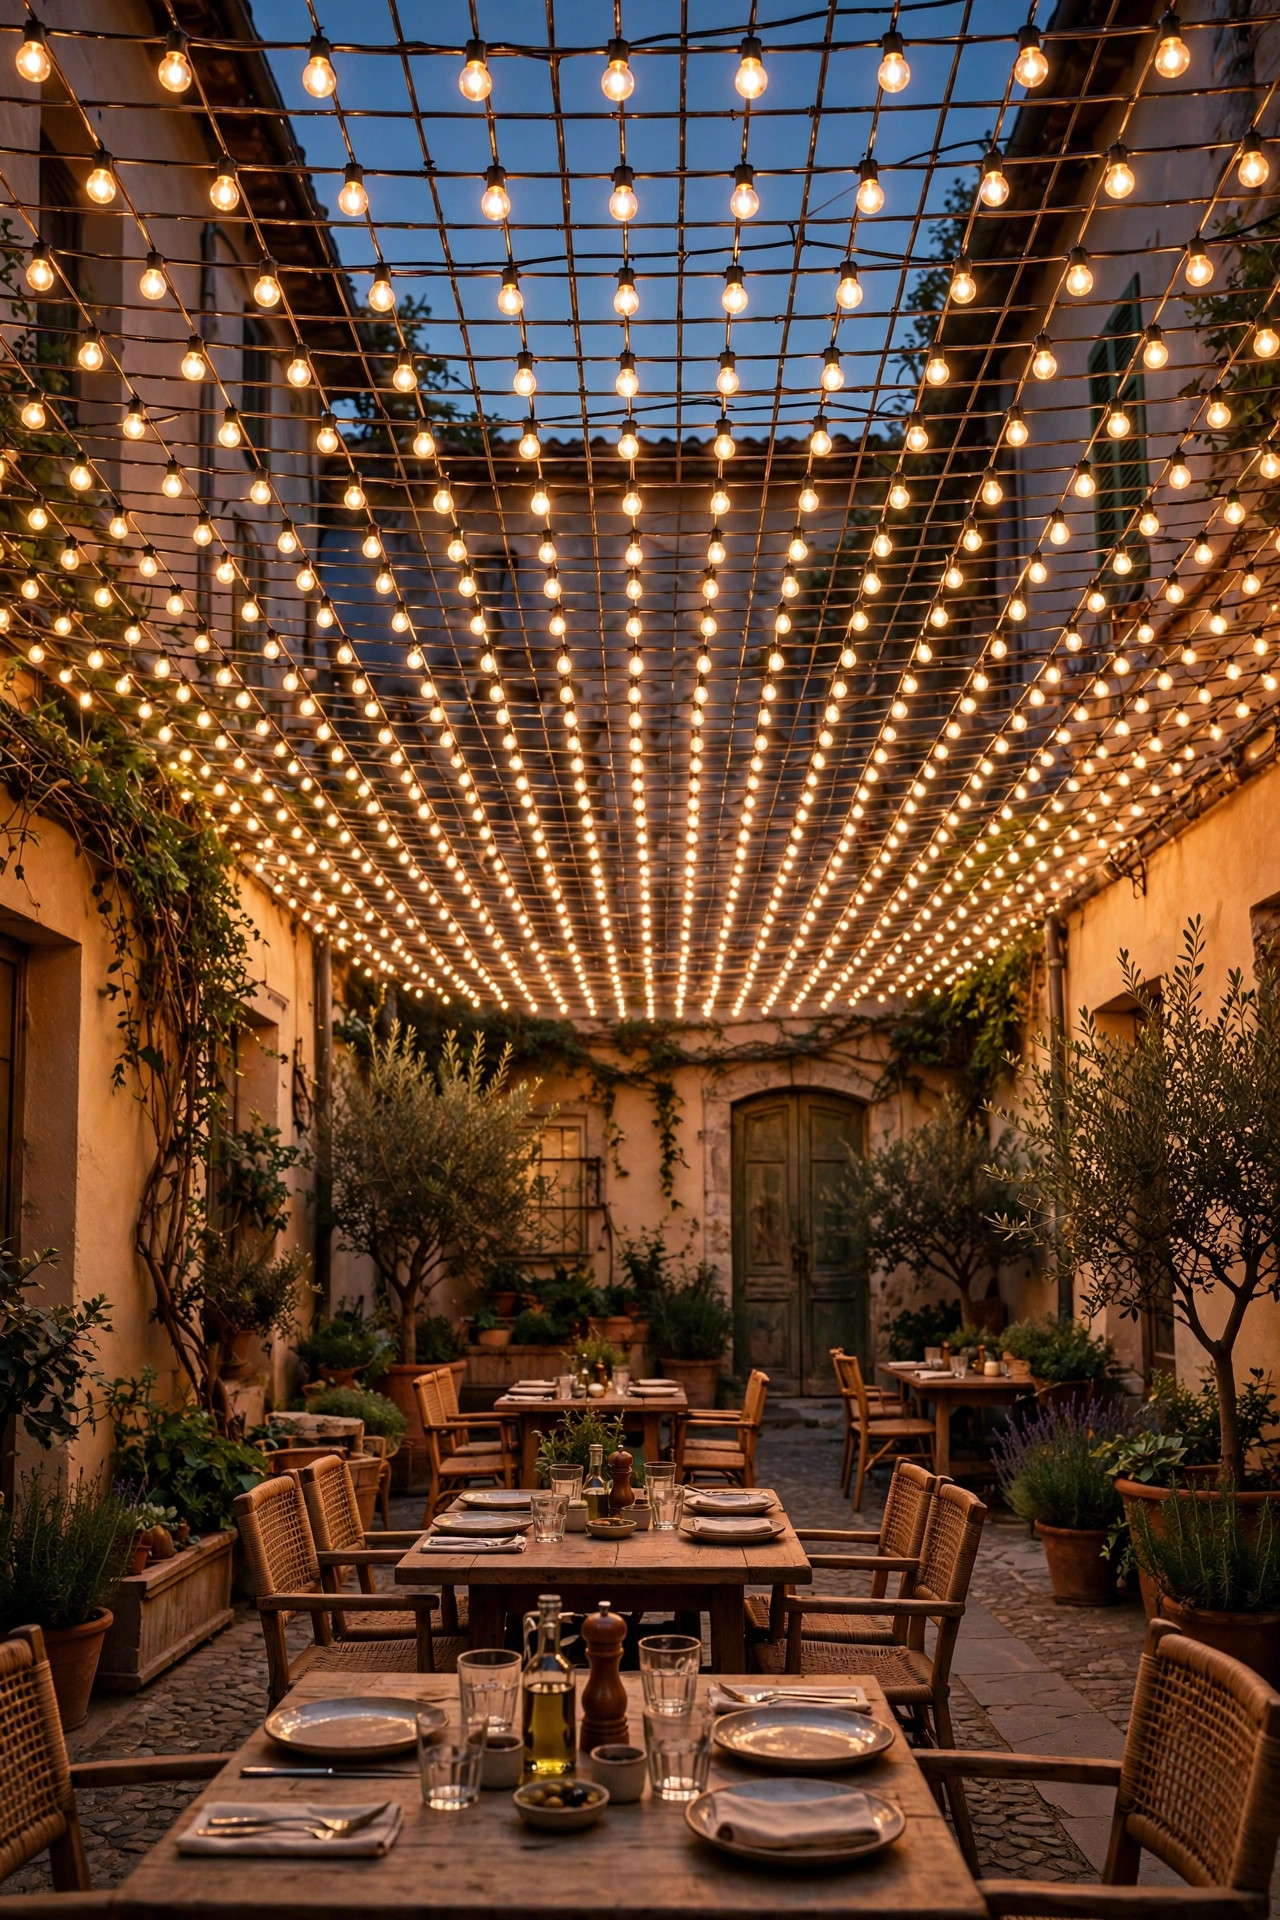
If what you want is the feeling of an actual ceiling — the full outdoor-room illusion — the crosshatch grid delivers it. Run strands in one direction spaced about 3 feet apart, then run a second set perpendicular across the top of the first, clipping the crossings with small zip ties or clips so the grid stays put in wind. From below, the dense web of light reads as one solid glowing plane, and it's the brightest canopy style on this list, which makes it a real option over a dining table where you want to see your food. The cost is honesty-required: a grid takes roughly double the strand length of a zigzag for the same courtyard, and the intersections are where cheap strands fail first, so this is the layout to splurge on commercial-grade cable. Plan the grid on paper first — a 12-by-12-foot courtyard at 3-foot spacing needs four strands each way, about 100 feet of lit cable before leads. I recommend hanging the grid slightly high, 9 to 10 feet at the edges, because a dense canopy hung low can feel like a lid. Up high, it feels like sky.
Suggested budget range: $120 – $300.
6. Single Diagonal Sweep for Tiny Courtyards
Not every courtyard earns a full canopy, and in a tiny one — a 8-by-10 light well off a kitchen, a pocket patio between wings of the house — a single diagonal sweep is more elegant than a crowded grid. Run two or three strands from one high corner to the opposite low corner, fanning them slightly so they aren't perfectly parallel, and let the asymmetry do the styling. The diagonal tricks the eye into reading the space as bigger, the same way a diagonal rug does indoors. Anchor high, around 9 or 10 feet, on the wall near the house door, and lower, around 7.5 feet, at the far corner, so the plane of light tilts toward your seating. Because there are so few strands, each one shows — this is the place to spend on beautiful bulbs, oversized globes or teardrop Edison styles, rather than more strands. Add one lantern cluster in the low corner to balance the composition at eye level. I did exactly this in a client's tiny courtyard with three strands and a total budget under fifty dollars, and it's still the photo she sends her friends.
Suggested budget range: $25 – $70.
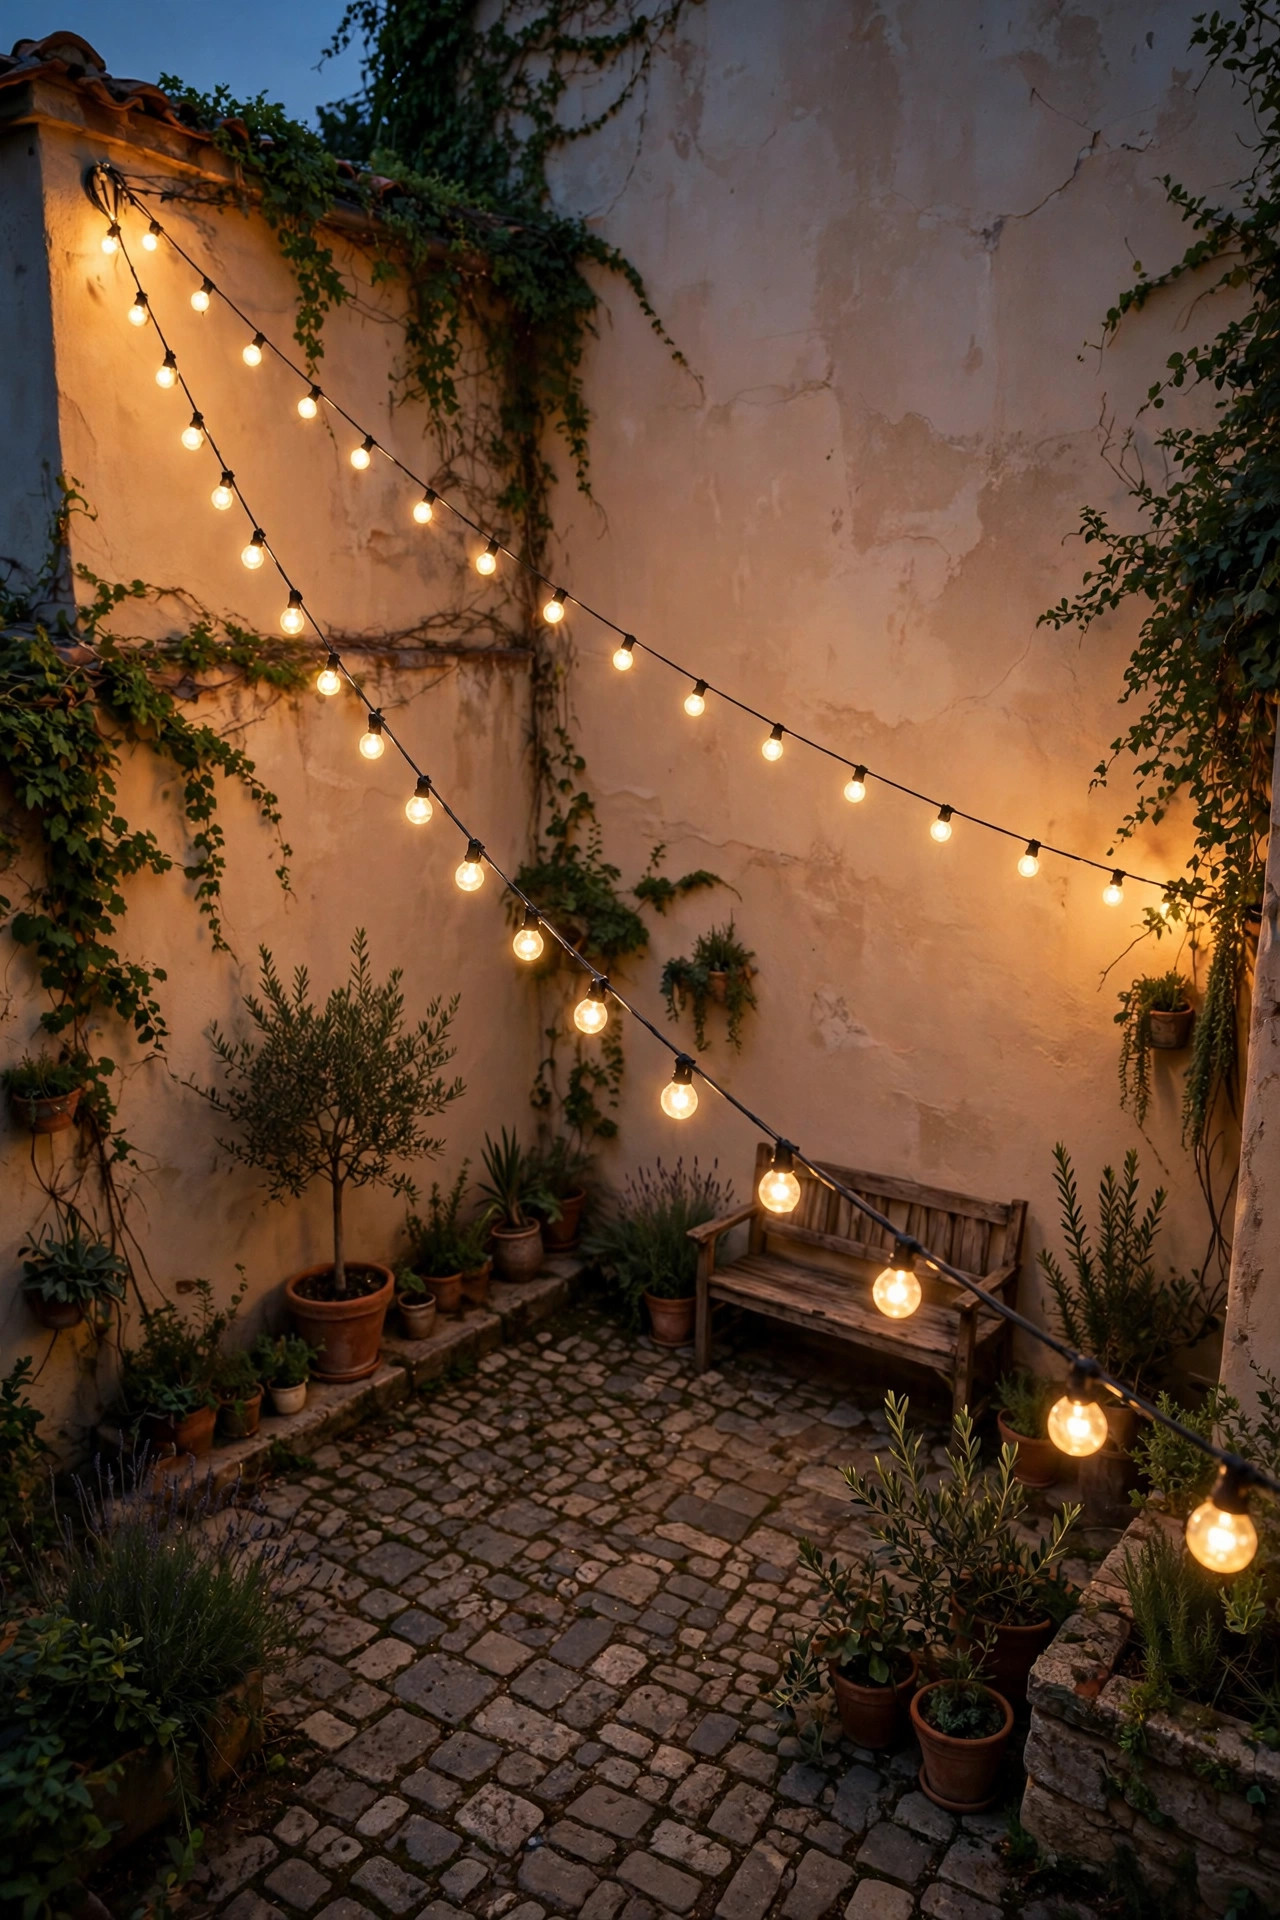
7. The Double-Layer Canopy at Two Heights
Layering isn't just for flower beds. Hang one canopy high — a loose zigzag at 10 feet — and a second, denser layer below it at about 8 feet, offset so the strands don't line up. From underneath, the two planes of bulbs create real depth: the upper layer glows softly through the lower one, and the whole ceiling shimmers when a breeze moves them at different rhythms. It feels like being under a chandelier the size of a room. Practically, the lower layer should carry the bigger, brighter bulbs since it's the one lighting faces, while the upper layer can be a cheaper strand with smaller bulbs — nobody sees it up close, it just adds sparkle and fills the gaps. Keep at least 18 inches between layers so they never tangle in wind, and anchor the lower layer to its own eye bolts rather than hanging it from the upper strands. This is my pick for courtyards used for dinners that run long: dim the lower layer late in the evening and the upper sparkle alone is pure magic.
Suggested budget range: $110 – $260.
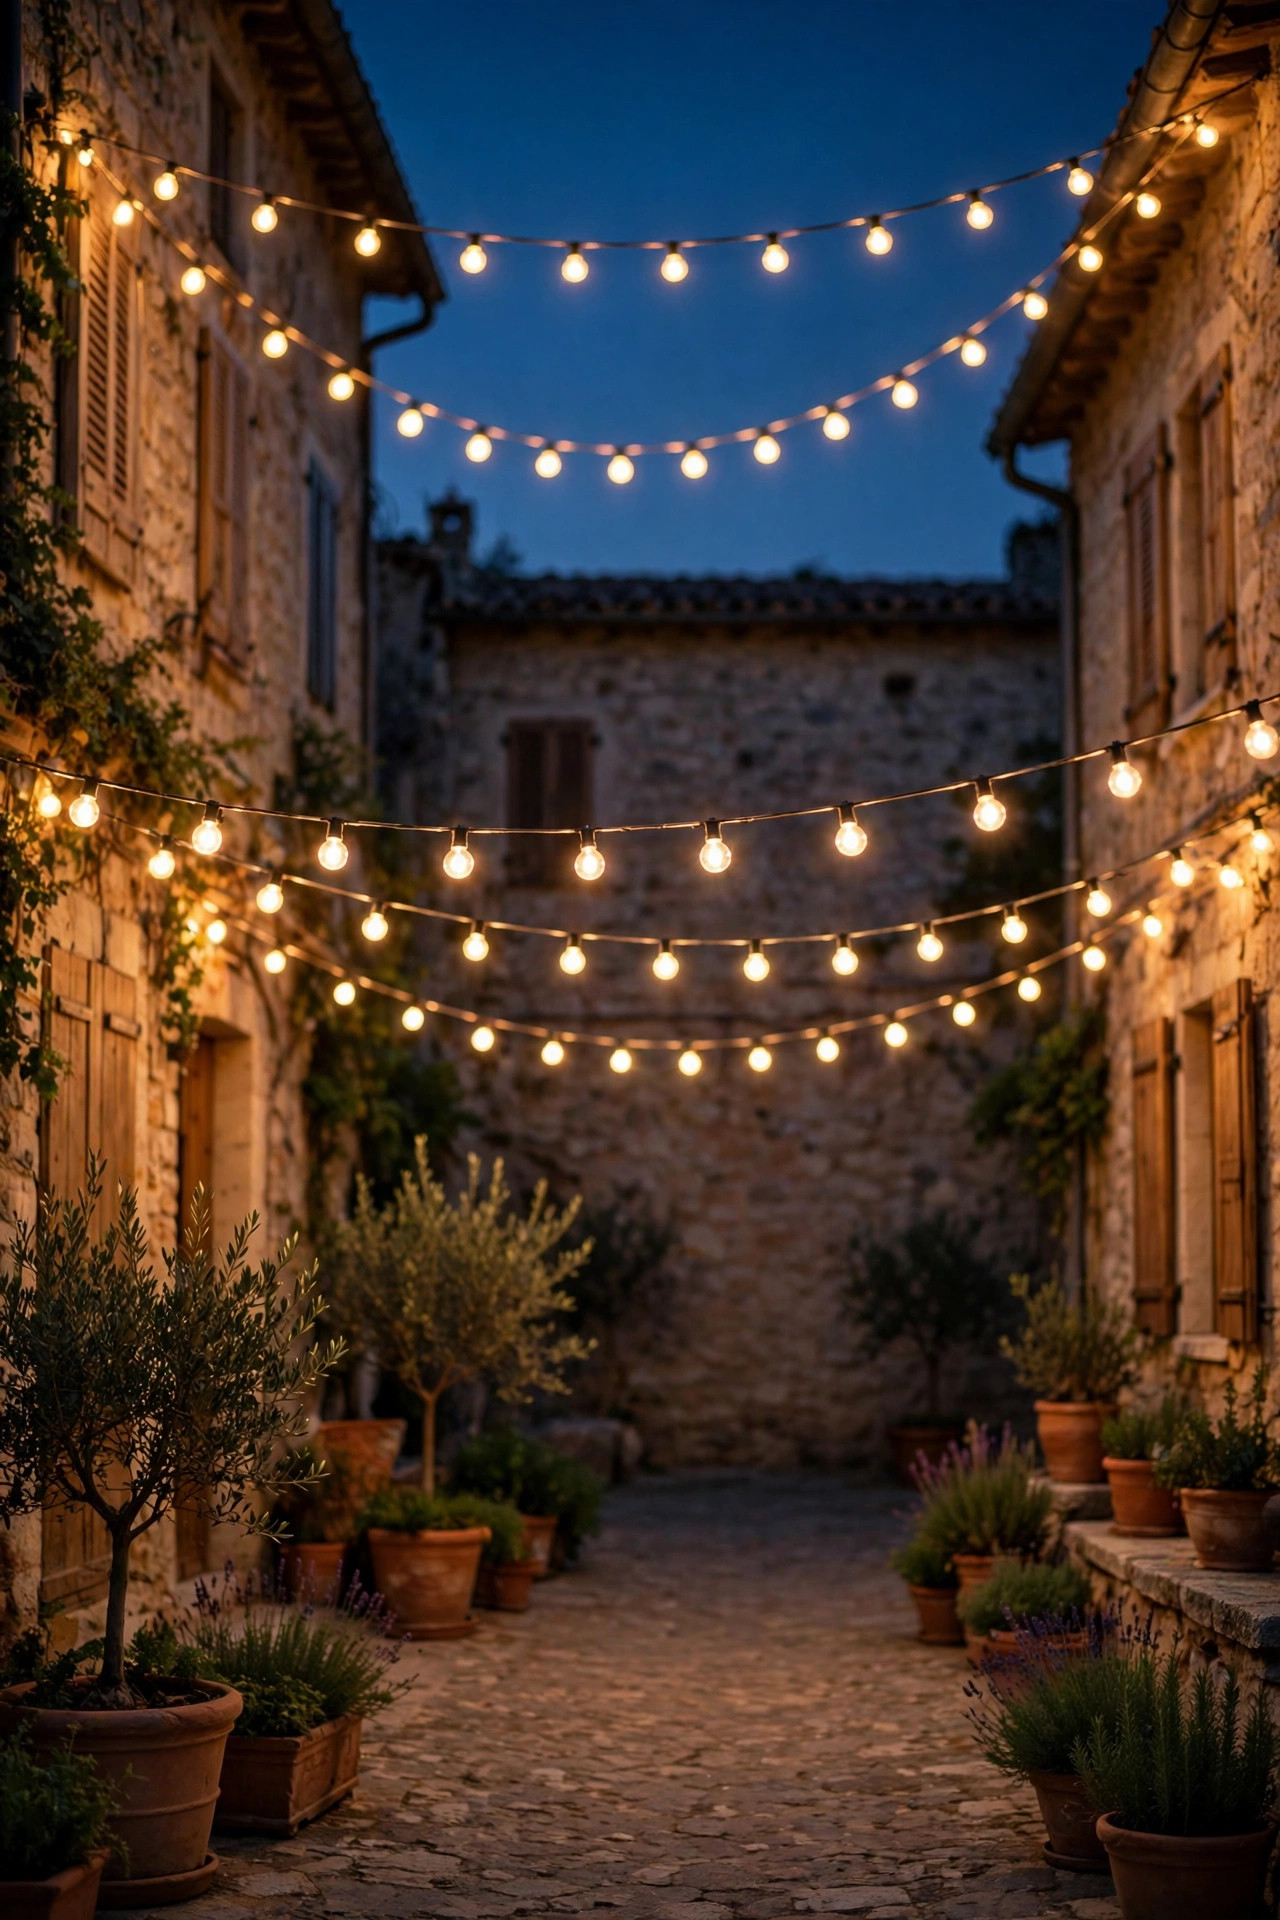
8. Globe Bulb Bistro Strands, Café Style
Bulb choice changes a canopy as much as layout does, and round globe bulbs — the G40 style, about an inch and a half across — are the classic café look for a reason. A courtyard full of small warm globes reads as friendly and relaxed, the lighting equivalent of a checked tablecloth. Globes throw light in every direction, so a globe canopy lights the whole volume of the courtyard evenly rather than beaming down in spots; faces look good, photos look good. Choose shatterproof plastic globes if your courtyard doubles as a play space or you live somewhere with hail — they survive drops onto pavers that would end a glass bulb. LED globe strands sip power, roughly 1 watt per bulb, so a 25-bulb strand costs pennies a night to run. One caution from experience: globe strands with the bulbs hanging straight down on short drops look tidier over a dining table, while socket-up styles collect rain in the socket. Look for strands where the socket has a small weather seal or weep hole. Warm white only, 2700K — a globe canopy in daylight-white looks like a parking lot, and I will die on this hill.
Suggested budget range: $40 – $110.
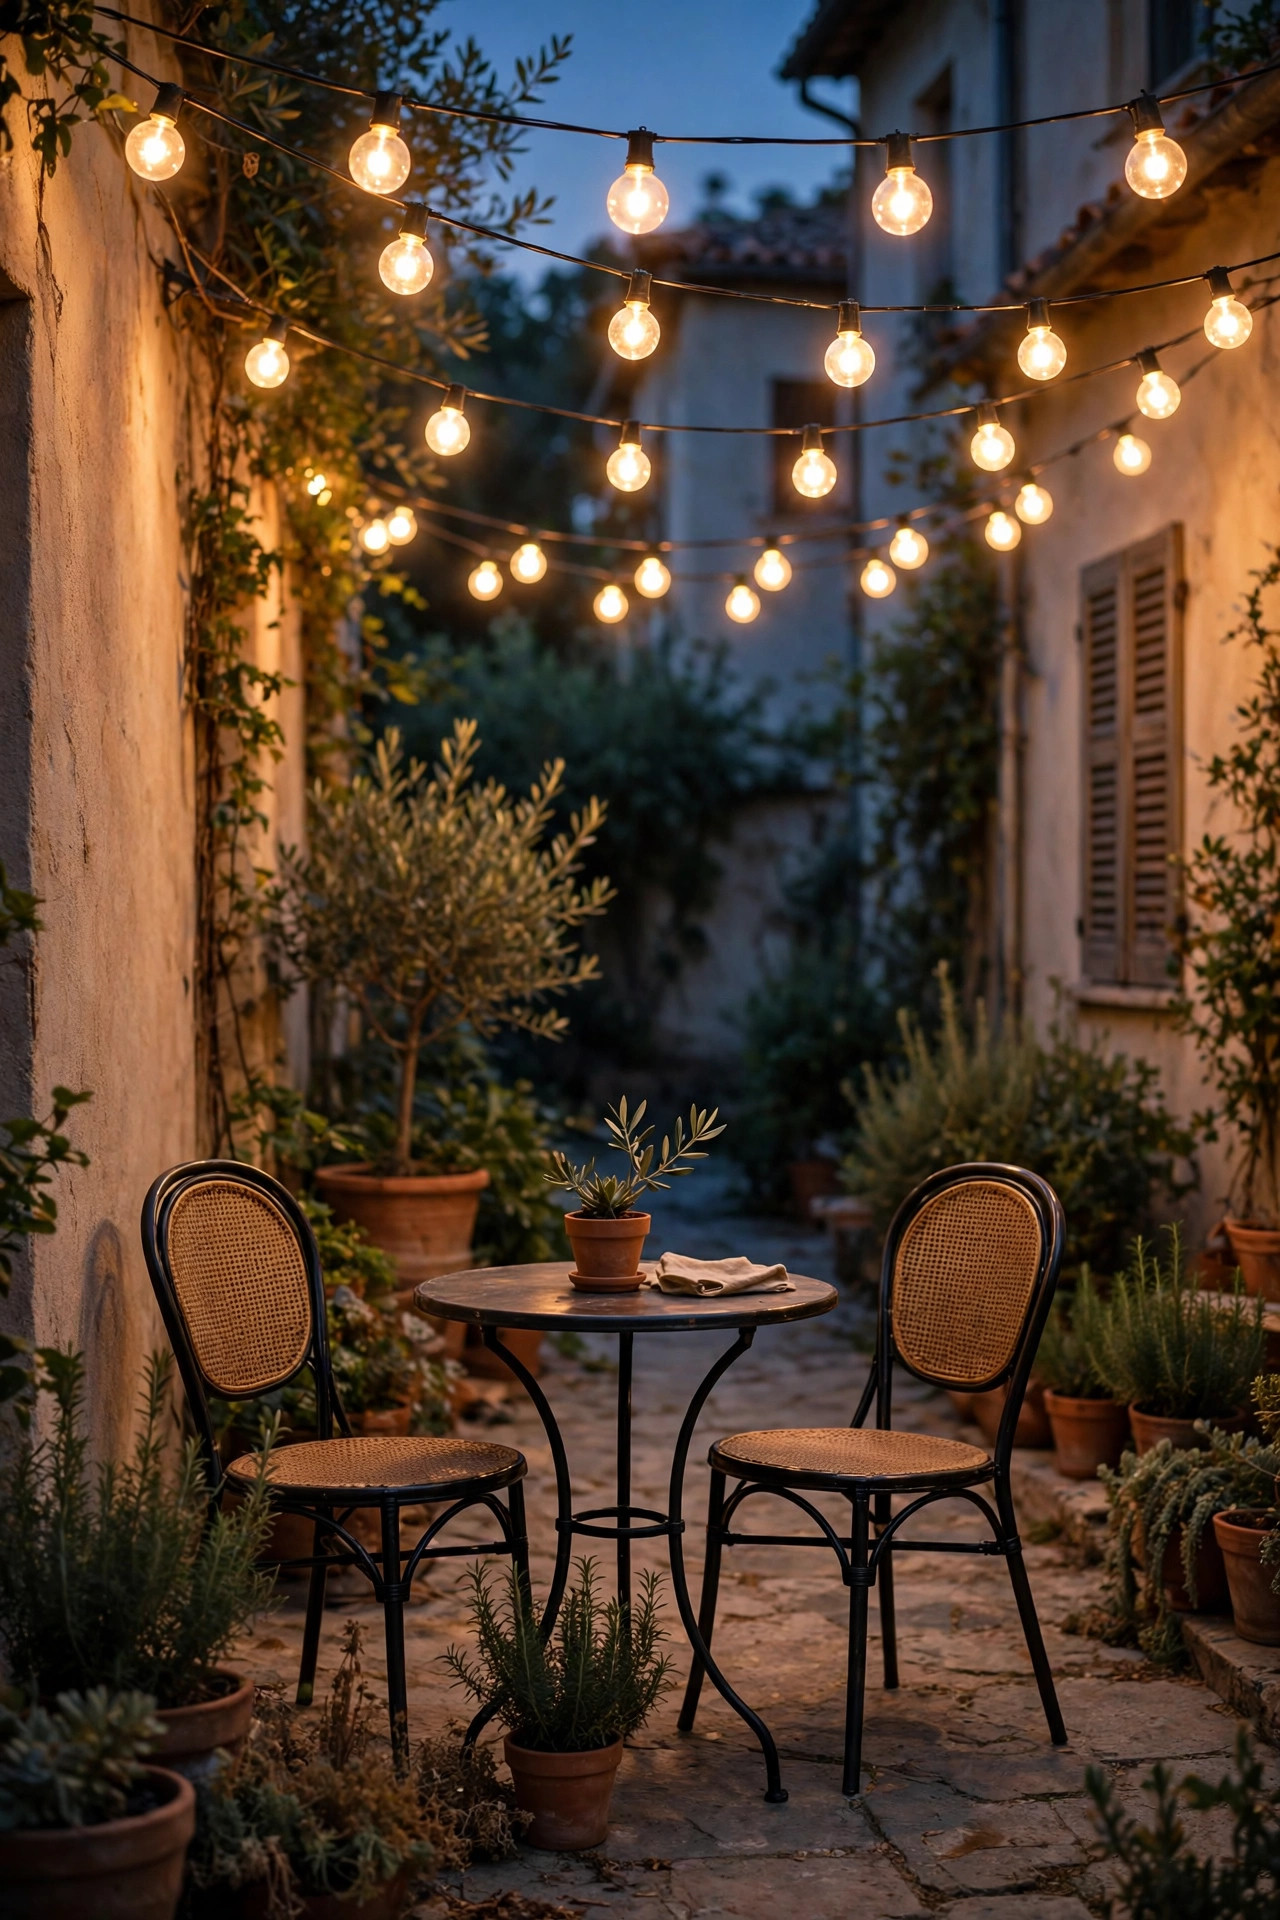
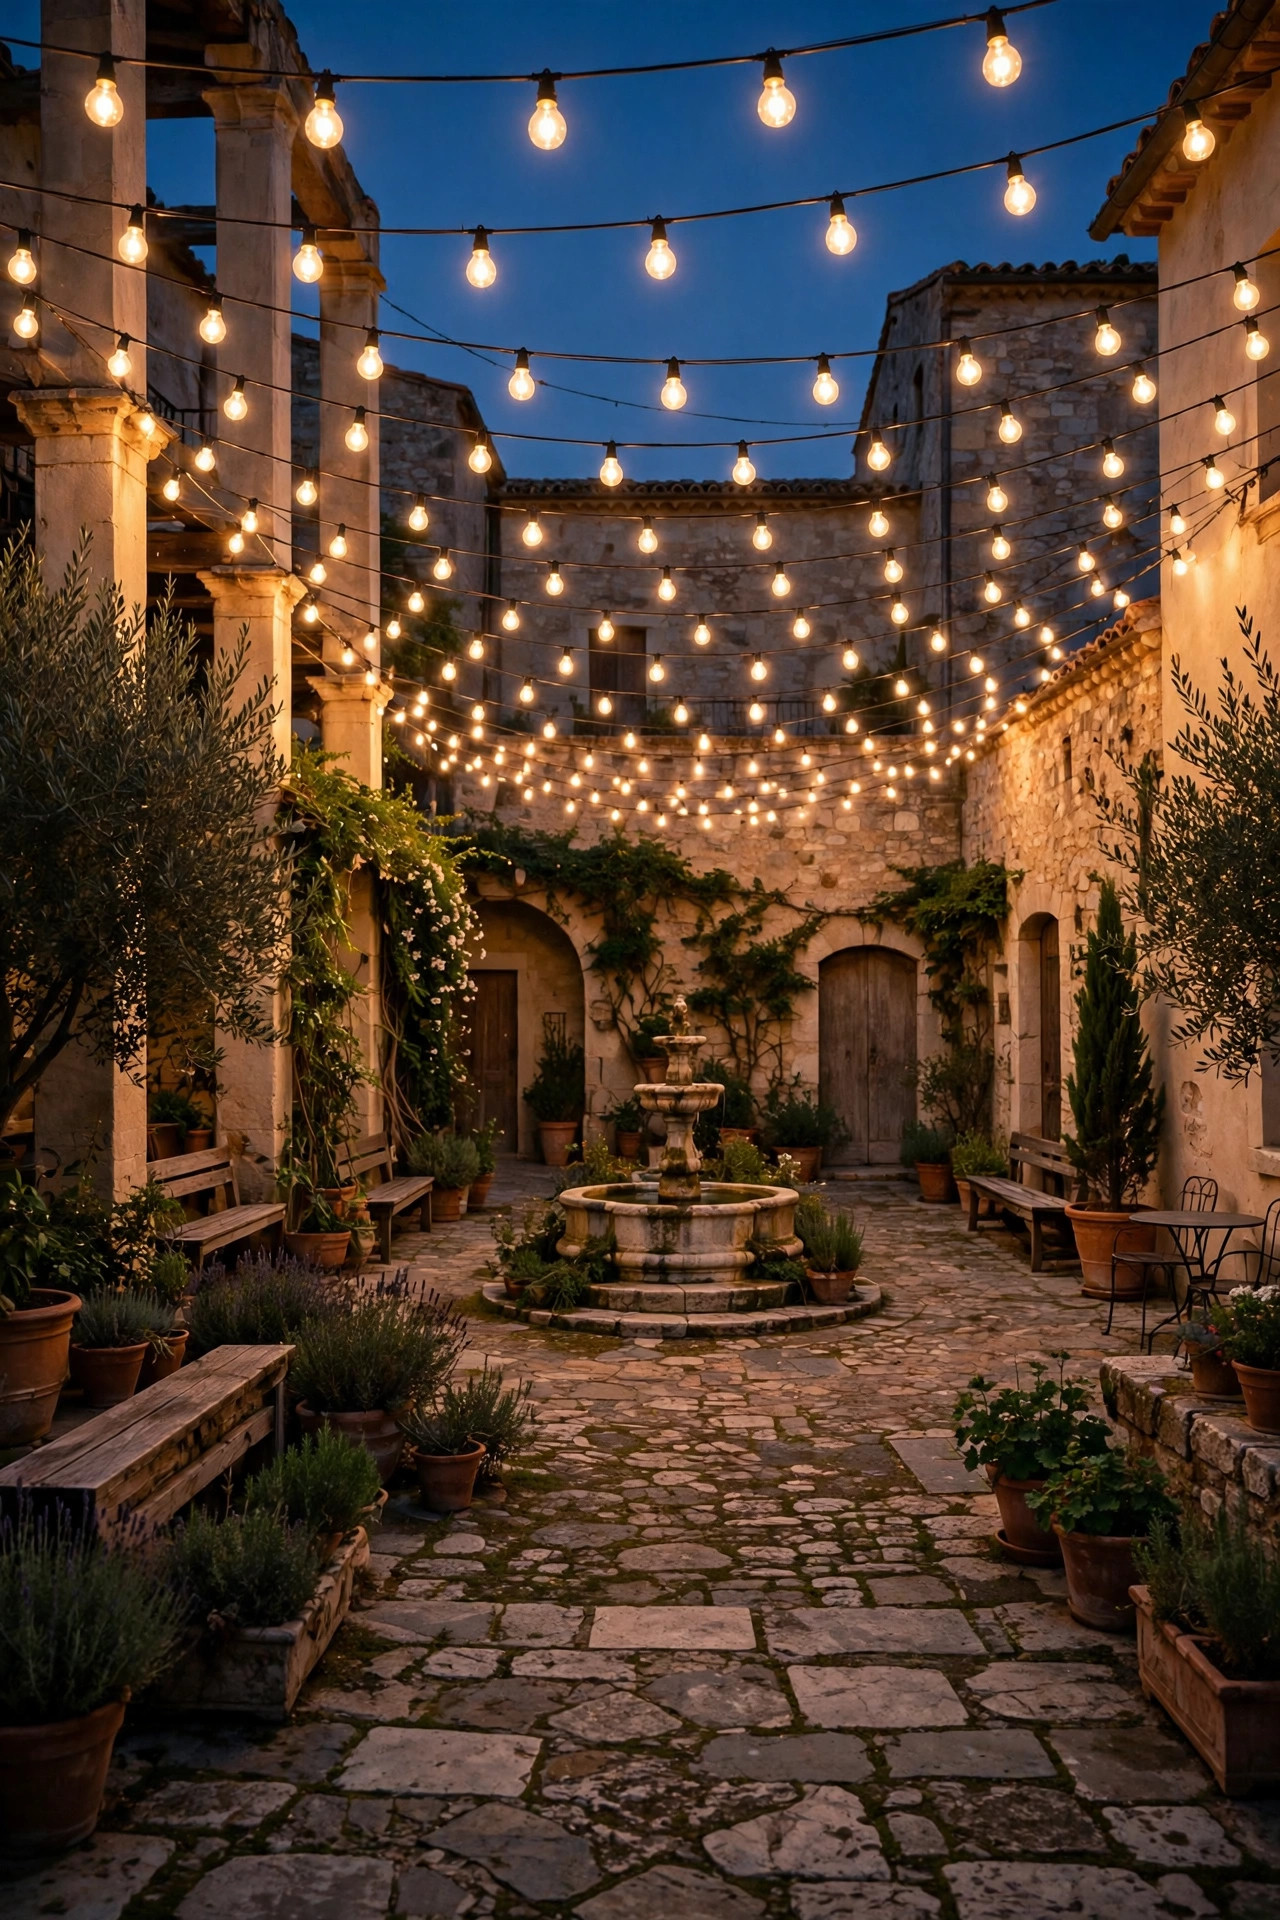
9. Edison Filament Strands for a Vintage Courtyard
If your courtyard leans old-world — brick walls, iron furniture, a fountain with some patina — Edison-style filament bulbs belong over it. The elongated teardrop shapes and visible amber filaments give off a candlelit, pre-electric warmth that globes can't imitate, and against brick they are honestly stunning. Modern LED filament versions keep the look while fixing the old problems: the real glass Edison bulbs of a decade ago were fragile, hot, and hungry for power. Even so, choose strands rated for outdoor use with sealed sockets, because those pretty filaments are usually under thinner glass. Edison strands throw a dimmer, more directional glow than globes, so plan on tighter spacing — rows 2 to 2.5 feet apart rather than 3 — or accept a moodier, dinner-party level of light and supplement with candles on the table, which suits the vintage mood anyway. Hang them with a touch more sag than usual; the swag curve is part of the period look, like the draped wires in old photographs of Italian courtyards. Transportive is the word my guests use.
Suggested budget range: $55 – $140.
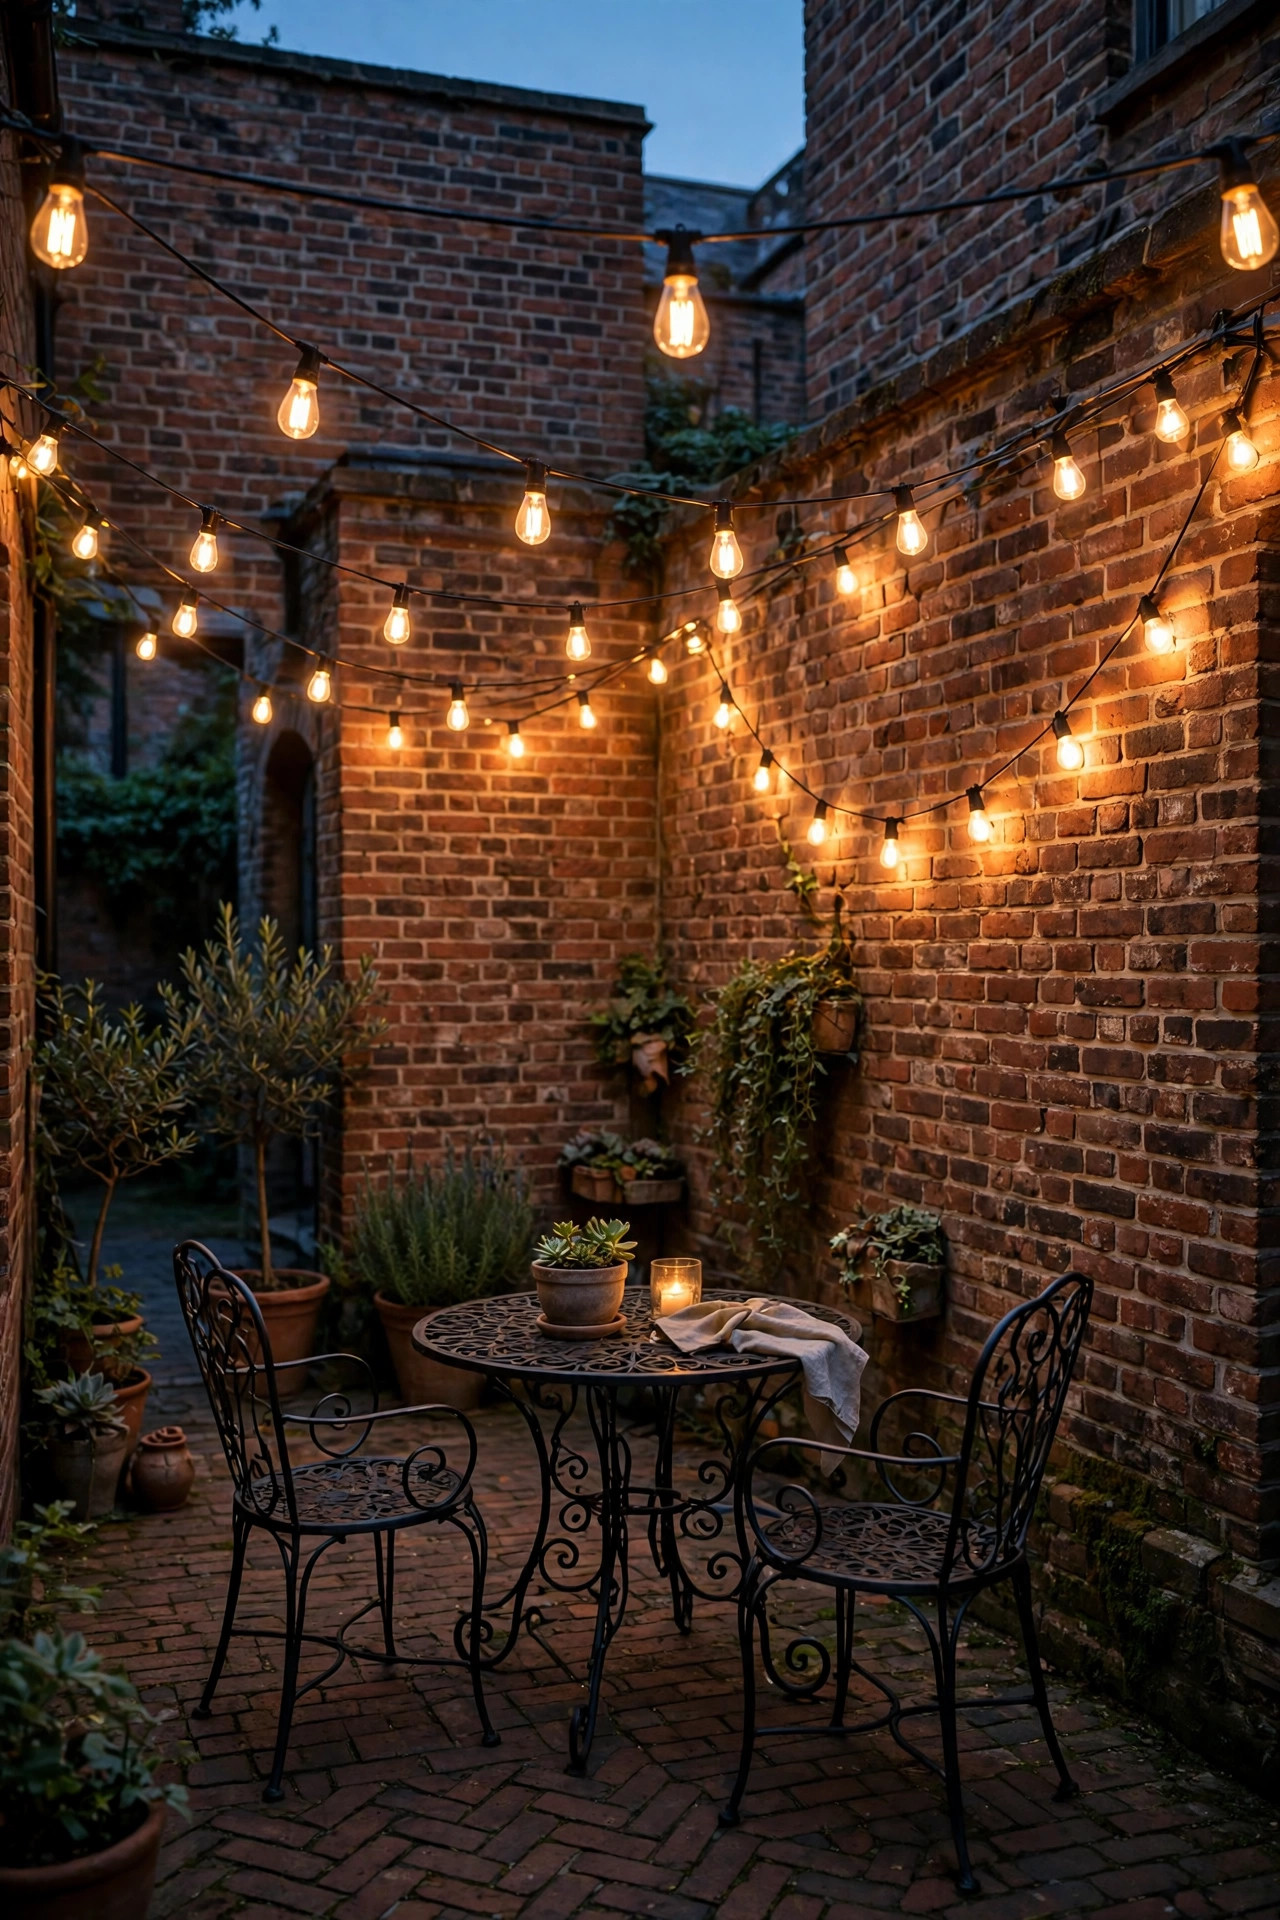
10. Solar Courtyard String Light Ideas for Spaces With No Outlet
Plenty of courtyards have no outdoor outlet — ours didn't until last year — and solar strands are how you get a canopy anyway. Modern solar string lights pair each strand with a small panel on a stake or clip; the panel placement matters more than the strand placement. It needs roughly six hours of direct sun, and a courtyard floor is often shaded exactly when the walls aren't, so clip the panel high on a sunny wall or fence top rather than staking it in a shadowed corner bed. Expect a softer glow than plug-in: solar globes are ambiance lighting, about right for the sparkle layer, a little dim as the only light over a dinner table. Runtime on a full charge runs 6 to 8 hours, which covers an evening but not an all-night party. My honest setup for an outlet-free courtyard is solar for the canopy plus rechargeable lanterns on the table — the lanterns do the task lighting and come indoors to charge. For the full rundown on choosing strands that survive weather, my outdoor string lights guide covers ratings and cable types in depth.
Suggested budget range: $35 – $95.
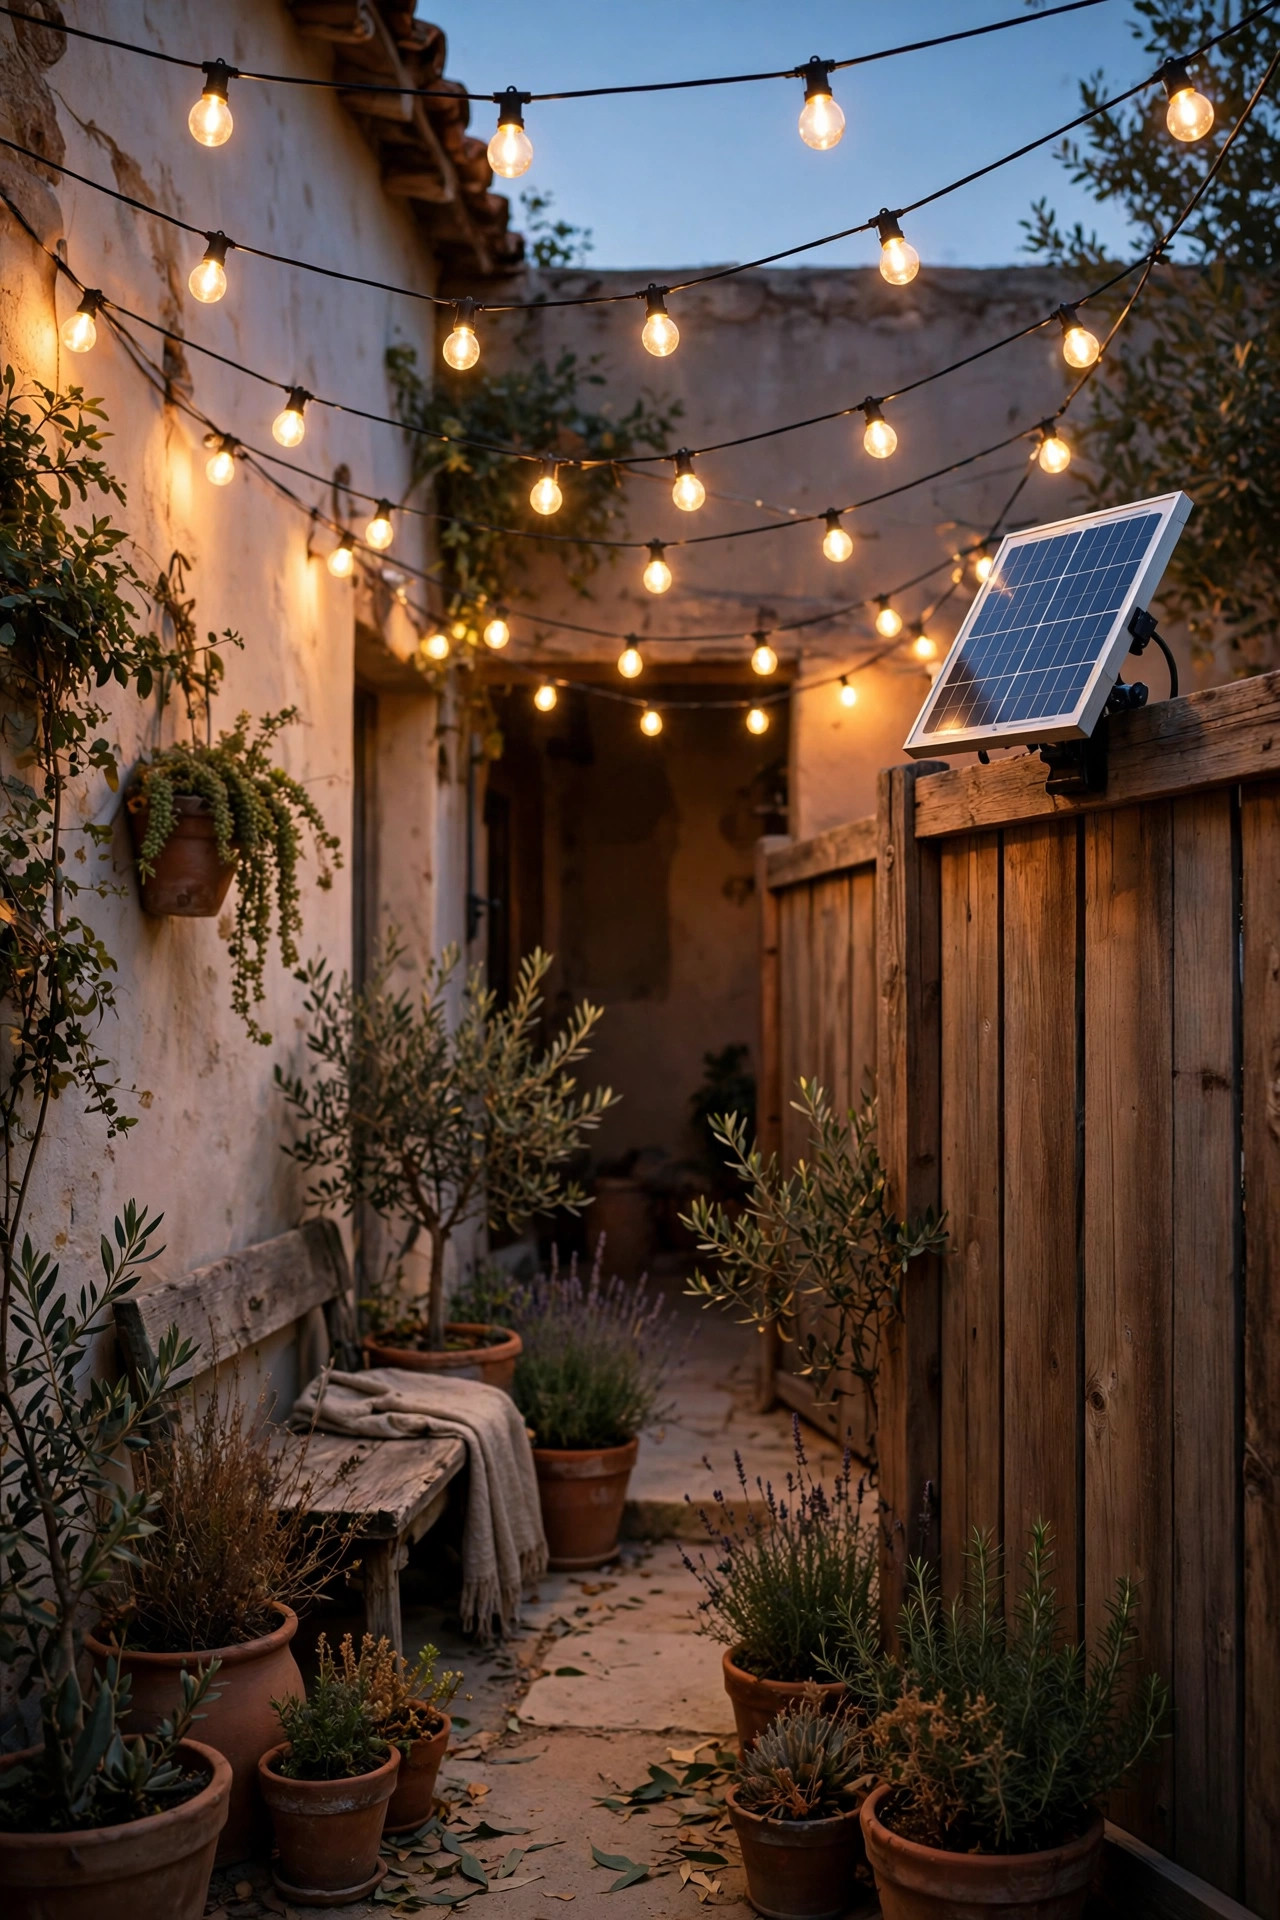
11. A Fairy Light Sparkle Layer Woven Through the Canopy
Think of this as the canopy's jewelry. Once your main strands are up, weave one or two strands of copper-wire fairy lights loosely through them — or drape a fairy light net panel across one corner — and the whole ceiling gains a fine sparkle that photographs like starlight. The micro LEDs on copper wire weigh almost nothing, so they add no meaningful load to your main strands, and the wire is thin enough to wrap a few turns around each cable to hold itself in place. Battery-powered versions with a built-in 6-hour timer are perfect here because you never touch them again once they're woven in. Keep the fairy layer to one or two zones rather than the whole canopy; sparkle everywhere flattens out, while a concentrated twinkle over the seating corner draws the eye and feels intentional. Color temperature is the trap: fairy lights are sold in warm white and in a much bluer "white" that will clash horribly with your 2700K main bulbs. Order a sample strand first if you're unsure. This is the cheapest layer on the list and the one people ask about most.
Suggested budget range: $15 – $45.

12. String Lights Paired With a Shade Sail
A canopy of lights is for the evening; a shade sail makes the same courtyard usable at noon, and the two combine beautifully. Stretch a triangular or rectangular shade sail at a slight tilt — you want one corner lower for rain runoff — then run your strands just beneath it, clipped to the sail's edges or strung wall to wall under it. At night the sail becomes a glowing ceiling in the best sense: the warm light reflects off the fabric and softens, so the whole space feels lit rather than dotted with bulbs, and it's noticeably brighter at table level than bare strands alone. Cream or sand-colored sails reflect warm light best; a dark sail swallows it. Mind the clearances — keep bulbs a few inches below the fabric and use LED only, since old incandescent bulbs run hot enough to damage shade cloth. The sail anchors and your string light anchors can share the same heavy-duty eye bolts if they're rated for the combined load, which saves drilling half the holes. Day shade, night glow, one set of hardware: this is the hardest-working combination I know.
Suggested budget range: $100 – $280.
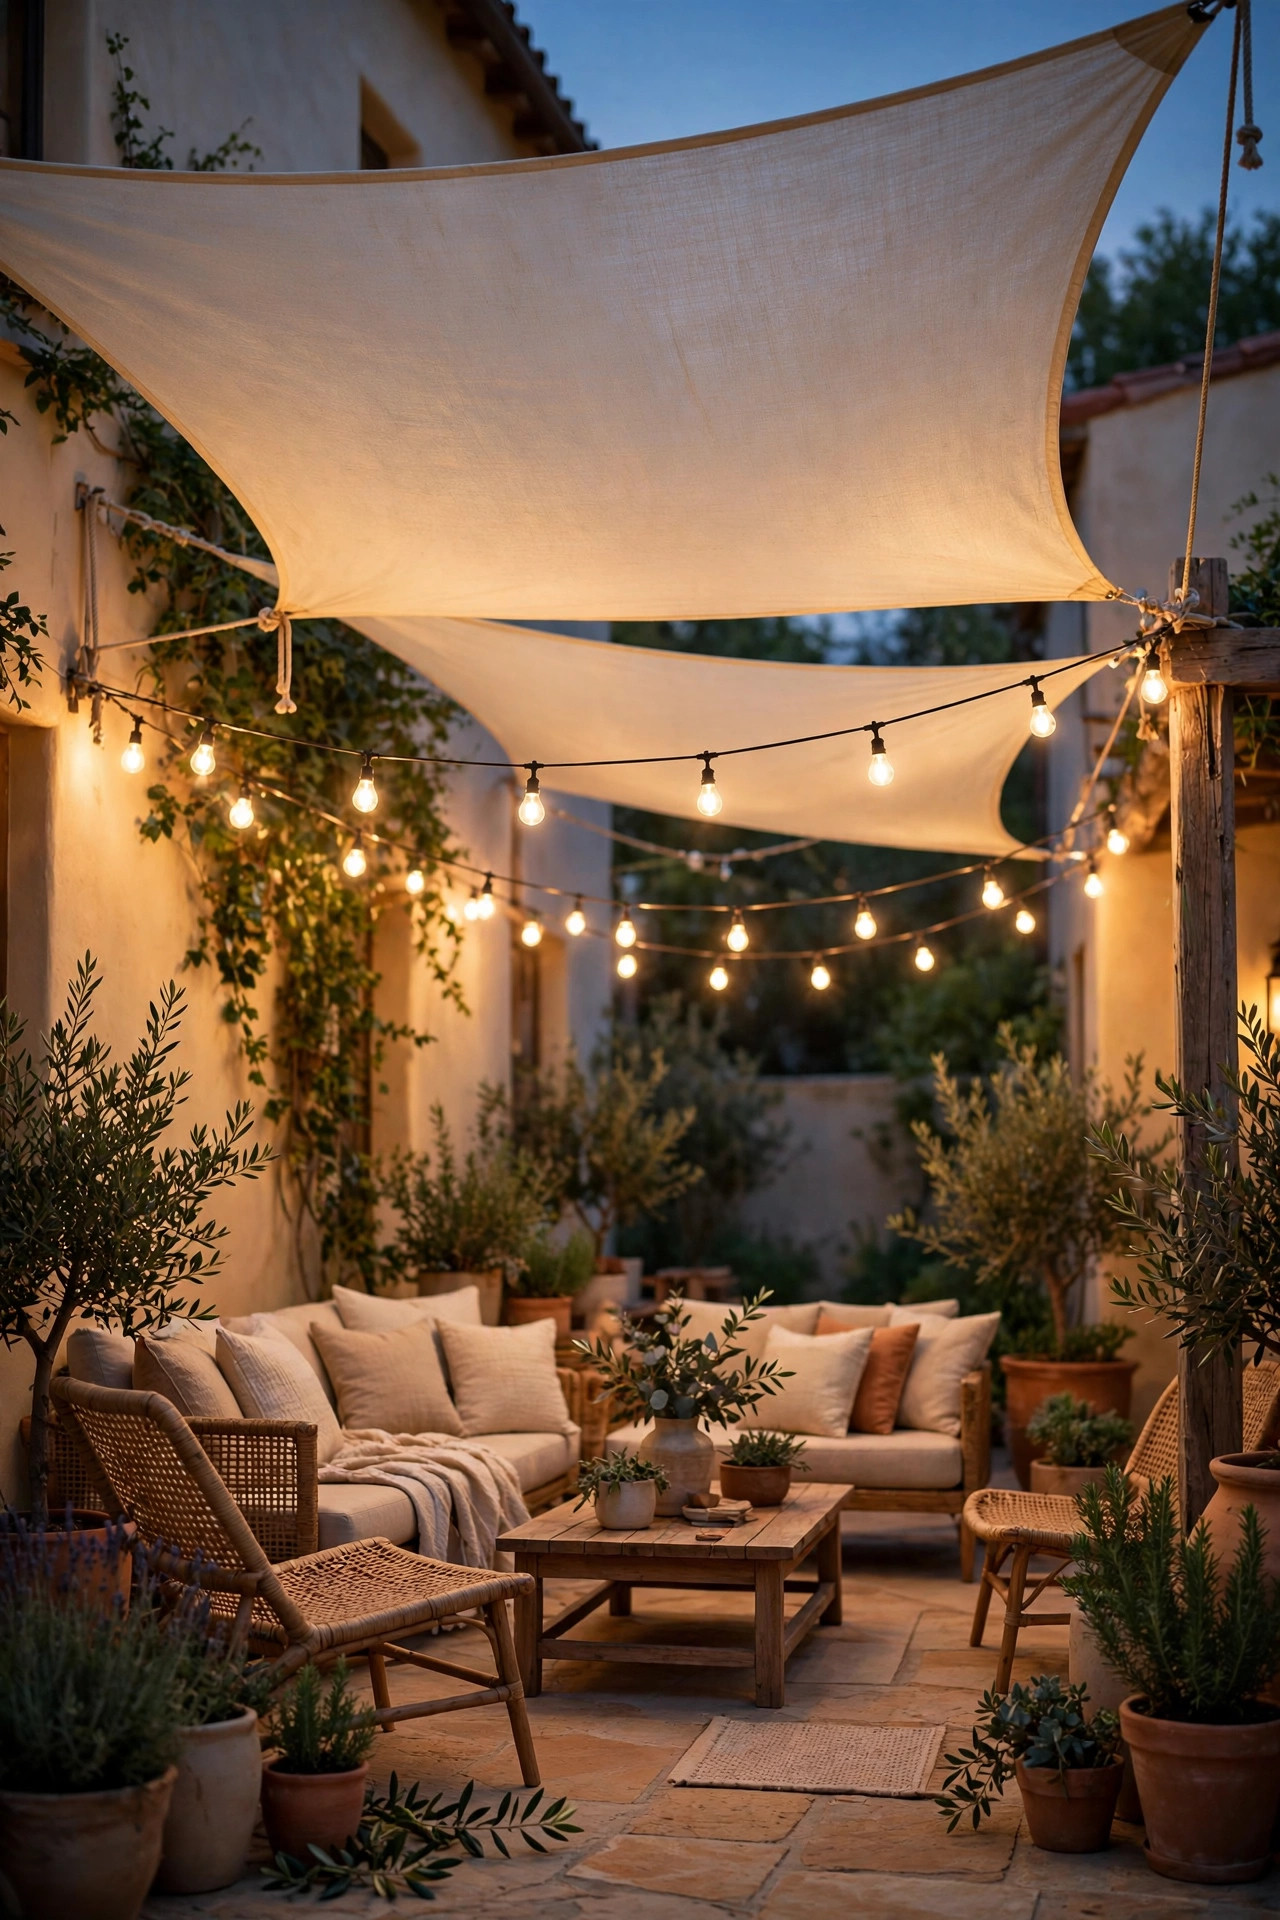
13. Canopy Strands Woven Through Pergola Rafters
If your courtyard has a pergola over part of it, don't just hang strands under the rafters — weave them over and under, in and out along each beam, so the structure itself becomes part of the canopy. The woven pattern holds the cable exactly where you put it, no clips needed, and the bulbs alternate between peeking below a beam and glowing from behind one, which gives that dappled, vine-covered look. Extend a few strands beyond the pergola's edge out to the courtyard walls so the covered zone and the open zone share one continuous ceiling rather than looking like two separate projects. Keep the woven runs on the looser side: pulling a strand drum-tight against wood makes bulb replacement a ladder-and-patience job later. Spacing follows the rafters, usually 16 to 24 inches apart, which is denser than a free-hanging canopy — so use smaller bulbs here or the pergola zone will outshine everything else. Add the fairy light trick from earlier through climbing vines if you have them. Honestly, a pergola courtyard is the easiest version of this whole project; the architecture does half the work.
Suggested budget range: $60 – $160.

14. Freestanding Pole Anchors Where Walls Won't Work
Sometimes a courtyard side is a hedge, a low garden wall, or a neighbor's fence you can't drill into — that's when poles take over anchor duty. Set slim black steel poles, 9 to 10 feet tall, in large planters filled with concrete or gravel, and run your strands from pole tops to the house wall. Positioned at the open corners, two poles plus one wall can carry a full zigzag or sunburst. The planter bases earn their keep as decor: trail petunias or sweet potato vine around the pole base and the hardware disappears. For a rental-friendly, no-concrete version, a half-whiskey-barrel filled with soil and tamped hard holds a pole surprisingly steady in all but serious wind, though I'll always recommend the concrete fill for anything over 9 feet. Keep strand tension moderate — poles flex a little, and that flex is actually a feature in gusts, absorbing movement that would stress a rigid wall anchor. If you're comparing pole styles and base options, I keep a bookmark on these patio string light pole ideas because the mounting tricks translate directly to courtyards.
Suggested budget range: $80 – $240.
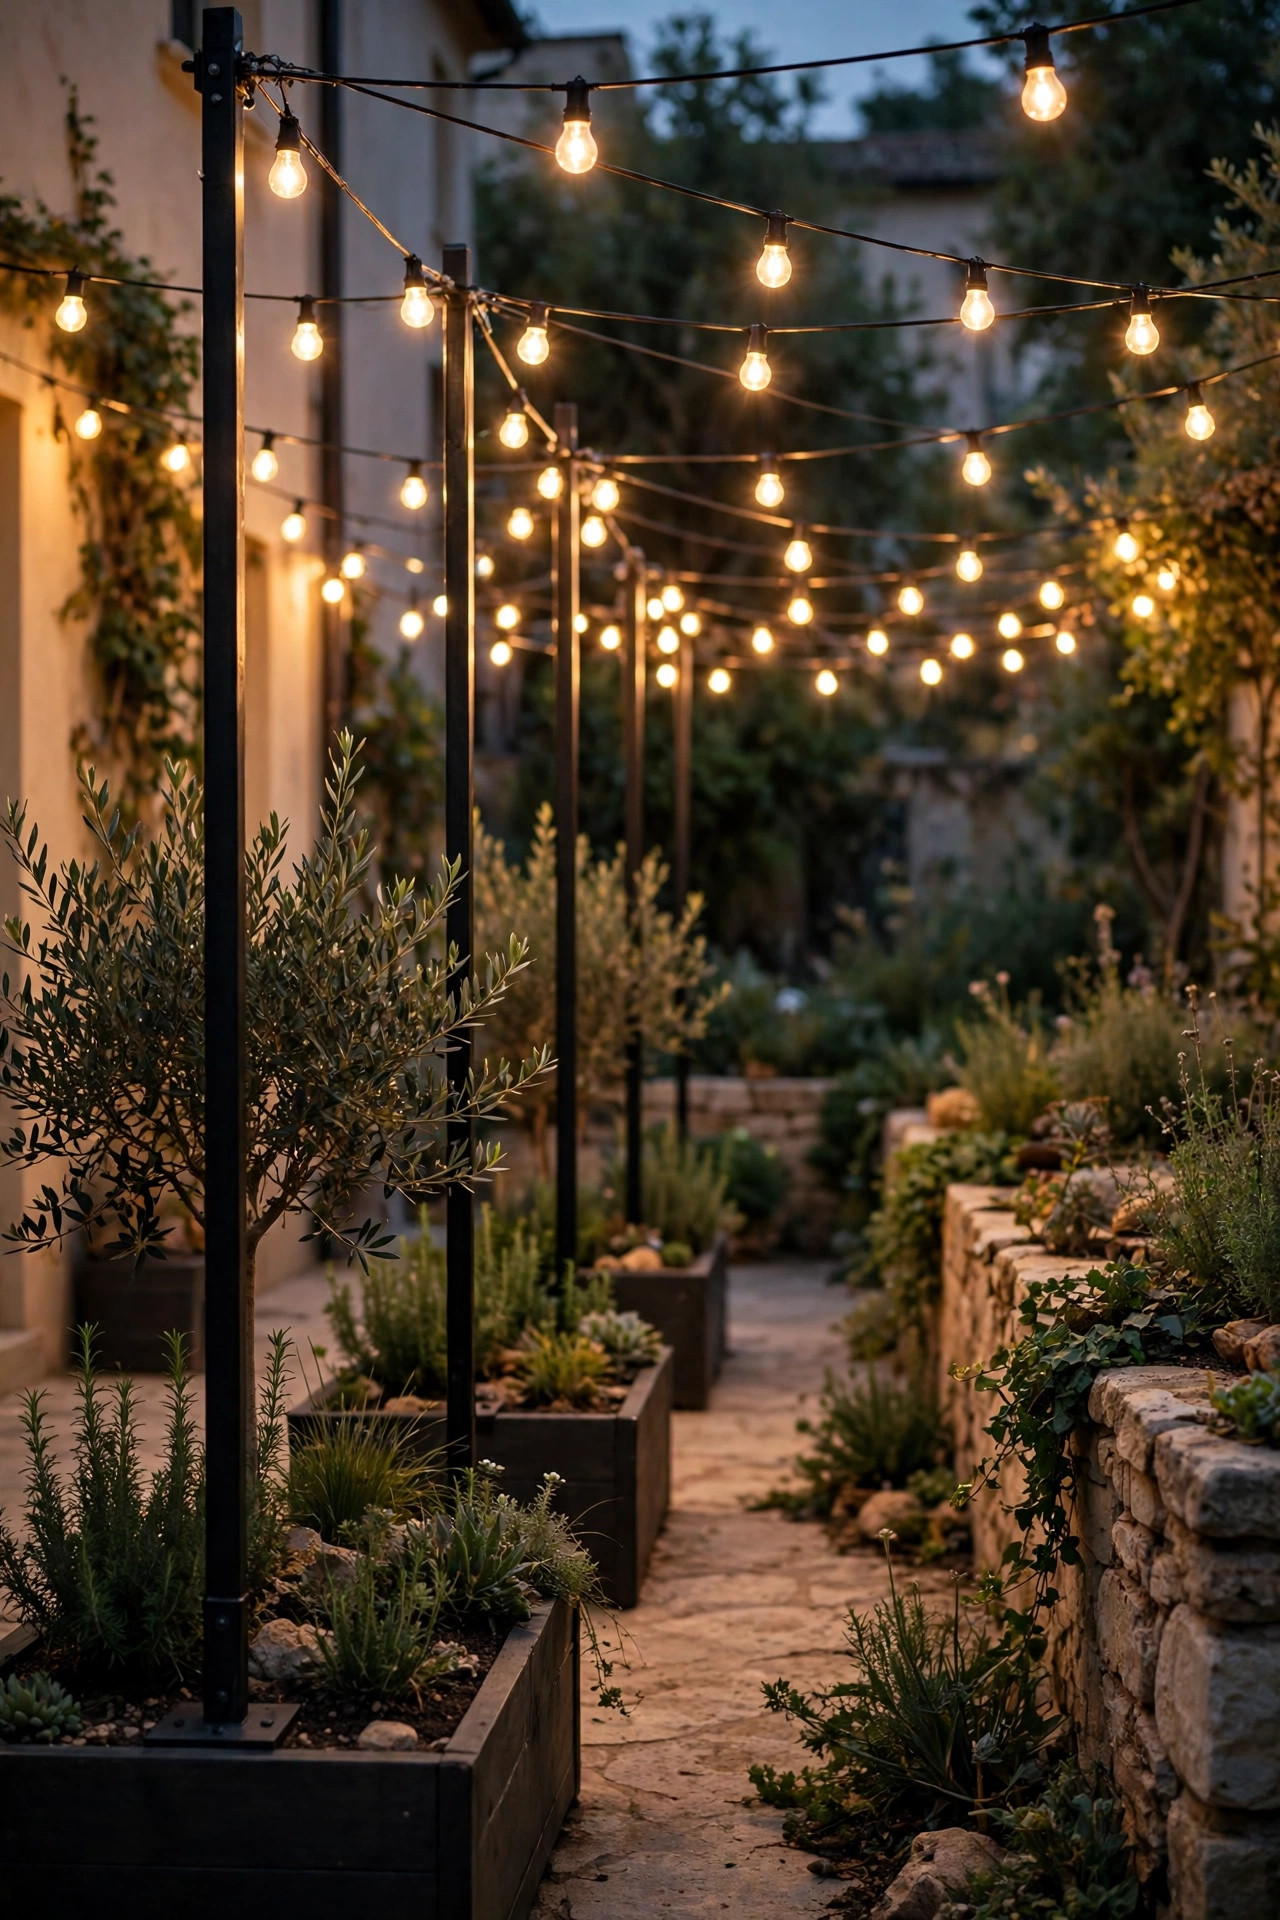
15. Guide Wire Runs for Long, Sag-Free Spans
Here's the unglamorous hardware that separates a canopy that still looks good in year three from one that sags into your hair by August: a stainless steel guide wire, also sold as picture-hanging or aircraft cable, strung taut between your anchors, with the light strand clipped along it. The wire carries the load, so the strand's own cable never stretches, sockets stay level, and your swags keep their shape. For spans over 15 feet I consider it non-negotiable. Installation is simple: eye bolts at both ends, wire through them, a turnbuckle at one end to tension it hand-tight plus a quarter turn, and small spring clips or carabiners every 2 to 3 feet connecting strand to wire. The strand can then drape in its own gentle scallops between clips while the wire stays invisible above it. It also makes seasonal takedown and bulb changes a five-minute job — unclip, lower, done. Use stainless or galvanized wire only; plain steel rusts and will streak a light-colored wall the first rainy month. My courtyard's longest span is 24 feet, and the guide wire is why it still looks like the day I hung it.
Suggested budget range: $30 – $85.
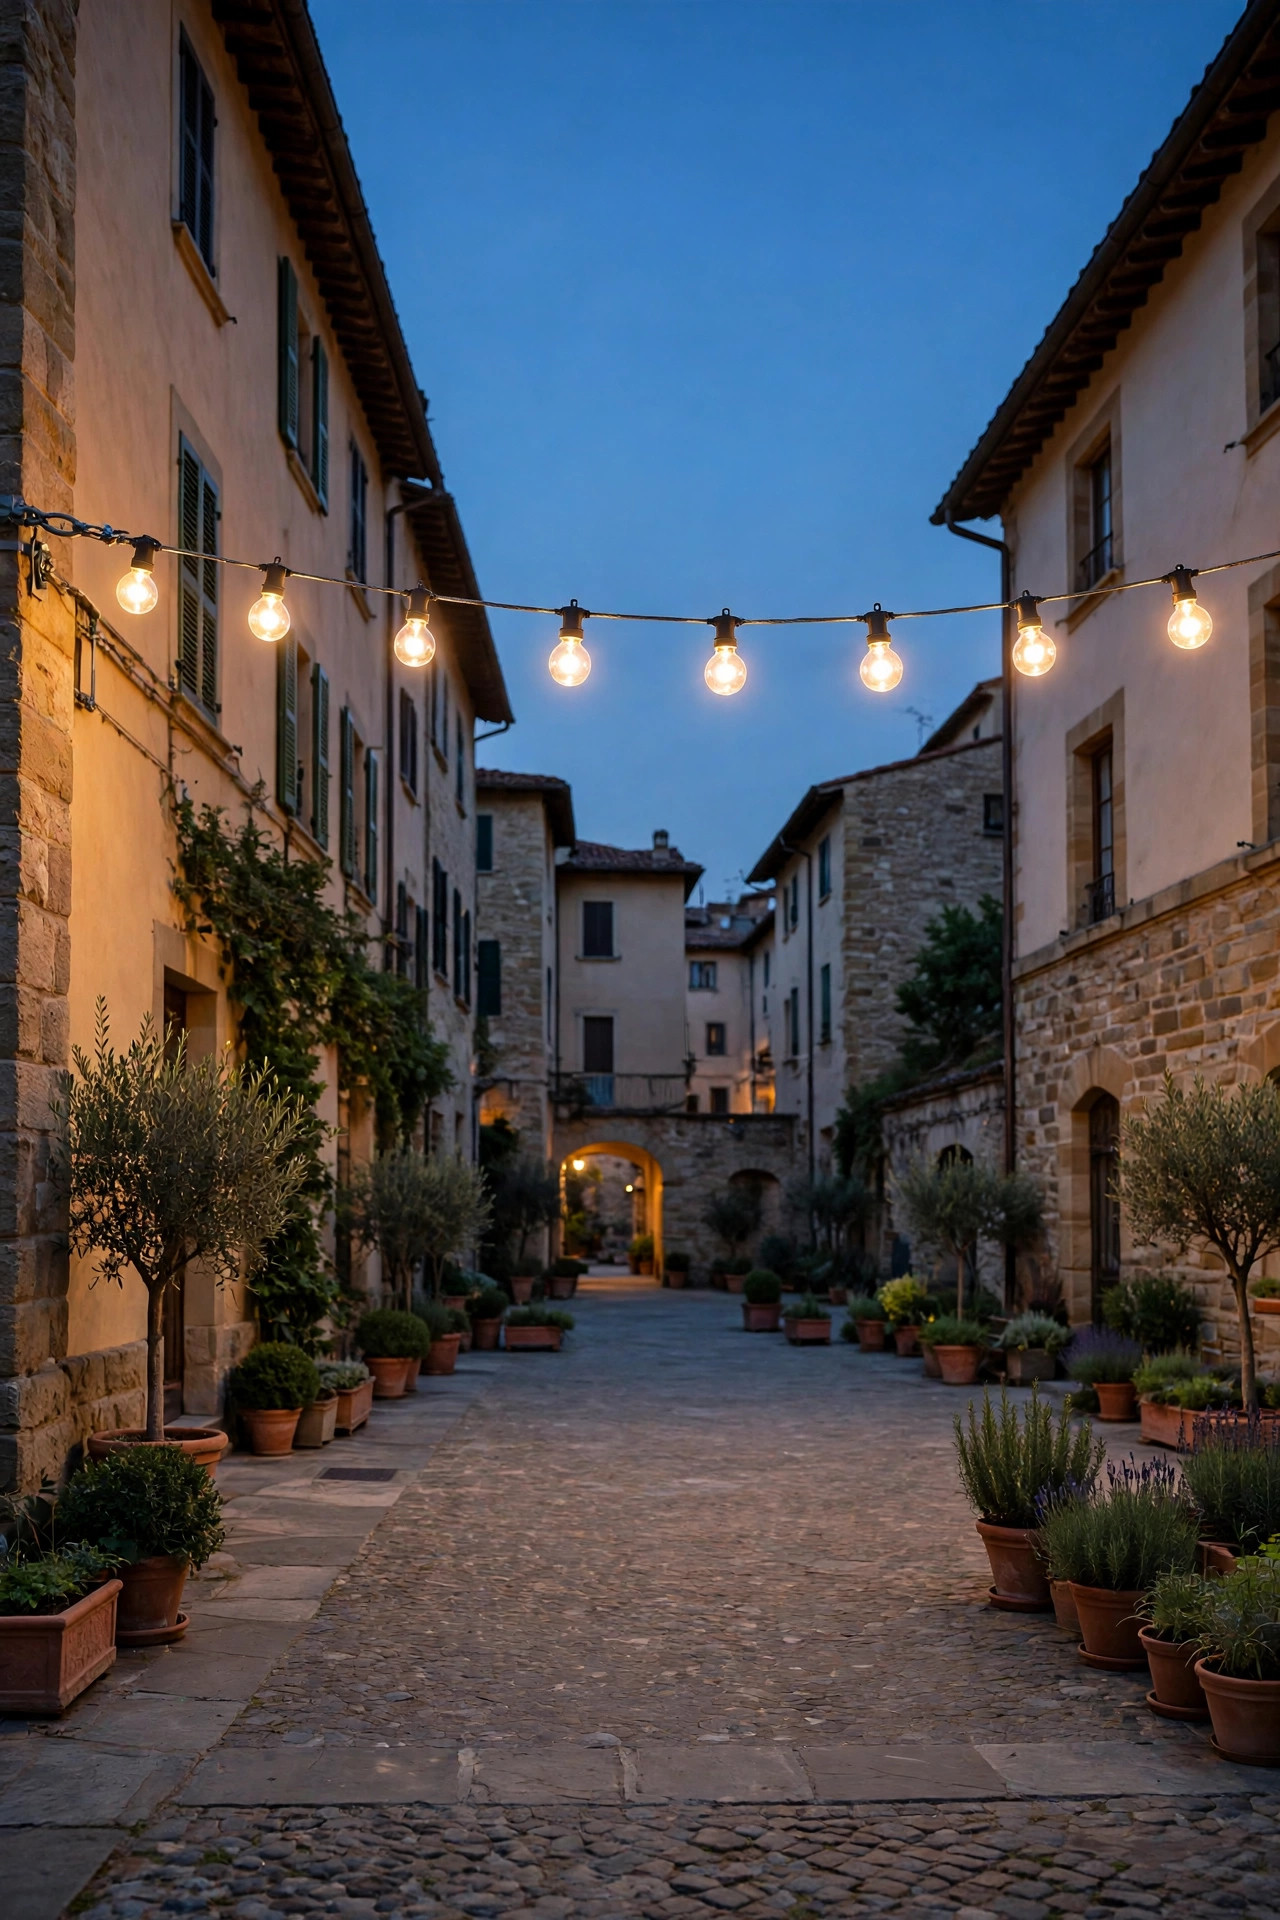
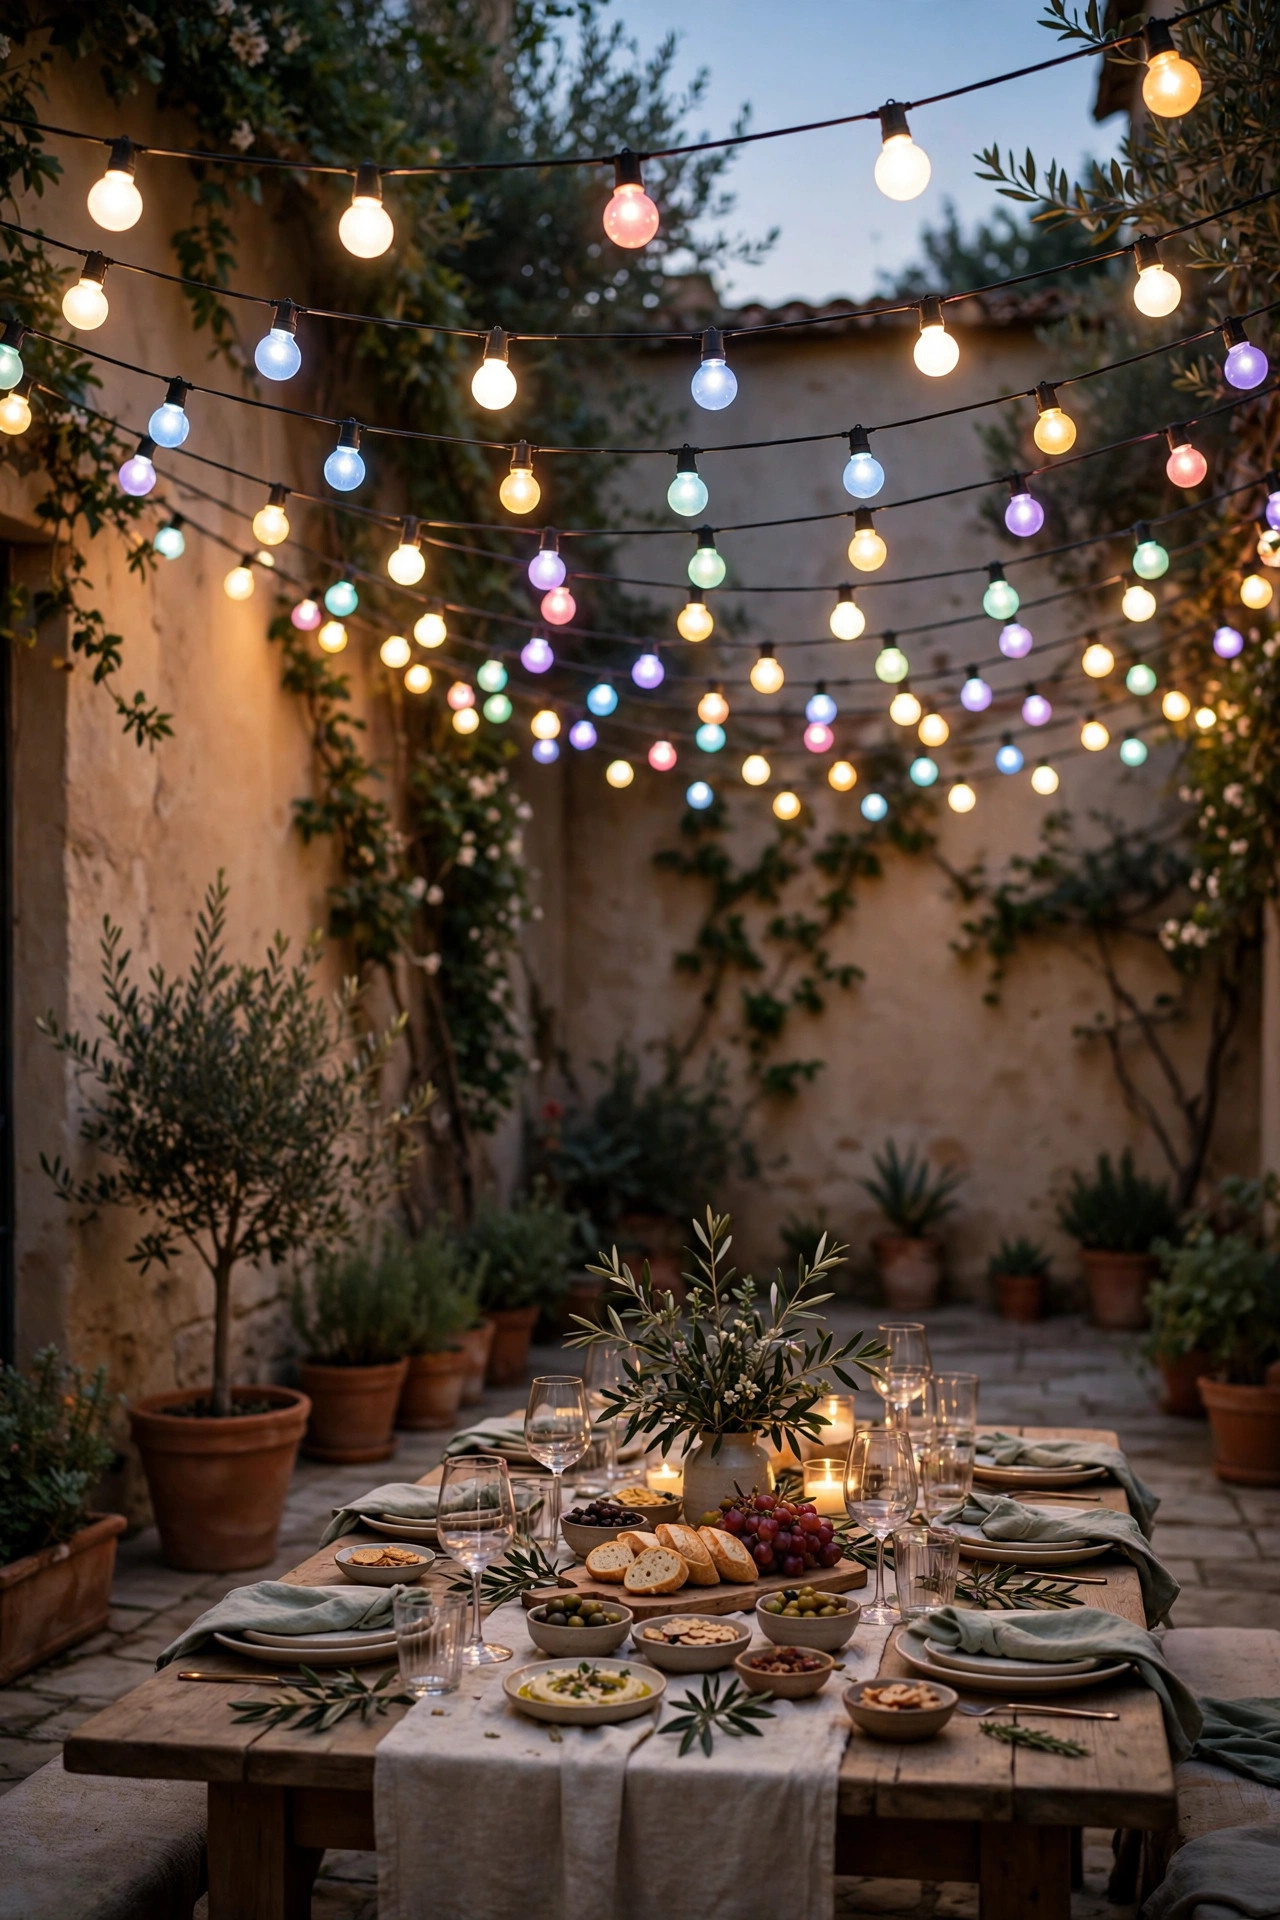
16. Smart Bulbs and Color for Party Mode
A canopy doesn't have to pick one mood forever. Strands with replaceable bulbs let you swap a handful of smart color bulbs into your warm-white canopy, and suddenly the same courtyard does dinner-party amber on Friday, team colors on game day, and red-and-green at Christmas without rehanging a single strand. My approach is restraint: swap maybe a third of the bulbs, keep the rest warm white, and the color reads as an accent rather than a carnival. Smart bulbs in an outdoor strand need the strand itself to stay powered — the switch or timer stays on, and you control bulbs from the app — so this pairs badly with a switched outlet you also use for other things; give the canopy its own smart plug instead and let the plug handle schedules while bulbs handle color. Keep the original warm bulbs in a labeled bag in the garage, because in my experience everyone eventually asks for the classic look back. And choose bulbs rated for enclosed or outdoor fixtures if your sockets face up; not every smart bulb tolerates weather.
Suggested budget range: $70 – $200.
17. A Dimmer and Timer Setup That Runs Itself
The most-used canopy is the one you never think about. Put the whole system on a timer or smart plug set to come on at dusk and off at 11, and add an outdoor-rated dimmer, and your courtyard simply glows every evening whether you're home or not. Dimming is the underrated half: full brightness is for setting the table and finding dropped forks; about sixty percent is where faces look best and the courtyard feels like a restaurant; thirty percent is late-night ember mode. LED strands need a dimmer rated for LED loads, or you'll get flicker and buzz at low settings — check the box, because a dimmer meant for incandescent will misbehave. If your strands are solar, most have no dimming at all, which is one more reason I run the main canopy on a plug. One safety note I always include: any plug-in canopy should land on a GFCI-protected outlet, and connections between strands should be taped or capped with the weather covers that come in the box. Set it once in May, and the courtyard lights itself until the first frost reminds you it's still on.
Suggested budget range: $25 – $80.
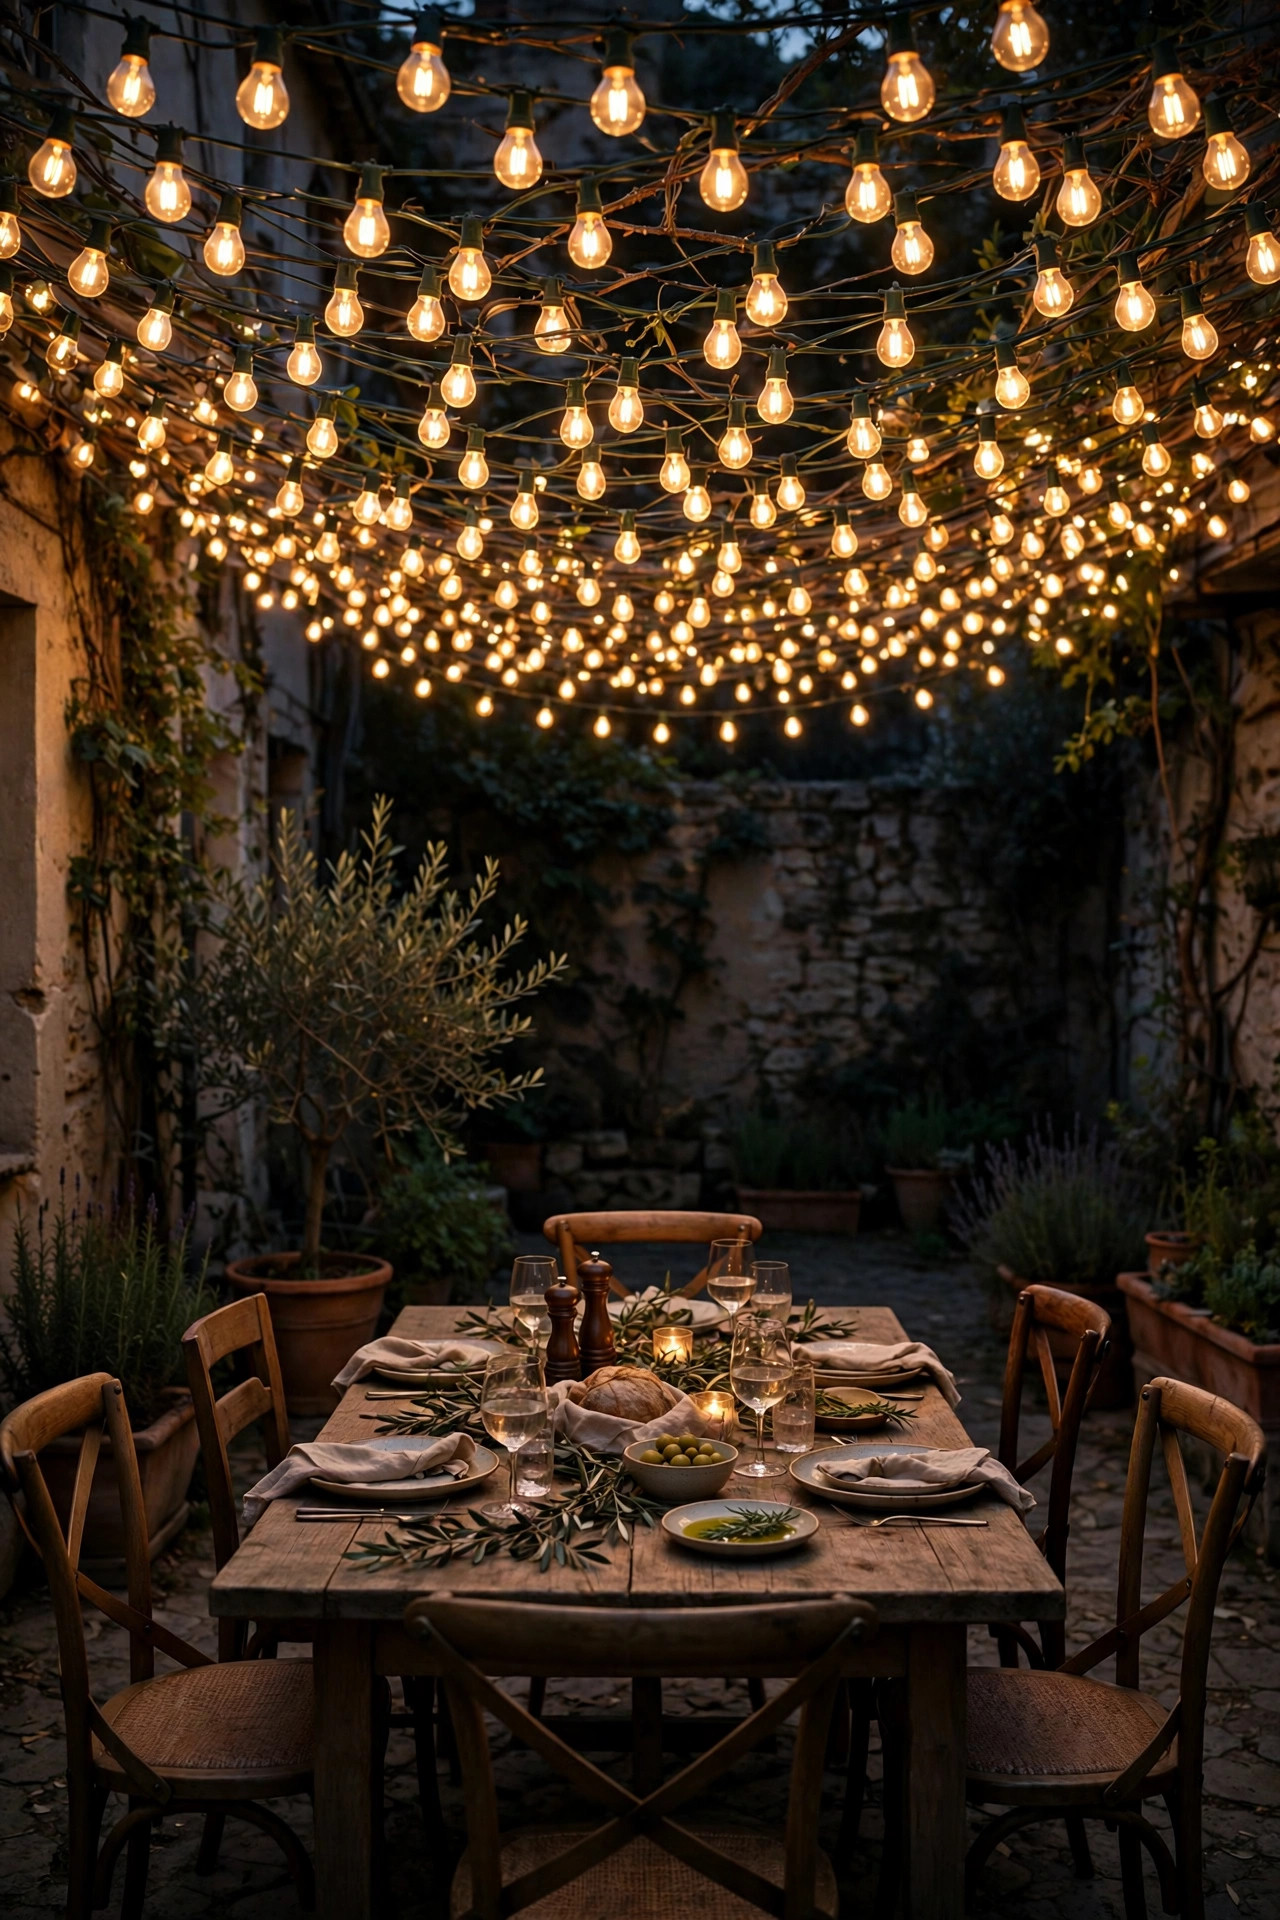
18. A Focused Canopy Over the Dining Table
Lighting the whole courtyard evenly is one philosophy; concentrating the canopy is another, and for dining courtyards I prefer the focus. Cluster your strands over the table zone only — a tight zigzag or mini-grid spanning just the 8-by-10-foot area above the table — and leave the rest of the courtyard to wall lanterns and ground light. The concentrated canopy creates a pool of brightness that says this is the room's purpose, and guests naturally gather under it the way they gather around a kitchen island. Because the lit area is smaller, you can afford denser spacing, 18 to 24 inches between passes, which over a table gives you that bistro-ceiling abundance without lighting the storage corner and the potting bench at full blast. Keep the lowest swag at least 7 feet above the ground at table center so tall guests and raised wine glasses stay clear. Then dim or switch the table canopy separately from the perimeter, and after dinner you can drop the dining zone to a glow and let the edges take over. It feels like lighting design, and it's just zoning.
Suggested budget range: $55 – $140.
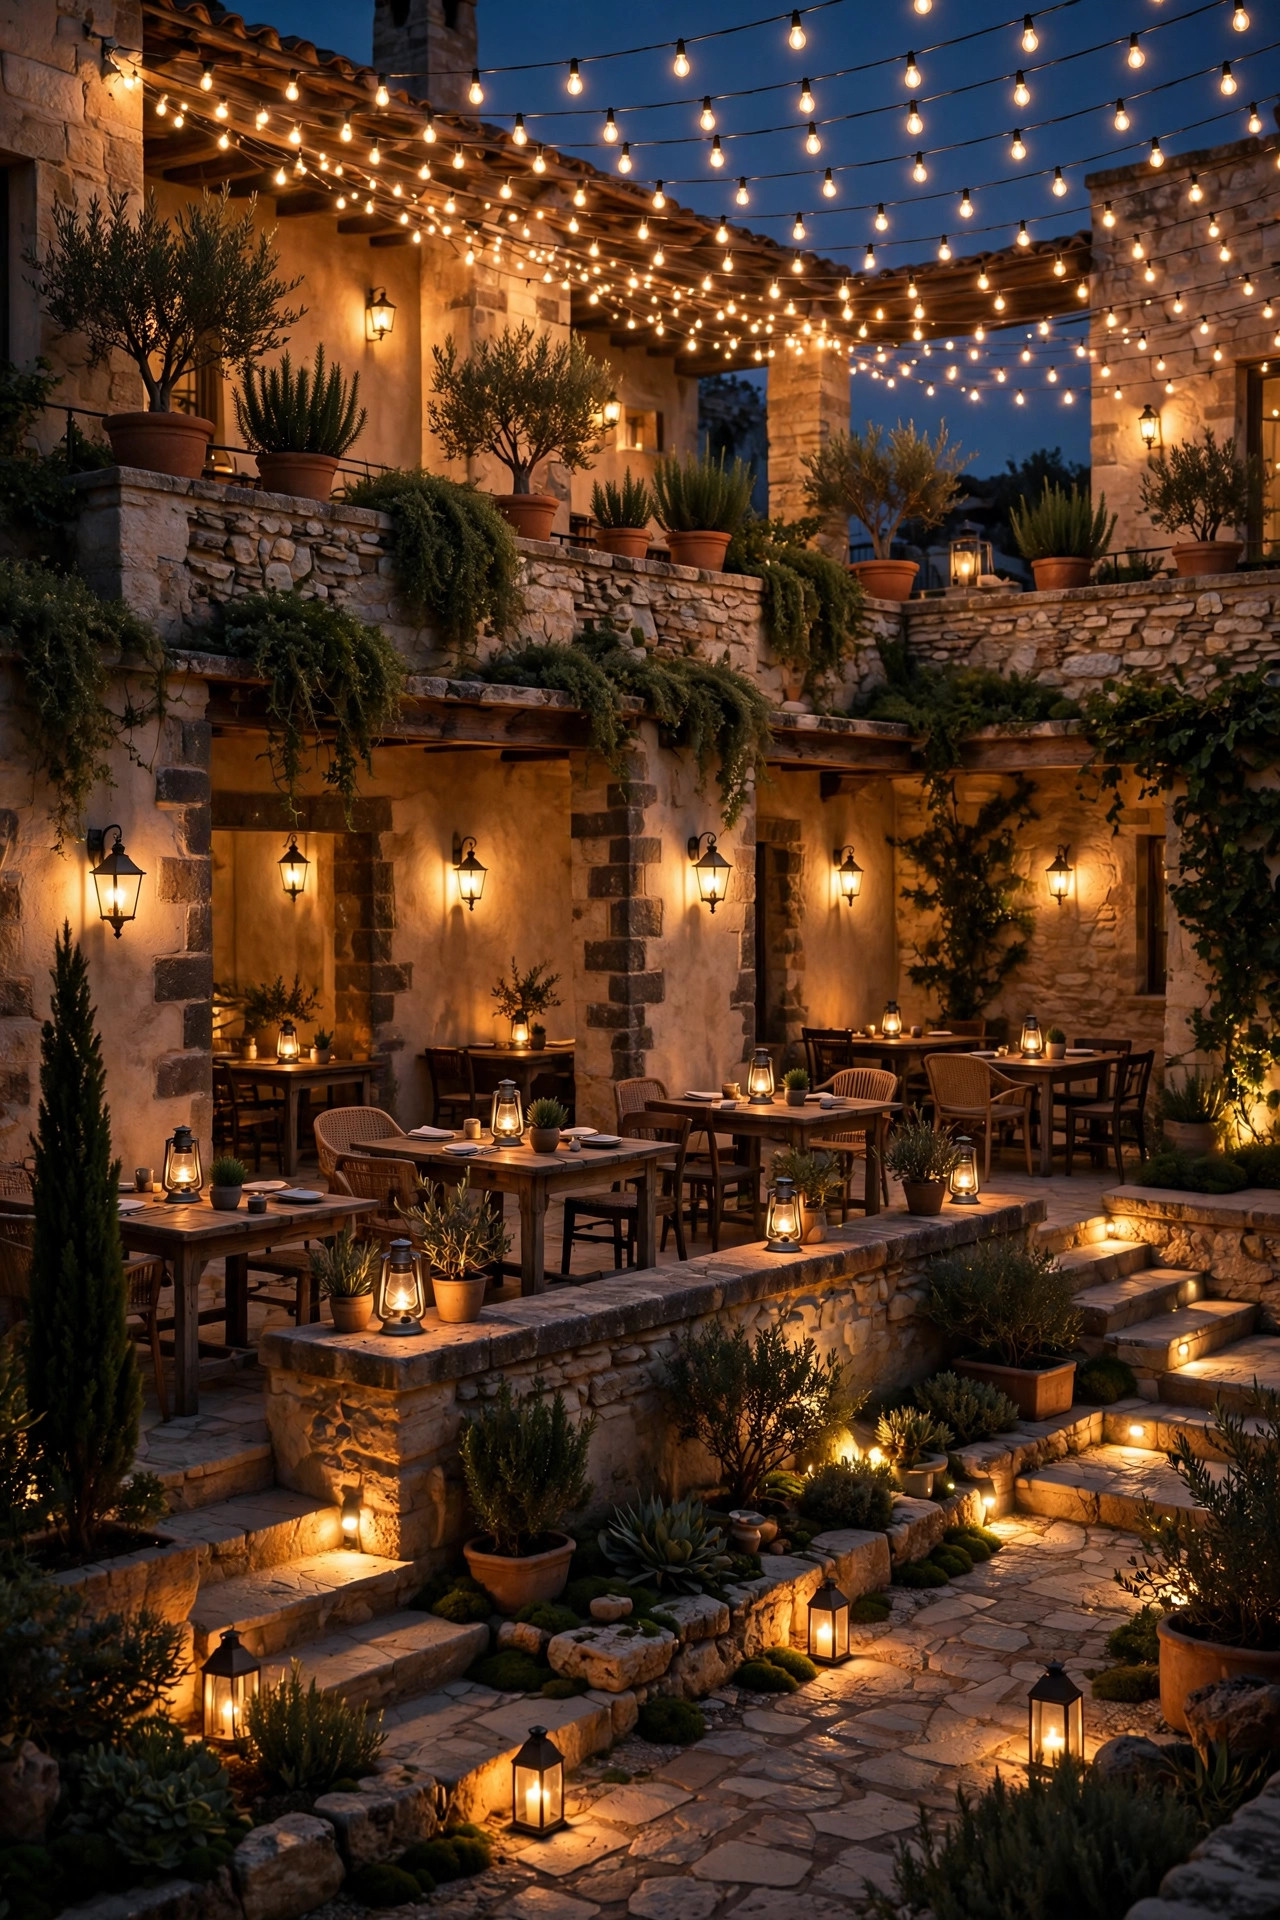
19. Courtyard String Light Ideas, Layered: The Full Open-Air Room
Everything so far comes together in the full build, and this is the version I'd hang if the courtyard were mine to finish in one weekend. Start with the architecture: a zigzag or sunburst canopy as the base layer, run on guide wires if any span tops 15 feet, with warm 2700K globe or Edison bulbs chosen to match your walls. Weave a fairy light sparkle layer through one seating corner only. Add the middle layer the canopy can't do alone — two wall lanterns flanking the door and low lanterns on the table — because a canopy by itself can leave faces shadowed from above. Finish with the ground layer: a few solar stake lights in the corner beds to wash the pavers' edge and mark the step. Put it all on a timer and a dimmer and the room runs itself. The total is less than most people expect, especially staged across a season: canopy this month, lanterns next. Of all the courtyard string light ideas in this list, this layered one is the keeper — it's the setup that turned our pass-through rectangle of pavers into the room where every summer evening ends.
Suggested budget range: $200 – $500.
Frequently Asked Questions
How high should a string light canopy hang over a courtyard?
Aim for 8 to 10 feet at the anchor points, with the natural swag dipping no lower than about 7.5 feet over walkways and seating. That height clears tall guests, keeps bulbs out of sightlines when you're seated, and still feels like a ceiling rather than distant decoration. Over a dining table you can dip to 7 feet at the lowest point since nobody walks through the table zone. If your walls only allow 7-foot anchors, tighten the sag by shortening spans or adding a guide wire rather than accepting a head-clearance problem.
How far apart should the strands be spaced?
For a general glow, space parallel or zigzag passes 2.5 to 3 feet apart. For dining light you can actually read a menu by, tighten to about 2 feet. A crosshatch grid uses roughly 3-foot spacing in both directions. When in doubt, hang one strand, wait for dark, and judge from a chair — spacing is a look, not a formula, and you can always add a pass. Remember that every added strand also needs its share of the circuit, so check the strand's maximum connected length.
Can string lights stay up all year in a courtyard?
Commercial-grade strands with sealed sockets and UV-resistant cable can stay up year-round in most climates, and a courtyard's walls shelter them better than an open yard. The weak points are the connections between strands and any upward-facing sockets that hold water. In snowy regions I still take mine down before heavy snow loads, since a courtyard canopy catches snow like a net. Solar and battery strands do better stored indoors over winter — cold drains batteries fast. Whatever you leave up, inspect the cable each spring for cracks or chew marks.
How many strands can I connect together safely?
It depends on the strand type, and the manufacturer's stated limit is the one that matters. Traditional incandescent strands often cap at 3 to 5 connected; commercial LED strands may allow 10 to 20 or more because each bulb draws so little. Never exceed the printed limit, since the first strand's cable carries the whole chain's current. If your canopy design needs more length than one chain allows, split it into two chains from the same outlet or two outlets on the same GFCI circuit.
Conclusion
A courtyard already has the walls; a canopy of string lights simply gives it the ceiling it was missing. Whether you start with one diagonal sweep, a single zigzag on a Saturday afternoon, or go straight to the full layered build, the principle behind these courtyard string light ideas is the same: warm light overhead, supported honestly with good anchors and guide wire, layered with a little light at wall and ground level. Pick the layout that matches your courtyard's shape, hang the first strand, and judge it from a chair at dusk. Then browse the rest of the site for the wall, path, and garden layers that finish the room — your courtyard is about to become the most-used space in the house.