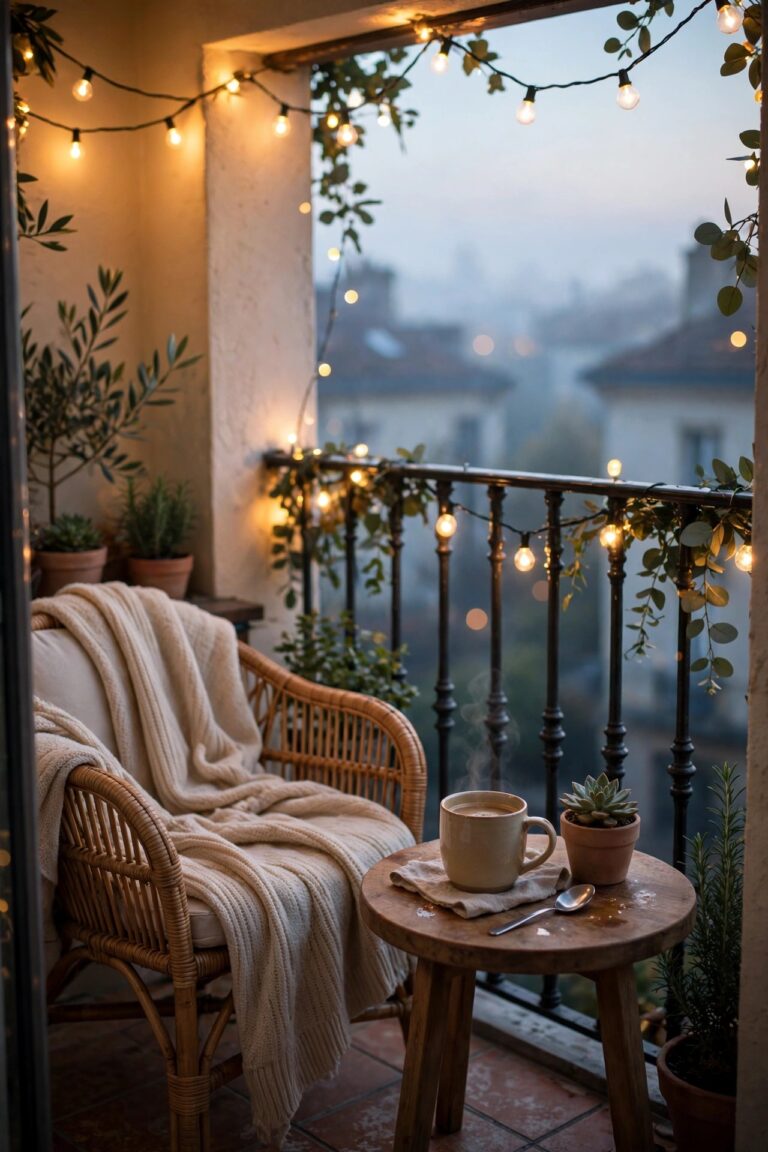
Our balcony sits barely six feet from the neighbors' balcony, and for the first summer we lived here, I felt like I was having my morning coffee on a stage. Sound familiar? The fix wasn't a taller fence — it was light. The right balcony privacy lighting ideas work almost like a one-way mirror: a soft, bright layer of glow at the railing makes everything behind it fall into gentle shadow, so you can see out while the neighbors mostly see a pretty shimmer. In my experience, privacy on a small balcony is really a layering problem. One lonely string of lights won't do it, but a glowing edge, a little low light at your feet, and something tall and lit in the corners? That combination hides you beautifully. Below I've gathered my 17 favorite ways to build that screen, from five-minute curtain lights to a full layered setup. Almost all of them are renter-friendly, most run on solar or batteries, and every one keeps the mood warm and cozy instead of interrogation-room bright.
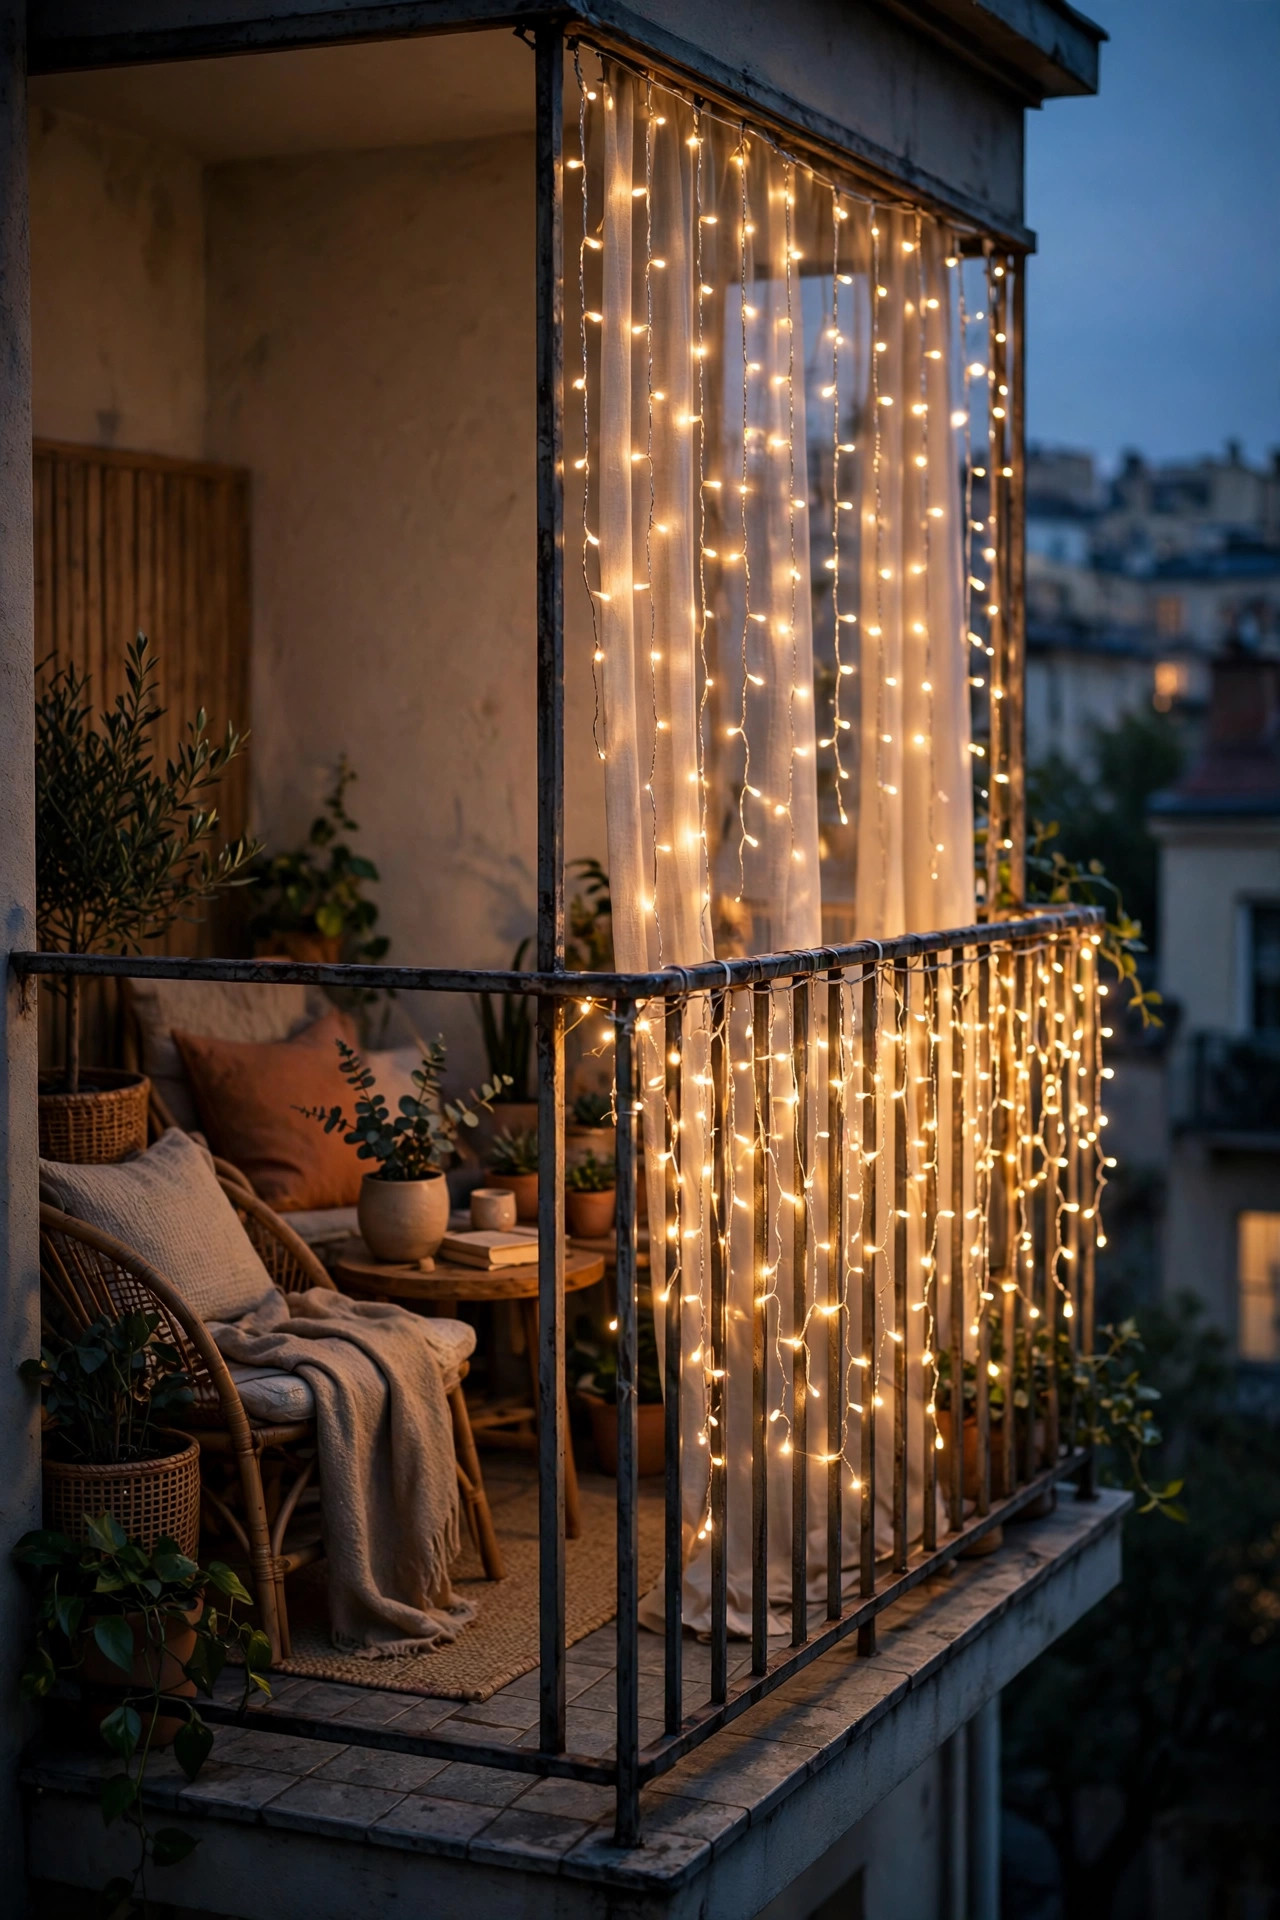
1. Follow the Golden Rule of Balcony Privacy Lighting Ideas: Bright Edge, Dim Middle
Before you buy a single bulb, learn the one principle behind every good privacy setup: eyes are drawn to the brightest thing in view, and anything dimmer behind it practically disappears. So you want your railing line to glow at a comfortable medium brightness while your seating area stays noticeably dimmer. When the neighbors glance over, their eyes land on the pretty lights — and their pupils adjust to that brightness, which makes your shadowed corner behind the glow read as a dark blur. It's the same reason you can't see into a lit shop window's stockroom from the street. Practically, this means perimeter lights in the 2700K warm-white range, pointed outward or downward, never aimed at your chairs. Keep your own task light low and local — a small lantern by your book, not a flood over the whole floor. If you remember nothing else from this post, remember bright edge, dim middle. Every idea below is just a different way to build that bright edge.
Suggested budget range: $0 – $25.
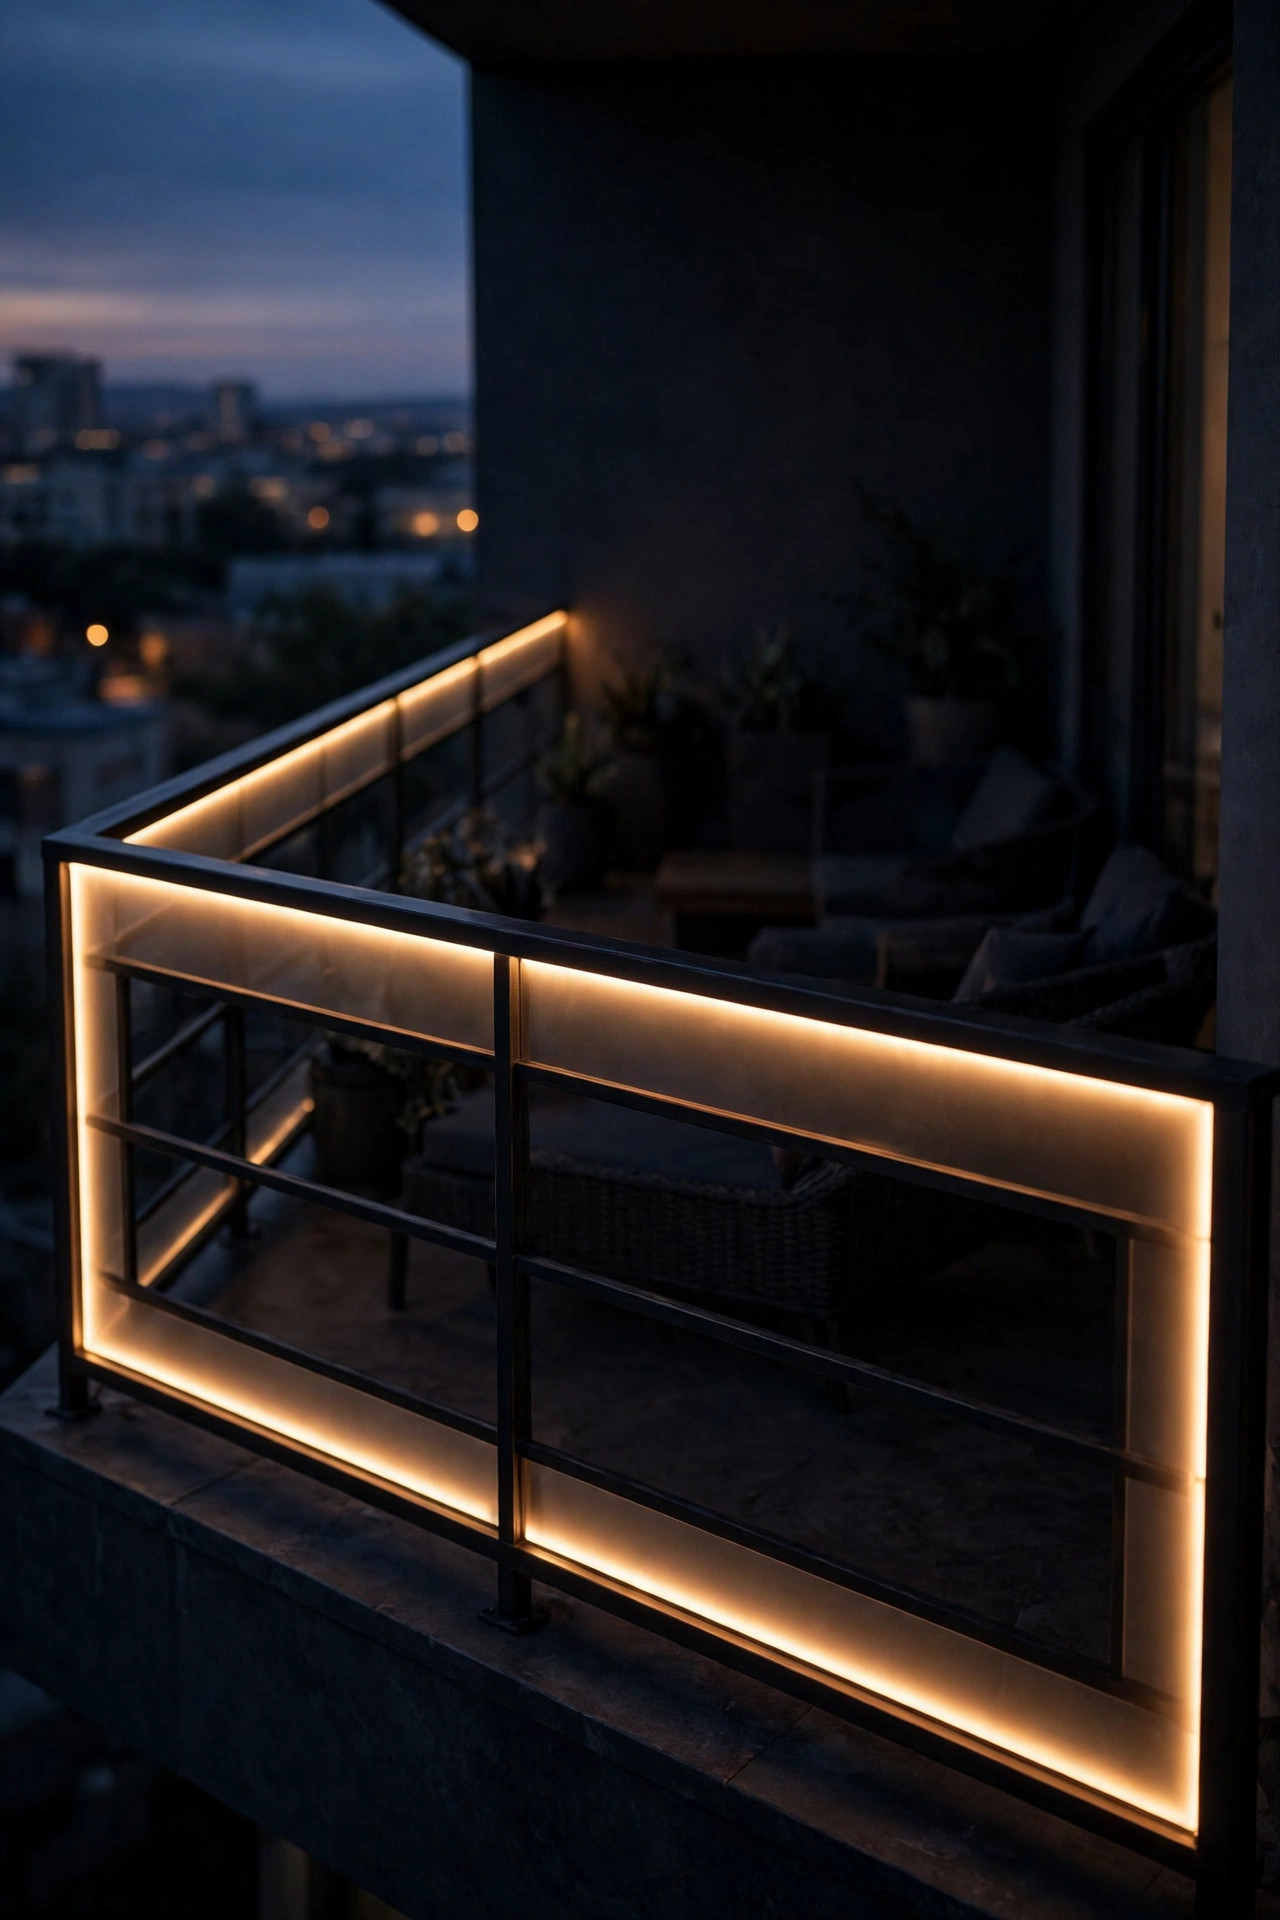
2. Drape Curtain String Lights Along the Railing
Curtain lights are the fastest privacy win I know — a mesh of tiny warm LEDs on vertical drops that turns your whole railing into a shimmering veil. Hang a 6-by-4-foot curtain panel along the inside of the railing using clear zip ties or removable hooks every 12 inches so it doesn't sag or flap. The dense little curtain of light does double duty: from the neighbors' side it's a wall of sparkle they simply can't focus past, and from your side it feels like sitting inside a lantern. Choose warm white, not multicolor, and look for a set with a dimmer or at least a steady-on mode — twinkle modes are pretty but the flashing can annoy the very people you're trying to stay friendly with. If you love this look, my roundup of icicle curtain lights you can leave up year-round has more sizes and hanging tricks. Outdoor-rated sets (IP44 or better) handle rain fine, and most plug into a single outlet or run on a USB battery pack.
Suggested budget range: $20 – $45.

3. Backlight a Bamboo or Reed Privacy Screen
This is the trick designers use, and it's shockingly effective: zip-tie an inexpensive bamboo or reed screening roll to your railing, then hang a string of warm lights on the balcony side, a few inches behind the screen. The light glowing through the slats turns the whole panel into a lantern — and a lit surface is nearly impossible to see through, because all the detail your eye catches is the bright reeds, not the shapes behind them. A 13-foot roll usually covers a standard apartment railing and cuts to size with kitchen shears. Weave a solar string through the top edge if you don't have an outlet nearby. Keep the light source at least 2 to 3 inches away from the reeds so you get an even glow instead of hot spots, and stick to LED strings, which stay cool against natural materials. From inside, the screen looks solid and golden; from outside, it's just a warm glow with zero silhouette show. Honestly, this one changed our evenings more than any other idea here.
Suggested budget range: $35 – $70.
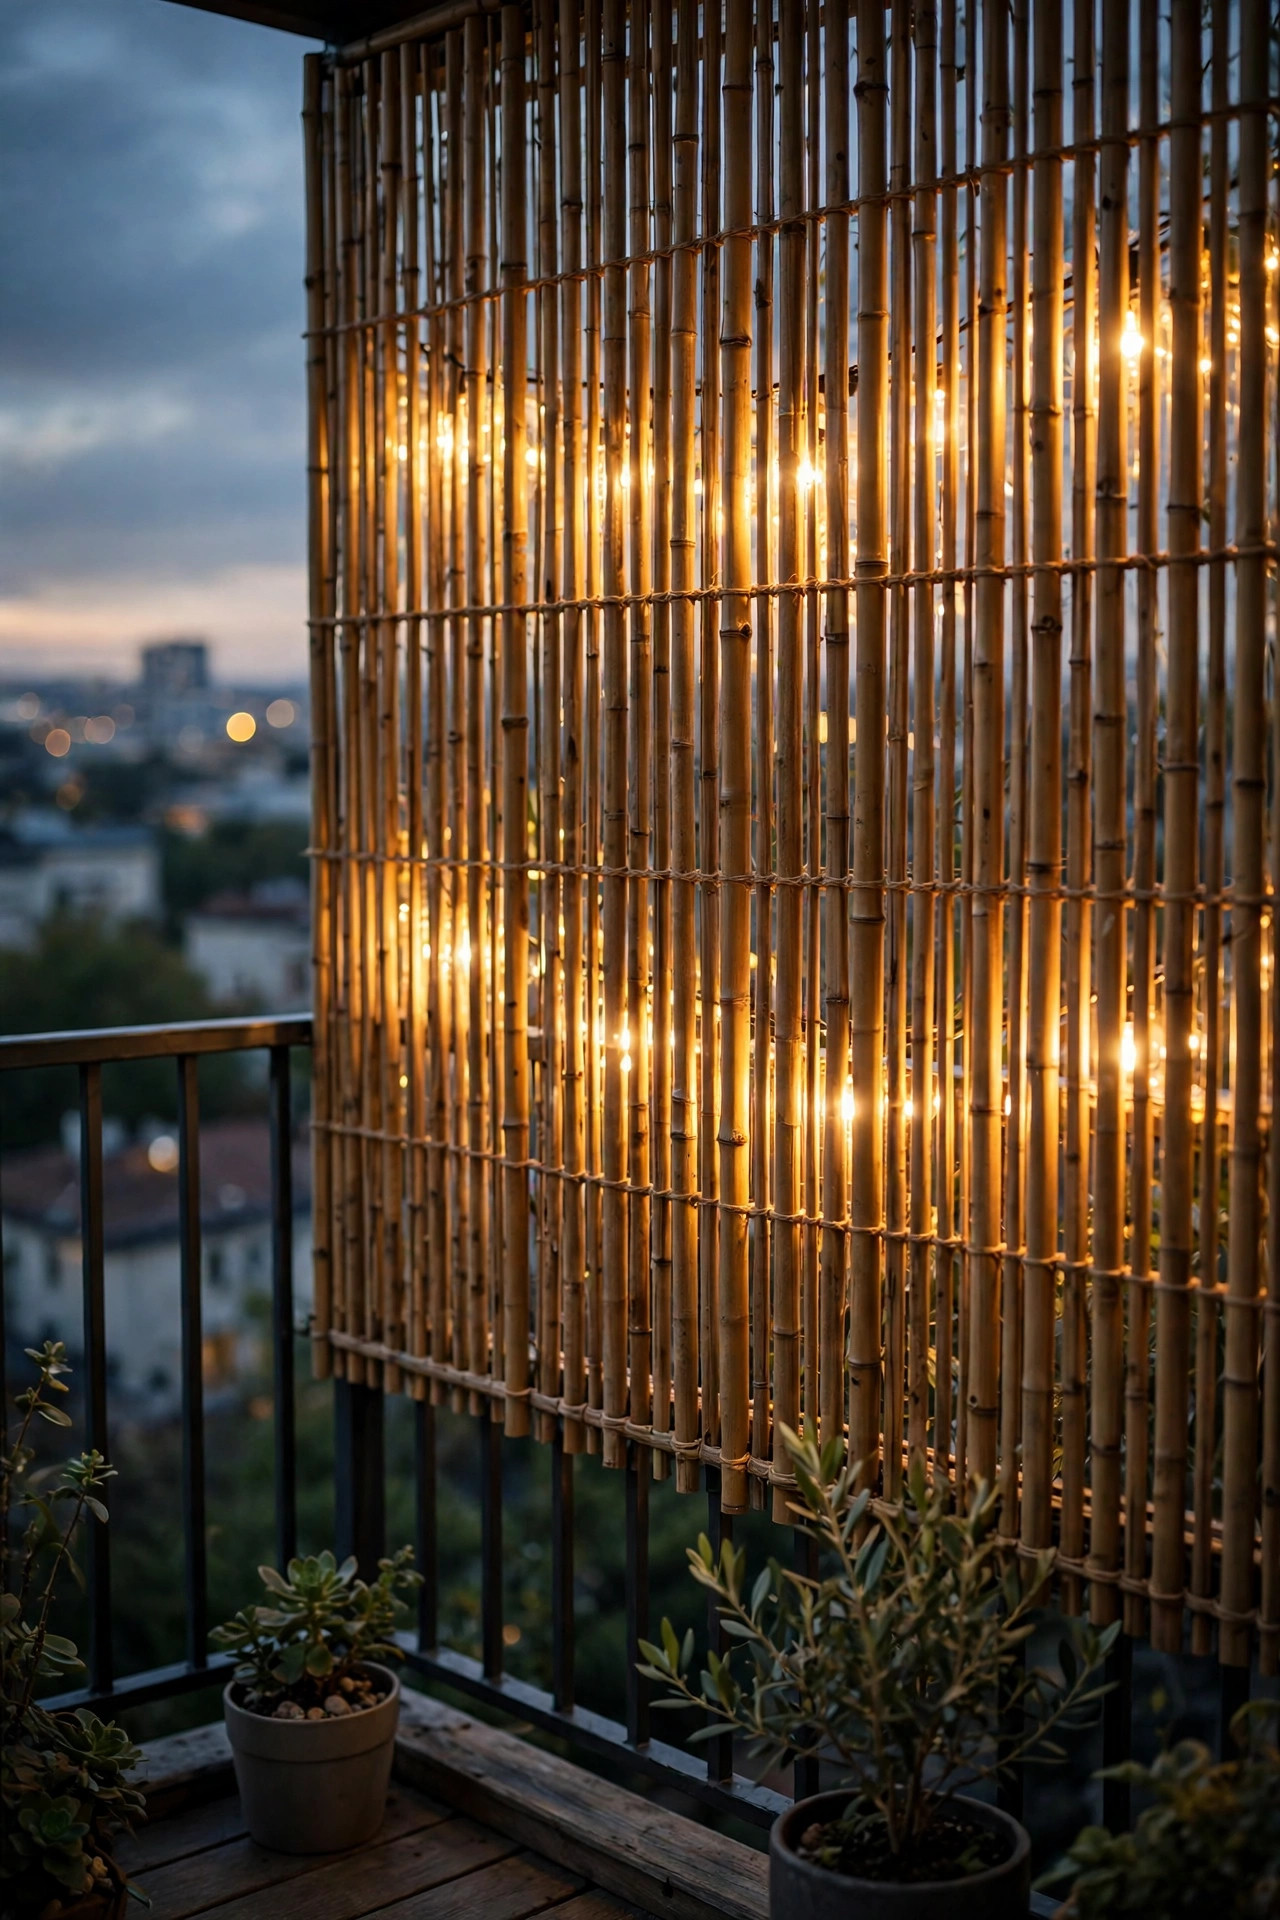
4. Weave Fairy Lights Through a Trellis of Vines
A slim trellis panel in each corner, planted with a fast-growing vine — or, let's be real, good-quality faux greenery if your balcony faces north — gives you height, and height is what actually blocks sightlines from the unit above. Thread copper-wire fairy lights through the leaves once the vines fill in, spacing the wire loosely so the glow looks scattered and natural rather than outlined. The mix of leaf shadow and pinpoint light breaks up your outline completely; nobody can pick out a person sitting behind a sparkling green wall. A 6-foot trellis in a heavy planter won't tip in wind if you add a few bricks or a bag of gravel at the base. Solar fairy lights with the panel staked in your sunniest corner are the zero-effort version. Trim real vines monthly so they don't swallow the wire entirely, and expect to re-weave once a season. This corner treatment also frames the balcony beautifully from inside, like a little garden room.
Suggested budget range: $30 – $65.
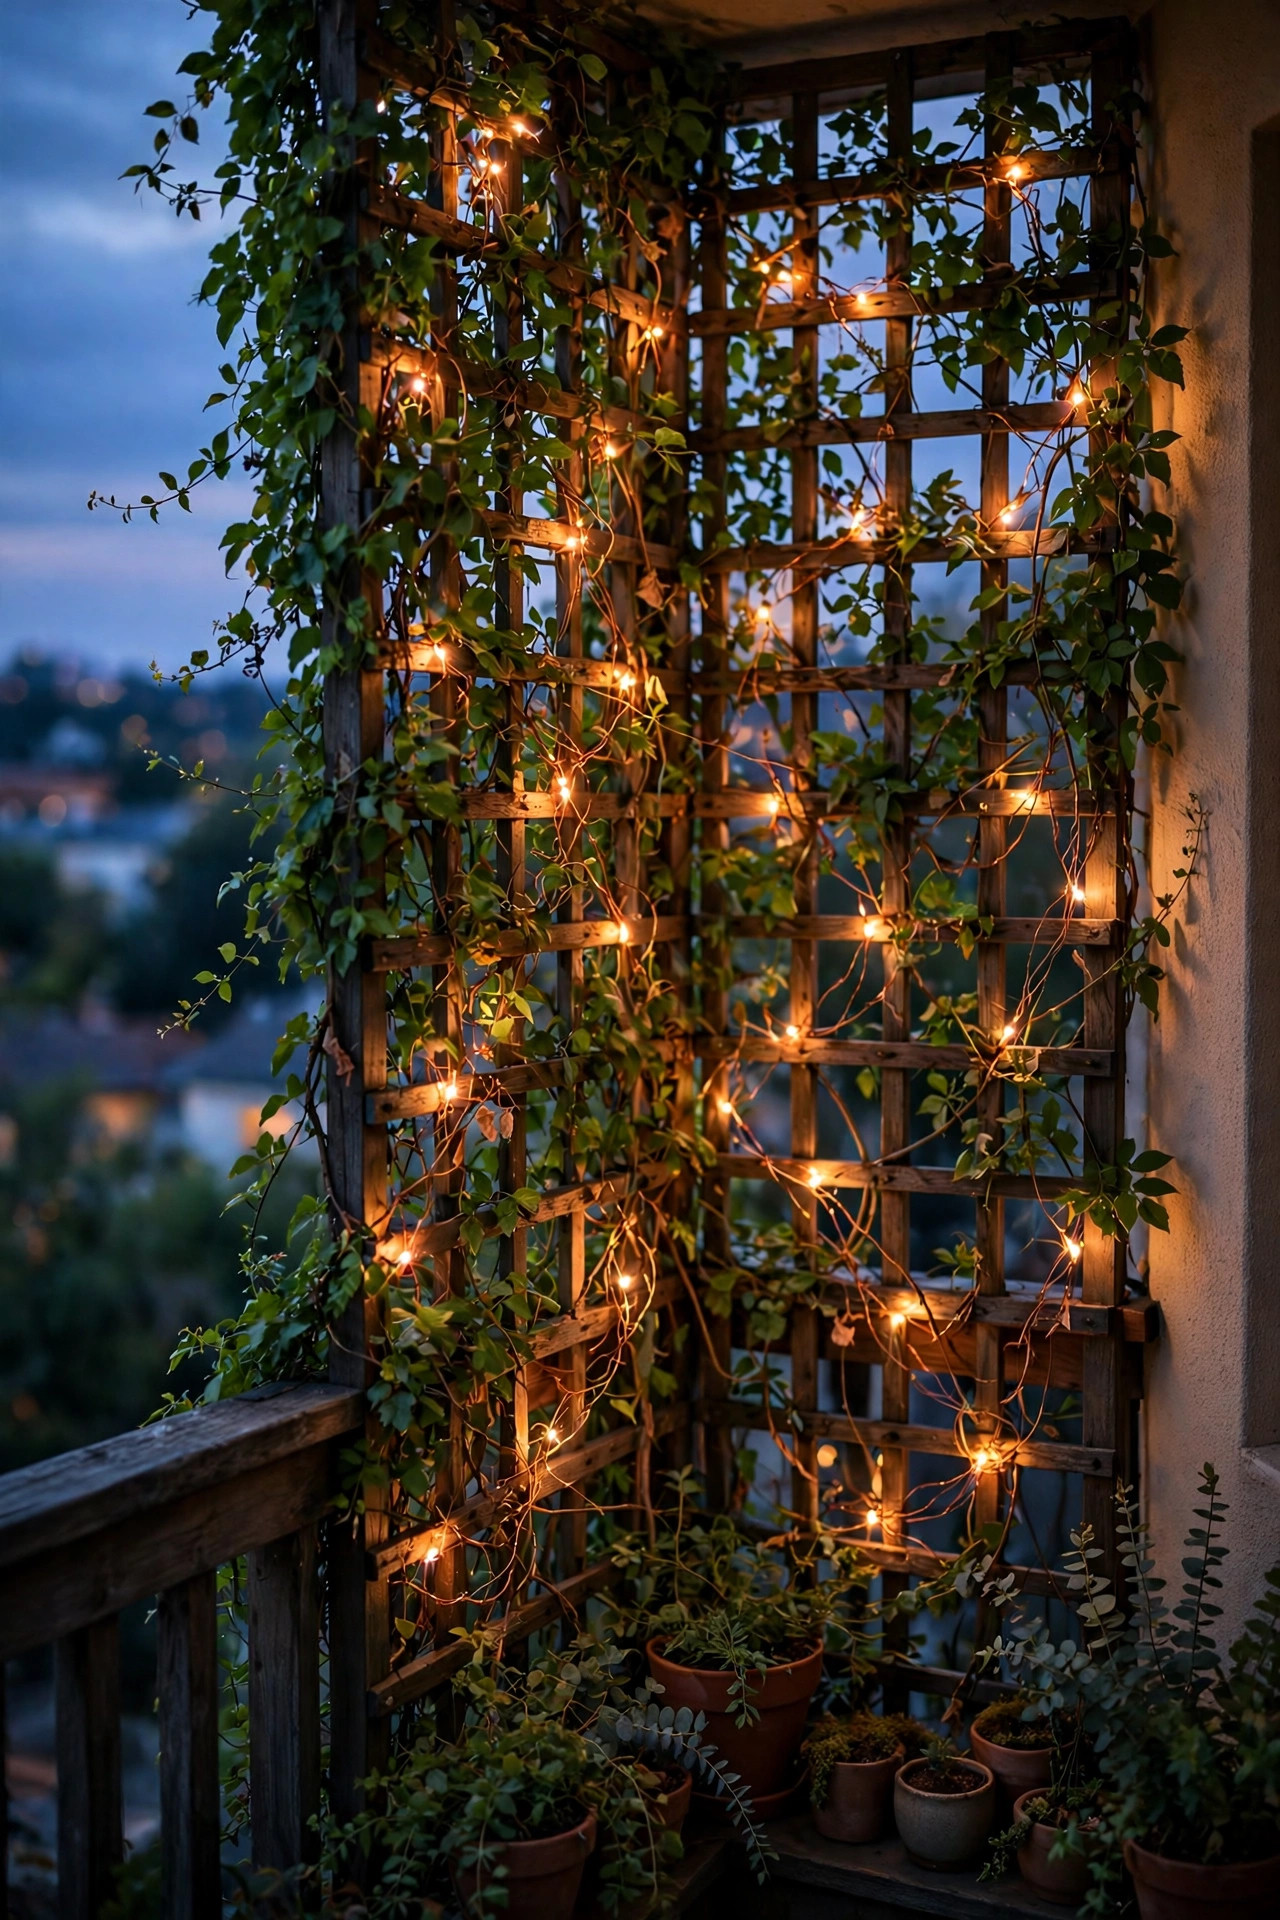
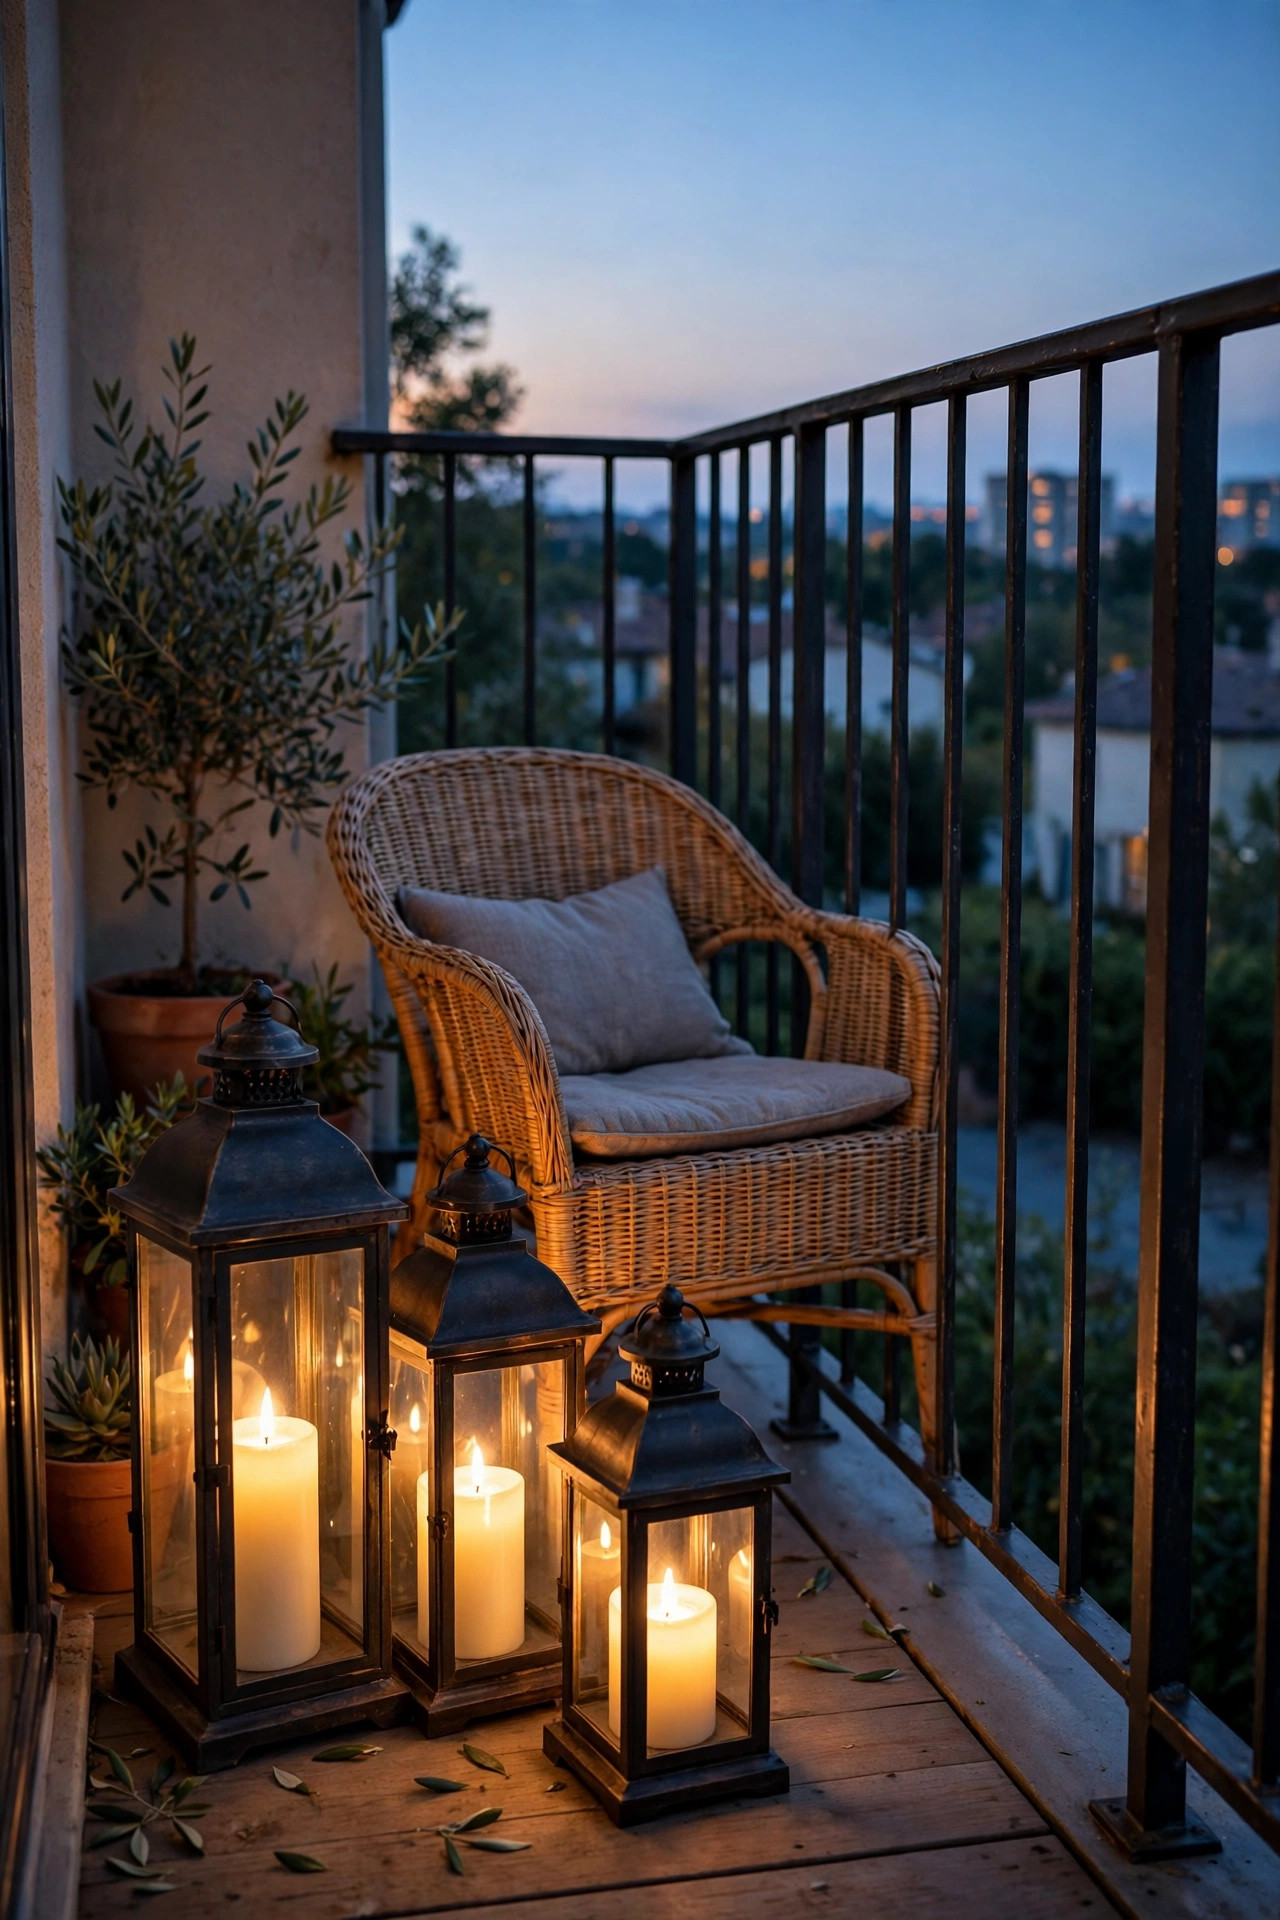
5. Cluster Lanterns Low, Inside the Railing
Here's the counterintuitive move: some of your light should be low, at ankle height, tucked inside the railing line. A cluster of three lanterns in mixed heights on the floor beside your chair lights your immediate circle — your book, your tea, your feet — without lifting any light to face level, where it would reveal you. Because the lanterns sit below the glowing railing edge, they stay inside your shadow zone and don't undo your privacy screen at all. I always recommend flameless LED candles inside the lanterns for a balcony: no open flame near cushions or curtains, no wax drips on the deck boards, and the good ones flicker so convincingly that guests never notice. Battery lanterns with a timer are even better — set them to come on at dusk and off at bedtime and forget they exist. Group in odd numbers, vary the heights between 10 and 20 inches, and keep the cluster at least a foot from the railing so the light pools where you sit instead of spilling outward.
Suggested budget range: $25 – $60.
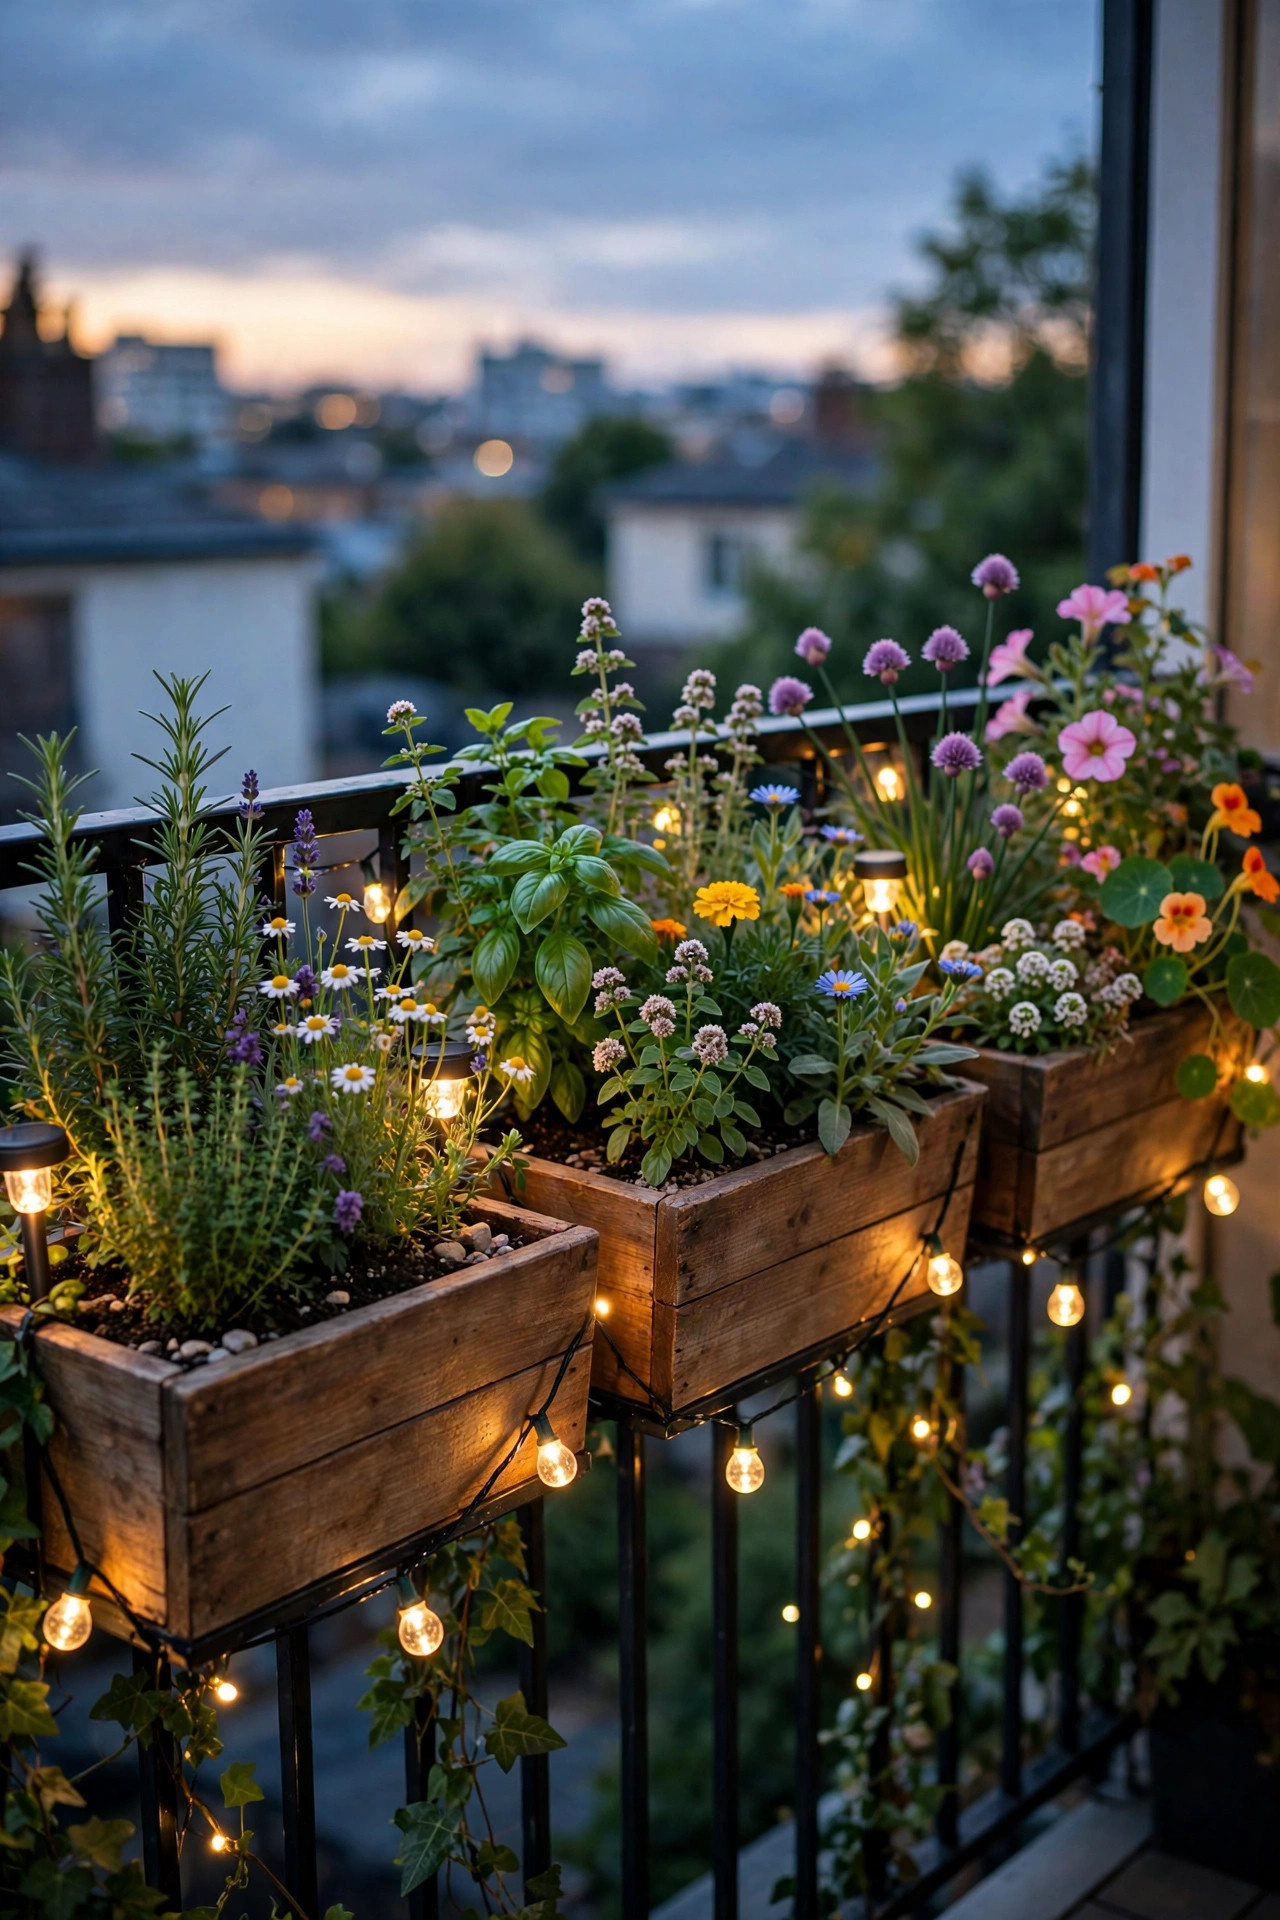
6. Line Railing Planter Boxes With Solar Lights
If your railing already wears planter boxes — and if it doesn't, this is your excuse — you've got a ready-made privacy structure. Herbs and trailing flowers soften the sightline on their own, and tucking small solar lights among the plants turns the whole box into a glowing hedge at night. Short solar stake lights pushed into the soil every 8 to 10 inches give an even dotted glow, or lay a solar string light along the front lip of the box so the light spills down the railing face. I keep a full list of my favorite solar string light ideas if you want sets that actually charge well. Choose plants with some height — rosemary, ornamental grasses, and geraniums all reach 12 to 18 inches and fill the gap between railing and handrail where sightlines sneak through. The panels need a few hours of direct sun, so south and west balconies win here; on a shaded balcony, pick boxes with remote panels you can clip to the railing top.
Suggested budget range: $20 – $50.
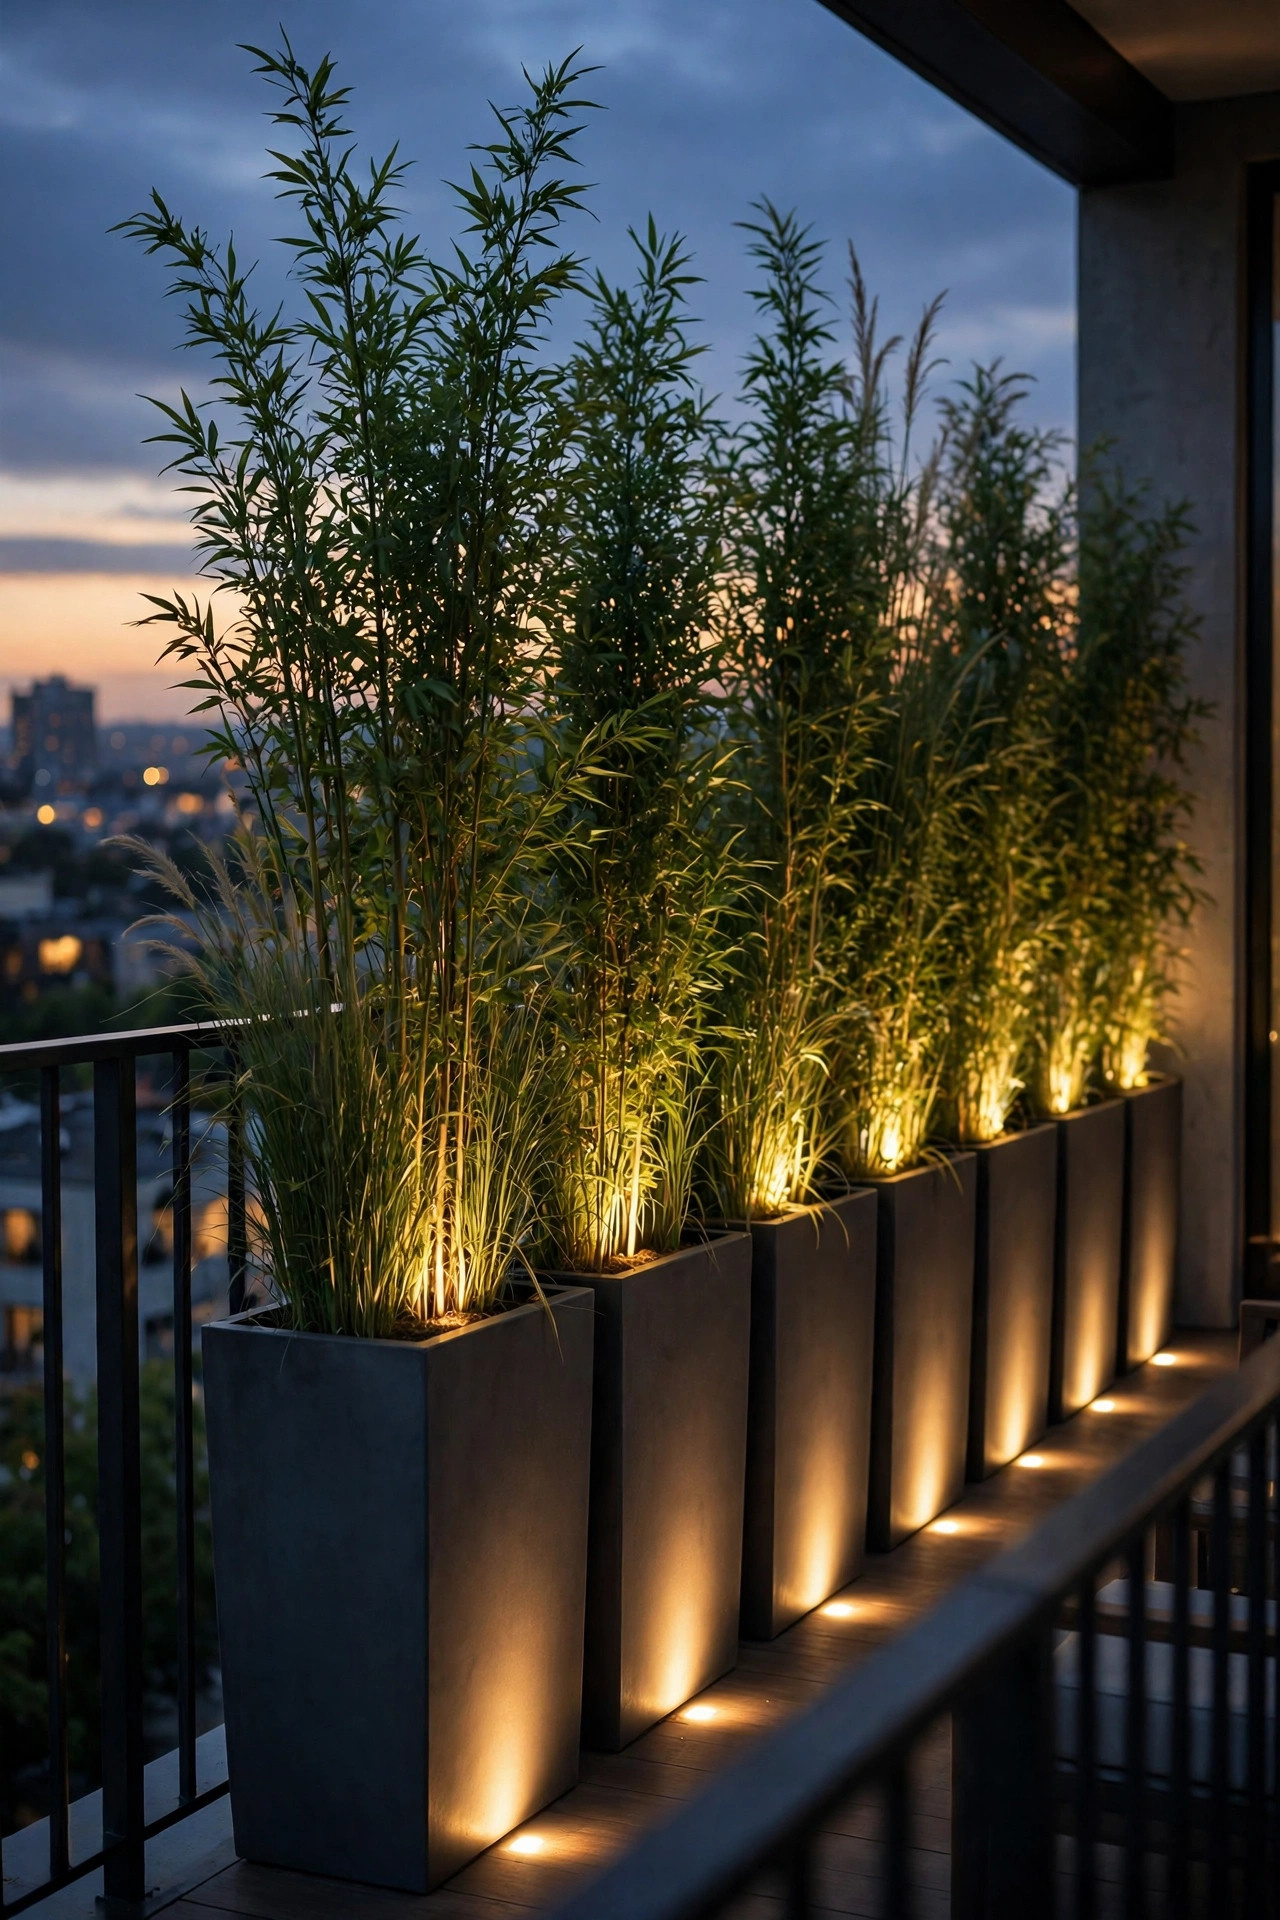
7. Build a Lighted Planter Wall at the Exposed End
Every balcony has one exposed end — the side that faces the neighbors' windows or the walkway below. That's where a planter wall earns its keep. Line up two or three tall planters, 24 inches or higher, plant them with something upright like a small bamboo, arborvitae, or tall grasses, then set one battery or solar uplight at the base of each, aimed up into the foliage. Lit from below, the plants become a glowing green curtain that's far prettier than a fence and just as opaque. The uplight trick matters: leaves lit from beneath look bright and detailed from the neighbors' side, which is exactly what you want — their eyes stop at the foliage. Keep fixtures IP65-rated for life outdoors, and angle them slightly inward so light doesn't spill into the unit below. On our balcony this wall hides the grill and storage boxes too, which is a nice bonus. Water faithfully and the screen literally grows more private every month.
Suggested budget range: $60 – $140.
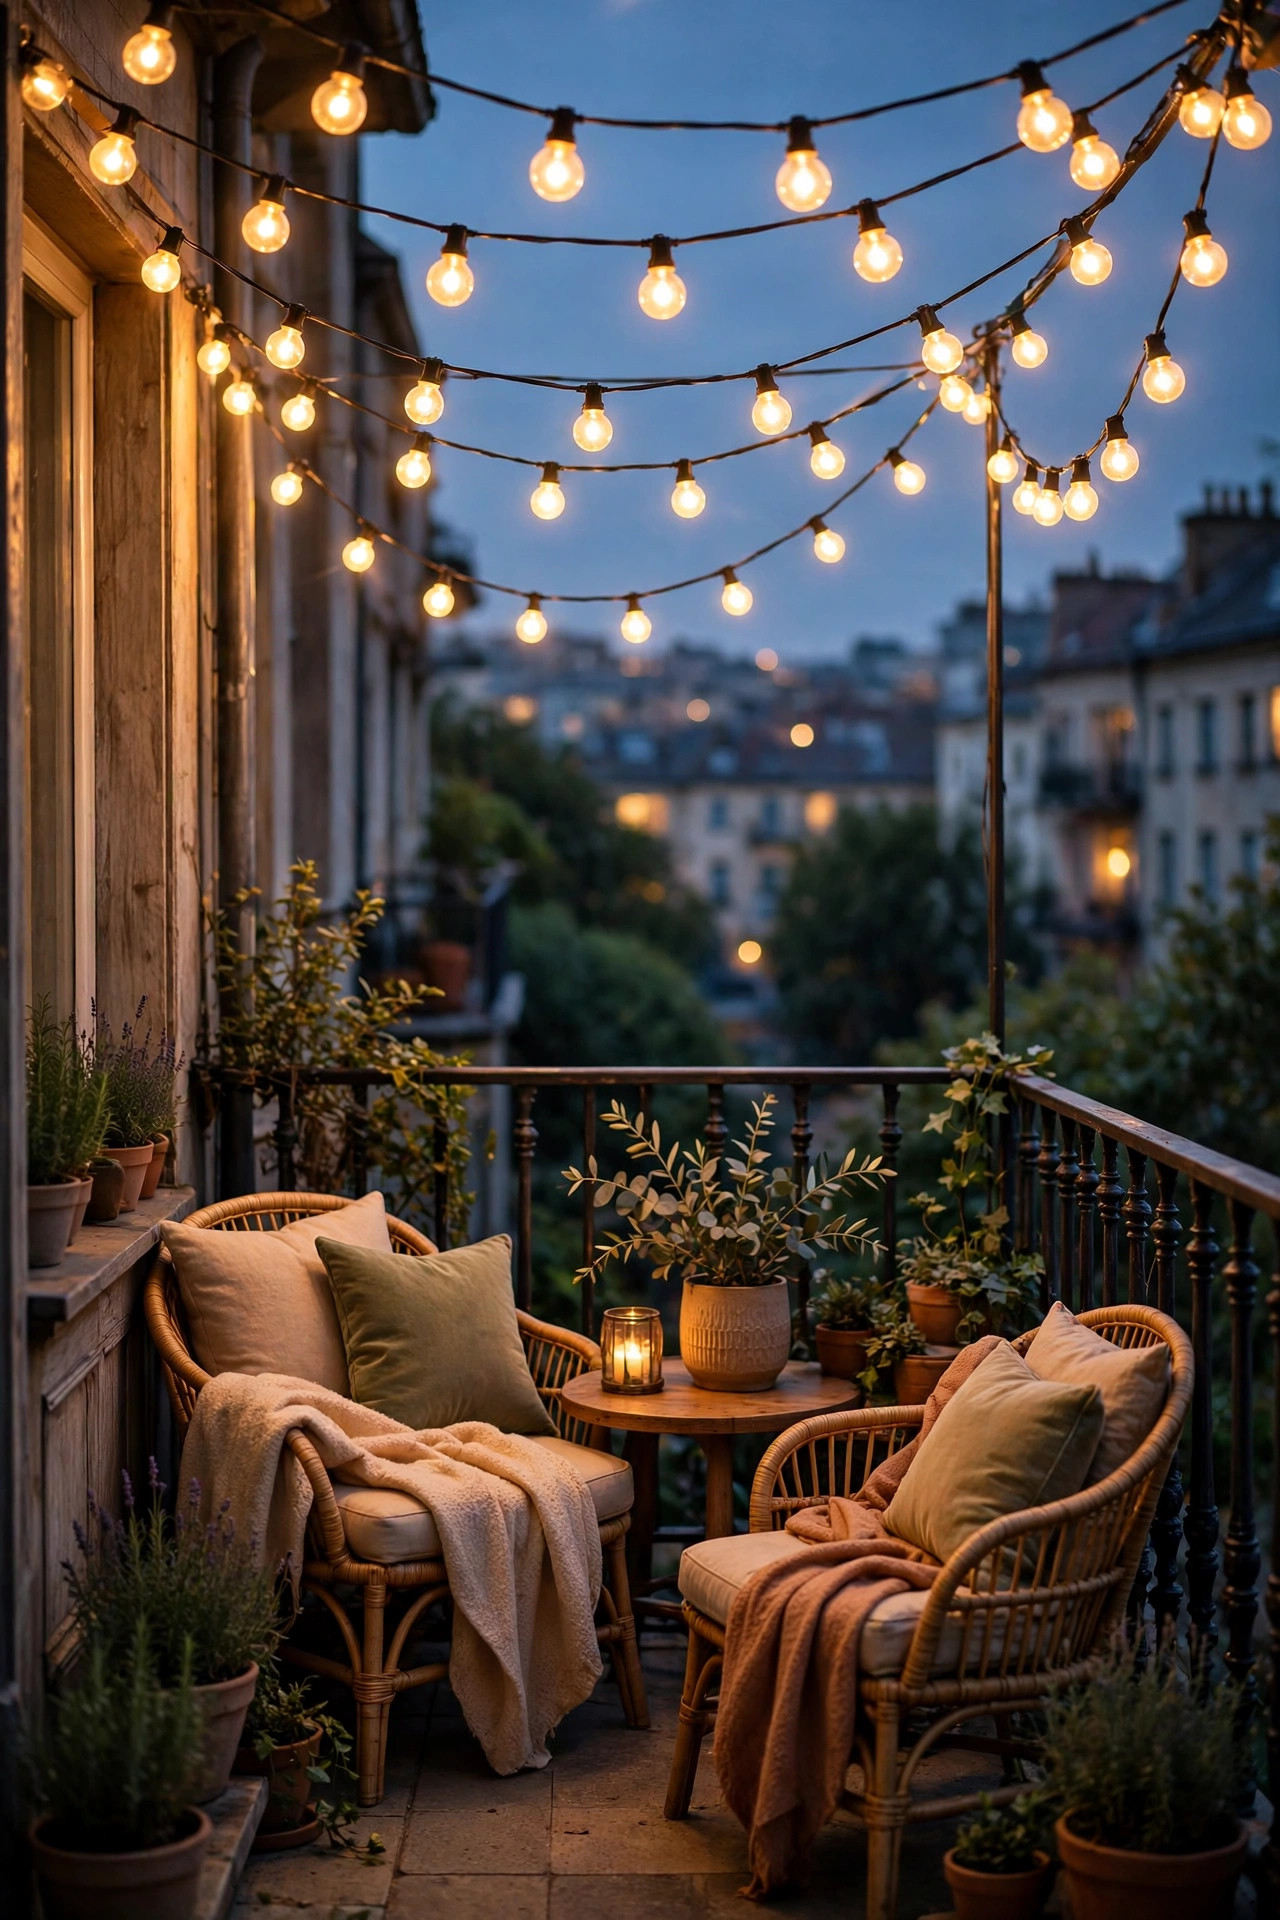
8. Swag String Lights Overhead to Pull Eyes Up
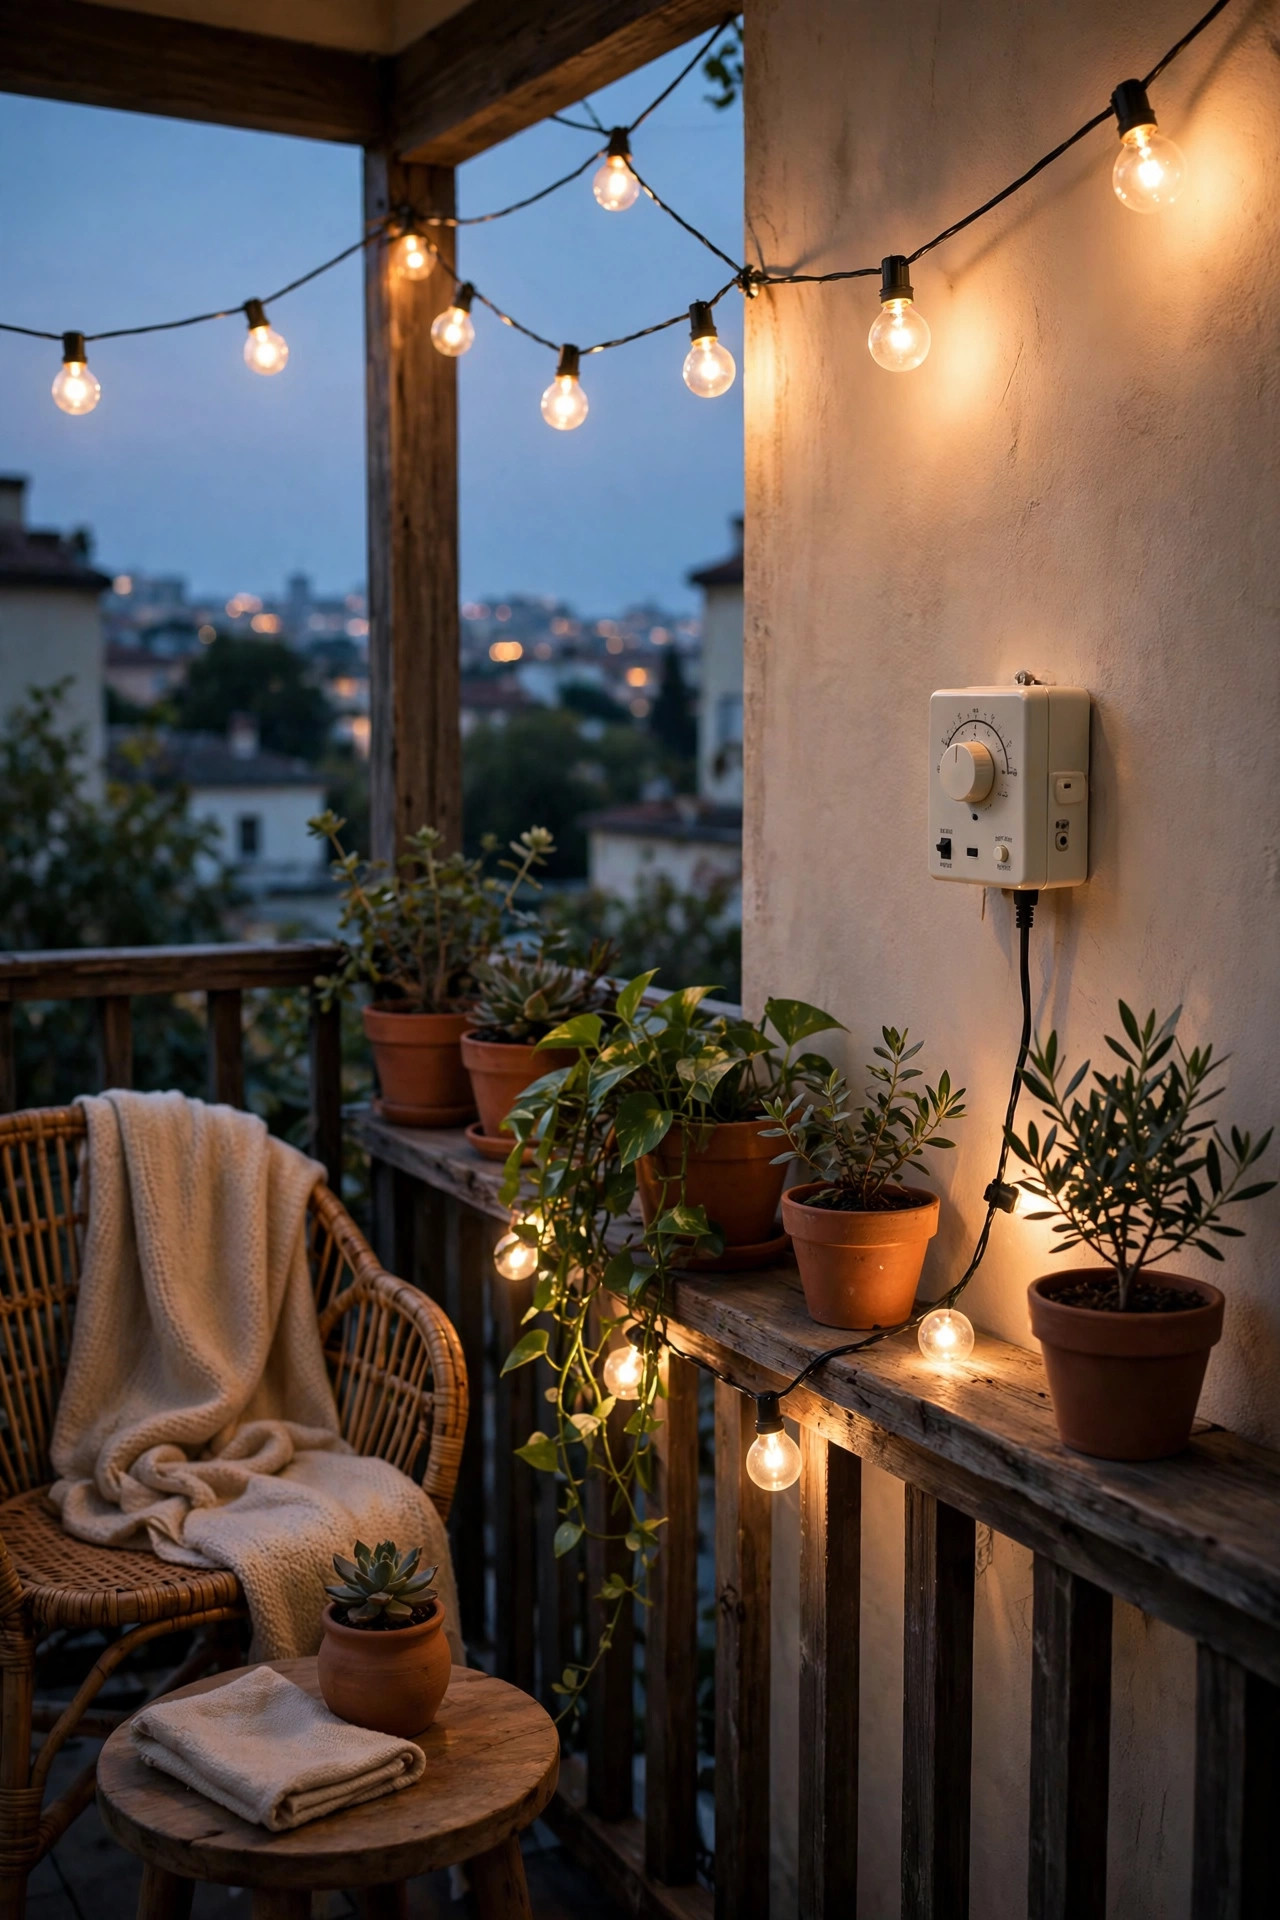
Privacy isn't only about blocking the horizontal view — the neighbors above you are looking down, too. A couple of swags of string lights overhead gives those downward glances something bright to land on before they ever reach you, and it makes the whole balcony feel like a little café terrace instead of a fishbowl. Run two strands in gentle catenary curves from the wall to the railing corners, keeping the lowest point at least 6 feet 8 inches above the floor so nobody bonks their head. That bright canopy, combined with dimmer light at seat level, keeps you in the soft shadow beneath the glow. Use shatterproof LED filament-style bulbs for the classic bistro look, and secure each end with a screw hook if you're allowed, or heavy-duty adhesive hooks rated for the weight if you're renting. A plug-in dimmer lets you drop the canopy to a whisper for stargazing. Overhead light alone won't hide you, but as the top layer of the system it's the piece that makes the balcony feel finished.
Suggested budget range: $25 – $55.
9. Hide an LED Strip Under the Handrail, Pointed Down
For a clean, modern line of light that reveals almost nothing about you, stick a waterproof LED strip under the handrail and aim it down at the floor. The handrail becomes a glowing bar floating over a pool of light — gorgeous to look at from outside, and because none of the light travels upward, your face and shoulders stay in shadow above it. This is the single most flattering, most private way to light the walking surface of a balcony; you can see your steps and your drink, and that's all anyone else sees too. Use a 2700K strip in an IP65 silicone sleeve, mount it on the underside of the rail with the adhesive backing plus a clip every 18 inches (adhesive alone gives up in summer heat), and hide the battery pack or driver in a planter. Strips cut to length with scissors at the marked lines, so measure your railing run first. If your handrail is metal and flat-bottomed, this takes twenty minutes, tops.
Suggested budget range: $15 – $40.

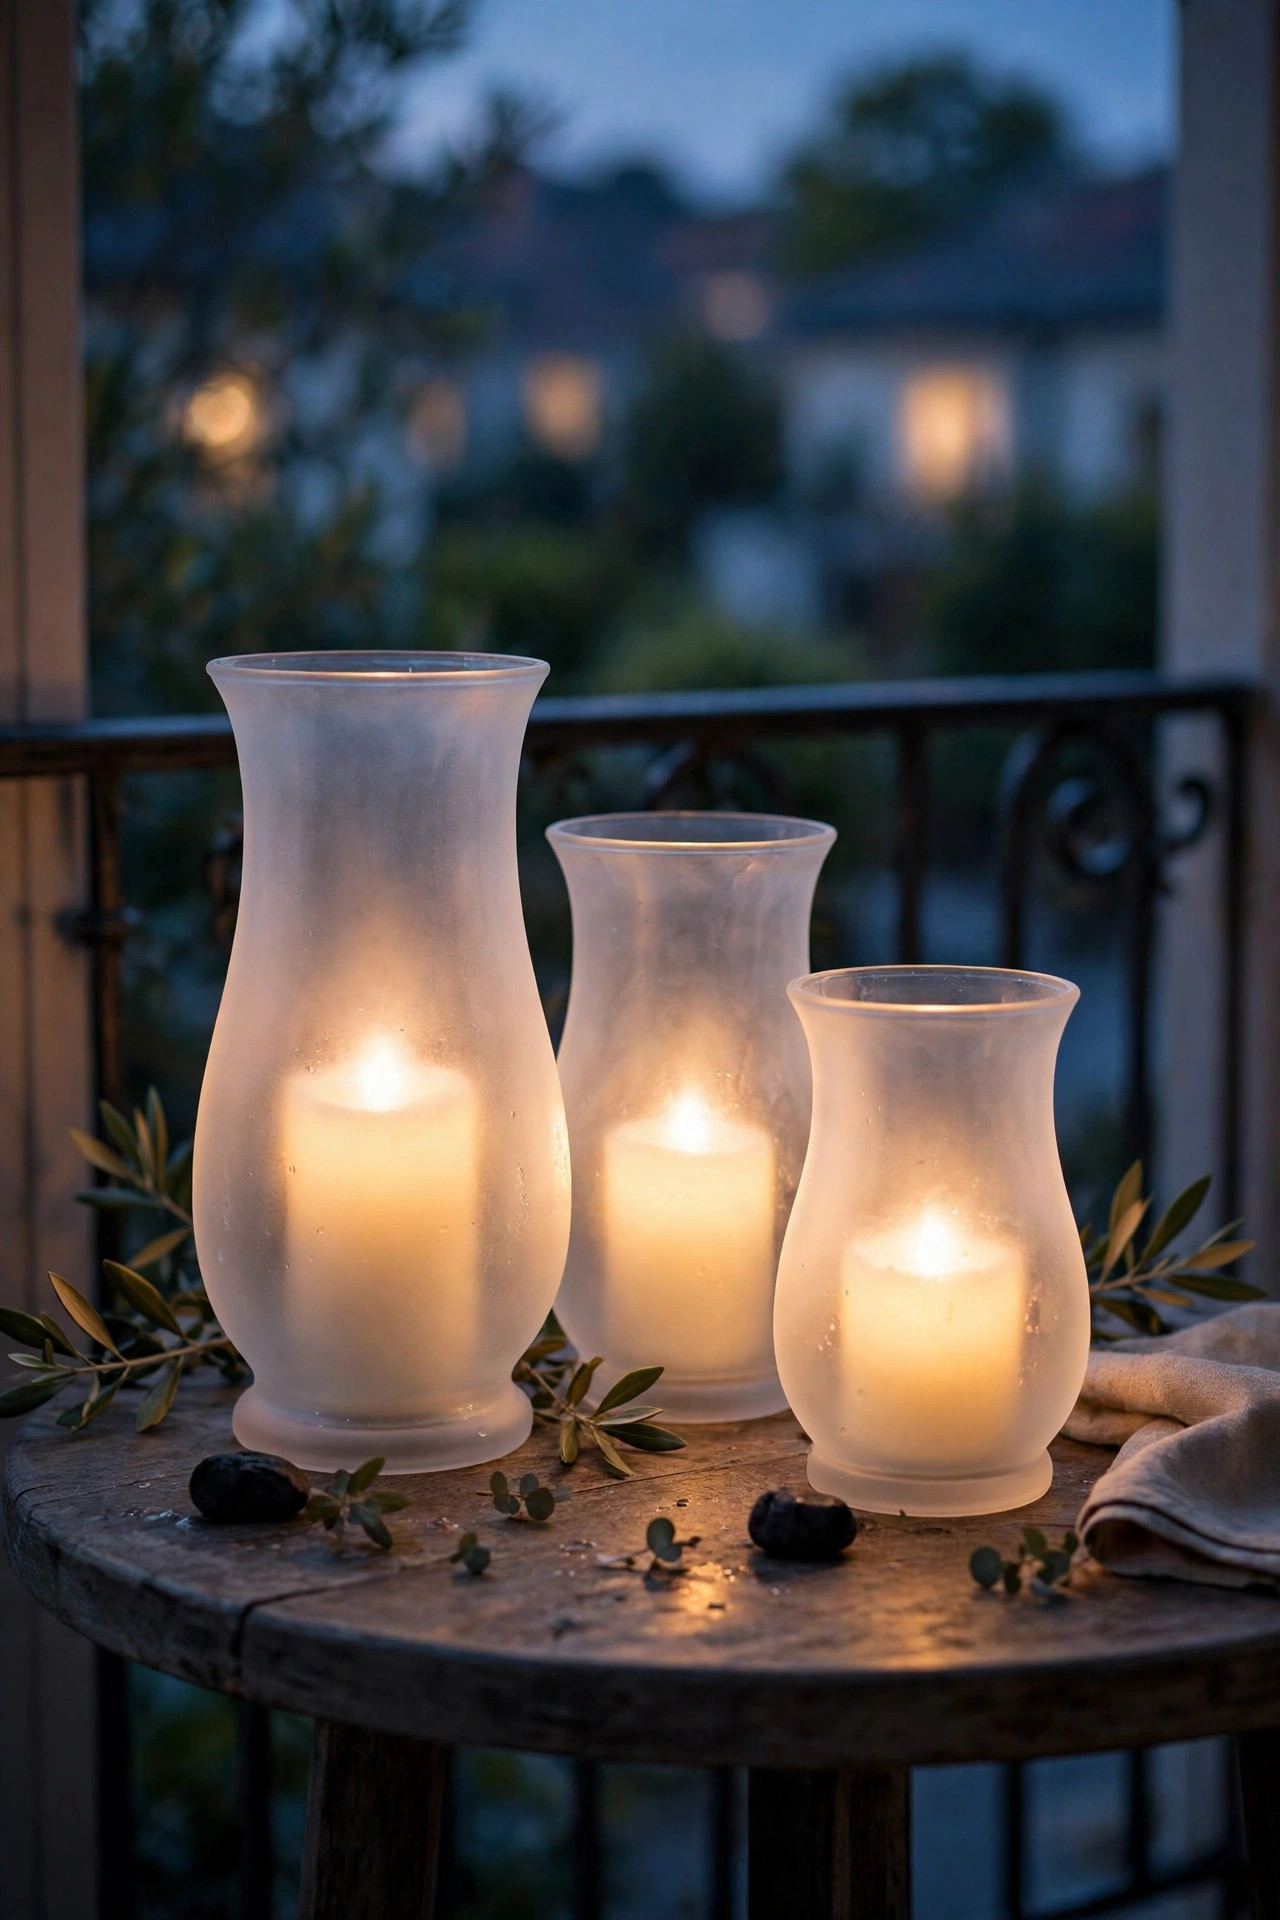
10. Use Frosted Hurricanes and Flameless Candles on the Table
Your dining or side table deserves its own little pool of light — but clear glass lanterns throw that light everywhere, including onto your face. Frosted glass hurricanes solve it: the frosted shade diffuses the glow into a soft orb that lights the tabletop and stops there. Two or three flameless candles in tall frosted hurricanes give you enough light to eat, play cards, or read labels, while staying firmly in the low, local, private category. It genuinely feels like candlelight at a nice restaurant — the kind where you can barely see the next table. Look for flameless candles with a warm 2200K to 2700K tone and a realistic flicker; the orange-cheap ones ruin the mood fast. Timers help here too, since table candles are the ones I always forget to switch off. Keep hurricanes at least a few inches from curtain hems or trailing plants, and wipe the frosting clean monthly — dusty frosted glass dims fast. This is my favorite layer for long, talky dinners outside.
Suggested budget range: $18 – $45.
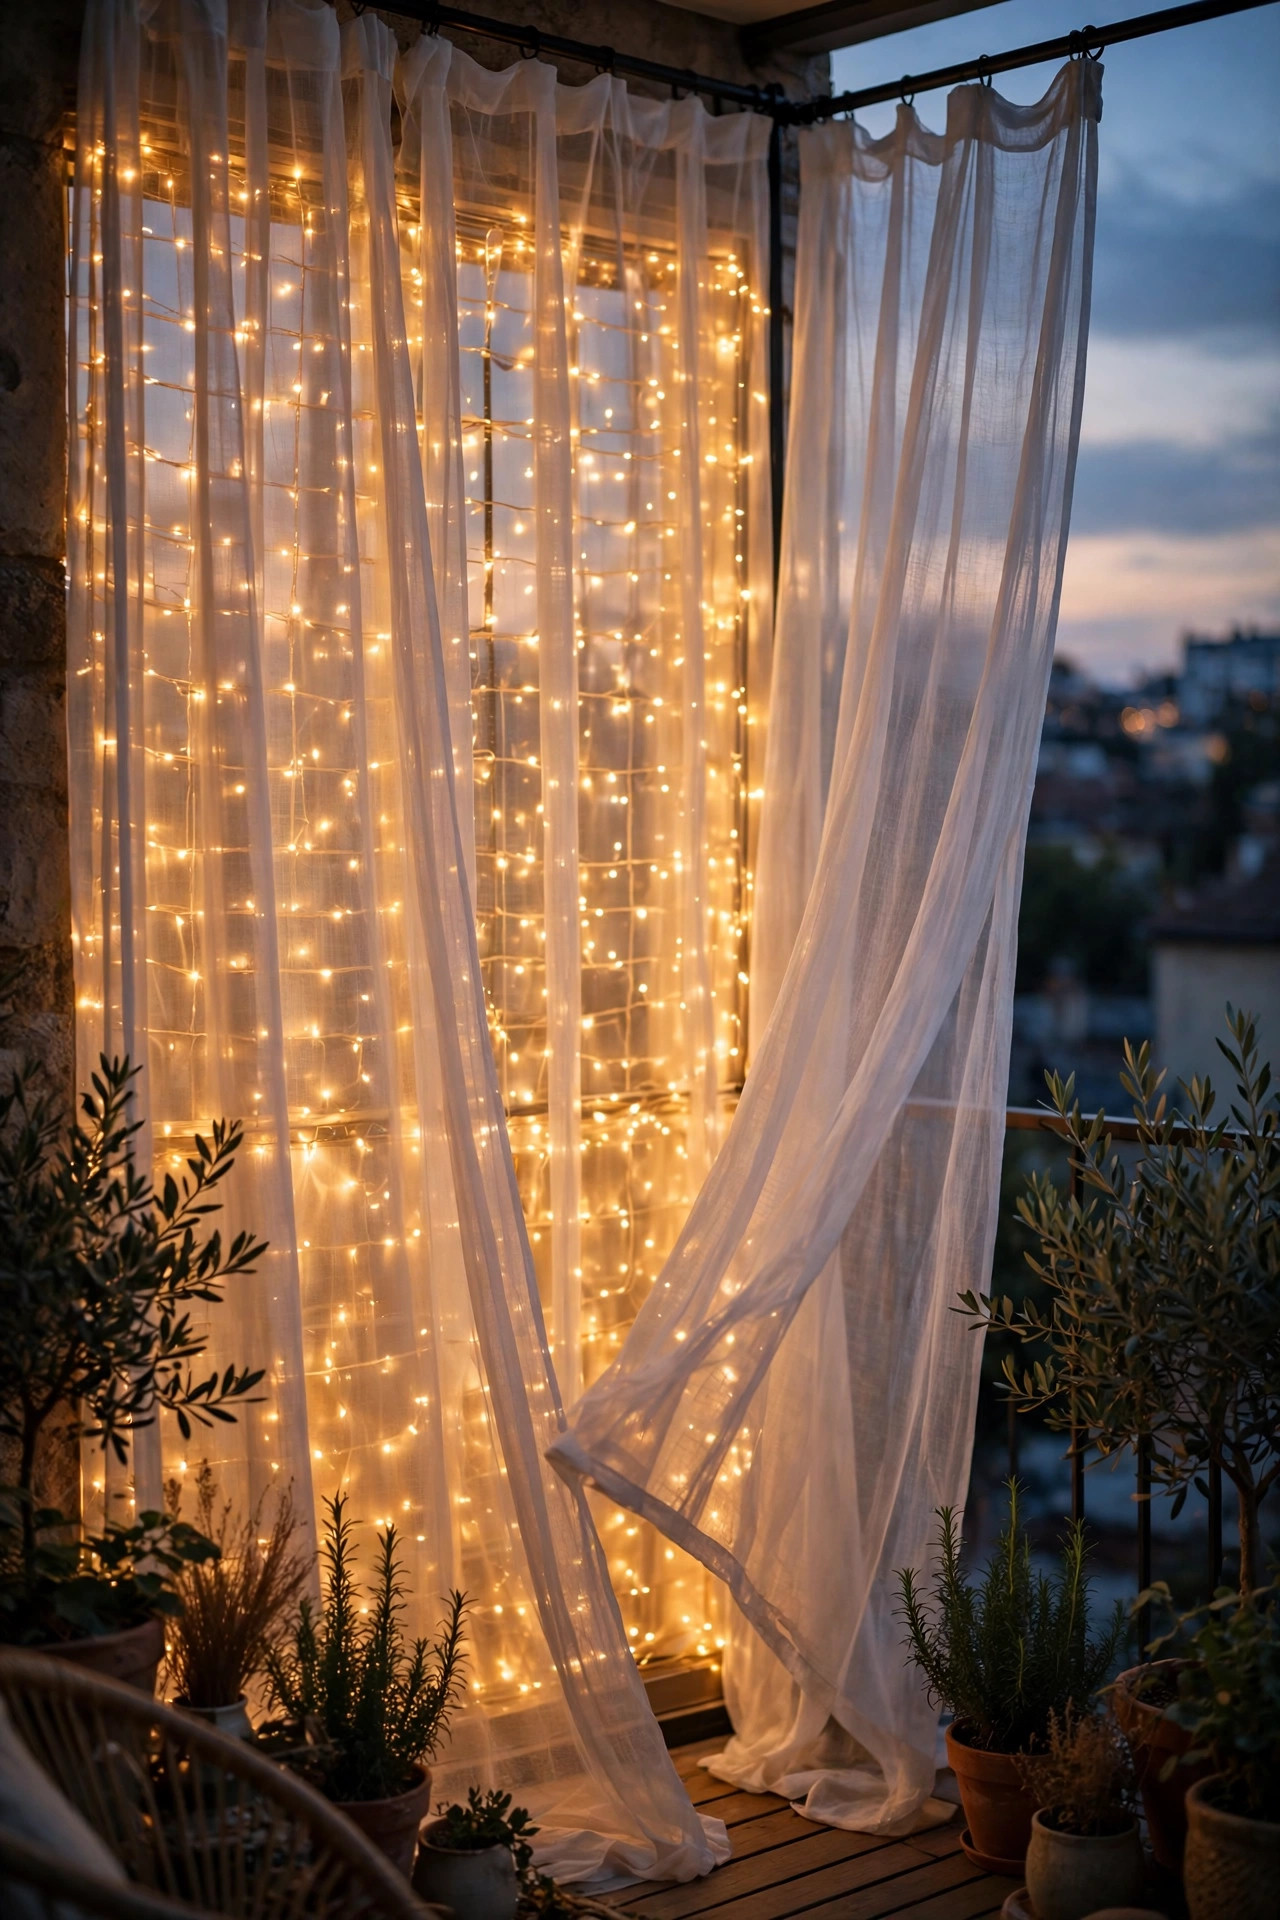
11. Backlight Sheer Outdoor Curtains With Fairy Lights
If your building allows curtains, this is the most romantic privacy option on the list: hang sheer outdoor curtains from a tension rod or cable across the exposed side, then string warm fairy lights a few inches behind them, on the balcony side. The sheers catch the light and glow like a paper lantern wall, and a glowing surface is a one-way one — you see a soft golden haze, the neighbors see nothing but light. During the day the sheers alone soften the view and filter glare; at night the backlight does the heavy lifting. Safety first, always: use LED fairy lights only, which run cool to the touch, and keep a couple of inches of air between lights and fabric. Outdoor sheers in polyester shrug off rain and mildew, and weights or clip-on hem chains keep them from billowing into the lights on breezy nights. Tie them back during storms. The effect from the street is honestly beautiful — our balcony gets compliments from dog walkers, which is not a sentence I expected to write about a privacy fix.
Suggested budget range: $40 – $85.
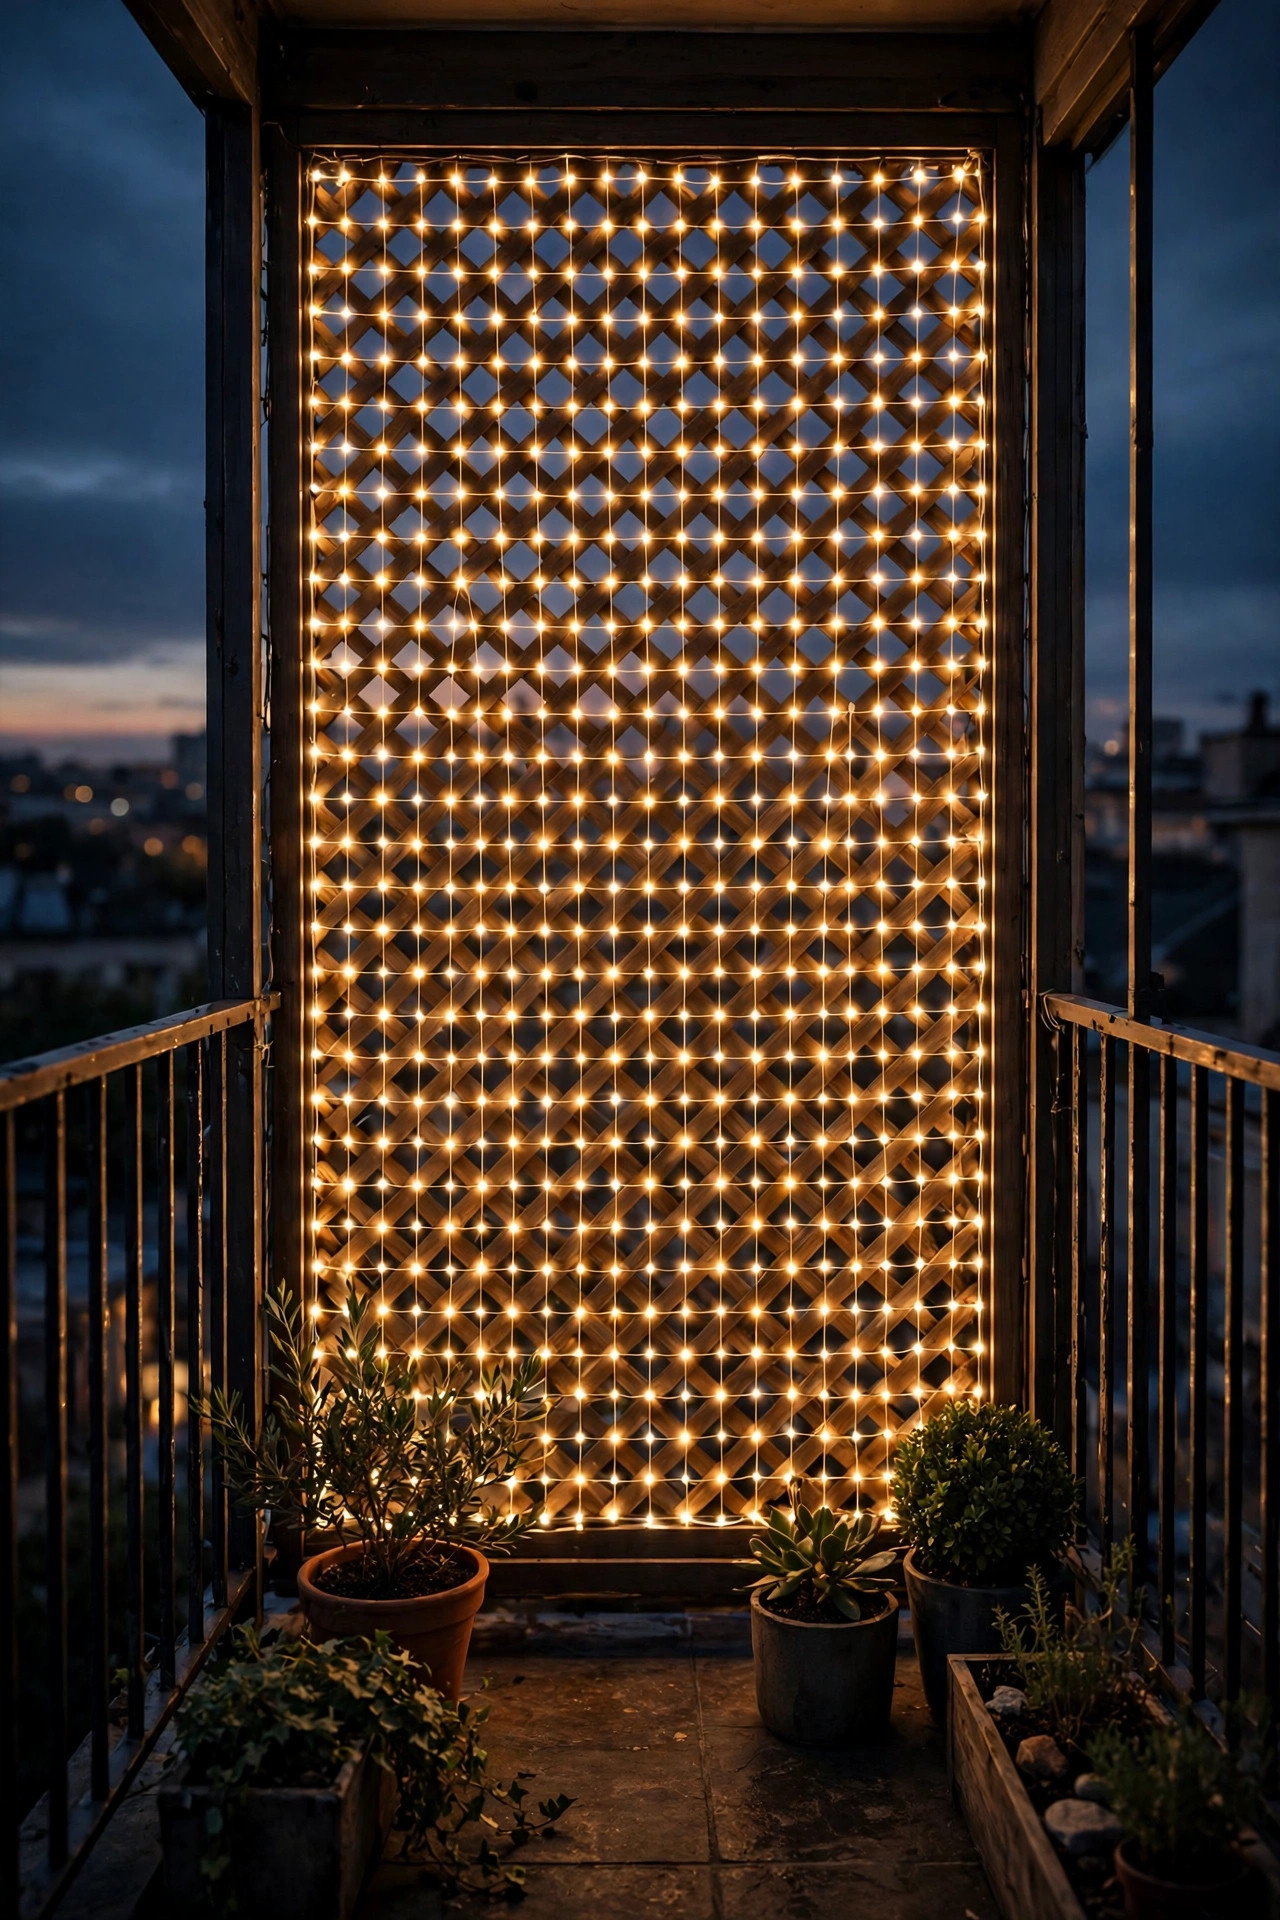
12. Drape Net Lights Over a Lattice Panel
Net lights — the grid kind sold for bushes at the holidays — are secretly the perfect size and shape for a balcony lattice panel. Lean or hang a 4-by-4-foot lattice section at the end of the balcony where the view in is worst, drape the net over it, and you instantly have an even wall of tiny lights with no visible gaps. The uniformity is the point: a consistent field of brightness is the hardest thing for an eye to see past, much harder than scattered bulbs with dark holes between them. Clip the net at the corners so wind doesn't bunch it, and let trailing plants soften the top edge so it reads as garden, not gadget. Solar nets exist and work well on sunny balconies; plug-in sets with a dimmer give you more control. Lattice panels are cheap, lightweight, and totally renter-safe when leaned and planter-anchored rather than screwed. Paint the lattice a dark color so it disappears at night and only the lights show — that little detail makes it look twice as expensive.
Suggested budget range: $30 – $60.
13. Tuck Firefly Lights Into Tall Potted Grasses
For the corners and the gaps between bigger pieces, firefly lights — those delicate bendable copper stems with a tiny LED at the tip — are my secret weapon. Push five or six stems into a pot of tall ornamental grass and bend them so the tips scatter through the blades at different heights. From the neighbors' side, that corner becomes a cluster of floating sparks in greenery, and floating sparks are wonderful camouflage: busy, bright, and impossible to focus through. The solar versions charge by day and sway gently in the breeze, which adds movement that draws the eye even more. This is pure ambience light — it won't help you read — but as gap-filler in a layered setup it's unmatched for the price. Buy stems with more lights per stake if your pots are big; sparse tips in a large planter look lost. And keep the solar panel tilted toward your best sun, not hidden under the grass canopy, or your sparks will quit by nine o'clock.
Suggested budget range: $12 – $30.

14. Uplight a Potted Tree Into a Living Screen
One handsome potted tree — a dwarf olive, a small Japanese maple, a fiddle-leaf in summer — placed at your worst sightline does the work of a fence panel, and an uplight makes it do that work at night. Set a small solar or battery spotlight at the base aimed up through the canopy. Lit leaves overhead and at eye level scatter the light and your silhouette both; someone looking over sees a glowing tree, full stop. Choose a tree whose mature canopy spreads at least 3 feet wide in its pot, and weight the pot well — top-heavy trees plus balcony wind is a heartbreak waiting to happen. The uplight should sit far enough back to wash the whole canopy rather than spotlighting one branch, usually 8 to 12 inches from the trunk. Rotate the pot a quarter turn weekly for even growth. From your chair, the lit canopy feels like sitting under a street lantern in a little plaza — private, but never closed-in.
Suggested budget range: $45 – $110.

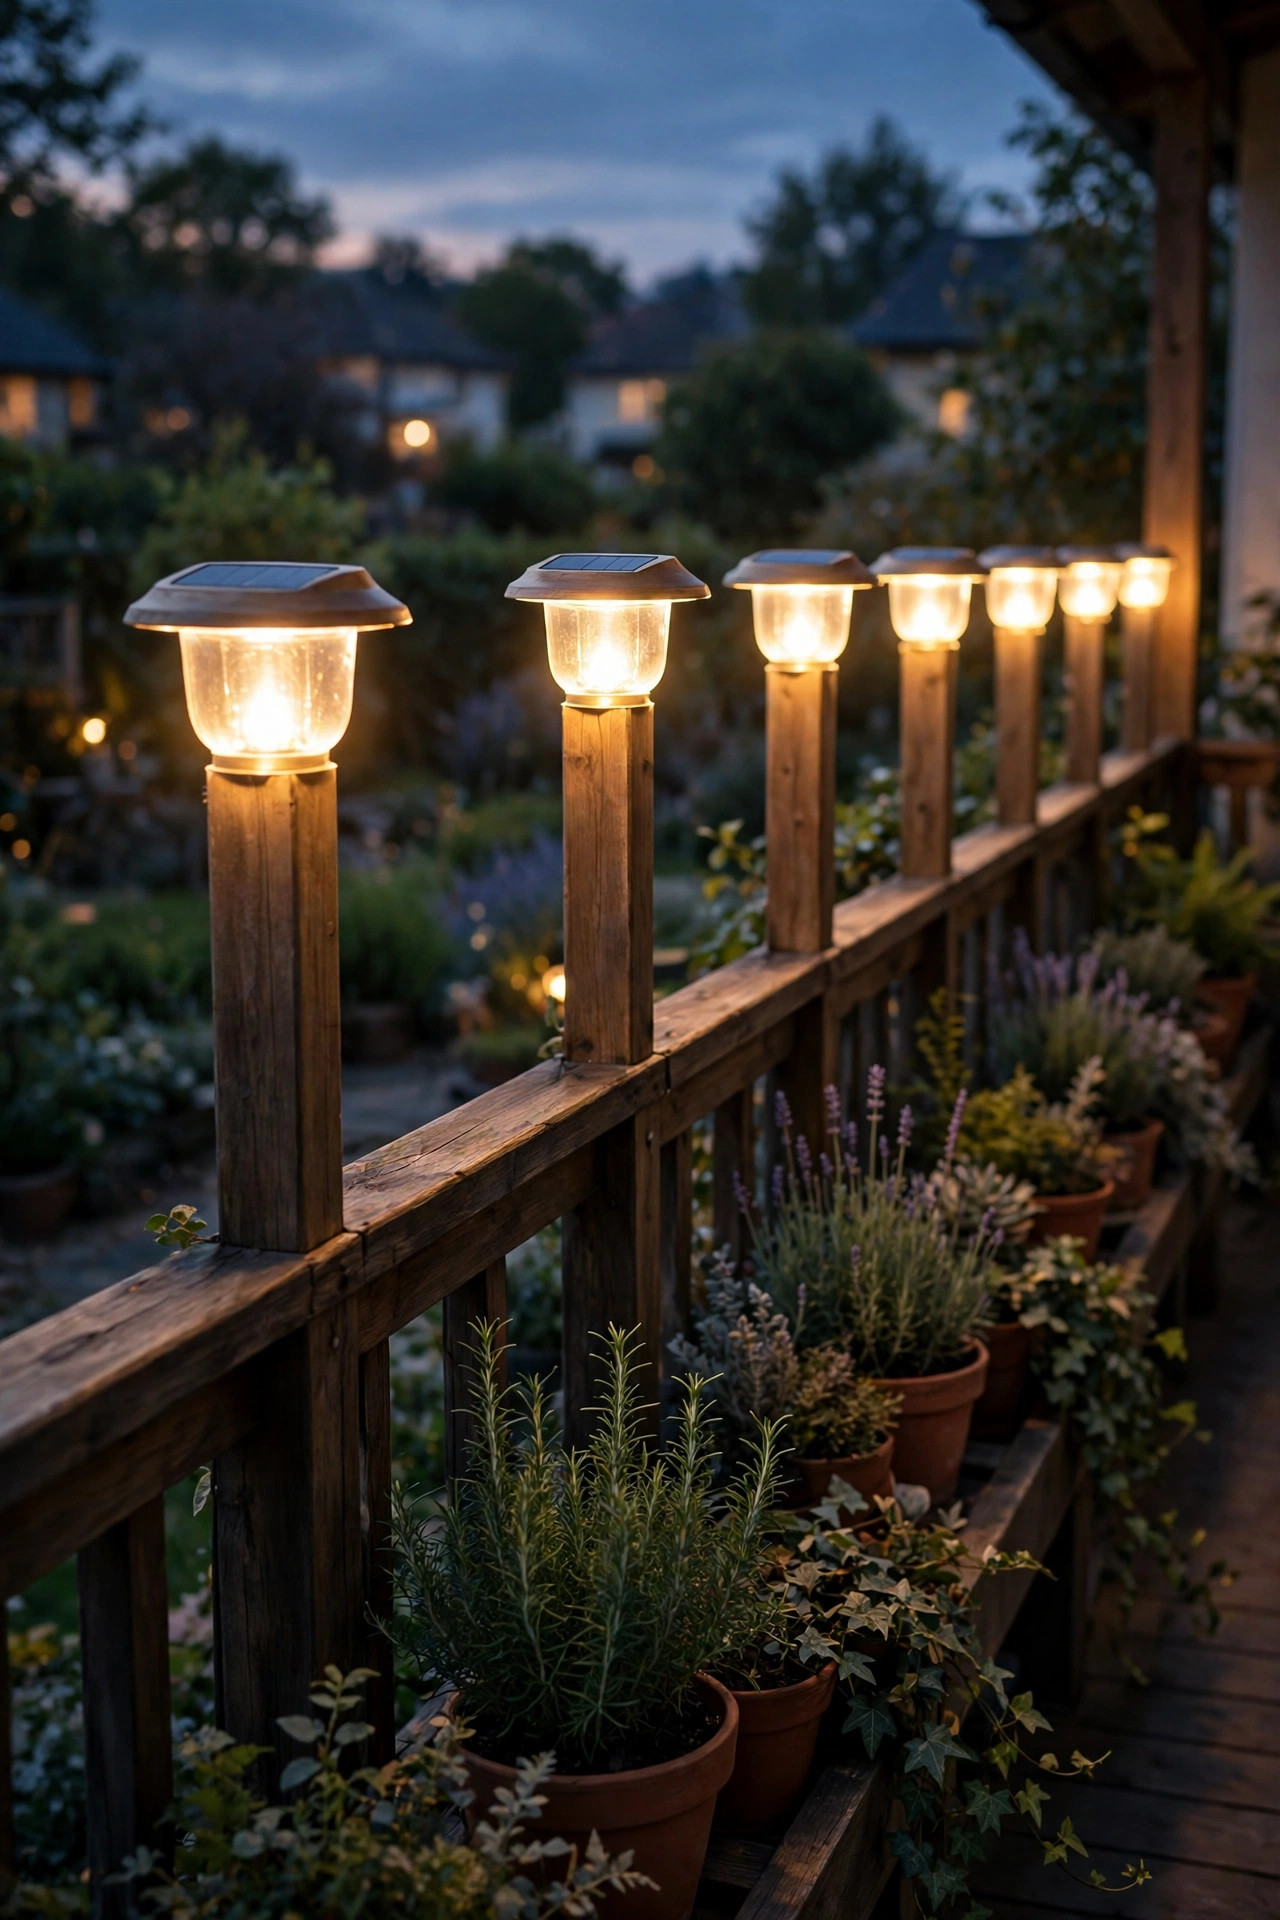
15. Add Solar Post Caps or a Divider Glow Line
Many balconies share a divider wall or have chunky railing posts, and both are begging for a defining line of light. Solar post caps that slip over the railing posts give you a row of soft beacons marking your boundary, and that bright row at the property line is exactly where you want the neighbors' eyes to stop. Renting with a solid divider? A battery string or a row of small solar lanterns along the top of the divider does the same job without a single screw. Keep the caps warm white and modest in brightness — this is a boundary marker, not a landing strip — and check the fit against your post width before ordering, since caps come in 4-by-4 and 6-by-6 sizes. If your posts are metal tubes, look for clamp-on solar lights made for railing posts instead. Wipe the little solar panels with a damp cloth every few weeks; a dusty panel can cut your runtime in half by midsummer.
Suggested budget range: $16 – $42.
16. Put Everything on Warm Dimmers and a Timer
Here's the layer nobody thinks of as privacy equipment: control. Lights that blaze at full brightness whenever you're out announce your presence like a porch light at a motel; lights dimmed to a warm murmur just look like decor. Put your plug-in strings on an outdoor dimmer and drop them to 40 or 50 percent once you're settled — the screen effect survives easily, because what matters is the contrast between the glowing edge and your dimmer corner, not raw brightness. Warm color temperature matters for neighbor relations too: 2700K light reads as candlelight through their windows, while 5000K daylight bulbs read as a security light and will get you a knock on the door. A simple outdoor timer or smart plug ends the 11 p.m. light show automatically, which the whole building will appreciate. My setup: strings on a dimmer, lanterns on their own timers, everything off by ten-thirty on weeknights. Private doesn't have to mean inconsiderate — honestly, the dimmed version looks better anyway.
Suggested budget range: $10 – $35.
17. Layer Two or Three Balcony Privacy Lighting Ideas Into One Soft Screen
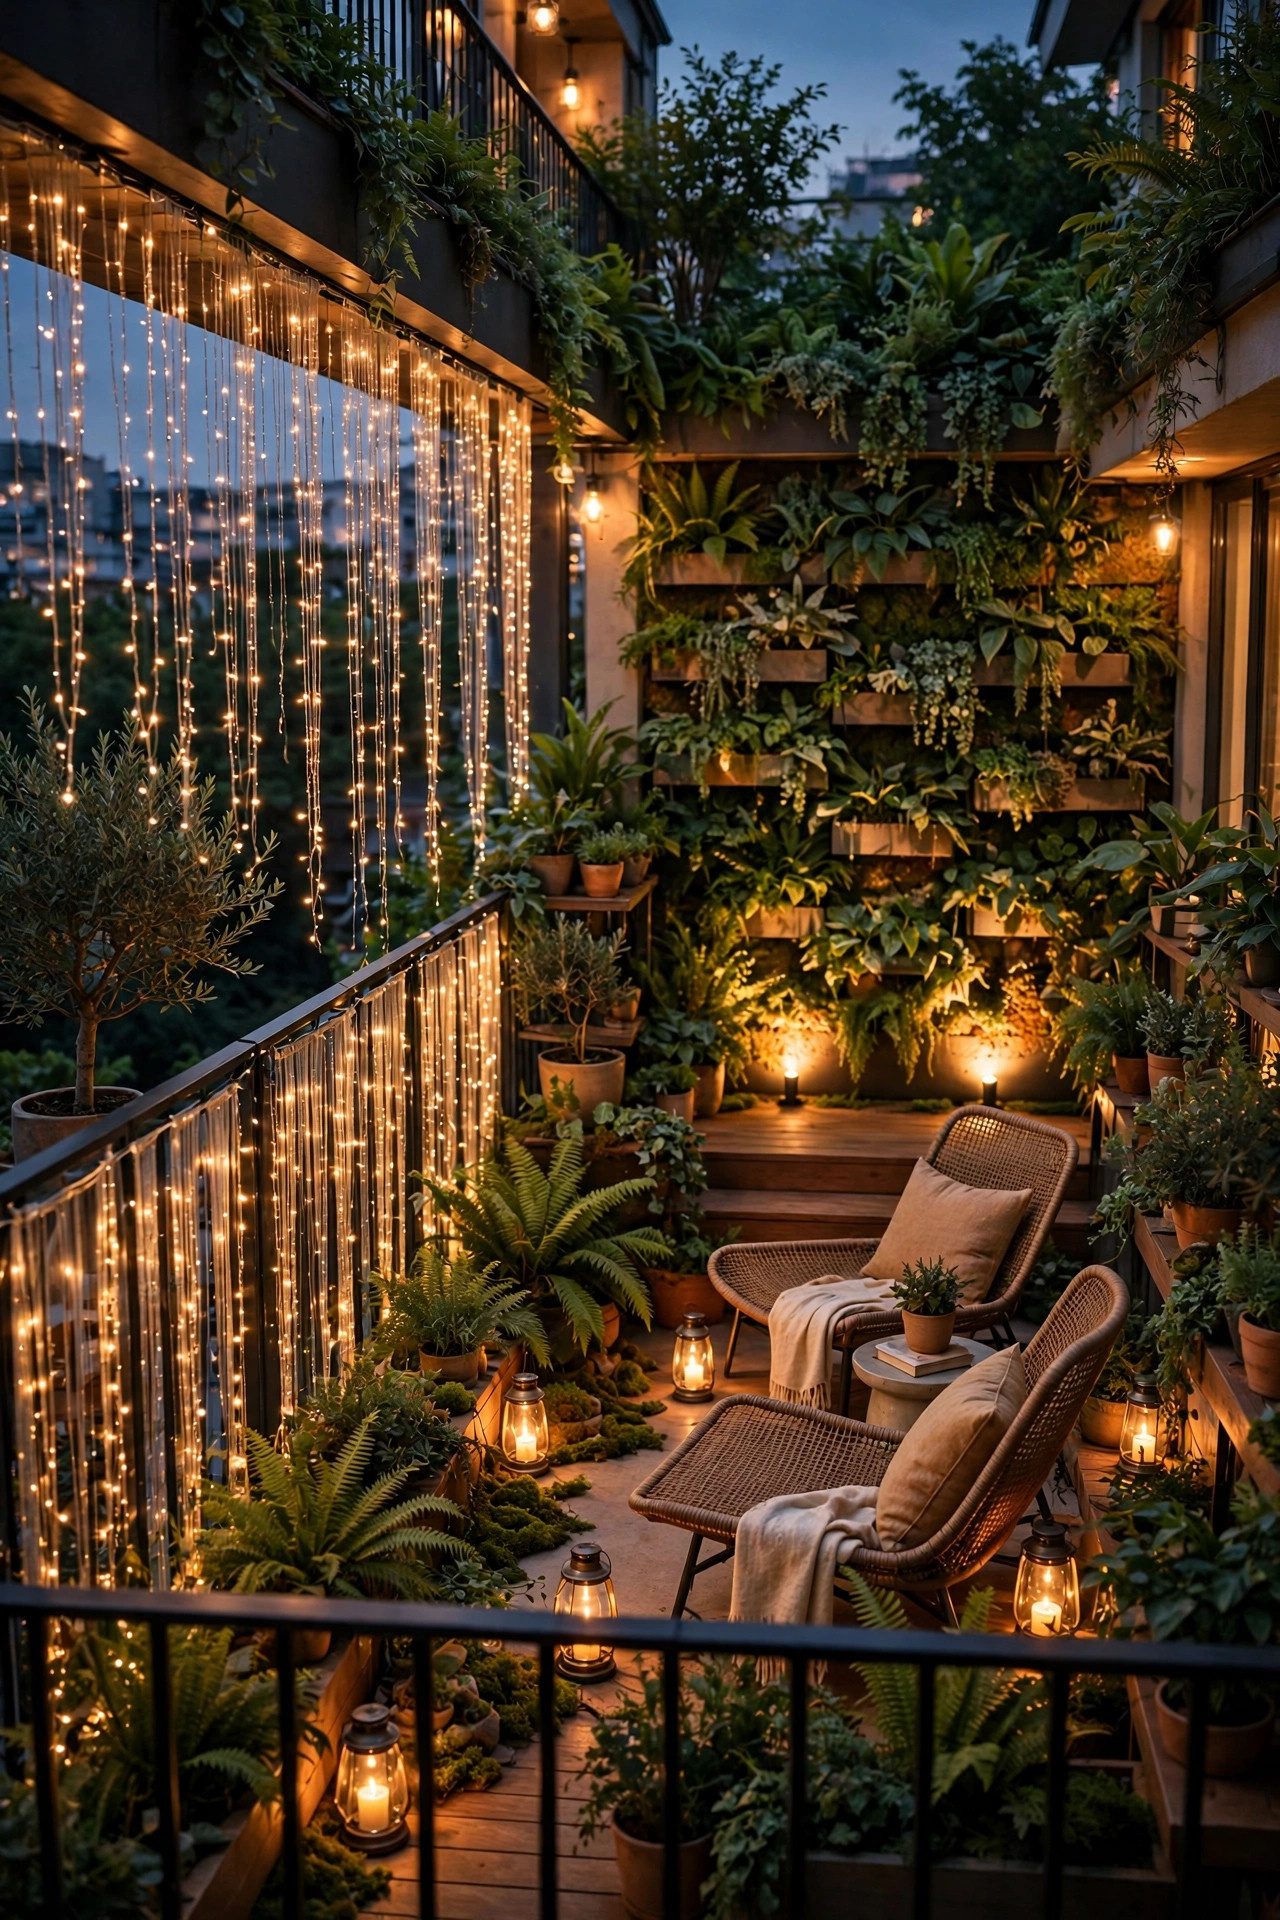
No single product makes a balcony private — the magic is in the layering, and now you can assemble your own recipe. Start with your bright edge: curtain lights, a backlit screen, or a net-lit lattice along the railing facing the neighbors. Add height at the worst sightline: a planter wall, an uplit tree, or a vine trellis with fairy lights. Then keep your own light low and local with lanterns or frosted hurricanes at your chair. Bright edge, tall corner, dim middle — that's the whole formula, and it scales to any balcony. If you're starting from zero, buy the railing layer first and live with it a week; you'll immediately see which gap bothers you, and that tells you your second purchase. My own setup is curtain lights plus the planter wall plus table hurricanes, and we now eat dinner outside most nights without a thought about the audience. For more ways to build out the rest of the space, browse my general balcony lighting ideas — then come back here and make it private.
Suggested budget range: $75 – $200.
Frequently Asked Questions
Do brighter lights really make a balcony more private?
Yes — it's simple eye science. Your eyes adjust to the brightest light in view, so a moderately bright, glowing railing makes the dimmer space behind it very hard to see into, the same way you can't see into an unlit room from a lit street. The key is contrast, not maximum brightness: a soft, even glow at the edge with dim, low light at your seat works far better than one blazing floodlight, which mostly creates glare for you and a spotlight effect on everything it hits. Keep the bright layer between you and the viewer, pointed outward or downward, and keep your own area noticeably dimmer.
What color temperature is best for a private, cozy balcony?
Warm white, around 2700K, is the sweet spot for most people, and candle-warm 2200K to 2400K flameless candles layer beautifully underneath it. Warm light reads as relaxed and residential, flatters skin and food, and is gentle through your neighbors' windows. Cooler 4000K to 5000K "daylight" bulbs feel like a parking lot, attract more attention, and are the fastest way to annoy the building. Whatever you buy, keep every layer in the same warm family — mixing warm strings with one cool-white lantern looks like a mistake and breaks the soft-screen effect.
Are string lights safe to hang near curtains and privacy screens?
Yes, with LED lights and a little common sense. LED string and fairy lights produce very little heat, so they're the only kind I recommend near sheers, reed screens, or fabric of any kind — never use old incandescent strings against fabric. Keep an inch or two of air between lights and material, use only products rated for outdoor use (IP44 or higher), and plug into a GFCI-protected outlet. Battery and solar sets remove the cord from the equation entirely for curtain setups. Inspect strings each season for cracked insulation, and take fabric down in serious storms.
Can I do all of this in a rental without drilling or wiring?
Absolutely — most of this post was designed for renters. Curtain lights, net lights, and screens attach with zip ties and removable hooks; planters, lanterns, and trellises are freestanding; LED strips use adhesive plus clips; and solar or battery power means you may never touch the outlet at all. The only ideas that might need permission are screwed hooks for overhead swags, and heavy-duty adhesive hooks handle those in most cases. When you move, everything comes down in an afternoon and the balcony looks exactly as it did — your deposit and your privacy both survive.
Conclusion
A balcony six feet from the neighbors doesn't have to feel like a stage. With the right balcony privacy lighting ideas — a bright, glowing edge at the railing, something tall and lit at the exposed end, and your own light kept low and warm — you get a space that feels secluded, cozy, and entirely yours again. Start with one layer, notice how much it changes, then add the next. And when you're ready to light the rest of your outdoor spaces just as thoughtfully, browse the other lighting ideas here on the site for porches, patios, and gardens.