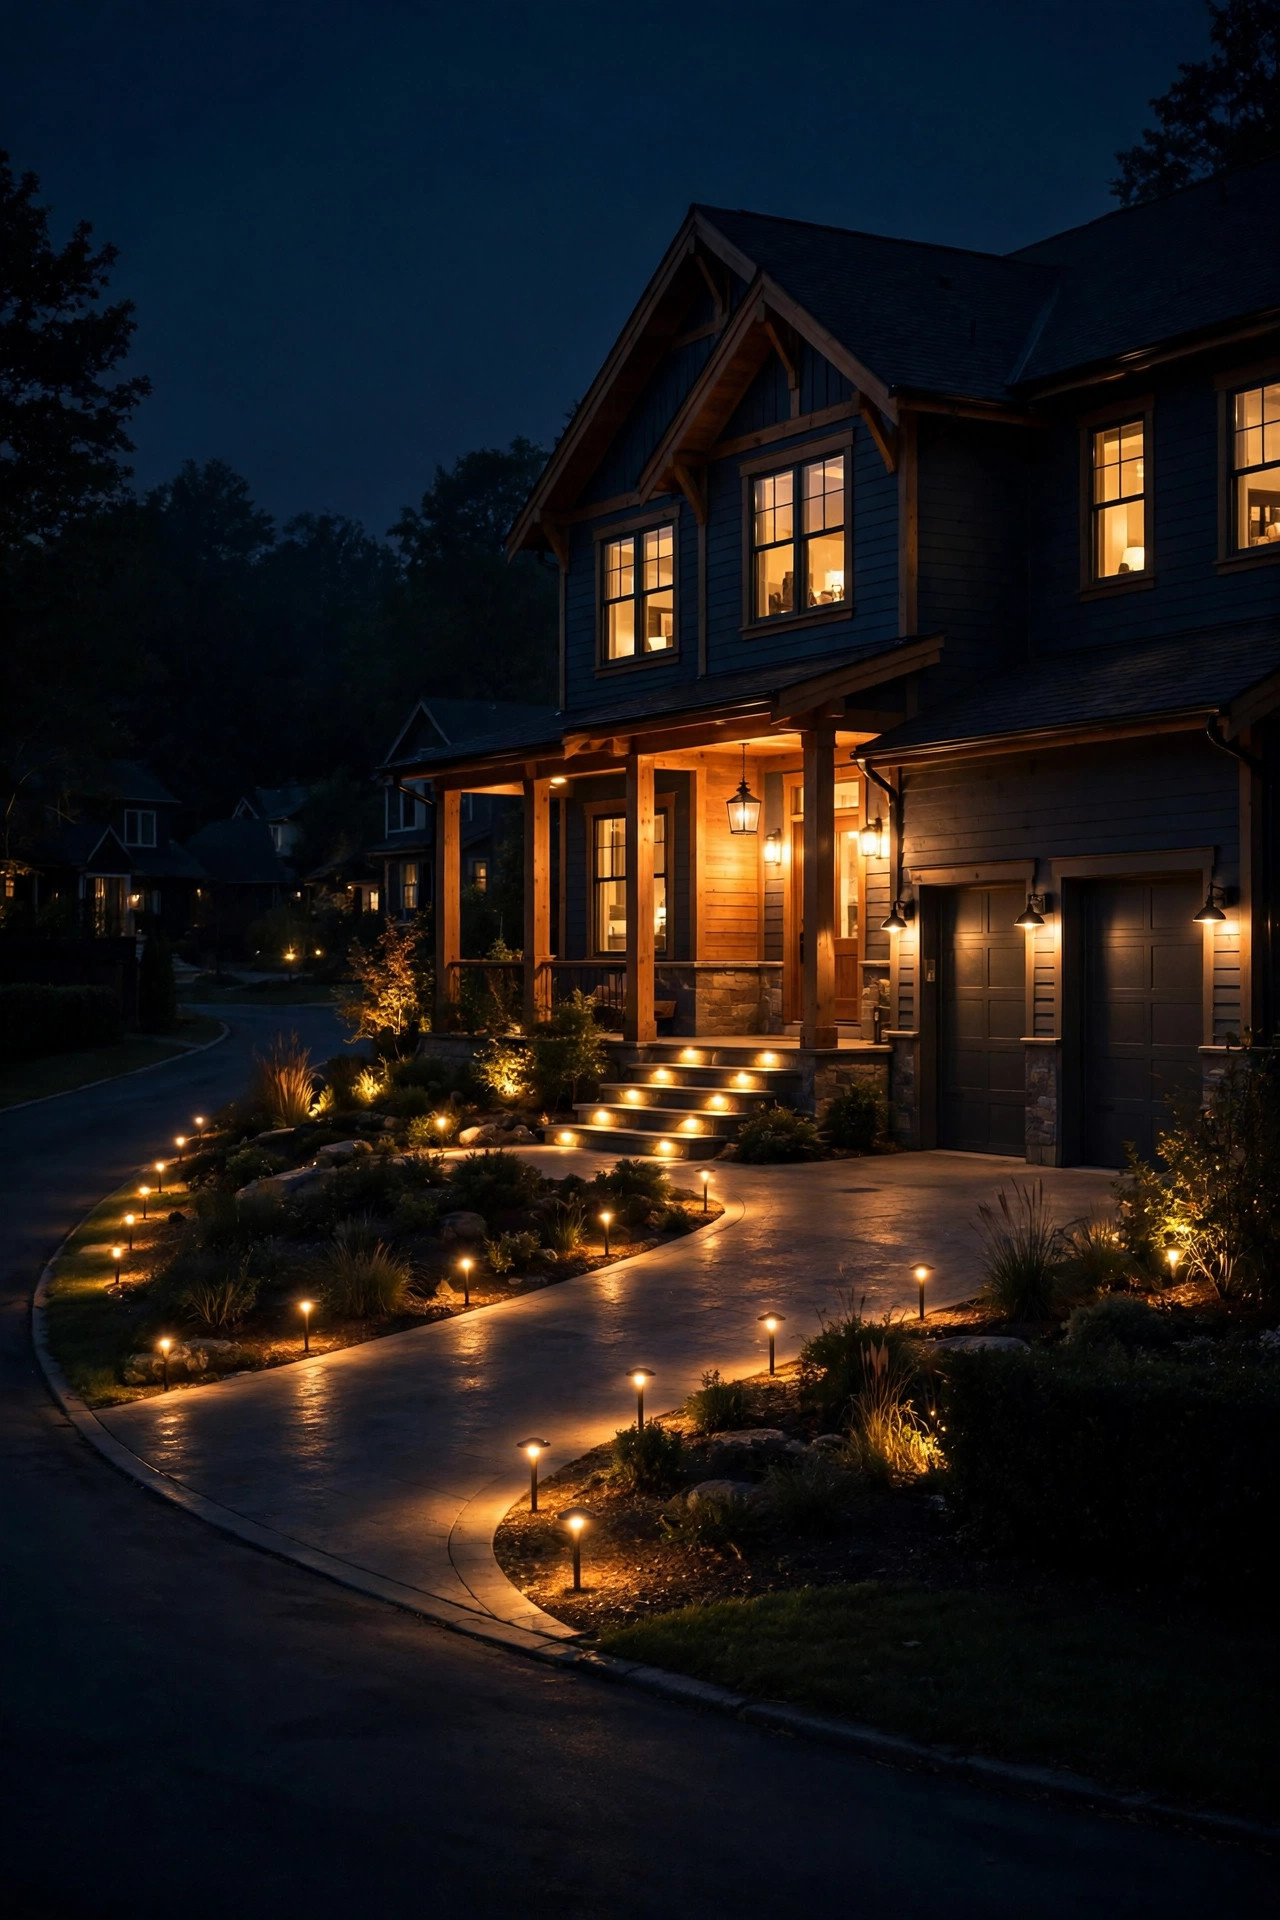
Driving home after dark on our road used to feel like landing a plane with no runway lights — no streetlights for a quarter mile, just headlights and hope. If your house sits on a road like mine, you already know: outdoor lighting for homes without streetlights isn't decoration, it's infrastructure. Your fixtures have to do every job a streetlight normally does — help guests find the turn-in, guide feet safely up the walk, and make the front door visible from the road. The trick is to think in layers and work from the street inward: a marker at the curb, light along the driveway and path, then a warm, glowing porch as the final beacon. String those layers together and your home goes from invisible to unmistakable — in the welcoming way, not the airport way. Below are the 15 ideas I rely on at my own dark-street house, with the spacing, brightness, and budget numbers that actually work when the sun goes down and the street stays black.
1. Mark the Driveway Entrance With Bollards or Marker Posts
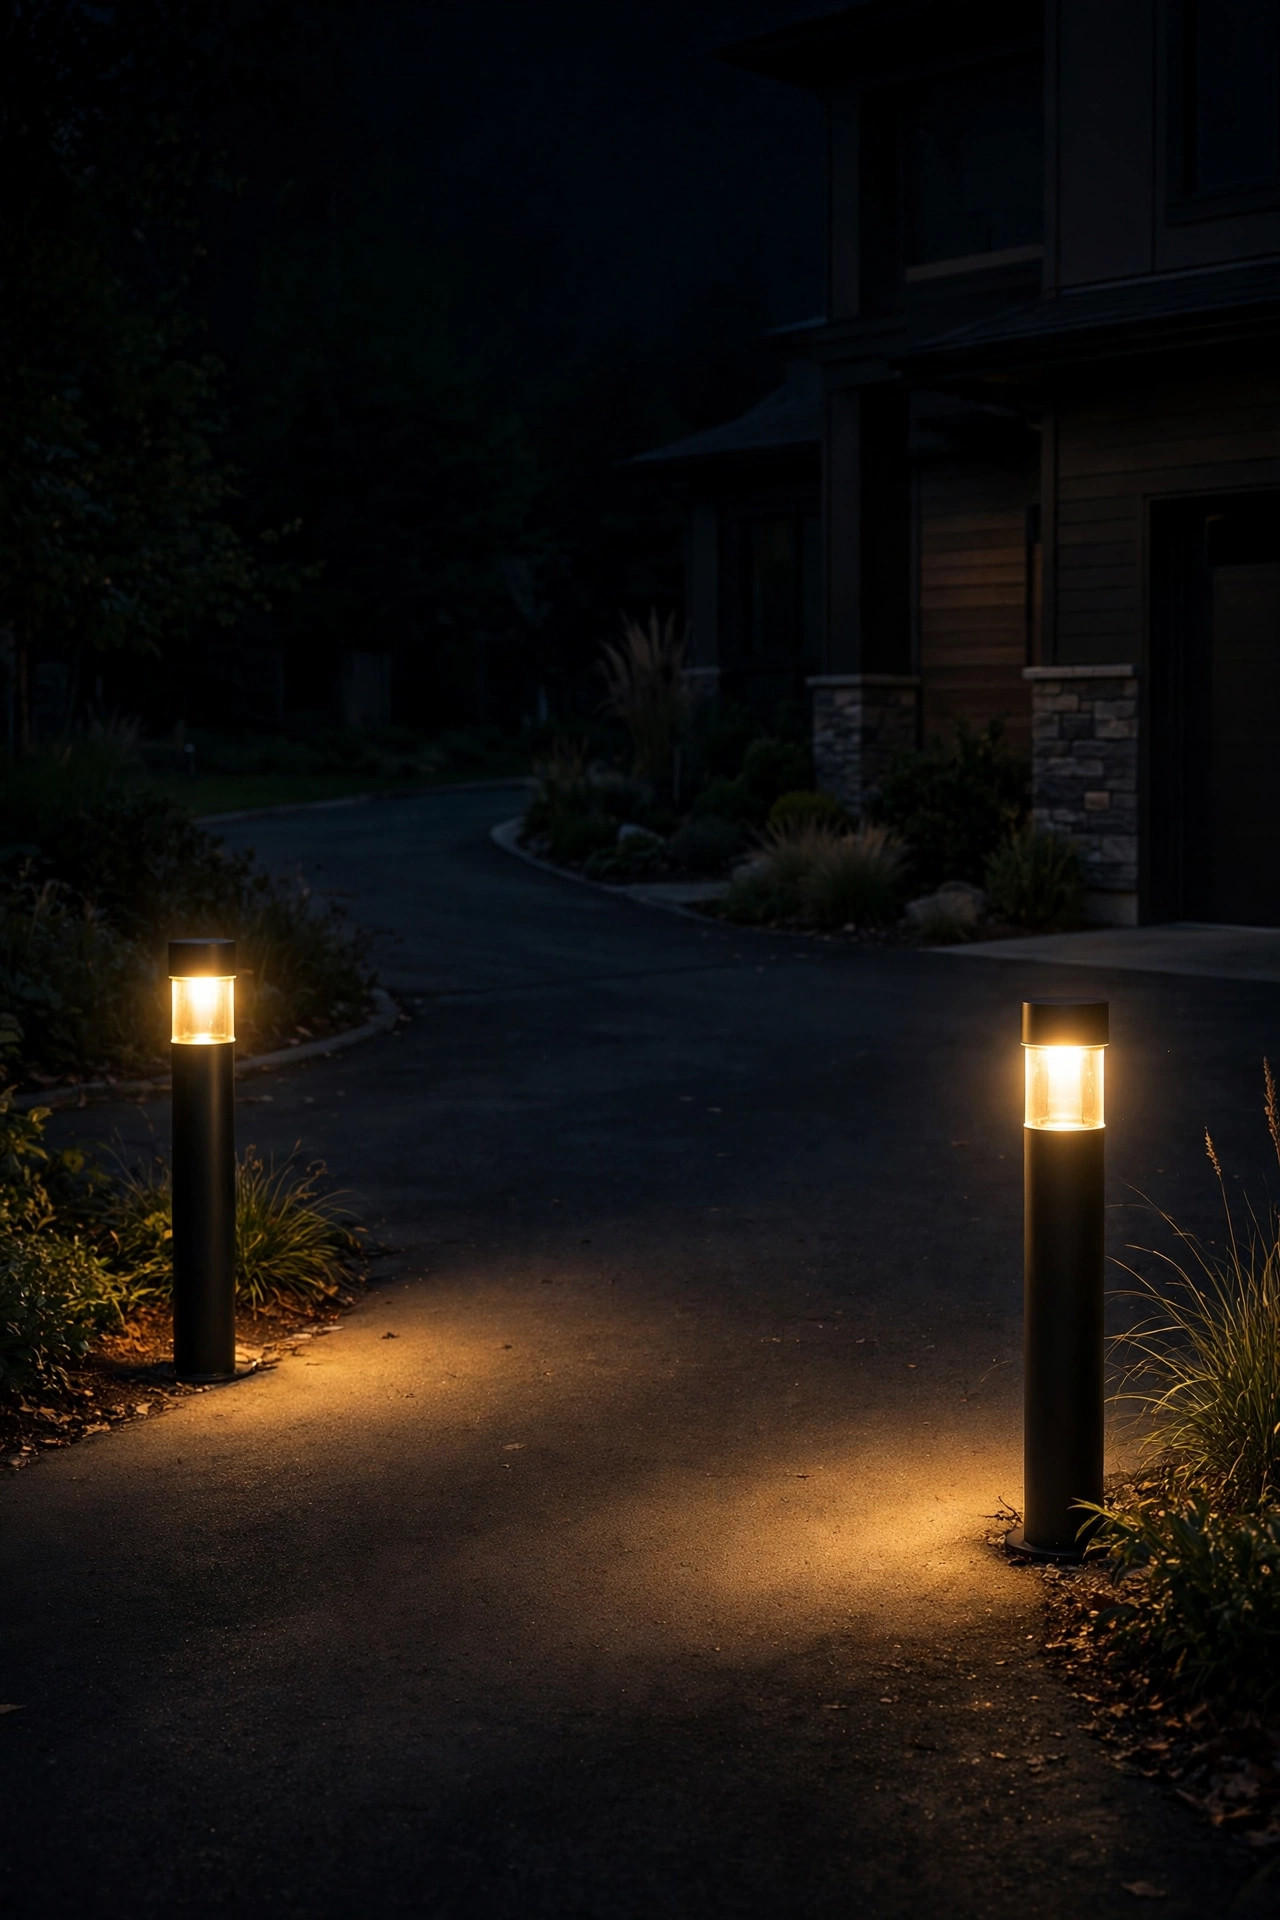
On a street with no streetlights, the hardest part of finding a house is the turn-in itself — GPS says "you have arrived" while your guest sails past a driveway they never saw. Two lights flanking the mouth of the driveway fix that completely. I like short bollards or post-top markers set about 12 to 18 inches back from the pavement edge, one on each side, so headlights catch them early and the pair reads as a gateway. Low-voltage fixtures are the reliable choice here because the cable run is long; solar markers work too, but only if the spot gets six-plus hours of sun — under a big shade tree, they fade by 10 p.m. Keep them modest: 100 to 200 lumens each is plenty to mark an edge without lighting up the whole road. A strip of reflective tape on a mailbox post nearby helps as a no-power backup. I walk through placement for the full length of the drive in my driveway lighting ideas post — the entrance pair is step one of that plan.
Suggested budget range: $60 – $240.
2. Line the Walkway With Shielded Path Lights
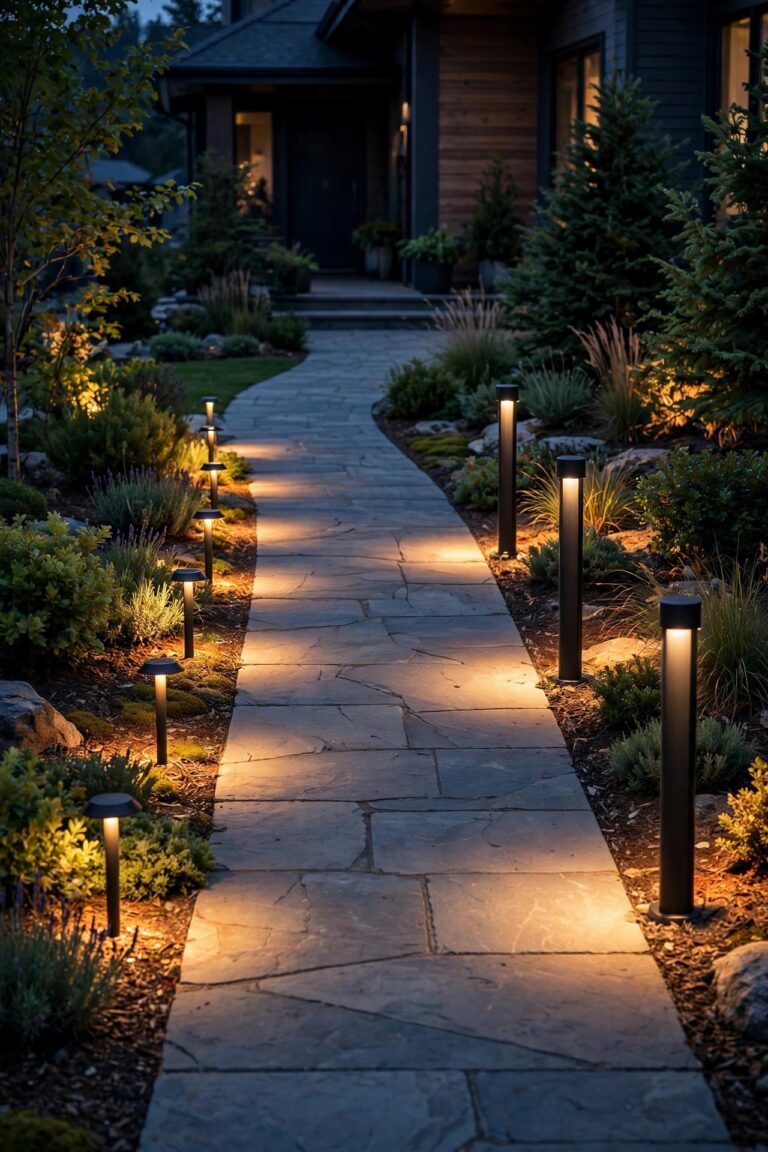
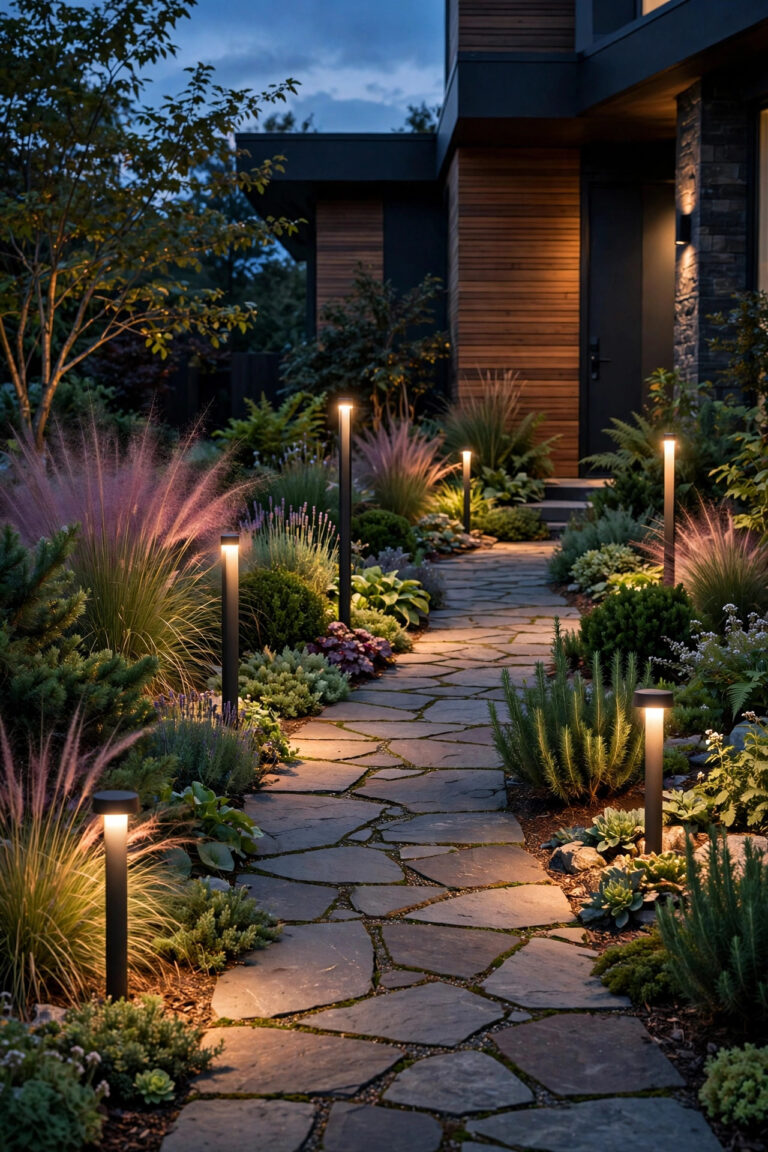
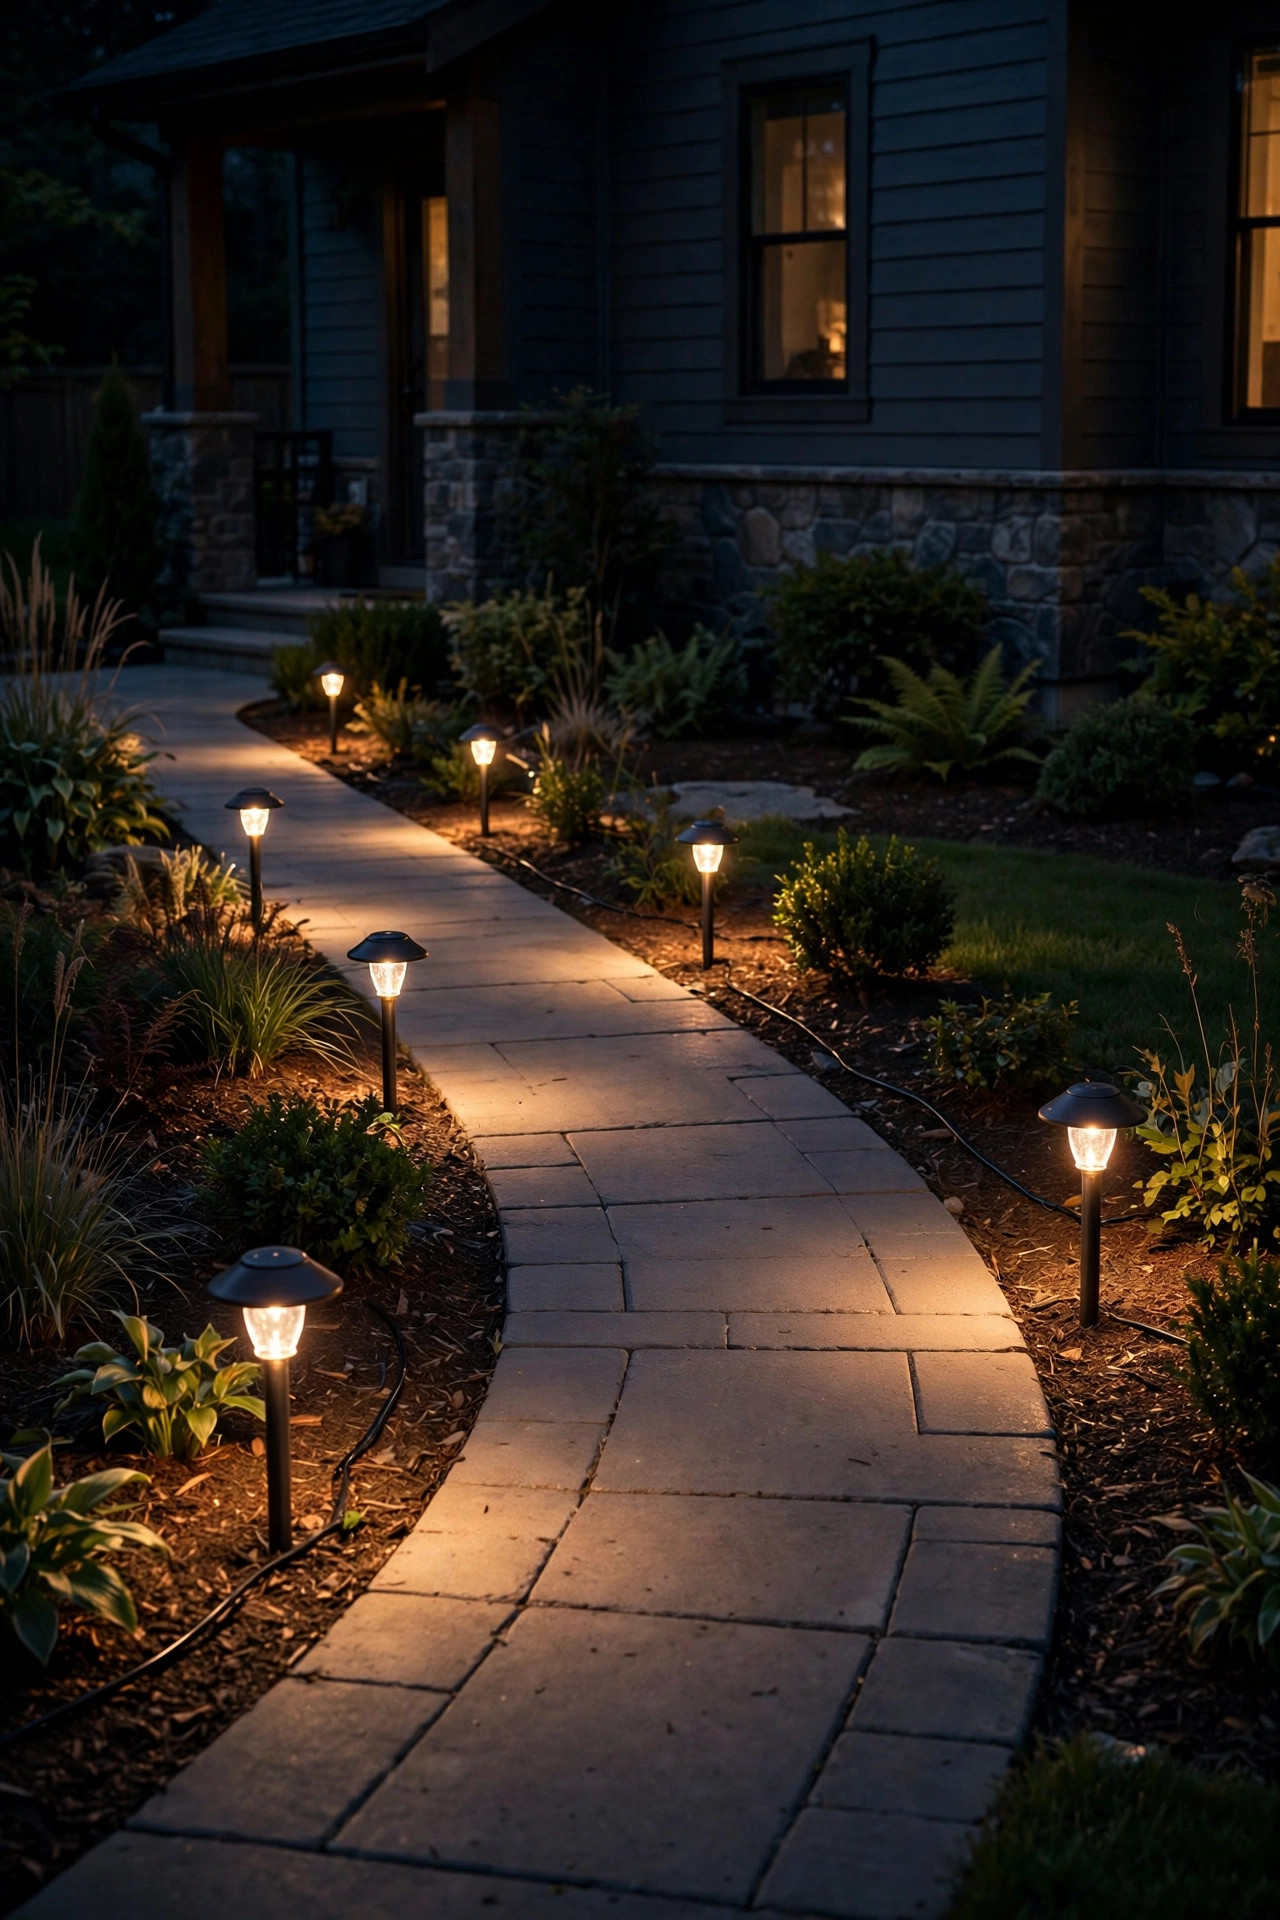
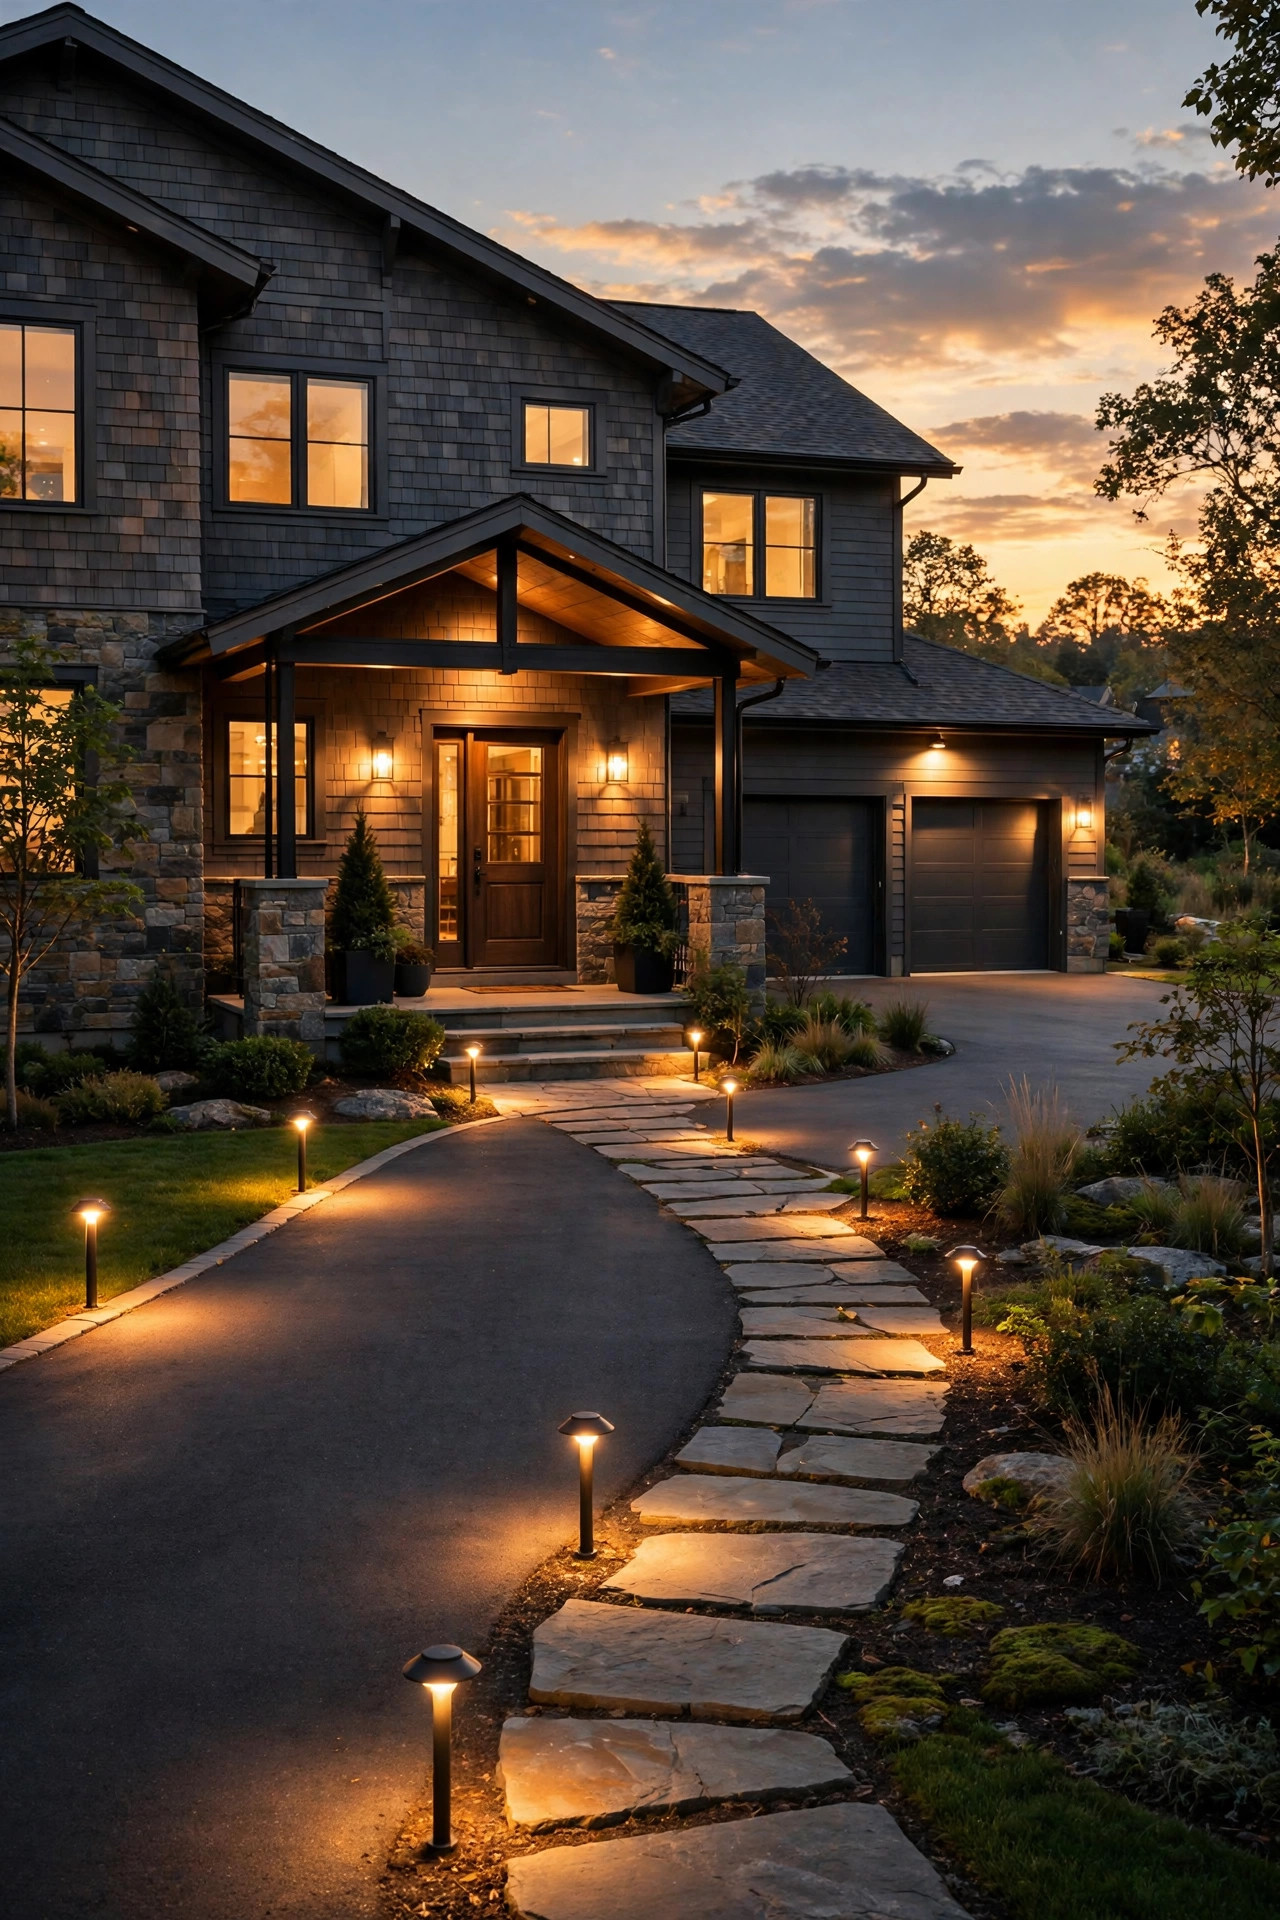
Once guests are out of the car, the walkway is where a dark property gets genuinely risky — no ambient glow means every uneven paver is invisible. Path lights spaced 6 to 8 feet apart, staggered on alternating sides of the walk, lay down overlapping pools of light without the airport-runway look of a fixture every two feet. Aim for fixtures 14 to 18 inches tall with shielded tops so the light falls on the path, not into eyes; around 100 to 200 lumens per fixture is the sweet spot at 2700–3000K. In my experience, wired low-voltage lights earn their keep on the main walk because they burn at full brightness from dusk to dawn, while budget solar stakes often dim to a candle by midnight — fine for a flower bed, not for the route to your door. If the walk curves, place a light at the outside of each bend where feet naturally land. Keep fixtures a few inches back from the edge so mower wheels and snow shovels don't collect them.
Suggested budget range: $80 – $300.
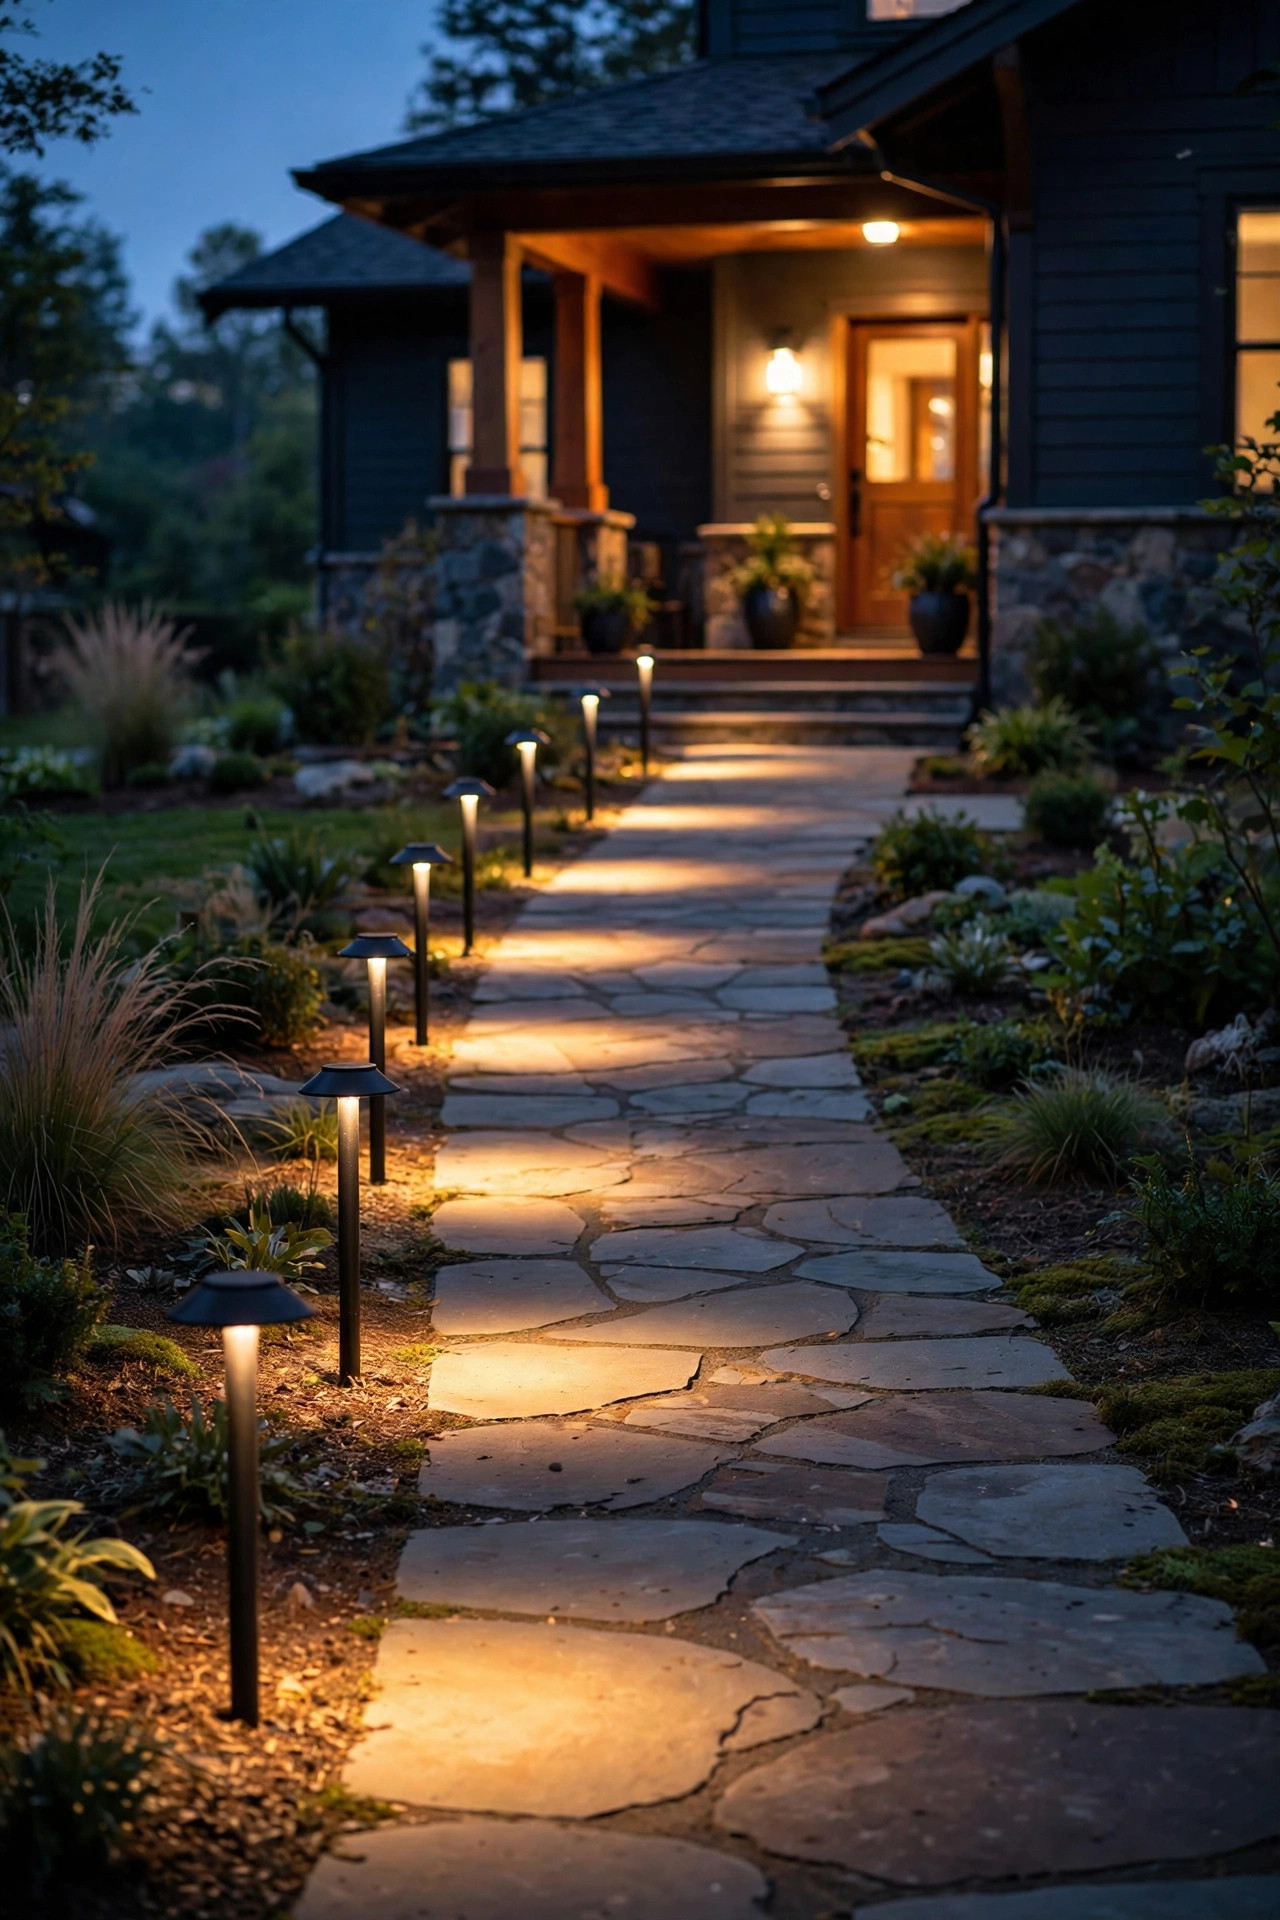
3. Add a Motion-Sensor Floodlight Over the Driveway
The driveway and garage apron are where you unload groceries, where kids find dropped keys, and — let's be honest — where a dark house looks most vulnerable. A dual-head LED floodlight mounted 9 to 12 feet up, ideally under the eave over the garage door, covers that whole work zone the second it senses motion. Look for 1,600 to 2,500 lumens in warm-neutral 3000K, a detection range you can dial down to about 30 feet, and an on-time of 1 to 5 minutes so it isn't snapping on and off all night. Angle the heads down at roughly 45 degrees and walk-test the aim at night: you want light on the pavement, not blasting through a neighbor's window or into drivers' eyes on the road. Set sensitivity lower if road traffic keeps triggering it, or mask part of the sensor lens with a small piece of electrical tape — an old installer trick that works. My motion sensor outdoor lights guide covers the settings in detail. On a street with zero ambient light, this one fixture does more for peace of mind than any other on this list.
Suggested budget range: $45 – $160.
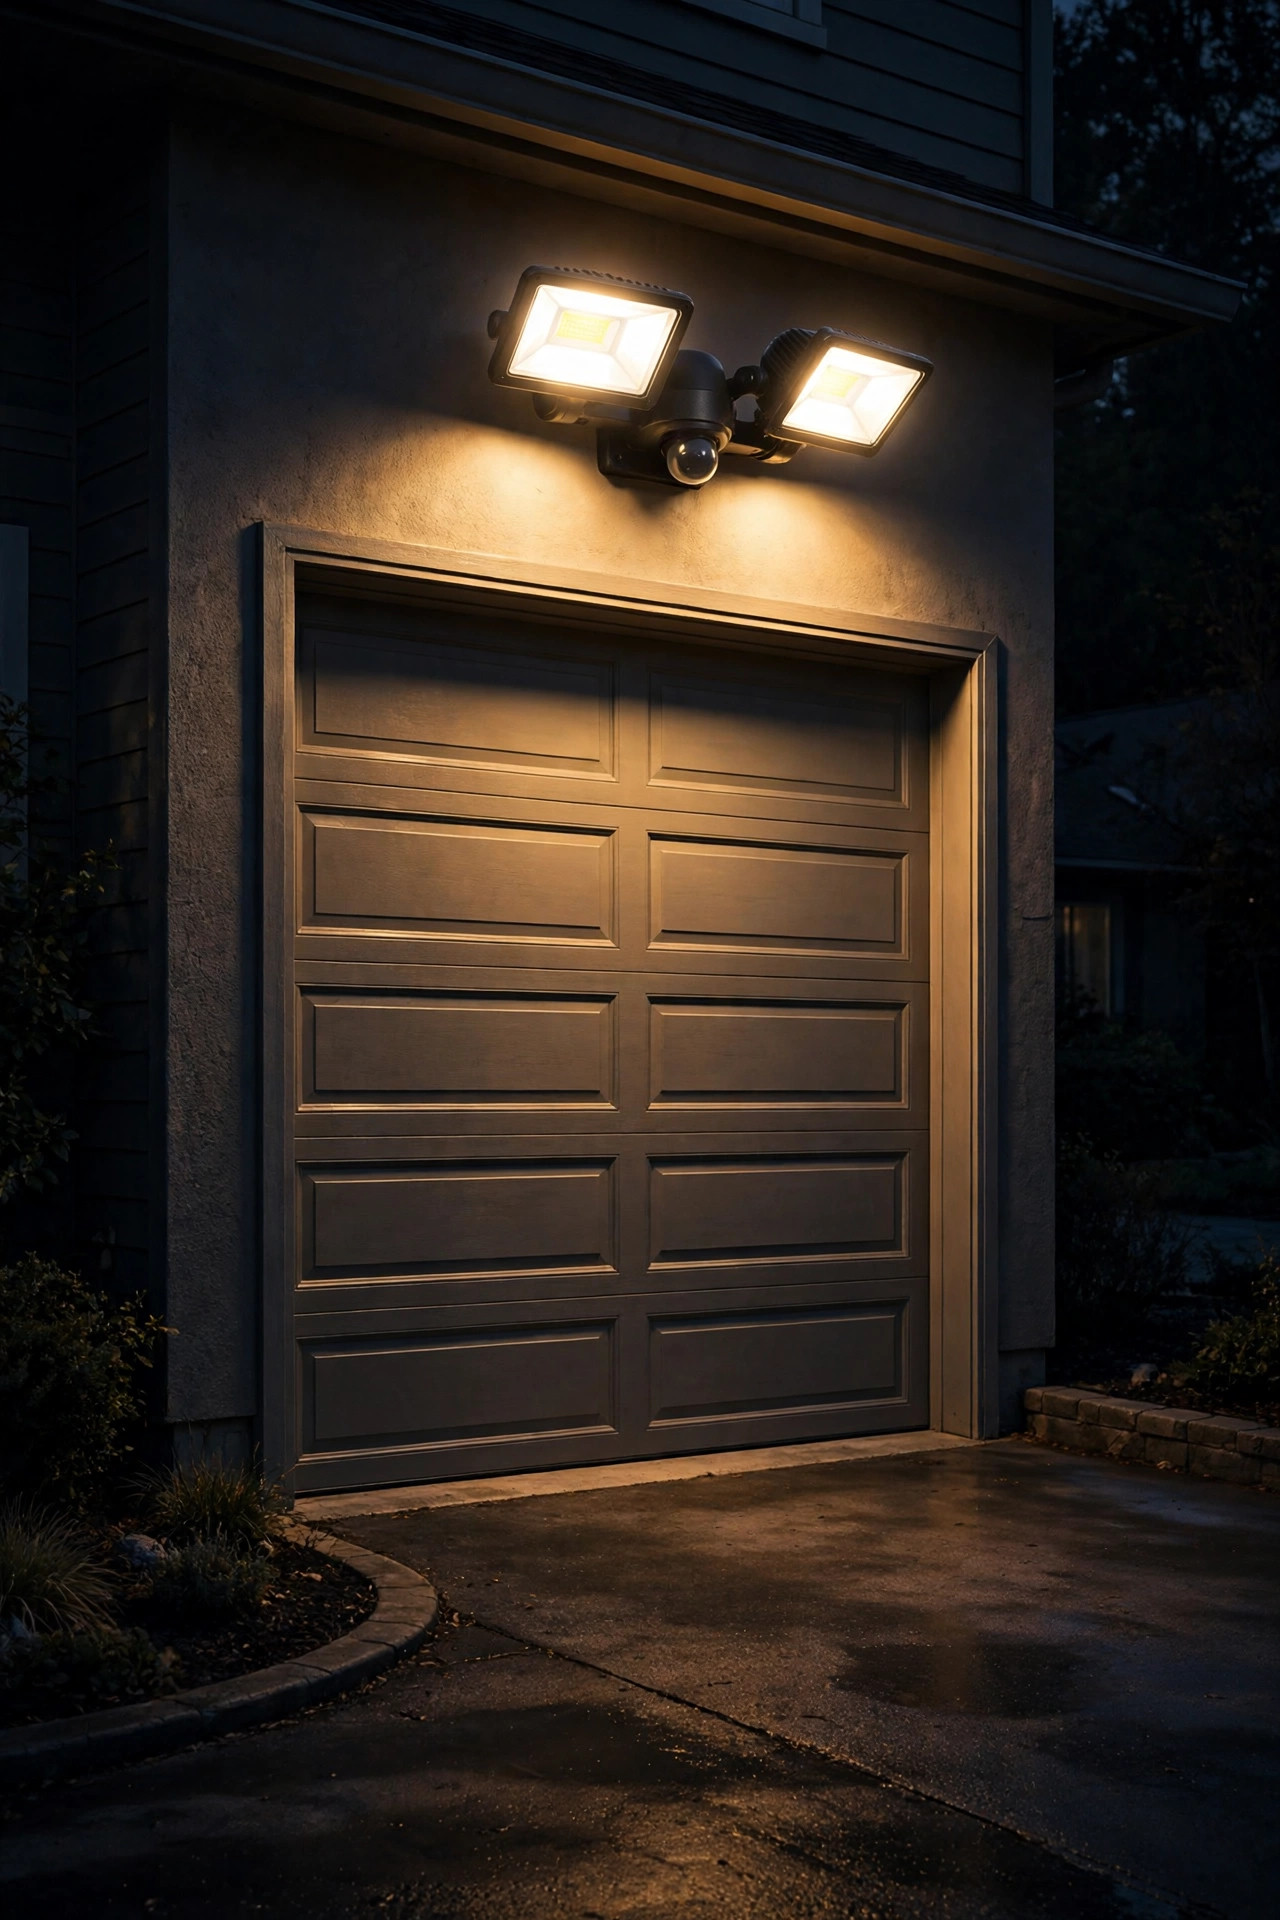
4. Make Your House Number Impossible to Miss
Here's the idea most people skip, and it's the one delivery drivers and paramedics care about: on an unlit street, an unlit house number might as well not exist. Backlit or solar-illuminated numbers, at least 4 inches tall (6 is better for long setbacks), mounted where approaching headlights naturally land — on the house near the door, on a post at the drive entrance, or on the mailbox — turn "I think this is it?" into a confident stop. Choose numbers that light themselves rather than relying on a spotlight; they stay readable in rain and fog and sip almost no power. Contrast matters more than brightness: pale numbers glowing against dark siding, or a lit plaque with dark digits. If your mailbox sits at the curb, that's often the best real estate — it's the first thing a driver reaches. I rounded up the styles that hold up outdoors in my illuminated house number ideas post. Honestly? Of everything on this list, this is the one I'd install first at a new house. It costs the least and solves the problem every single visitor has.
Suggested budget range: $35 – $150.
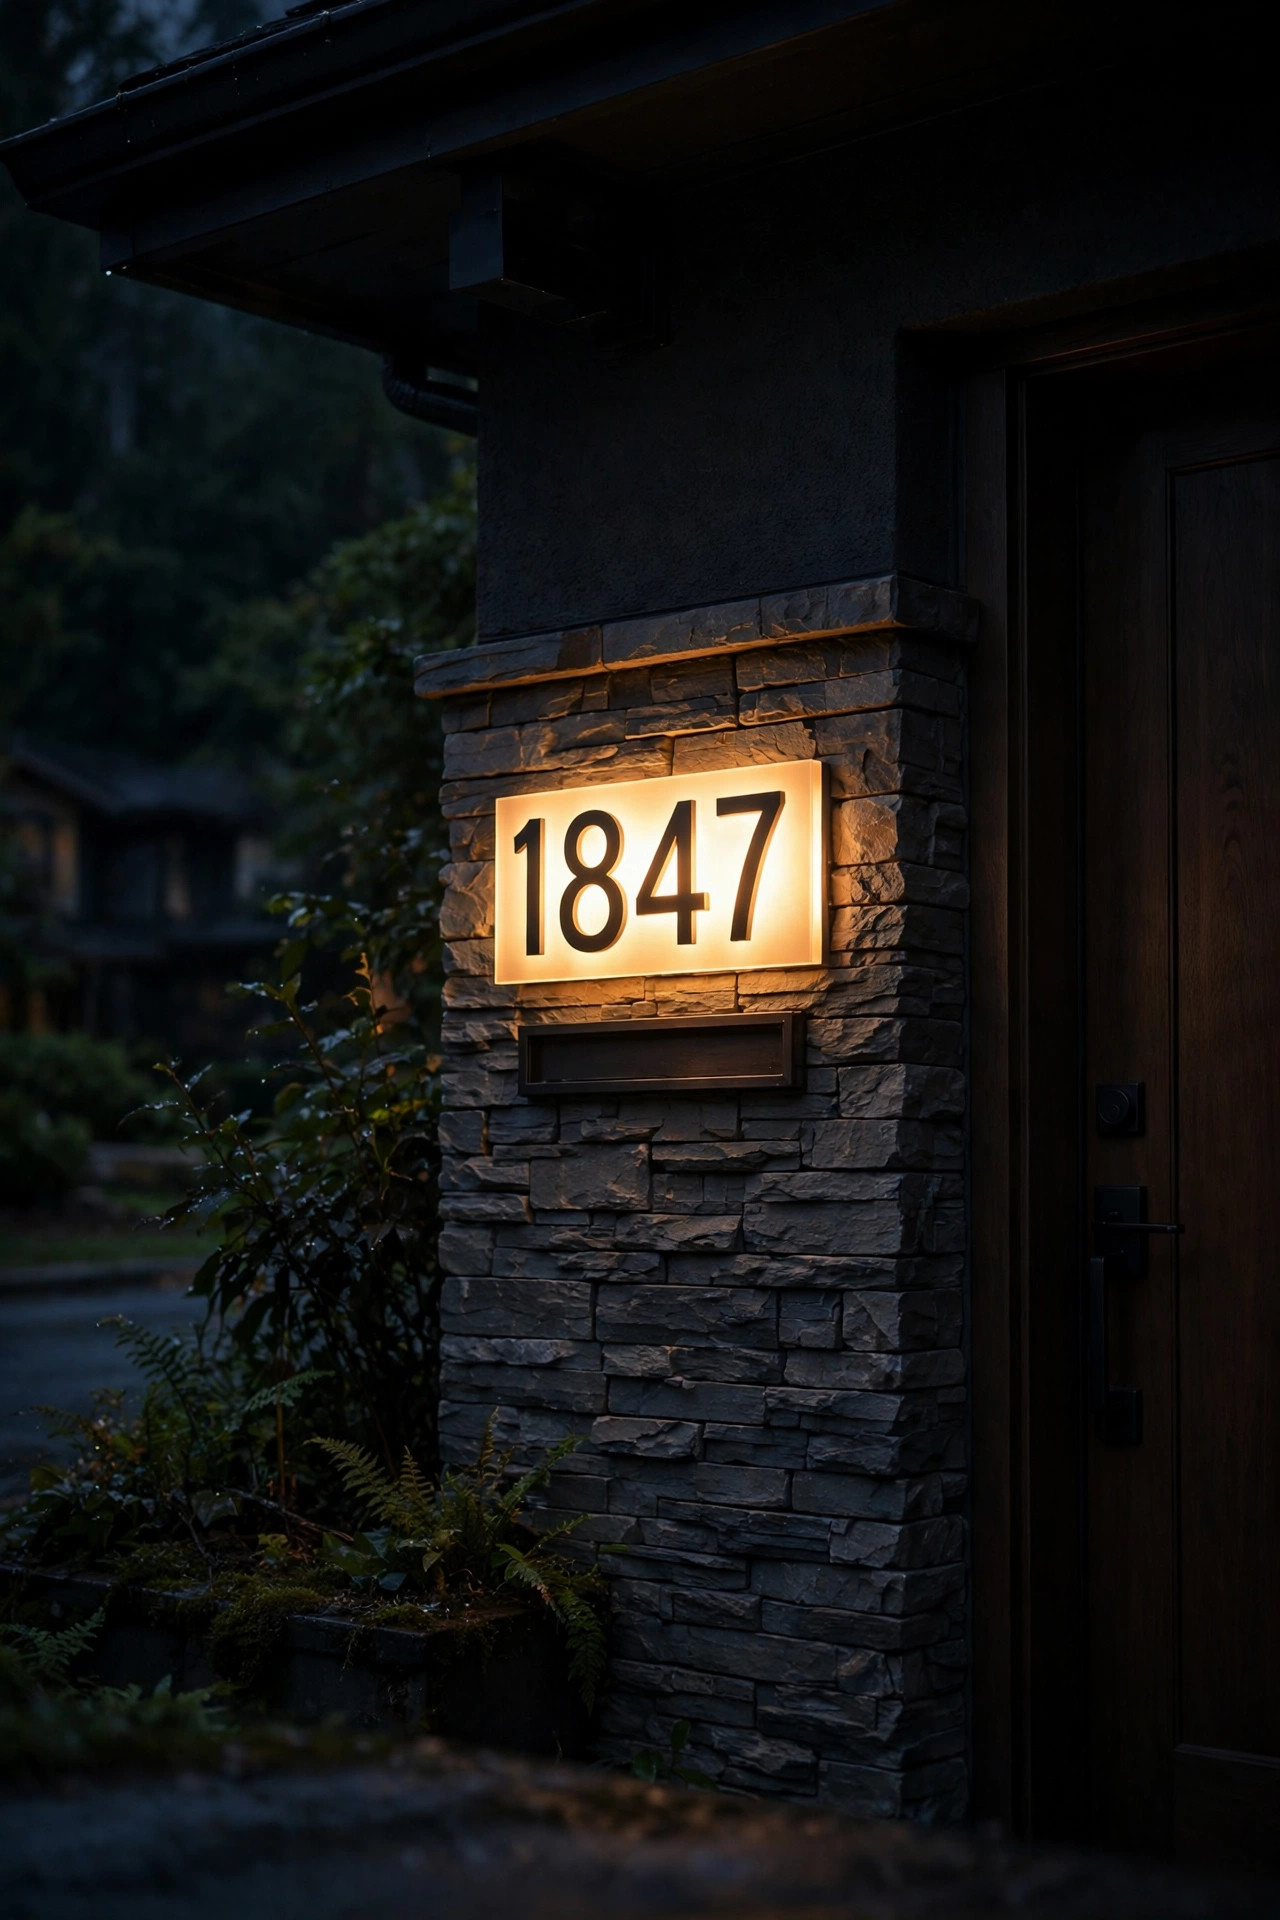
5. Turn the Porch Into a Beacon With Layers
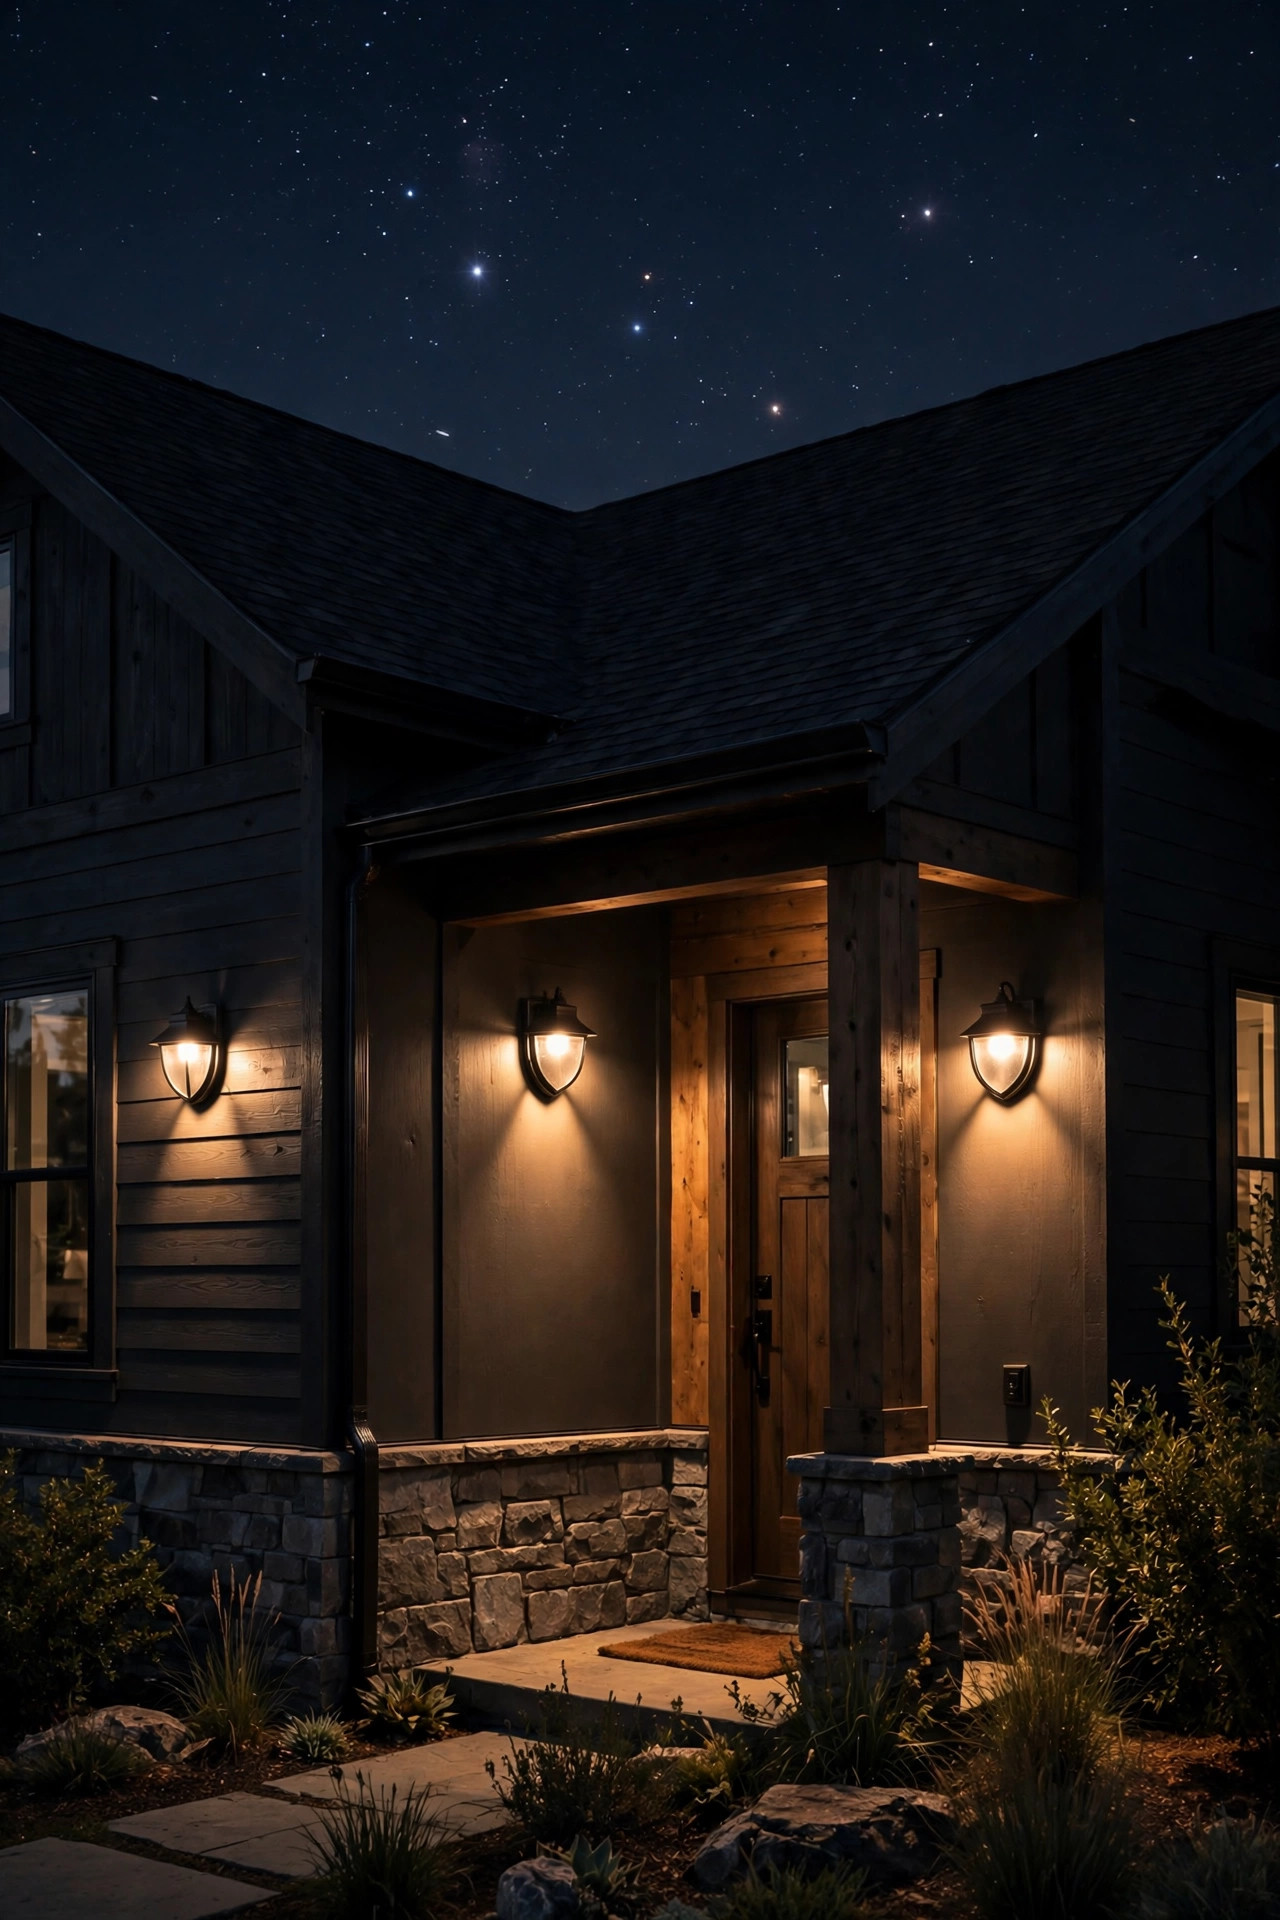
Everything on a dark street builds toward this: a porch that glows like a lighthouse. One lonely bulb beside the door won't do it — the goal is a layered entry that reads clearly from 100 feet away. Start with a pair of sconces flanking the door, centers 60 to 66 inches above the porch floor, each running a 450 to 800-lumen bulb at 2700K. Add an overhead source — a flush-mount ceiling light or a hanging pendant if you have the height — so faces aren't lit from one side only, which looks harsh in person and worse on a doorbell camera. The magic is in the combination: sconces give the sparkle you see from the road, while the overhead light does the practical work of finding the lock and reading the step edge. On my own porch I keep the sconces on a dusk-to-dawn schedule and the overhead on a switch, and the entry looks warm and intentional instead of cave-like. Choose wet-rated fixtures if the porch is open to the weather, and match the finish to your door hardware so it looks planned, not patched together.
Suggested budget range: $90 – $320.
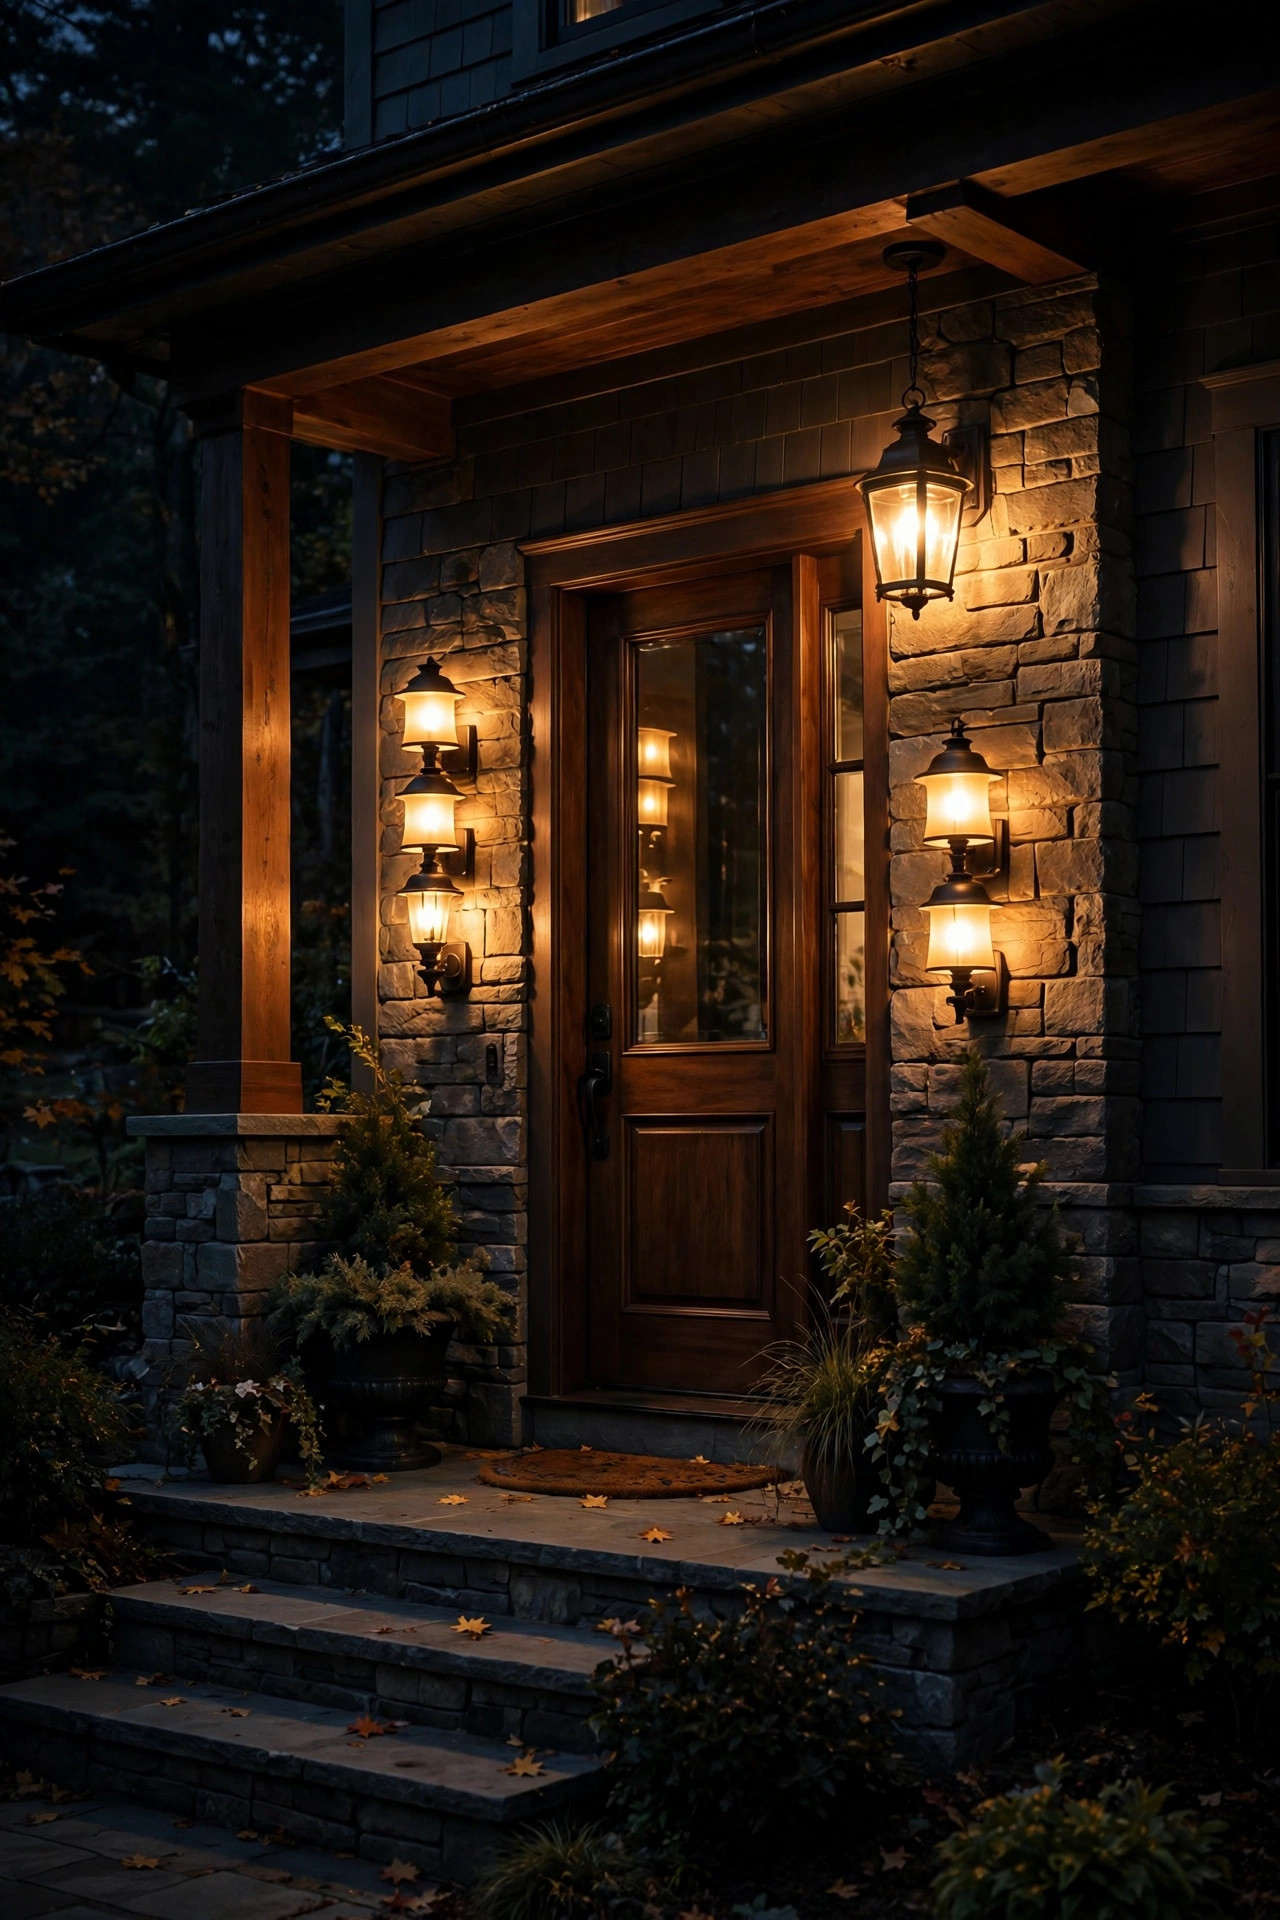
6. Go Wired: A Low-Voltage System for the Core Route
Solar lights have their place (you'll see several on this list), but the route you walk every night — driveway edge, walkway, steps — deserves the reliability of a wired low-voltage system. A 12-volt transformer plugs into an exterior outlet, usually near the door or garage, and sends safe, low-voltage power through landscape cable you can bury just under the mulch with a flat spade. Size the transformer at about 125 percent of your total fixture wattage so there's headroom to add lights later; a small home route of ten LED fixtures might draw only 40 to 60 watts total, so a 120-watt transformer is generous. The payoff versus solar is consistency: identical brightness at 6 p.m. and 2 a.m., in December exactly as in June, and no batteries to replace every couple of years. LED low-voltage fixtures also shrug off the cold that makes solar batteries sluggish. If you only wire one project on the property, wire this core route — everything else can be solar accents. Keep connections in waterproof gel-filled connectors; the cheap twist caps are where most DIY systems fail by year two.
Suggested budget range: $250 – $700.
7. Choose Dusk-to-Dawn Photocell Lights for the Backbone
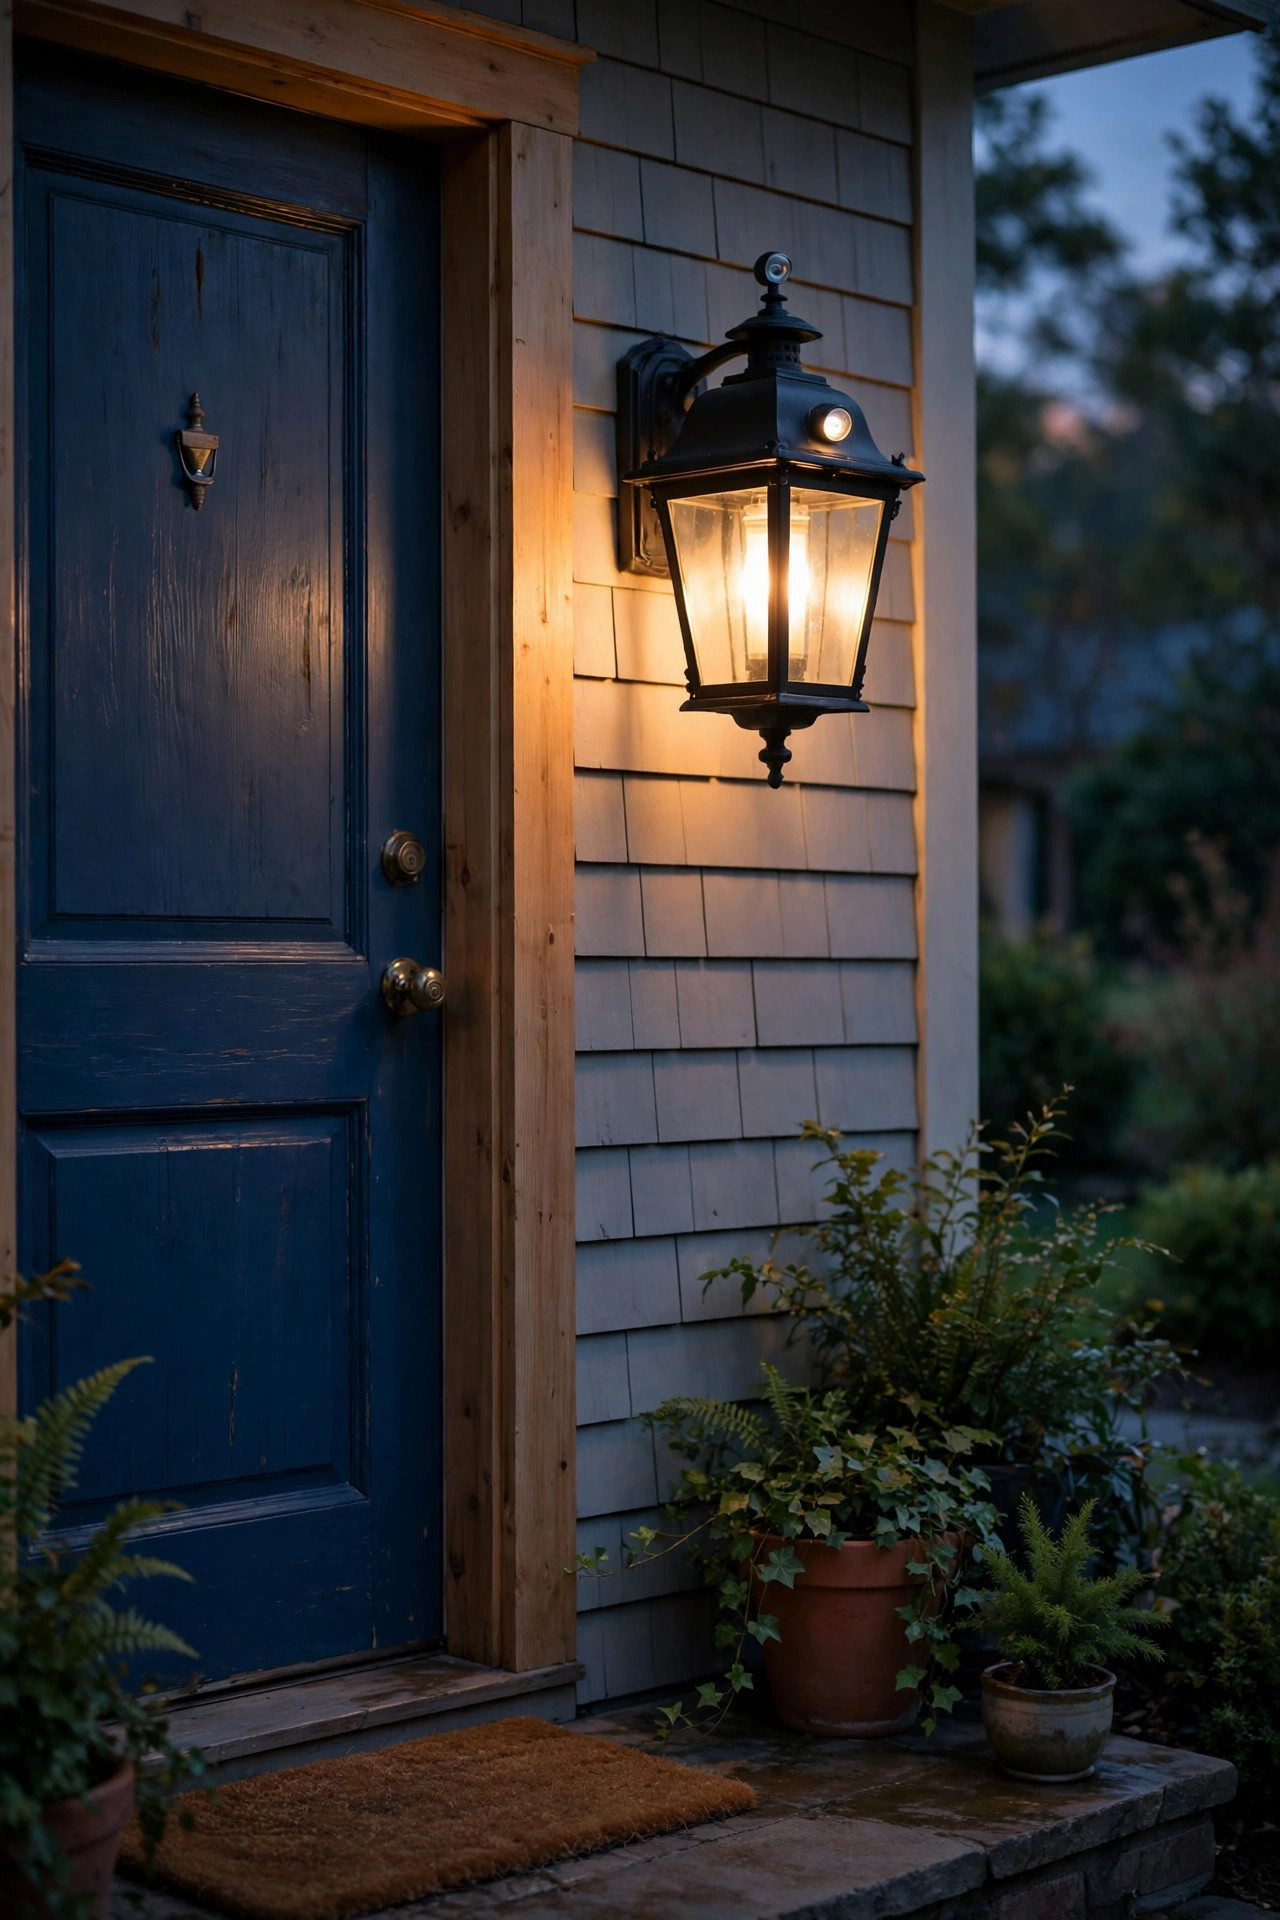
The simplest insurance against ever arriving home to a black house is a fixture or bulb with a built-in photocell — on at dusk, off at dawn, no switches, no schedules, no apps to babysit. Dusk-to-dawn LED bulbs drop into most existing porch and garage fixtures, and dedicated photocell lanterns come in just about every finish. Running costs are almost comically low: a 9-watt LED burning 12 hours a night uses roughly 3 kilowatt-hours a month — pocket change for a house that always looks occupied and welcoming. Two placement tips from experience: keep the photocell fixture away from other strong light sources, including your own floodlight, or the sensor can "see" that light and cycle off and on all night. And if the fixture sits under a deep porch roof, test it the first evening — a sensor in permanent shade may switch on at 3 p.m. For most homes, one dusk-to-dawn light at the front door plus one at the garage forms the backbone; layer motion and timer lights around them. Honestly, this is the set-and-forget layer I recommend to every friend who moves onto a dark road.
Suggested budget range: $40 – $140.
8. Uplight a Tree or Two as Living Landmarks
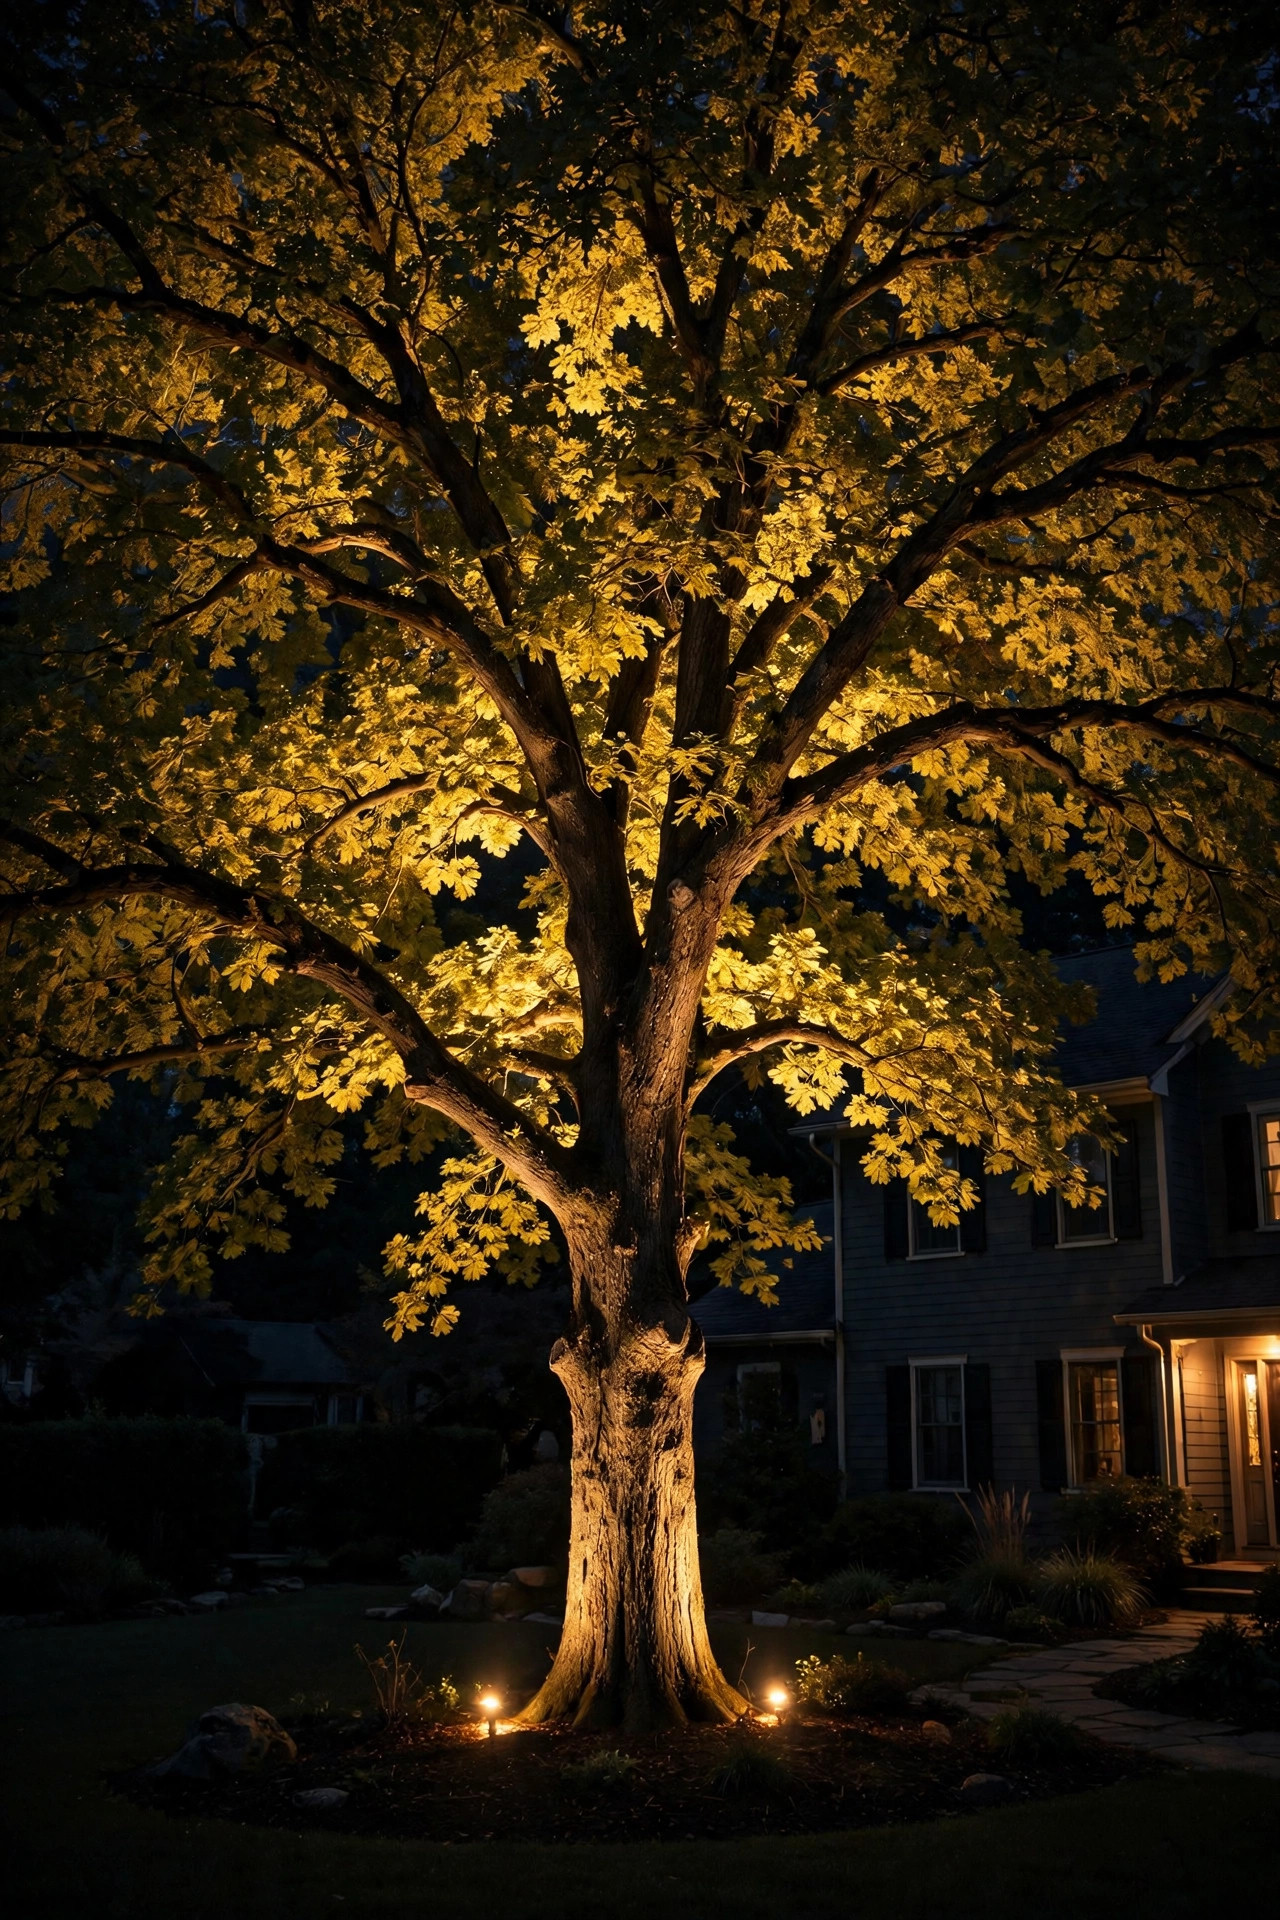
When the whole street is black, a single beautifully lit tree becomes a landmark — the thing guests look for, and the feature that keeps your yard from reading as a void. Pick the tree closest to the road or the one that frames the house best, and place a well light or stake-mounted spotlight at its base, aimed up into the canopy at a slight angle from the trunk. A narrow-to-medium beam, about 15 to 35 degrees, works for tall oaks and pines; wider floods suit round shade trees. Around 400 to 800 lumens is enough — you're painting with light, not interrogating the tree. Warm 2700K keeps bark and leaves looking natural; cool bulbs make foliage look sickly. Set the fixture a foot or two out from the trunk so the light grazes the bark's texture on its way up, and expect to re-aim once a year as the canopy grows. If two statement trees flank the drive, lighting both creates that estate-entrance symmetry. Just keep the beams inside your own canopy — light trespass is still trespass, even out in the country.
Suggested budget range: $50 – $200.
9. Light Every Step, Stair, and Grade Change
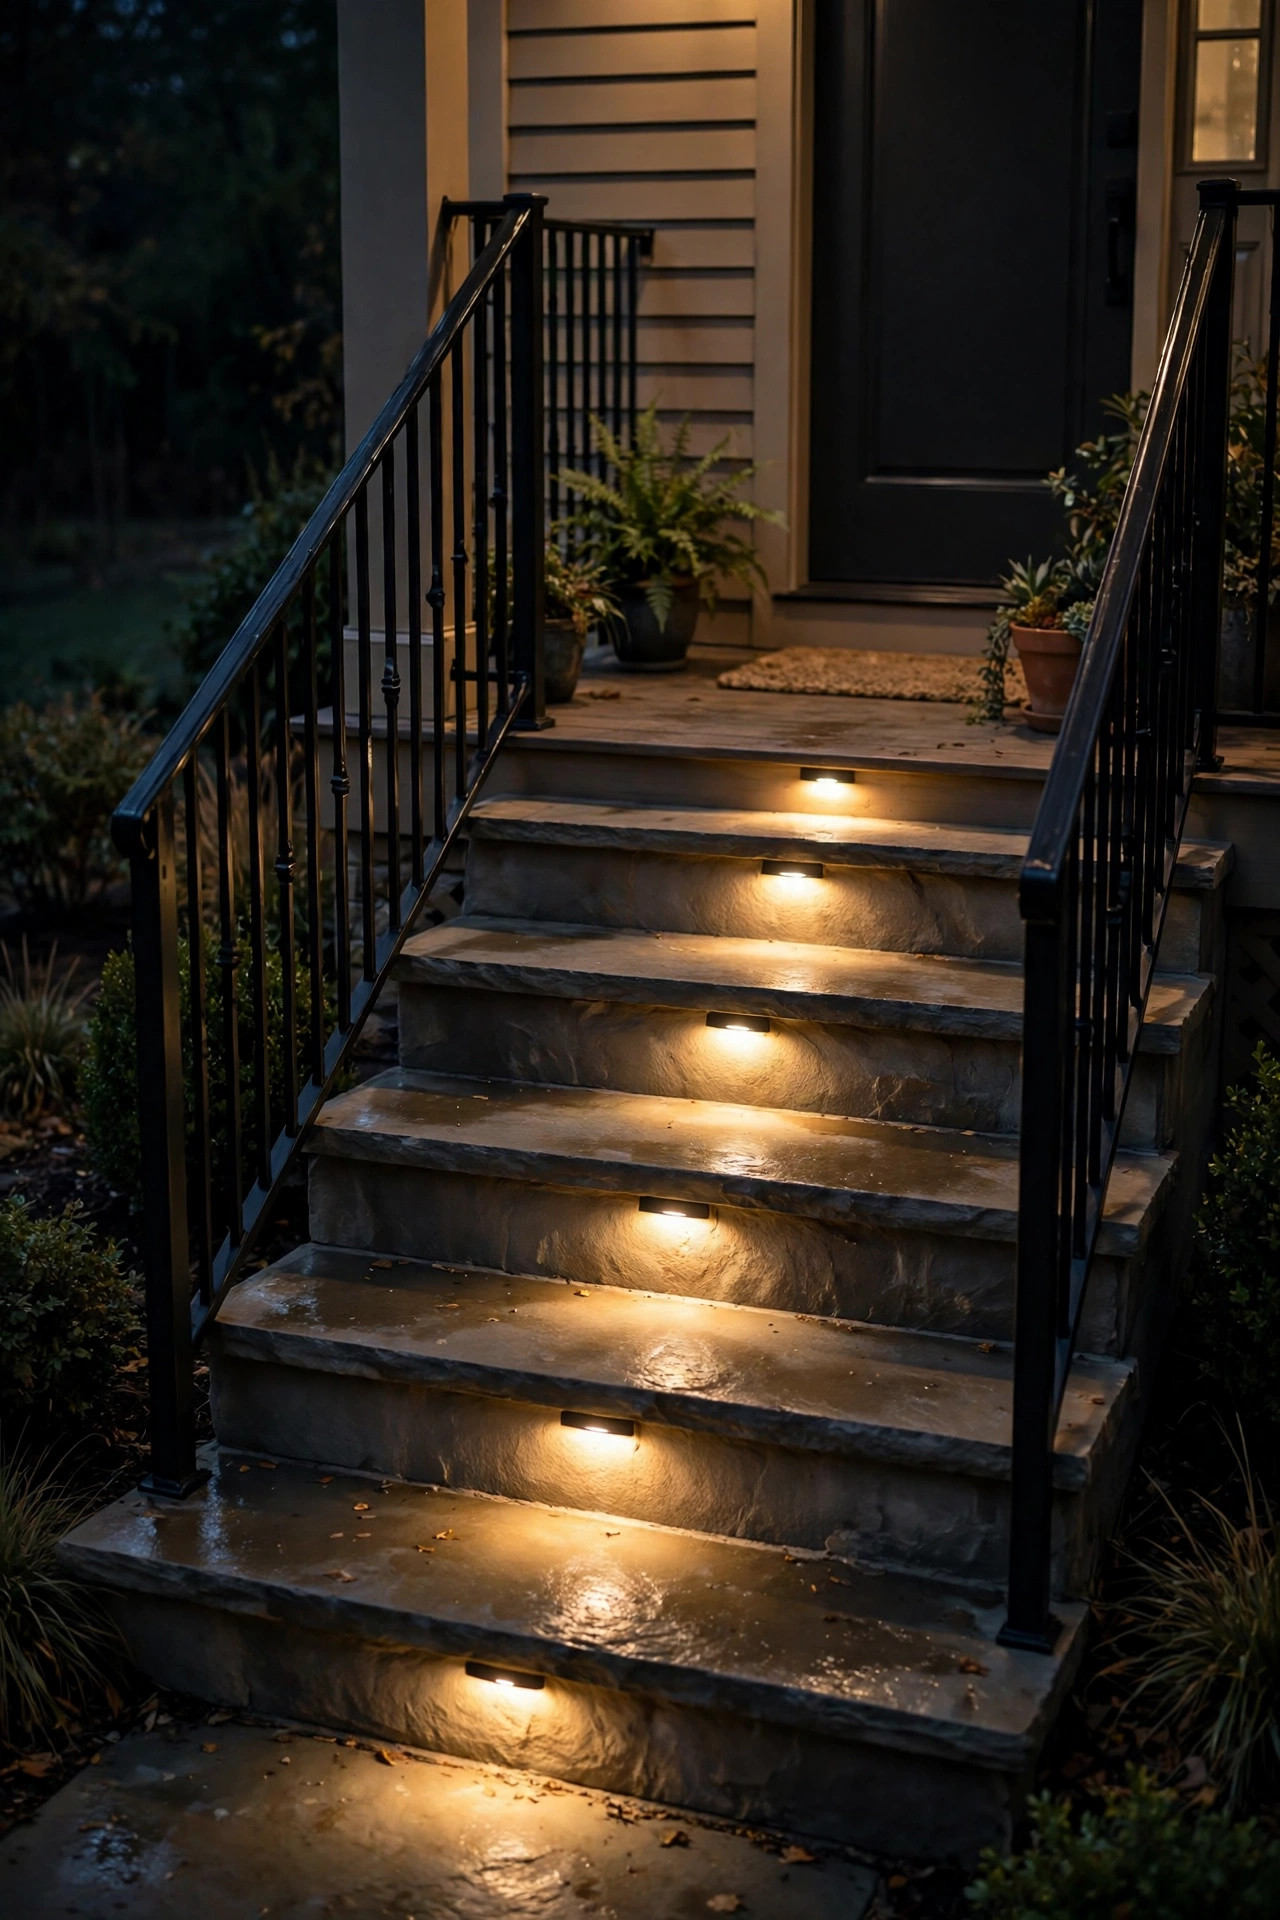
On a lit street, a missed step hurts. On an unlit street, you never see the step at all. Any change in level on your route in — porch steps, deck stairs, a single raised threshold — deserves its own light, because path lights wash over flat ground and leave treads in shadow. Recessed step lights mount into the riser or the wall beside the stairs and throw light exactly where feet land; under-rail LED strip does the same job beautifully on deck stairs and is nearly invisible by day. Space step lights every two to three treads, or one per step on a short, steep run, and keep them low-output — 50 to 100 lumens is plenty this close to your eyes, and anything brighter creates glare pools that hide the very edges you're trying to show. Wire them into the same low-voltage run as your path lights so the whole route switches on together. Retrofitting wooden steps is a Saturday job with a hole saw; masonry is harder, so for brick or stone, surface-mount fixtures on the adjacent wall instead. This is the least glamorous idea on the list and the one most likely to save someone a sprained ankle.
Suggested budget range: $70 – $280.
10. Put the Whole Route on an Astronomical Timer
A photocell reacts to darkness; an astronomical timer predicts it. It knows sunset for your exact location and adjusts every day of the year, so your lights are already glowing when you pull in — whether that's 4:45 p.m. in January or 8:30 in June. That predictability is exactly what a streetlight-free home needs. Many low-voltage transformers offer timer or photocell-plus-timer modes; the on-at-sunset, off-at-11 setting is my favorite, because the welcome matters less after midnight and the stars matter more. Smart plugs and smart bulbs add app control and vacation randomization — lights that vary their schedule look far more lived-in than a rigid one. Whatever you choose, program the whole core route — driveway markers, path lights, porch — as a single zone so one schedule runs the entire welcome sequence. Keep the motion floodlight separate; it should answer to movement, not the clock. Set it once, glance at it when the seasons change, and the house basically greets people by itself. In my experience, this small box is what turns a pile of fixtures into a system.
Suggested budget range: $25 – $120.
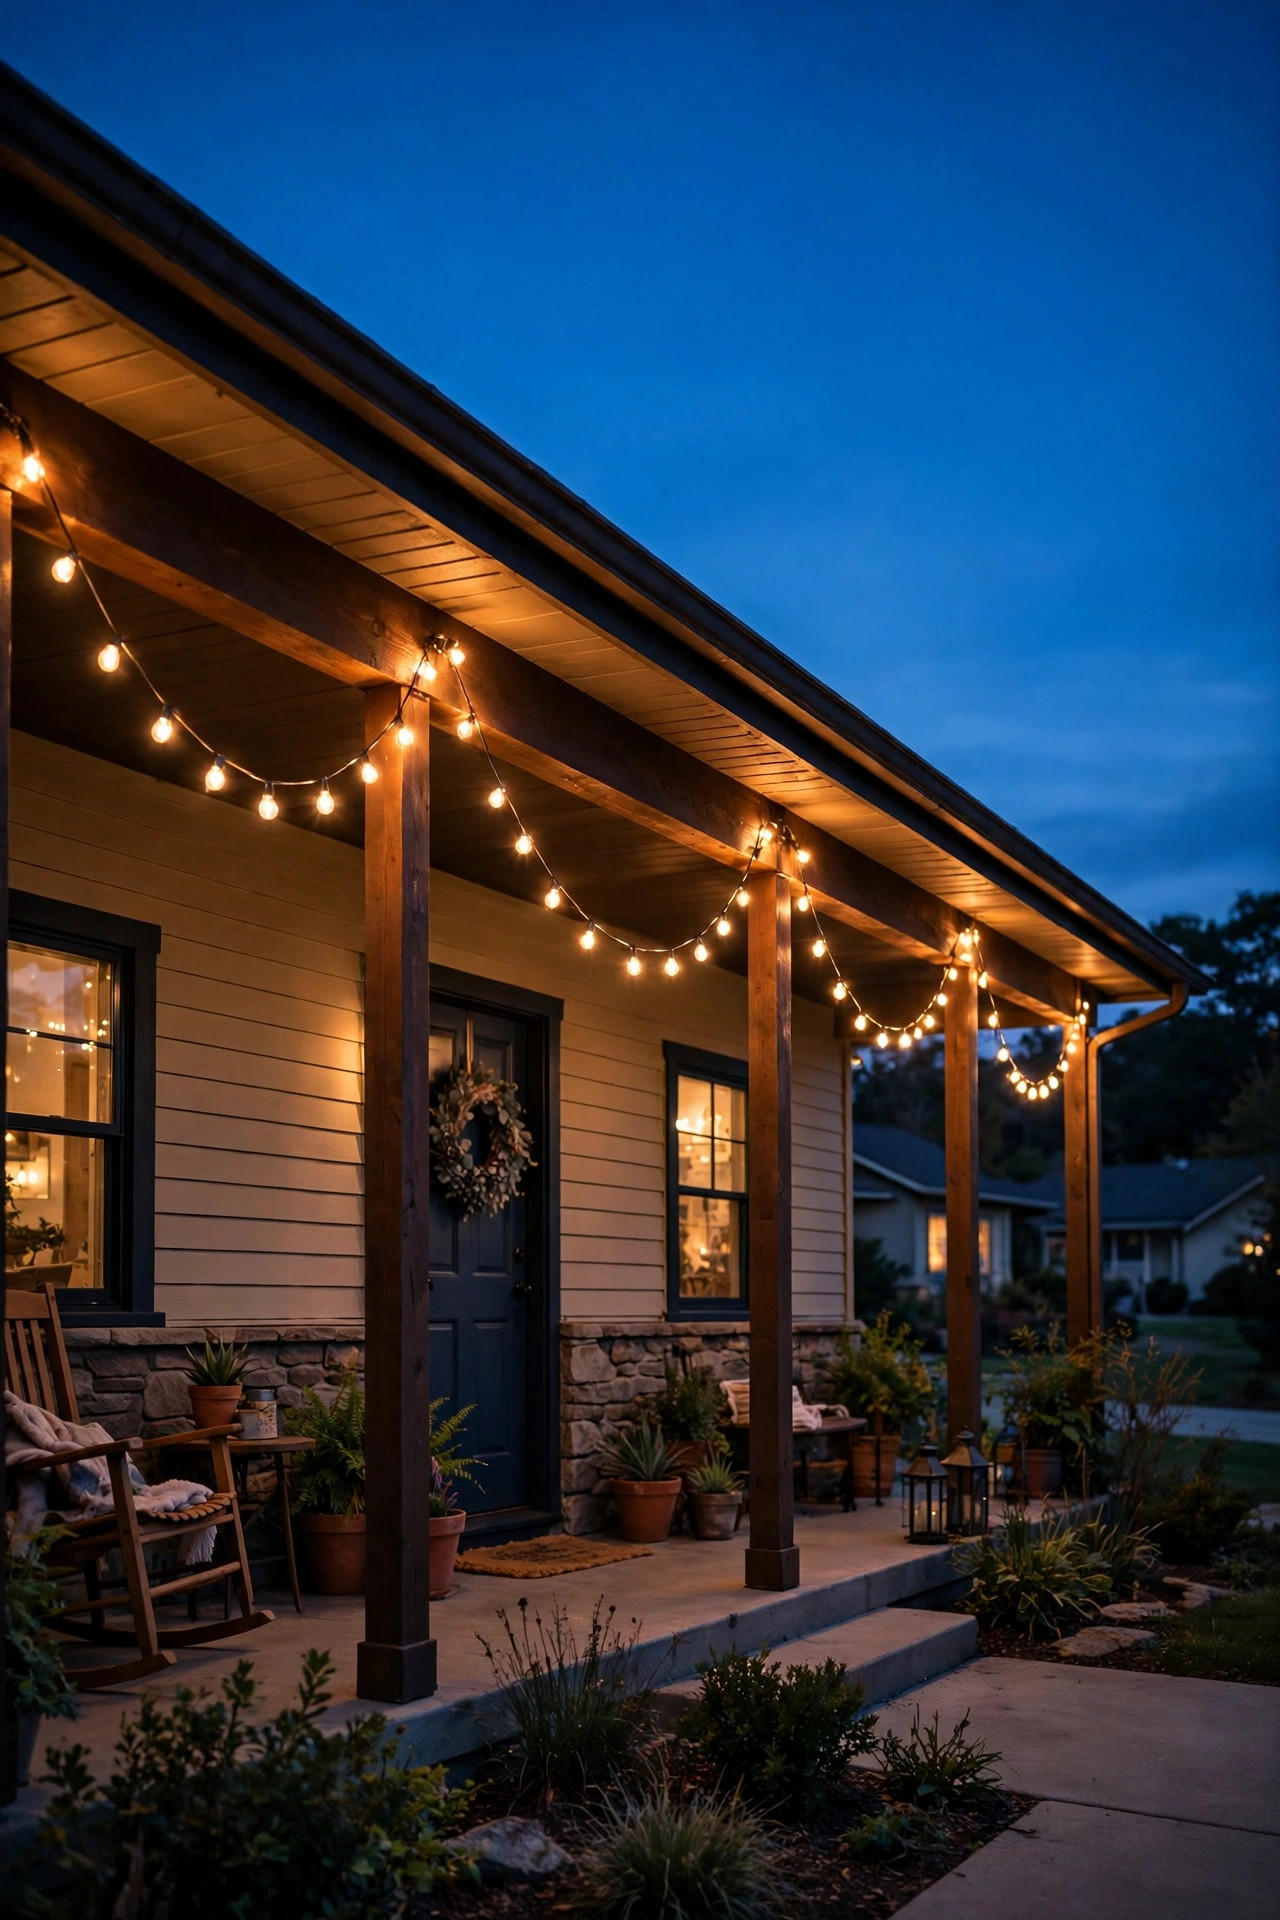
11. Hang String Lights Where You Actually Sit
Not every light on a dark property is about safety — some of it is about signaling home. Warm string lights along the porch rail, under the eave, or across the patio are the glow drivers register as "people live here, and it's cozy." That matters more on an unlit street than anywhere, because your house is the only light in the visual field. Choose outdoor-rated LED string lights with shatterproof bulbs at 2700K or warmer, and span anything over about 15 feet on a steel guide wire so the cords don't sag and strain. Heavy-duty commercial strings with suspended sockets handle wind and weather far better than the thin decorative sets. Don't expect them to light a walkway — they won't, and that's fine; they're the ambiance layer sitting on top of the practical layers. I run mine on the same timer as the porch lights, so the whole front of the house comes alive at dusk in one gesture. Around back, the same trick over a deck or fire pit stretches your living space into a yard that would otherwise vanish at sunset.
Suggested budget range: $40 – $160.
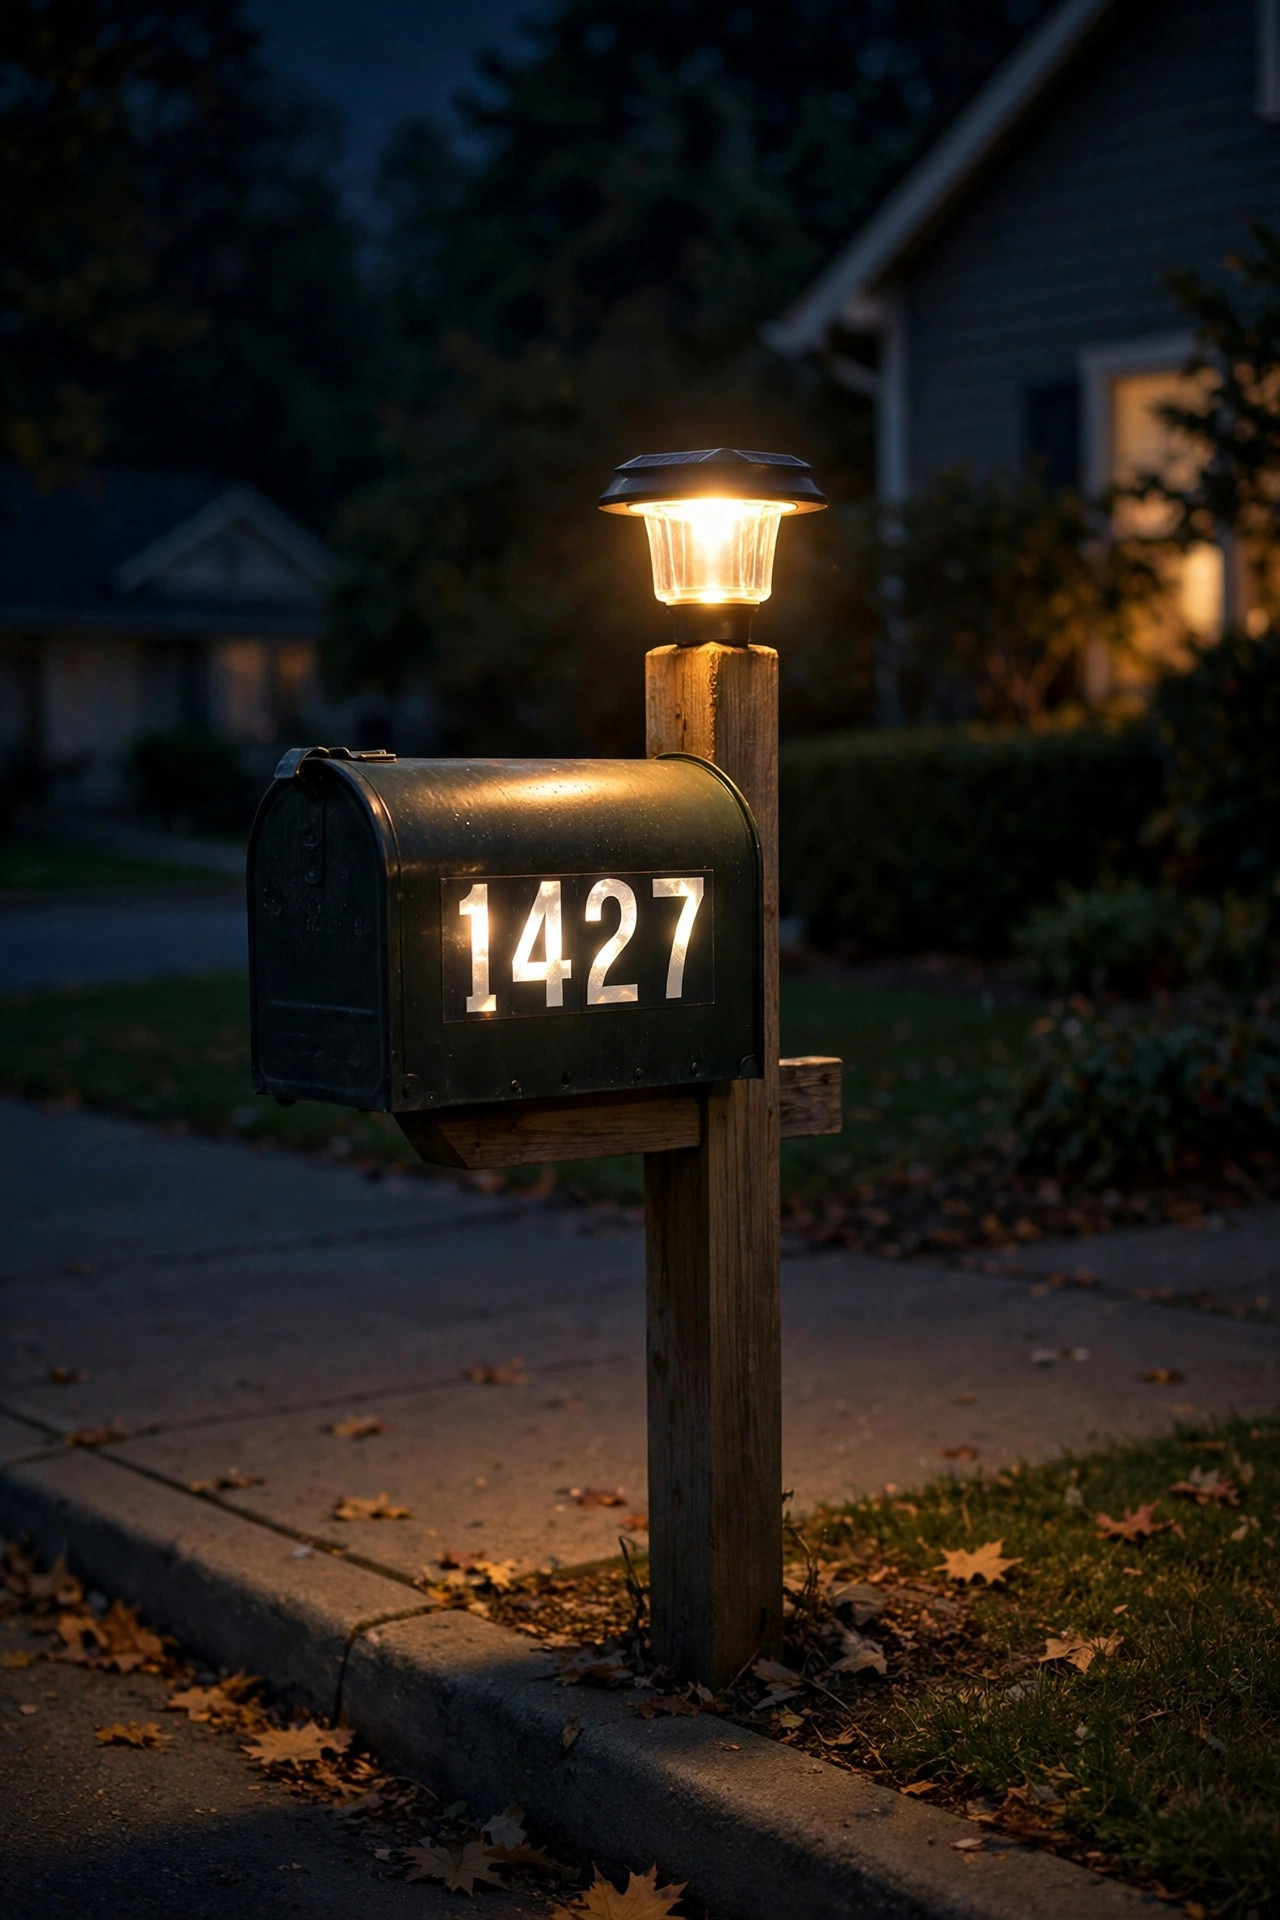
12. Light the Mailbox at the Curb
If your mailbox lives at the curb — standard on rural and dark suburban streets — it's your home's true front door, and it's usually invisible. A solar post-cap light or a small lamp mounted on the mailbox post gives that first point of contact a friendly pool of light, and pairing it with reflective or backlit numbers means a driver can confirm the address without a flashlight out the window. Solar makes sense here because running wire 60 feet to the curb rarely does; modern solar caps with replaceable batteries hold up well if the spot gets decent sun, and you can swap the battery every couple of years for a few dollars. Keep the light modest and aimed down at the box and post — a bright unshielded bulb at driver's eye height on a black road is a hazard, not a help. Add a reflector on the post as a passive backup for the night the battery dies. It's a small project, under an hour, and around the holidays — when delivery drivers are hunting addresses after dark — you'll be very glad you did it.
Suggested budget range: $25 – $90.
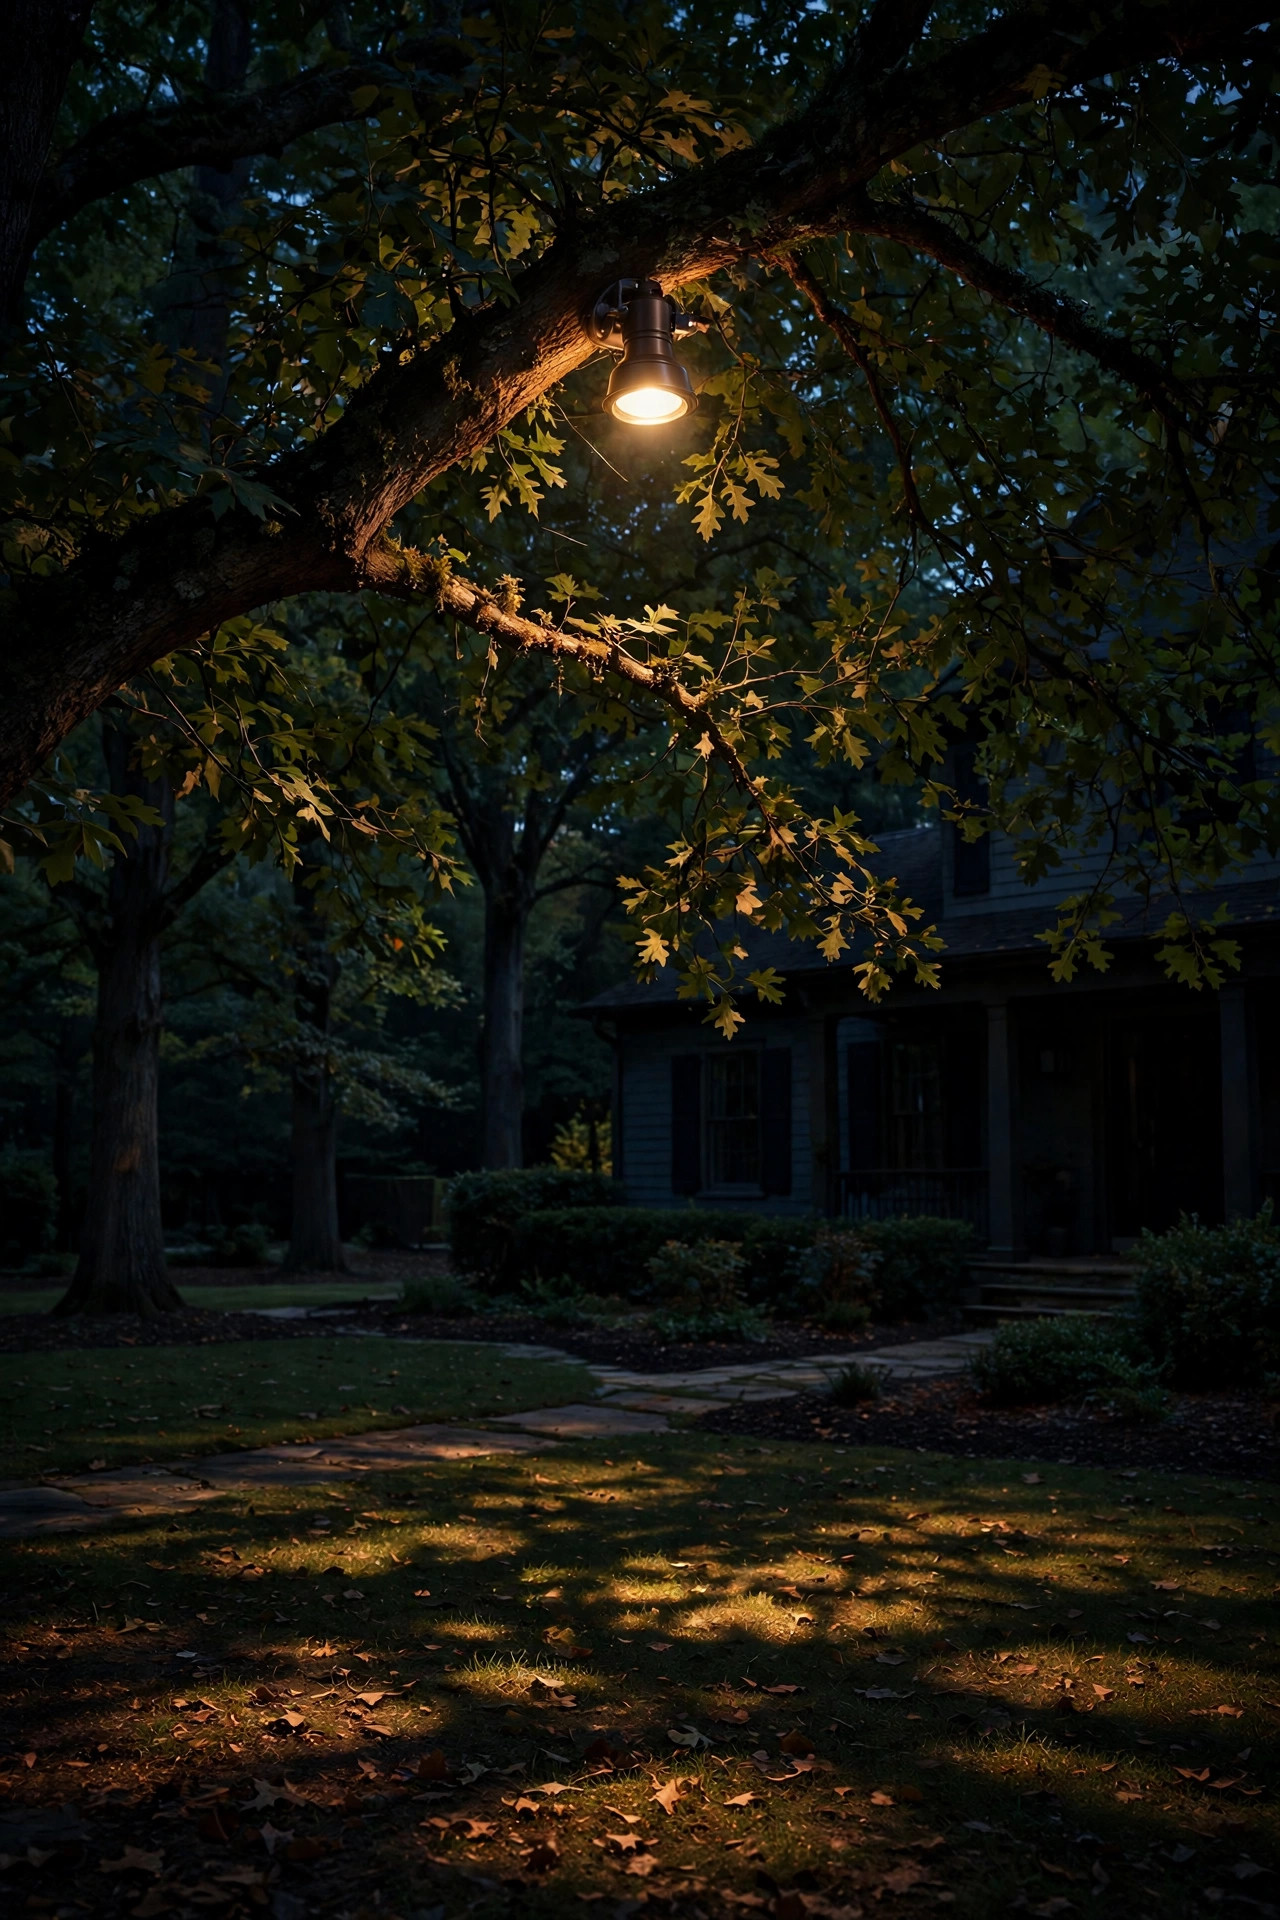
13. Try Moonlighting for Soft, Wide-Area Coverage
Moonlighting is the technique the pros use to make a whole dark yard feel softly lit without a single visible bright spot: fixtures mounted 20 to 30 feet up in a mature tree's canopy, aimed down through the branches so the ground gets a dappled, moonlit pattern. On a property with no streetlights, one moonlit tree can gently cover a front garden, part of the drive, and the walk in a way path lights alone never will — and because the source is high and hidden, there's almost no glare. Use fixtures with long glare shields, mounted by an arborist or with proper tree-safe straps, and keep output moderate — 300 to 500 lumens per fixture, two fixtures in a big canopy. Slightly neutral 3000K reads most like real moonlight; warmer 2700K feels cozier near the house. This is the priciest idea on the list and the one most worth hiring out: heights, aiming at night, and tree health all matter. But if you have one big oak over the front yard, moonlighting turns it into the hardest-working fixture you own.
Suggested budget range: $300 – $900.
14. Add Fence and Gate Lighting Along the Edges
Fences and gates do a lot of quiet work on a dark property — they mark where your land starts, where the dog run ends, and where the gate latch is when you come home with full hands. Post-cap lights along the fence nearest the driveway and gate give you that map at a glance. Solar caps are the easy install (no wire to trench across the yard), and at 20 to 50 lumens each they're deliberately subtle — edge markers, not area lights. Space them on every post along the front run, or every other post on long side runs. Put one brighter fixture at the gate itself so the latch and handle sit in genuinely usable light, and consider a small motion light just inside the gate if that's your main way in from the drive. Choose caps sized exactly to your posts — 4×4 and 6×6 are different animals — in a finish that matches your porch fixtures, so the yard reads as one designed system. In my experience, this is the layer visitors compliment without knowing why; the property just feels finished after dark.
Suggested budget range: $60 – $260.

15. Keep It Dark-Sky Friendly With Shielded Fixtures
Here's the beautiful irony of a street with no streetlights: you probably love the darkness — the stars, the quiet, the fireflies. The goal of all 14 ideas above is a bright welcome, not a bright property, and shielded, dark-sky friendly fixtures are how you get both. Look for fixtures that put a roof over the bulb — full-cutoff designs where no light escapes above horizontal — and aim every adjustable head down at the ground it serves. Stick to 2700K or warmer; cooler, blue-rich light scatters more, glares more, and is harder on wildlife and your own night vision. Use the lowest brightness that does the job, keep lights on timers so the yard goes properly dark at midnight, and let motion lights handle the late hours. Your eyes adapt fast: after ten minutes outside, a well-shielded warm scheme looks generous, while a single bare cool bulb ruins your vision for everything beyond its glare. You'll keep your Milky Way, your neighbors will keep theirs, and your house will still glow like a lantern for the people you're expecting. That's not a compromise — that's the whole point of living out where it's dark.
Suggested budget range: $50 – $220.
Frequently Asked Questions
How many lumens do I need when there's no streetlight at all?
Think in totals per zone rather than one big number. Path lights work at 100 to 200 lumens each, spaced so their pools overlap. A porch feels properly welcoming at roughly 1,200 to 2,000 lumens spread across sconces and an overhead fixture — layered light always looks brighter than the same lumens from one bulb. Save the big numbers (1,600 to 2,500) for motion-activated floodlights that only run in short bursts. And remember: on a truly dark street, your eyes are fully dark-adapted, so well-aimed warm light goes much further than the box numbers suggest.
Are solar lights enough for a home with no streetlights?
For markers, mailbox lights, fence caps, and accents — yes, modern solar is genuinely good. For the core route you walk every night, I recommend wired low-voltage. Solar output depends on the day's weather and the season: a panel shaded by trees or charged under December's grey skies may fade hours before dawn, exactly when you need it most. The hybrid approach most dark-street homes land on is wired for the driveway-to-door route, solar everywhere else. If you do go solar on a path, choose models with replaceable batteries and the largest panels you can find.
What color temperature looks best on a dark street?
Warm white, 2700K to 3000K, everywhere — and consistency matters as much as the number itself. A mix of warm porch lights and one cool blue-white floodlight looks like a gas station, not a home. Warm light also flatters brick, wood, and skin tones, scatters less in fog, and is kinder to wildlife and your own night vision. The one place I bend slightly cooler is moonlighting, where 3000K mimics real moonlight. Whatever you pick, buy all the bulbs for a zone at the same time so the color matches fixture to fixture.
Should I leave my outdoor lights on all night?
You can — LEDs make it cheap — but a schedule usually serves you better. My pattern: welcome layers (porch, path, driveway markers) on from sunset to about 11 p.m. or midnight via an astronomical timer, one dusk-to-dawn fixture at the door if you like an always-on anchor, and motion lights covering the small hours. That combination looks lived-in, costs very little, respects the dark sky, and still means nobody — family or guest — ever crosses your property in the dark.
Conclusion
When no streetlight is doing the job for you, outdoor lighting for homes without streetlights becomes a system you design once and enjoy every single night: markers at the curb, a lit route to the door, a porch that glows like it means it, and shielded fixtures that hand the darkness back at midnight. Start with the house number and the walkway — the two things every visitor needs — then add layers as the budget allows. You'll find plenty more porch, walkway, and driveway lighting ideas here on the site to fold into your plan. Here's to coming home to a bright welcome on the darkest street in the county.