If there's one spot where guests stumble, it's the porch steps. I've watched it happen at my own house — someone carrying a casserole, arms full, feeling for that last step in the dark while the porch light glows uselessly behind them. That's exactly why I went looking for porch step lighting ideas that do more than look pretty in a photo. Good step lighting works in layers, the same way I light every part of a home's exterior: a soft wash on each tread so your feet know where they are, a little guidance along the handrail, and a gentle pool of light at the landing that says "you made it, welcome in." In this post I've gathered the 15 approaches I've used, recommended, or admired on neighbors' porches — from $20 solar stick-ons a renter can install in ten minutes to recessed low-voltage lights that look like they were always part of the house. Every idea includes how to place it, what to watch out for, and an honest budget range, so you can pick the layer (or two, or three) that fits your steps and your wallet.
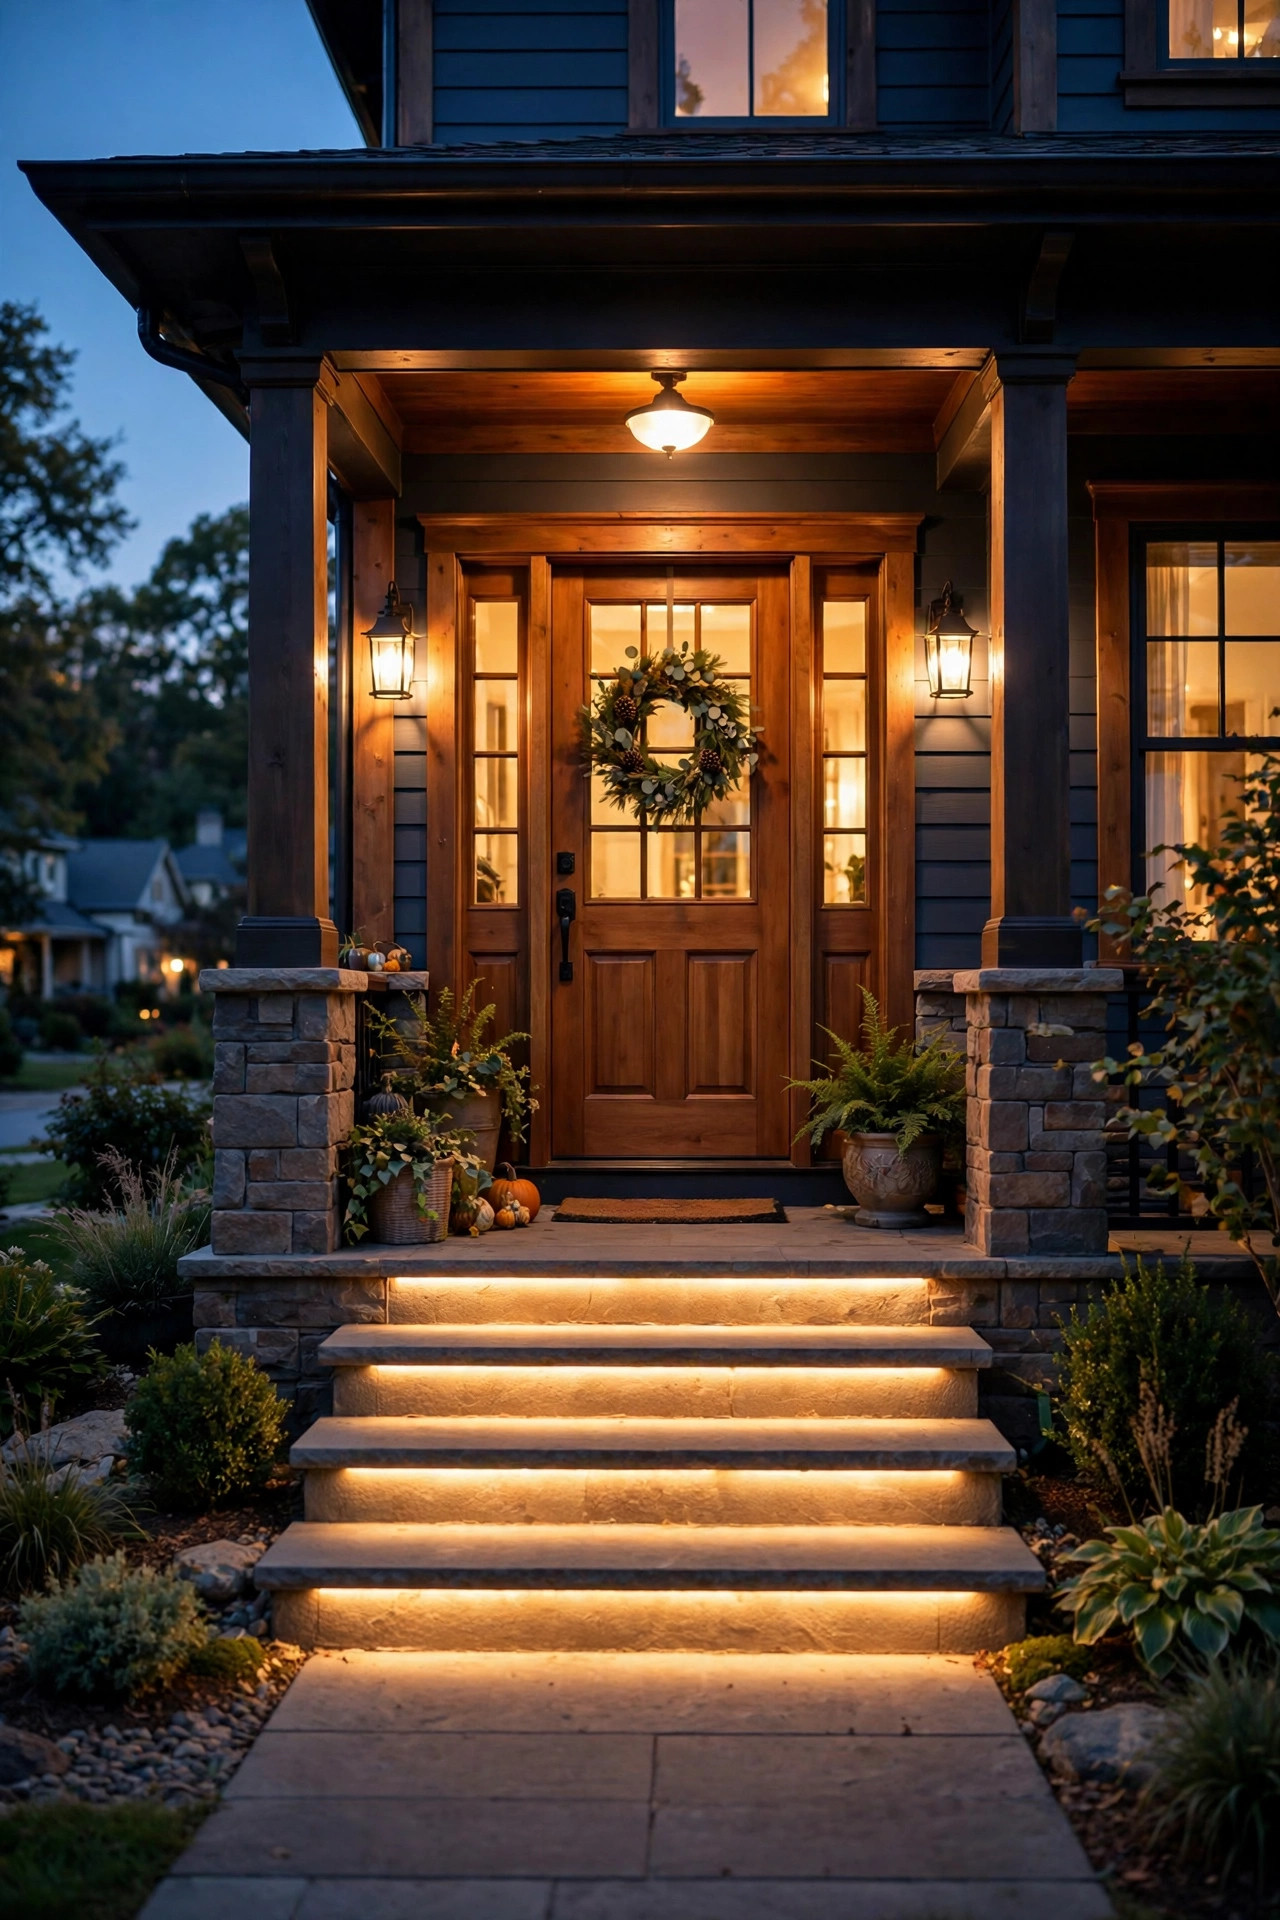
1. Recessed LED Lights Set Into the Riser
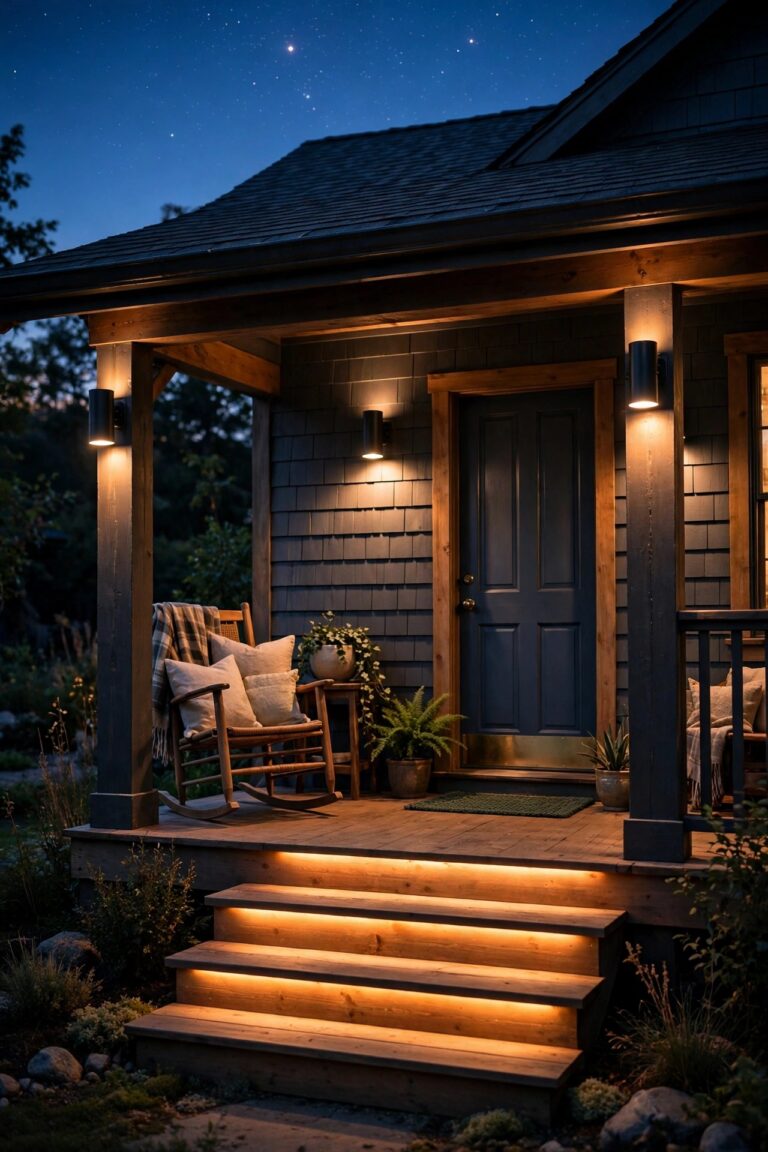
This is the look that makes people ask if your steps came with the house. Small LED fixtures — usually 3 to 4 inches wide — mount flush into the vertical face of each riser, a couple of inches below the tread above, and wash a soft fan of light down across the step below. In my experience, one centered fixture per step is plenty for stairs up to about 42 inches wide; go with two, spaced evenly, on wider 48- to 60-inch porch steps so the edges don't fall into shadow. You don't need much brightness here: 40 to 80 lumens per fixture in a warm 2700K is the sweet spot, because the goal is reading the edge of each tread, not lighting a runway. Low-voltage 12-volt fixtures are the DIY-friendly route since they tap into a small transformer rather than household current, and look for an IP65 rating or better so driving rain isn't a worry. Honestly? The drilling is the fiddly part — wood and composite risers are easy, but masonry or stone steps usually mean calling a pro with a core bit. Keep the fixtures shielded or louvered so climbers never catch the bare LED in their eyes on the way up. If your whole entry needs the same treatment, my roundup of front porch lighting ideas covers the sconces and ceiling fixtures that pair beautifully with these.
Suggested budget range: $180 – $450.
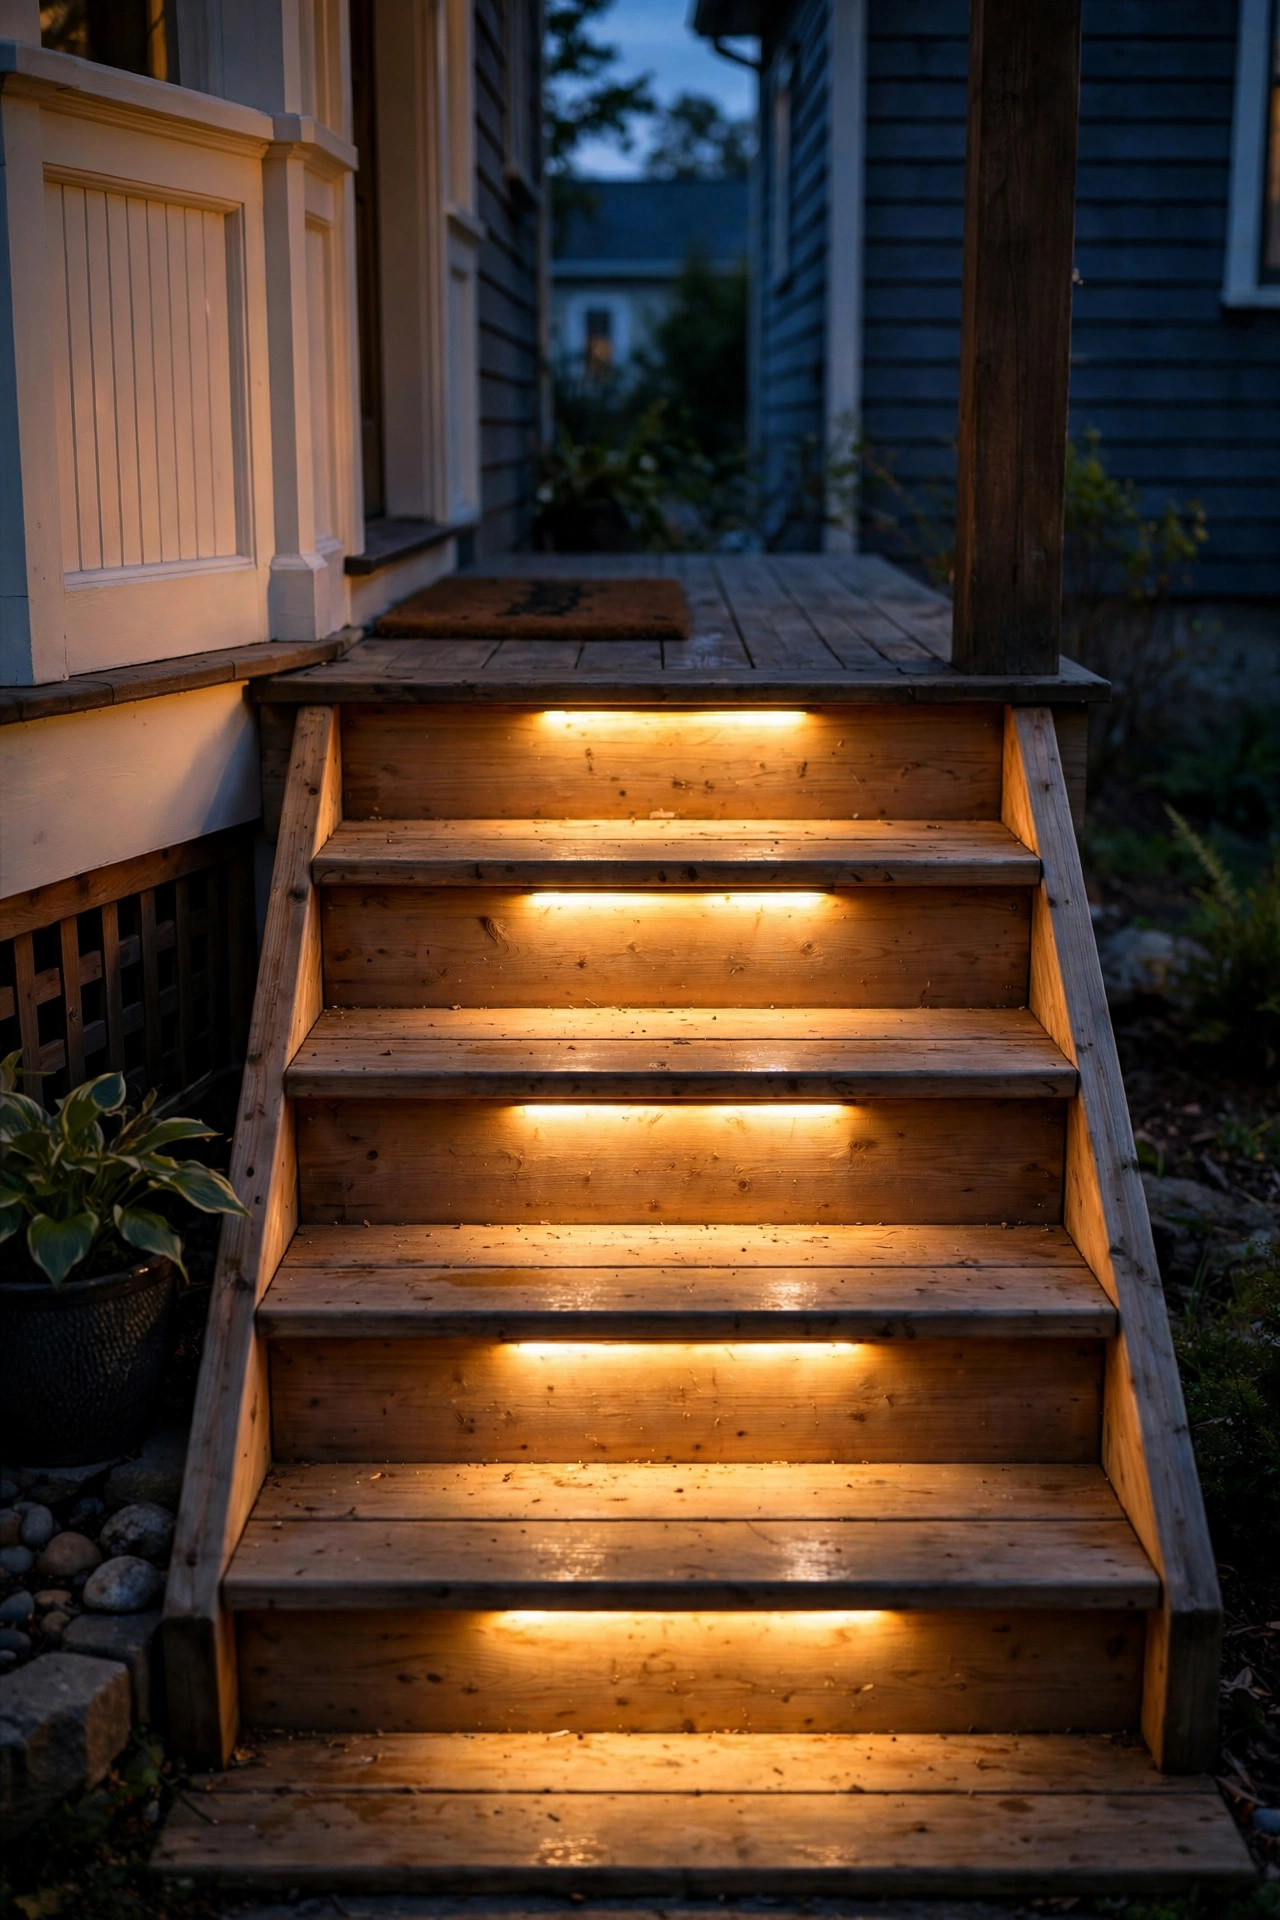
2. LED Strip Lights Tucked Under Each Tread
For a clean, modern line of light, nothing beats an outdoor LED strip hidden under the nosing of each tread. The strip itself stays invisible; what you see is a continuous ribbon of light grazing down the riser face, and every step edge reads crisply from the sidewalk. The trick is mounting the tape inside a slim aluminum channel with a frosted diffuser — bare tape shows individual dots and looks unfinished, while the channel gives you that smooth, expensive glow and protects the strip from weather and kicked heels. Choose outdoor-rated tape, IP65 minimum and IP67 if your steps take direct rain, in 2700K warm white, and run it the full width of each tread for the most polished effect. Wiring drops down the stringer (the diagonal board under the steps) so it stays hidden, and the whole staircase usually sips under 20 watts total on a 12-volt system. Strips are forgiving on curved or slightly irregular steps where rigid fixtures won't sit flat, and because the light points down, there's zero glare for anyone climbing. One caution: adhesive alone won't survive freeze-thaw winters, so use the channel's mounting clips or screws rather than trusting the sticky backing.
Suggested budget range: $60 – $160.

3. Solar Step Lights: The Easiest Porch Step Lighting Idea of All
If you want light on your steps this weekend with zero wiring, solar step lights are your answer. These little units screw or stick onto the riser face — two small screws is the mounting I trust — with a solar panel on top charging through the day and an LED that switches itself on at dusk. Most give you 10 to 30 lumens, which sounds tiny, but at close range on a single step it's honestly enough to mark the edge clearly. The catch, and it's a real one, is sun: a south- or west-facing porch that gets four-plus hours of direct light will keep them glowing most of the night, while a deep, shaded, north-facing porch will leave them dim by 10 p.m. Read the box carefully, too — plenty of cheap solar lights are a harsh blue-white 6000K no matter how warm the packaging photo looks, so hunt for "warm white 2700K–3000K" in the specs. One light per step, mounted high on the riser just under the nosing, keeps the beam on the tread where it belongs. Batteries are usually replaceable, and swapping them every couple of years brings tired lights back to life.
Suggested budget range: $25 – $70.
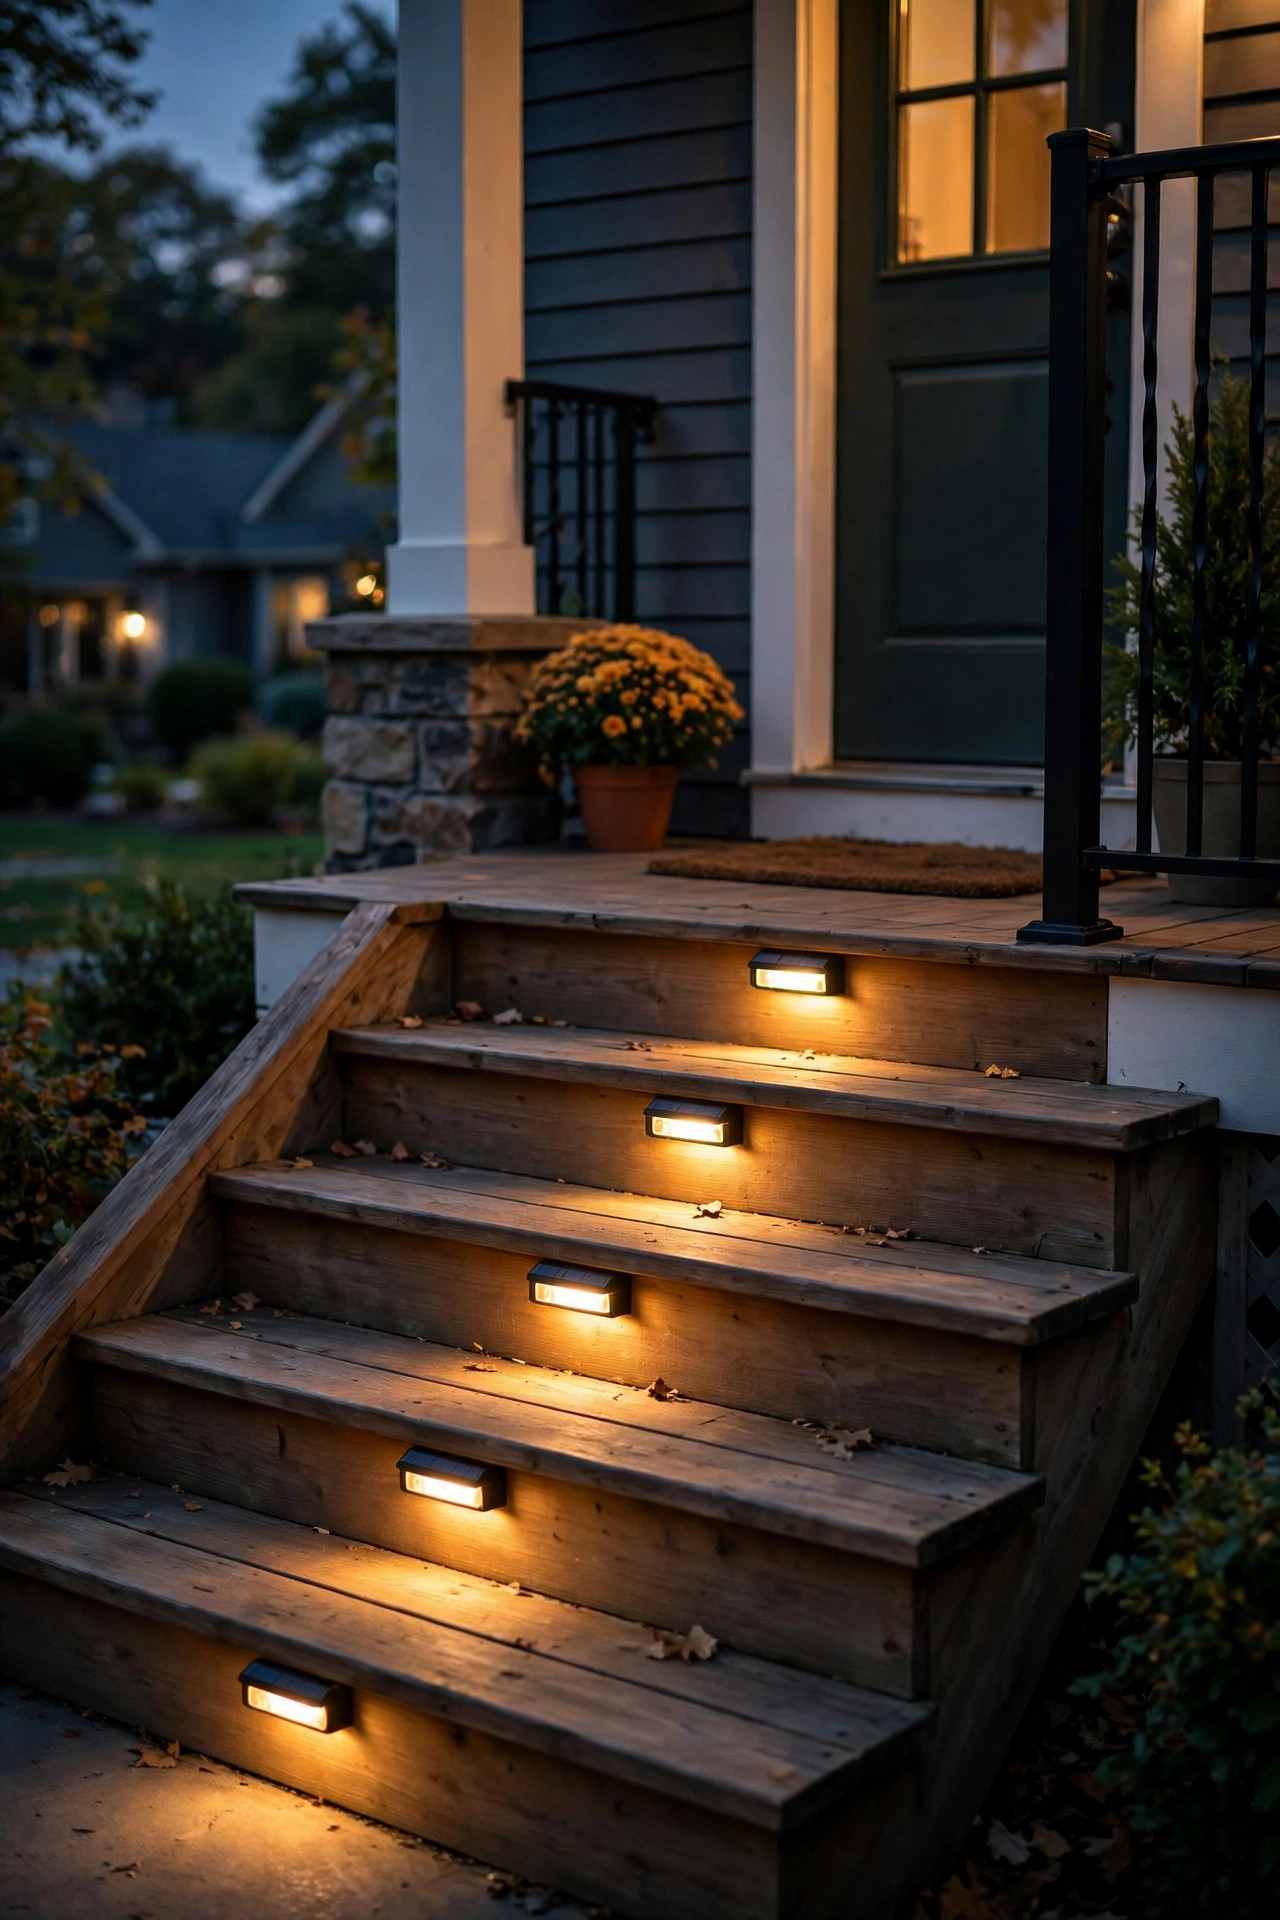
4. Motion-Sensor Step Lights That Wake Up When You Do
There's something deeply satisfying about steps that light themselves as you approach and politely switch off a minute after you've passed. Motion-sensor step lights use a small PIR sensor to catch movement on the path or the first step, making them perfect for the main route from driveway to door, late-night dog trips, and anyone whose hands are always full. You'll find them in solar, battery, and low-voltage versions; the wired low-voltage ones are the most reliable in cold weather, when batteries get sluggish. Set the timeout to 30–60 seconds and aim the sensor across the approach rather than straight out, so it triggers as someone enters the stair zone but ignores passing cars. Mounting height matters — riser height or low on the adjacent wall, roughly 8 to 14 inches above the tread, gives the best detection without nuisance triggers from pets. I always recommend testing sensitivity over a few evenings before final mounting, because a light that fires every time a moth passes gets annoying fast. If you want the full picture on sensors, ranges, and placement, my motion-sensor outdoor lights guide goes deep.
Suggested budget range: $35 – $120.
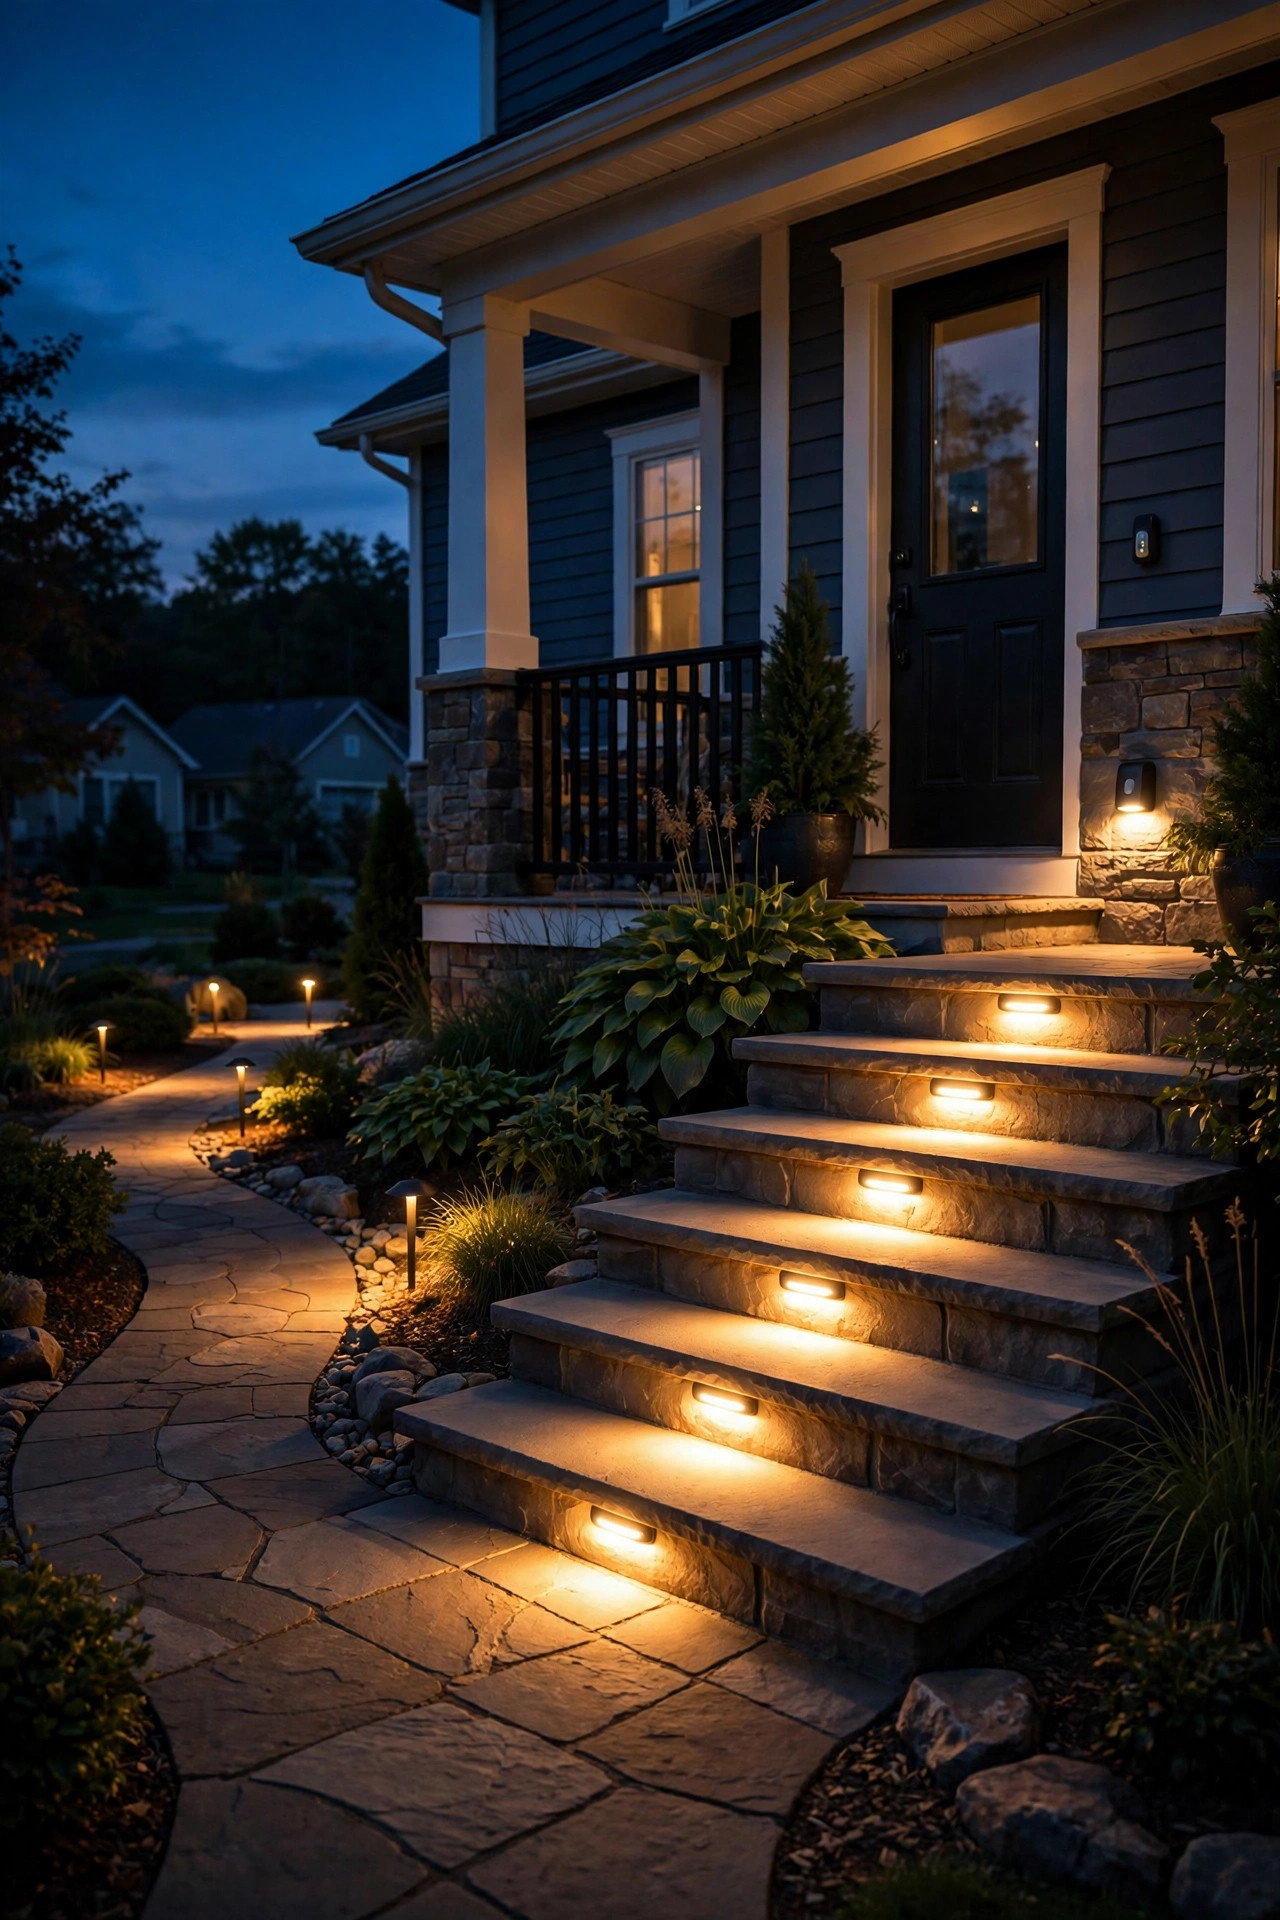
5. Rope Light Run Under the Handrail
Here's a trick I borrowed from deck builders: run a warm-white LED rope light along the underside of your handrail, and it lights the treads and guides the hand at the same time. Guests instinctively reach for the rail, and the soft glow right beneath it shows them exactly where each step falls — it's guidance you can feel as much as see. Outdoor-rated rope light clips neatly under wood or metal rails with small mounting clips every 12 to 18 inches; keep the run on the underside so the rope itself stays hidden and only the wash of light shows. Stick with 2700K so it reads as candlelight-warm rather than patio-fair blue, and put the plug on a simple timer or smart plug connected to a GFCI-protected outdoor outlet, so it comes on at dusk without you thinking about it. Rope light also bends happily around the curves of a railing return, where rigid fixtures can't follow. It's not the brightest layer on this list, so think of it as the helpful companion to riser or strip lighting rather than your only source — together, they're a genuinely safe combination.
Suggested budget range: $30 – $85.
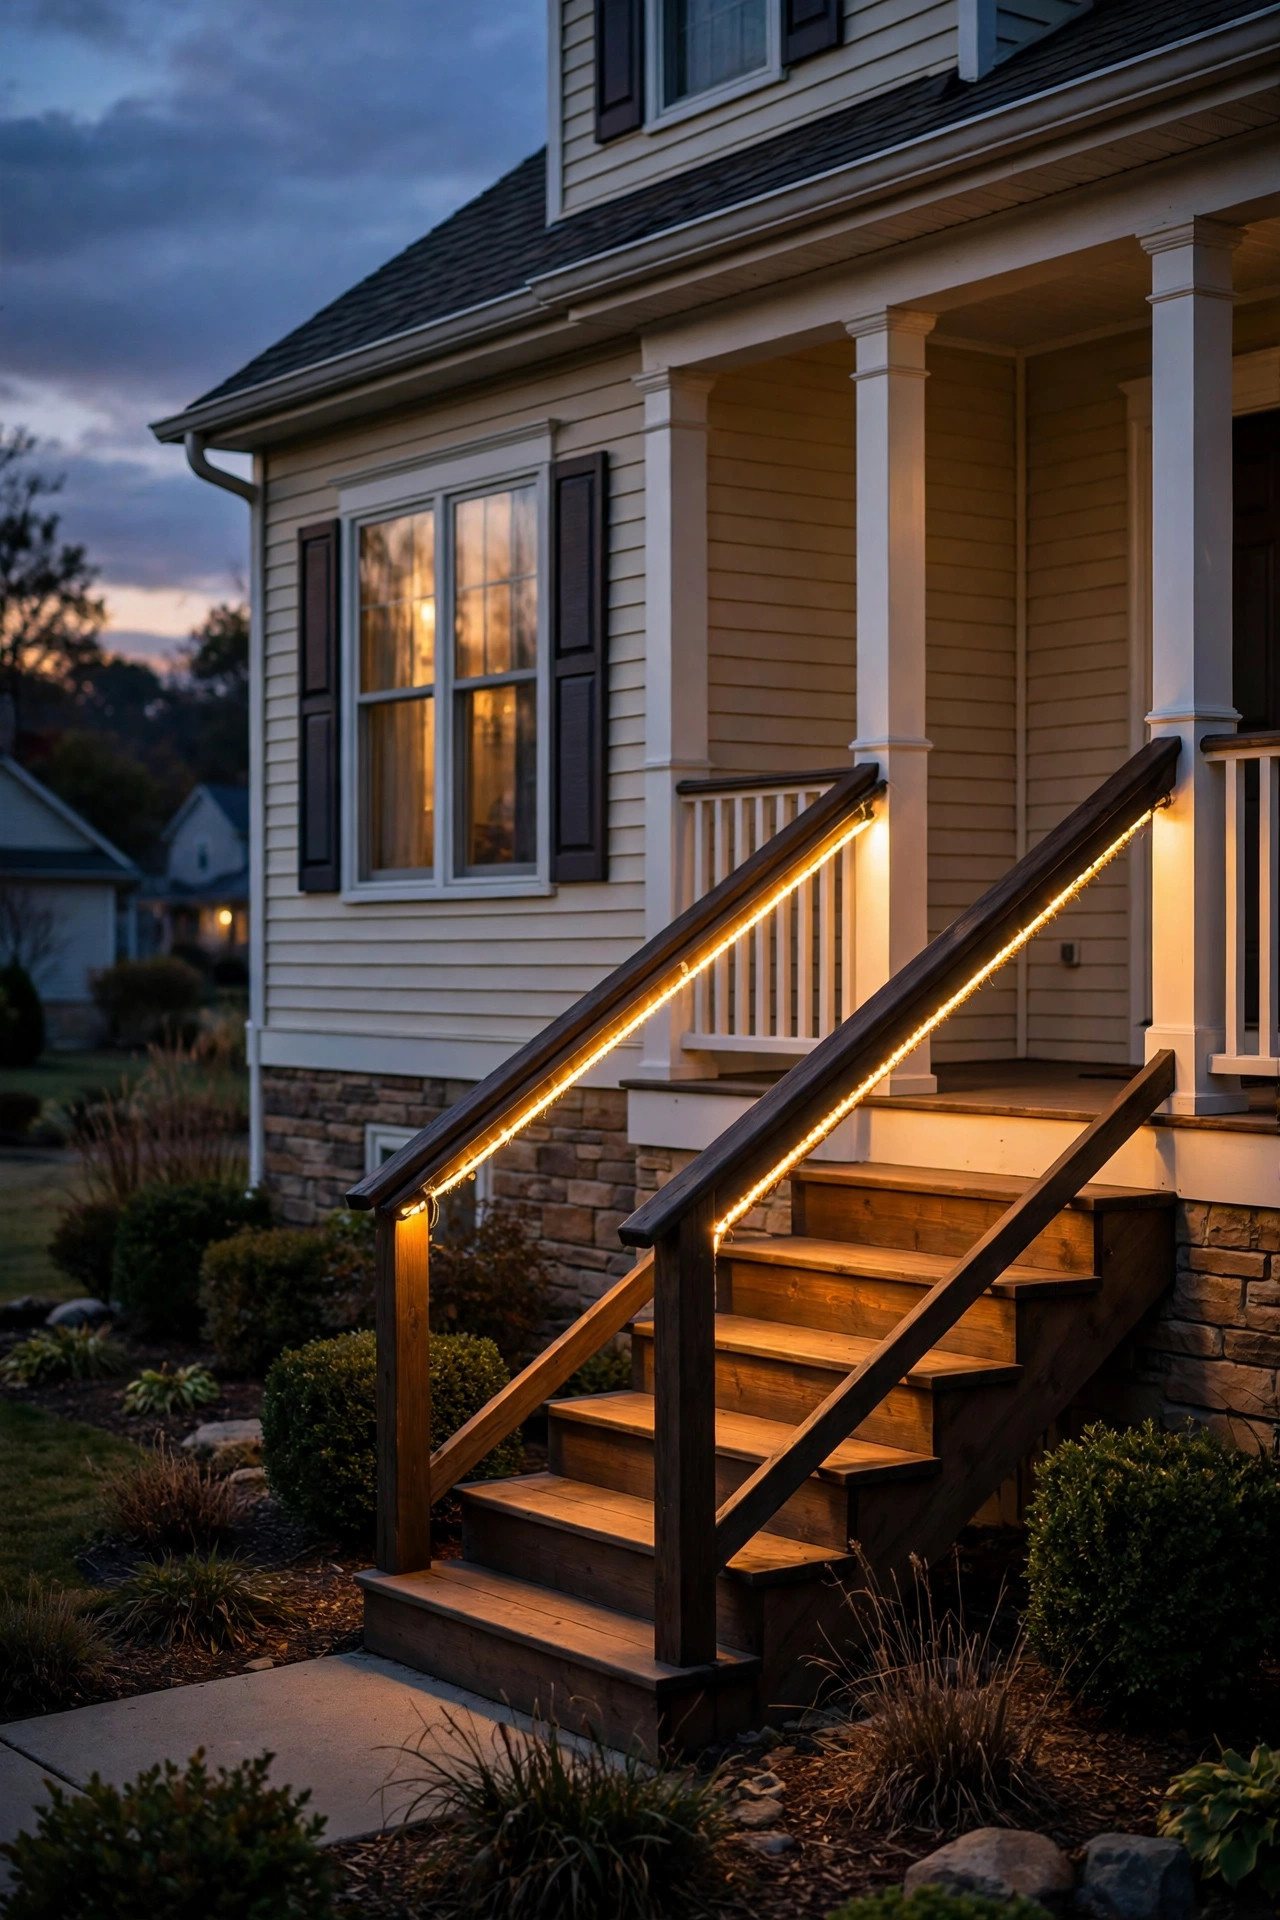
6. Lanterns Set on the Treads
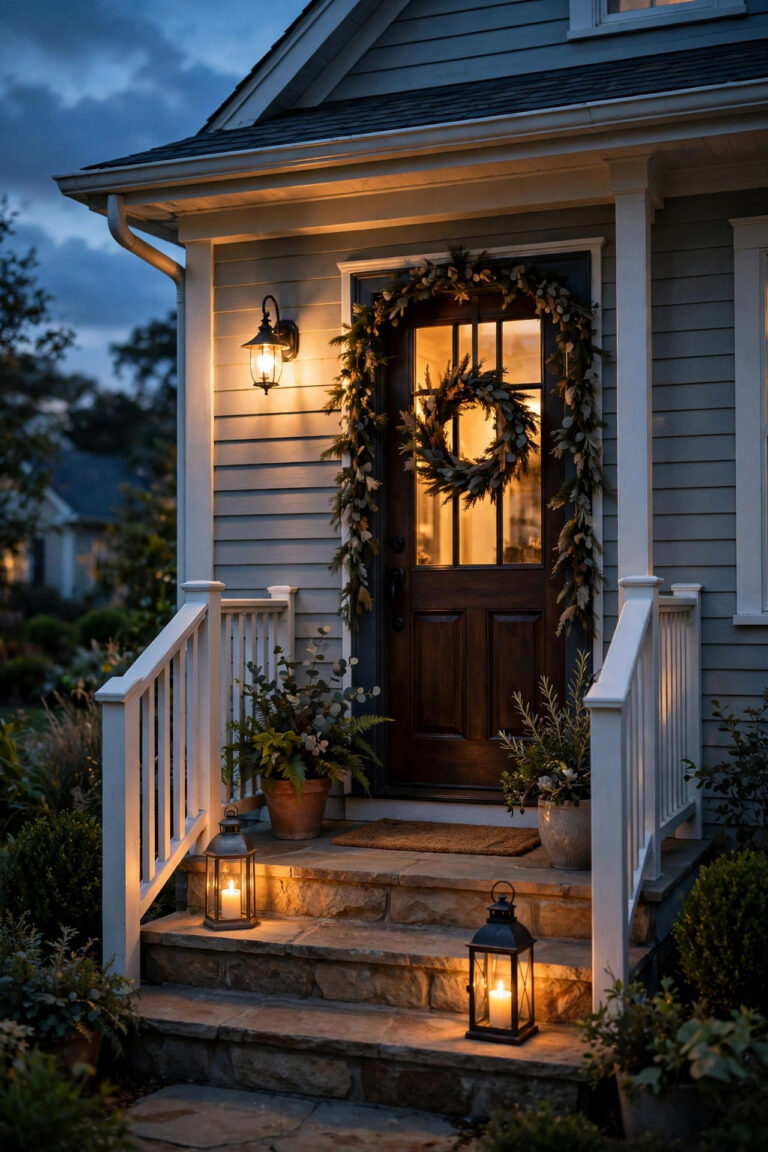
Sometimes the prettiest step lighting isn't installed at all — it's placed. A hurricane lantern or two with flameless LED candles, tucked against the edge of alternating treads, gives you that flickering, storybook welcome no fixture quite matches, and you can restyle it with the seasons: nestled among pumpkins in October, beside a little potted evergreen in December, next to a fern in June. Flameless is non-negotiable in my book — LED candles only, never real flame on wooden steps near garlands or dried arrangements — and the timer versions that run six hours on, eighteen off mean they light themselves every evening. Placement is the safety rule here: push lanterns tight to the outside edge of each tread so the center of the staircase stays completely clear; you want a full 24 to 30 inches of unobstructed walking width, always. Choose lanterns 10 to 14 inches tall so they read as intentional decor rather than clutter, and alternate sides as you climb for balance. Honestly, lanterns alone are mood lighting, not footing lighting — pair them with one of the wired or solar ideas here so the treads themselves are genuinely lit.
Suggested budget range: $40 – $130.

7. Downlights on the Cheek Wall Beside the Steps
Not every staircase has risers you can drill — solid stone, brick, and poured concrete steps often don't — and that's where the wall beside the steps earns its keep. Small surface-mount step lights or compact downlight sconces fitted to the cheek wall (that side wall or sloped stringer wall flanking the stairs) wash light sideways across the treads, and that raking angle is actually wonderful for safety because the shadow line makes every step edge pop. Mount them 12 to 18 inches above the tread line, roughly one fixture for every two or three steps, and angle or shield them so the beam rakes across rather than blasting into climbers' faces. This approach also keeps fixtures up off the steps themselves, out of the path of snow shovels, boots, and pressure washers. Low-voltage versions daisy-chain neatly along the wall from one transformer, and masonry anchors make them rock solid on brick or stone. In my experience this is the most architecturally "designed" look on the list — it's how landscape architects light estate stairs — and it layers beautifully with a lit landing at the top.
Suggested budget range: $90 – $260.

8. Post-Cap Lights on the Stair Posts
If your porch steps are flanked by railing posts, the caps of those posts are prime real estate. Post-cap lights — in solar versions that drop on with two screws, or low-voltage versions that wire through the post — mark the beginning and end of the climb like little beacons, and from the street they frame the whole staircase. The classic setup is a cap on the bottom newel post and a matching one at the top landing post, which gives guests two reference points for the rise of the stairs. Most caps fit standard 4×4 or 5×5 posts, and the warm-white 2700K versions throw a gentle downward glow that catches the first and last treads — exactly the two people trip on. Solar caps need the same sun caveat as other solar lights, while the wired ones can share the transformer running your riser or path lights. Alone, post caps are more marker than illumination, so I always recommend them as the second layer over a tread-level light source. Their real gift is wayfinding: on a dark night, two glowing posts tell a visitor "the steps are here" from thirty feet away.
Suggested budget range: $45 – $150.

9. Low Bollards Flanking Freestanding Steps
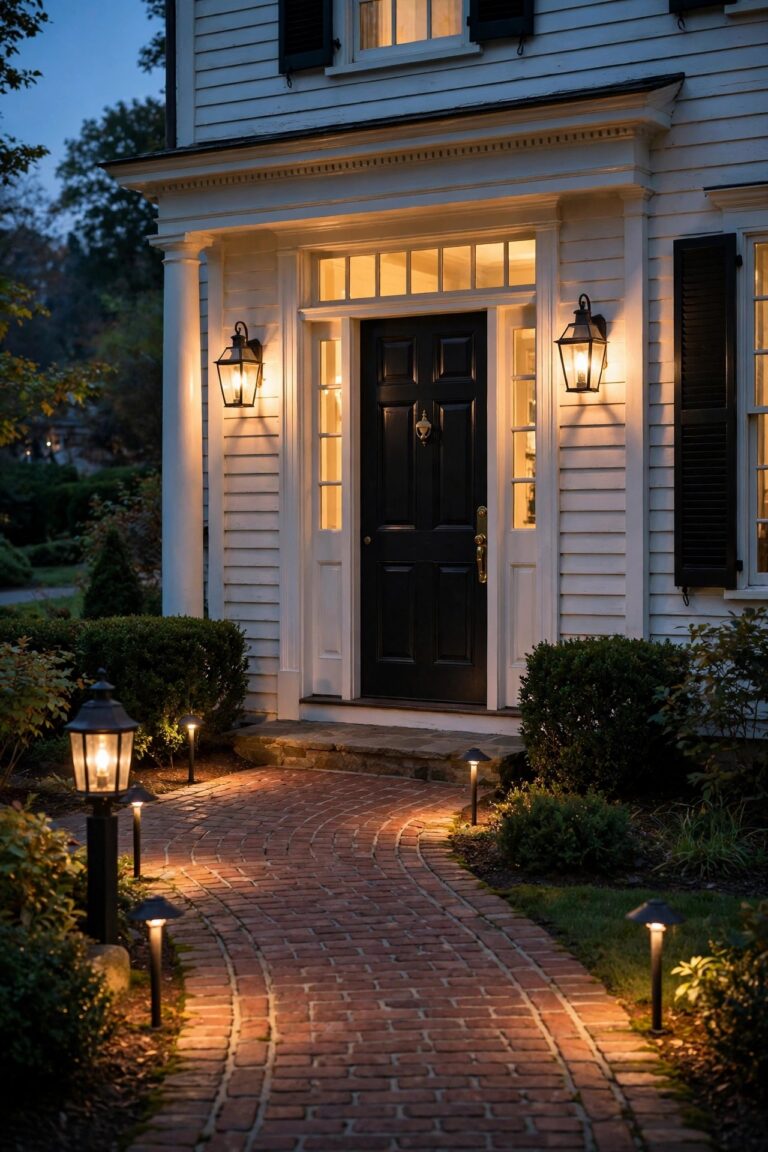
Wide, open porch steps with no railing and no side wall — the kind that spill straight off a porch onto a lawn or walkway — need light that comes from the sides. Short bollard or path-style lights, 12 to 18 inches tall, planted in the beds flanking the staircase do the job gracefully: one pair at the bottom step and, on longer runs, a second pair near the top. Choose shielded styles that throw light downward and outward across the treads rather than open globes that glare at eye level; a louvered or hooded bollard in a warm 2700K keeps the mood cozy and the neighbors happy. Space the pair to match the width of the steps so the light pools overlap in the middle, and push them 6 to 10 inches back from the step edge so nobody clips one carrying a cooler. Because they're freestanding, these are easy low-voltage additions to an existing landscape system — just trench a shallow line from the nearest path-light run. They also pull double duty lighting the planting beds, which makes the whole entry garden glow.
Suggested budget range: $70 – $220.
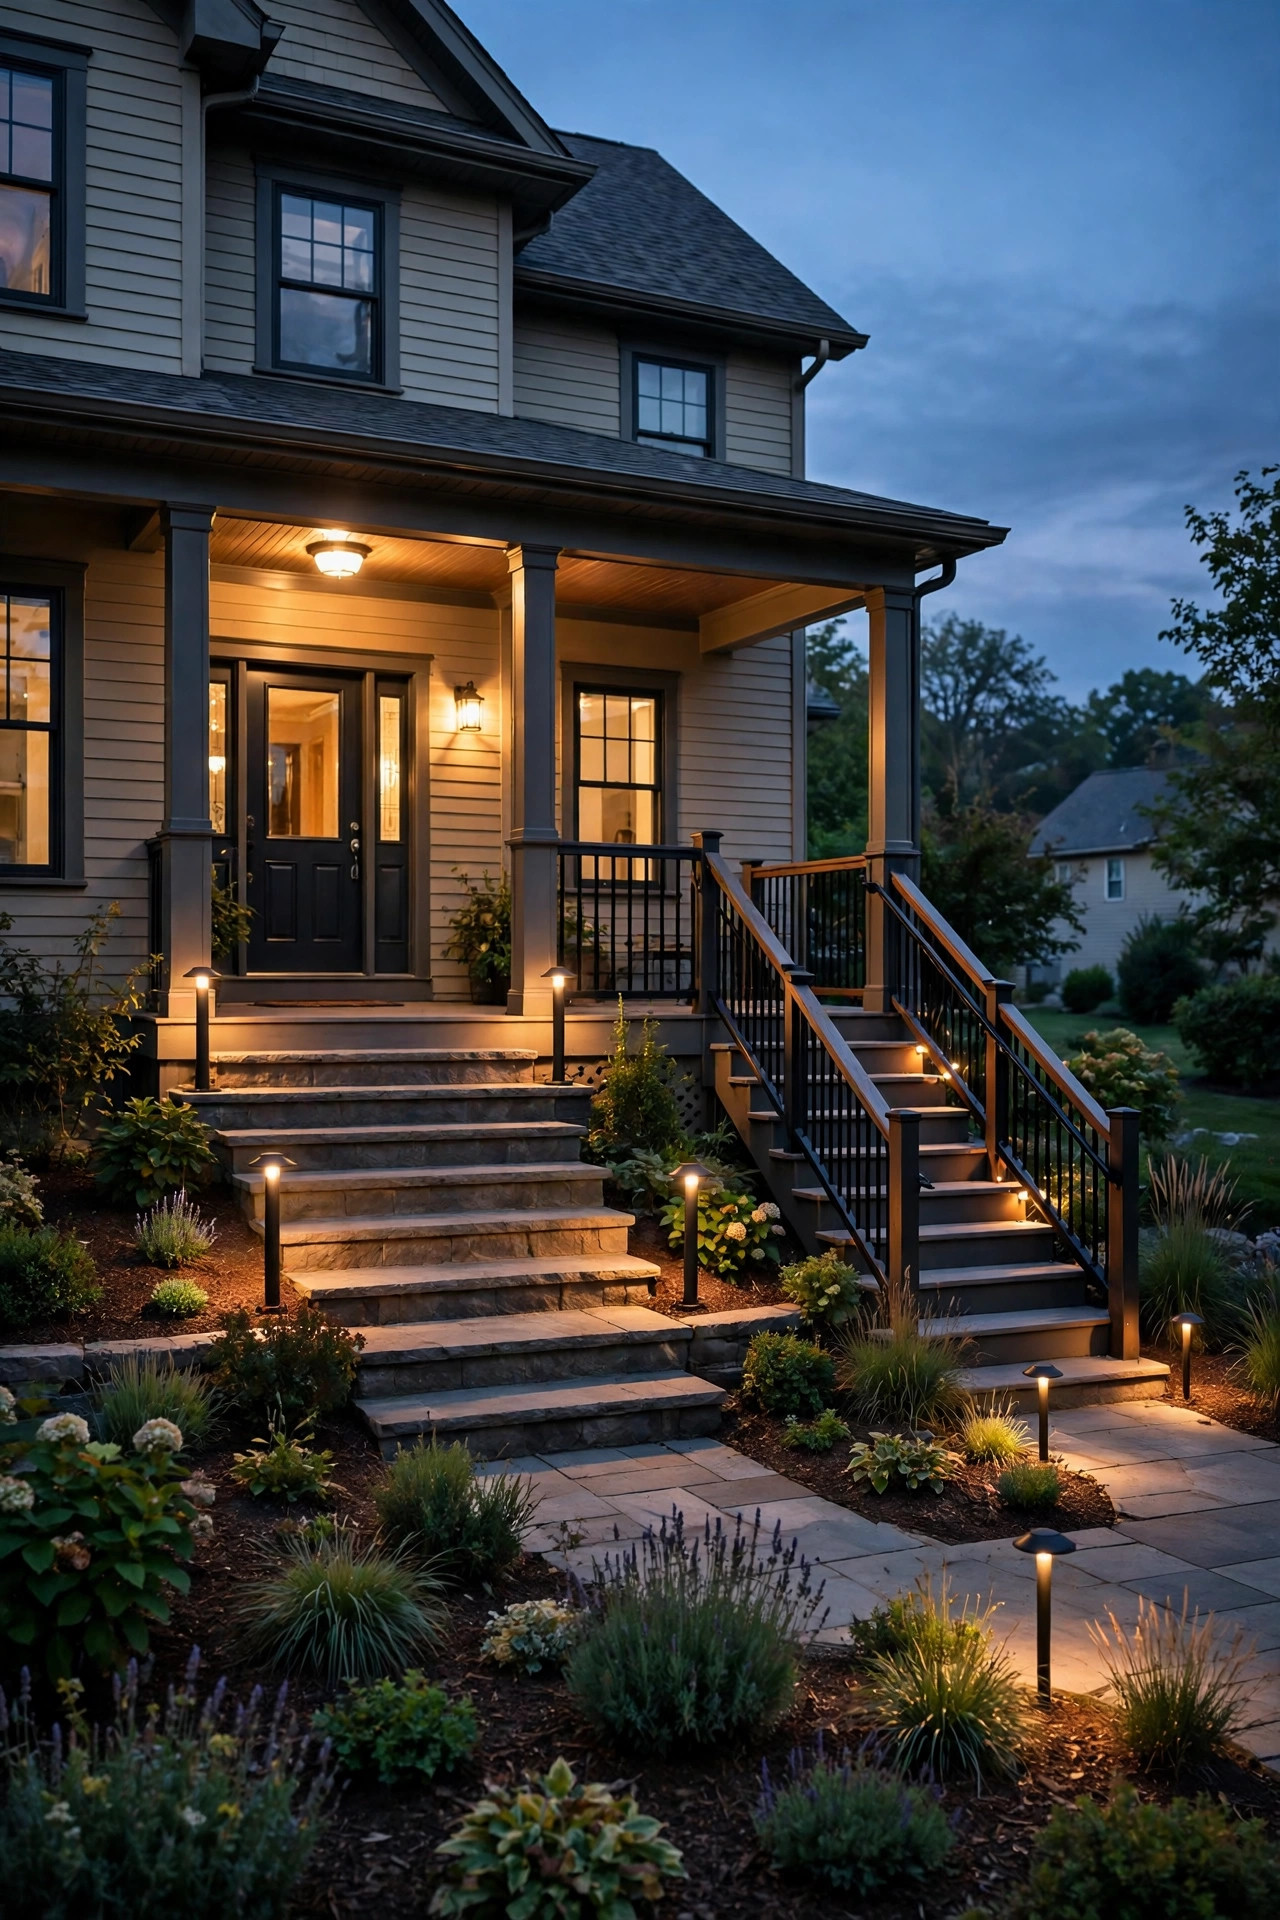
10. Solar Disk Lights Resting on the Landing
Flat solar disk lights — the puck-shaped ones that sit nearly flush with the ground — were made for landings. Set two or three on your porch landing or on an extra-wide bottom tread, pushed to the corners where nobody's foot lands, and they pool a soft marker glow that defines the flat area between stair runs. Because they sit flat, there's nothing to trip over and nothing to knock askew, and installation is literally set-it-down: no screws, no wires, which makes them the most renter-friendly option in this whole post. Treat them honestly as ambient markers rather than task lighting — a disk won't light the step below it — so they shine brightest as part of a layered plan, edging a landing that a porch light or sconce already serves. The built-in stakes some models include let you press them into the soil right beside the steps instead, where they read as a dotted line guiding the climb. Stainless or matte black finishes blend in by day, and the warm-white versions avoid that chilly moonlight-blue look. Expect the batteries to want replacing after a couple of seasons.
Suggested budget range: $20 – $55.
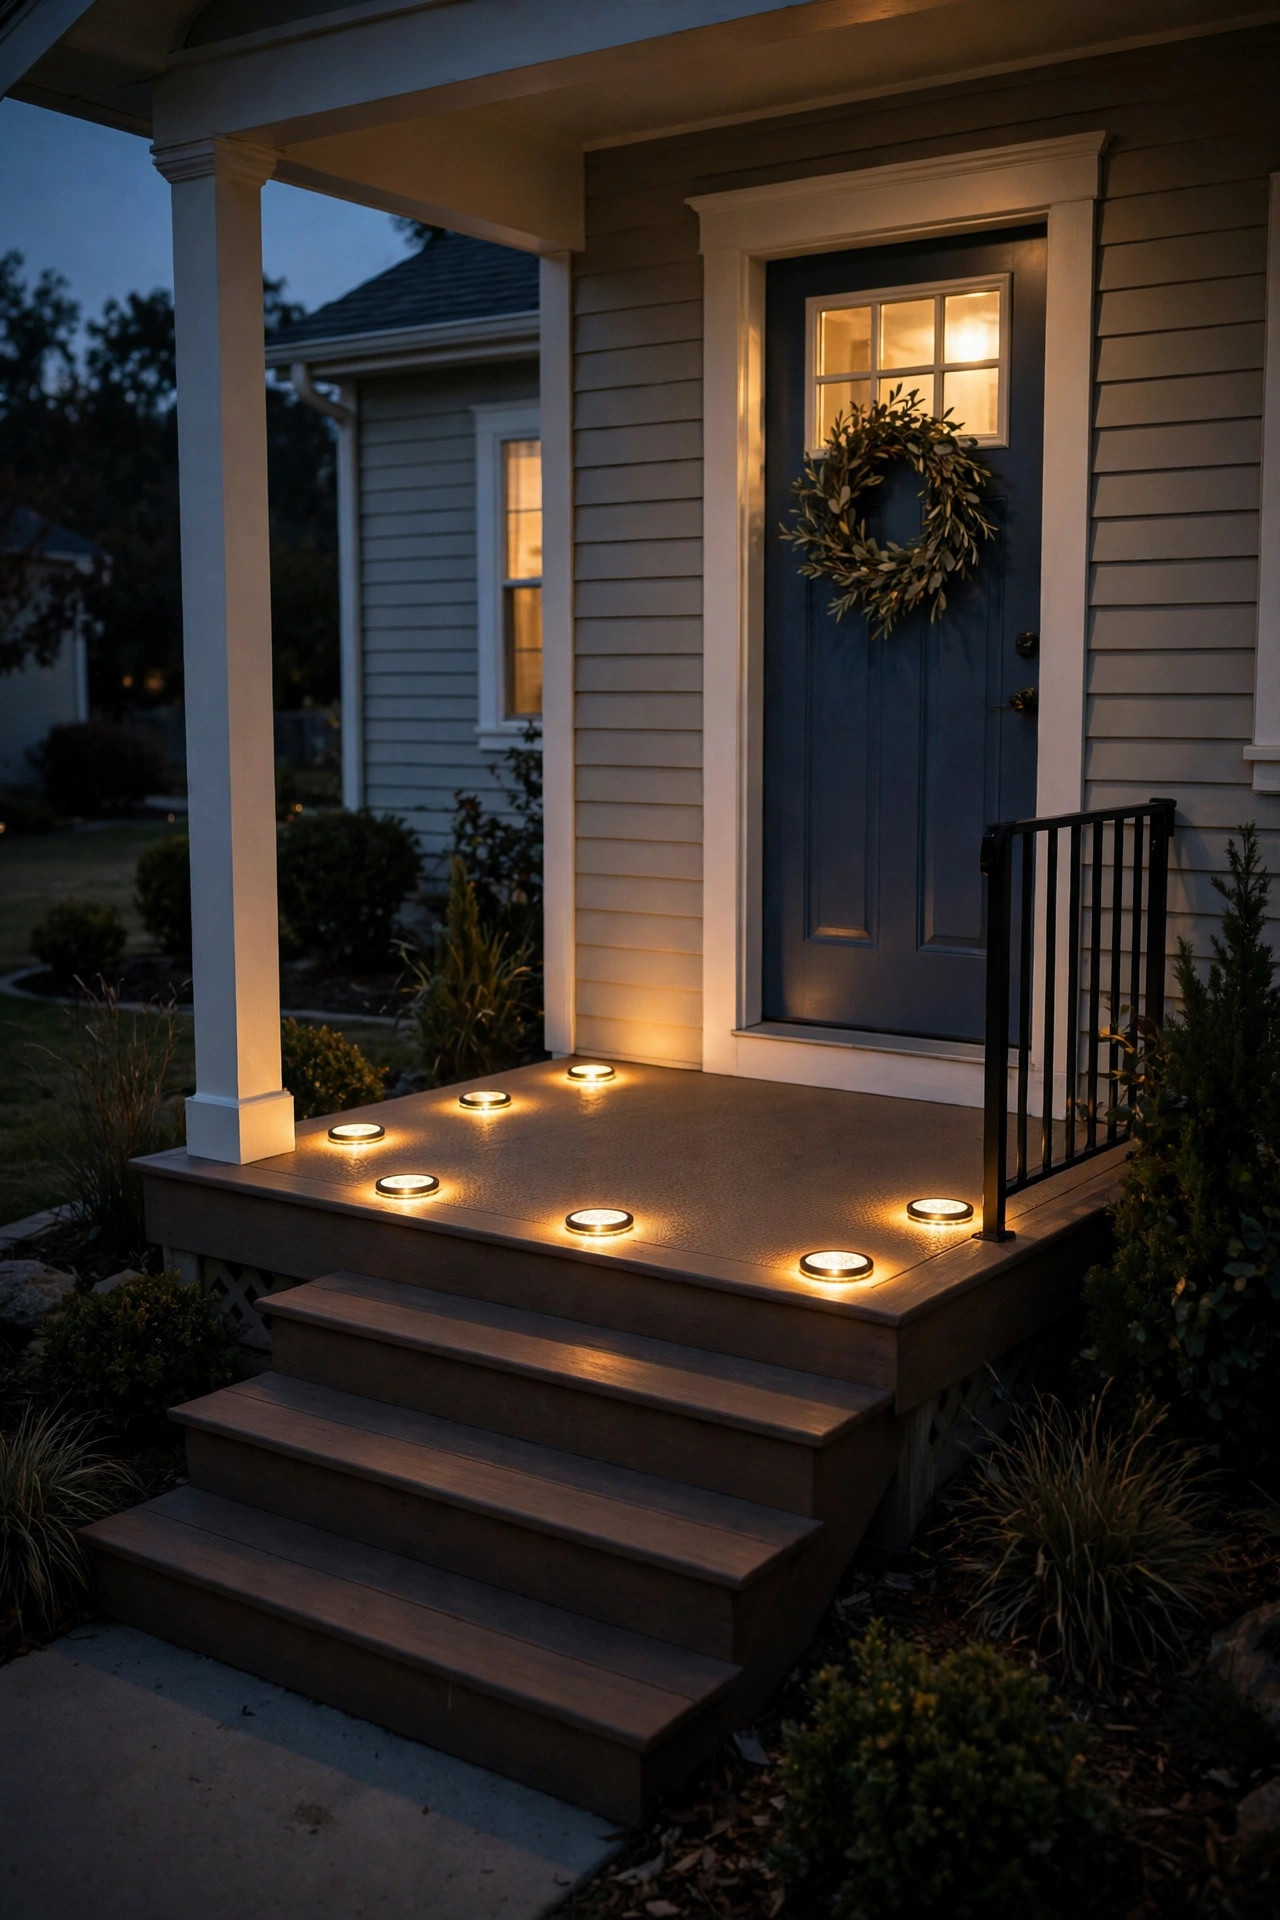
11. Copper-Wire Fairy Lights Woven Along the Rail
This is the sparkle layer — the one that makes teenage girls and grandmothers alike say "oh, that's pretty." A strand of warm-white copper-wire fairy lights wrapped loosely around the handrail and balusters turns a plain staircase into something out of a garden-party photo, and at $15 a strand it's the cheapest transformation on this list. Solar strands keep it cord-free with the little panel staked in a sunny bed nearby; battery strands with a built-in timer are more reliable in winter and on covered porches. Wrap with breathing room — a gentle spiral every 6 to 8 inches reads as intentional, while a tight mummy-wrap looks like you're storing the lights there. I'll be honest, because I always am about safety gear: fairy lights are decoration, not illumination. They outline the rail beautifully, but they won't show your foot where the tread ends, so pair them with riser, strip, or solar step lights doing the real work. For everyday (non-holiday) charm, keep the density low and the color warm, and the effect stays elegant rather than Christmassy.
Suggested budget range: $15 – $45.

12. Spotlights Grazing Up the Staircase From the Garden Bed
For drama with a safety payoff, plant one or two low-voltage spotlights in the beds beside your steps and aim them to graze across the staircase. Light raking across stone, brick, or wood treads reveals every bit of texture — and every step edge — in a way that flat front-lighting never can, so a beautiful staircase looks sculptural while quietly becoming easier to climb. The aiming rules keep it civilized: keep beams low and angled across the steps, never up into the faces of people climbing; a fixture tucked at the base of the staircase, tilted so its beam skims the first few treads, does most of the work, with a second from the opposite side near the top if your run is long. Narrow-to-medium beam spreads, around 30 to 45 degrees, keep light on the stairs instead of spraying the porch ceiling. This is the natural add-on if you already run low-voltage landscape lighting, since it shares the transformer and timer you own. In my experience it's the best-looking solution for wide masonry steps where drilling risers simply isn't on the table.
Suggested budget range: $80 – $240.

13. Stick-On Battery Puck Lights for Zero-Commitment Installs
Apartment dwellers and the drill-shy, this one's yours. Battery-powered LED puck lights — the tap-on, remote-control kind sold for closets — work surprisingly well outdoors on a covered porch: one stuck under each tread nosing or high on each riser throws a decent pool of light exactly where feet land. The rechargeable versions are the ones to buy; a staircase of pucks that eats coin batteries will quietly bankrupt you, while USB-rechargeable ones top up in an afternoon a few times a year. Set them to their warm setting if they offer one, and use the remote's timer so the whole staircase shuts itself off at bedtime. The honest caveats: stick-on adhesive gives up in freeze-thaw weather and humid summers, so choose pucks with a screw-mount option or a magnetic base plate you can screw once and snap lights onto forever. Brightness is modest — these read as guidance lighting rather than true task lighting — and on an uncovered, rain-exposed staircase they simply won't last. But for a covered rental porch at under sixty bucks all-in, nothing else comes close.
Suggested budget range: $25 – $60.
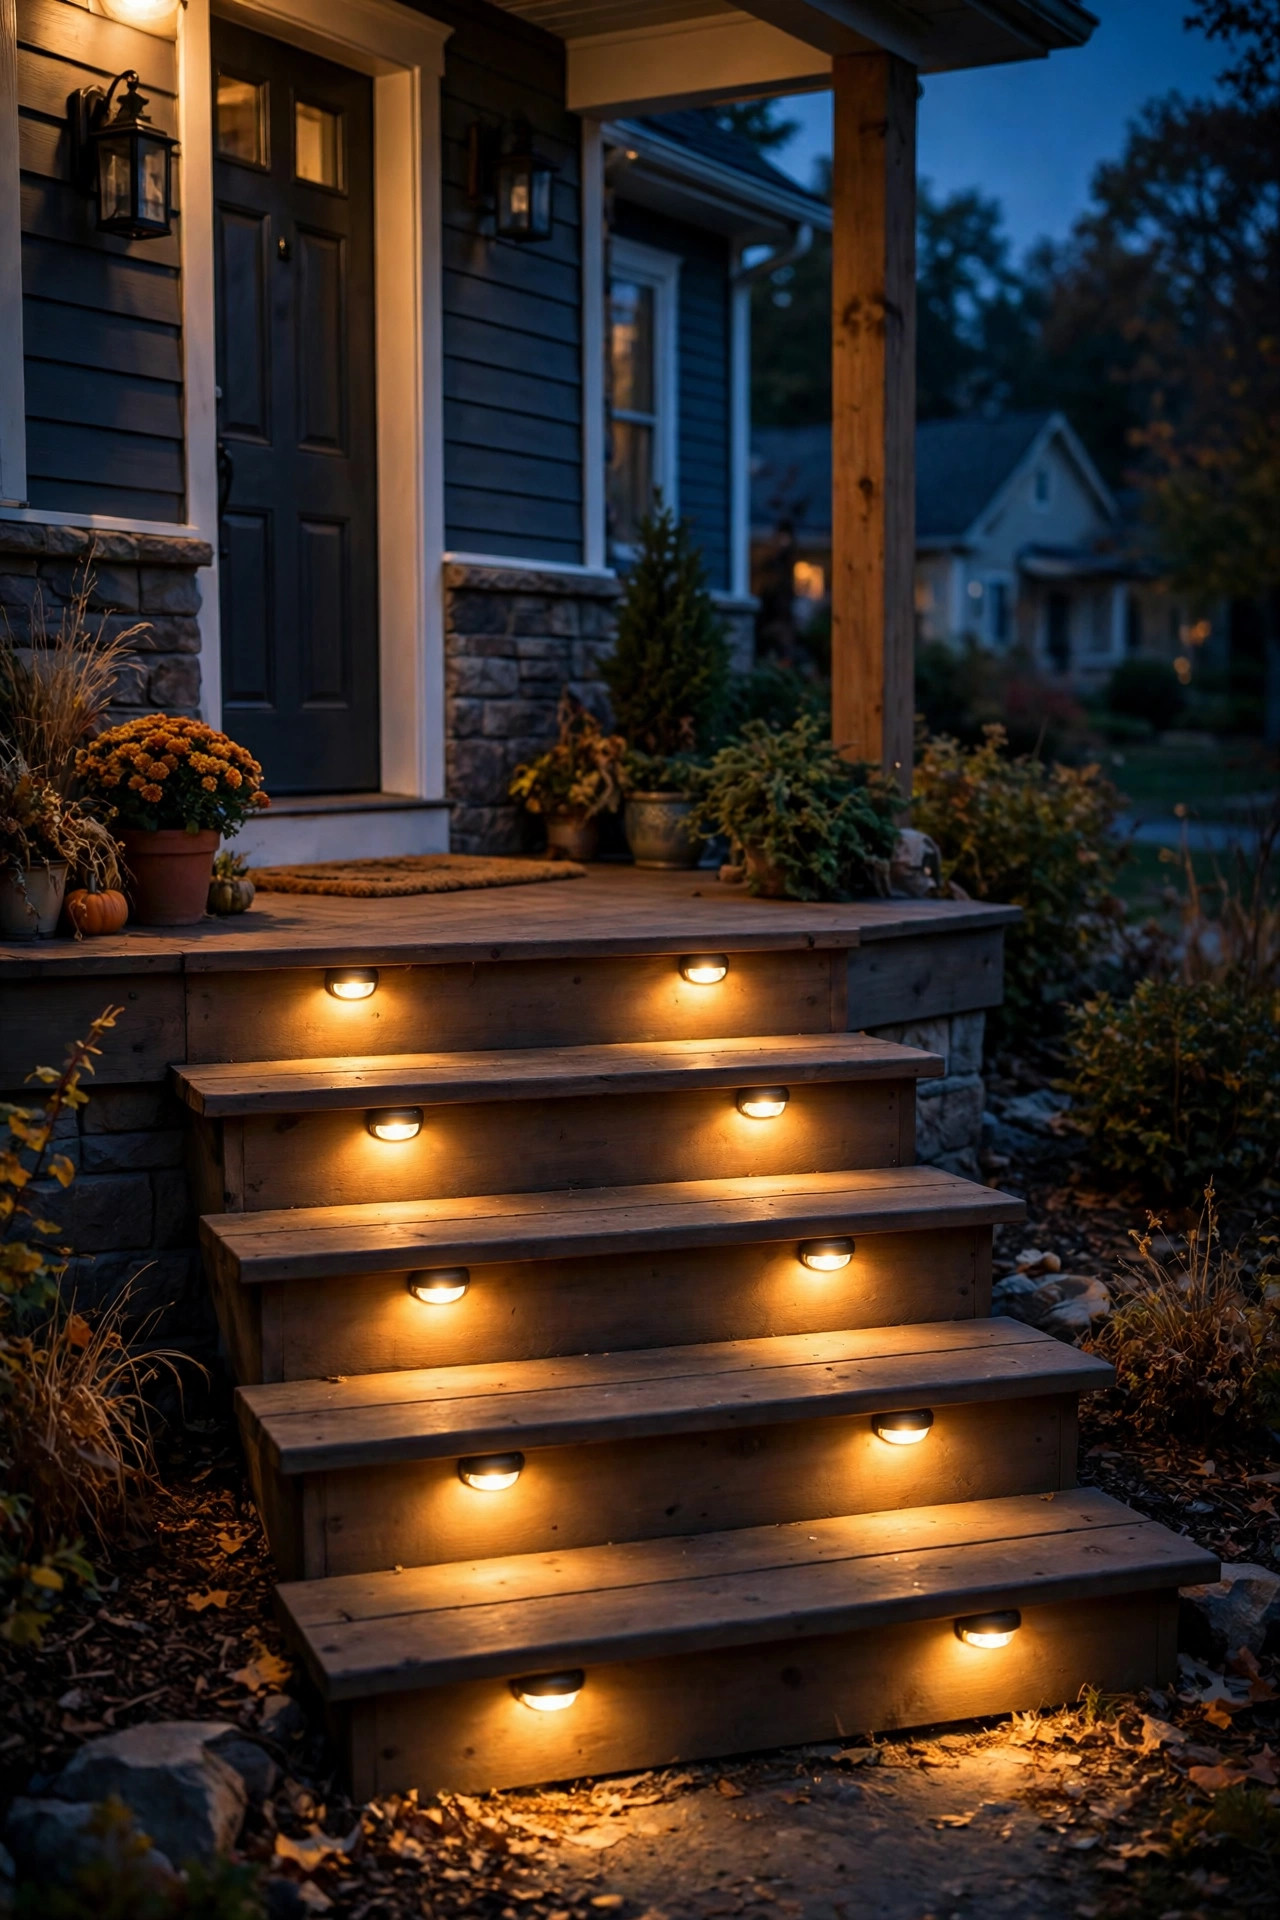
14. Dusk-to-Dawn Photocell Step Lights
My favorite lighting is the kind I never have to think about, and photocell step lights are exactly that: a tiny built-in sensor reads the fading daylight, switches the lights on at dusk, and shuts them off at dawn, every single day, whether or not I remember anything. You'll find the photocell built into solar step lights, low-voltage riser fixtures, and small wall-mount step lights, and across a whole staircase the effect is a home that simply comes alive at nightfall — wonderful for security, too, since the steps are lit even when you're on vacation. One placement lesson I learned the hard way: the sensor has to actually see the sky's light. A fixture tucked deep under a porch roof or behind a column may read "night" at 3 p.m. and burn all afternoon, so test positions before final mounting, or choose fixtures where the sensor sits on a little lead you can position in the open. Low-voltage photocell fixtures paired with a transformer are the most set-and-forget of all, since there's no battery to fade. If you go this route for deck stairs too, the same fixtures and rules carry straight over.
Suggested budget range: $55 – $170.
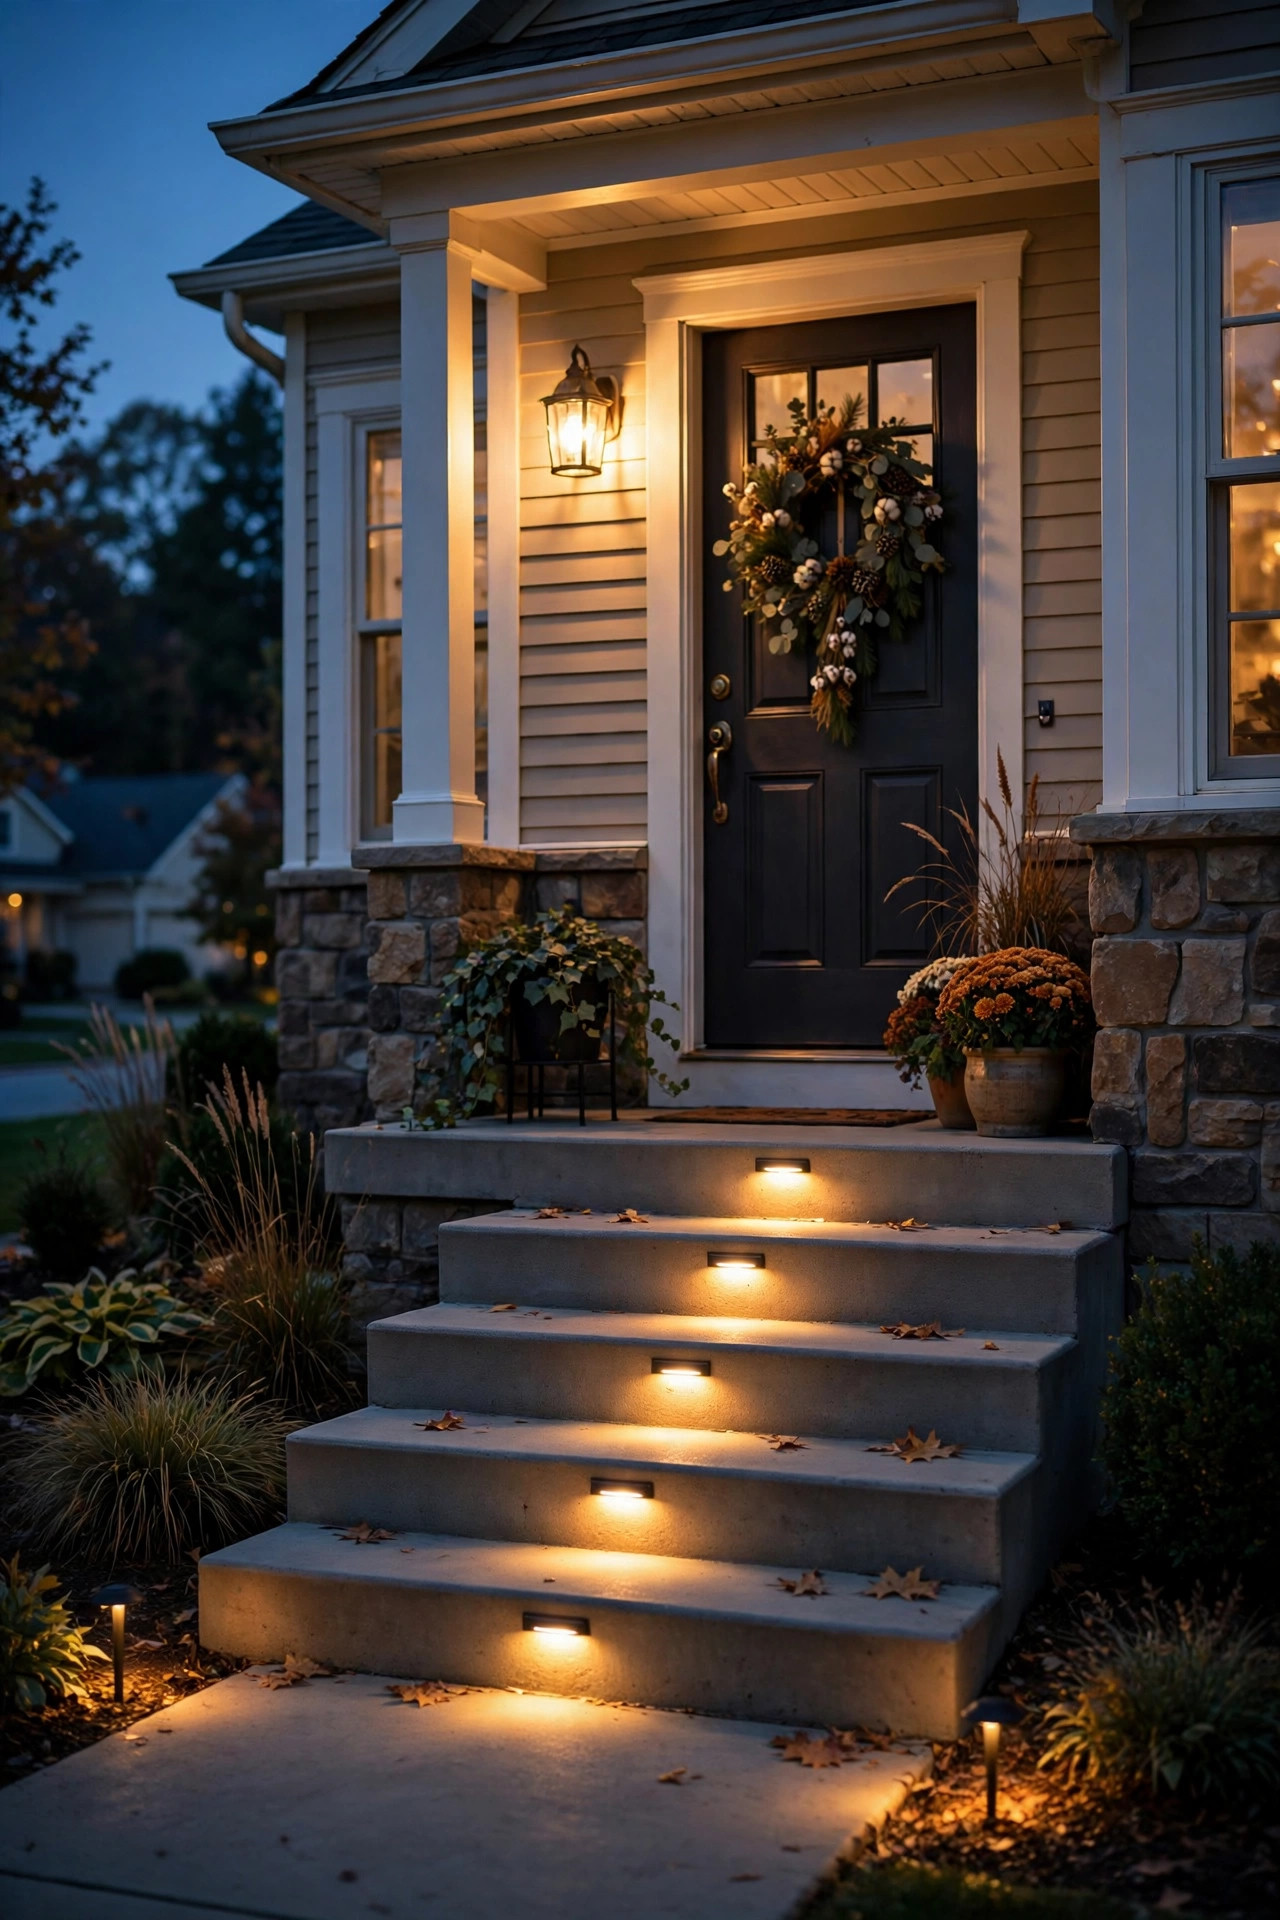
15. A Landing That Glows: The Finishing Porch Step Lighting Idea
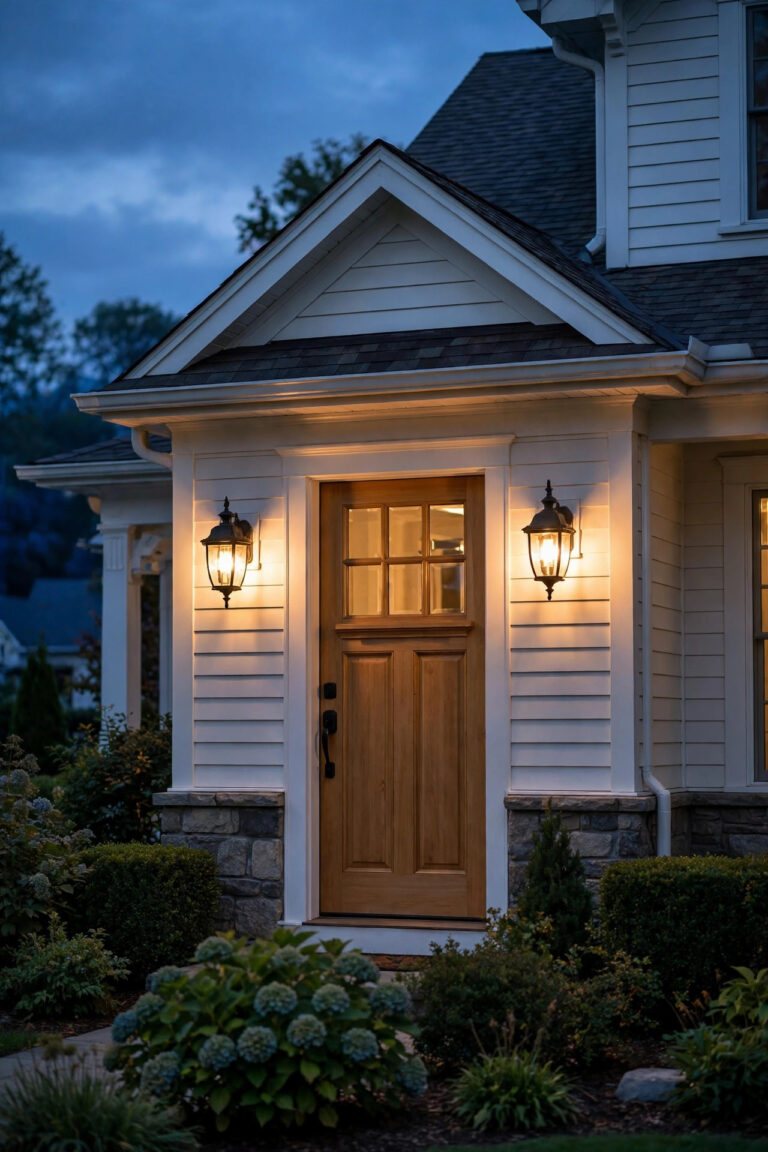
Every layer so far has one job — getting your guests safely up the climb — and the landing is where the climb pays off. I always treat the top landing as its own lighting moment: a pair of small step lights flanking the door end of the landing, a low wash spilling from the porch sconces, or even a single recessed fixture set into the landing's edge so the transition from steps to porch reads as one continuous, guided path. The landing should be a touch brighter than the steps themselves, because that's where people pause, fumble for keys, and turn to knock — lighting the lock and the doorbell area from the side (never straight behind a guest's head) saves that awkward phone-flashlight moment. Match the color temperature to your step lights, 2700K right through, so the whole entry reads as one designed scheme rather than a yard sale of fixtures. And notice the rhythm you've built: tread lights for feet, rail light for hands, a glow at the landing for arrival. That's layering, and once you've felt how welcoming it is, you'll never settle for a single bare porch bulb again.
Suggested budget range: $50 – $200.
Frequently Asked Questions
How many lights do porch steps actually need?
As a rule, plan on one light source per step for riser, strip, solar, and puck styles — the rhythm of even light on every tread is what makes a staircase feel safe. Spaced-out styles like cheek-wall sconces or bollards can go one fixture per two or three steps because their beams overlap. Whatever style you choose, always light the landing and the very first step up from the walkway; those two transitions cause the most stumbles.
What color temperature is best for step lighting?
Warm white, 2700K, is my recommendation for nearly every porch — it matches typical porch sconces and ceiling fixtures, flatters wood and brick, and reads as welcoming rather than clinical. 3000K is fine if the rest of your exterior lighting leans that way. What matters most is consistency: mixing a warm porch light with blue-white 5000K step lights looks like a mistake, so check the Kelvin rating on every box before you buy.
Are solar step lights bright enough to be safe?
On a sunny porch, yes — modern solar step lights at 10–30 lumens mark tread edges clearly at close range, which is the job that matters. On a shaded, covered, or north-facing porch, they often fade a few hours after dusk, and that's when I steer people to low-voltage wired lights, which deliver a steadier 40–80 lumens per step and never depend on the weather. Many porches do best with a hybrid: wired lights doing the safety work, solar accents adding sparkle.
Can I install porch step lights myself, or do I need an electrician?
Solar and battery options are pure DIY — screws, adhesive, done. Low-voltage 12-volt systems are also very DIY-friendly: the transformer plugs into an existing GFCI outdoor outlet, cables are shallow-buried or surface-run, and there's no permit or panel work involved in most places. Recessed fixtures that tie into 120-volt household wiring are where I hand things to a licensed electrician — that's panel-and-junction-box territory, and doing it wrong on an outdoor circuit is not worth the savings.
Conclusion
The porch step lighting ideas that actually change how a home feels all share one principle: light the climb in layers — something on the treads for your feet, something along the rail for your hand, and a welcoming glow waiting at the landing. Start with whichever layer your porch is missing most (for most people, that's tread-level light), match your 2700K color temperature across everything, and let timers, sensors, or photocells do the nightly work for you. If your staircase continues out back, the same layered thinking works there too — you'll find the companion approach in my deck stair light ideas. Browse around the rest of the site for more ways to make your home's exterior glow, and may every guest who climbs your steps arrive smiling — and upright.