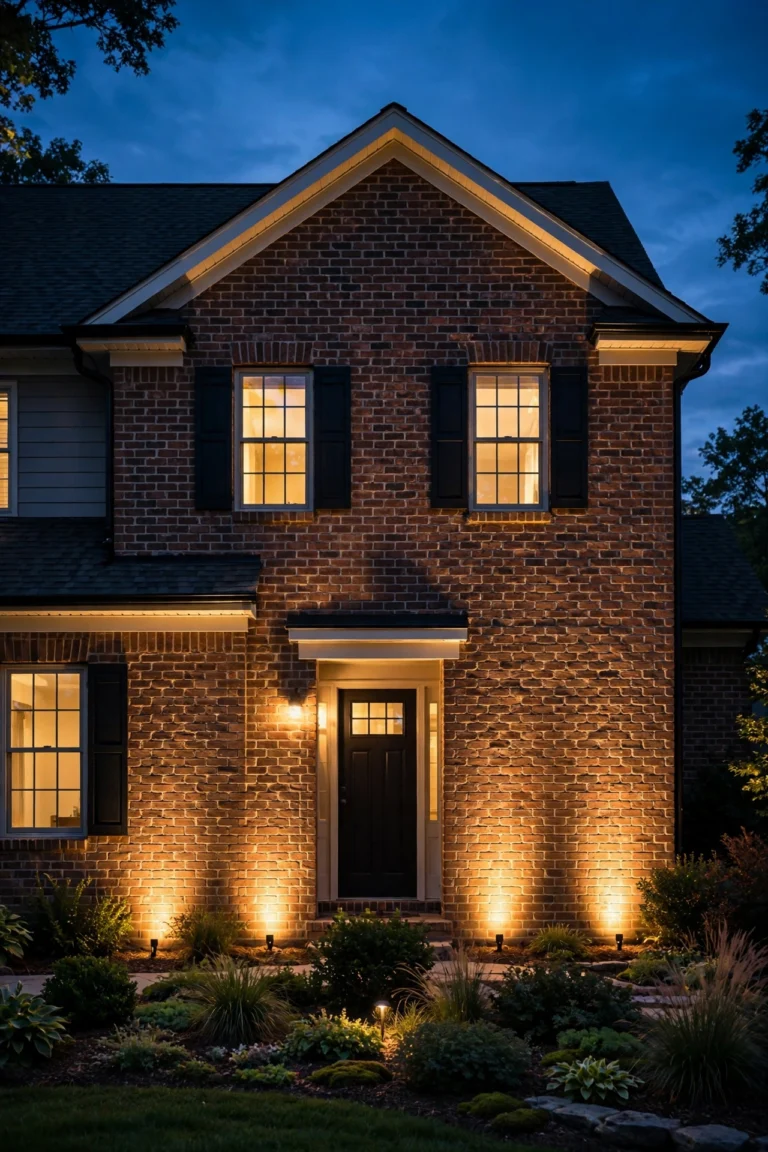
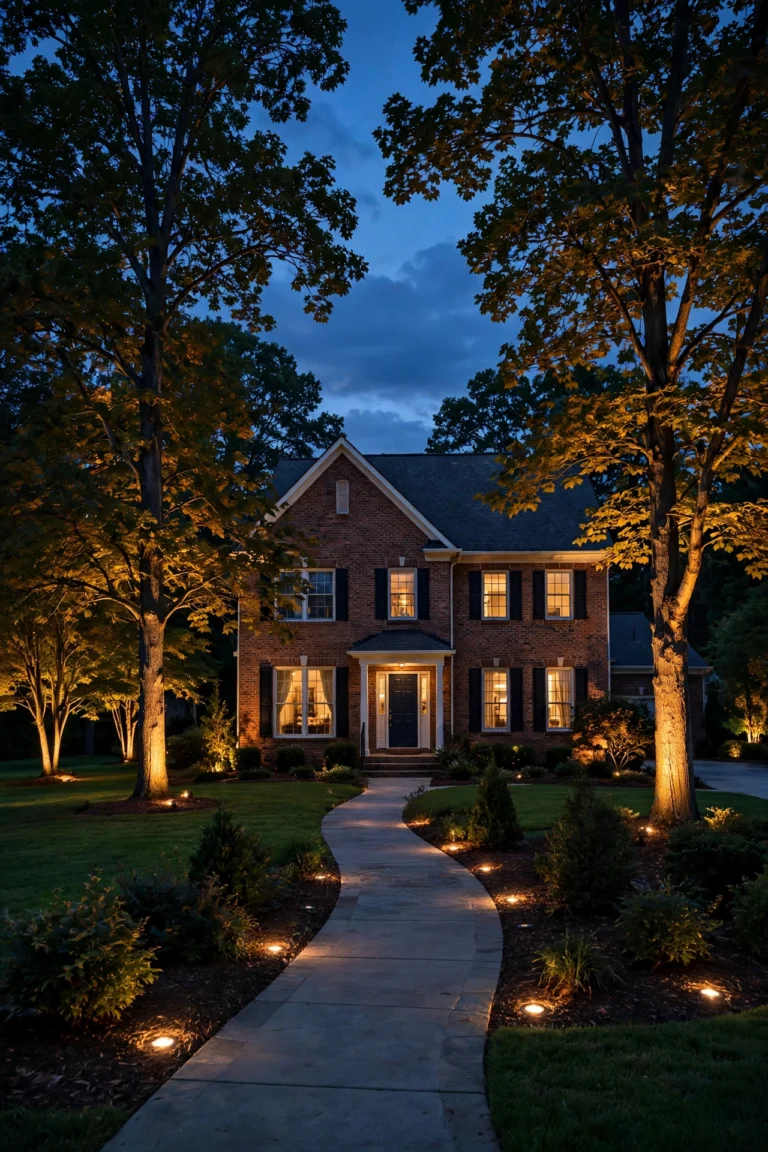
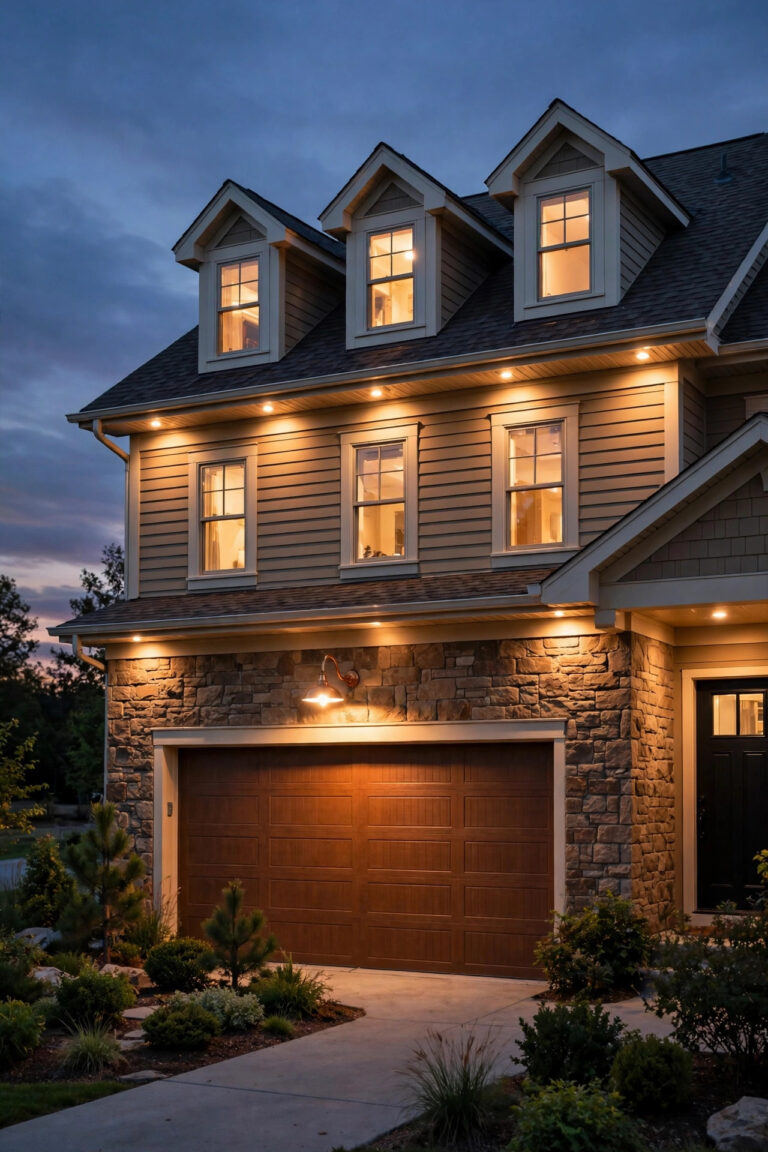
The night my neighbor texted a photo of the Milky Way from her own driveway, I stood on my porch squinting at a washed-out orange sky and felt a little embarrassed. My porch light — one bare bulb in a pretty lantern — was doing half that damage all by itself. That was the evening I fell down the dark sky porch lighting rabbit hole, and honestly? It changed how I light every entry I touch. Dark-sky friendly does not mean dark. It means layered: a soft pool of light exactly where your feet and your guests need it, warm color that flatters faces instead of bleaching them, and fixtures that keep every ray aimed at the ground where it belongs. No light wasted upward, no glare in anyone's eyes, and the stars get their sky back. Below are the fifteen ideas I now reach for on my own porch, with honest budgets and the placement details that make each one work.
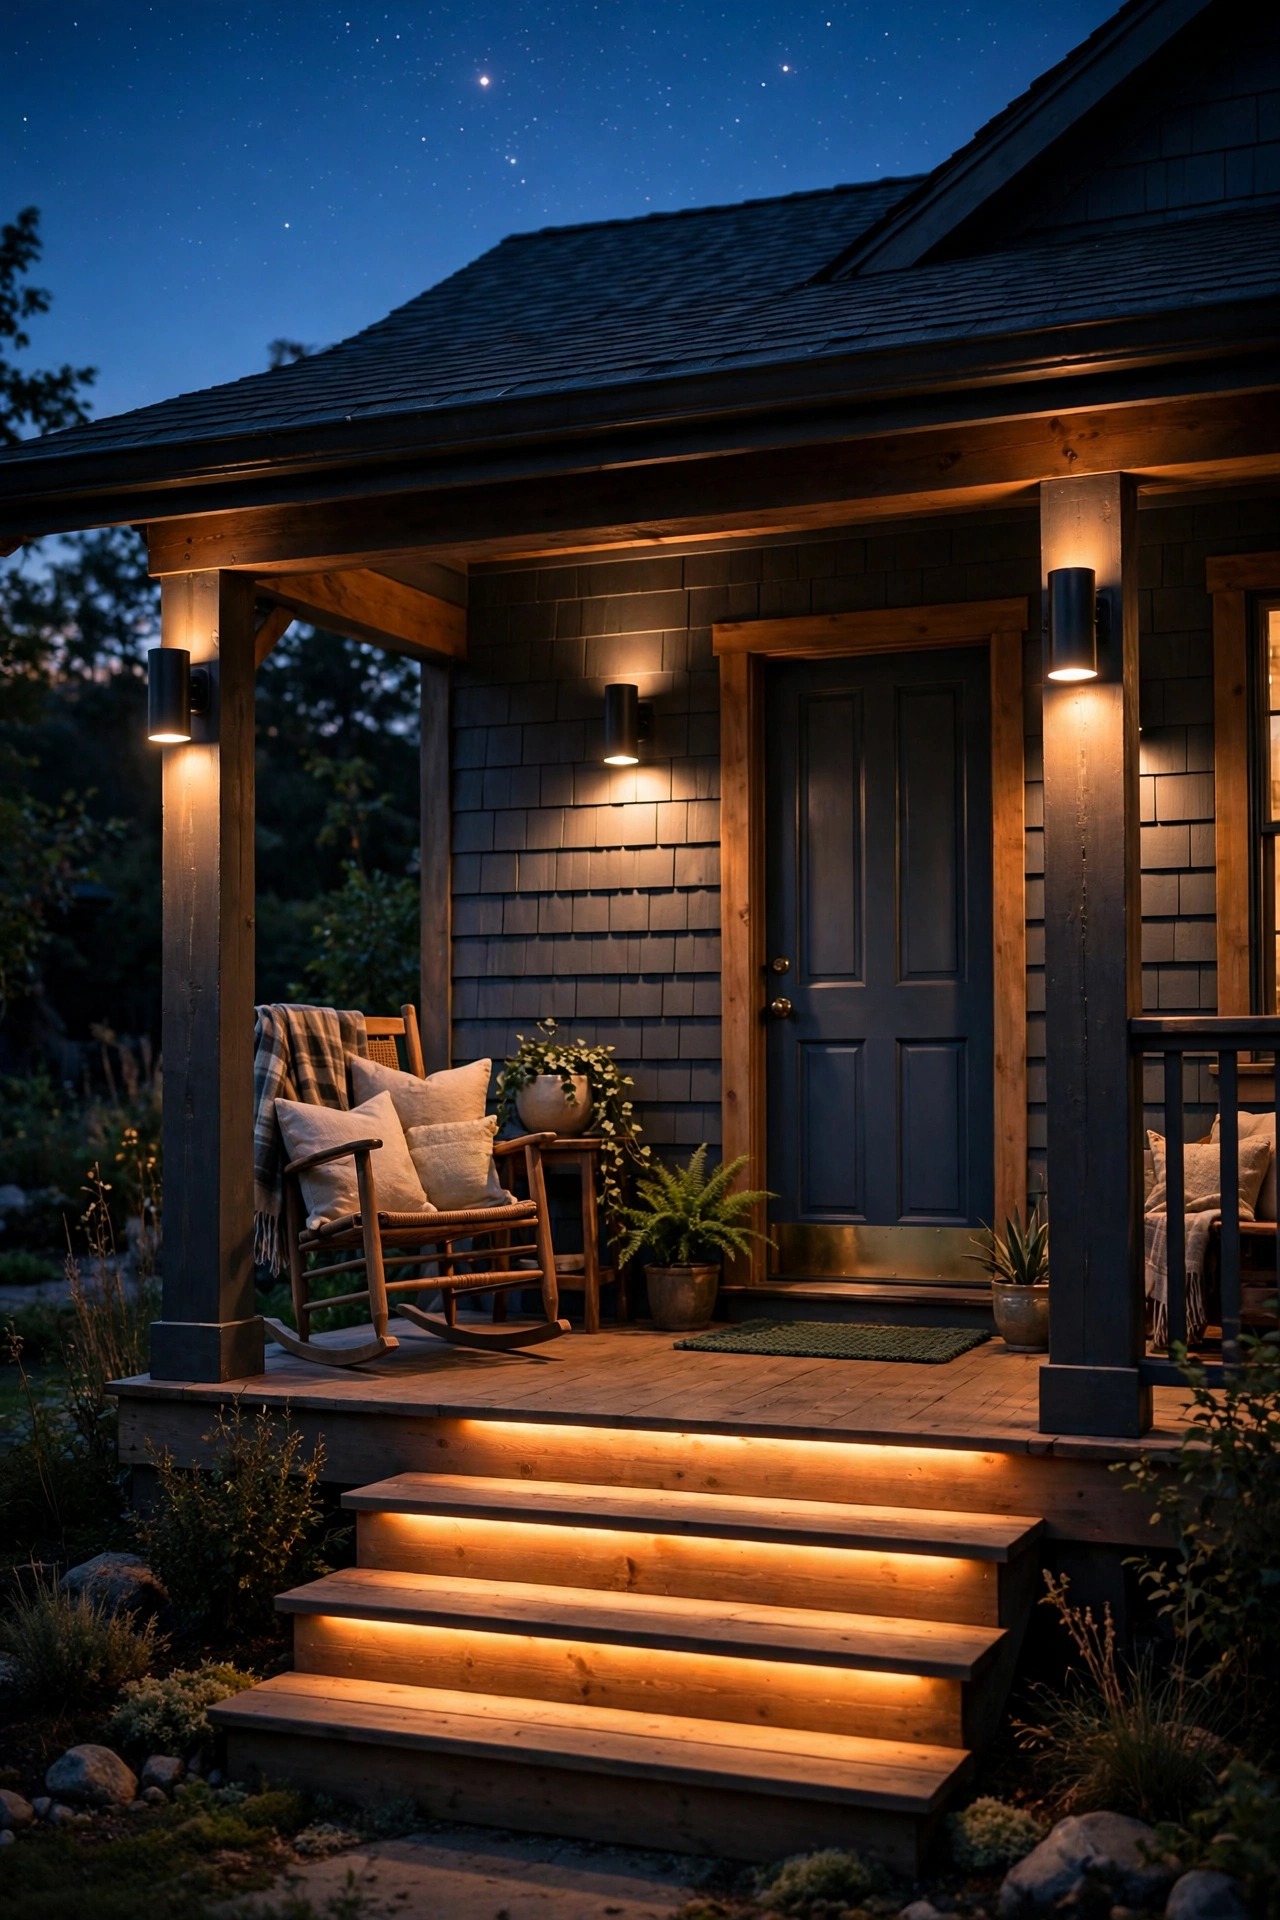
1. Anchor the Entry With Dark Sky Porch Lighting That Points Only Down
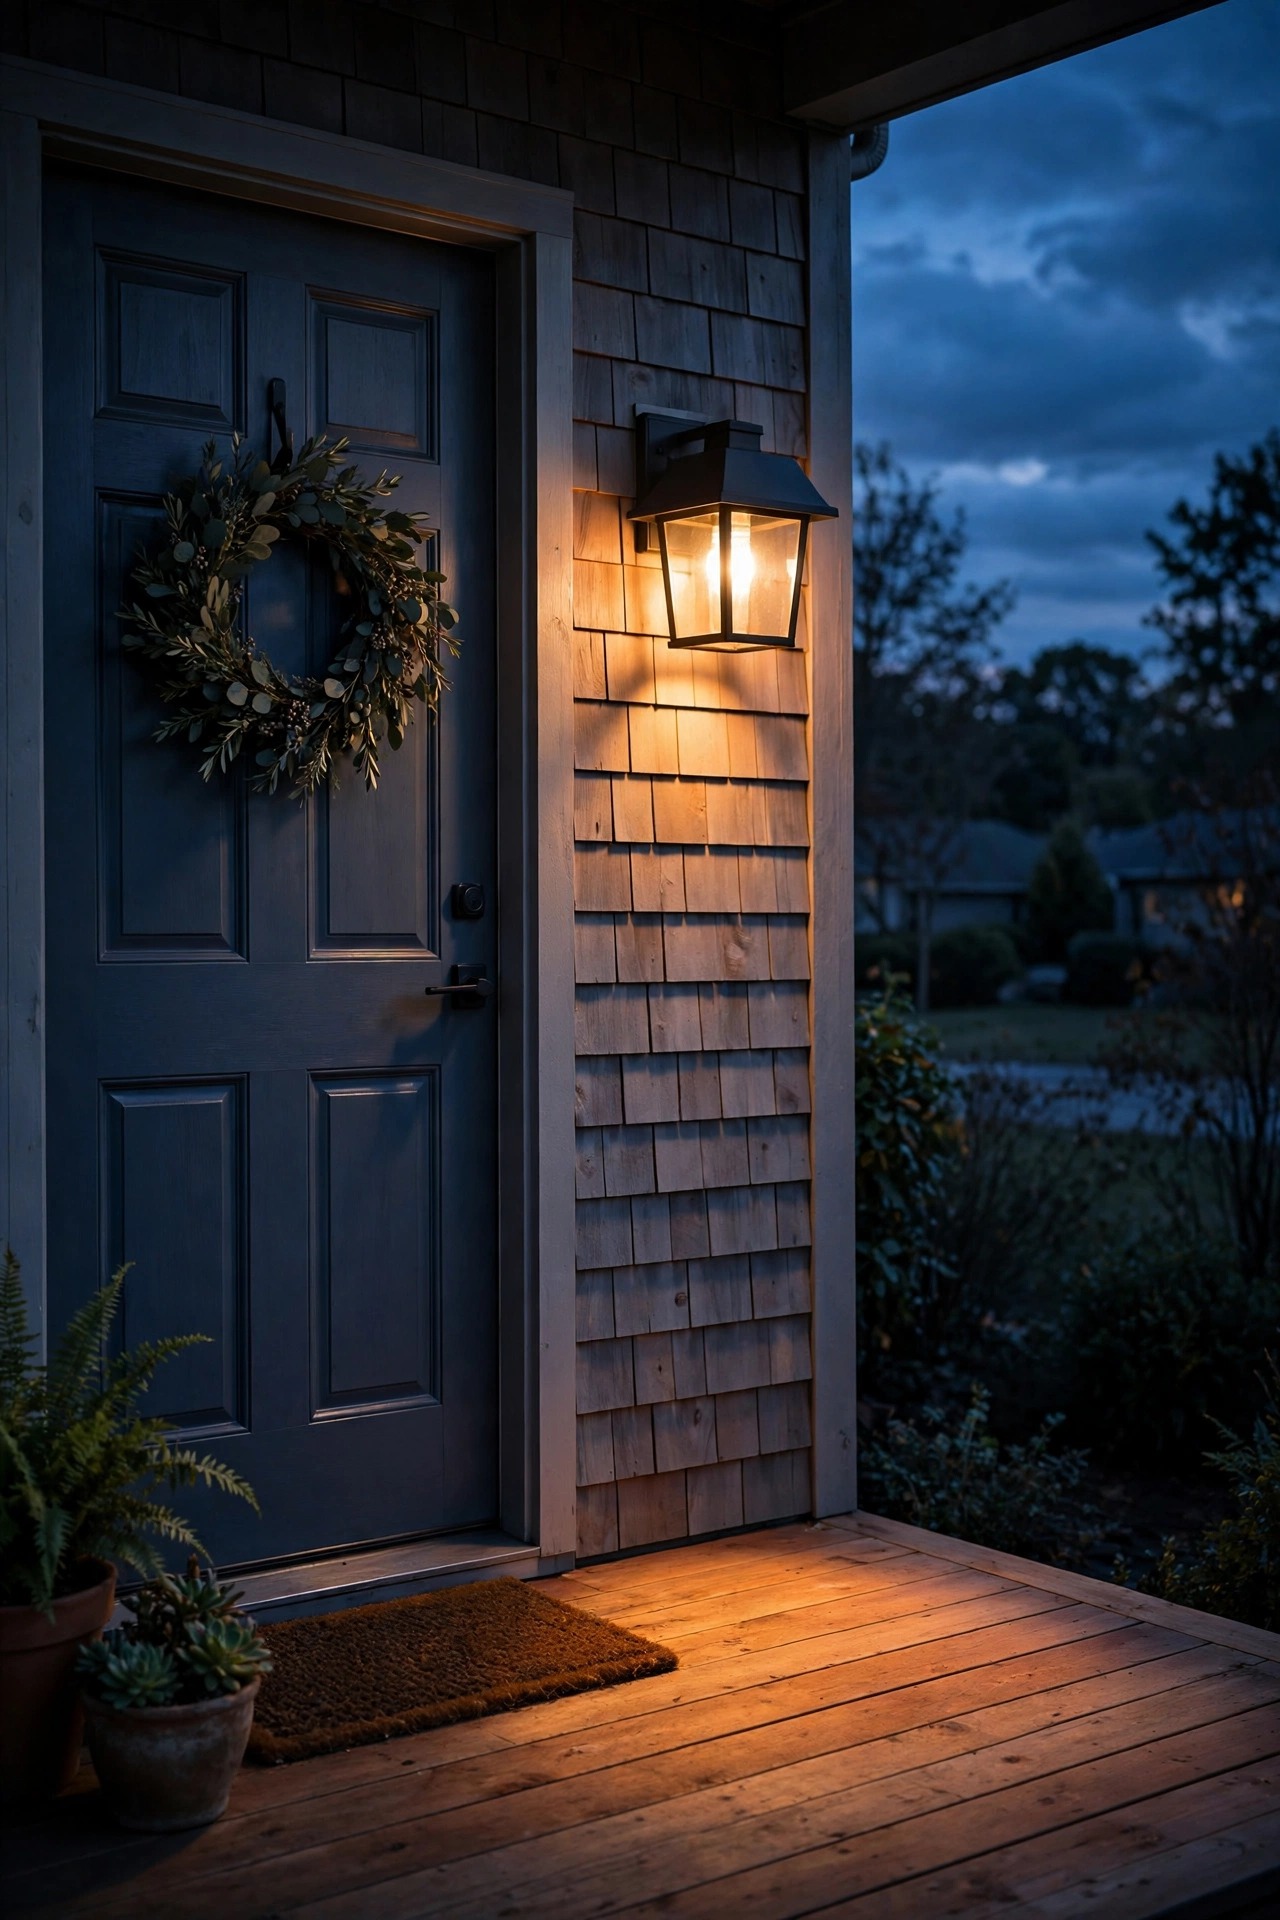
Start with the main event: one proper full-cutoff fixture beside the door. Full cutoff means the bulb sits up inside an opaque housing and no light escapes above the horizontal line of the fixture — everything it makes lands on your porch floor, your steps, and your welcome mat. In my experience, this one swap does more than the other fourteen ideas combined, because the door light is the one that burns the longest every night. Mount it 66 to 72 inches above the porch floor, roughly at eye level or a touch above, so the light pools where people stand instead of blasting across the yard. Size the bulb modestly — 450 to 800 lumens is plenty for an entry pool — and pick a housing with a solid metal top rather than a glass crown. Glass-topped lanterns are the pretty offenders at most houses; they leak a halo straight up into the sky. A downward lantern gives you the same welcoming moment at the door with zero waste, and it is the fixture every guest will judge the whole porch by.
Suggested budget range: $45 – $130.
2. Hide the Bulb Behind Shielded Sconces and Opaque Shades
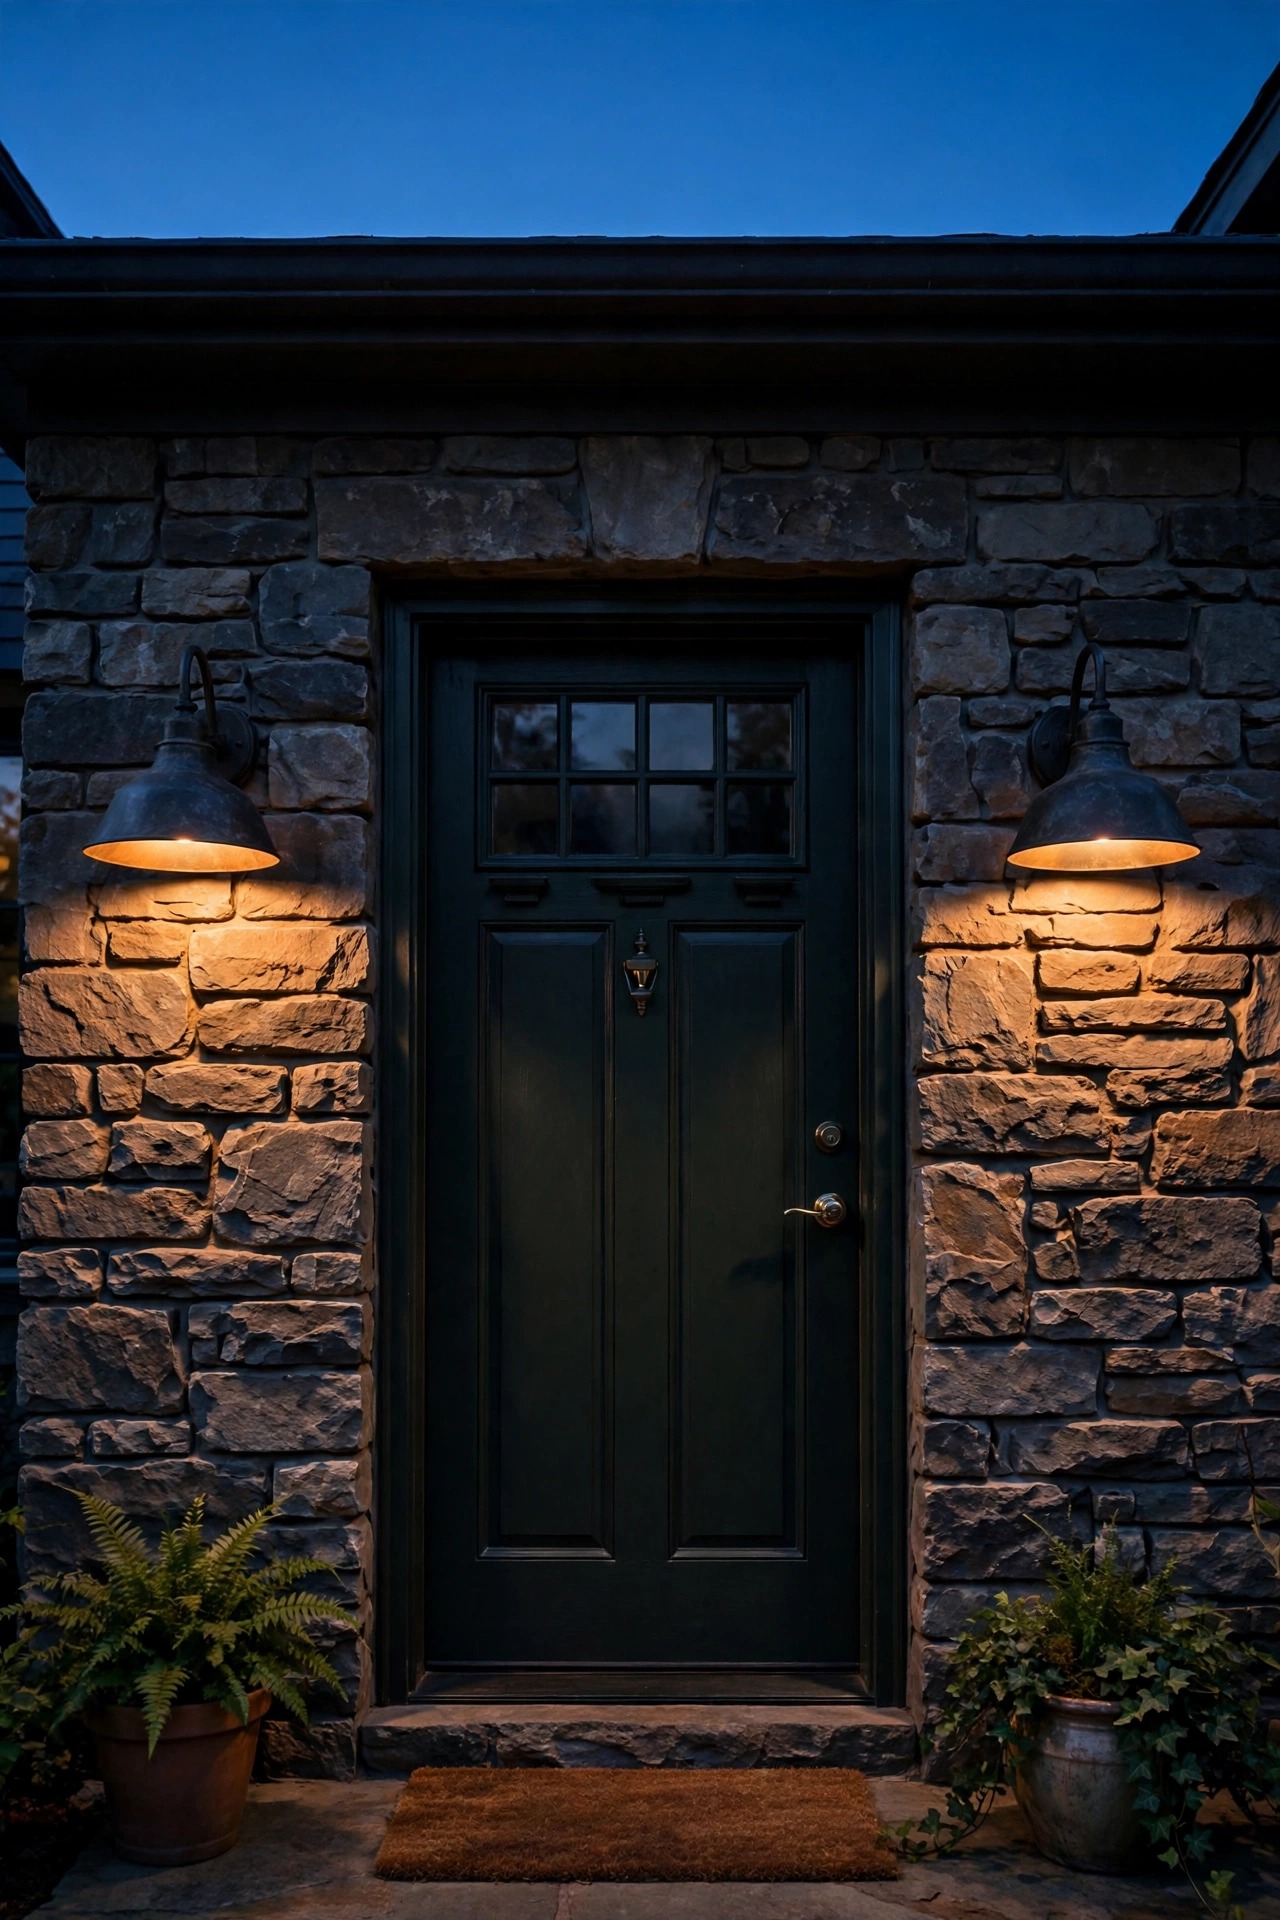
Glare is not really about brightness — it is about whether your eye can see the bare bulb. The moment a naked filament or LED point is visible, your pupils clamp down and everything around it looks darker, which tempts people into even brighter bulbs. Shielded sconces fix the problem at the source: a metal shade, a deep hood, or an opaque top half hides the bulb from every normal viewing angle. Flanking a door with two hooded sconces is one of my favorite looks — you get a handsome wash down the siding and across the threshold, and from the street the fixtures read as soft glowing shapes instead of two tiny suns. When you shop, do the crouch test in the store if you can: hold the fixture at arm's length, look at it from slightly below, and if you can see the bulb itself, keep walking. Barn-style shades, capped lanterns, and sconces with frosted lower lenses all pass. Your porch will feel calmer instantly, because human eyes relax when the light source disappears and only the lit surfaces remain.
Suggested budget range: $35 – $110.
3. Recess the Light Into the Porch Ceiling
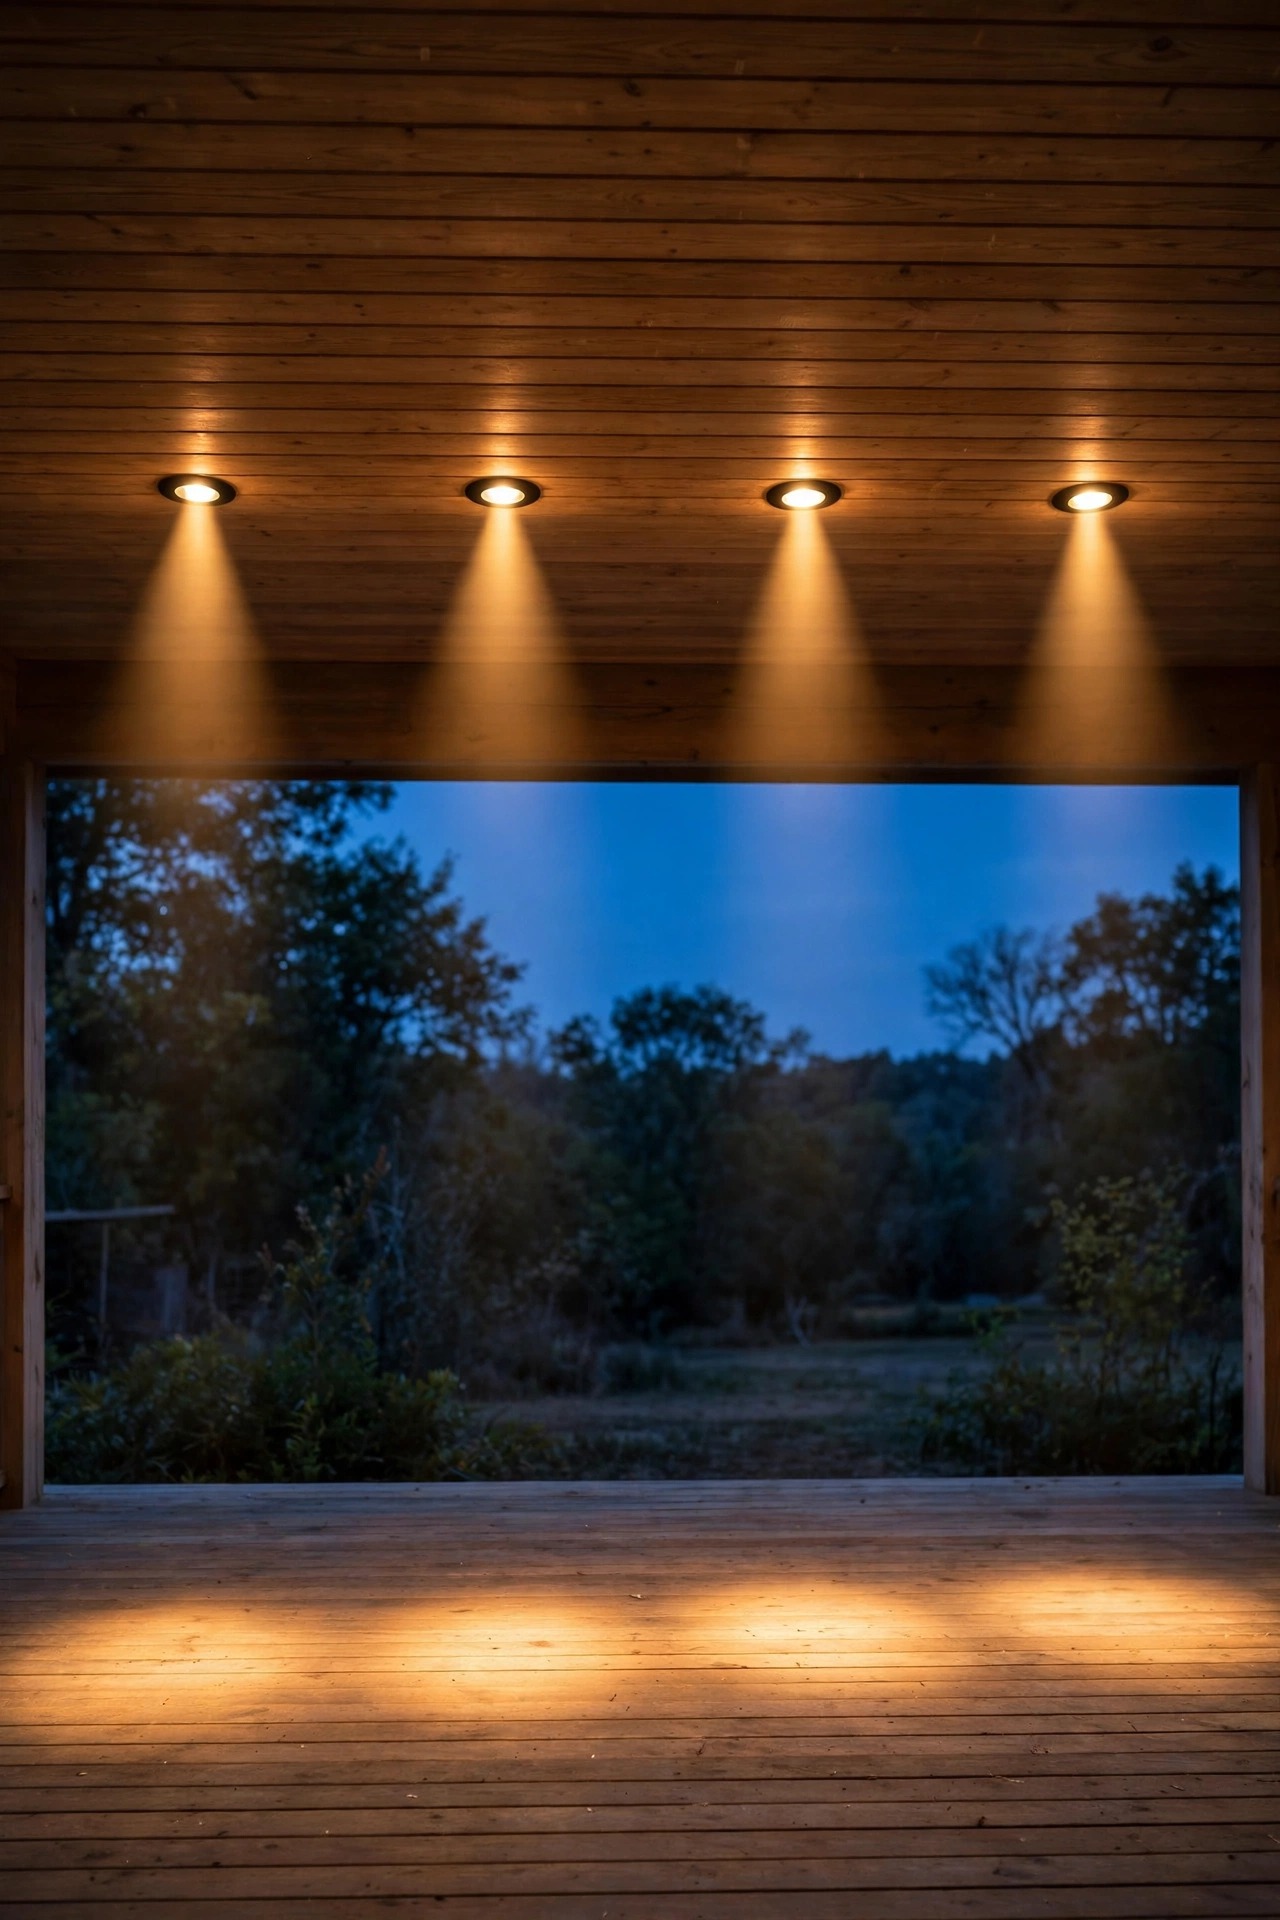
If your porch has a ceiling, recessed downlights are the most invisible dark-sky trick there is. A 4- or 6-inch recessed can with a deep baffle trim tucks the LED up inside the ceiling plane, so the light falls in a tidy cone onto the floor and not one ray escapes sideways into the night. I space them 4 to 5 feet apart over the walking path of the porch, never closer than 2 feet to the house wall, and I always choose a trim with the light source set at least an inch back from the ceiling surface — that recess depth is what kills glare for anyone walking up your steps looking toward the door. Choose 2700K and a high CRI rating so faces and paint colors look right. One caution from experience: porch ceilings are exterior space, so use fixtures rated for damp or wet locations, and if your porch is open to wind-driven rain, wet-rated is the only honest choice. On a covered porch this is the cleanest, most architectural option, and it leaves your walls free for the prettier decorative fixtures.
Suggested budget range: $25 – $75.
4. Go Amber With 2200K Bulbs That Spare Eyes, Bugs, and Sky
Color temperature is the quiet half of dark-sky design. Cool white and daylight bulbs are rich in blue light, and blue is exactly what scatters in the atmosphere to create skyglow — and exactly what draws every moth in the county to your door. Amber-warm bulbs in the 2200 to 2700K range contain far less blue, so the same brightness produces dramatically less skyglow and far fewer insects orbiting your porch light. I run 2200K at my own front door, and the effect is candle-like: warm, flattering, and somehow more welcoming than the brighter 3000K setup it replaced. Most people can simply unscrew their existing bulb and screw in an amber LED, which makes this the cheapest idea on the whole list. Look for bulbs labeled 2200K or "amber" and match the wattage down, not up — a 40-watt-equivalent LED is usually right for a single door lantern. Bonus nobody expects: amber light barely registers through bedroom windows, so light trespass into your own house drops too. Your eyes at midnight will thank you for this one.
Suggested budget range: $8 – $25.

5. Right-Size Your Lumens and Add a Dimmer
Most porch lights are simply too bright for the job, and every extra lumen that bounces off a light-colored porch floor becomes glare and skyglow. Here is my honest sizing rule: 450 lumens for a single door lantern, 800 to 1,200 total lumens for the whole porch across all fixtures, and anything beyond that is almost always waste. Compare that with the 1,600-lumen bulbs many porches inherited — no wonder the neighbors squint. Swapping down is free if you already own dimmer bulbs. Better still, put the porch circuit on an outdoor-rated dimmer or a smart dimmer switch and run the lights at about 60 percent for ordinary evenings, saving full brightness for the night you are unloading groceries in the snow. I keep mine dimmed to a low amber glow most nights; it reads as intentional and cozy rather than underlit. Dimming also extends LED life and cuts your running cost to pennies. If a fixture feels dim at first, give your eyes three evenings to adjust before you touch it again — eyes raised on overbright porches need a short retraining period, and then you will not want to go back.
Suggested budget range: $15 – $60.
6. Put Dark Sky Porch Lighting on a Motion Sensor
The darkest-sky porch light is the one that is off. A motion-activated fixture gives you full, confident light exactly when someone arrives and complete darkness the other 95 percent of the night, which is a trade every astronomer and every electric bill can get behind. Modern sensor fixtures let you dial the range down to 10 or 15 feet so passing sidewalk walkers do not trip them, set the on-time to 1 to 5 minutes, and many add a gentle dual-brightness mode: a low 10-percent glow at dusk that rises to full when the sensor wakes. Position the sensor so it watches the approach path — the steps and the walkway — rather than the street, and mount floods 7 to 9 feet up angled steeply down. My favorite setup pairs a motion sensor with the amber bulbs from idea 4: when it fires at 2200K, visitors get a warm pool of welcome instead of a stadium blast. Test it the way I do: walk the route at night carrying something, and adjust the aim until the light arrives a step before you do. That timing is what makes a sensor porch feel smart rather than startling.
Suggested budget range: $30 – $95.

7. Set a Curfew With Timers, Photocells, and Smart Controls
Whatever fixtures you choose, give them a bedtime. A porch that burns at full strength until 3 a.m. is lighting an empty street, and a simple curfew — off at 11 p.m., or down to the motion sensor only — removes hours of skyglow every single night. A photocell alone is not enough, since it happily runs dusk to dawn; pair it with a timer or choose a smart bulb or smart switch that handles both the sunset start and the evening stop. My own setup comes on at dusk, dims at 10, and hands over to motion-only at 11, which covers late guests, delivery drivers, and dog walkers without paying for an all-night burn. If you are weighing the control options, my walkthrough on how to add a photocell or timer to a porch light covers the wiring difficulty honestly for each type. Astronomical timers are the set-and-forget middle ground: they track your local sunset all year with no sensor to keep clean. Whichever route you choose, the star field above your roof notices the difference within a week.
Suggested budget range: $15 – $70.
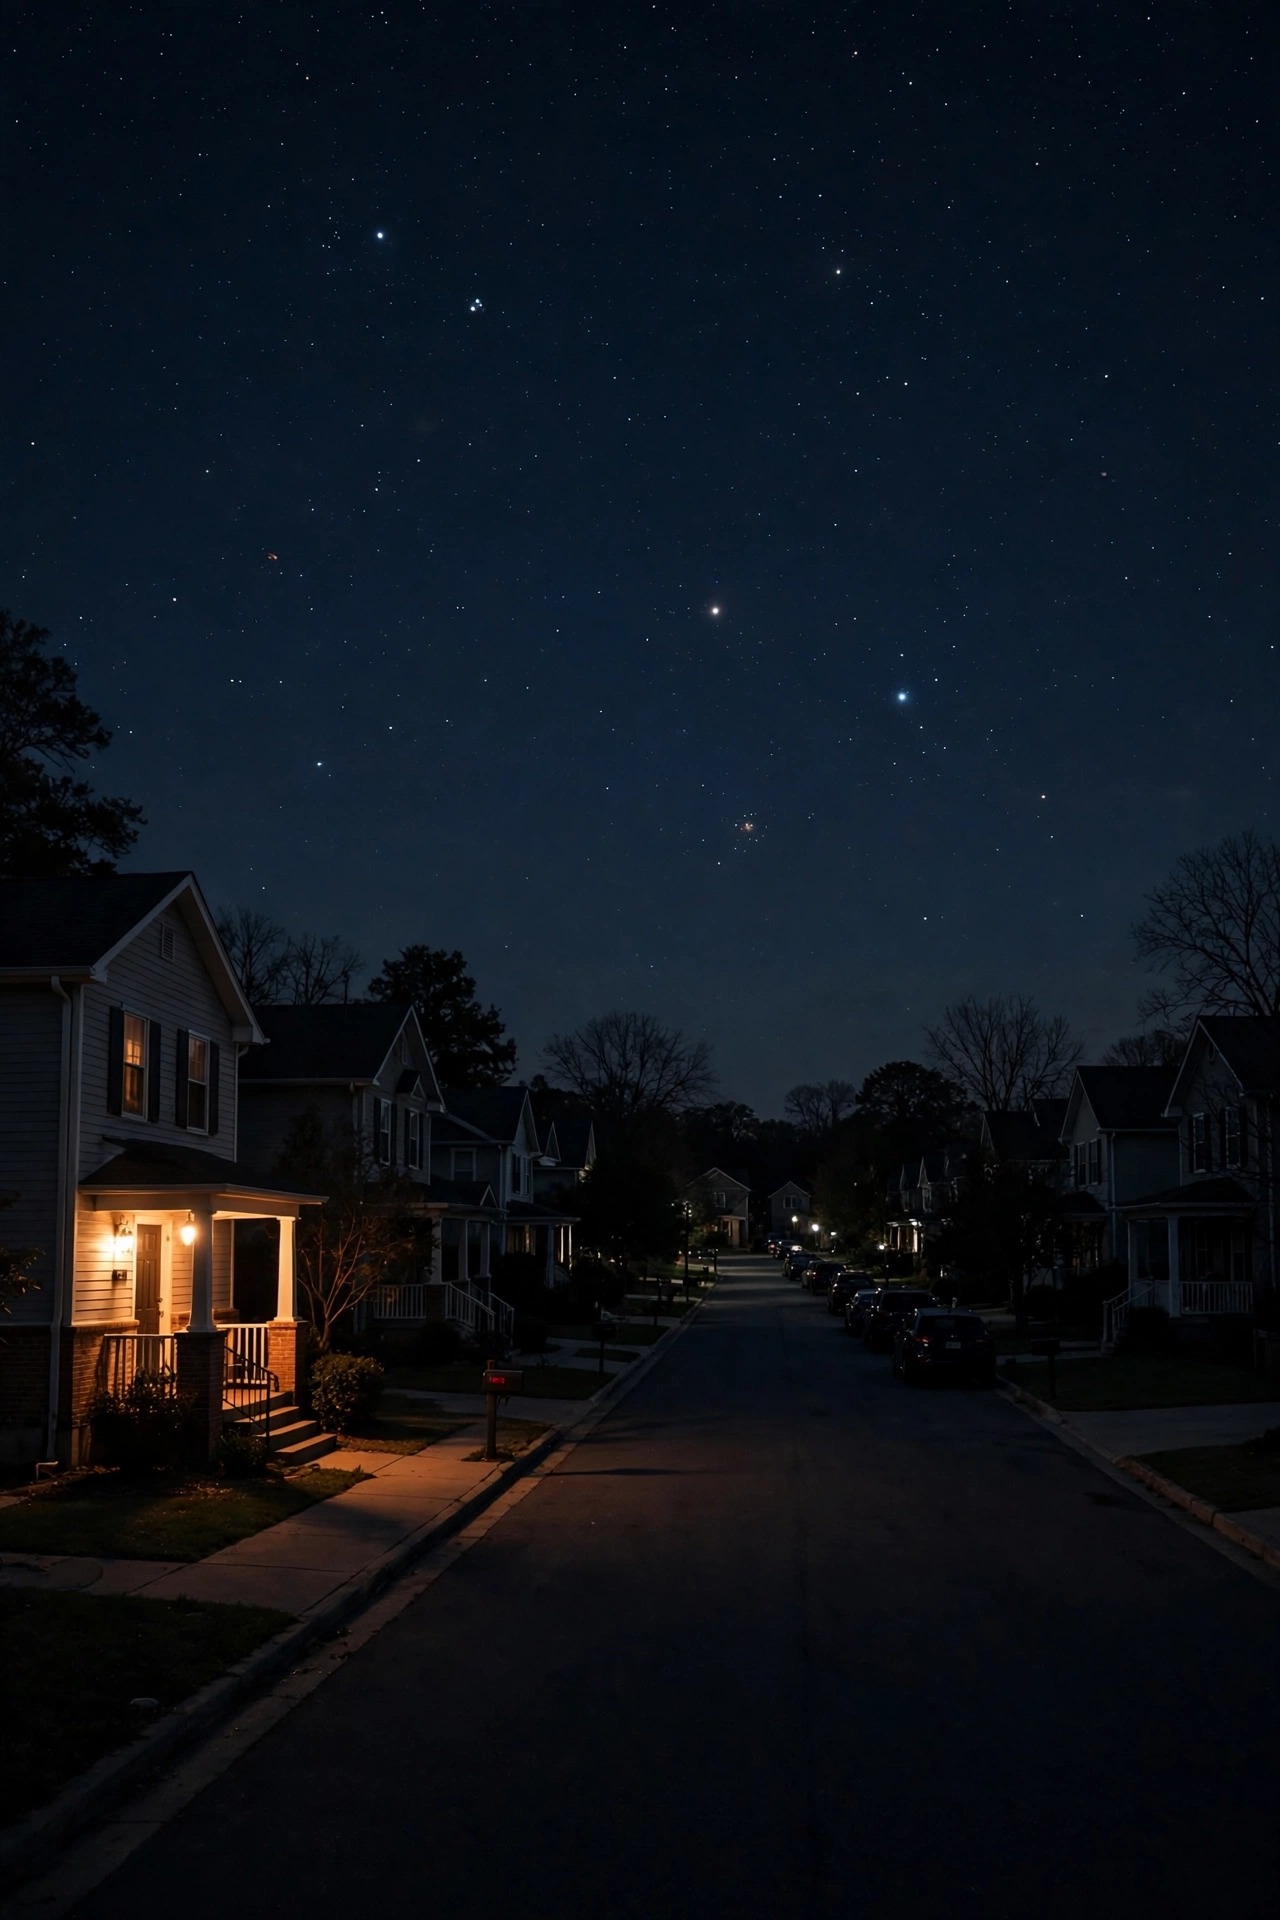
8. Wash the Steps, Not the Street
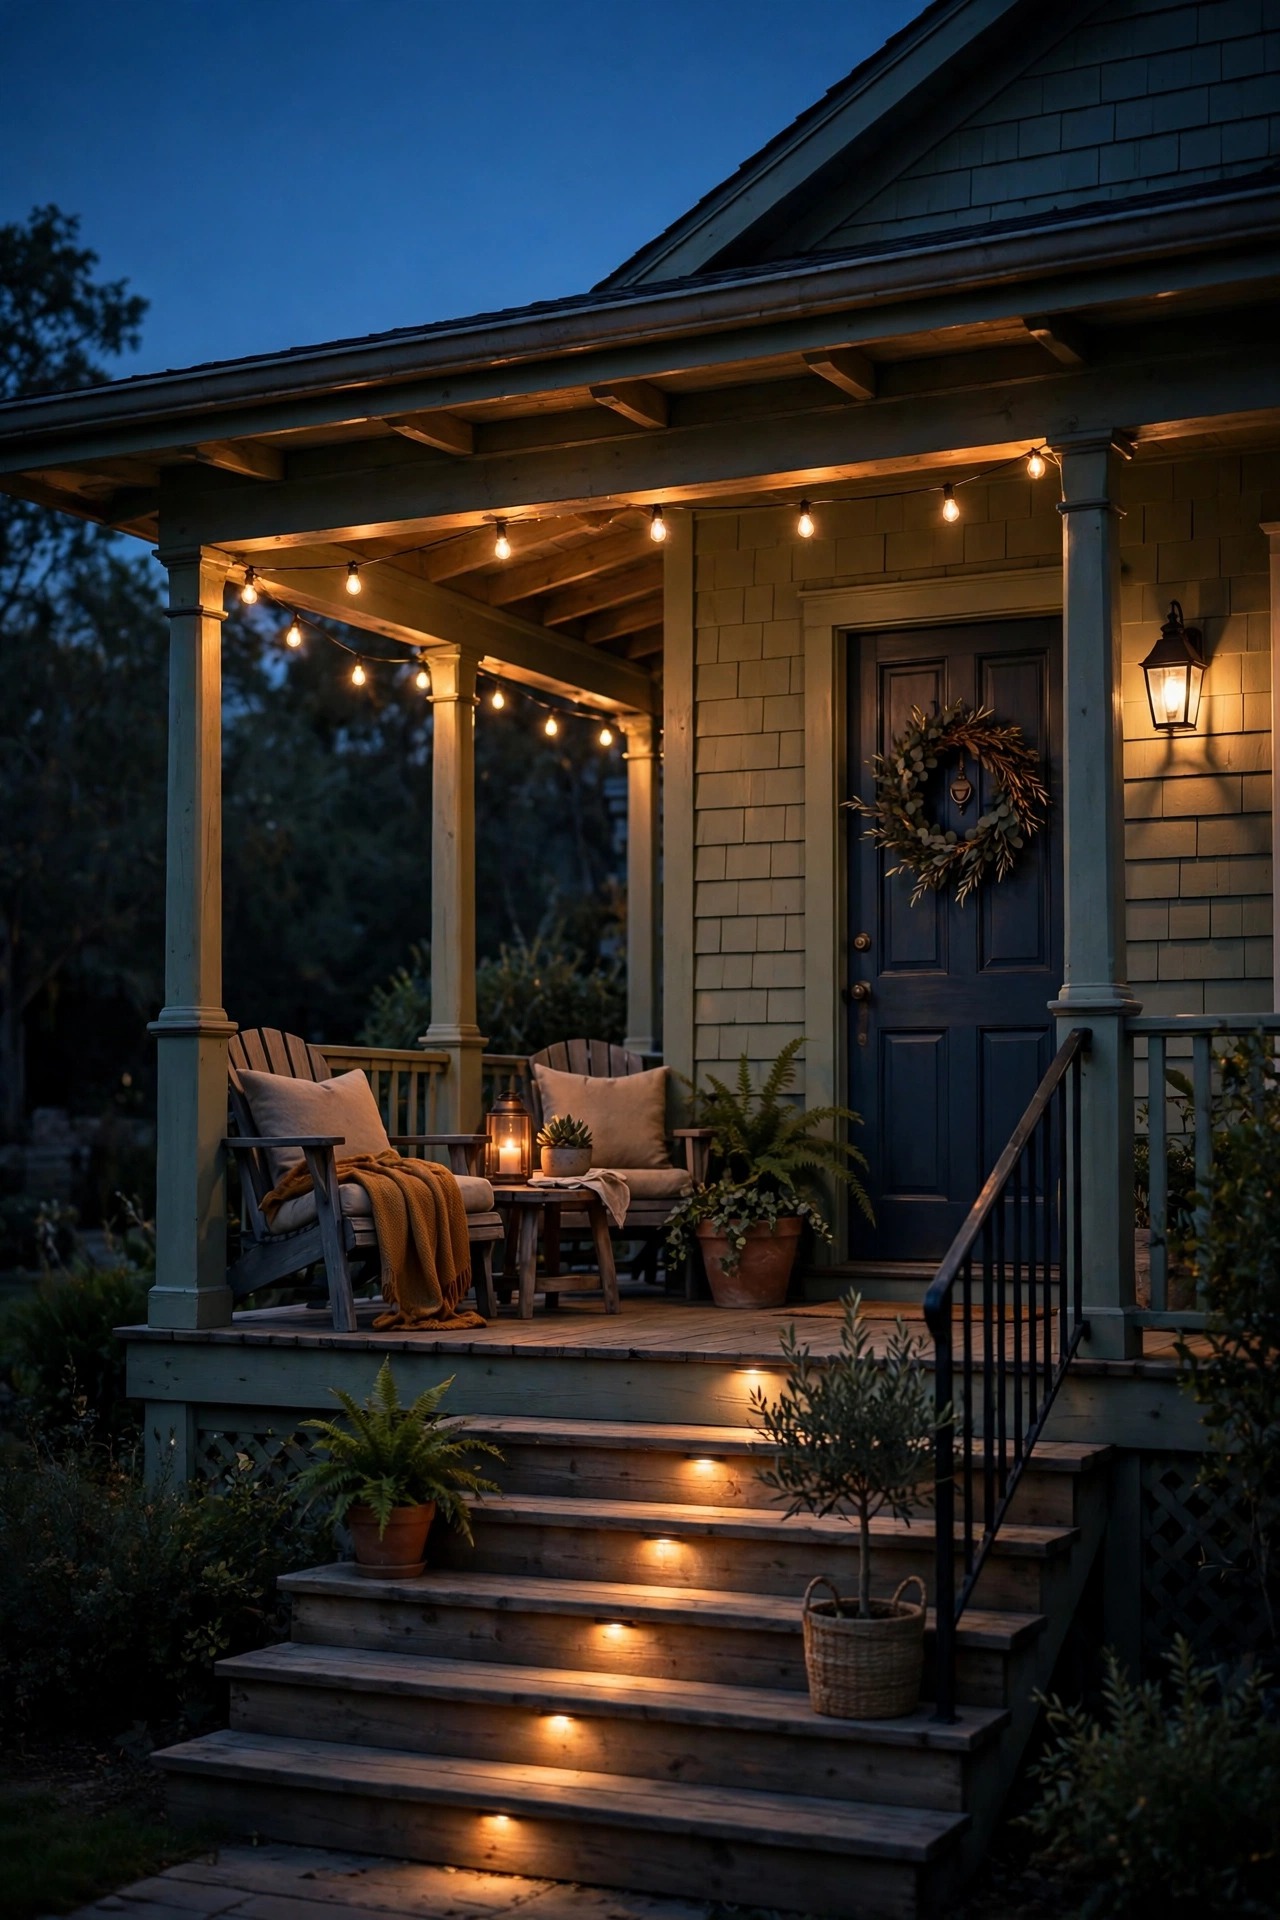
Steps are where porch lighting earns its keep for safety, and they need a fraction of the light people give them. Low step lights — little shielded fixtures recessed into the riser, mounted under a handrail, or tucked at the side of the tread — throw all of their light onto the step surface itself, which is the one place feet actually need to see. I aim for one light every two or three steps, or a continuous low strip under the rail, and keep each source under 100 lumens. Because the fixtures sit low and shielded, they produce essentially zero glare for anyone climbing and zero spill for anyone passing on the sidewalk. Compare that with a bright door lantern alone, which throws the steps into shadow behind the climber's own body — the classic setup that looks bright and functions badly. Low-voltage wired step lights are the most reliable, solar versions work if the panels see real sun, and battery puck lights are a legitimate renter option. This is the idea guests compliment most: the staircase reads as a soft staircase of light pools, each tread defined, almost theatrical, and the sky above stays black.
Suggested budget range: $20 – $90.

9. Hang a Pendant With a Solid Shade Over the Seating Corner
Every porch deserves one pretty moment, and mine is a pendant over the seating corner — but dark-sky rules apply to the pretty stuff too. Choose a pendant with a solid metal or opaque shade, open only at the bottom, so the bulb hides inside and the light falls onto the reading chair, the side table, and the rug. Hang it so the bottom of the shade sits about 6 feet above the floor over a seating area (higher, around 7 feet, if it hangs over a walkway), and let it be the warmest, dimmest source on the porch — 2200 to 2700K and 450 lumens or less, on its own switch or dimmer. This becomes your layering anchor: task light for a book and a cup of tea, ambiance for conversation, nothing whatsoever for the sky. I pair mine with the dim ceiling or sconce layer turned low, and the porch feels like an outdoor room rather than a lit stage. Avoid clear-glass pendants and exposed filament bulbs outdoors unless the bulb is very low wattage and amber; that bare-bulb look is charming at noon and a glare bomb at nine in the evening.
Suggested budget range: $40 – $120.

10. Use Flameless Candles and Lanterns for Zero-Uplight Ambiance
When you want atmosphere more than illumination, candles — real or flameless — are the most dark-sky-friendly light source in existence: a tiny warm flame point, essentially no skyglow, no wiring, and instant off. I cluster flameless LED candles in hurricane lanterns on the porch floor, on the steps' side ledge, and on the coffee table between chairs, and on a still evening the porch feels like a small celebration. Flameless is my standing recommendation near anything flammable — cushions, dried wreaths, wooden railings — and the modern ones flicker convincingly and run for weeks on a timer setting, usually 5 hours on and 19 off, which quietly enforces a curfew too. If you burn real candles, keep them inside glass hurricanes, on metal trays, and fully out when you go in. Group lanterns in odd numbers and vary the heights for that collected look. This layer costs almost nothing and carries the whole mood of the porch while the real fixtures stay dim in the background. On the clearest nights, I turn everything else off and sit with just the lanterns and the actual stars — that is the entire philosophy in one evening.
Suggested budget range: $15 – $60.

11. Soften Every Source With Frosted Glass and Diffusers
Sometimes the fixtures are right and the glass is wrong. Clear glass shows the world a bare bulb, which is a glare source from every angle; frosted, opal, or seeded glass hides the bulb's bright point and turns the whole pane into a soft, even glow. If you love your existing lanterns, this is your retrofit: replacement frosted panes are available for many common fixtures, and frosted or "soft white" bulbs alone take the edge off even behind clear glass. I swapped the clear panes on my door lantern for opal glass last spring and measured nothing at all — but I stopped seeing spots after glancing at my own porch, which is the measurement that matters. Diffusers also forgive slightly-too-bright bulbs while you transition to lower wattages. One honest caveat: frosting a fixture that was already fully shielded adds nothing, because the bulb was never visible anyway; this idea is for the clear-glass lanterns and coach lights that most houses actually have. Pair it with amber bulbs and the curfew timer and an ordinary builders-grade lantern becomes genuinely dark-sky friendly for the price of a pizza night.
Suggested budget range: $10 – $45.

12. Line the Approach With Low, Capped Path Lights
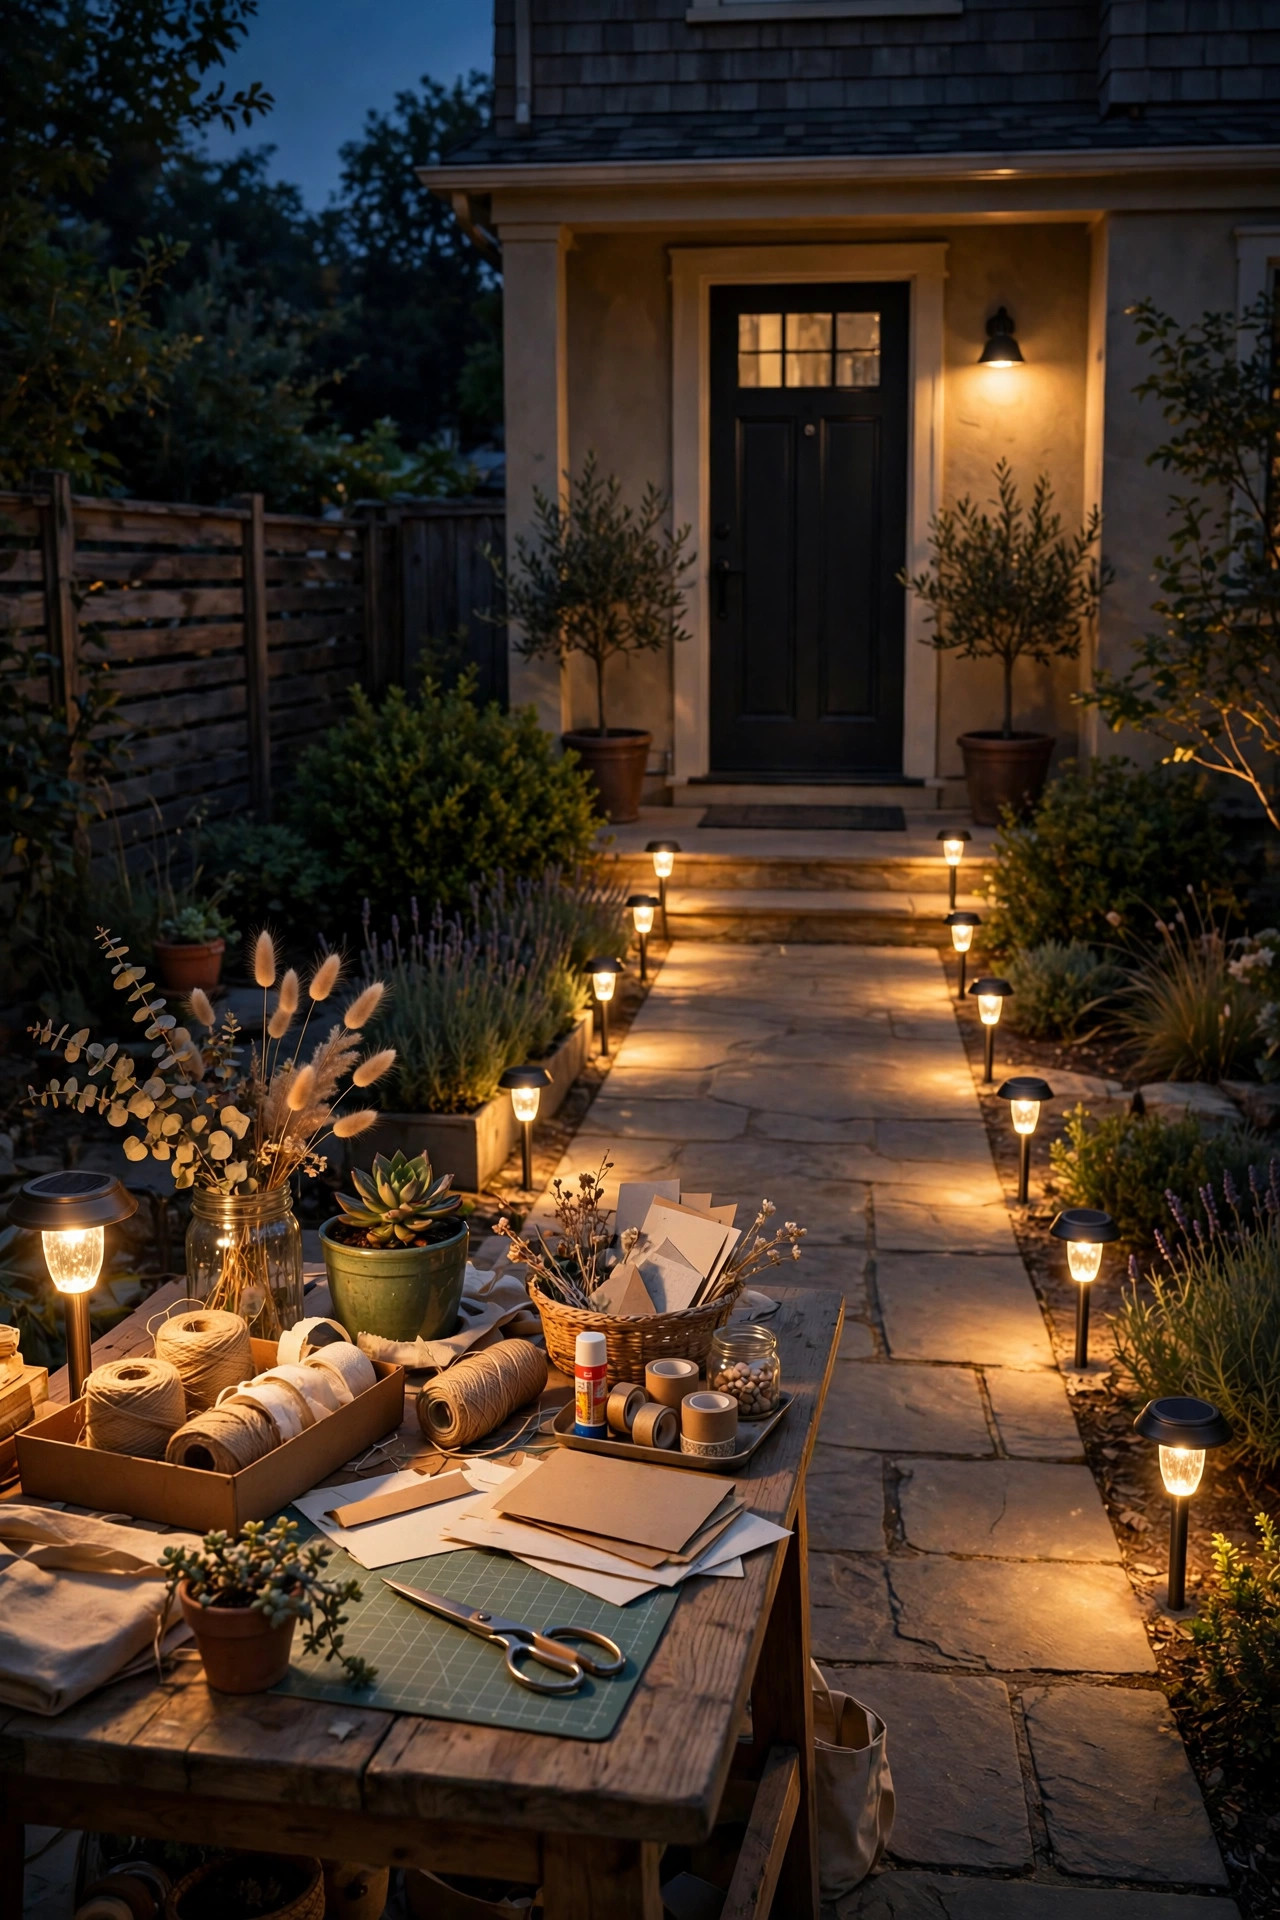
The porch does not start at the door — it starts at the sidewalk, and the walkway is where well-meaning people install tiny upward-facing glare posts. Choose path lights with a solid cap that throws light in a circle on the ground only, the classic mushroom or louvered style, and keep them low: 12 to 18 inches tall, under 100 lumens each, spaced 5 to 6 feet apart in an alternating pattern so the pools overlap gently without a runway effect. At that height and shielding, a visitor sees lit pavement, never a bulb, and nothing escapes skyward. Solar models with downward caps are genuinely good now if the walk gets six hours of sun; low-voltage wired versions win on winter reliability. I angle mine slightly toward the walk and away from the street, which keeps the lit ribbon on your property. This is the layer that makes the whole entry feel designed: a dim warm thread of light leading to a dim warm porch, with the dark lawn and darker sky doing the framing. Brightness restraint here is what separates the magazine porches from the airport look.
Suggested budget range: $30 – $100.
13. Light the House Number Softly From Above
A readable house number is a genuine safety feature — paramedics and pizza drivers alike will bless you — but the typical solution is a glaring little flood that burns all night. Do it the dark-sky way: a small shielded fixture above the numbers, aimed straight down like a picture light, or a low-lumen downlight built into the plaque itself. The digits need surprisingly little: a focused 50 to 100 lumens makes matte numbers read clearly from the street while sending nothing upward and nothing into drivers' eyes. Mount the light 6 to 12 inches above the plaque with a visor or barn-door shield, and put it on the same photocell-and-curfew circuit as the door light so it never burns past bedtime. If your numbers sit on a mailbox or a post by the curb instead, a solar downlight cap made for posts does the same job with no wiring at all. I did this with a small downward fixture two summers ago and the number reads better than it ever did under the old flood, because contrast — light digits against a dark wall — beats raw brightness every time.
Suggested budget range: $15 – $50.

14. Layer Two Dim Zones Instead of One Bright One
Here is the philosophy underneath this whole list, made practical: split your porch into two independently switched zones and run both at half strength instead of one circuit at full. Zone one is the entry — door fixture, step lights, house number — the safety layer. Zone two is the living layer — pendant, lanterns, sconces over seating — the beauty layer. On separate switches or smart plugs, you can run the living layer alone for a quiet evening, the entry layer alone after bedtime on its motion setting, and both together at modest levels for a gathering. Two 400-lumen sources in different places always look richer and function better than one 800-lumen blast, because light arriving from multiple low angles models faces and furniture instead of flattening them, and shadow pockets vanish. This is why the porches in magazines look gentle: they are never one bright thing. Honestly, if your current porch is a single switch and a single lantern, adding one dim second layer — even just the lantern cluster from idea 10 on a smart plug — is the highest-joy upgrade per dollar on this entire list.
Suggested budget range: $25 – $80.
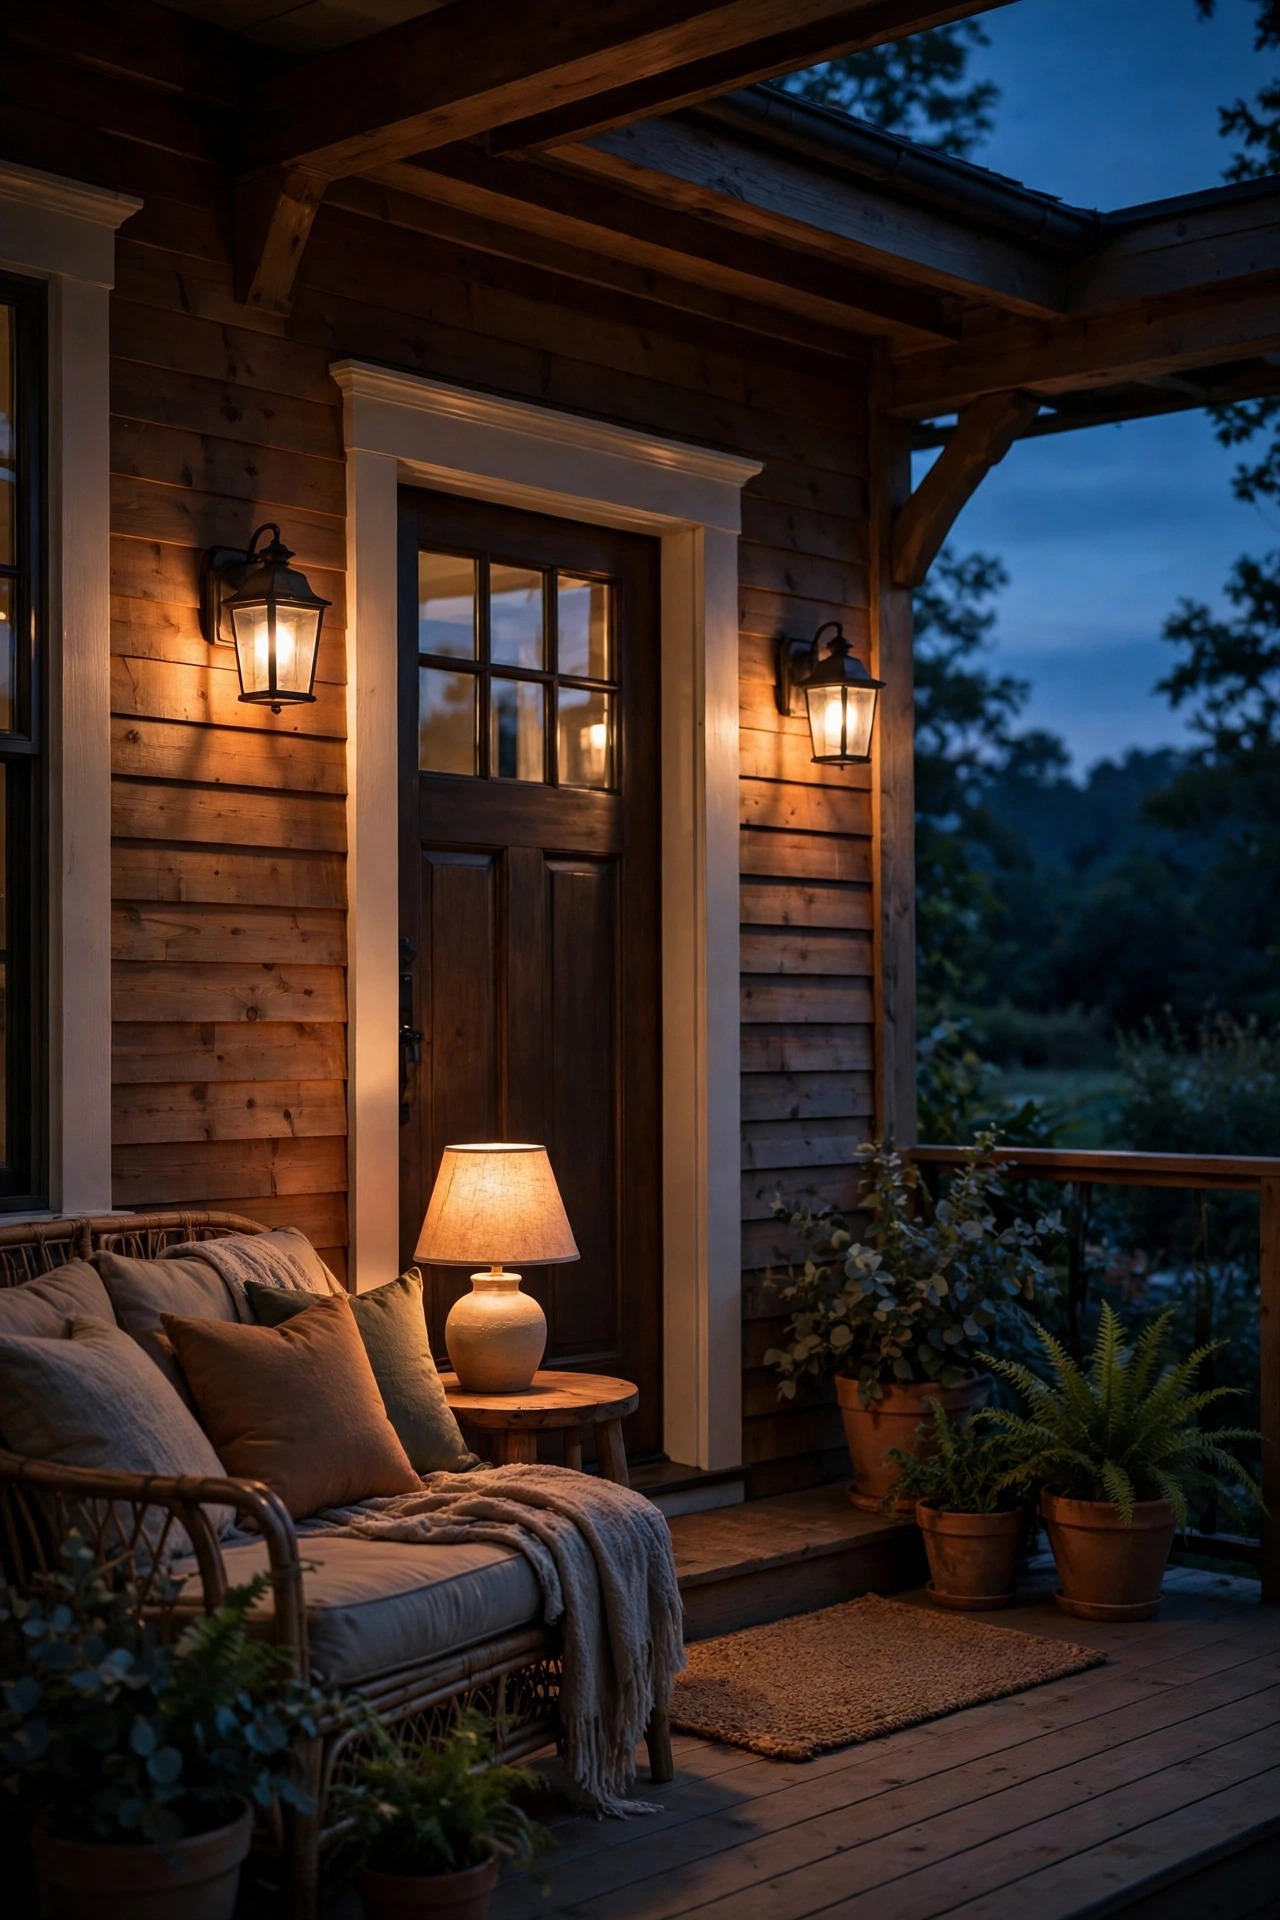
15. Audit Your Dark Sky Porch Lighting From the Street
Finish the way the pros do: after dark, walk out to the sidewalk, stand where a passerby stands, and look at your own porch with honest eyes. The tests are simple. Can you see any bare bulb from the street? That fixture needs shielding, frosting, or re-aiming. Does any light land past your property line — on the road, on a neighbor's wall? That is trespass, and tilting the fixture down or dropping a lumen size fixes it. Can you see the stars from your own front yard, or does your porch still wash them out? Then a curfew or a dimmer is still owed. I do this audit twice a year, notebook in hand, and I always find one thing: a settled solar light leaning into the lawn's edge, a sensor grown optimistic. Ten minutes of tilting and tightening keeps the whole system honest. When you are ready to carry the same standards past the porch, my full guide to dark-sky outdoor lighting walks the whole yard zone by zone. And for the brighter, more decorative side of entry design, browse my front porch lighting ideas — the two approaches layer together beautifully.
Suggested budget range: $0 – $20.
Frequently Asked Questions
What does full cutoff actually mean for a porch light?
It means the fixture lets no light escape above a horizontal line drawn through its lowest light-emitting part. Everything the bulb makes goes downward onto your porch, steps, and walkway, and nothing goes up into the sky. Look for the term "full cutoff" or a dark-sky friendly rating when you shop, and be suspicious of glass globes and clear lantern crowns — those almost always leak light upward no matter what the box claims.
What color temperature is best for dark-sky friendly porch lighting?
Warm, always: 2200 to 2700K. Lower color temperatures contain far less blue light, and blue light is what creates skyglow, attracts insects, and feels harsh at night. A 2200K bulb gives a candle-like amber glow that most people find more welcoming than brighter white options, and it is easier on neighbors' windows and on your own sleep. Whatever you choose, keep one temperature consistent across the whole porch so the layers blend.
Can I make my existing porch light dark-sky friendly without replacing it?
Usually, yes. Start with the bulb: swap to a 2200–2700K LED at a lower wattage, since brightness restraint fixes half the problem. Add a shade, shield, or frosted diffuser if the bare bulb is visible from the street. Then put the fixture on a timer, motion sensor, or smart plug so it runs fewer hours at lower output. If the housing itself throws light through a glass top, that is the one case where a replacement fixture is honestly worth it.
Are solar porch lights a good dark-sky choice?
They can be, because solar fixtures are naturally modest in output — and modest is the whole game. Choose models with capped, downward-aimed designs rather than exposed glowing globes, which spray light in every direction including up. Place the panel where it gets real sun, expect shorter run times in midwinter, and treat solar as your accent and step layer rather than your main door light in shaded or northern yards. Paired with one good wired full-cutoff fixture, solar handles the rest beautifully.
Conclusion
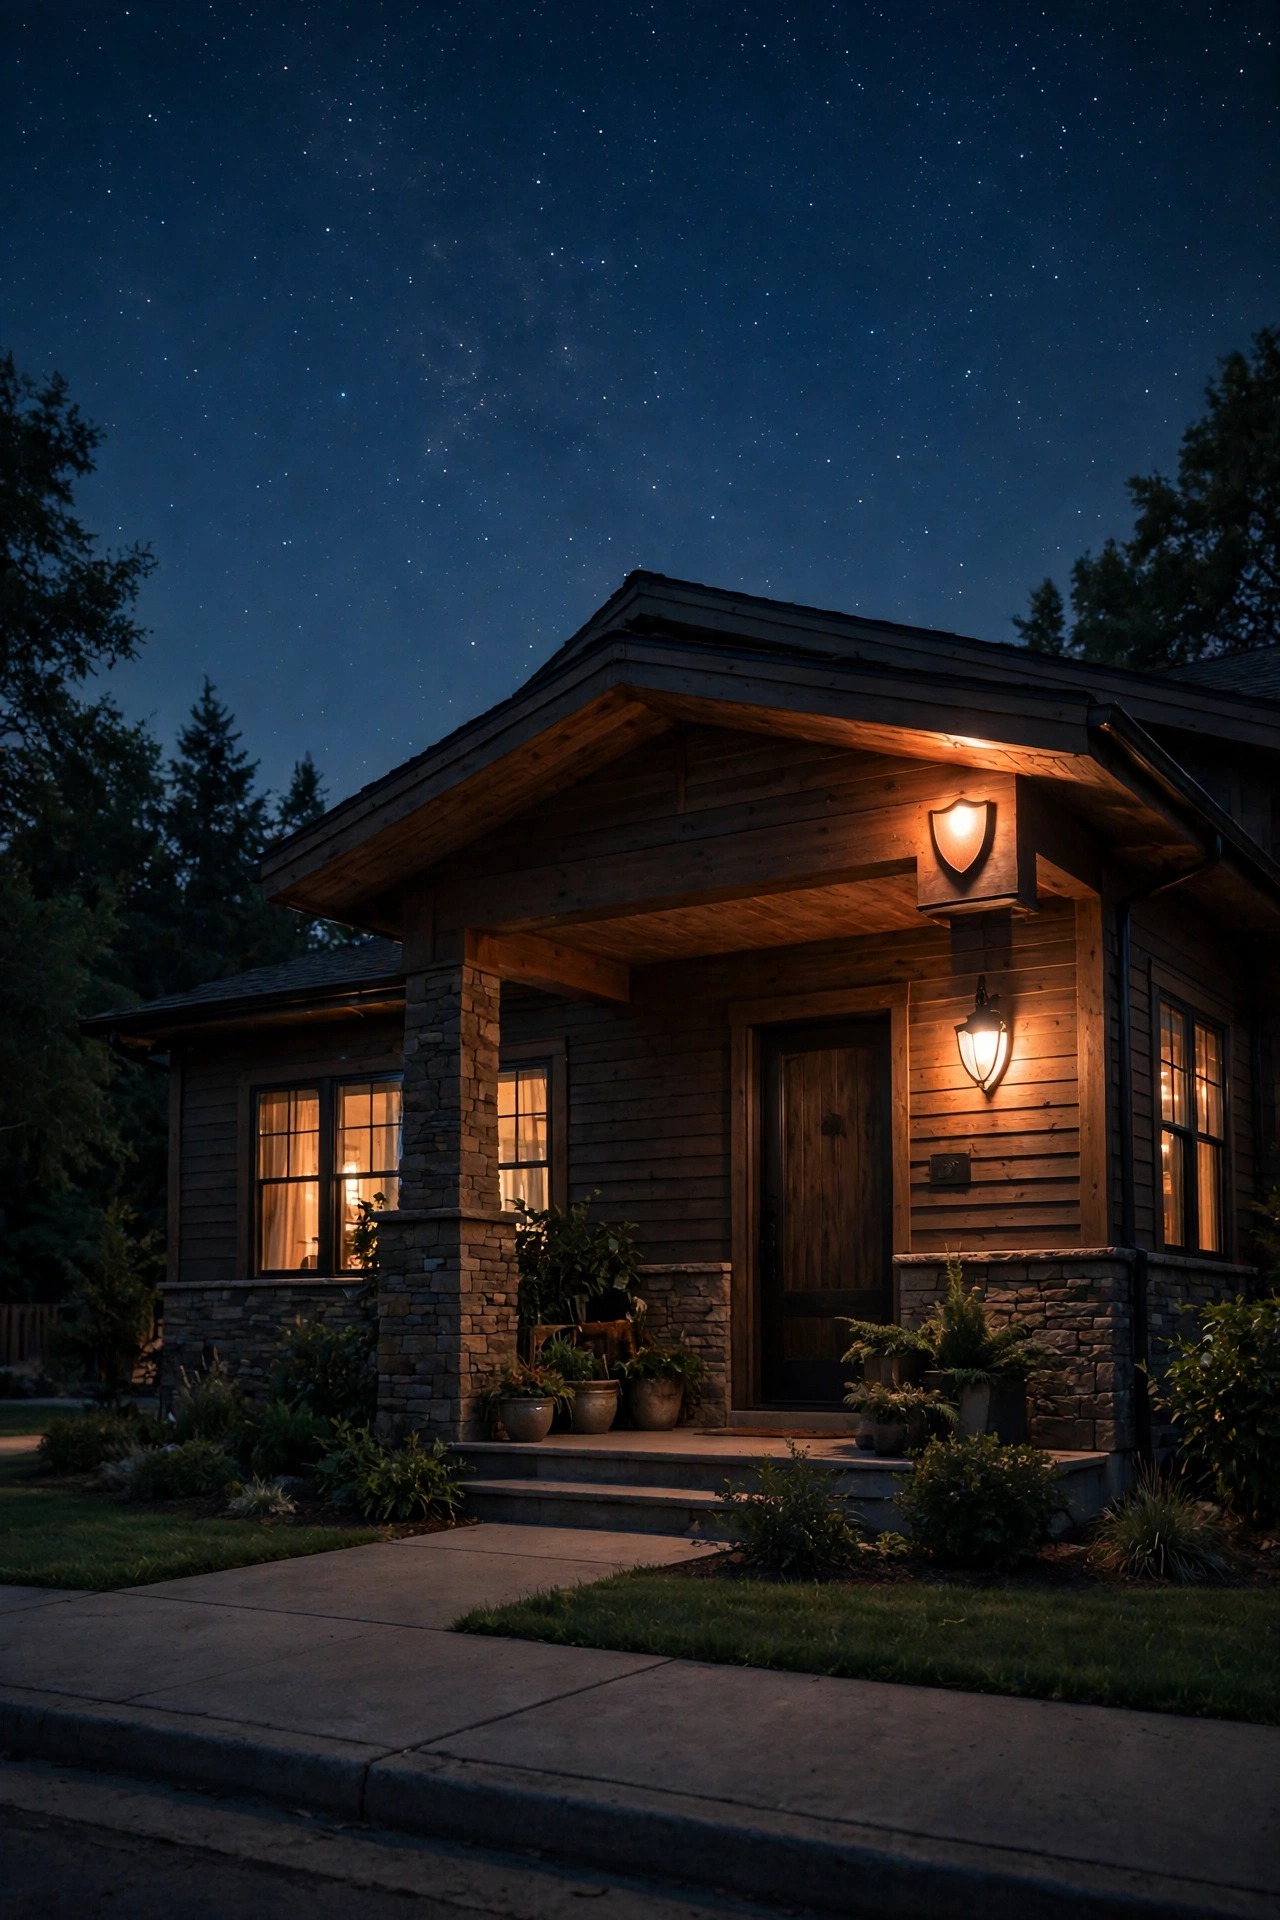
Good dark sky porch lighting is not about giving up light — it is about refusing to waste it. Aim every ray at the floor, steps, and faces that need it; keep the color warm and the wattage humble; let sensors and curfews carry the late hours; and the porch somehow ends up cozier than the bright version ever was, with the stars thrown in free. Start with the door fixture and one audit from the sidewalk, and add a layer whenever the mood strikes. Your porch can be the warmest welcome on the street and the darkest roofline on the block at the same time — mine is, and I would never go back.