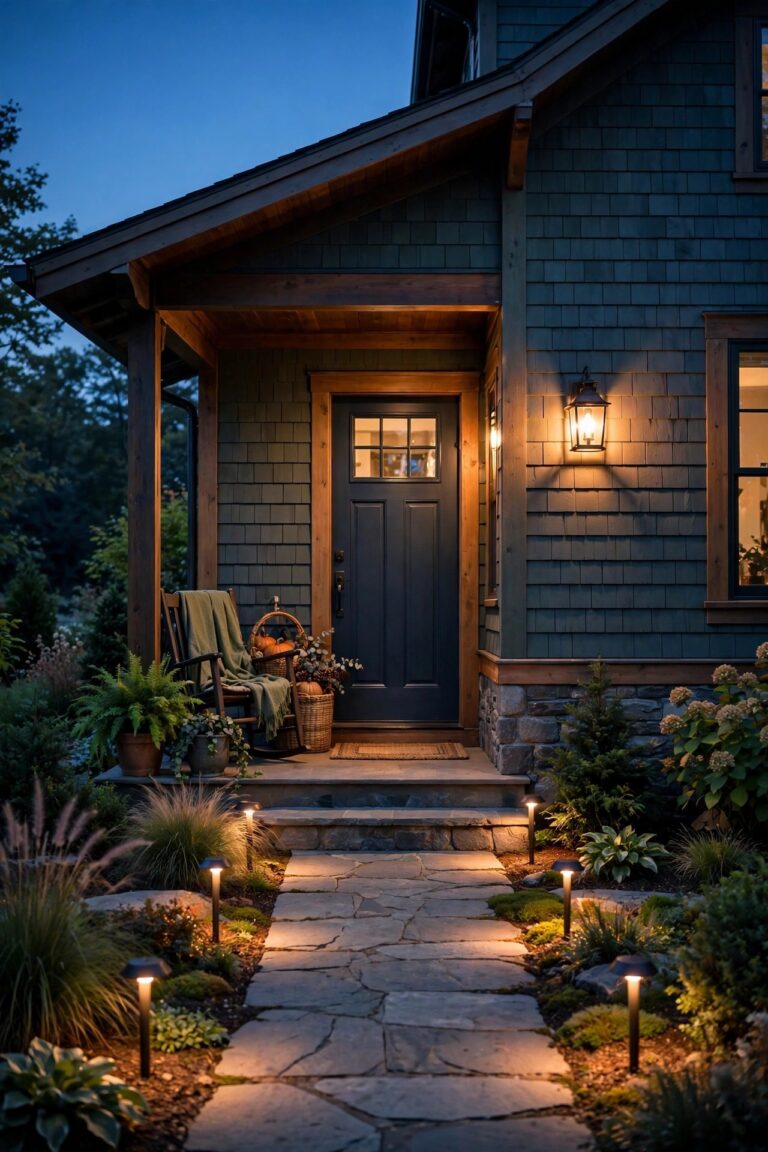
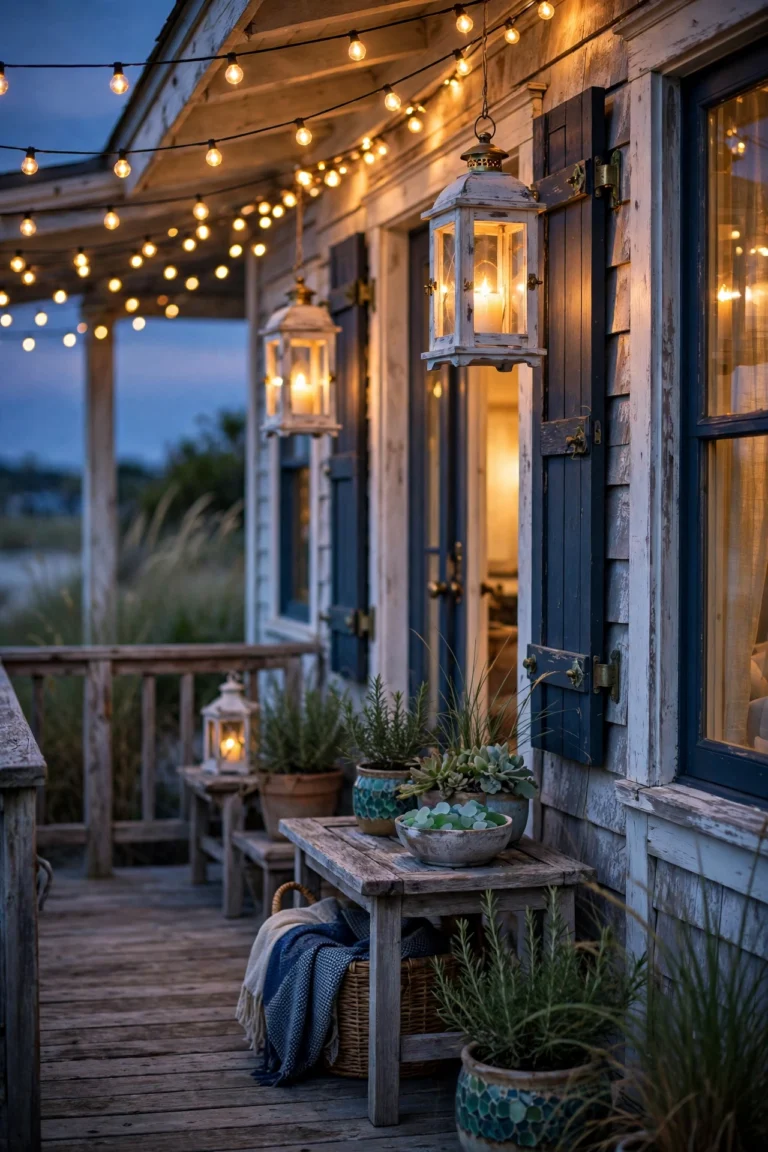
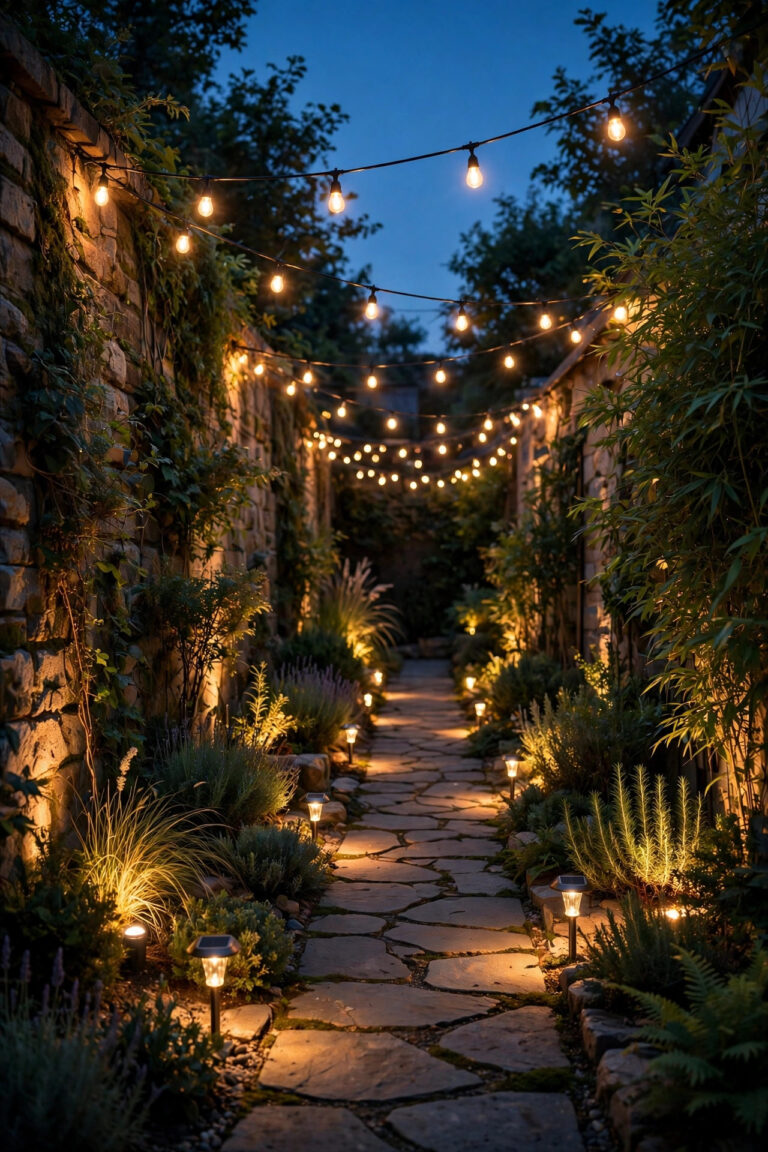
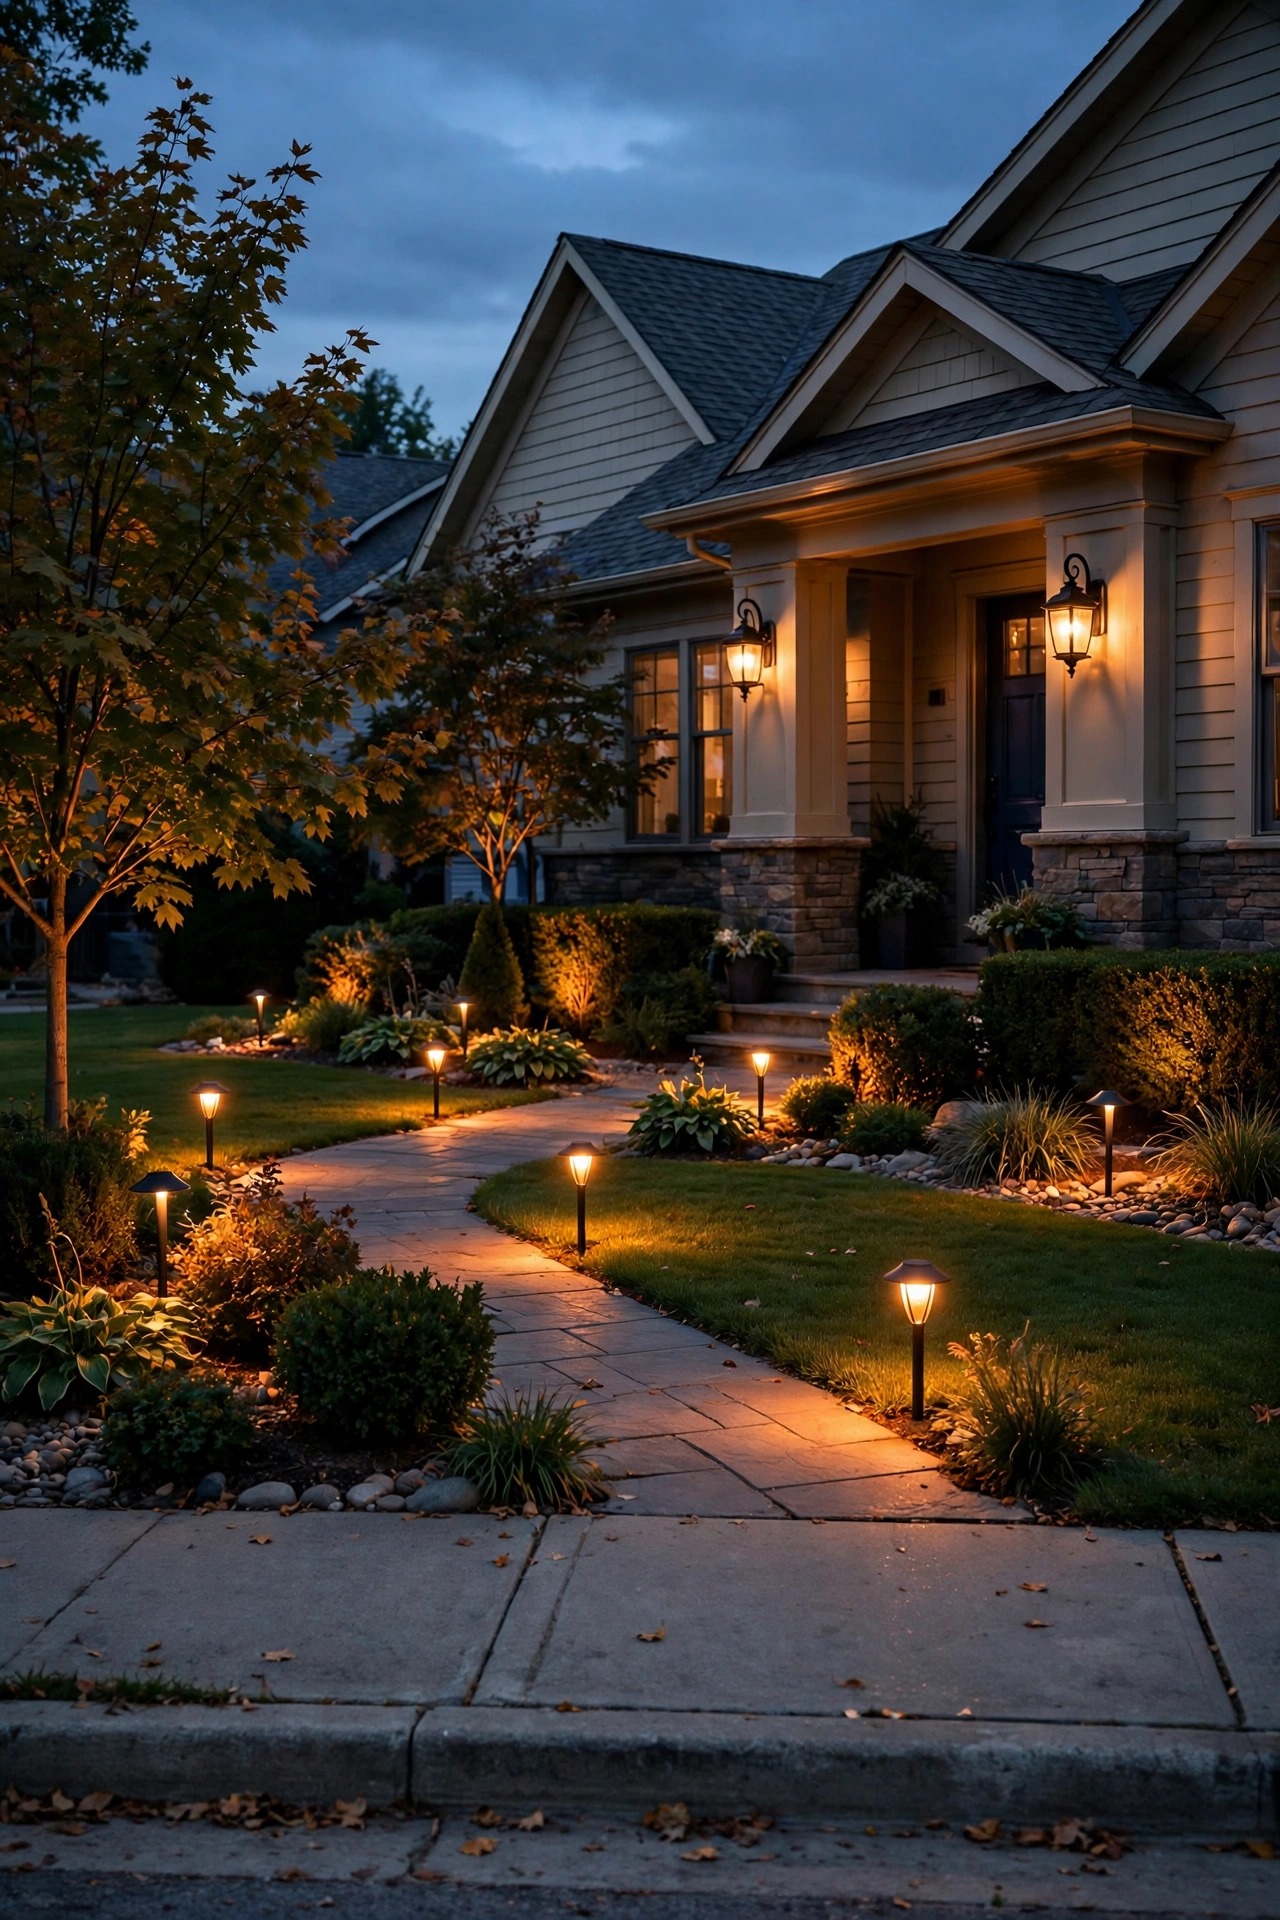
It started with a knock I was not expecting. My neighbor, holding a mug and wearing a very polite smile, asked if my new back floodlight could maybe… not shine straight into her bedroom window. She was right, and honestly? I was mortified. That conversation sent me down a rabbit hole of neighbor friendly outdoor lighting, and I came out the other side with a yard that glows warmer, a neighbor who waves again, and a simple truth: good outdoor lighting should light your home, not the whole street. Light trespass is just light that lands where it was never invited — across a fence, into a window, up into the sky. The fixes are not expensive or dramatic. They are small, practical adjustments: shielding, aiming, dimming, timing. I light in layers, the same as always — a guidance layer for paths and steps, a welcome layer at the doors, an accent layer for the pretty corners — but now every layer stops at my property line. Here are the fifteen changes that made the biggest difference at my house.
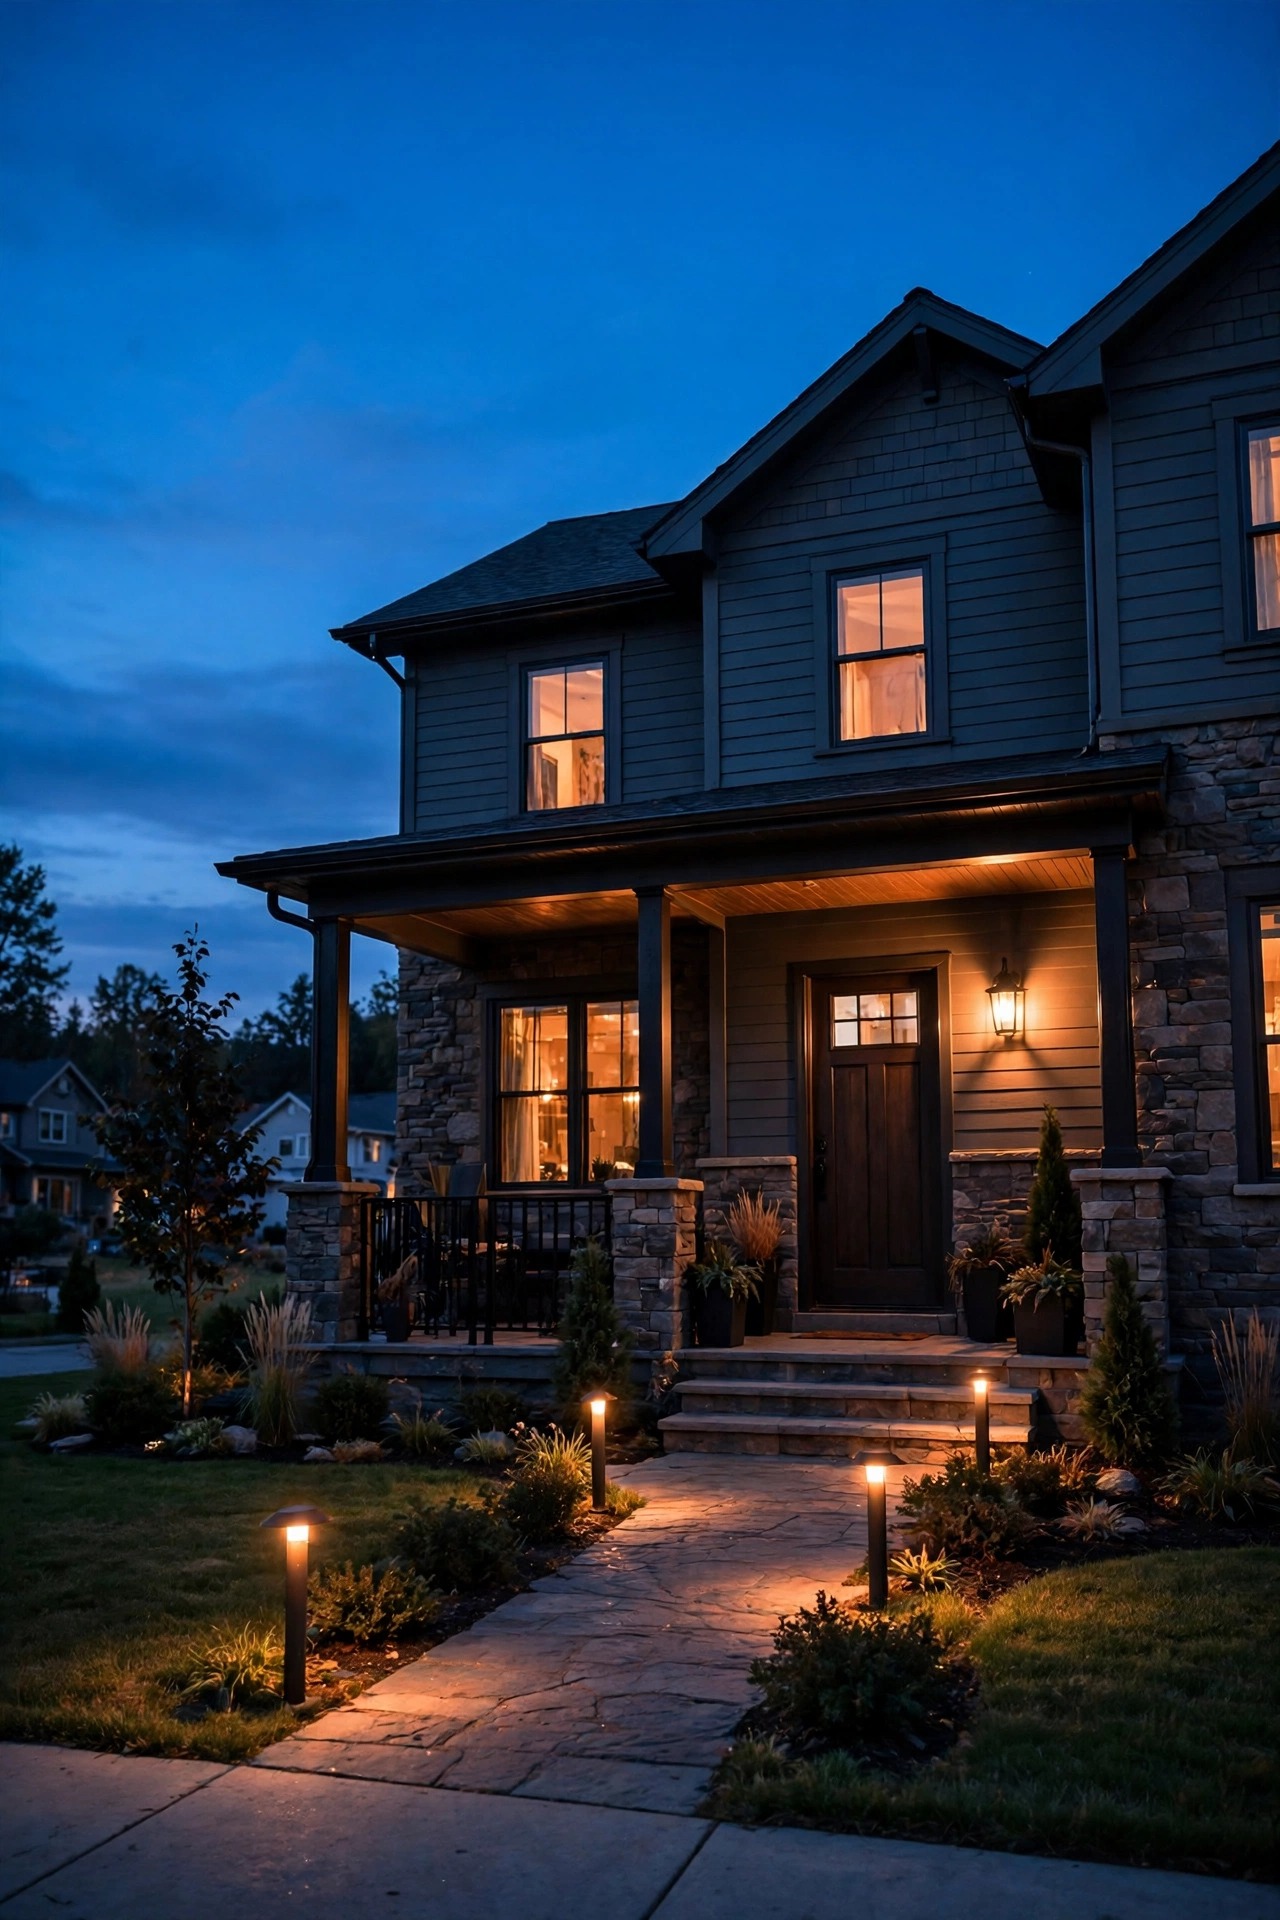
1. Take the Property-Line Test — Neighbor Friendly Outdoor Lighting Starts Here
Before you touch a single fixture, do this on the next clear night: turn everything on, walk to the sidewalk or the far edge of your lawn, and look back at your house the way your neighbors see it. Then stand at the property line and look toward their yard from your lights' point of view. Anything that makes you squint, and anything glowing straight into a window across the fence, is trespass — and now you know exactly which fixtures are guilty. I keep a little notebook list: fixture, problem, fix. When I did this at my house, three lights failed. My garage flood lit up the kitchen across the fence. My porch sconce beamed straight across the street because the bulb sat proud of its shade. One path light had tipped sideways in a storm and was spotlighting a mailbox two doors down. The test takes ten minutes, costs nothing, and turns a vague worry into a short, honest work list. Repeat it from a second-story window if you have one — glare hides at angles you never notice from the ground.
Suggested budget range: $0 – $15.
2. Shield Every Bulb So Nobody Sees the Bare Source
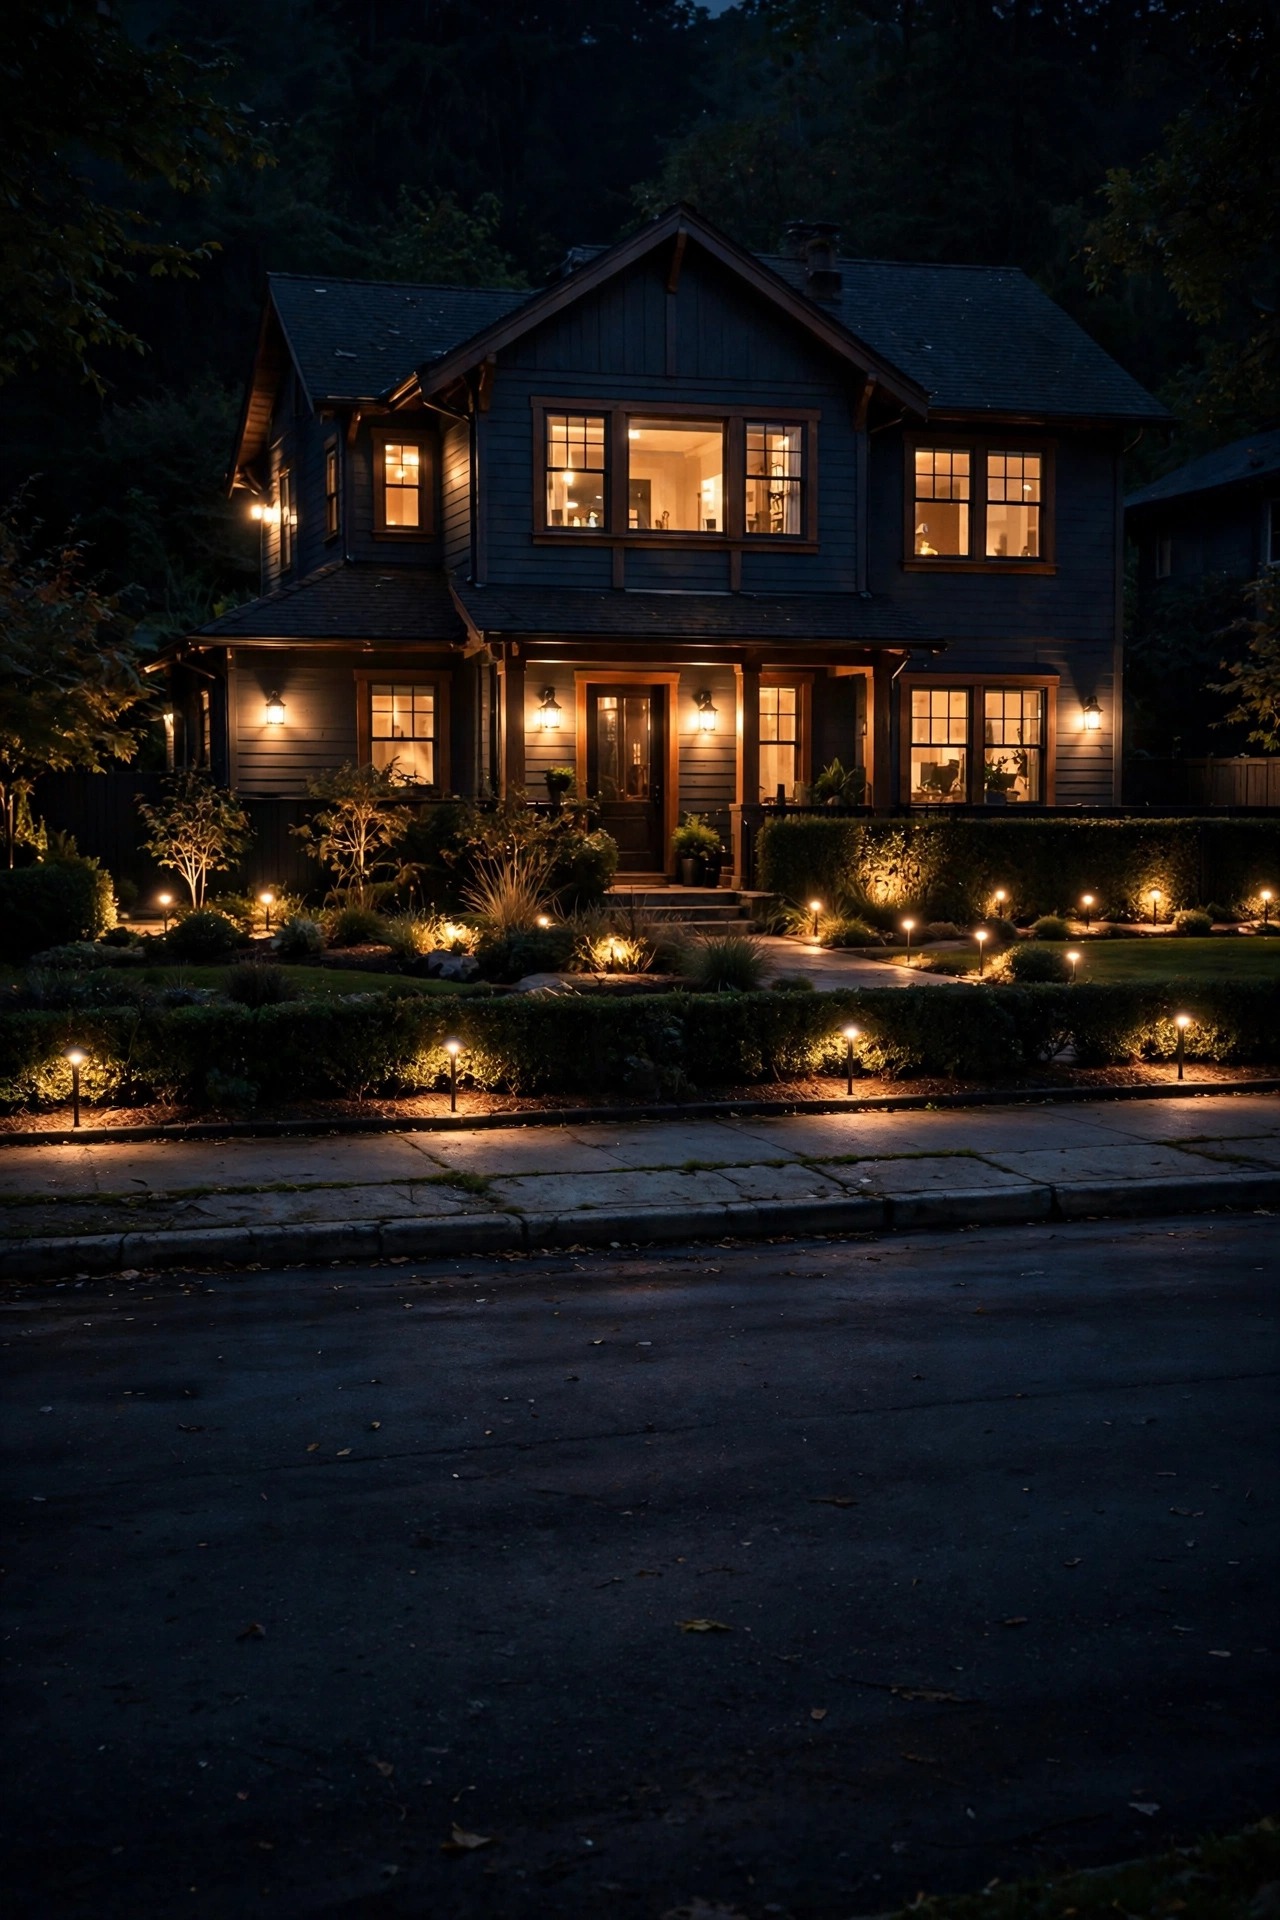
Glare is almost never about brightness. It is about seeing the bare bulb itself. A naked bulb throws light in every direction, including straight into the eyes of anyone walking past, and it looks harsh even when the ground underneath stays fairly dim. The fix is shielding: choose fixtures where the bulb sits recessed behind a hood, a cap, or frosted glass, so the light washes down a wall or pools across a path instead of flying out toward the street. Look for words like full-cutoff, hooded, or shielded — those designs throw essentially zero light above the horizontal line. For fixtures you already own, add-on glare shields, wide barn-style shades, and simple metal visors cost very little and clip or screw on in minutes. Tree uplights are the classic exception, but even those behave with a honeycomb louver or a deep snoot that keeps the beam on the canopy. Most of this I picked up from the principles in my breakdown of dark-sky outdoor lighting, and the rule travels well: if you can see the bulb from the sidewalk, the fixture needs a shield.
Suggested budget range: $10 – $60.
3. Aim Every Fixture Down and Keep the Beam Inside Your Lines
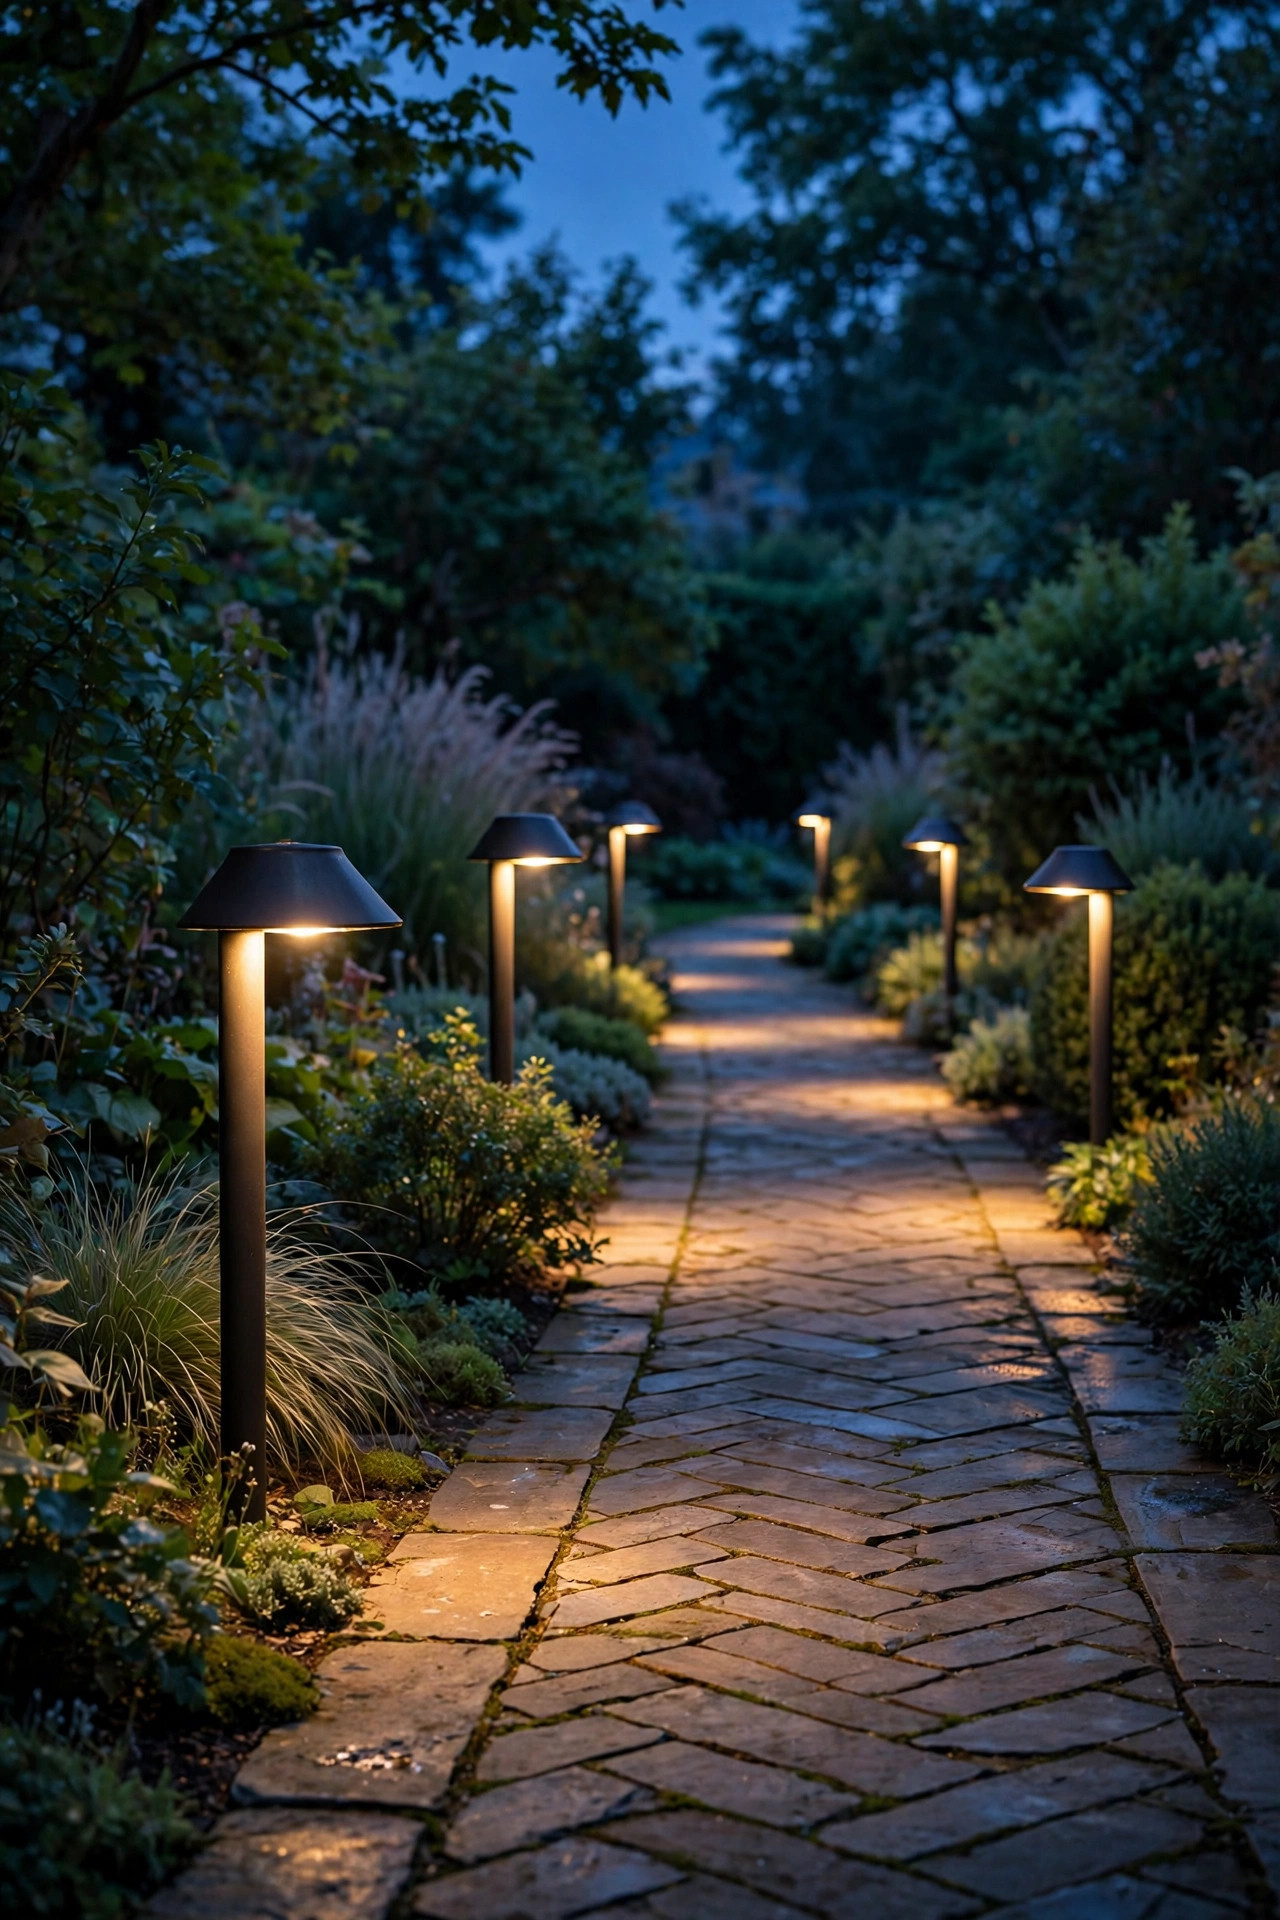
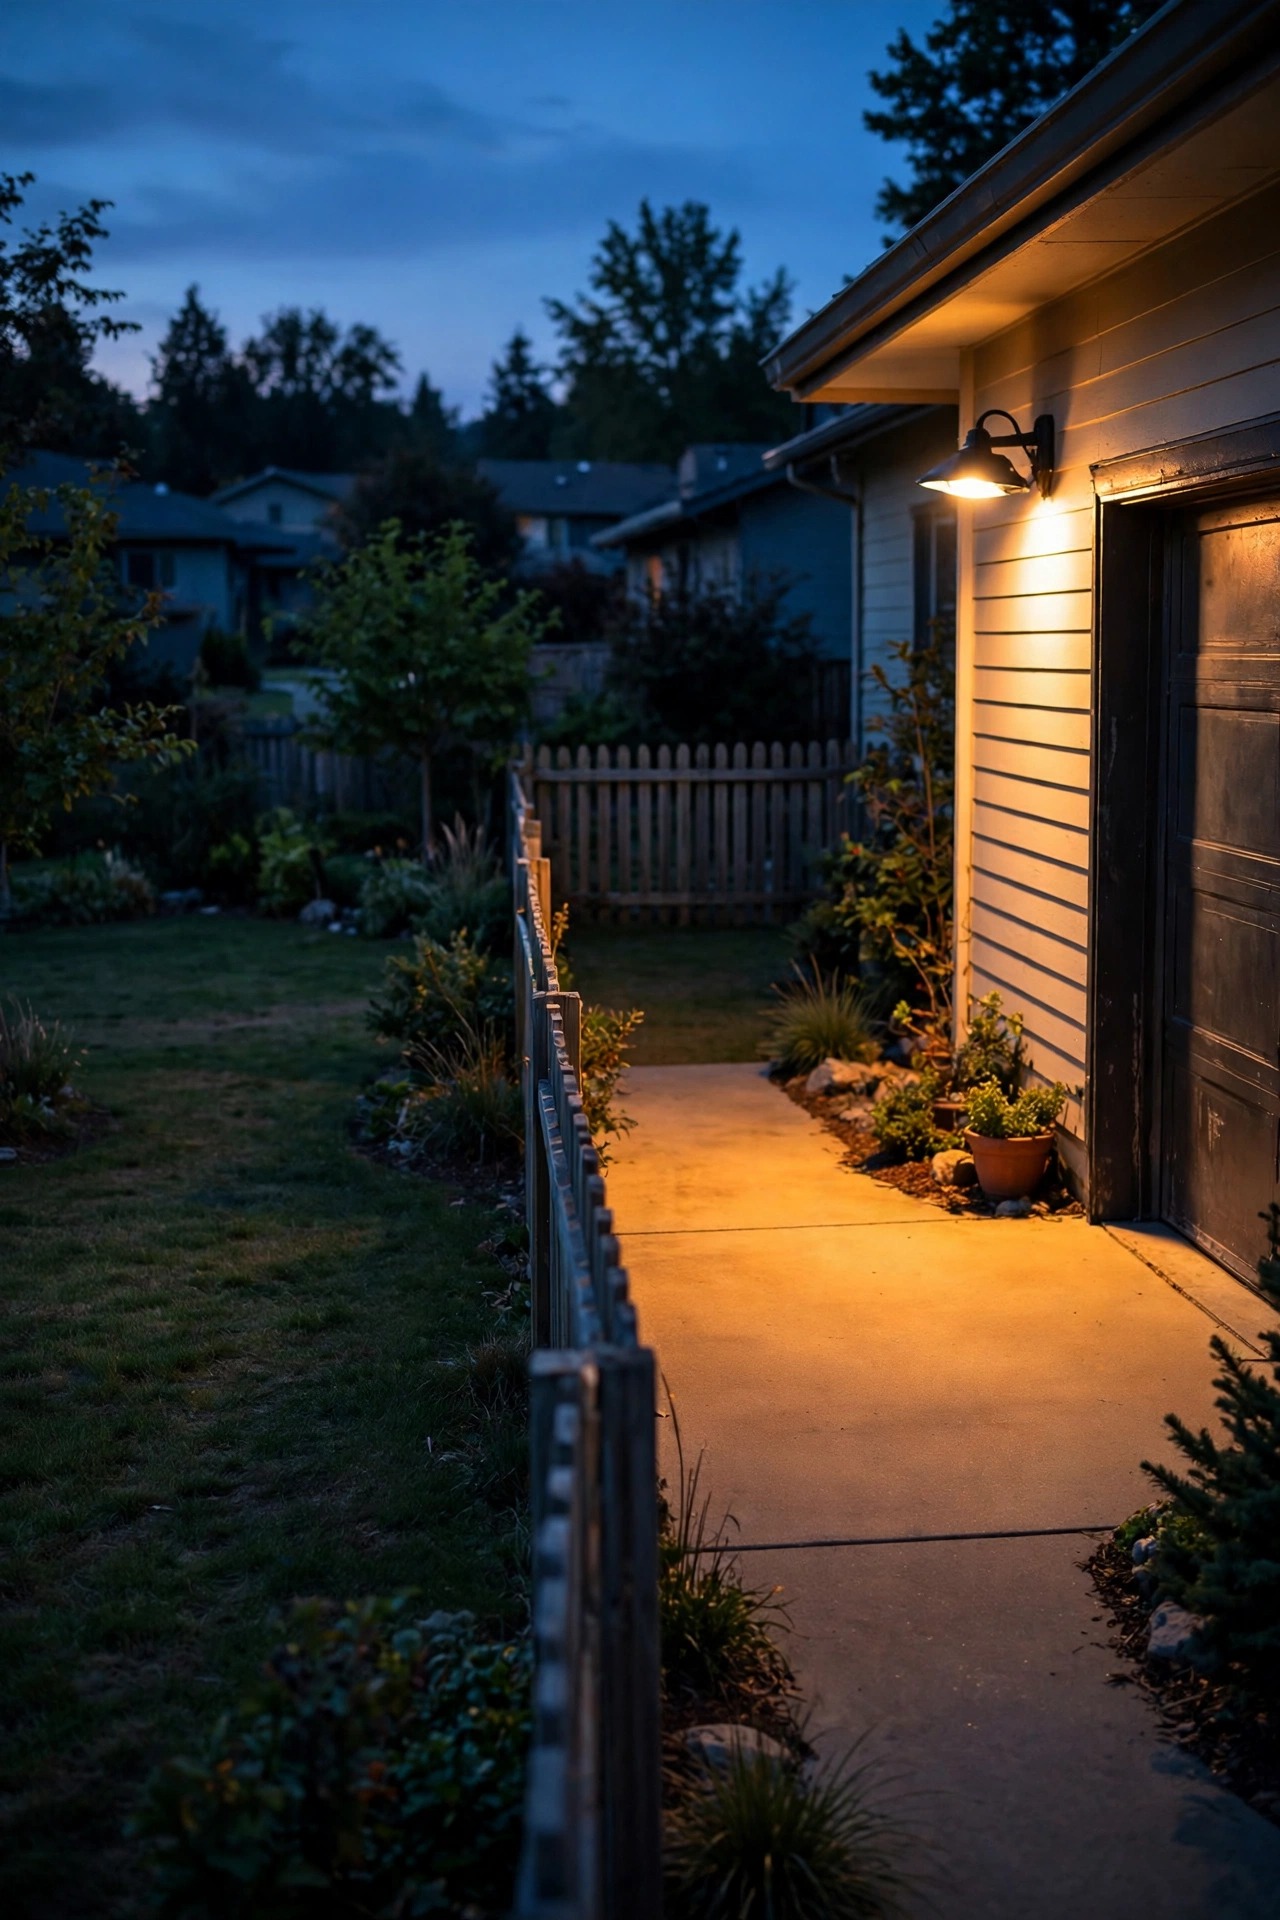
A well-shielded fixture can still trespass if it points the wrong way, and honestly, most floods leave the store aimed like searchlights. My rule is simple: the center of every beam should land well inside my own yard, and the top edge of the beam should never cross the fence line. Tilt wall-mounted floods down at least 45 degrees, and aim them again after dark with a helper standing at the property line calling out when the hotspot disappears from view. Security floods work best mounted 8 to 10 feet high and tipped steeply down — they cover a generous zone of your own driveway while the fence blocks the rest. Spotlights on trees should sit on your side of the trunk and lean into your own canopy, never angled up through branches toward a neighbor's windows. Step lights and wall packs deserve the same check; a fitting that has shifted a few degrees in a storm can quietly become the worst offender on the street. Ten minutes with a ladder and a wrench fixes aim for free, and it is the single change my neighbors noticed first.
Suggested budget range: $0 – $25.
4. Turn Down the Lumens — Brighter Is Rarely Better
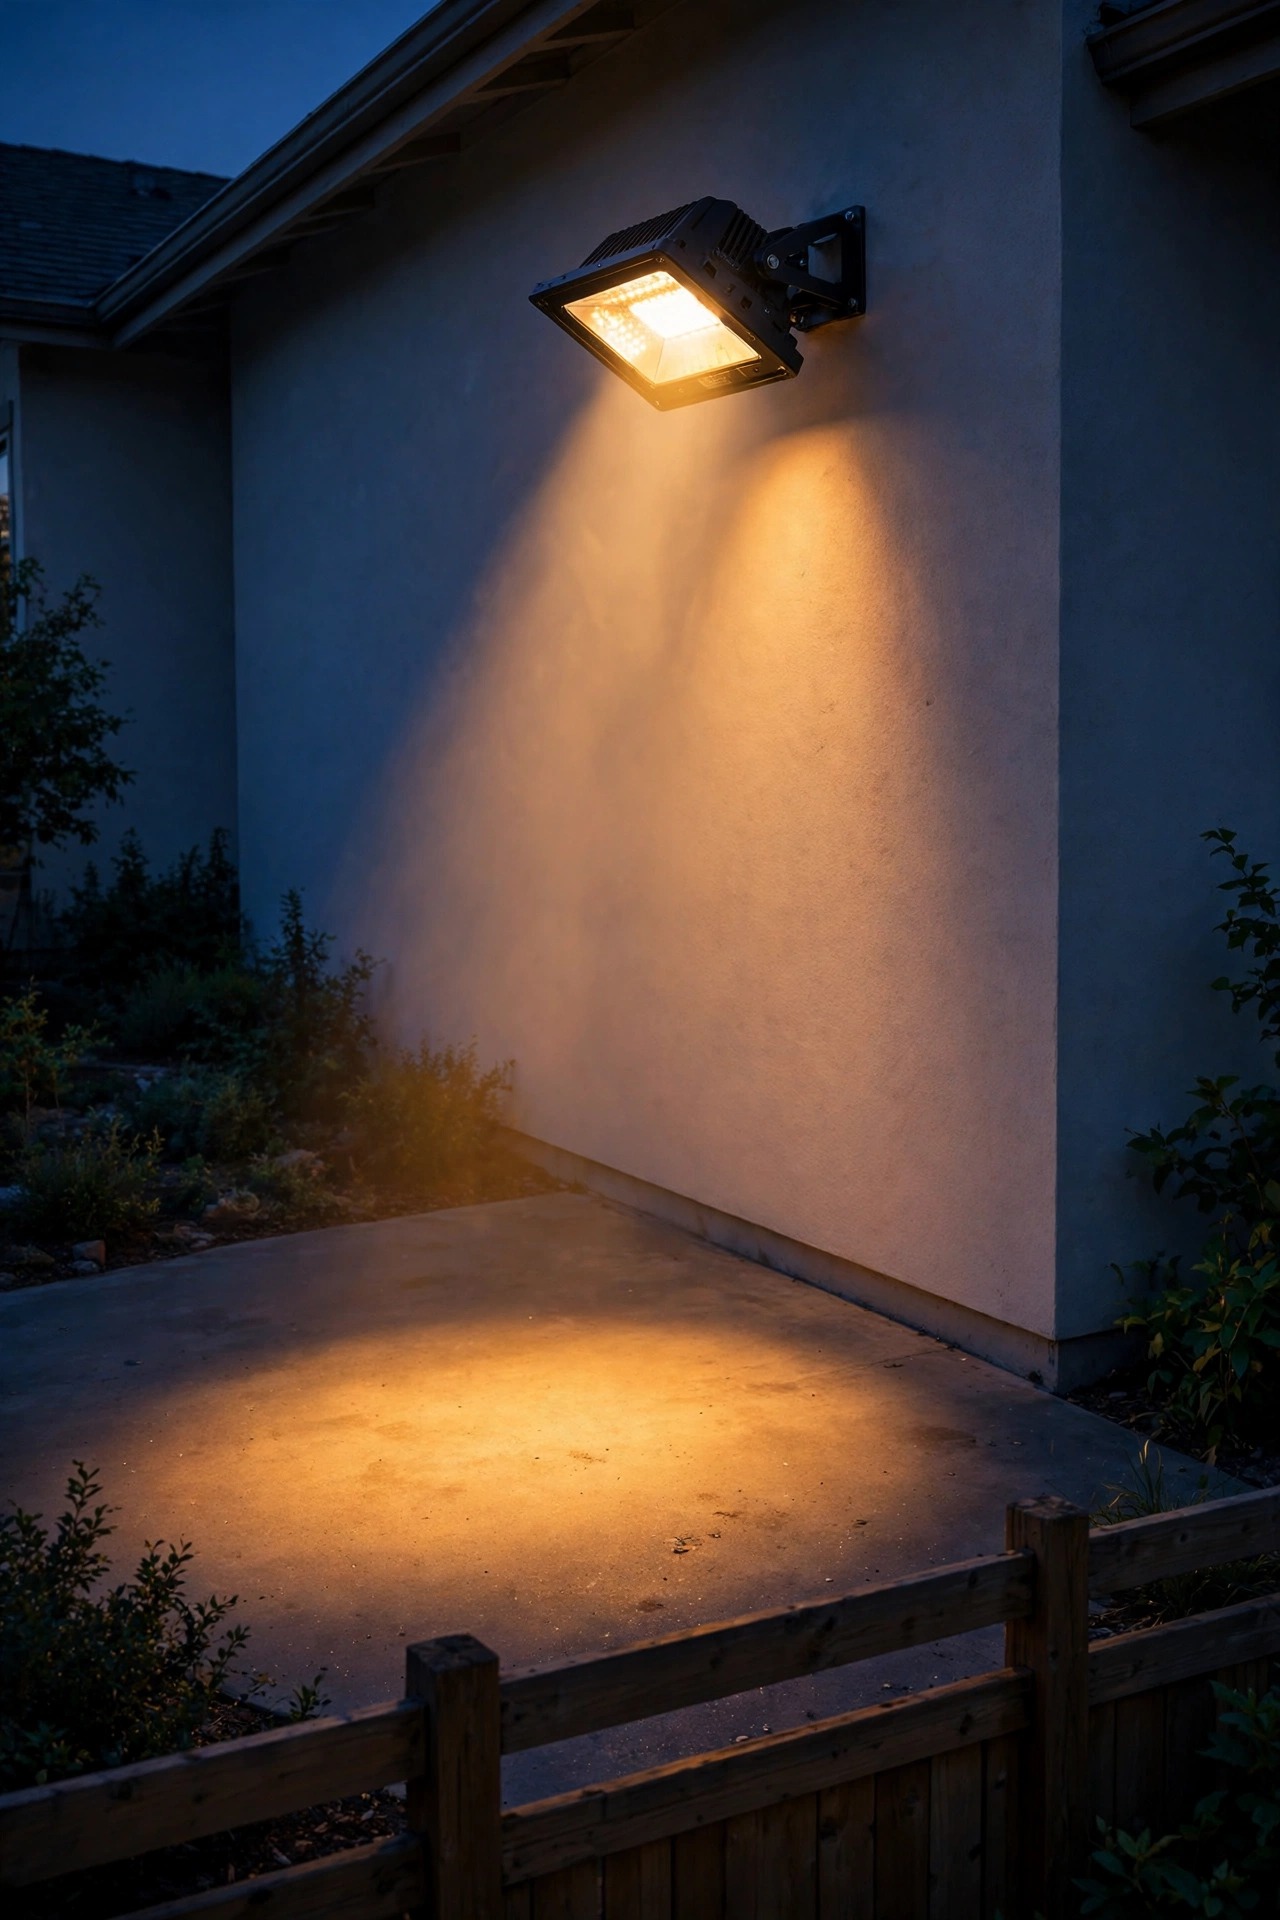
Somewhere along the way, outdoor bulbs started an arms race, and our neighbors are paying for it. The truth is that most residential jobs need far fewer lumens than the box brags about. My working numbers: path lights at 100 to 200 lumens each, step lights at 50 to 100, a porch or door light at 300 to 800, accent uplights at 200 to 400, and security floods rarely above 1,500 to 2,000 — and those only on motion sensors. When a fixture feels blinding, the cheapest fix is often just swapping down one bulb size, say from a 100-watt-equivalent LED to a 60-watt-equivalent. Because your eyes adjust, the yard usually looks exactly as bright while the spill across the fence drops off a cliff. Softer bulbs also cost less to run and last longer when they are not being cooked at full output in a sealed fixture. If a light exists to mark a step or edge, it only needs to whisper. Save the real brightness for the two or three places someone genuinely works or parks, and let the rest of the yard relax.
Suggested budget range: $8 – $40.
5. Go Warm: 2700K Light Trespasses Less Than Blue-White
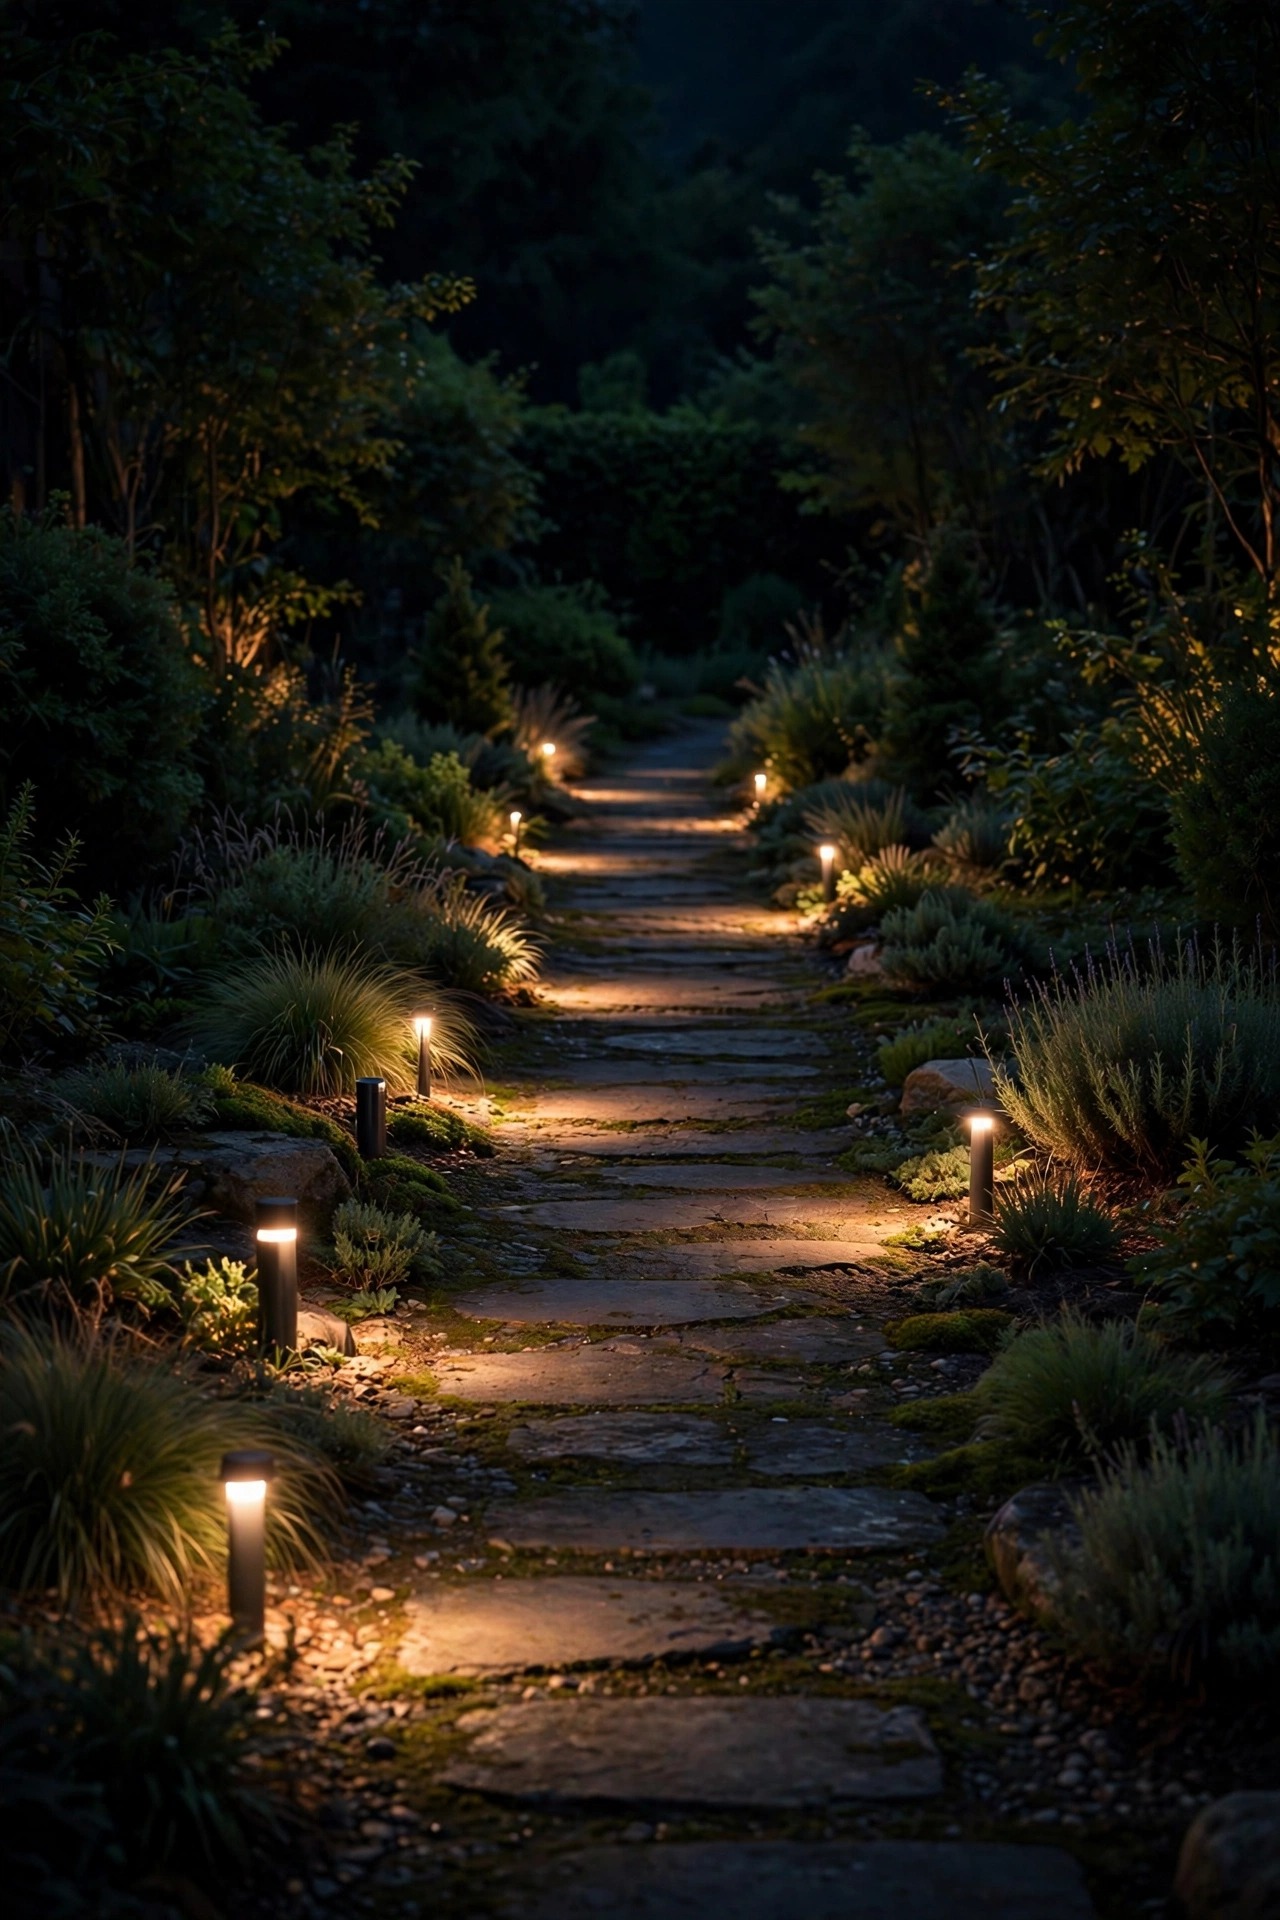
Color temperature is the quiet half of the trespass problem. Blue-rich light in the 4000K to 5000K range scatters more in the air and in your eyes, so the same number of lumens reads noticeably harsher — it is why a cool-white flood feels like a gas station no matter how carefully you aim it. Warm light at 2700K or below stays visually closer to home, bothers sleep on both sides of the fence less, and is far kinder to the moths, fireflies, and bats working the night shift. For fixtures near the property line, I go warmer still, down to 2200K amber, which reads like candlelight and practically disappears into the garden. Check the Kelvin rating printed on every bulb box, because two bulbs with identical wattage can feel completely different. Keep the whole yard in one warm family, too. A single cool-white bulb in a sea of warm light draws every eye on the street straight to itself, which is the opposite of what a considerate yard is trying to do. Warm, consistent, and dim will beat bright and blue every single time.
Suggested budget range: $8 – $35.
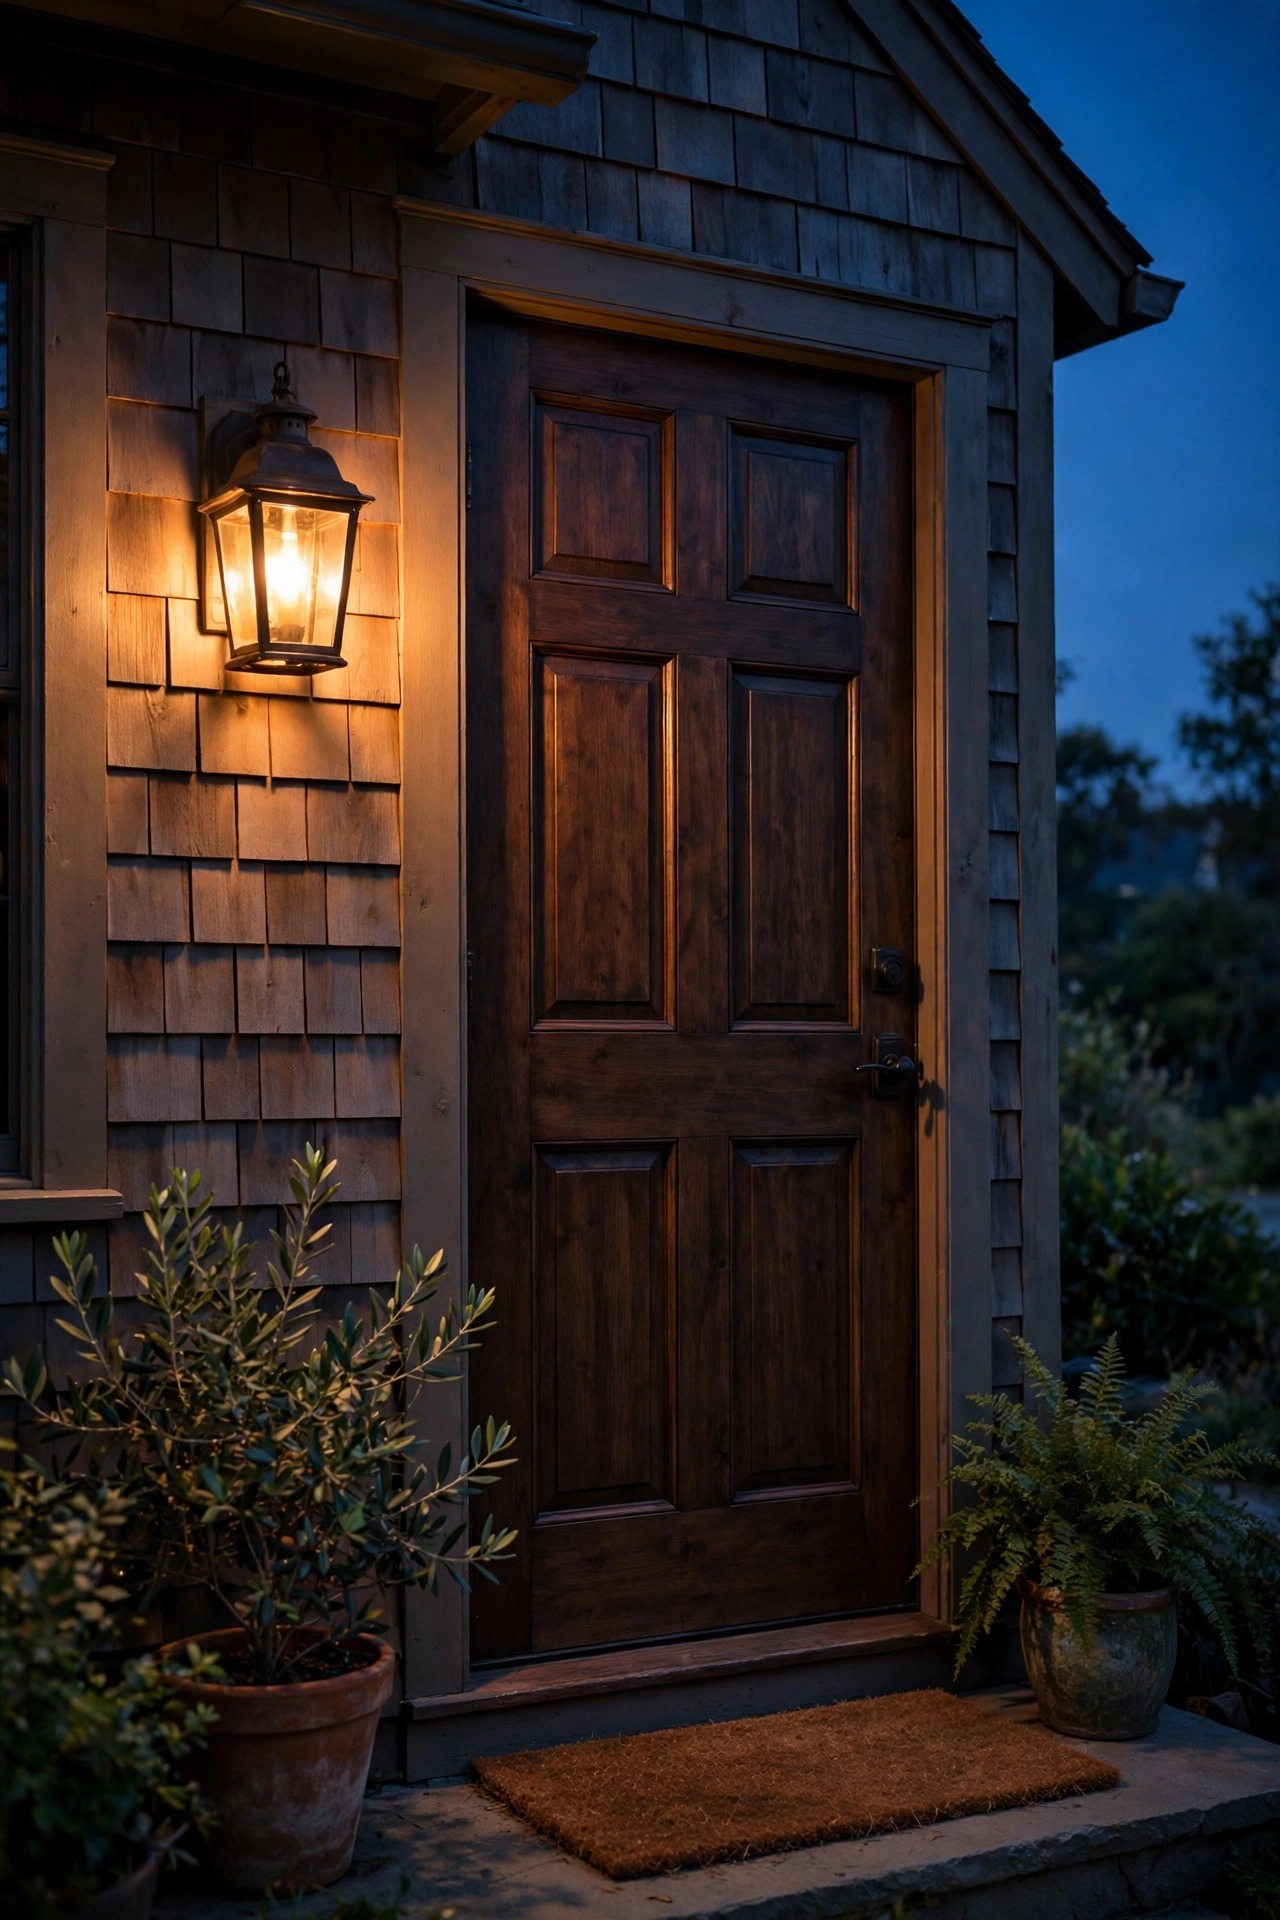
6. Put Security Lights on Motion Sensors Instead of All-Night Duty
Here is the kindest math in this whole post: a security flood on a motion sensor is dark for about 95 percent of the night, which means your neighbors sleep in darkness 95 percent of the night, too. Steady all-night floods mostly succeed at lighting empty driveways and annoying the house across the fence. A triggered flash, on the other hand, actually startles, and it tells you something is moving out there. Set the on-time to one to five minutes, mount the sensor so it watches your walkway or gate rather than the street, and dial the sensitivity down until passing cars stop setting it off — a sensor pointed across traffic will cry wolf all night. Many fixtures combine a sensor with a built-in photocell, so they arm themselves at dusk and stand down at dawn. I covered the settings in depth in my motion sensor outdoor lights guide. Motion for security zones, steady low glow for welcome zones: that split alone ended every lighting complaint on my street.
Suggested budget range: $20 – $75.

7. Set a Lights-Out Curfew With Timers and Photocells
Even polite light is rude at two in the morning. A curfew is the simplest trespass fix there is: decorative layers — string lights, tree uplights, accent spots — go off at 10:30 or 11 p.m., when the street has gone to bed, while a dim guidance layer can stay on for anyone coming home late. You do not need anything fancy. A low-voltage transformer with a built-in timer handles a whole landscape run, plug-in timers run string lights and porch accents, and astronomical timers adjust themselves to sunset all year so nothing burns at noon in June. Pair a timer with a photocell and the system turns on at real dusk, then off at your curfew, with zero daily attention from you. My holiday displays live on the same rule, because nobody adores your inflatable's glow at 3 a.m. The curfew also quietly cuts the electric bill and doubles bulb life, which makes it the easiest sell in this list. Nobody misses light they were asleep for. Set the schedule once, and your yard keeps neighborhood hours forever.
Suggested budget range: $12 – $50.
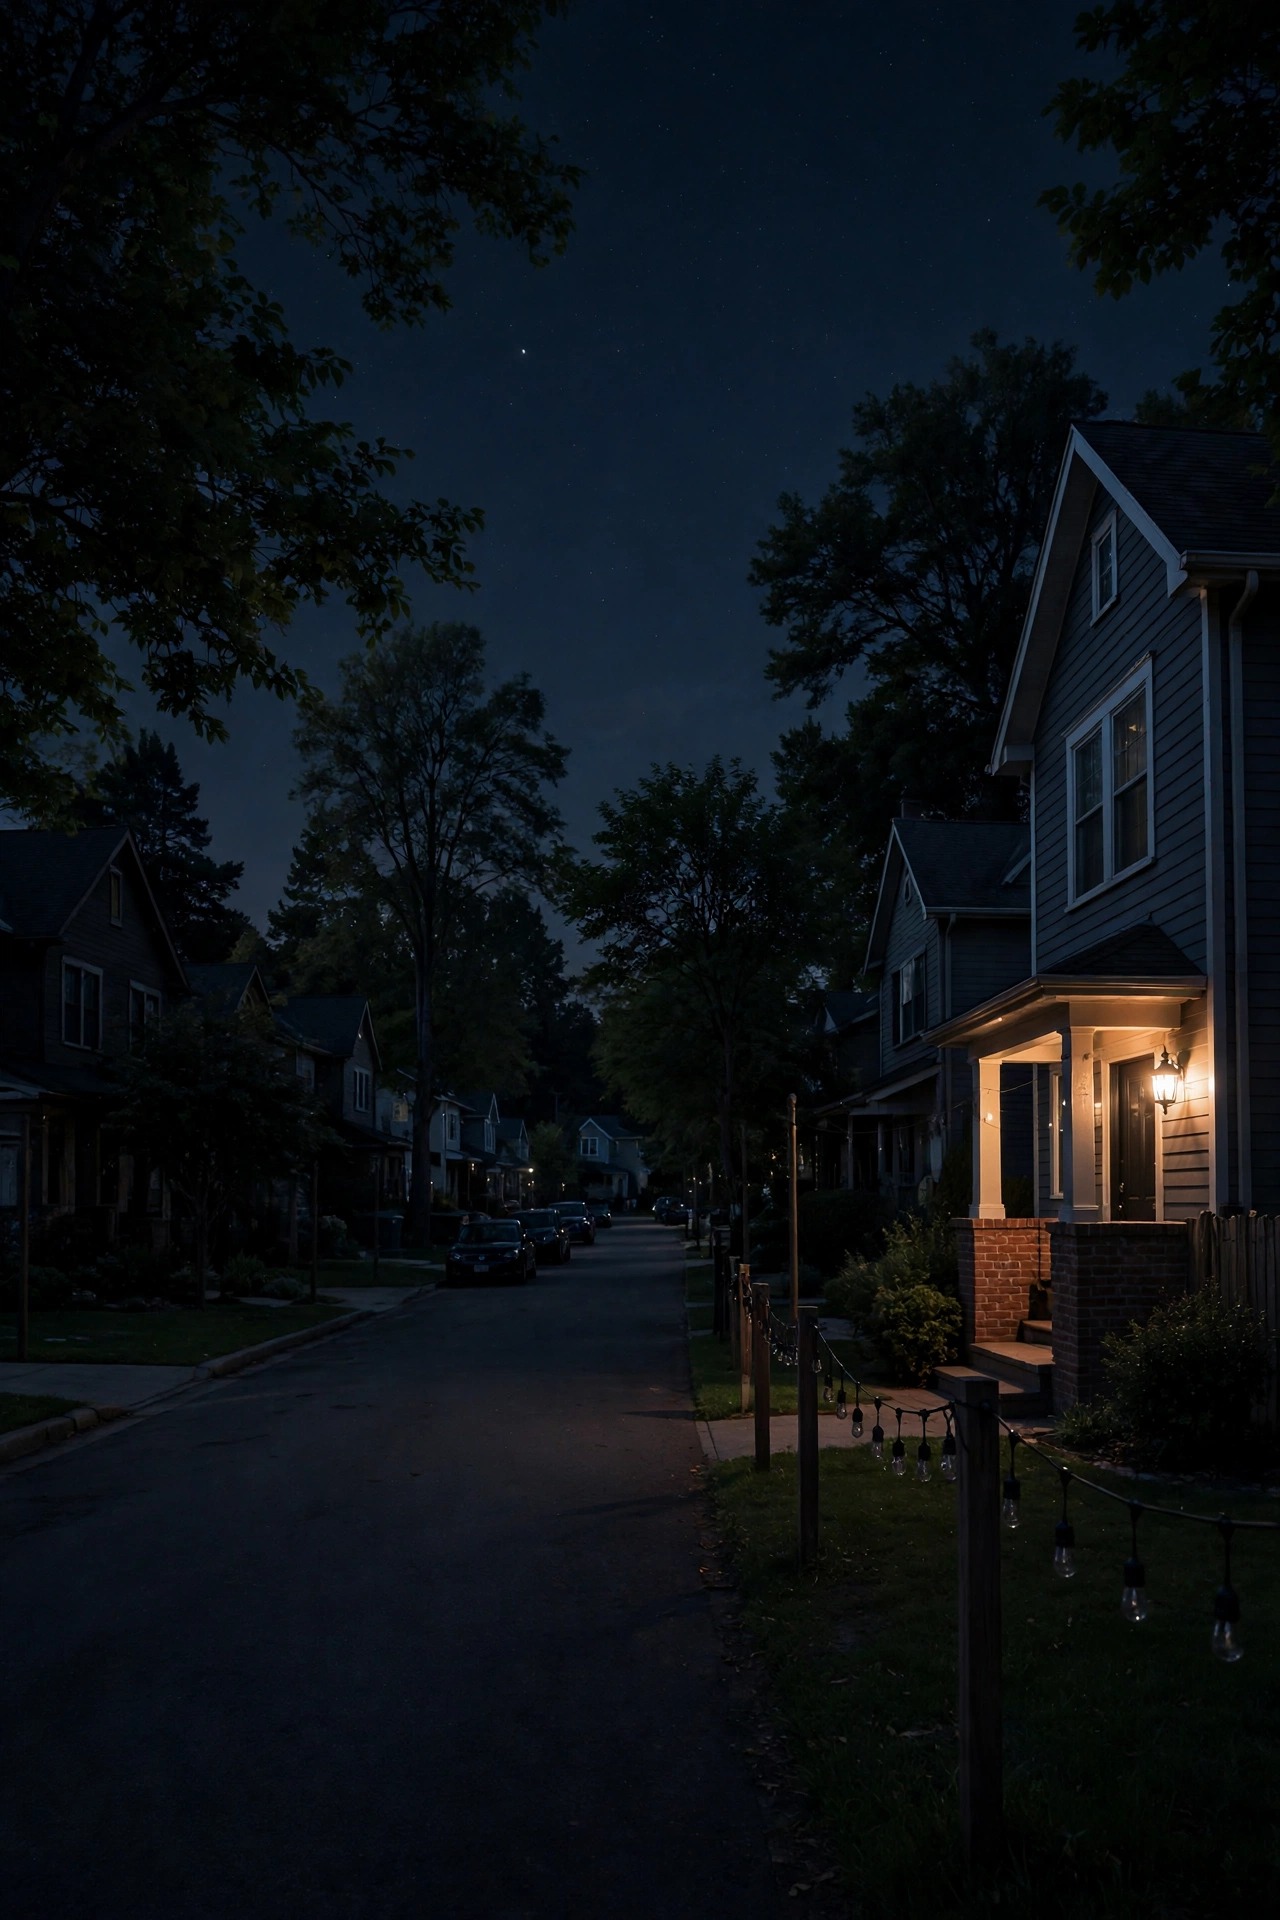
8. Pull Fixtures Back From the Fence Line
Placement quietly decides half of every trespass argument. A light mounted on the fence itself shines in two directions no matter how you shield it, because the fixture sits exactly on the border. Move the light, and the argument mostly evaporates. I keep path lights two to three feet inside the planting beds rather than on the lawn edge, mount wall lights on the house instead of on fence posts, and never hang a fixture where the fence is the first thing its beam hits. Height matters just as much: the lower a fixture sits, the smaller its circle of spill, which is why a 14-inch hooded path light can replace a tall mushroom fixture and light the same walk more politely. Bollards near a shared line should be louvered types that throw their light inward only. When you are planning a new run, sketch the property line on paper first and keep every fixture a respectful step inside it. Light placed with a little margin almost never needs an apology later.
Suggested budget range: $15 – $80.
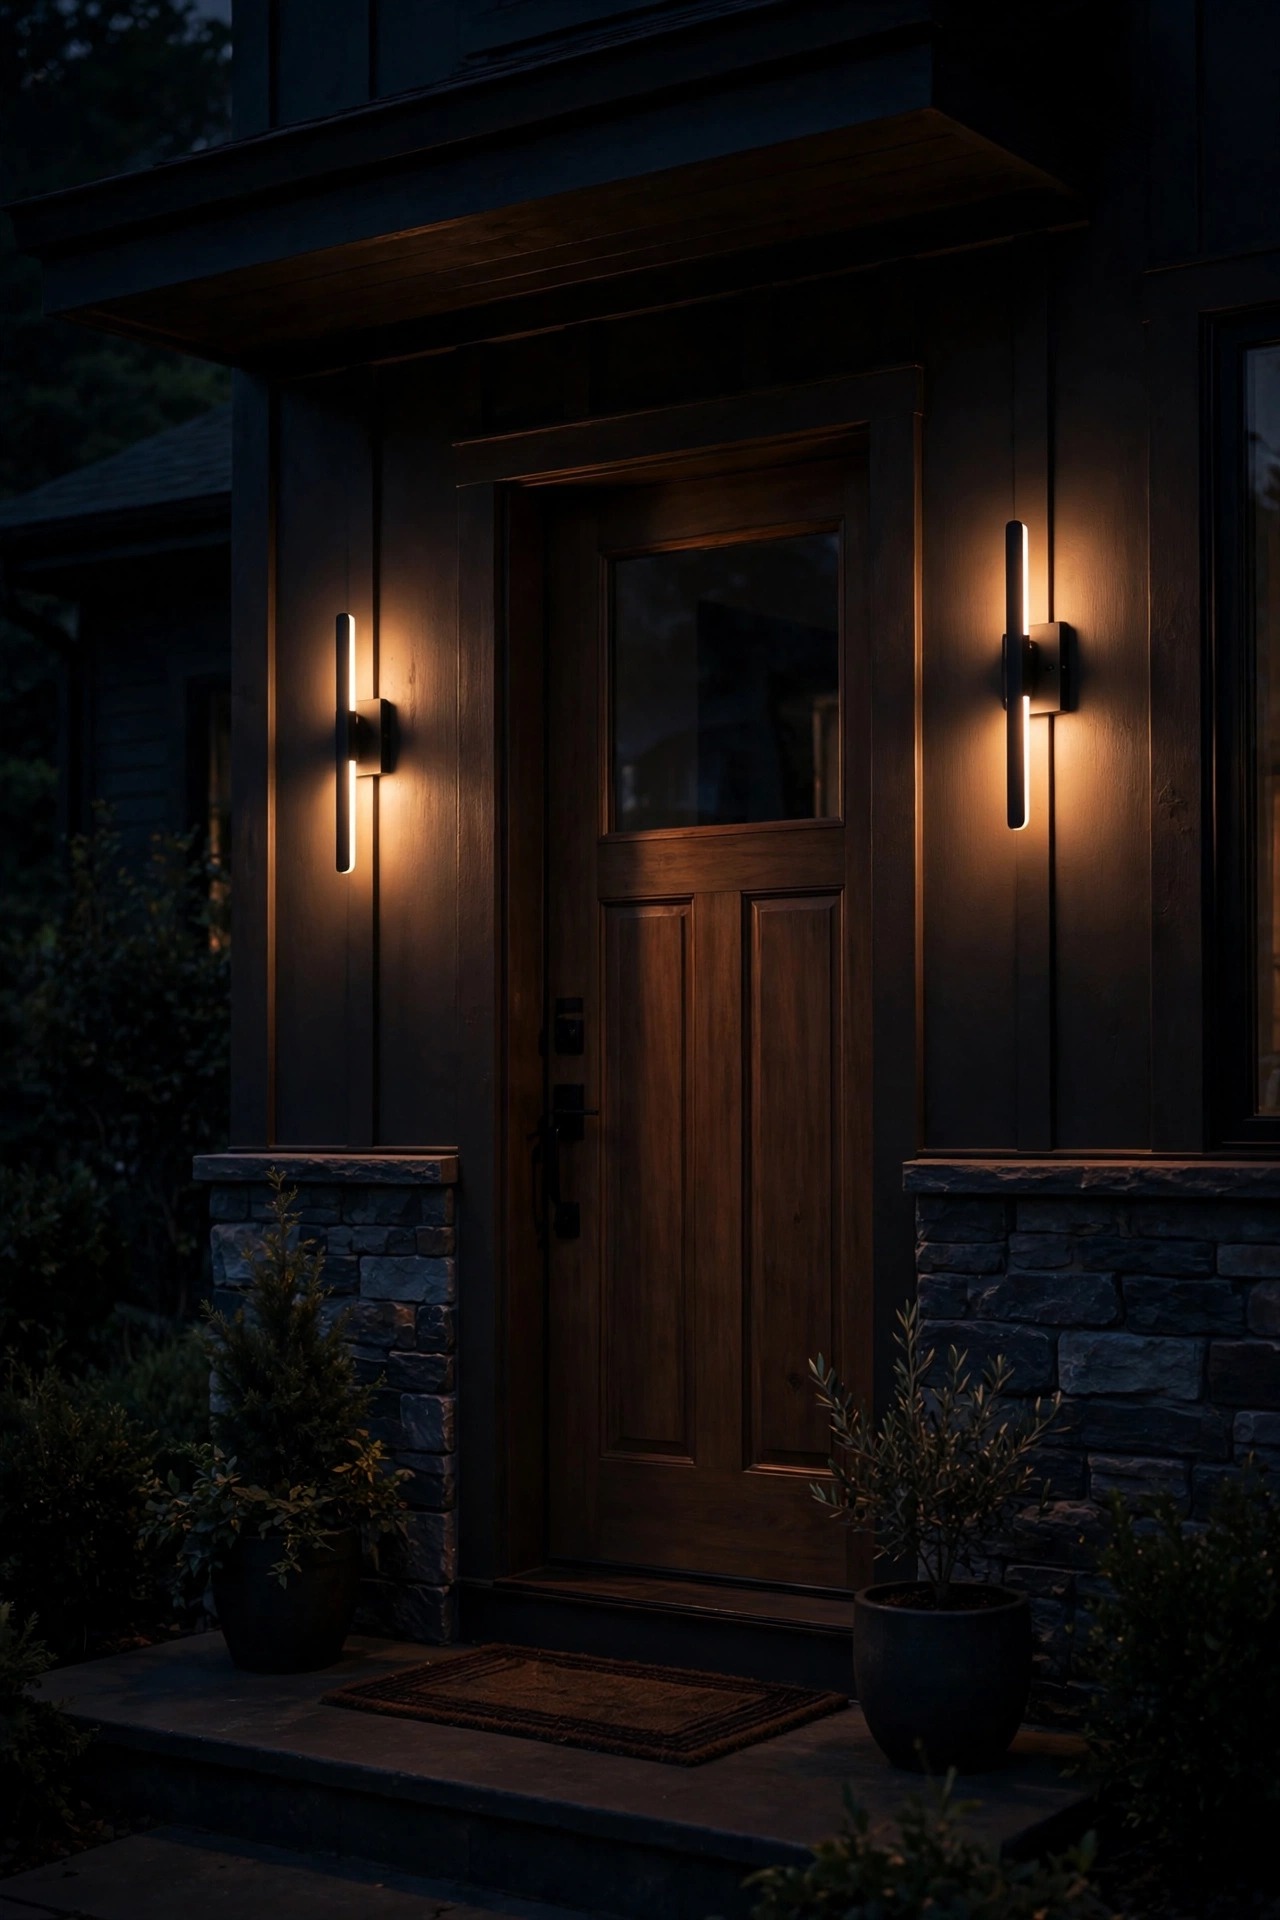
9. Dim After Dark With Dimmers and Dual-Brightness Fixtures
Full brightness is a dinner-party setting, not a midnight one. Outdoor-rated dimmers and dimmable LED bulbs let the porch sit at a bright, welcoming level for the evening hours and then ease down to an ember after the house goes quiet. Many newer fixtures do this on their own: dual-brightness security lights idle at about 20 percent, just enough to outline the driveway, and only jump to full output when the sensor trips. That idle glow is genuinely useful without being a searchlight in anyone's window. If you use smart bulbs or smart plugs, schedule the dimming so it happens automatically — 100 percent until ten, 40 percent after, off at dawn — and you will never think about it again. Dimming also runs bulbs cooler, which stretches their life, and it softens the whole look of the yard in a way guests describe as expensive. Bright is a moment. Dim is a mood. Give your fixtures both settings and let the clock choose between them, and your light will match the street's energy instead of fighting it.
Suggested budget range: $15 – $60.
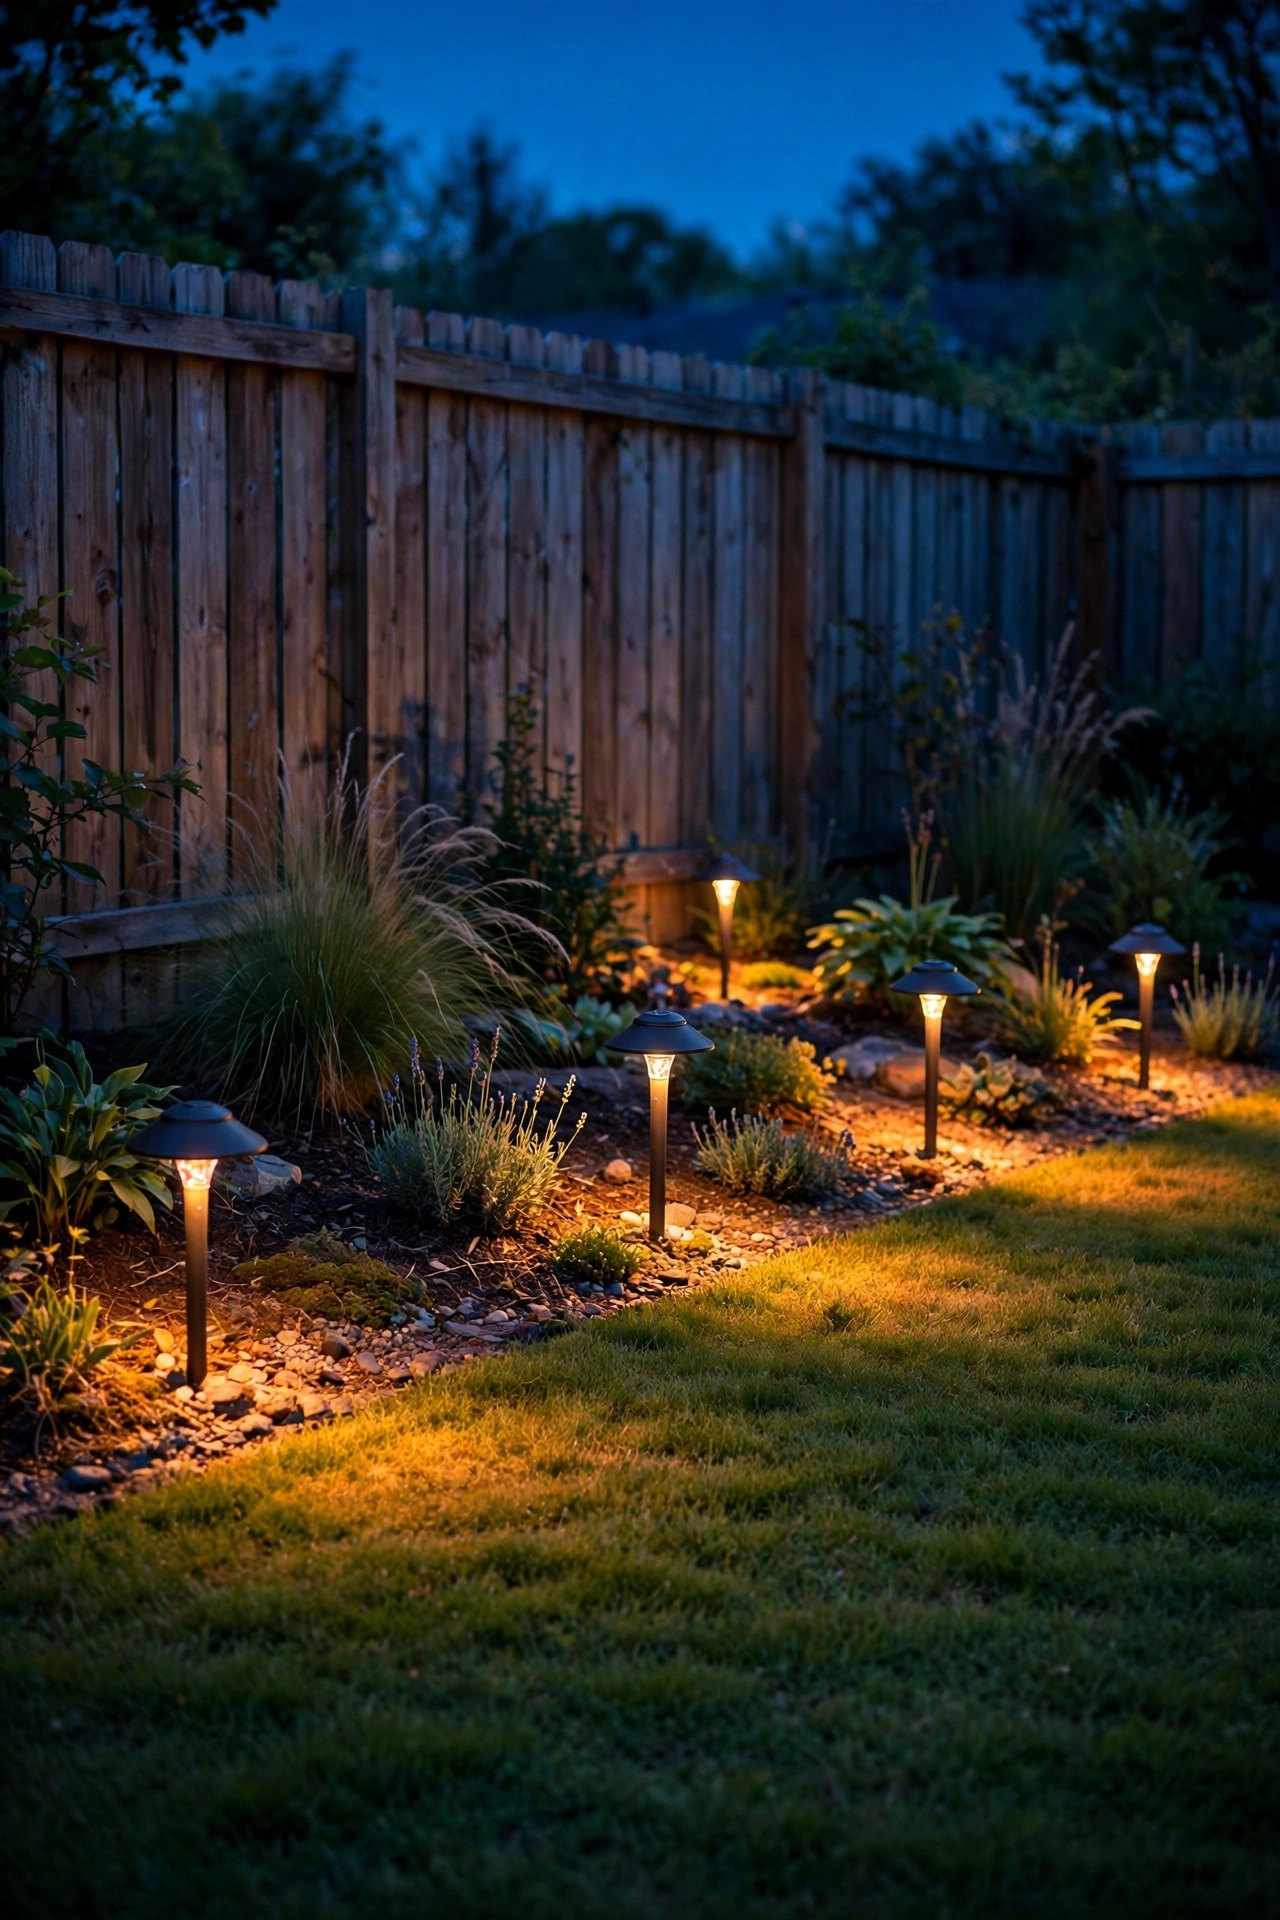
10. Light the Ground, Not the Sky — Go Low Along Paths
Tall fixtures throw light a long way; low fixtures keep it home. Along paths and steps, I reach for hooded path lights no taller than about 18 inches, recessed step lights tucked into the risers themselves, and under-rail strips on decks that wash the treads without showing a single diode. The light lands in overlapping pools exactly where feet go, and from the street the whole effect reads as a gentle dotted line instead of a runway. Space path lights about six to eight feet apart and let the dark gaps between pools do some of the work — contrast is what actually guides the eye, not a continuous blaze. Tall mushroom-style fixtures are the worst offenders here, since their caps bounce a halo of light sideways at standing eye level. If you inherit some, a simple shade swap or a lower-wattage bulb calms them down. Low light also flatters the garden: stems and stones catch raking highlights while the sky above stays properly dark. Your path will feel safer, your plants will look better, and the fence line will stay in shadow where it belongs.
Suggested budget range: $25 – $120.

11. Use Hedges, Fences and Trellises as Light Buffers
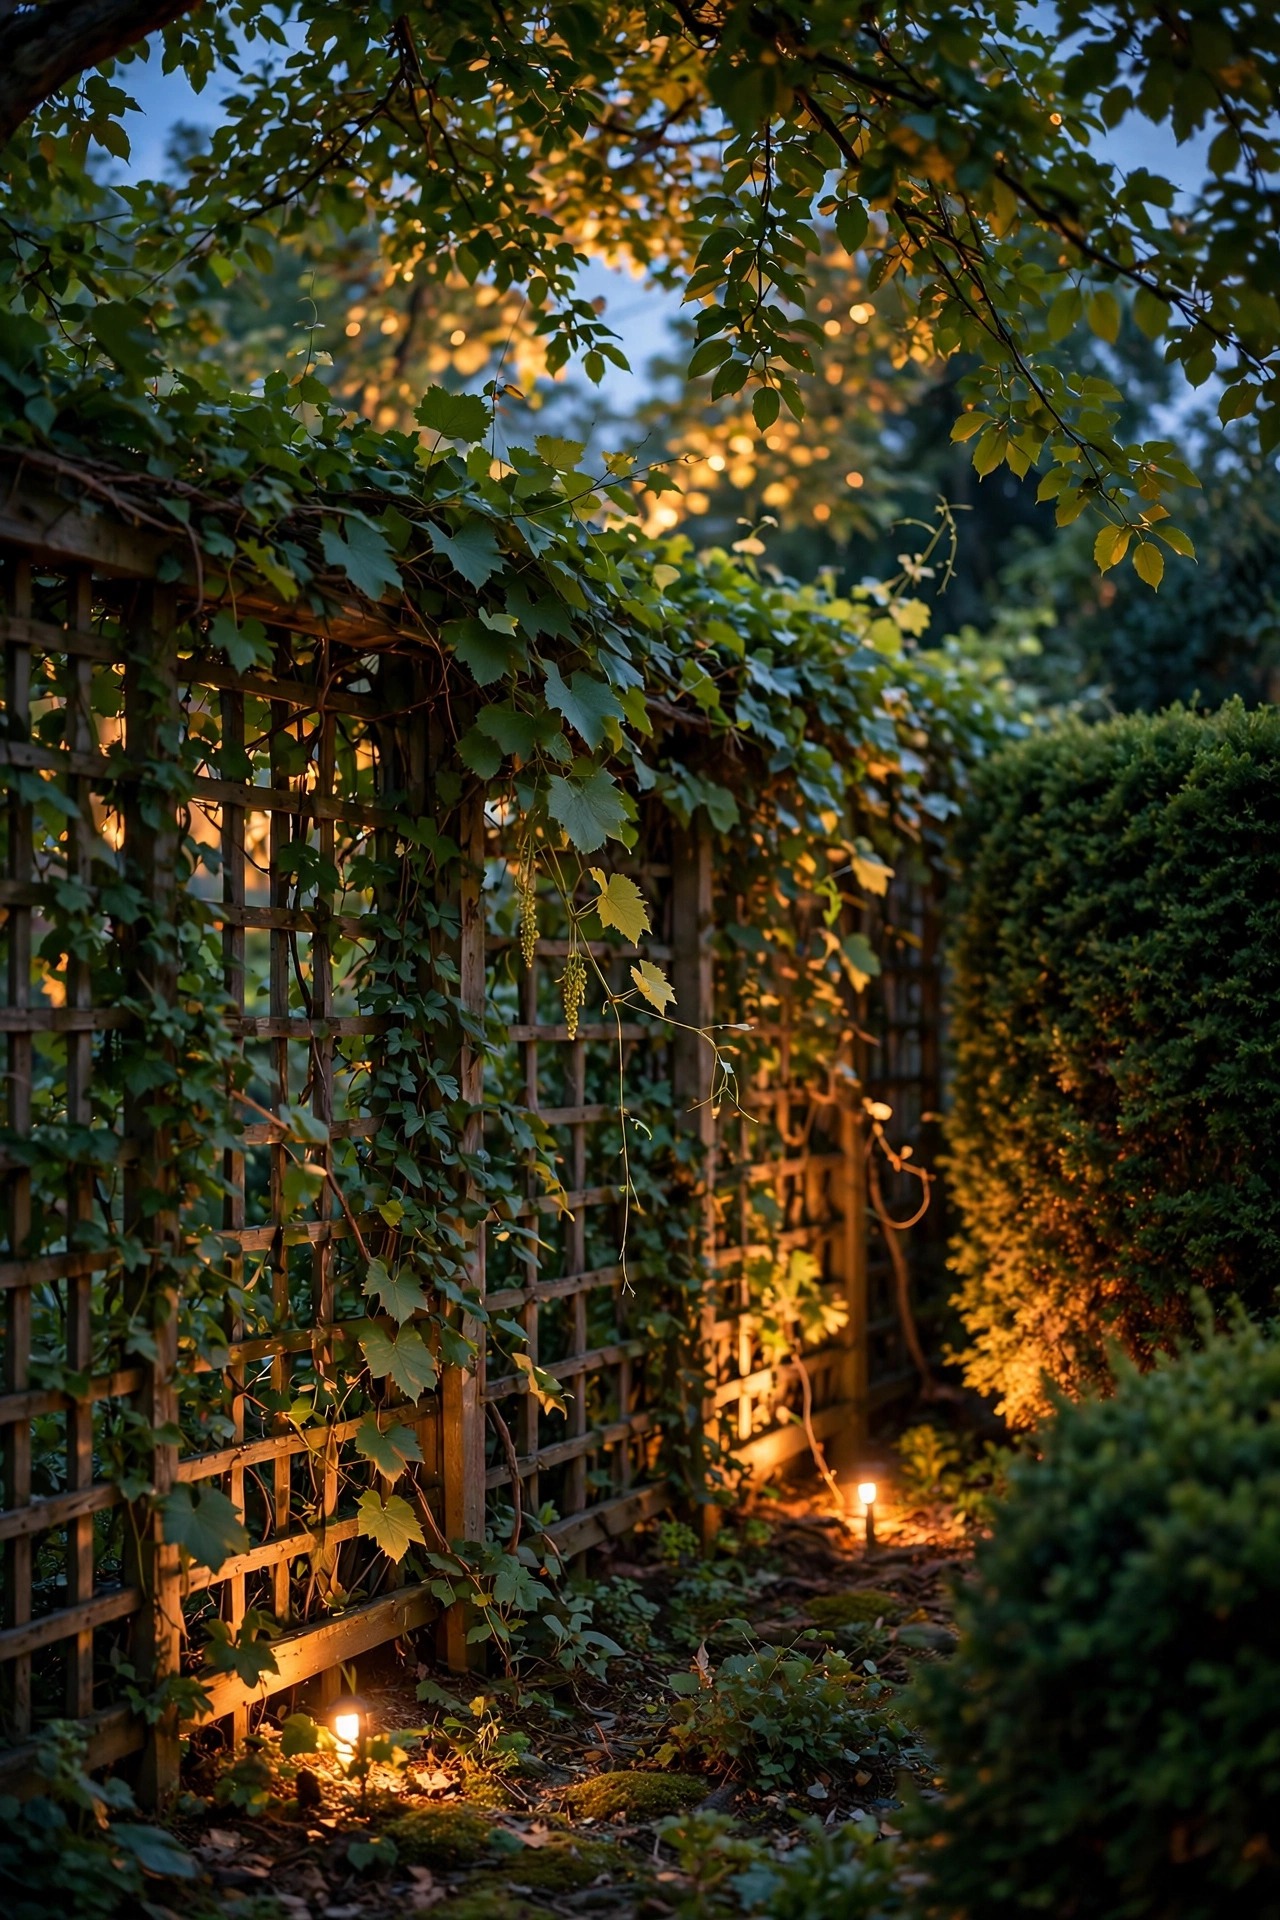
Plants are the politest light shields ever grown. A dense evergreen hedge along a shared line absorbs spill that no fixture setting can fully tame, and a trellis with a climbing vine between your patio and the fence turns one bright corner into soft, filtered dapples. I plant shrubs in front of tree uplights, too, so the hardware hides and the beam gets a leafy baffle before it ever reaches the canopy. A solid fence section works the same way for fixtures that must sit low near a boundary — the board blocks the direct view of the bulb, and direct view is what glare actually is. Evergreens earn their keep in winter, when deciduous screens go bare right when the nights get longest. One caution: keep foliage a safe distance from hot fixtures, use LED only near plantings, and never let a hedge grow over a solar panel that needs the sun. Screening is the one fix on this list that gets better every year it grows, and it buys privacy and quiet along with the darkness.
Suggested budget range: $30 – $200.
12. Talk to Your Neighbors — and Fix the Worst Offender First
Sometimes the most neighborly fixture is a conversation. If you suspect your lights bother someone, ask — and if one of theirs bothers you, this cuts both ways — because most people genuinely have no idea what their yard looks like from across the fence. Ask which light, and at what hour, then offer to stand in their yard at night while you adjust it together. Start with the worst offender, which is nearly always one security flood aimed a touch too flat. In my case, re-aiming a single fixture and swapping its bulb ended the entire issue; nobody needed the full fifteen-item treatment. When the problem is specifically a security light, my roundup of neighbor-friendly security light ideas goes deeper on shielded, well-mannered options that still do the guarding job. Fix the biggest glare source first, let a week of quiet nights prove it, and only then decide whether anything else needs changing. Goodwill compounds: the neighbor you consult about a floodlight today is the one who waters your tomatoes in August.
Suggested budget range: $0 – $50.
13. Check Your Local Light Rules Before You Buy
A surprising number of towns quietly regulate this stuff, and knowing the rules first can save you a return trip and a rewire. Many cities and counties have lighting ordinances that require full-cutoff fixtures on new installs, cap how much light may cross a property line, or set curfews for decorative and sign lighting. Homeowners associations often go further, with approved fixture styles and brightness limits written right into the covenants you agreed to at closing. A handful of dark-sky communities near parks and observatories are stricter still. None of this is meant to scare you off — low-voltage landscape lighting rarely needs a permit anywhere — but line-voltage work should still follow local code, with GFCI protection outdoors and fixtures rated for wet locations. I check the municipal code page or call the planning office before any big purchase, and I keep receipts for shielded fixtures in case a question ever comes up. Being able to say your yard already meets the local standard turns a potential complaint into a very short conversation.
Suggested budget range: $0 – $20.
14. Keep String Lights Low, Warm and on a Timer
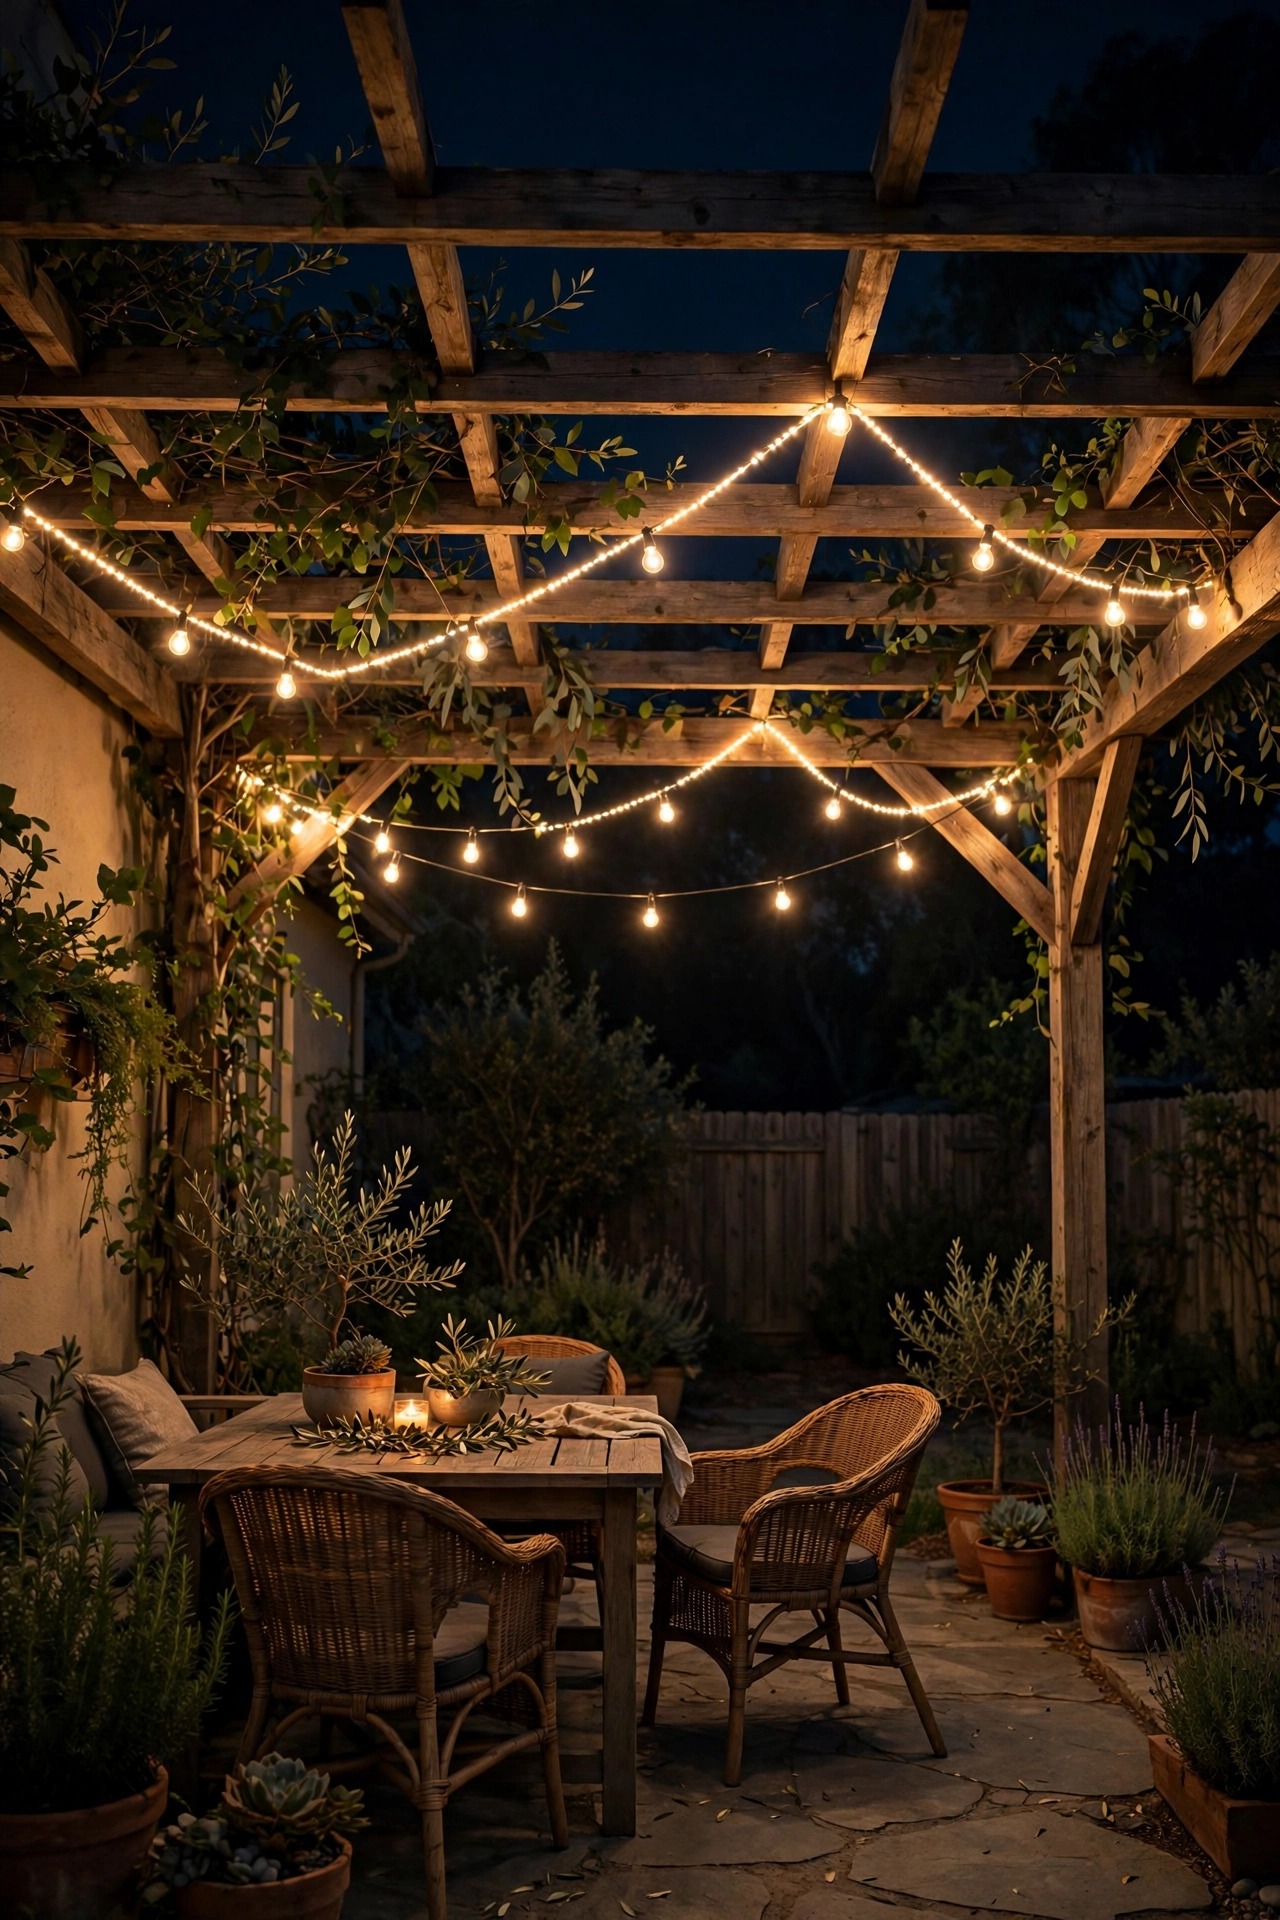
String lights are the friendliest lights we own and, hung carelessly, some of the rudest. A bistro strand stretched along the top of a fence puts a dotted line of bare bulbs at eye level for everyone on both sides, all evening long. Keep strings inside your own footprint instead: zigzag them over your patio or pergola, hang them seven to eight feet up so the glow pools below rather than broadcasting outward, and turn any end runs inward instead of terminating at the fence. Choose warm LED filament bulbs in the 2200K to 2700K range, put the strand on a dimmer plug if you can, and always — always — on a timer that calls it a night by eleven. If a strand must run near the line, drop that edge lower and let a shrub or the pergola post interrupt the sightline. Festoon light pointed at your own gathering space feels magical; the same strand glaring over a fence feels like a patio bar that never closes. The difference is about three feet of placement and one timer.
Suggested budget range: $20 – $70.
15. Recheck Every Season — Neighbor Friendly Outdoor Lighting Is a Habit
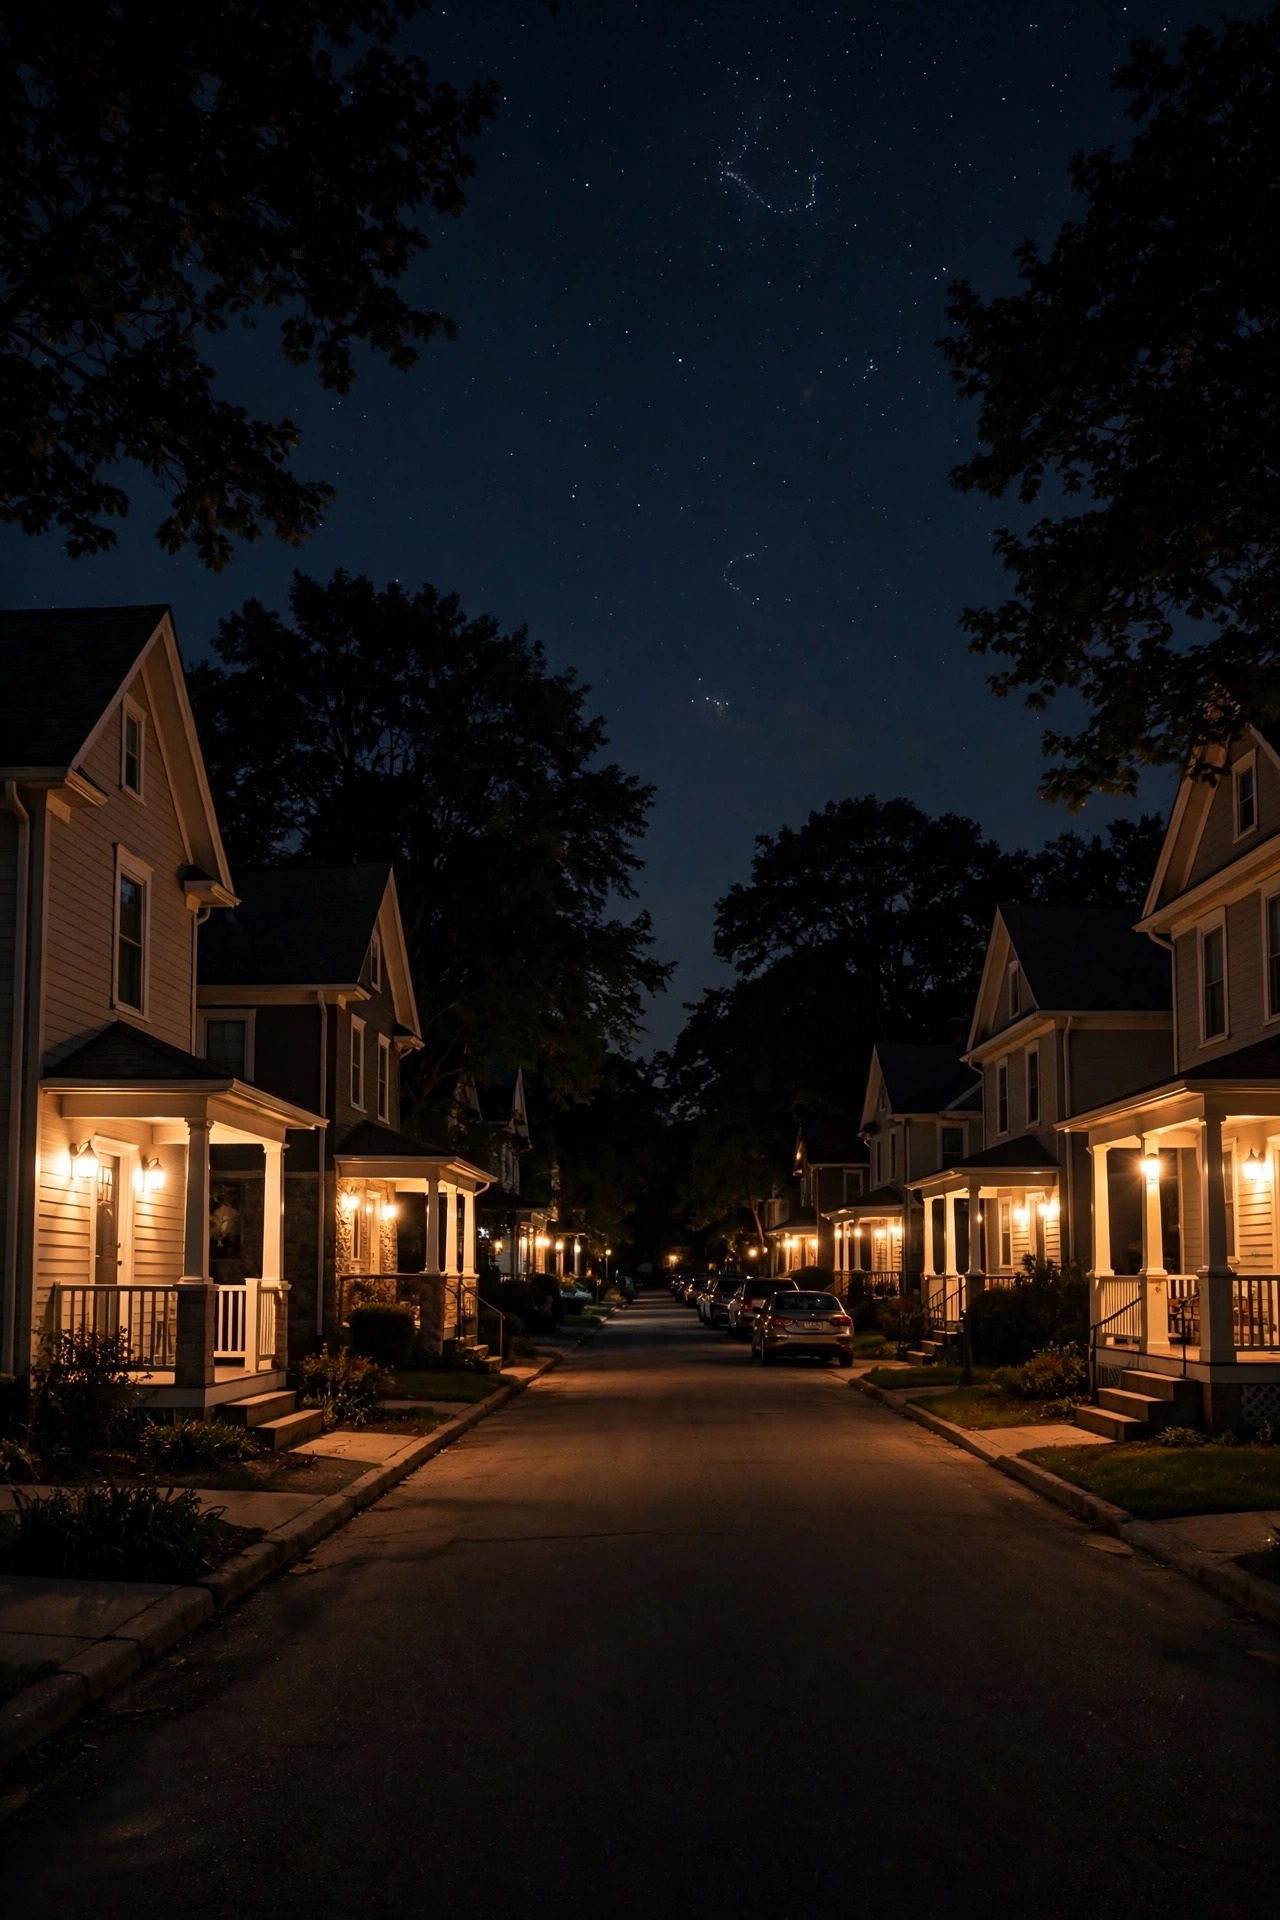
Fixtures drift. A mower kiss tips a path light, a storm twists a flood a few degrees, a tree grows six inches into a beam, and the replacement bulb someone grabbed at the store is mysteriously twice as bright as the old one. That is why neighbor friendly outdoor lighting is less a project than a habit: once a season, usually on the first warm evening of spring and again in fall, I repeat the property-line walk with my notebook. Everything still gets the same three questions. Can I see a bare bulb from the sidewalk? Does any beam cross the fence? Is anything still on that should have gone to bed? Adding a new fixture restarts the test for that fixture, no exceptions, because one careless addition can undo a yard full of good manners. It takes fifteen minutes, twice a year. In exchange, the waves over the fence stay friendly, the street stays dark enough for stars, and nobody ever has to knock on my door holding a mug and wearing that polite smile again.
Suggested budget range: $0 – $30.
Frequently Asked Questions
What exactly counts as light trespass?
Light trespass is any artificial light that lands where it is not wanted — spilling across a property line, shining into a window, or beaming up into the sky. Glare is its close cousin: glare is the harsh brightness you see when a bare bulb is visible, while trespass is about where the light ends up. If a neighbor can read by your floodlight in their bedroom, that is trespass, whatever the fixture was aimed at.
How do I ask a neighbor about their light without starting a feud?
Lead with the specific fixture and the specific hour, and keep it about sleep, not blame: "Your side floodlight lands right in our bedroom after eleven — would you be up for trying a shield or a timer?" Most people honestly do not know, because nobody sees their own yard from next door. Offering to stand in their yard while you both look, or to help with the fix, turns a complaint into a small shared project.
Are warm bulbs really less glaring than cool white ones?
Yes, and it is physics as much as taste. Blue-rich light from 4000K and 5000K bulbs scatters more in the air and inside the eye, so it reads harsher and travels visually farther than warm 2700K light at the same lumen output. Warm light also interferes less with sleep and nighttime wildlife. Swapping color temperature is often the cheapest trespass fix there is — sometimes it is the only one a fixture needs.
Do I have to give up security lighting to be a good neighbor?
Not at all — you just have to discipline it. A shielded motion-sensor flood, aimed steeply down into your own driveway and set to run for a few minutes at a time, guards better than an all-night glare bomb and bothers nobody. Steady low light at doors, dark fence lines, and motion where it counts will keep your home covered and your neighbors asleep.
Conclusion
That knock on my door could have gone badly, and instead it made my yard better. Neighbor friendly outdoor lighting is not about dimming your home into gloom — it is about putting every lumen you pay for onto your own paths, doors, and garden, and letting the rest of the street enjoy the dark. Shield the bulbs, aim them down, warm them up, time them kindly, and walk the property line twice a year to prove it still holds. Start with the property-line test tonight; the notebook list practically writes the weekend plan for you. And if you are planning a bigger refresh, browse the rest of my lighting ideas here on the site — nearly every project gets easier, cheaper, and prettier when it is designed to stop at the fence.