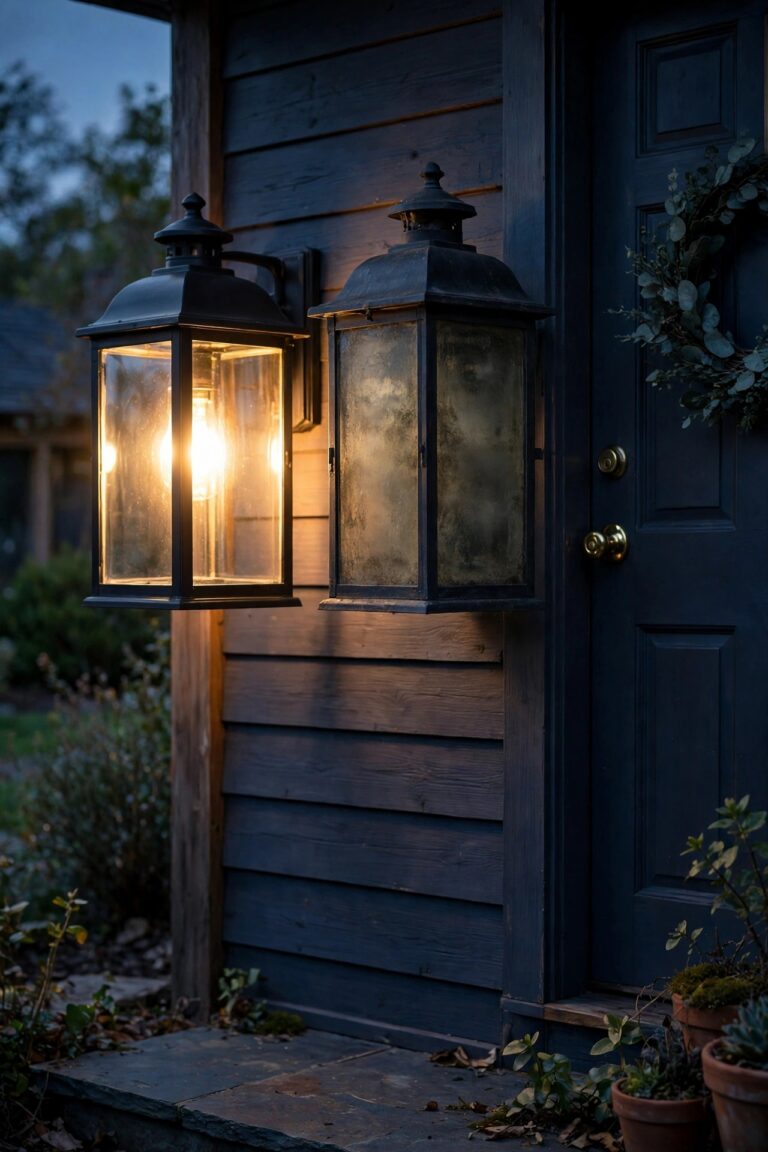
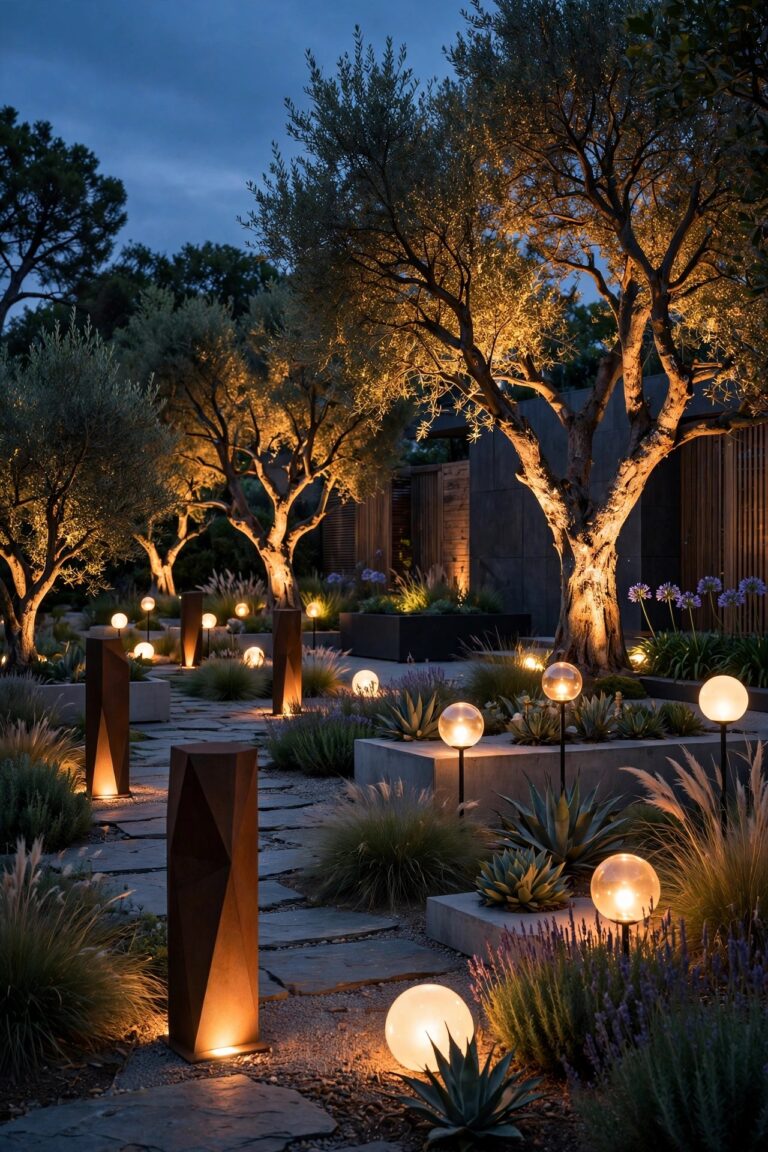
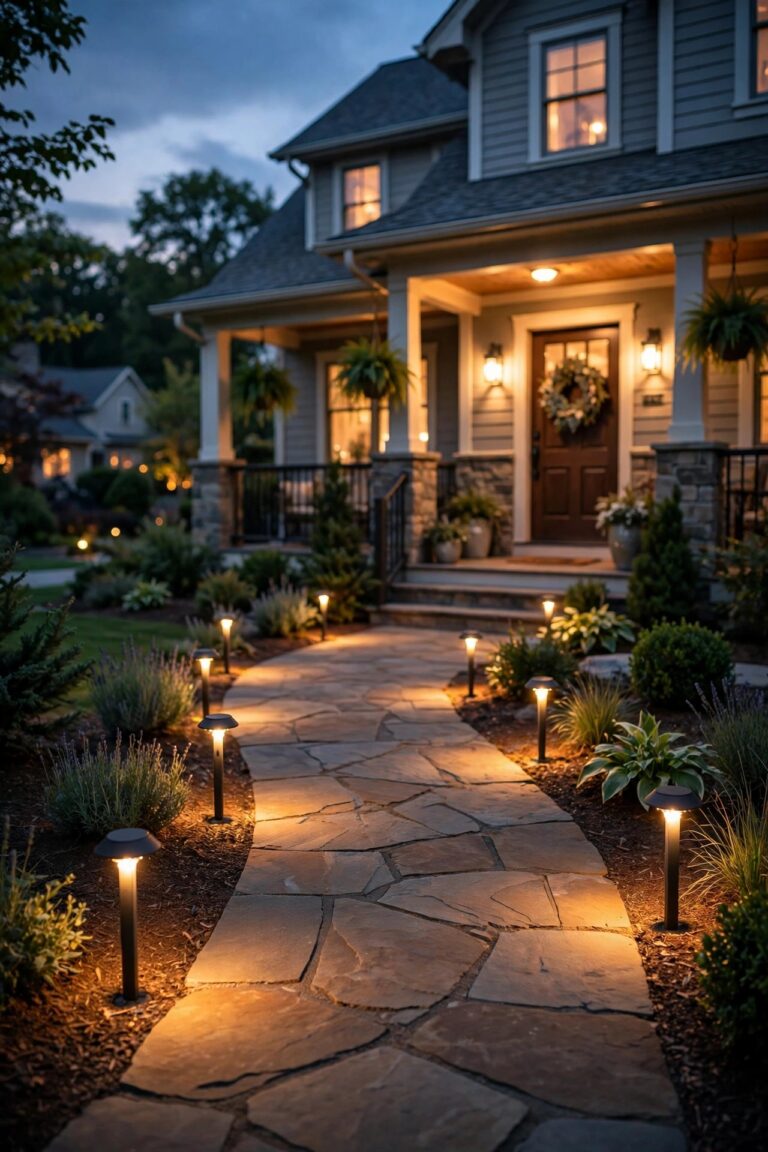
There is a moment every homeowner knows: a noise out back after dark, and suddenly that big black rectangle of yard feels like it belongs to somebody else. I have stood at my own back door in slippers, coffee forgotten, wishing I could actually see my fence line. That is exactly the problem these backyard security lighting ideas solve — not by turning your garden into a stadium, but by quietly guarding the perimeter so nothing out there can hide. My approach, as always, is layering. A soft baseline of light traces the fence, motion lights stand watch at the corners and gates, and the patio and deck stay warm and dim enough to actually enjoy. Each layer has a job: deter, detect, and reassure. Below, I will walk the whole yard with you, zone by zone, with honest budgets, real placement measurements, and the aiming and shielding tricks that keep light on your property instead of in your neighbors windows. By the end, your yard will feel watched over, not lit up.

1. Start With a Perimeter Plan for Your Backyard Security Lighting Ideas
Before you buy a single fixture, walk your property line at dusk with your phone flashlight off and just look. In my experience, every backyard naturally falls into three zones: the perimeter itself along the fence, the open middle of lawn and planting beds, and the house wall with its doors and windows. Sketch them roughly on paper. The fence line needs low, even baseline light so gaps read as gaps. The middle needs a few accent and path lights so anyone crossing it is visible in silhouette. The house wall needs the strongest coverage at doors, because that is where someone would actually try to get in. Note your power access too: mark every outdoor outlet, and mark the dark corners with no outlet nearby — those become solar or battery territory later in this list. This twenty-minute walk saves real money, because you stop buying random bright lights and start buying a system where each fixture has an assigned job and zone.
Suggested budget range: $0 – $25.

2. Mount Motion-Activated Floodlights at the Back Corners
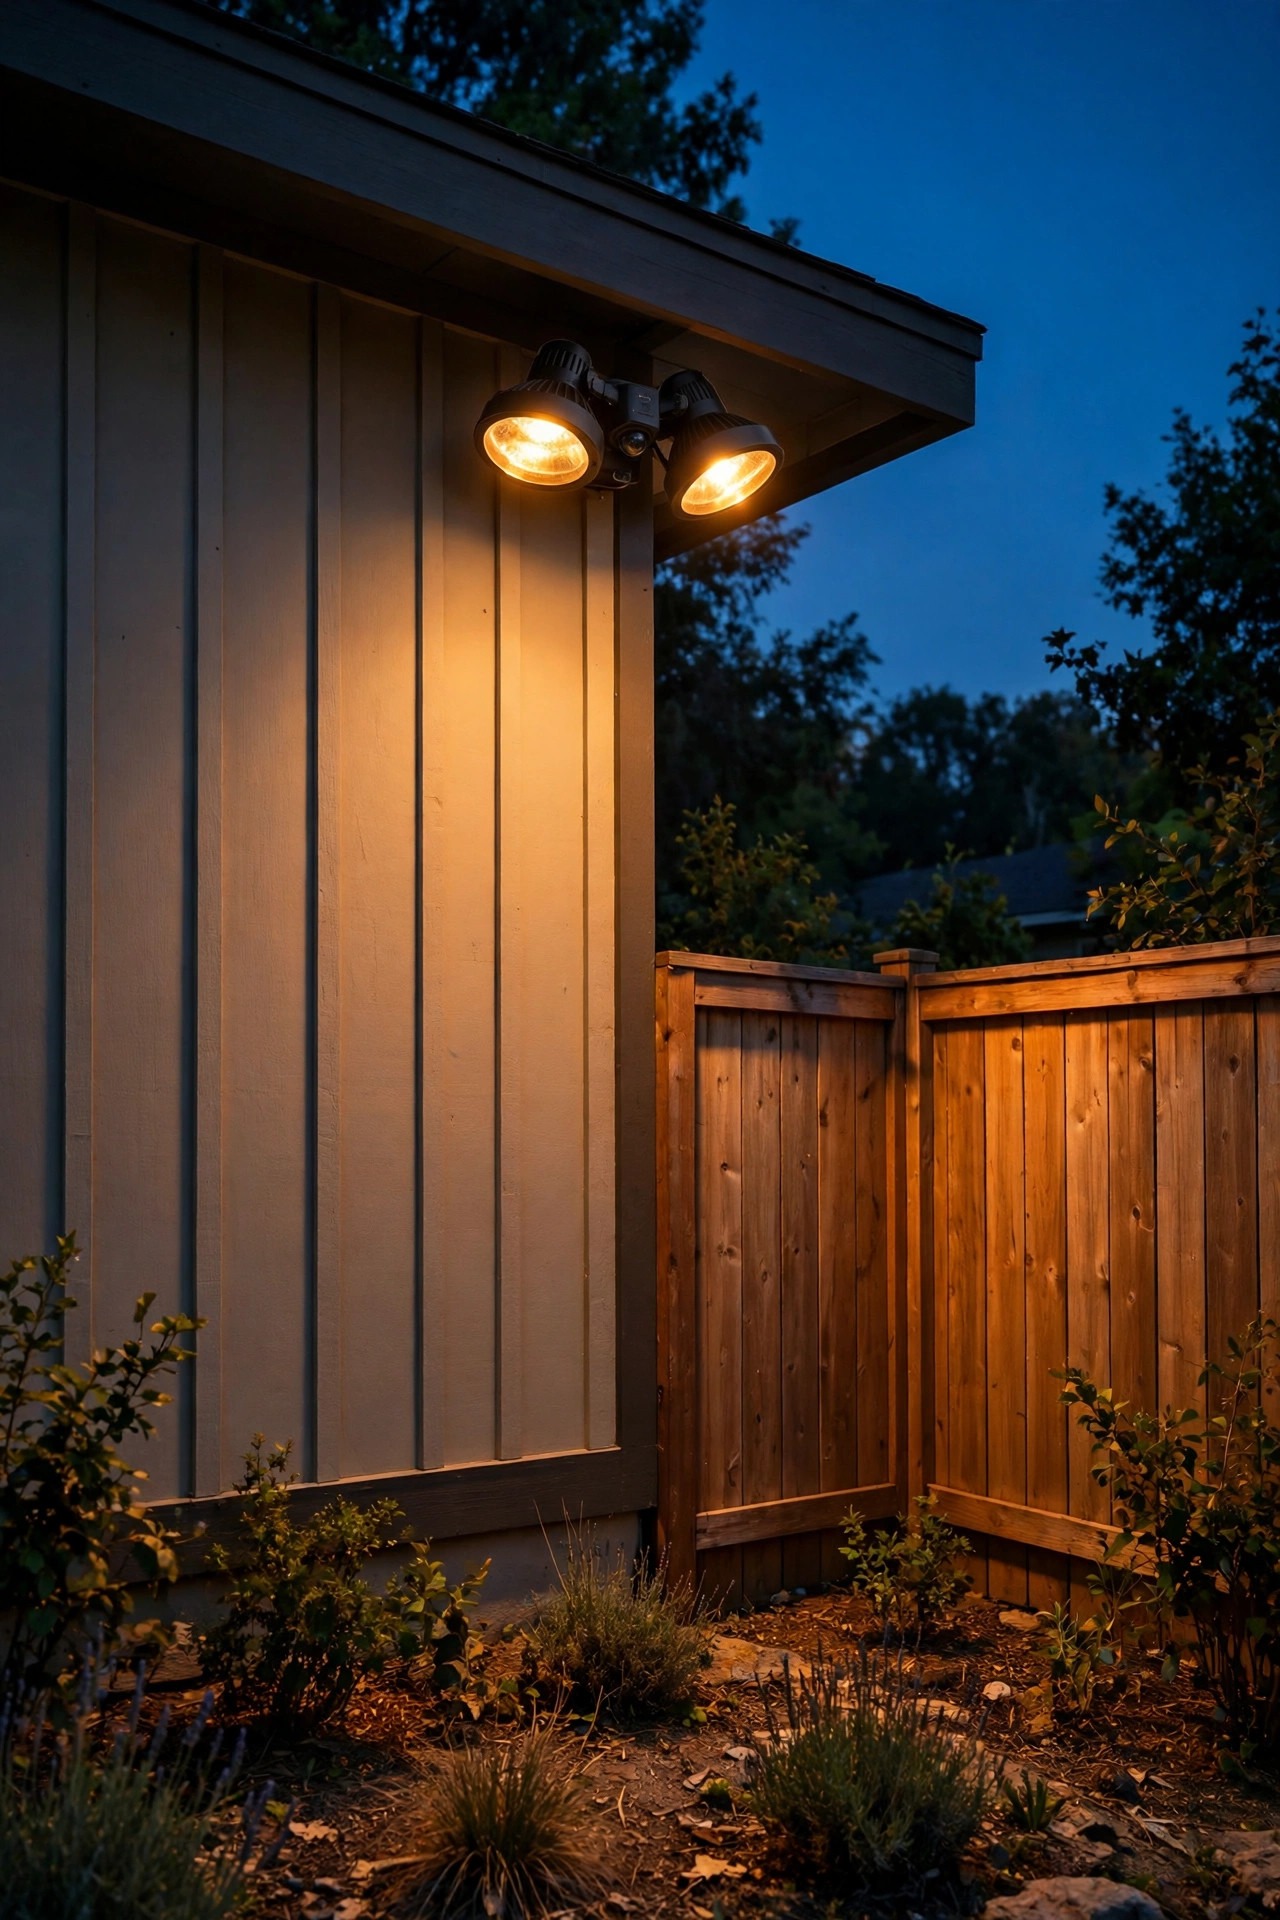
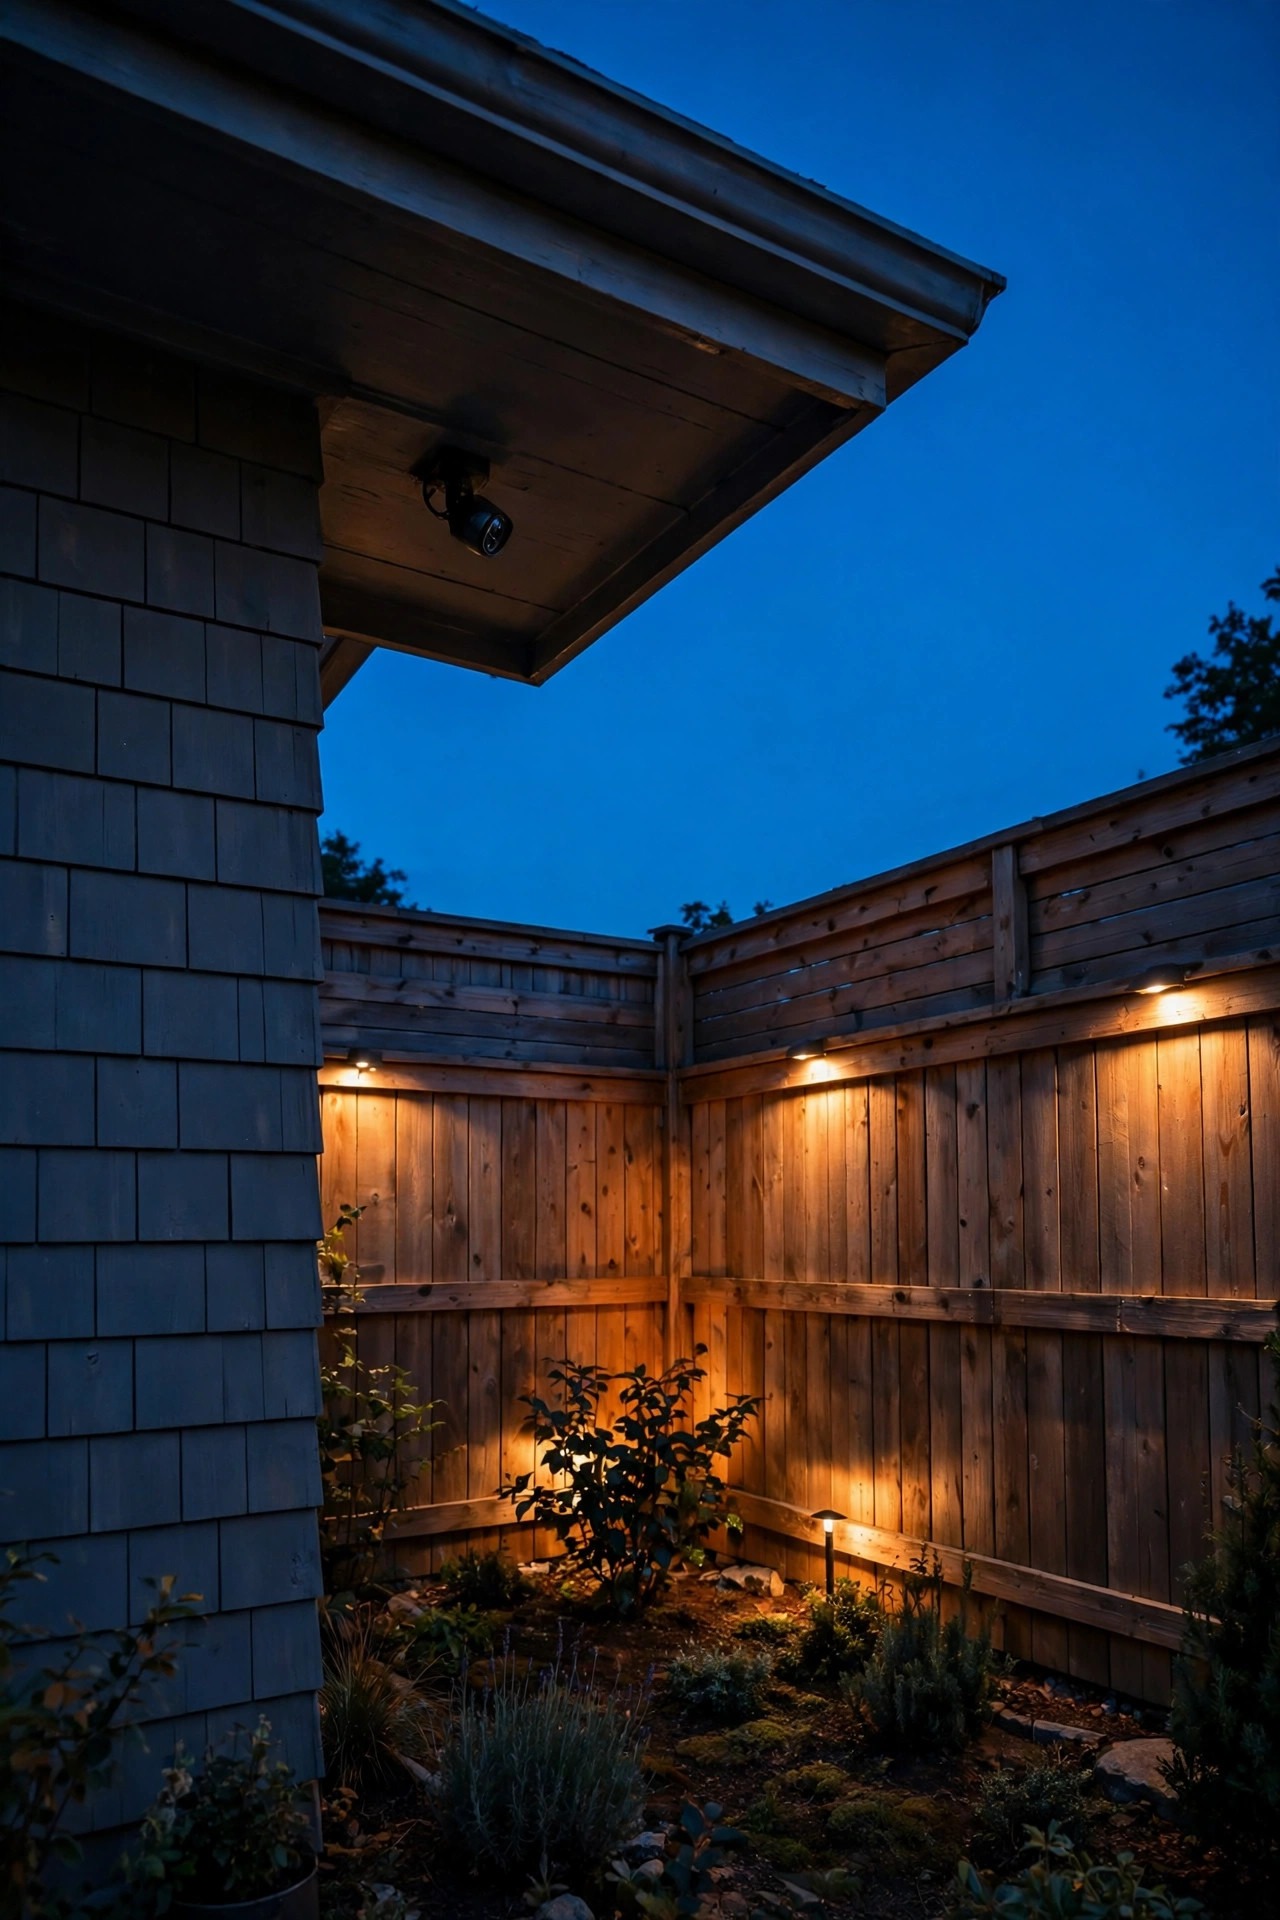
The back corners of a yard are where I always start, because they are the spots nobody watches and everybody assumes are covered. A dual-head LED floodlight mounted 8 to 10 feet up on the house corner, or on a sturdy fence post with a proper junction box, can wash the whole corner zone when its sensor trips. Look for 1,500 to 2,500 lumens, a sensor range you can dial down to 20–30 feet, and a timer that shuts off after 1 to 5 minutes so it does not blaze all night. Aim the heads slightly downward and across the fence line rather than straight out — angled light rakes across the ground and shows shape and movement far better. Set sensitivity so a raccoon does not trigger it but a person does; most sensors need two or three evenings of tweaking, and honestly, that little trial period is normal. If you want the full rundown on sensor types and settings, my guide to motion sensor outdoor lights covers it in depth. Hardwired models belong on a GFCI-protected circuit, and if that sentence made you nervous, hire the electrician for this one fixture.
Suggested budget range: $40 – $120.
3. Run a Dusk-to-Dawn Baseline Glow Along the Fence Line
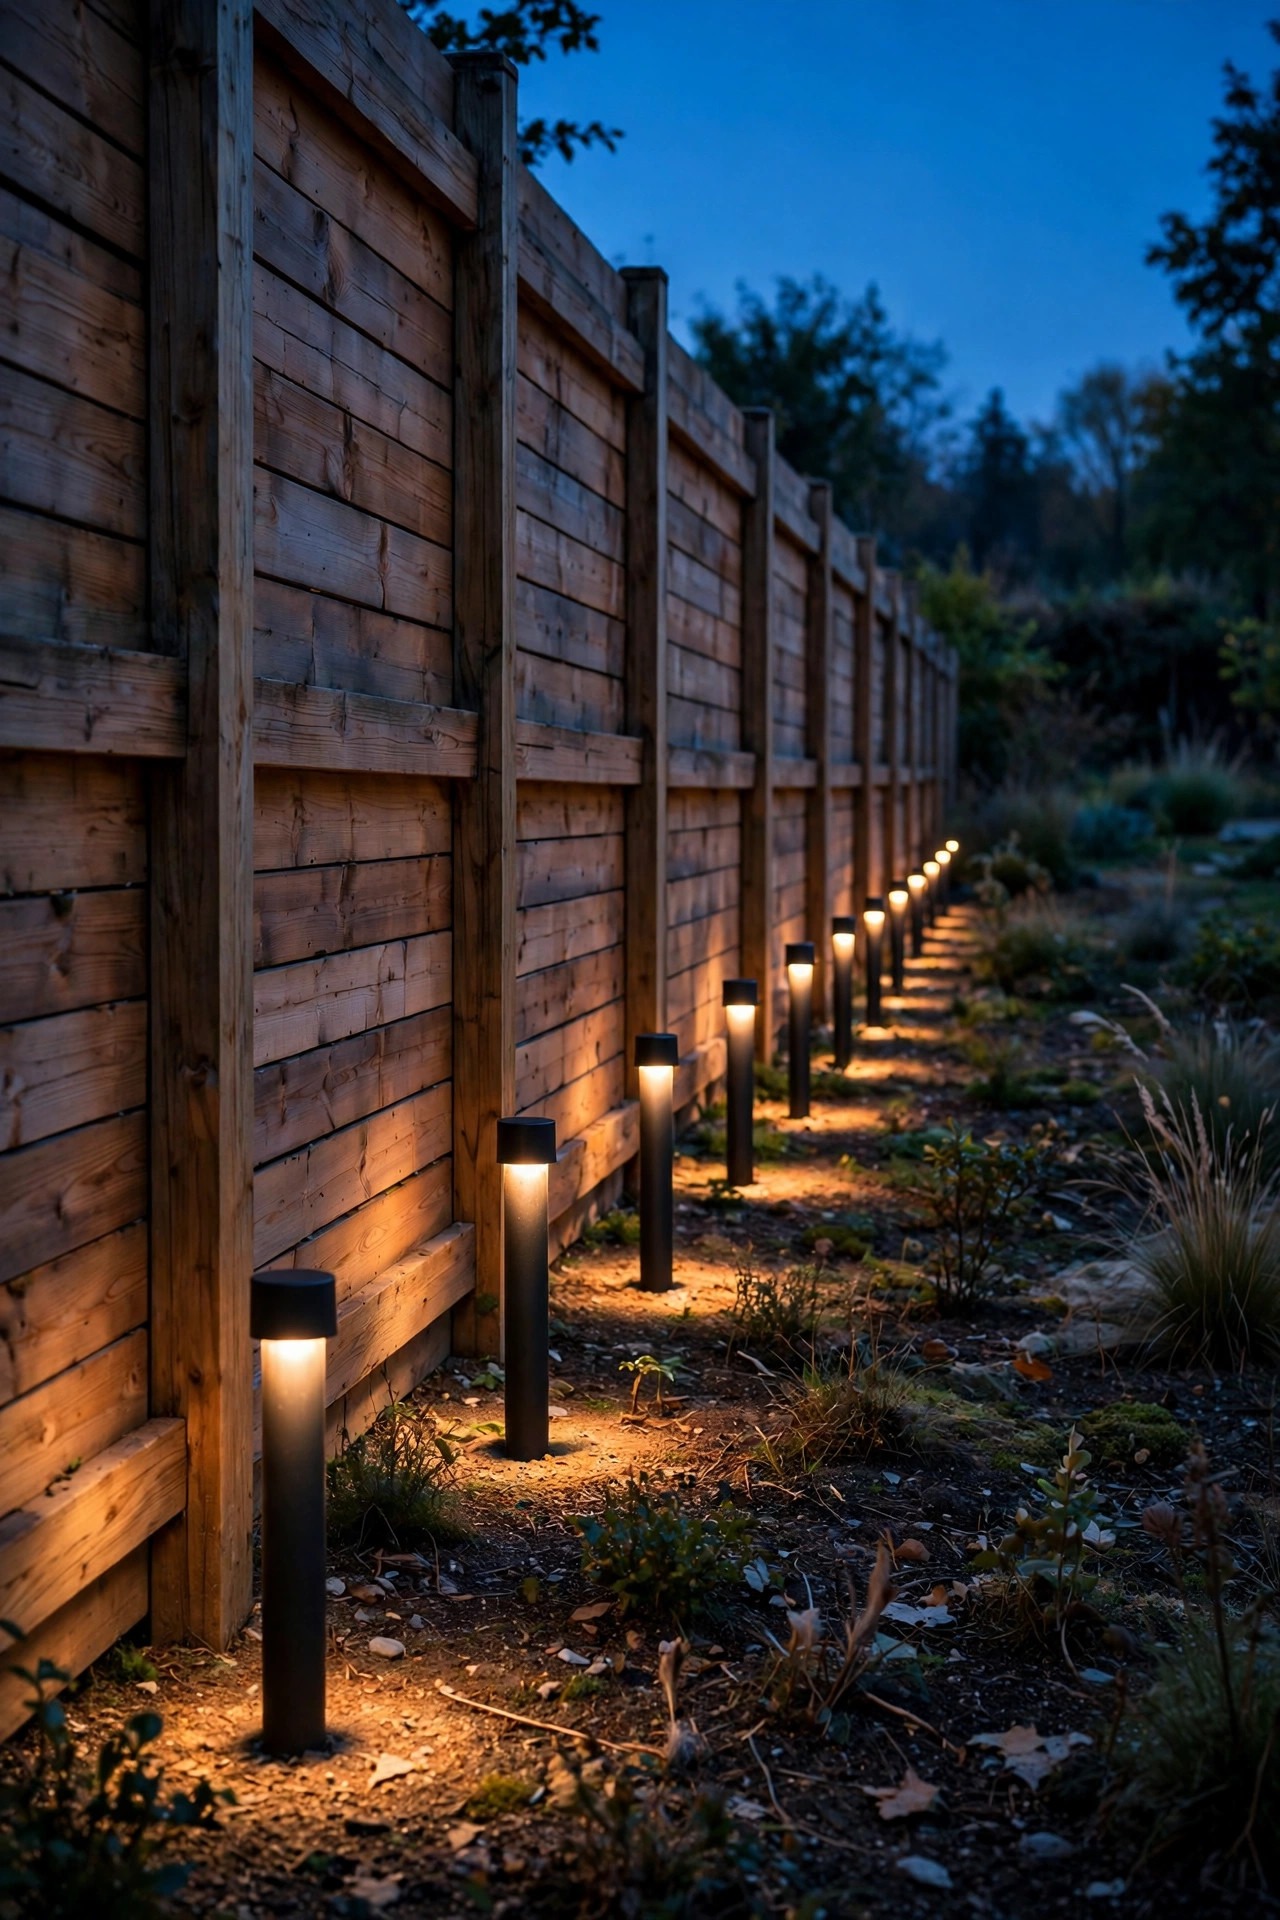
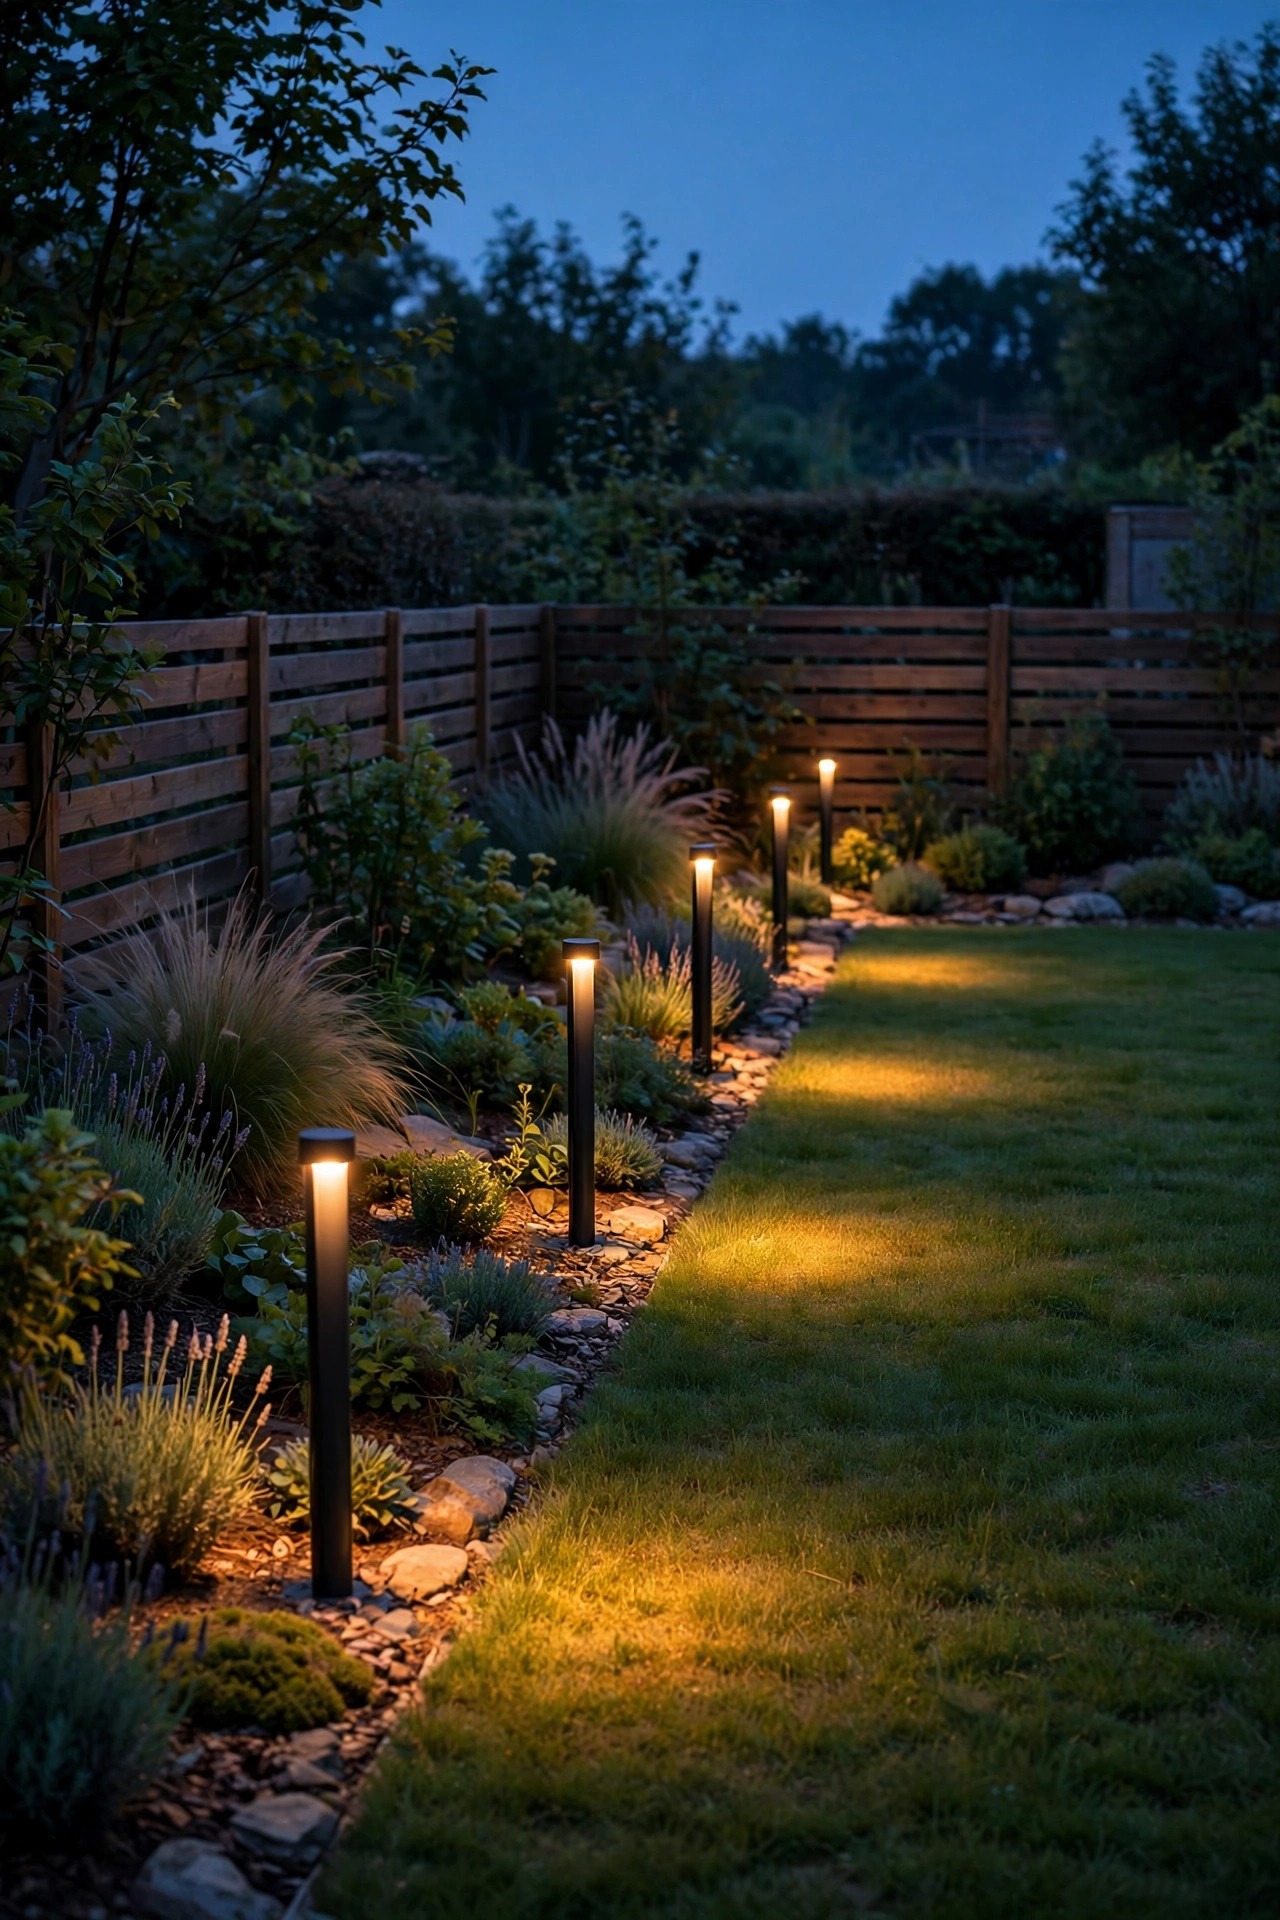
Motion lights only help when something moves. Between triggers, a dark fence line still offers cover, which is why I layer in a low baseline glow that runs every night from dusk to dawn. Short bollards or sturdy stake lights spaced 6 to 8 feet apart along the inside of the fence do this beautifully at just 100 to 300 lumens each — enough to trace the boundary and reveal a silhouette, never enough to feel harsh. Low-voltage wired systems are the most reliable here, with one transformer running the whole line, and the bulbs sip so little power that the nightly cost is pennies. Keep fixtures a foot or two inside the fence so mower wheels and string trimmers do not eat them. Choose warm 2700K light to match the rest of your yard. This is the layer guests always compliment without realizing it is security lighting at all, and honestly, that is the highest praise a perimeter light can earn.
Suggested budget range: $80 – $250.
4. Drop Solar Stake Lights Into Corners the Wiring Cannot Reach
Every yard has one awkward corner: behind the shed, past the big oak, way beyond the last outlet. Running conduit out there can cost more than the lights, so that is where solar stakes earn their keep. Modern solar path and stake lights with separate, larger panels genuinely work now, especially the ones with replaceable batteries you can swap in two years instead of tossing the whole fixture. Pick IP65 or better, and be honest about sun: a corner in deep all-day shade will starve any solar light by December, so either choose a model with a remote panel you can mount on the fence top in the sun, or accept a dimmer glow light there and lean on a motion light nearby. Push the stakes in after a rain when the soil is soft, angle the panels south, and wipe the panels when you think of it. They will not flood the corner, but a soft marker of light removes the total darkness an intruder is counting on.
Suggested budget range: $25 – $70.
5. Light Every Gate Like It Is a Front Door
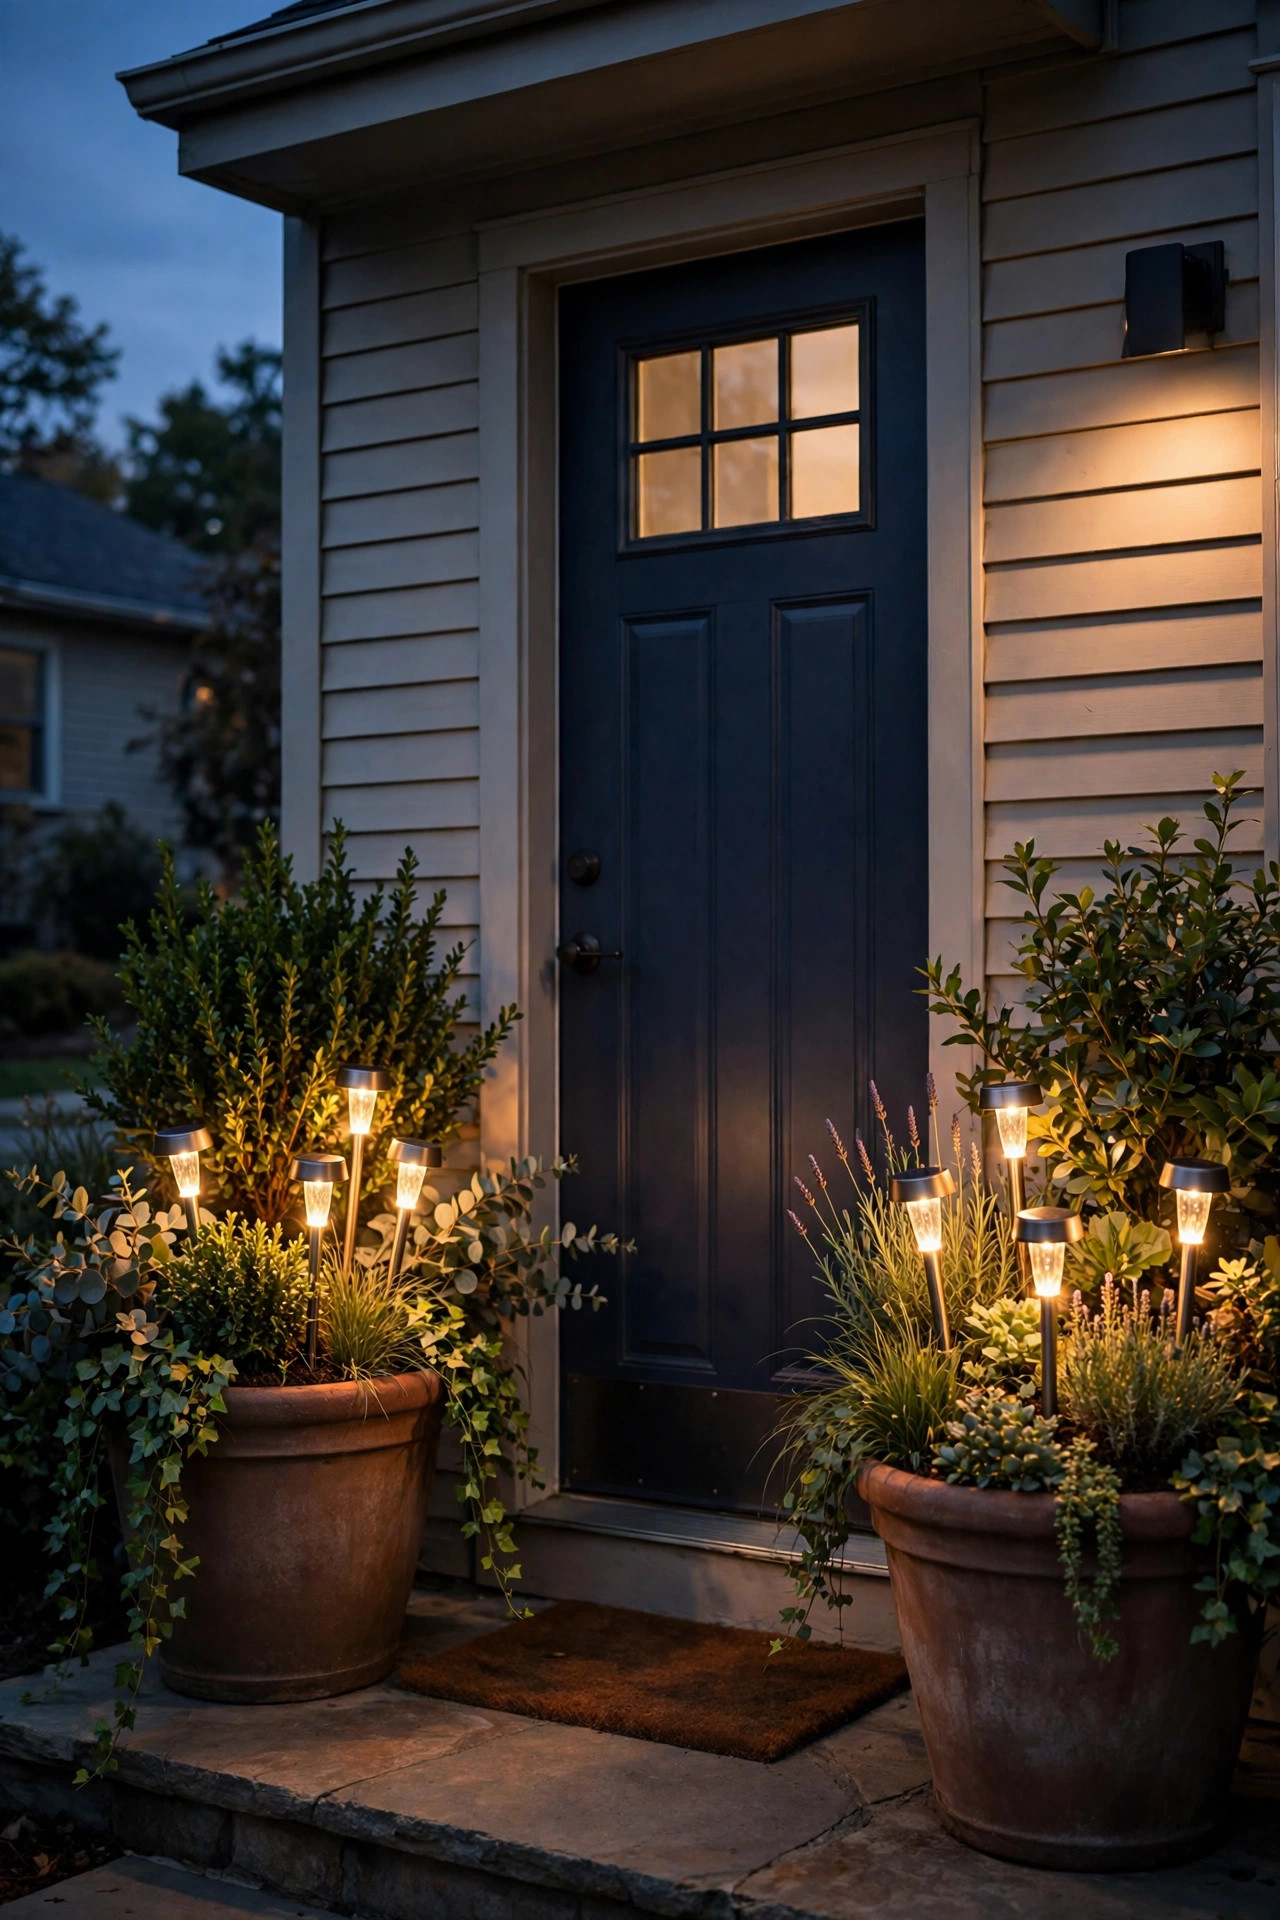
Gates are the actual doors to your backyard, and in my experience they are the most neglected lights on the whole property. A person testing your yard will try the side gate first, every time. So treat each gate like an entry: a post-cap light on both gate posts, or a small sconce on the fence beside the latch, plus motion coverage if the gate opens from an alley or street. Solar post caps are an easy no-wire win here and they mark the gate from both sides, which matters — you want to see the latch from the house, and a visitor outside should see a lit, watched entry rather than a dark gap. If your gate has a padlock or coded latch, aim a little focused light right at it so you are never fumbling in the dark either. Latched, lit, and visible from a back window: that is the standard to hit.
Suggested budget range: $30 – $90.
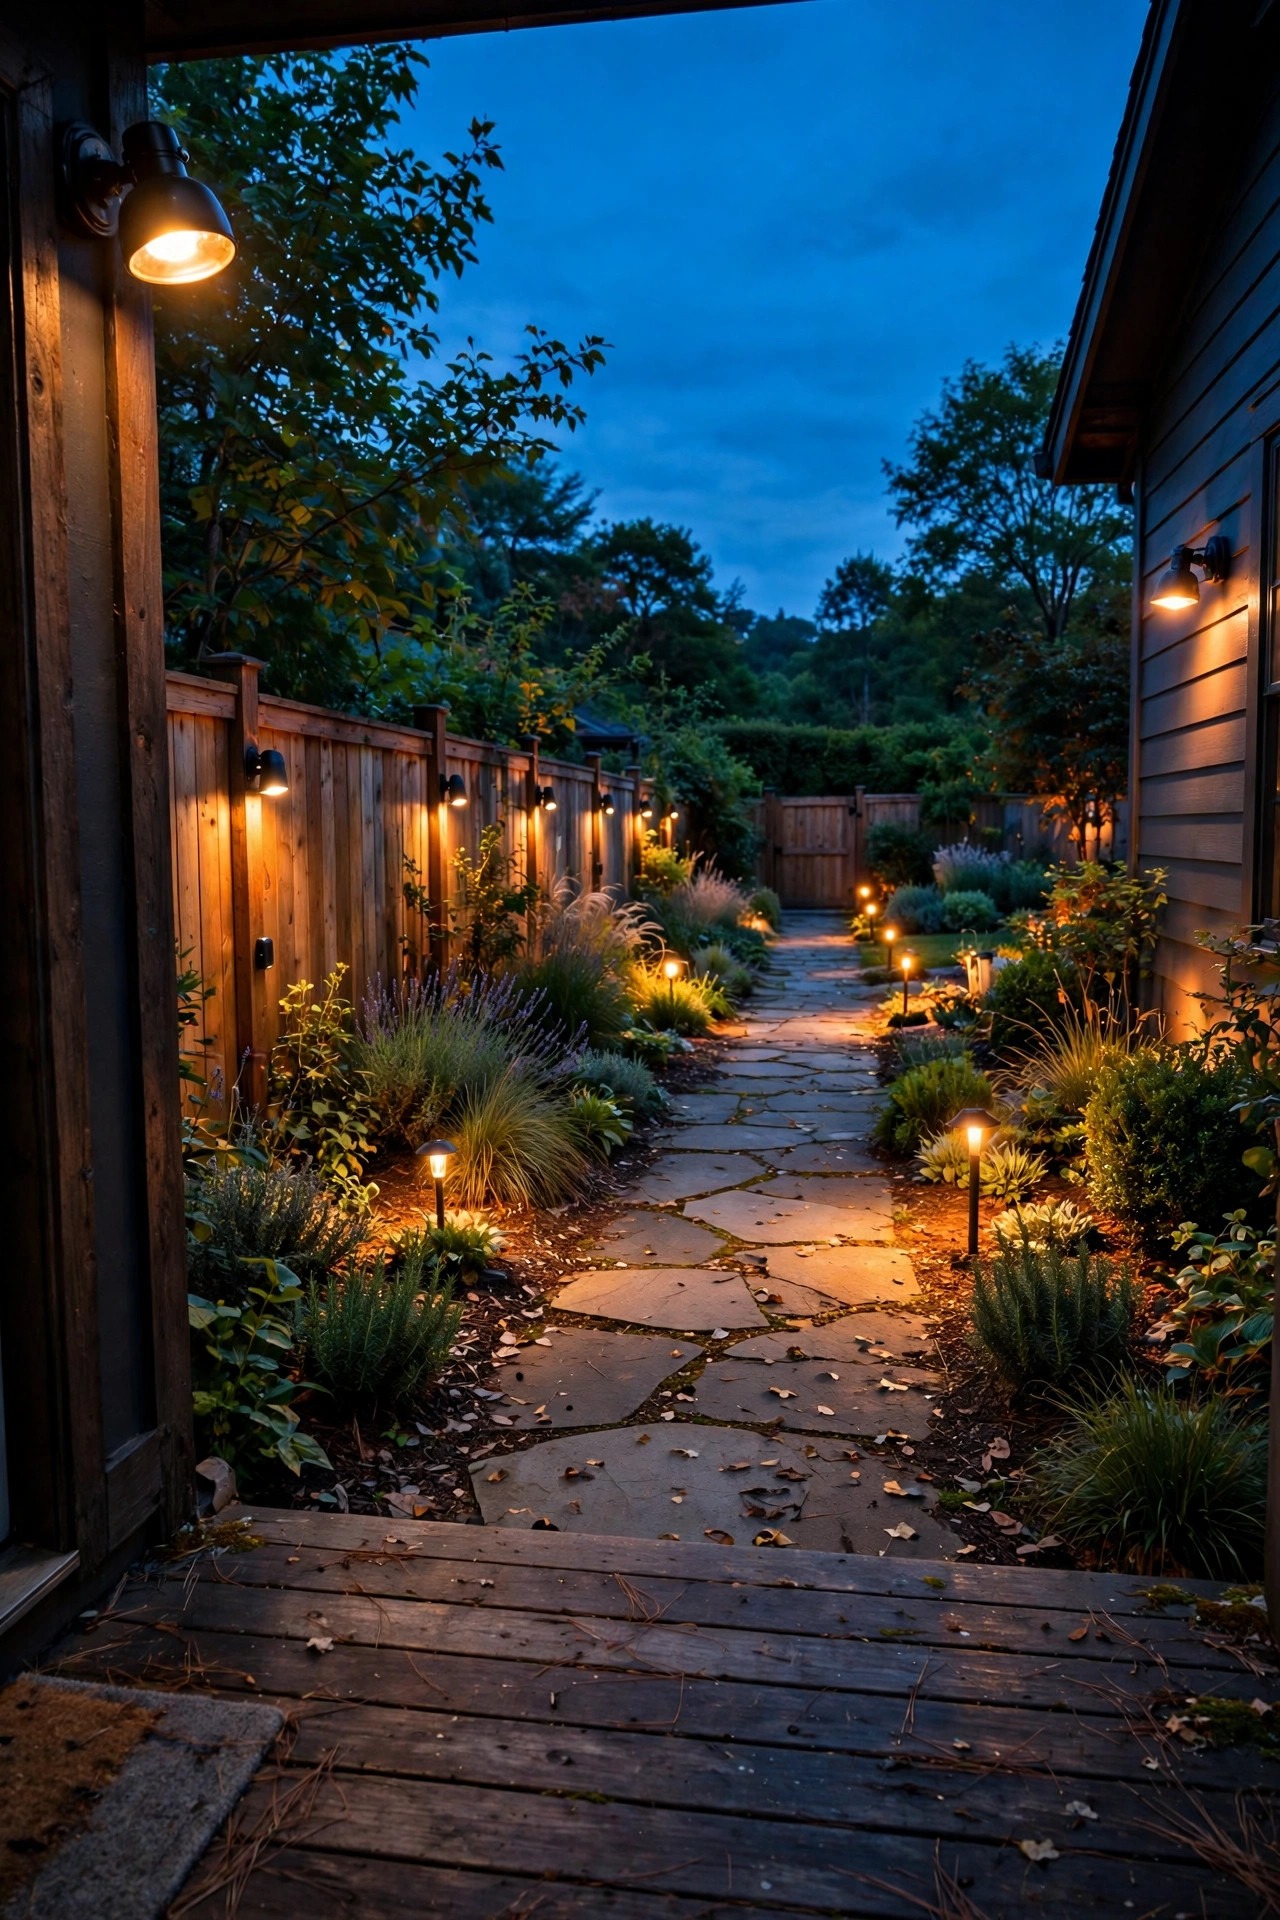
6. Close the Gap With Side-Yard Passage Lighting
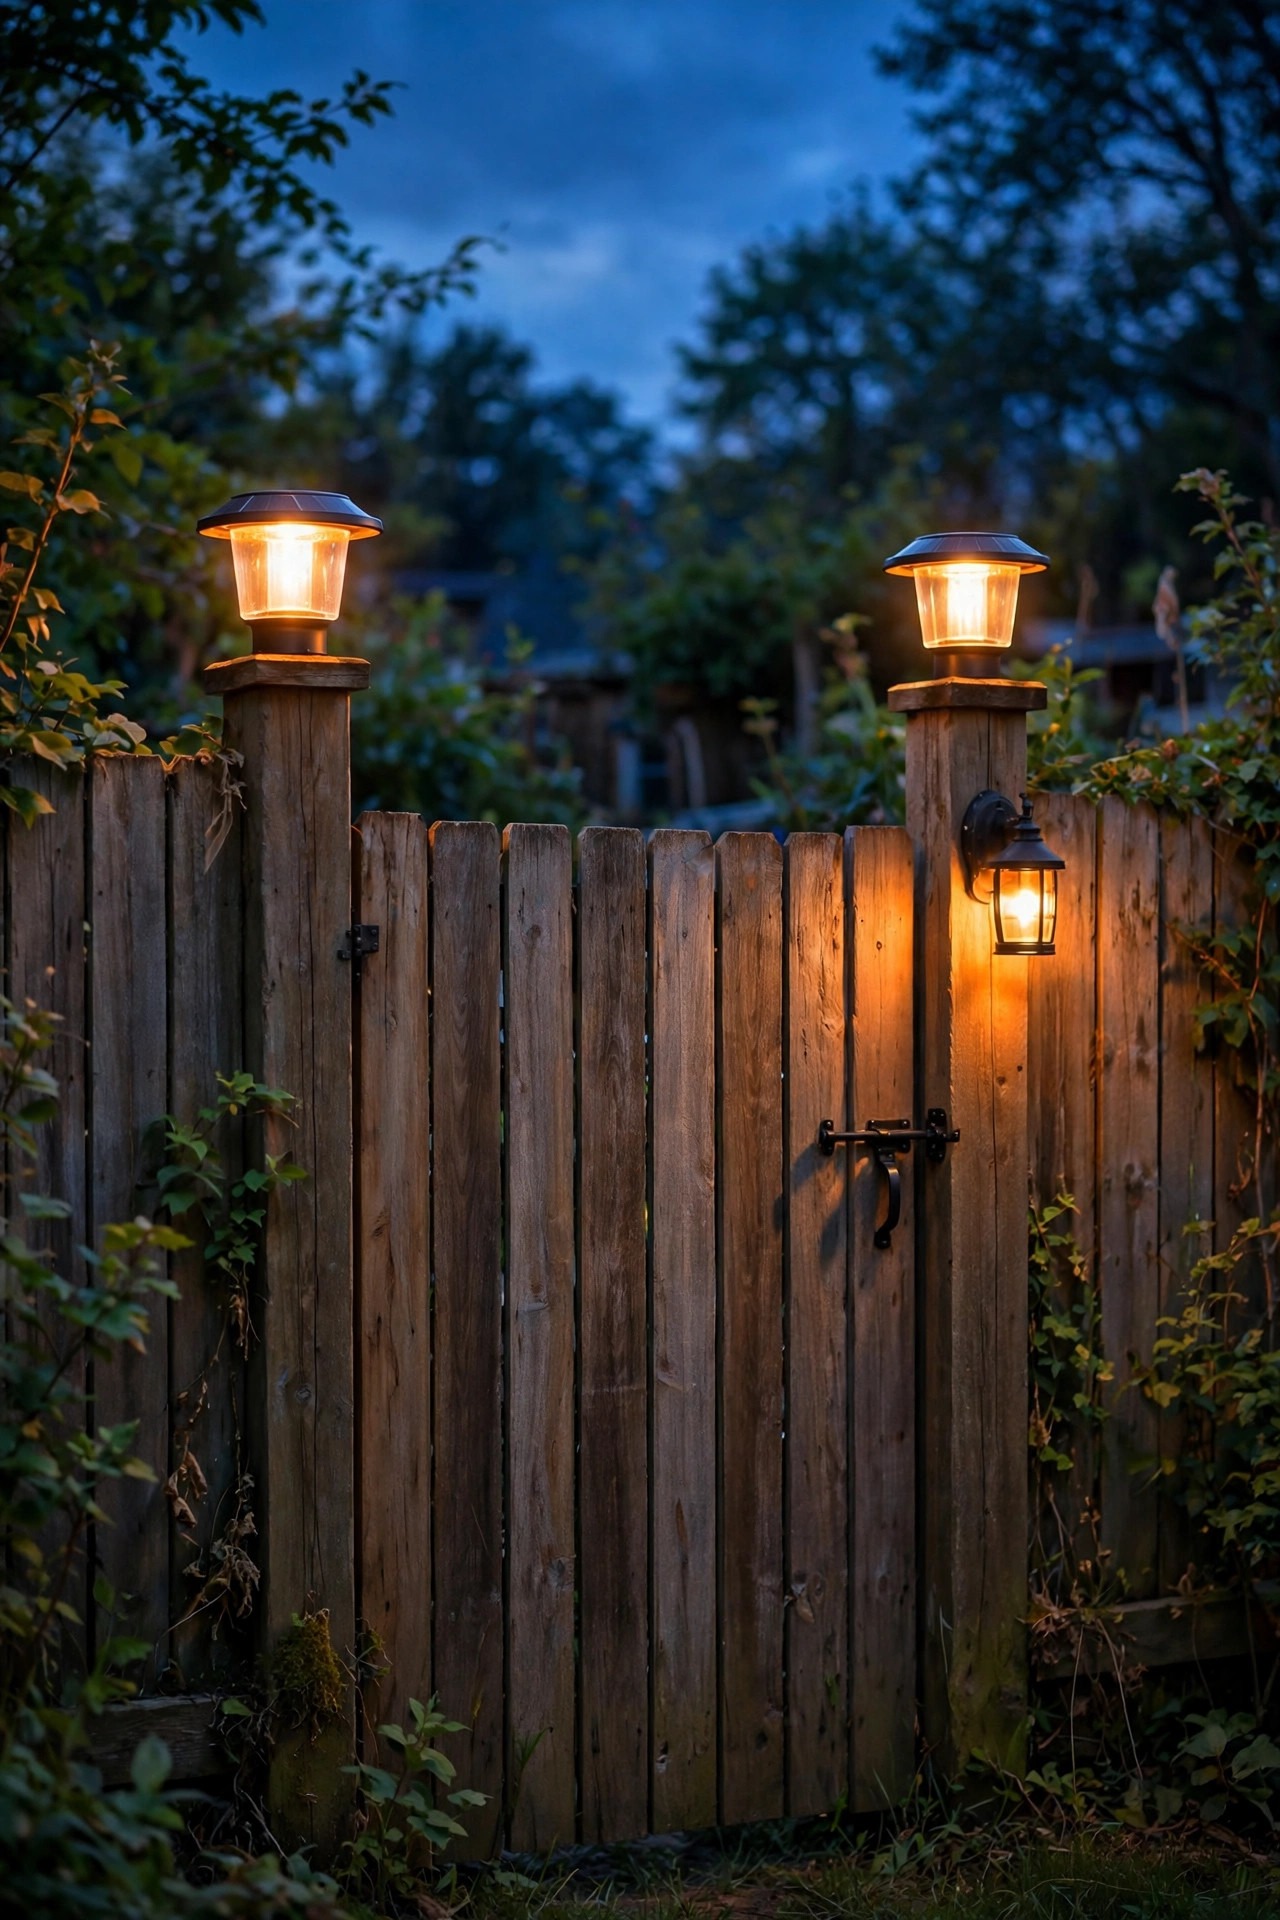
The narrow strip between your house and the fence is the classic blind spot: too tight for a floodlight, invisible from the street, and a perfect walkway for anyone who hops the fence. I light it with a slim wall sconce or a run of low path lights, and I put it on a motion sensor because almost nothing legitimate moves through there at 2 a.m. Keep the fixtures shielded and aimed down so the light stays in the passage and out of the bedroom window beside it. If the side yard holds your trash bins, AC unit, or stored ladders — and whose does not — this lighting does double duty, since a lit passage is simply safer for you on bin night too. One practical note: measure your mower and bin clearance before mounting anything, because side yards collect bumps. A single well-aimed sconce halfway down the passage usually covers the whole run better than two fixtures fighting each other.
Suggested budget range: $35 – $100.
7. Add Shielded Wall Packs Above Back Doors and Sliders
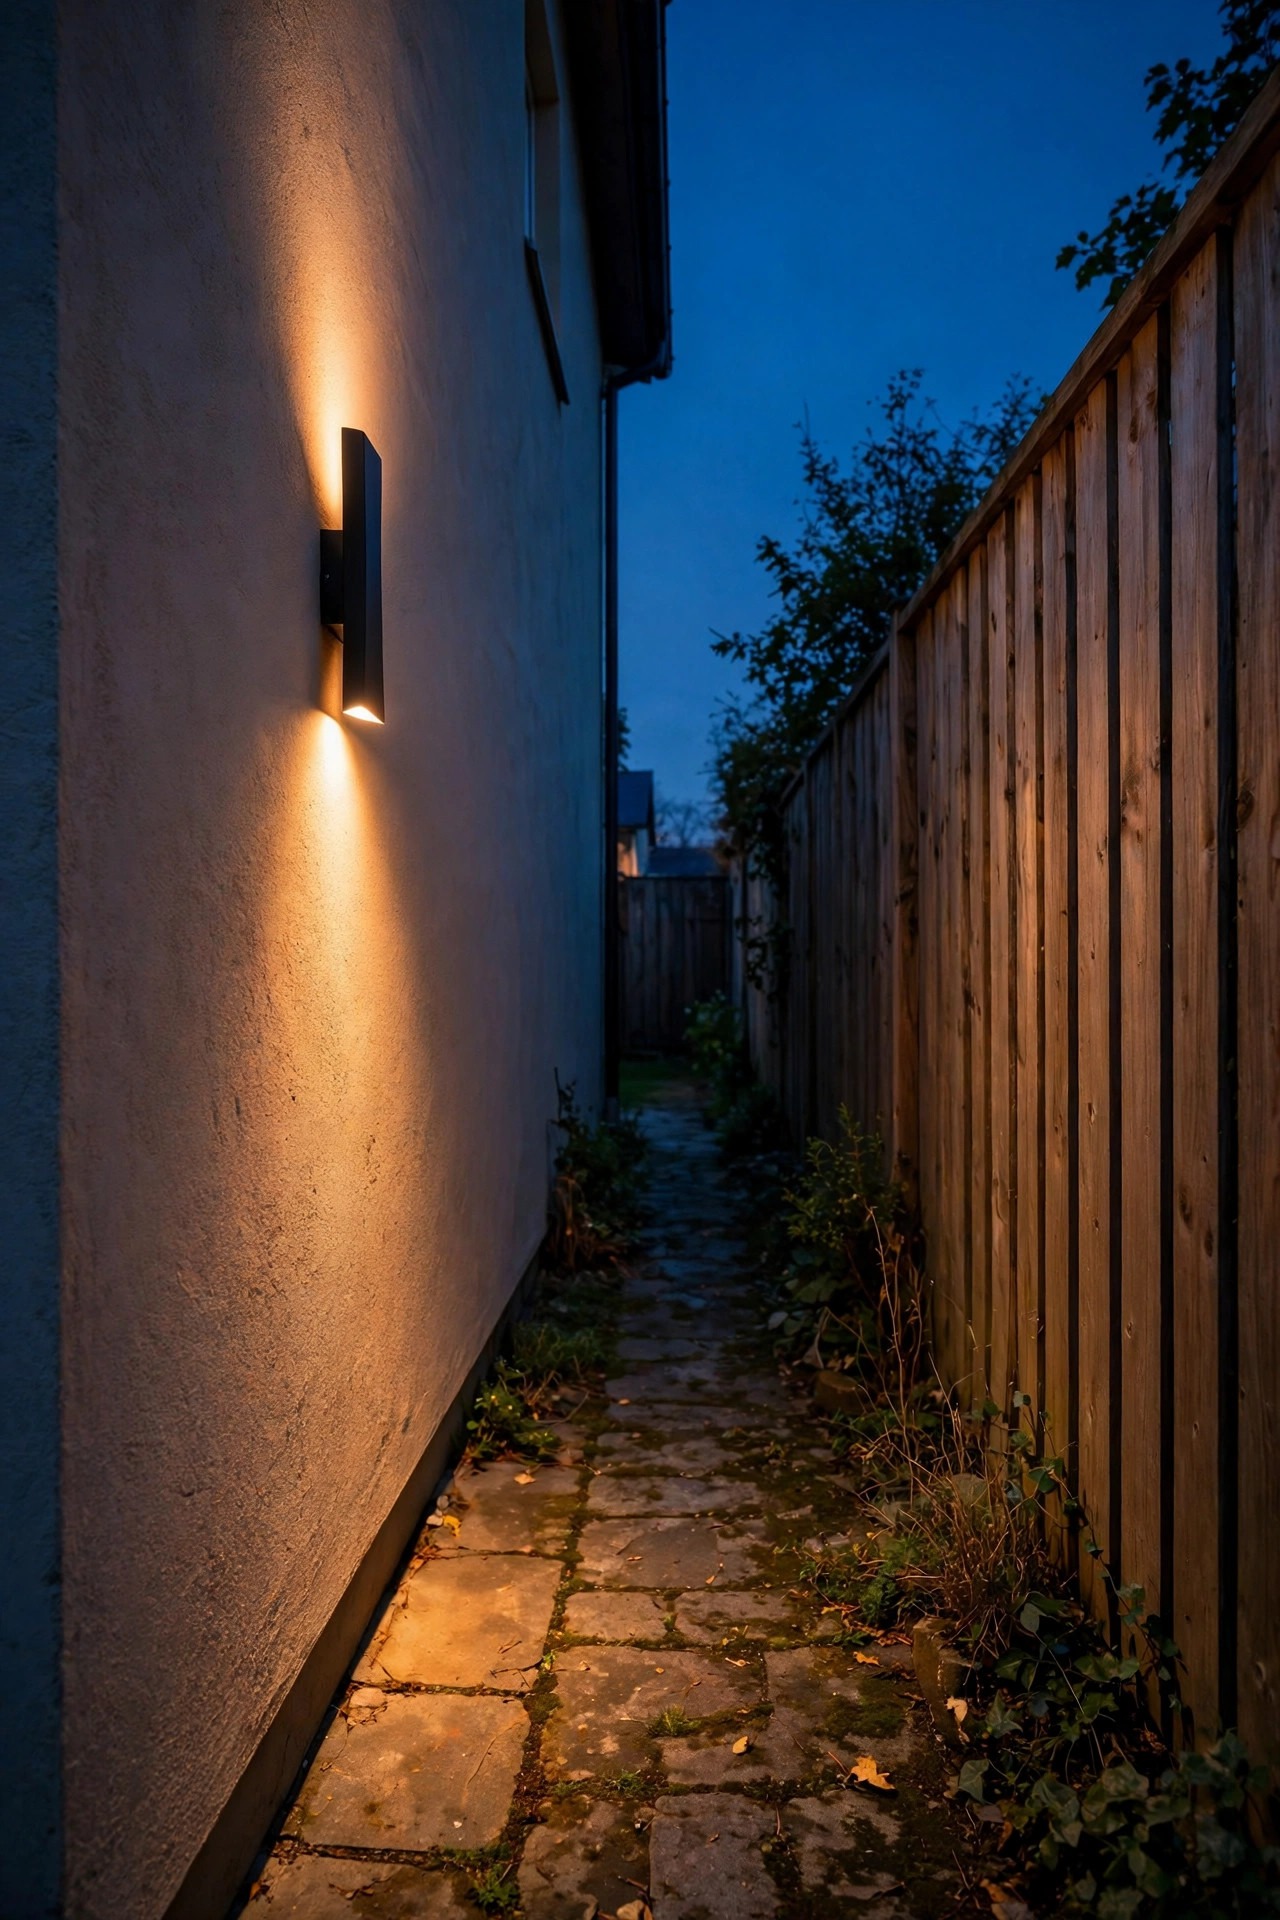
Your back door and sliding patio door deserve their own dedicated light, mounted 7 to 9 feet up and aimed down at the threshold. The key word is shielded: a full cut-off fixture throws all its light downward in a clean pool, so the door, handle, and anyone standing there are lit, while almost nothing spills sideways into the yard or sky. That downward pool is genuinely all you need — 700 to 1,200 lumens is plenty, and more just creates glare that blinds you when you step outside. Put this light on a photocell or timer so it is simply always on after dark; doors are not the place for motion-only surprises when you are carrying a tray of drinks out. If you have a slider, add a second smaller fixture or a step light at the threshold itself, because sliders sit in wide glass that reflects a single light straight back at you. Warm white keeps it welcoming for family while staying completely unforgiving to anyone testing the handle.
Suggested budget range: $35 – $95.
8. Uplight Shrubs and Trees to Delete the Hiding Spots
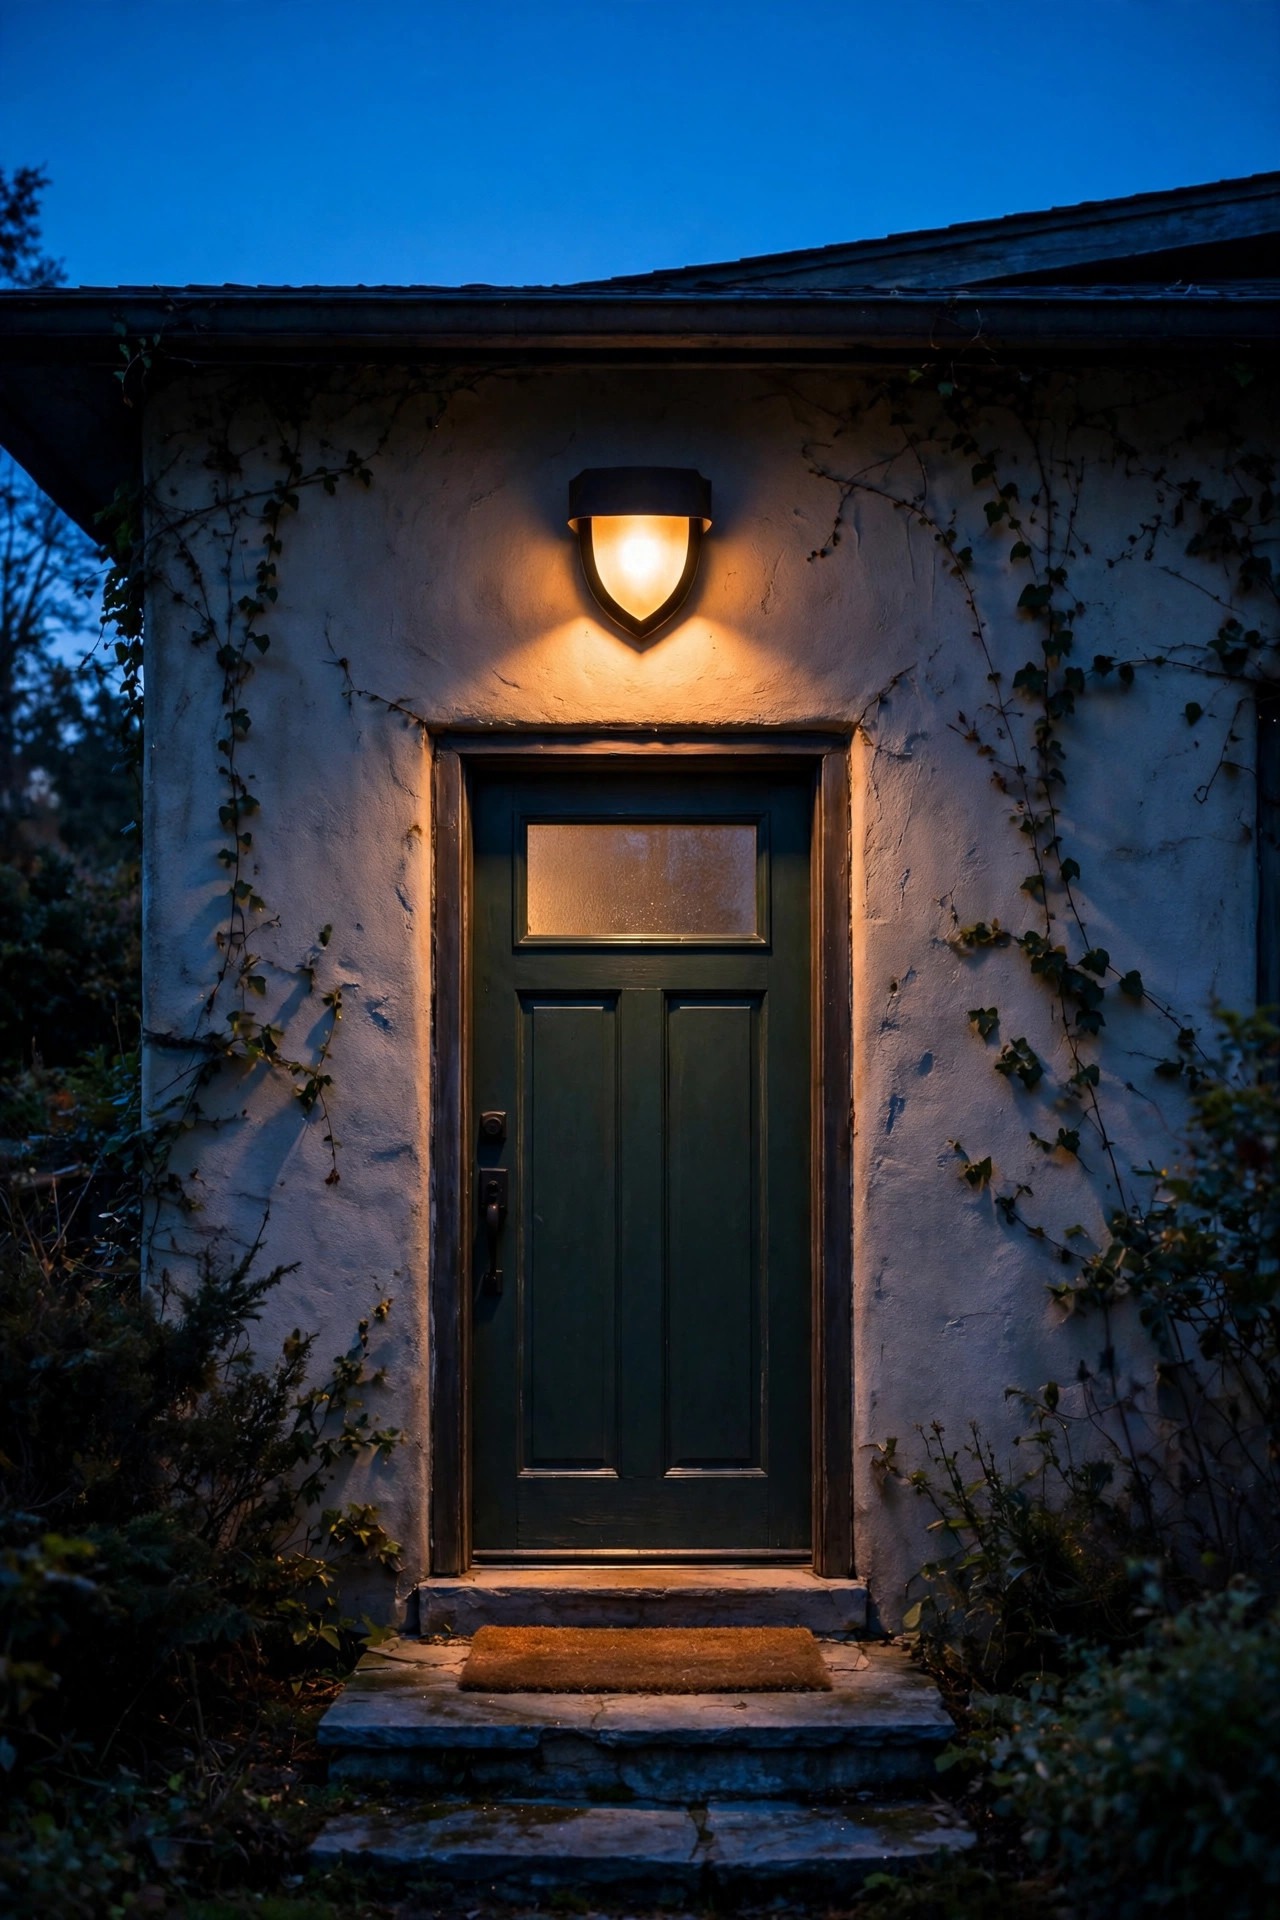
Ask any police officer doing a home security check and they will point at the same thing: the big untrimmed shrub under a window or beside the fence, black as a cave at night. A small ground spotlight aimed up into that shrub or the canopy of a small tree changes everything — suddenly the shape is lit, sculptural, and completely useless as cover. Use narrow-beam spots, 200 to 400 lumens, placed a foot or two out from the trunk or shrub base and angled up through the branches. This is the one security move that looks purely decorative, and honestly it is my favorite kind of garden lighting anyway. Pair it with a little discipline: keep shrubs trimmed to at least a foot below window sills so the light has something tidy to show off. Uplighting foundation plantings along the back wall also washes the wall itself with soft reflected light, which quietly closes the shadow gap where the house meets the beds.
Suggested budget range: $30 – $110.
9. Lay Path Lights as an Even Trip Line Across the Yard
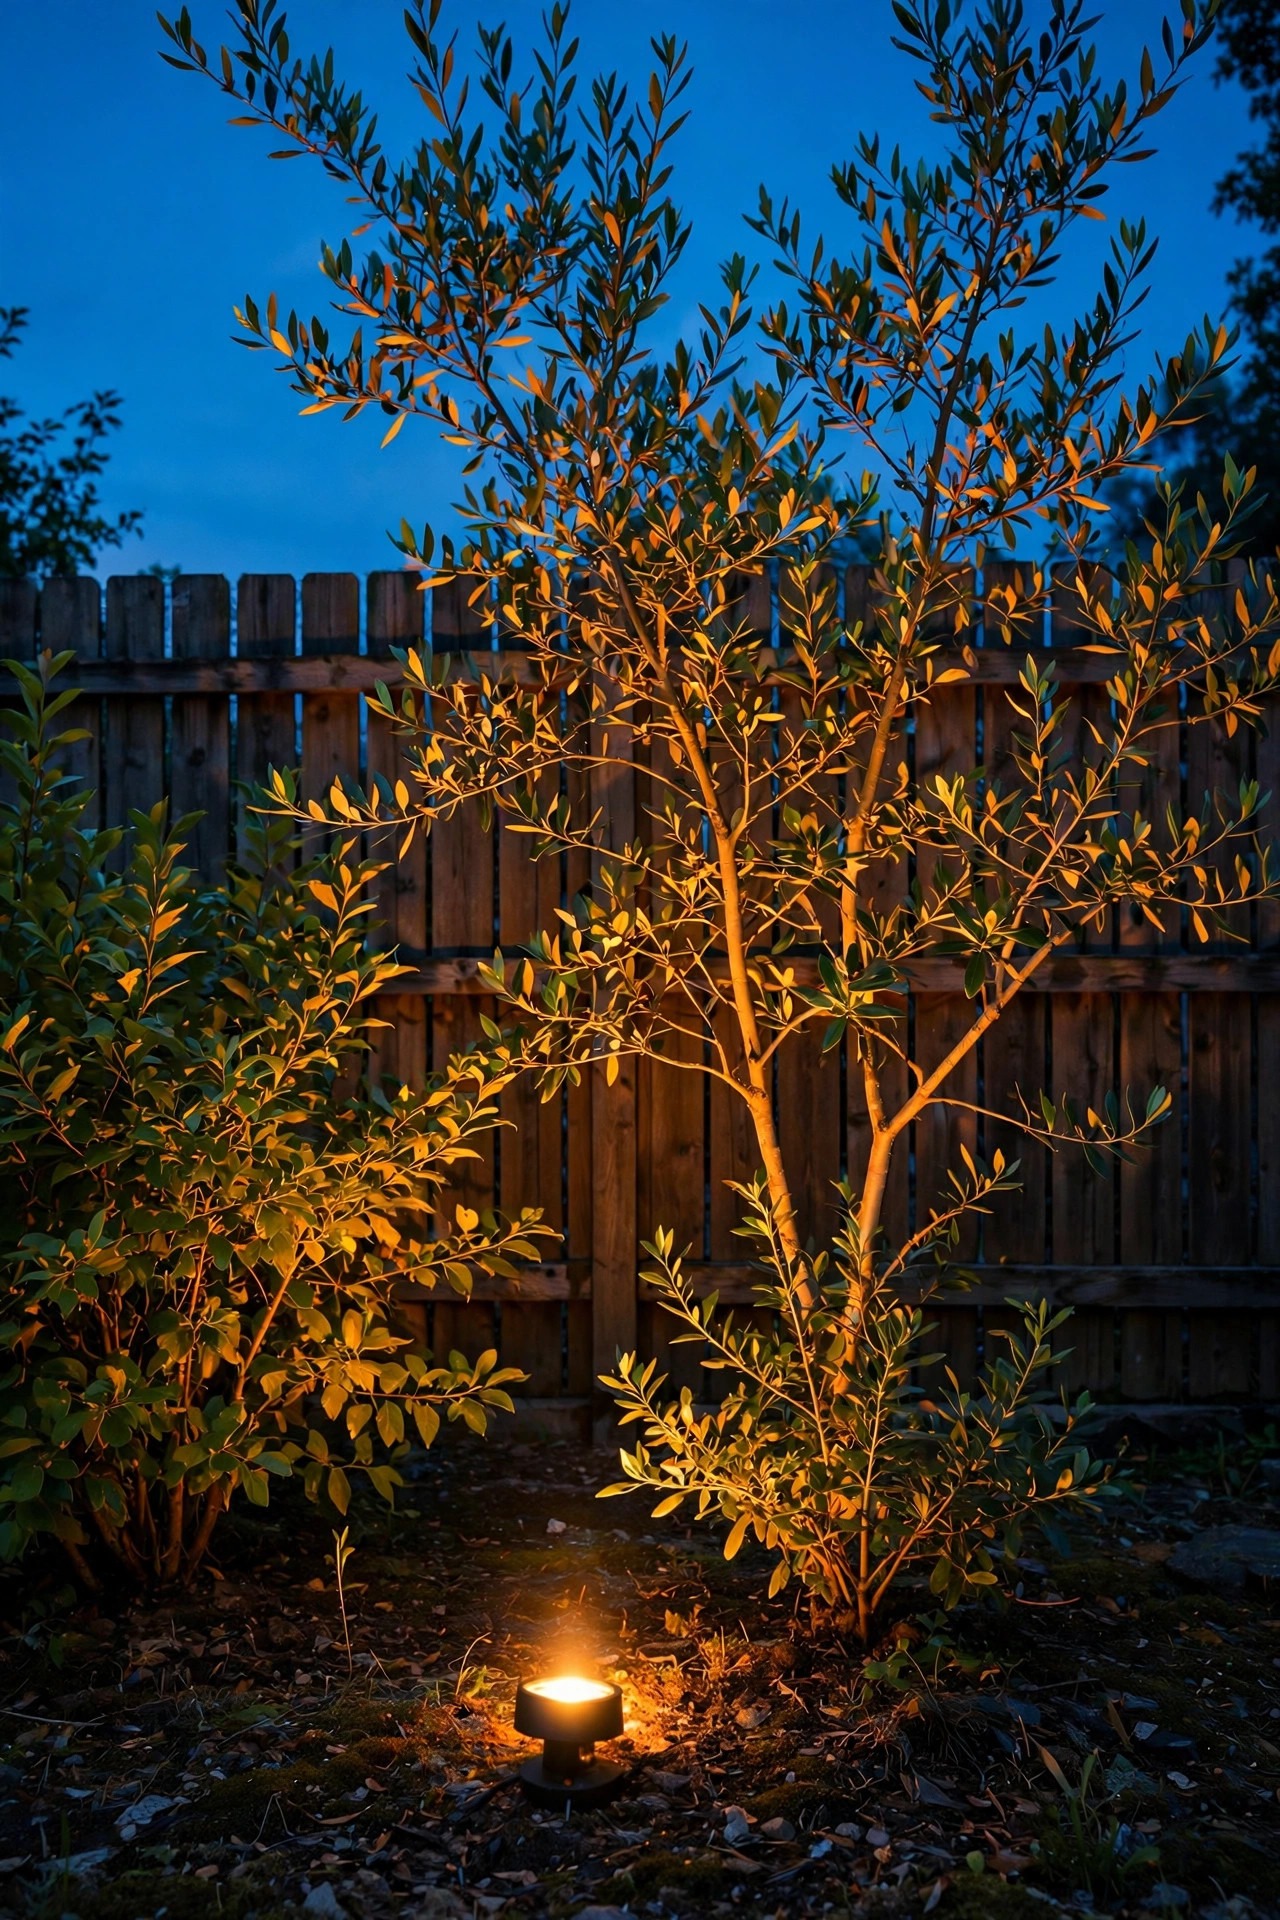
A single broken run of path lights tells you more than you would think. When I space path lights evenly — every 6 to 8 feet along the main route from patio to gate — the pattern itself becomes the security feature, because anyone crossing the yard breaks the rhythm and shows up between the pools of light. Even, matched fixtures matter here: mixed heights and colors create visual noise that hides movement instead of revealing it. Choose lights that throw their glow downward onto the path rather than outward into eyes, around 100 to 200 lumens each, and keep them on the same timer or photocell so the whole line wakes and sleeps together. Solar versions work on sunny routes, but for the main trip line I honestly prefer low-voltage wired for consistency through winter. This is also the layer your own family will thank you for on every single trip to the shed, the bins, or the back gate.
Suggested budget range: $60 – $200.
10. Put Smart Backyard Security Lighting Ideas on an Away Schedule
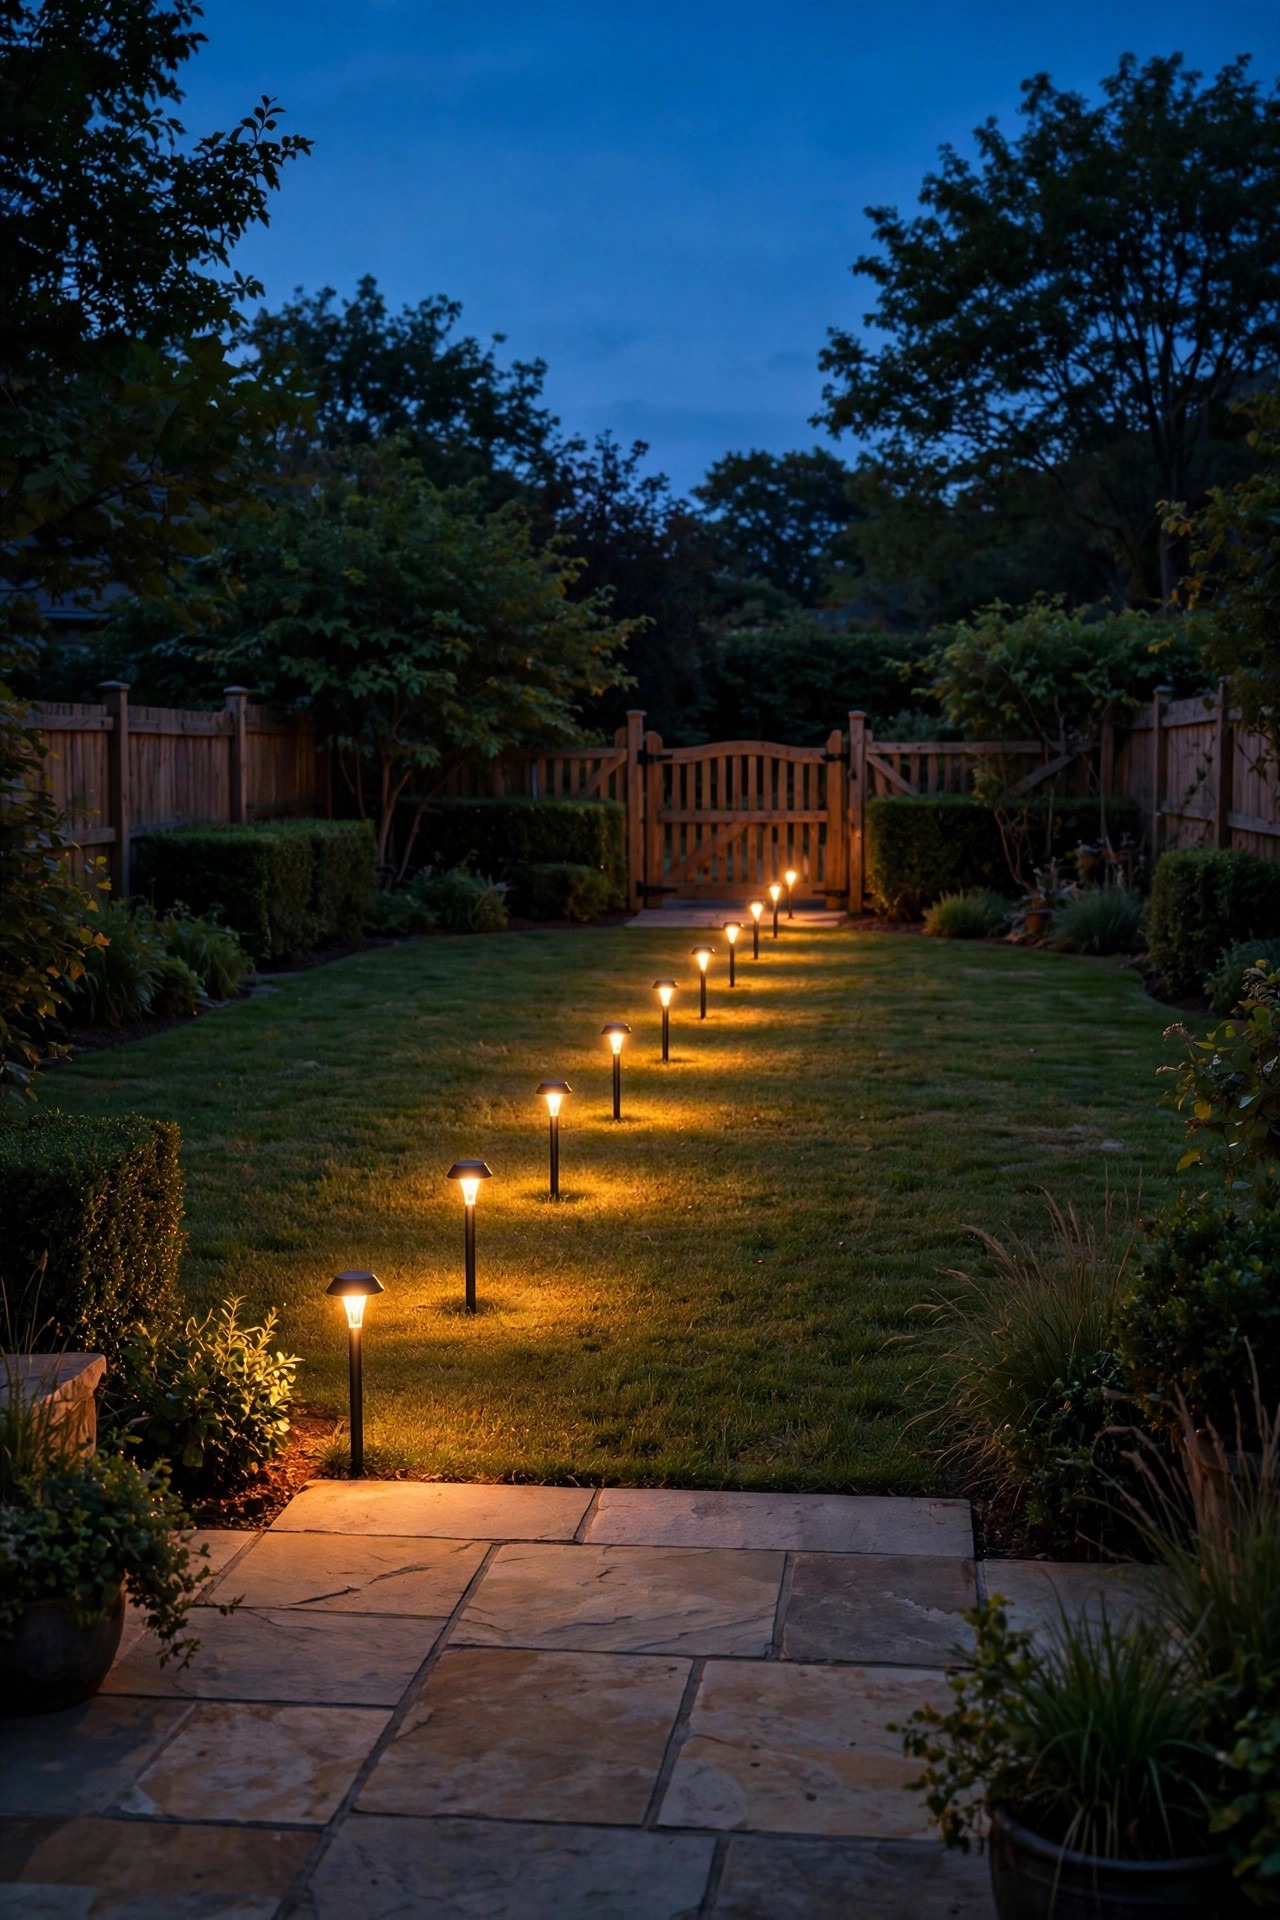
The cleverest light is the one that behaves like somebody is home. Smart bulbs in your patio fixtures and smart plugs on the fence-line transformer let your security layers run on schedules, and the away modes on most apps randomize on-off times within a window so the pattern never looks like a timer. I set my perimeter baseline to come on at sunset, the patio zone to warm up around dinnertime, and a spare lamp near the back window to flicker on later — a completely ordinary-looking evening, whether I am home or two states away. Sunset-tracking schedules are the feature to insist on, because they adjust themselves all year and you never come home to lights burning at 4 p.m. in June. Keep the smart layer controlling the lights, not replacing the motion sensors; the floods should still fire instantly on their own sensors even if the Wi-Fi is down. One outdoor-rated smart plug genuinely can run this whole show for a smaller yard.
Suggested budget range: $25 – $120.
11. Keep Camera Sightlines Lit, But Never Aim Light Into the Lens
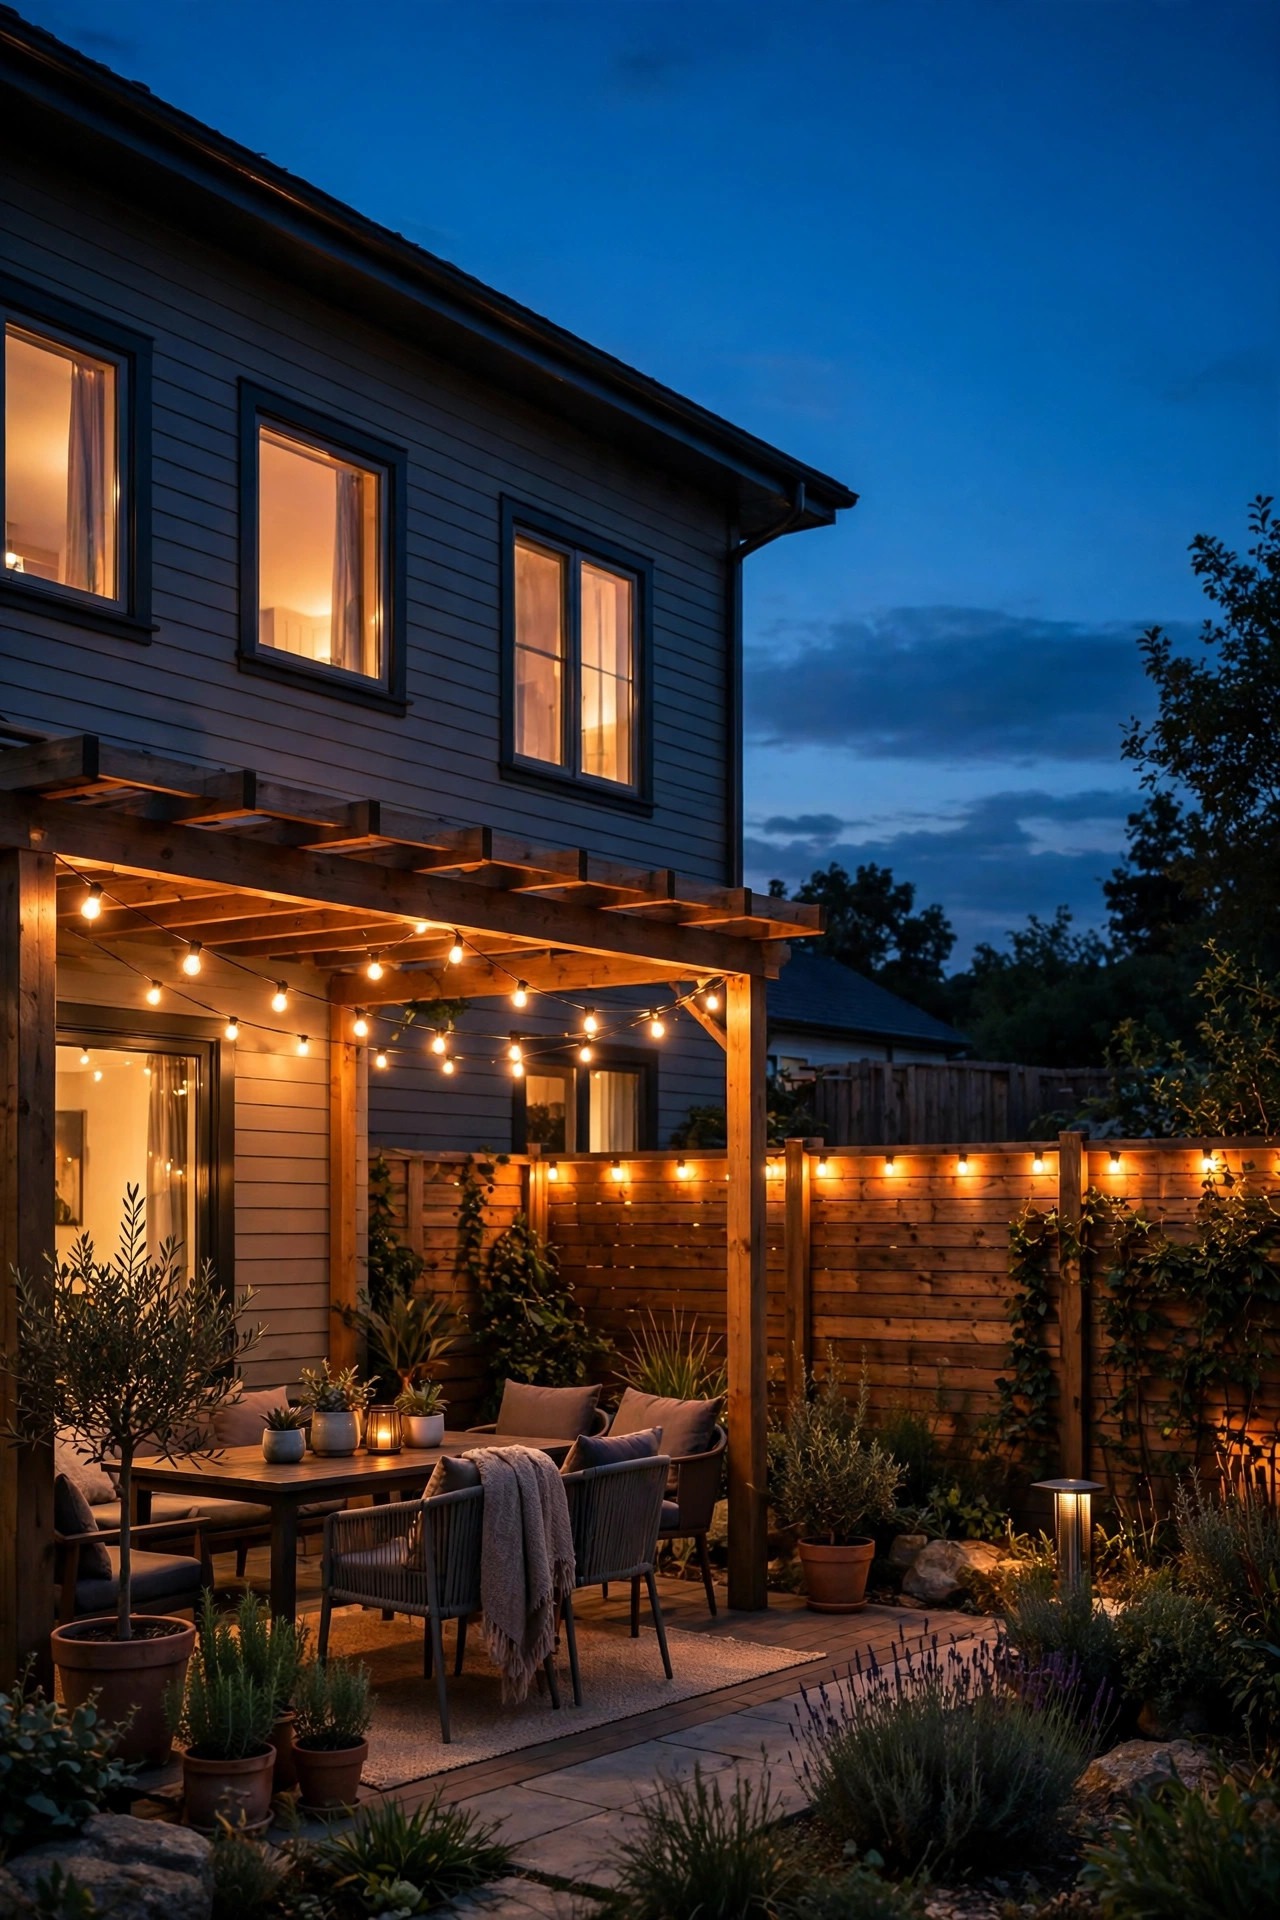
If you use a security camera out back — and plenty of us do now — its worst enemy is a badly aimed light. A floodlight inside the frame washes the picture out to white, and a bare bulb near the lens blinds the camera every time it fires. The fix is placement, not brightness: mount lights beside or slightly below the camera, aimed across the area the camera watches, so faces and movement are lit from the front or side. Even, moderate light beats one blast of brightness, because cameras expose for the brightest spot and let everything else go black. Test it properly: after dark, watch the live view while someone walks the yard, and adjust until the whole route reads clearly. A steadily lit baseline layer, like the fence-line glow from earlier, actually helps cameras far more than motion floods that slam on and off. For the bigger picture on how lighting and cameras work together, I keep my notes in my post on outdoor lighting for home security.
Suggested budget range: $0 – $80.
12. Cover the Alley Side and Driveway Edge of the Fence
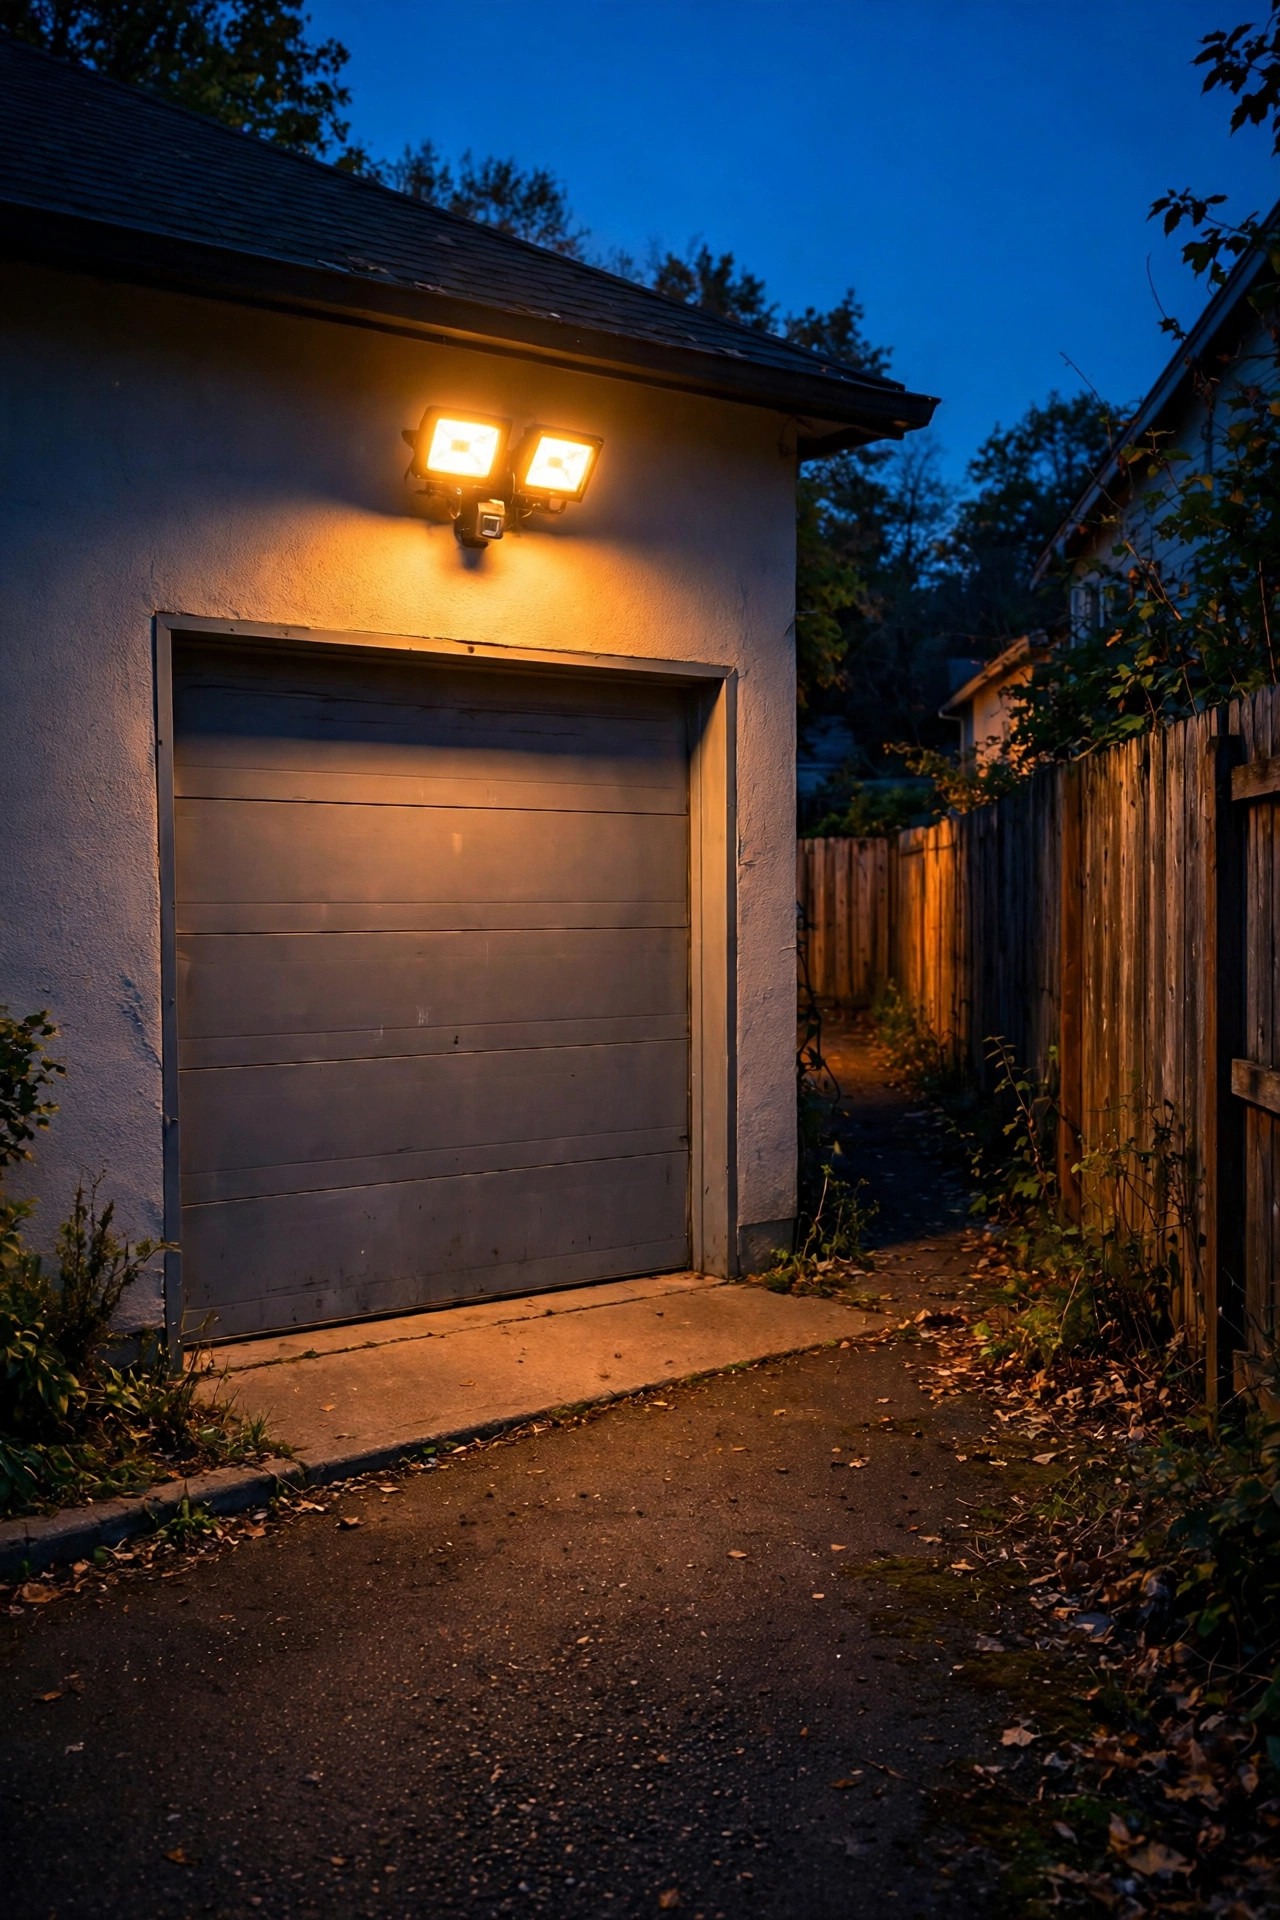
Homes with a back alley or a driveway running alongside the yard have a second public edge, and it is usually the darker one. A motion flood on the garage or the back fence covering that strip closes a route that burglars honestly prefer, because alleys have no streetlights and no watching neighbors. Aim it along the fence, not across it, so the beam rakes down the property line and stays out of the alley itself — drivers and dog walkers do not need a face full of lumens. If the driveway runs beside the house, a pair of low bollards or a wall light at the garage corner gives you safe footing and a watched edge in one move. This is also where I remind myself to check the fence and gate hardware itself; the best light in the world only shows you the broken latch, you still have to fix it.
Suggested budget range: $40 – $130.
13. Run the Patio and Deck as a Dim Zone That Brightens on Cue
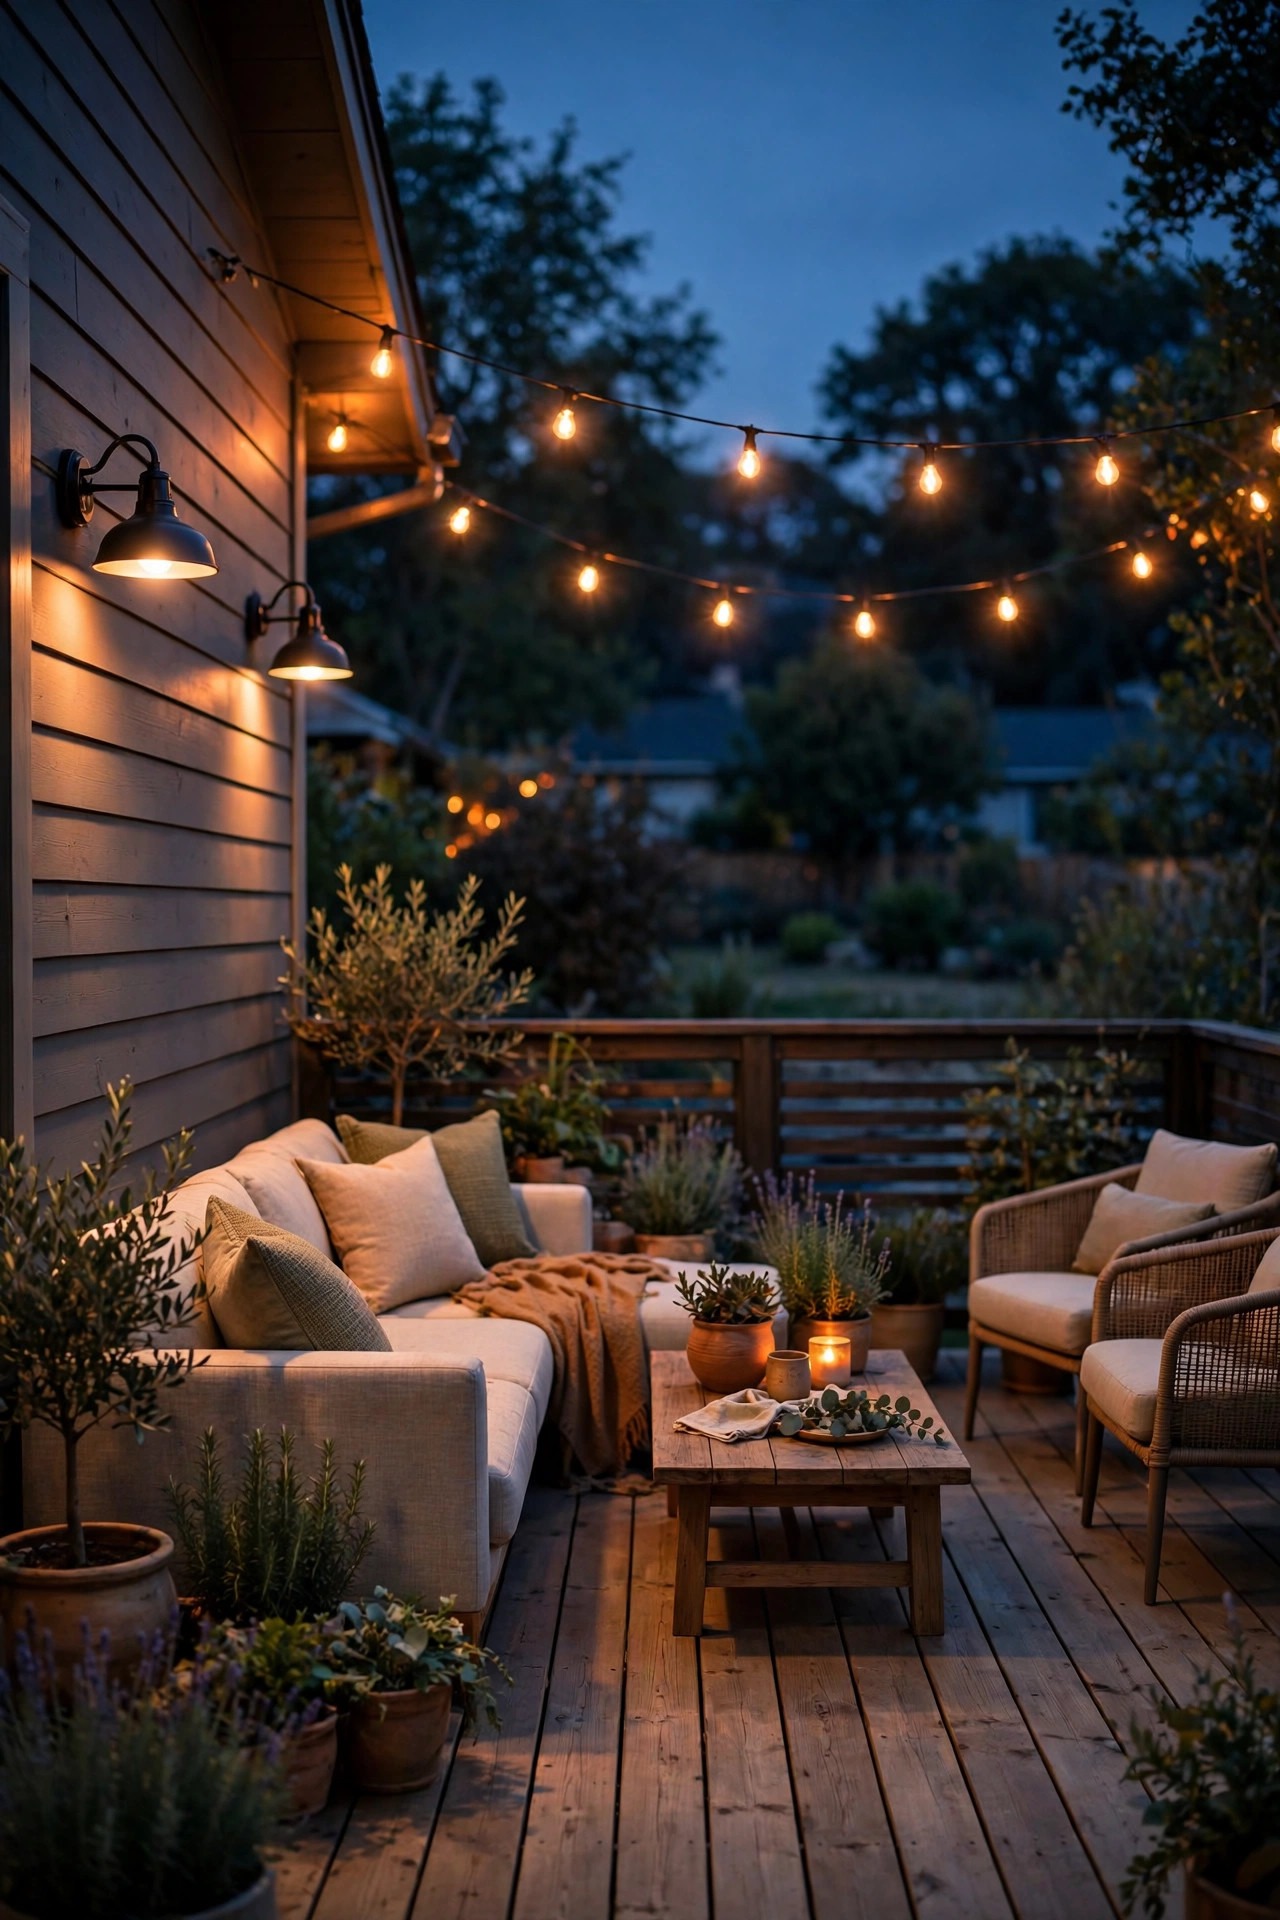
Here is where livability wins its argument with security. Your patio does not need to sit at full brightness all night to be protected — it needs to wake up fast when something enters it. So I run my deck and patio fixtures on dimmers or smart bulbs idling at 20 to 30 percent, which is plenty for drinks, conversation, and seeing every face at the table, with a motion sensor or a phone tap bringing them to full when someone crosses the yard or steps out the door. That dim idle still eliminates the dark-adjacent-to-the-house problem, because the space right outside your slider is never black. Warm 2700K light at low level looks like candlelight; at full level it reads as a proper welcome. String lights can join this zone for looks, but let the real fixtures carry the security job. Layered this way, the yard feels like a resort in the evening and a fortress at 3 a.m., and it is the exact same set of lights doing both.
Suggested budget range: $45 – $160.
14. Add Step and Threshold Lights Wherever the Ground Changes
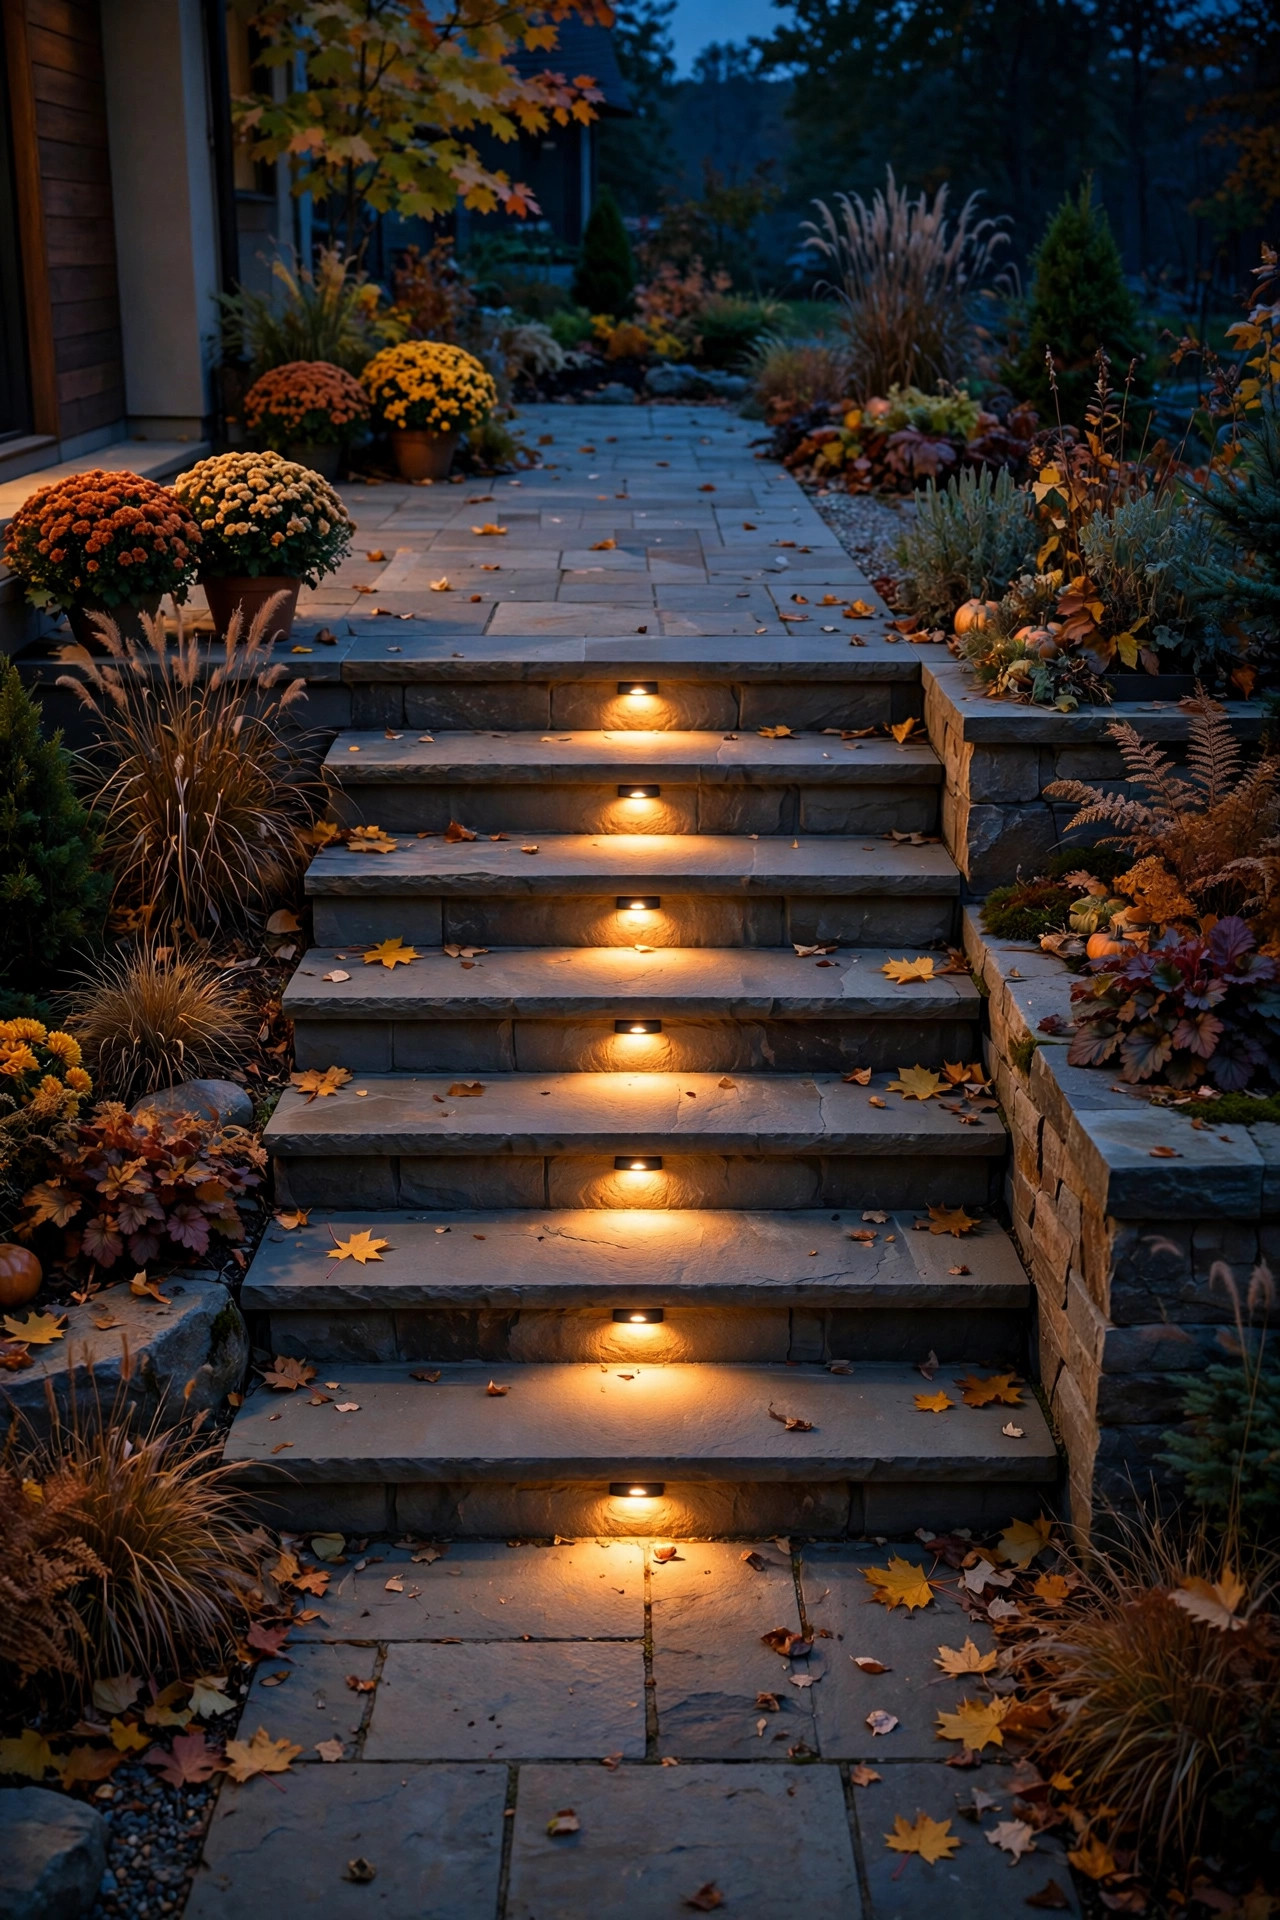
Security lighting fails its own family if somebody trips on the deck step while taking the trash out. Every grade change on your nighttime routes — deck steps, the patio edge, a single step down to the lawn, the little slope by the gate — deserves a small dedicated light. Recessed step lights and low riser lights throw a tight wash across the tread itself, and at 50 to 150 lumens they are pure function with no glare. Wire them into the same circuit or timer as your path line so they are never forgotten. Solar step lights are the budget option and they are fine on sun-drenched decks, but replace their batteries on a schedule instead of waiting for them to die one by one. This layer also quietly helps the security layers work: people who can see the ground walk the lit routes, and the lit routes are exactly where your motion sensors and cameras are already watching.
Suggested budget range: $25 – $90.
15. Choose Low, Warm Bollards Where You Want a Softer Guard Line
Some yards — smaller ones, garden-forward ones, ones with low fences — genuinely cannot carry tall fixtures without looking like a parking lot. Low bollards, 12 to 30 inches tall, are the answer: they mark territory, trace the boundary, and pool light at ground level where footing and movement actually happen. The secret is temperature and restraint. Warm 2700K bollards at modest brightness, spaced 6 to 10 feet apart, read as landscape design first and security second, which is exactly the balance most of us want our families to live with. Shielded or louvered tops keep the light on the ground and out of eyes. I use them along garden edges and the front-facing stretch of fence where guests see the yard, and save the tougher fixtures for the hidden back corners. Sturdy metal bodies matter here; a bollard that wobbles by August gets stepped around, then ignored, then it is just garden clutter.
Suggested budget range: $50 – $180.
16. Automate With Photocells and Astronomical Timers So Nothing Is Forgotten
A security light that depends on somebody remembering a switch is a security light that will be off the one night it matters. Photocells turn fixtures on at dusk and off at dawn automatically, and astronomical timers do the same trick from the clock and your location, adjusting for the seasons without a sensor that can get dirty or snow-covered. I run my baseline fence line and door lights on automation, full stop — those layers should be as reliable as the sunrise. Keep motion lights on their own sensors so they still react instantly even inside an automated system. If you rent your fixtures from the smart-home world instead, use the sunset schedule on the app and check it twice a year when the clocks change. One more habit worth stealing: put the whole system on one labeled circuit or plug group, so when you test or troubleshoot, you are not hunting through the house flipping breakers in the dark.
Suggested budget range: $15 – $60.
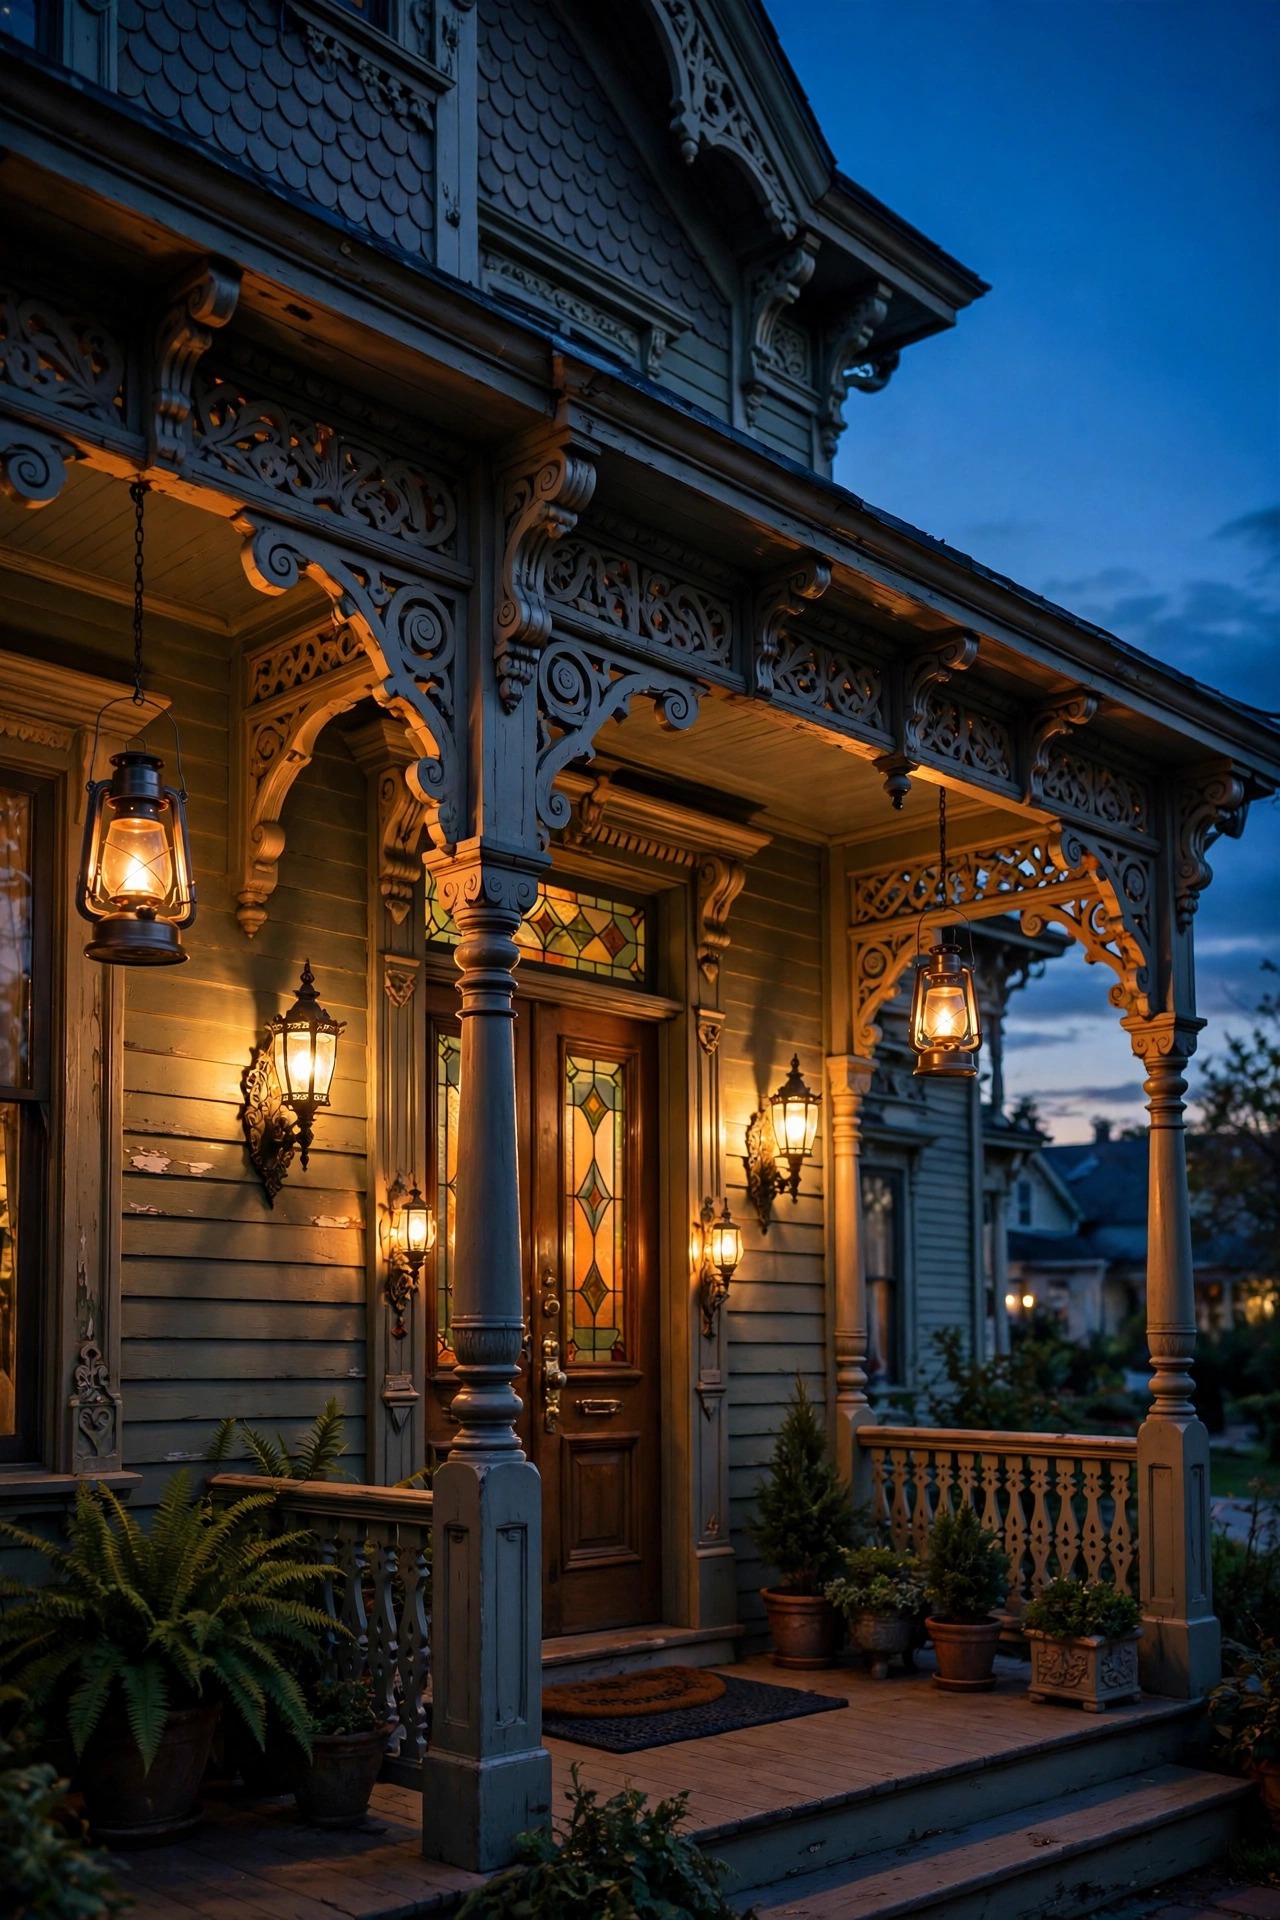
17. Shield and Aim Everything Like a Good Neighbor
Nothing undermines backyard security lighting faster than a feud with the people next door, and honestly, nothing needs to. Every fixture in this list can be shielded, hooded, or aimed so its light lands on your grass and stops there — downward angles, cut-off shields, and brightness you chose on purpose instead of maximum by default. Walk your property line after dark from your neighbors side, or better, invite them to tell you if anything glares; fixing one angle is cheaper than a year of frosty hellos. Warm light trespasses less offensively than blue-white light at the same brightness, which is another reason I keep the whole yard at 2700–3000K. Many towns also have simple rules about light spilling across property lines, and a well-aimed yard passes them without thinking. I have collected the friendliest tricks for this in my neighbor-friendly security lighting ideas — read it before fixture number one, not after the first complaint.
Suggested budget range: $10 – $50.
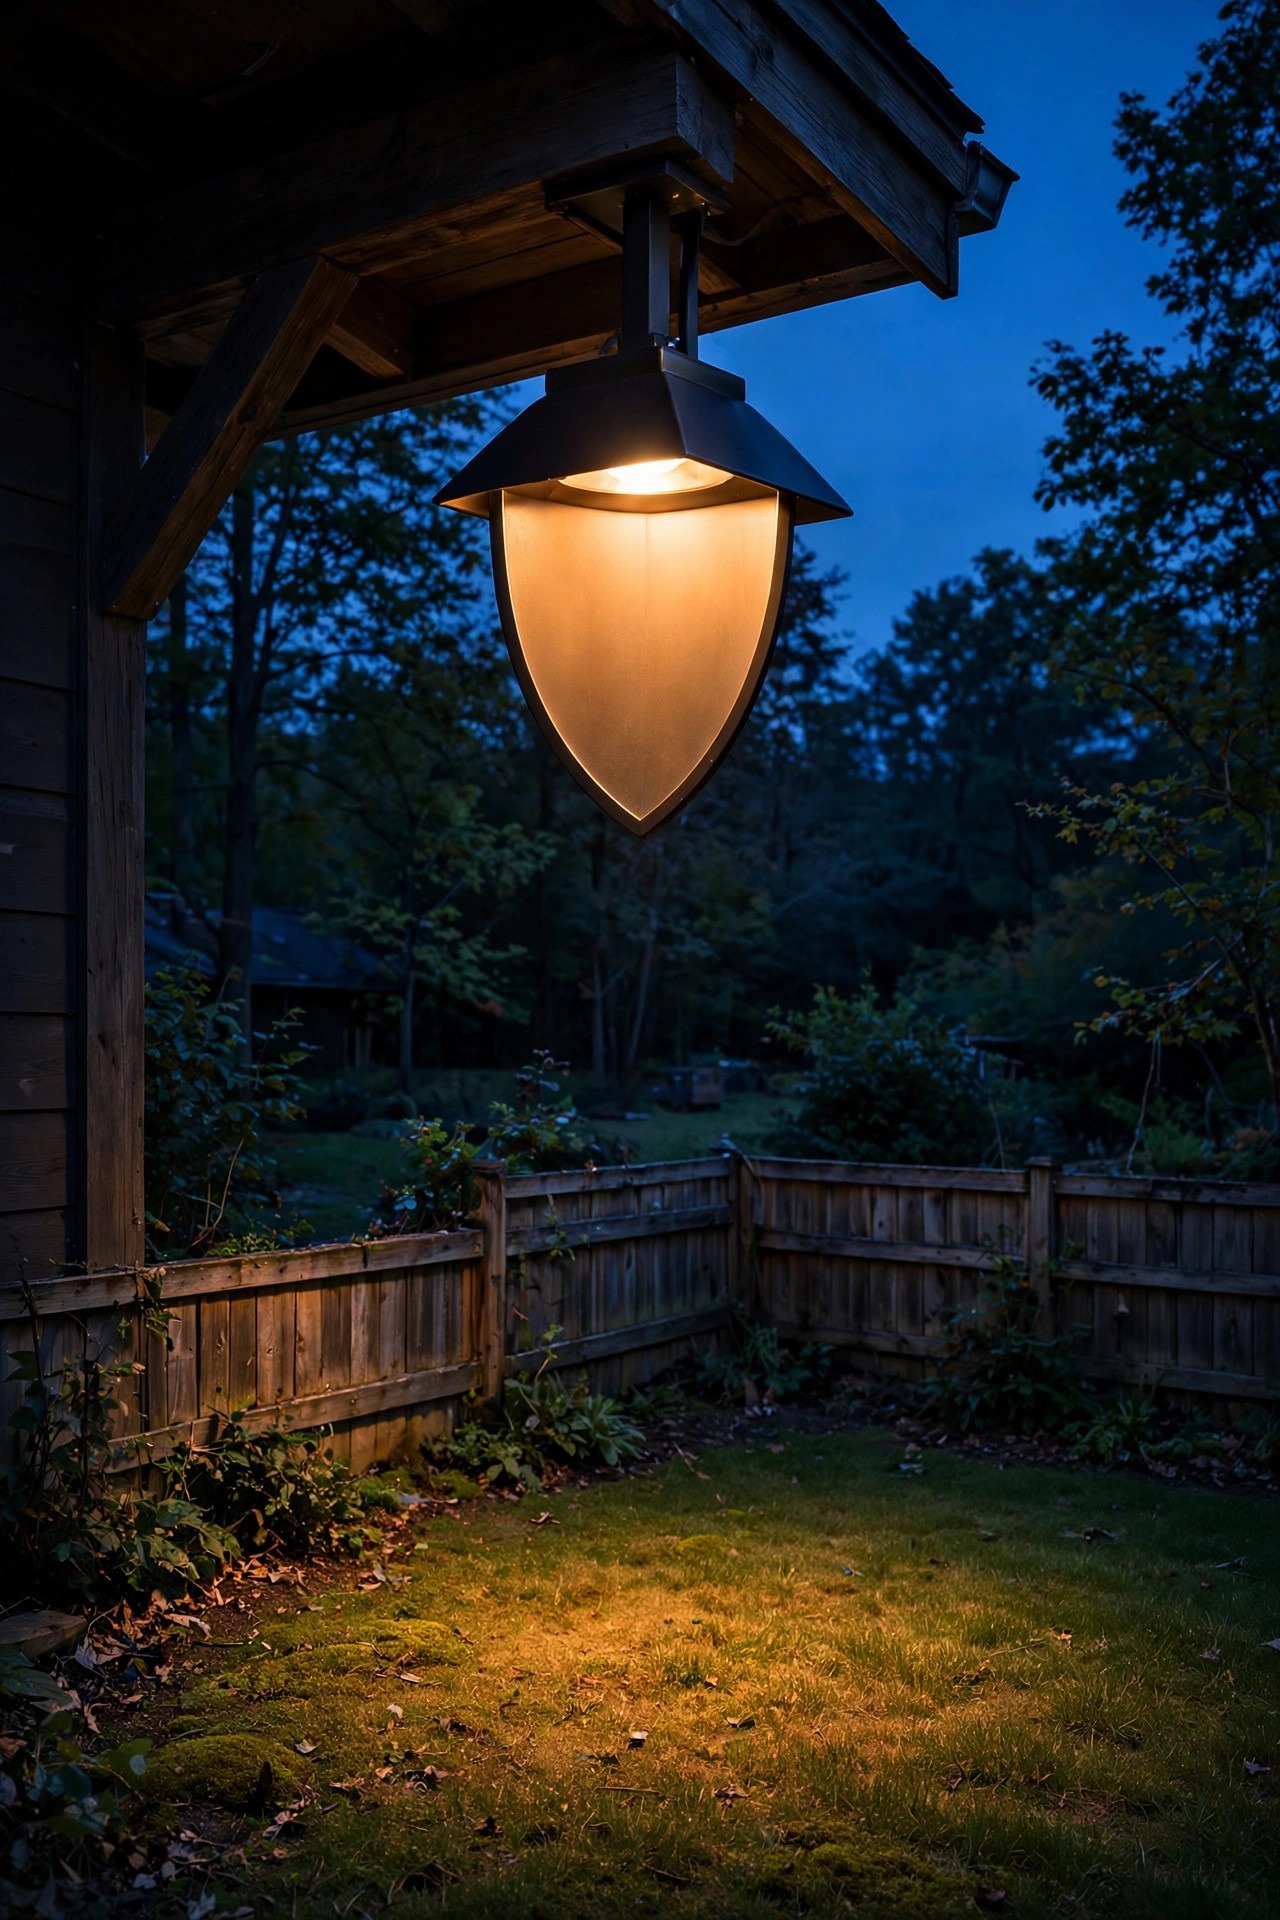
18. Keep a Solar and Battery Layer Alive for Outage Nights
Storms knock out power on exactly the nights when a dark house looks emptiest, and a cut wire defeats a wired-only system just as easily. A modest solar and battery layer — the fence stakes, the gate caps, a couple of solar motion floods — keeps glowing straight through an outage, because none of it touches the grid. I think of it as insurance that also happens to look nice every other night of the year. To make it trustworthy, service it like insurance: replace rechargeable batteries every one to two years, clean the panels each spring, and after any big storm, walk out and confirm the layer actually lit. Solar motion floods have gotten genuinely strong, often 1,000 lumens or more, and they are perfect for the shed and the far gate where an outage would otherwise leave you blind. No single layer should be your whole plan; that is the entire point of layering.
Suggested budget range: $40 – $140.

19. Walk the Yard Monthly to Keep Your Backyard Security Lighting Ideas Working
The best perimeter system in the world quietly rots without a ten-minute monthly habit, so this last idea is the one that protects all the others. Once a month, after dark, walk the whole yard slowly with your phone in your pocket. Trigger every motion sensor yourself and note the lazy ones. Look for the stake light that died, the shrub that grew over a spotlight, the timer that drifted after the last outage, the spider condo inside the wall pack. Clean two or three lenses and panels while you are out there — a filmed-over sensor is half a sensor. Twice a year, swap or test batteries in the solar layer and re-aim anything the frost heaved. I time mine to the first mild evening of the month, coffee or something stronger in hand, and honestly it has become one of my favorite little rituals: the yard, checked and glowing, every corner doing its job. Systems do not stay secure; people keep them that way.
Suggested budget range: $0 – $30.
Frequently Asked Questions
How many lumens do I actually need for backyard security lights?
Less than the box wants you to think. For ambient layers like fence lines and paths, 100 to 300 lumens per fixture is plenty. Motion floodlights do the heavy lifting at 1,500 to 2,500 lumens, and door lights sit happily at 700 to 1,200. Spread moderate light evenly instead of blasting one corner — even coverage removes hiding spots, while one blinding fixture just creates deeper shadows beside it.
Are solar lights reliable enough to guard a perimeter?
They are reliable enough to be one layer of it, which is exactly how I use them. Quality solar stakes, gate caps, and motion floods with replaceable batteries perform well for years, especially in sunny yards. In shaded or northern yards they dim in midwinter, so pair them with at least a few wired or low-voltage fixtures on the most important corners, gates, and doors.
Will motion lights bother my neighbors or keep flashing all night?
Not if you aim and tune them like a neighbor yourself. Mount floods 8 to 10 feet up, angle them down into your own yard, shorten the sensor range to your fence line, and set the timer to 1 to 5 minutes. Warm light, shielded fixtures, and a quick test walk from your neighbors side of the fence will tell you honestly whether anything spills over.
What color temperature works best for security lighting?
I keep the whole yard at 2700–3000K warm white. It renders faces and clothing colors accurately, looks welcoming instead of institutional, and modern cameras read it perfectly well. The old blue-white 5000K look adds glare without adding real visibility. Consistency matters too: one temperature across every layer makes movement easier to spot and the yard far prettier.
Conclusion
The backyard security lighting ideas that actually work are not about brightness — they are about coverage, layers, and lights that come on without being asked. Trace the fence, guard the corners and gates, keep the doors pooled in light, and let the patio stay dim and lovely until something earns its attention. Start with the plan in idea one and add a layer a month if the budget asks you to; even two layers in place will change how your yard feels at night. When you are ready to keep going, browse the rest of my outdoor lighting ideas here on the site — your front yard deserves the same quiet confidence after dark.