There is a moment on our street, right at dusk, when the porch lights start flickering on one by one, and honestly? Our driveway used to be the dark hole in that pretty picture. A craftsman home deserves better than a bare bulb over the garage door. The right craftsman driveway lighting ideas do two jobs at once: they guide tires and footsteps safely home, and they honor the handcrafted details that make these houses special in the first place — the tapered columns, the river rock, the deep sheltering eaves. My approach is the same layering I use everywhere outdoors. A soft guidance layer traces the edges of the drive, a welcome layer glows at the garage and the entrance, and an accent layer washes the architecture so the house itself becomes part of the lighting. Nothing blazes, nothing looks like an airport runway, and every fixture could plausibly have been forged a century ago. Below are the 13 ideas I would install on my own bungalow, with honest budget ranges, spacing rules, and the little period details that make the whole scene feel original to the house.
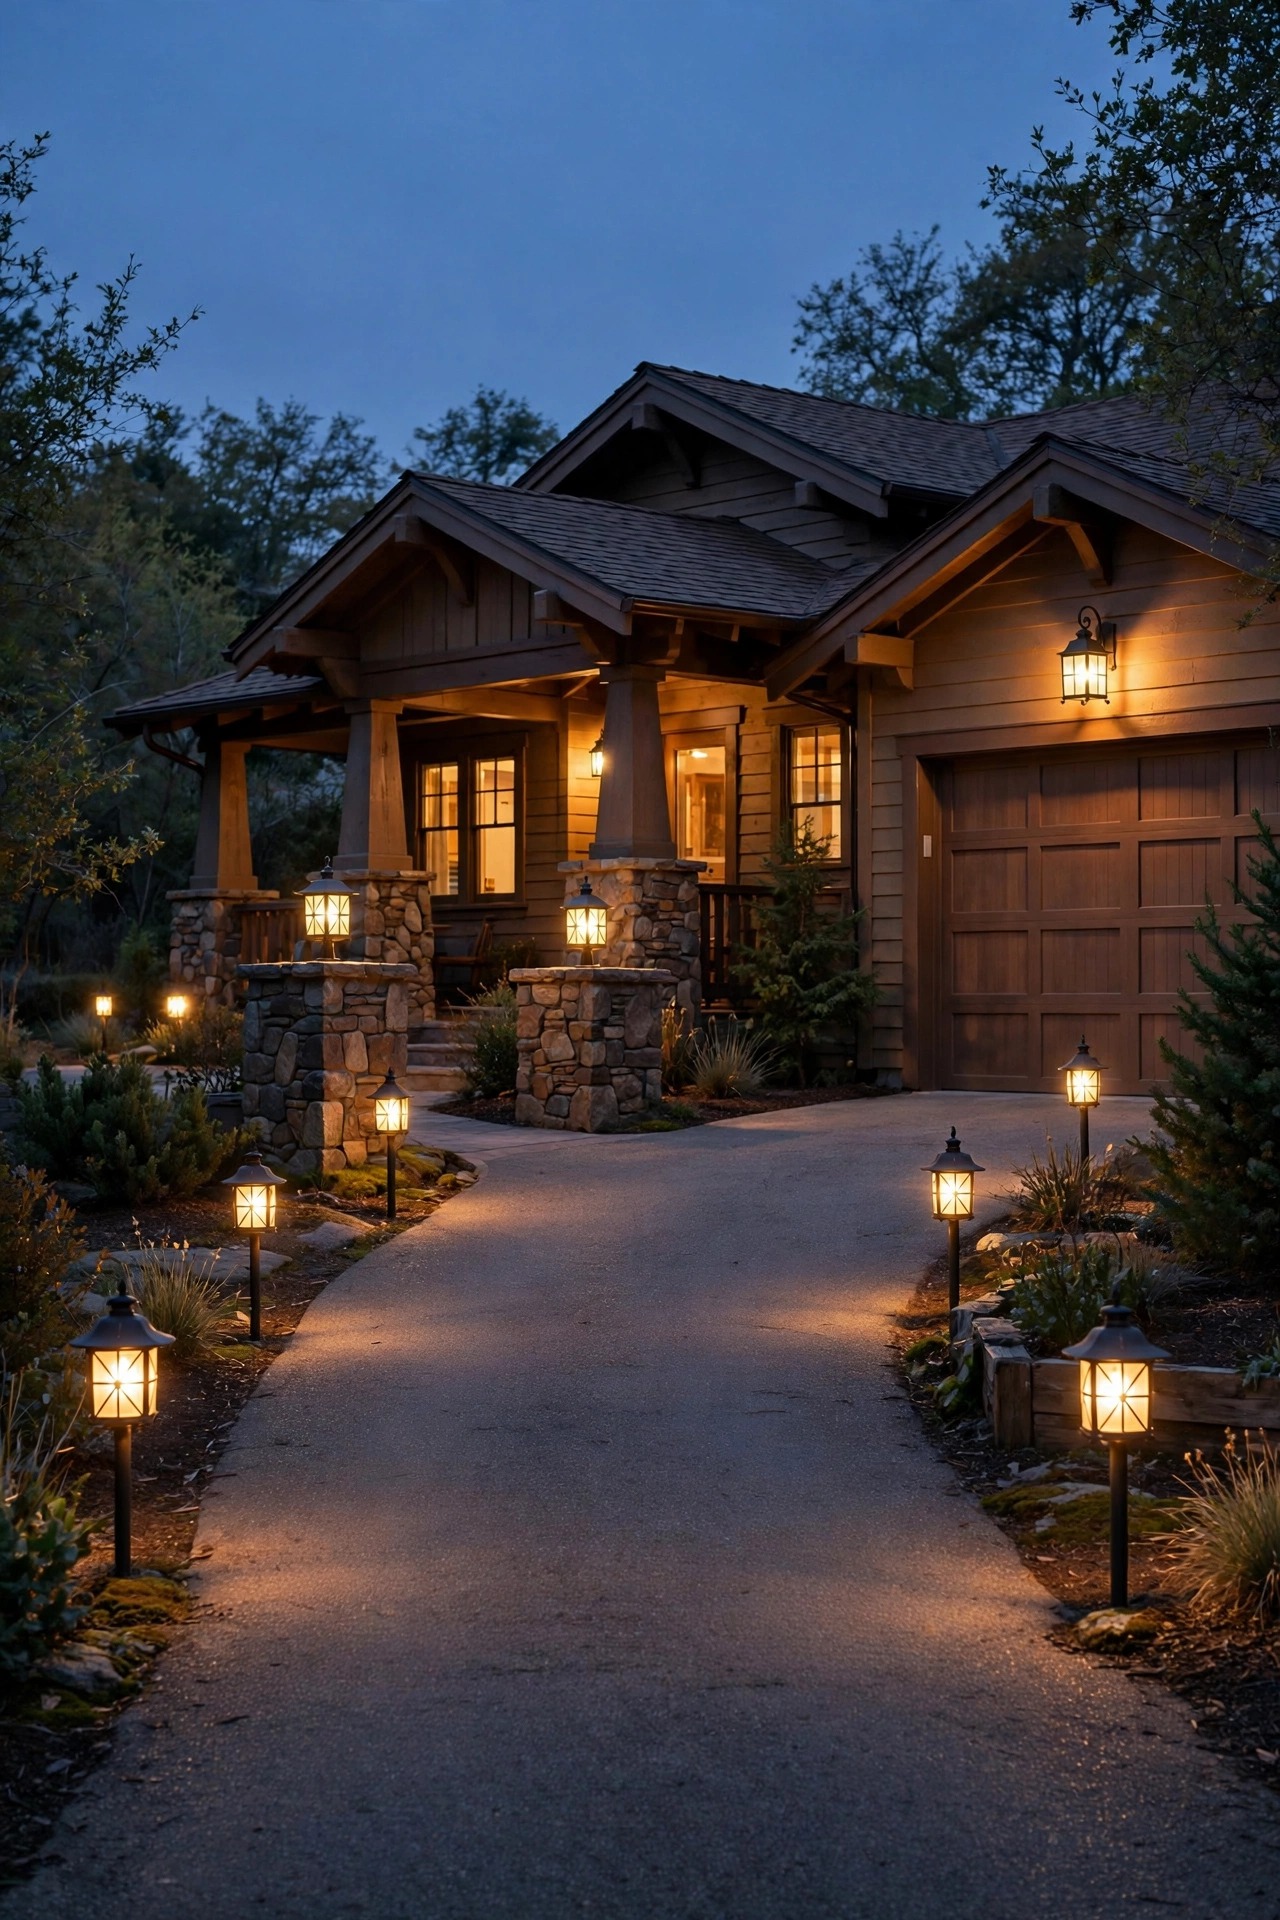
1. Start With a Layered Plan Behind Your Craftsman Driveway Lighting Ideas
Every good driveway starts with a sketch, not a shopping cart. In my experience, the projects that look period-correct a century later are the ones planned in three layers. The guidance layer is low and gentle: small lanterns or markers every 8 to 10 feet that simply tell your tires where the edges are. The welcome layer lives higher, at the garage door and the entrance pillars, where a warmer, slightly brighter glow says someone is home. The accent layer is pure atmosphere — an uplight on a tapered column, a wash across stone work — and it is what separates a lit driveway from a beautiful one. I always sketch the layers on paper first and mark where the low-voltage cable will run, because trenching a shallow 6-inch line once beats digging twice. If you are new to the wiring side, my notes on how to install landscape path lights walk through the transformer math and cable layout step by step. Plan for one 200-watt transformer minimum so you have headroom to grow, and keep every fixture in the same finish family so the layers read as one composition.
Suggested budget range: $150 – $600.
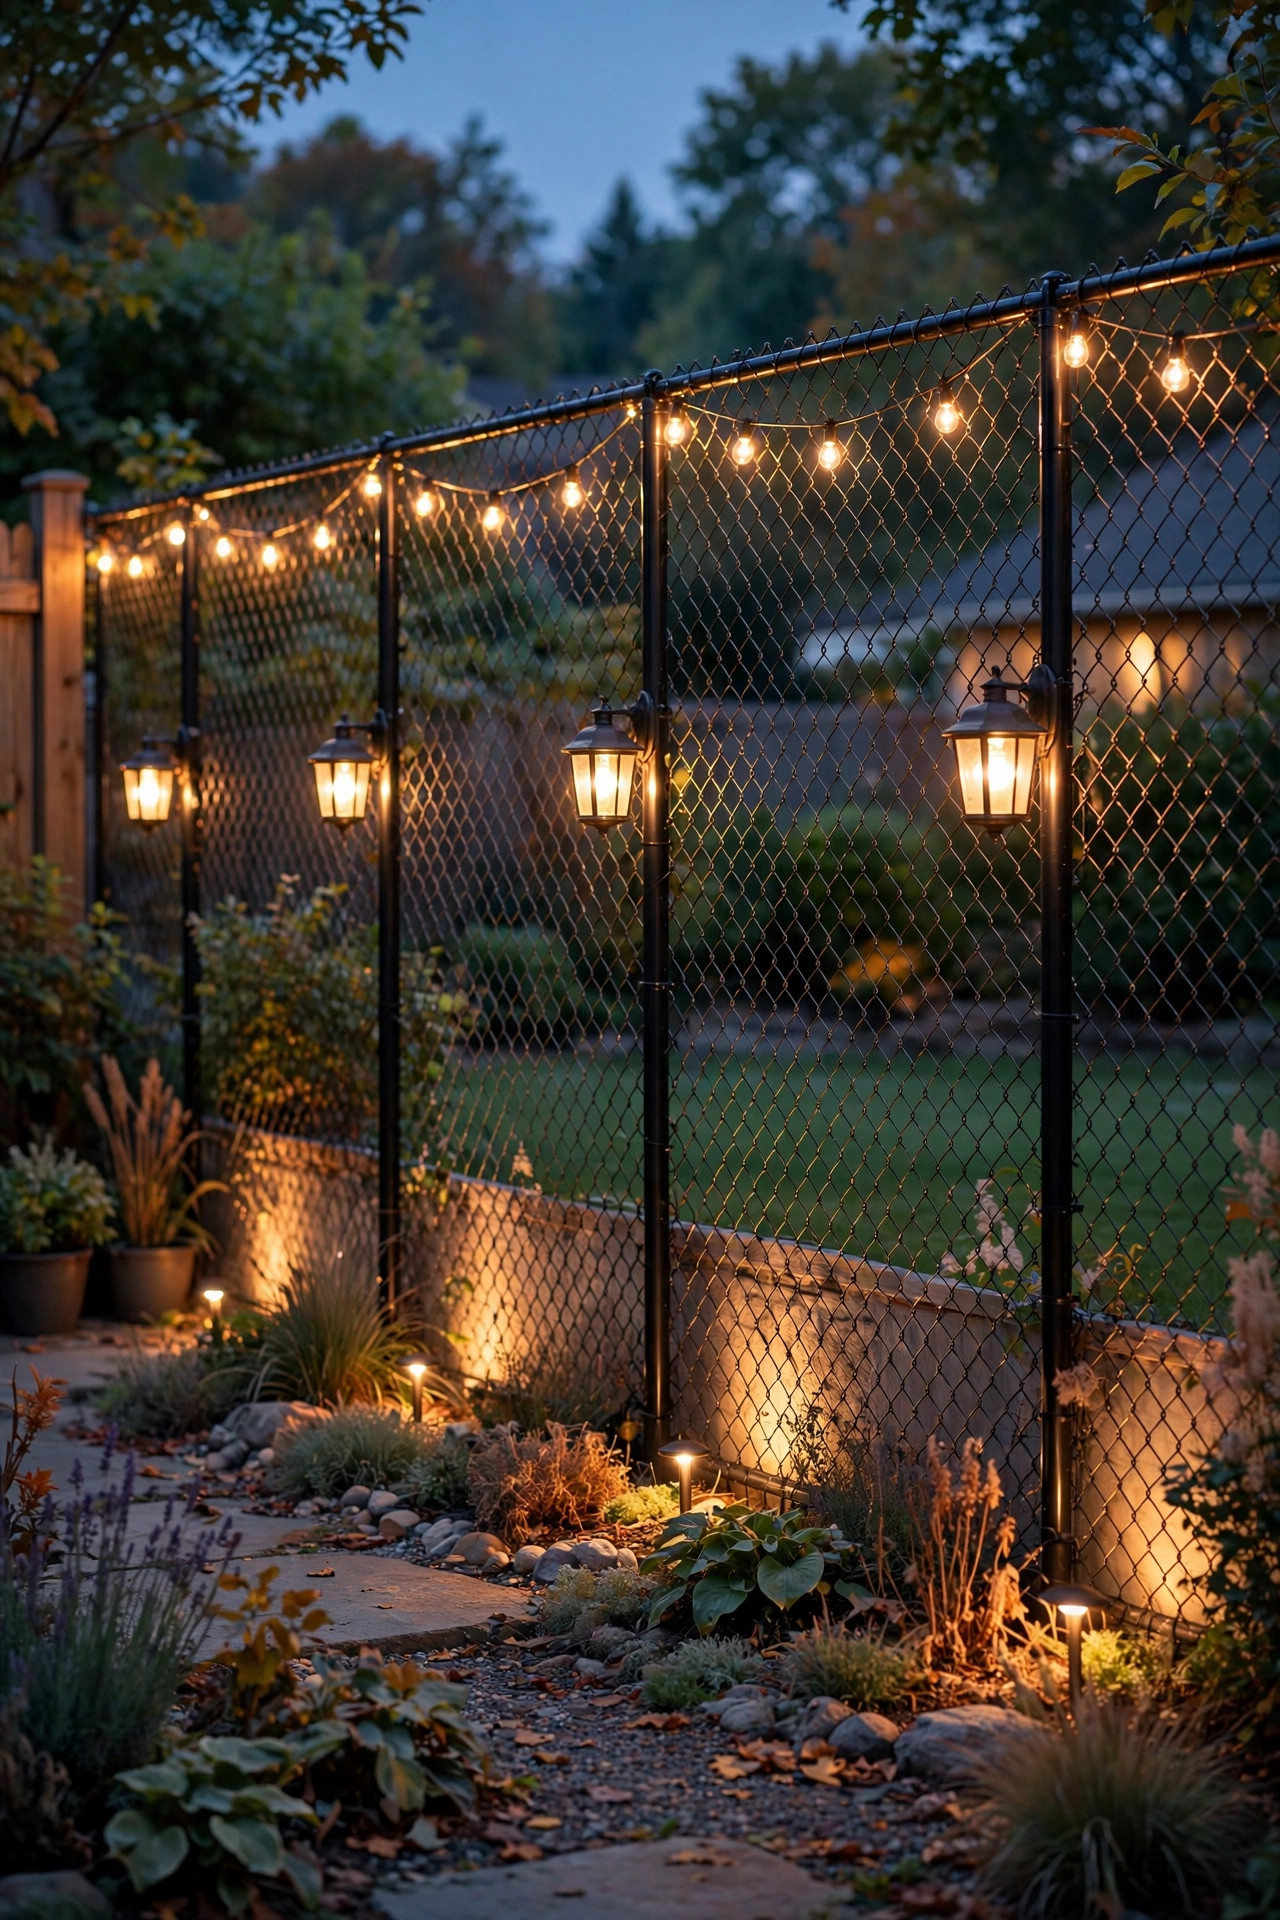
2. Line the Drive With Mission-Style Lantern Path Lights
If one fixture defines the craftsman look, it is the mission lantern: a sturdy square frame, seeded or amber glass, and a roofline that echoes the house itself. I line both sides of the drive with low-voltage versions, 12 to 18 inches tall, spaced 8 to 10 feet apart and staggered rather than mirrored — a strict runway of paired lights looks like a hotel, but a gentle stagger feels hand-placed and old. Set each lantern back 6 to 12 inches from the pavement edge so snow shovels, delivery vans, and your own tires never clip them. Choose LED filament-style bulbs inside, around 2700K, so the glass glows the way gaslight once did. For a standard 40-foot driveway, five to six fixtures per side is plenty; more than that and the charm turns into clutter. Look for solid brass or powder-coated aluminum housings rated for wet locations, and bury the cable connectors in gravel under each fixture so they stay dry. These little lanterns are the backbone of the whole scheme — everything else on this list is supporting cast.
Suggested budget range: $180 – $450.
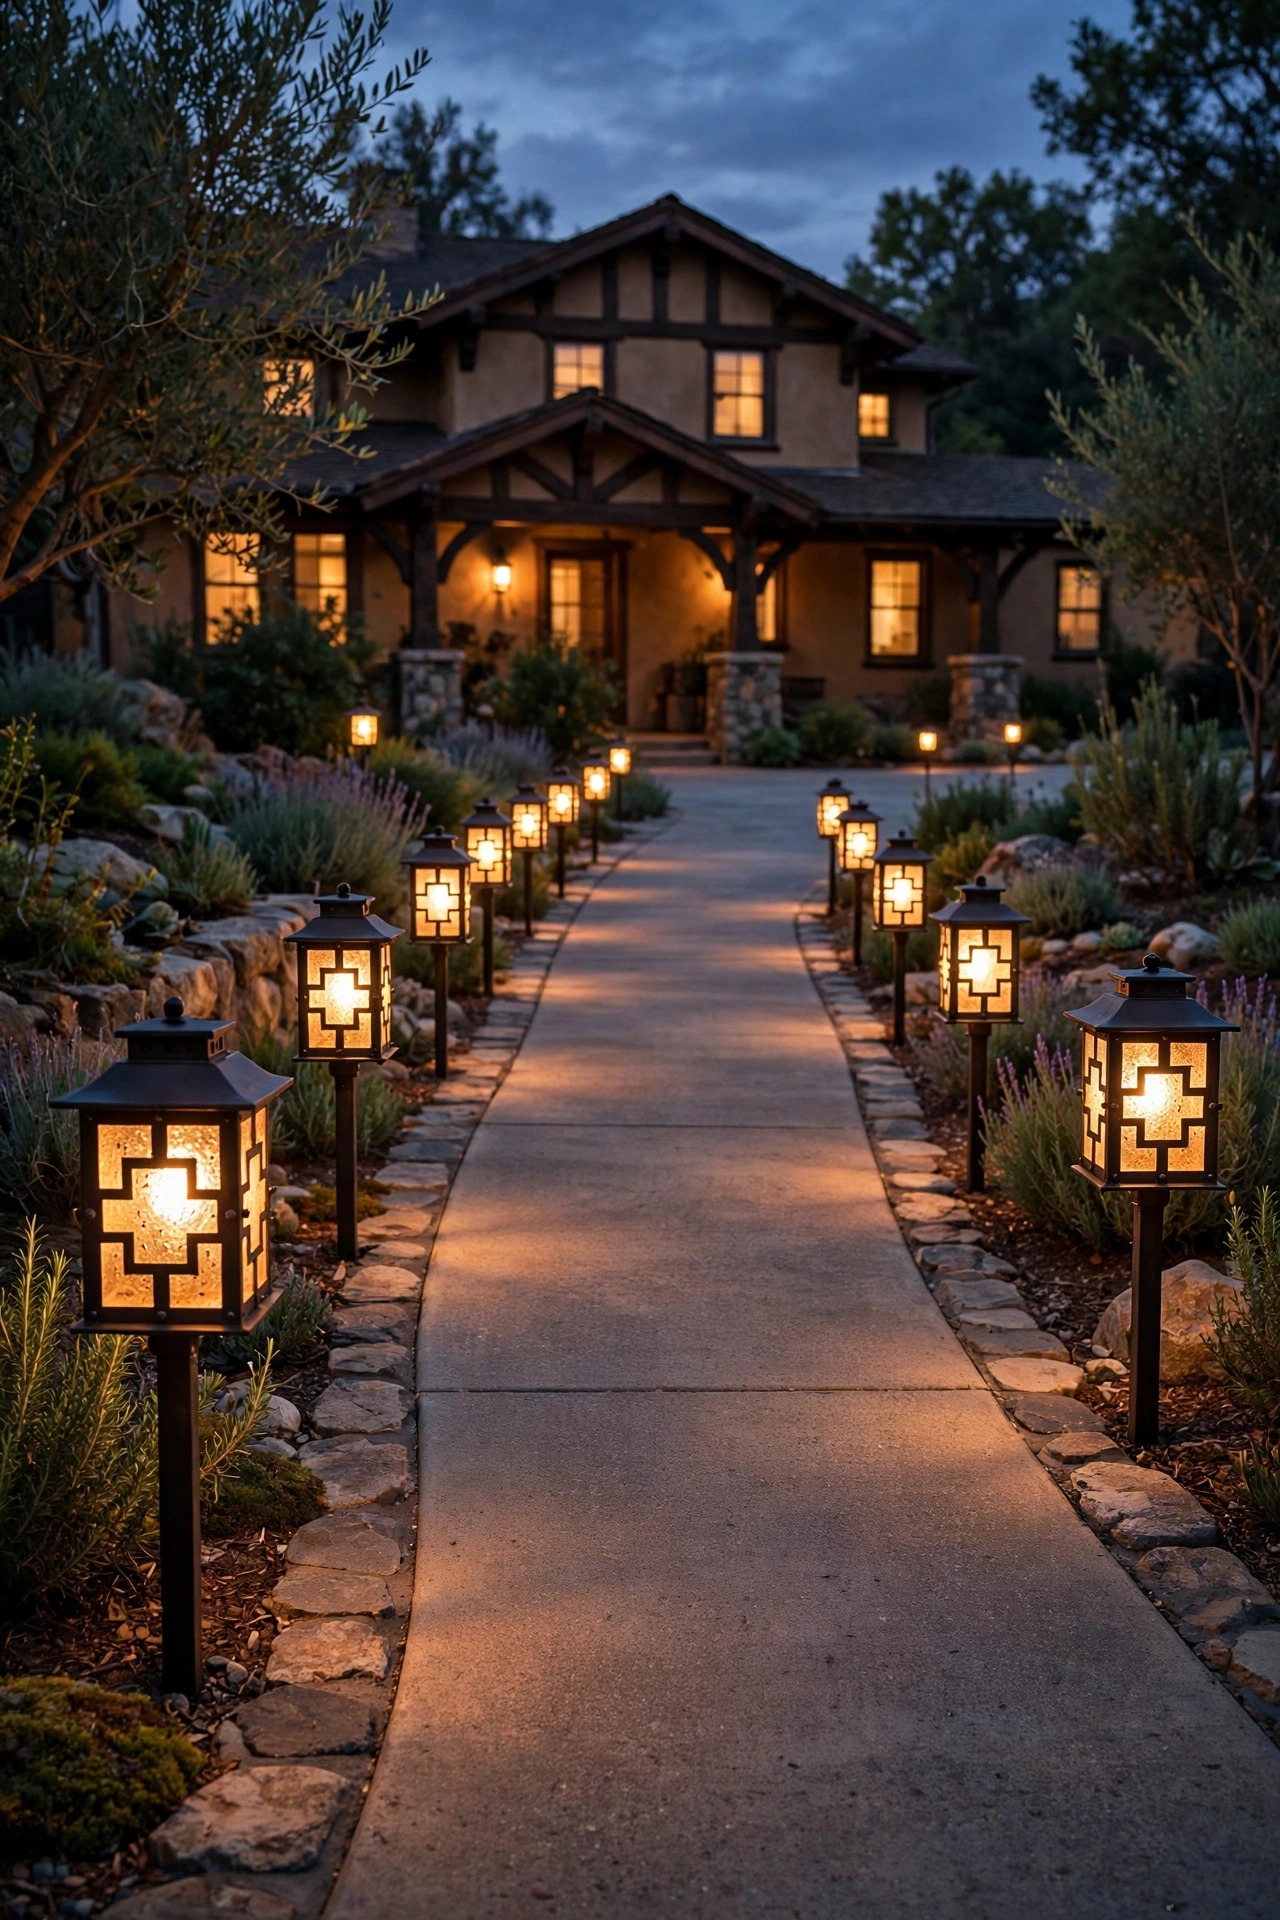
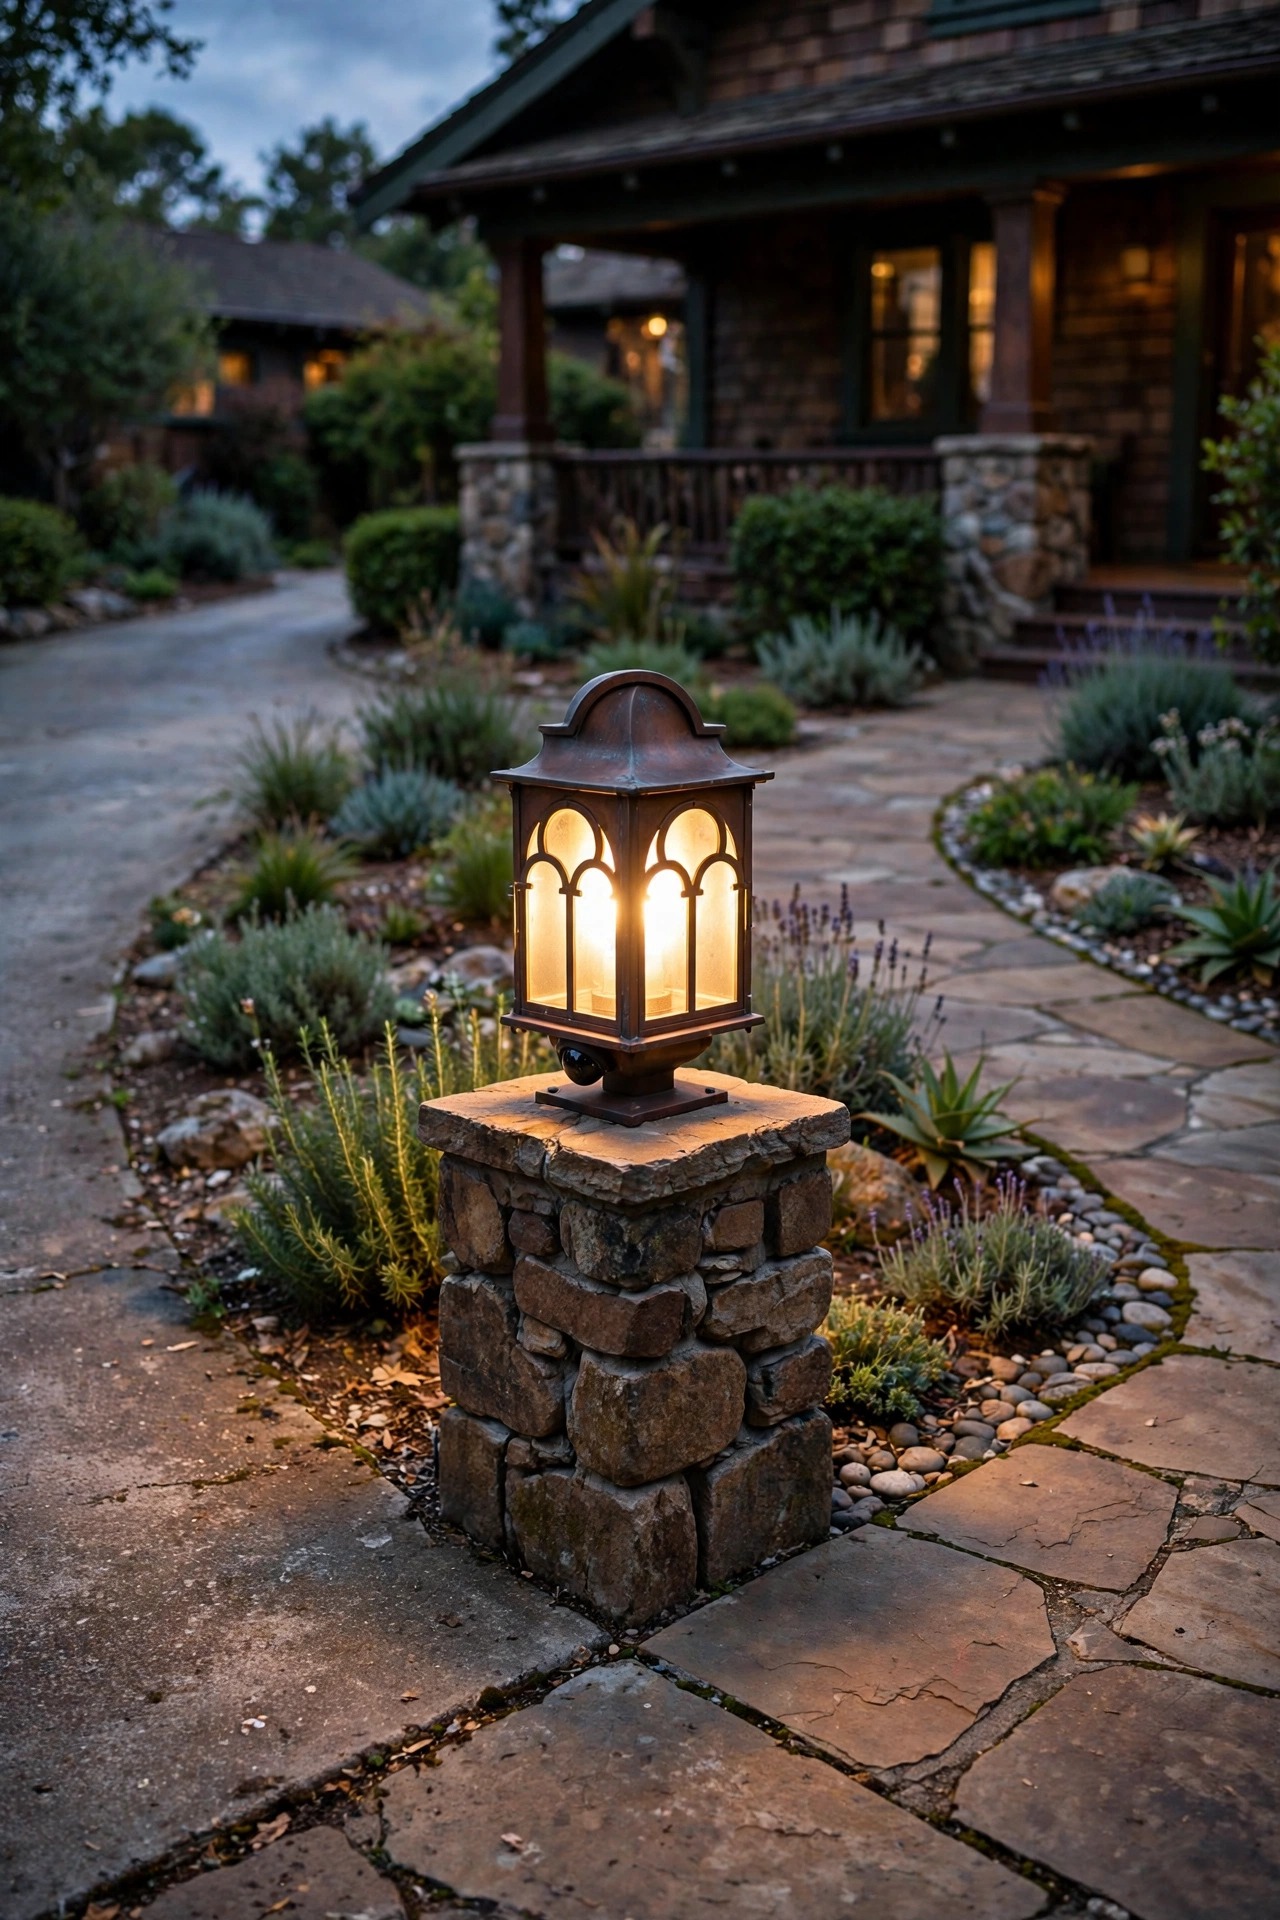
3. Crown the Entrance With Stone or Brick Pillar Lights
Nothing announces a craftsman driveway like a pair of low pillars at the street, built from river rock, brick, or stucco to match the porch piers, each crowned with a lantern. This is the splurge of the list, and in my experience it is worth every penny, because the pillars give the whole property a sense of arrival that no stake light can match. Keep them modest — 24 to 30 inches tall is plenty — and cap them with a flat stone slab that overhangs an inch on each side, exactly the way original 1920s piers were finished. The lantern on top should be a mission or prairie style with clear seeded glass and a warm filament bulb, wired on the same low-voltage run as the path lights if voltage drop allows, or on its own small transformer. For a full breakdown of what masonry and wiring like this runs, my driveway lighting cost guide lays out the numbers honestly. Build the pillars once, build them right, and they will outlast every other fixture on this list.
Suggested budget range: $250 – $900.
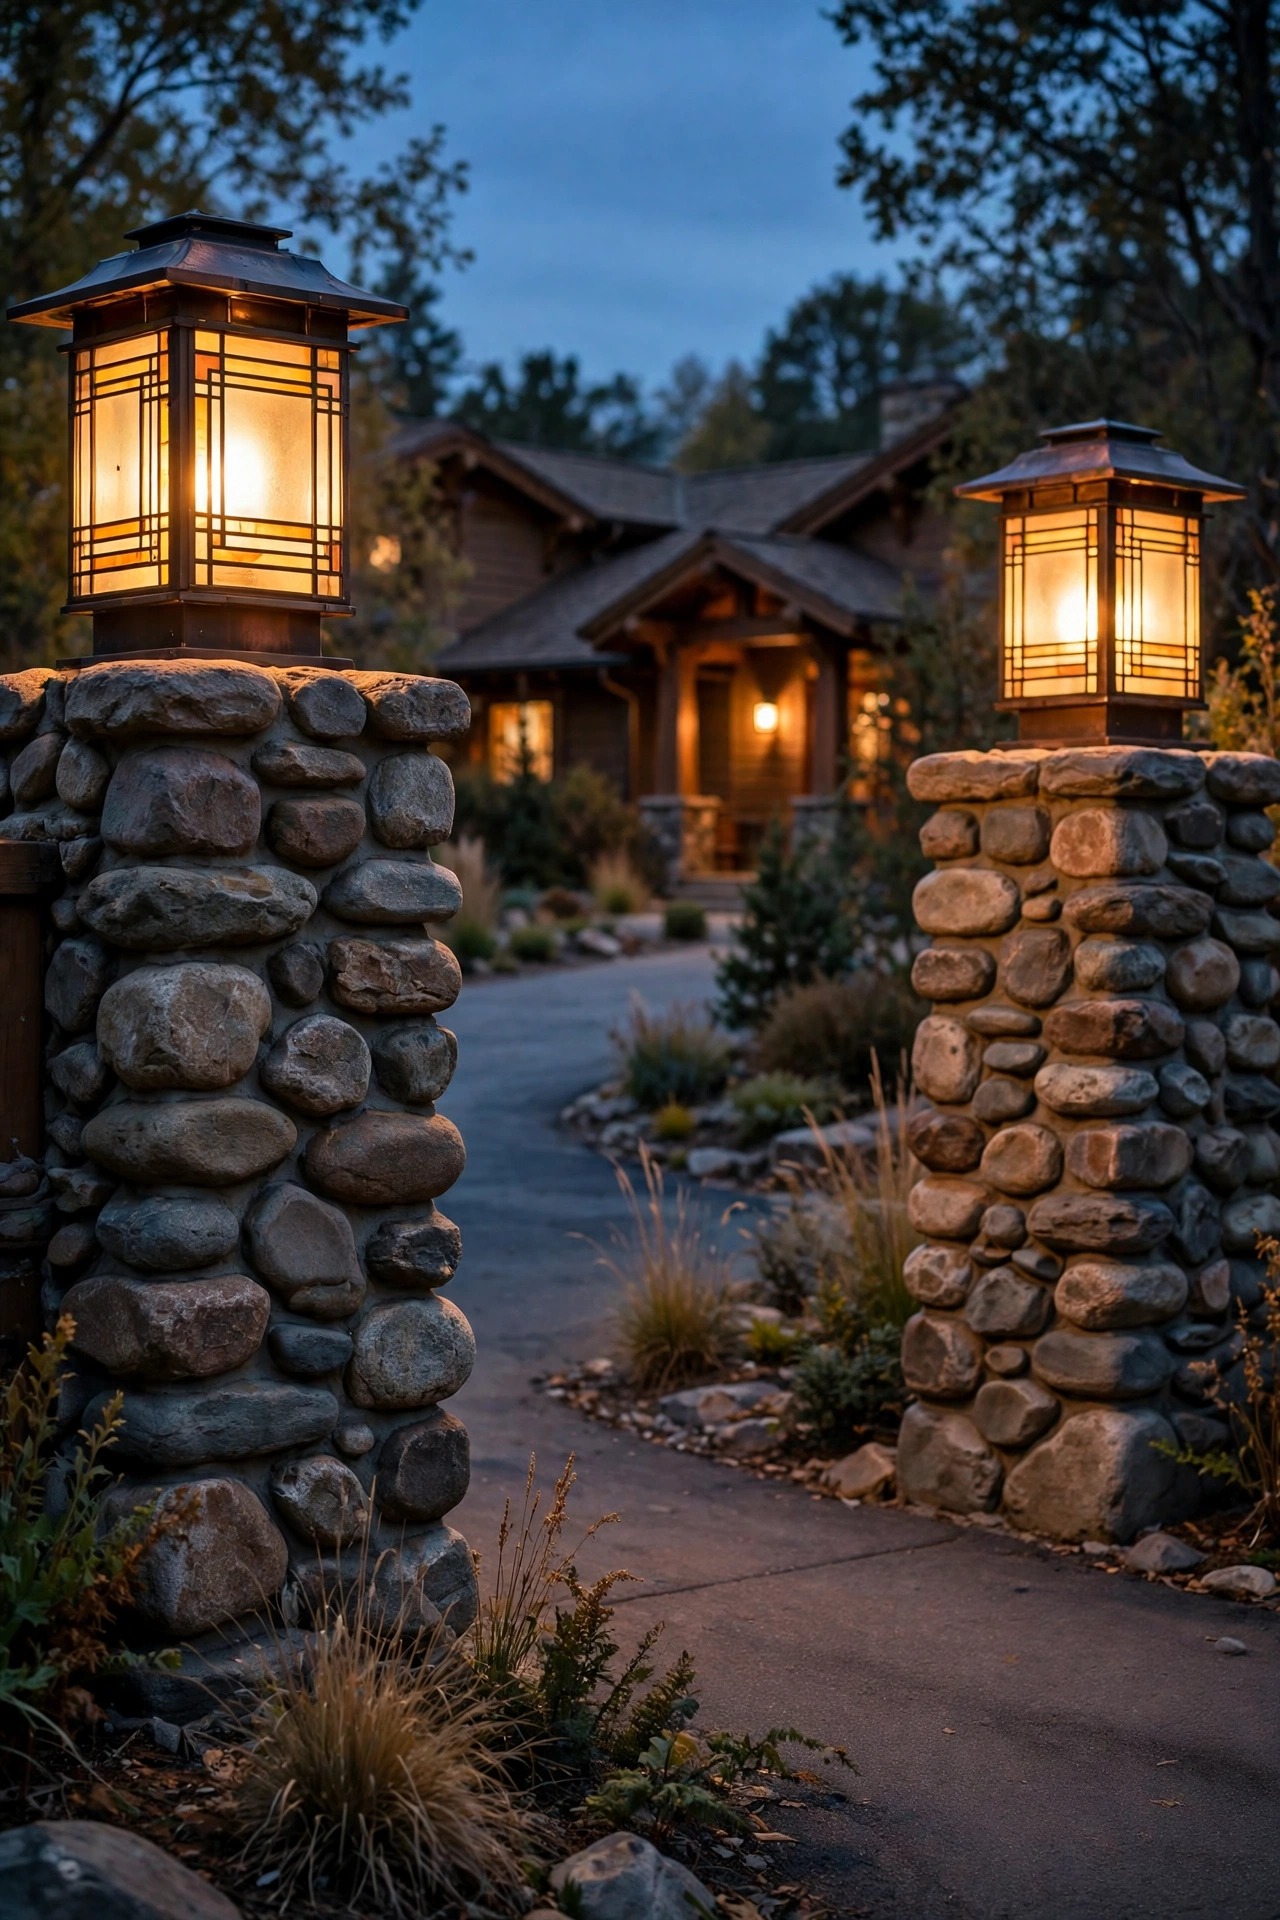
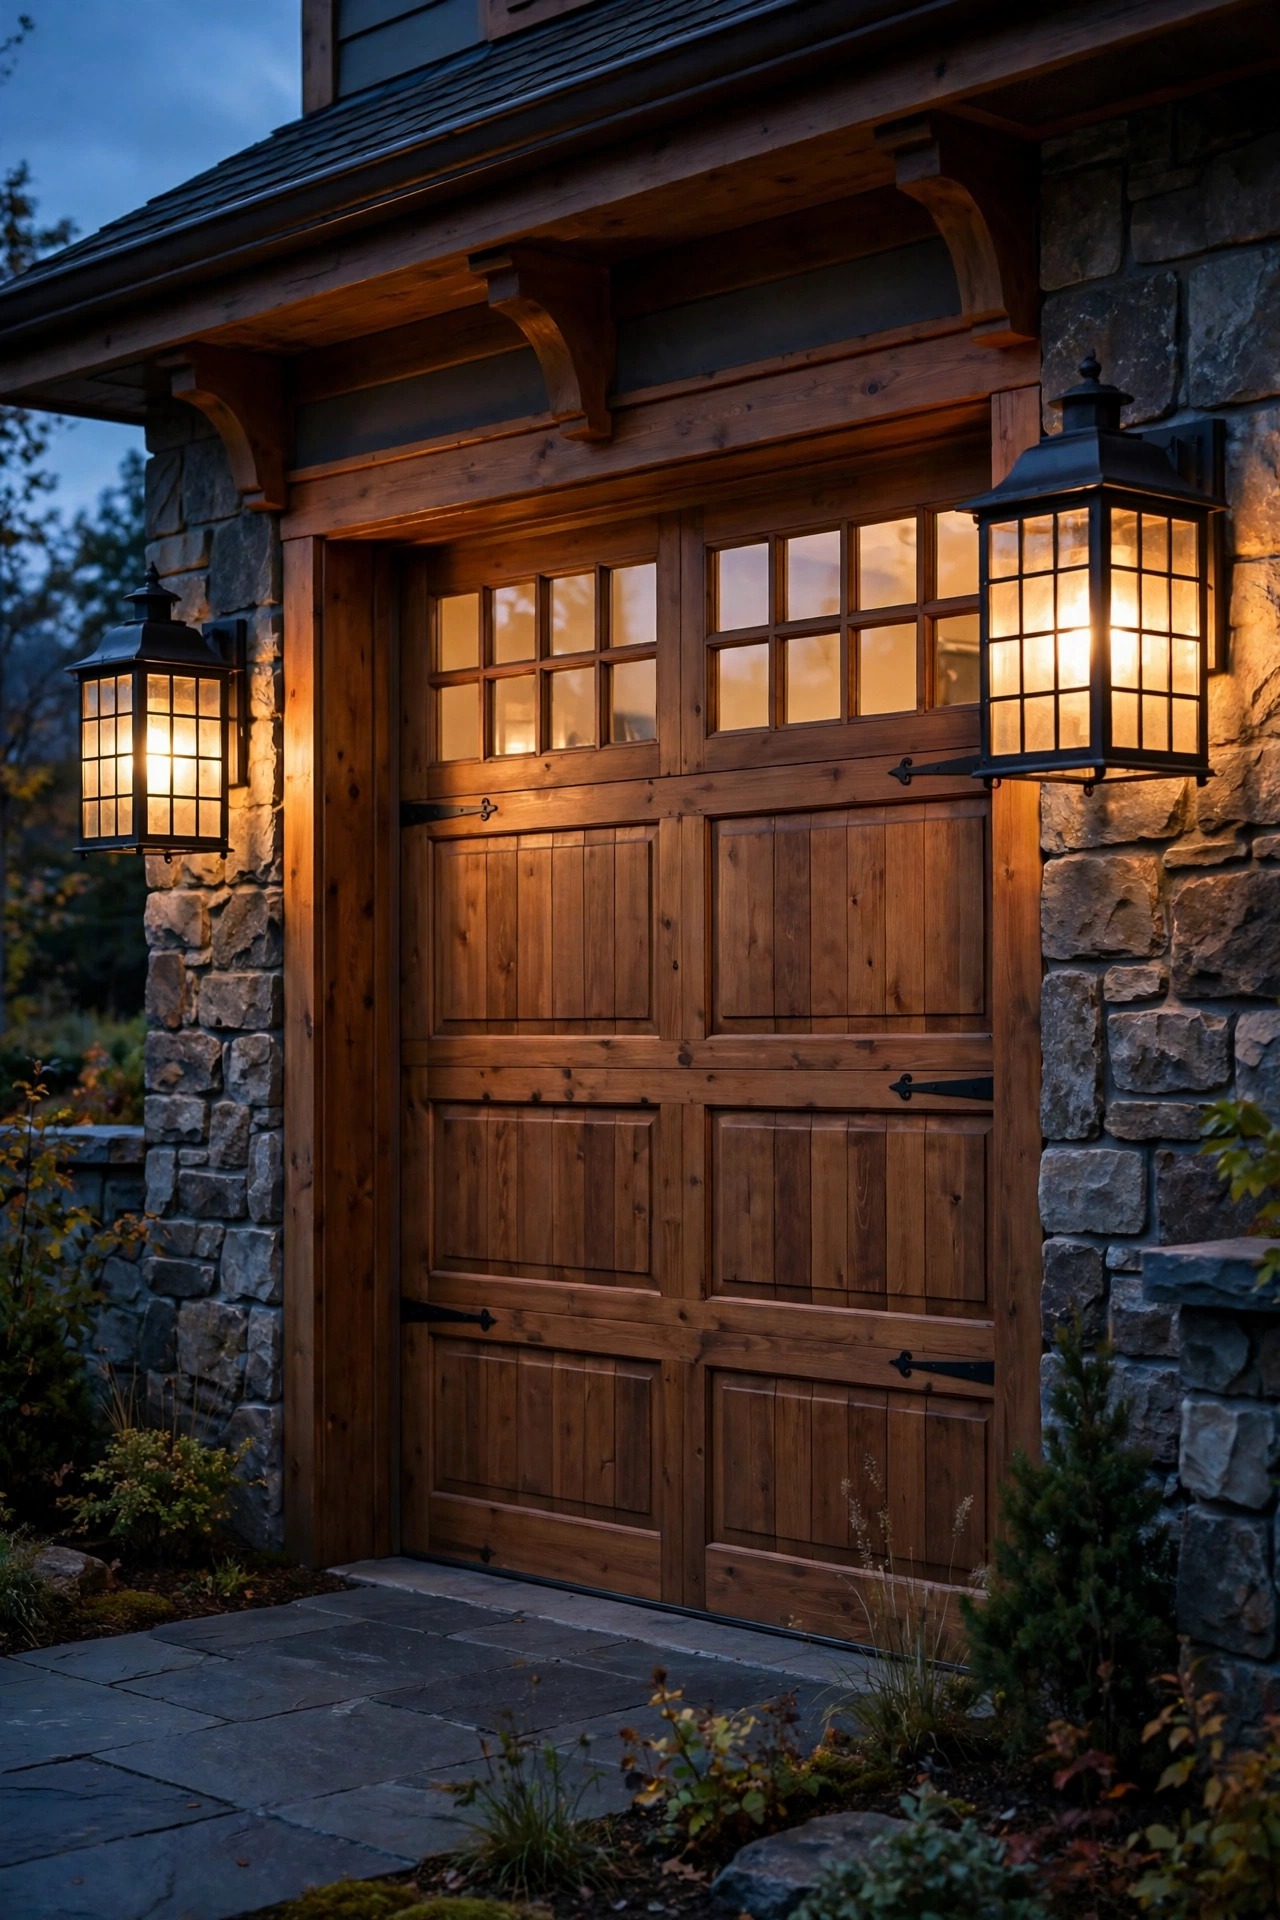
4. Hang Carriage-Style Lanterns Over the Garage Door
The garage door is the biggest blank wall most craftsman homes show the street, and a pair of carriage-style lanterns transforms it from blank to beautiful. I mount one lantern on each side of the door — or a single oversized lantern centered above a single bay — at about two-thirds of the door height, with the bulb shielded so it never glares into a driver eyes as they pull in. Look for the period details: a slightly flared roof, vertical bars or a subtle grid over the glass, and a finish like oil-rubbed bronze or matte black that echoes your porch fixtures. These are usually 120-volt fixtures on the house circuit, so they belong on a photocell or timer rather than the low-voltage run. If your porch sconces need the same treatment, the proportions in my craftsman outdoor sconce ideas will help you match sizes across the whole facade. Honestly, the garage lanterns are the fixtures neighbors ask about most — they read as original architecture, not decoration.
Suggested budget range: $120 – $400.
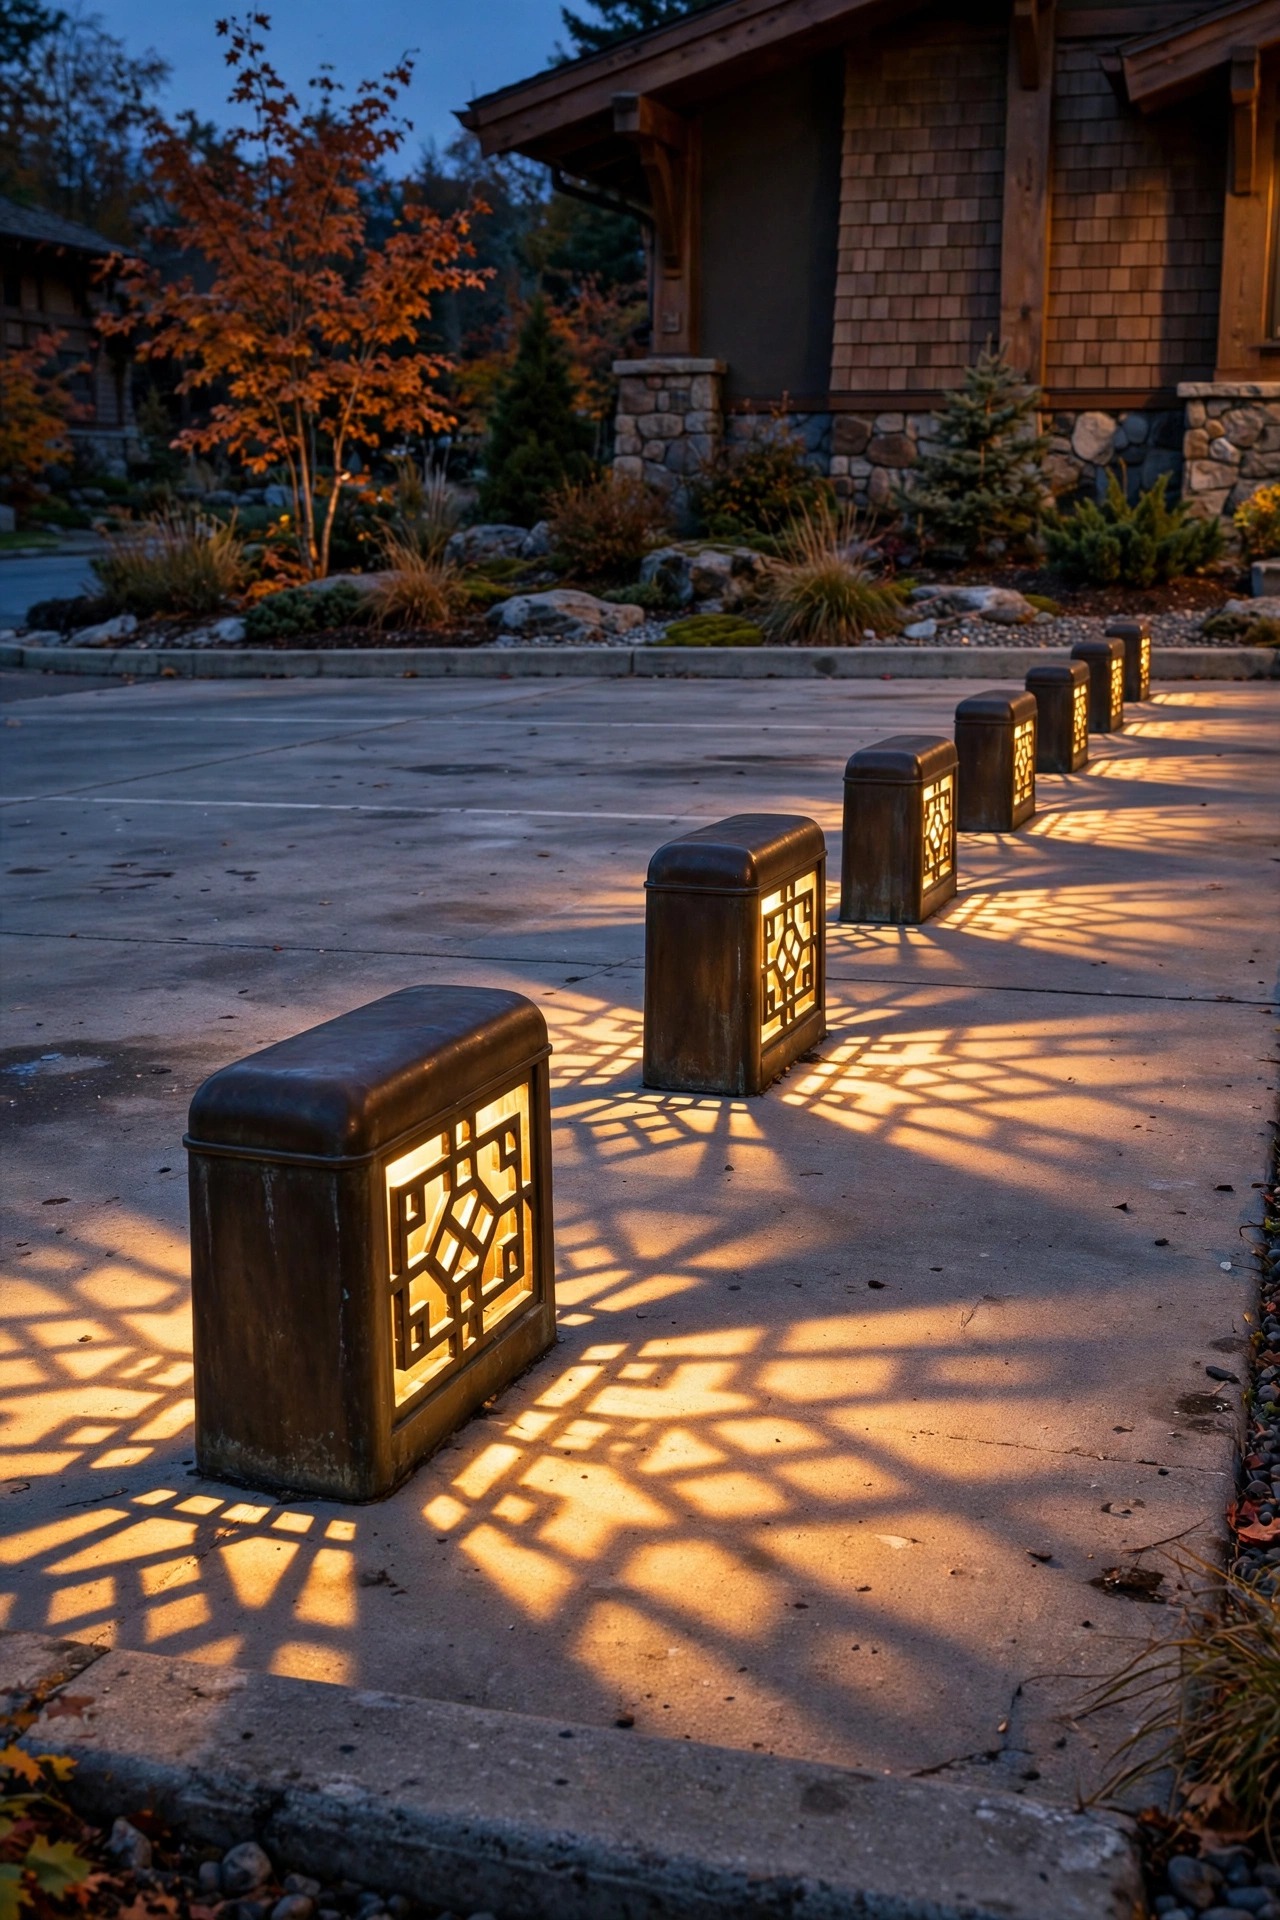
5. Choose Low Bollards With Arts and Crafts Grille Details
For wider drives and parking aprons, short bollards do the guidance job with a little more presence than stake lights. The trick is picking designs that belong on a craftsman lot: squat, square bollards in dark bronze with a pierced geometric grille — diamonds, squares, or a simple prairie grid — that throws patterned light onto the pavement instead of a plain beam. I space them 10 to 12 feet apart along the turning apron and any spot where guests tend to cut the corner onto the lawn. At 18 to 24 inches tall, they stay well below car door swing height, and the heavy cast housings shrug off the occasional bumper kiss far better than thin stake fixtures. Wire them in a loop rather than a single run if your apron is large, so the farthest bollard glows as evenly as the first. Keep the light source recessed up inside the cap; visible bulbs ruin the period mood and glare in wet weather. Bollards are the quiet workhorses here — sturdy, handsome, and completely unfussy.
Suggested budget range: $200 – $650.
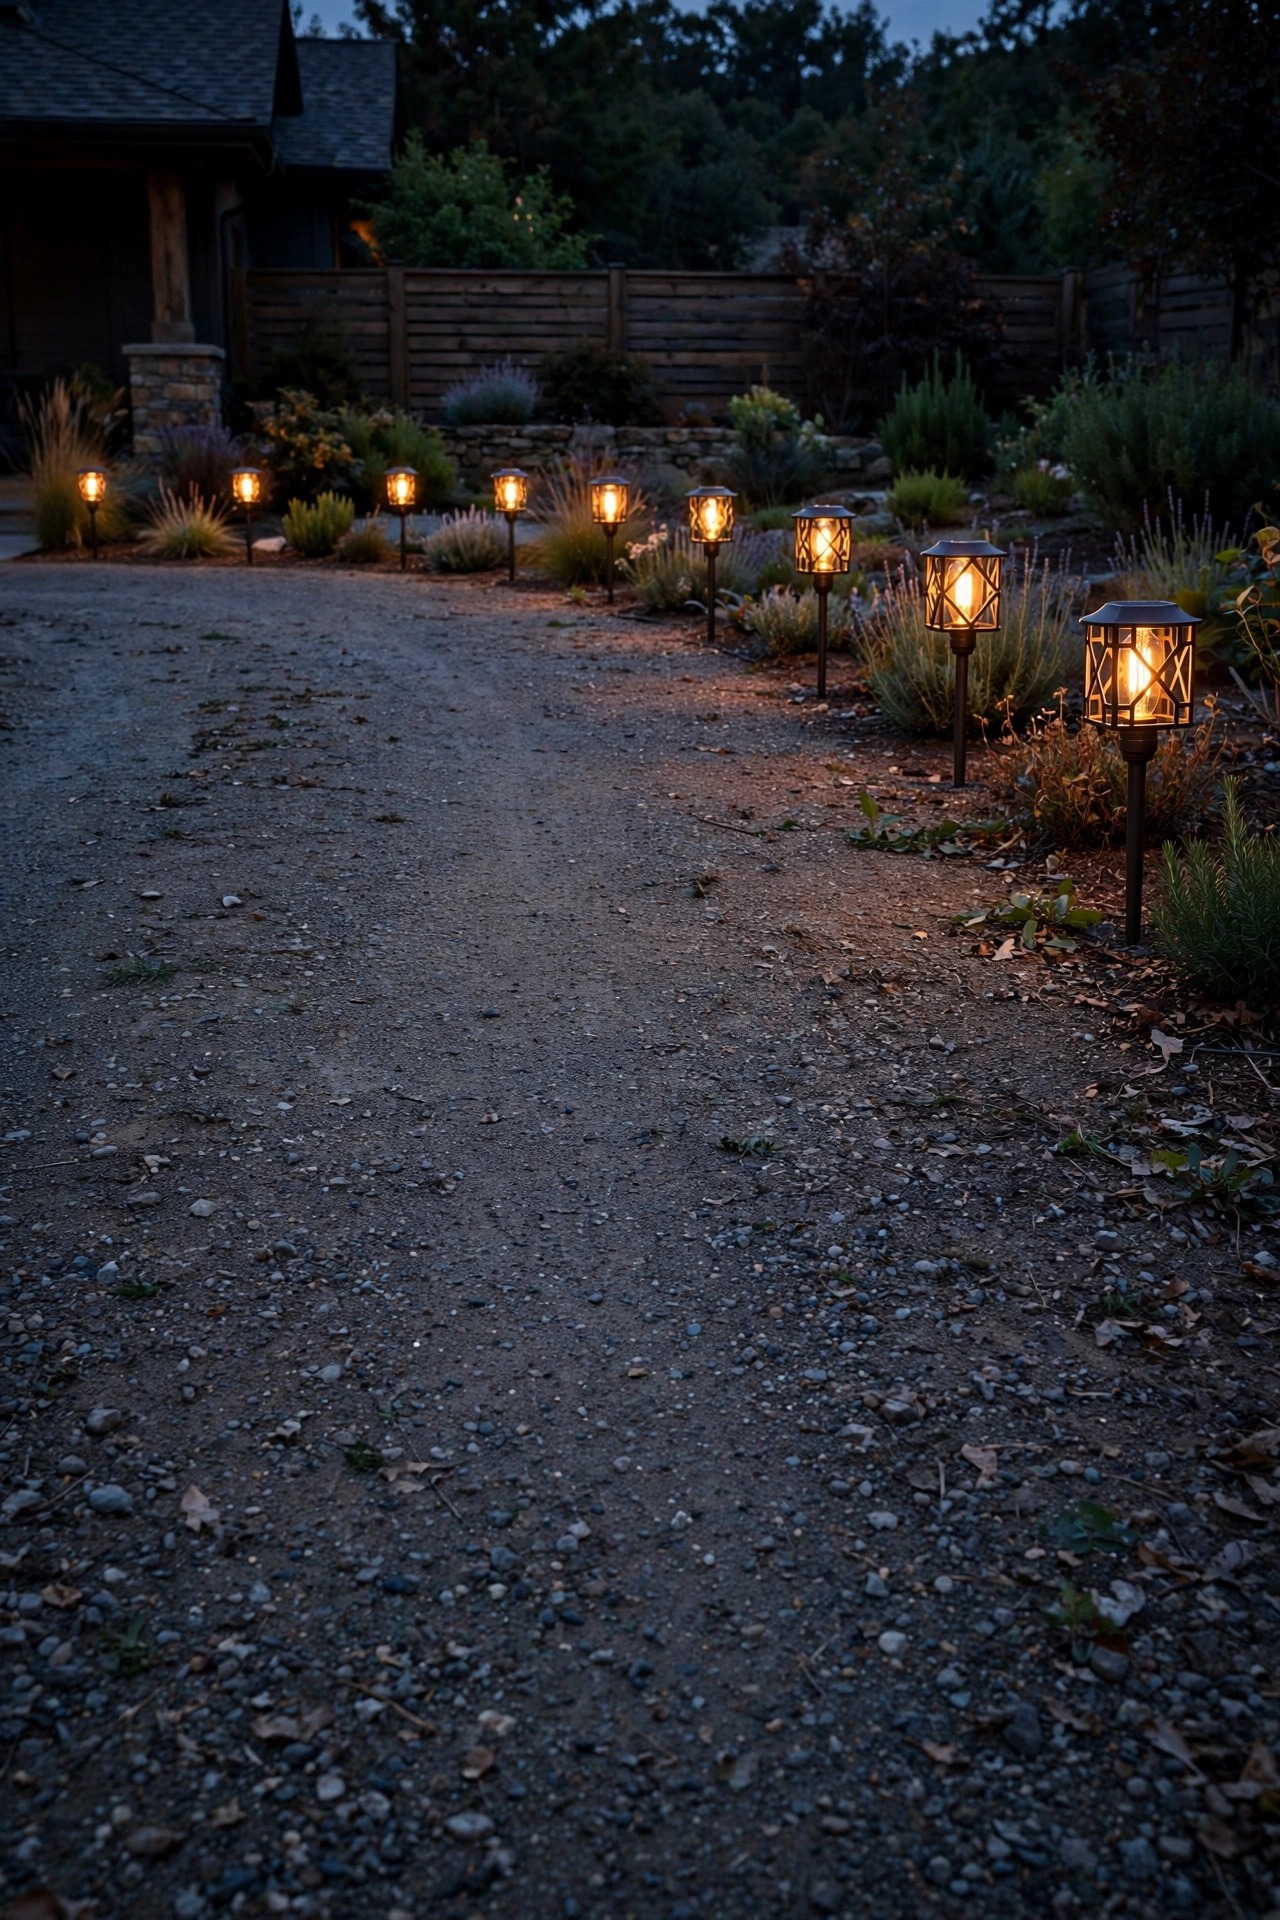
6. Tuck In Solar Stakes With Amber Filament Bulbs
Not every stretch of driveway justifies trenching cable, and that is where good solar stakes earn their keep. The newest generation swaps the cold blue-white LED for an amber filament-style bulb inside a small mission cage, and the difference is night and day — literally. I use them along the far end of a long drive, around a gravel overflow pad, or anywhere the low-voltage run would have to cross roots or concrete. Push them 4 to 6 inches back from the edge, expect a gentle marker glow rather than true task light, and be honest with yourself: they are punctuation, not the sentence. In northern winters they fade by midnight, so I never rely on them as the only light at a step, a gate, or a slope. Choose stakes with replaceable batteries and glass lenses rather than plastic, which clouds within two seasons. Mixed into a wired scheme, a handful of amber solar stakes stretch the glow down a long drive for pocket change.
Suggested budget range: $40 – $120.
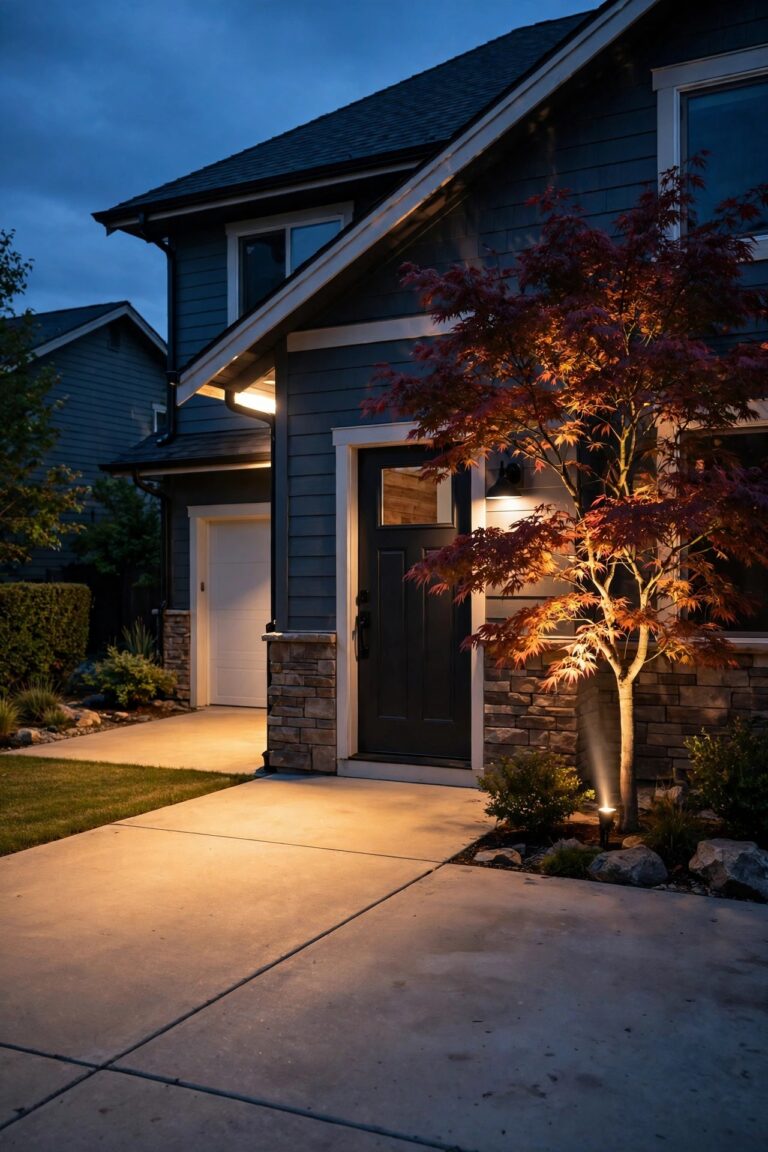
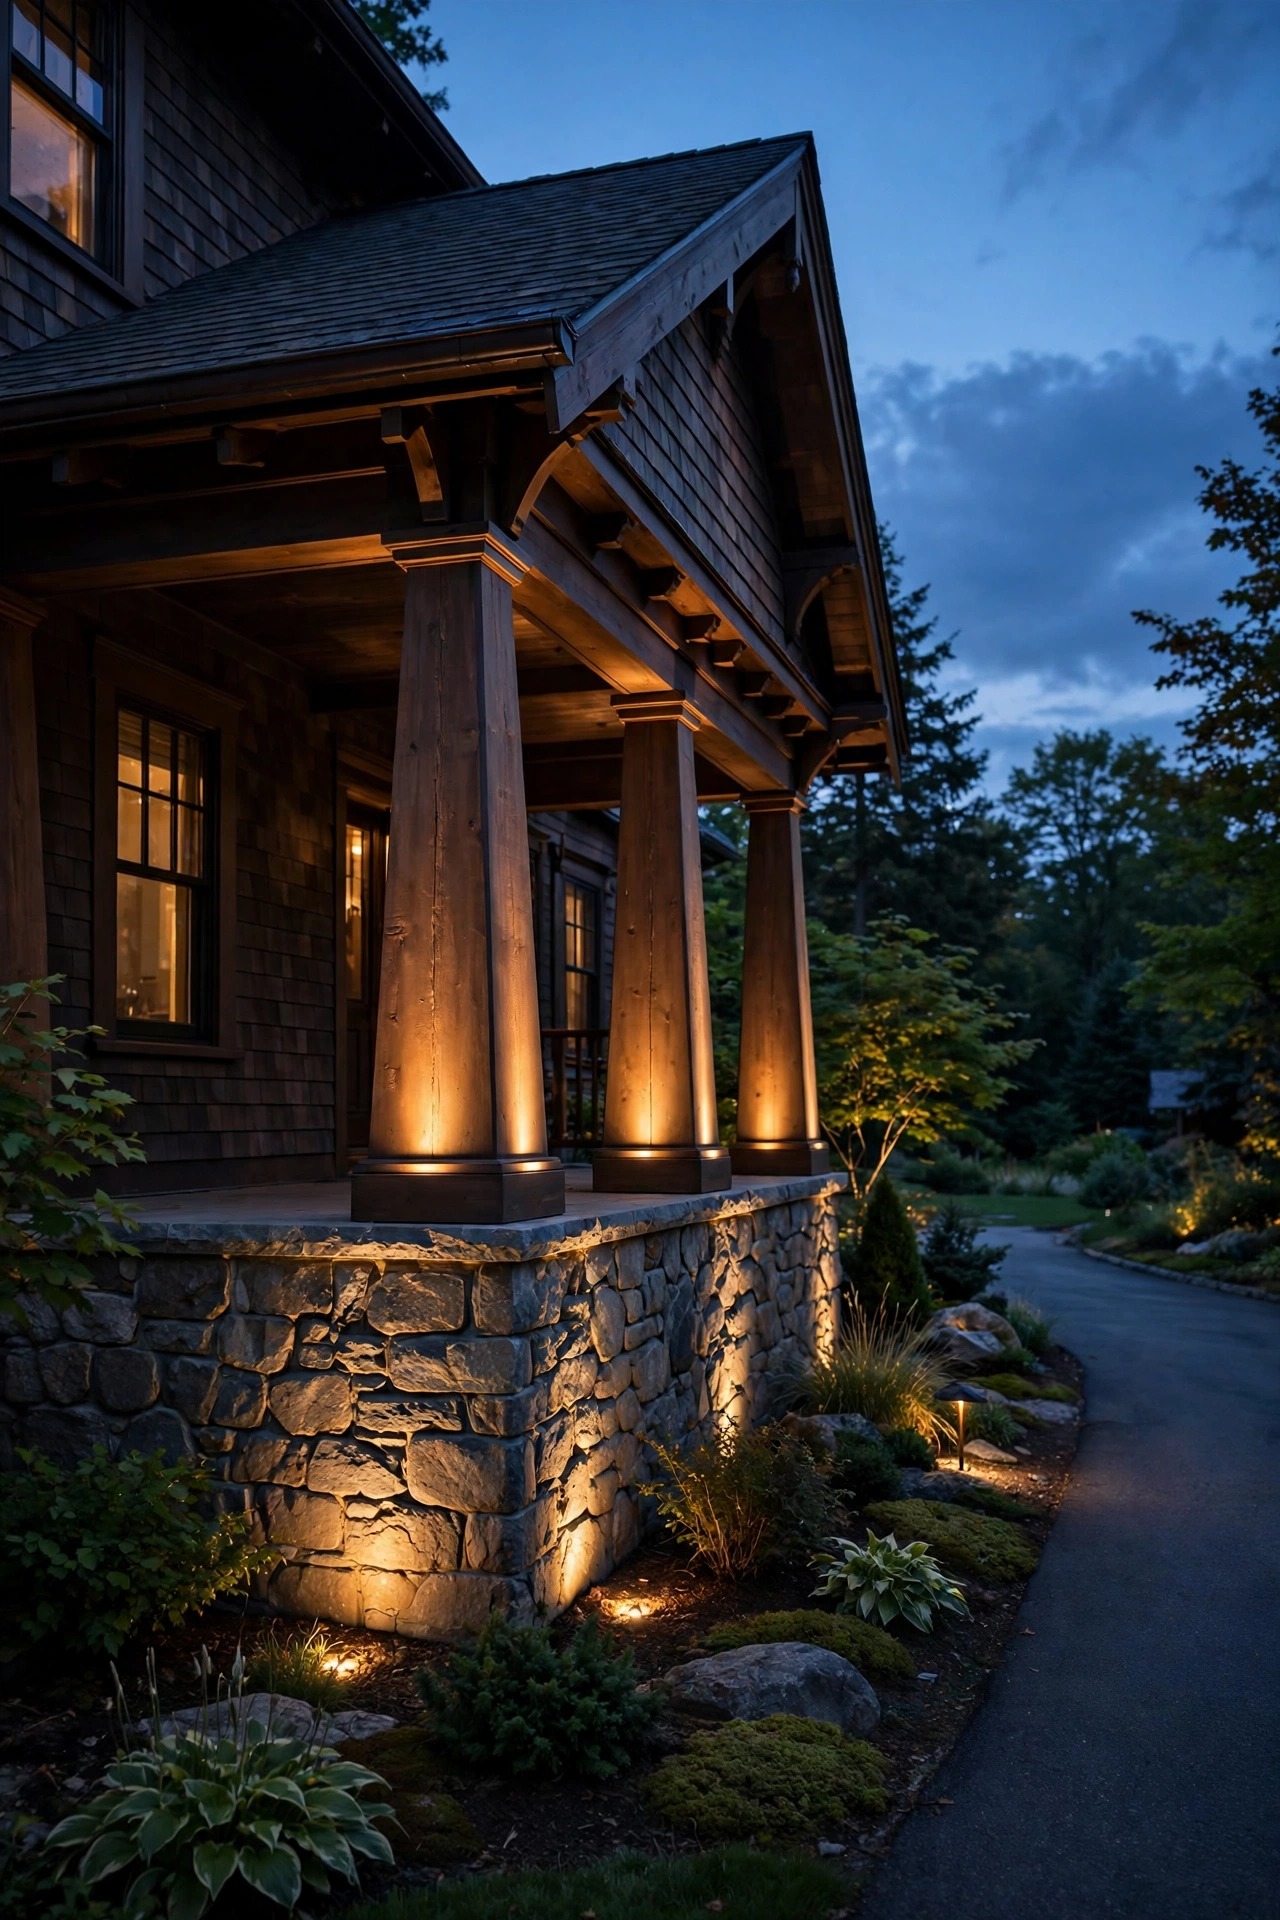
7. Wash the Facade and Columns With Warm Uplights
A driveway lit in isolation looks like a parking lot; a driveway lit with the house glowing behind it looks like a homecoming. Two or three low-voltage uplights, tucked into the planting bed where the drive meets the house, change everything. I aim one at the tapered porch columns, one across any stone or shingle texture, and keep the beams narrow — 15 to 24 degrees — so the light grazes the surface instead of flooding it. Grazing is the secret: light skimming across rough stone or cedar shingles at a low angle makes every texture cast tiny shadows, and the whole facade looks handcrafted, which of course it is. Use 2700K lamps at modest wattage, shield the fixtures with small glare guards, and angle them so no beam spills into a bedroom window. This is the accent layer from my plan, and it is pure mood — it helps nobody park, and I would not give it up for anything. Keep fixtures a foot off the foundation so mulch and plantings never bury them.
Suggested budget range: $90 – $300.
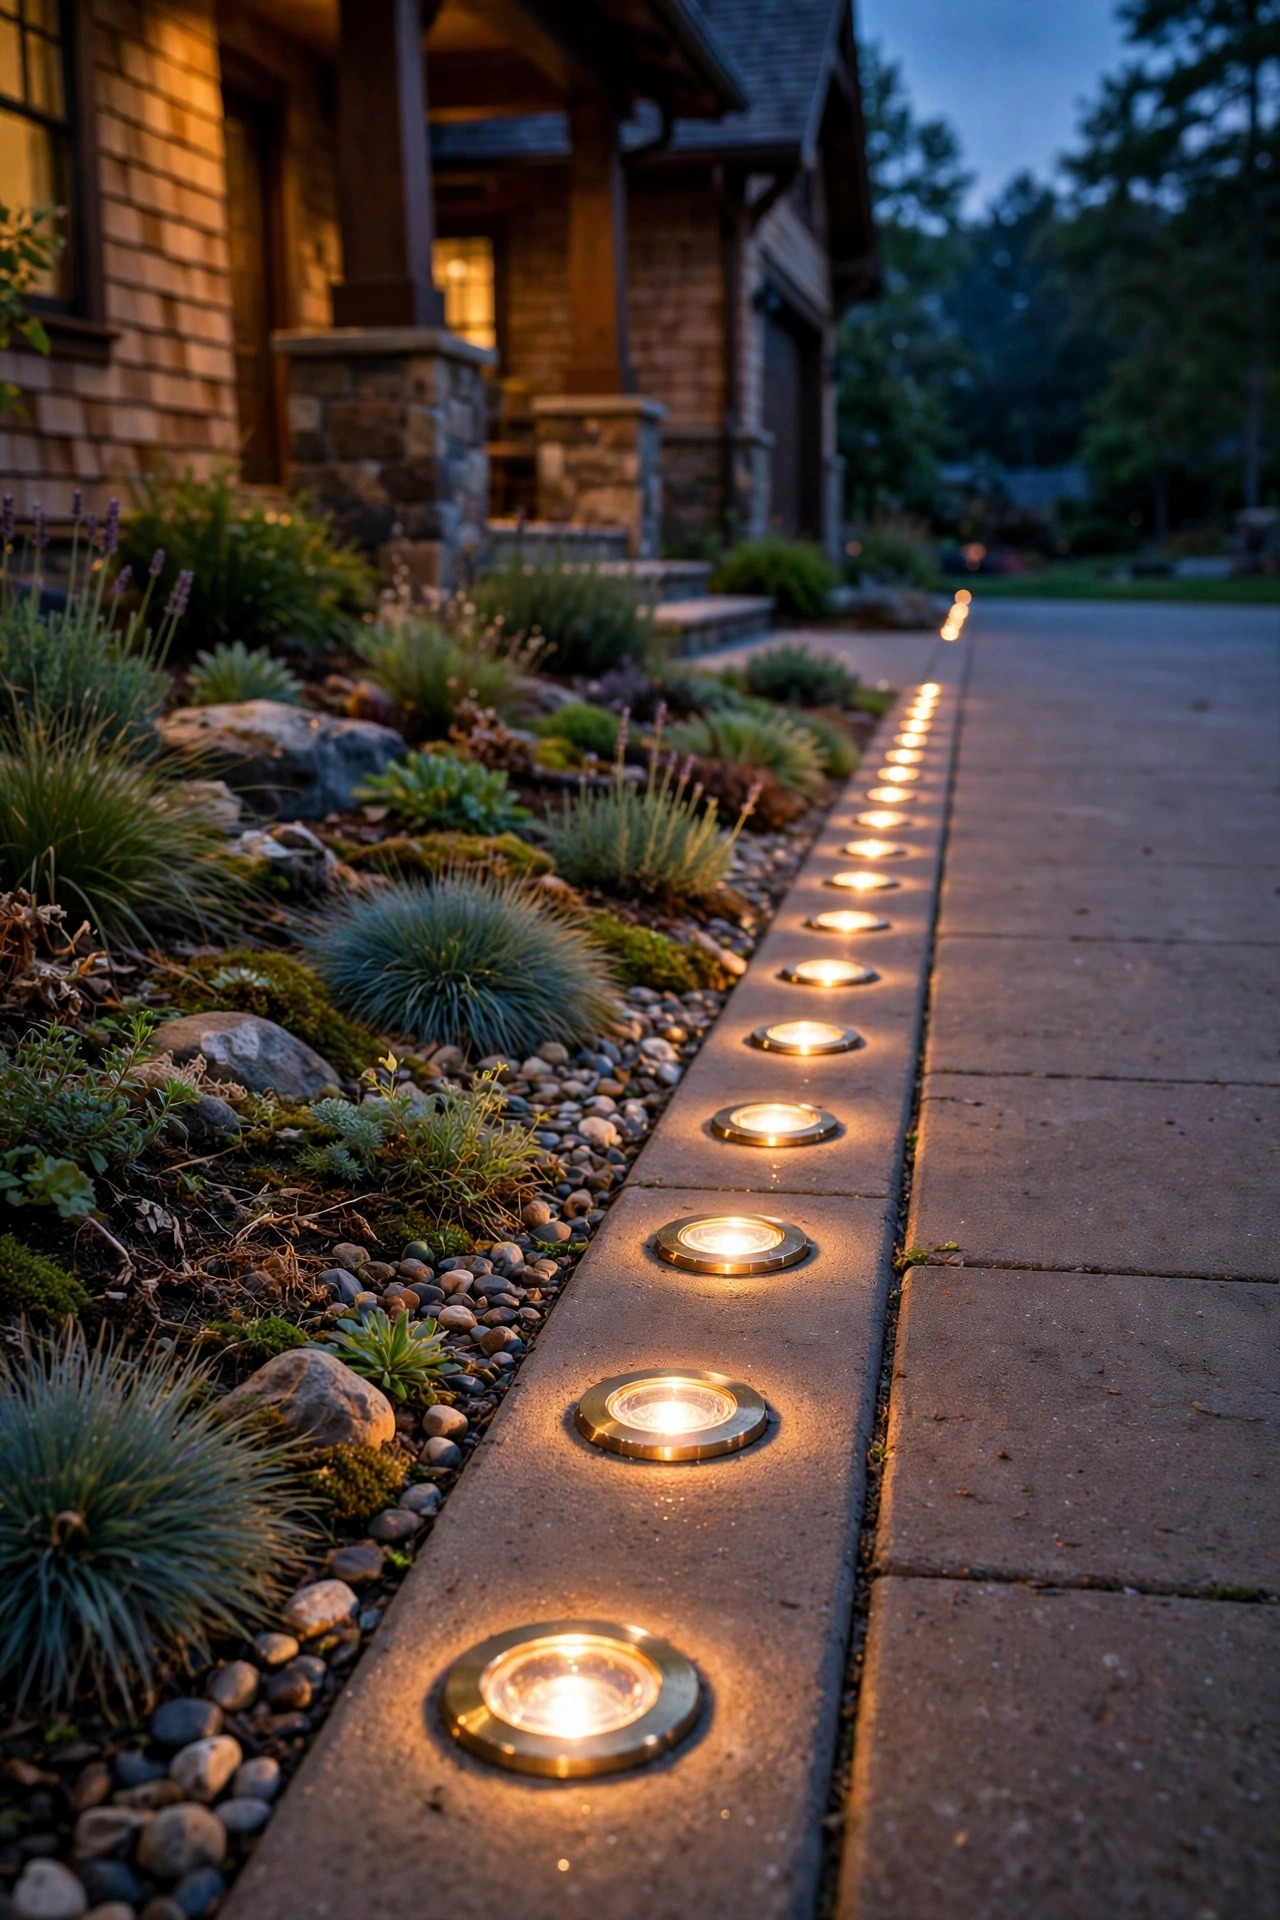
8. Set Flush In-Ground Markers Along Tight Edges
Where a driveway squeezes between a fence and a garden bed, there is simply no room for stake lights — and that is where flush in-ground markers shine. These small round or square fixtures sit level with the pavement edge in a gravel shoulder or a poured concrete band, glowing upward just enough to draw a dotted line your tires can follow. I reach for them along retaining walls, beside the gate swing, and at the apron where the drive meets the street. Buy fixtures rated for drive-over or at least walk-over loads if there is any chance a tire will cross them, with stainless or brass trim rings that suit the period palette better than chrome. Space them 6 to 8 feet apart; the eye connects the dots easily. One caution from experience: in snowy climates, flush markers vanish under the first plow pass, so pair them with at least a couple of raised fixtures on any drive that gets shoveled. Installed neatly, they are nearly invisible by day — the most modern trick on this list, disguised as no trick at all.
Suggested budget range: $150 – $500.
9. Add a Motion-Sensor Lantern Where the Drive Meets the Walk
The corner where the driveway meets the front walk is where guests step out of cars into the dark, and a motion-sensor lantern solves it gracefully. I mount a mission-style wall lantern on the garage corner or a short post at that junction, set to glow at a low standby level and brighten when it senses movement within about 20 feet. The two-level approach matters: a light that snaps from black to full blast feels like a security flood, while one that rises gently from ember to lantern-bright feels like someone turned up a gas lamp for you. Aim the sensor across the parking spot rather than along the street, or every passing car will trigger it all night. Keep the bulb warm, 2700K, to match the rest of the scheme, and choose a fixture with an adjustable timer so it settles back down two to five minutes after the coast is clear. It is the hardest-working fixture on the list, and visitors will thank you without ever noticing why.
Suggested budget range: $60 – $180.
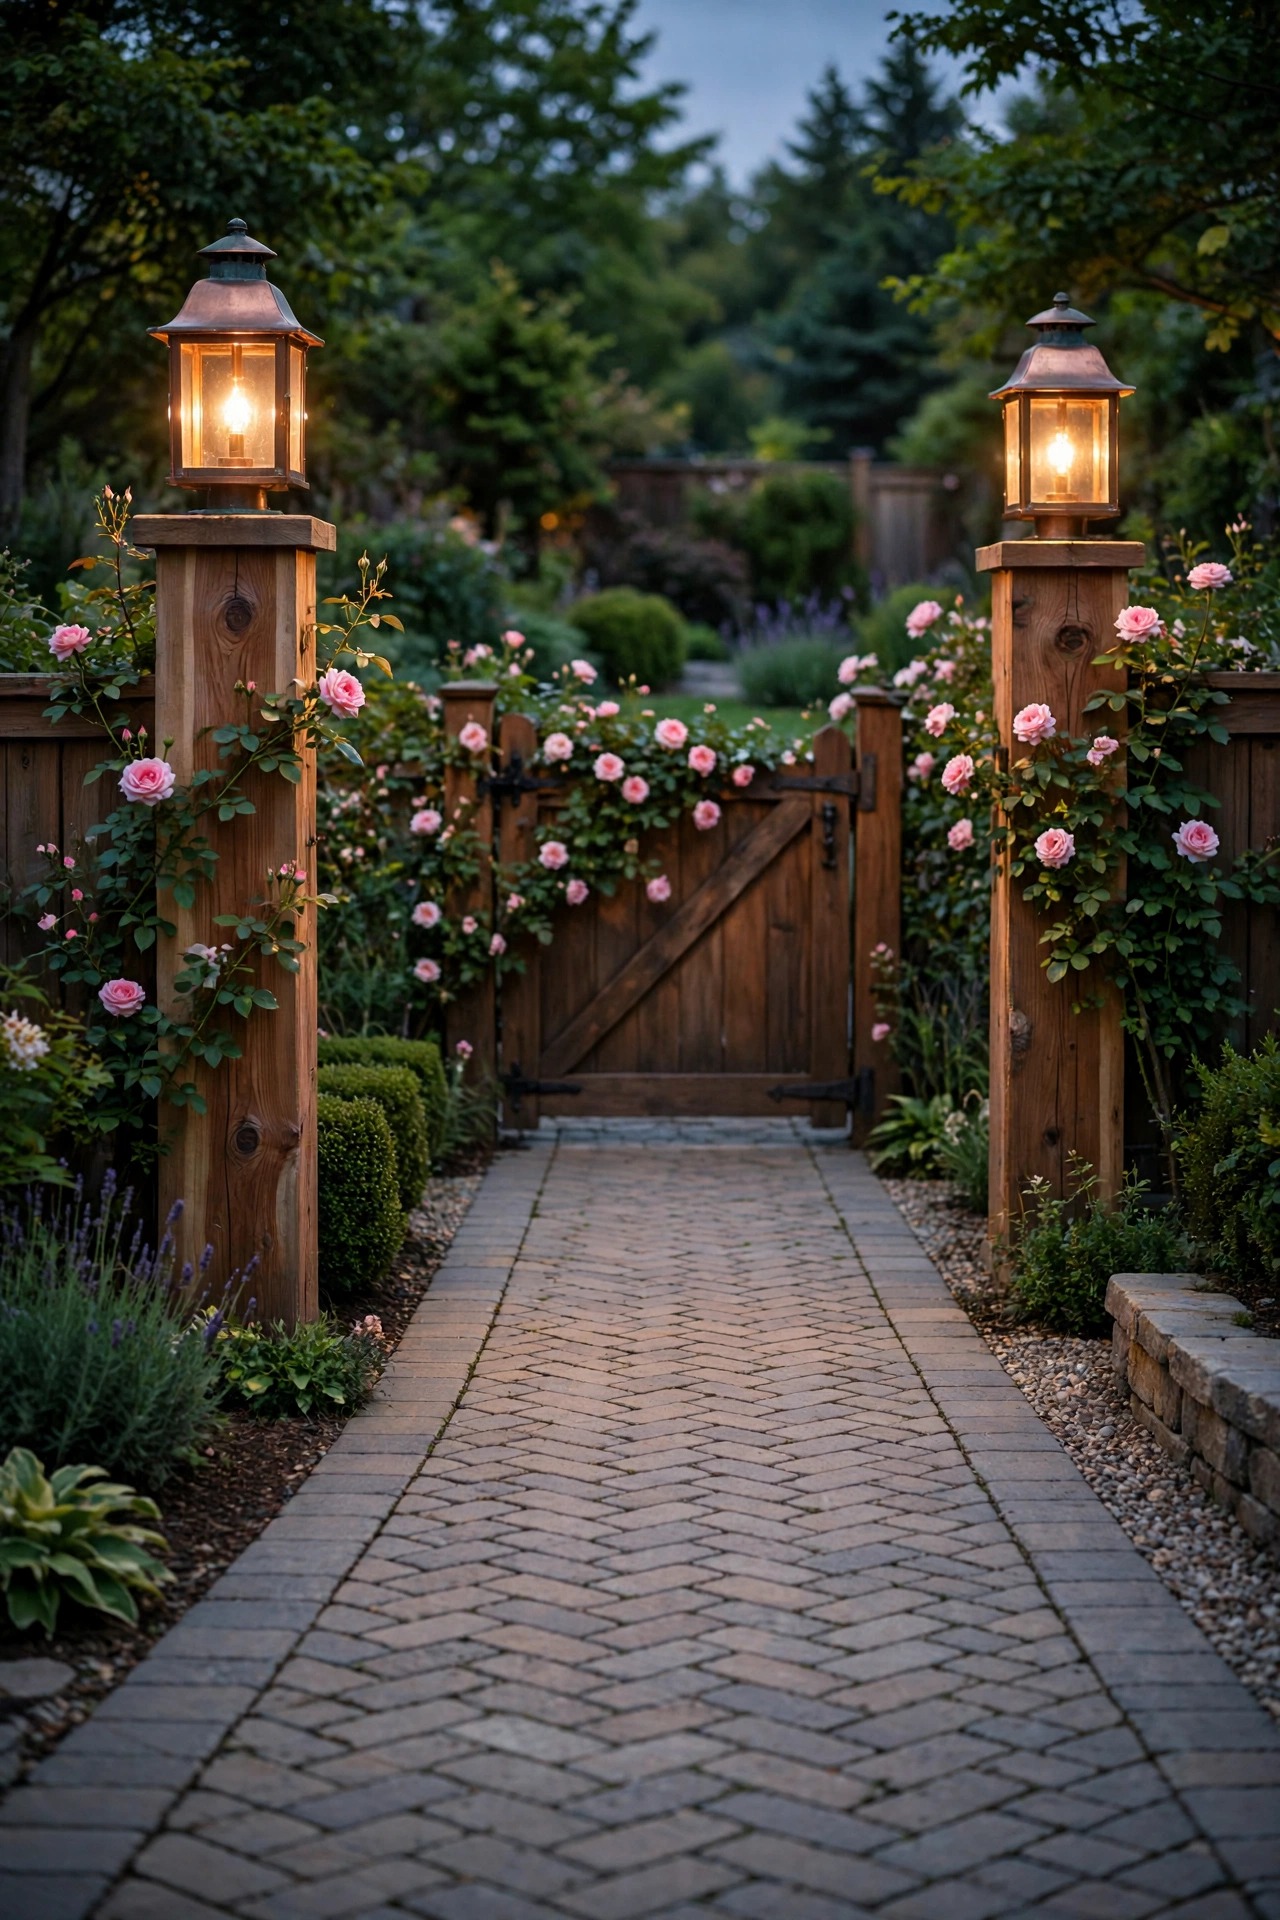
10. Flank a Gate or Arbor With Timber Post Lanterns
Many craftsman lots have a side gate, a garden arbor, or a low fence where the driveway ends, and a pair of lantern-topped timber posts turns that boundary into a destination. I use chunky 6-by-6 cedar posts, stained to match the porch beams, capped with a simple copper or bronze lantern that echoes the mission shades along the drive. Run the low-voltage cable along the fence line to reach them, and mount the lanterns about 5 feet high — tall enough to light a guest face kindly, low enough to stay under the arbor silhouette. The posts also give climbing roses or clematis something to climb, which softens the whole composition by the second summer. If the gate itself swings toward the drive, position the posts a full foot outside the swing arc; I learned that one the obvious way. This is a small project with an outsized payoff, because it tells every arriving guest exactly where the driveway ends and the garden begins.
Suggested budget range: $200 – $700.
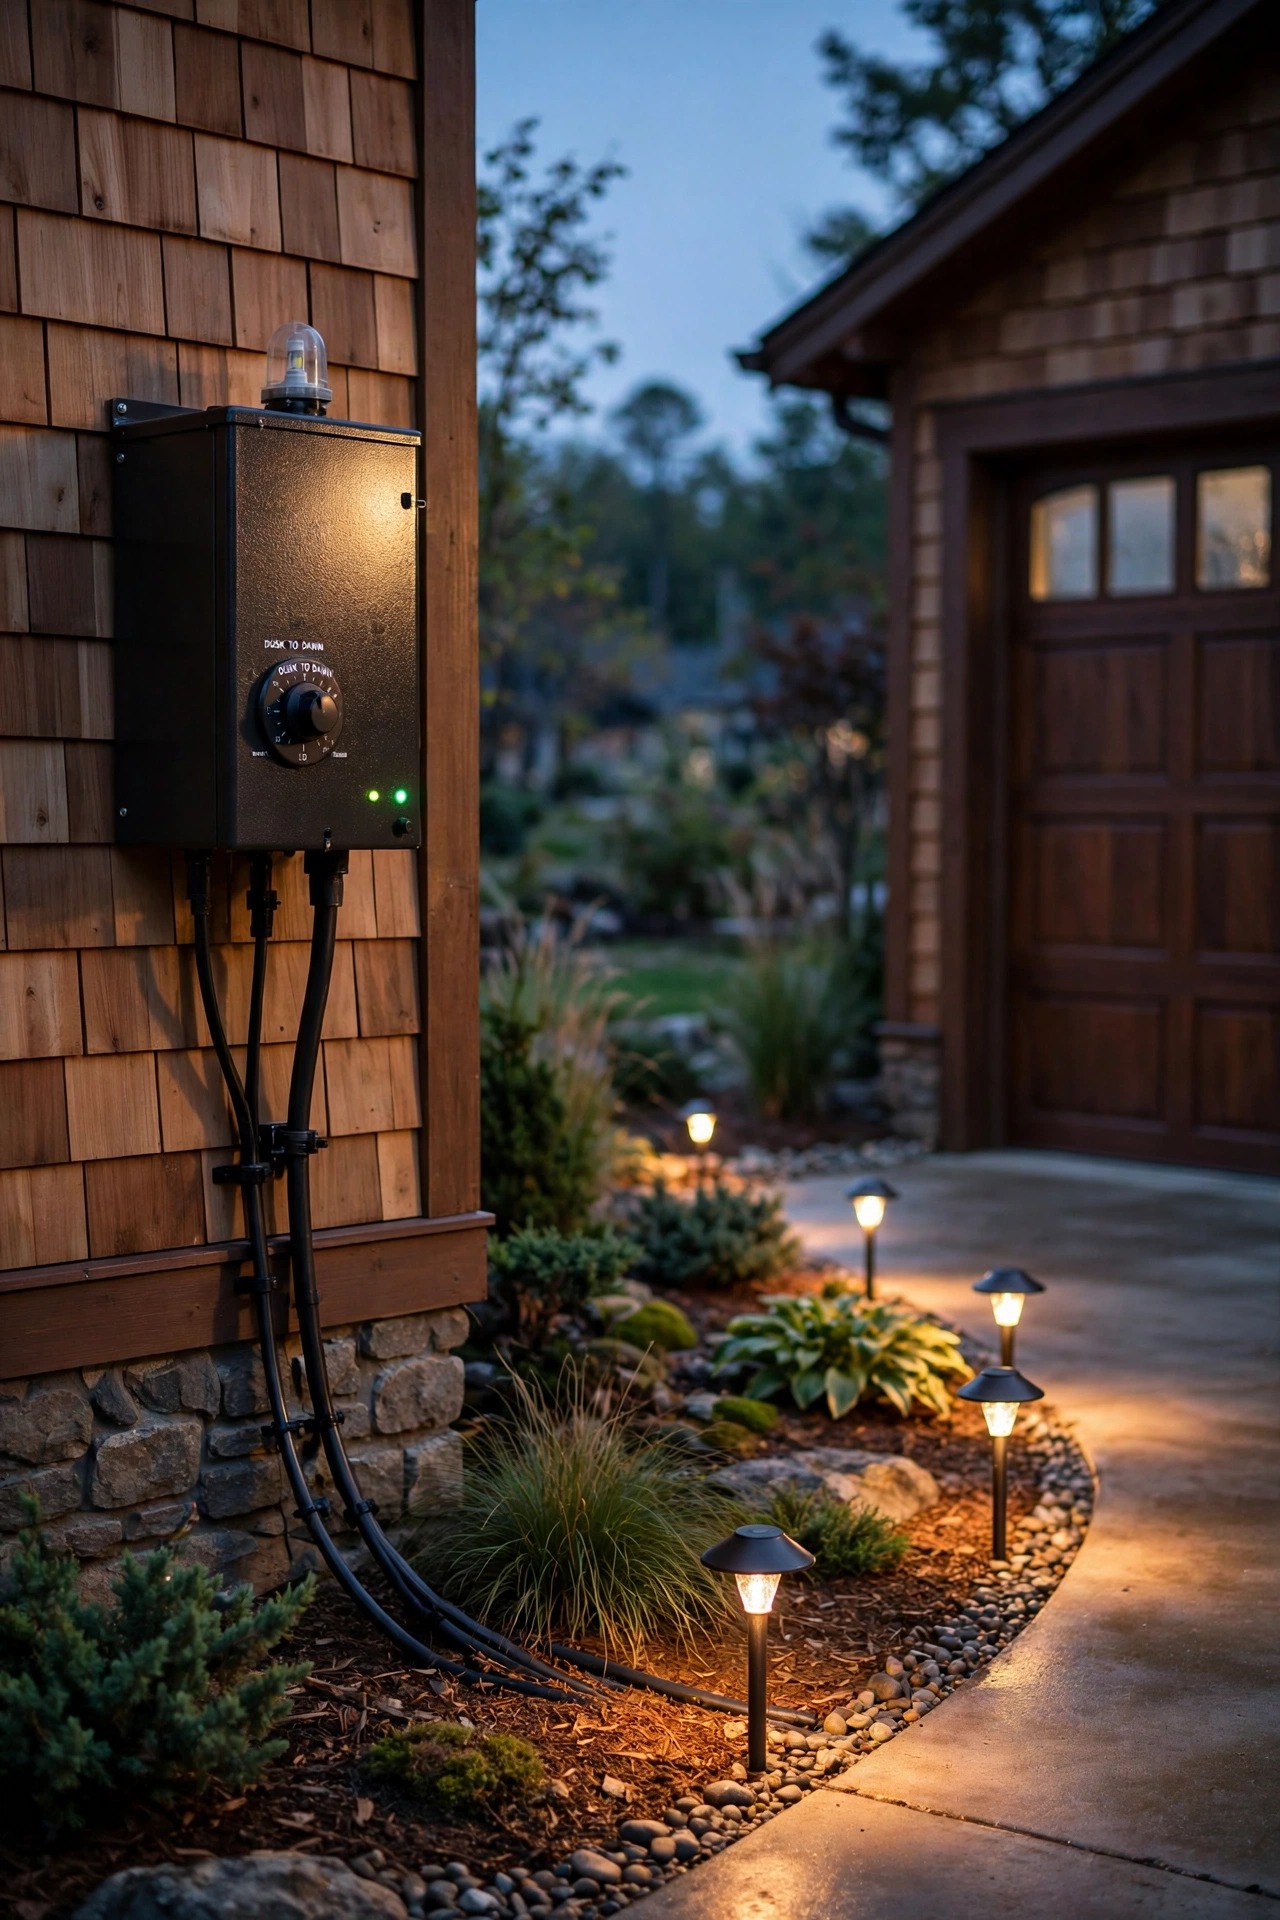
11. Put Everything on Timers and Photocells
Period charm should never mean period inconvenience. Every fixture on this list runs itself: the low-voltage transformer gets a built-in photocell and timer, the garage lanterns get a dusk-to-dawn sensor, and the whole scheme wakes at sunset and rests by about 11 p.m., which keeps the street dark-sky friendly and the electric bill trivial. In my experience, a simple astronomical timer is the upgrade worth paying for — it adjusts itself with the seasons, so the lights greet you at 5 p.m. in December and 8:30 in June without a single adjustment. Set the accent uplights to switch off an hour earlier than the guidance lights if you want the scene to settle down in stages, the way a house naturally goes to sleep. Skip the complicated app-controlled scenes unless you genuinely enjoy them; reliability is the luxury here. One small habit: check the photocell lens twice a year and wipe off the pollen film, because a dirty sensor is the number one reason good systems start behaving oddly.
Suggested budget range: $25 – $90.
12. Keep One Warm Temperature, 2700K, Everywhere
Here is the discipline that ties the whole driveway together: every bulb, in every fixture, at the same warm 2700K. The moment one cool-white bulb sneaks in — usually a replacement bought in a hurry — the period illusion cracks, because gaslight and early electric light never burned blue. Before I install anything, I lay all the bulbs out on the workbench and check the Kelvin rating on every box, including the solar stakes, whose amber filaments should sit near 2200K to 2700K. Buy two spares of each bulb type while you are at it and store them in a labeled bin in the garage, so a midwinter replacement never becomes a mismatched emergency run. Warm light also flatters everything a craftsman home is made of: cedar stain deepens, brick glows instead of glaring, and river rock shows its full range of tans and grays. If a fixture only accepts an integrated LED, check its rating before it goes in the cart, not after it is wired. Consistency is invisible when you have it and glaring when you do not.
Suggested budget range: $30 – $110.
13. Finish Your Craftsman Driveway Lighting Ideas With a Full Dusk Drive-Up
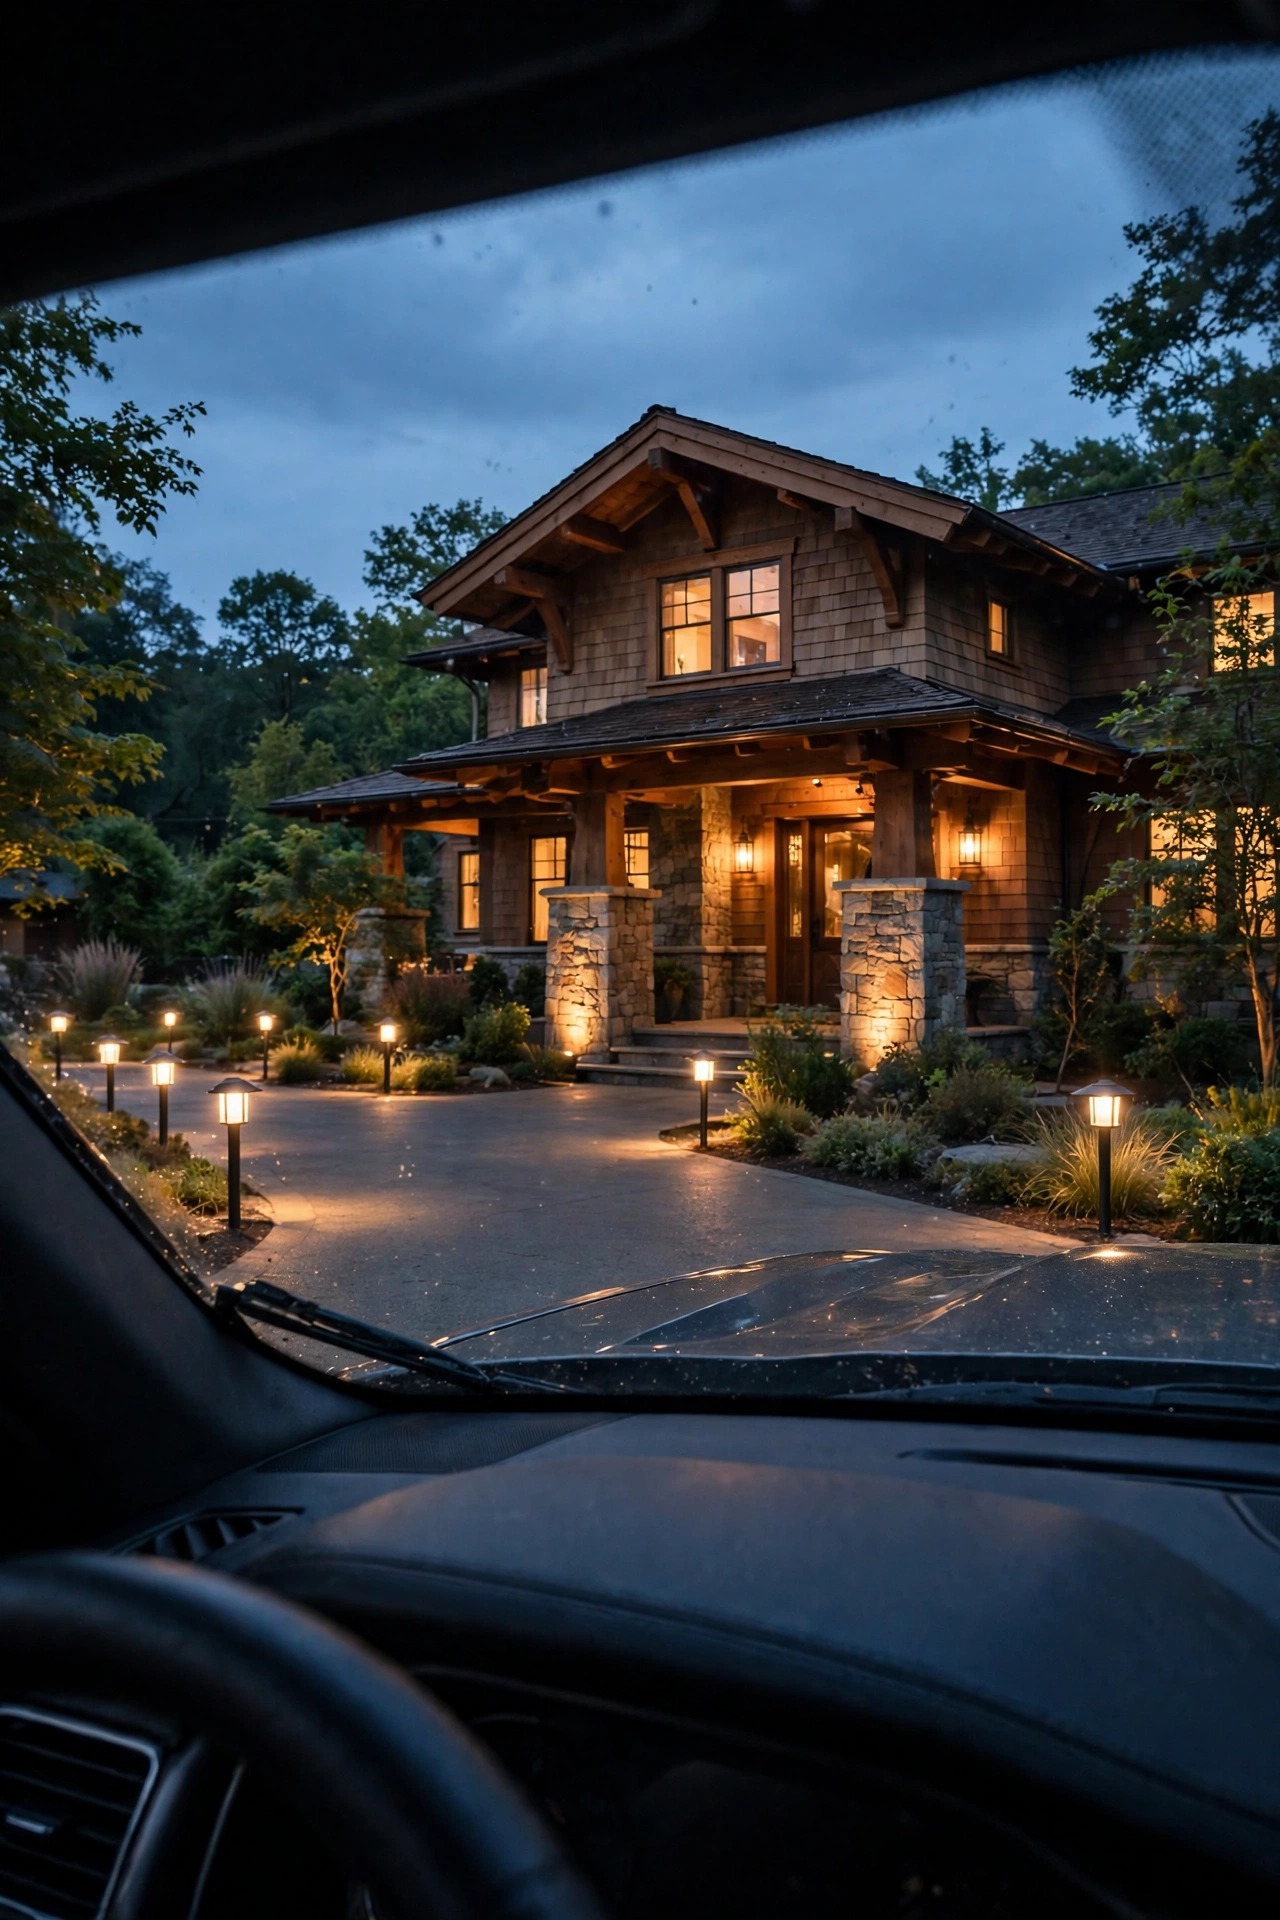
The last step costs almost nothing and matters most: drive the route yourself at dusk, slowly, the way a guest would. I do this after every install and again every October, and I always find something — a lantern glaring at windshield height, a dark gap at the apron, an uplight that crept off the column after a mulch refresh. Sit in the driver seat and look where your eyes actually go. Check that no fixture shines directly into your eyes, that the entrance pillars read as a pair from the street, and that the walk from car door to porch is one unbroken chain of gentle pools. Then walk it on foot with a coffee, because the pedestrian view is where the charm lives. Adjust aim, swap a bulb, nudge a stake six inches — these tiny fixes are the difference between a driveway that is lit and craftsman driveway lighting ideas that feel a hundred years old, in the best possible way. Take a photo from the street when you are done; you have earned it.
Suggested budget range: $0 – $75.
Frequently Asked Questions
What color temperature looks most authentic on a craftsman home?
Warm 2700K is my standard for every fixture, with amber 2200K filament bulbs welcome in lanterns where you want an extra gaslight feel. Anything above 3000K reads modern and blue against wood, brick, and stone, so I avoid it anywhere on the facade or drive. Consistency matters more than the exact number — one temperature everywhere looks intentional and period-correct.
How far apart should driveway path lights be spaced?
For lantern-style path lights, 8 to 10 feet apart with a gentle stagger between sides gives overlapping pools of light without a runway look. On curves and aprons, tighten that to 6 to 8 feet so the line of light clearly shows where the edge bends. Brighter bollards can stretch to 10 to 12 feet. When in doubt, set the fixtures out at dusk before burying cable and adjust by eye.
Are solar lights bright enough for a craftsman driveway?
Solar stakes work well as edge markers and accents, especially the newer amber filament styles, but I never rely on them alone where footing or tire placement really matters. They dim in winter and after cloudy stretches. My rule: wired low-voltage for the guidance layer near the house and garage, solar for the far end of a long drive or spots where trenching cable is impractical.
How much does a full craftsman driveway lighting scheme cost?
A modest setup of path lanterns, garage carriage lights, and a timer transformer lands around $500 to $1,200 in materials. Adding stone entrance pillars, bollards, and facade uplights brings a full layered scheme to roughly $1,500 to $3,500. Running costs stay tiny — a whole low-voltage system typically draws less power than a single old porch bulb, just a few dollars a month.
Conclusion
A craftsman driveway should feel like it was always lit this way — lanterns low and warm, pillars standing at the gate, the house glowing softly behind it all. Start with the layered plan, pick fixtures with honest materials and period silhouettes, hold every bulb to 2700K, and let timers do the remembering. Whether you install two ideas this weekend or all thirteen by fall, these craftsman driveway lighting ideas will make coming home the prettiest part of your day. Browse more of my outdoor lighting ideas here on the site, and come back at dusk — that is when this driveway really shows off.