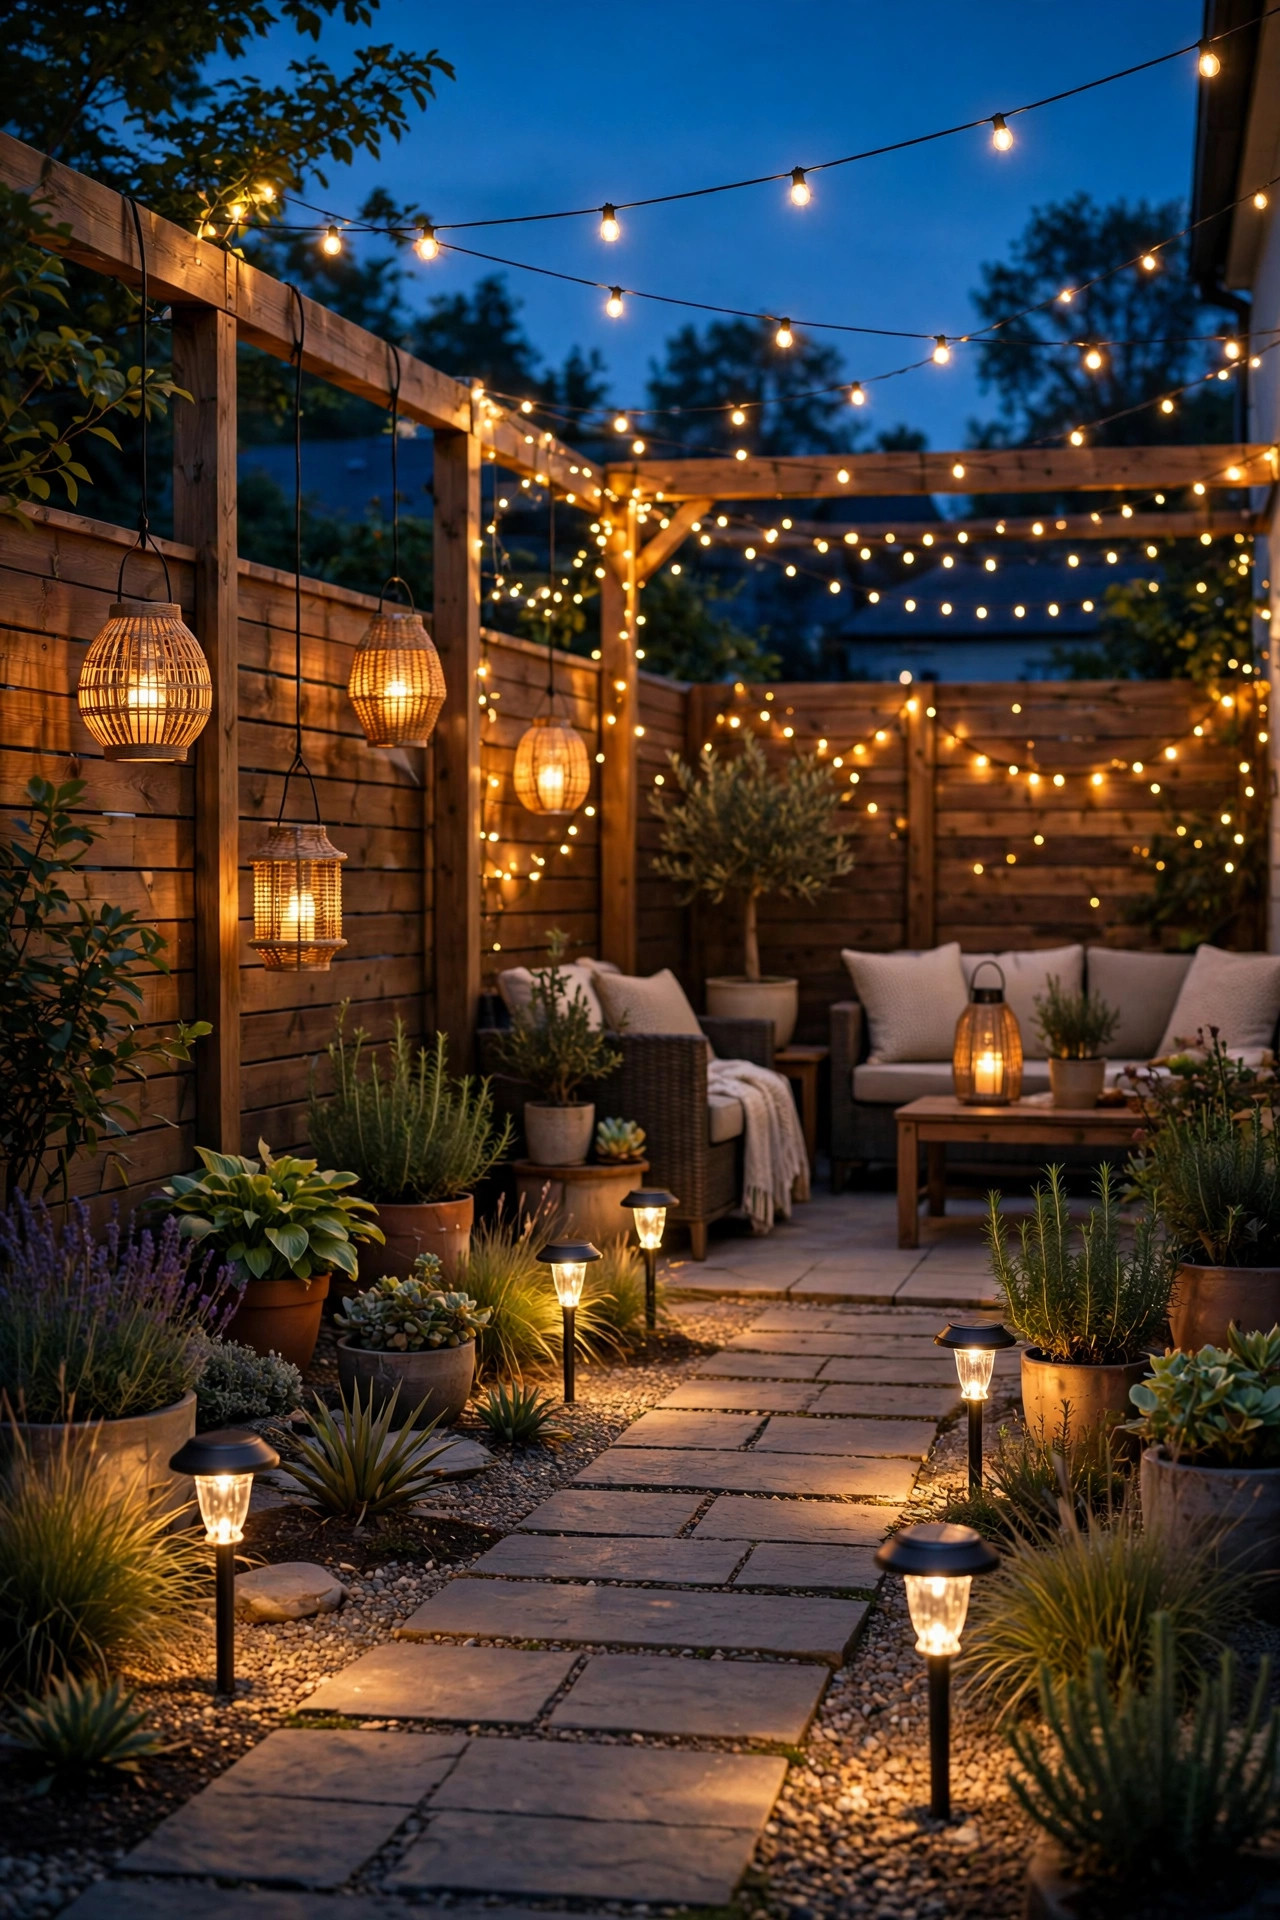
For years I assumed a beautifully lit yard meant trenching cable, hiring an electrician, and spending a small fortune before the first bulb ever glowed. Then a friend with a rental townhouse showed me her patio at dusk, and it looked like a magazine spread with not a single wire in sight. That night sent me down a rabbit hole of no wiring outdoor lighting ideas, and honestly, I have barely touched my low-voltage transformer since. The secret is the same layering I use everywhere: light low along paths and steps for safety, light at seating height so faces and food look warm, and a little sparkle overhead for atmosphere. Solar handles the set-and-forget jobs, batteries handle the portable glow, and USB rechargeables handle everything you want to dim, time, or carry. Every idea on this list installs in an afternoon with zero digging, zero splicing, and zero calls to an electrician. Let me show you the 21 setups that lit my whole yard the wire-free way.
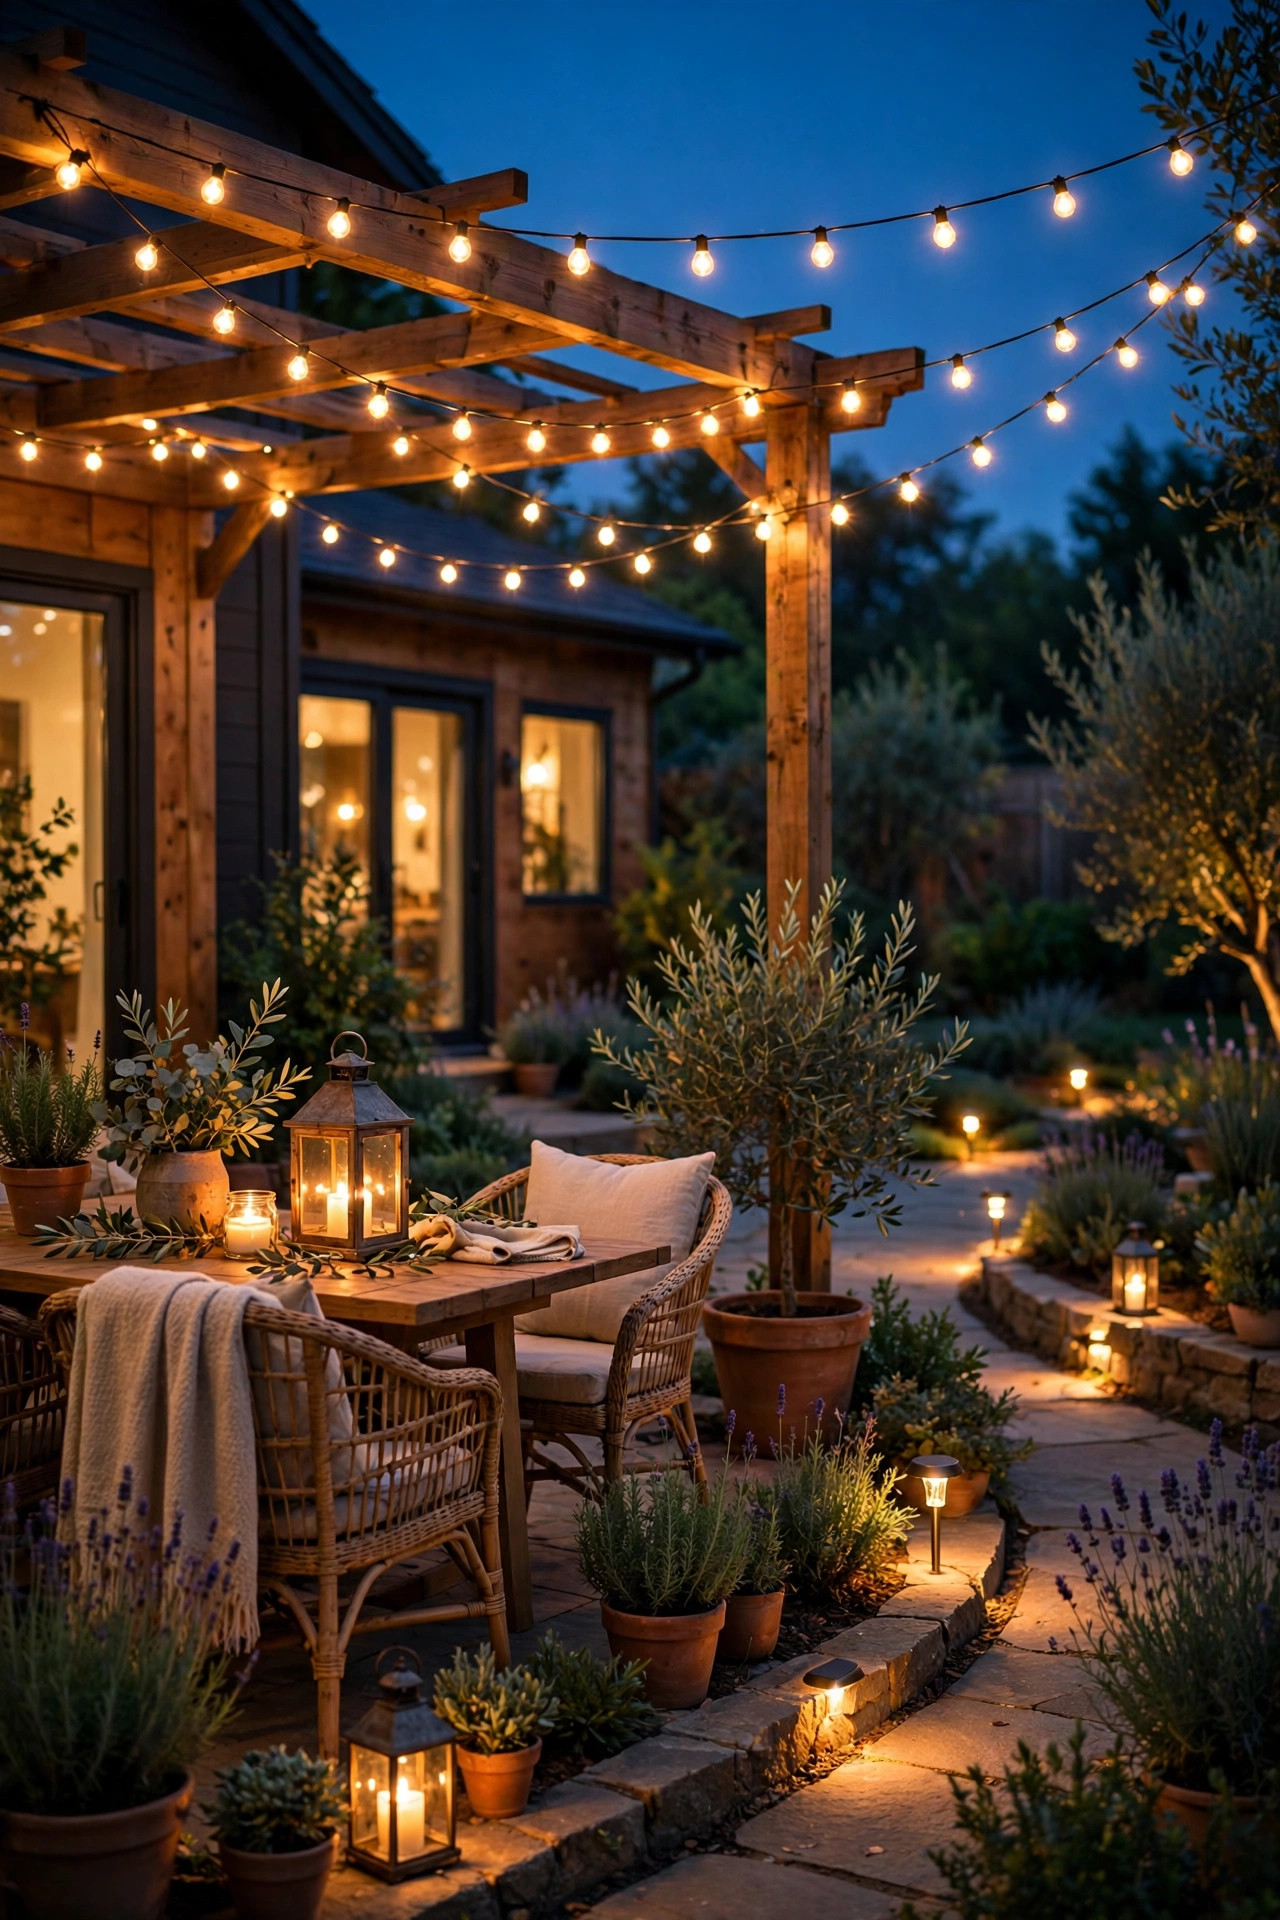
1. Start With a Plan: The Best No Wiring Outdoor Lighting Ideas Layer Three Ways
Before you buy a single light, walk your yard at dusk and sort every dark spot into one of three layers. The ground layer is safety: paths, steps, gates, and the edge of the deck where ankles go missing. The middle layer is living light: table height glow for dinners, reading chairs, and faces. The top layer is sparkle: canopies, tree wraps, and fence lines that make the whole space feel finished. Wire-free lighting rewards planning because each layer has a natural power source. Solar owns the ground layer, since stakes and step lights charge where they sit. Batteries own the middle layer, because lanterns and table lamps move wherever the evening moves. USB rechargeables own the top layer and the smart features, giving you dimmers and timers without an outlet nearby. Sketch the three layers on paper, count how many fixtures each one needs, and buy for the plan instead of grabbing random pretty things. In my experience, a planned wire-free yard looks intentional, while an unplanned one looks like a clearance bin exploded. This ten-minute map is the difference.
Suggested budget range: $0 – $25.
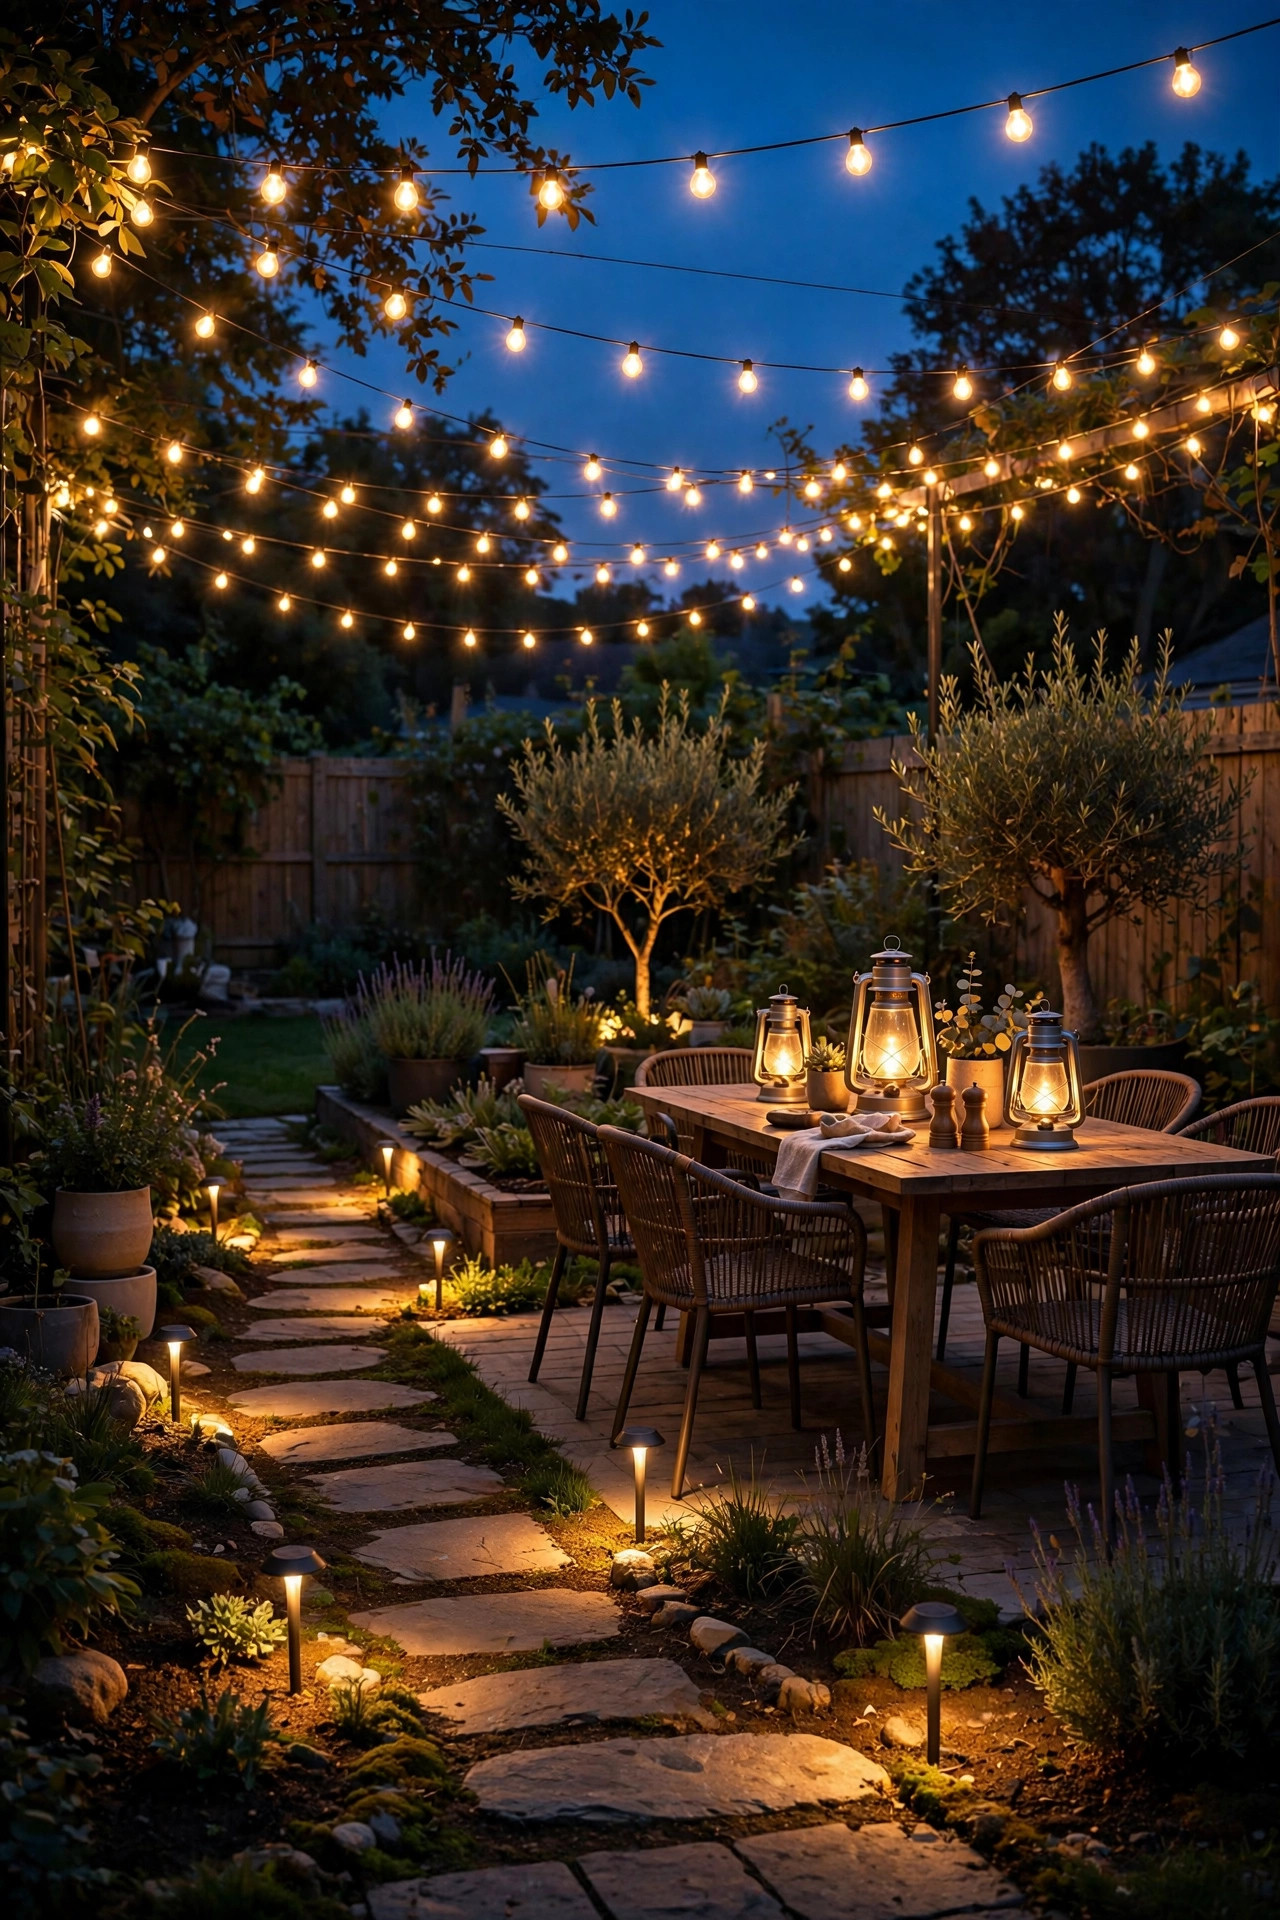
2. Drape Solar String Lights Wherever the Sun Visits
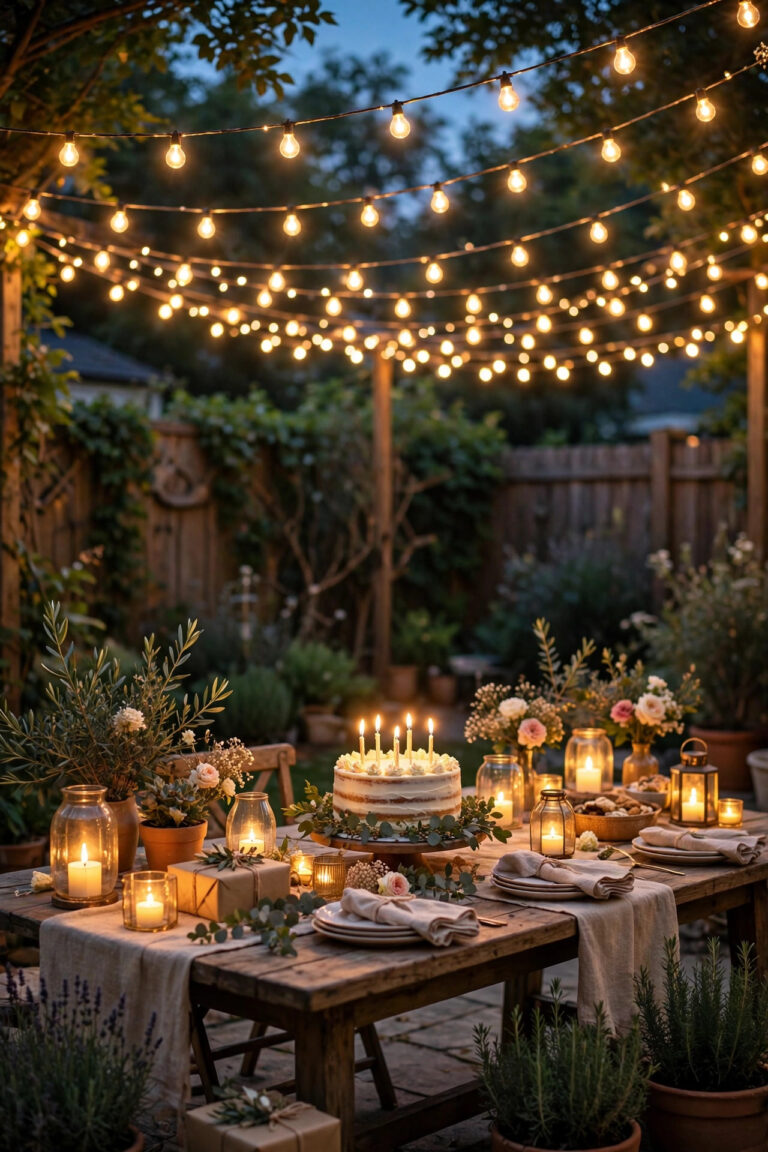
Solar string lights are the gateway drug of wire-free lighting, and I mean that as a compliment. The strand itself needs no outlet at all; a small solar panel on a stake or clip charges all day and the bulbs glow for 6 to 8 hours after dark. Drape them along a fence, swag them between two shepherd's hooks, or zigzag them over a small patio using removable hooks. The one rule that matters: the panel needs roughly 6 hours of direct sun, so mount it on the sunny side of the fence or roof edge, not under the eave where the strand hangs. Warm white 2700K filament-style bulbs give that café glow everyone loves, and shatterproof plastic bulbs survive hail and dropped strands. Most strands run 25 to 50 feet, and spacing the swags so the lowest dip stays 7 feet above walkways keeps heads and bulbs apart. I wipe the panel clean once a month, because pollen film quietly steals charging power. For more ways to use them all over the yard, my guide to backyard lighting with no outlet covers the spots outlets never reach.
Suggested budget range: $20 – $45.
3. Line Every Path With Solar Stake Lights
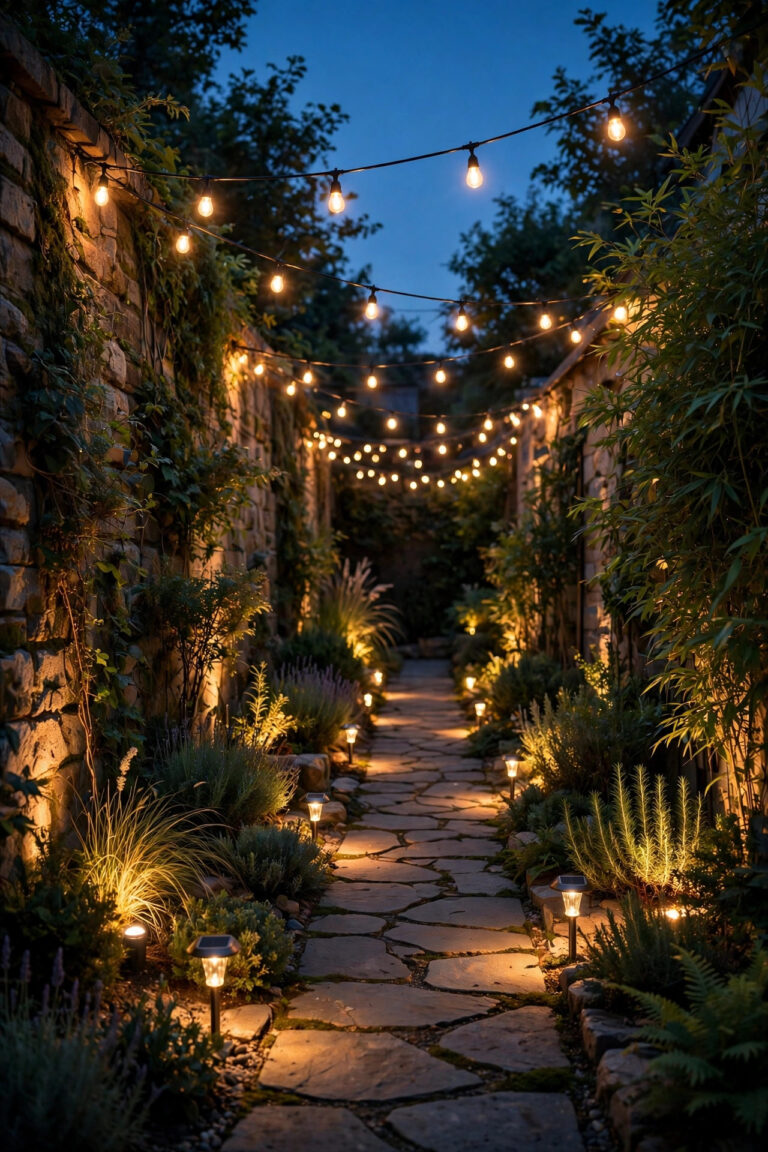
If solar string lights are the fun purchase, solar path stakes are the responsible one, and your shins will thank you nightly. Push them into soil or mulch along both sides of a walkway, staggered every 4 to 6 feet so the pools of light overlap and nobody steps into a dark gap. Look for warm white stakes in the 2700K to 3000K range at 10 to 30 lumens each; that is plenty for wayfinding without turning the path into a runway. Panels at least 2 inches wide charge noticeably better than the tiny bargain-bin ones, and a removable battery compartment means the light survives for years instead of one season. In my experience, placement beats brightness every time: a dim stake exactly at a step edge prevents more trips than a bright one two feet away. Keep them out of the mower path and pull them up before aerating or big garden work. Twice a year I wipe the panels and check for water inside the housings. Simple, cheap, and completely wire-free from box to glow.
Suggested budget range: $15 – $40.

4. Cluster Battery Lanterns at Seating Height
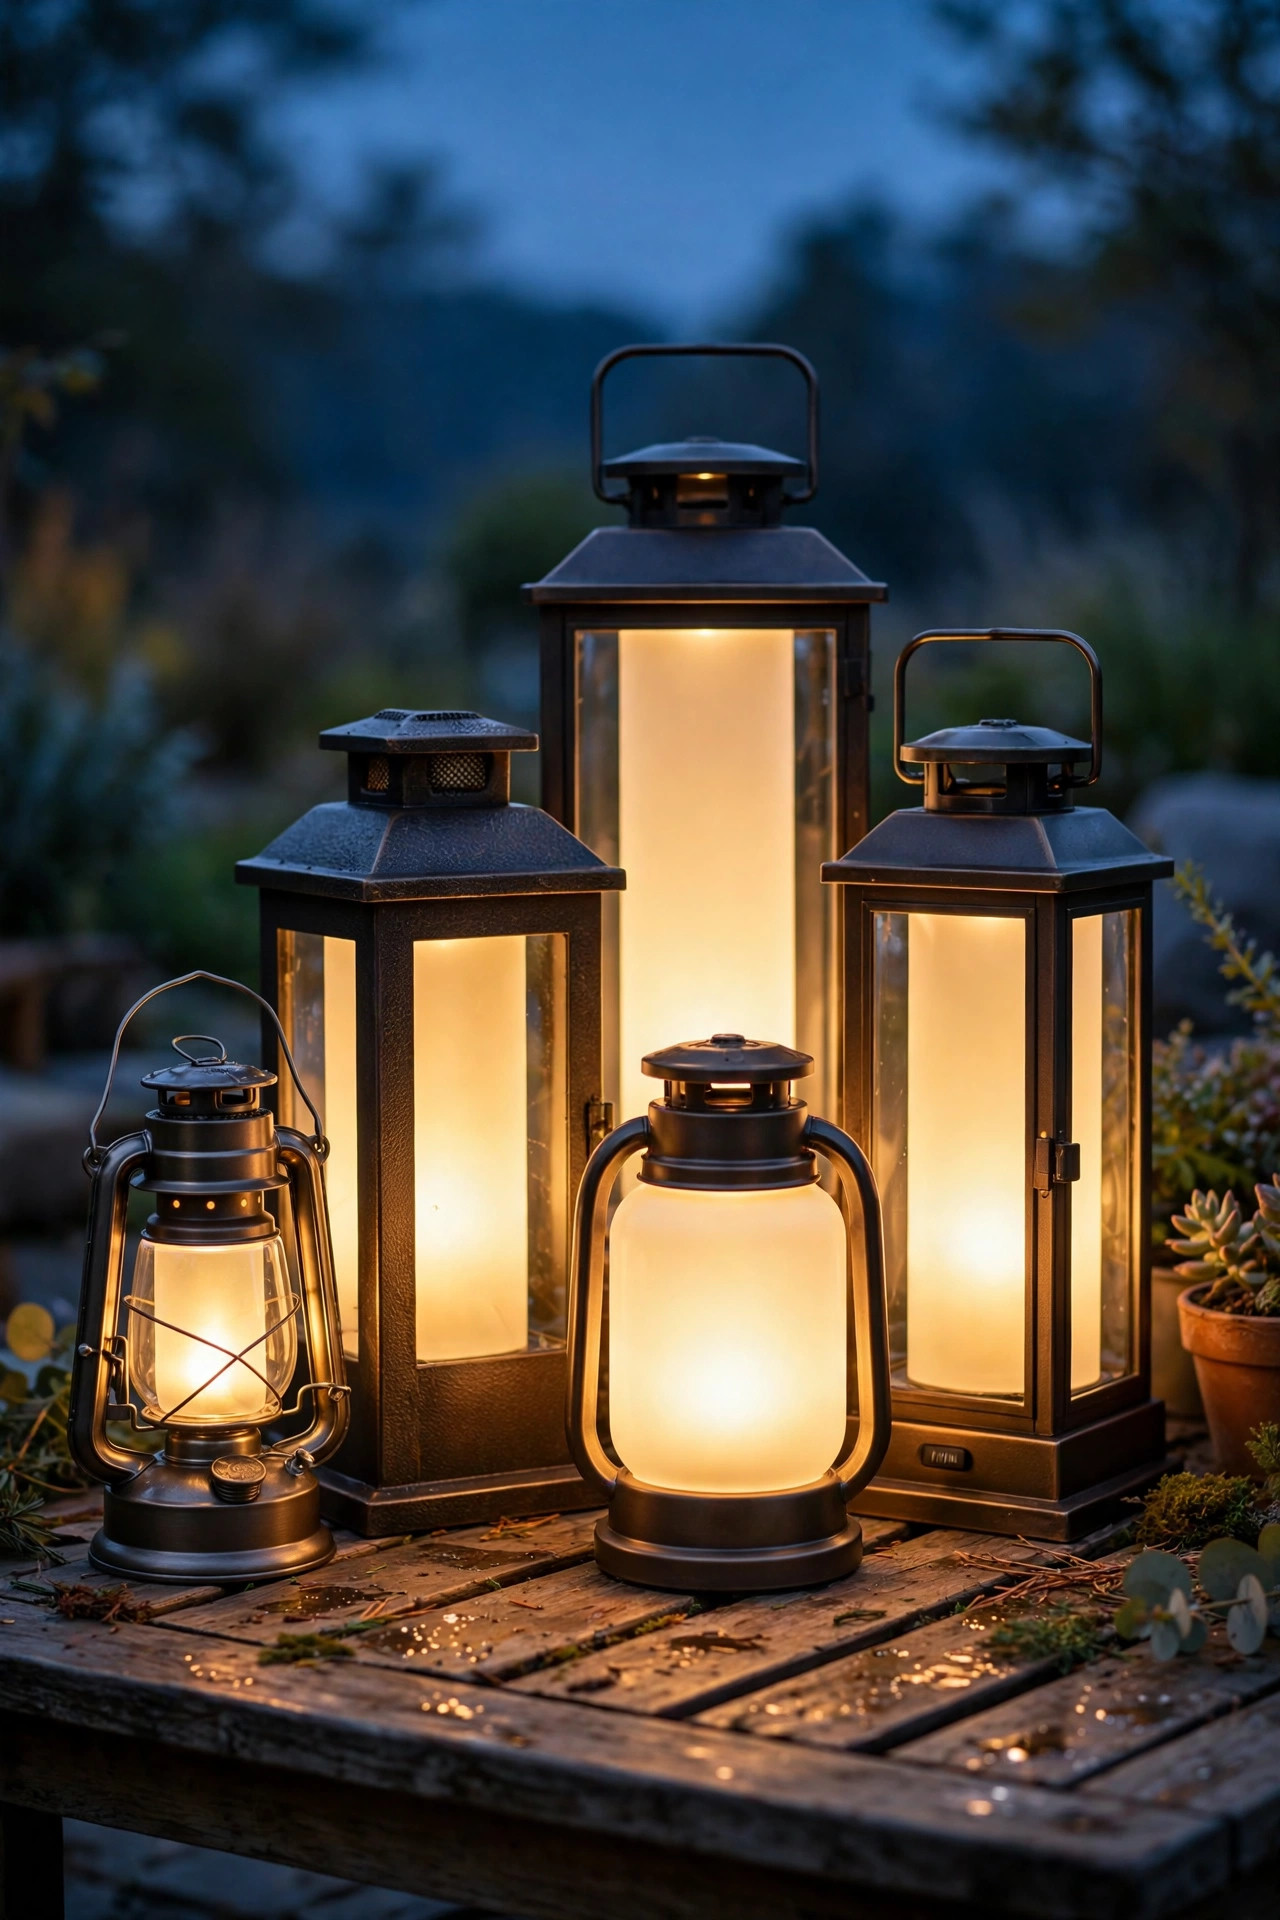
Battery lanterns are the middle layer I reach for more than any other, because they put warm light exactly at face and table height, exactly where gatherings happen. Group them in odd numbers, three on a coffee table, two flanking a bench, one tall statement lantern beside the door. Mix heights between 8 and 18 inches so the cluster looks collected rather than matched. The flameless LED versions flicker like real candlelight, run 100 hours or more on a set of batteries, and never once threaten curtains, paper napkins, or curious toddlers. A built-in timer that repeats the same 6-hour window every evening is the feature I insist on now; set it once in June and the lanterns simply handle dusk for you all summer. Weatherproof resin or powder-coated metal housings survive being left out, though I bring the fabric-shaded ones in during storms. Rechargeable lanterns cost more up front and save the battery drawer later. Honestly, a $30 lantern cluster has fooled more dinner guests into thinking I hired a designer than any fixture I own.
Suggested budget range: $25 – $60.
5. Run USB Café String Lights Off a Power Bank
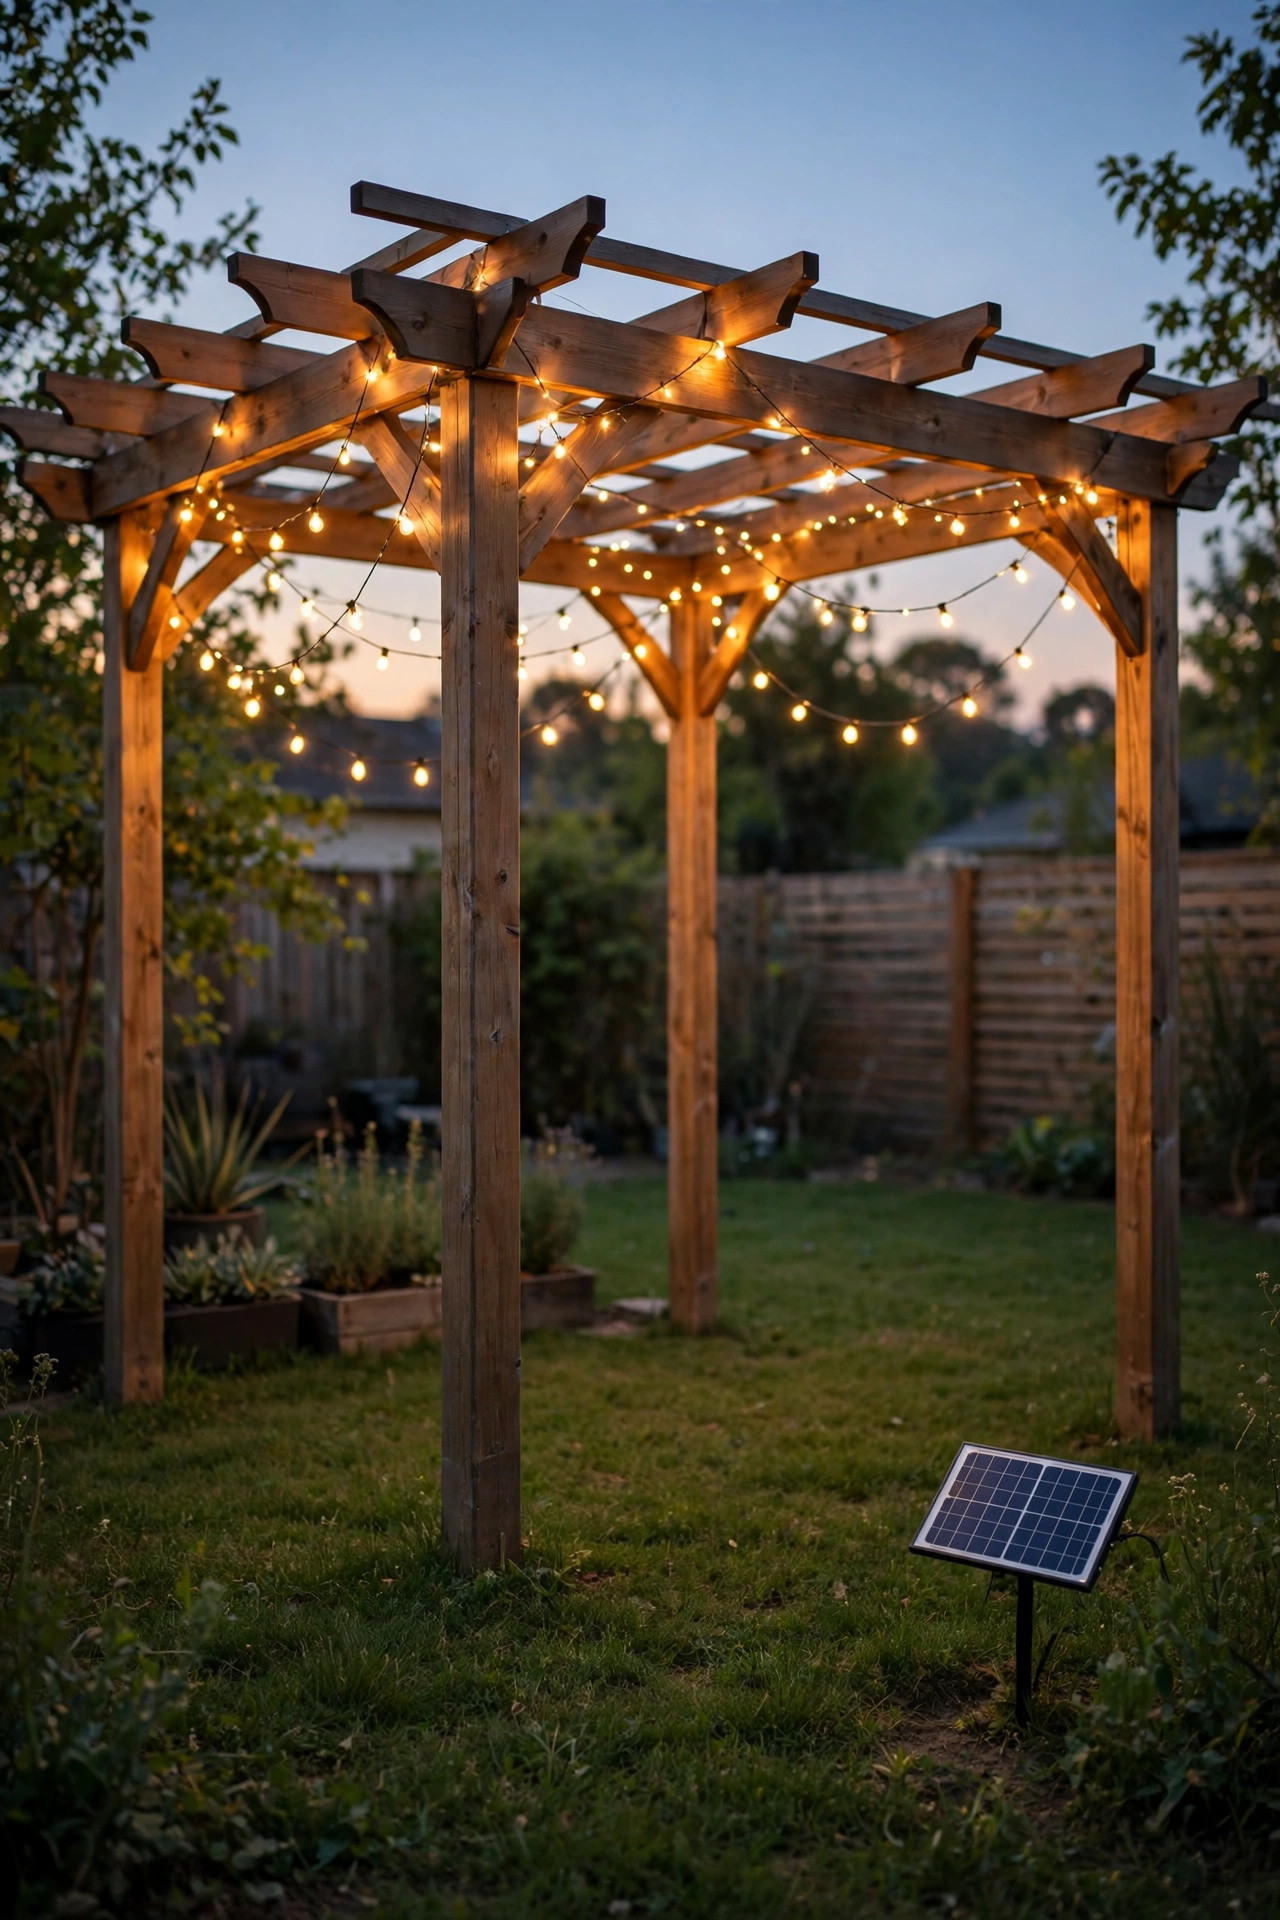
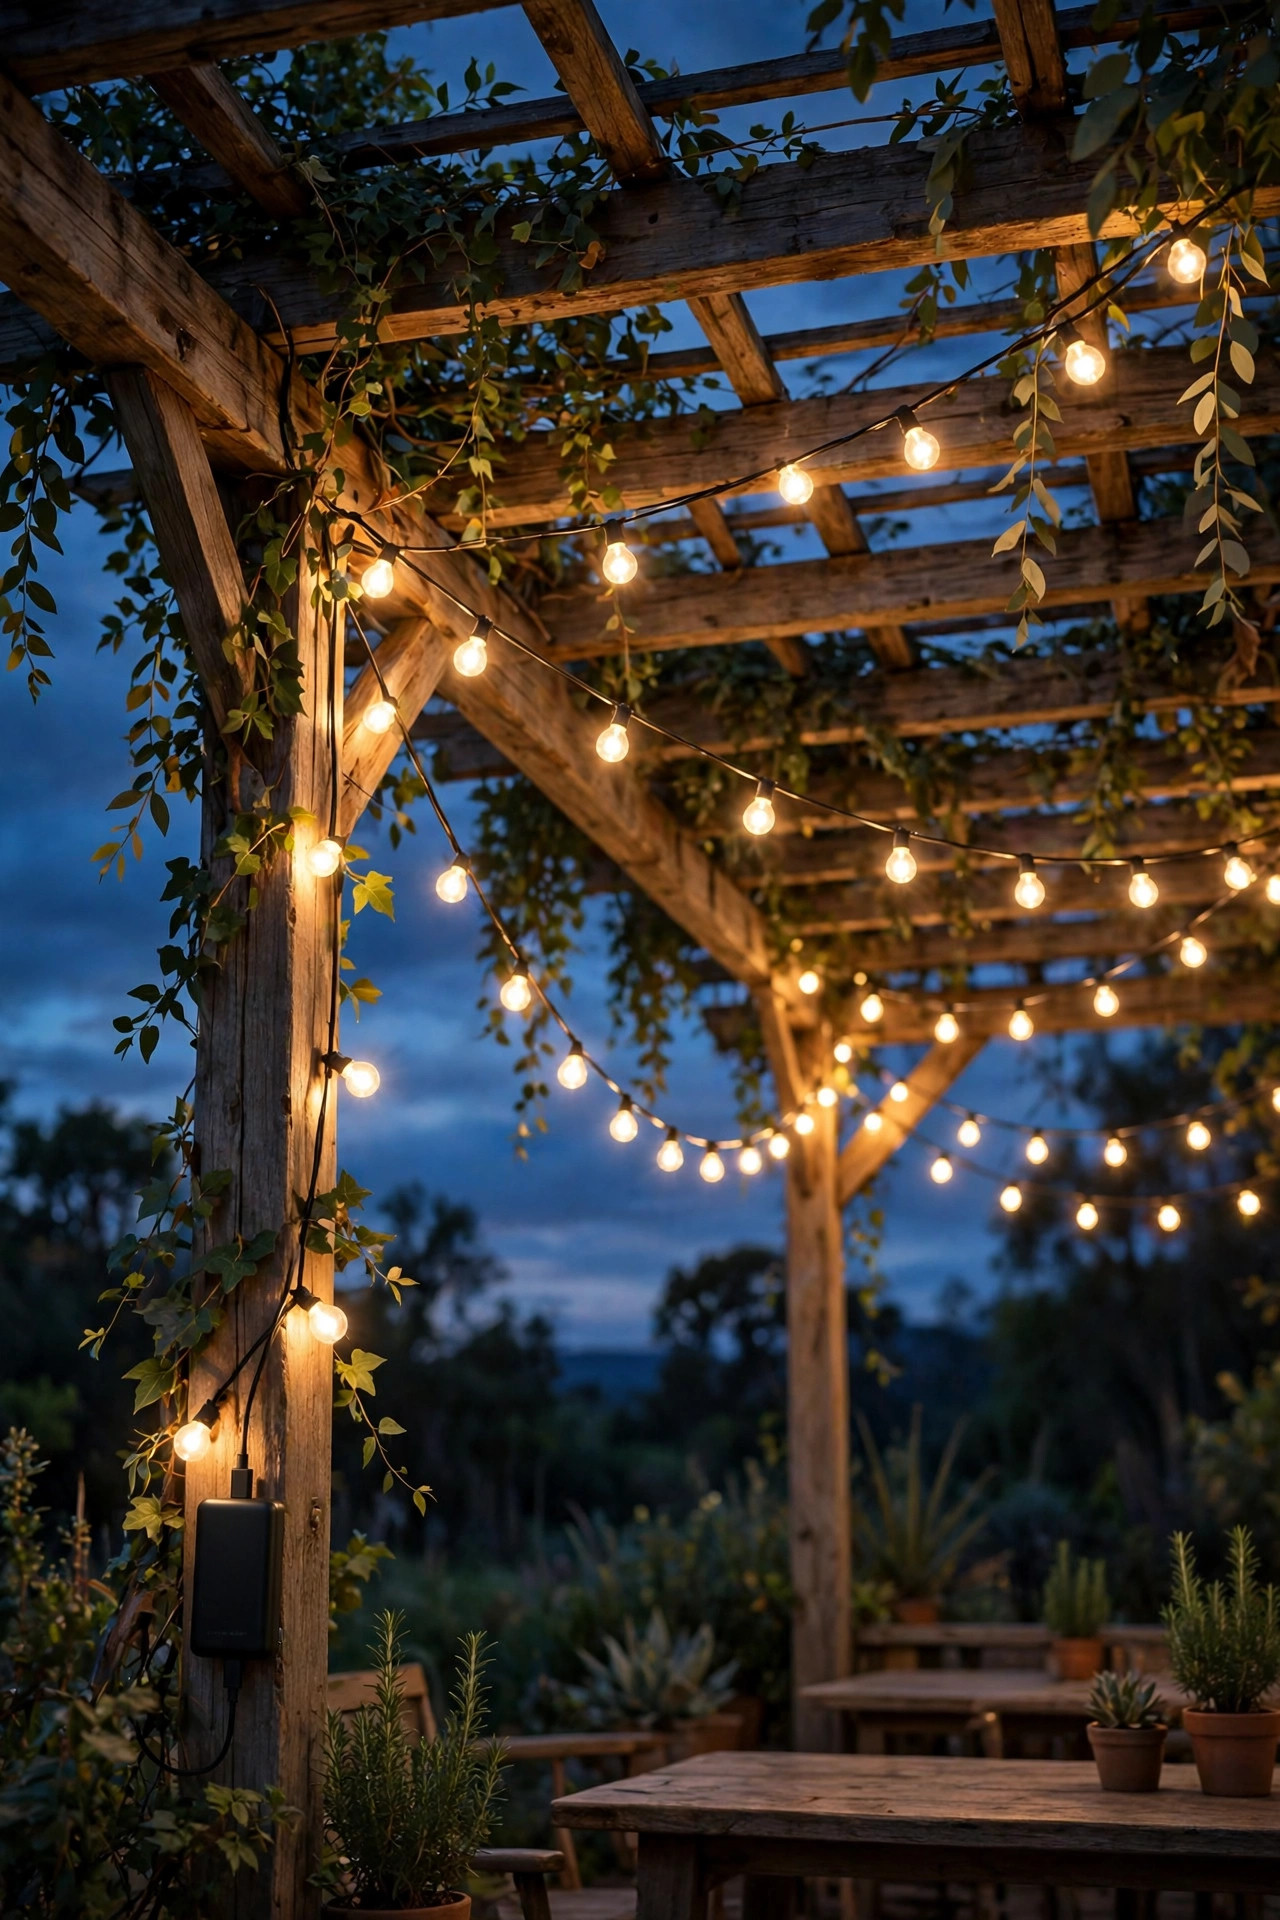
Here is the trick that changed my pergola forever: USB string lights plugged into an ordinary rechargeable power bank. A 10,000 mAh bank runs a 33-foot strand of USB café bulbs for two or three full evenings, and the whole setup hides in a weatherproof box under a chair. Because USB power is steady rather than solar-dependent, these strands offer features solar rarely does: real dimming, twinkle modes, and warm-to-cool adjustments from a little inline remote. That makes them perfect under roofs, porches, and pergolas where solar panels starve in shade. Hang them with cup hooks or gutter clips, keep the lowest swag at least 7 feet over walkways, and route the short USB cable down a post so it disappears. One caution: USB connectors are not waterproof, so tuck the connection point inside a drip-proof enclosure or under the eave, and bring the power bank indoors to charge. In my experience, one bank per zone is the sweet spot; label them with tape so the patio bank never wanders off to charge someone's phone.
Suggested budget range: $25 – $55.
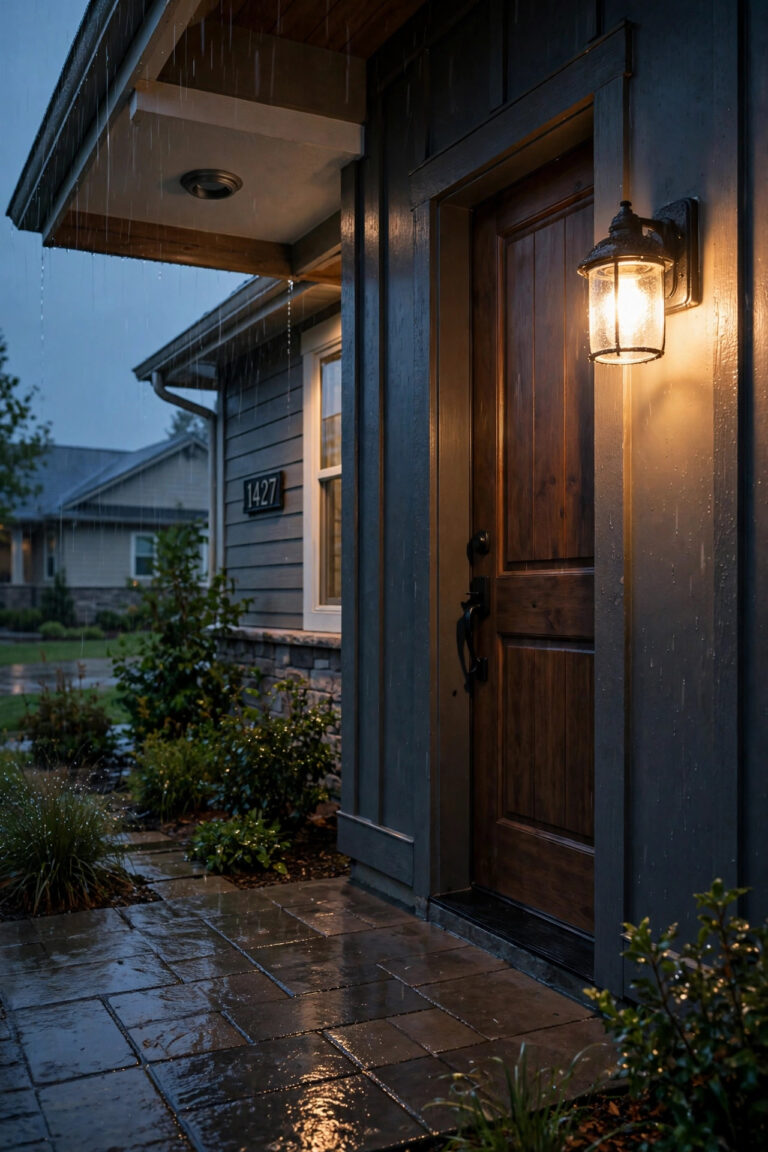
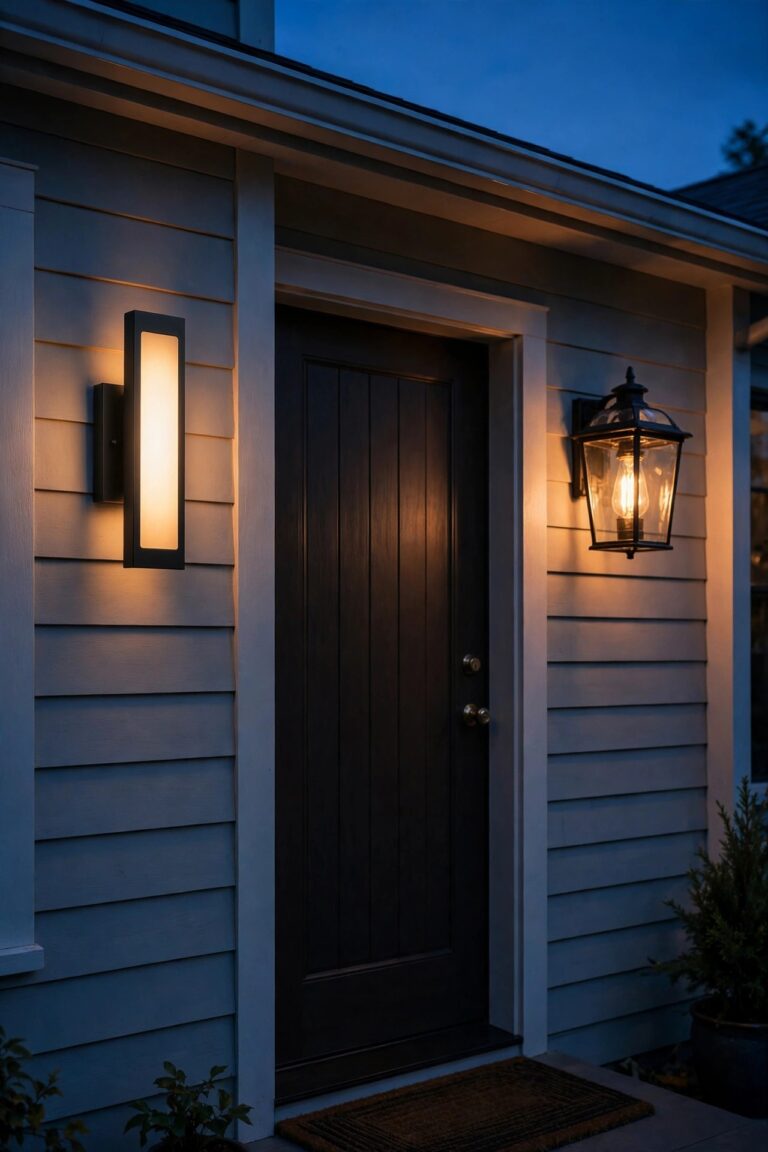
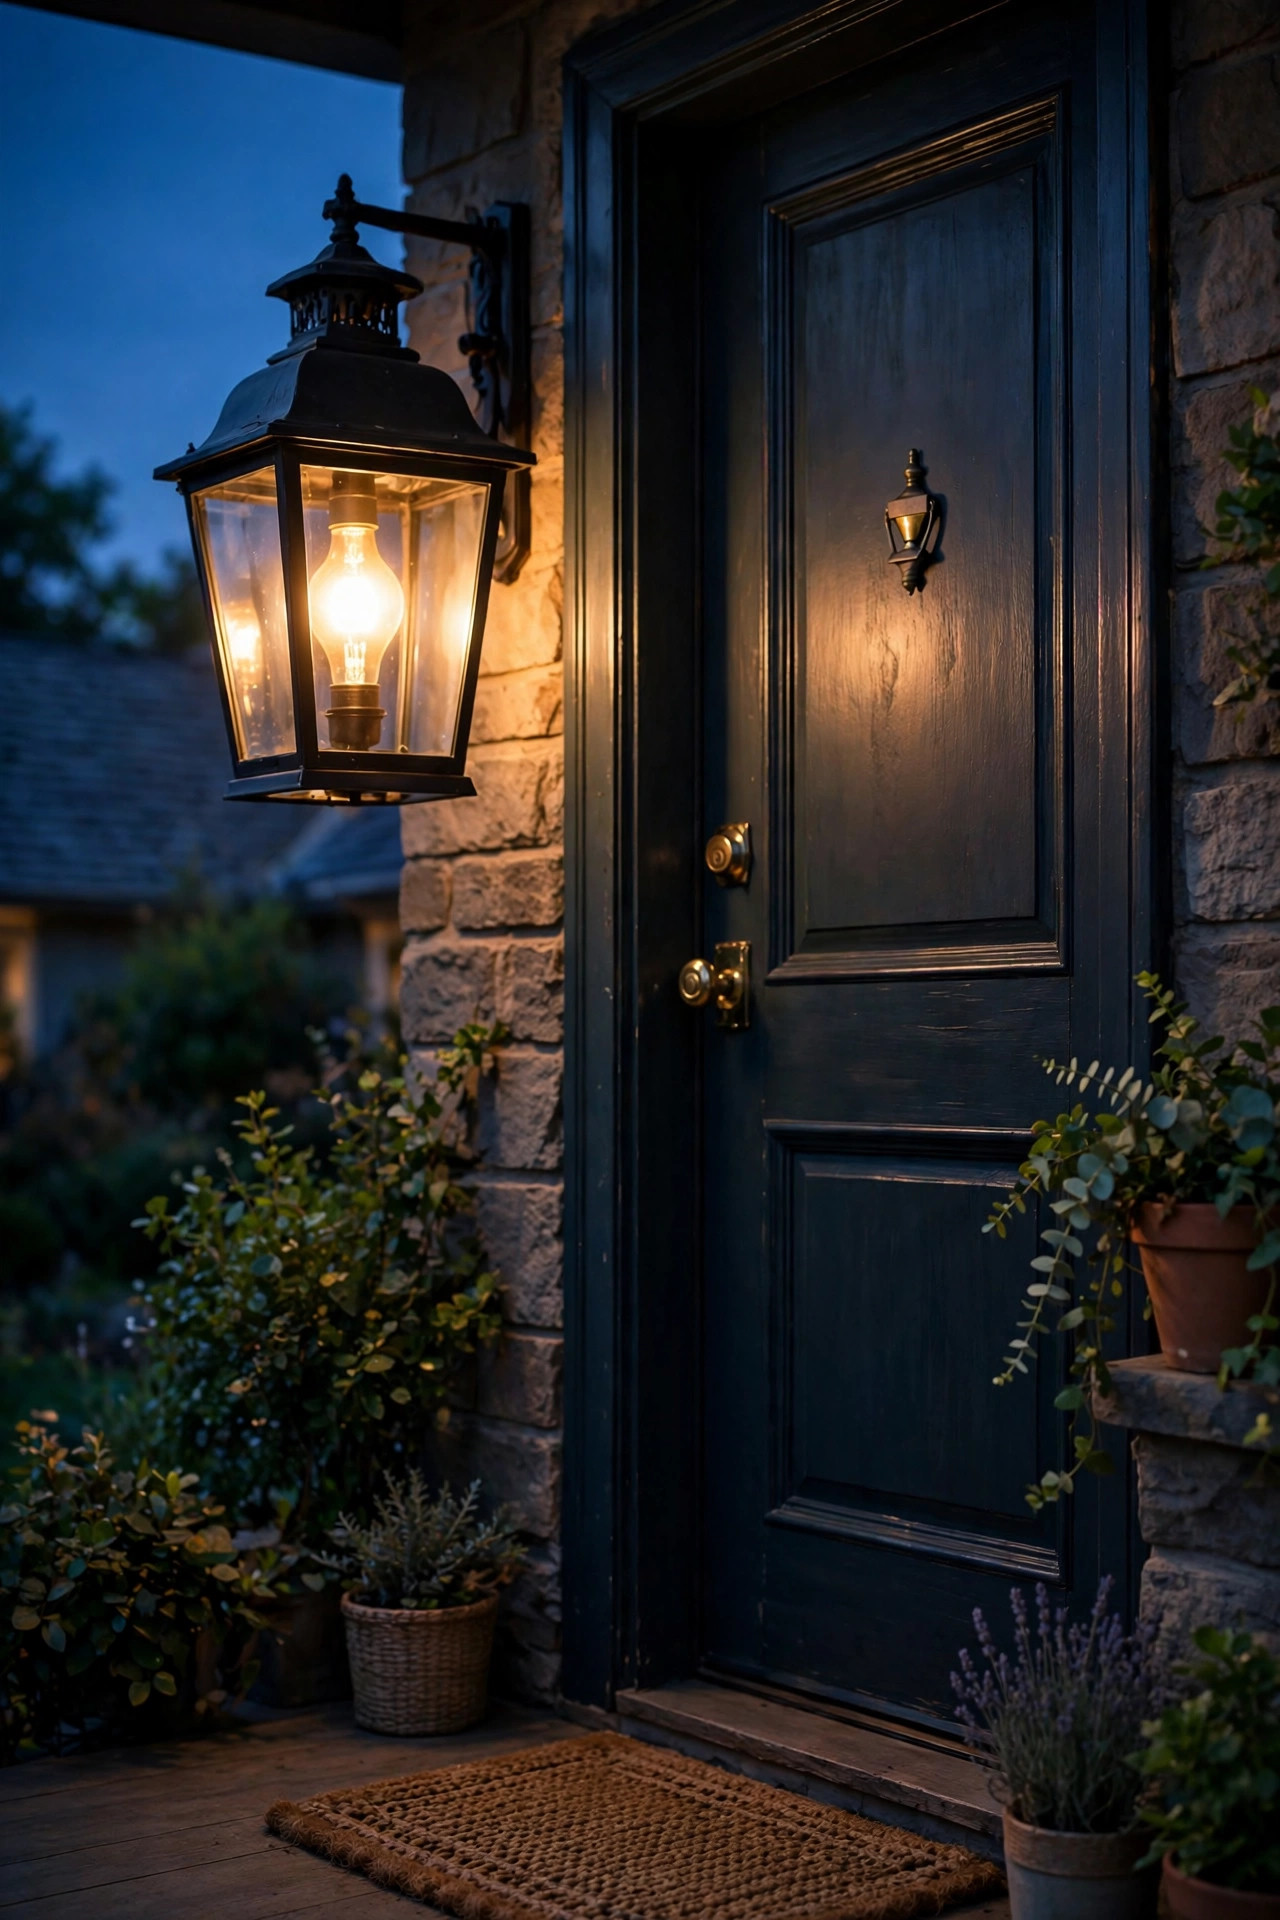
6. Stick Solar Sconces Beside Doors and Gates
Every door and gate deserves a welcome light, and solar sconces deliver it without an electrician or a junction box. The better models mount with screws, but renters can use heavy-duty outdoor adhesive pads on smooth siding, brick, or a fence post and skip holes entirely. A small panel on top charges during the day and a dusk sensor switches the light on automatically, washing the wall with warm light that makes keyholes, latches, and steps visible. Look for 2700K to 3000K output around 100 to 200 lumens; brighter than that beside a door feels like an interrogation. Motion-activated versions stretch the charge on cloudy weeks and startle nobody when they simply brighten as you approach. Mount them 6 to 7 feet up, and check that the panel actually sees the sky, because a sconce under a deep porch roof may need an occasional USB top-up charge in winter, which many newer models support. Two flanking a garage door or front entry look genuinely architectural. Guests will assume they are hardwired, and I never correct anyone.
Suggested budget range: $20 – $50.

7. Tuck Battery LED Strips Under Railings and Steps
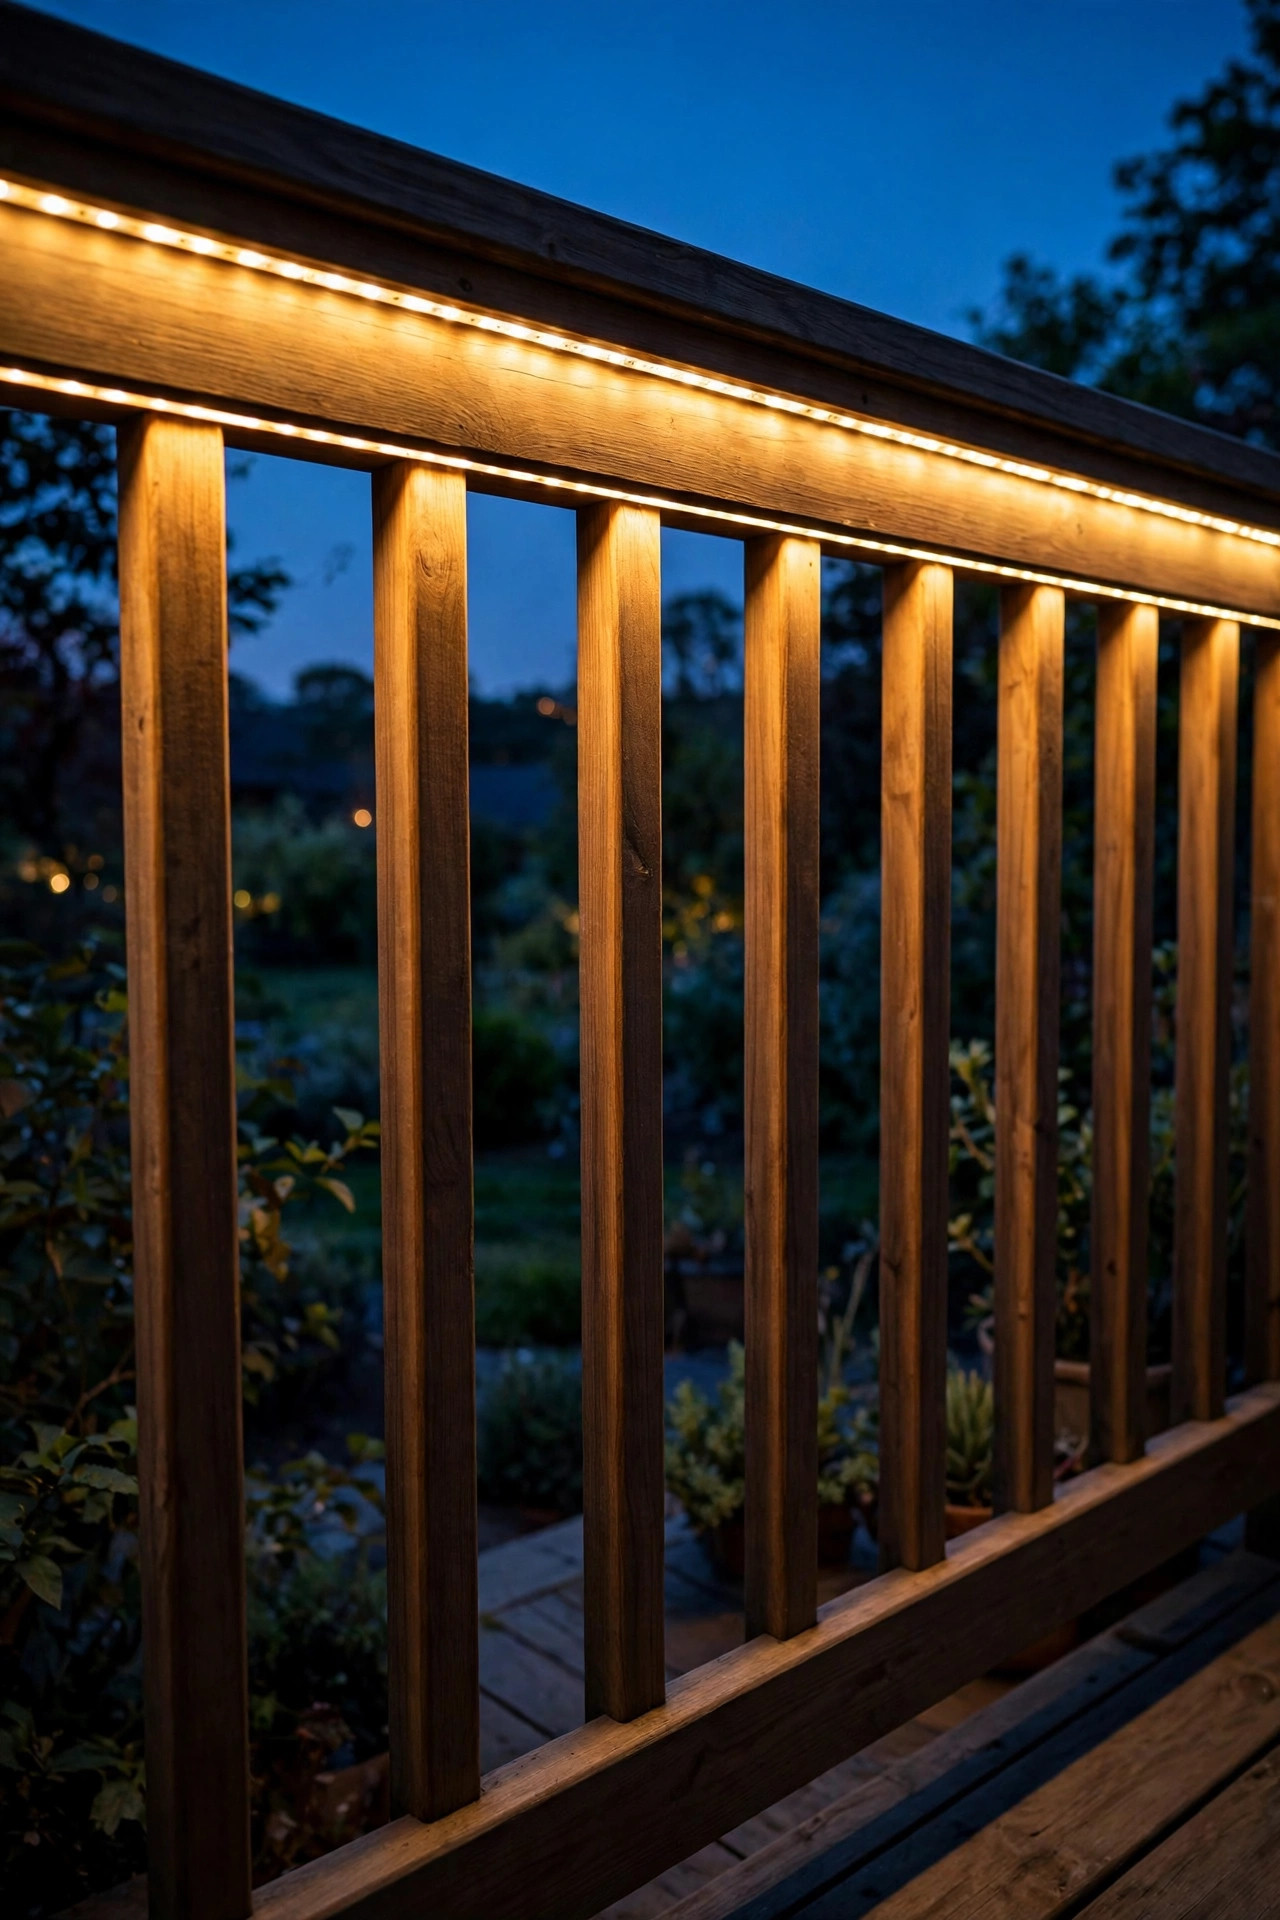
Battery LED strip lights are the stealth weapon of wire-free lighting. A slim battery pack, about the size of a deck of cards, powers a flexible strip you stick under a deck railing, beneath a bench, or along the underside of a stair tread, and the glow appears to come from nowhere. The railing trick is my favorite: light washes down the balusters and across the deck floor, so the whole perimeter reads clearly without a single visible fixture. Choose outdoor-rated strips with an IP65 rating, warm white 2700K output, and a motion or timer option on the pack so batteries last for weeks instead of days. Cut strips only at the marked scissor points, seal the cut end with the included cap, and press the adhesive onto clean, dry surfaces; add a few clear clips on wood that cooks in afternoon sun. Under-step strips double as safety lighting, marking every tread edge for guests carrying drinks in the dark. In my experience, this is the idea visitors ask about most, precisely because they cannot find the lights.
Suggested budget range: $15 – $35.
8. Aim Solar Spotlights Up Into Your Trees
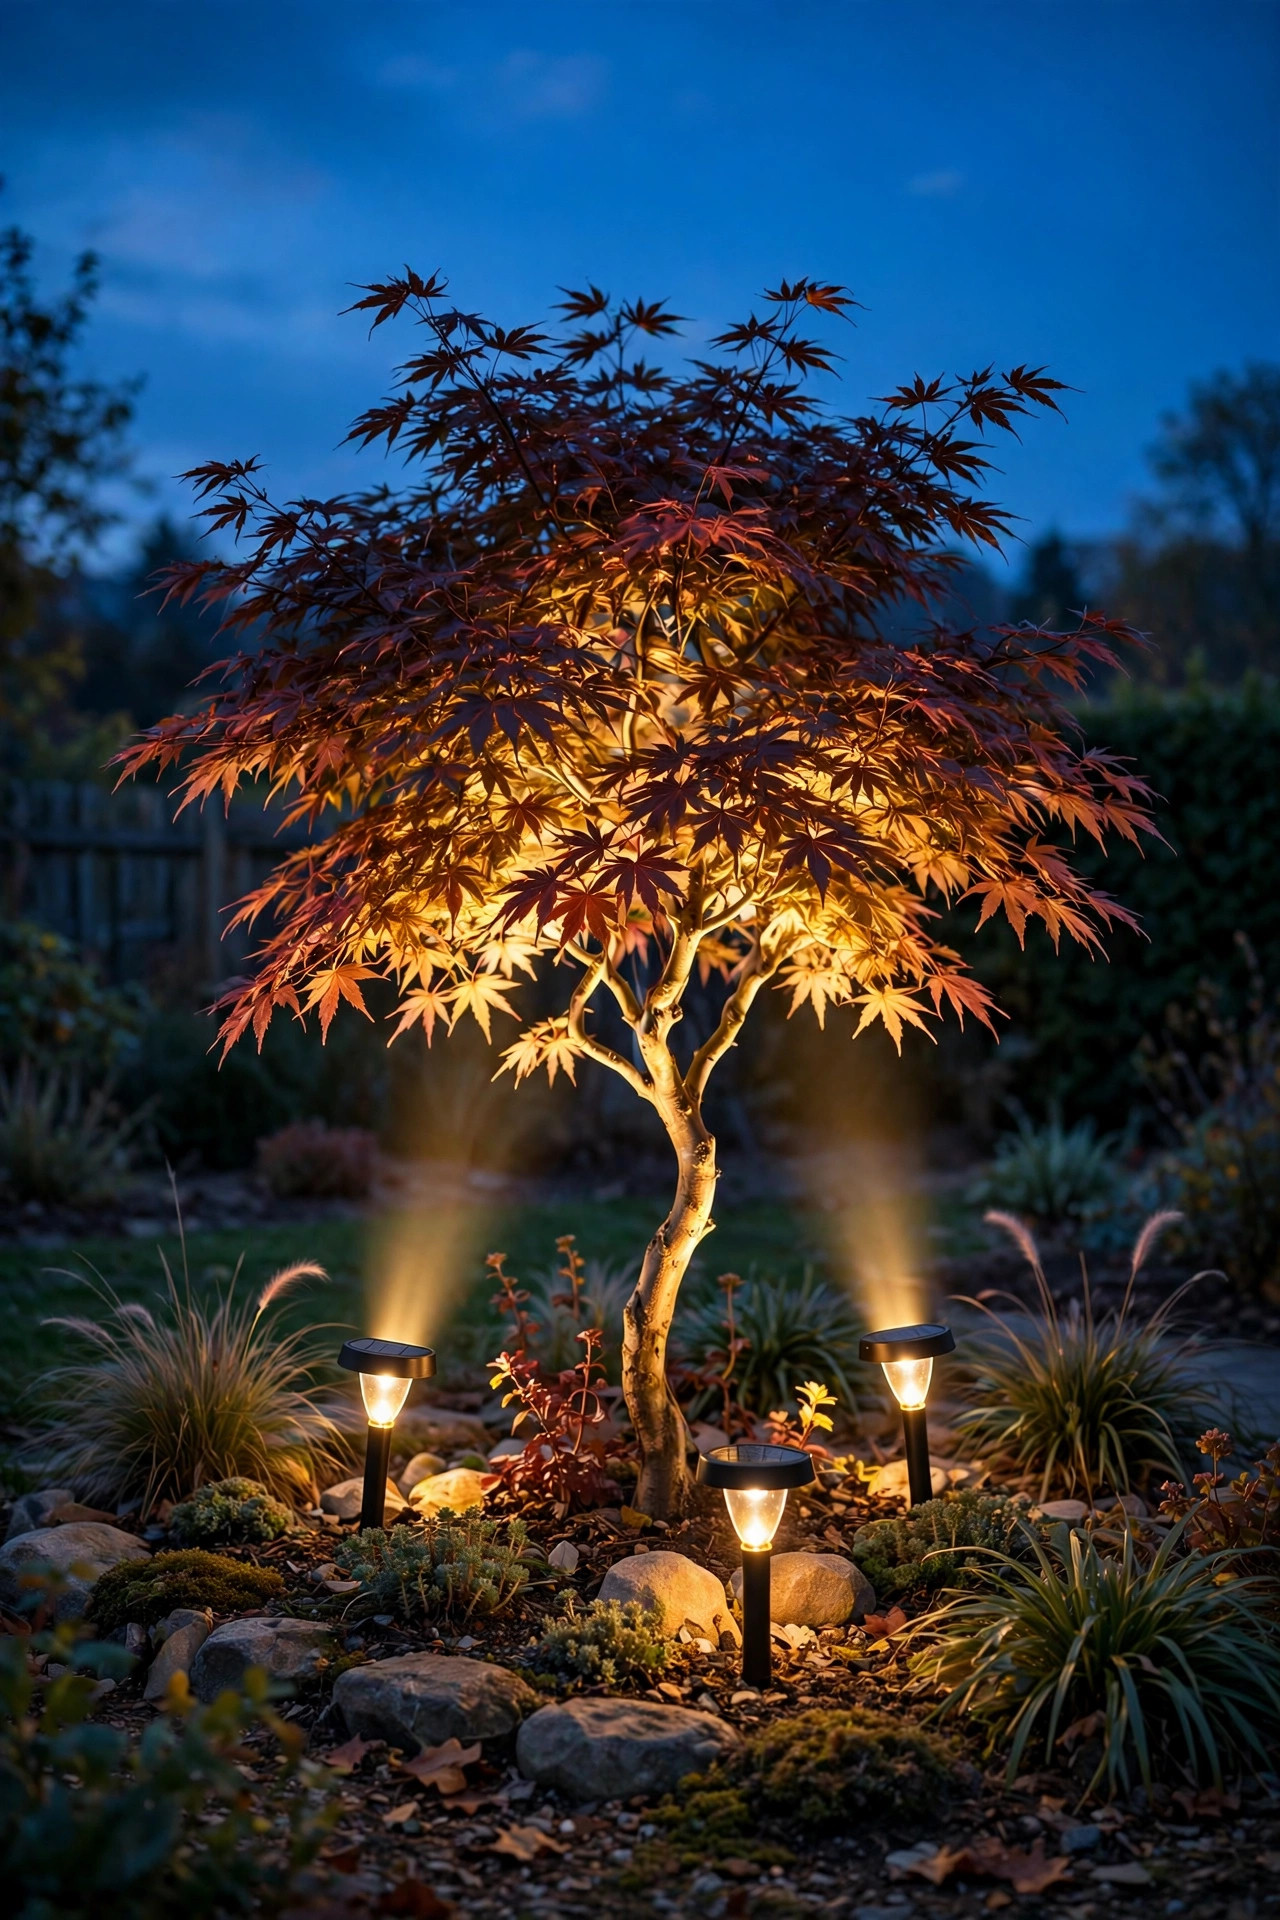
Uplighting a tree is the fastest way to make a yard look expensive, and solar spotlights do it with a stake and thirty seconds of your time. Push the fixture into the mulch bed 2 to 4 feet from the trunk, angle it up into the canopy, and after dark the branches throw gorgeous shadows across the lawn. Each spotlight has its own panel, so angle matters twice: the beam into the leaves and the panel toward the sun's path, clear of the tree's own afternoon shade. Two lights crossed from opposite sides keep the trunk from looking flat, and warm white 2700K reads as moonlight rather than stadium. Expect 50 to 200 lumens per fixture, plenty for a small ornamental tree or a Japanese maple; big oaks want two or three. The separate-panel models on a short cord are worth the small premium, because you can park the panel in a sunny gap while the light sits in the shade where it belongs. Pull them before mulch day and rinse the lenses when you think of it. Drama, zero wires, five minutes.
Suggested budget range: $20 – $45.
9. Fill Jars and Bottles With USB Fairy Lights
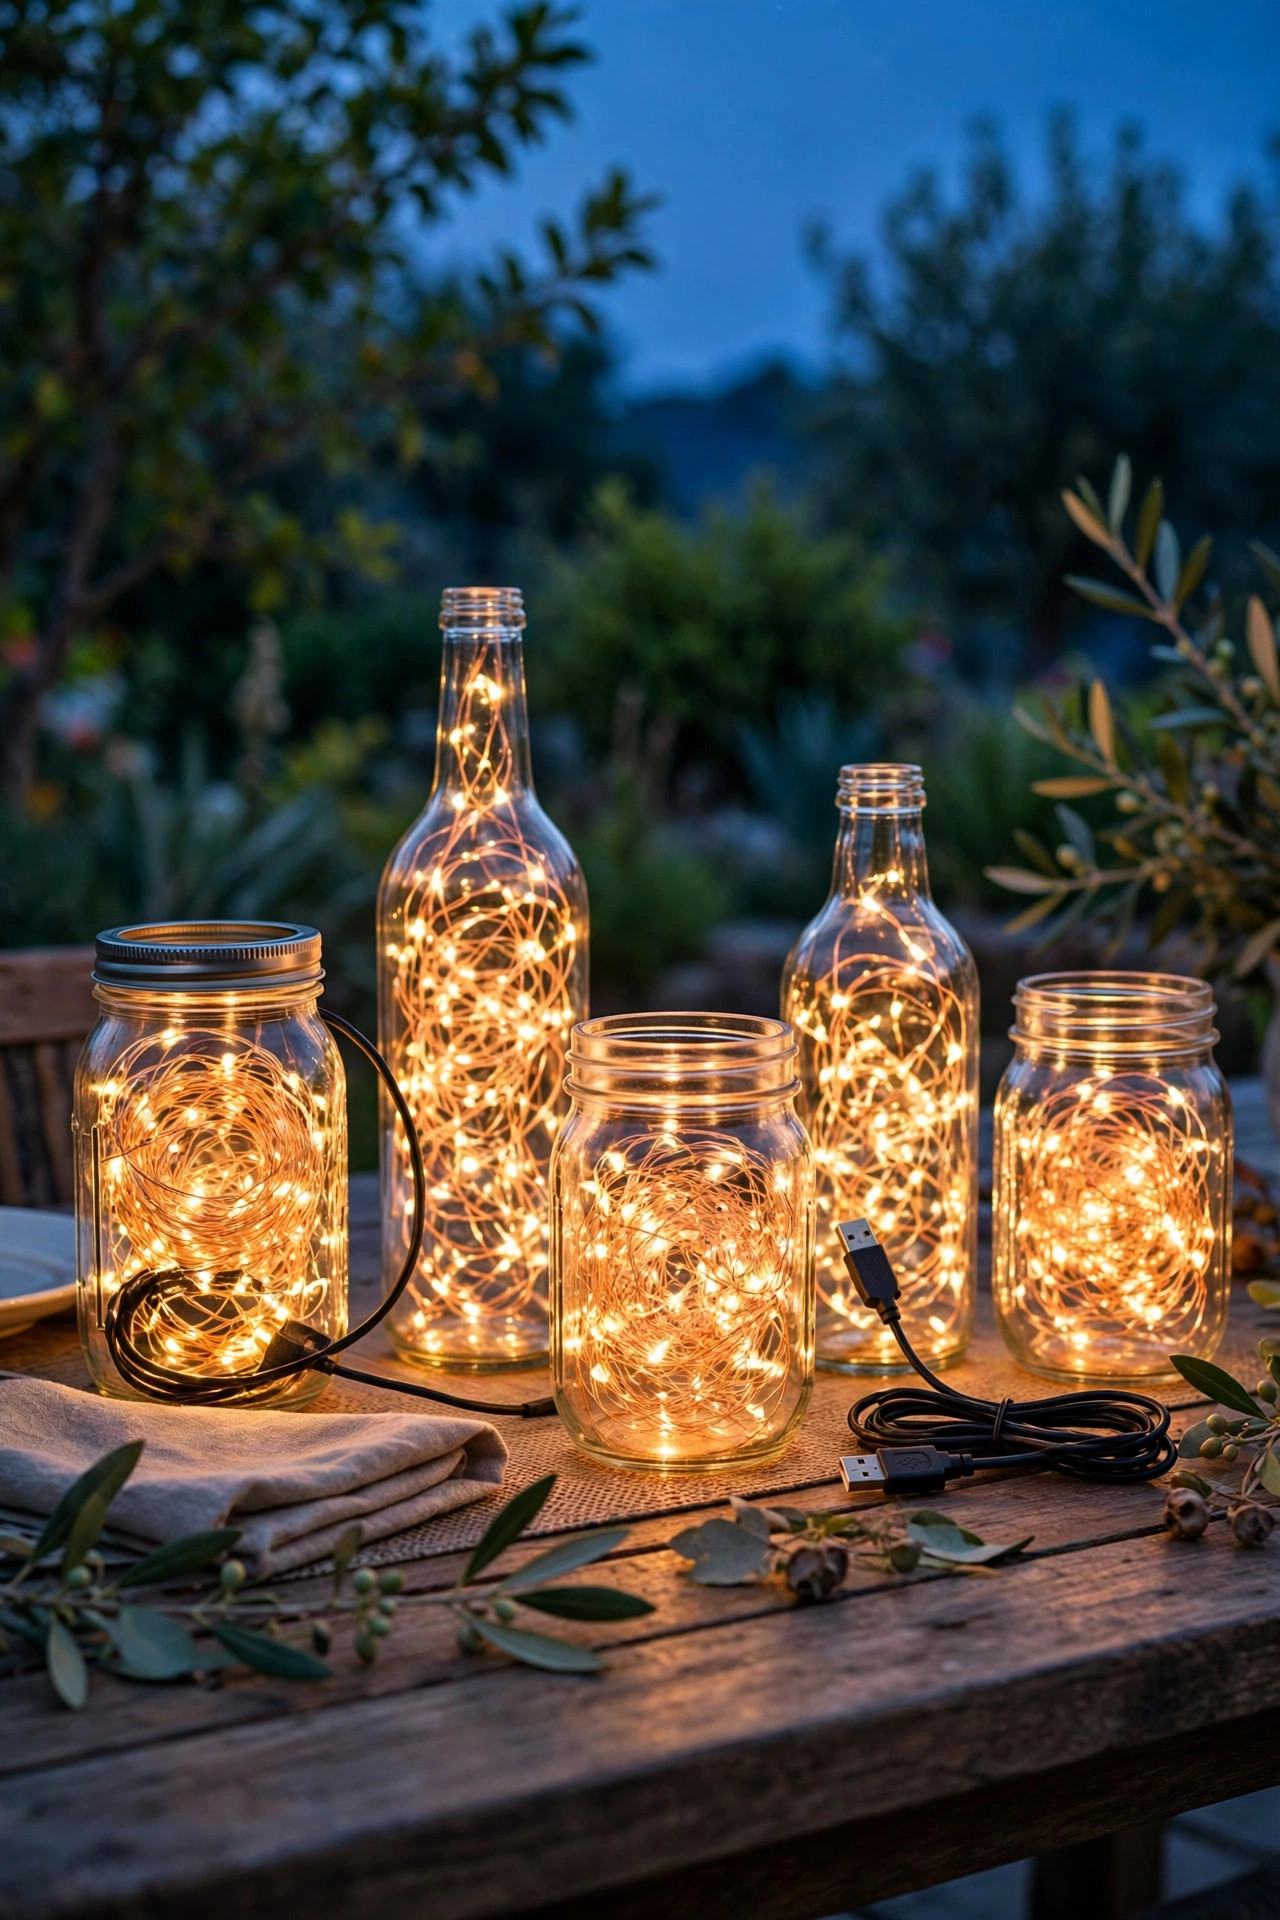
Copper-wire fairy lights powered by USB are the craft-store soul of wire-free decorating. The wire is nearly invisible, bends around anything, and a 33-foot strand threads through a whole table of mason jars, wine bottles, and lanterns before dinner. Plug the strand into a small power bank hidden in a basket and the entire centerpiece runs for evenings at a time; swap in a solar-cork version for bottles you want to leave outside permanently. I coil a few loops inside each jar rather than stuffing the whole strand in one, so the light looks like captured fireflies instead of a glowing blob. Twinkle mode is charming for holidays, but steady warm white wins for everyday dinners because flickering light makes reading a menu or a face harder. Keep USB plugs dry inside the basket or a lidded box, and never submerge a strand that is not specifically rated waterproof along its whole length. In my experience, three jars at staggered heights beat a dozen matching ones. This is also the cheapest glow on the entire list, which leaves budget for the good cheese.
Suggested budget range: $10 – $25.
10. Screw Solar Lights Onto Deck Steps and Post Caps
Steps and fence posts are the two places guests judge your lighting without realizing it, and solar fixtures made for both install with a screwdriver or less. Step lights mount on the riser face or sit flush on the tread edge, charging by day and marking every level change by night; two per wide step, one per narrow step, keeps the rhythm even. Post cap lights simply drop or screw onto 4×4 and 6×6 fence and deck posts, turning a whole fence line into a dotted ribbon of warm light that defines the yard's edge beautifully. Both run about 10 to 50 lumens, which is marking light, not task light, and that restraint is exactly right. Choose warm white and metal or heavy resin housings; the thinnest plastic caps yellow and crack within a couple of seasons. My front steps got solar riser lights three years ago and the front yard lighting with no electricity approach still gets compliments from the mail carrier. Wipe panels in spring, check batteries each fall, and the fence line will glow on schedule for years.
Suggested budget range: $20 – $50.

11. Add Battery Motion-Sensor Lights Where Safety Matters
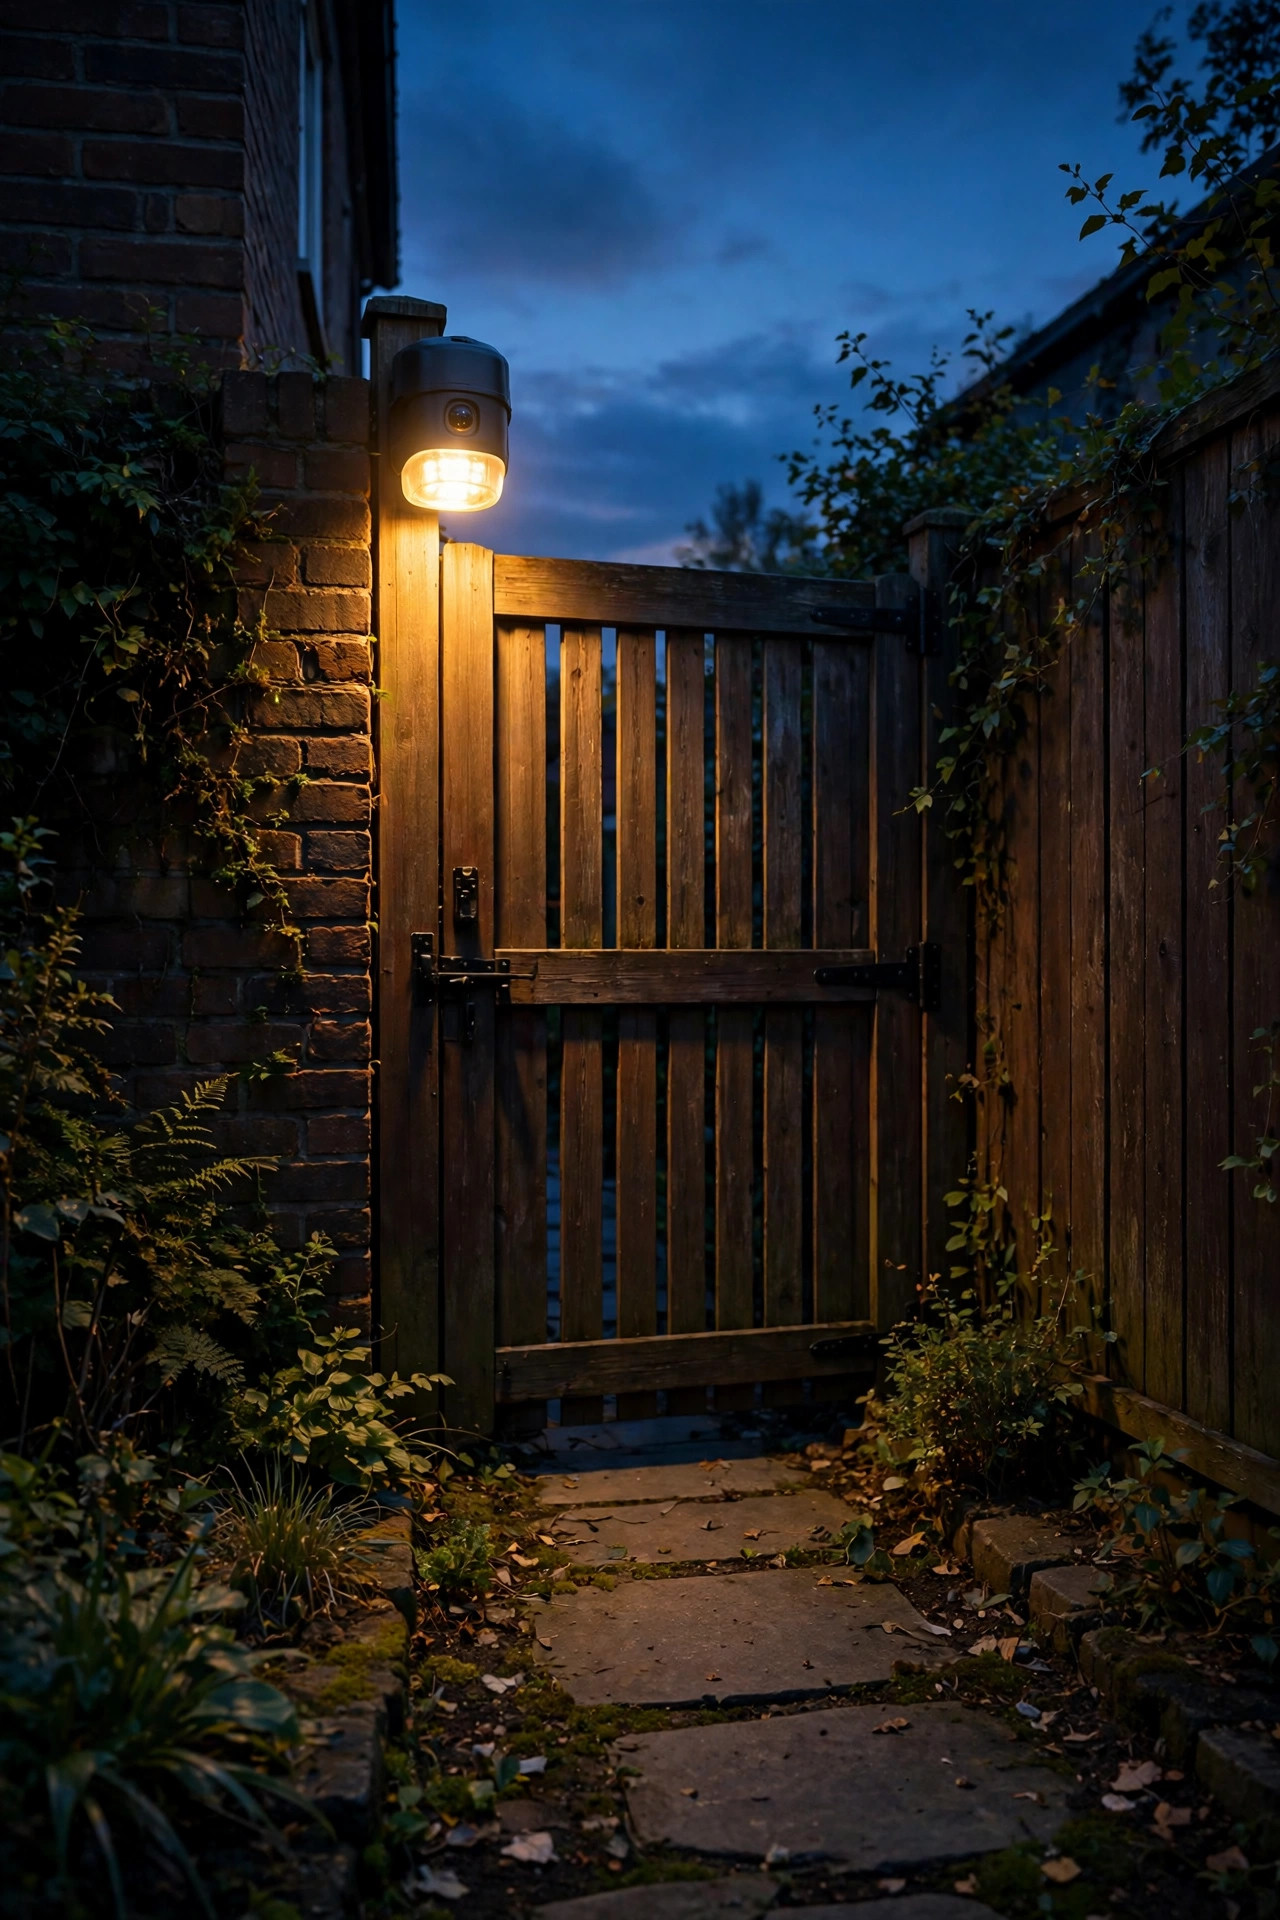
Some corners do not need beauty lighting; they need a light that wakes up the second someone approaches. Battery motion-sensor lights guard the side gate, the trash-bin run, the garage side door, and the dark gap between the shed and the fence. Mount them 7 to 8 feet up, angled down so the sensor covers the walkway, and expect 200 to 400 lumens of instant light that shuts off a minute after the coast is clear. Because they only run in bursts, a set of batteries lasts for months, and solar-hybrid versions may never need a battery swap at all. Stick-on models with outdoor adhesive handle renters and smooth siding, while screw mounts are better on wood fences that flex. Warm white versions are kinder to night vision than the harsh blue-white security floods, and a sensitivity dial keeps passing raccoons from hosting a light show. Test the trigger zone by walking it at your kid's height, not yours. In my experience, one well-placed sensor light does more for peace of mind than any other fixture here.
Suggested budget range: $15 – $40.
12. Set a USB Rechargeable Table Lamp on the Dining Table
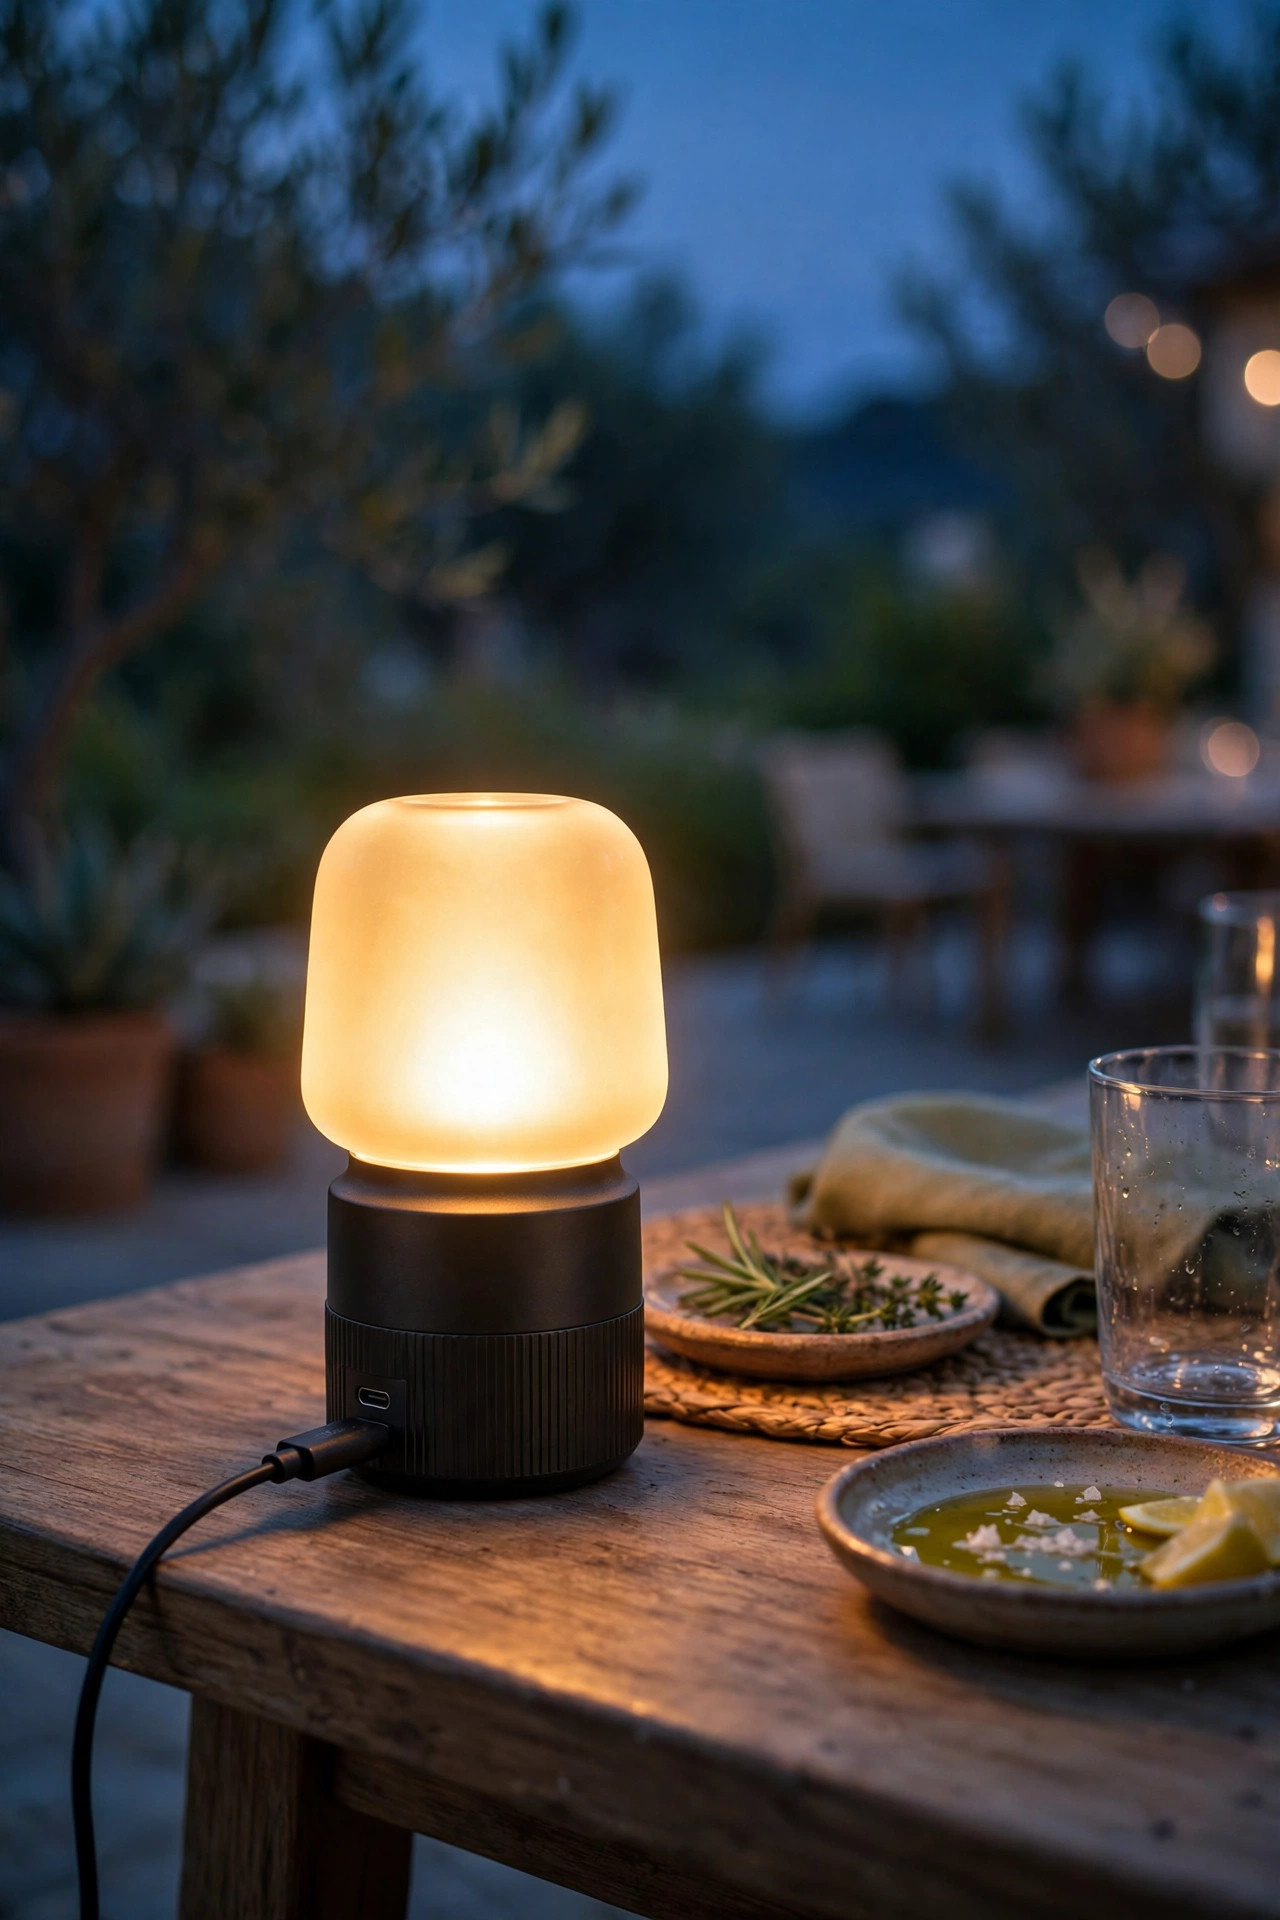
The single most flattering light for an outdoor dinner is a small lamp right on the table, and USB rechargeable table lamps have become genuinely beautiful. They stand 8 to 14 inches tall, dim by touch, and throw a soft pool of warm light over plates and faces that overhead strings alone cannot match. One charge typically lasts 10 to 20 hours on medium, so a weekly top-up during dish duty keeps it ready all season. Look for 2700K output, a weighted base that shrugs off breezes, and an IP44 rating or better if it will live outside between meals. I keep two: one for the dining table and one that migrates to the reading chair, the bar cart, and the potting bench as needed. Because there is no cord, the lamp also solves the guest-bathroom and hallway problem during parties. Honestly, this is the wire-free idea that feels least like a compromise and most like an upgrade. Candles can retire; the lamp never drips on the tablecloth.
Suggested budget range: $25 – $60.
13. Clip a Solar Umbrella Light Under the Patio Umbrella
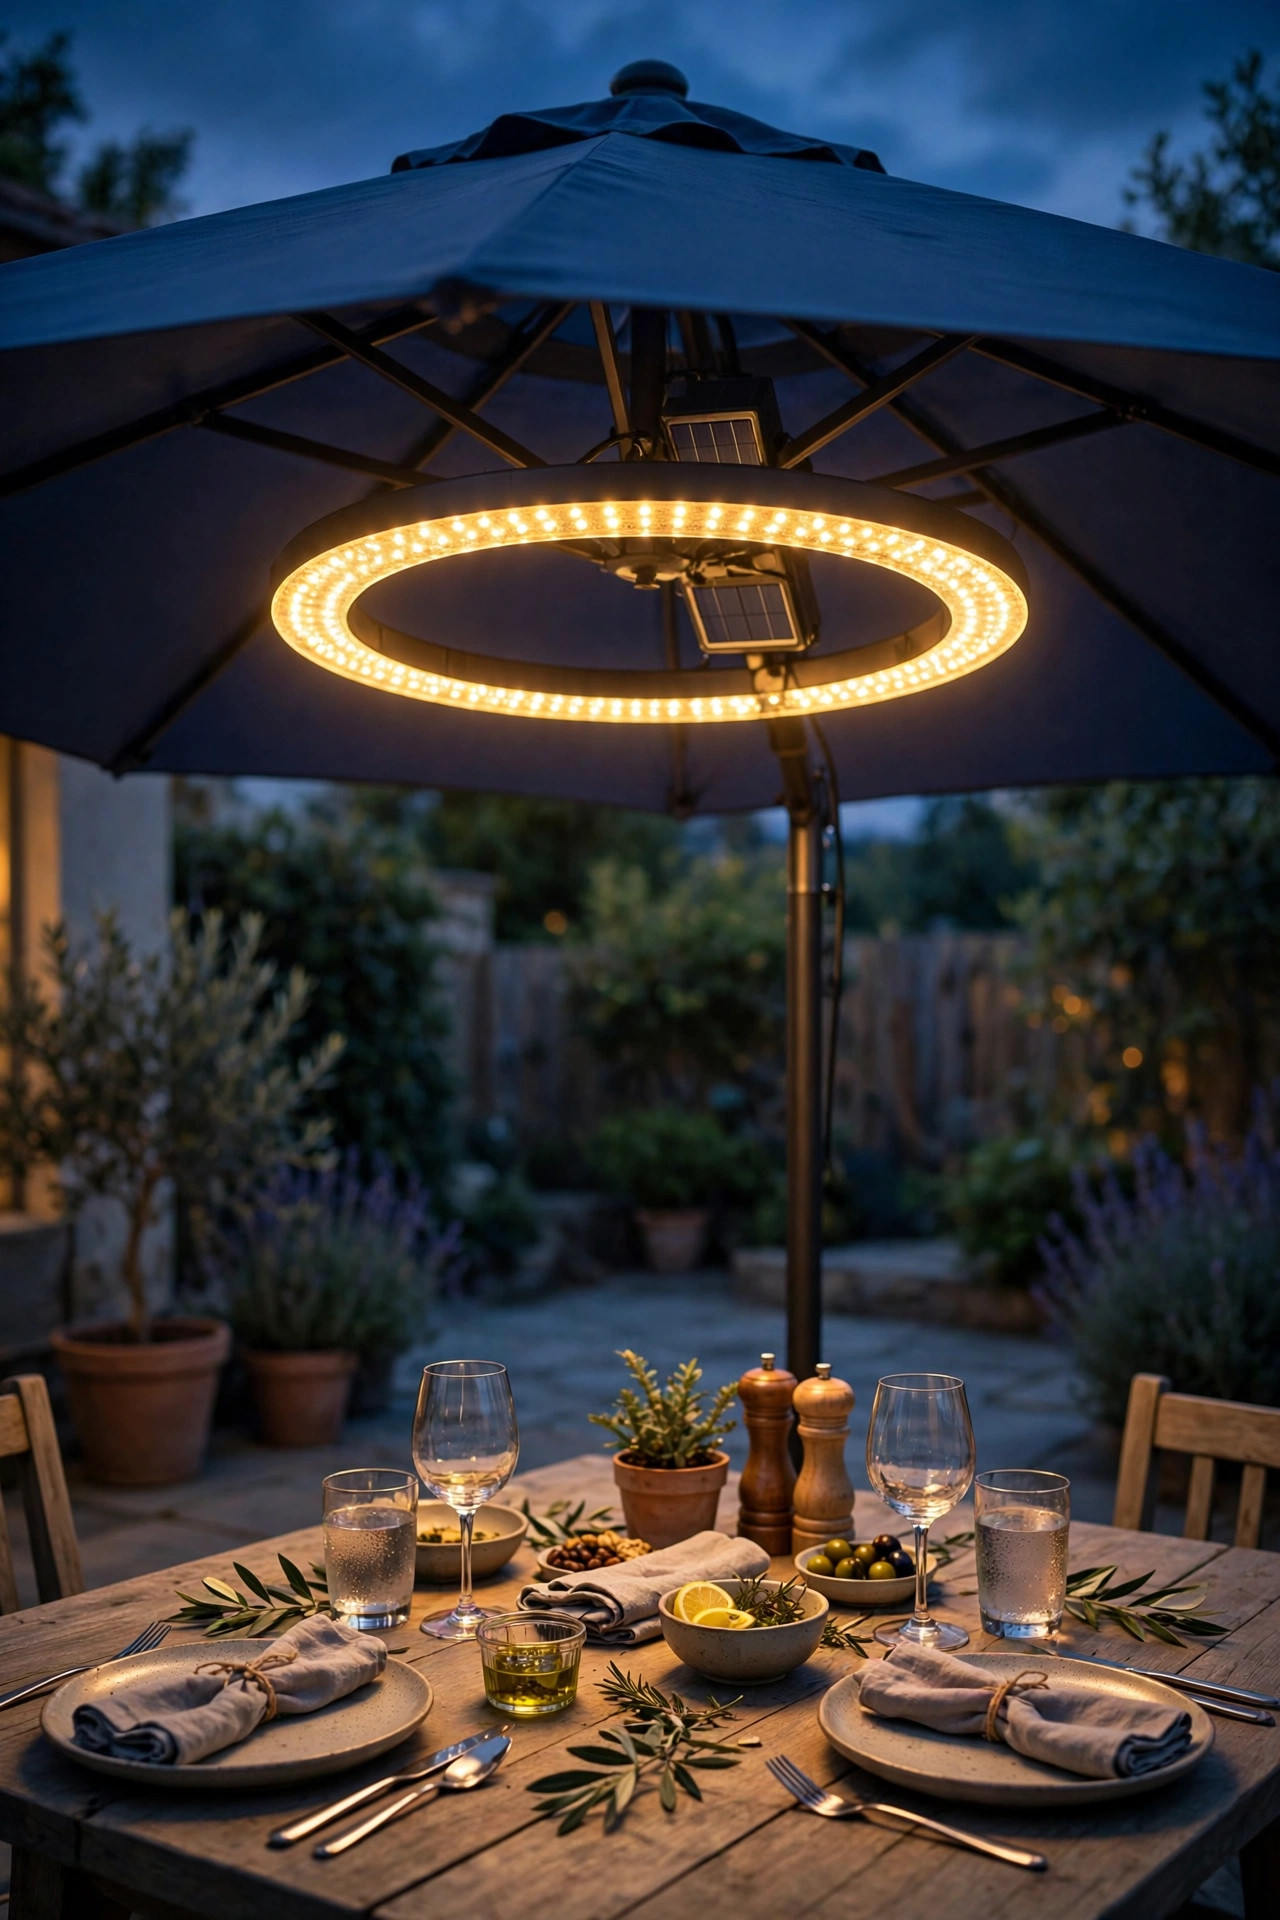
A patio umbrella creates the shadiest, darkest dining spot in the yard right when you sit down to eat, which is why the solar umbrella light exists. It clamps around the pole in seconds, with a ring of LEDs aimed down at the table, and its small panel or USB port recharges it between meals. Most models offer two or three brightness levels, and the middle setting is the sweet spot: enough to see the food, gentle enough to keep the evening mood. Warm white versions blend with string lights far better than the older blue-white rings. If your umbrella closes nightly, choose a slim model that folds with it, or simply pop the light off and let it sunbathe on the table the next morning. The same clamp style works on pergola beams and market umbrellas at the pool. In my experience, dinner guests consistently rate the umbrella table as the coziest seat in the yard, and it is lit by the cheapest fixture out there. Funny how that works.
Suggested budget range: $12 – $30.
14. Stick Battery Puck Lights Under Cabinets, Shelves and Benches
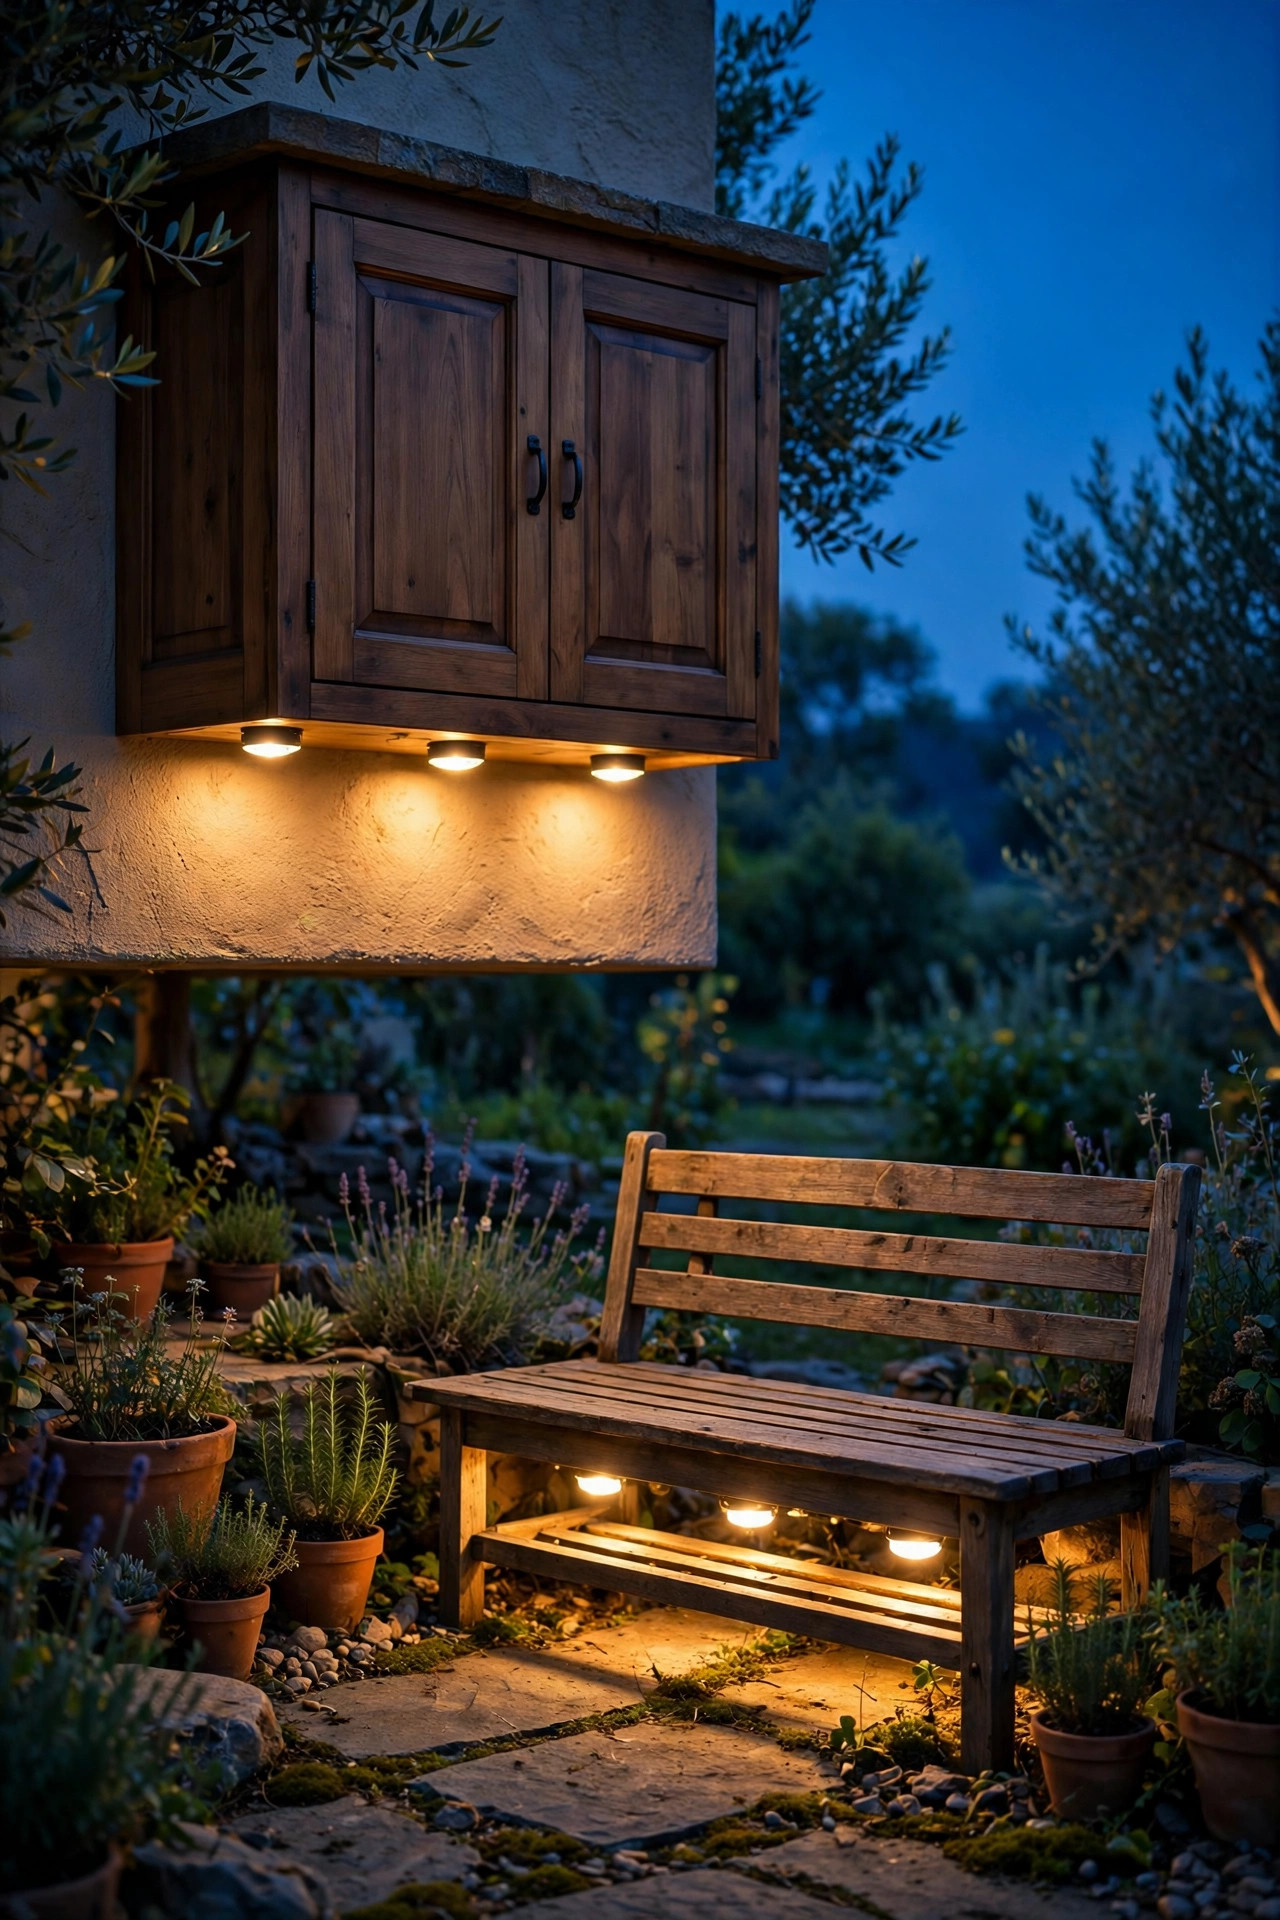
Puck lights are the problem-solvers: palm-sized, stick-anywhere discs that pour light exactly where a task happens. Under the outdoor kitchen cabinet they light the counter. Under a bench they wash the patio floor so feet find it. Inside a storage box lid they turn a midnight rummage into a ten-second errand. Battery pucks with remote controls are the ones to buy, because the remote lets you dim a whole row at once and set an auto-off timer instead of tapping six discs individually. Adhesive pads work on smooth surfaces, but for wood that swells and shrinks with the weather, the included screws hold better through the seasons. Expect 3 to 6 months per battery set at evening-glow usage, and keep them warm white so the grill station matches the rest of the yard. One honest warning: pucks are accent and task light, not ambiance by themselves. Layered under the ideas above, though, they quietly erase every annoying shadow in the yard. Small discs, outsized usefulness.
Suggested budget range: $10 – $30.
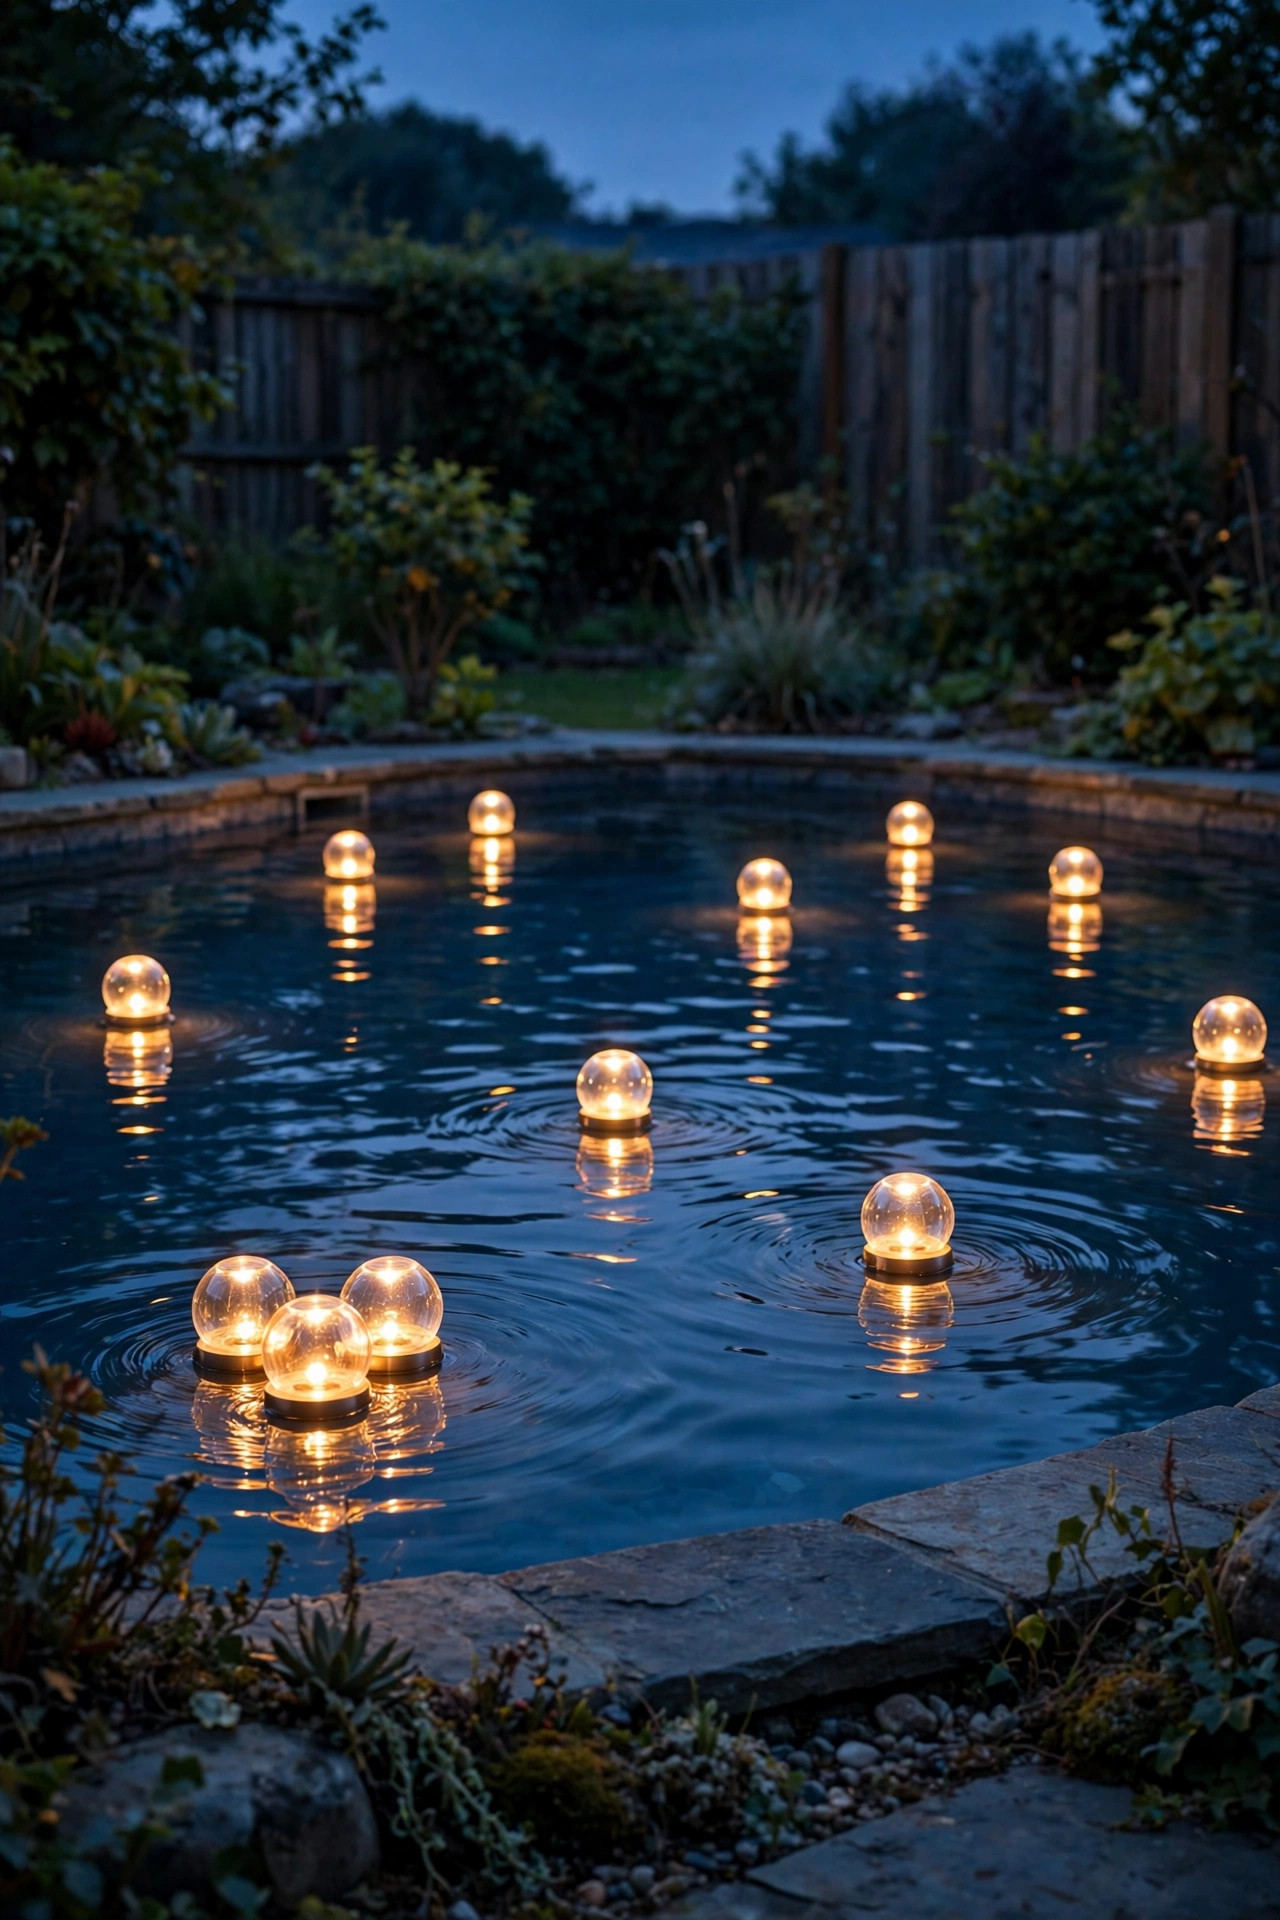
15. Float Solar Lights in the Pool, Pond or Fountain
Water doubles every lumen you give it, and floating solar lights are pure evening magic for almost no money. The discs charge face-up all day, then drift on the pool, pond, or birdbath surface glowing warm white or slowly shifting colors. For pools I prefer the steady warm white; color cycling is fun for a party but reads more novelty than serene on a Tuesday. In a pond, two or three small floats among the lily pads outline the water's edge so nobody misjudges it in the dark, and fish genuinely do not mind the gentle light from above. Check that any light going in a chlorinated pool is sealed and rated for it, and fish them out before running a pump cleaning cycle. Battery submersible pucks are the alternative for fountains and deep water features, sinking to the basin floor and shining up through moving water in a way that mesmerizes every guest under the age of ninety. Rinse floats when you skim, and store them indoors in winter so freeze cycles do not crack the housings.
Suggested budget range: $15 – $40.
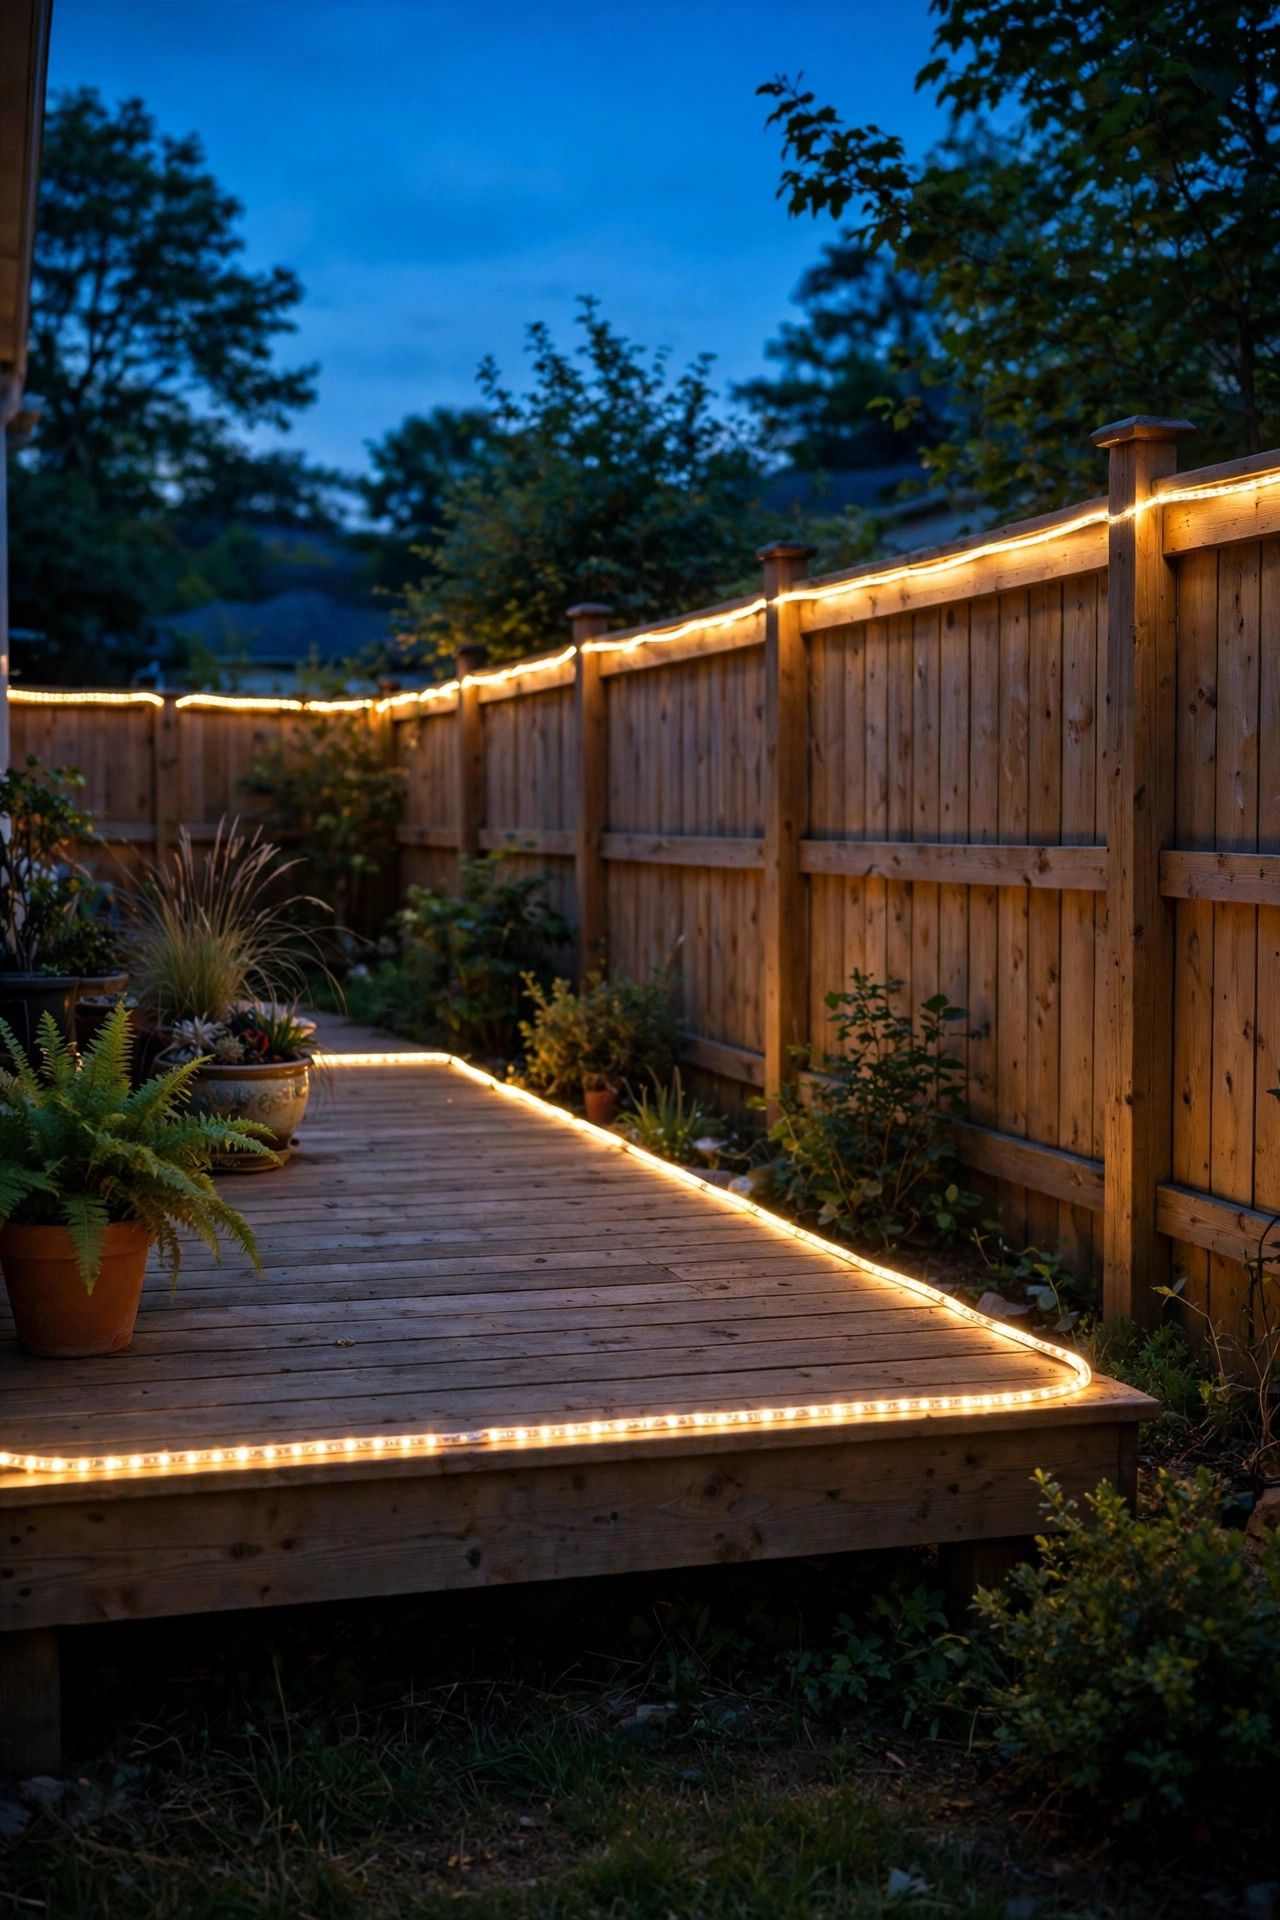
16. Wrap the Deck Edge With Solar Rope Lights
Solar rope lights trace edges better than any other fixture, and edges are where wire-free yards usually go vague. Run a rope along the deck's rim, under the top rail of a fence, around a raised bed, or outlining the patio where lawn begins, and the whole shape of the space snaps into focus after dark. The rope is a sealed tube, so it shrugs off rain, sprinklers, and the occasional stepped-on section far better than bare strips. A single solar panel at the end charges the run; keep it in the sunniest corner and give the first evening a full day's charge before you judge the brightness. Warm white at low output is the goal here, since rope lights are outline, not illumination. Secure them with the little screw clips every 18 inches rather than staples, which can pinch the tube, and coil any extra length under the deck where it glows faintly instead of wasting it. In my experience, one 30-foot rope along the fence line makes the yard look twice as deep at night.
Suggested budget range: $15 – $35.
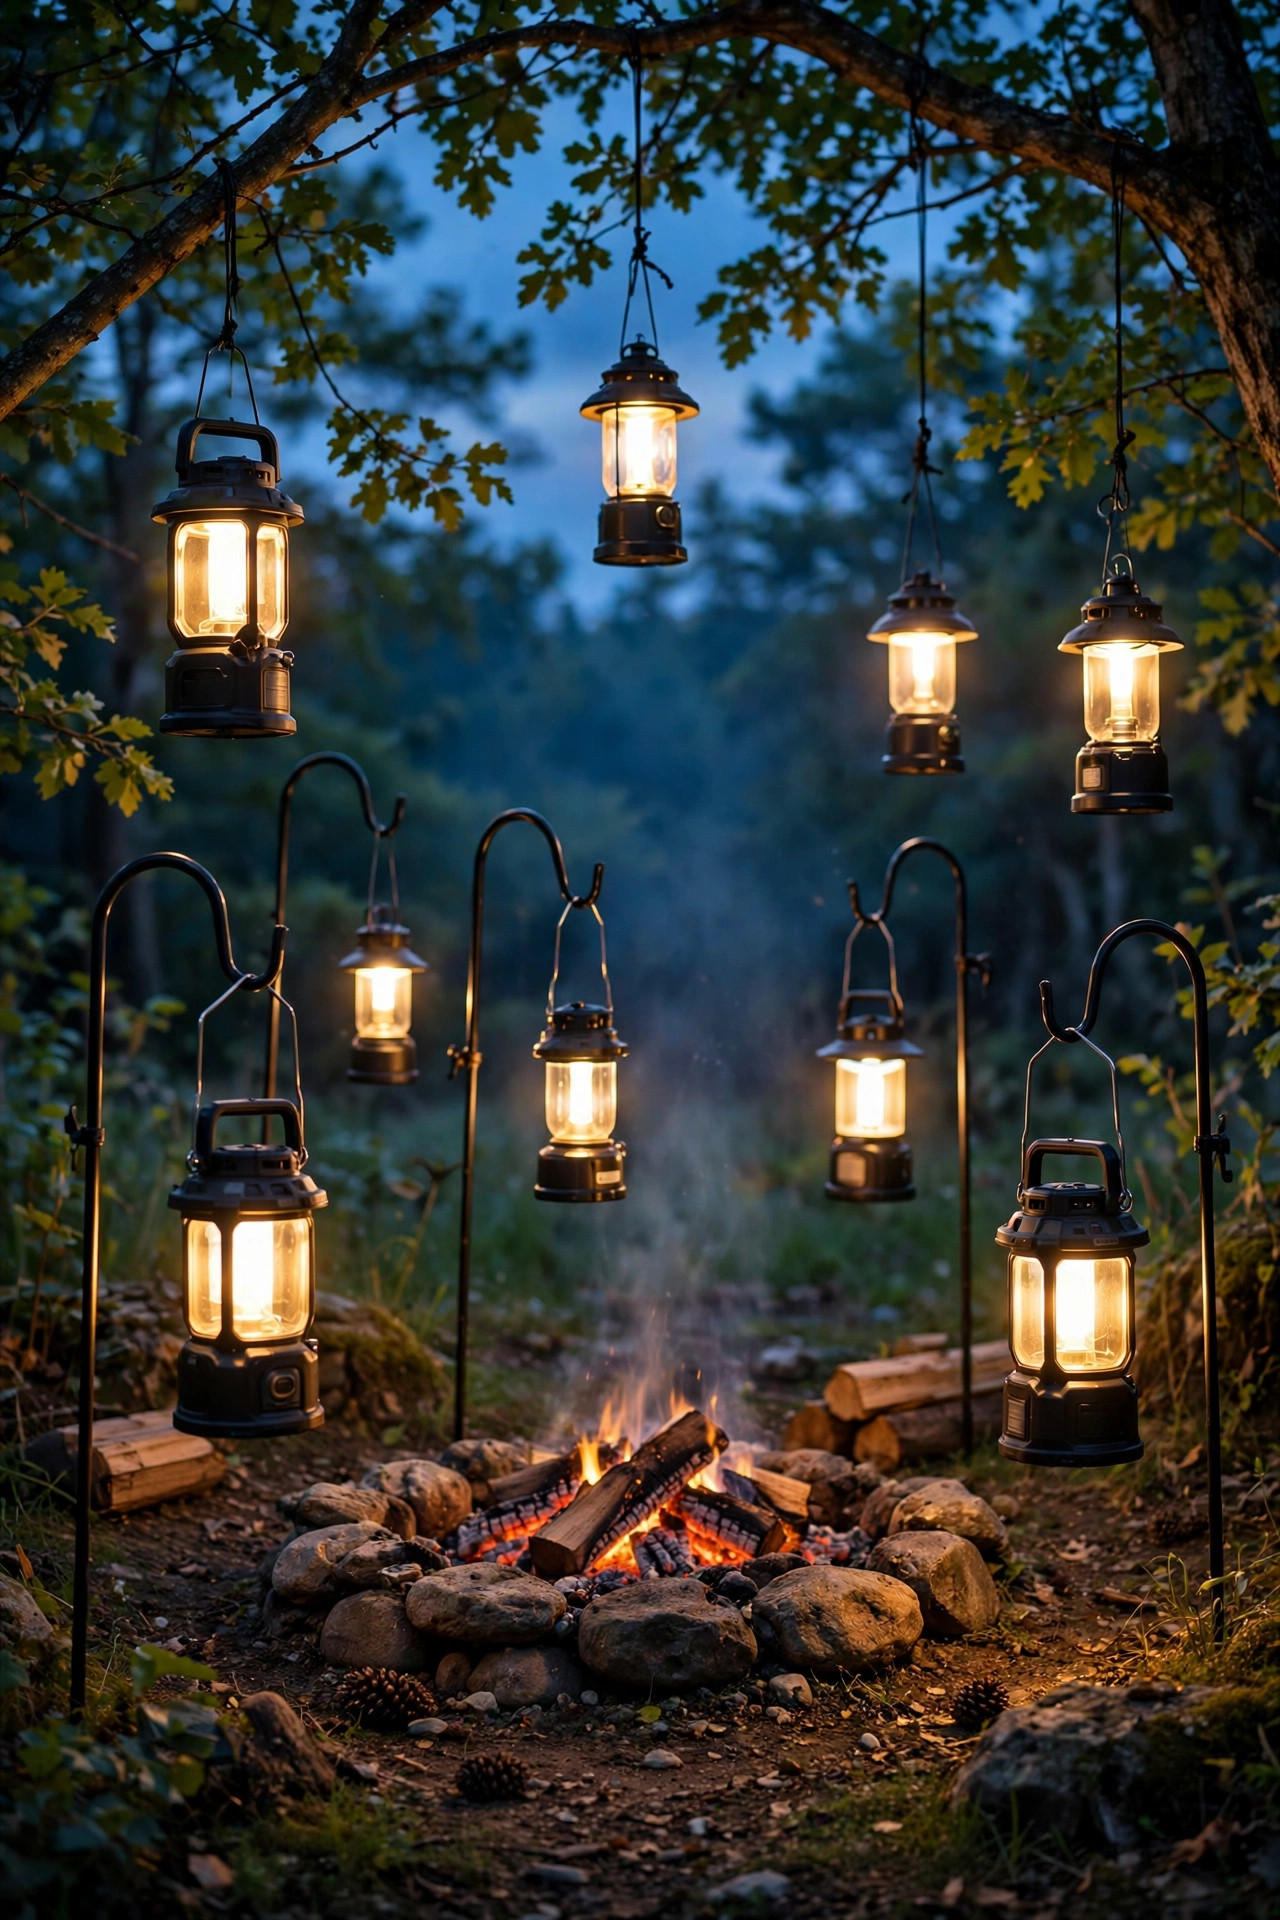
17. Hang Rechargeable Lanterns From Hooks, Branches and Shepherd's Hooks
Not every light needs a permanent home. A set of USB rechargeable hanging lanterns moves with the evening: shepherd's hooks around the fire pit tonight, low tree branches over the picnic table tomorrow, the tent at the weekend. The good ones hang from a built-in hook or carabiner loop, dim from a candle-like flicker up to a working 200 lumens, and recharge from the same cable as your phone. Warm white with a frosted shade photographs beautifully and never glares, which matters when a lantern hangs at eye level. I hang them at varied heights, 5 to 7 feet, in loose triangles rather than soldier rows, and the randomness is exactly what makes it feel like a garden party instead of a campground. Battery life runs 8 to 30 hours depending on brightness, so the low settings genuinely last a whole weekend trip. Bring them in during hard freezes to keep the lithium cells happy. Portable, pretty, and completely wire-free, they are the lights friends borrow and forget to return.
Suggested budget range: $20 – $50.
18. Light the Driveway and Address With Solar Markers
First impressions happen at the curb, and solar driveway markers make yours glow without a trench across the lawn. Stake low-profile markers every 8 to 10 feet along both edges of the driveway and delivery drivers, guests, and your own front bumper will all navigate like pros. Flush-mount disc versions sit level with the pavement so plows, tires, and skateboards pass right over them. Pair them with a solar address light near the mailbox or above the house numbers; a lit address is the difference between the pizza arriving hot and a phone call from two streets over. Warm white keeps it classy, while the cool blue driveway discs some sets default to can look a little runway-ish for a home. Panels on markers live hard lives near sprinklers and road salt, so rinse them when you wash the car and expect to replace the cheapest sets every couple of years. In my experience, this is the highest safety-per-dollar idea on the whole list, and it takes one Saturday coffee to install.
Suggested budget range: $15 – $45.

19. Build a Solar Garden Bed Glow With Wash Lights and Stakes
Flower beds deserve better than the single spotlight most yards give them. A wire-free bed glows in layers: low wash stakes every 3 to 4 feet along the front edge to graze the mulch and low foliage, one solar spotlight aimed into the feature shrub or small tree, and a lantern or two tucked among the plantings for depth. Solar wash lights are short, wide-beam stakes that spread light sideways rather than up, so they flatter mounding plants and edging stones without hot spots. Keep beams aimed into the bed, never out toward seating, because even small LEDs glare when they hit your eyes directly. Warm white 2700K keeps greens looking natural at night; cool white turns foliage an unappetizing gray-blue. As plants grow through the season, nudge stakes a few inches outward so the panels keep their sun and the beams keep their clearance. I refresh the layout every spring when the mulch goes down. Ten minutes of adjusting buys an entire season of that soft, expensive-looking garden glow.
Suggested budget range: $20 – $50.

20. Put Smart USB Bulbs and Plugs to Work Without an Outlet Nearby
Wire-free does not have to mean dumb. USB-powered smart bulbs and battery-friendly smart accessories bring dimming schedules and voice control to fixtures that never touch house wiring. My favorite setup is a USB smart bulb in a weather-sheltered porch lantern, fed by a power bank inside a deck box, dimming to 40 percent at dusk and dropping to a ember-like 10 percent at midnight on a schedule I set once. Smart solar lights are catching up too, with app-controlled color scenes for holidays. The honest limits: Wi-Fi reaches only so far into a yard, so keep smart gear within a comfortable range of the house or add an outdoor-rated extender, and remember every smart feature sips standby power that shortens charge cycles. Start with one smart zone where control actually matters, usually the porch or the main patio, and let the simple solar gear handle the rest. In my experience, one scheduled glow that turns itself on before I get home makes the whole house feel welcoming in a way manual switches never did.
Suggested budget range: $20 – $55.
21. Mix All Three: The No Wiring Outdoor Lighting Ideas That Work Together
Here is the part where the list becomes a yard. The wire-free setups that look professionally done always mix all three power sources on purpose. Solar takes the permanent, predictable jobs: paths, steps, fence lines, bed edges, anywhere the sun reliably visits and the light can simply own its routine. Batteries take the flexible middle: lanterns, pucks, sensor lights, and everything you want to move, cluster, or carry. USB takes the features: dimming strands under the pergola roof, the table lamp, the smart porch bulb, anything shaded or anything you want to control. Match every fixture to warm white 2700K to 3000K so the three systems blend into one continuous glow instead of a patchwork, and keep brightness modest in each layer so the layers stack instead of compete. Then do the dusk walk: start at the curb, follow the paths, sit in every chair, and adjust angles and heights until nothing glares and nothing hides. That twenty-minute ritual, repeated each spring, is the whole secret. No trench, no electrician, no regrets.
Suggested budget range: $75 – $200.
Frequently Asked Questions
Are solar lights bright enough to replace wired landscape lighting?
For paths, steps, beds, and accent lighting, yes, modern solar fixtures handle those jobs beautifully and cost nothing to run. For lighting a whole lawn, a grill station, or a sports court, wired fixtures still win on raw brightness. Most yards do not actually need that much light, though. Layered wire-free fixtures at modest brightness look warmer and more designed than one blazing wired flood. If you want the full head-to-head before deciding, my solar vs wired landscape lighting comparison breaks down cost, brightness, and lifespan side by side.
How long do battery and USB outdoor lights run between charges?
It depends on brightness. Flameless lanterns on a timer commonly run a full season of evenings on one battery set. USB string lights on a 10,000 mAh power bank give two to three evenings, rechargeable table lamps give 10 to 20 hours per charge, and hanging lanterns give 8 to 30 hours depending on the setting. Dimming is your best friend: dropping from full to half brightness often doubles or triples runtime while barely changing how the yard feels.
What color temperature looks best for wire-free outdoor lights?
Warm white, between 2700K and 3000K, for nearly everything. It flatters skin, food, wood, and foliage, and it matches the glow of a fire pit or candlelight. Mixed temperatures are the number one reason a yard looks off even when every fixture is nice, because a cool blue-white stake beside a warm lantern reads as a mistake. Whatever you buy, check the Kelvin rating on the box and keep the whole yard in one warm family.
How do I keep solar lights working through winter and cloudy weeks?
Give panels the sunniest spots you have, angle them toward the winter sun's lower path, and wipe them clean monthly, since grime plus short days is a brutal combination. Switch lights to a lower brightness or shorter timer window in December so the charge lasts the night. Hybrid fixtures that accept a USB top-up charge are worth choosing for porches and north-facing spots. And store purely decorative pieces indoors during freeze months; batteries and seals both live longer for it.
Conclusion
The biggest lesson from two summers of experimenting is that no wiring outdoor lighting ideas are not a compromise anymore; they are simply the fastest route from a dark yard to a layered, welcoming one. Solar owns the paths and beds, batteries own the lanterns and movable glow, and USB owns the dimmers, timers, and smart touches, all of it installed with a stake, a hook, or a strip of adhesive. Start with one layer this weekend, walk it at dusk, and add the next when you see what is missing. If you want more inspiration for every corner of the yard, browse the rest of the lighting ideas here on the site; your wire-free glow-up is closer than you think.