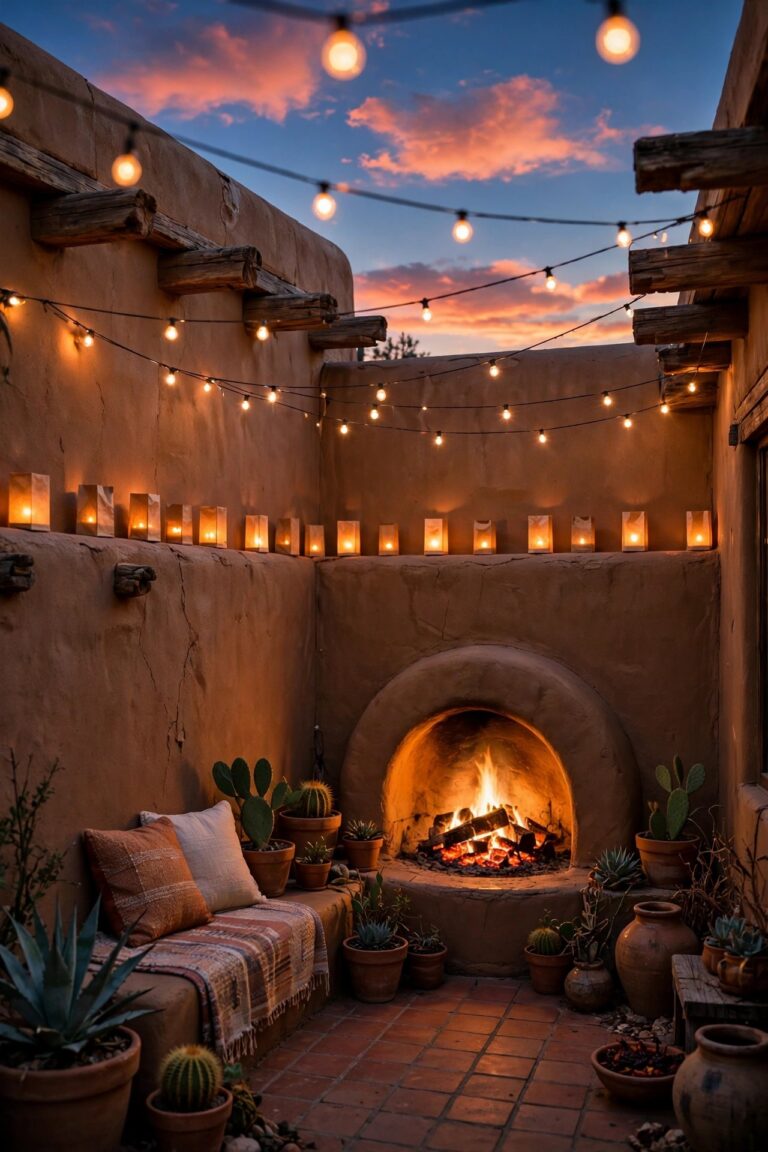
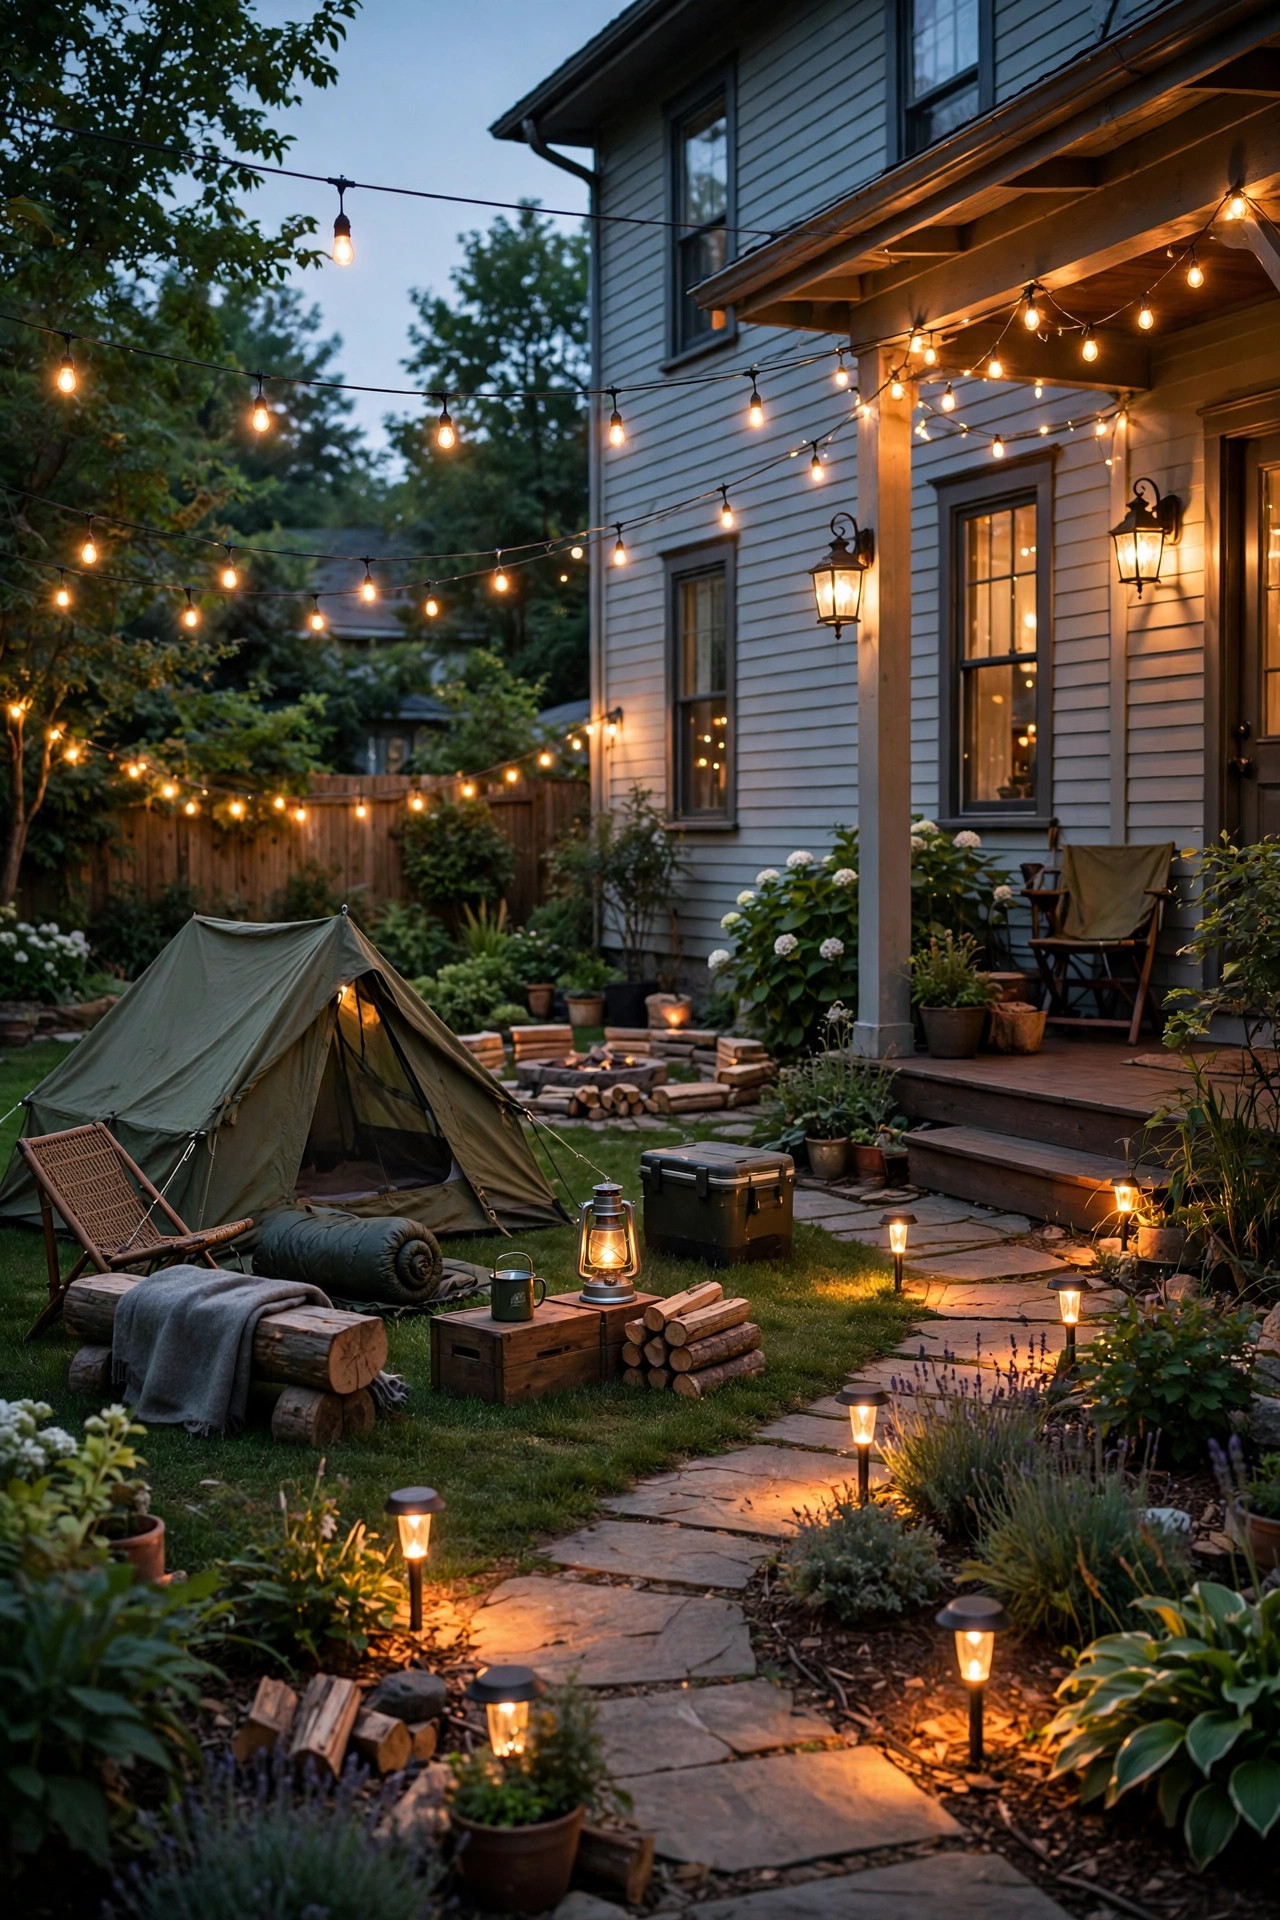
The first time my kids begged to sleep in a tent ten feet from our back door, I strung up one strand of lights, called it done, and spent the night fielding flashlight emergencies. Never again. Now I plan our backyard campout lighting ideas the same way I plan every outdoor space in my yard: in layers. A soft overhead glow so nobody feels swallowed by the dark, warm mid-level light where people gather, eat, and tell stories, and low guide lights along the ground so small feet can find the snack table and the back door without tripping over a tent stake. That layering is what turns a plain patch of grass into a campsite that feels magical to kids and genuinely relaxing to grown-up guests. In this post I am sharing the 19 ideas I rotate through all summer, from fairy-lit tents to a fire pit ring that glows past bedtime. Every single one is beginner-friendly, budget-friendly, and safe around little campers.
1. Start With a Layered Plan for Your Backyard Campout Lighting Ideas
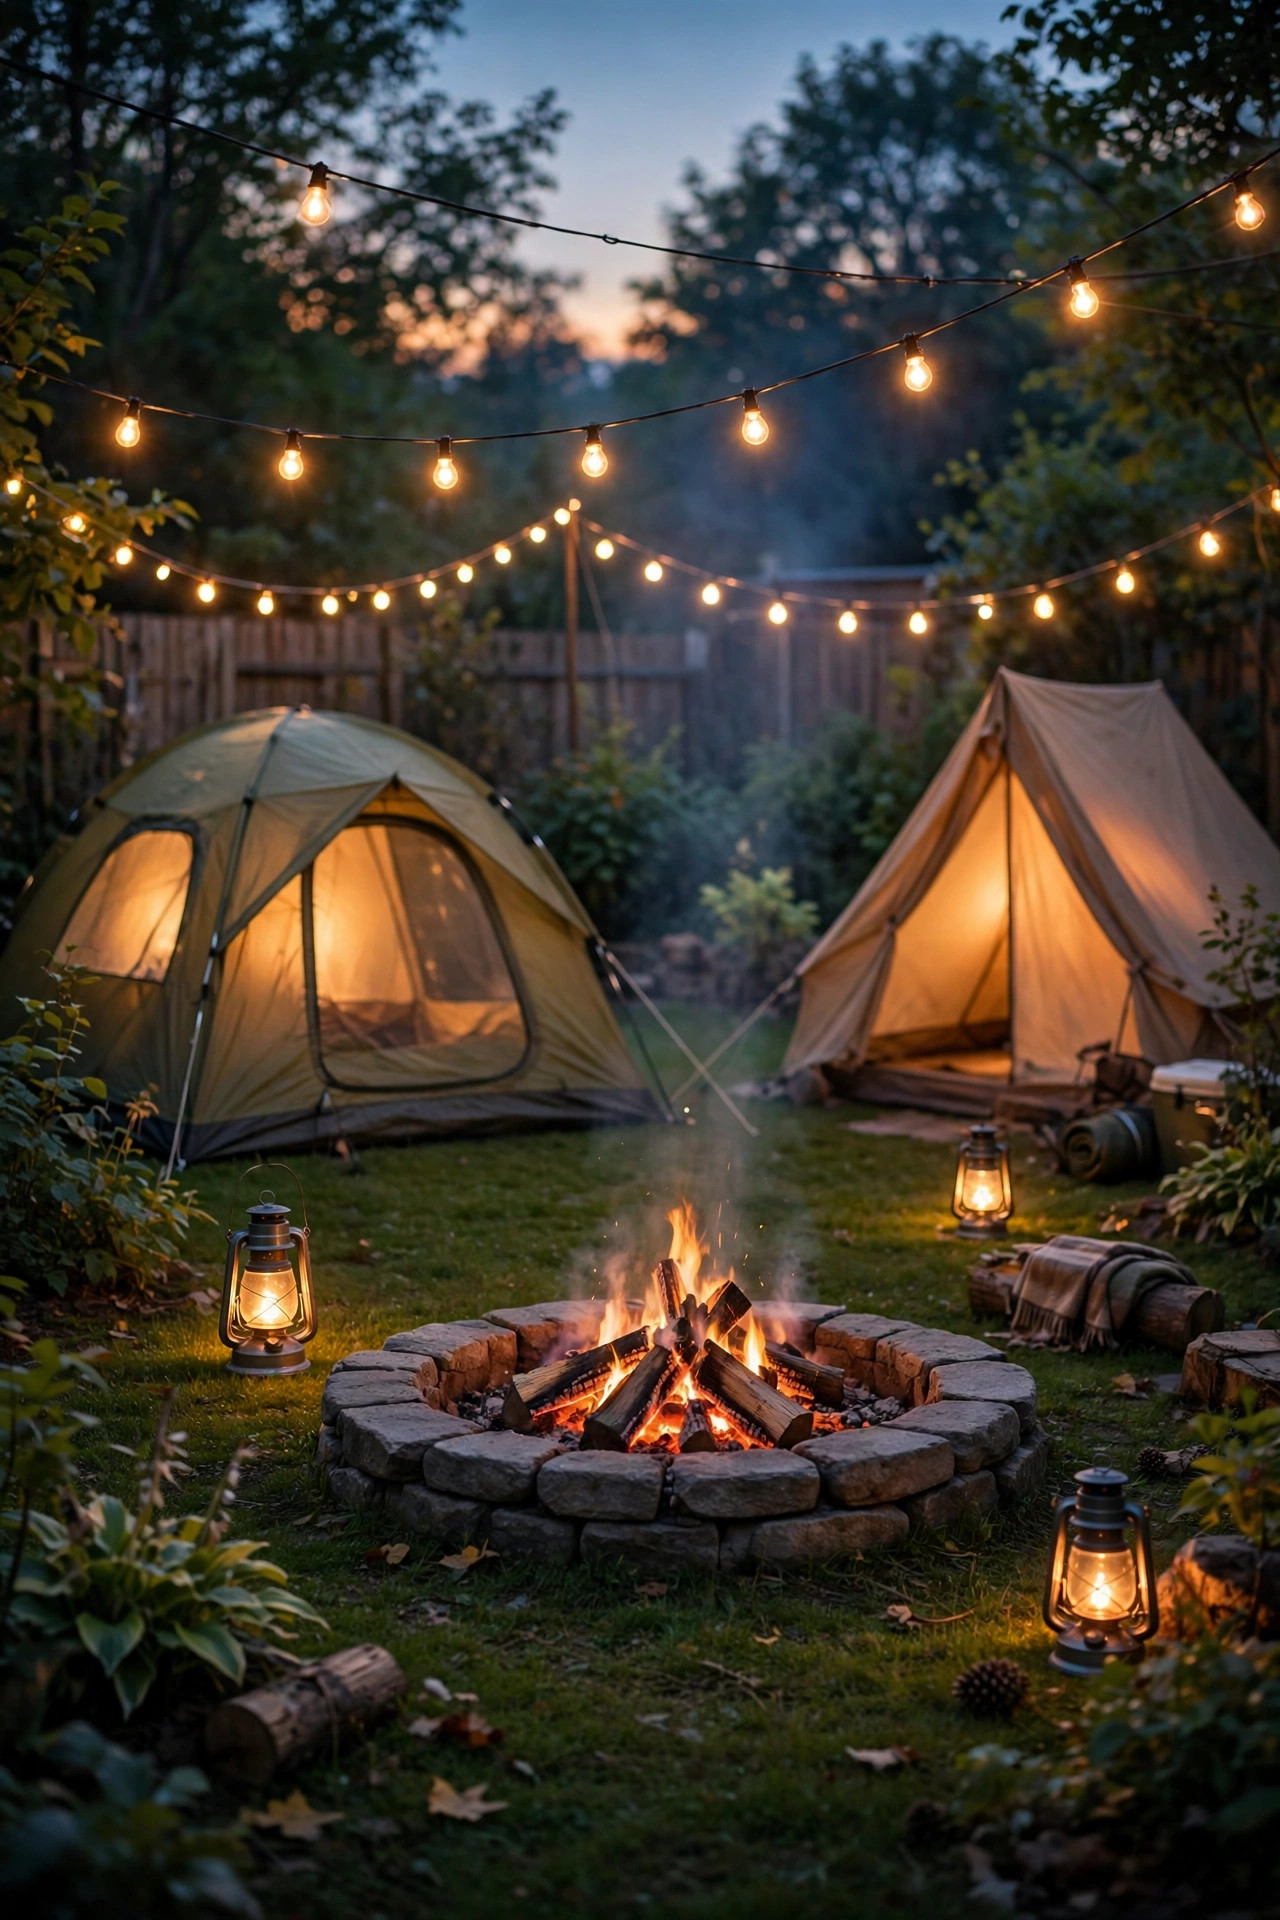
Before you hang a single bulb, walk your yard at dusk and think in three layers, because every great campout setup I have ever done starts with a plan instead of a shopping spree. The top layer is ambient light: string lights or lanterns hung 7 to 9 feet up so the whole campsite sits under a soft ceiling of glow. The middle layer lives at table height, roughly 2 to 3 feet off the ground: lanterns on the picnic table, lights around the fire pit chairs, something warm near the food. The bottom layer is guidance: low path lights and markers that outline walkways, tent doors, and the route back to the house. When I sketch these three layers on paper first, I never overbuy, and I never end up with one blinding spotlight and a yard full of shadows. Pick one warm color temperature, around 2700K, for every bulb and battery lantern so the layers blend instead of clashing. Trust me, ten minutes of planning saves you an hour of untangling cords in the dark later.
Suggested budget range: $20 – $60.
2. Swag String Lights Over the Tent Zone
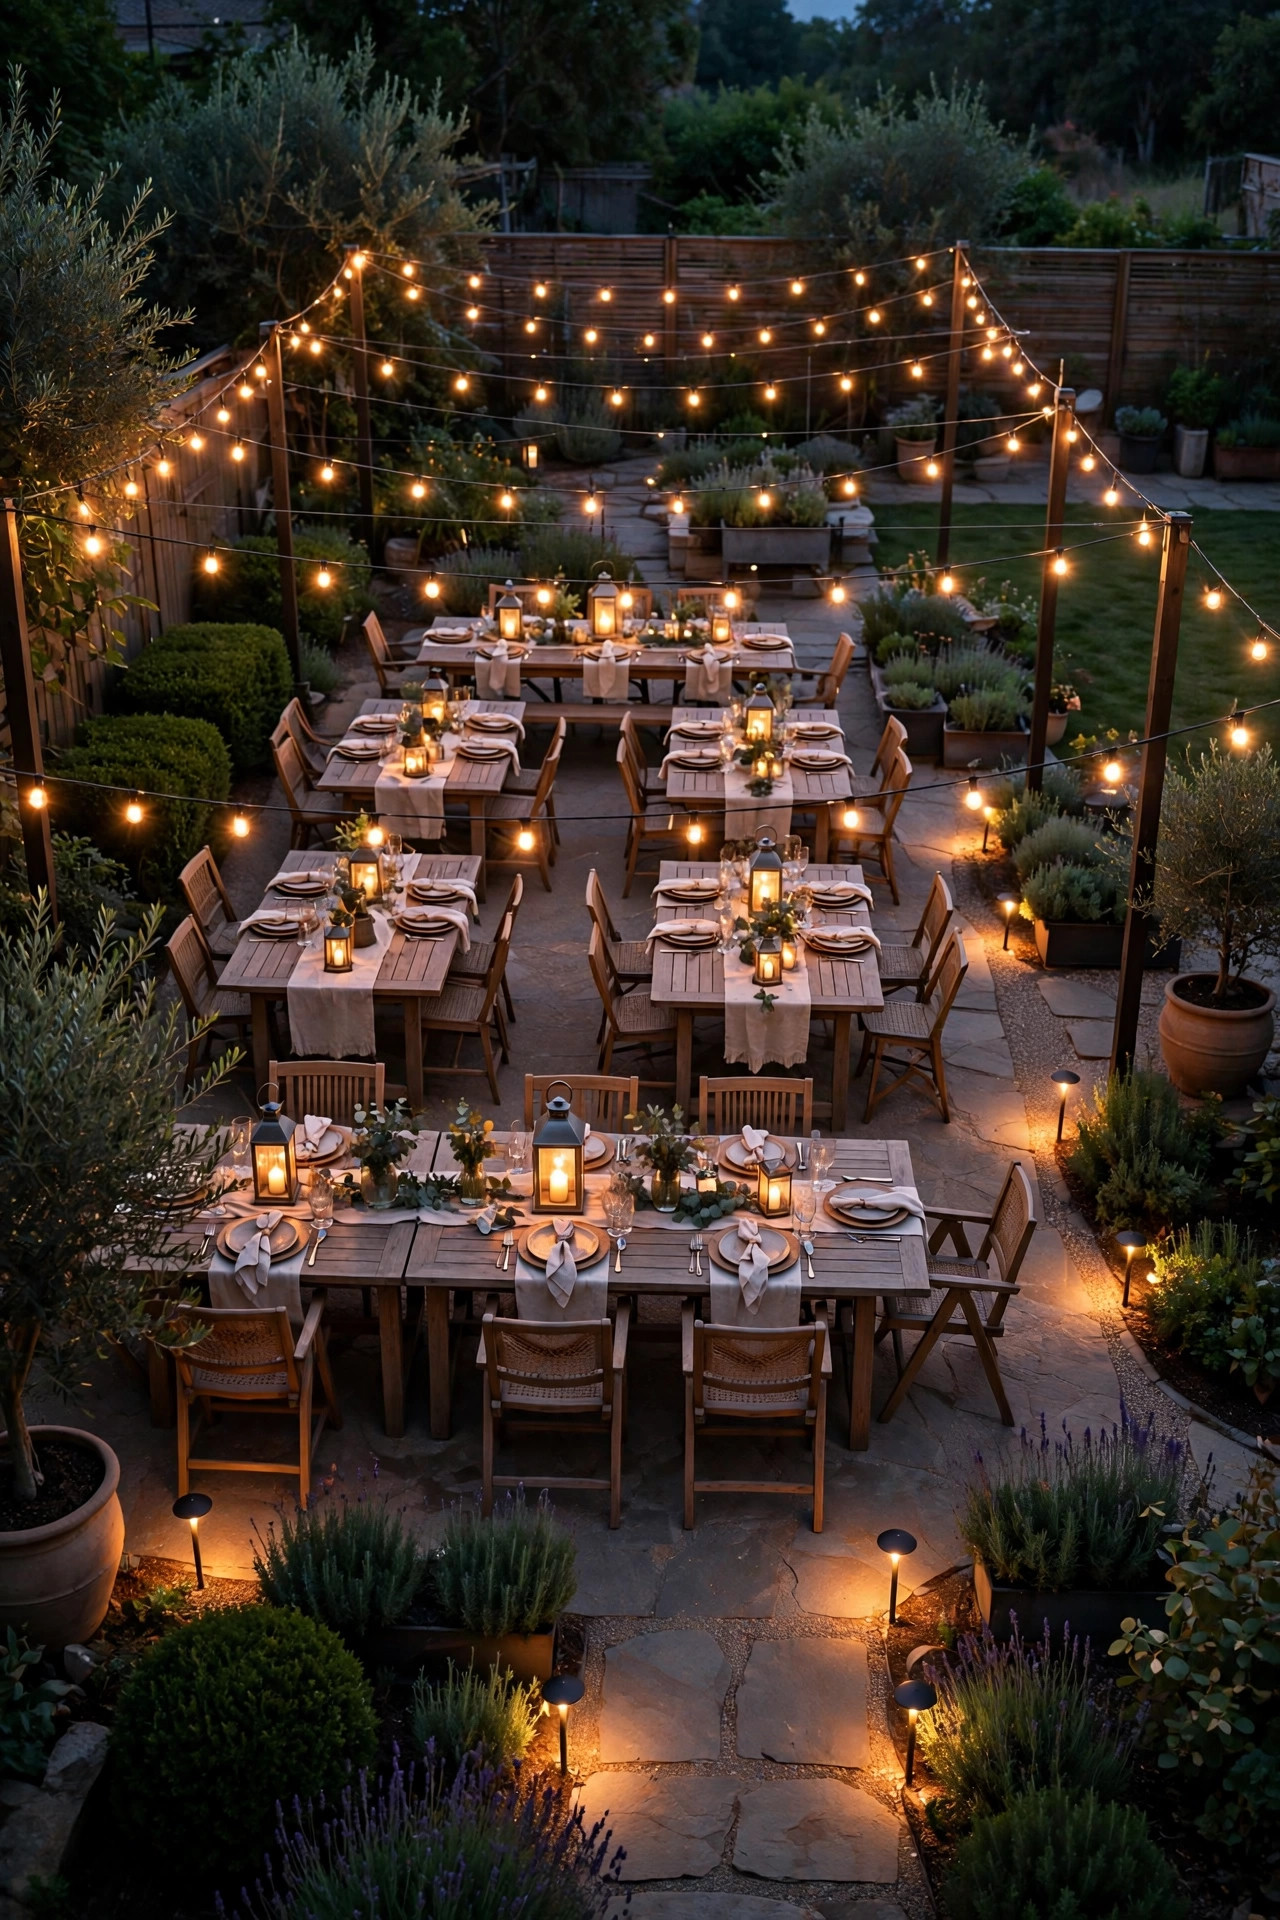
String lights are the backbone of almost every campsite I set up, and swagging them over the tent zone instantly makes a plain backyard feel like a real campground. I run two or three strands in gentle swags from the house or a fence to a sturdy tree, crossing over the tents at about 8 feet high so the light pools down softly instead of glaring into anyone's eyes. Commercial-grade strands with shatterproof LED bulbs are worth the small splurge here; they survive being stepped on, rained on, and "helped" with by enthusiastic kids. Space your anchor points 10 to 12 feet apart and let the swag dip about a foot in the middle for that relaxed café look. If you want placement and hanging tips that actually hold up all season, my guide to backyard string light ideas covers poles, hooks, and spacing in detail. Choose warm white bulbs around 2700K, and put the whole run on a plug-in timer so the canopy switches itself on at dusk.
Suggested budget range: $25 – $70.
3. Weave Fairy Lights Inside Every Tent
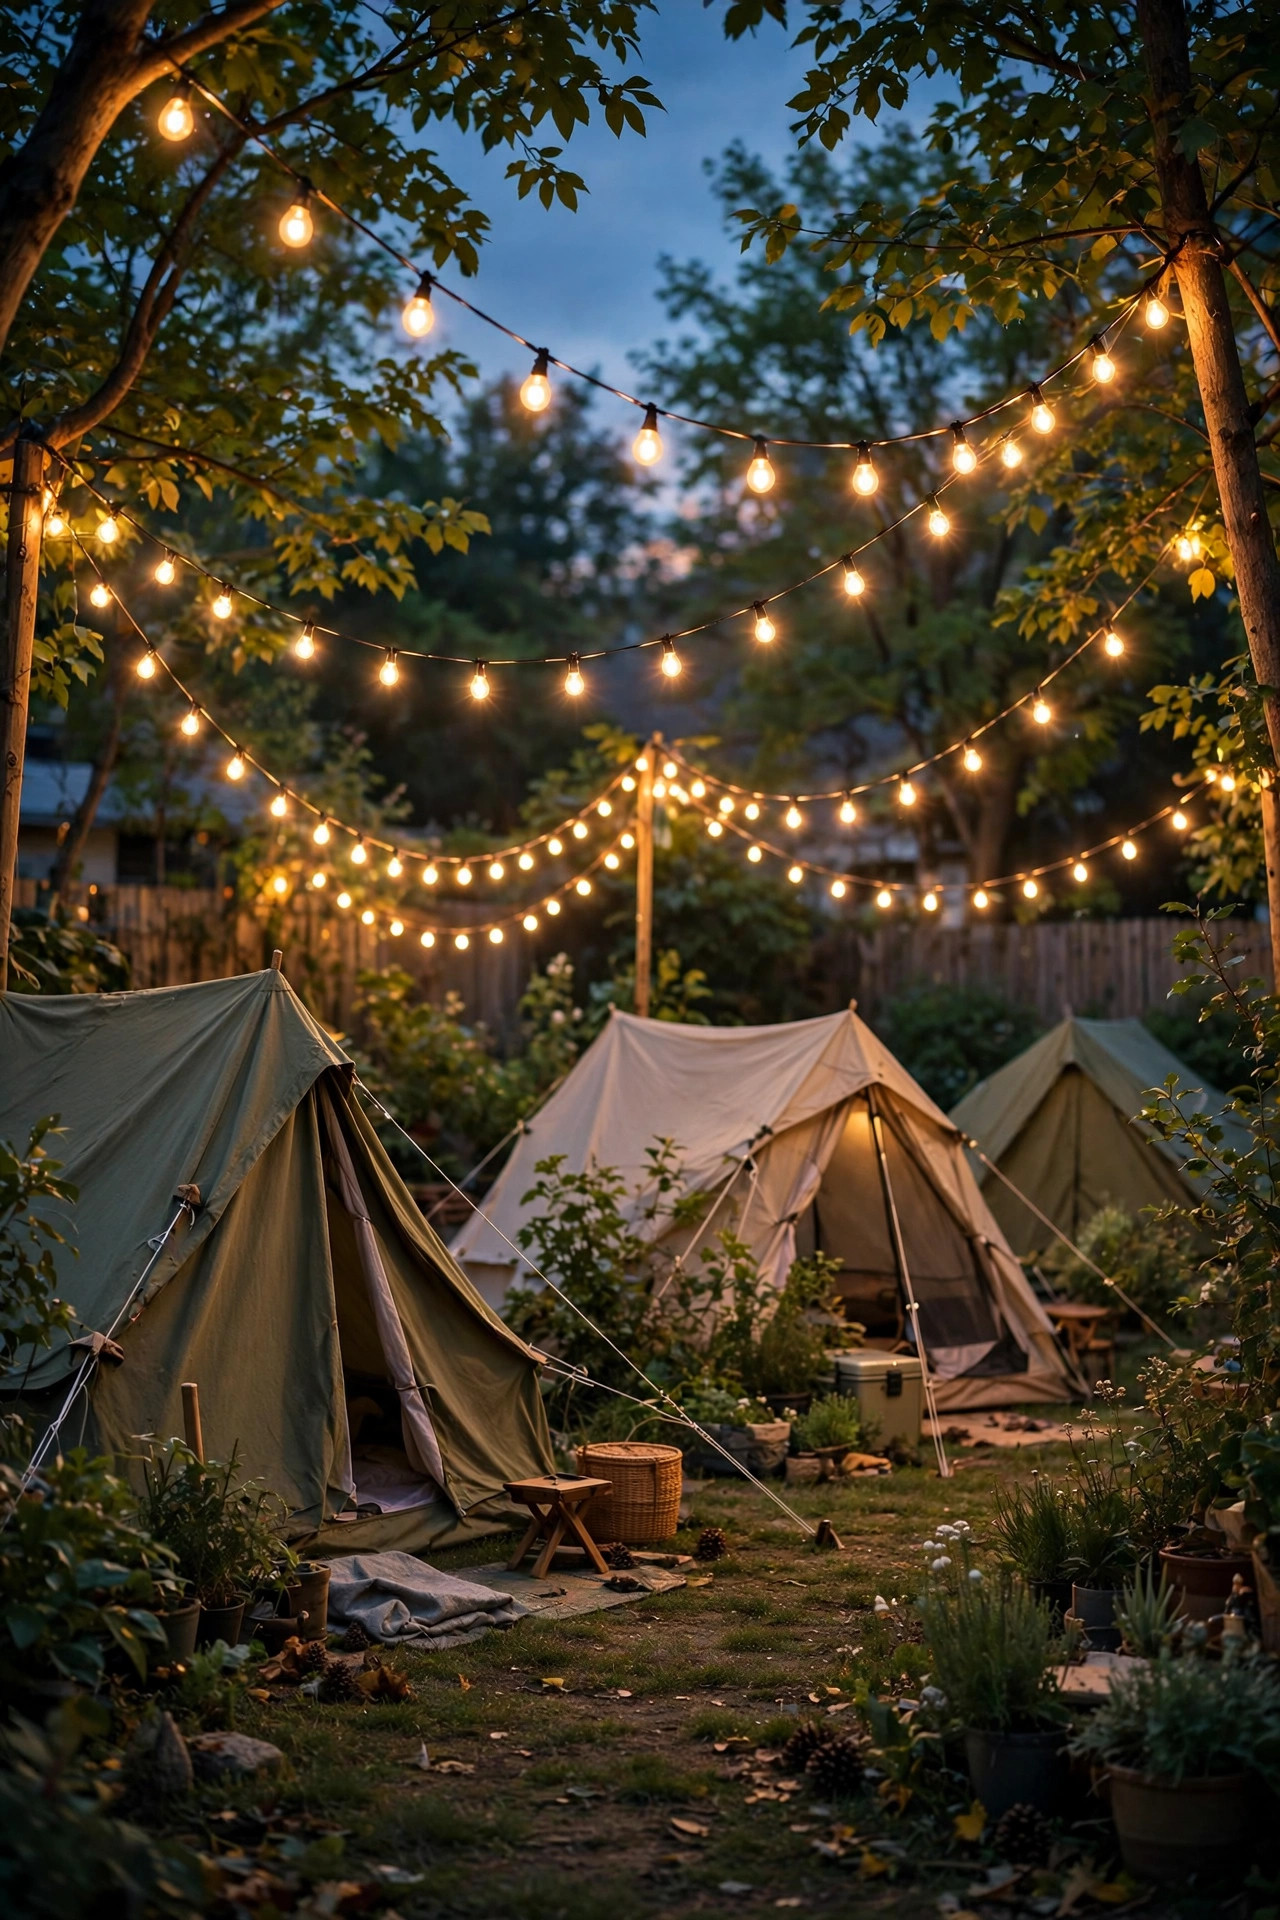
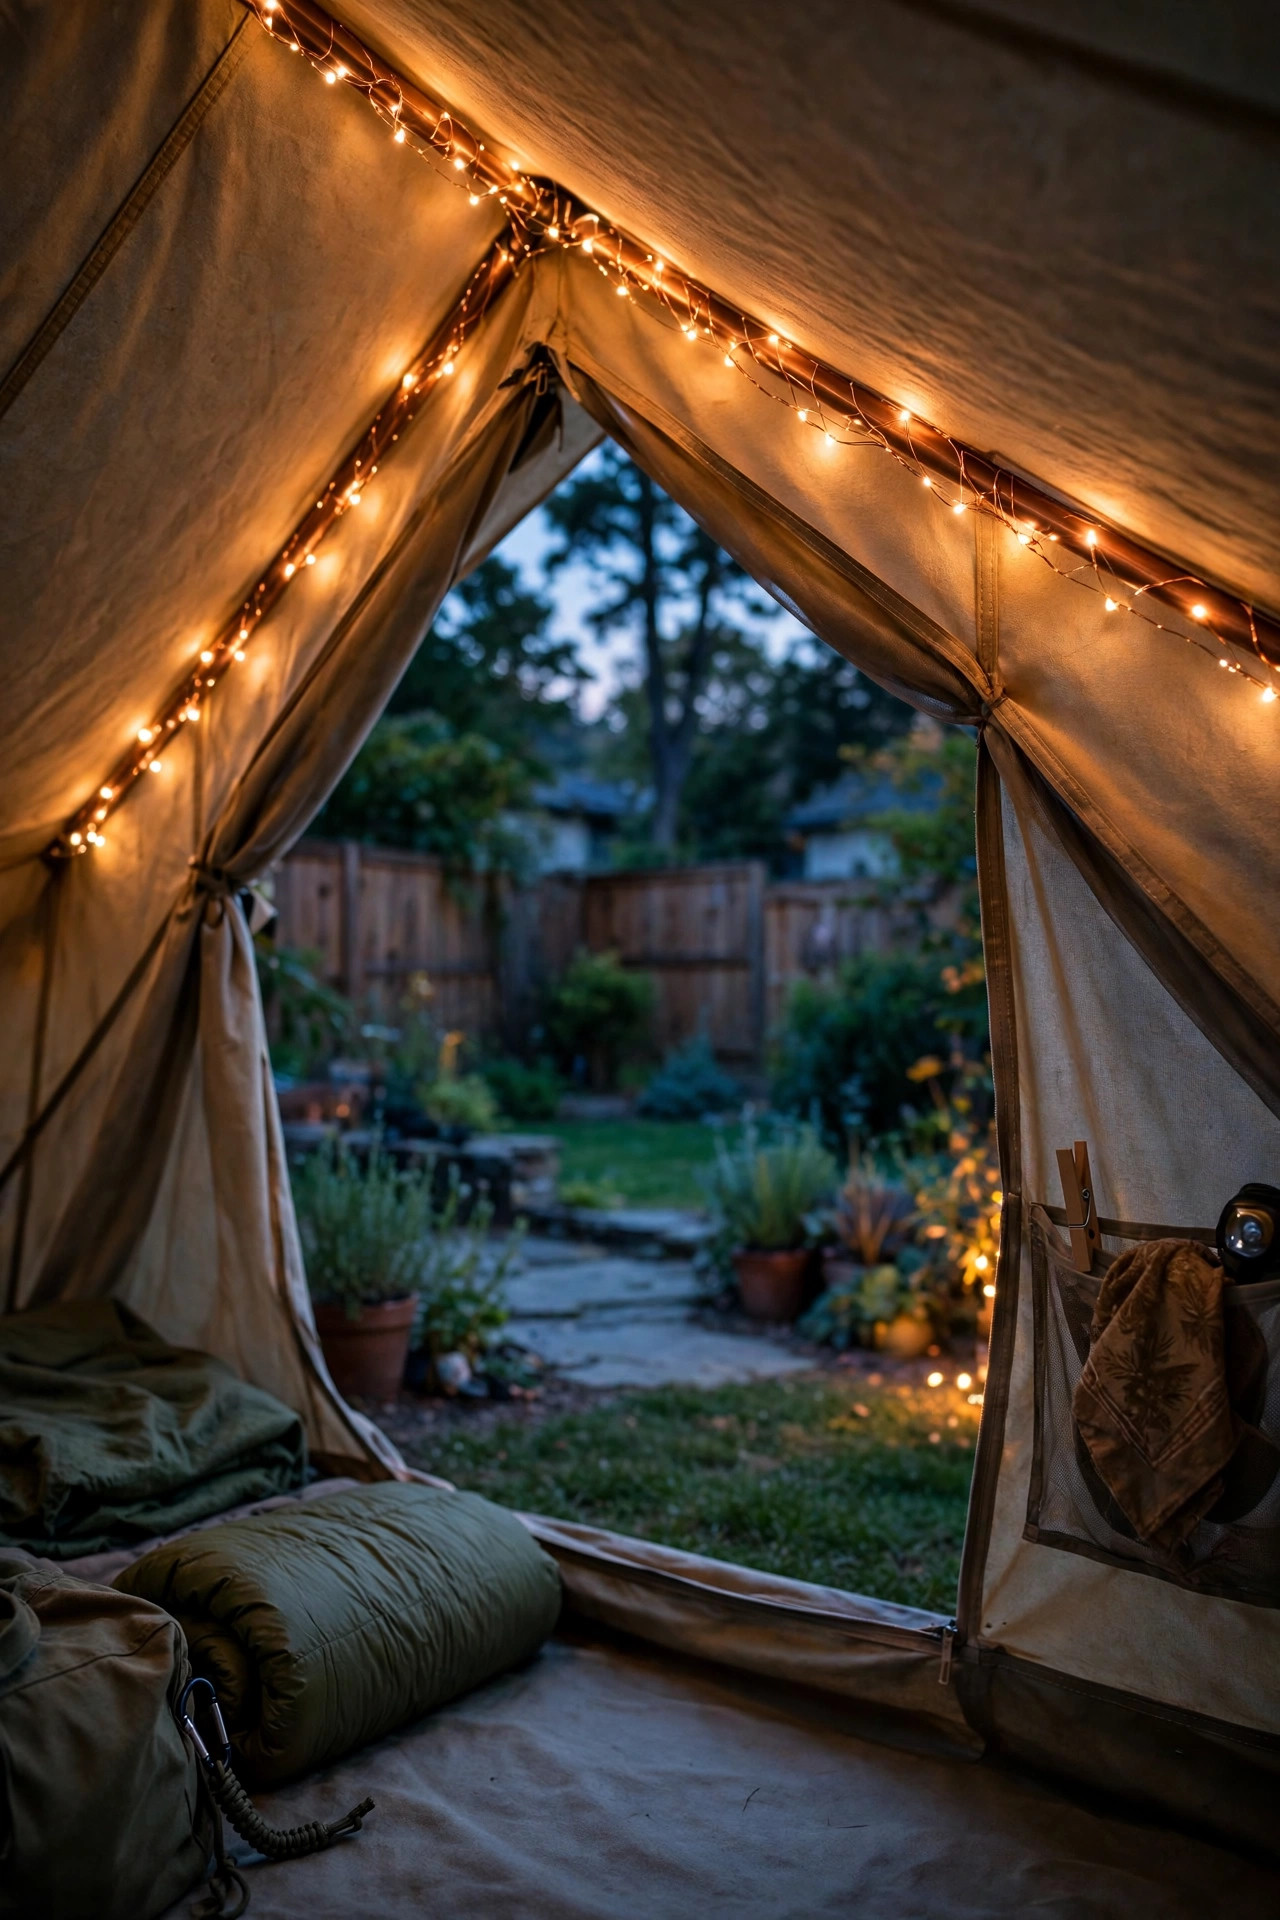
Honestly? This is the idea the kids talk about for weeks. A single strand of copper-wire fairy lights woven along the inside ridge of each tent turns it into a glowing little hideaway that feels equal parts cozy and enchanted. The battery pack versions are perfect here because there are no cords snaking through the grass, and the tiny LED bulbs stay cool to the touch, which matters a lot with sleeping bags and excited little hands nearby. I use warm white strands about 16 to 20 feet long per tent, looped loosely rather than pulled tight, and I tuck the battery pack into the tent's interior pocket so it stays dry and out of the way. Set them to the timer mode if yours has one; six hours on covers story time through lights-out without draining the batteries overnight. Never use real candles or anything with a flame inside a tent, and skip plug-in strands for inside the tent too. Battery fairy lights only, always. The soft sparkle also helps nervous first-time campers fall asleep, which every parent will tell you is priceless.
Suggested budget range: $8 – $20.
4. Set Flameless Lanterns as the Camp Table Centerpiece
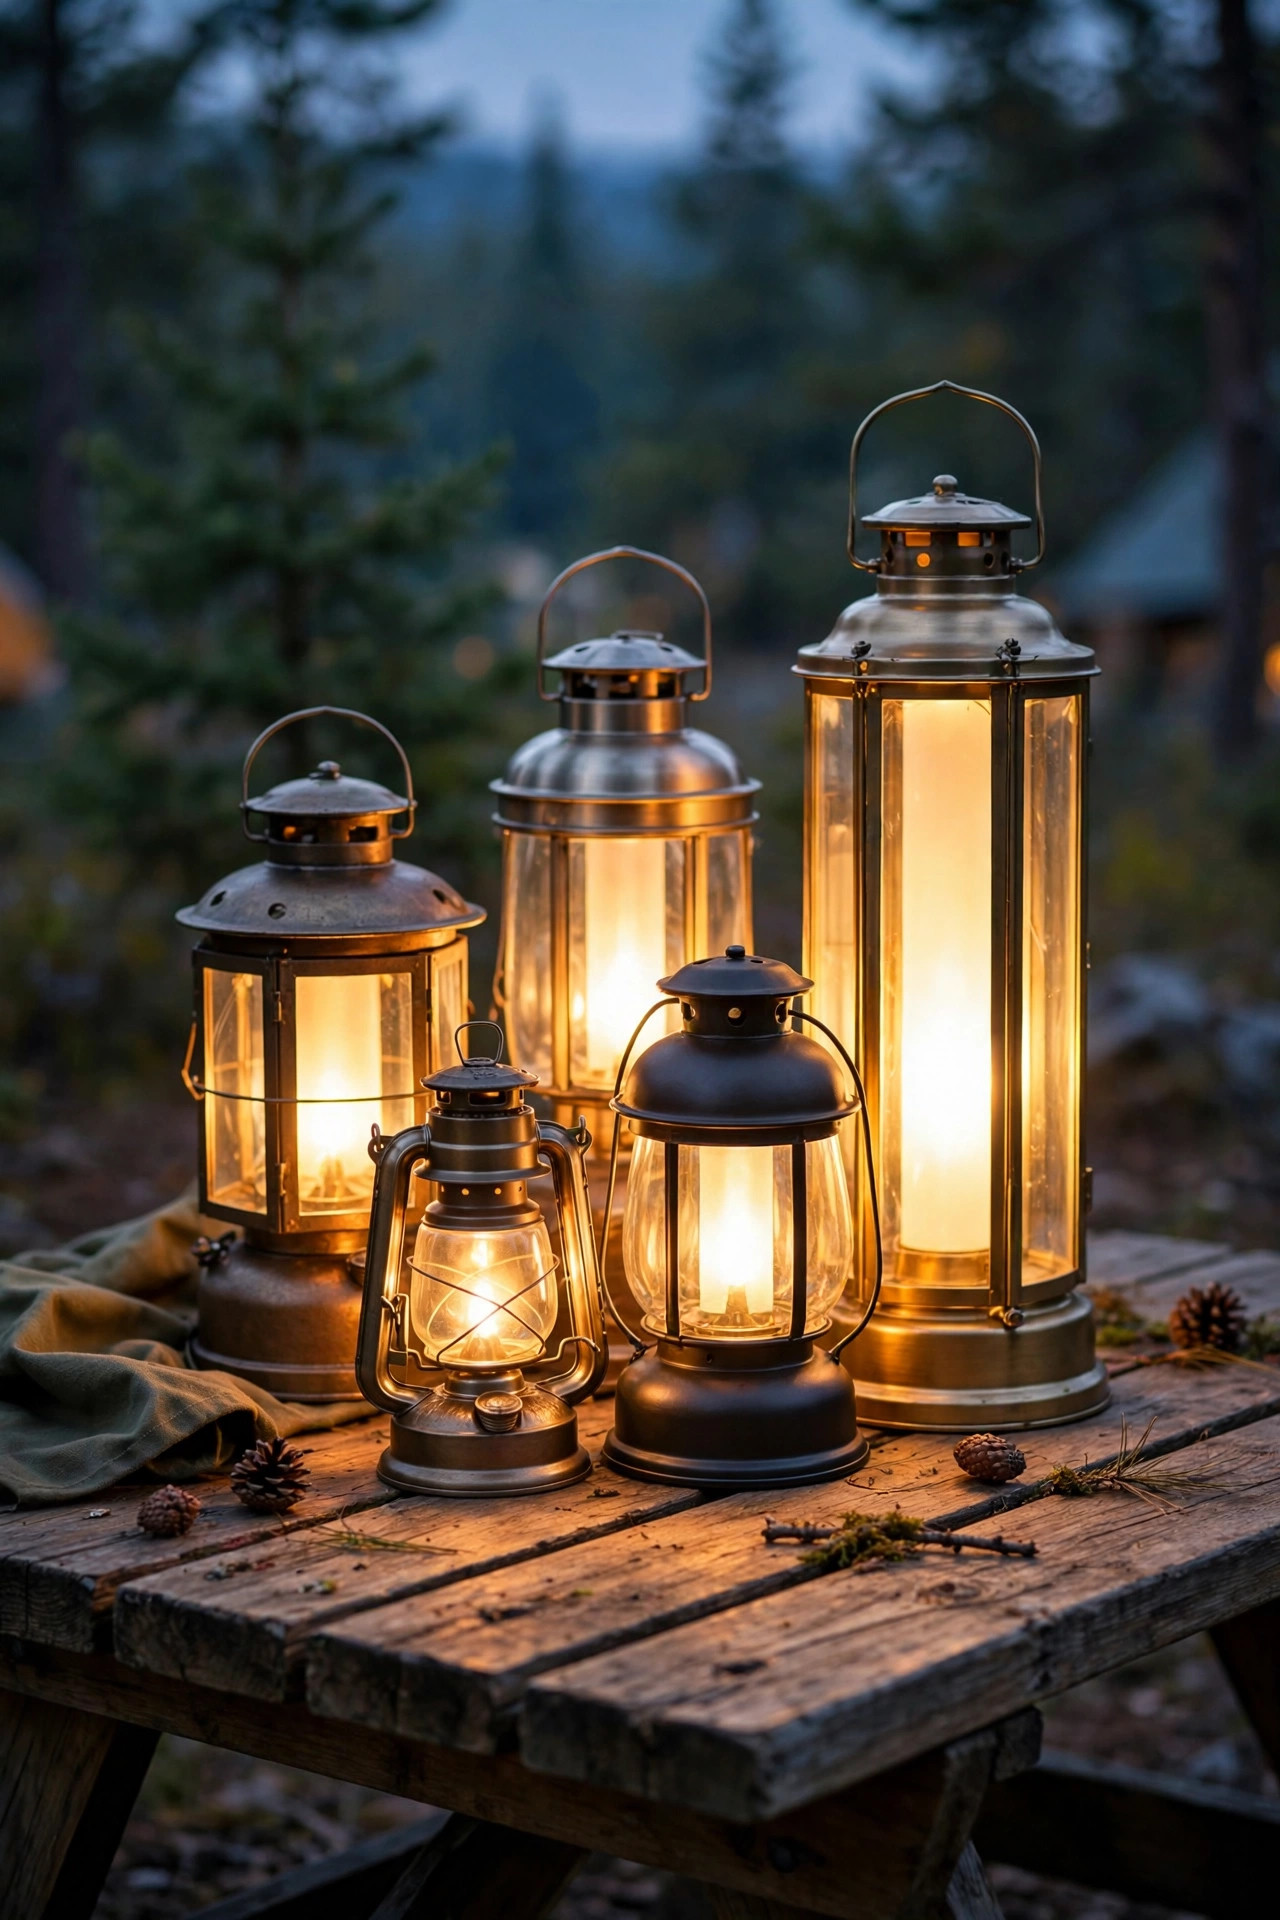
Every campout needs a home base, and in my yard that is the picnic table crowned with a cluster of flameless lanterns. I group three lanterns in different heights, say 8, 10, and 12 inches, in the center of the table, and the flickering LED candles inside give us that campfire-adjacent glow without a single open flame near paper plates and marshmallow sticks. Look for lanterns with a timer function and a warm 2700K flicker; the 5-hours-on, 19-hours-off setting means they light themselves every evening of a long weekend. Because they are battery powered, a gust of wind or a knocked-over cup is a non-event, and kids can carry one to the tent as a night-light when the stories wind down. I keep the style rustic, black metal or wood-tone frames, so the table photographs beautifully too. Spread a few pinecones or a plaid runner underneath and you have a centerpiece that looks styled but took four minutes. This one is pure Sarah math: maximum atmosphere, minimum fuss.
Suggested budget range: $15 – $45.
5. Build a Fire Pit Glow Ring With Seat Lighting
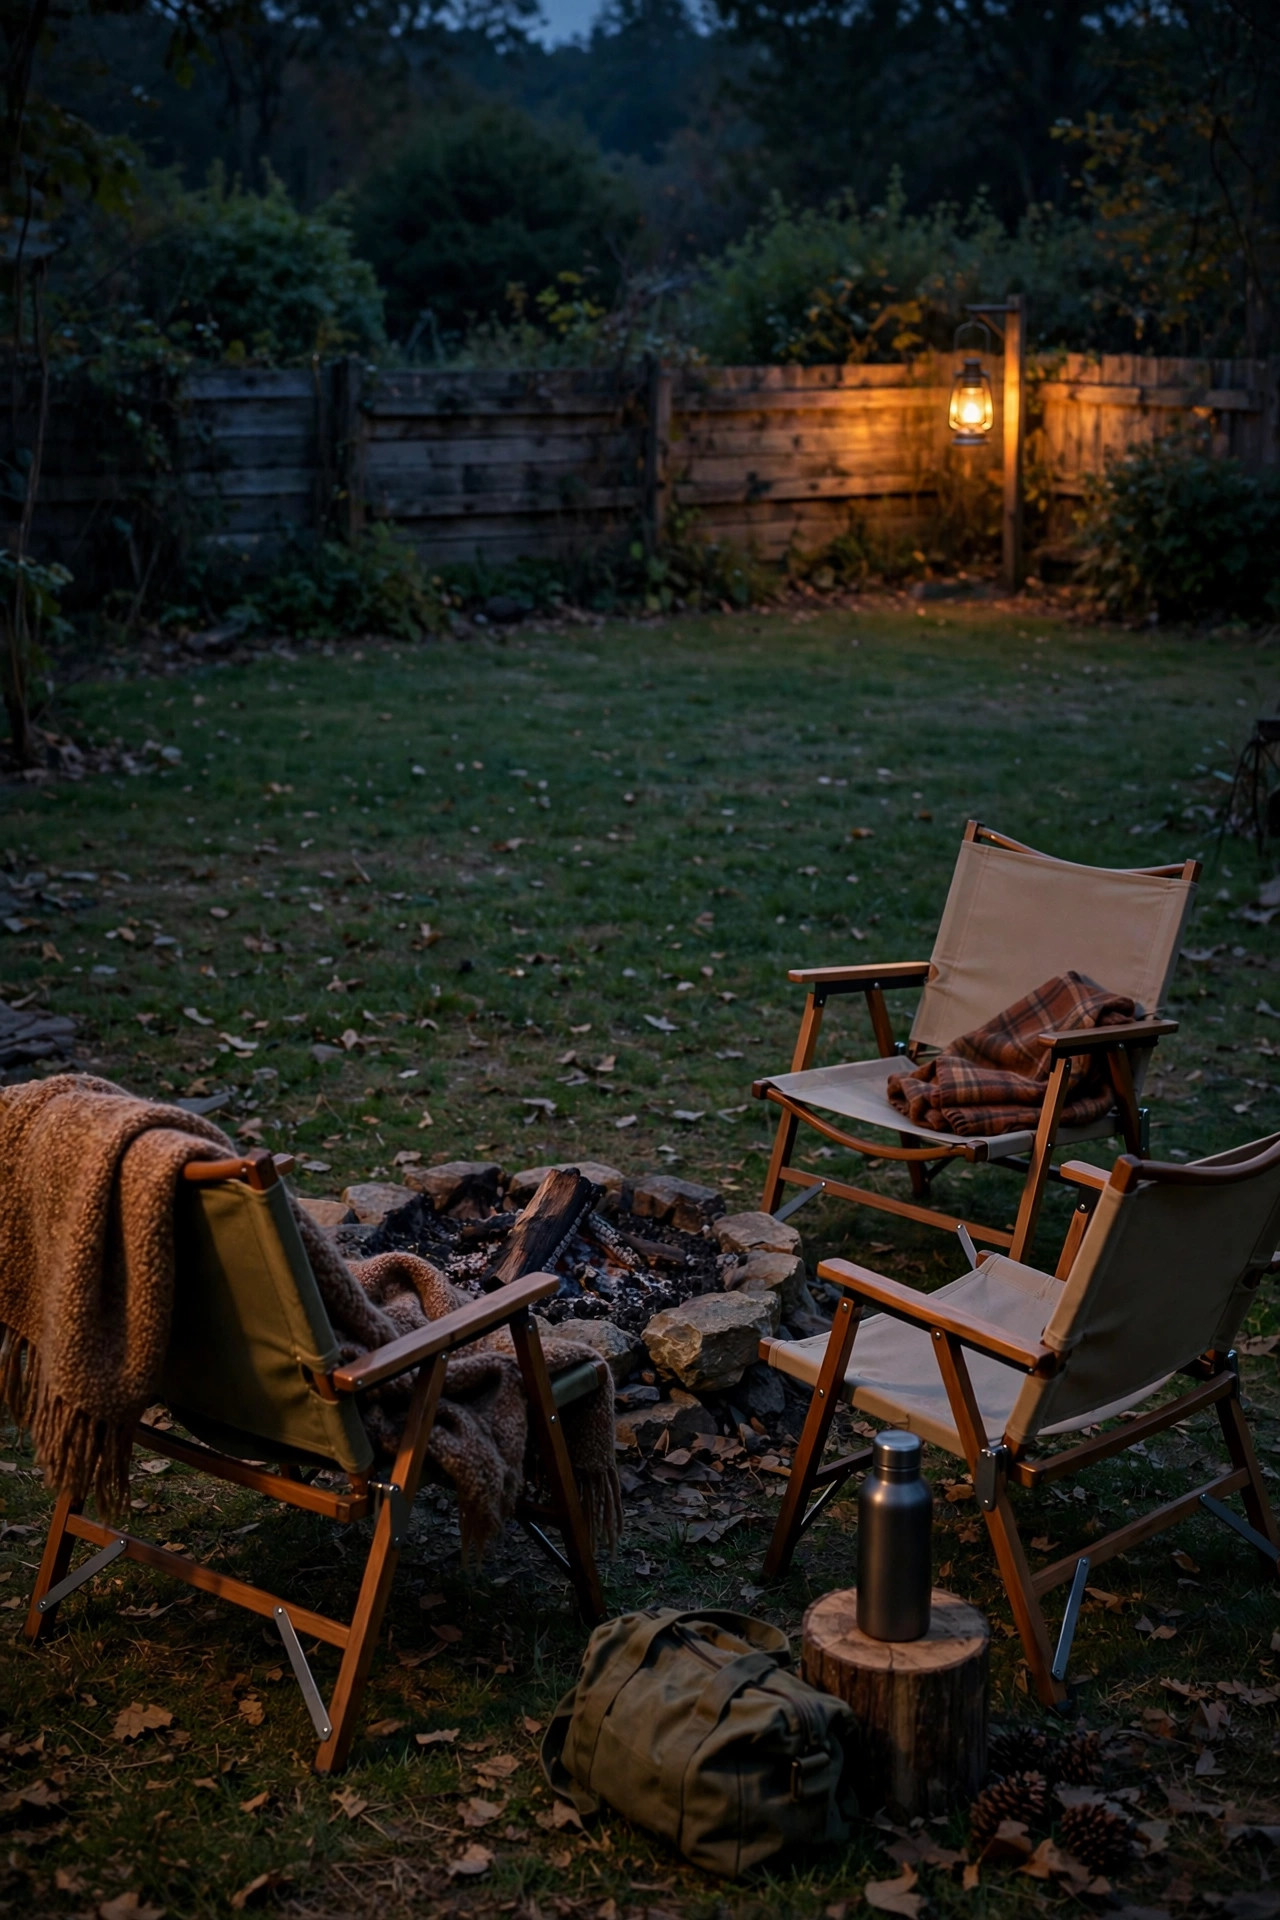
The fire pit is the heart of any campout, but the fire alone leaves the seating circle half in shadow, so I build a soft ring of light around it. My favorite trick is a low circle of small solar lanterns or short stake lights set about 12 to 18 inches behind each chair, so every seat gets its own warm halo and nobody's back is to the darkness. Keep every fixture at least 3 feet from the fire's edge, and use LED-only lights near the pit, never anything with exposed elements that sparks or heat could damage. If your pit area needs a fuller plan, the setups in my fire pit seating lighting ideas post walk through spacing for different pit sizes. I also tuck one lantern under each chair's side table spot for drinks and s'mores supplies. The result is a golden ring you can see from the house, and guests drift toward it like moths all night. Just remember the fire itself is a light source, so keep the ring dim and warm, never bright white.
Suggested budget range: $20 – $55.

6. Line the Path With Solar Lights for Midnight Snack Runs
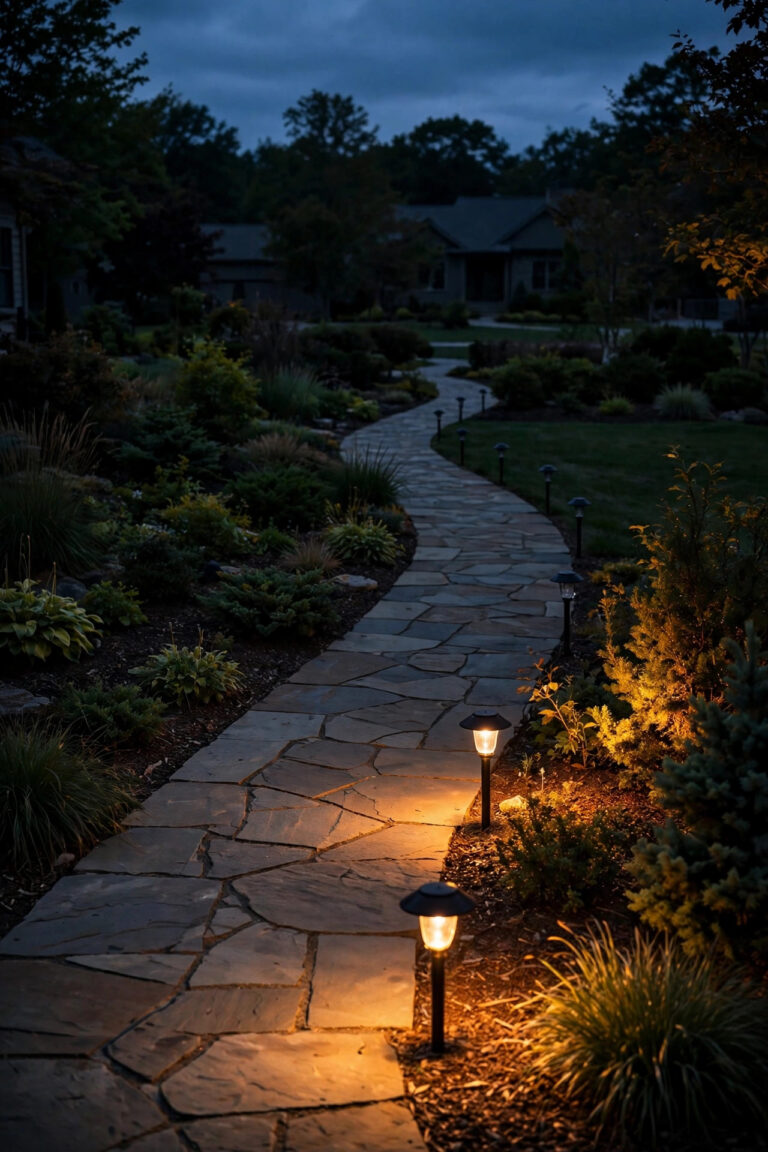
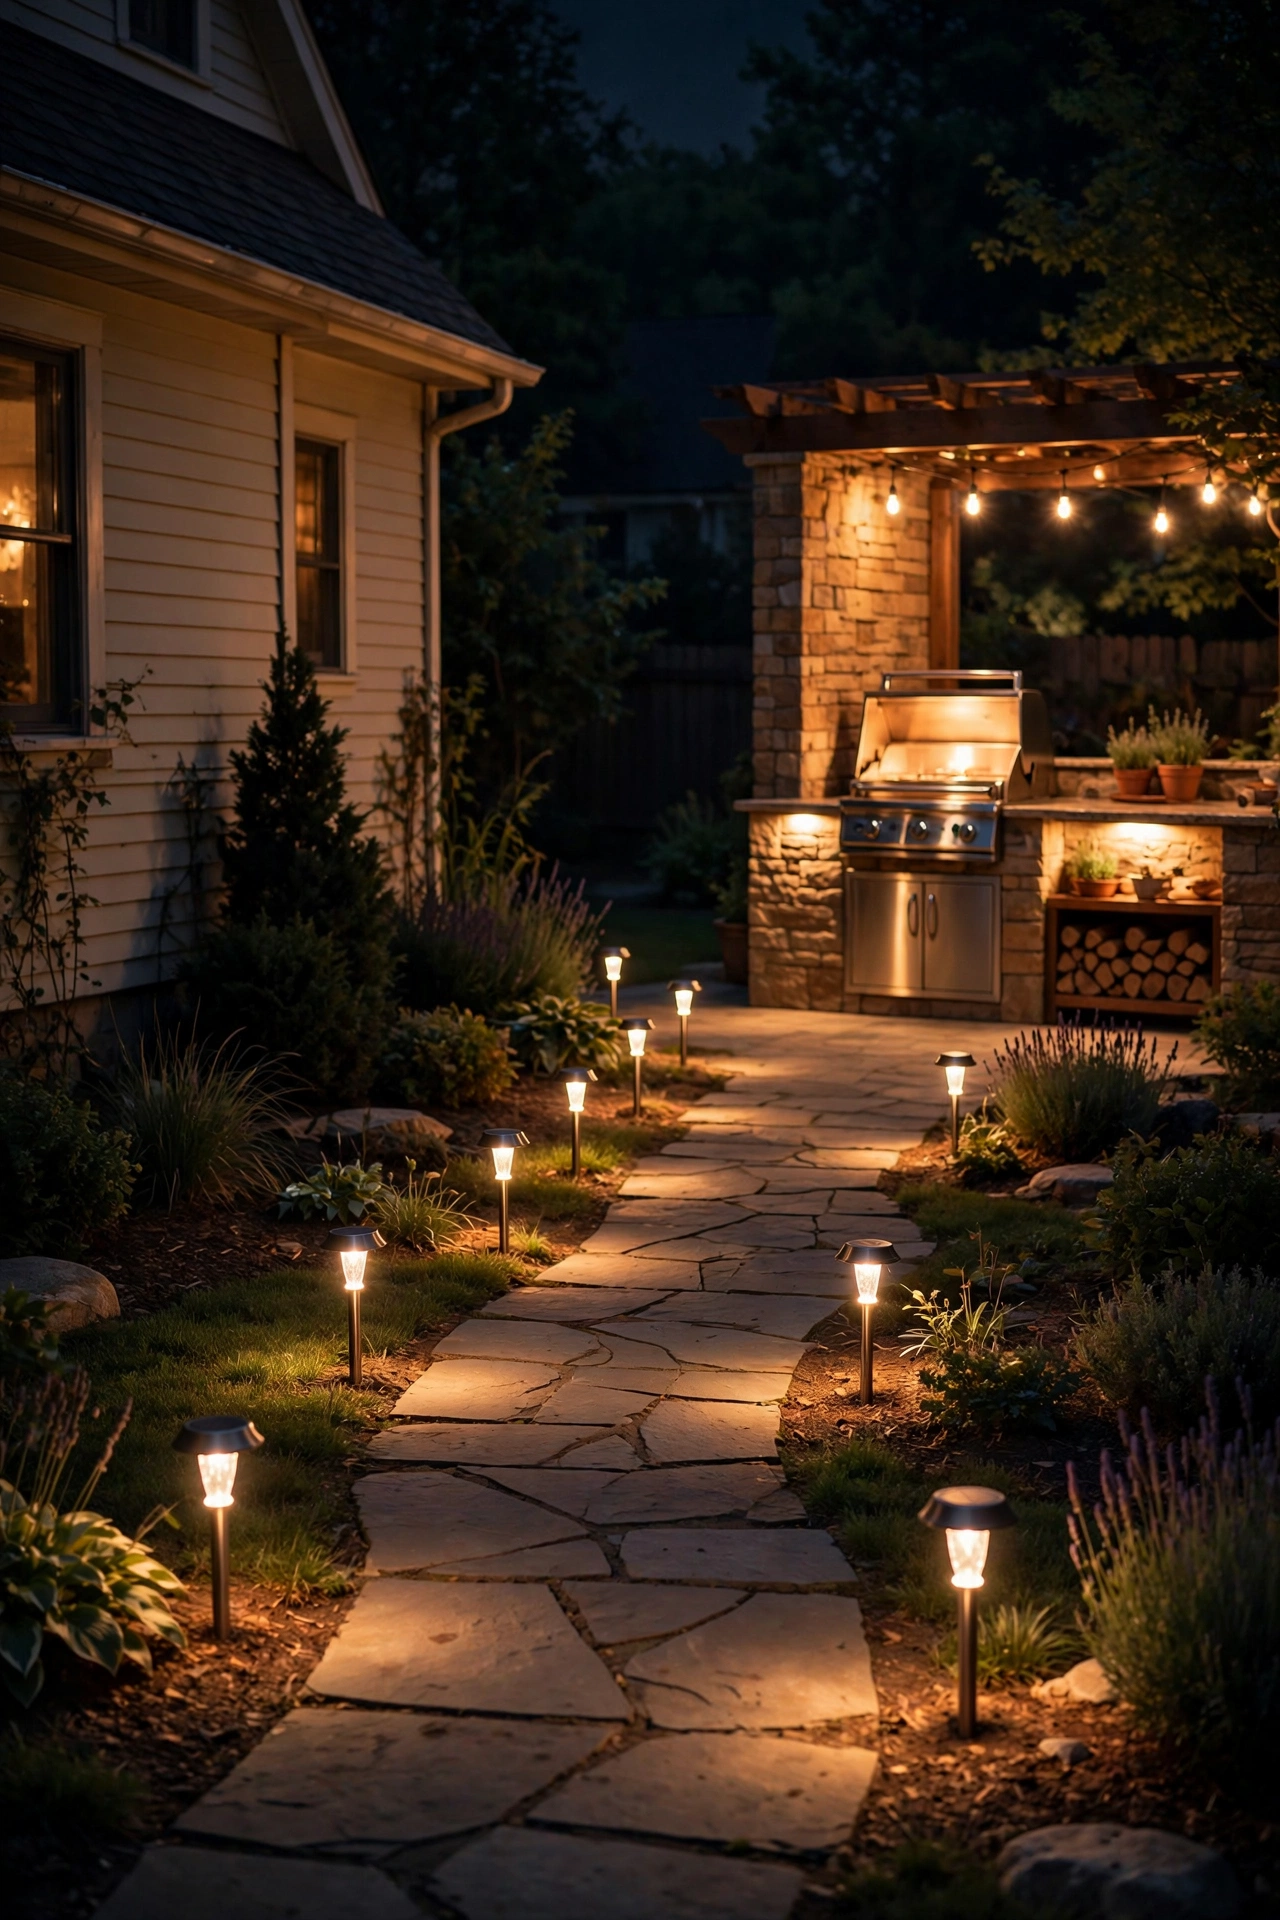
Somebody will need the bathroom, somebody will need water, and somebody (usually me) will need one more s'more at 11 p.m. A simple line of solar path lights from the tents to the back door makes those trips safe and oddly delightful. I stake lights every 4 to 6 feet along the natural walking route, alternating sides so the path reads clearly without looking like an airport runway. Choose lights that throw their glow downward onto the grass rather than up into faces; 10 to 20 lumens per light is plenty for guidance. Solar is ideal here because campout zones rarely sit near an outlet, and decent solar stakes charge even on a partly cloudy day if you place the panels in afternoon sun. Push the stakes in after lunch, not at dusk, so they get a full charge before their first shift. In my experience the cheap four-pack lights are fine for a season, but the slightly better metal ones survive being kicked by soccer balls and campers alike. Mark the back doorstep with one brighter light so the destination is obvious.
Suggested budget range: $15 – $40.
7. Mark Tent Guy Lines With Glow Markers
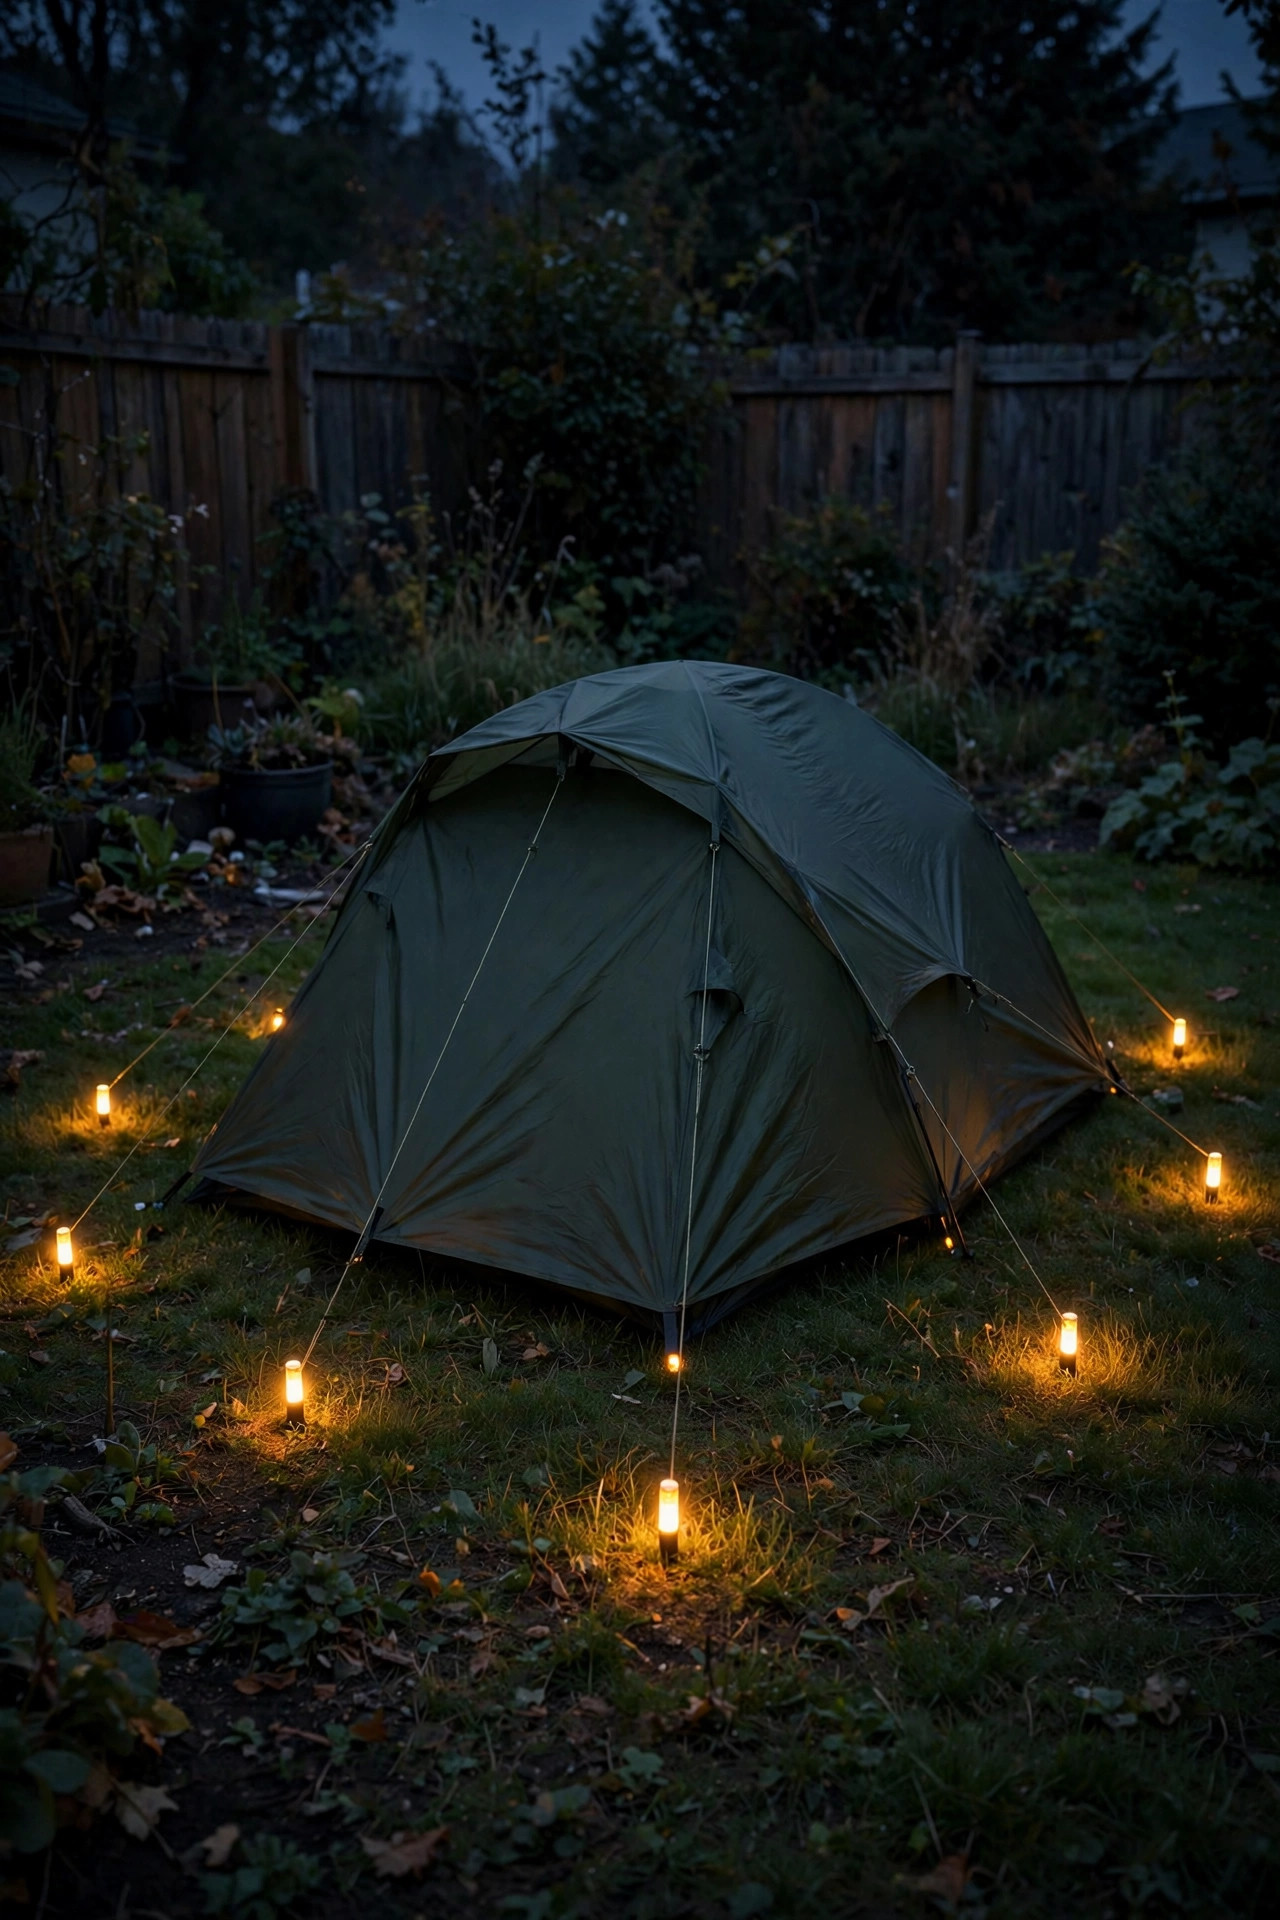
This is the least glamorous idea on the list and quite possibly the most valuable, because nothing ends campout magic faster than a grown-up tripping over a tent guy line in the dark. Those thin cords are nearly invisible at night, so I clip a small glow marker or wrap a short piece of battery fairy light wire at the midpoint of every line. You can buy glow-in-the-dark line markers, but honestly, a 6-inch loop of inexpensive LED wire lights zip-tied to each cord works beautifully and costs pennies. The goal is not brightness; a soft dot of light at ankle height warns feet without disturbing sleepers. I do the same for the tent stakes themselves if they sit outside the tent footprint in the walking zone. This trick came from a real campground, and it has saved us at least three stubbed toes and one dramatic slow-motion fall involving a tray of brownies. Teach the kids to spot the glowing lines as a game on night one and they will point them out proudly to every guest who arrives after dark.
Suggested budget range: $5 – $15.
8. Hang Battery Paper Lanterns in the Trees
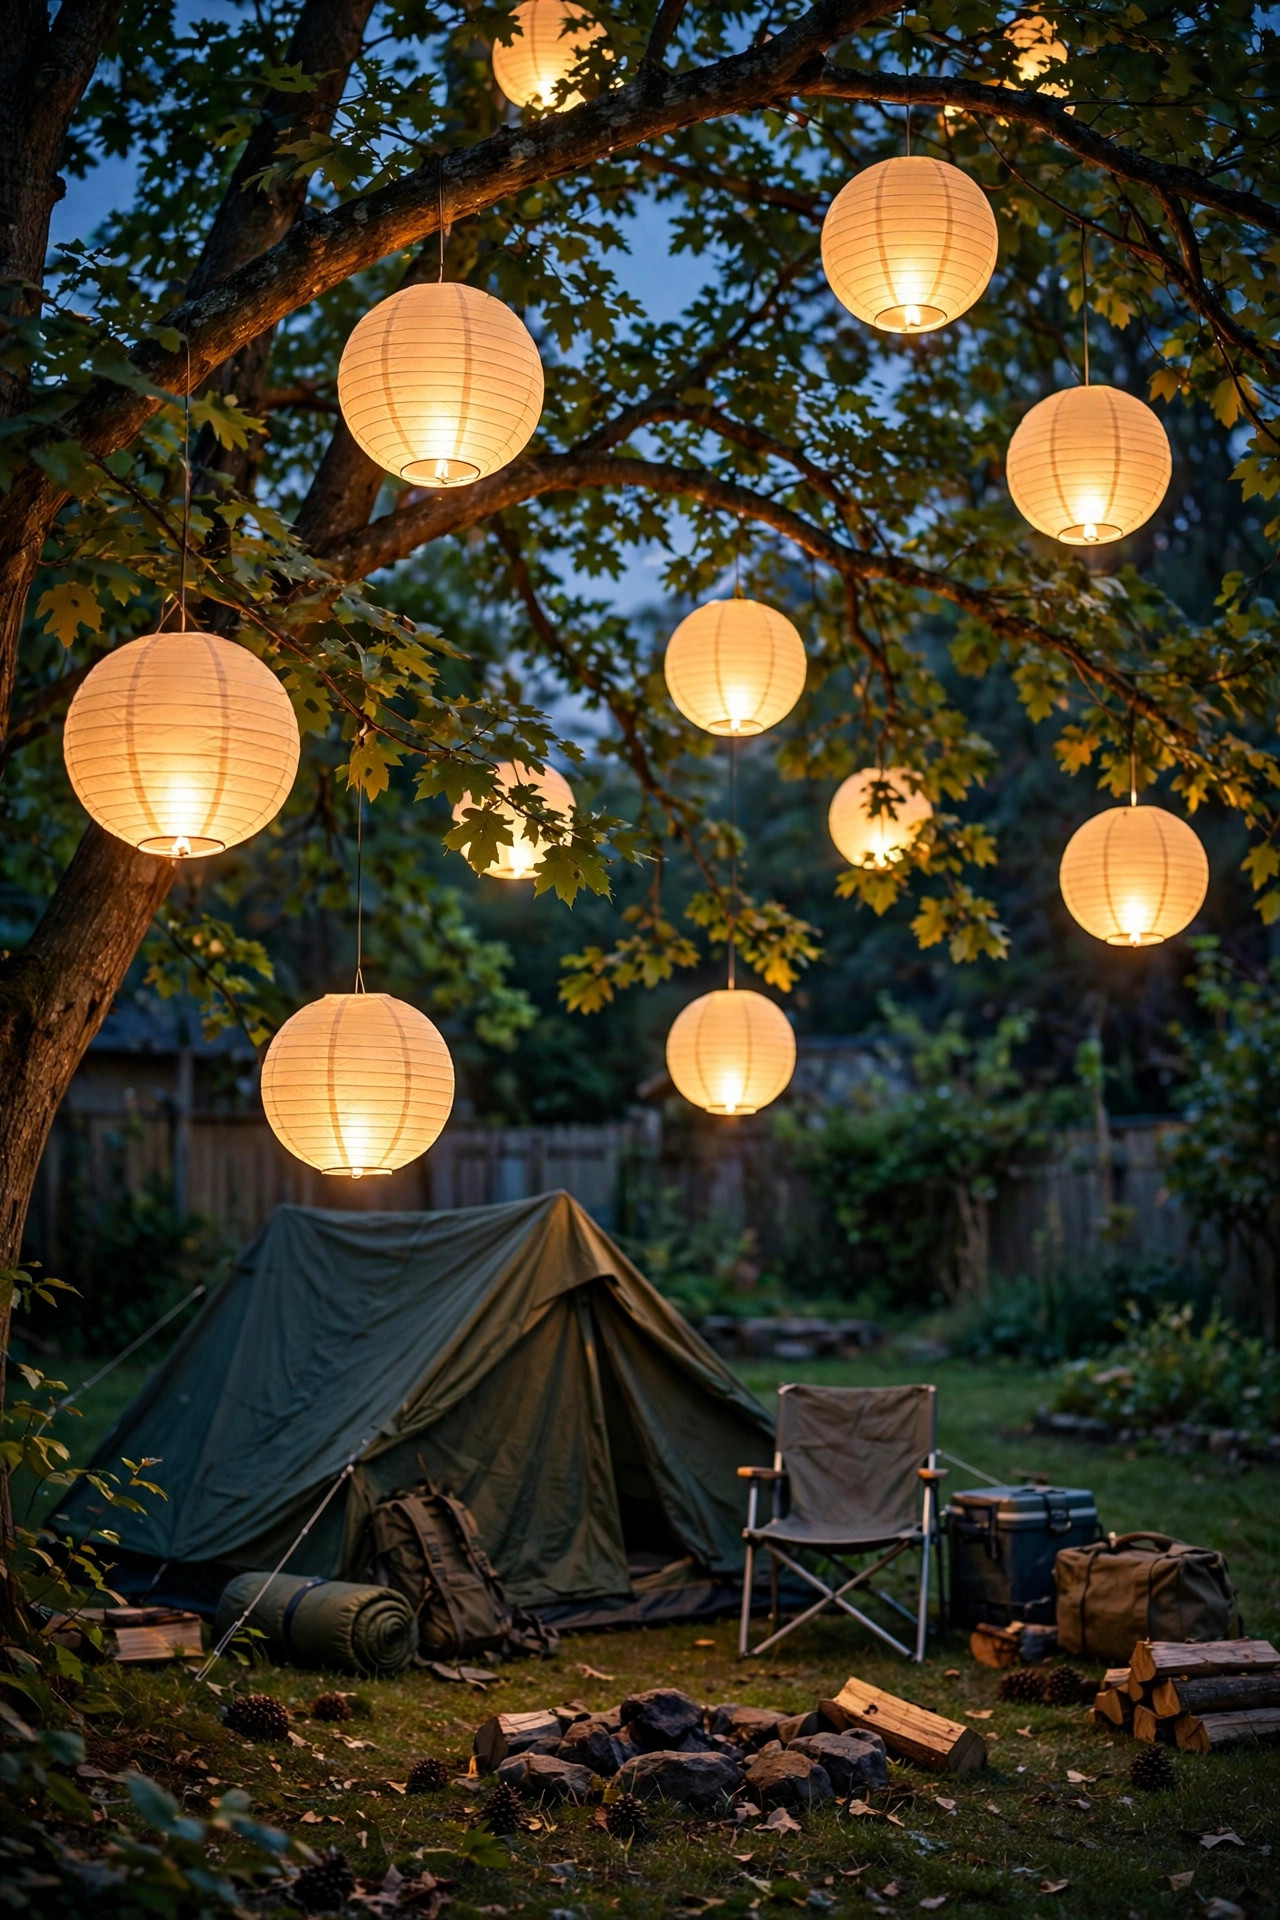
For pure storybook charm, nothing beats paper lanterns glowing in the branches above the campsite. I use the battery-powered kind with a built-in LED and a little remote or timer, in warm white and a couple of soft colors for the kids' side of the yard. Hang them at varied heights, roughly 6 to 10 feet up, using fishing line over sturdy branches so they appear to float. Paper lanterns and real flames must never meet, so LED inserts only, and bring them in if rain threatens because even a light shower will wilt the paper. A cluster of five to seven lanterns over the main gathering area reads as one big soft moon-glow, which is gorgeous in photos and gentle on eyes adjusting to the dark. The 12-inch size is my sweet spot for backyard trees; smaller 8-inch ones suit shrubs and the tent porch area. Guests always ask where I got them, and the answer, an inexpensive multipack plus batteries, never fails to surprise people.
Suggested budget range: $12 – $35.
9. Try Backyard Campout Lighting Ideas for a Movie Night Finale
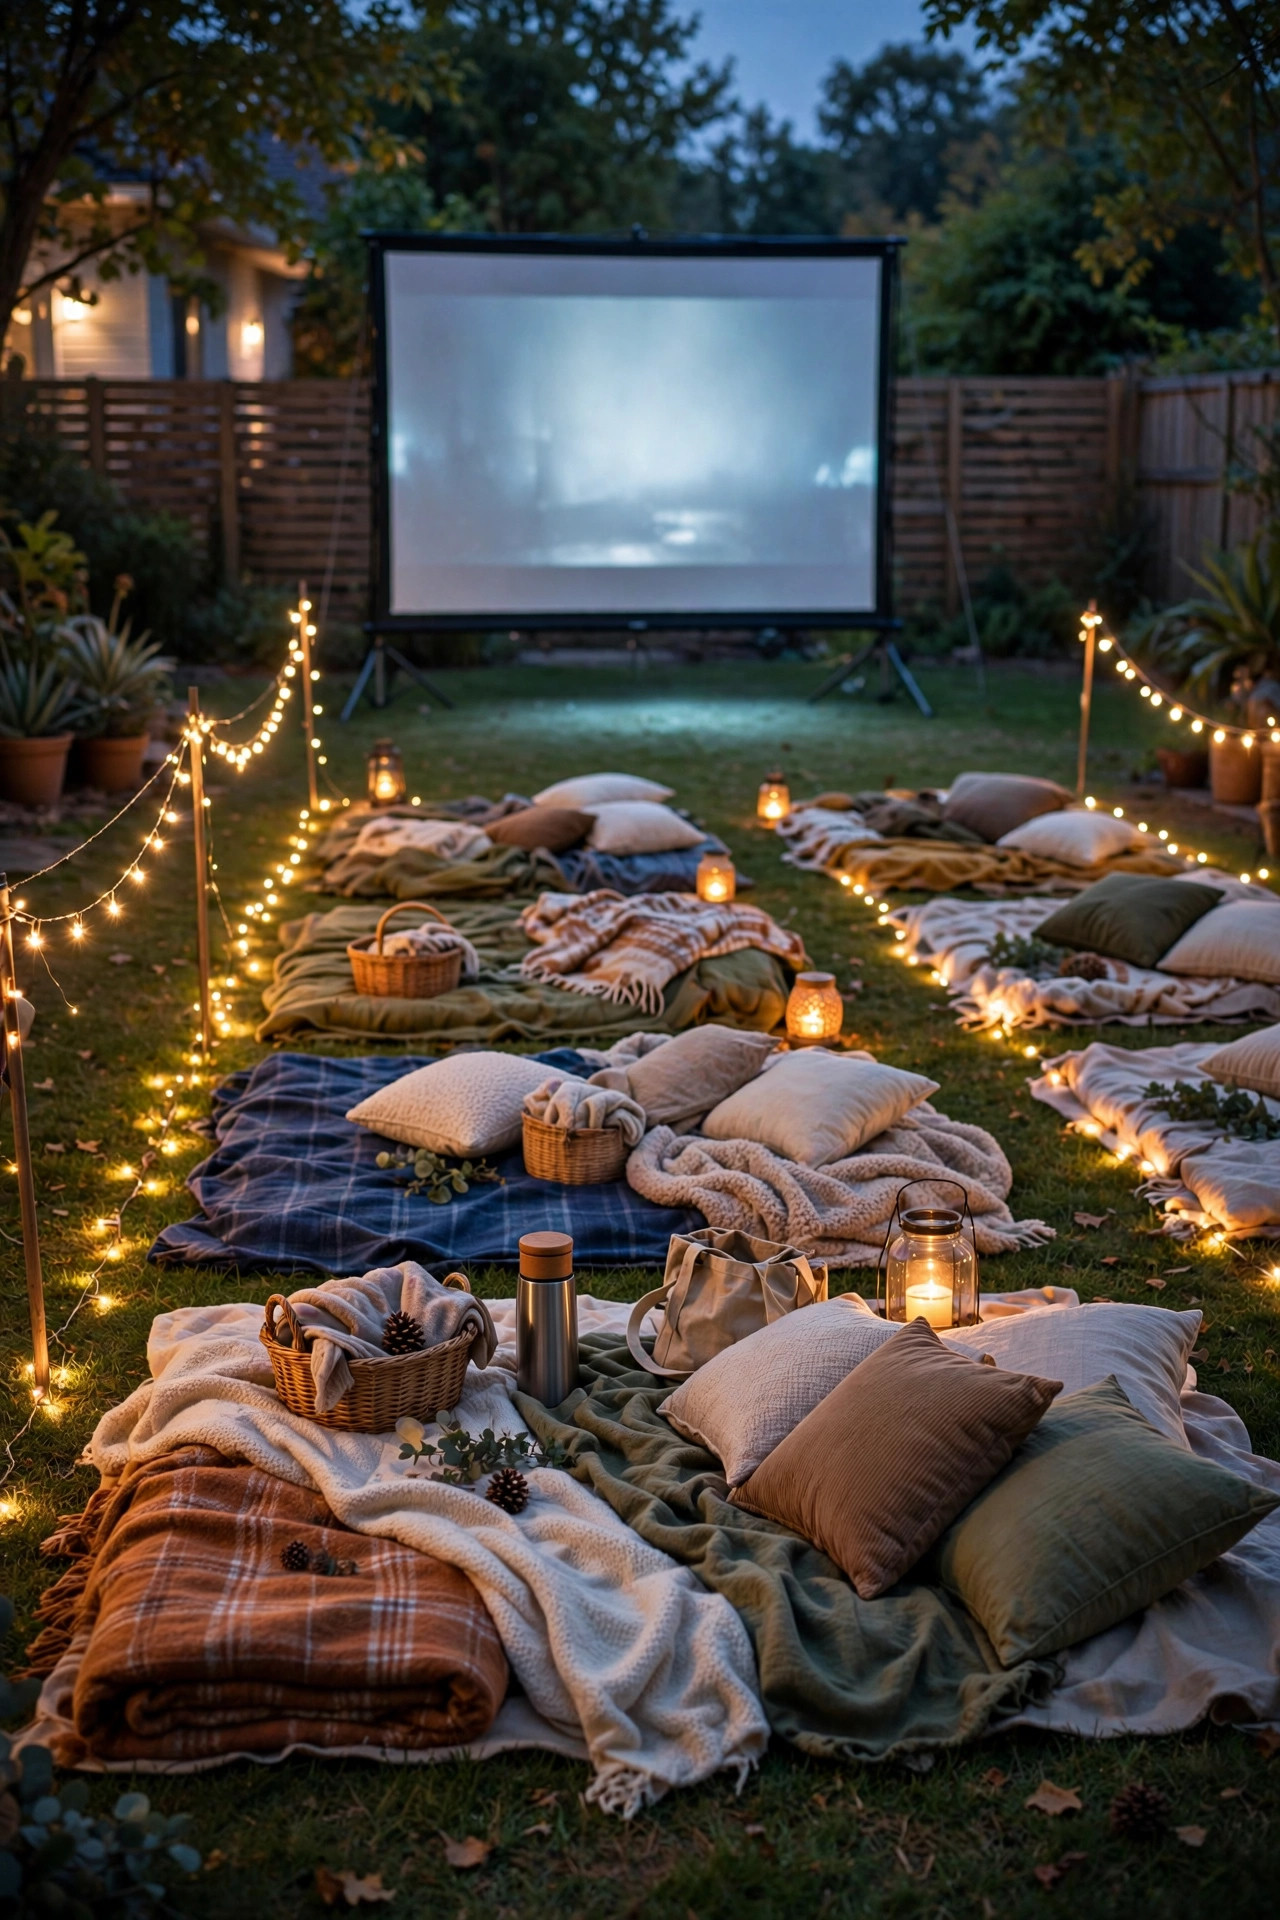
If your campout includes guests, end the evening with an outdoor movie and light the yard like a tiny drive-in. The trick is contrast: the area around the screen stays almost dark, while the seating and snack zones keep a low warm glow so people can move around without ruining the picture. I aim string lights away from the screen or switch that zone off entirely, then run a single strand of dim fairy lights along the blanket rows as "aisle lighting." A small lantern on the popcorn table at its lowest setting gives just enough light to serve snacks. Keep projector and speaker cords taped down or run along the fence line, well away from little feet, and use outdoor-rated extension cords with GFCI protection at the outlet. Blankets and sleeping bags come out for the movie, which flows straight into sleep time for the kids, and honestly that transition is the whole genius of the plan. A dimmer plug on the string lights makes the fade from party-bright to movie-mellow take about three seconds.
Suggested budget range: $30 – $80.
10. Give Each Tent a Little Porch Light
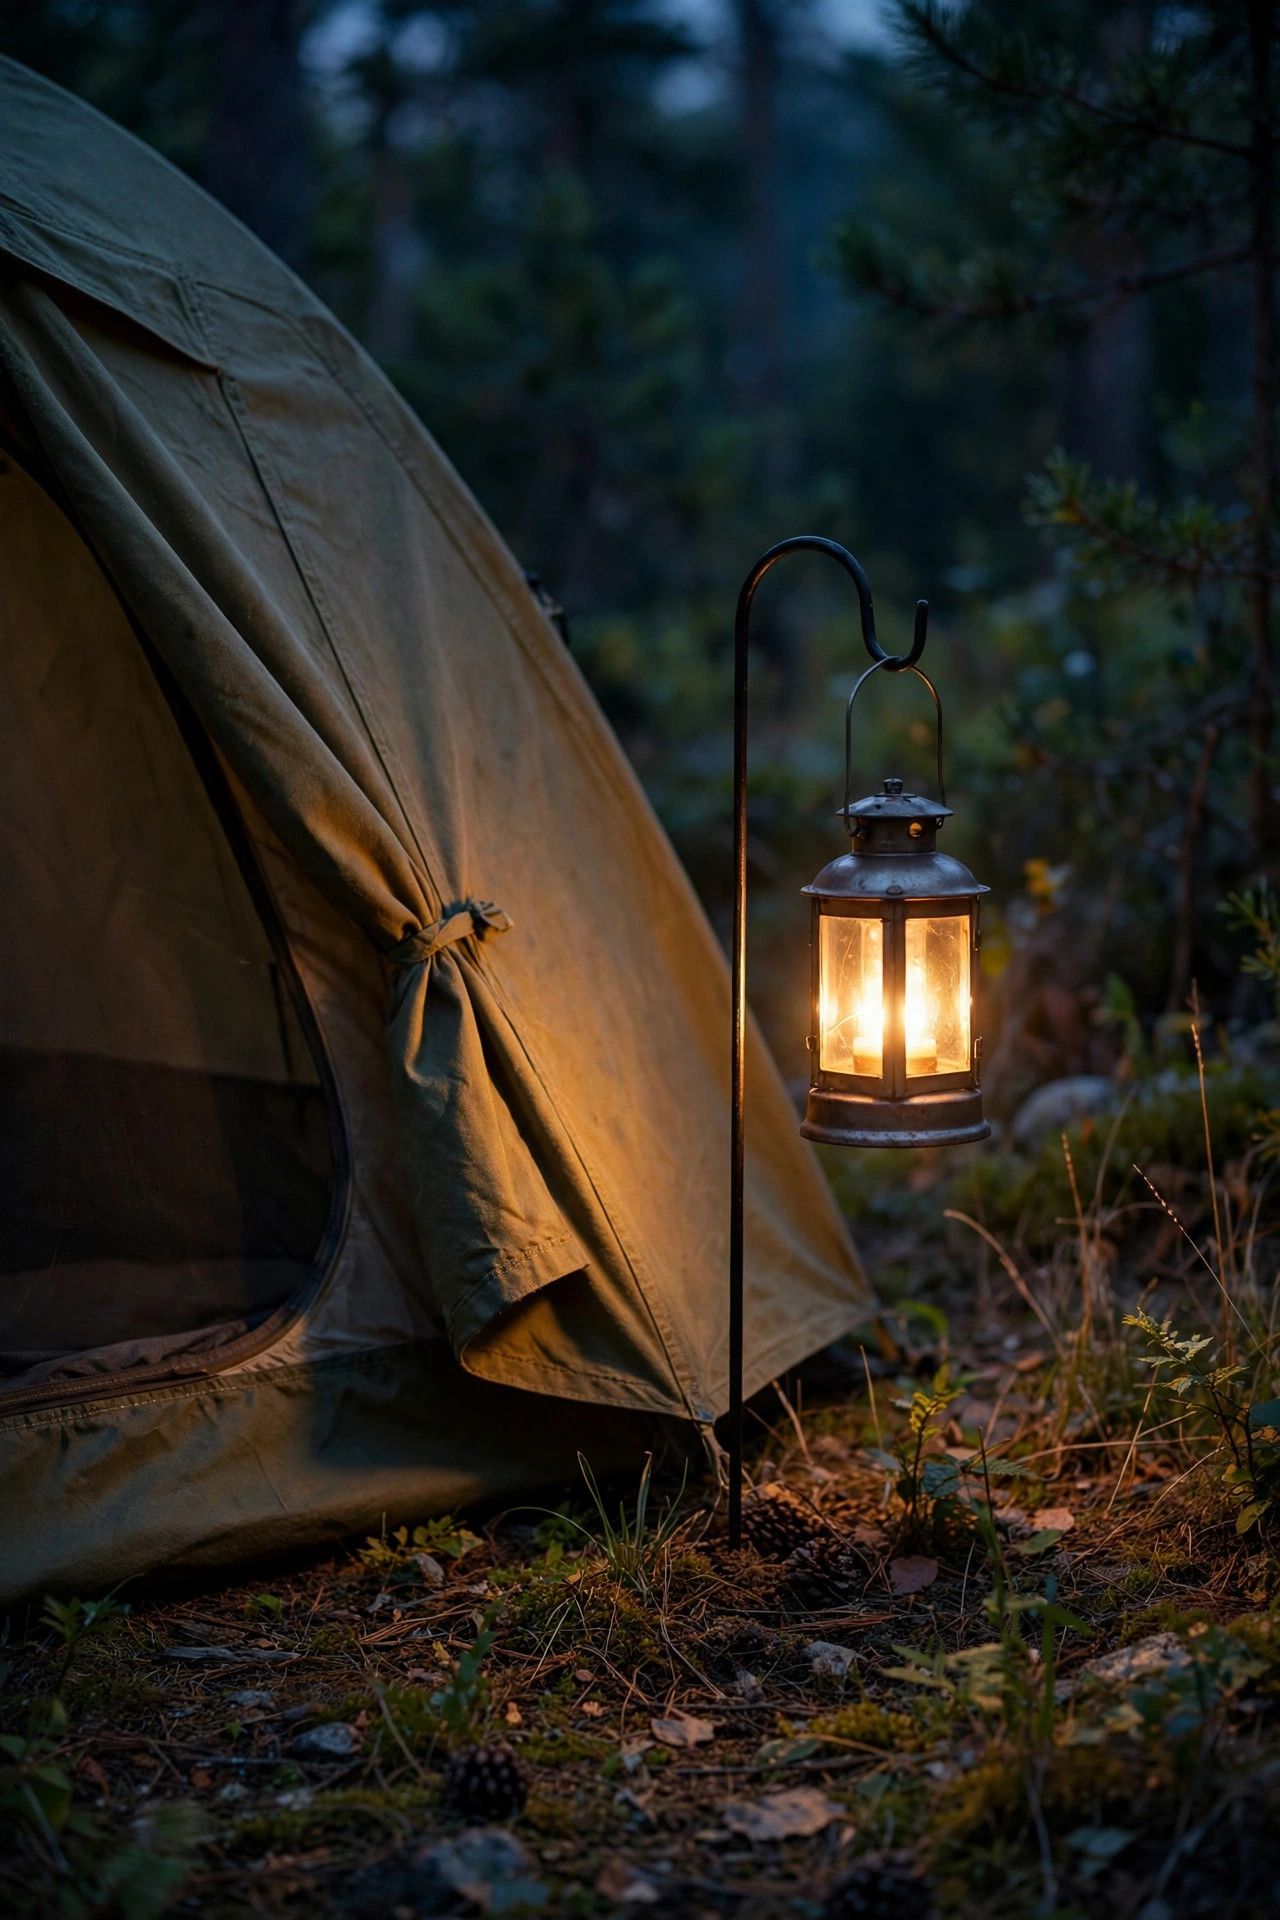
Real campsites have a lantern hanging at the tent door, and recreating that tiny ritual makes kids feel like genuine explorers. I hang one small battery lantern or solar mason jar light on a short shepherd's hook, about 3 feet tall, right beside each tent entrance. It marks home base for each family, gives just enough light for the zipper-and-shoes shuffle, and doubles as a beacon if a little camper wakes up disoriented at 2 a.m. Solar versions charge all day on the hook and glow until well past midnight; battery versions on timer mode work just as well. Keep the brightness low, around 15 to 30 lumens, so the porch light charms instead of blazing through the tent walls while people sleep. Color-coding the lanterns by family, warm white for one tent, soft amber for another, is a sweet touch that helps kids find their own door in the dark. This is a five-dollar upgrade that somehow makes the whole campout feel thoughtfully hosted.
Suggested budget range: $6 – $18.
11. Set Up a Lantern and Headlamp Station
Order out of chaos, friends. I set one small folding table near the back door as the official lighting station, with a basket of headlamps, two spare lanterns, extra batteries, and a power strip for charging anything rechargeable. One lantern stays lit on the table all night so the station is easy to find, and a simple rule keeps it working: lights get borrowed, lights come back. Headlamps with a red-light mode are my top pick for kids, because the red setting lets them read in the tent without blasting their tentmates awake. Rechargeable lanterns earn their keep here too; a single USB charge covers a whole weekend of evenings. Label the kids' headlamps with a bit of colored tape and you will prevent at least four arguments per campout, I promise. This station also becomes the lost-and-found for flashlights, which otherwise migrate into sleeping bags and vanish until laundry day. It takes ten minutes to set up and quietly makes you look like the most competent camp host on the street.
Suggested budget range: $20 – $50.

12. Create a Color-Changing Glow Zone for the Kids
Every campout benefits from one corner that is pure play, and color-changing lights make it official. I stake out a zone away from the sleeping tents, usually around the playset or an open patch of lawn, and fill it with color-changing solar stakes, a couple of glowing orbs, and one strand of multicolor string lights. Remote-controlled LED orbs are the stars here; kids pass them around, roll them gently on the grass, and use them as "campfire crystals" in games I do not fully understand but completely encourage. Keep this zone on the far side of the yard because color and motion near the tents can wind kids up right when you want them winding down. Rechargeable orbs hold a charge for 6 to 8 hours, easily covering an evening of play, and solar stakes need no attention at all. One firm rule from my house: the glow zone goes dark at quiet time, no exceptions, and the lights migrate to the fire pit ring as grown-up ambience. It is amazing how fast kids accept the rule when the trade is s'mores.
Suggested budget range: $18 – $45.

13. Run Mason Jar Lanterns Down the Walkway
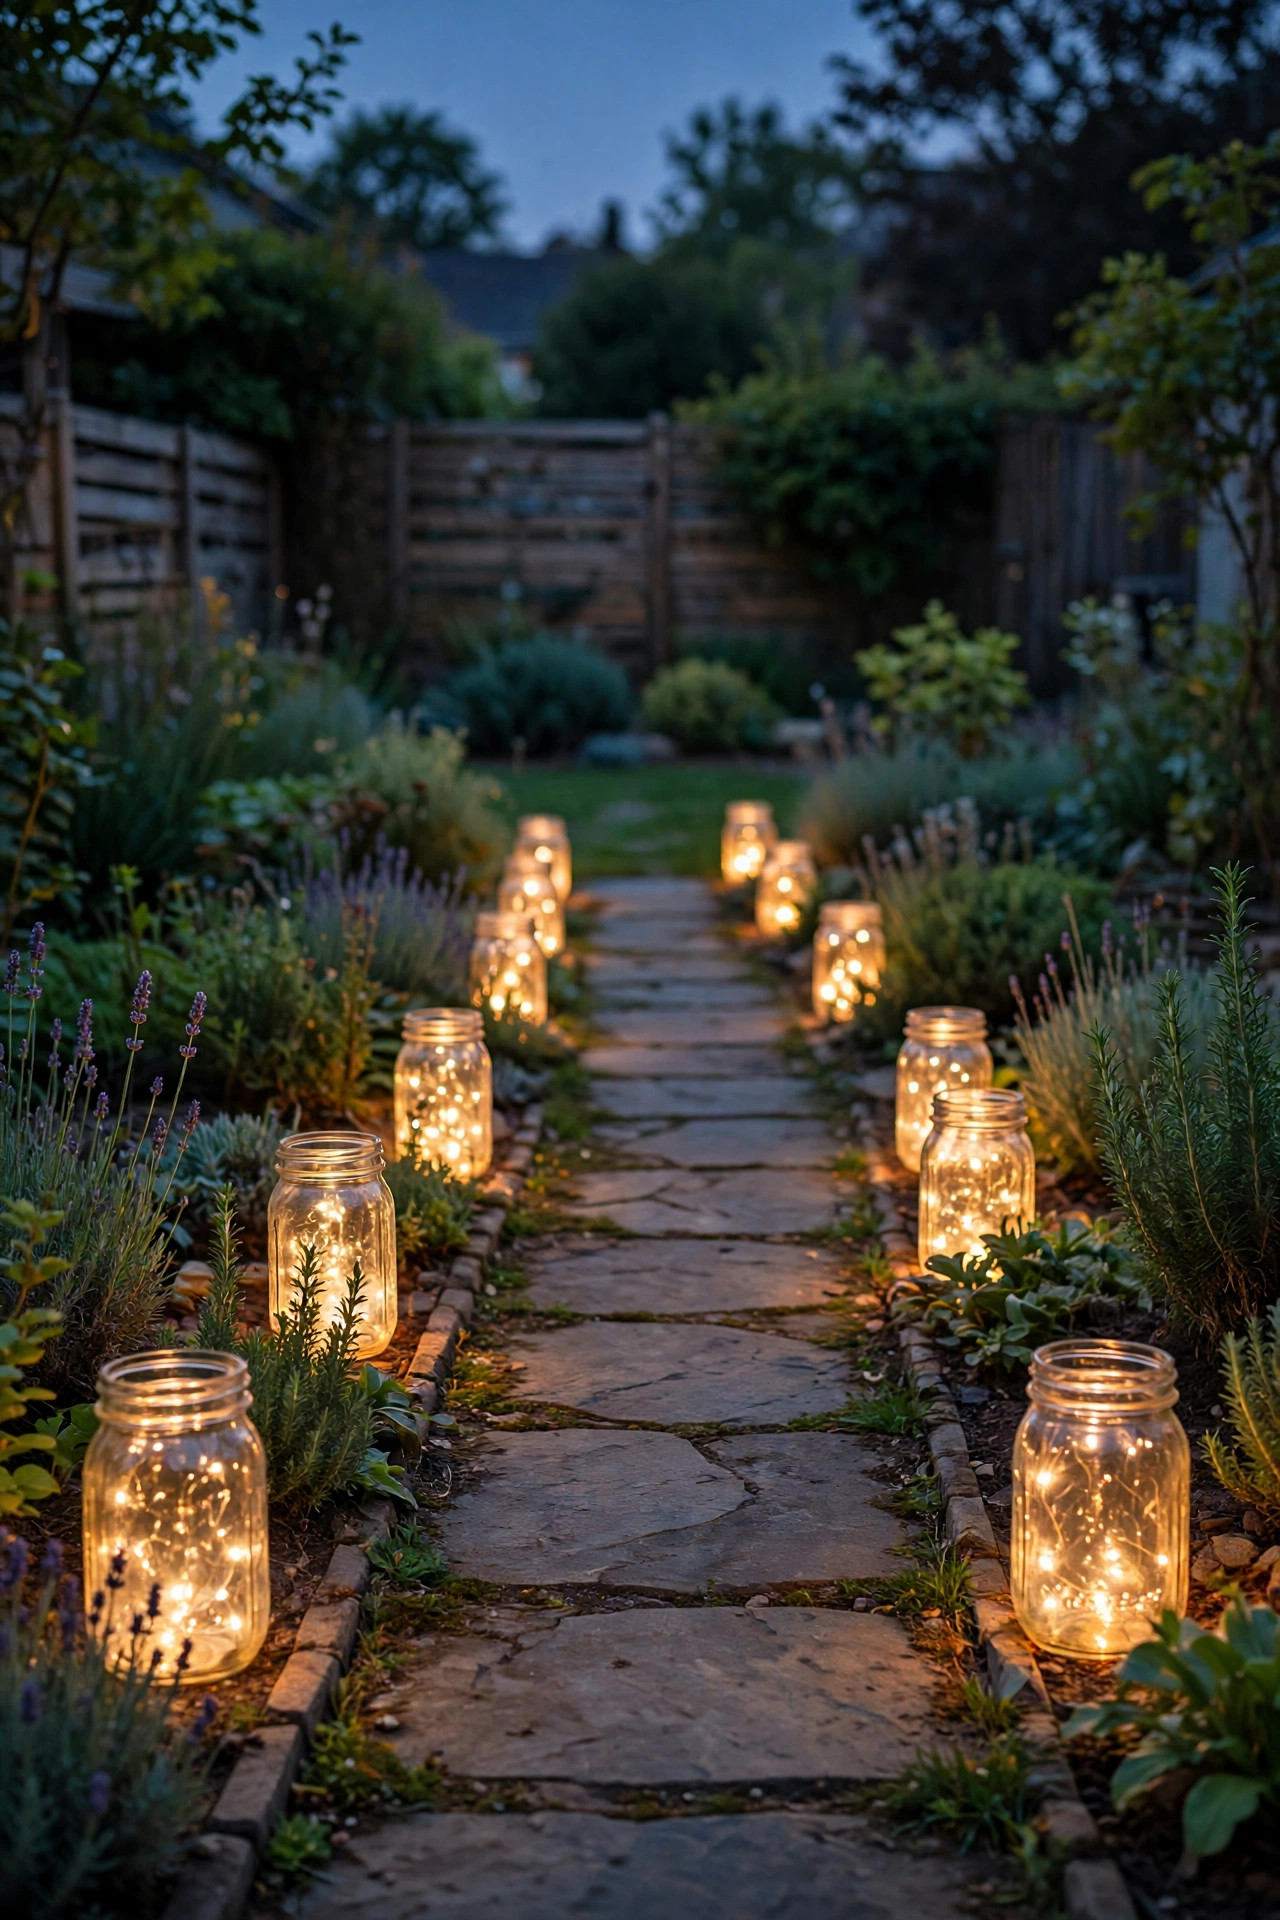
Mason jar lanterns are my favorite budget craft-light, and a row of them down the main walkway gives a campout that homemade, scout-camp feel. I drop a battery tea light or a short coil of fairy lights into each jar, add a wire handle if I want to hang a few from fence hooks, and space them every 3 to 4 feet along the path edge. The glass softens the light into a mellow puddle that guides feet without glare, and because the LEDs stay cool, a jar knocked over by a passing camper is no hazard at all. Frosted jars give the prettiest diffusion; a quick coat of frosted glass spray on plain jars gets you 90 percent of the look for pennies. In my experience, twelve jars is the magic number for an average backyard path, and the whole project costs less than one store-bought lantern. Kids love being in charge of switching them on at dusk, so hand them the job and call it their official camp duty. Store the lids off so moisture never gets trapped inside.
Suggested budget range: $10 – $30.
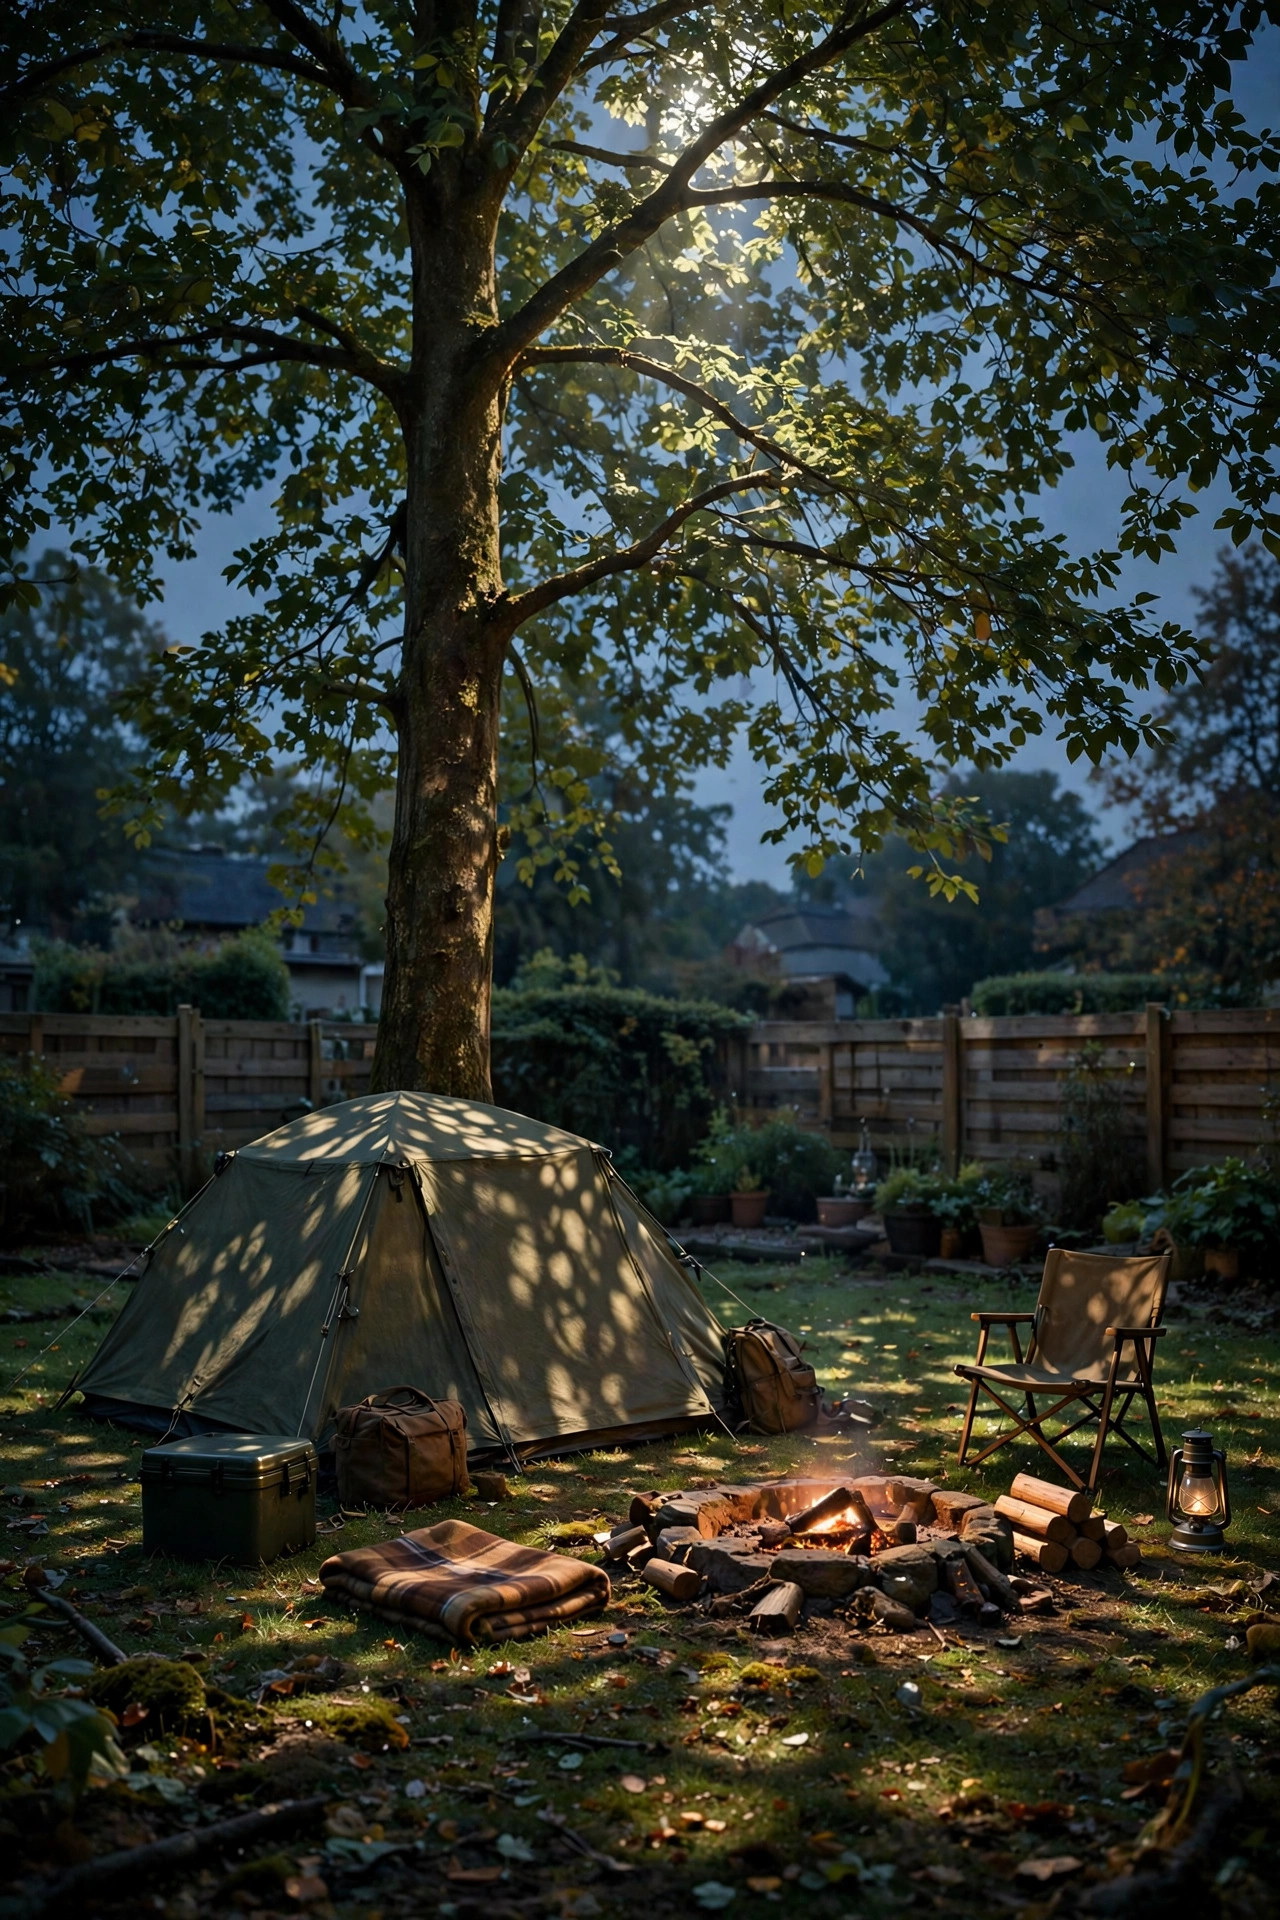
14. Add Moonlighting From a Tall Tree
Moonlighting is the landscape designer's secret weapon, and one fixture is all a campout needs. The idea is simple: a soft downlight mounted high in a tree, 15 to 20 feet up, aimed down through the branches so the yard gets dappled, moon-like light instead of a flat flood. For a temporary campout setup, I use a battery or solar spotlight with a clamp mount on a sturdy branch, angled carefully so it never shines directly into tents or neighbors' windows. The effect is subtle and honestly a little magical; shadows of leaves move in the breeze and the whole lawn feels like a forest clearing. Keep the color temperature warm, around 2700K to 3000K, because cool blue-white light reads as security lighting, not moonlight. One fixture over the main gathering area is plenty, and pairing it with the dimmer layers below it makes the campout feel professionally lit. Just be courteous: check the view from your neighbor's yard, and tilt or dim if your moon spills over the fence.
Suggested budget range: $15 – $40.
15. Keep Bugs Away With Amber Light Placement
Here is a trick I wish someone had told me years ago: bugs swarm to bright light near the food, so move the attraction away from the people. Insects are far less drawn to amber and warm yellow light than to bright white, so I place two amber-toned lanterns on stakes at the far edges of the yard, a good 20 to 30 feet from the seating, as decoy glow. Then I keep the lights over the food and fire pit area warm and relatively dim, which makes the whole campout more comfortable and the s'mores station noticeably less buggy. Citronella candles can join the seating area if you like them, but keep any real flame in sturdy holders, away from tent fabric, paper goods, and small hands, and never leave them unattended. Battery amber lanterns do most of the work with none of the supervision. Pair this with a small fan near the snack table, moving air discourages mosquitoes beautifully, and your guests will remember a pleasant evening instead of a swat-fest. Simple physics, zero chemicals, happier campers.
Suggested budget range: $12 – $35.
16. Light the S'mores and Snack Station Like a Pro
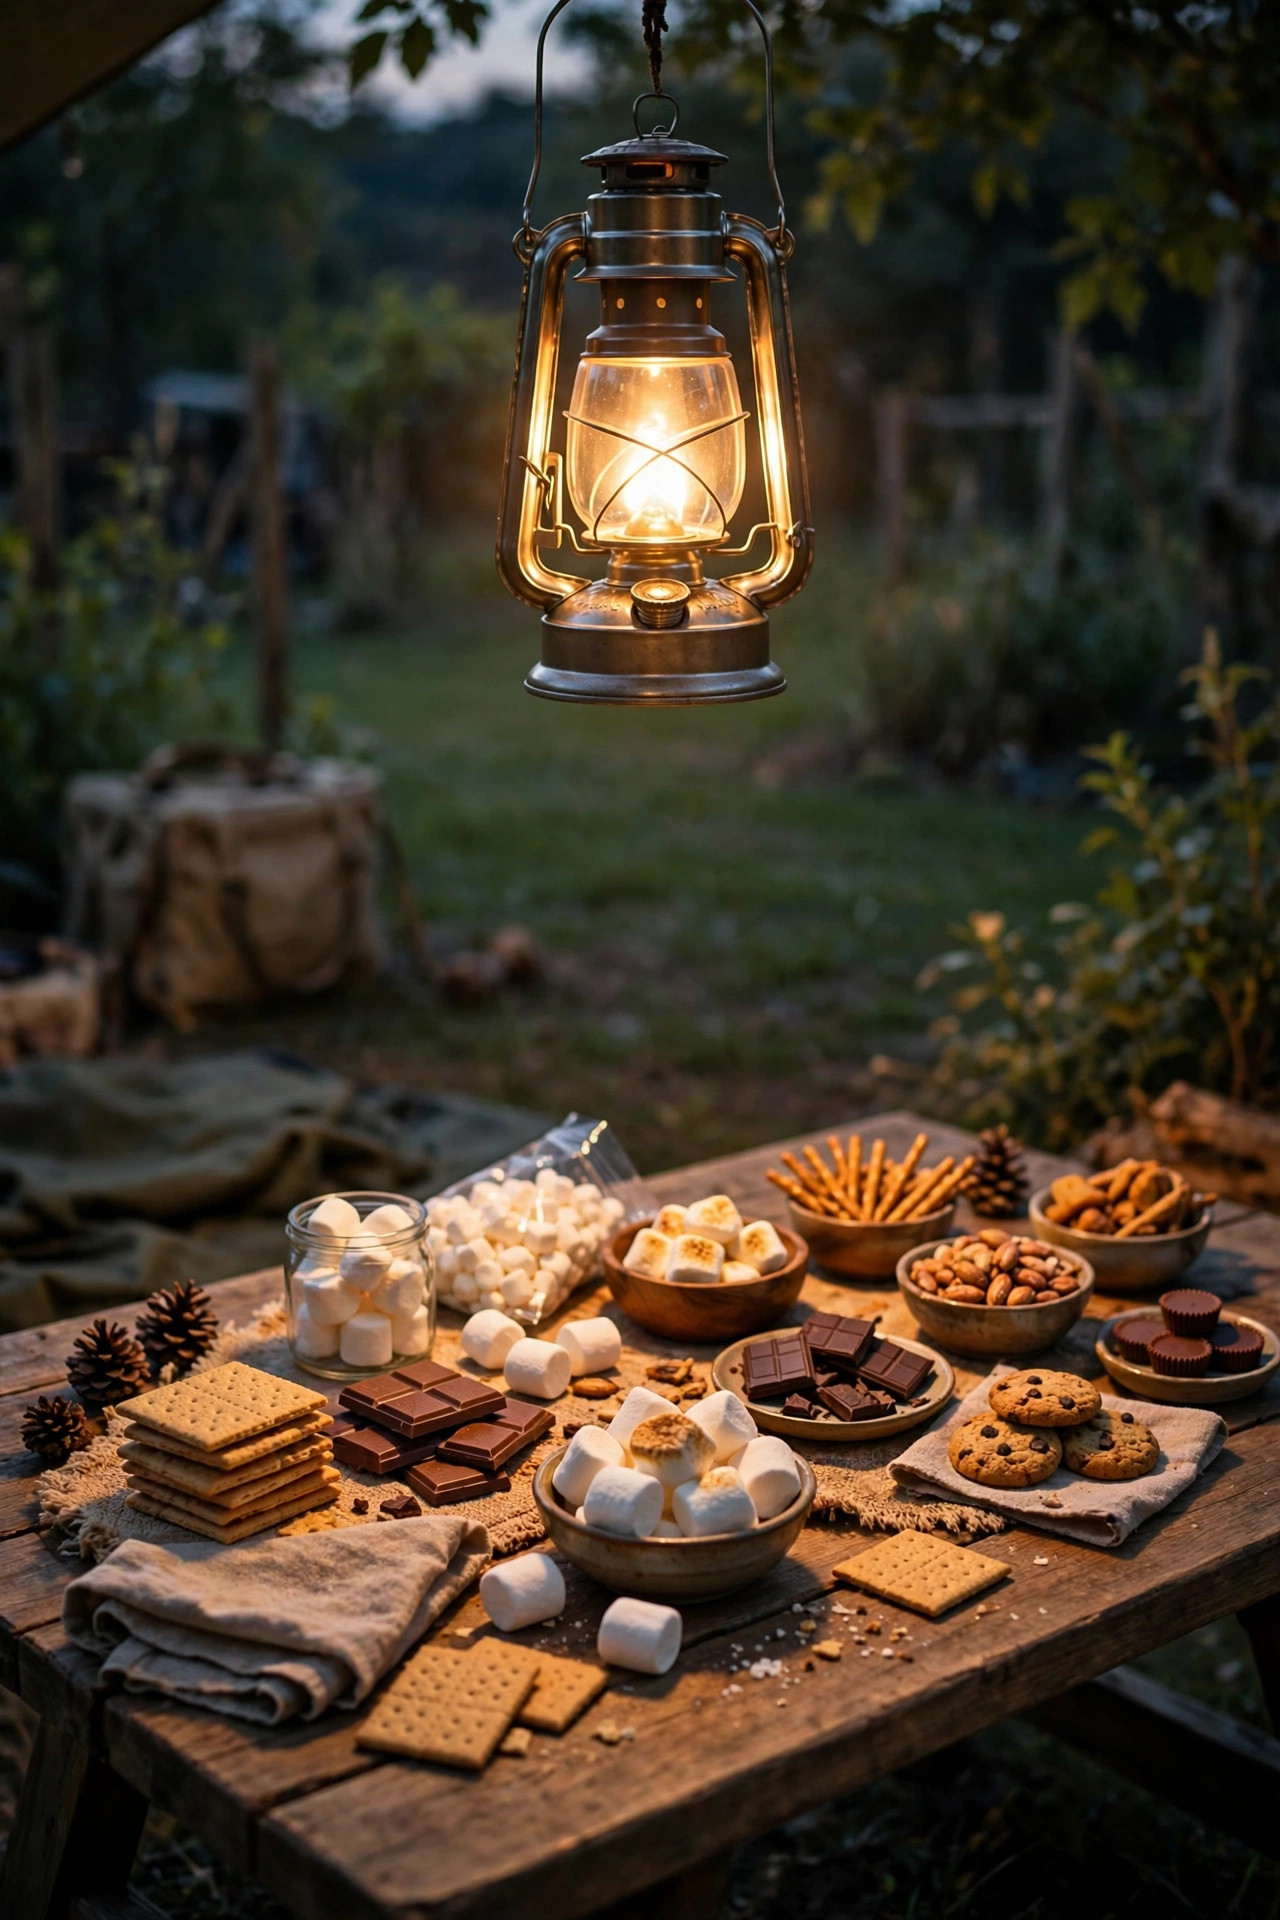
The snack station is the busiest corner of any campout, and it deserves real task lighting, not vibes. I hang one focused lantern or a short string of brighter bulbs directly over the table, about 5 to 6 feet above it, so hands can see marshmallow doneness, chocolate squares, and graham cracker logistics clearly. Aim for noticeably brighter light here than the ambient layers, roughly 100 lumens from a lantern on its high setting, and keep it warm white so food still looks appetizing. Set the station a safe distance from the fire pit itself, with its own clear walking lane, and tape or route any cords along the table edge so nobody catches a foot. A small battery lantern with a hook handle hangs perfectly from a pop-up canopy frame or a shepherd's hook if there is no tree nearby. Everything else at the campout can be moody and dim, but sticky fingers and hot marshmallows demand visibility. Add a lidded bin under the table for trash and the station basically runs itself until the last camper calls it a night.
Suggested budget range: $10 – $30.
17. Save a Dark Corner for Stargazing With Red Light
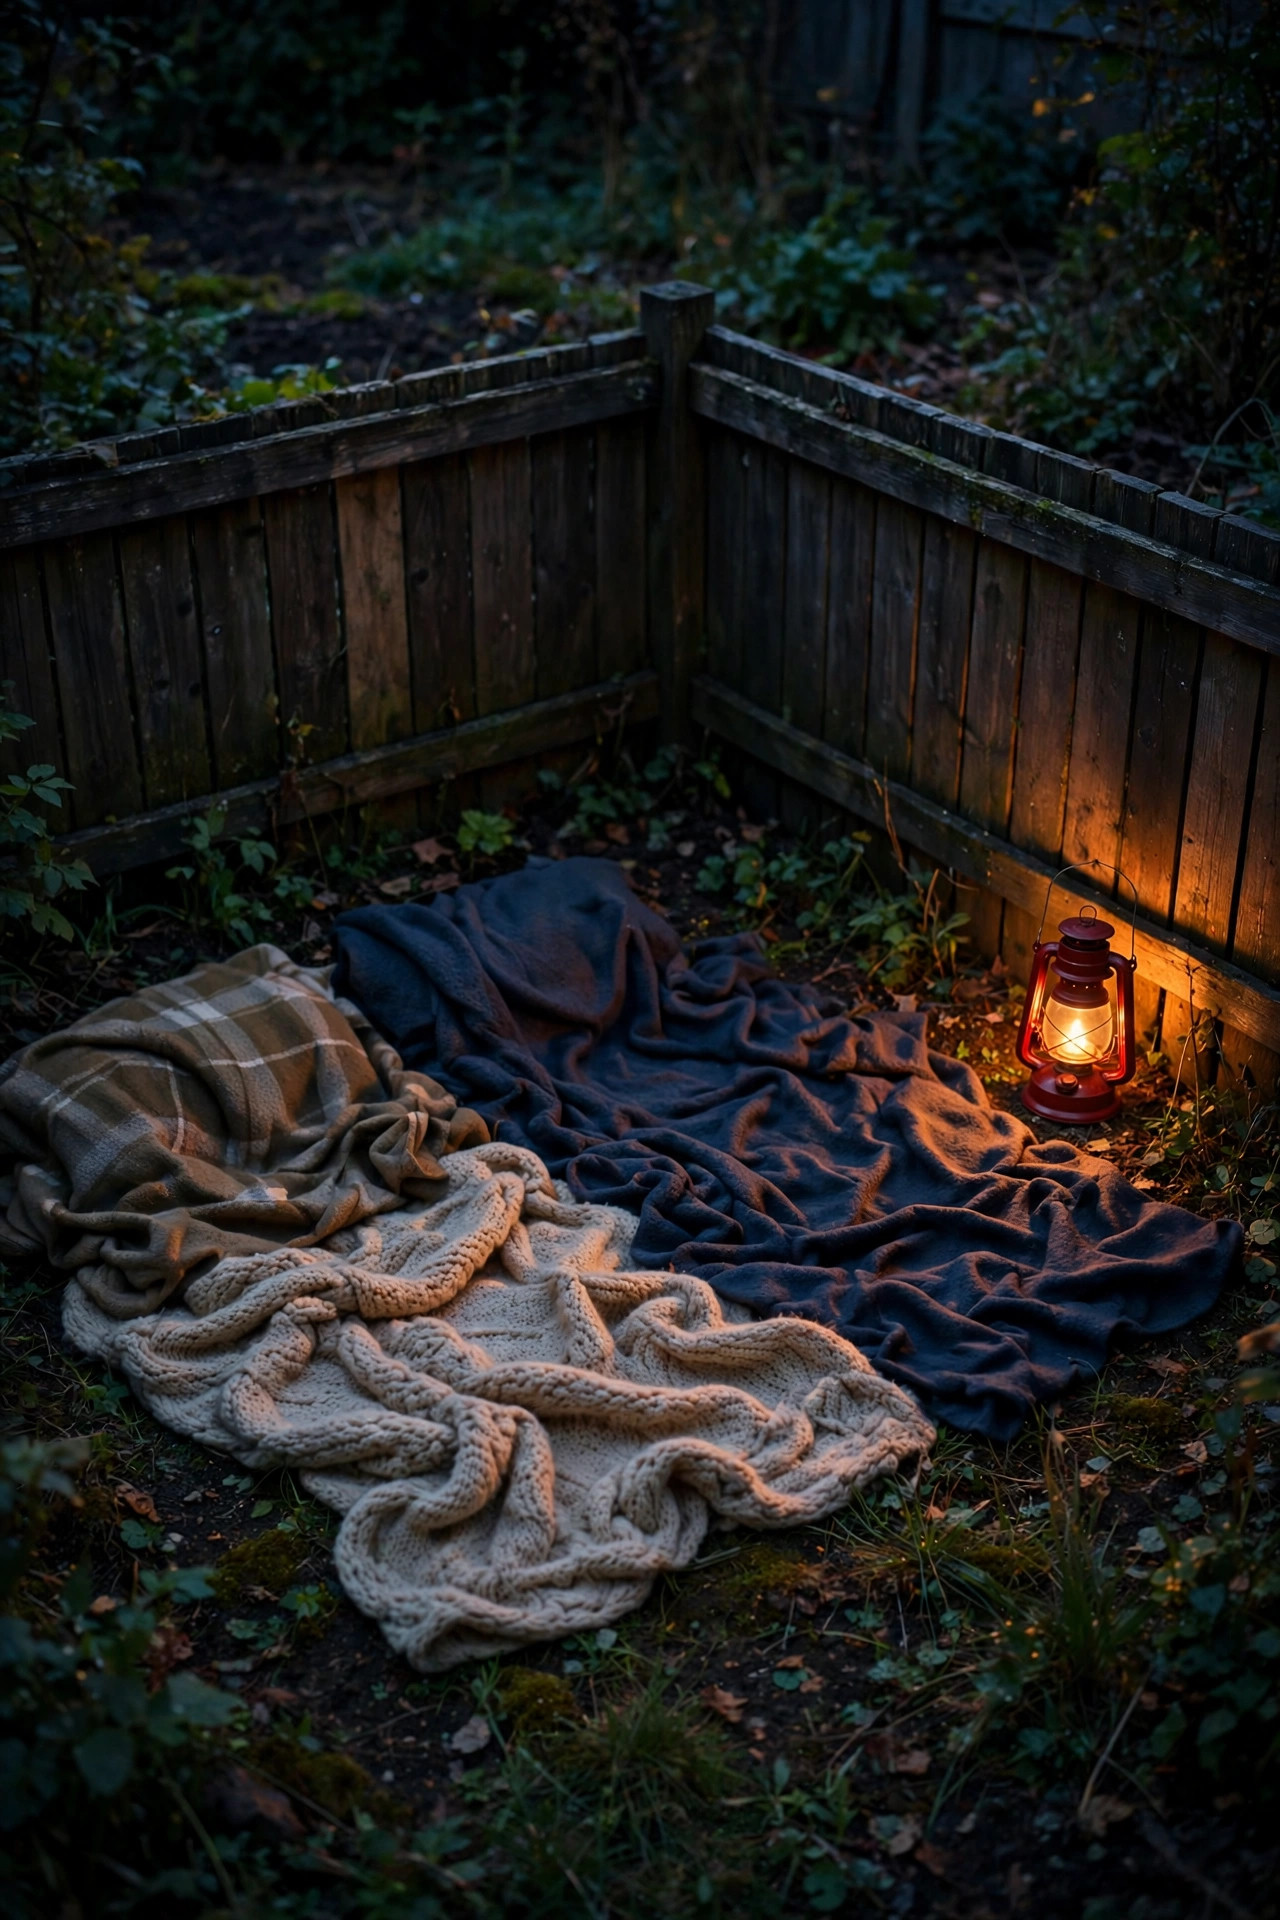
Counterintuitive but true: the best campout lighting plan includes one spot with almost no light at all. I keep a blanket corner on the far side of the yard deliberately dark for stargazing, because eyes need 20 minutes away from bright light to really see the night sky. The one light allowed here is red. Red light preserves night vision, which is why astronomers use it, so I keep two red-mode headlamps or one small red lantern at the edge of the blanket zone for safe comings and goings. Kids who have never seen the Milky Way from a dark-ish yard get genuinely quiet out there, and it becomes the unexpected highlight of the night. Shield the corner from the string lights with the tent or a fence section if you can, and remind everyone that phone screens stay face-down in the star zone. If your campout runs several nights, make the dark corner a ritual: ten minutes of stars before bed settles even the most wired little campers. Some of my favorite family conversations have happened on that blanket.
Suggested budget range: $8 – $25.
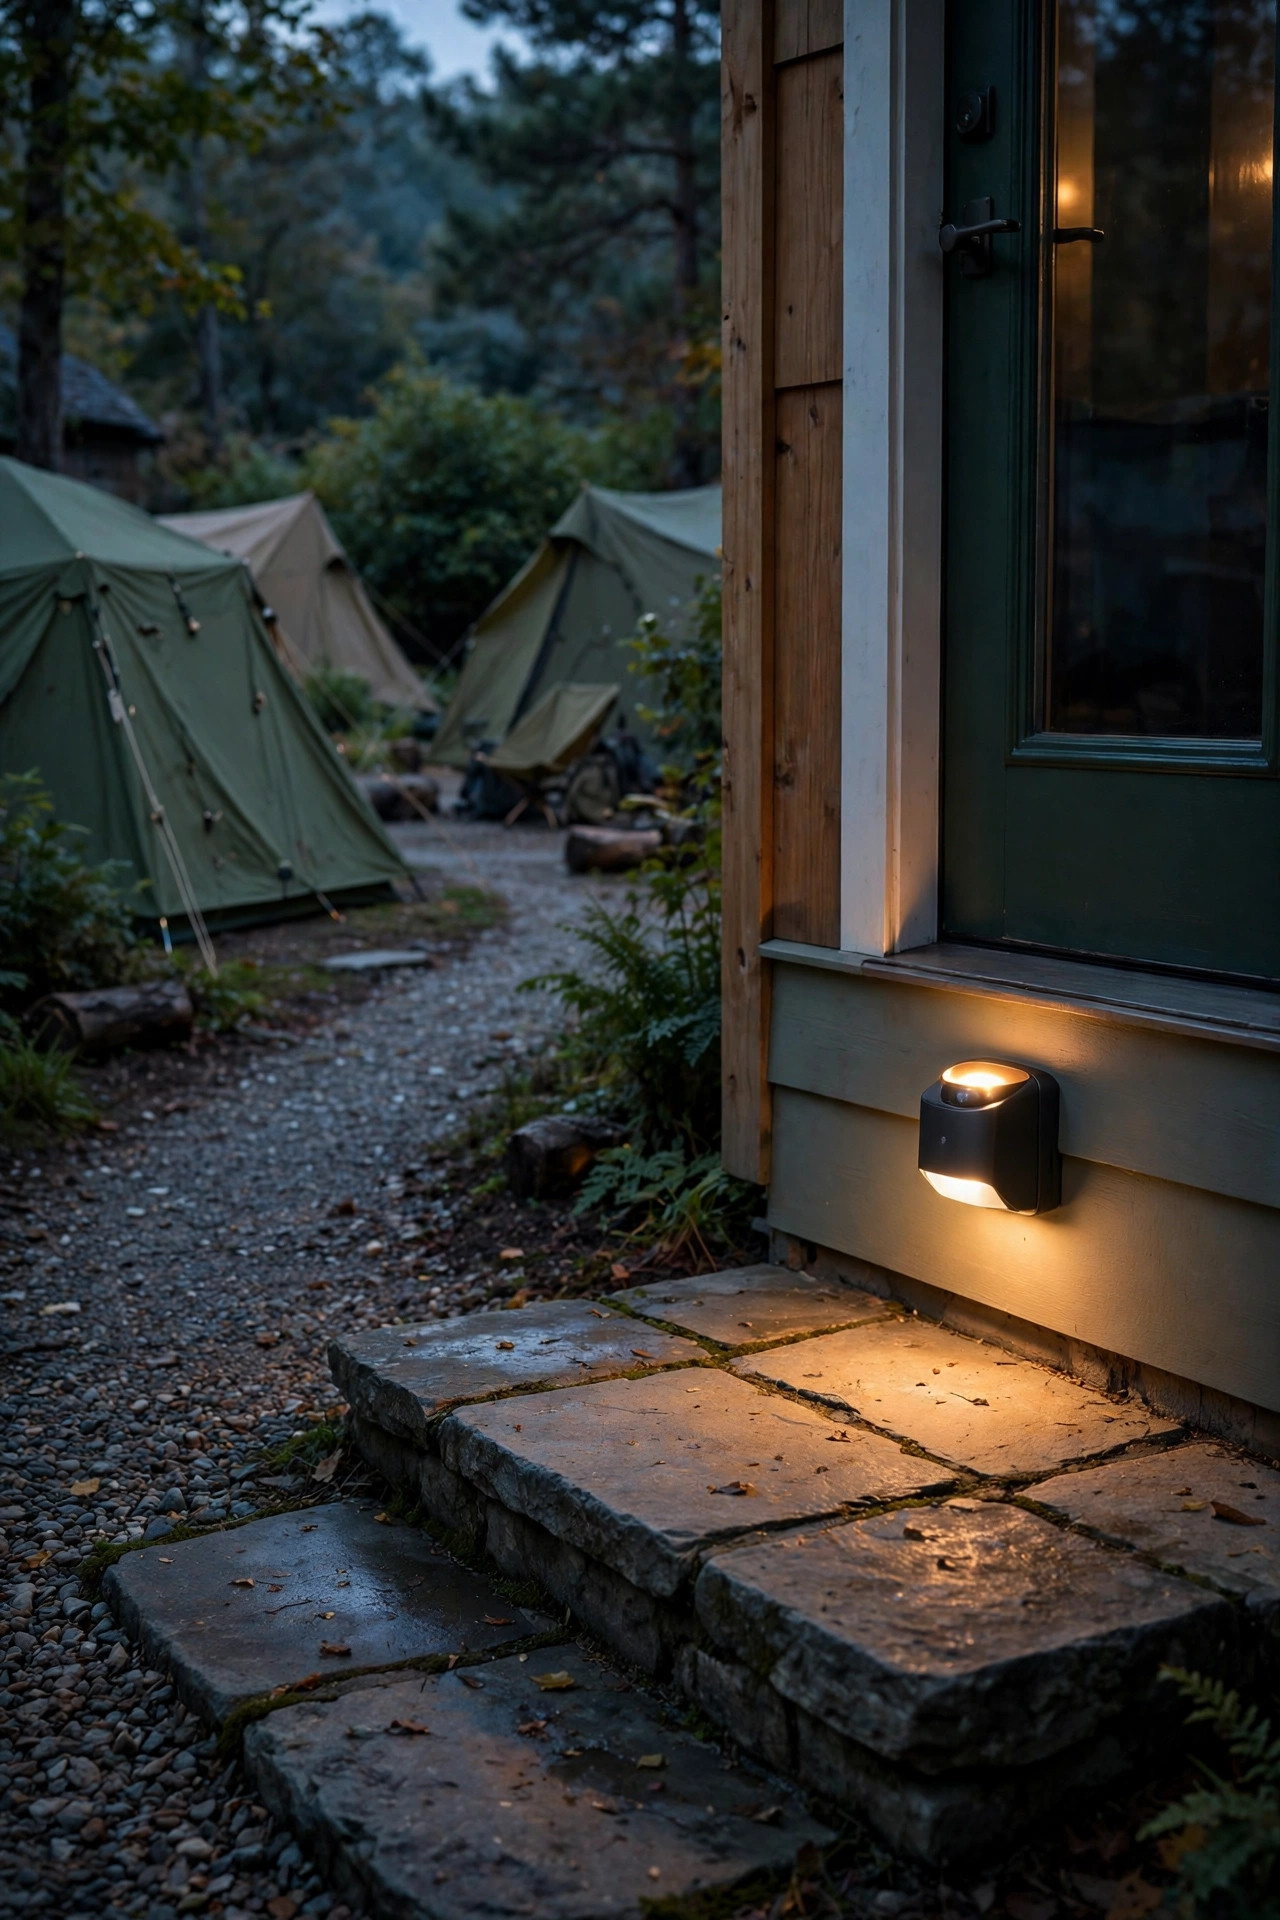
18. Add Motion-Sensor Lights for the Trip Back Inside
For the practical magic category, motion-sensor lights win every time. I stick two battery motion lights along the route from the tents to the back door, one near the patio step and one by the door itself, so the path lights up only when someone walks it. They stay dark while everyone sleeps, which keeps the campsite feeling like a campsite, then pop on for bathroom trips, water refills, and the inevitable forgotten stuffed animal rescue. Look for lights with adjustable sensitivity and a warm or soft white tone; harsh blue-white motion lights will jolt a half-asleep kid fully awake. Mount them about 3 to 4 feet high, angled down at the path, and test the trigger distance after dark so they fire early enough to help but not so early that the cat sets them off all night. If your yard has no outlet near the route, do not worry; my roundup of backyard lighting with no outlet is full of battery and solar tricks exactly like these.
Suggested budget range: $12 – $30.
19. Put Your Backyard Campout Lighting Ideas on Timers
The final layer of every campout I host is automation, because the host should get to enjoy the fire too. I put plug-in string lights on a simple outdoor timer set for dusk to 11 p.m., choose battery lanterns with built-in 6-hour timers, and let the solar lights handle themselves entirely. That means the yard lights itself as the sun goes down, the bright social layers switch off at quiet time, and only the soft path lights and tent porch lights stay on for the night owls and early risers. Timers also protect your battery budget; nothing drains a lantern faster than being forgotten until morning. Before guests arrive, I do one full rehearsal at dusk: walk the yard, check every layer, swap any tired batteries, and adjust anything that glares. Fifteen minutes of rehearsal buys you a completely hands-off evening. When the last timer clicks off and the yard settles into firelight and porch-light glow, you will understand why this simple habit is the one I recommend to every new camp host.
Suggested budget range: $10 – $35.
Frequently Asked Questions
How bright should backyard campout lighting be?
Think dimmer than you expect. Ambient string lights and lanterns in the 100 to 300 lumen range per fixture keep faces visible without killing the camp mood, path lights only need 10 to 30 lumens, and a snack station lantern around 100 focused lumens handles task work. If a light makes you squint, it is too bright for a campout.
Are LED lights safe to use inside a tent overnight?
Yes, battery-powered LED lights are the safest choice for tents because the bulbs stay cool to the touch and there is no flame or carbon monoxide risk. Use battery fairy lights or lanterns only, never candles, fuel lanterns, or plug-in lights inside a tent. Turn most lights off for sleeping and keep one low lantern handy for wake-ups.
How do I keep bugs from swarming the campout lights?
Use warm or amber-toned light, keep the brightest lights away from seating and food, and place a decoy amber lantern 20 to 30 feet away to draw insects off. A small fan near the snack table helps more than most sprays. Bright white and UV-heavy bulbs attract the most bugs, so leave those off for the night.
Can I light a whole campout without an outdoor outlet?
Absolutely. Solar path lights and string lights, battery lanterns and fairy lights, and rechargeable orbs can cover every layer of a campout with zero plugs. Charge or place solar items in afternoon sun, set lantern timers before guests arrive, and keep a small station with spare batteries as backup.
Conclusion
A great campout is never about one perfect light; it is about layers working together, soft glow overhead, warm light where people gather, and gentle guidance underfoot. Start with one or two of these backyard campout lighting ideas, rehearse them at dusk, and add a layer each time you host until your yard runs like a tiny, well-loved campground. Ready for more inspiration? Browse the rest of my outdoor lighting ideas here on the site and plan your next night under the stars.